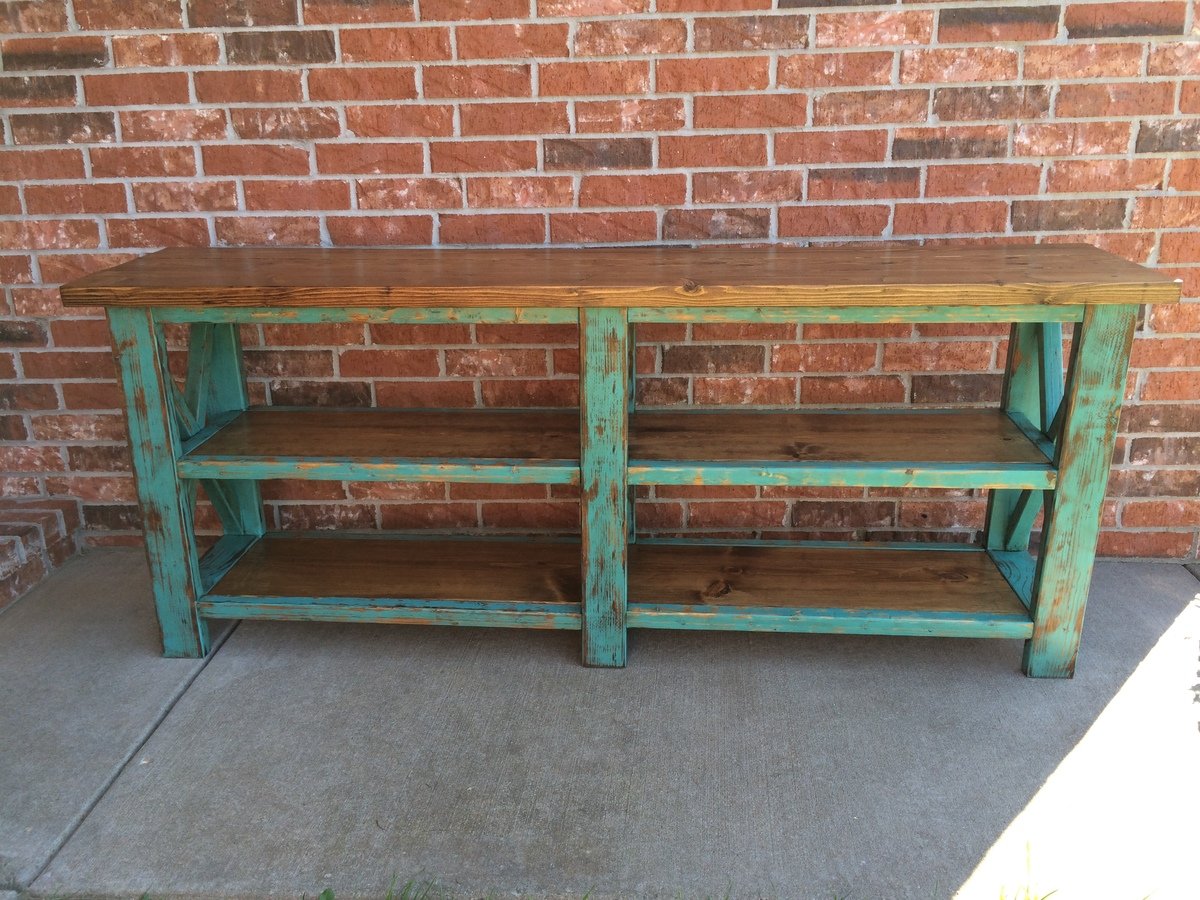
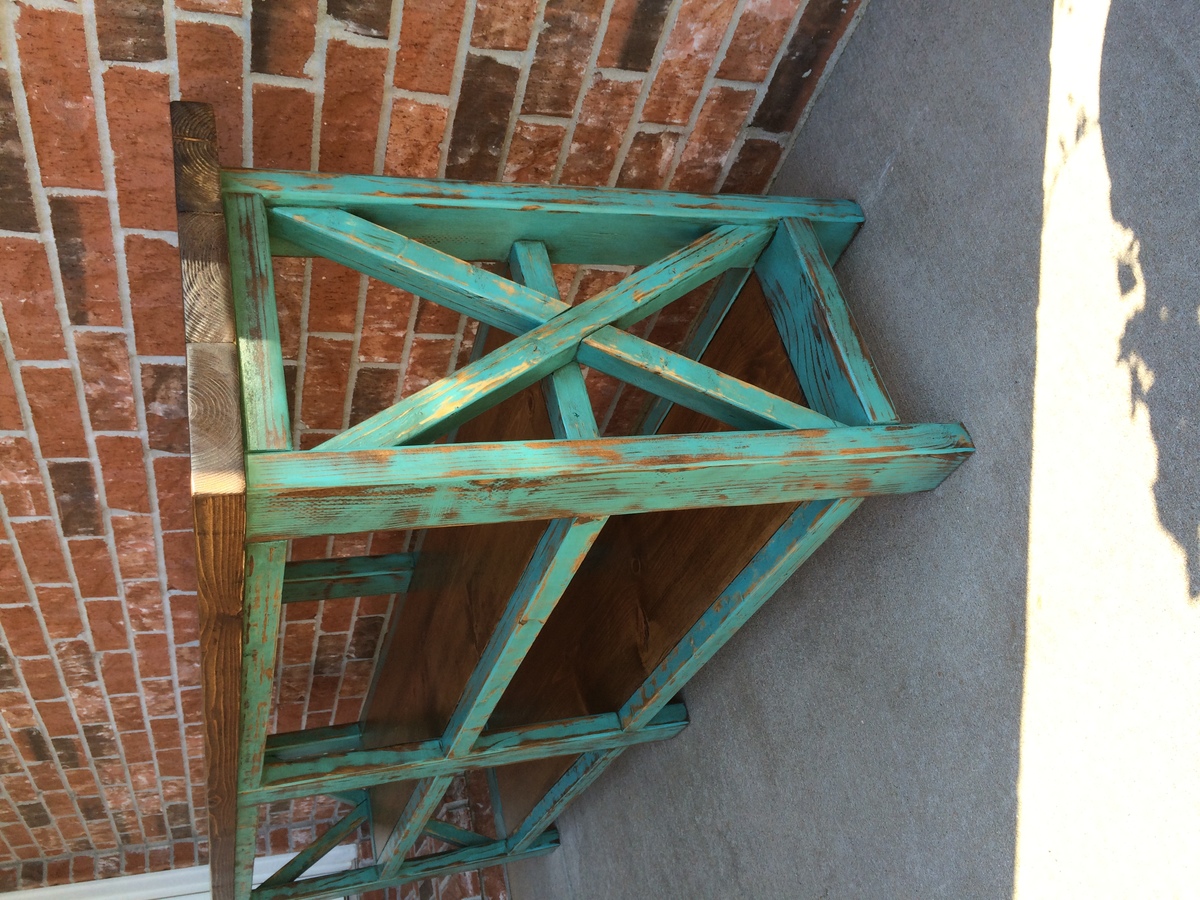
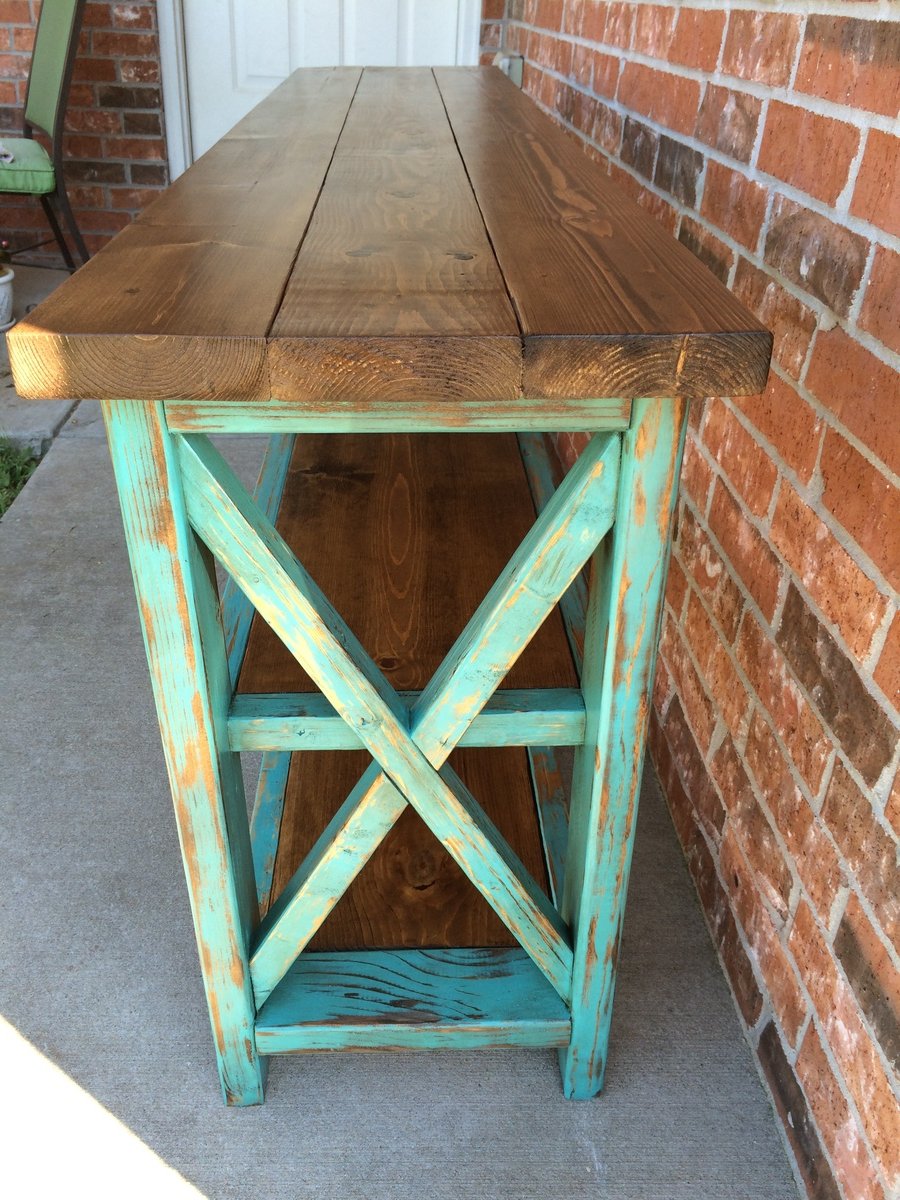
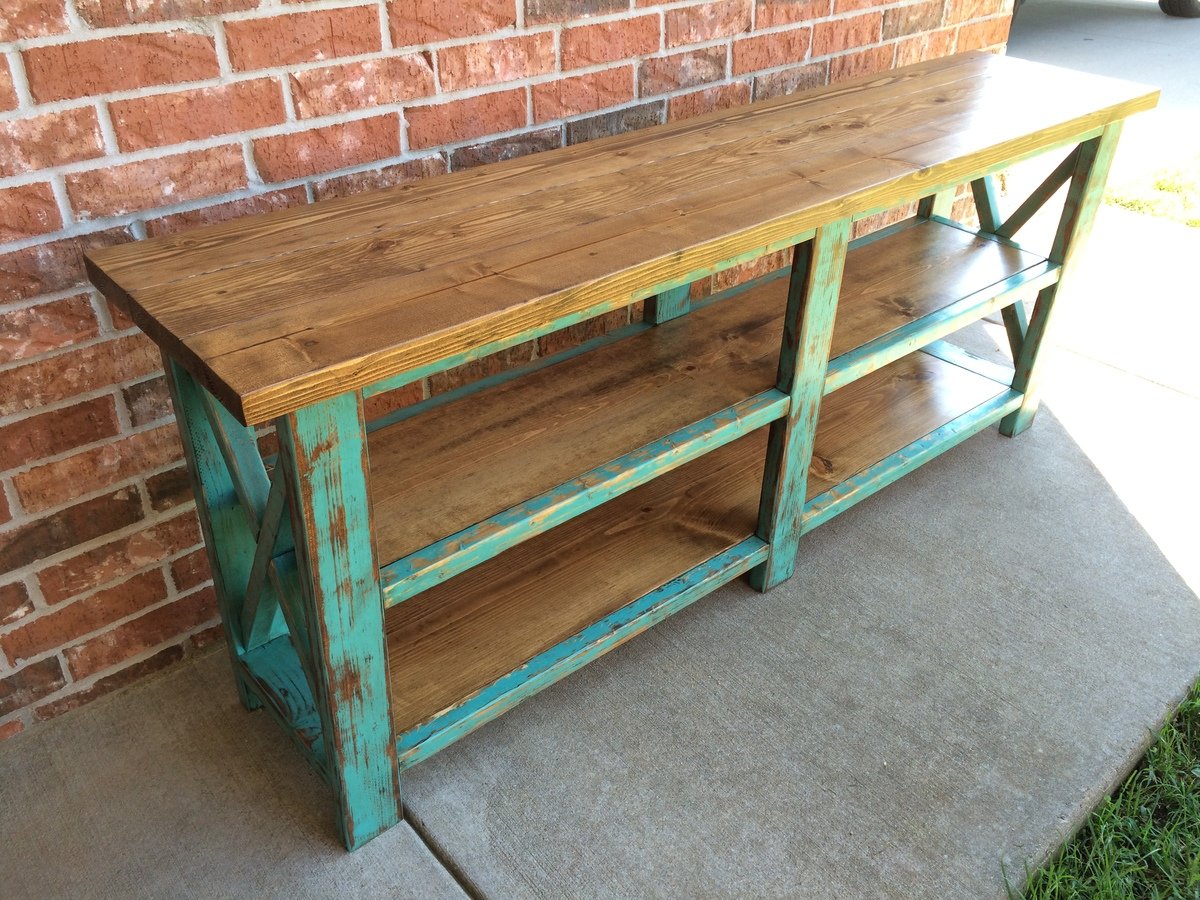
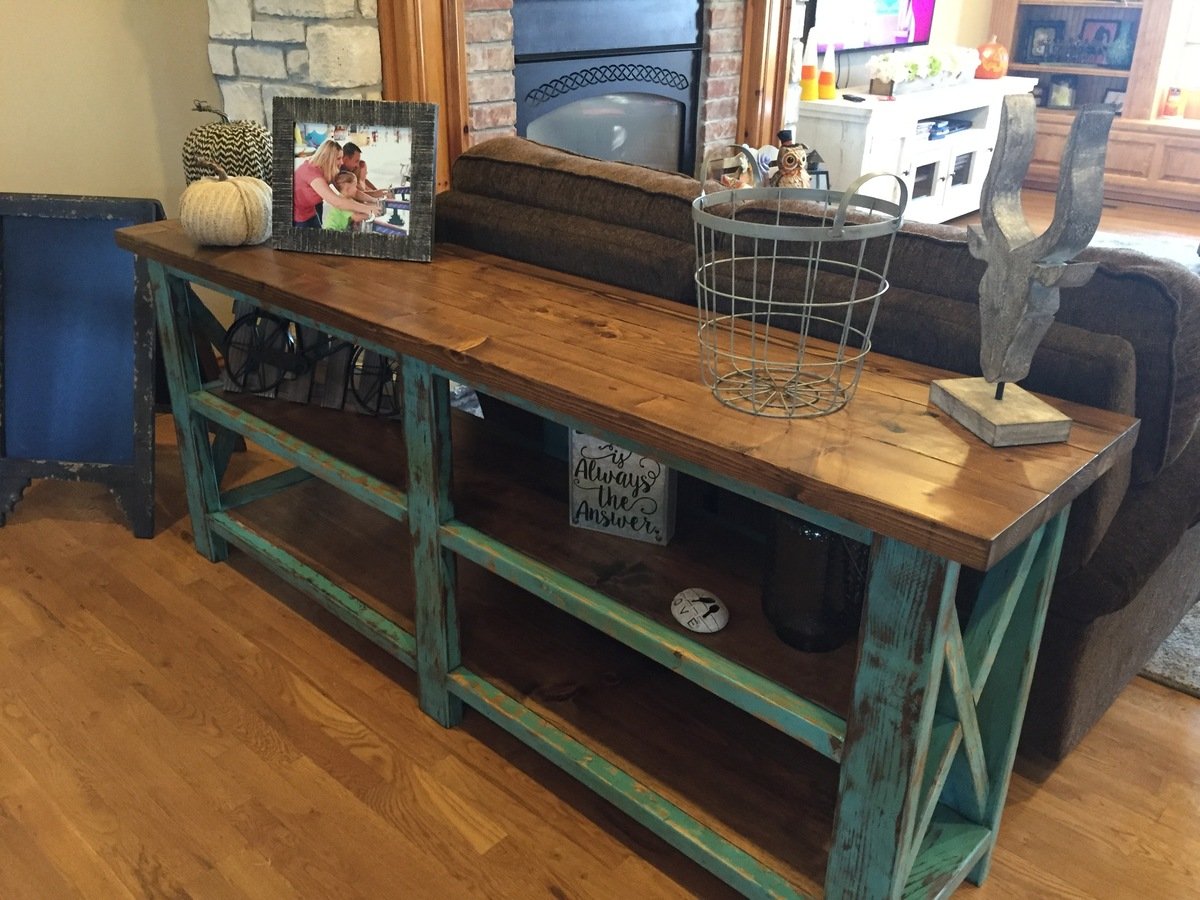
Rustic Farm Desk
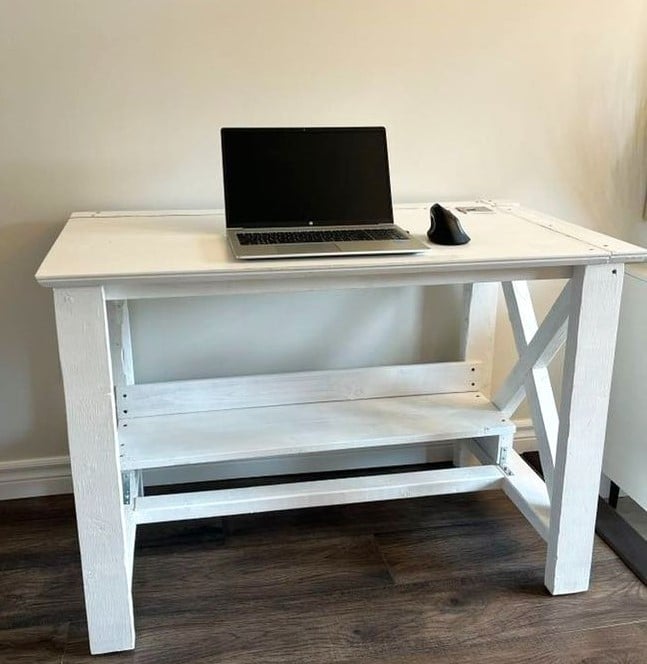
My Version of your Country 'X' Desk, Thank you for your website & videos, Joe from Canada
Built from Plan(s)
My Version of your Country 'X' Desk, Thank you for your website & videos, Joe from Canada
I based this project on the Outdoor Shoe Bench. We used some leftover wood from a large building project, so we had to make some changes depending on wood dimensions available, but it worked. We also did a few things a little differently, such as the overall dimensions and how we did the lot. I very much appreciated the help and inspiration I got from this website!
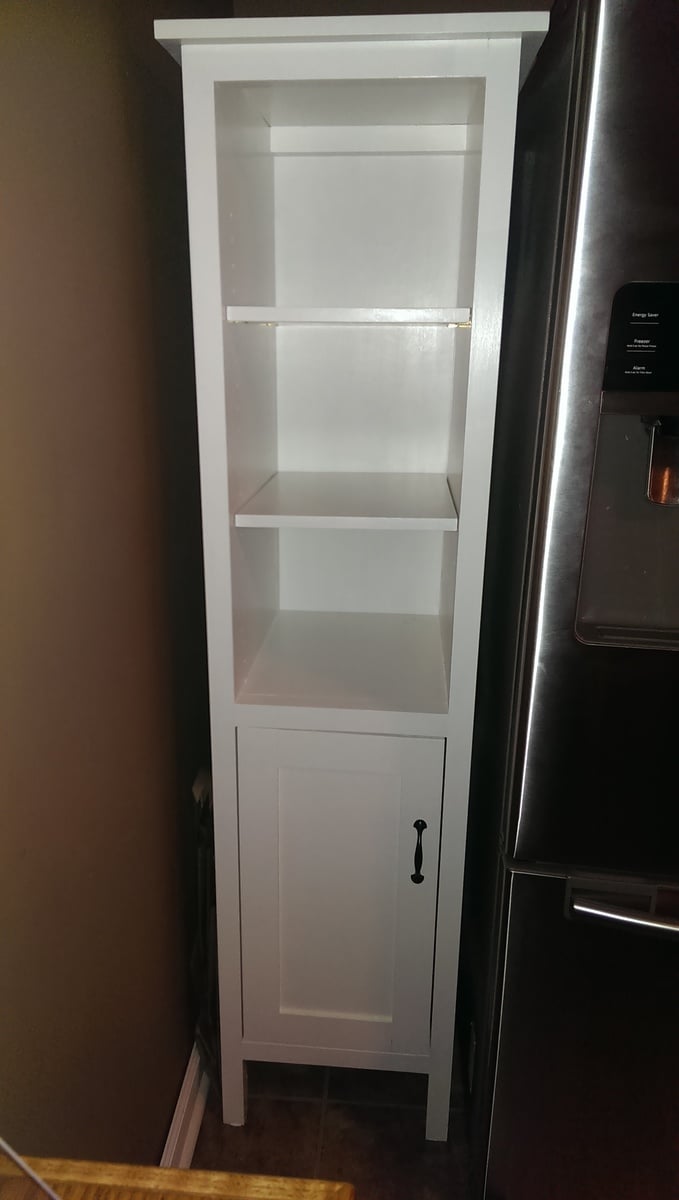
We needed some extra kitchen storage with a baby on the way and this project did the trick! We needed something skinny since space is a premium in our kitchen. I am happy with how this turned out. I made the shelves adjustable using the Kreg shelf pin jig, which worked amazingly.
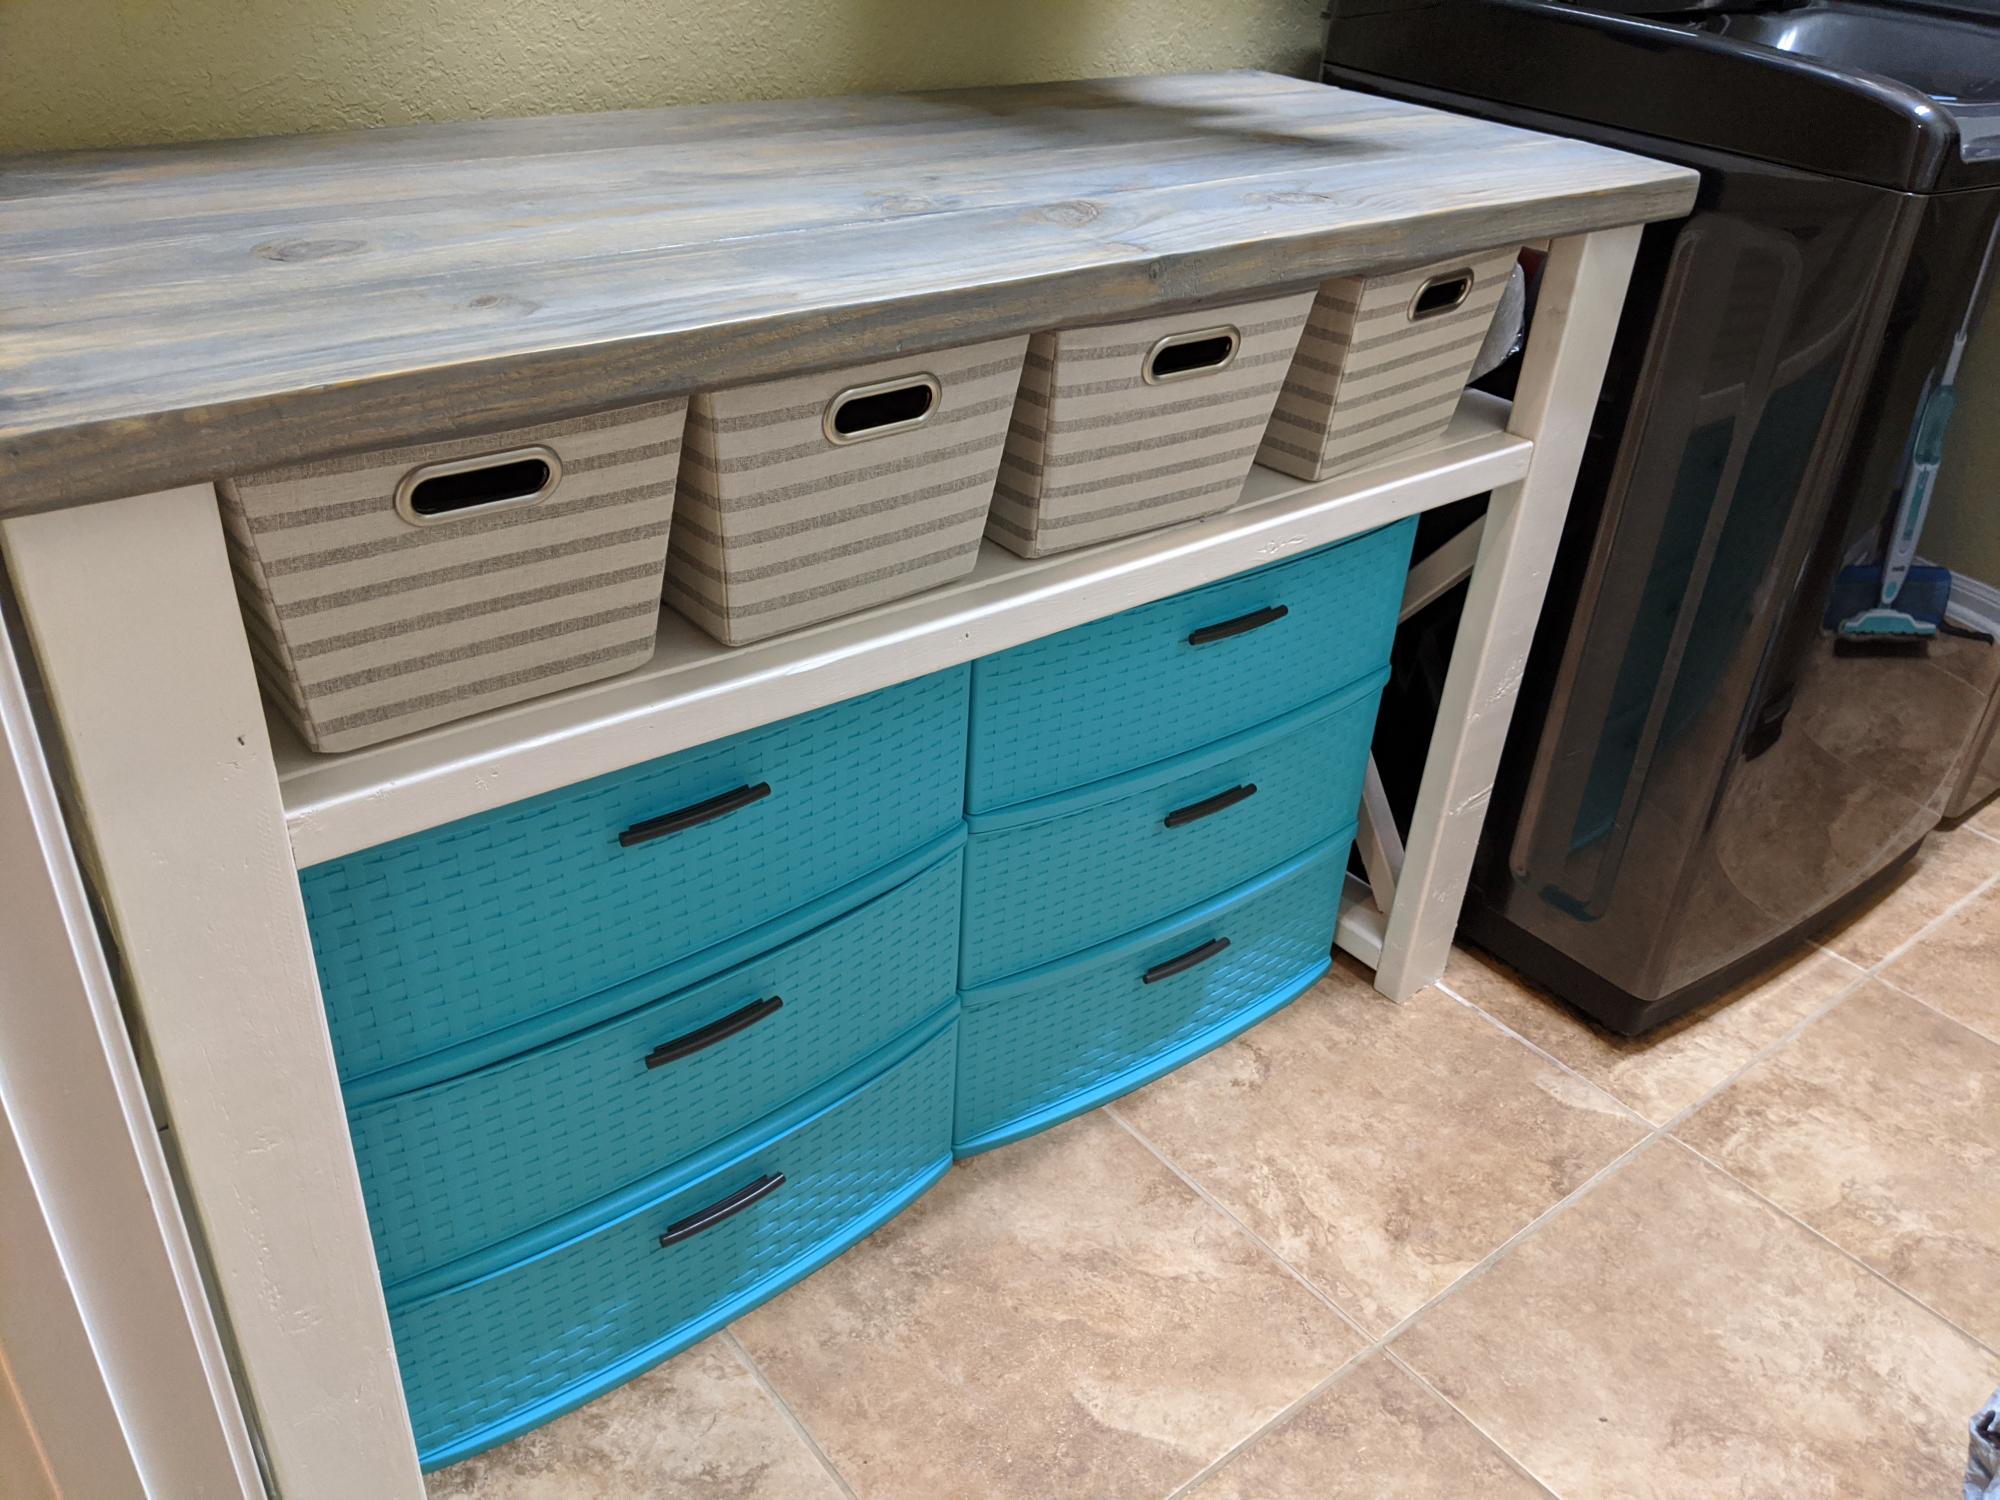
I modified the plans for the farmhouse console table to create a laundry room table. I changed the shelf height and used 2x4s running the entire length for the shelf.

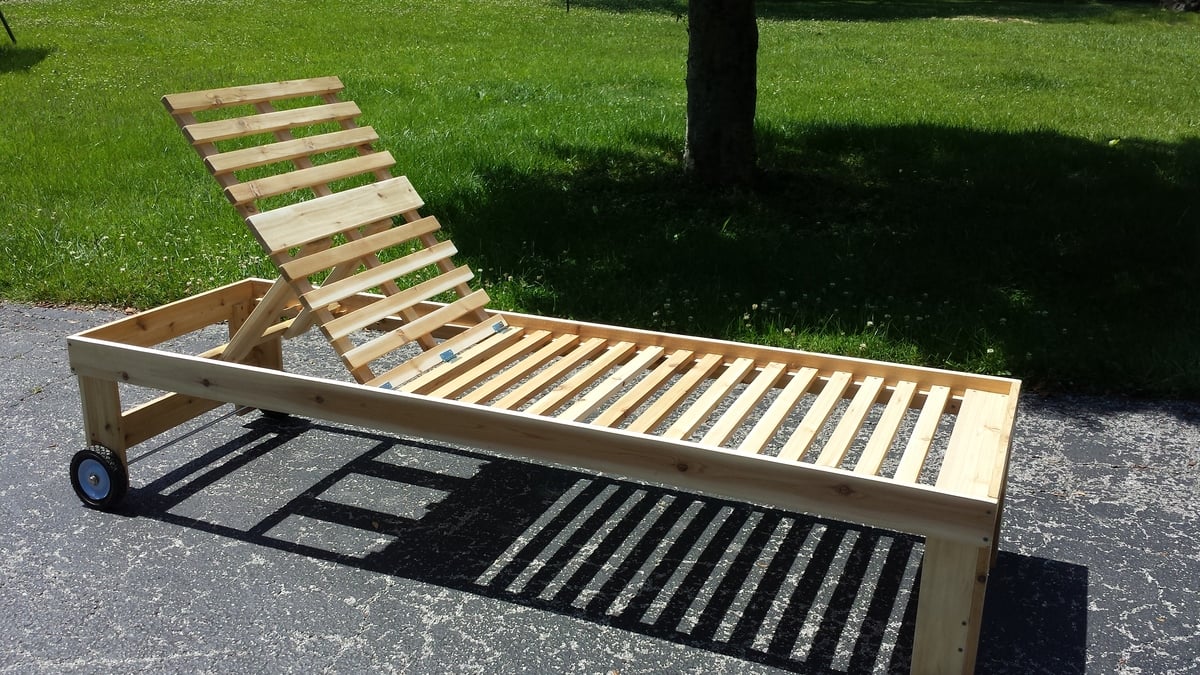
I wanted a set of pool deck furniture and your plans were exactly what I was looking for! I made two chaise lounges and two chairs. I bought the cushions from Big Lots at a great price. The longest part of the building process was sanding each board. I modified the plans by adding wheels, using a 1 × 2 instead of a dowel for the reclining bar, and changing the legs slightly. It was so helpful to have a buying and cutting list!

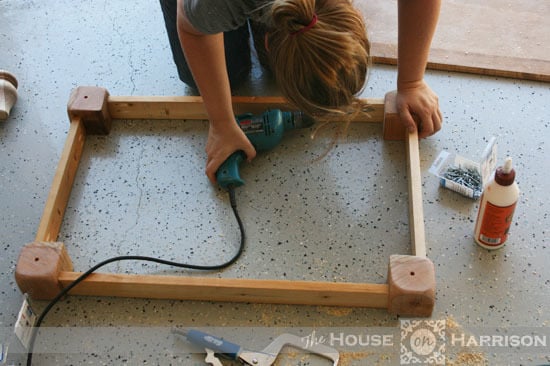
I built this table for a friend. It was fairly easy! The only problem I encounted was getting the 2x2 trim pieces flush with the legs while building the frames. When I just laid them on the floor they would sink in further than the legs. So I made sure to check their positioning and hold them in place with one hand while drilling in the screw with the other hand. It was a fun build and I would definitely build it again!

Sat, 09/24/2016 - 10:37
This finish is absolutely amazing! Great job, what a lucky friend!
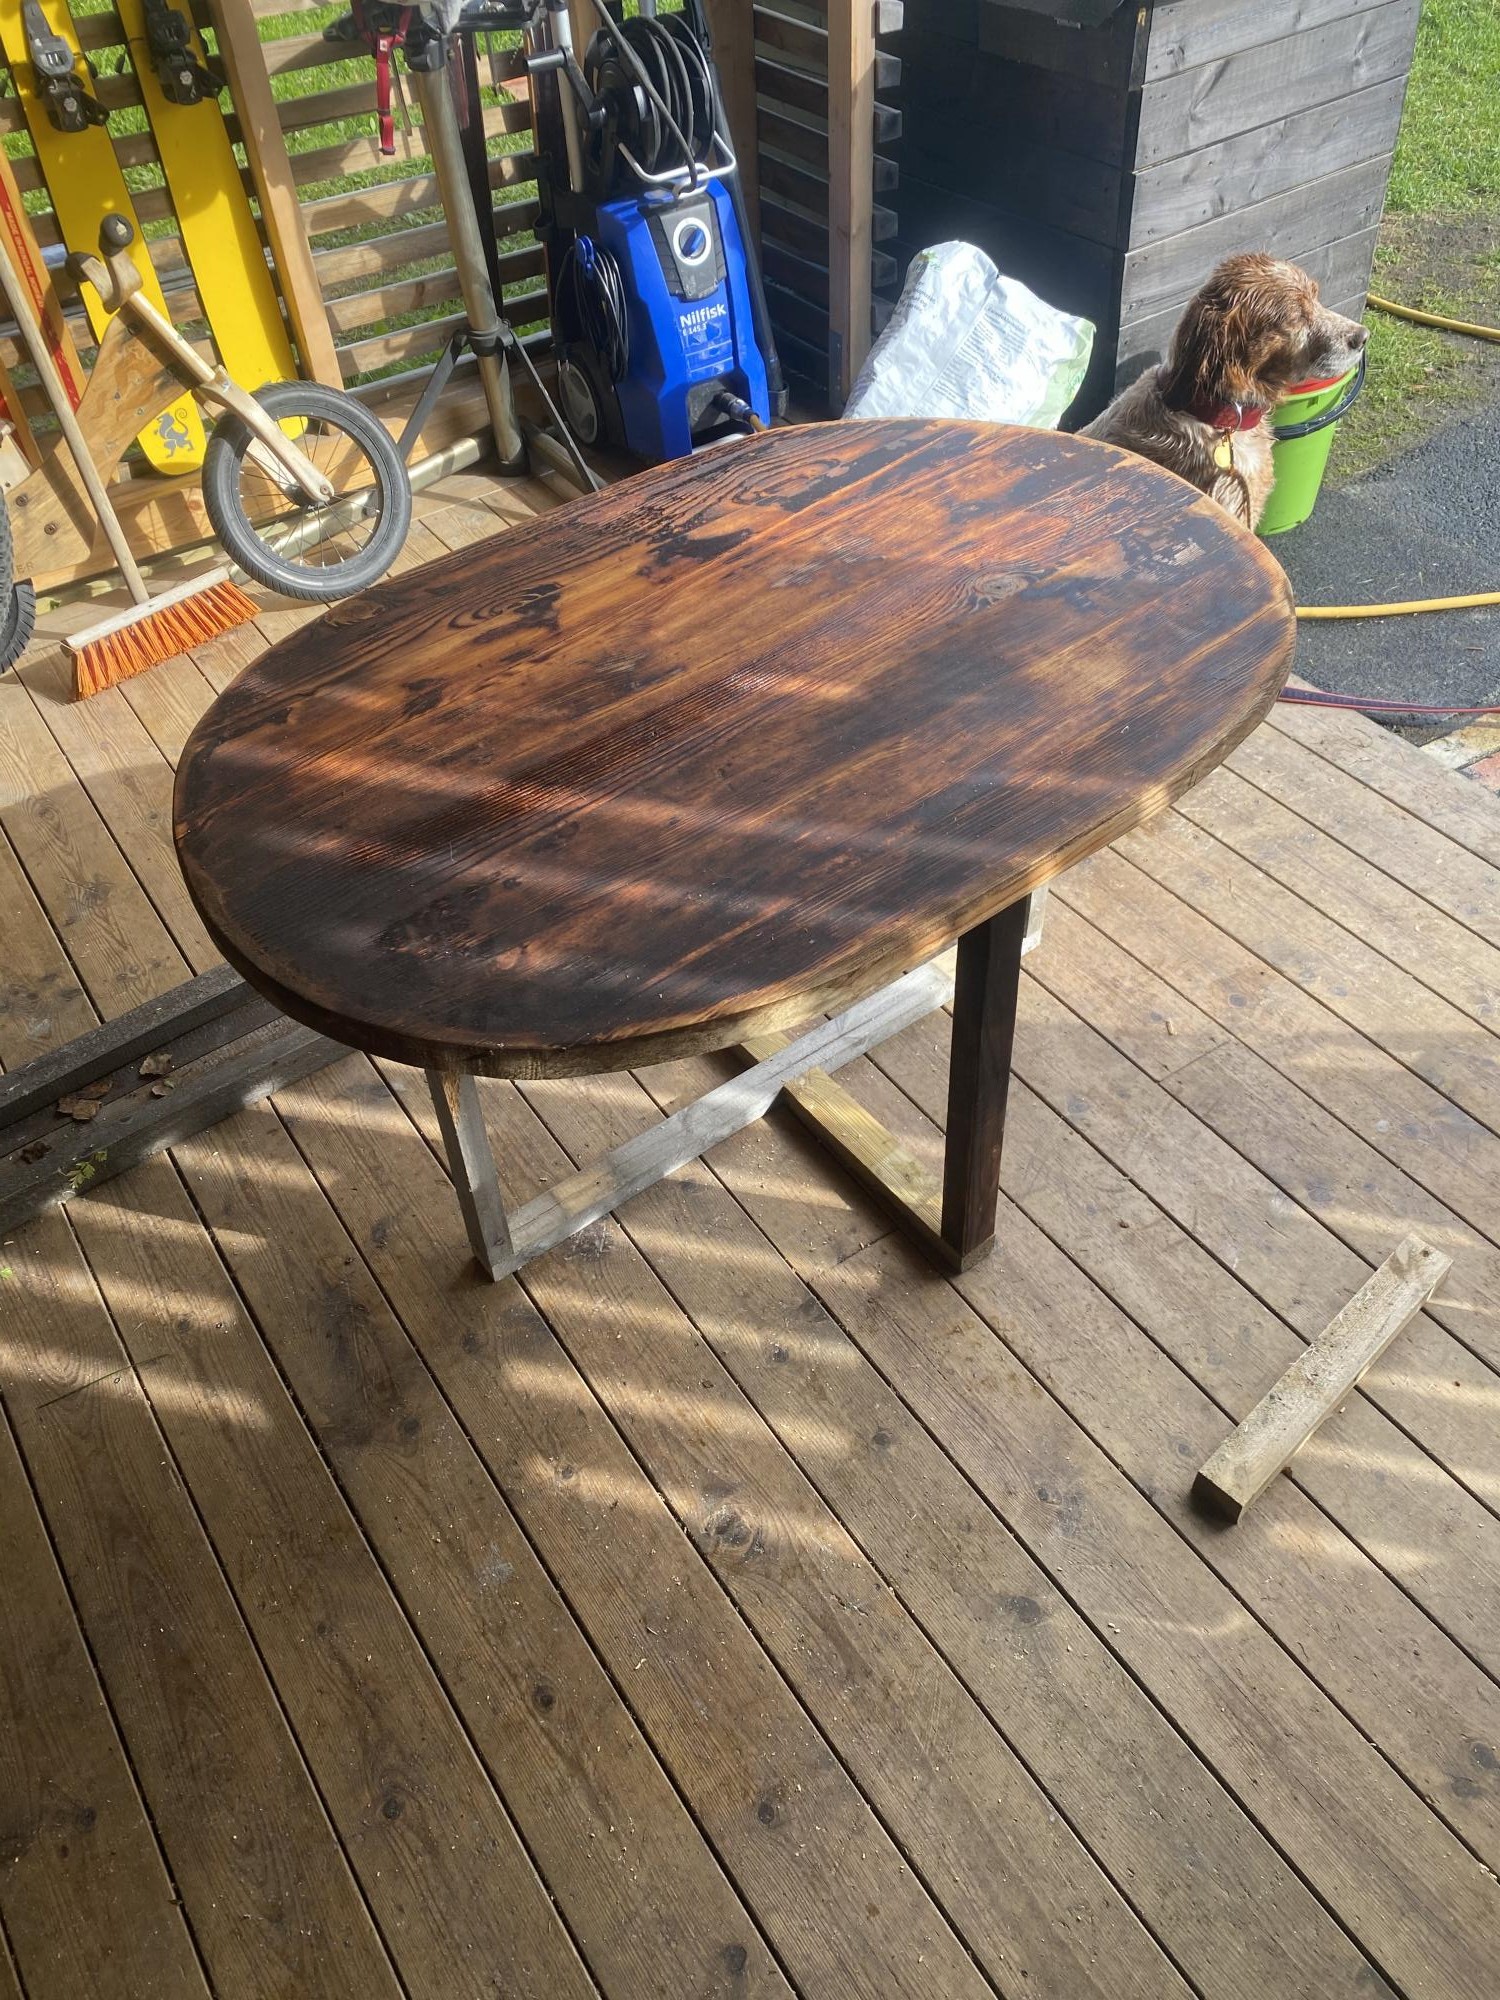
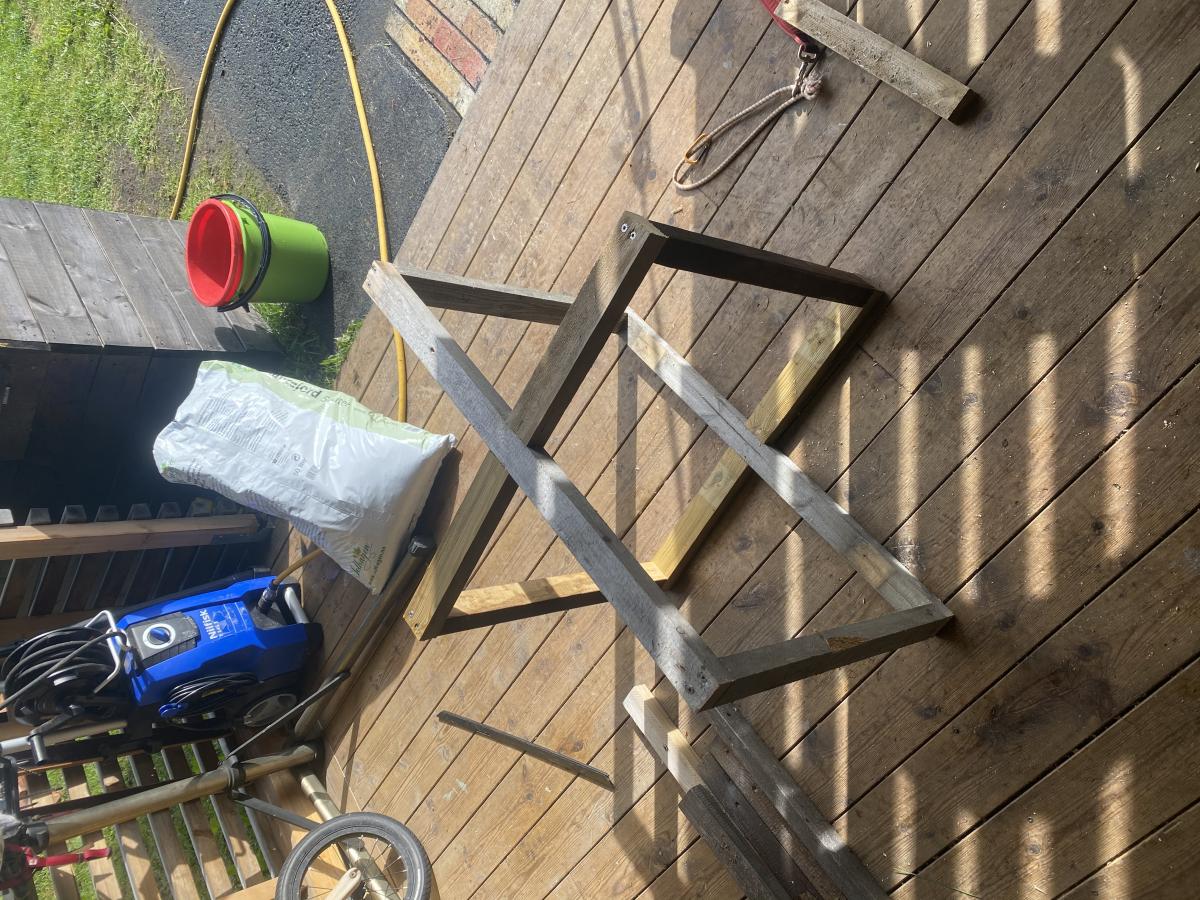
Extended round tanke with a middel section and a cross skapes leg structure. Loves working with the table top. I Sander down the old tanke top, jigsawed out the desired shape, brunt it with a blow torch, Sandnes and oiled with a stain. So satisfied.
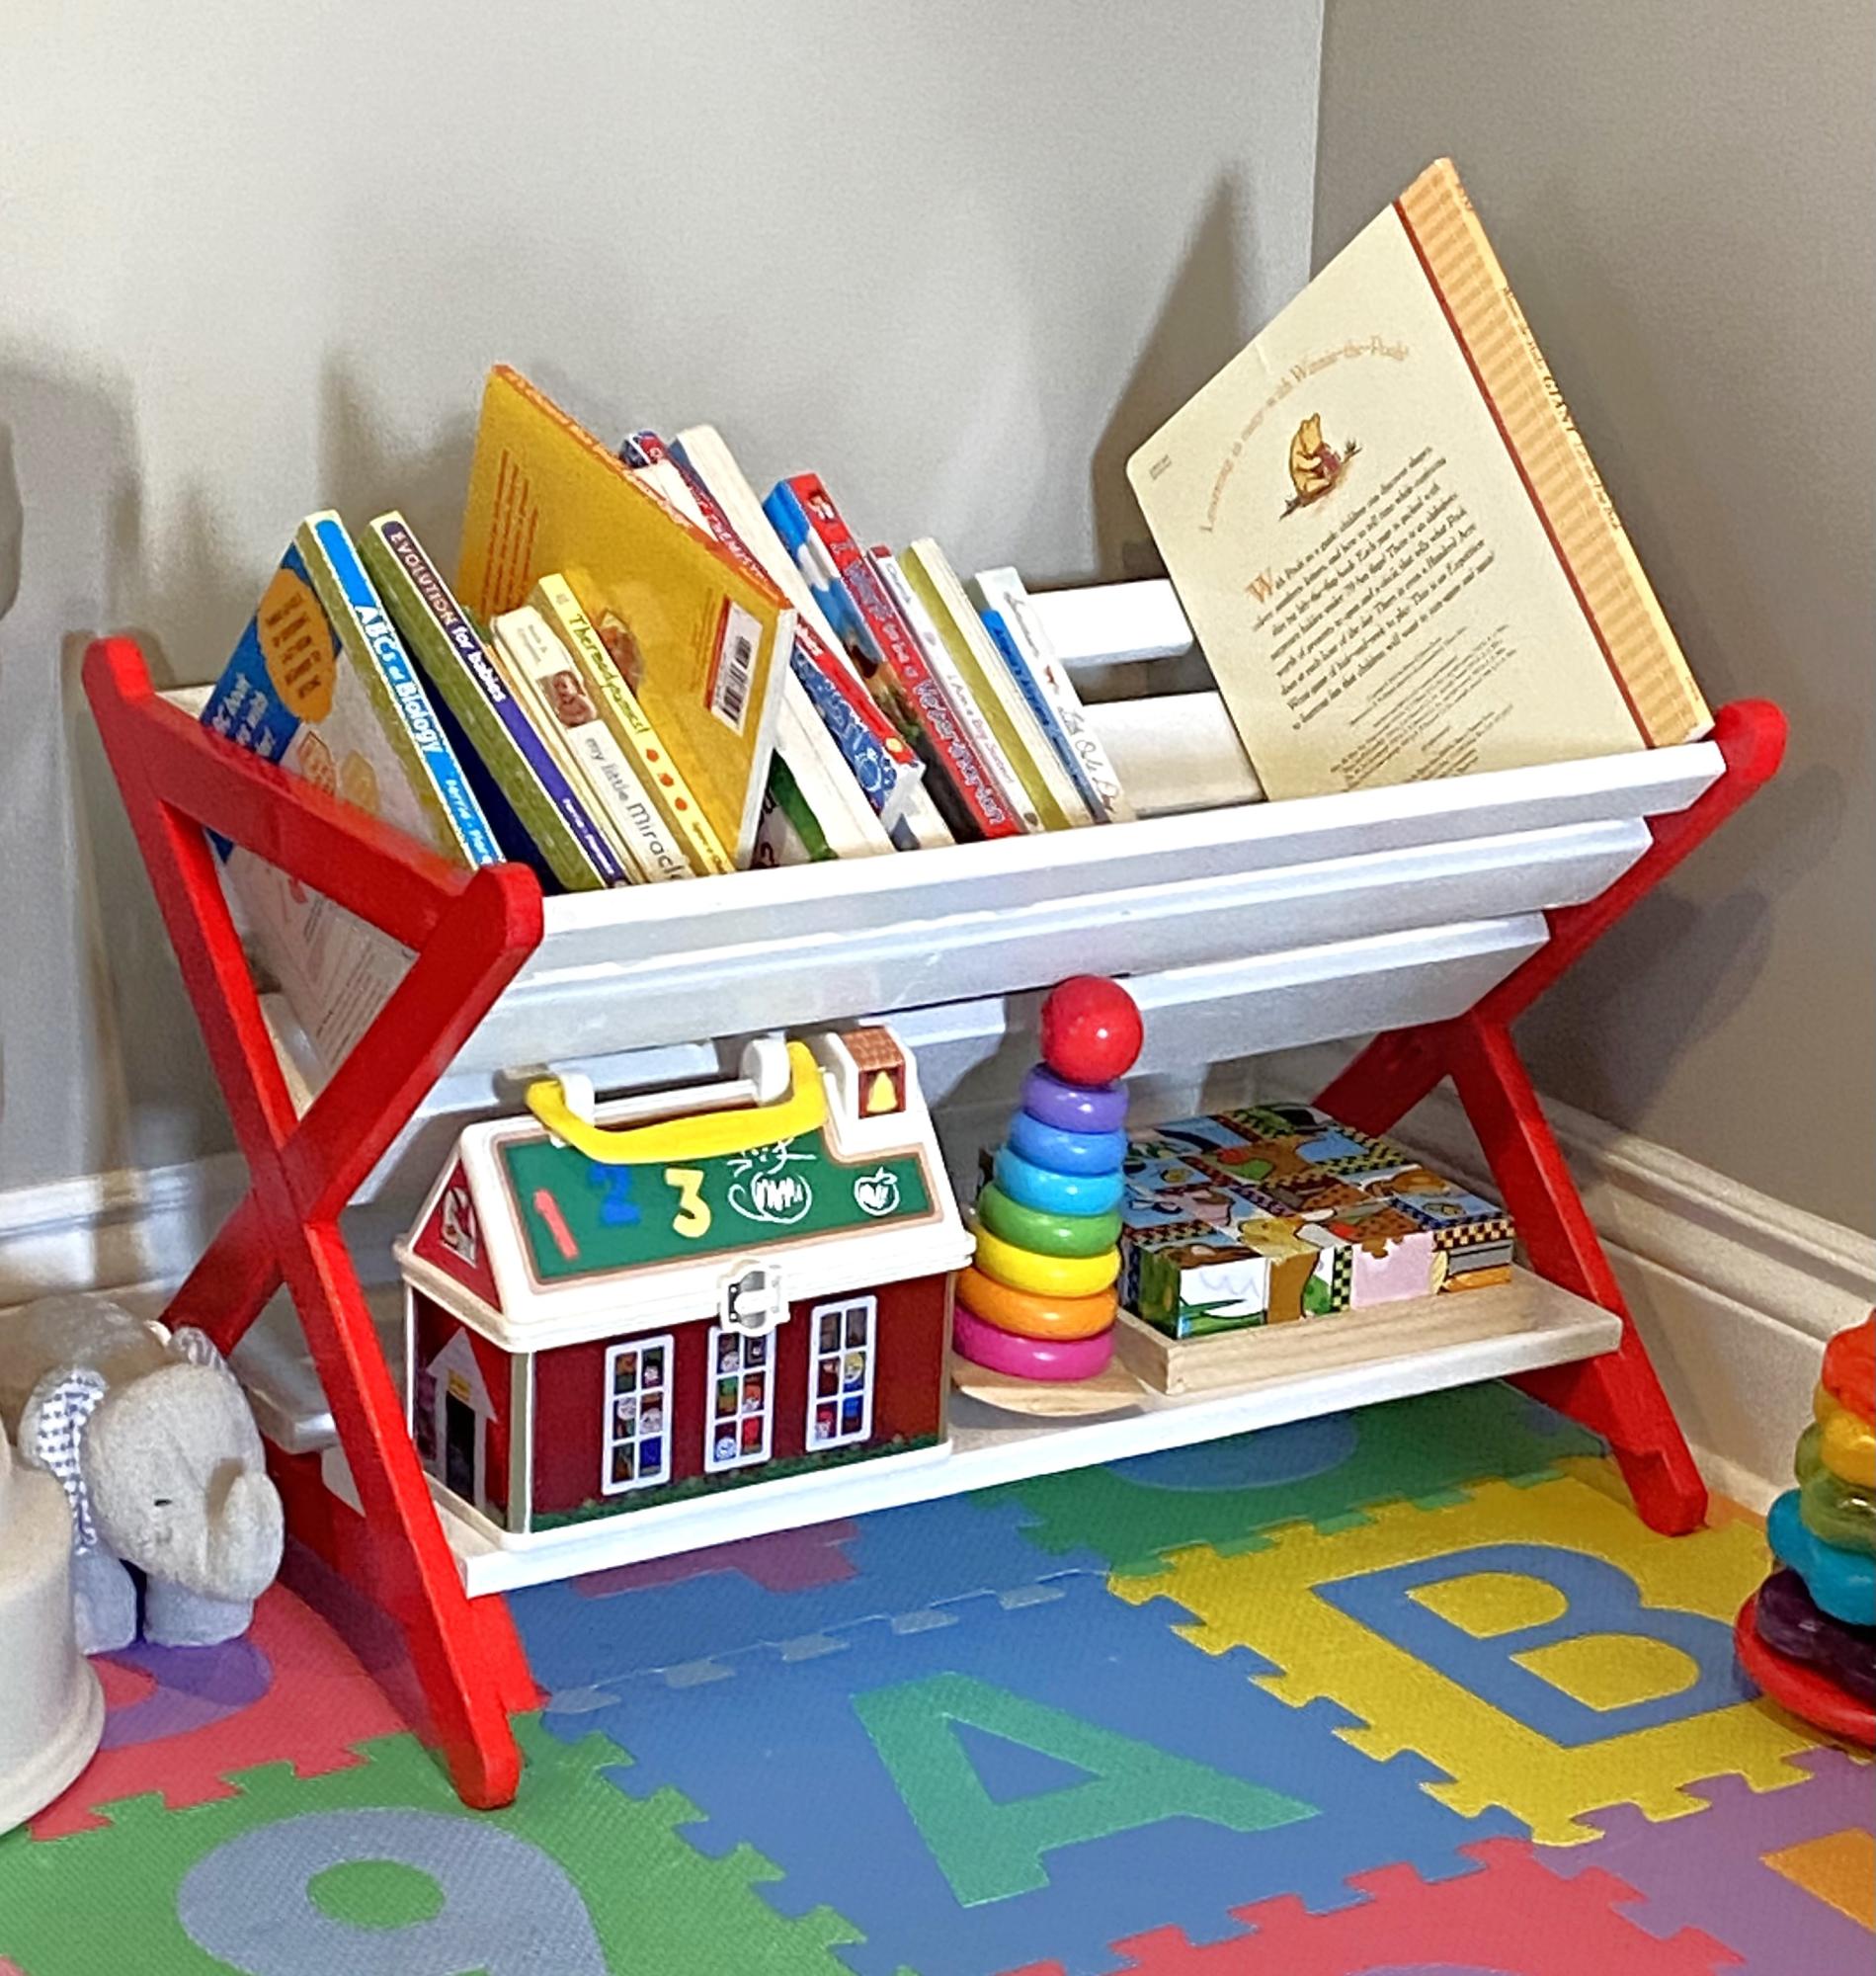
Perfect size for my granddaughter and her growing book collection. Turned out great! Thx so much.
Trevor
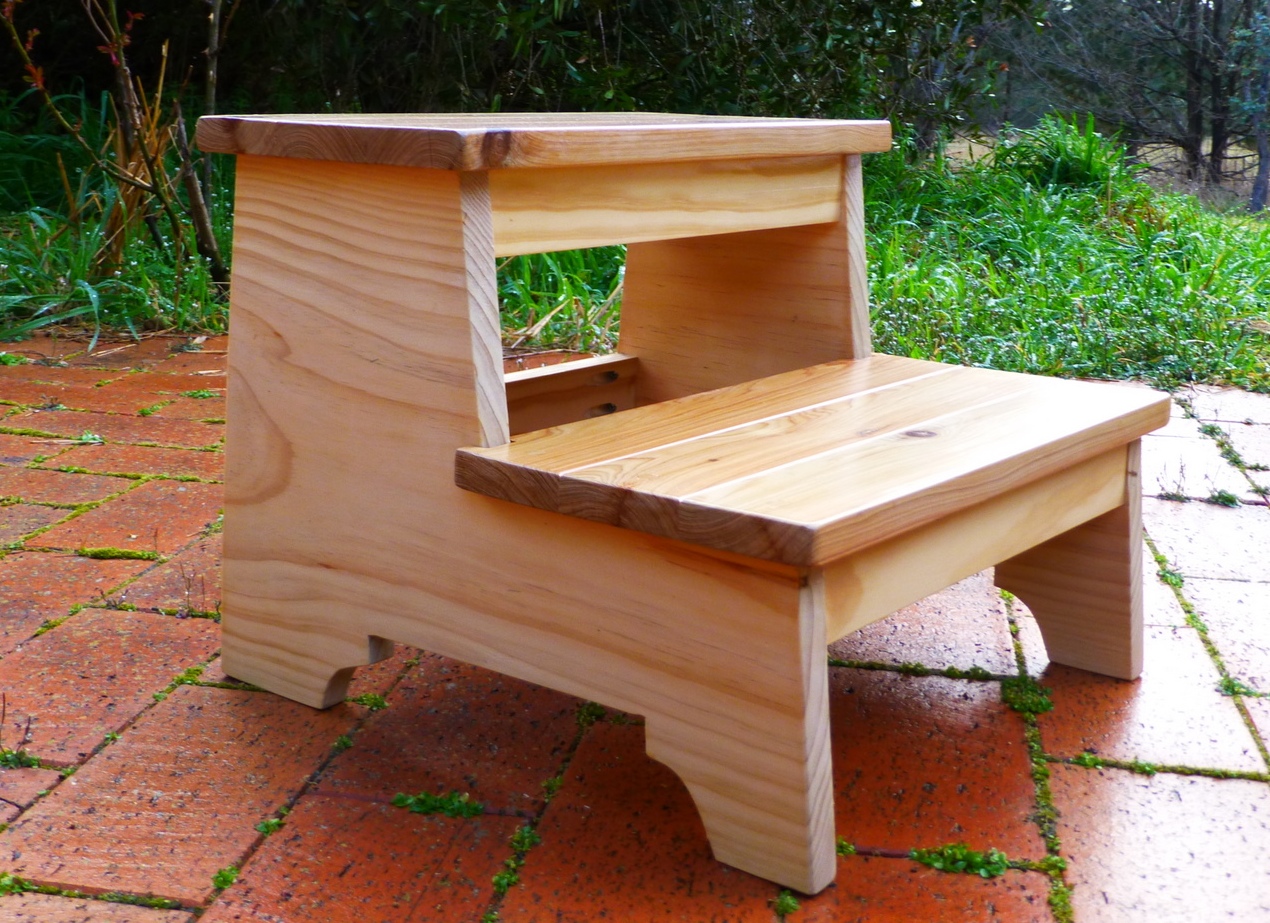
This is something I didn't know I needed until I built it - just wanted a quick, simple project - now it is finished, I use it frequently (It does hold an adult's weight!). I used radiata pine as per plans, but 3 pieces of cypress pine (fence pickets) for the threads. Very clever design & just a sweet piece of furniture. I like my timber au naturel, so finished it clear.

This is my first attempt at wood working. Now I am going to try the rustic look finishing.

Tue, 07/08/2014 - 09:15
It took a few attempts and my miter saw would only go to 48deg but not hard just took some preplanning and practice on scrap wood
Sat, 07/12/2014 - 21:16
So I tried the rustic look stain with tee and oxidizer, and I it came out brown, so disappointed

My daughter found the Sweet Pea bed on the Ana White site. She asked if I would build one for the girls. And, of course, I agreed. I had to resove one big issue... Building the bed in my basement workshop and moving it to her 1920 vintage house where tight turns presented barriers to getting into the stairwell and up to the 2nd floor. My solution was to build the upper and lower bed separately. The front, back and sides of each bed are assembled with threaded bolts, washer and wing nuts. The top bunk bolts to the bottom bunk. The pergola and roof facade also are bolted on. The stairs are two separate pieces that bolt together.
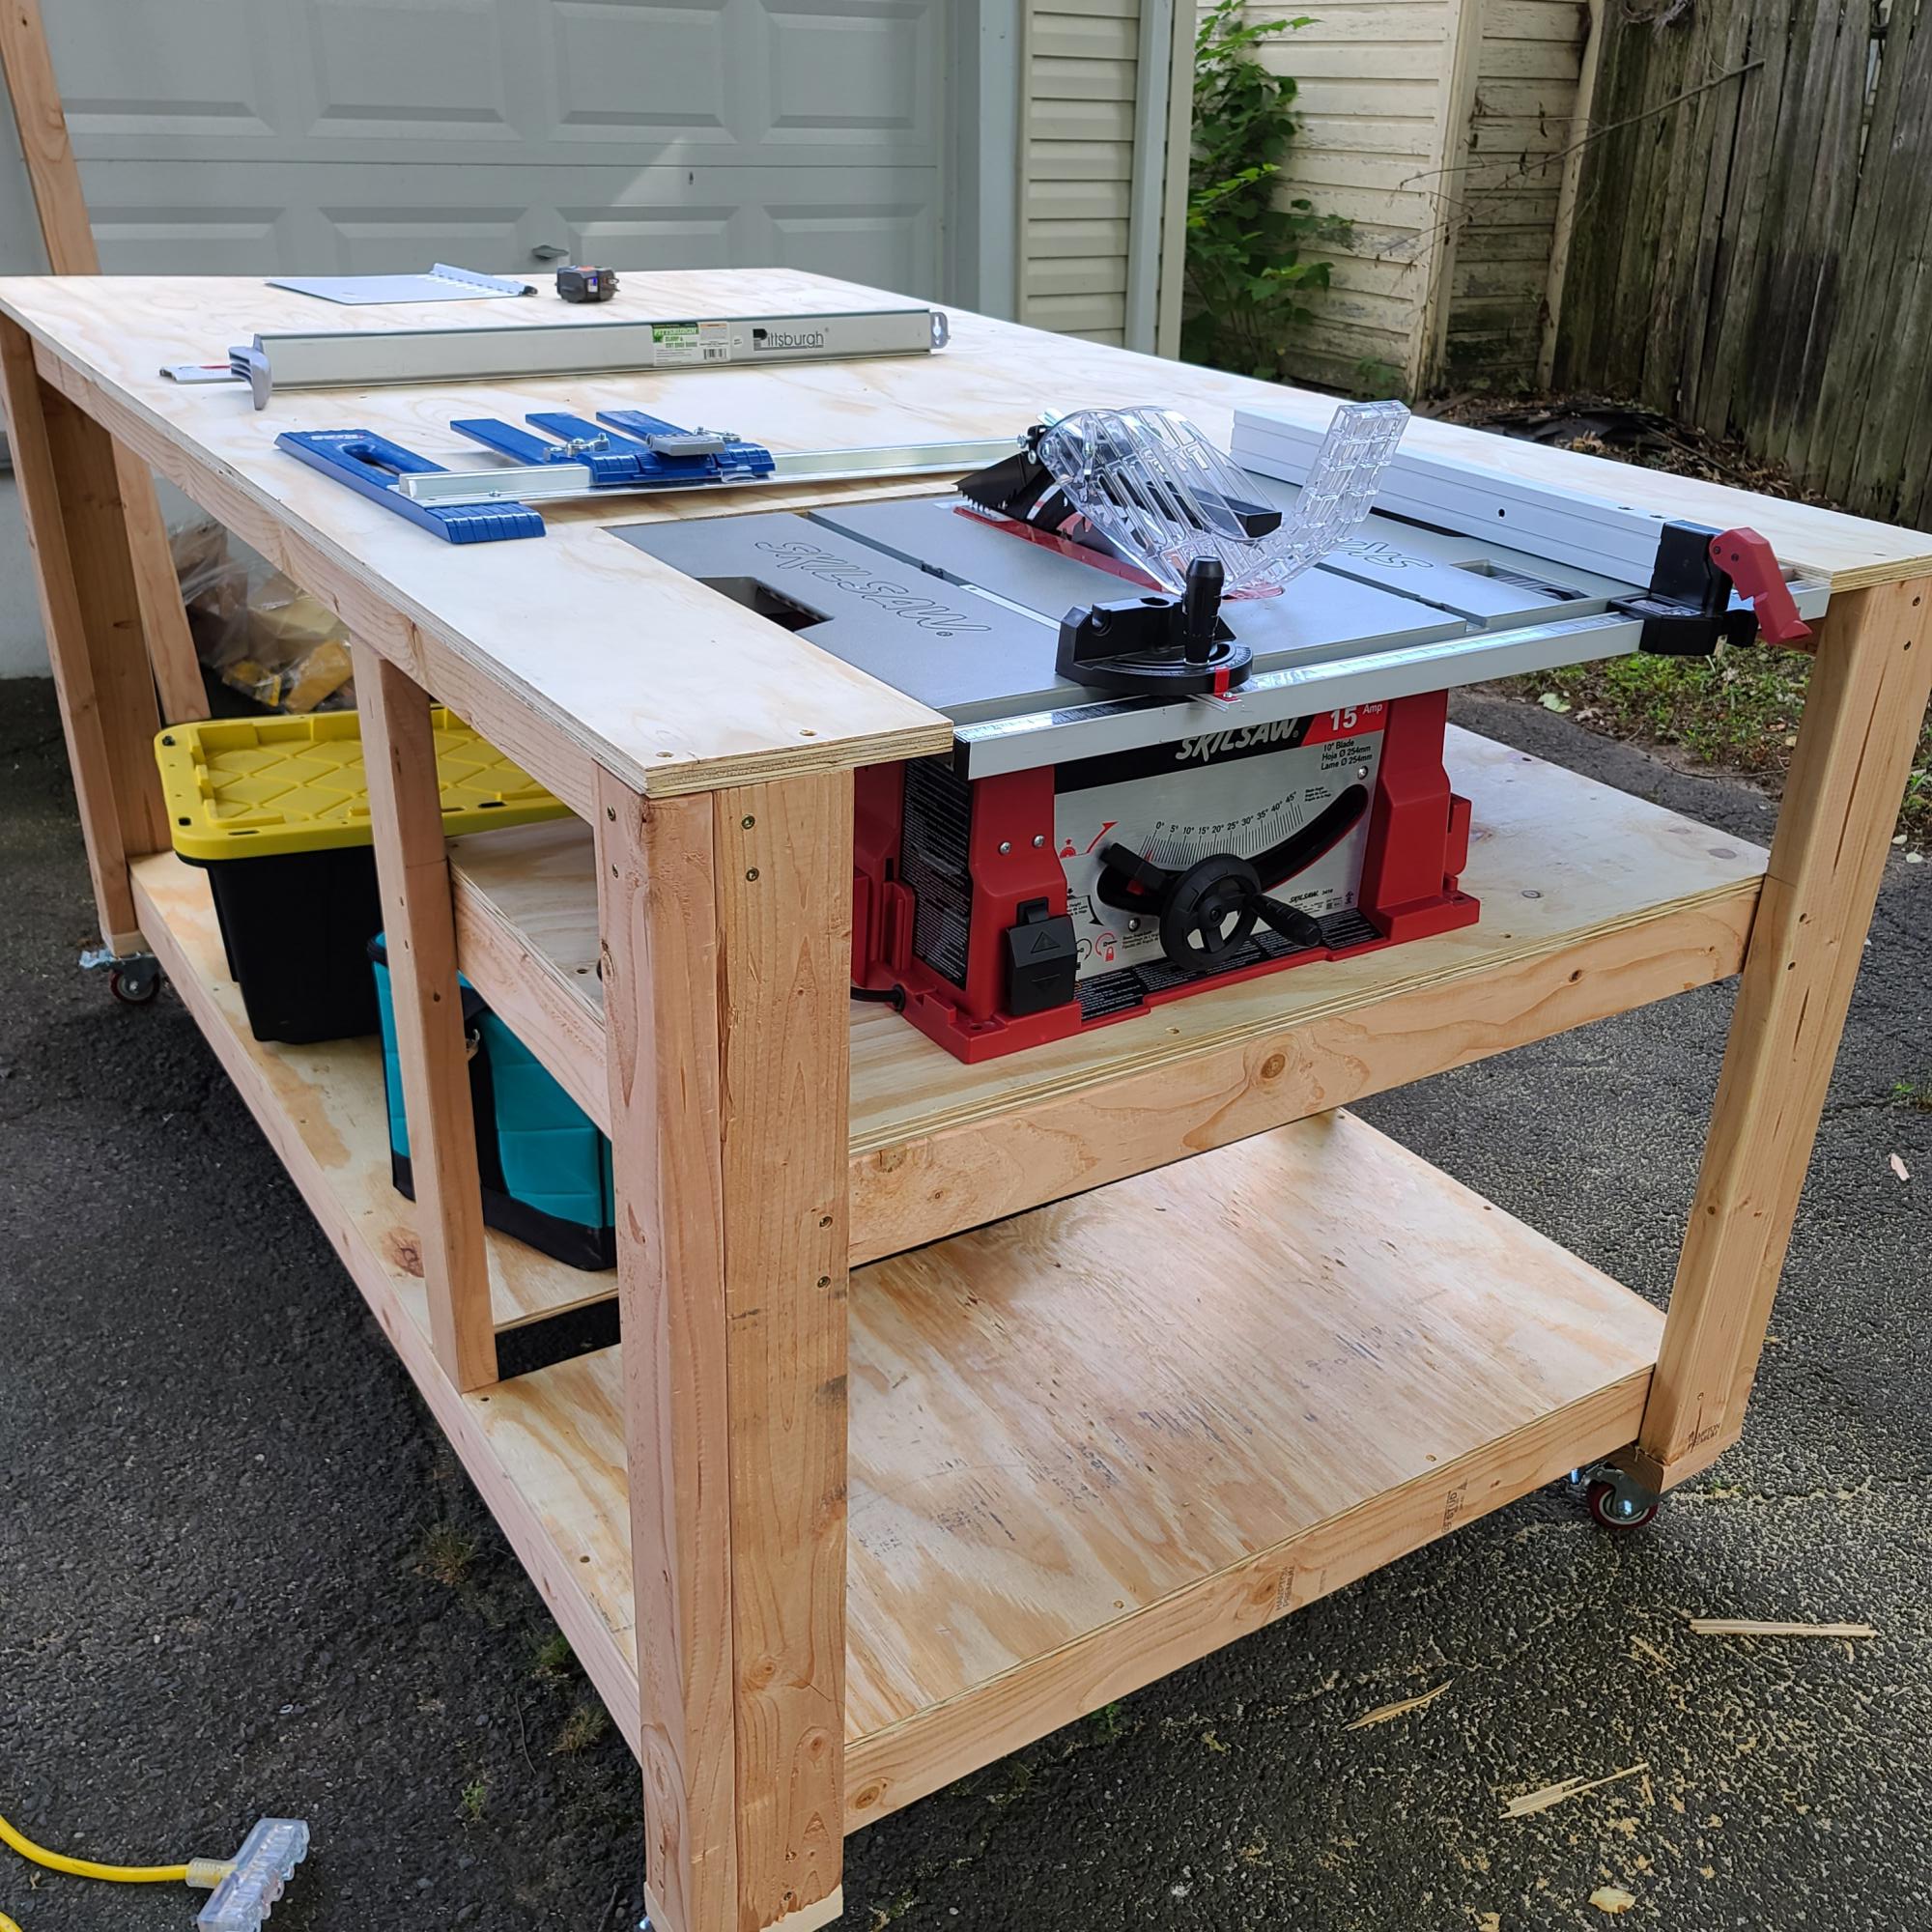
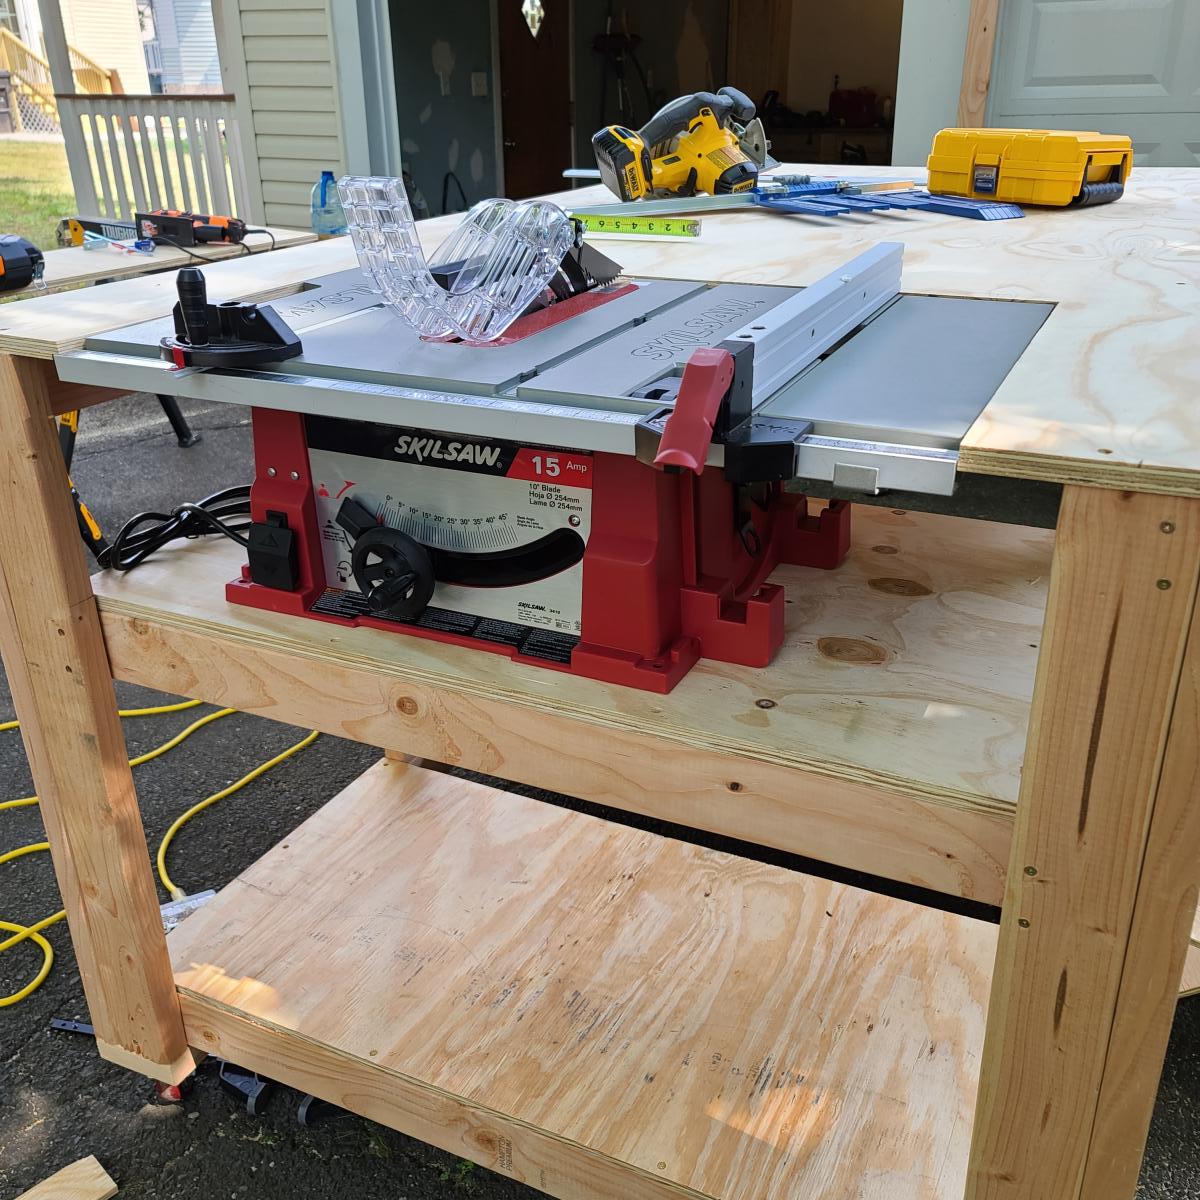
This is my first attempt and first woodwook project ever. I used the plans from this site for the workbench with space for a table saw. I changed the dimensions to 4'Wx7'Lx3'H (originally 3x6x2 1/2). It ended up bigger than I imagined though. But hopefully not bad for my 1st shot at a project of this scope. Next step is a polyethylene finish. It looks like the plan has been removed from this site though.
My wife & I did this in two weekends, we're not that handy but your plans were easy to follow. Mostly reclaimed material. So fun & we love it!
Thanks!!
Tammie & Scott
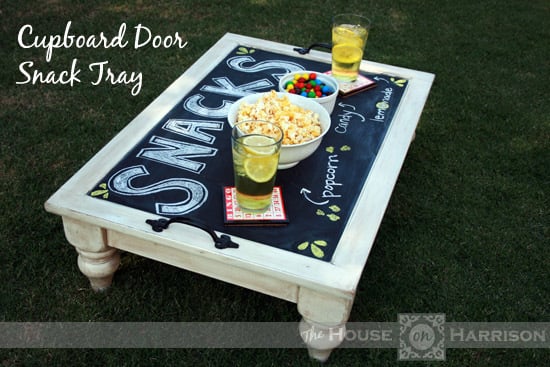
We really needed some sort of coffee table for our game room loft, but we didn't want something that big taking up space in the small room. Armed with the plans for Ana's Turned Leg Coffee Table and an old cabinet door we found on the side of the road, we made a snack table instead.
We modified Ana's plans a bit to accommodate the cabinet door. It was very simple, and only took us a few hours to build. You can find all the details on my blog.
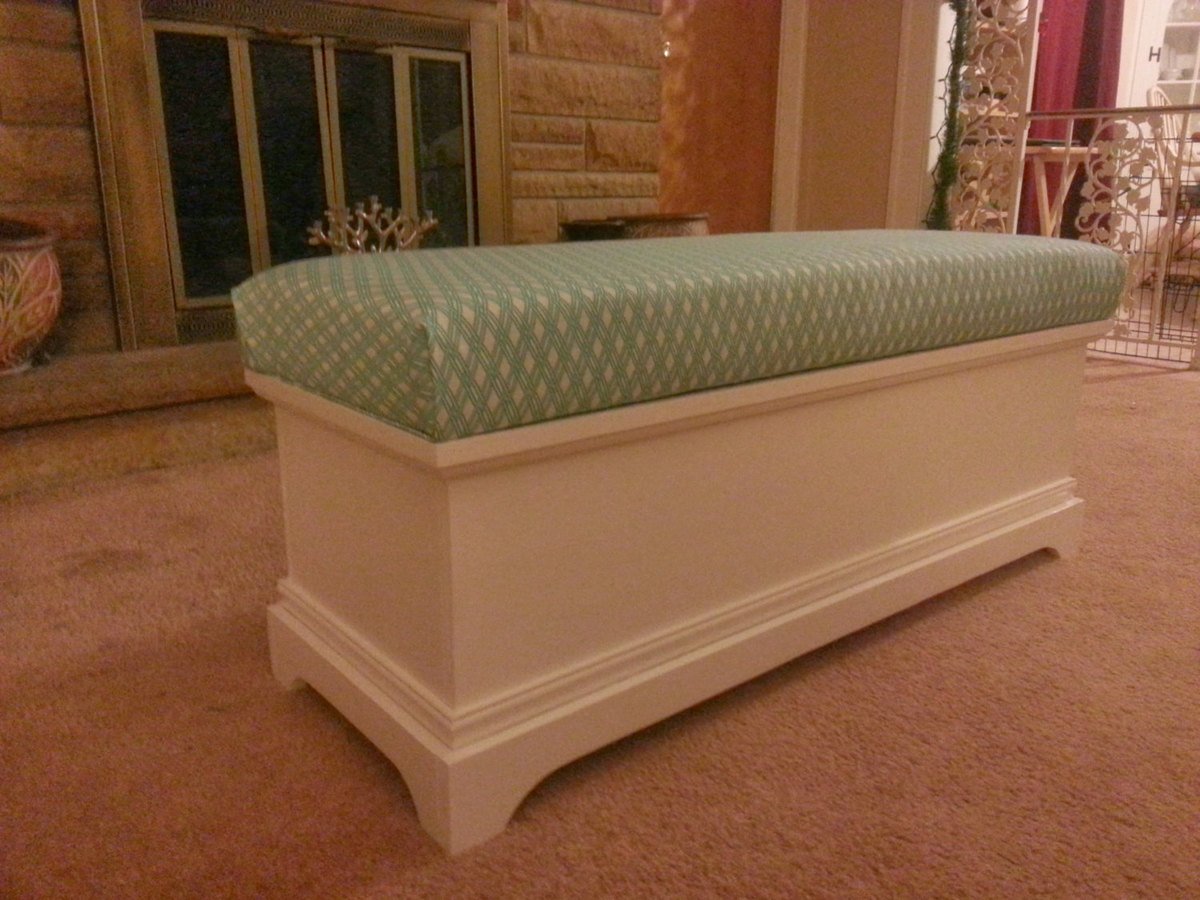
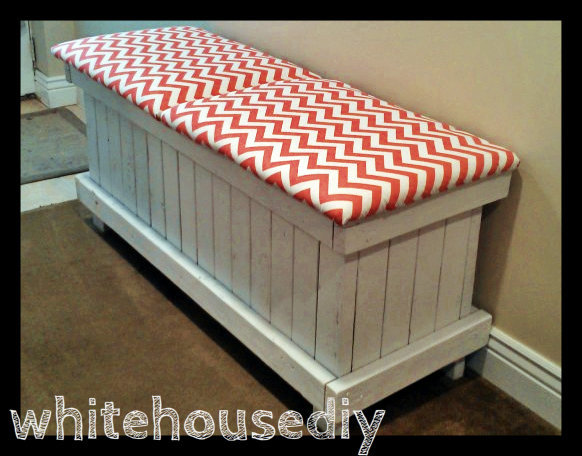
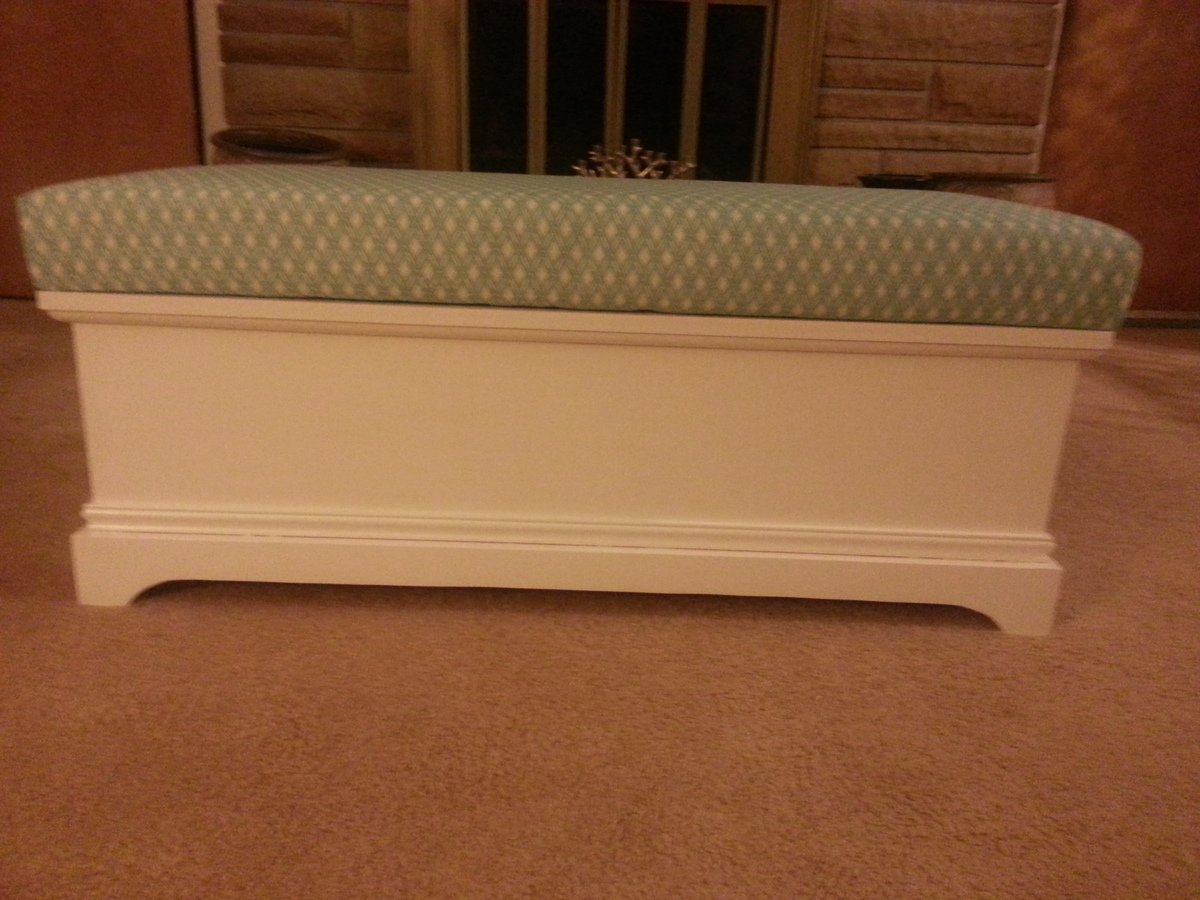
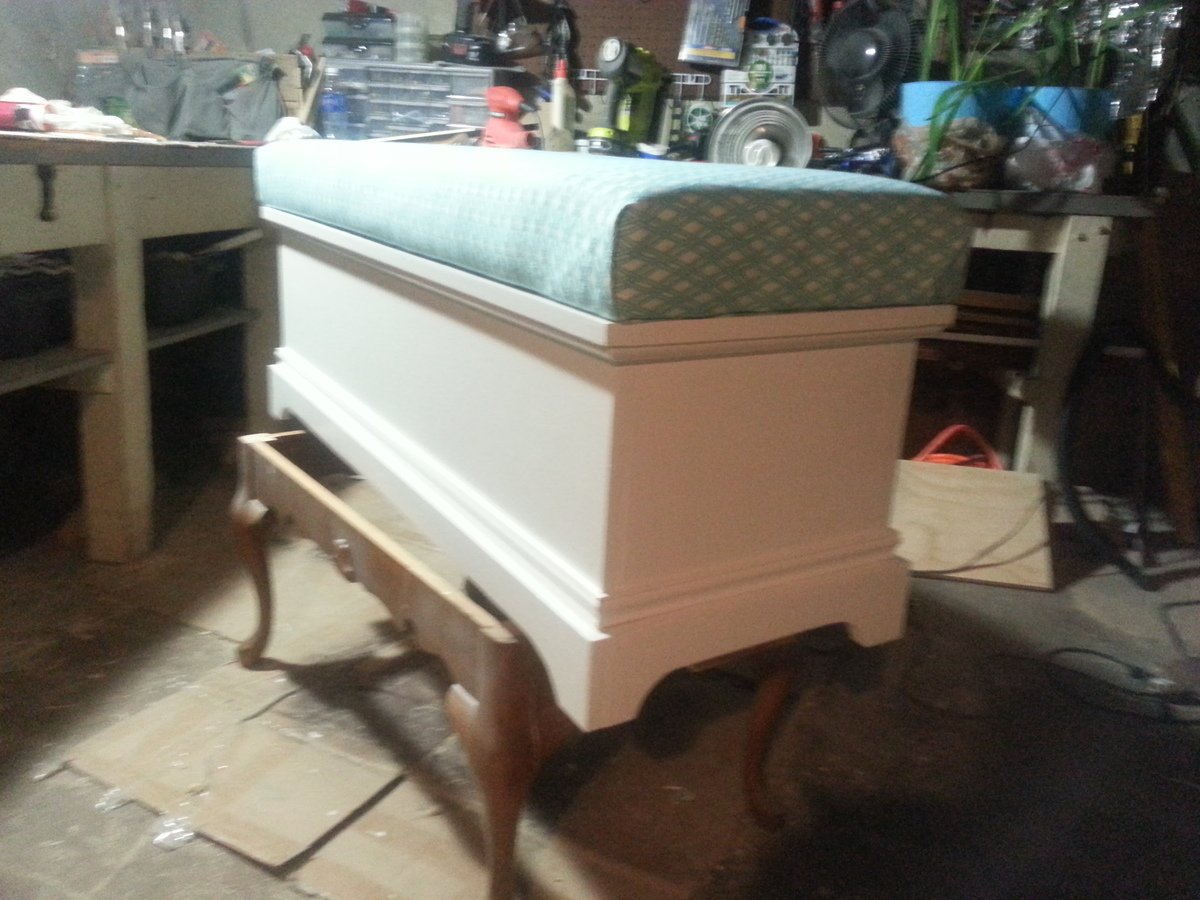
I've tried this before as a gift for a friend's new baby. I then wanted to do one for myself but change the measurements somewhat. This is 45" long and the same width as the original. I reduced the height to account for the 3" foam cushion. Besides that it's pretty much the same as the toy chest plan.
Building and sanding took about 3 days working after work only. Painting took the longest time.

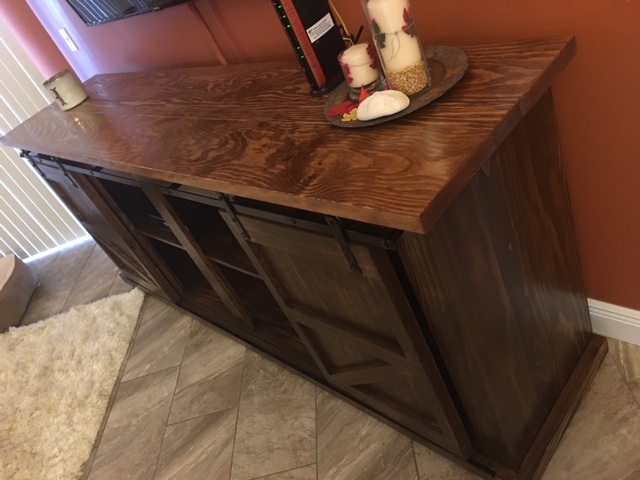
Using the 'Grandy Sliding Door Console' plans we were able to build this amazing piece of furnitire. Altered the plans slightly and made it work for us!
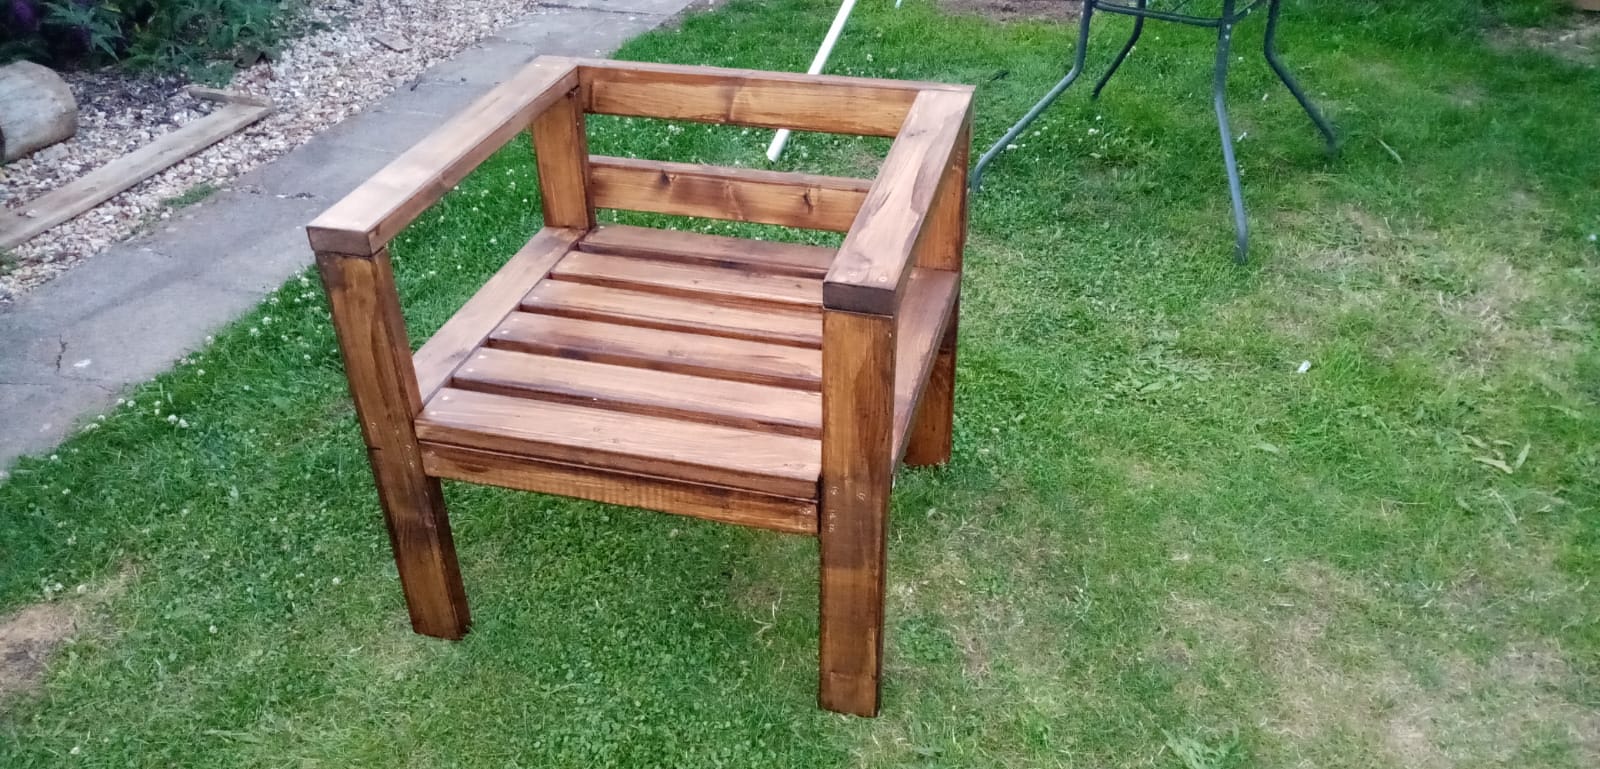
Single seater chair to match the sofa
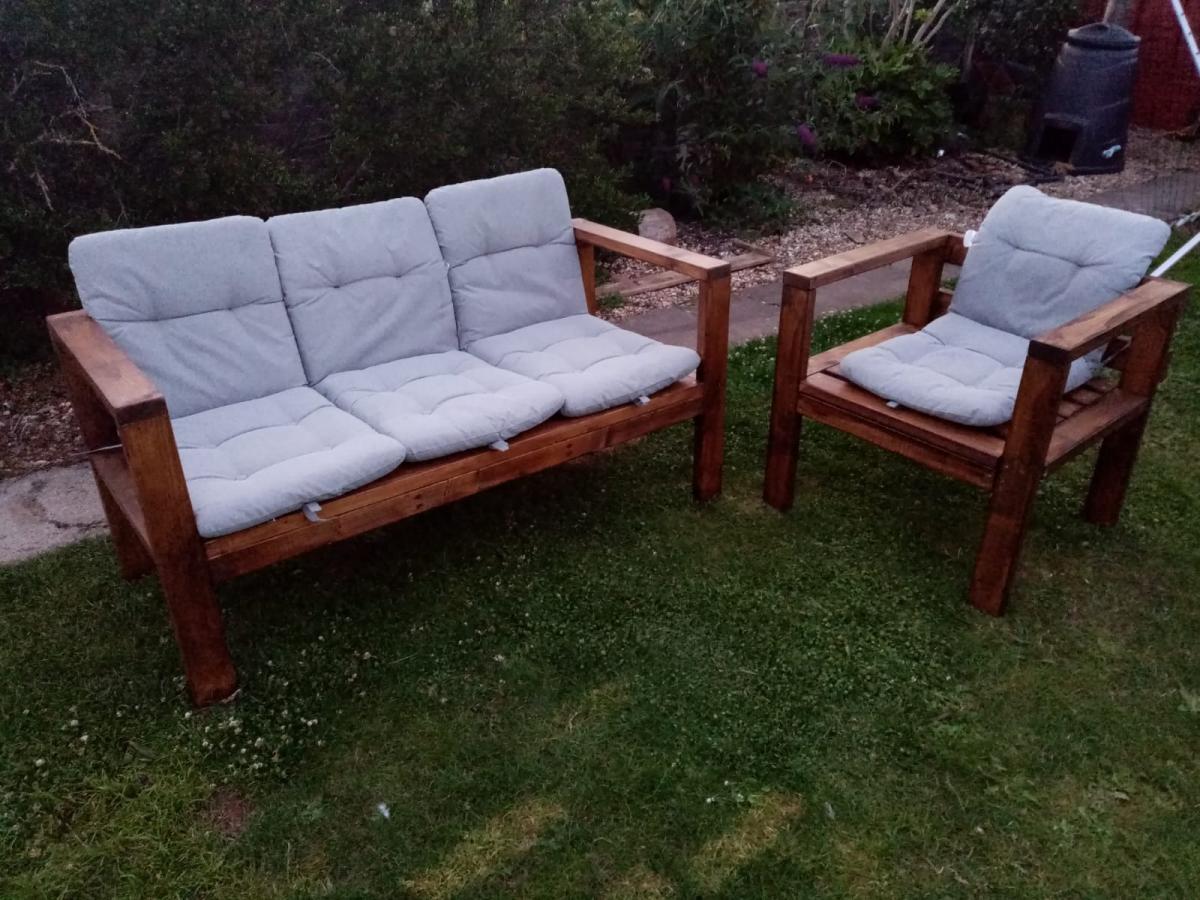
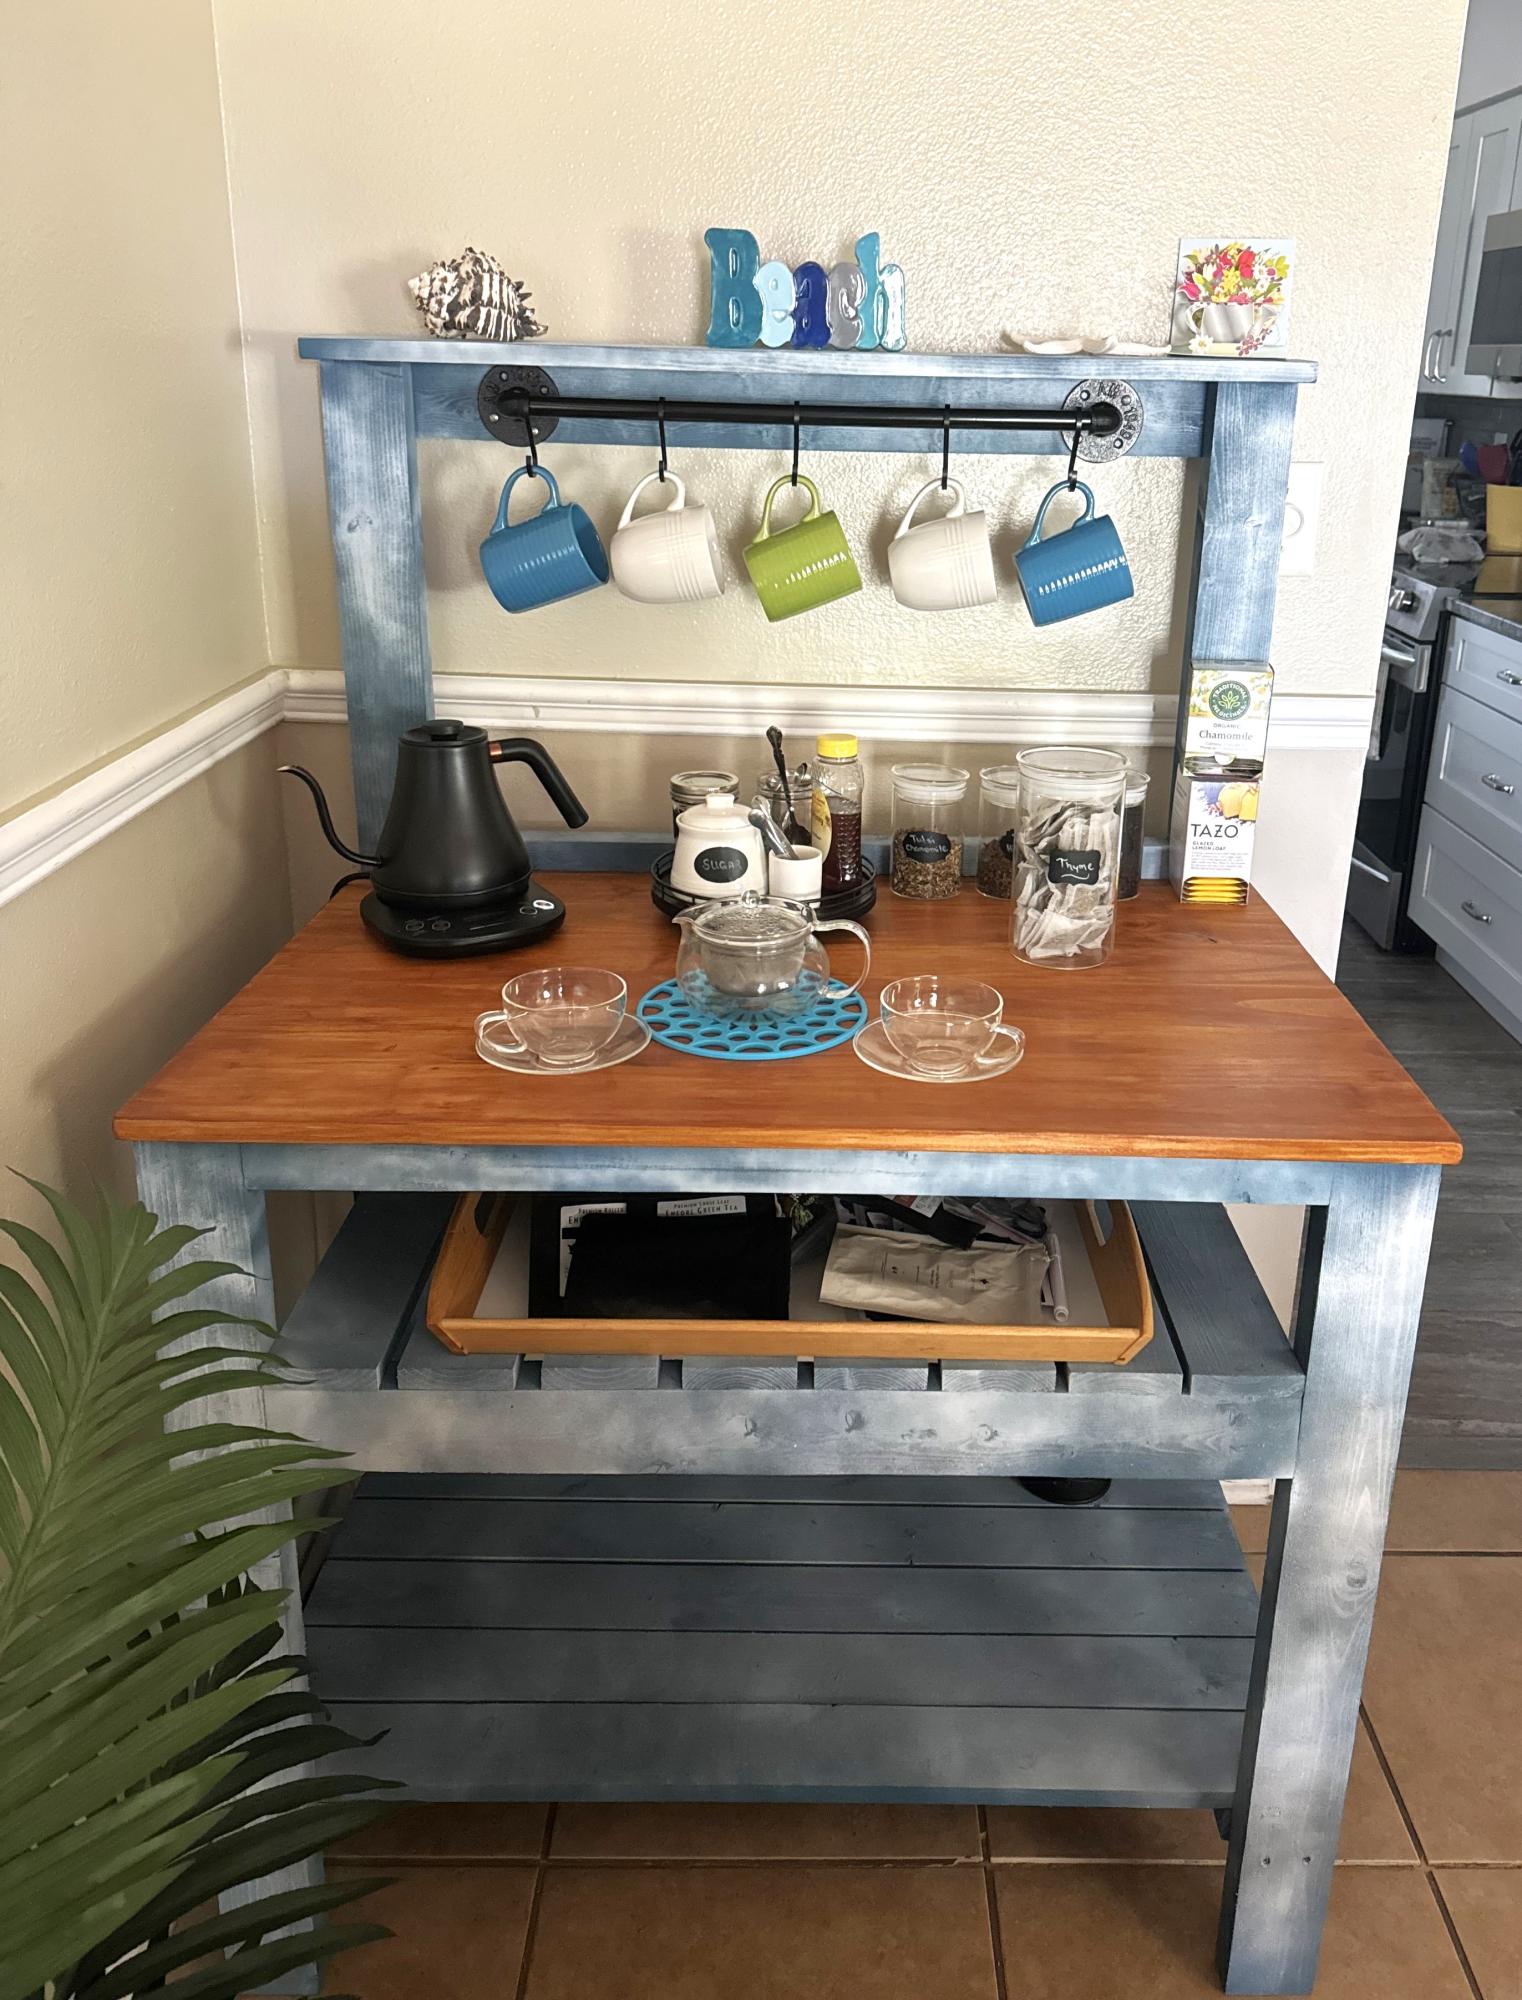
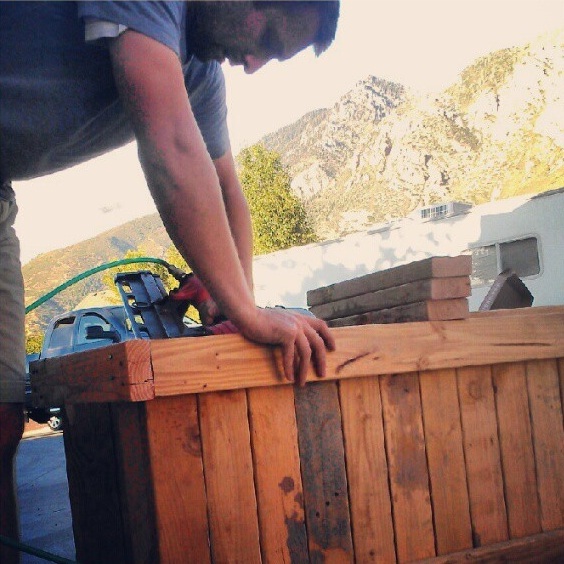
Two projects that I recently built for my wife and my daughter. My wife wanted a tea bar and a beach vibe, my daughter wanted an outdoor couch so it is made out of cedar. They both loved them.
Todd Springer
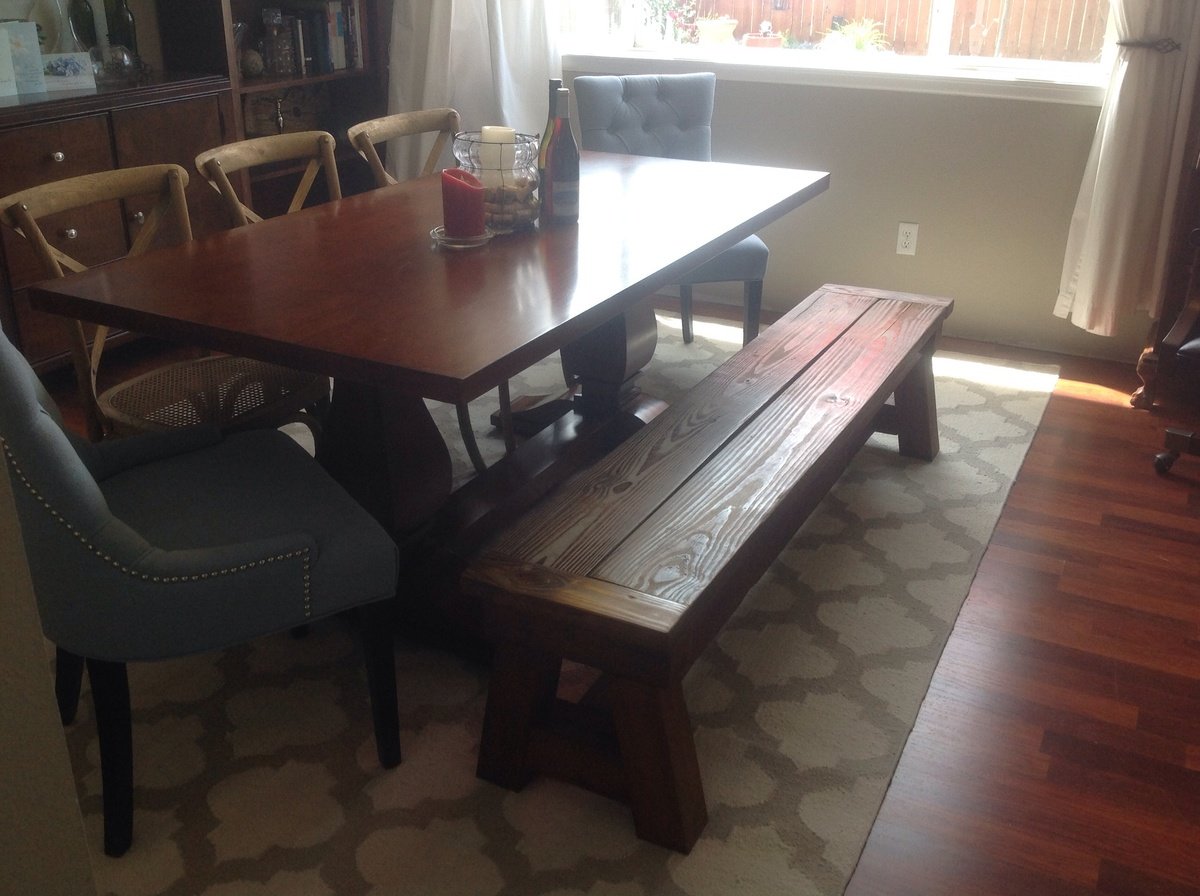
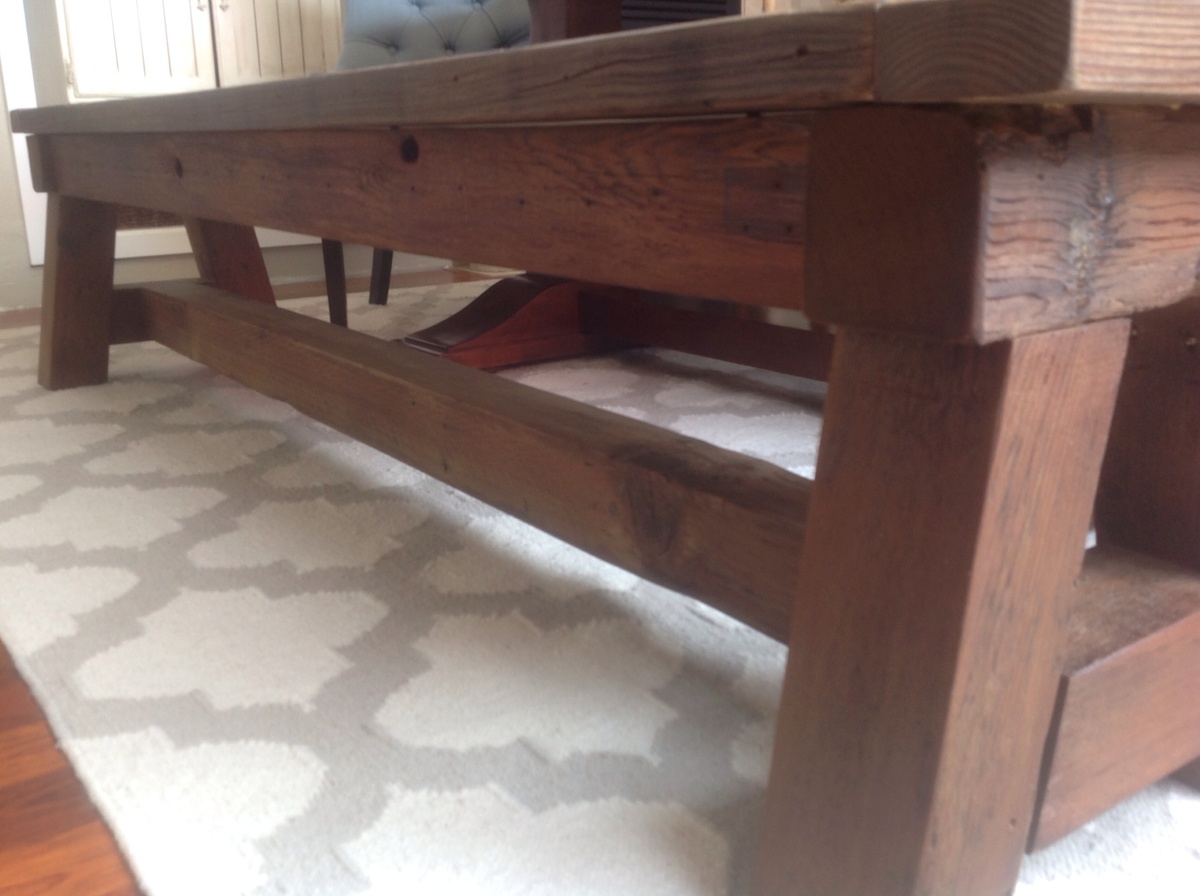
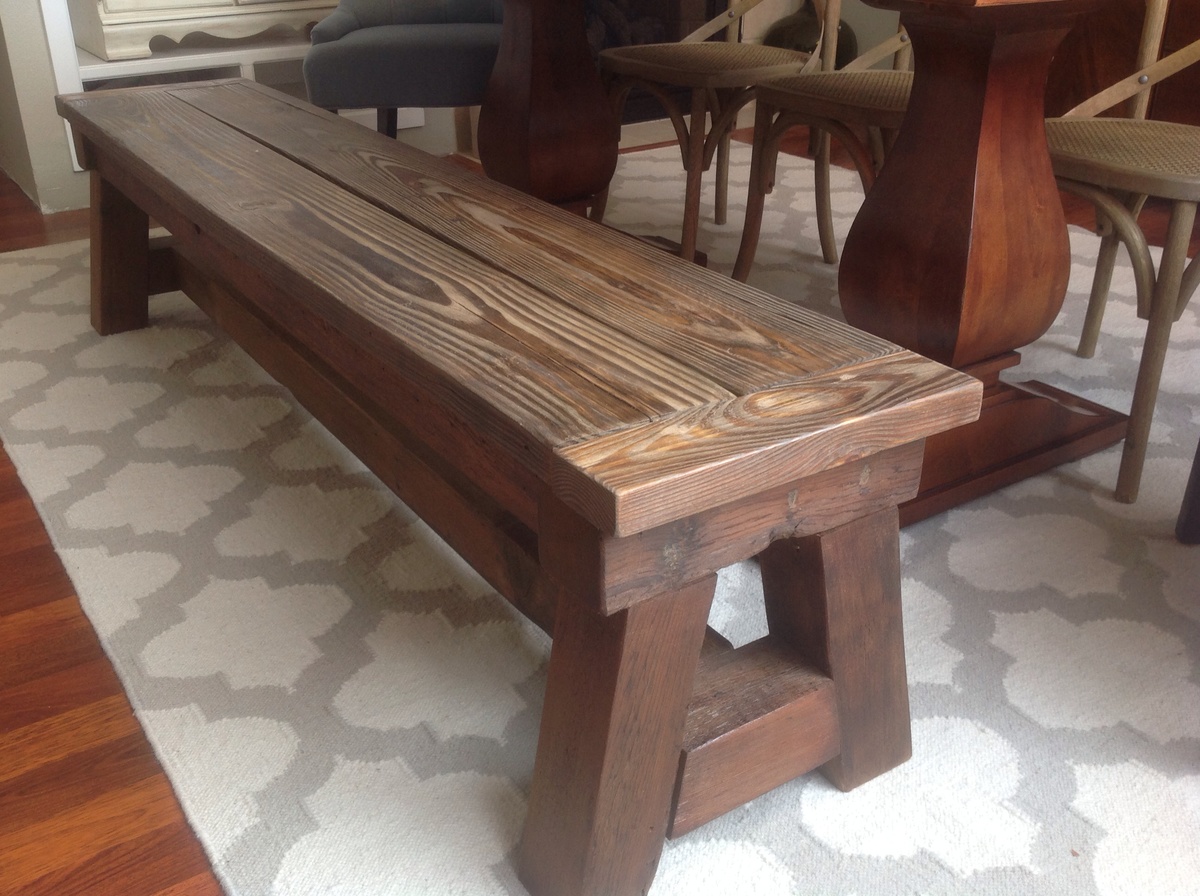
Using the 4x4 Truss Bench plan (http://ana-white.com/2013/10/plans/4x4-truss-benches), we built this bench using entirely reclaimed lumber. (We had removed an old patio and part of a fence.) We already had all of the lumber, screws, etc. so the only cost to us for this project was the cost of the stain.
We modified the plan slightly, using 2x4s on the ends.
My husband is obsessed with decking screws. Thus the entire bench is held together with 2 1/2 inch decking screws. (Unfortunately, we purchased our Kreg Jig a day following the completion of this project.)
Because the lumber was very old and weathered, there is a lot of character to the wood. There were some incredibly soft spots which made sanding a challenge, and some of the boards were somewhat warped. However, we still really like the way it turned out.
I sanded (and sanded and sanded) using 60 grit, then 80... then 120... then 220. I filled the screw holes with wood filler (and sanded again). I then conditioned the wood with Minwax pre-stain wood conditioner. I used Minwax Early American oil based stain on the entire project. I then went over the top only with Minwax Weathered Oak. After about 36 hours of drying time, I used 2 coats of Minwax Fast-Drying clear semi-gloss polyurethane.
This bench is a beast! I'm sure it weighs over 75 pounds. It is extremely solid, and quite beautiful in our dining room. The plans were easy to follow, and the whole thing went together fairly quickly. (It would have been completed even more quickly had we had our Kreg Jig at the time. Lesson learned.)