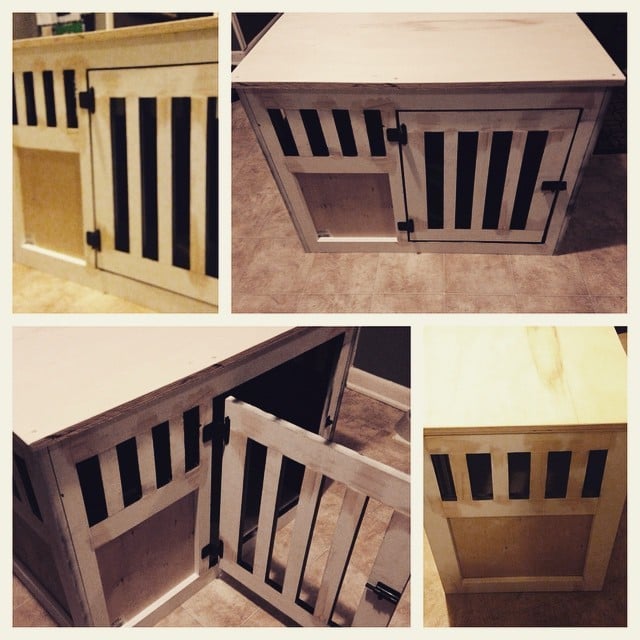
Ukrainian Sand box with built-in seats
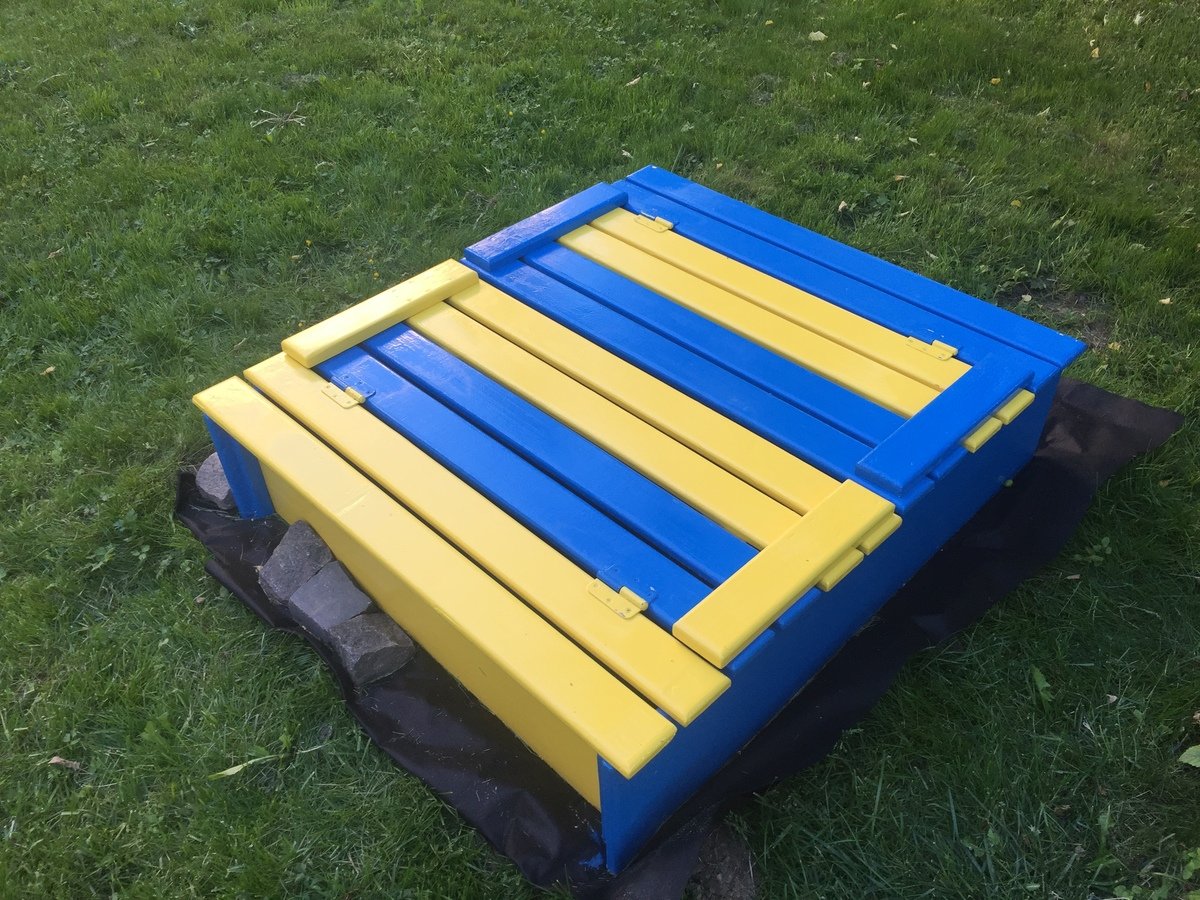
I live in Lviv Ukraine and painted it in he national colors of Ukraine.
The wood came from a old pallet.
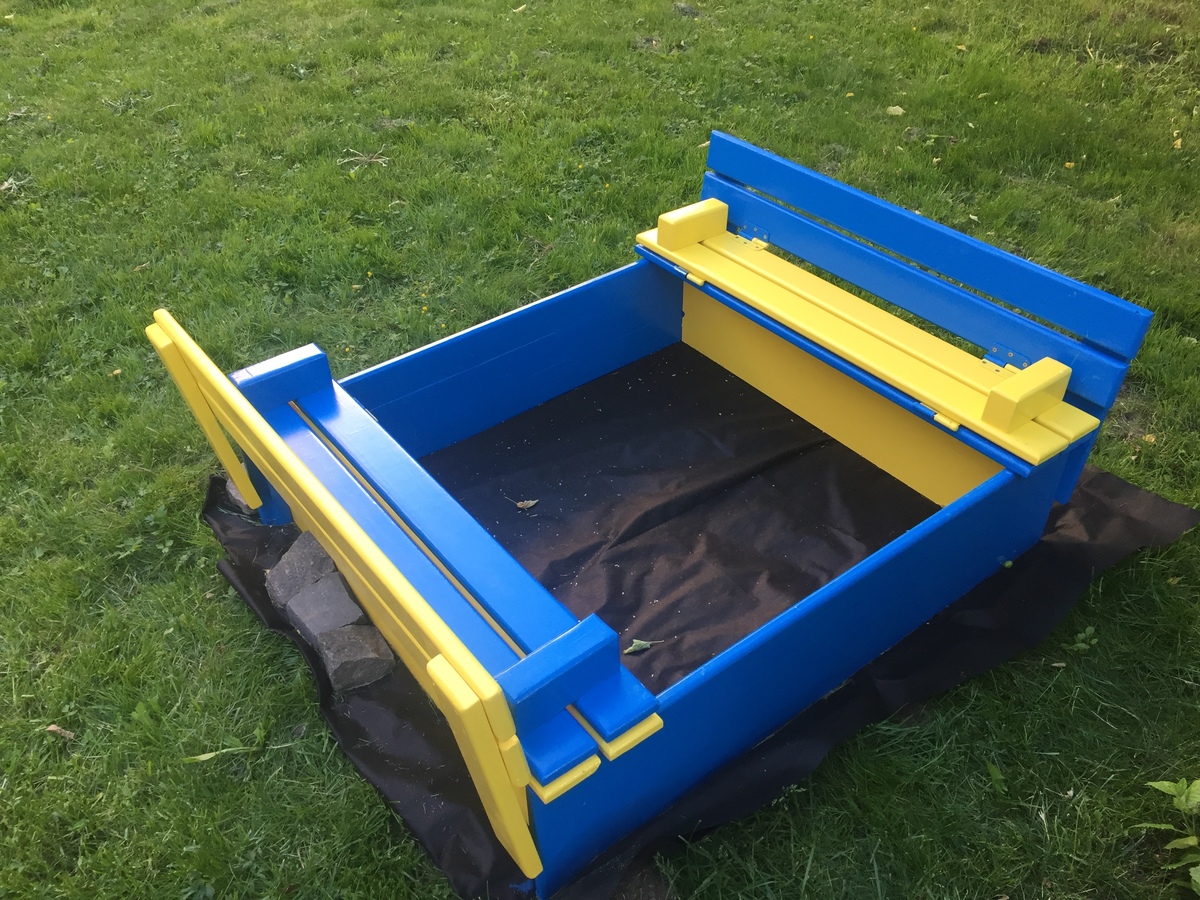

I live in Lviv Ukraine and painted it in he national colors of Ukraine.
The wood came from a old pallet.

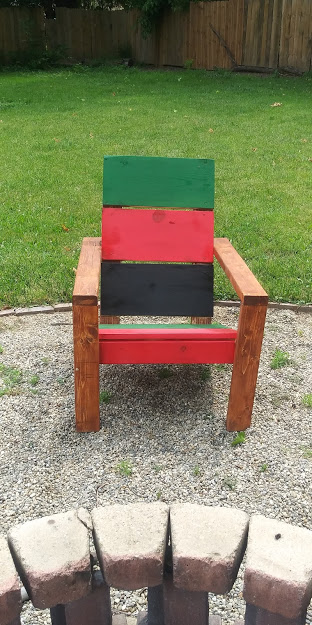
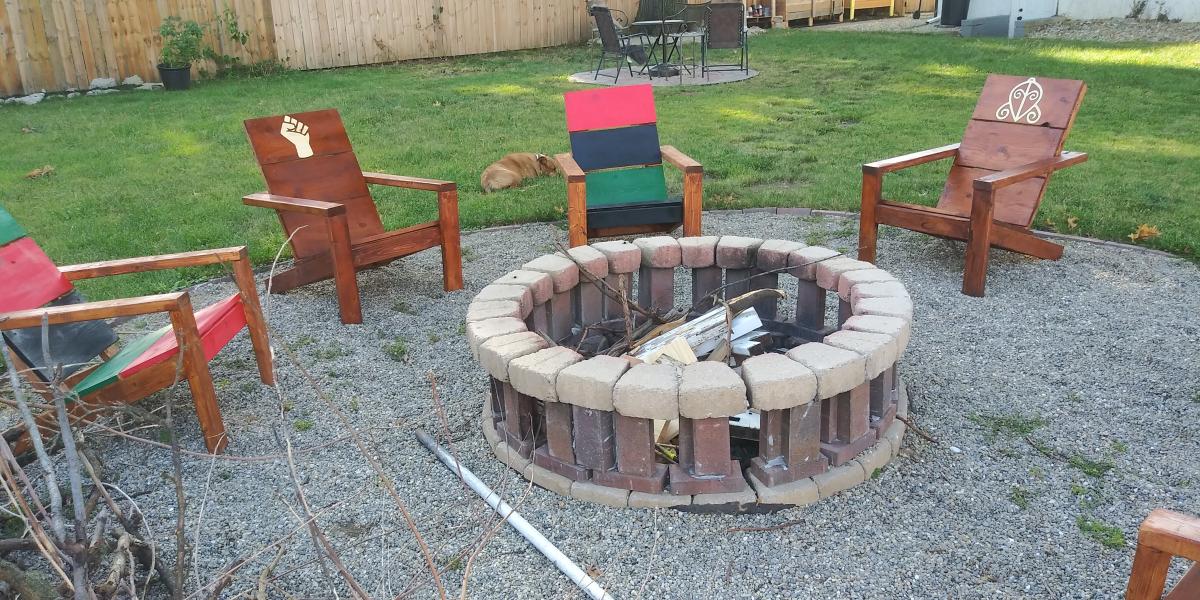
Built a set of six. First chair wasn't perfect, but with each build it got easier.
Our two-year-old daughter's newfound hobby of washing her hands and brushing her teeth really took off a few weeks before Christmas. Santa left stools for her and her little sister to be used in different bathrooms.
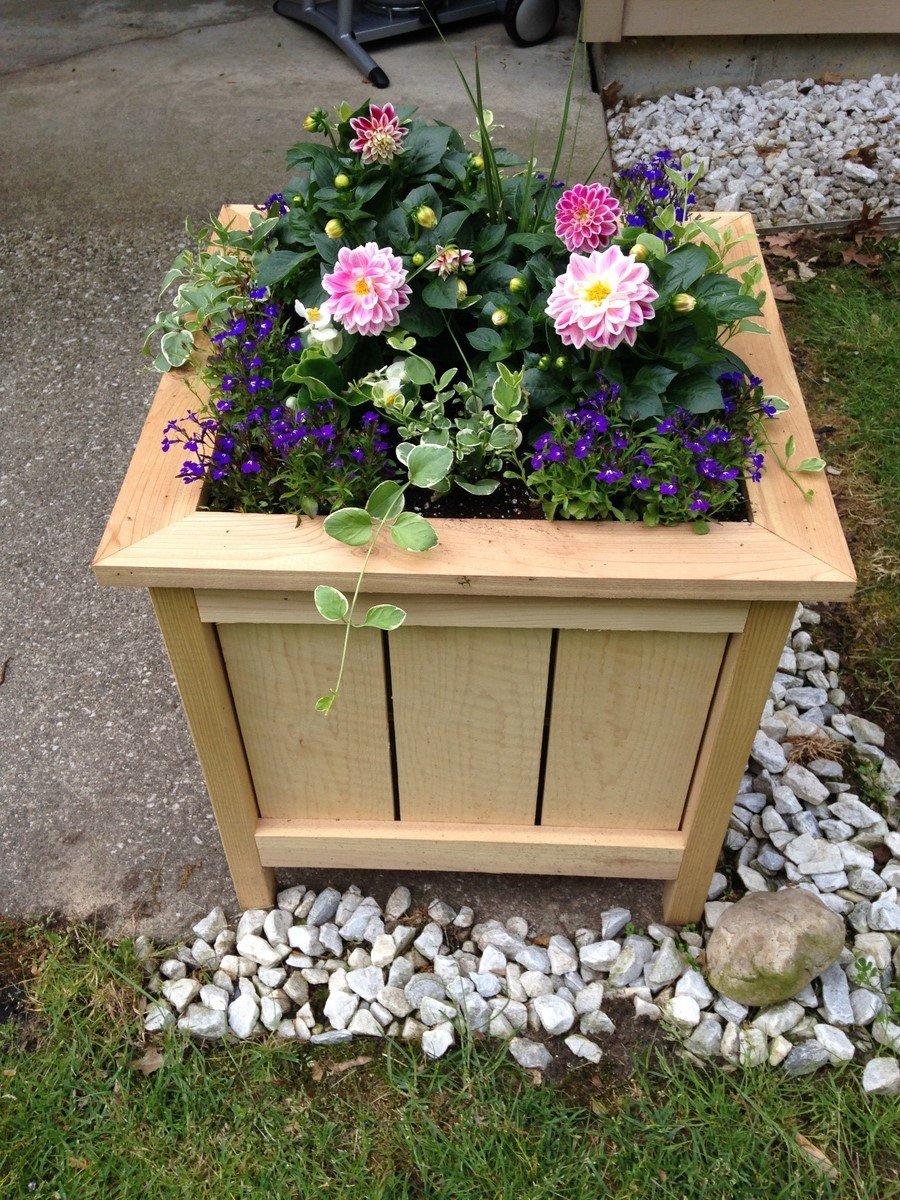
This was a Mothers Day gift for my mom. She absolutely loves it! She lives in a retirement complex and neighbors are complimenting her on it all the time! I did decide to go with all cedar instead of using any pine, so that did increase the cost. I also altered the plan like others and added a trim piece on the top. I think that makes the planter! Thanks Ana for the wonderful plans!
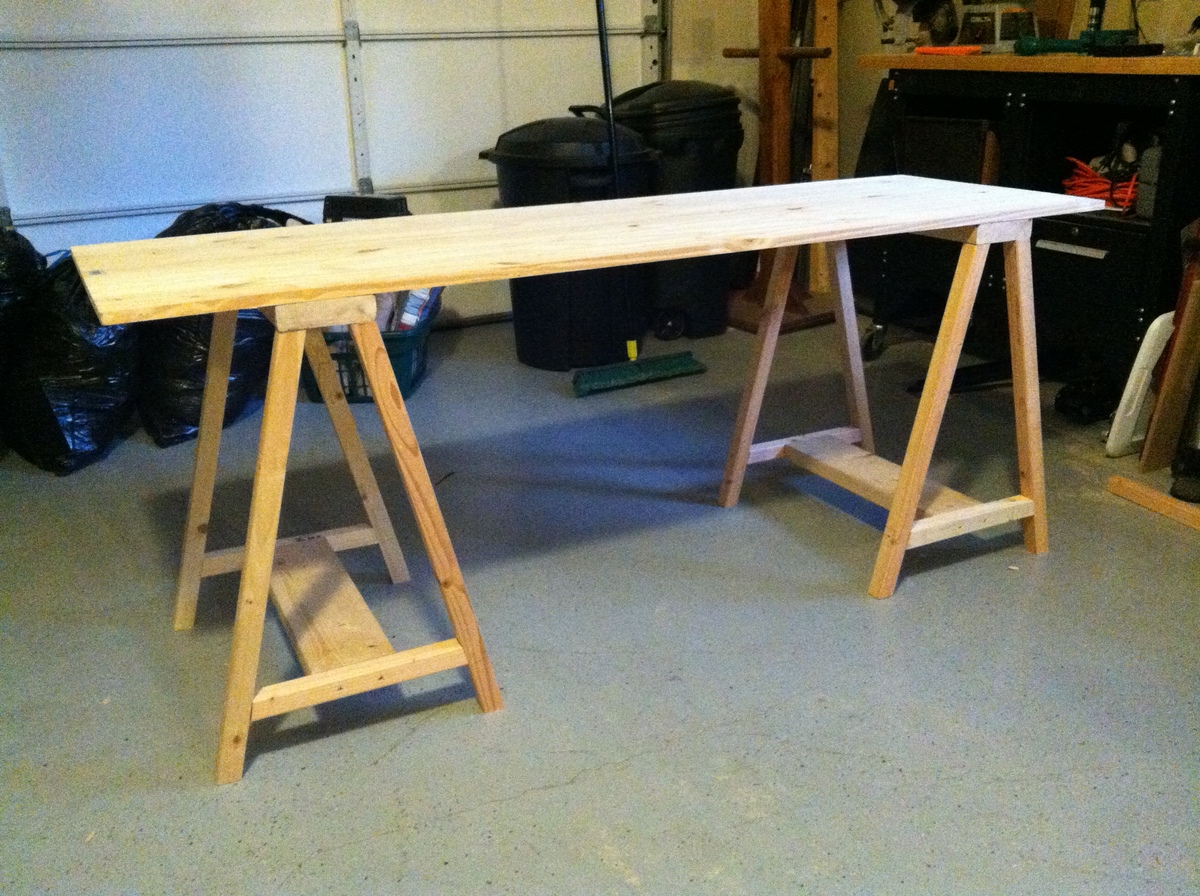
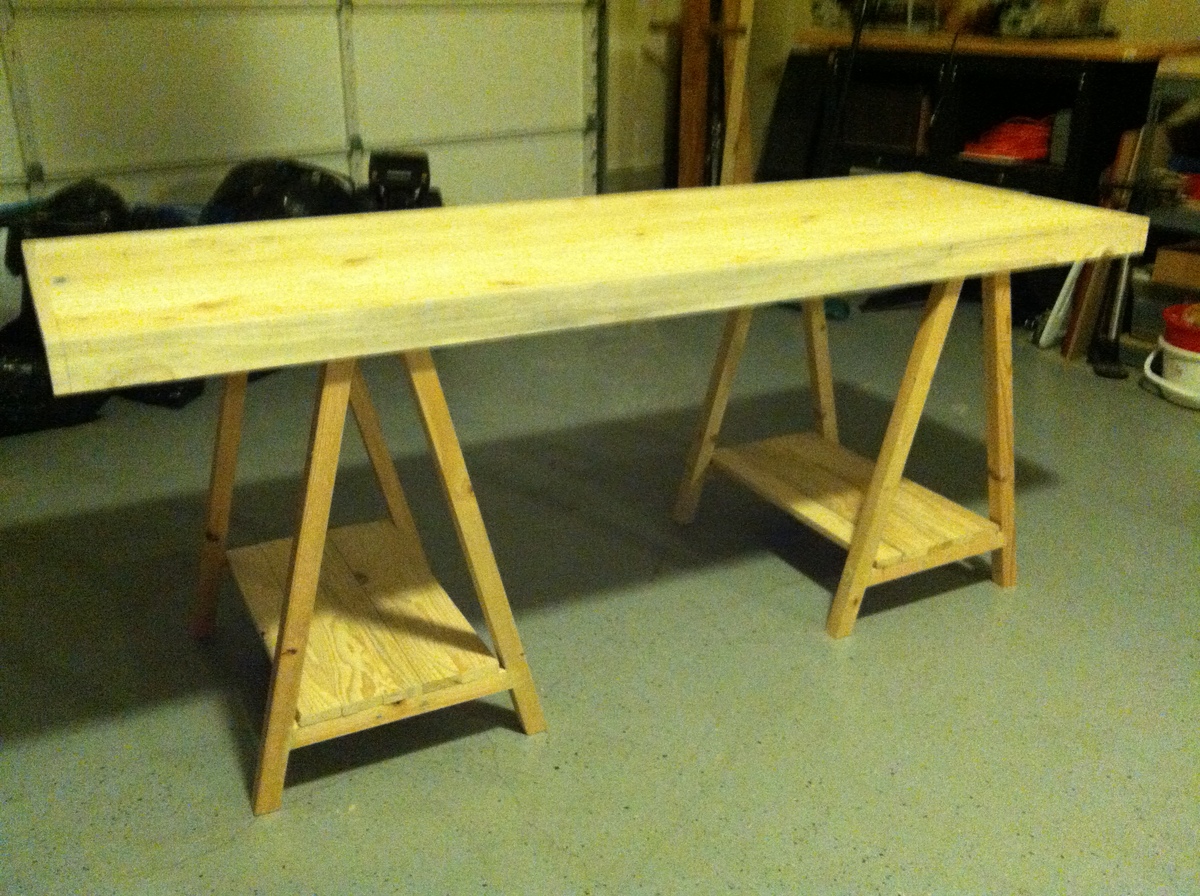
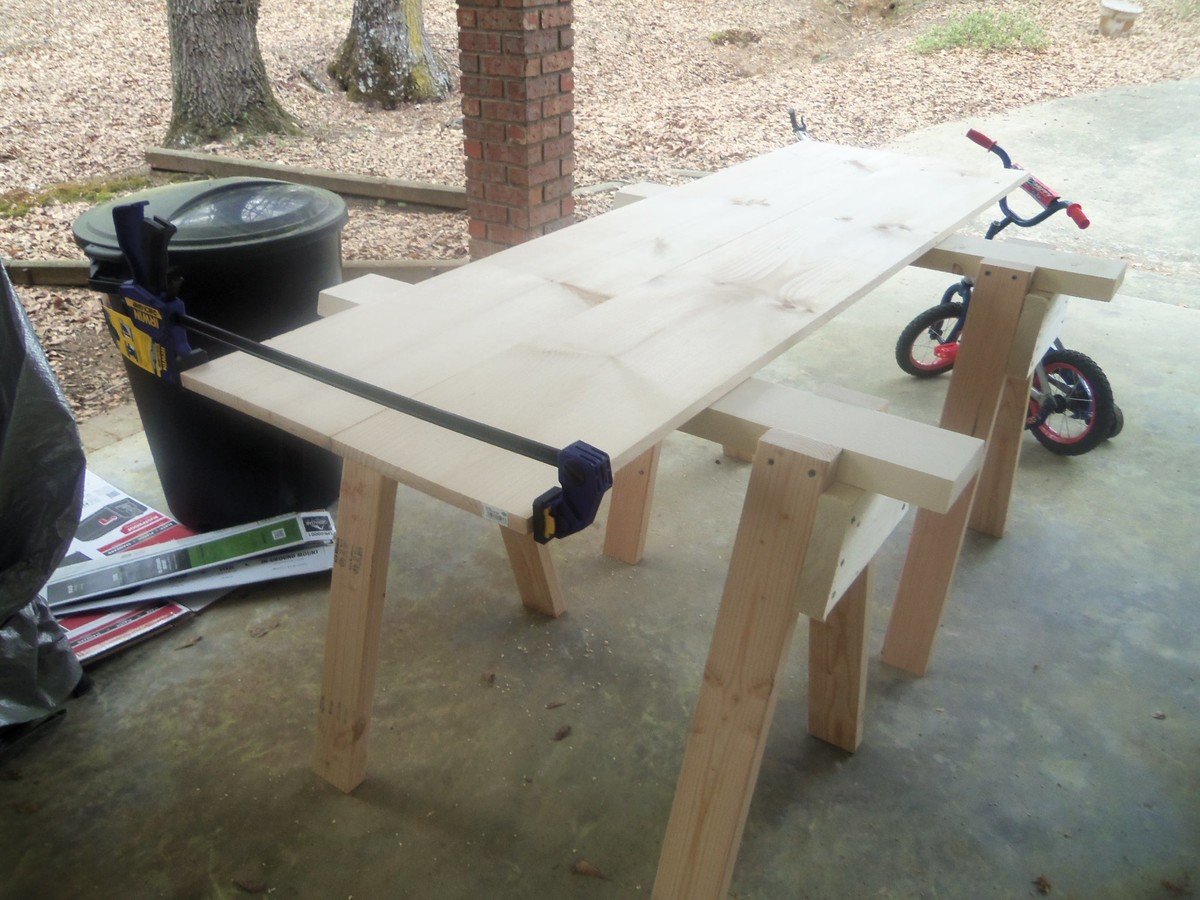
I made this to fit an empty wall in the kitchen. It's an additional work space not really an eating space. I made the table smaller 6ft. by 22.5 inches. I decided to use 2-1X11's for the top instead of smaller boards. I figured less boards to join left me less room for error! I measured my dimensions for the smaller table and then built a matching bench also. One thing I did different on these plans was that I used pocket holes underneath to attach almost all my boards so I wouldn't have any outside nail holes to fill. If you are planning on doing some building and don't have a Kregg Jig or similar tool I would definitely recommend one! I got a mini version and I've used it a ton already. Also if you are thinking about making this table I would consider using 1X4's or cutting down a 1X6 into a 4 or 5 to make the aprons a little smaller. There is not much leg room between the top of the bench and the apron of the table. Overall I loved this project.
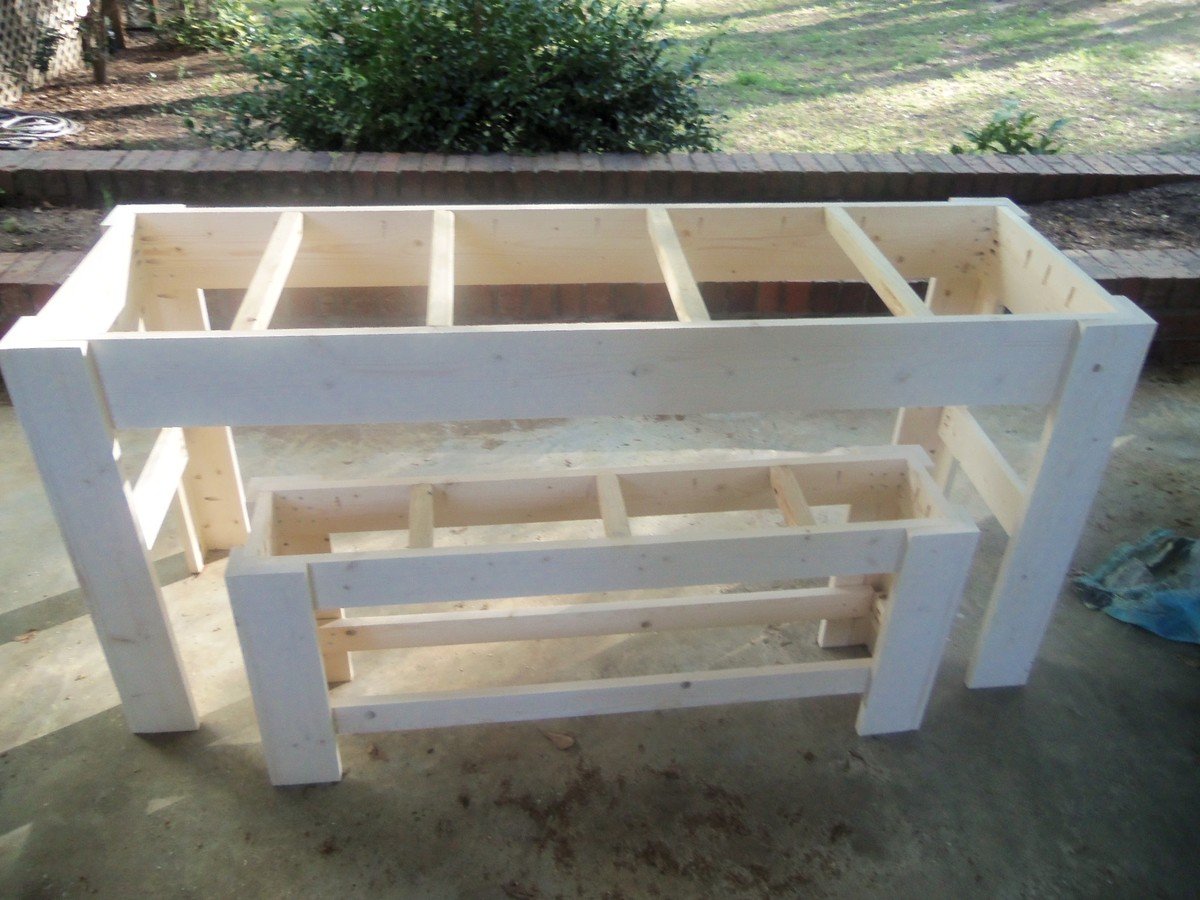
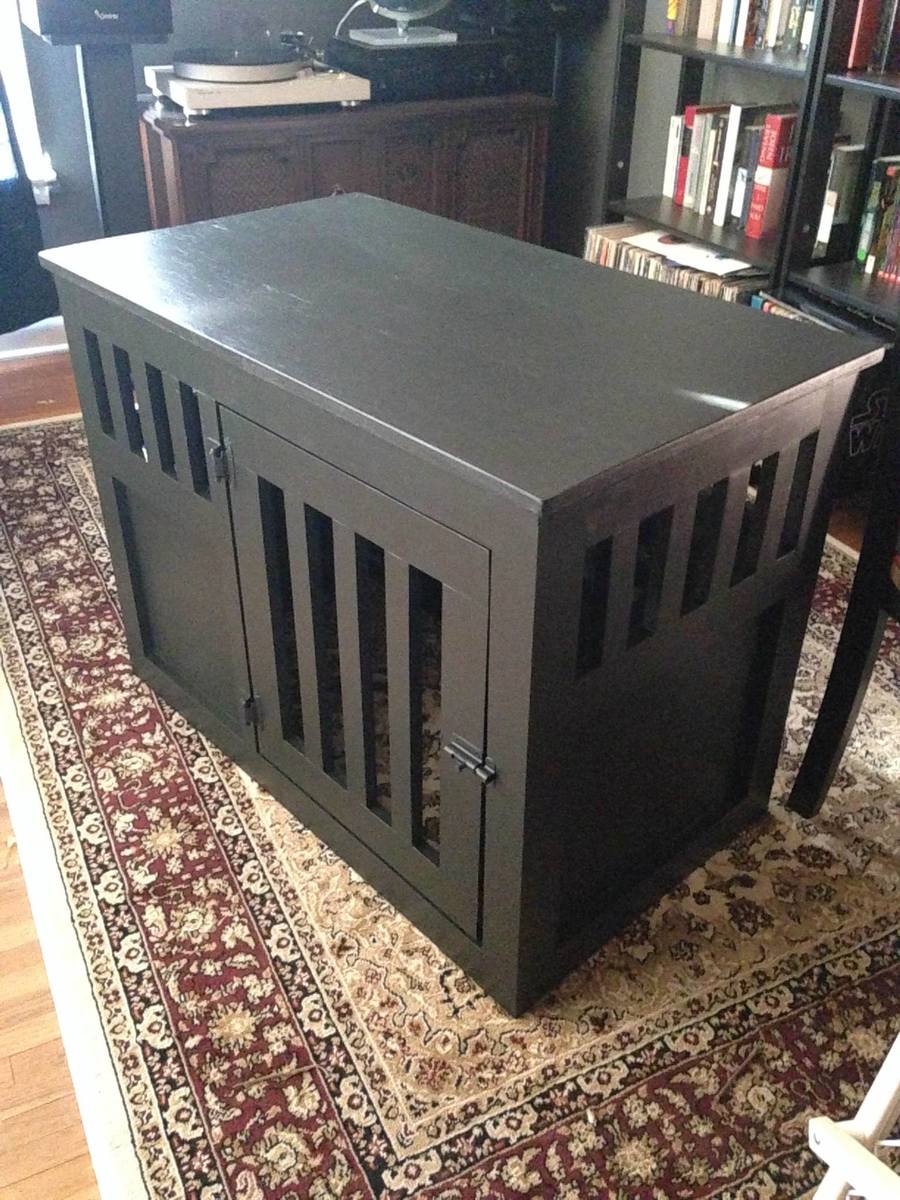
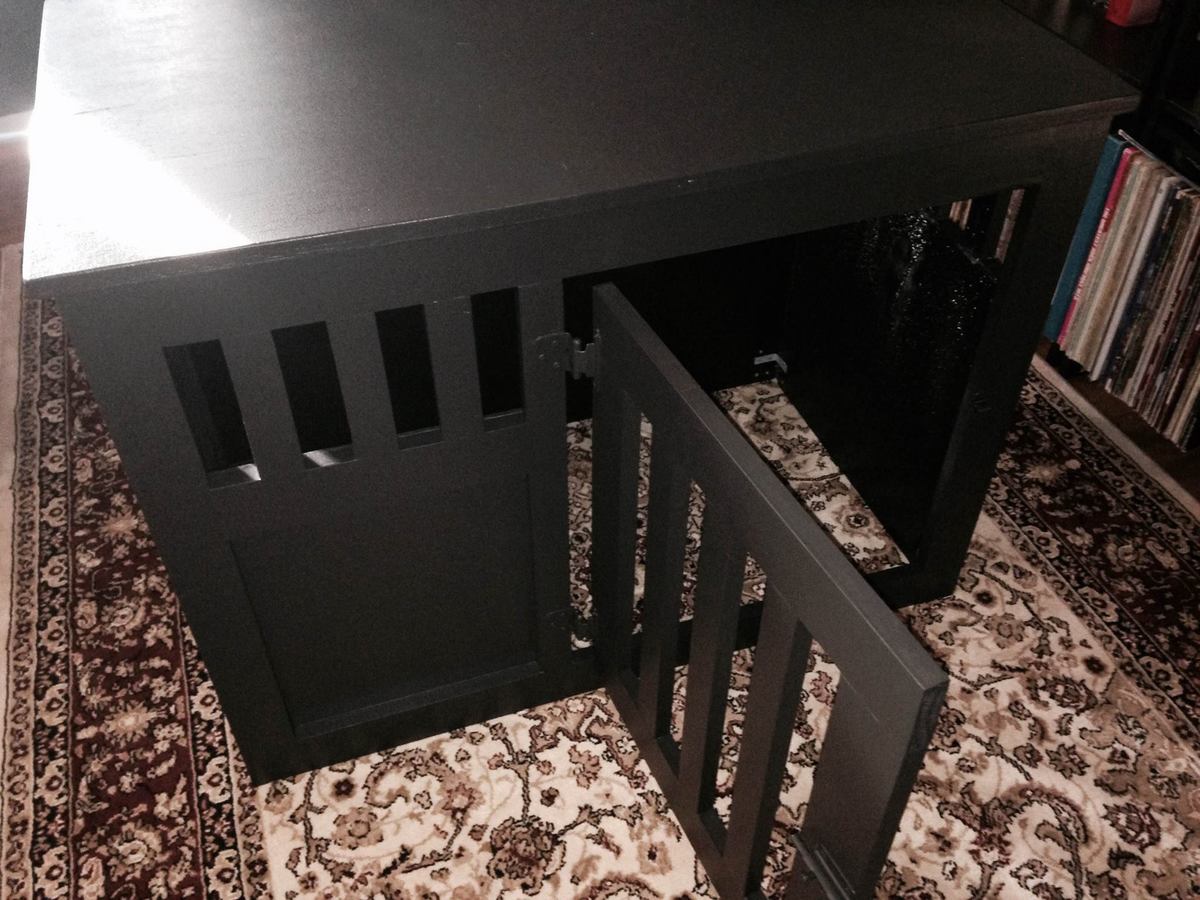
I used the basic plans with two significant alterations. I made the dimesions slightly narrower, and I moved the entrance to the side. Both of these changes were made because of space constraints in the location we chose.
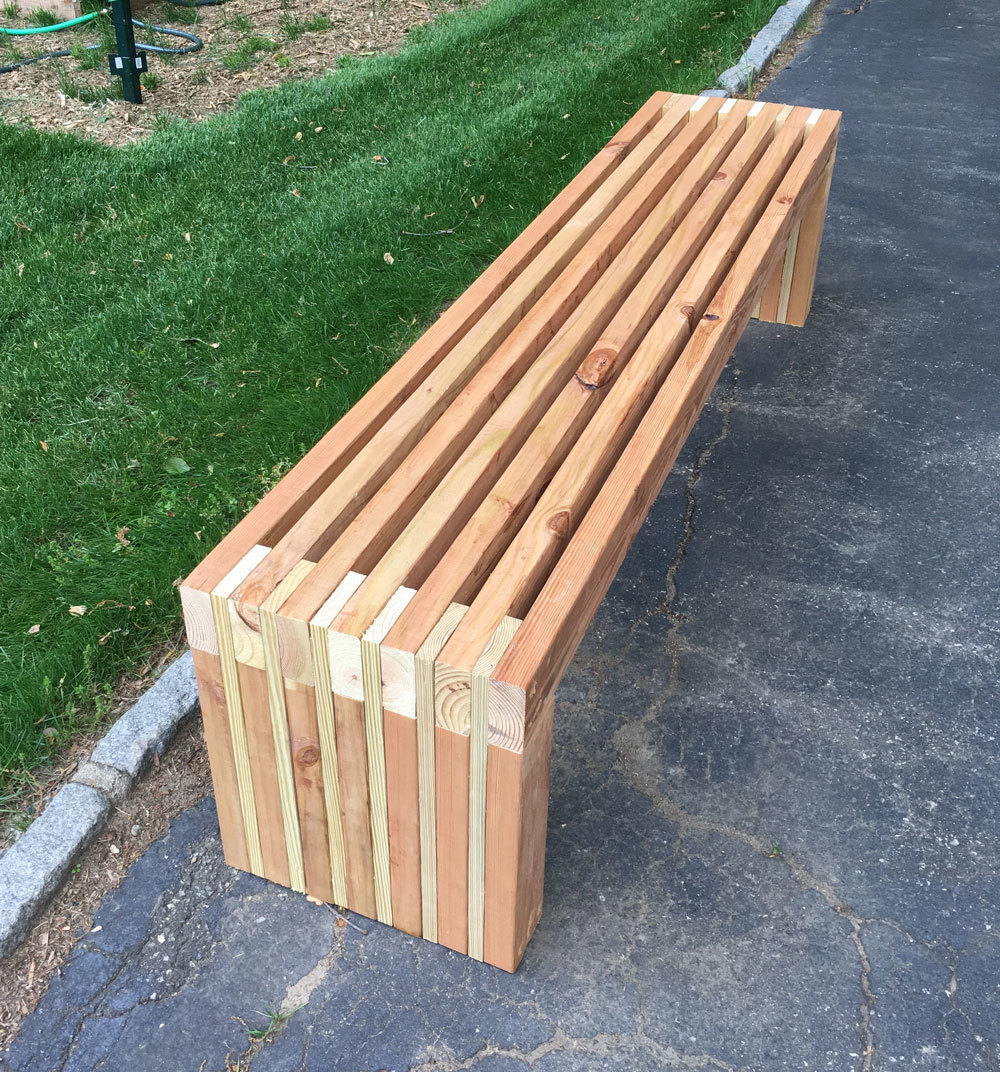
Great bench
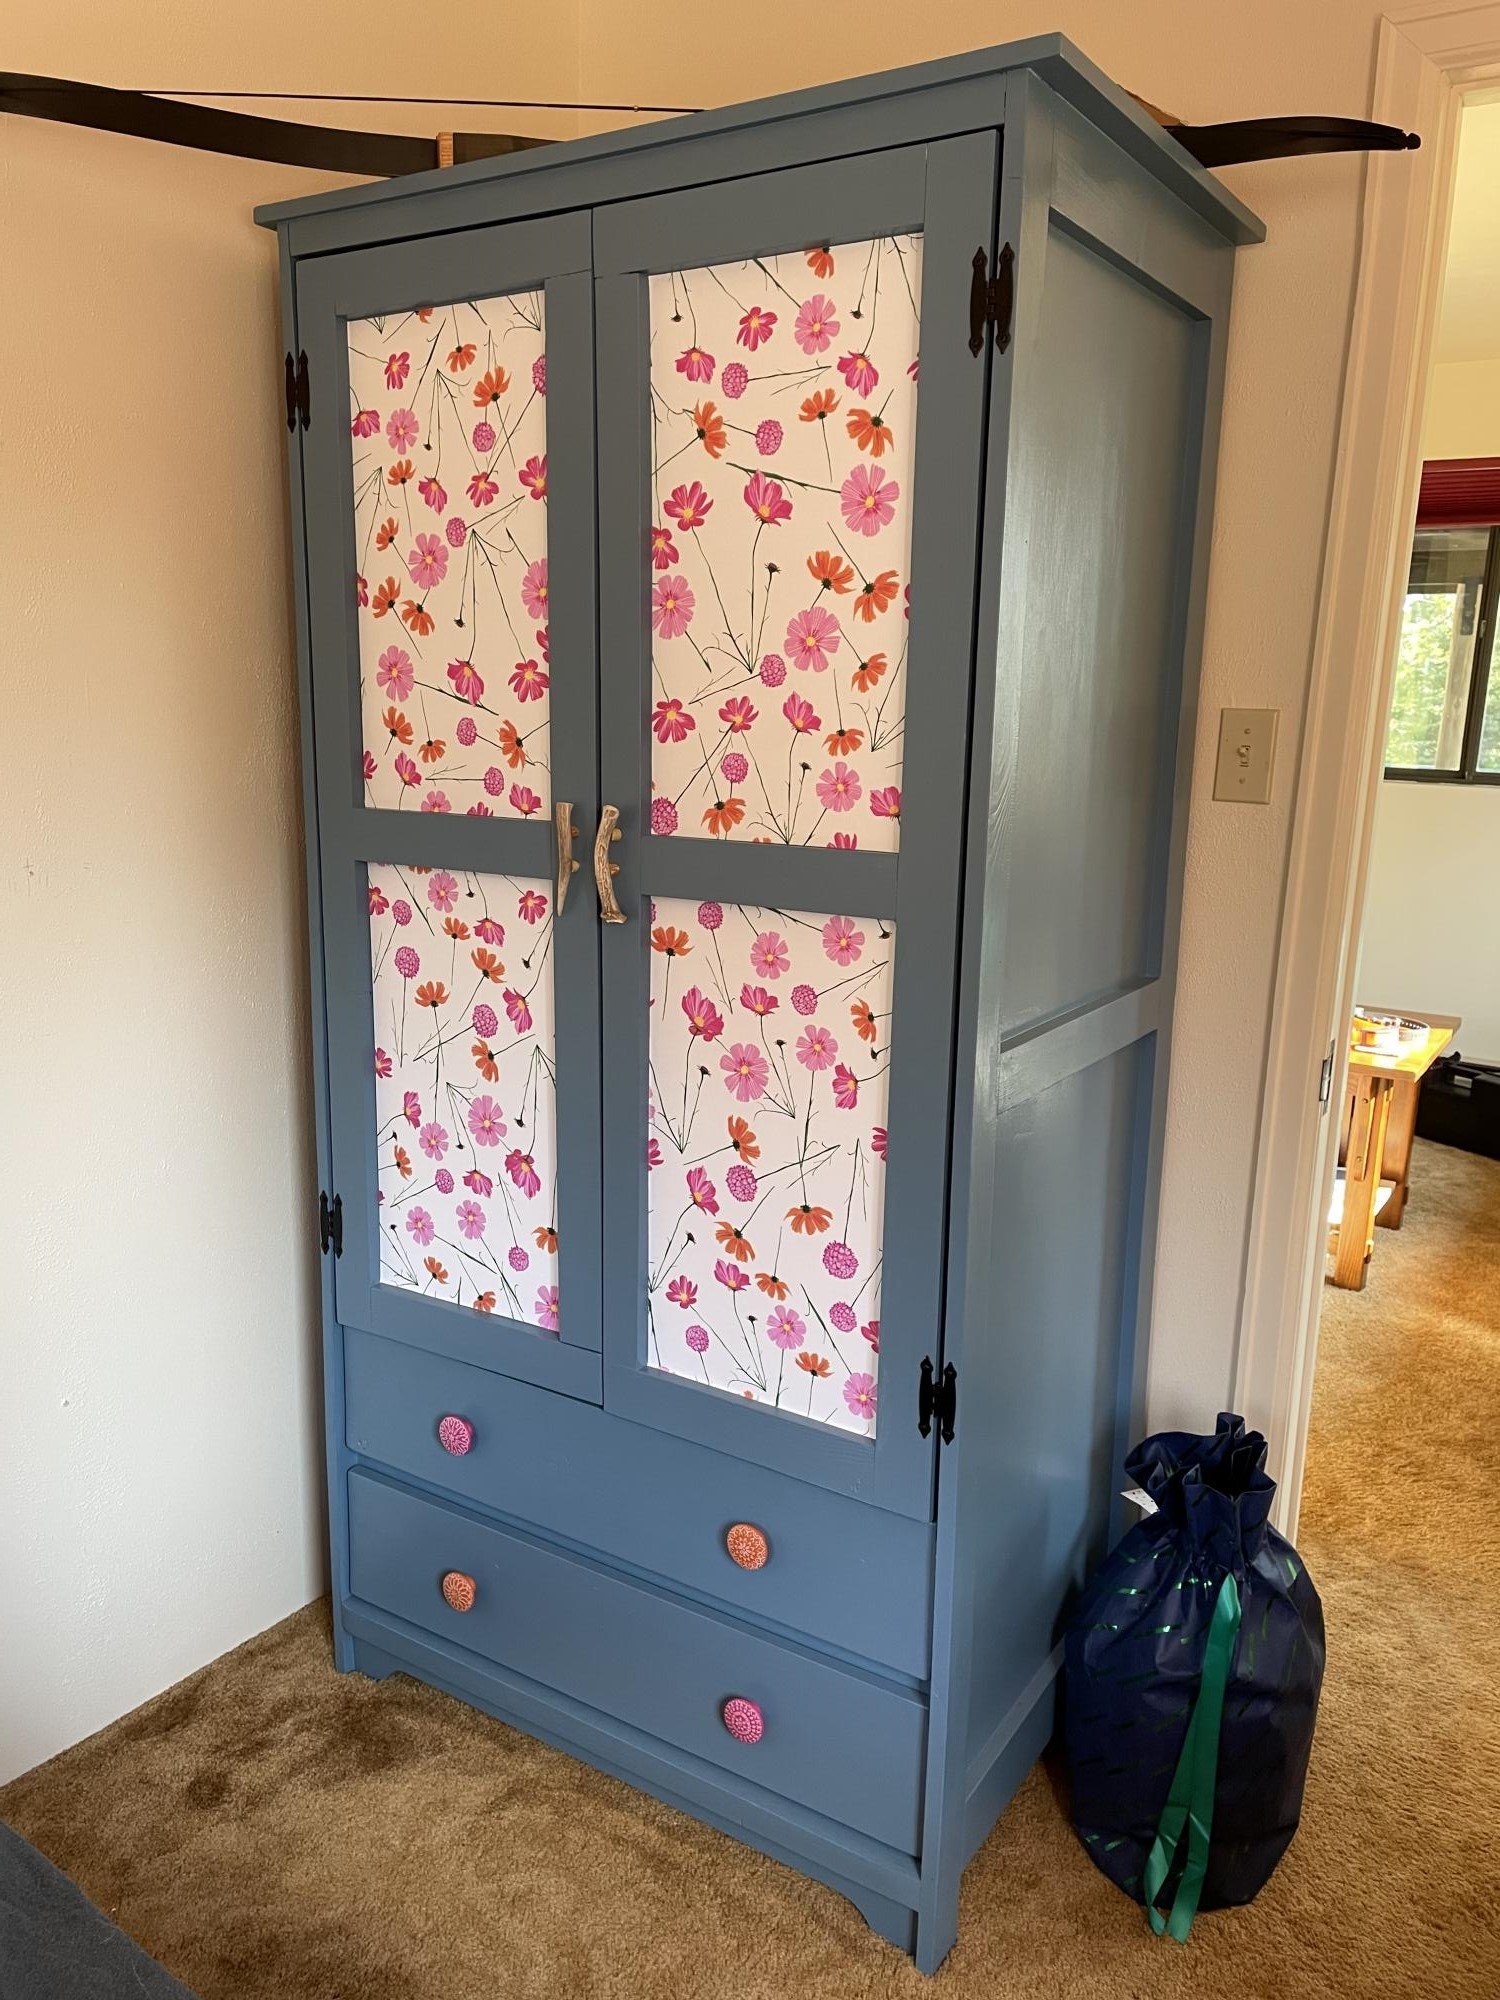
Used Ana’s Toy/TV armoire plans, tweaked the dimensions to make it a bit taller. Added drawers and a hanger rod inside. Found deer antler used for handles. Color and cosmo wallpaper thanks to my wife. Perfect for a quirky old cabin in Colorado. My first attempt at furniture. Thanks!
Fri, 07/23/2021 - 13:46
It's too cute and functional too, thanks for sharing!
Fri, 07/23/2021 - 13:47
It's too cute and functional too, thanks for sharing!
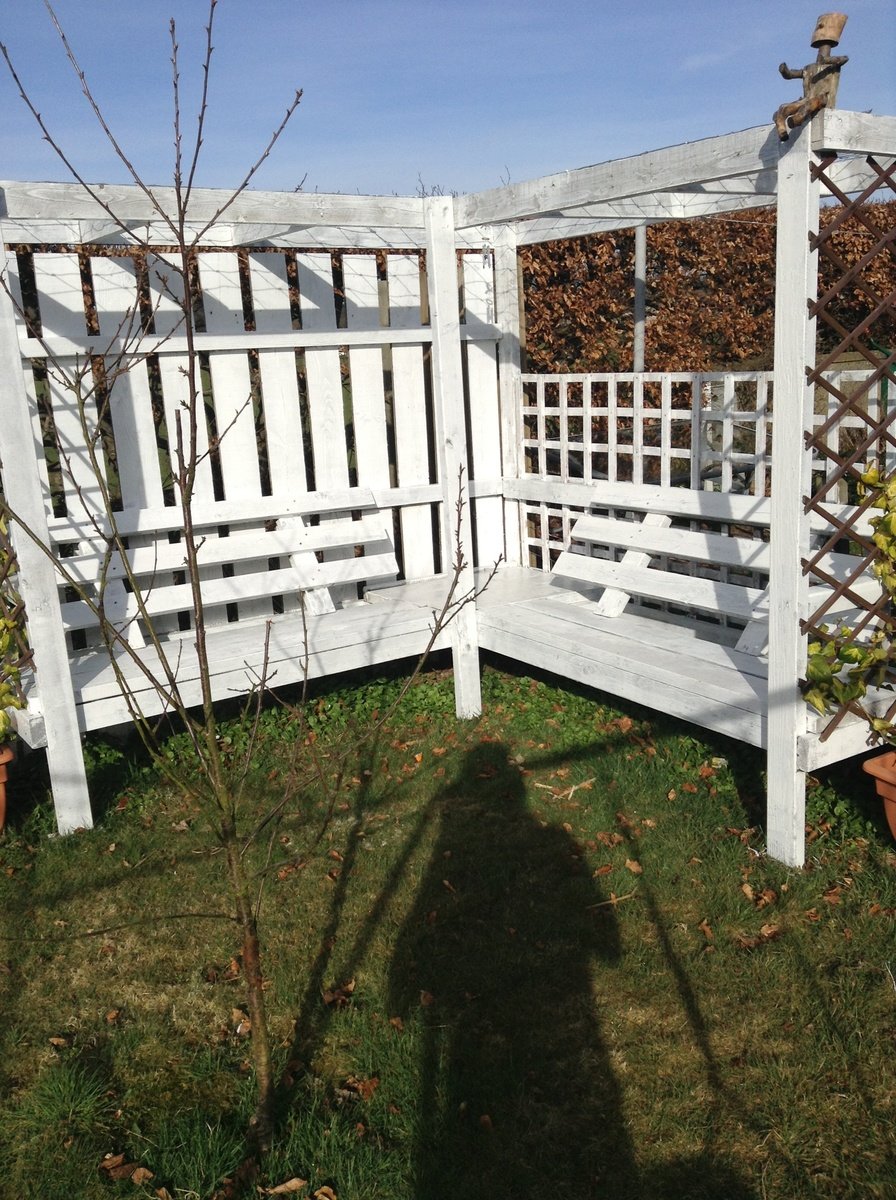
We always wanted one for the garden but they are extortion to buy from a shop or garden centre! Decided to make one myself. Headed back to the garden centre with my tape measured ( cheeky) took pictures and used my imagination for the build.
A few tricky part keeping everything square in the process as my garden is very uneven.
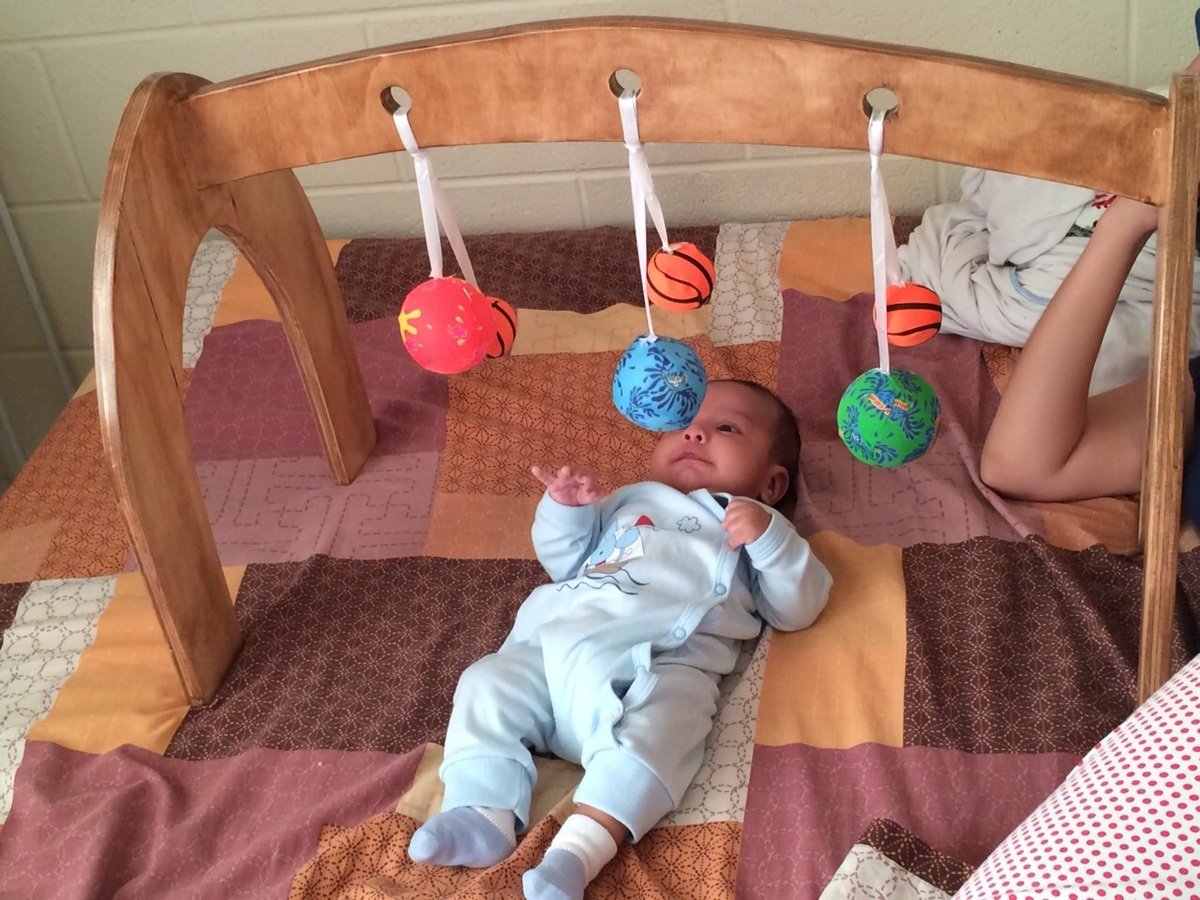
Hi from El Salvador, Central America, this was a realy easy proyect but give this gift to your friends and you will touch their hearts, take the time and effort to build it with your own hands is very meaningfull to everybody. Thanx Ana great site!!
Tue, 03/10/2015 - 16:52
You are so right. People really do appreciate thoughtful, hand-crafted gifts, and yours is beautiful.
Hi Ana, found your page very informtive and very easy plans to follow. Made the crate to keep my vinly records in and was well pleased with the en result. Think I'll add some castor wheels to it once I've finished painting the crate,

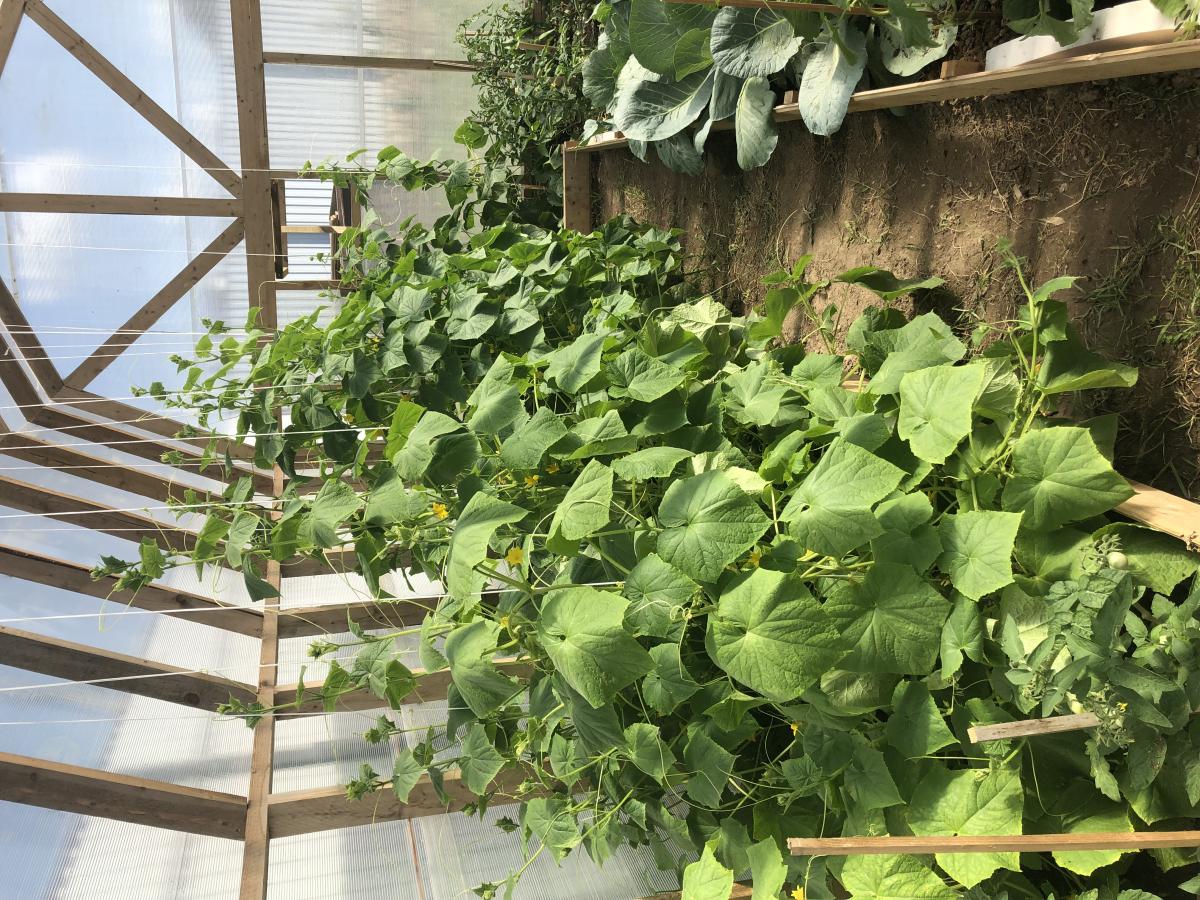
This was my first attempt at building a greenhouse. I wanted my cucumbers to be able t climb high so I made the house higher than the plans showed. It's also a little larger too. Since I am in Europe my dimensions are in meters. The overall size is 3 x 6 meters. I also built it on top of 100mm x 100mm lumber (the equivalent of 4x4's). It took 5 sheets of 6mm thick polycarbonate in 2 x 6 meters.
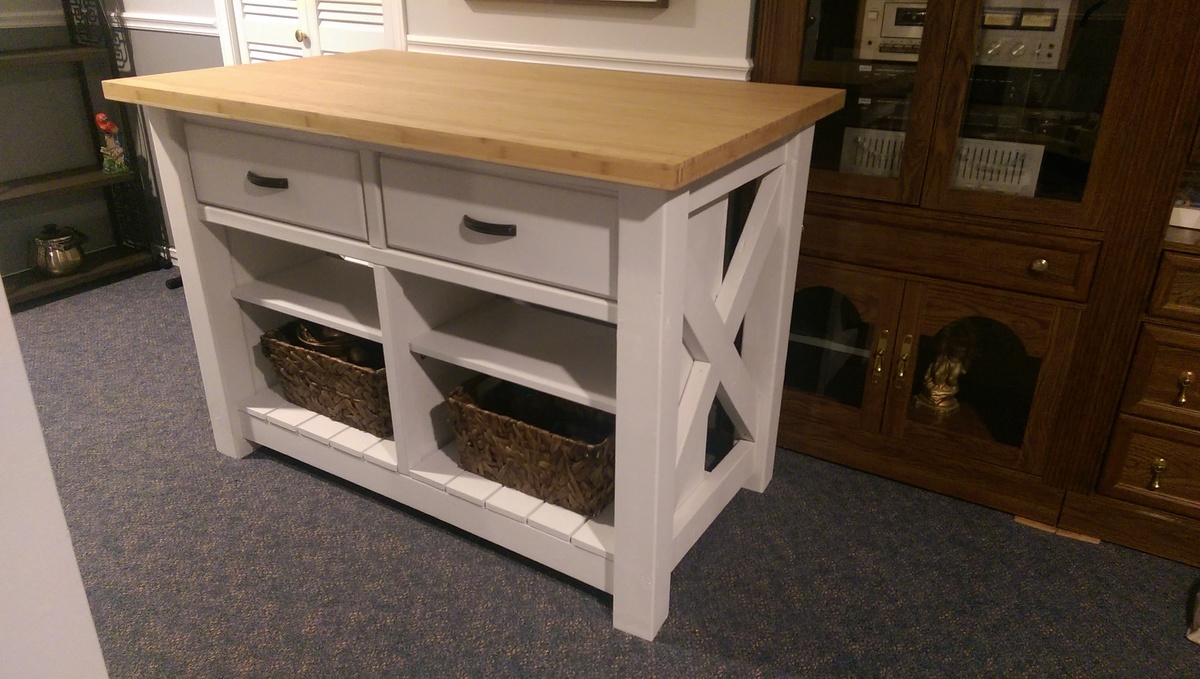
Loved the look of the 4x4 for the corners another user did so we build it that way with a little alterations. Also used a premade top from Lowes - bamboo - finished with a tung oil finish.
Turned out beautiful, I love it. Would reccomend this project, but found it took a long time with paint involved- paint before u screw together- much quicker!
Sat, 03/14/2015 - 20:22
This looks very nice! You did a really good job on the finish :)
The table came out great! I ran every board through the table saw to make sure each piece was square. On the breadboard ends I added 2 1 1/2x1 1/2 x 9 supports. I decided to take off a lot of material with 40 grit sandpaper so every top board was completely smooth. Added adhesive felt to the bottom and used minwax polycrylic finish.
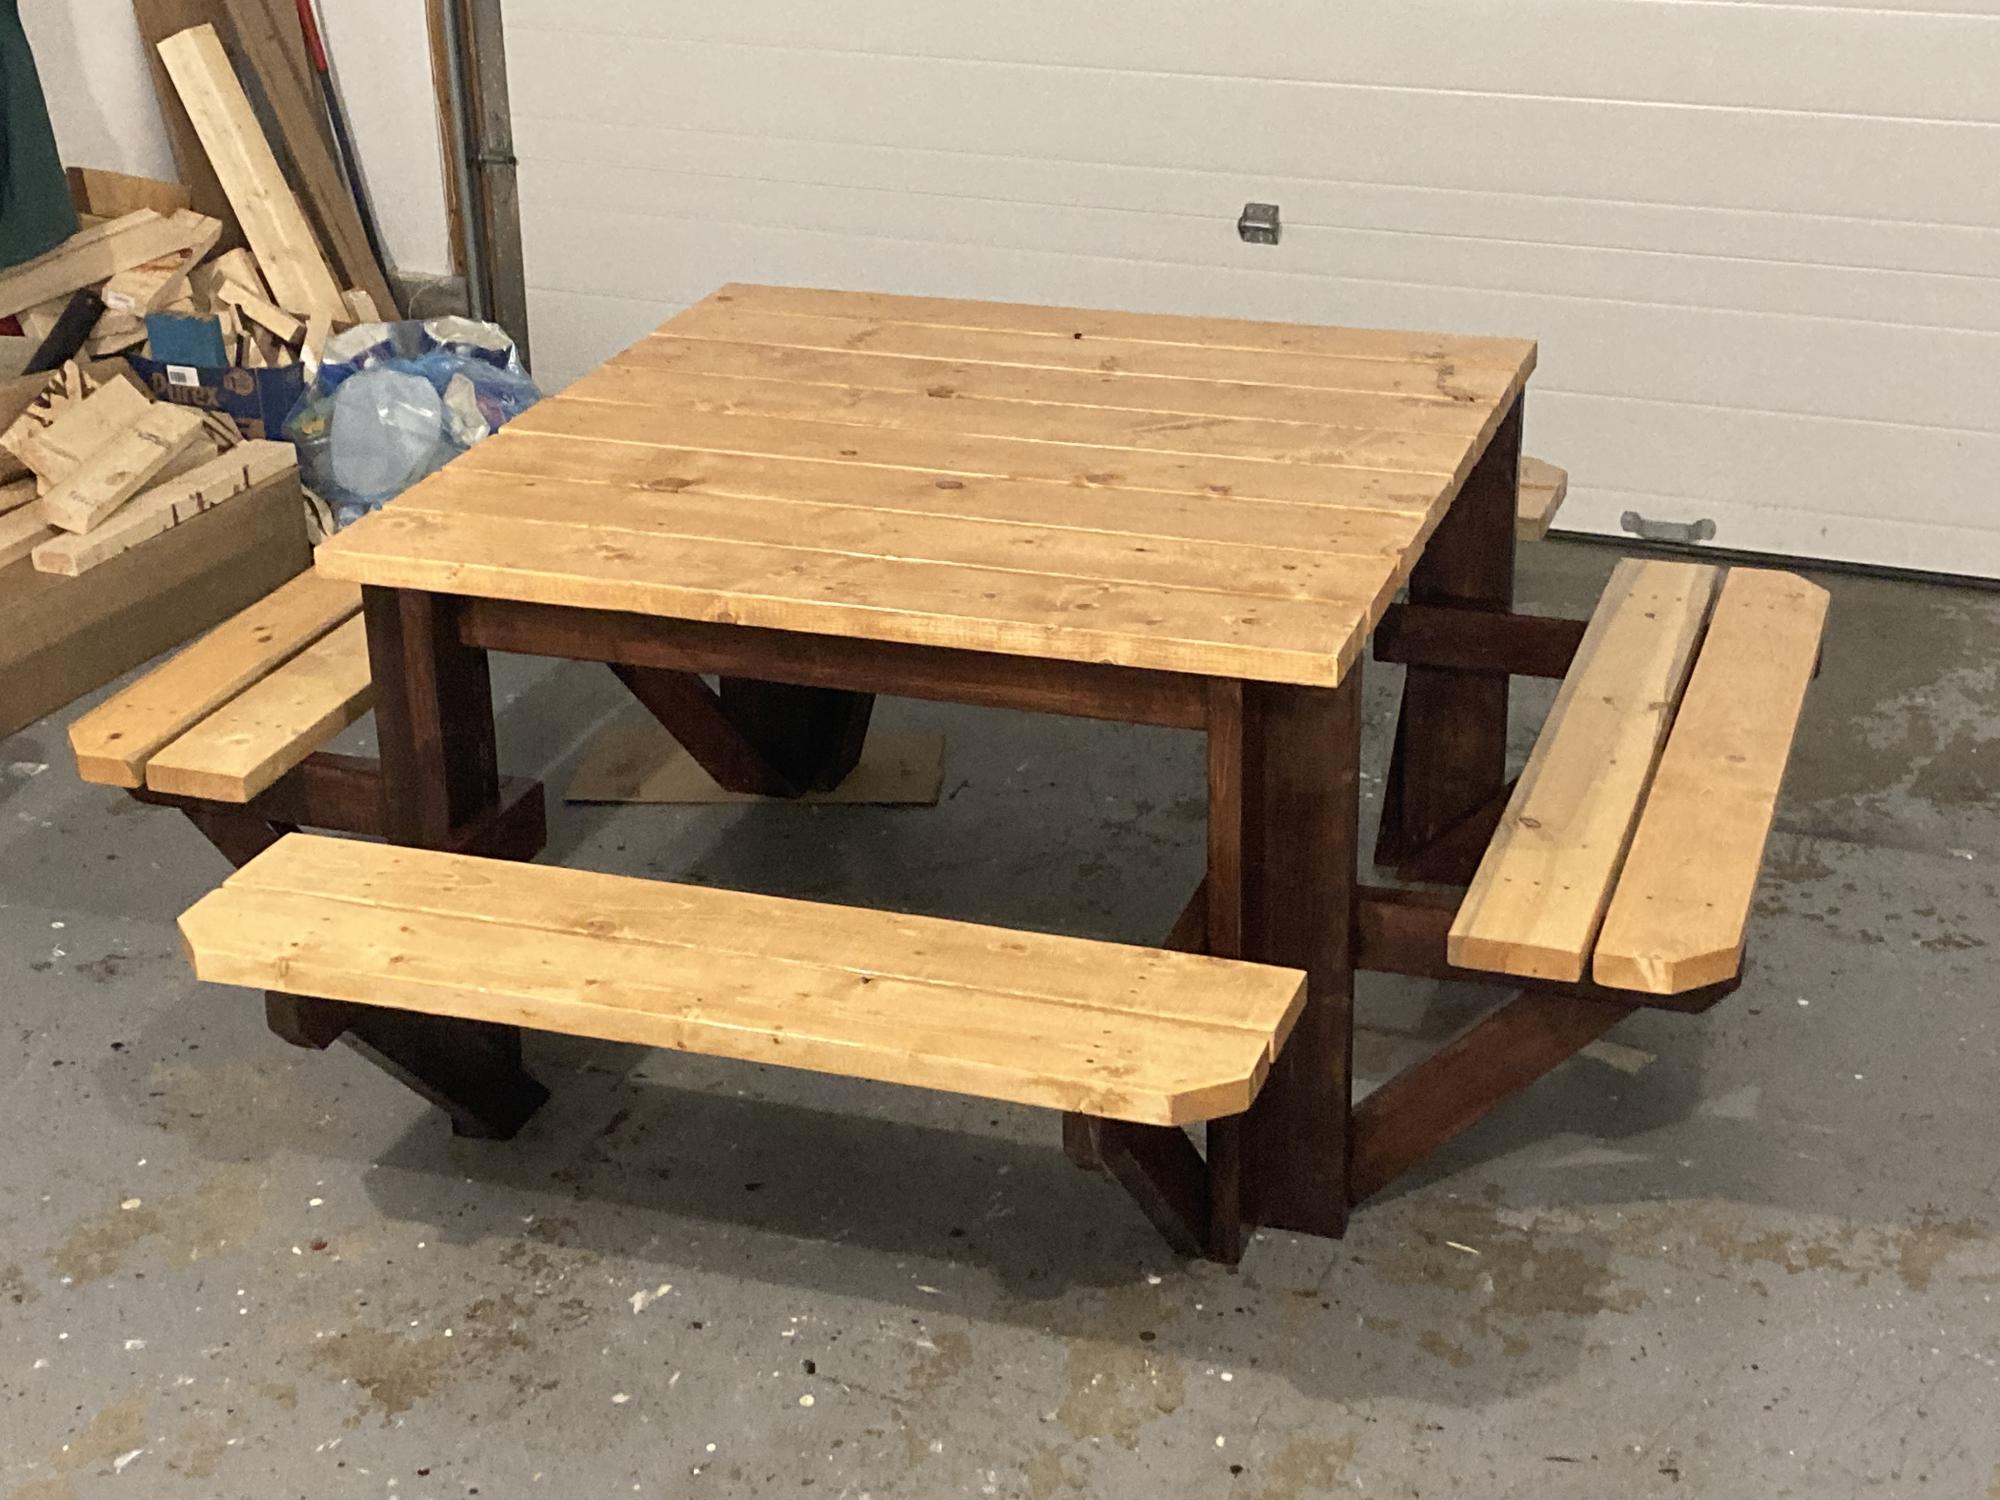
Enjoyed this project although with the price of lumber it was a little expensive to build. The only modification I made was to put a cross brace in the centre of the table top. That allowed me to attach the top boards a little more securely as some of them were a little bowed. I'll add a better photograph once I get it out of my garage and on to the back deck. It is a little heavy.
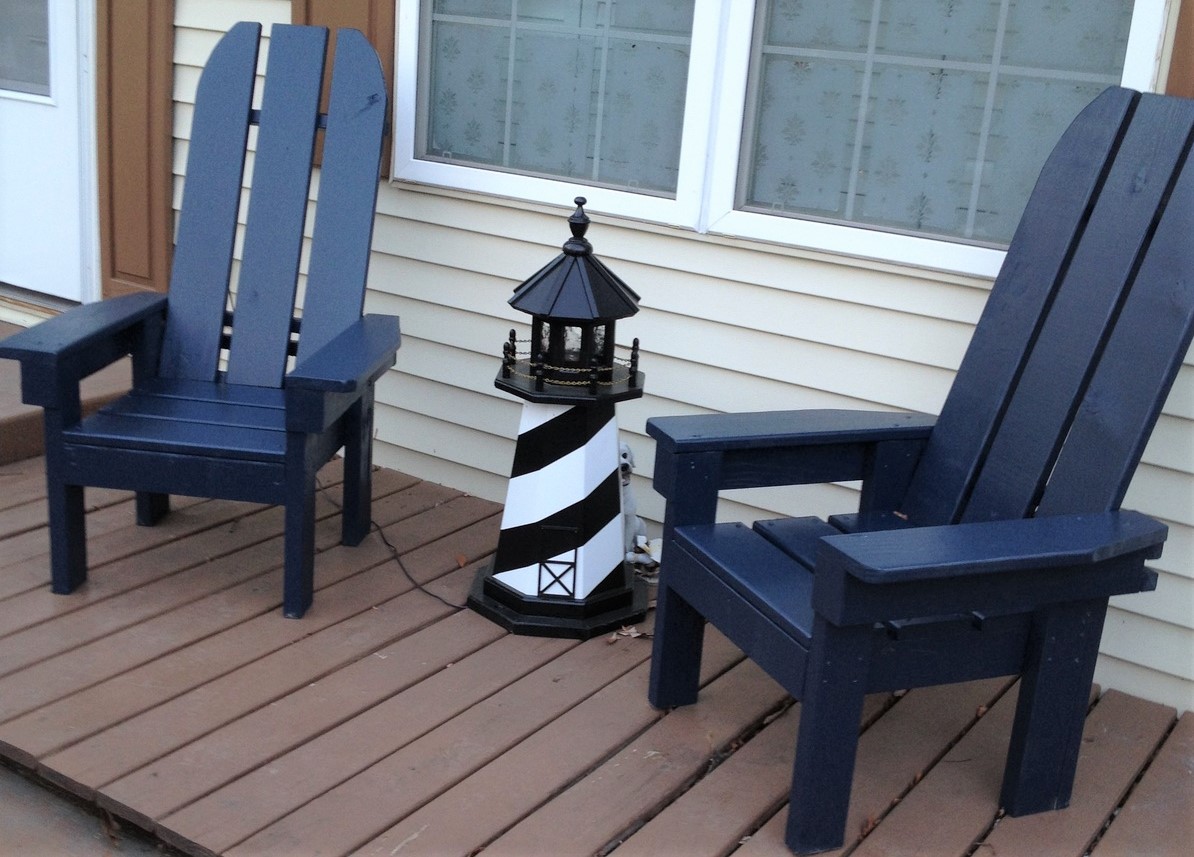
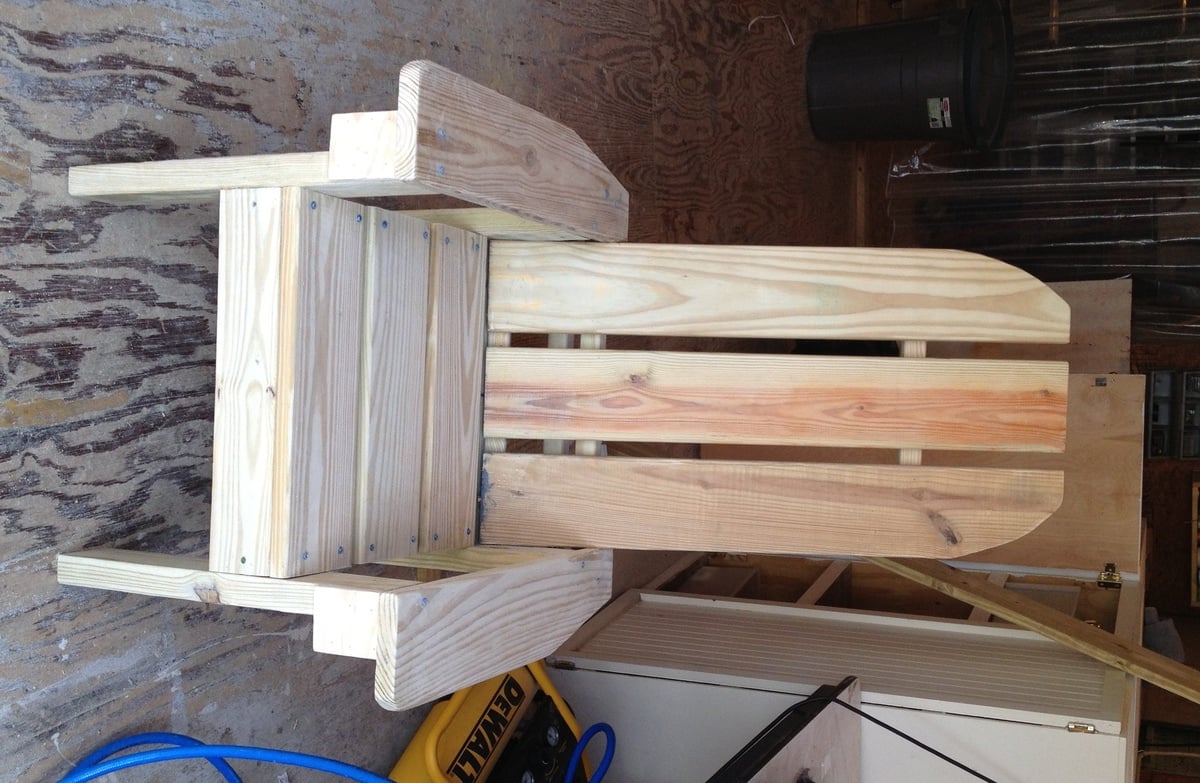
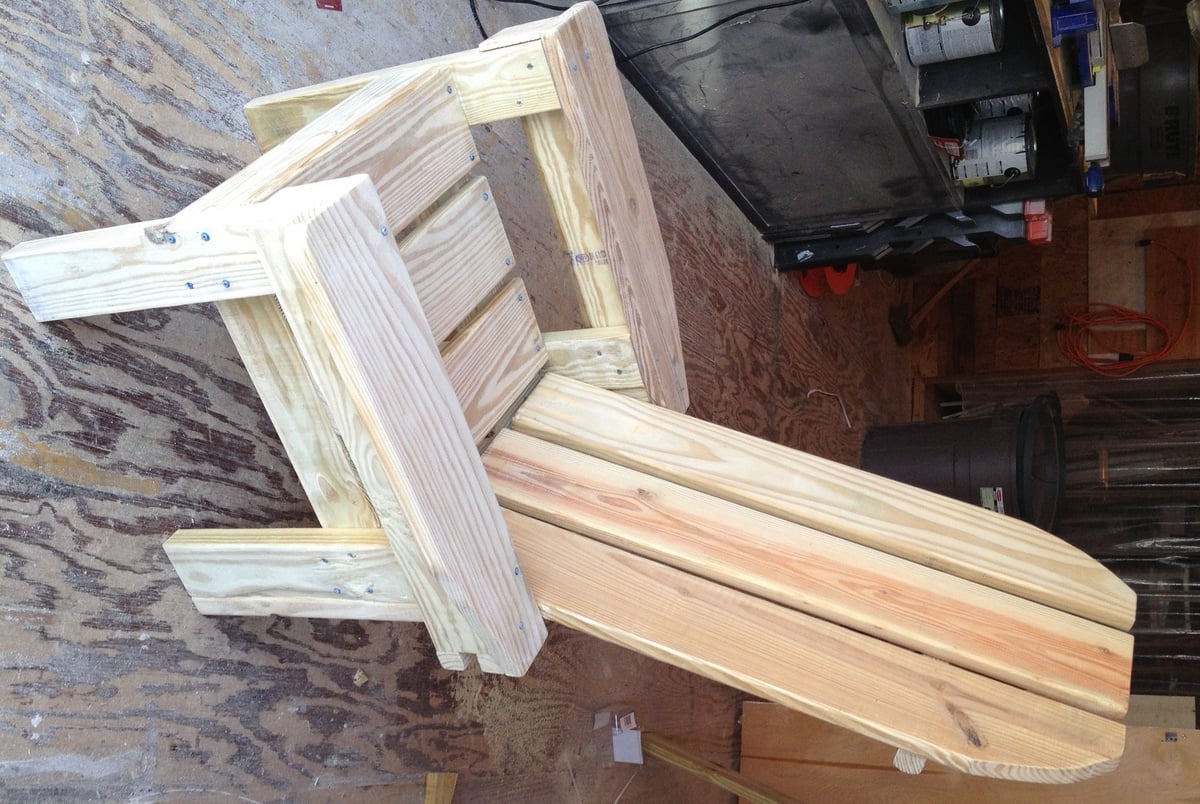
These sturdy chairs are a wonderful replacement for plastic deck chairs! They are nice and heavy, and won't blow over in a storm! This project is a mix of Ana's Adirondack Chairs and the Simple Outdoor Lounge Chair. I combined ideas from the two plans to use the extra lumber we had left over from an outside project from last year. Left-over lumber included some 2x4 for the bottom frames, some 5/4 decking board for the seat, back, and arms, and a few balusters at the back. Most of the lumber was left over, so I only had to spend $20 for 2 boxes of Kreg screws and 2 pc 5/4 x 8 decking board. Finished with some left over exterior latex semi gloss paint. This was a fun weekend project - built the chairs on one day, and finished the sanding and painting the next day. My next project is a little outdoor table to go with them, and I have a few scraps left over to use for that. These chairs have received lots of compliments, and we've given Ana's web site name to several admirers. Ana, thank you for your wonderful plans!
Sun, 09/28/2014 - 18:15
Hi Mepaganjr,
I used the plan for the Simple Outdoor Lounge Chair
http://ana-white.com/2010/05/plans/simple-outdoor-lounge-chair
as my guide for the seat part, and the slant of the back,
and used Ana's Adirondack Chair
http://ana-white.com/2010/05/furniture-plans-adirondack-chair-ana.html
as the inspiration for the tall chair back and front legs. I did several adjustments to fit the mixture of sizes of 2x and 5/4 scrap wood that I had available. I traced a paint can lid to make the curve on the top of the chair backs.
A great plan that has a similar seat and legs is the Adult Adirondack Chair, which is in Ana's book, The Handbuilt Home, on page 174. That's a great plan because it only uses six 1x4's an one 1x2. If I hadn't been using up the mixed scrap lumber, I would have used the Adult Adirondack Chair plan.
Happy building! :) Joanne
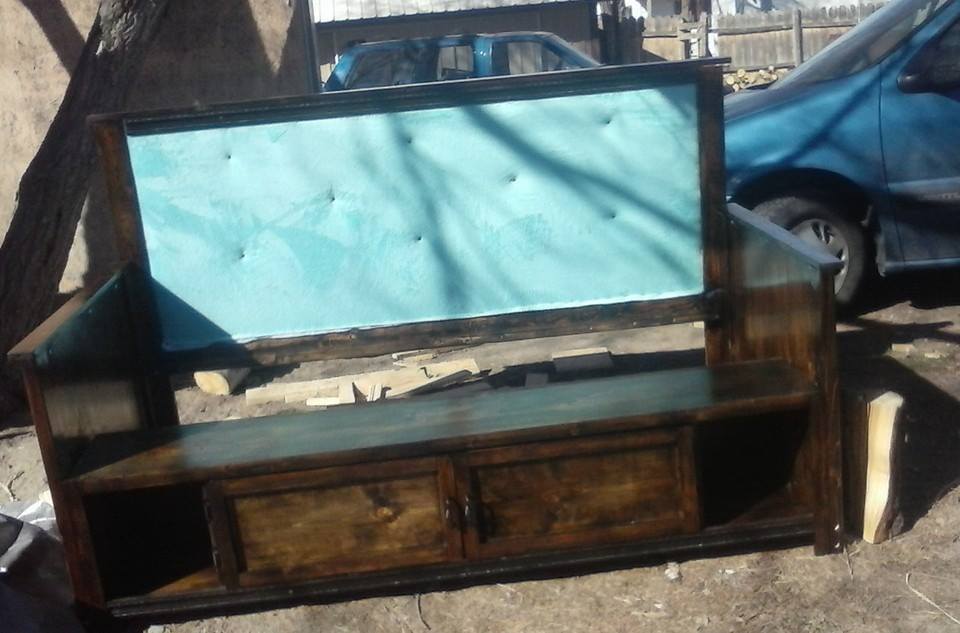
Built with most plans from the day bed but grooved the 2x4 a 1/2" and used a 1/4 plywood on back and stuffed it and wraped in fabric then used tack to make a tuck pattern. Still need to install slats but is mostly done here. Was stained with a jacobean stain.
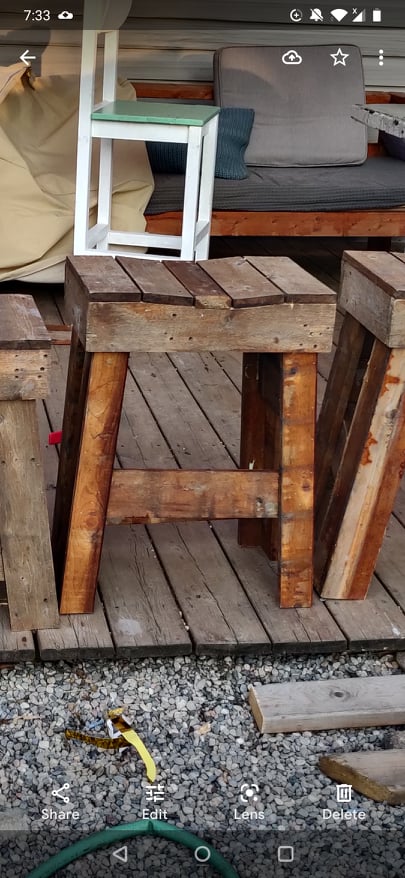
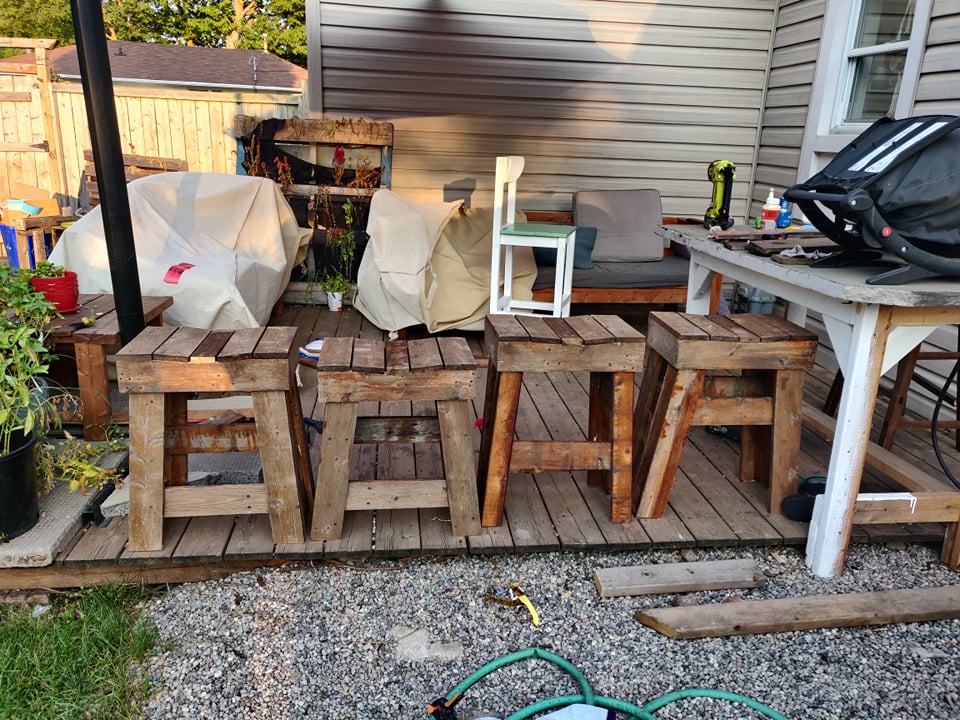
one of my first ana white plans was a cedar outdoor table and chairs that I was never 100% happy with but never the less lasted ten years before yesterday when I decided to undo all the screws (I didn't use glue on this one and it wasn't a kreg project - probably why I wasn't happy with it!).
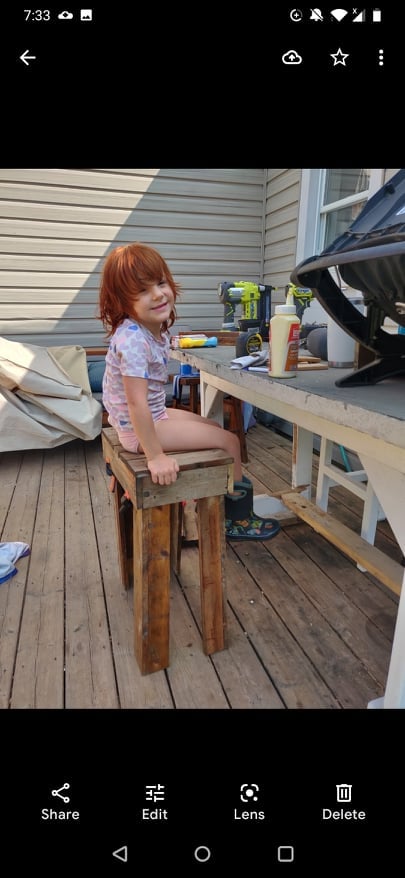
I transformed those simple benches and table into four stools (varying heights for various members of the family) as well as a cedar planter. So the wood was 100% from the previous project so there is a lot of variance in the stain.
I sort of merged the adirondack stool and the farmhouse counter stool patterns as I didn't do both a bevel and a mitre cut I just a 5 degree mitre for the legs.
I used 1x3 and 1x4 for the legs and joined them together to make an L (I saw this on another brag post on the site) because I wanted to reuse the wood that I had leftover from the bench.
I put together the entire project using glues and brad nails but I will be adding some extra screws for longevity.
for the top, I took a 1x4 and traced a slight angle out of the top based on that of another stool I had and cut it out with a jig saw, to make the seat a bit more comfortable than the flat seat on the farmhouse stools. They are very comfortable and this was such an easy mod!
I enjoyed building this project for my wife. The plans are easy to follow. I decided to trim the desk by adding 1x3 boards along the sides, and widened the shelves on the bottom with additional 1x3 boards. I also found an old chair and stained it to match the desk.
