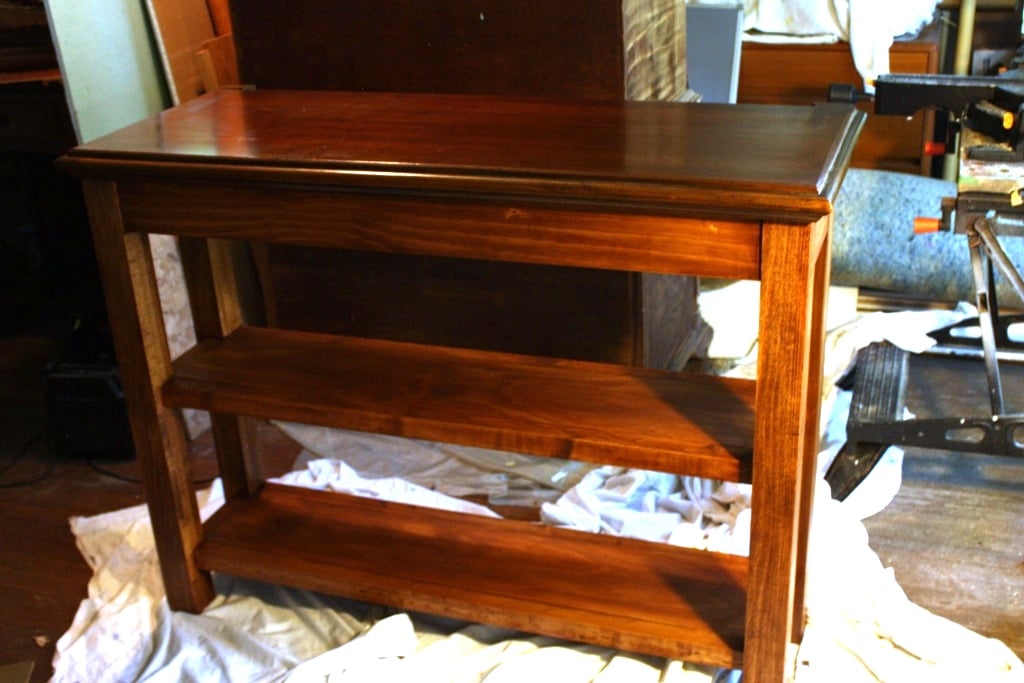
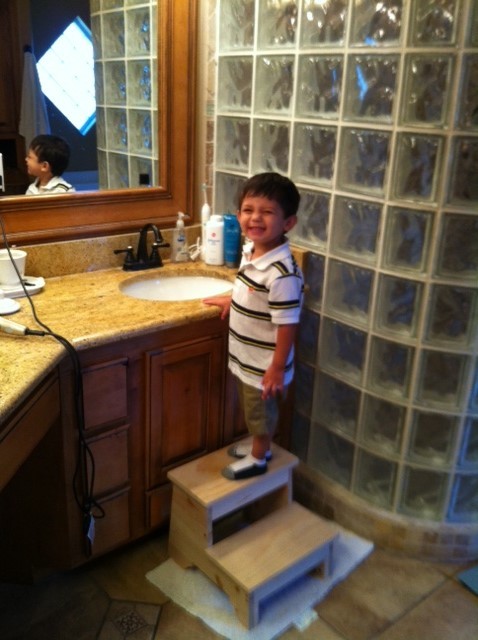
At dinner a couple of nights ago with a good friend and his wife she commented that she really needed a stool of some sort for her older kid to stand on at the bathroom sink. Well that need became the next quest for me. I really savor trying to fill a need quickly and successfully. It took a few hours from the scrap pile to put the stool together and it appears from the picture that it was a success.
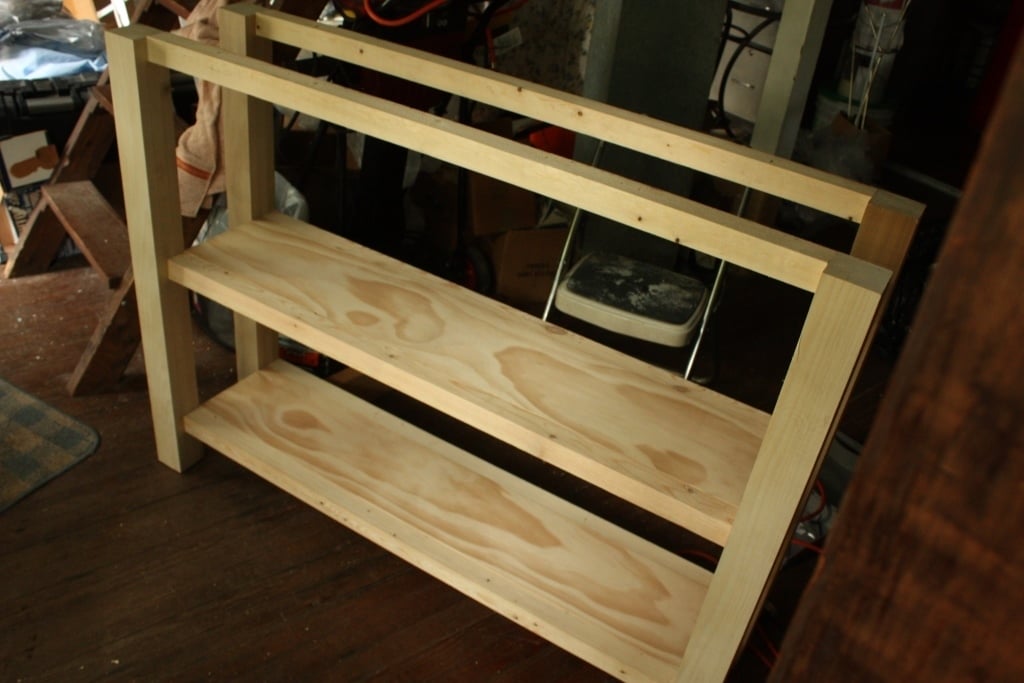
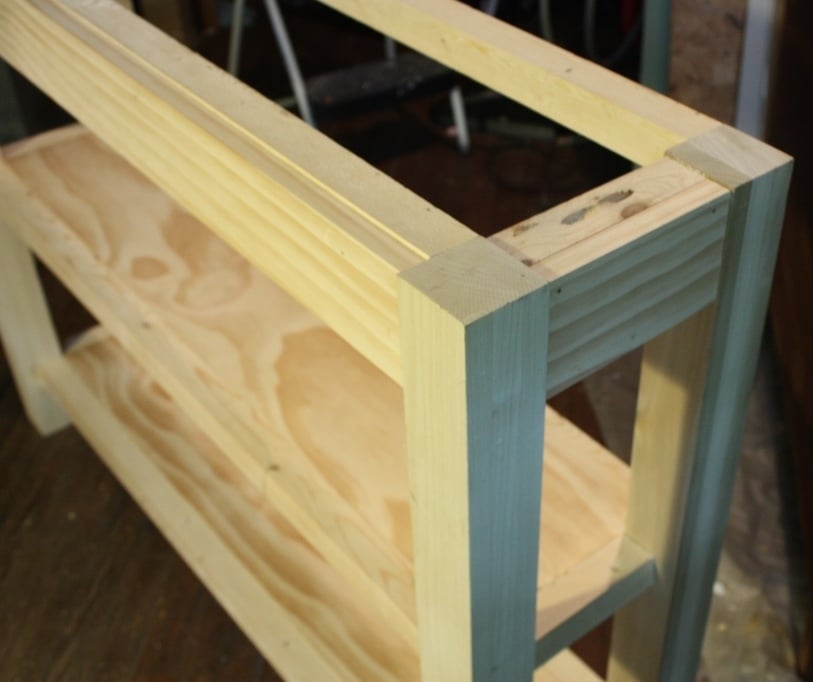
I deviated from the plan just a little by adding stiffeners on the four legs just because I did not like the direction of the wood grain and felt they might break off with enough lateral force.
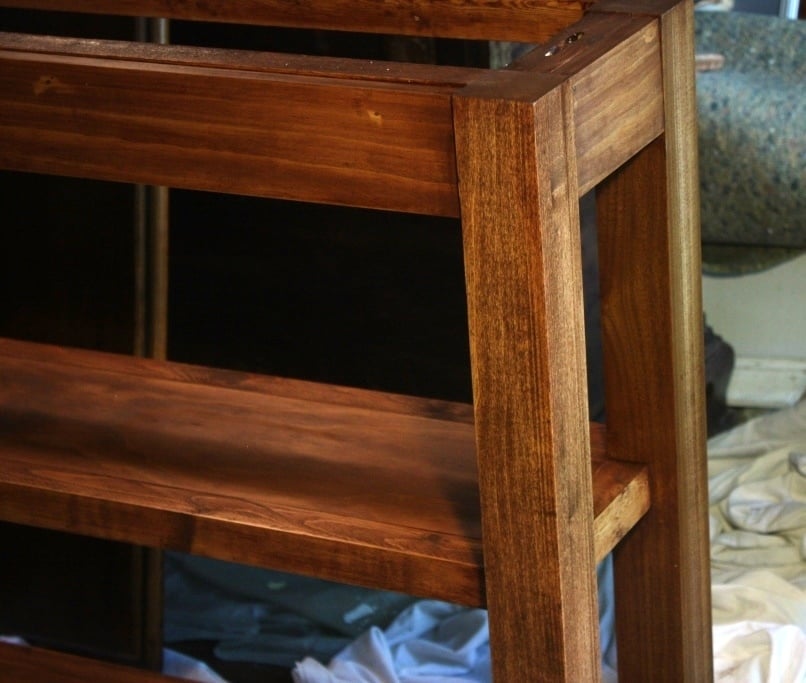
If I build another stool of this type I think I would hinge the top step to give access to a small storage compartment. Should be easy to do and could add some versatility to the stool's function.