Rustic X Console
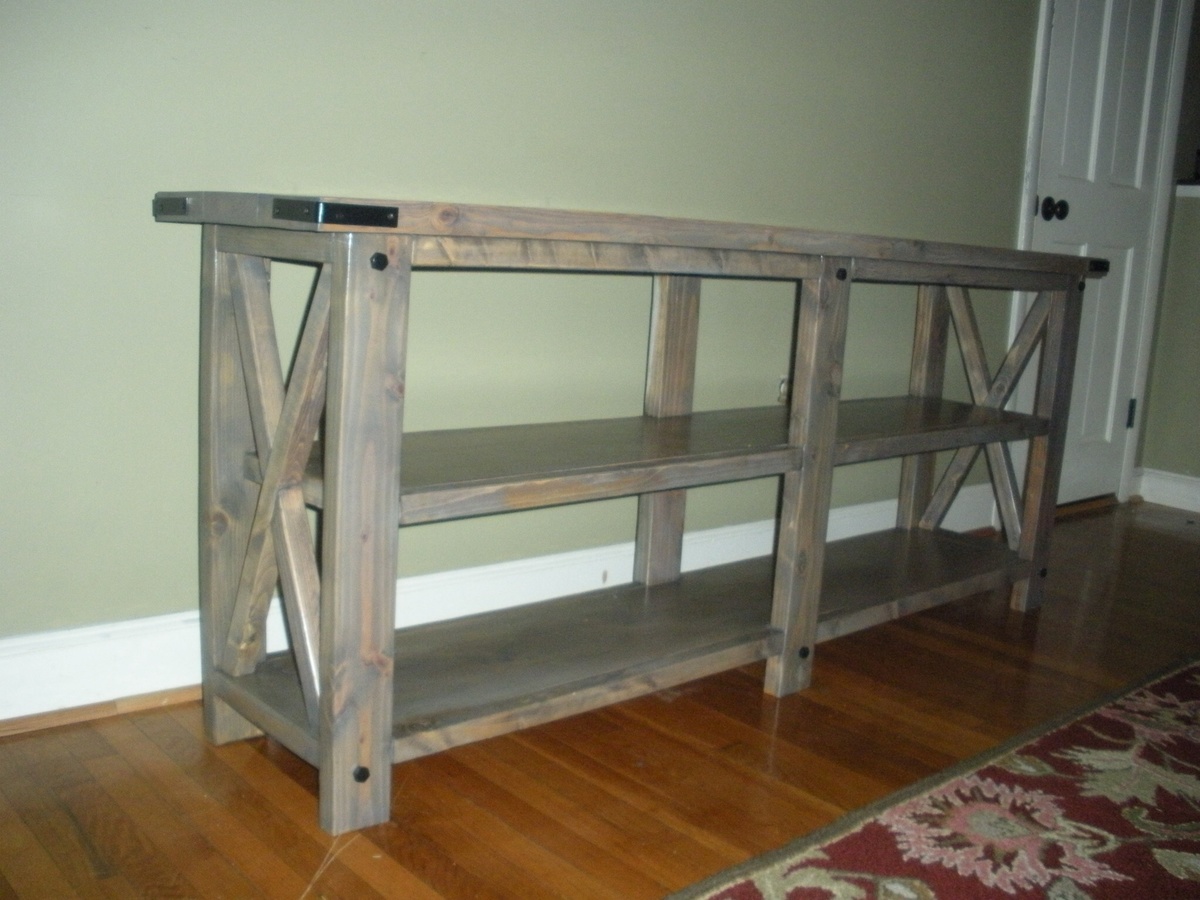
Rustic X Console....... I have made this table four times and love it!!!
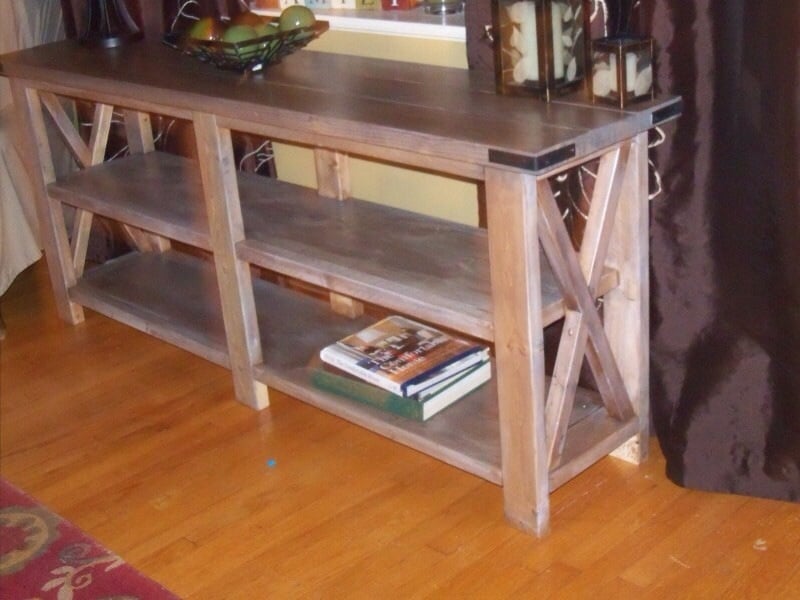
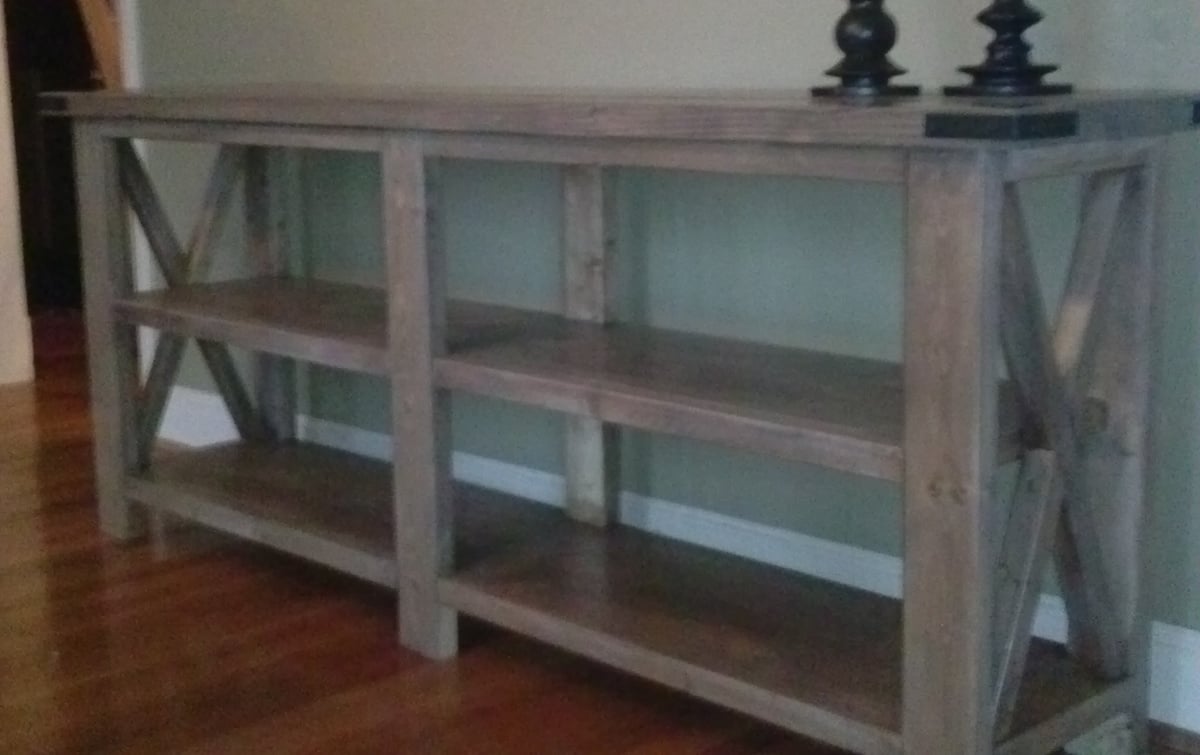
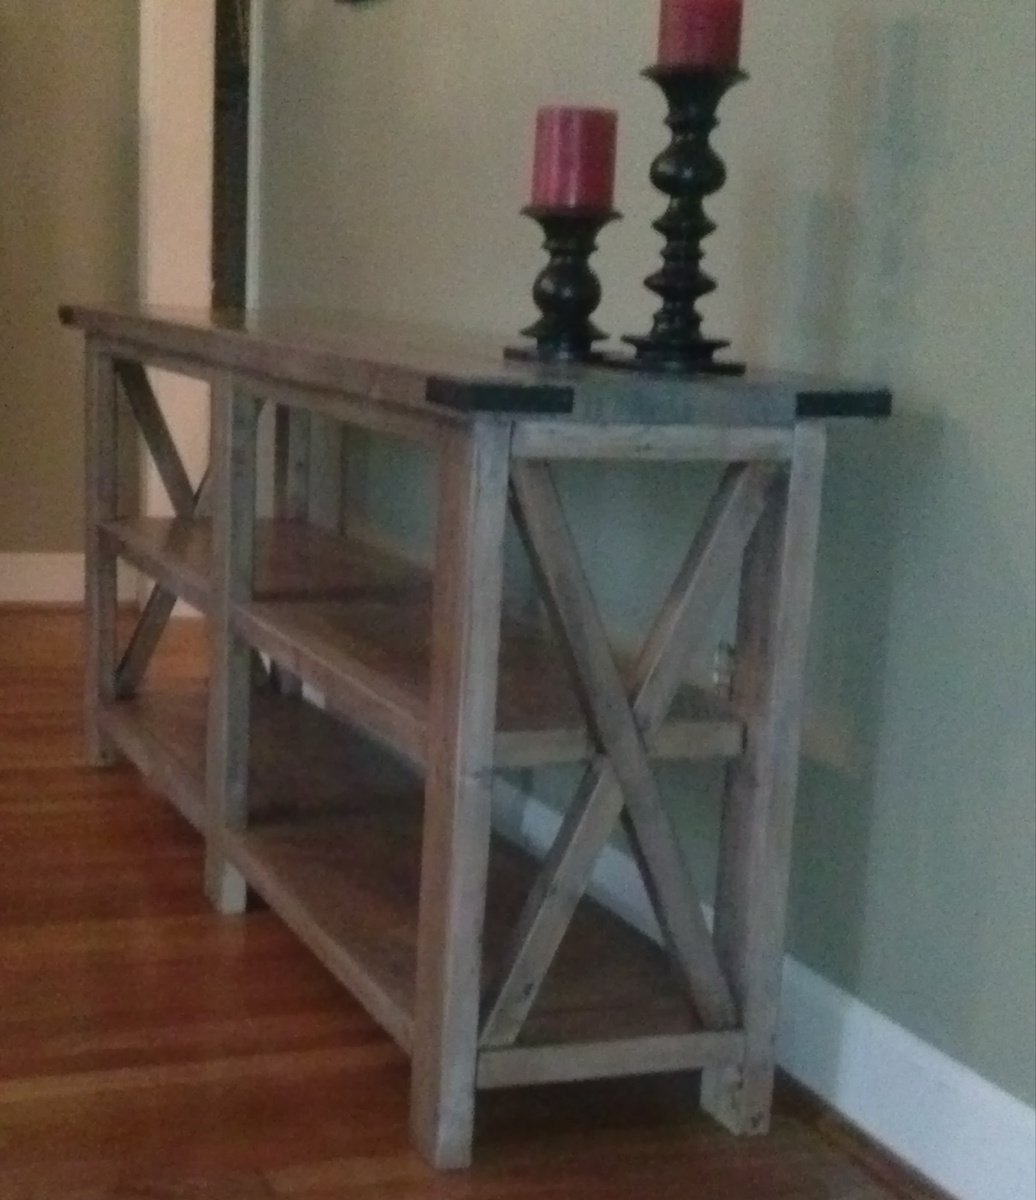
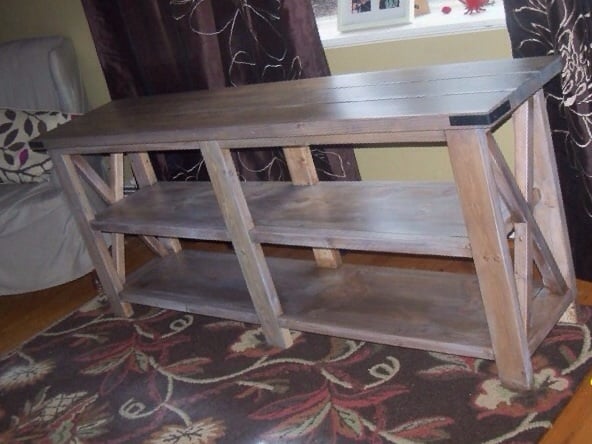
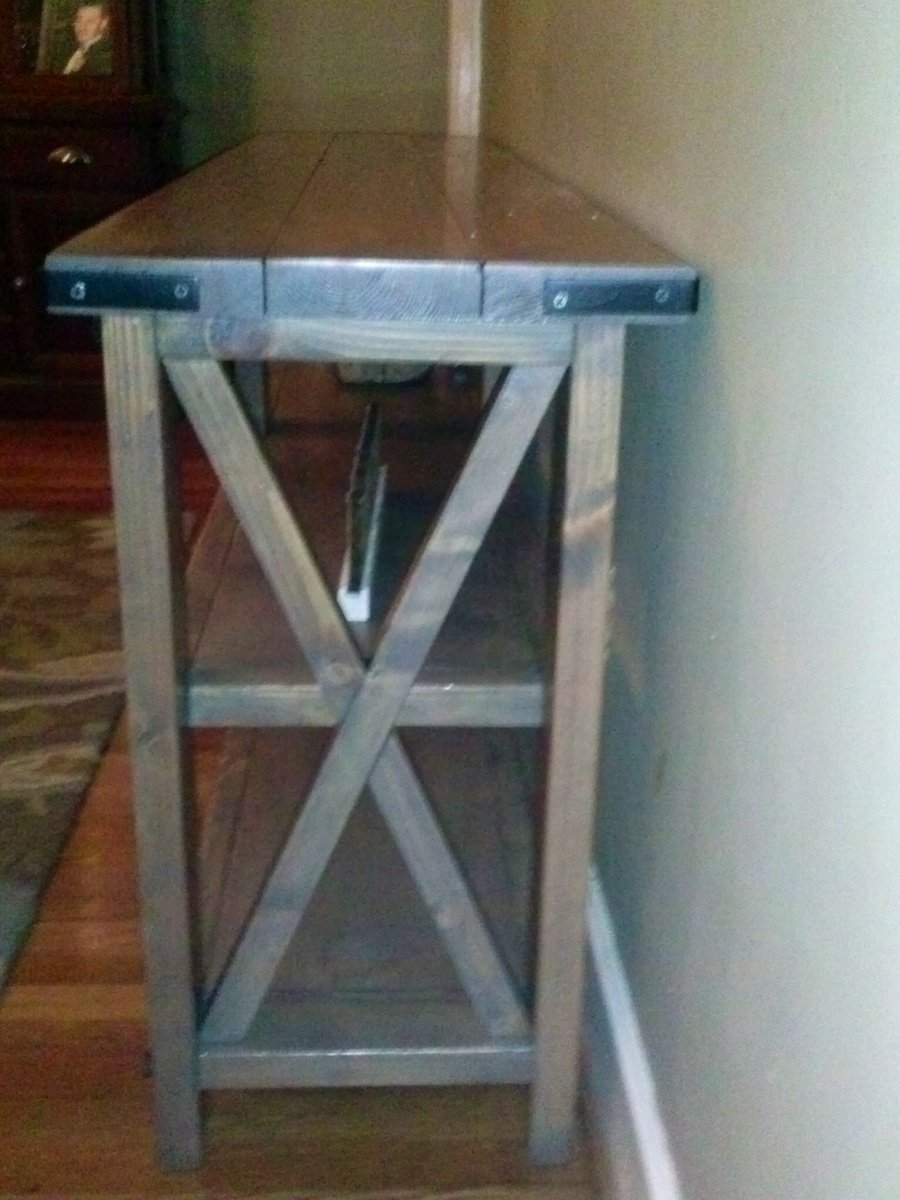

Rustic X Console....... I have made this table four times and love it!!!


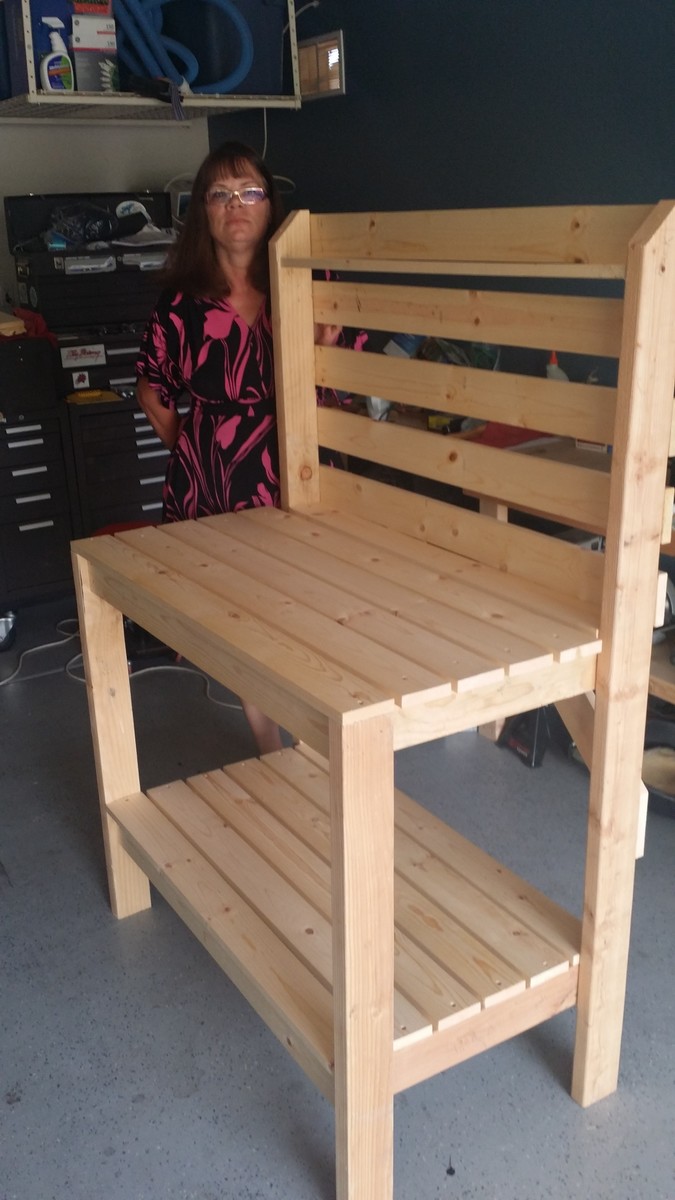
Hello Ana, this is my second project that I have done according to your plans and surely not my last. I had bought the wood I needed a few months ago and it wasn't until the day before Mother's day that I realized I didn't have anything for the Mother of my three children. I could have made an excuse and told her I was broke from our trip to Key largo and the Grand Cayman islands in April but then I remembered your plans for a neat potting bench. I went to my home office and printed off your plans. Next I cleaned out enough room in my garage to access my tools and benches, four hours later...Boom! Potting bench with a surprised wife. We are going to allow all of the Grandkids (13) to sign it after she decides what color she wants me to paint it. Thank you so much for posting these great projects. After all it is true "Happy wife, happy life"
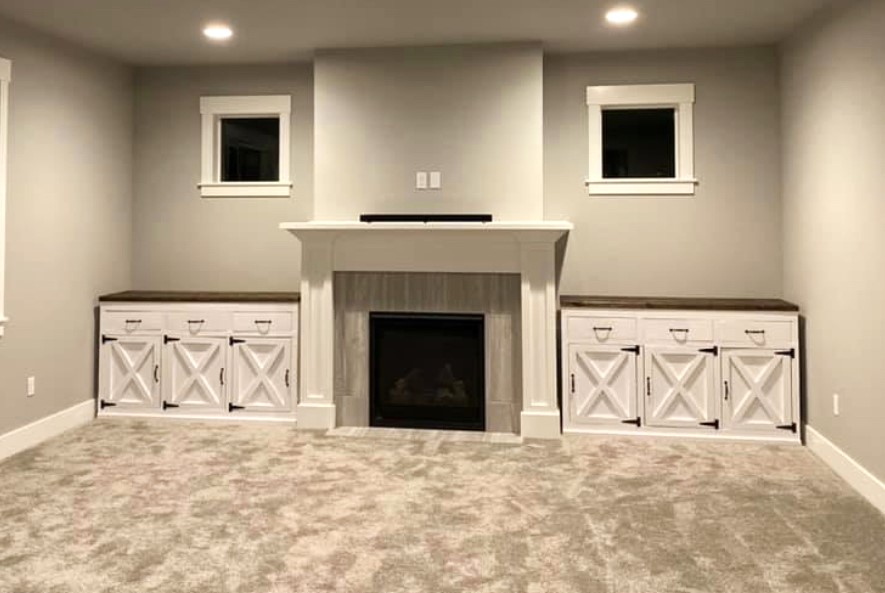
Made to fit perfect
Mon, 02/17/2020 - 19:49
Made to perfectly fit your space! Check this out! Check out Marney Marie on Facebook. Build custom to order!! Made in Oregon!!
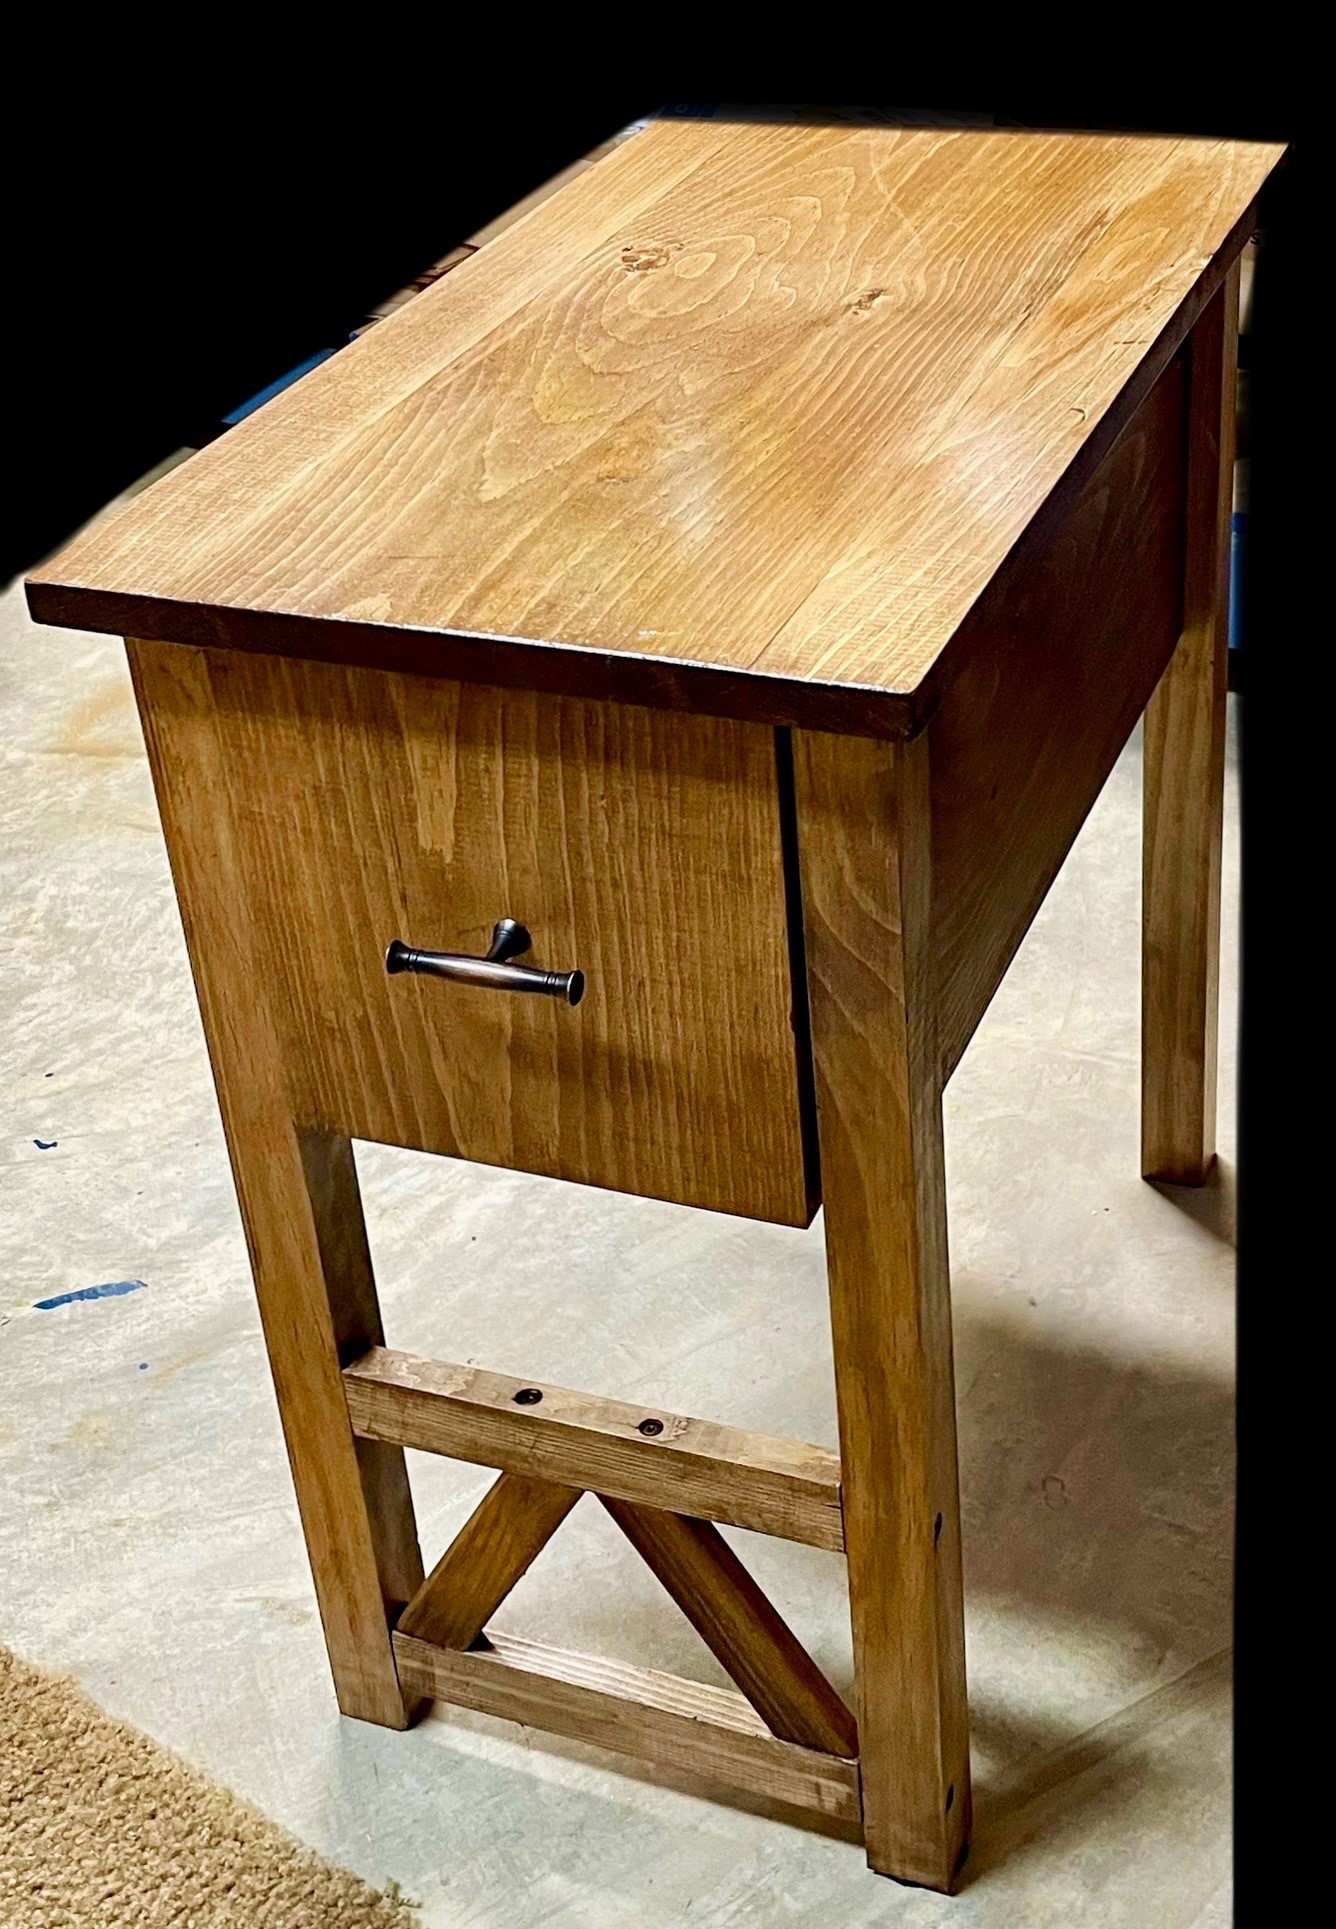
Made for daughter’s first apartment.
Rusty O.
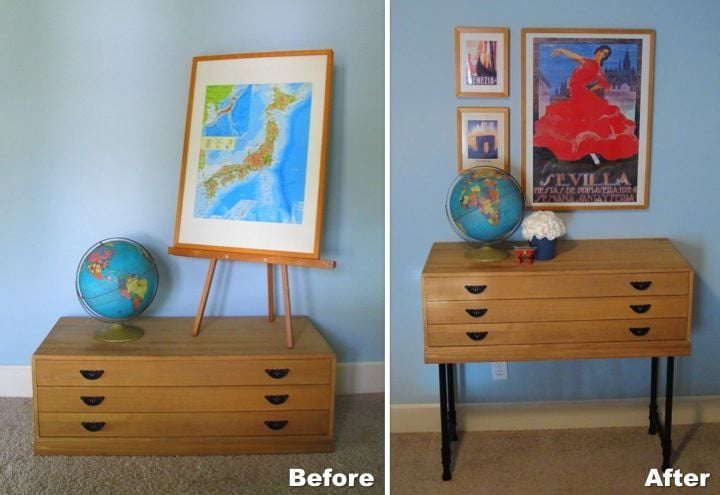
I love the little tansu chest that I bought for my apartment while I was living in Japan, but at only 14" high it has been hard to incorporate into my home in the U.S. without it looking like a piece of doll furniture.
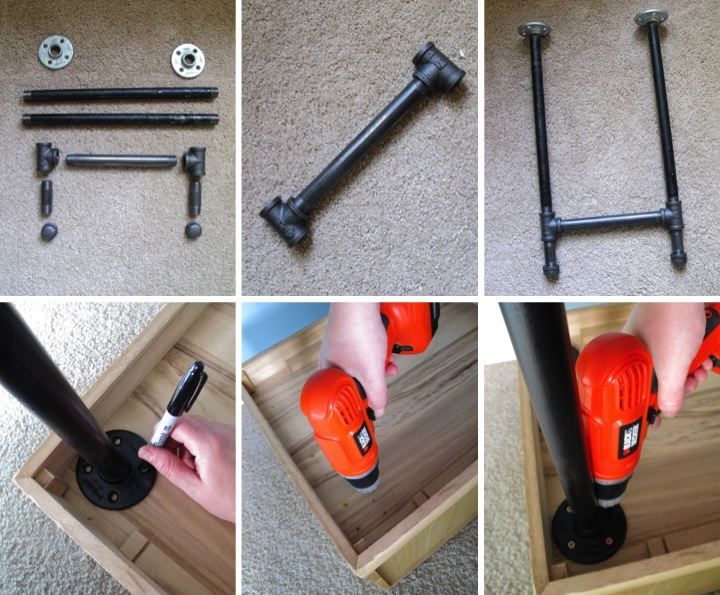
To solve my problem I decided to try to turn it into a console table. I wasn't able to find wood with the fine grain to match the chest for legs so I decided to match the black metal pulls instead.
While I was trying to figure out what to do I remembered seeing the DIY Industrial Cart here that used pipes between the shelves which inspired me to use pipes for the legs.
For details, check out my blog: http://www.homeandawaywithlisa.com/blog/2012/4/30/turning-a-chest-into-…
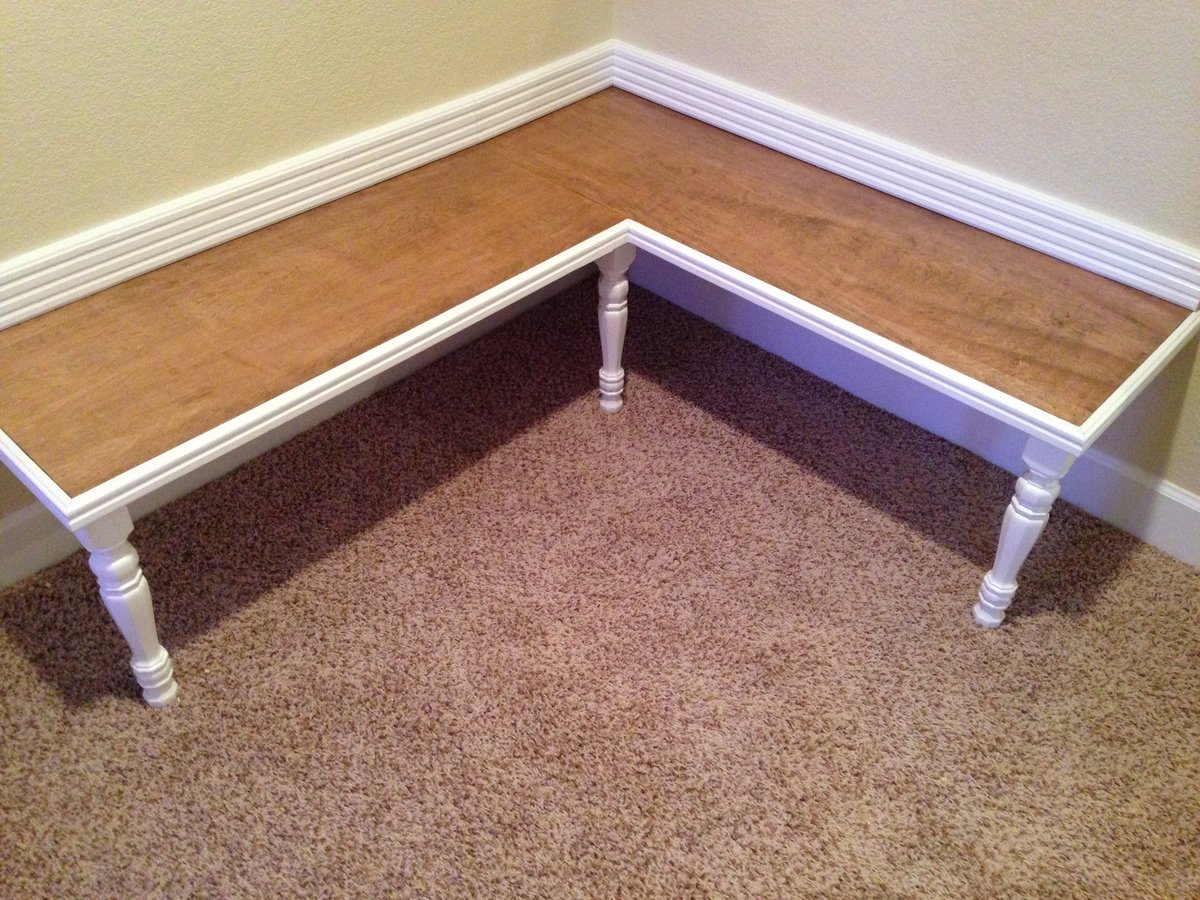
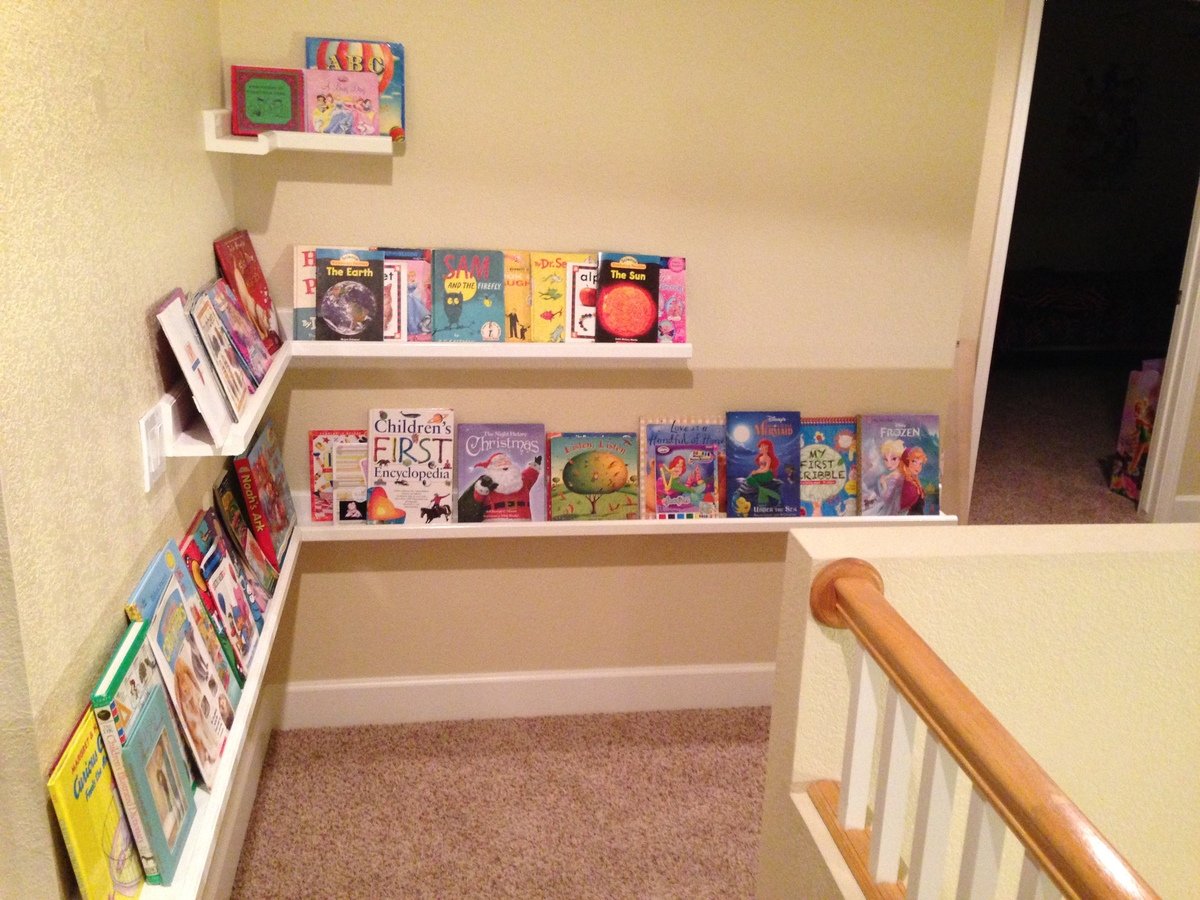
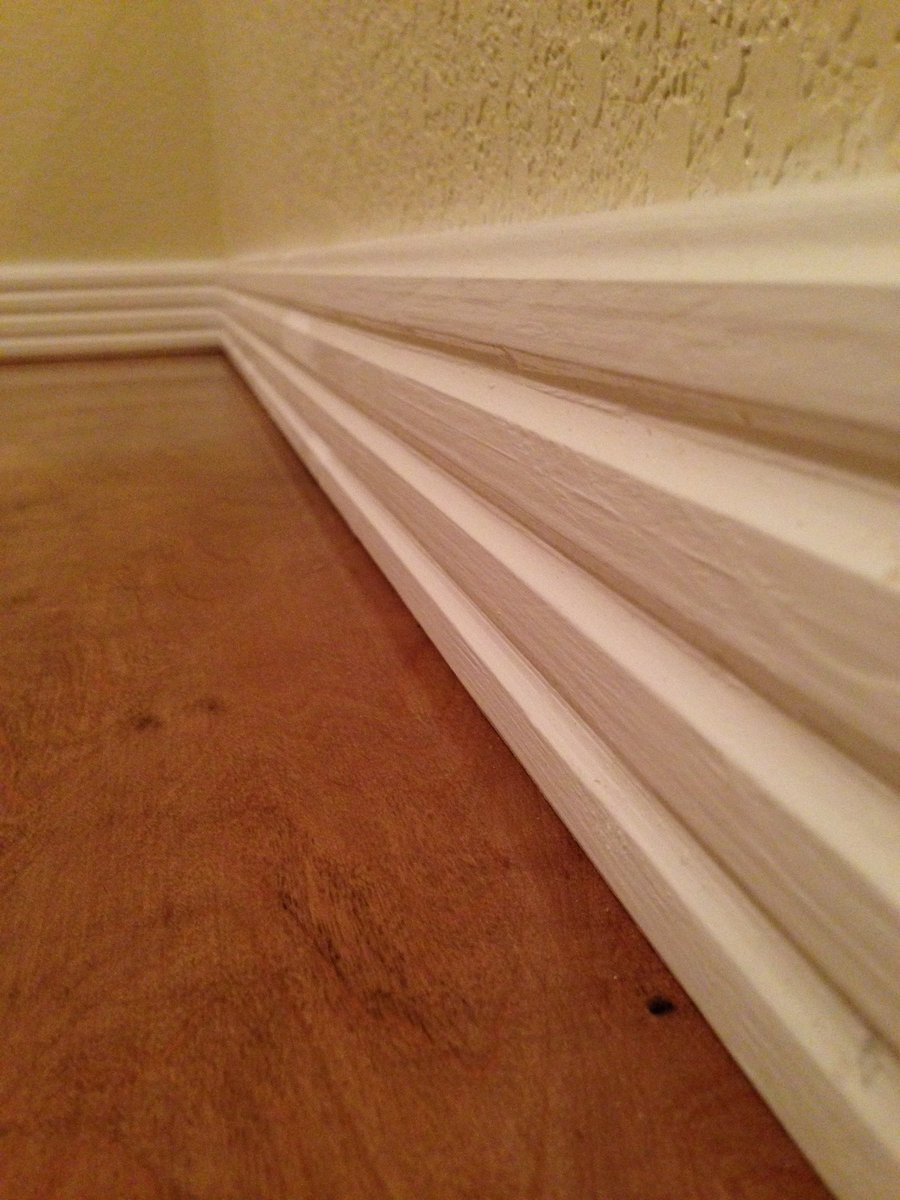
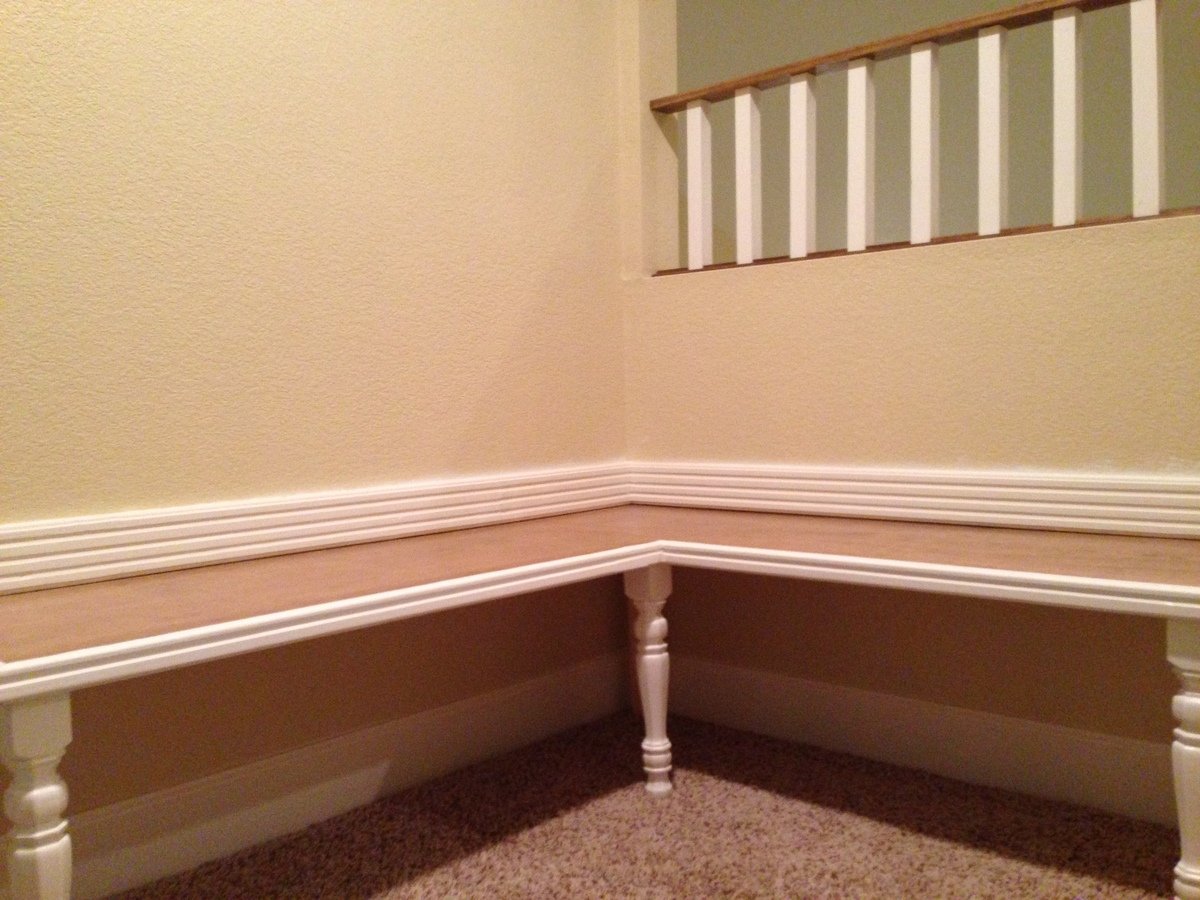
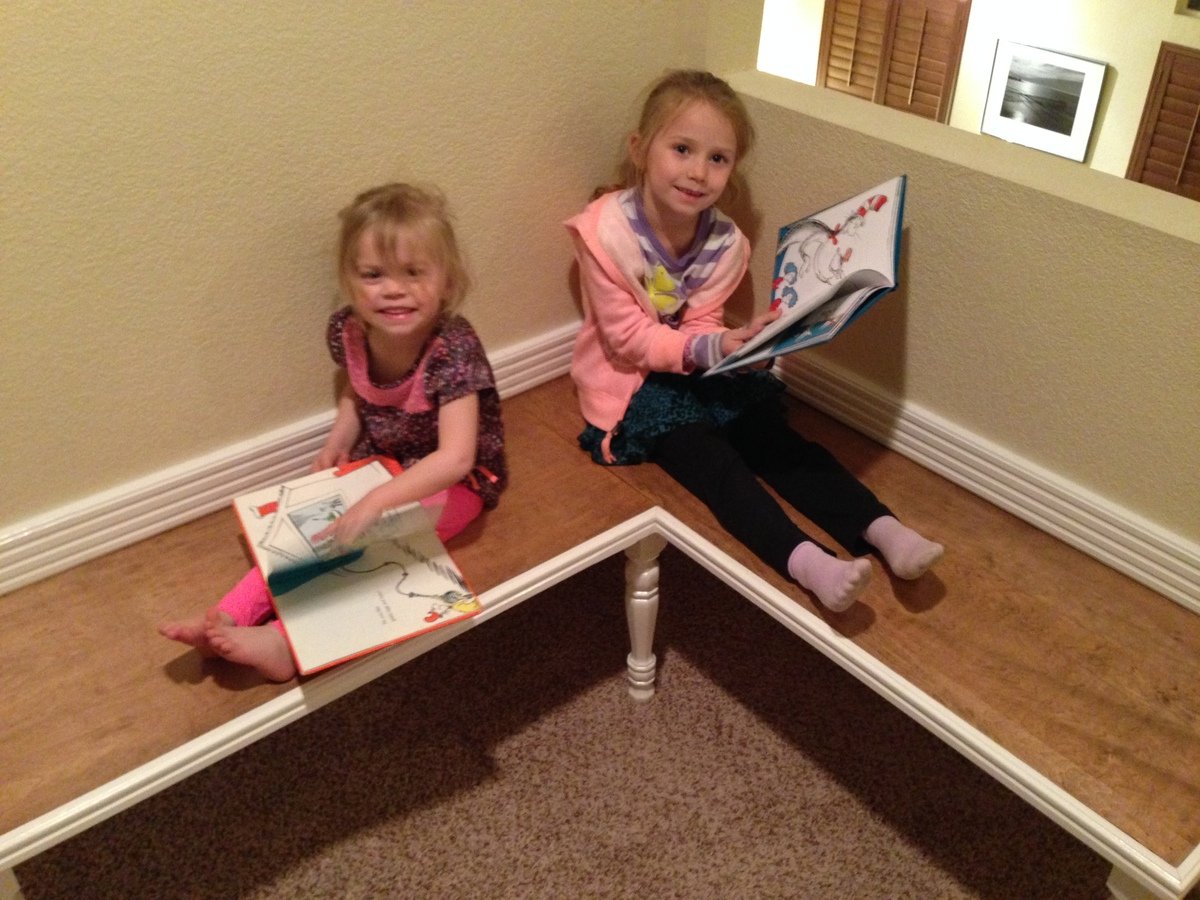
My wife and I wanted to turn our upstairs hallway/vacant little area into a book nook for our girls. My wife found some shelves that she wanted me to copy, so I did, but I added some custom routing to them. I had an area where I wanted to build an L shaped bench for the girls to hang out and read on. I had some old chair legs lying around, that I decided to recycle and use for the bench. I knew it would be a lot of work to sand them down and restain them, and my wife LOVES everything painted white (I don't get it) so I painted them white. At that point I had an idea to use some maple hardwood plywood for the bench seat, but I wanted it to be trimmed/outlined in white. I ran some pine furring through my joiner/planer and then I did some custom routing to it. I finish sanded the pine trim pieces and then painted them white as well. The maple plywood got a lite scuffing with 220 then stained and clear coated with some water based oil modified minwax semigloss poly. After I finished building the nook, there was some concern of the girls climbing up over the top of the bench and falling from the second story. I then custom routed some kiln dried pine, and planed some 2x2 furring, until it was square. The 2x2 was painted white and the kiln dried pine was stained and cleared, then I installed the safety rail. If anyone wants a build plan, I can write a step by step on how to build this or something similar to it.
Easy, inexpensive, and fun- as always with Ana's plans.
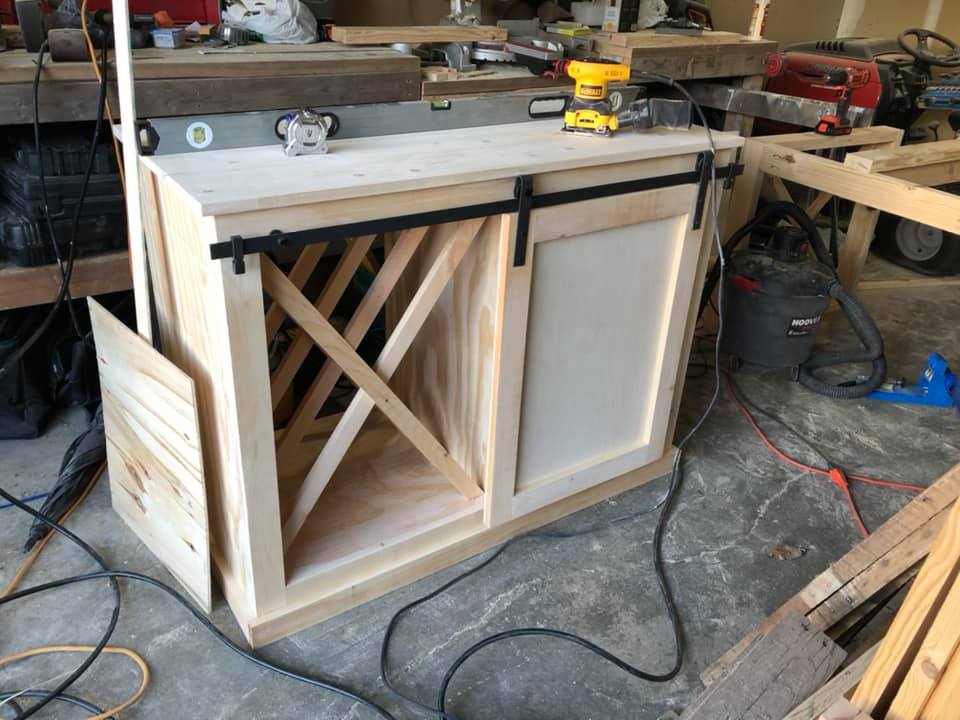
Built by Shaun Damon Beck

DIY Rustic Porch Swing
So now that everyone at work found out that I could build furniture I started getting special request. I modified the top of the benchwright table that way my co-worker can use this table to hold their 30 gallon fish tank. This was a pretty easy build once I found a place without warped wood.
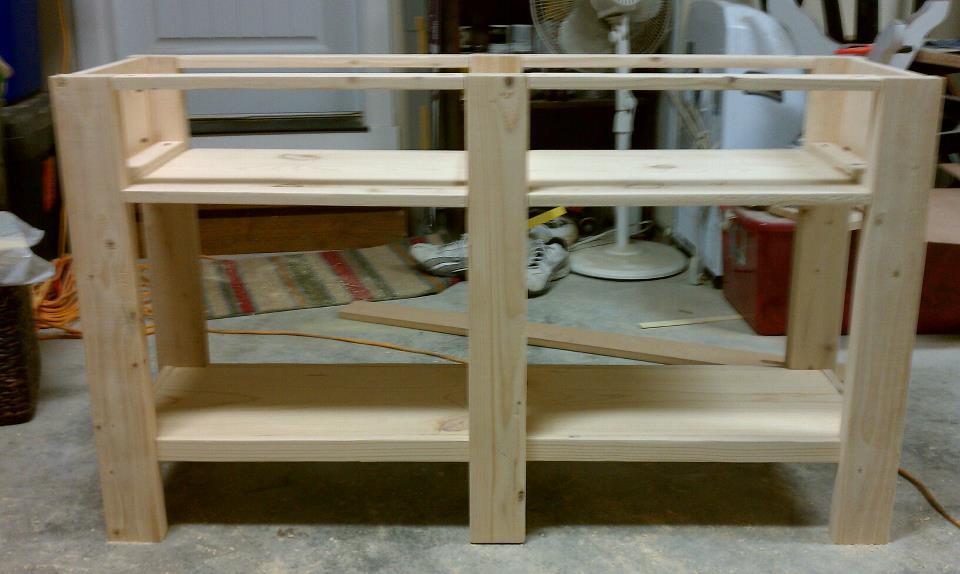
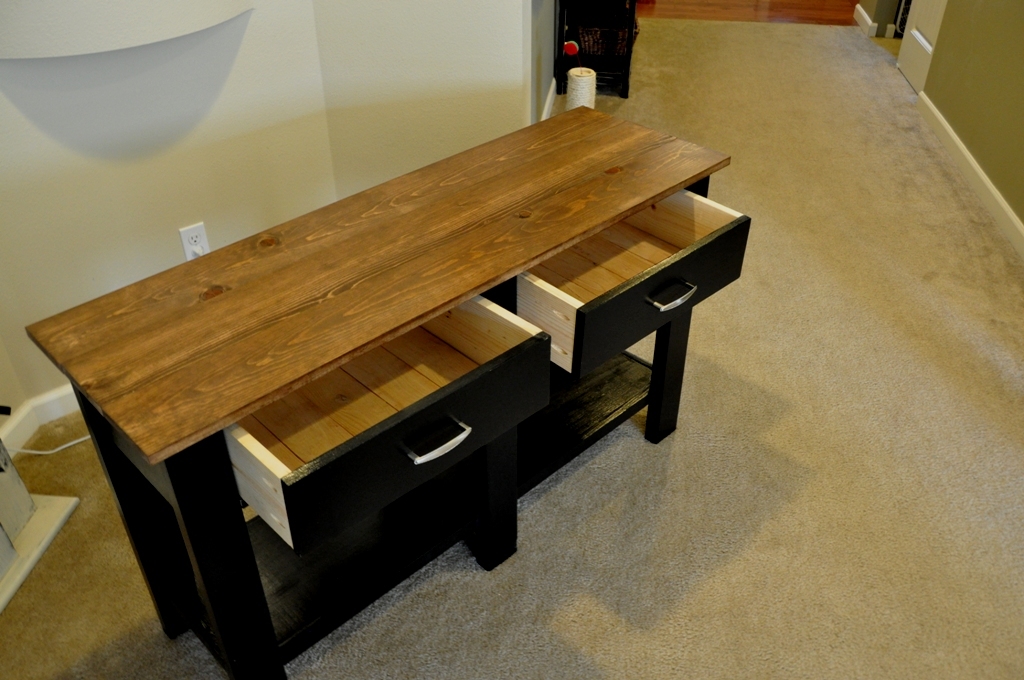
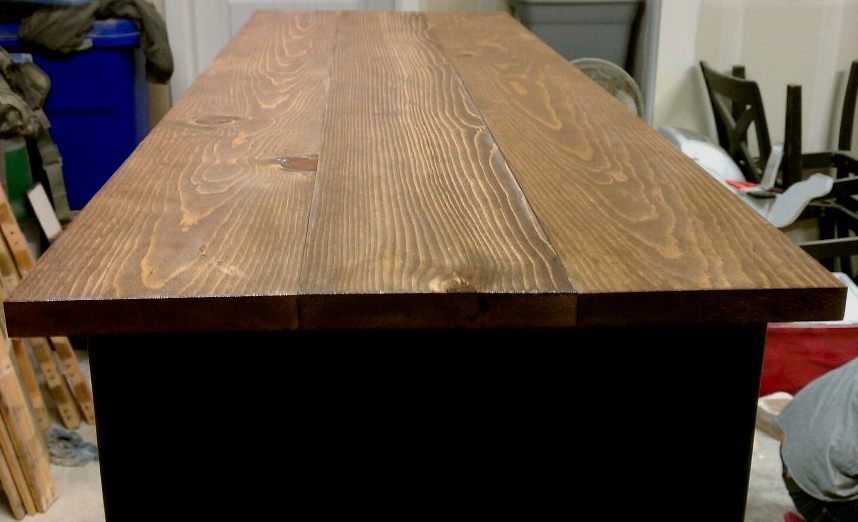
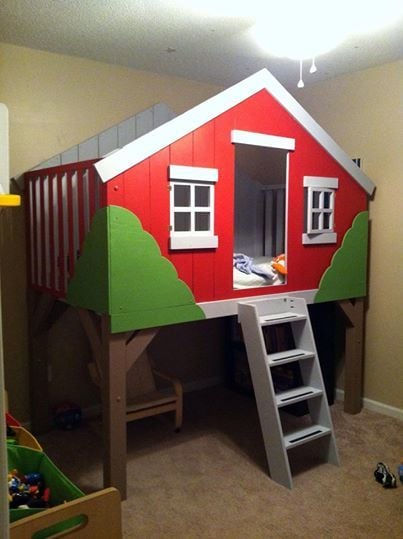
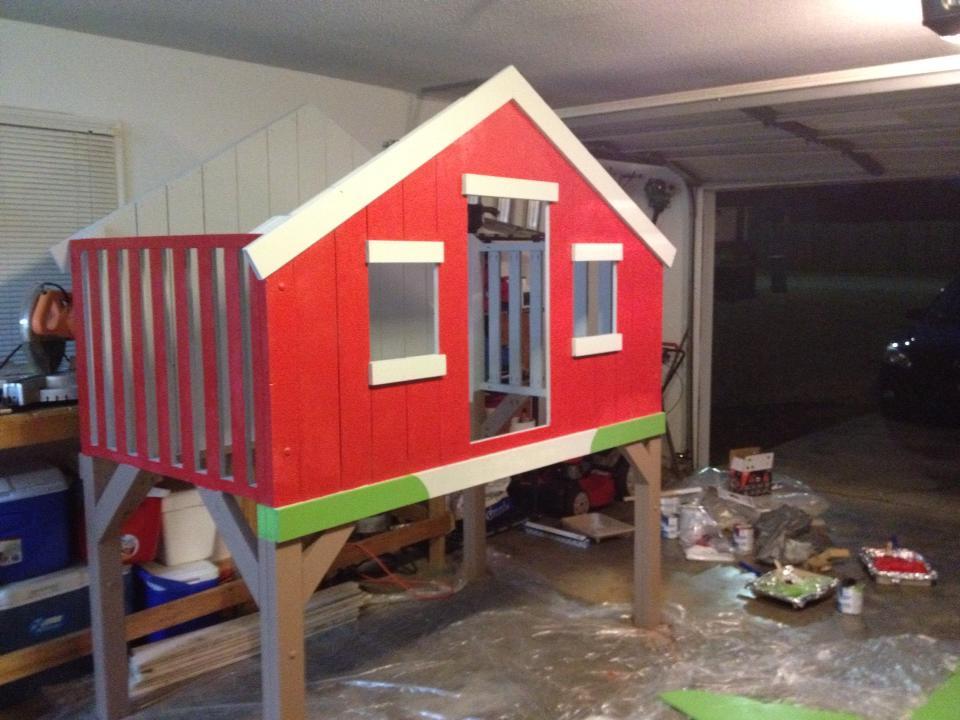
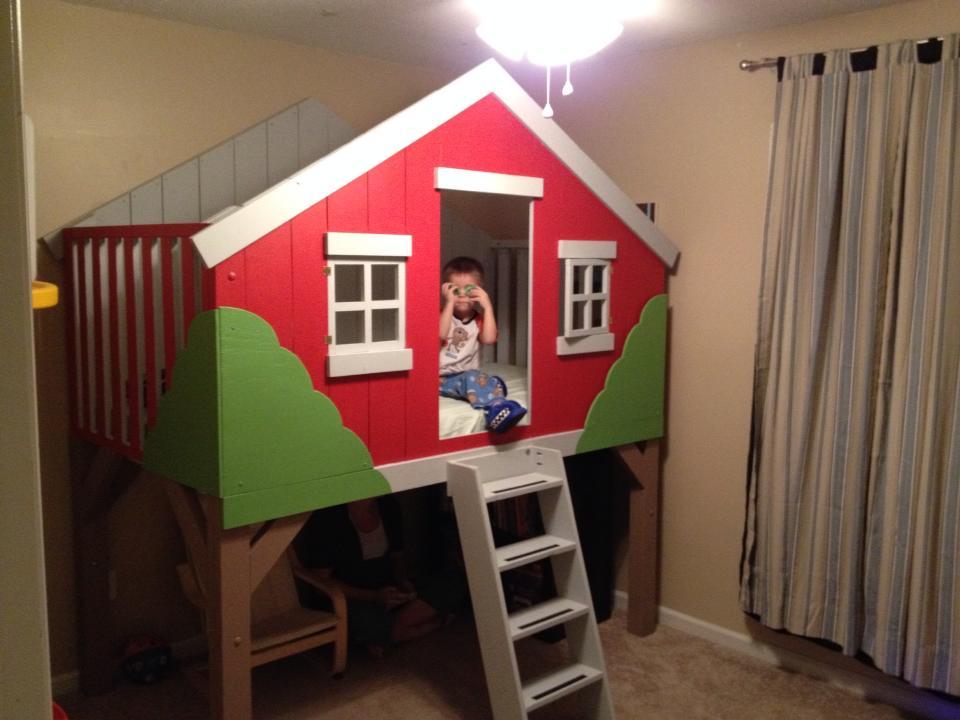
I took the Ana White plans for this bed and modified them just slightly. I decided to cover up the top opening on the front, and add some plywood "trees" so that the ned looks like it is being suspended by the trees. I used whitewood from Lowe's, a compound miter saw, the AWESOME Kreg Jig, and a drill. The whole thing took about three days to construct and about two days to paint 2 coats. If you see from the pictures that the side pieces of 1x4 trim are missing, you are right. When I measured the 34" instead of the 34 1/4" it was too short for the sides and wouldn't match up with the front trim. Even if I used the 34', there was a gap so I left it off. I added a fourth step and I also put grip tape on the stairs because my homeboy like to sleep in socks and I didn't want him to slip coming down.
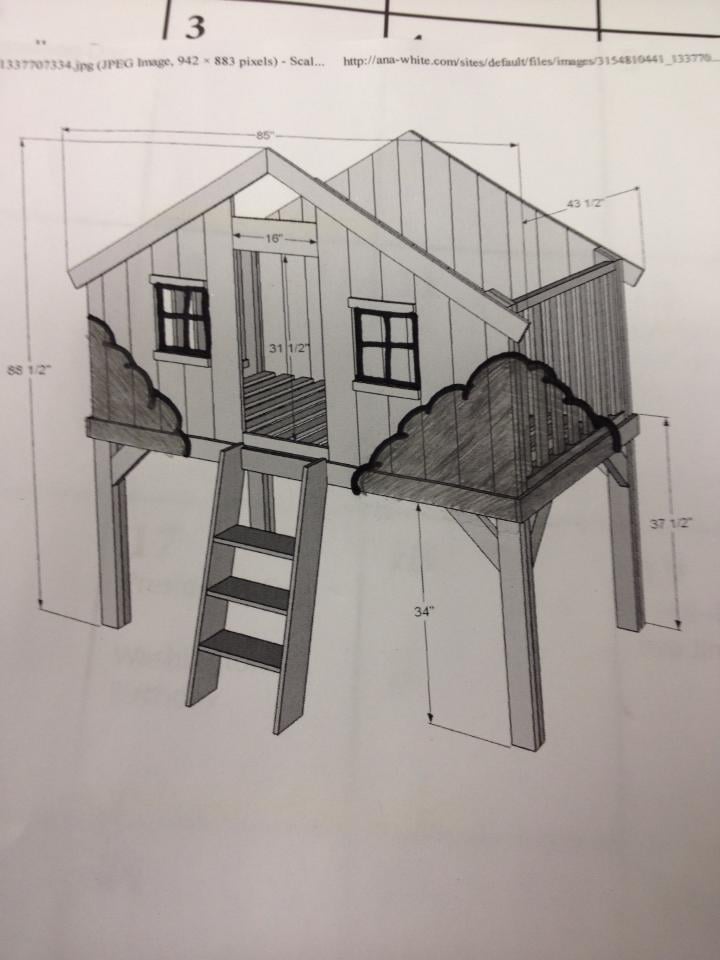
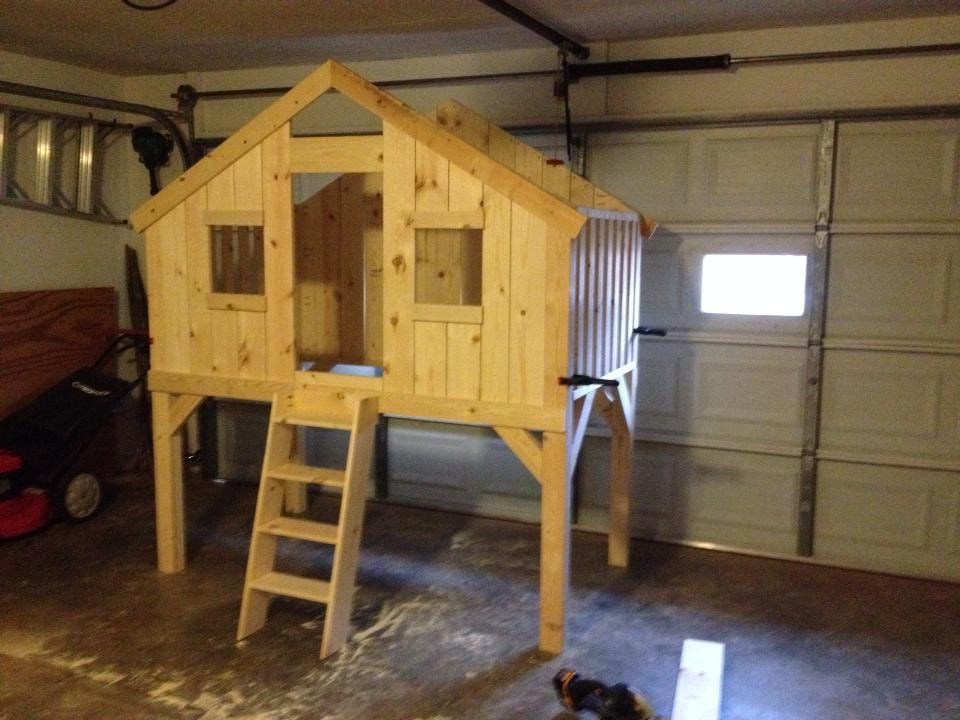
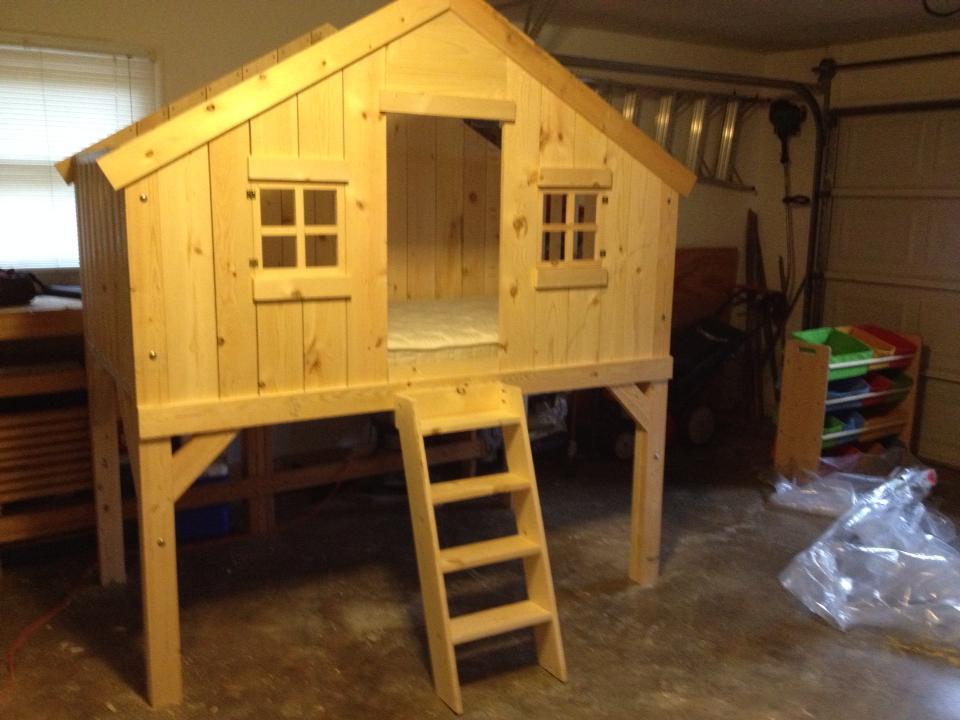
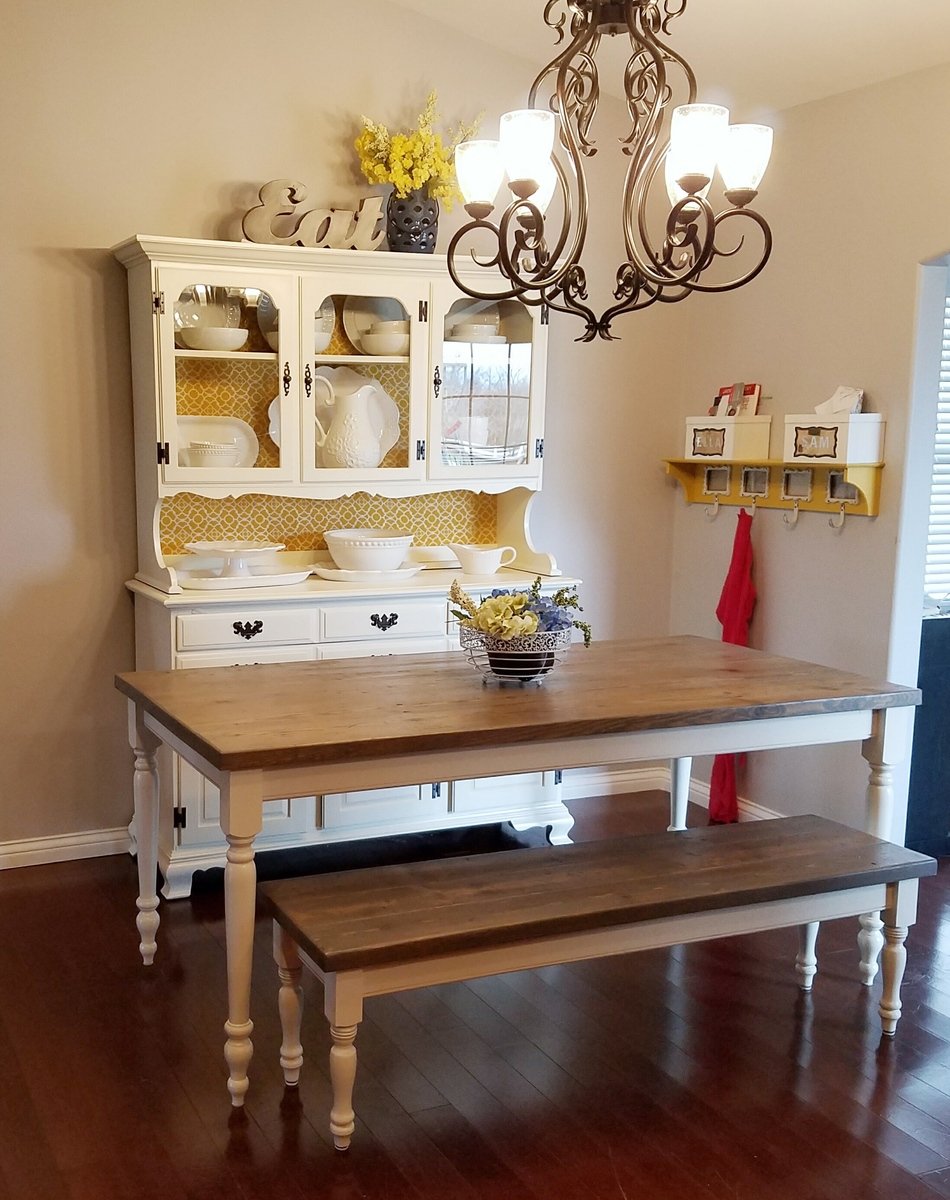
Super easy base plans. Made a few modifications, and it came out beautifully.
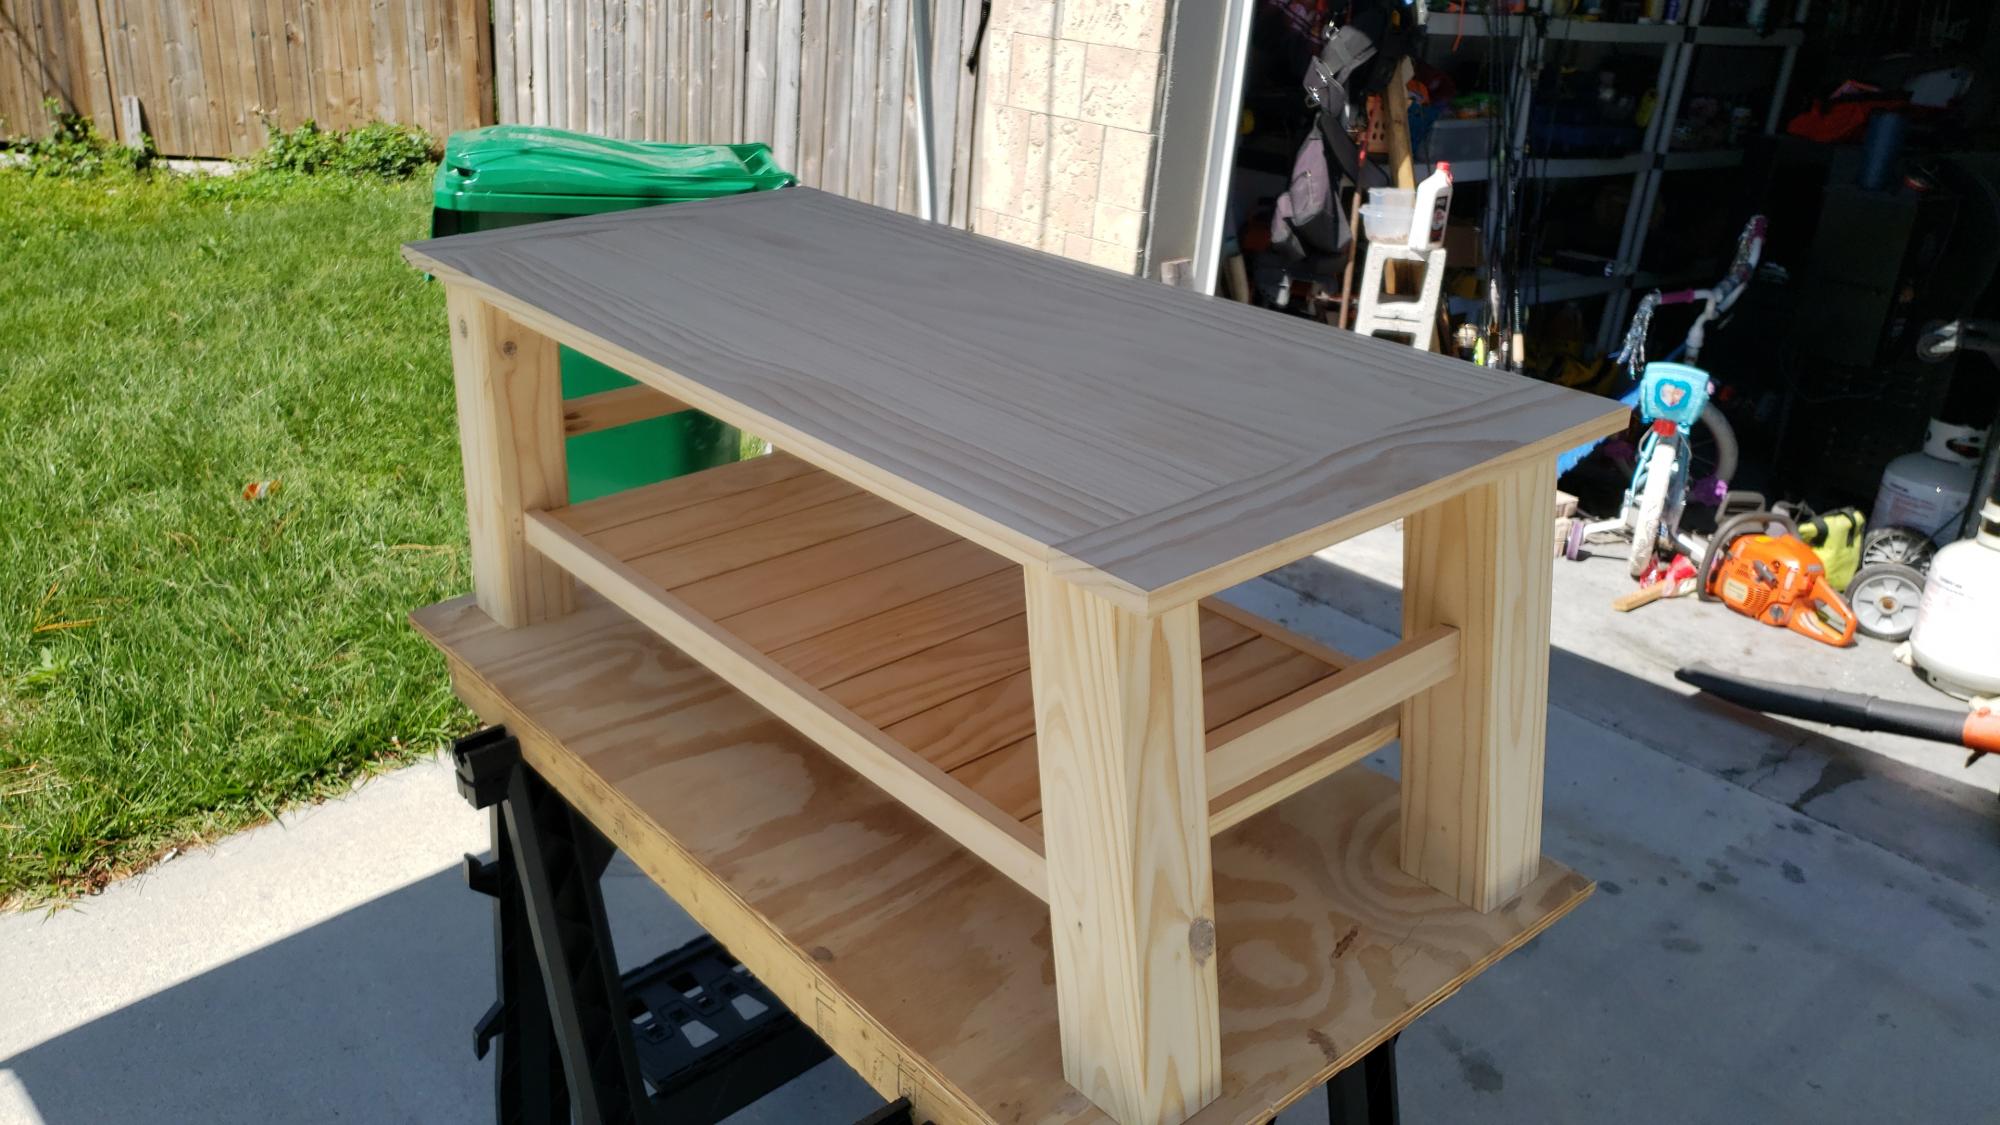
All in all, I'm pleased with the way it came out. The person that I built it for wanted a weathered gray stain. It wouldnt have been my choice, but ince applied, I really liked how it turned out
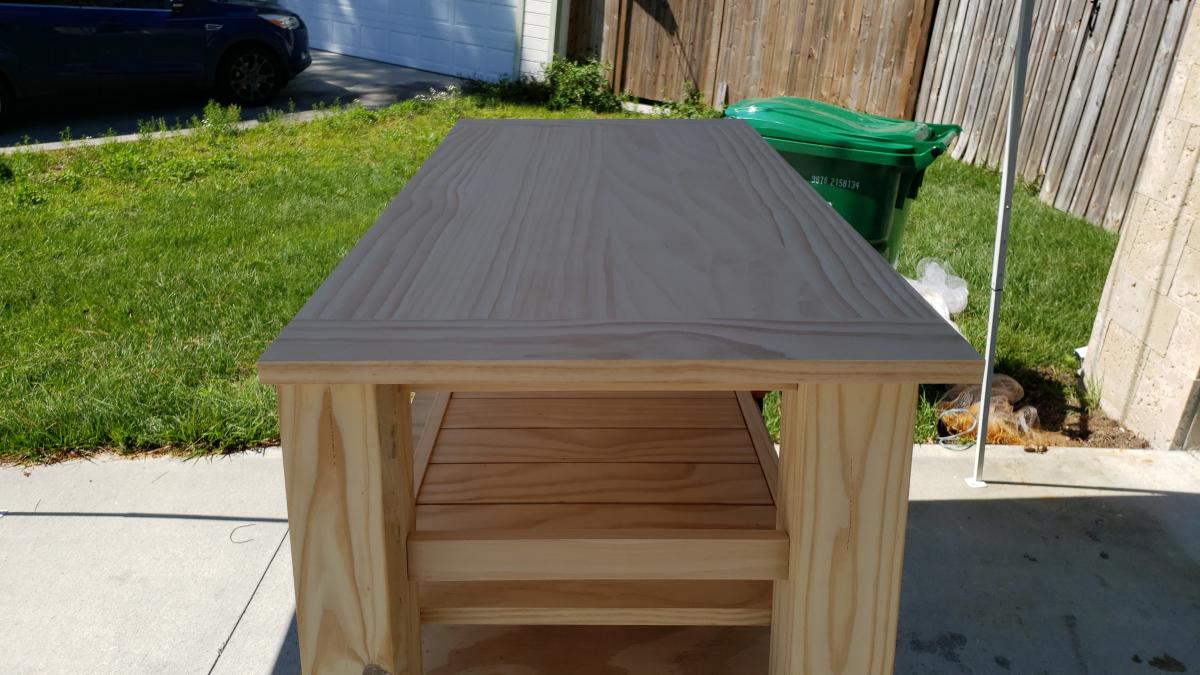
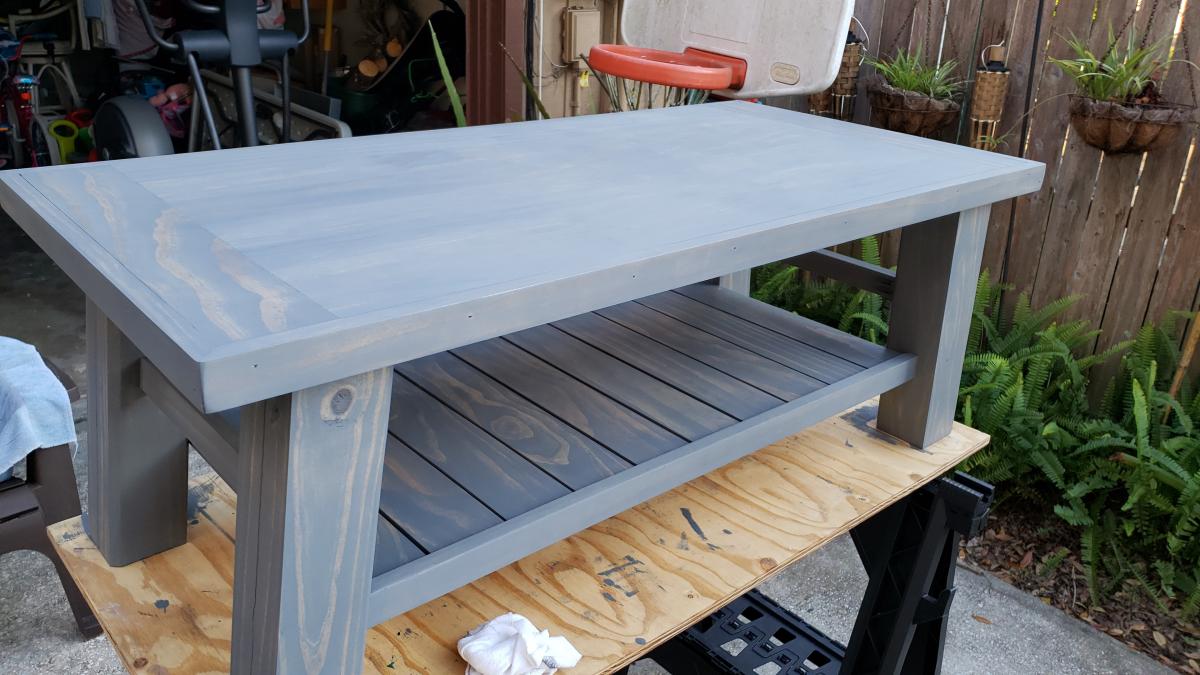

This was one of my first bigger builds. I am so happy with the way it turned out!
Thu, 05/10/2012 - 10:32
So stunning! It's gorgeous! I just love the wood!
Thu, 05/19/2016 - 19:05
This bookcase wouldn't be out of place amongst the Pottery Barn's bookcases. In fact, it inspired me to go out this afternoon and buy some cedar boards so I can start building my own version first thing tomorrow. Thank you, Becky.
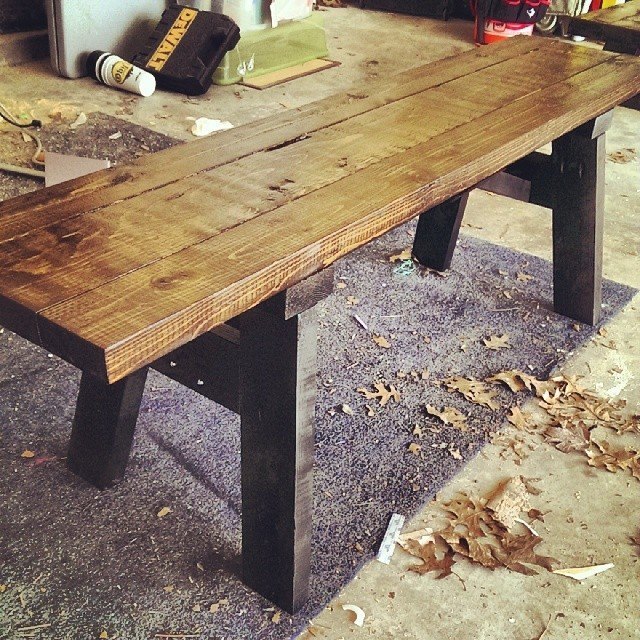
So this was a bit harder than I imagined it would have been given it was my first time to try a plan from the site! The hardest thing was getting the middle beams cut correctly.
I shortened the length of the bench to 56" to fit our space and so that changed all of the angles (well, the angles on the center beam). The Kreg Jig is a must here and really helped.
3 tiered flower/garden bed, untreated in pic, need to find a food safe wood sealer this weekend and then we can fill with dirt and plant. We are using it as a garden. 21ftx6ft, 35 inches high.
Simple to build rustic end tables/side tables. These were stained in a red mahogany stain and satin finish polyurethane top coat.

My daughter asked me to make a bench for her daughter’s school bus stop. After looking at many different plans I chose your plans for a 2x4 bench with modifications. I made it 7’ wide with an additional support piece in the center. I used pressure treated wood for the base and cedar for the seat and back. I finished it with a gloss “school bus yellow” and gloss black. It was very well received by the children and parents.
Ken Shallcross

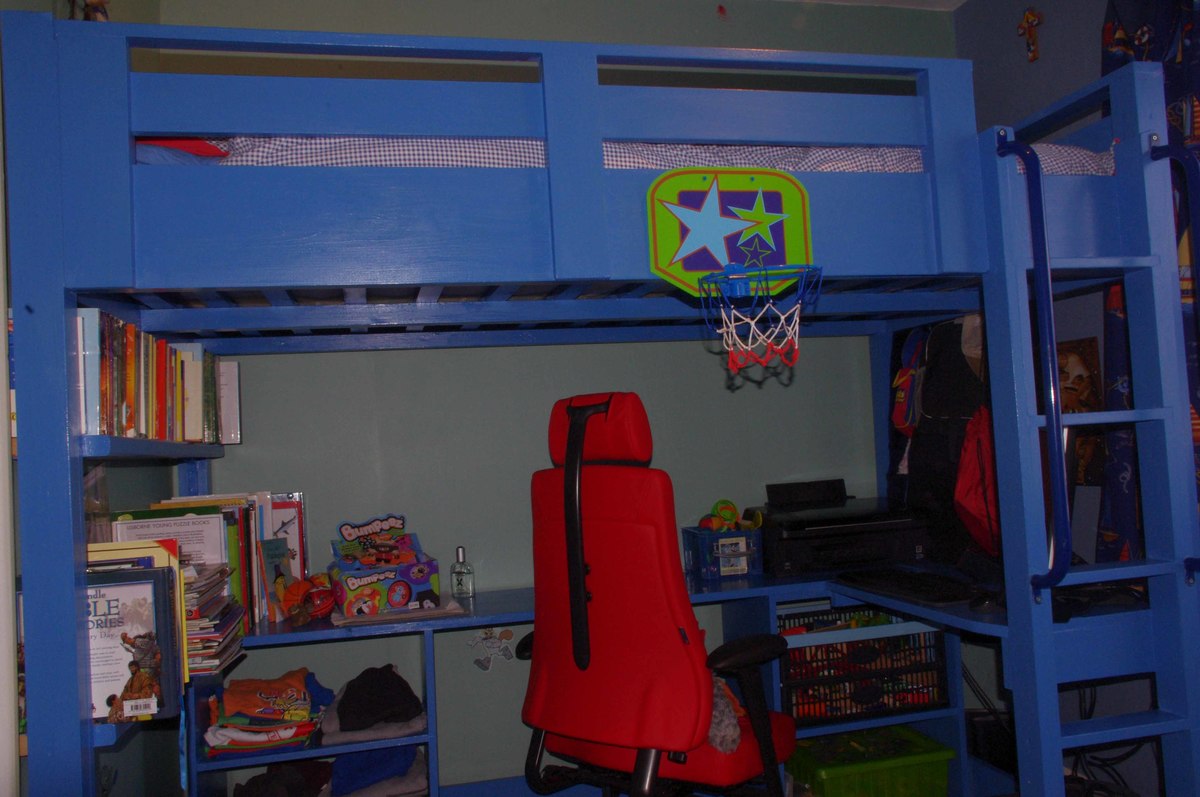
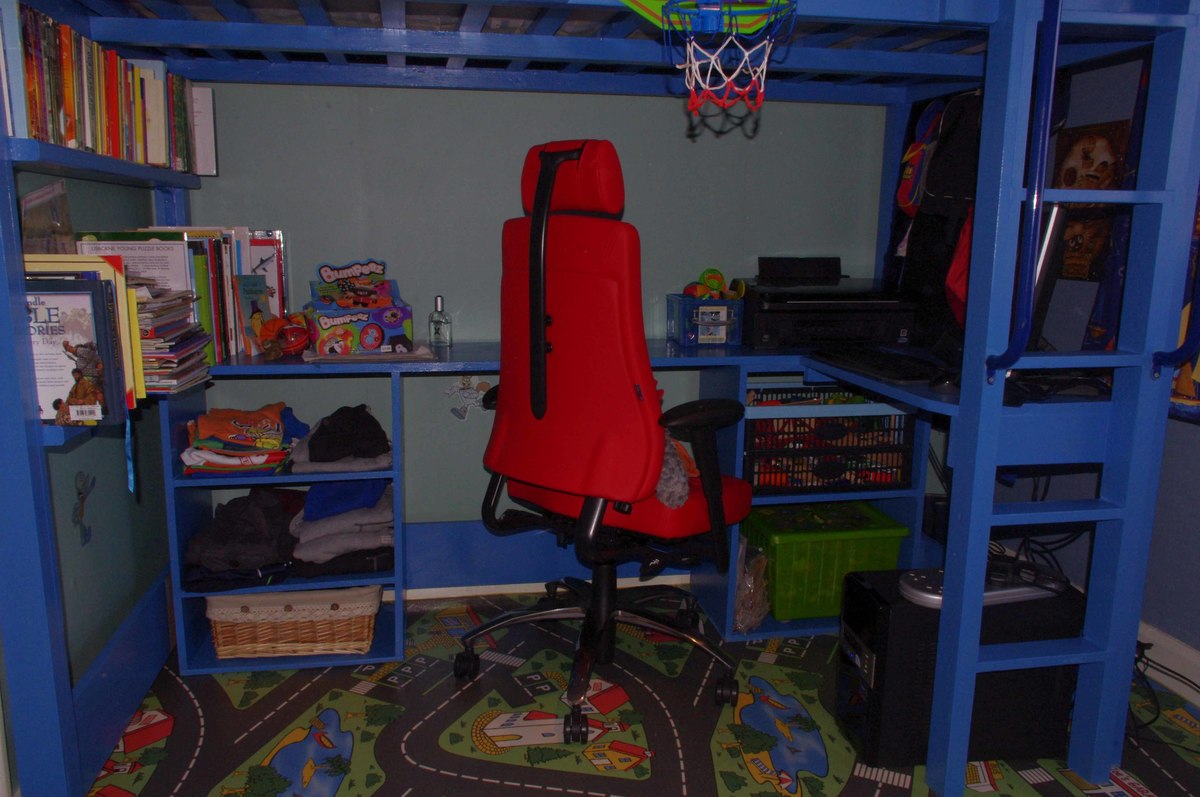
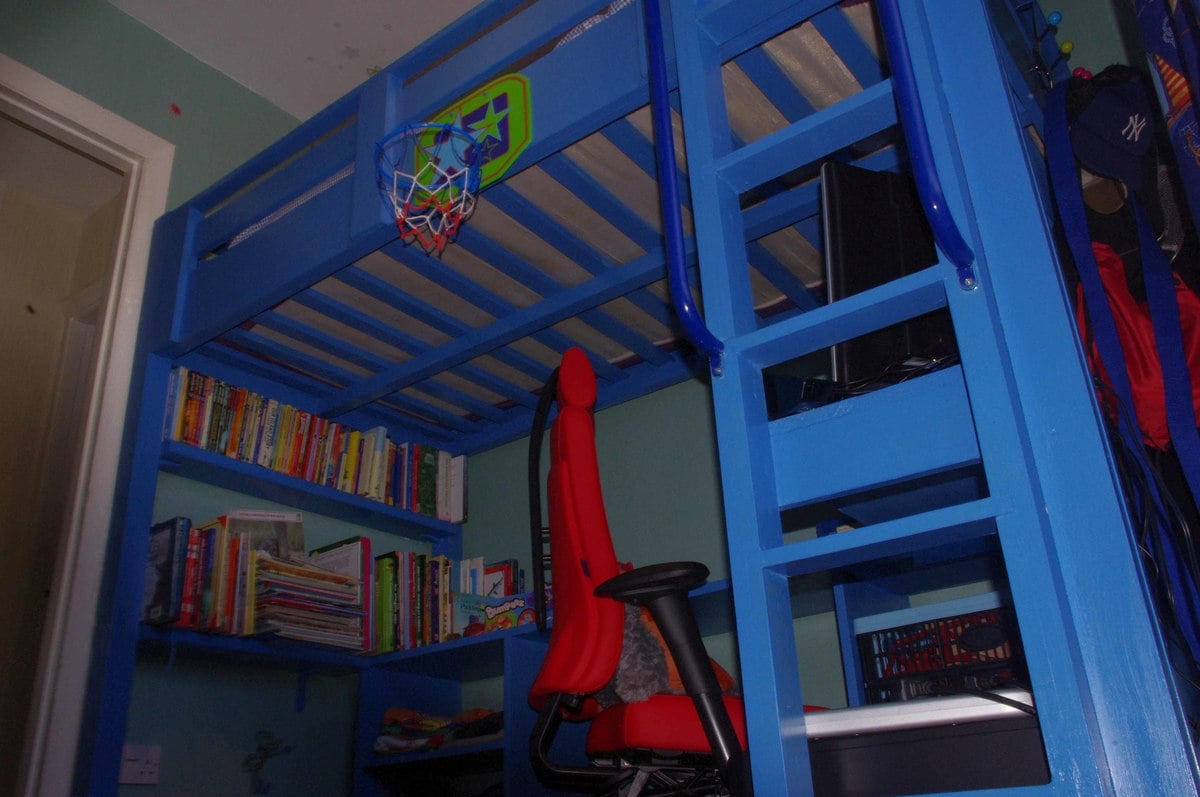
we have finished my sons room, it has taken us nearly a year but this bed looks fantastic and is much sturdier than the ones you can buy!!!
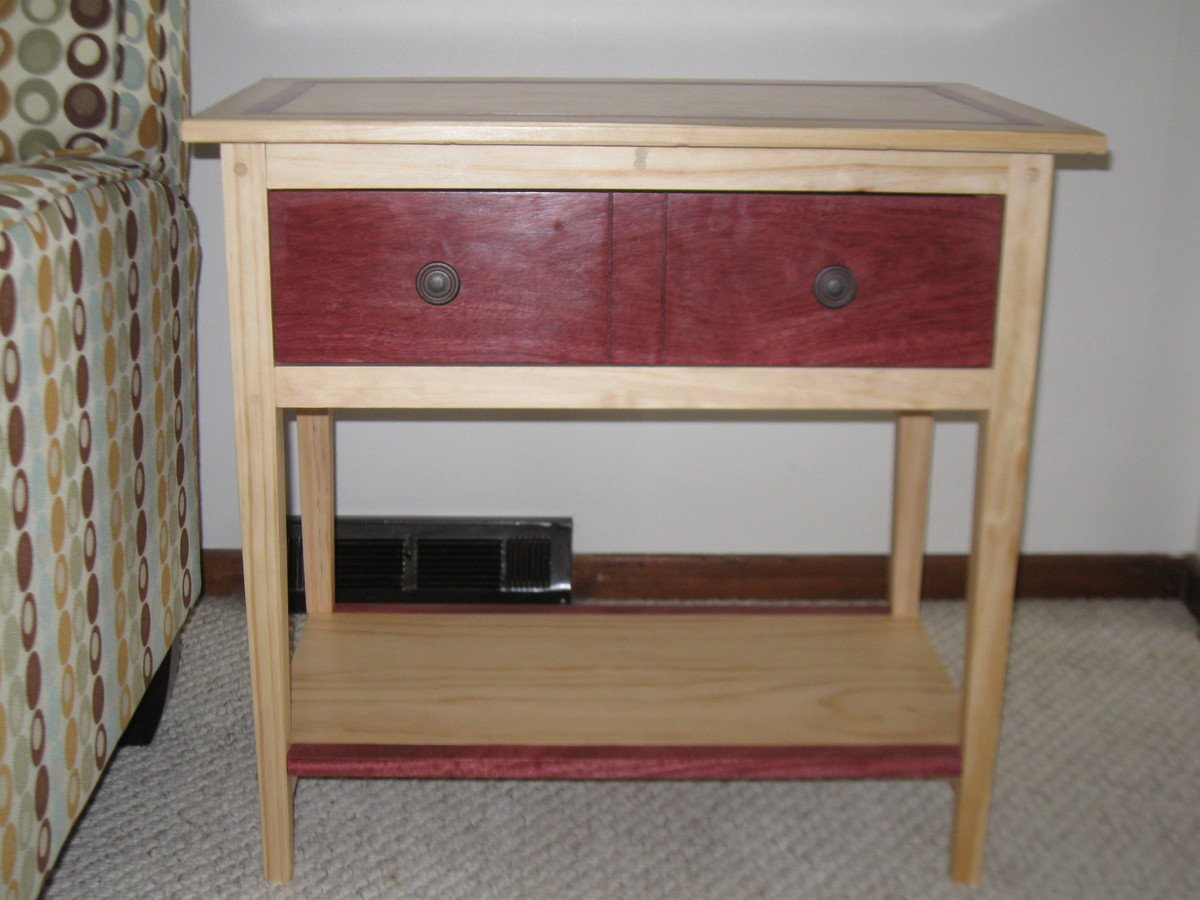
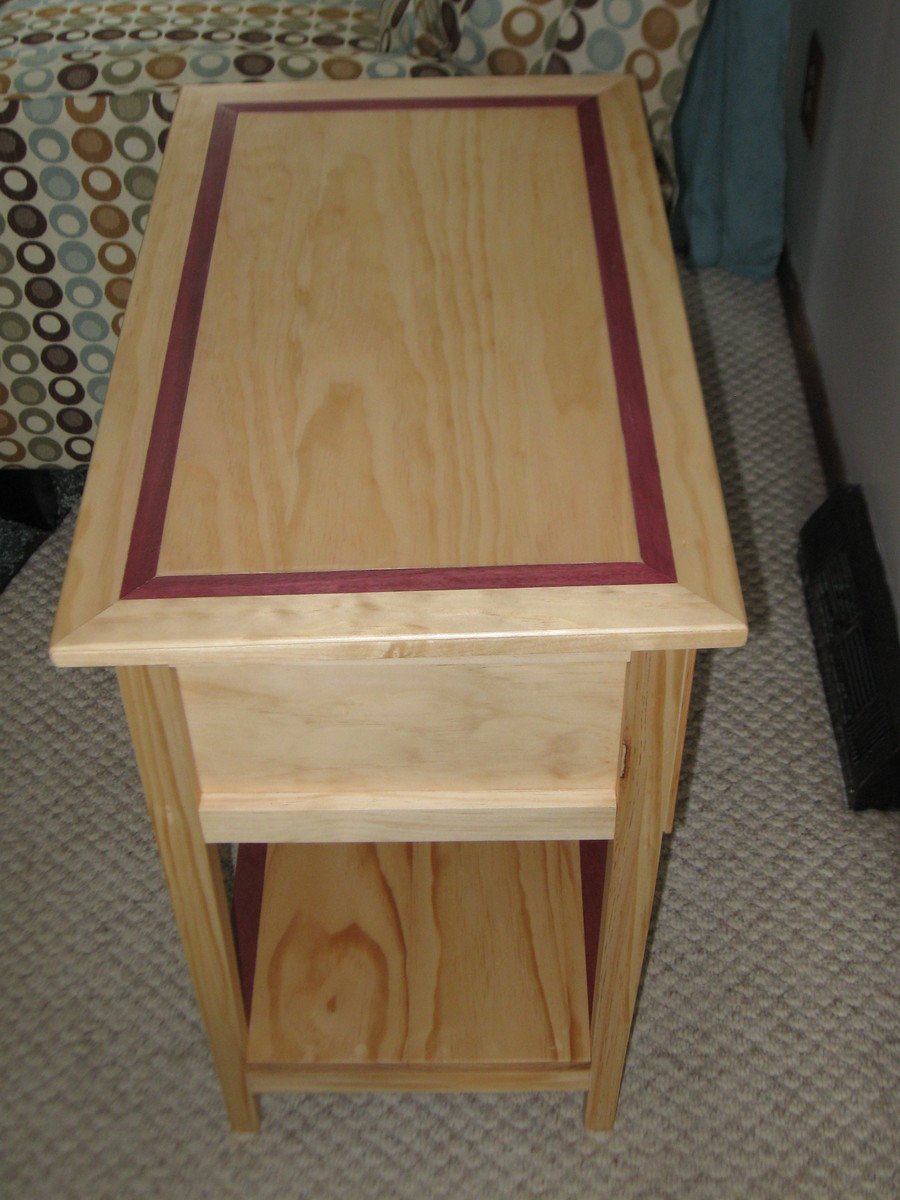
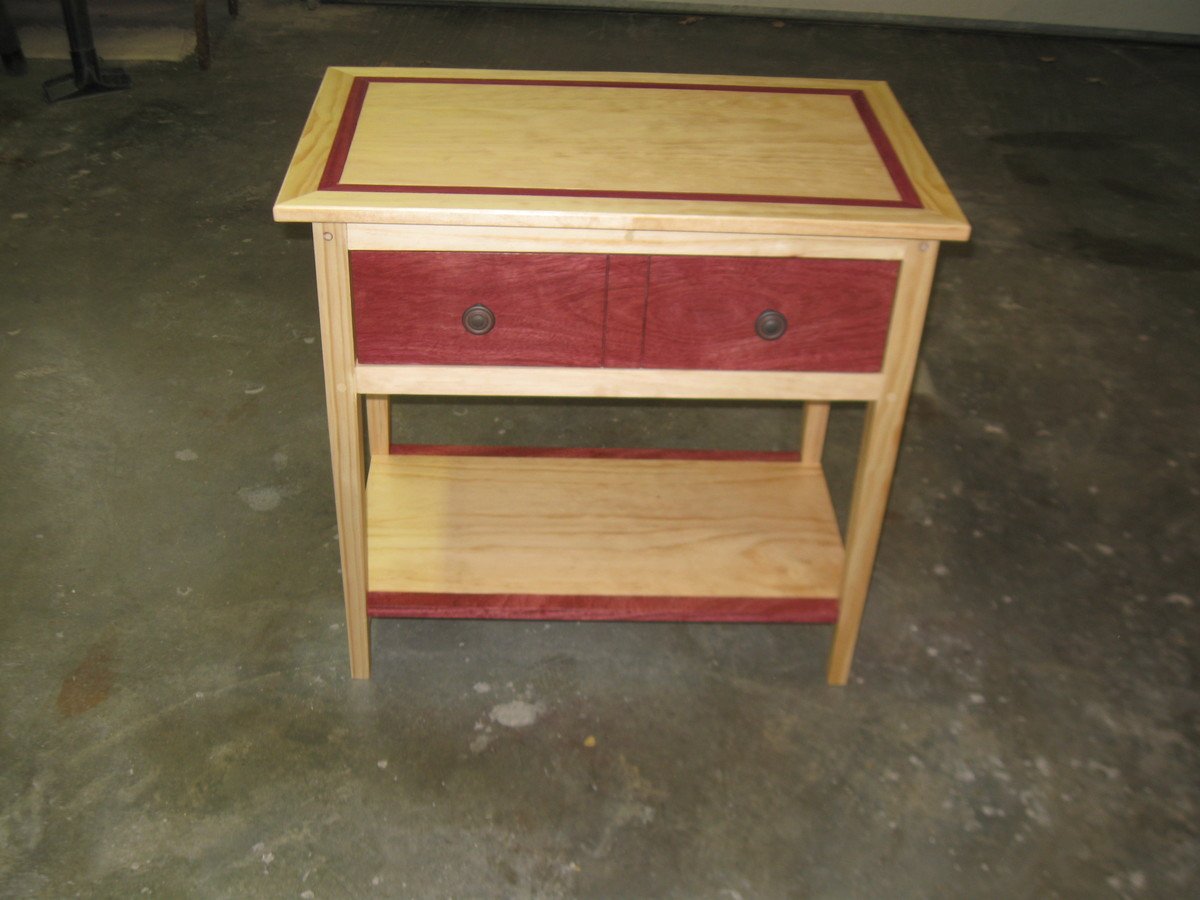
Slightly changed the plans by adding the exotic wood 'Purpleheart' to the top and drawer fronts.
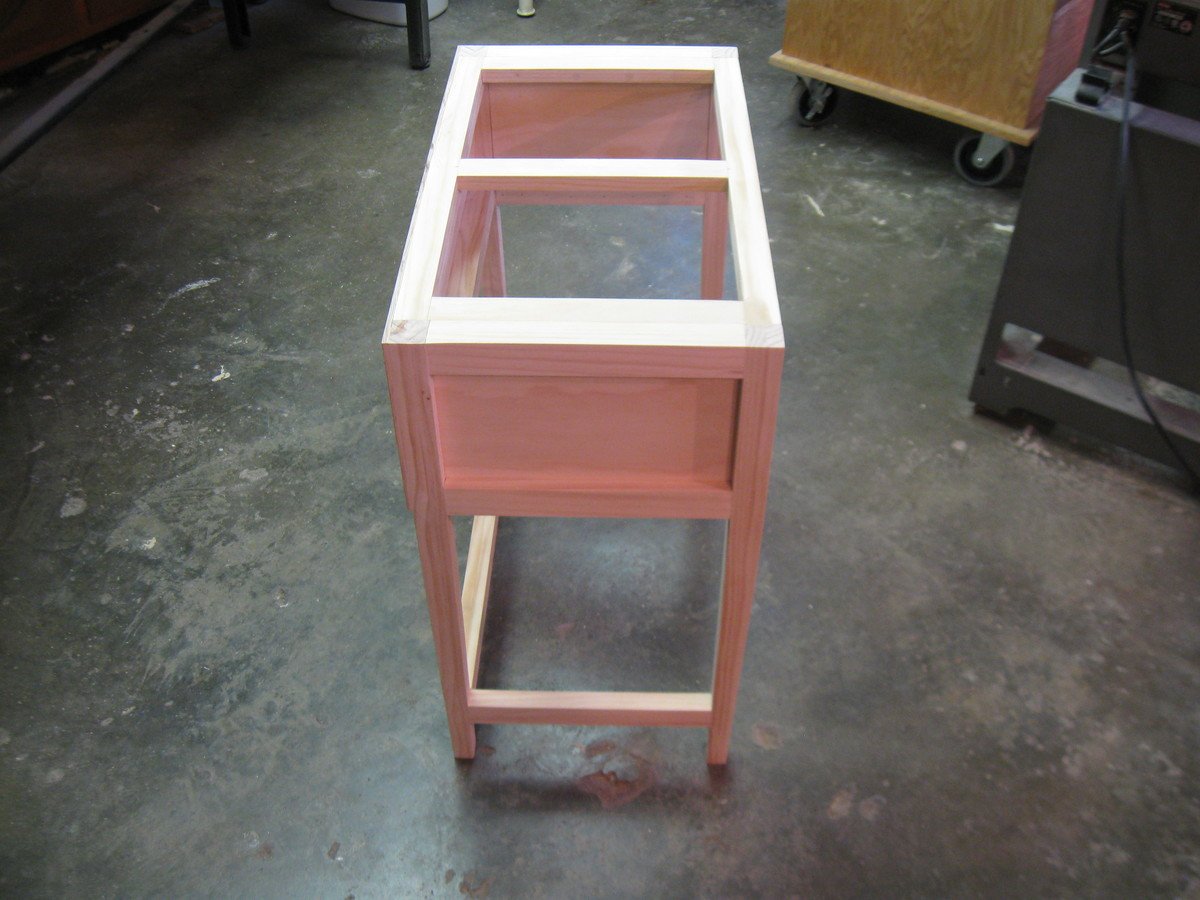
The tapered legs added some elegance but were very difficult to make, as it was my first time trying it.
I used furniture grade Select Black Label Pine which was costly, but I wanted a good contrast between the white pine and purpleheart.
No stain, just clear lacquer to maximize the color.
The pieces of Purpleheart cost was about $60.00, added to the select pine cost.
This is a great plan that you can modify slightly if you want. We now plan on making a much simpler and smaller one for our bathroom.
This one will probably end up in our living room instead of the bedroom!
Thank You Ana for a great plan!
