Hot Air Balloons & Clouds Flip Chairs
Made these chairs for my 1 year old to use as she is learning to stand and climb!
Made these chairs for my 1 year old to use as she is learning to stand and climb!
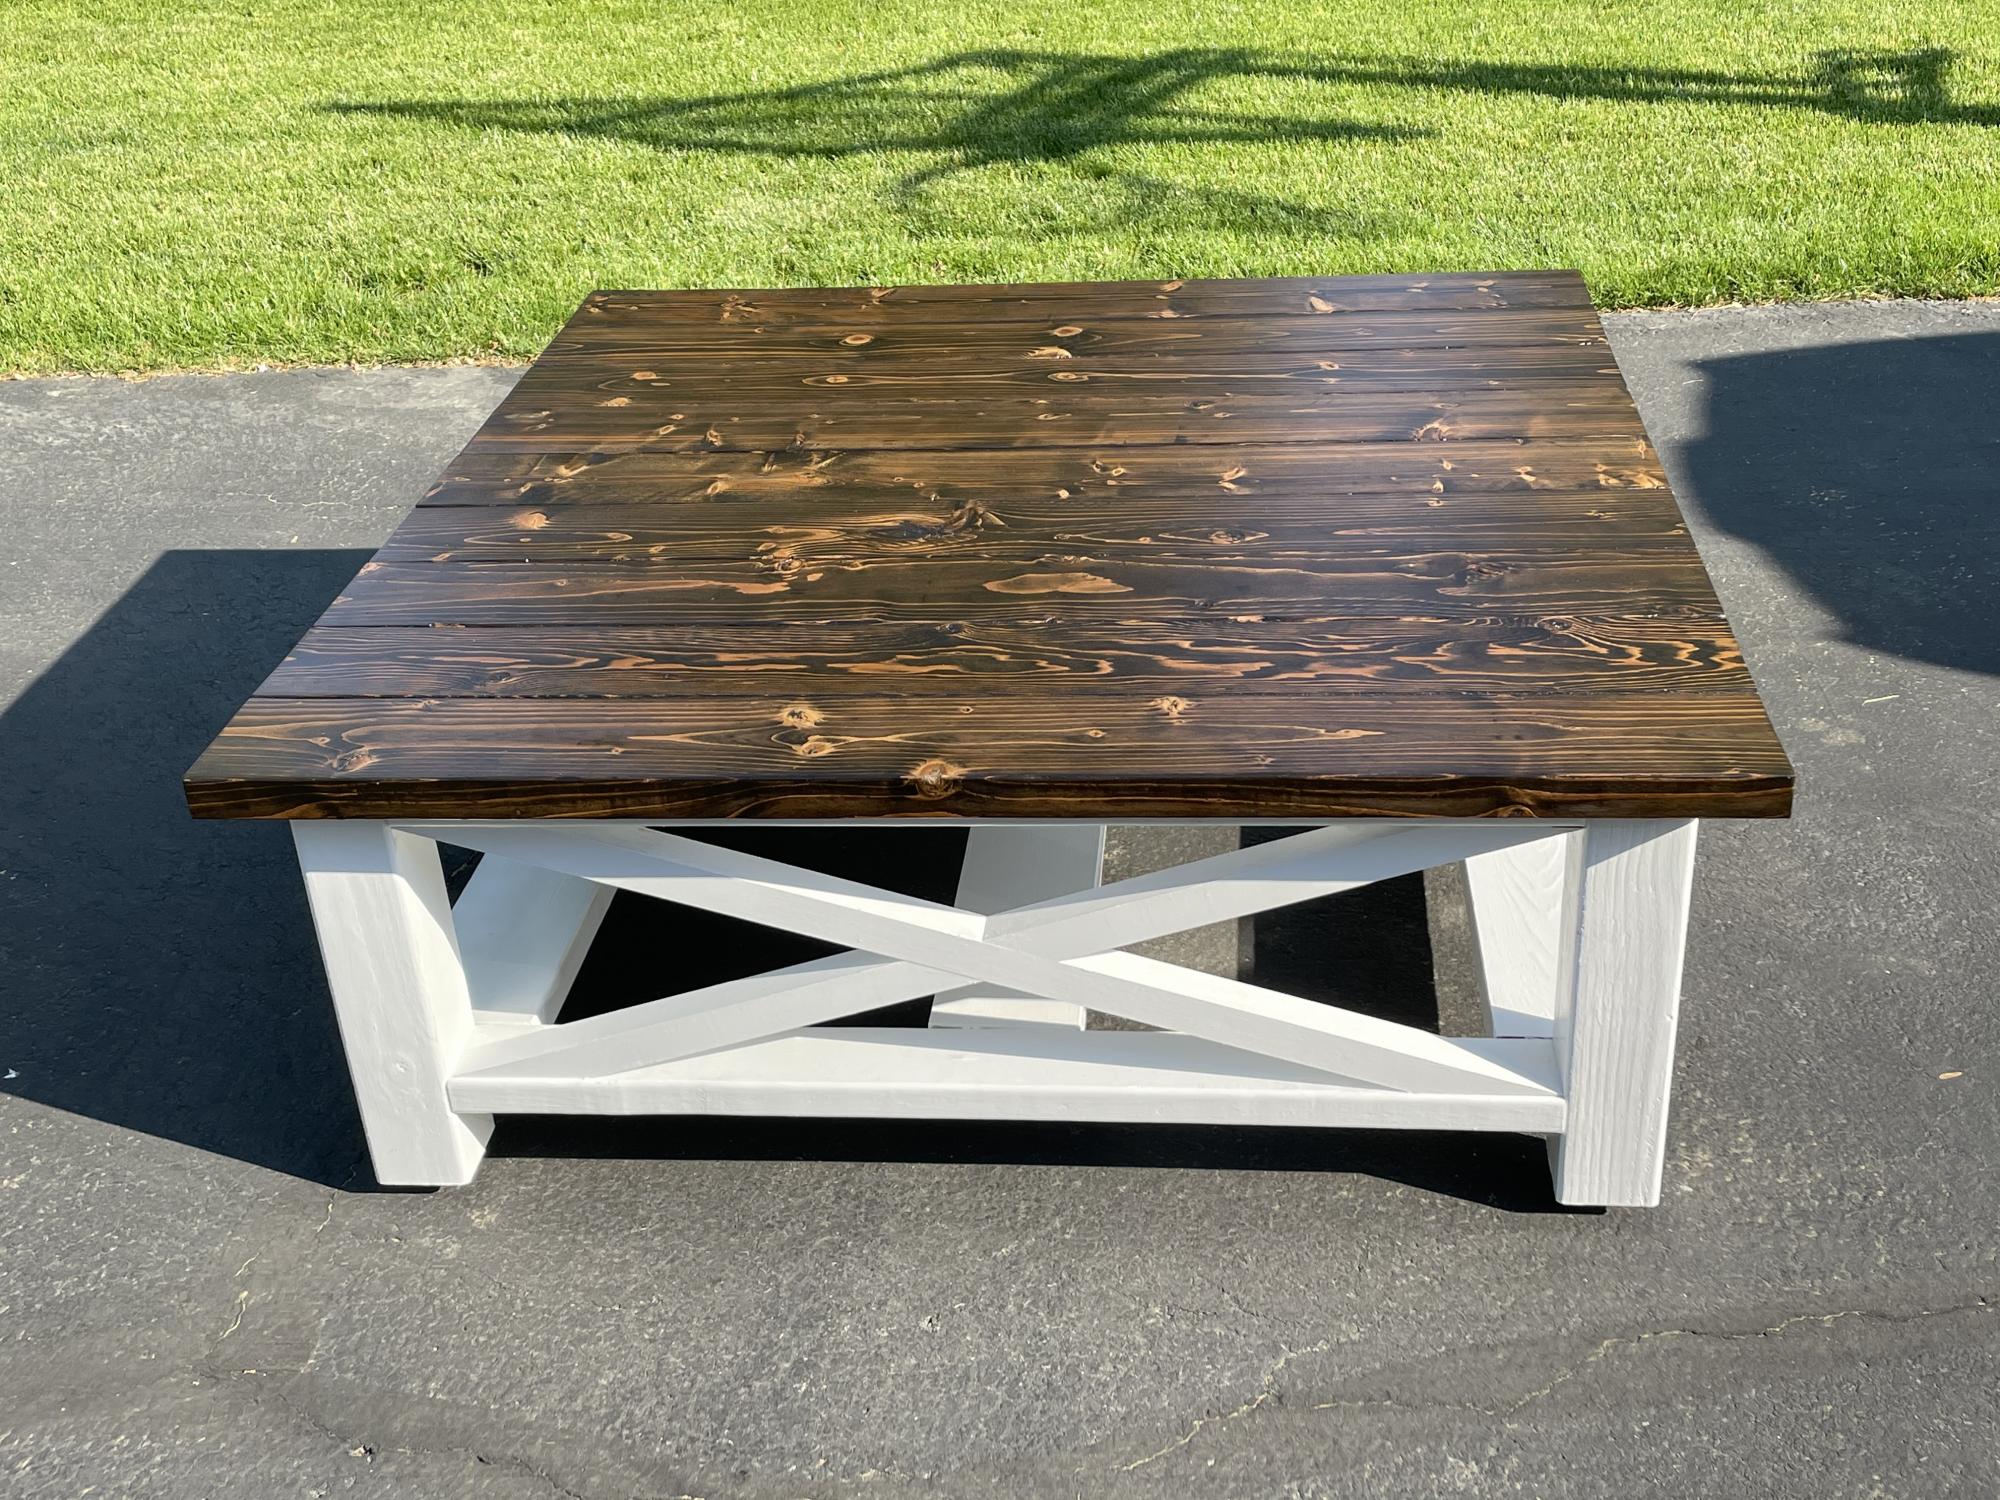
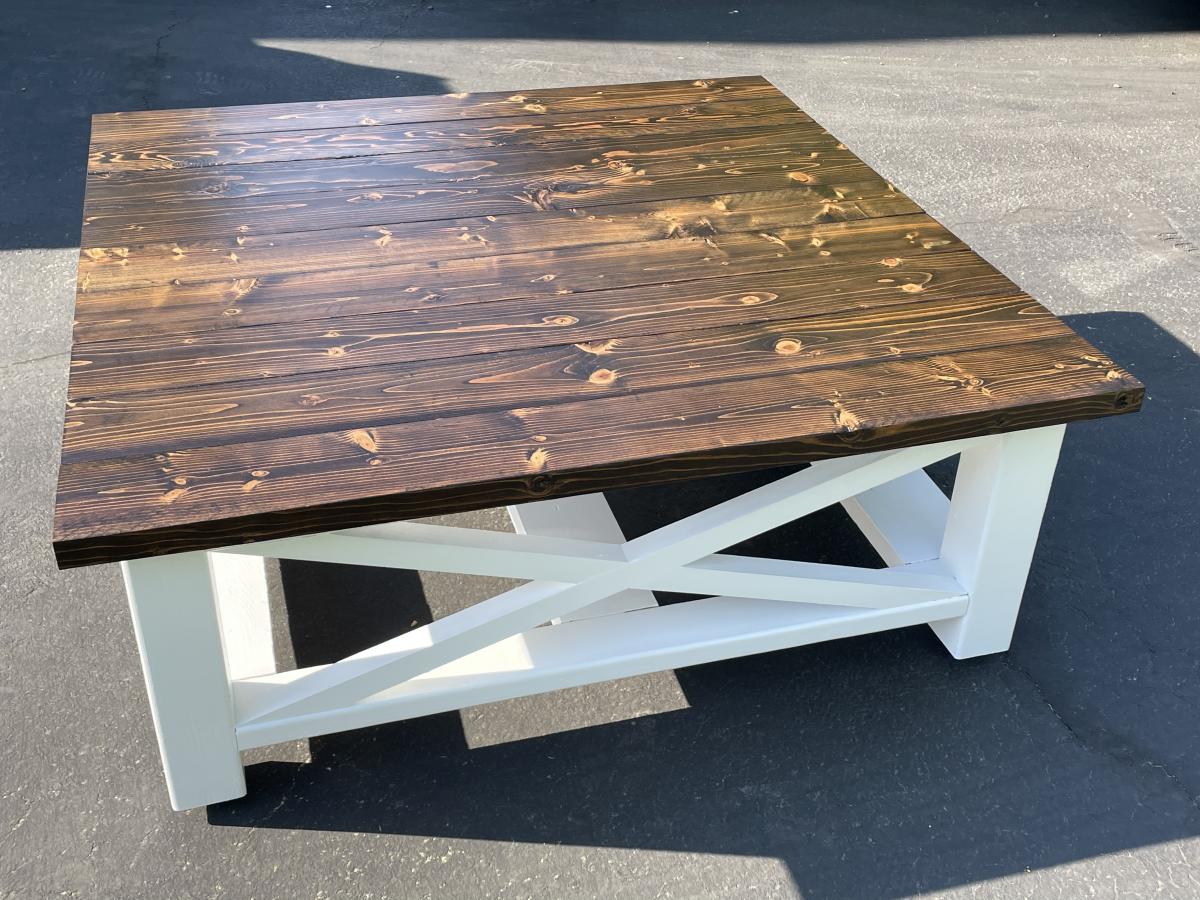
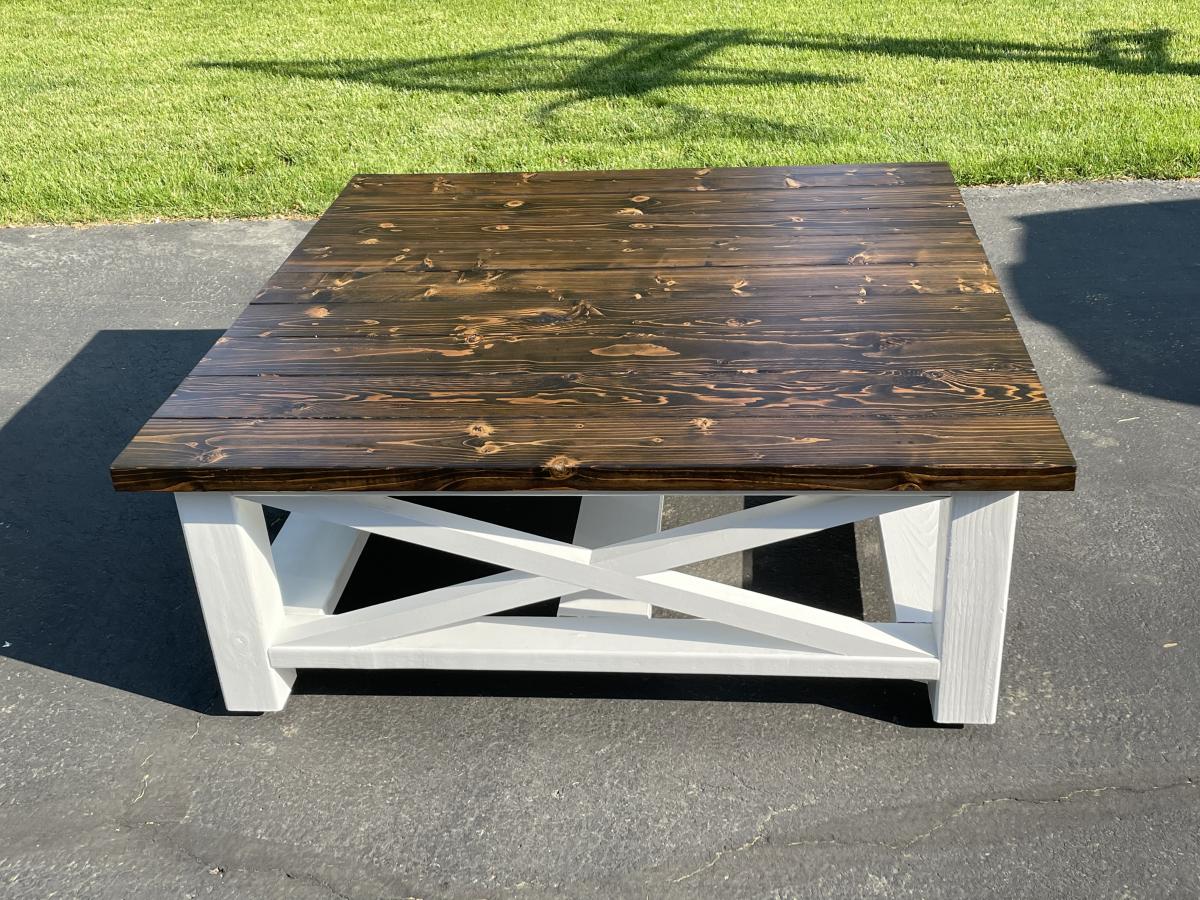
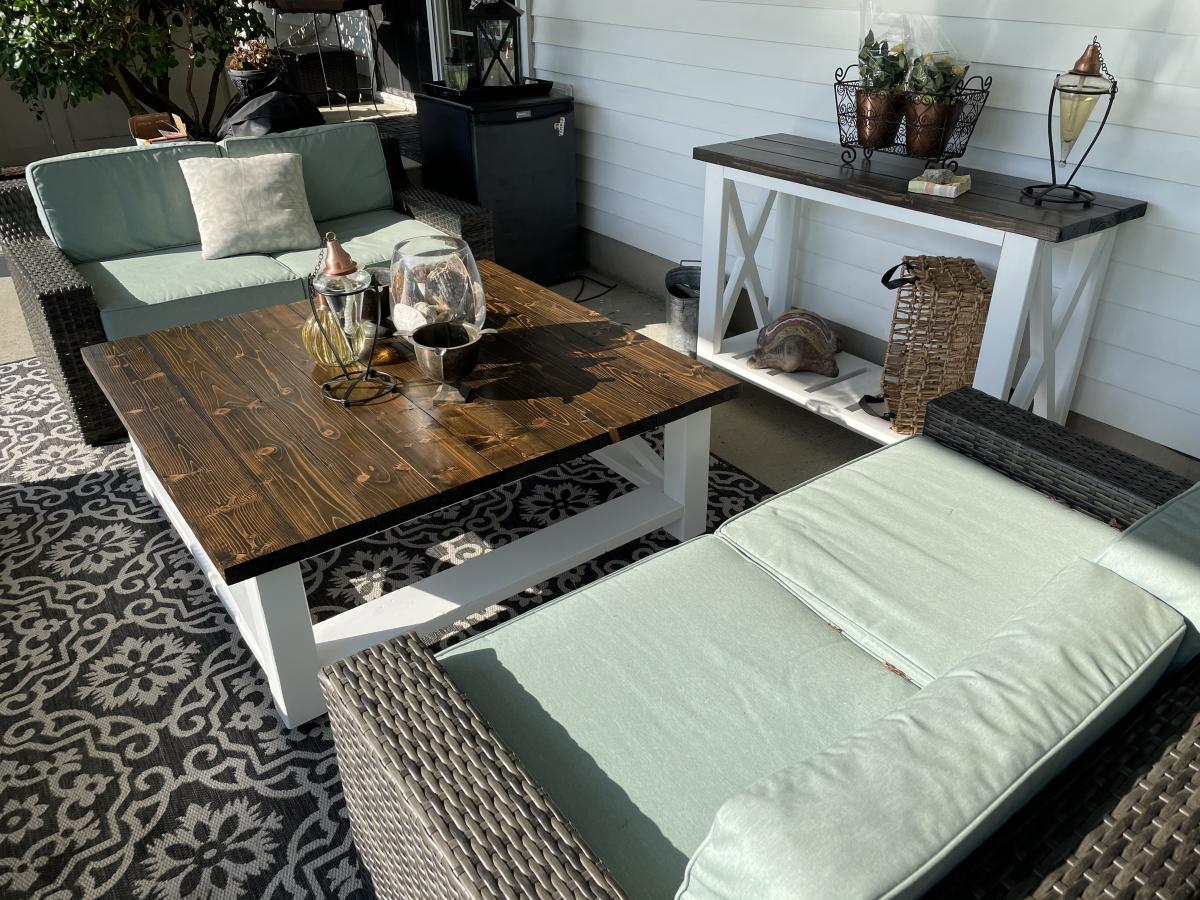
Used the plans here to make the table. Modified the dimensions slightly to fit my space by re-drawing the plans in AutoCAD 3D.
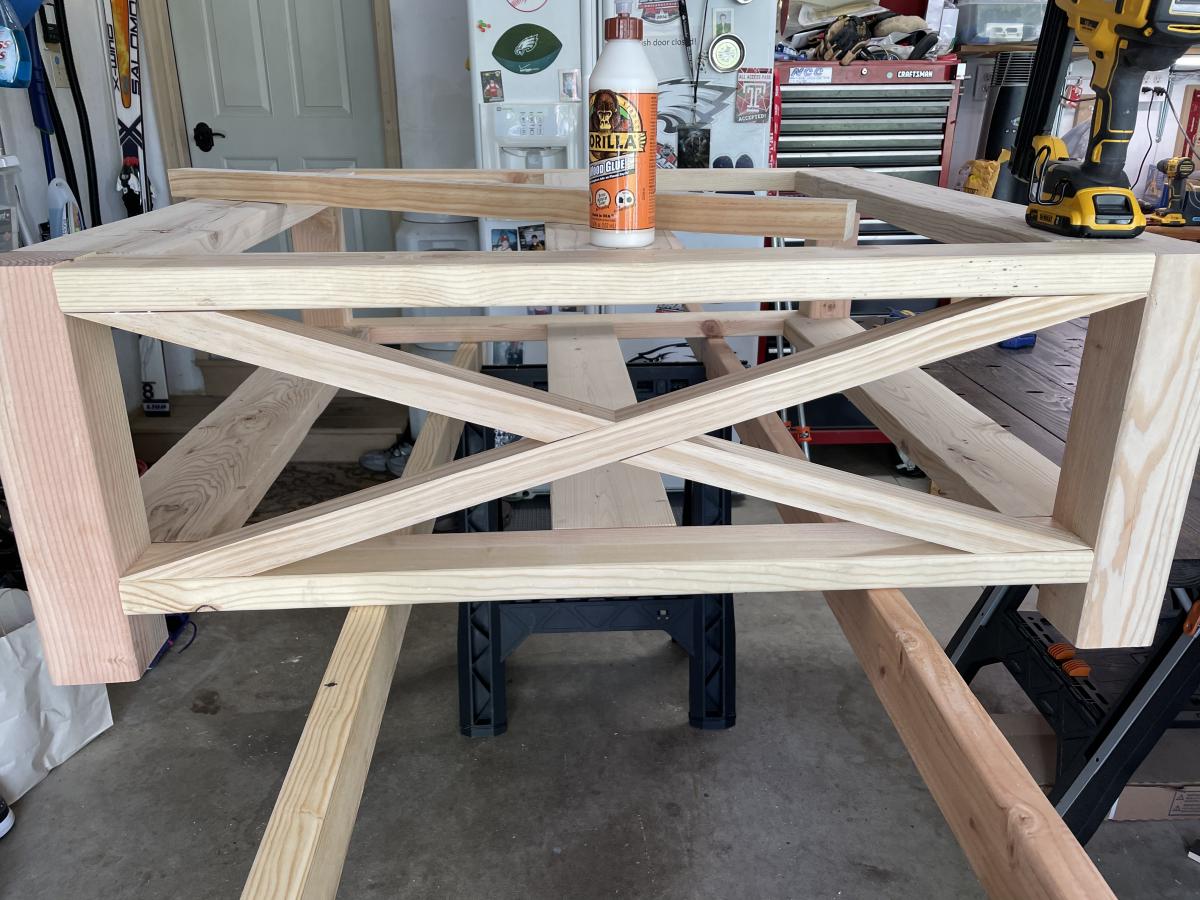
Due to the size and weight of this table (48" square), I upgraded the legs to 4 x 4s. I swapped out the 2 x 2 runners for 2 x 4s.
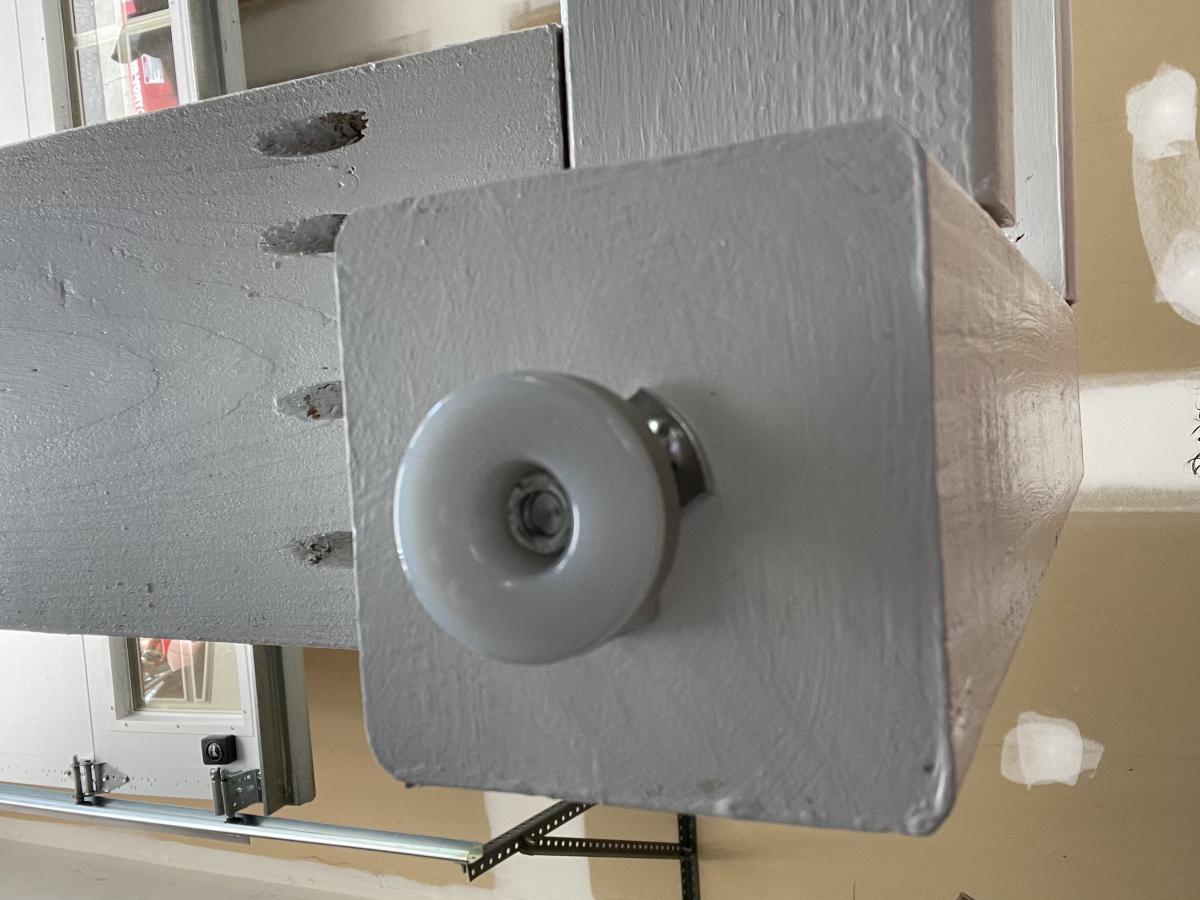
Added stainless steel adjustable feet to the legs for leveling. Wanted to keep the wood up off the ground since this table sits on my back patio.
Amazon link for feet:
https://www.amazon.com/gp/product/B08VRPCDNL/ref=ppx_yo_dt_b_asin_title…
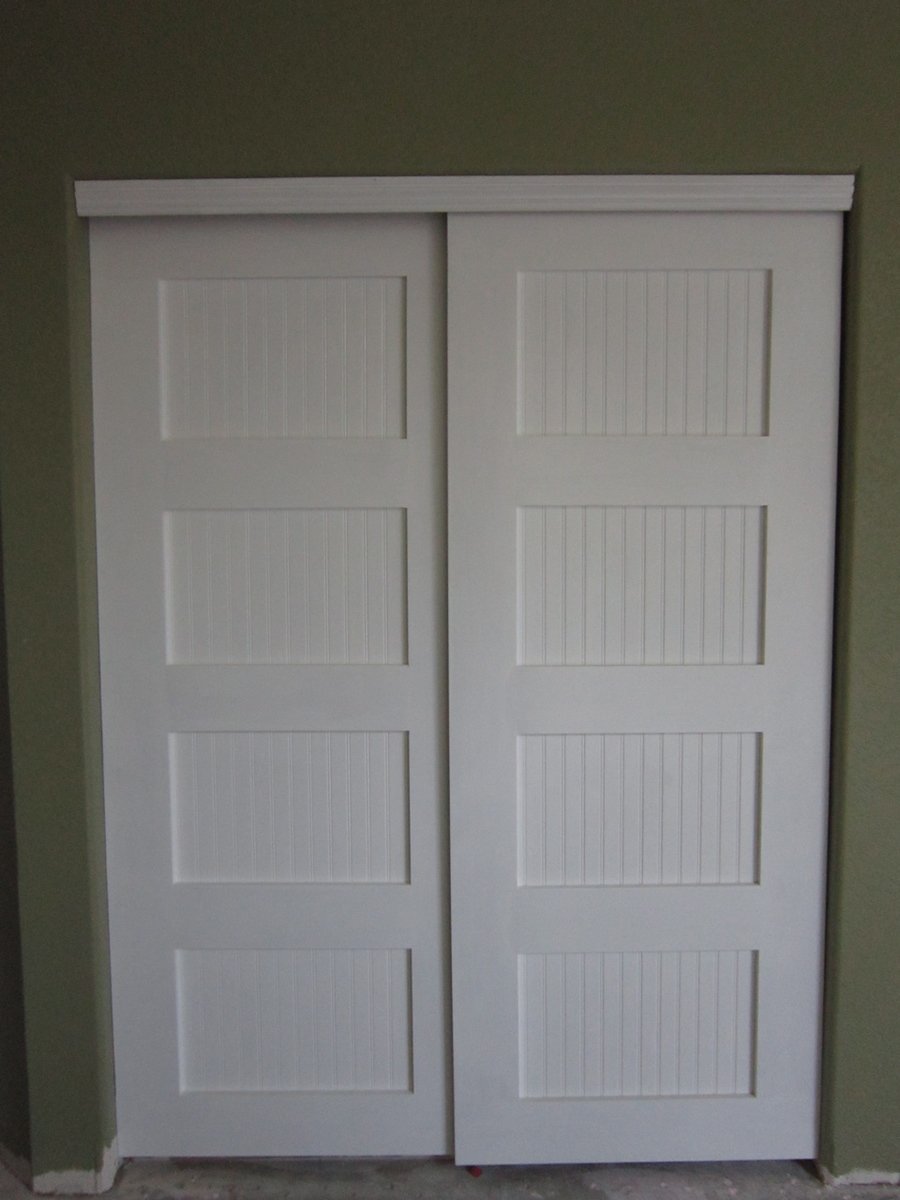
After discovering a leak, we are in the process of a master bathroom/bedroom remodel. In the bedroom, we had replaced all of the windows, painted and installed crown moulding with rope lighting in the bedroom. Then we looked at our closet doors leading to our walk-in closet, and realized they really needed to go to. They were heavy, mirrored with brass trim and regularly would jump off their track. Unfortunately the leak had caused more damage than we originally thought, and our remodel had expanded to replacing two exterior walls as well so we were over budget. Just to get an idea of how much it would cost to buy new doors, I got online and thankfully I found these plans. Although I used to watch my Grandfather build things in his wood shop, I had never actually built something all by myself. My contractor let me use his Kreg Jig and miter saw. After purchasing the wood, I quickly put together the door frames. Since we were on a strict budget for these doors, I decided to use bead board instead of glass. I bought a 4 x 8 sheet of beadboard and had the store rip it in half. I then attached it to the back of the doors with small wood screws and glue. I painted the doors with white gloss trim paint to match the other doors in the room. Since my closet is a walk-in closet, I did paint both sides. My closet entrance had no trim, so used a piece of moulding and attached it to the bypass door track. We are not finished with the flooring or baseboards yet, but once complete we will be installing guides along the bottom.
Fri, 04/05/2013 - 20:43
Beautiful! And so much better looking than mirrors and brass!
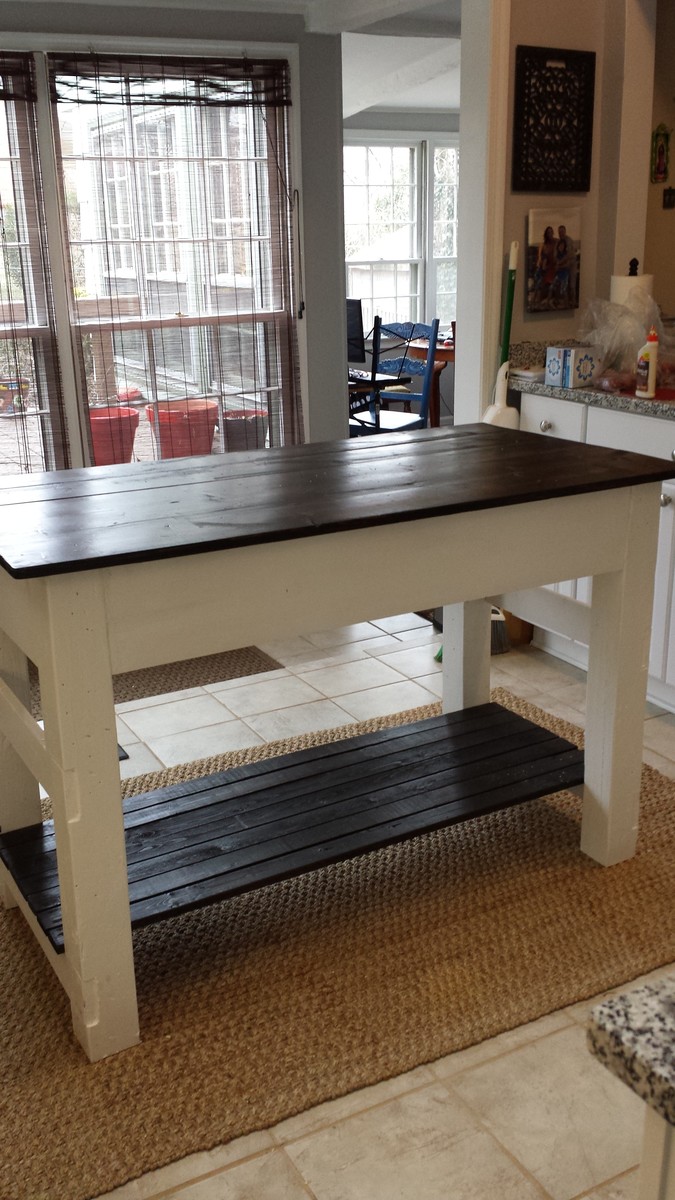
First ever building project!!! I am beginner, you can do it too! Got the Kreg Jig R3 for my birthday and conquered my first build! I wasn't about to try the drawers maybe next time! Adjusted the measurements for the length I needed and only have one shelf trying to decide if I'll add the top shelf. I have been reading ana-white for years and finally did it!
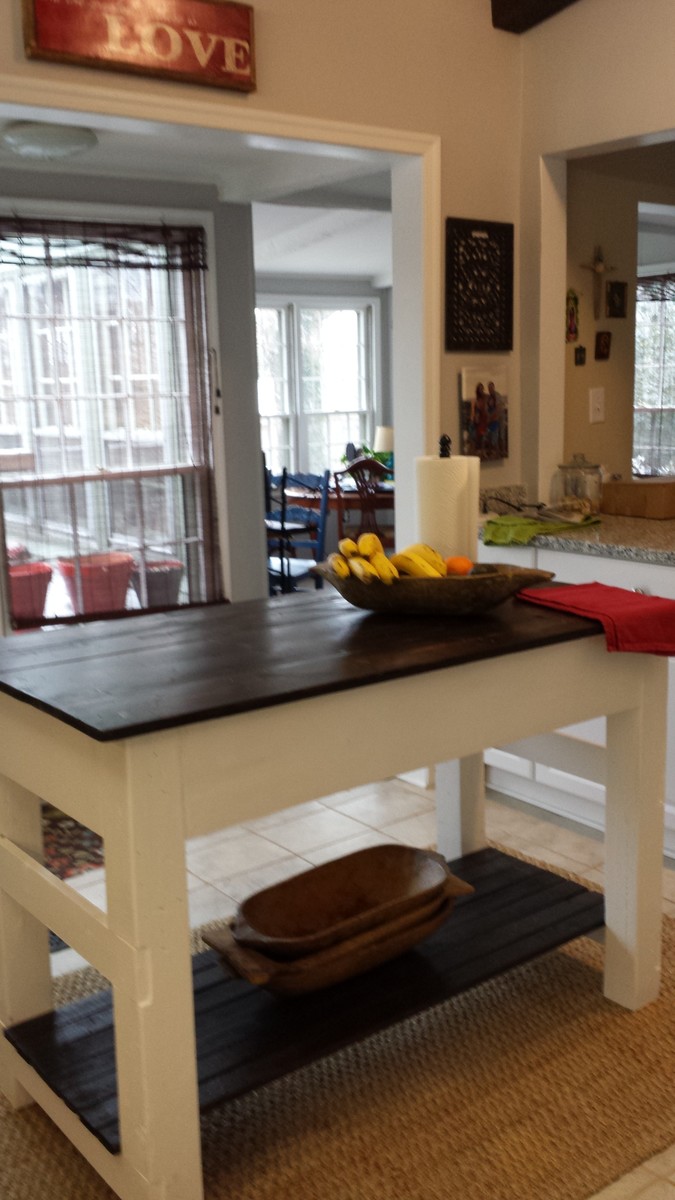

I was really into building things and DIY over 10 years ago, but due to work/life I hadn't done anything since 2009. I was going pretty crazy working from home during the pandemic, and decided to get back into home improvement to have something to look forward to. After doing some painting and building a few accent walls out of shiplap and reclaimed wood (and loving it), I decided to turn my single car garage into a shop. This is when I found Ana White, and absolutely loved the plans and videos around the wall storage and workbench. I can't believe how sturdy everything is, how straightforward the plans are, and how well this turned out. It made me want to build all the things, and I'll be taking on many projects in the future. (my apologies for the pictures being in the wrong orientation - can't seem to adjust them)


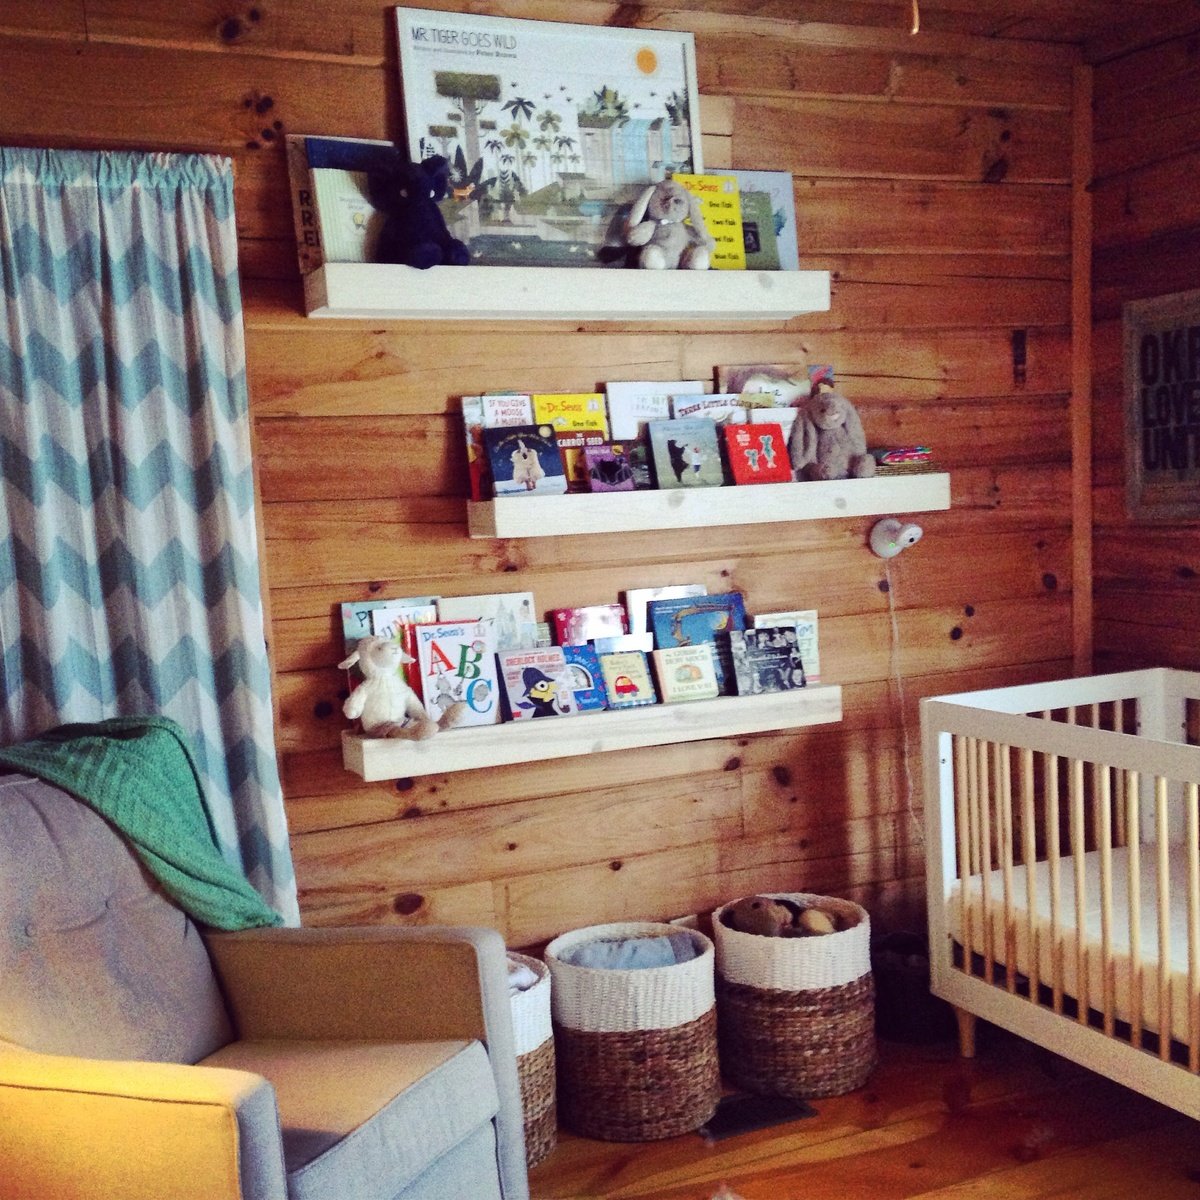
Built 3 shelves in pine with the same specs as the original plan. They're finished with a diluted Snow White milk paint stain.
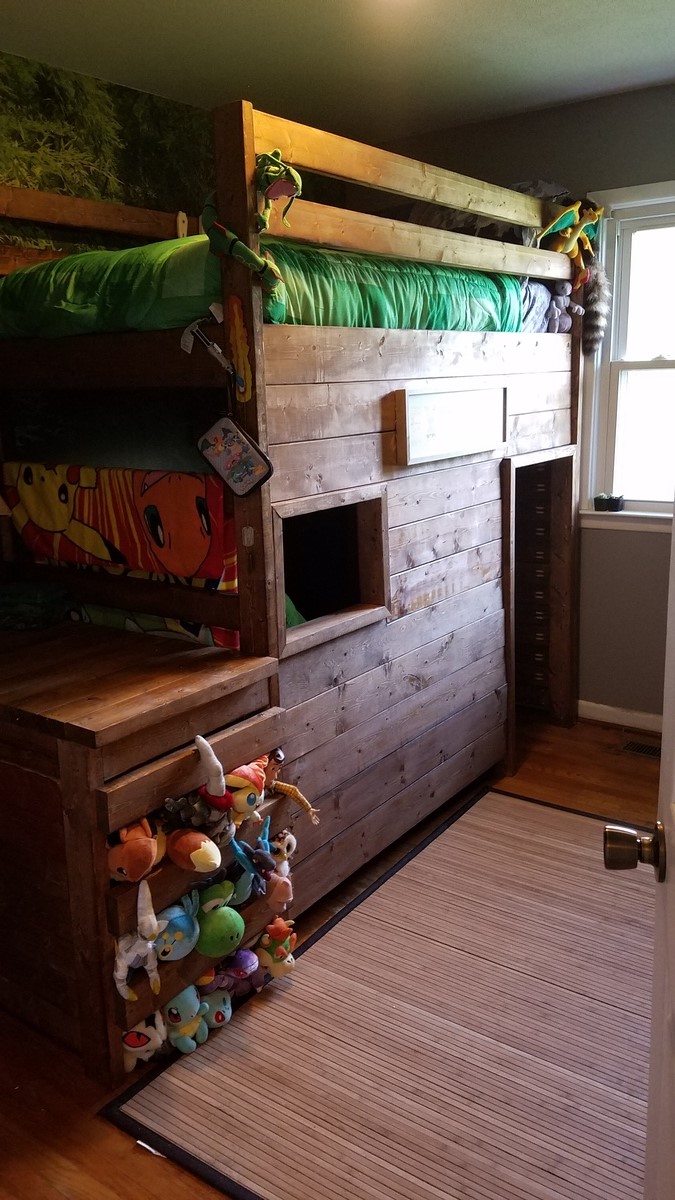
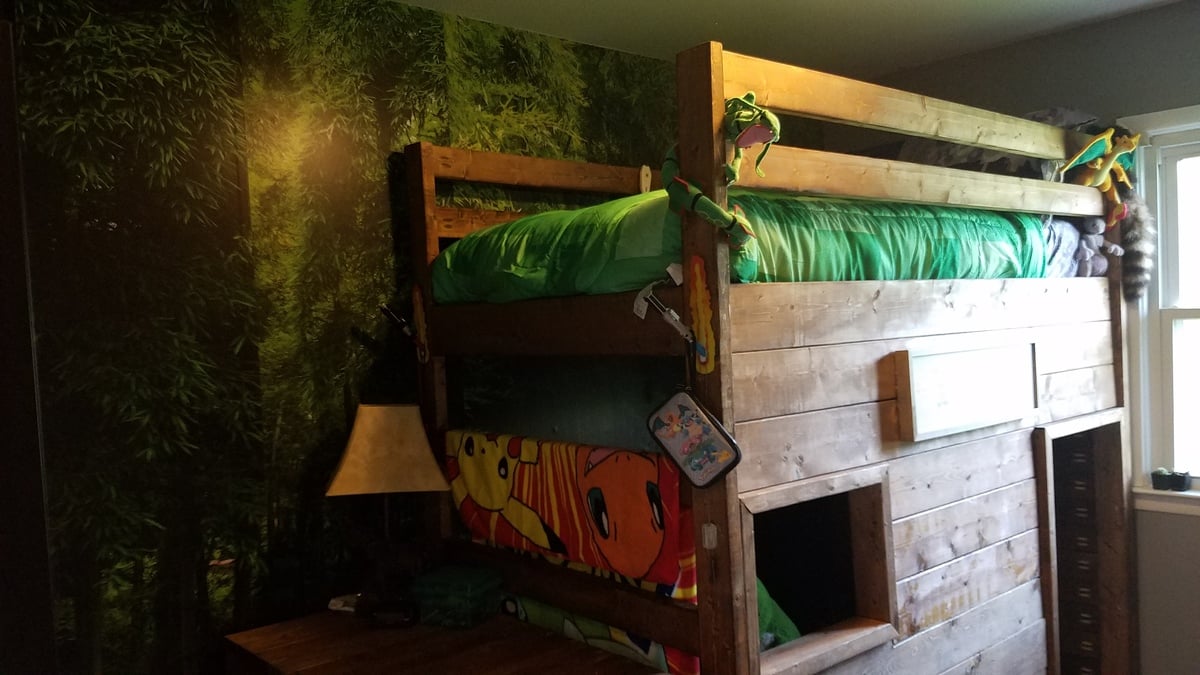
Started with the regular loft bed, and added 10 inches to the height. Then I made a ladder instead of stairs to save room. Enclosed it, then added the finishing touches. Link to the process and my son's reaction is below.
-John
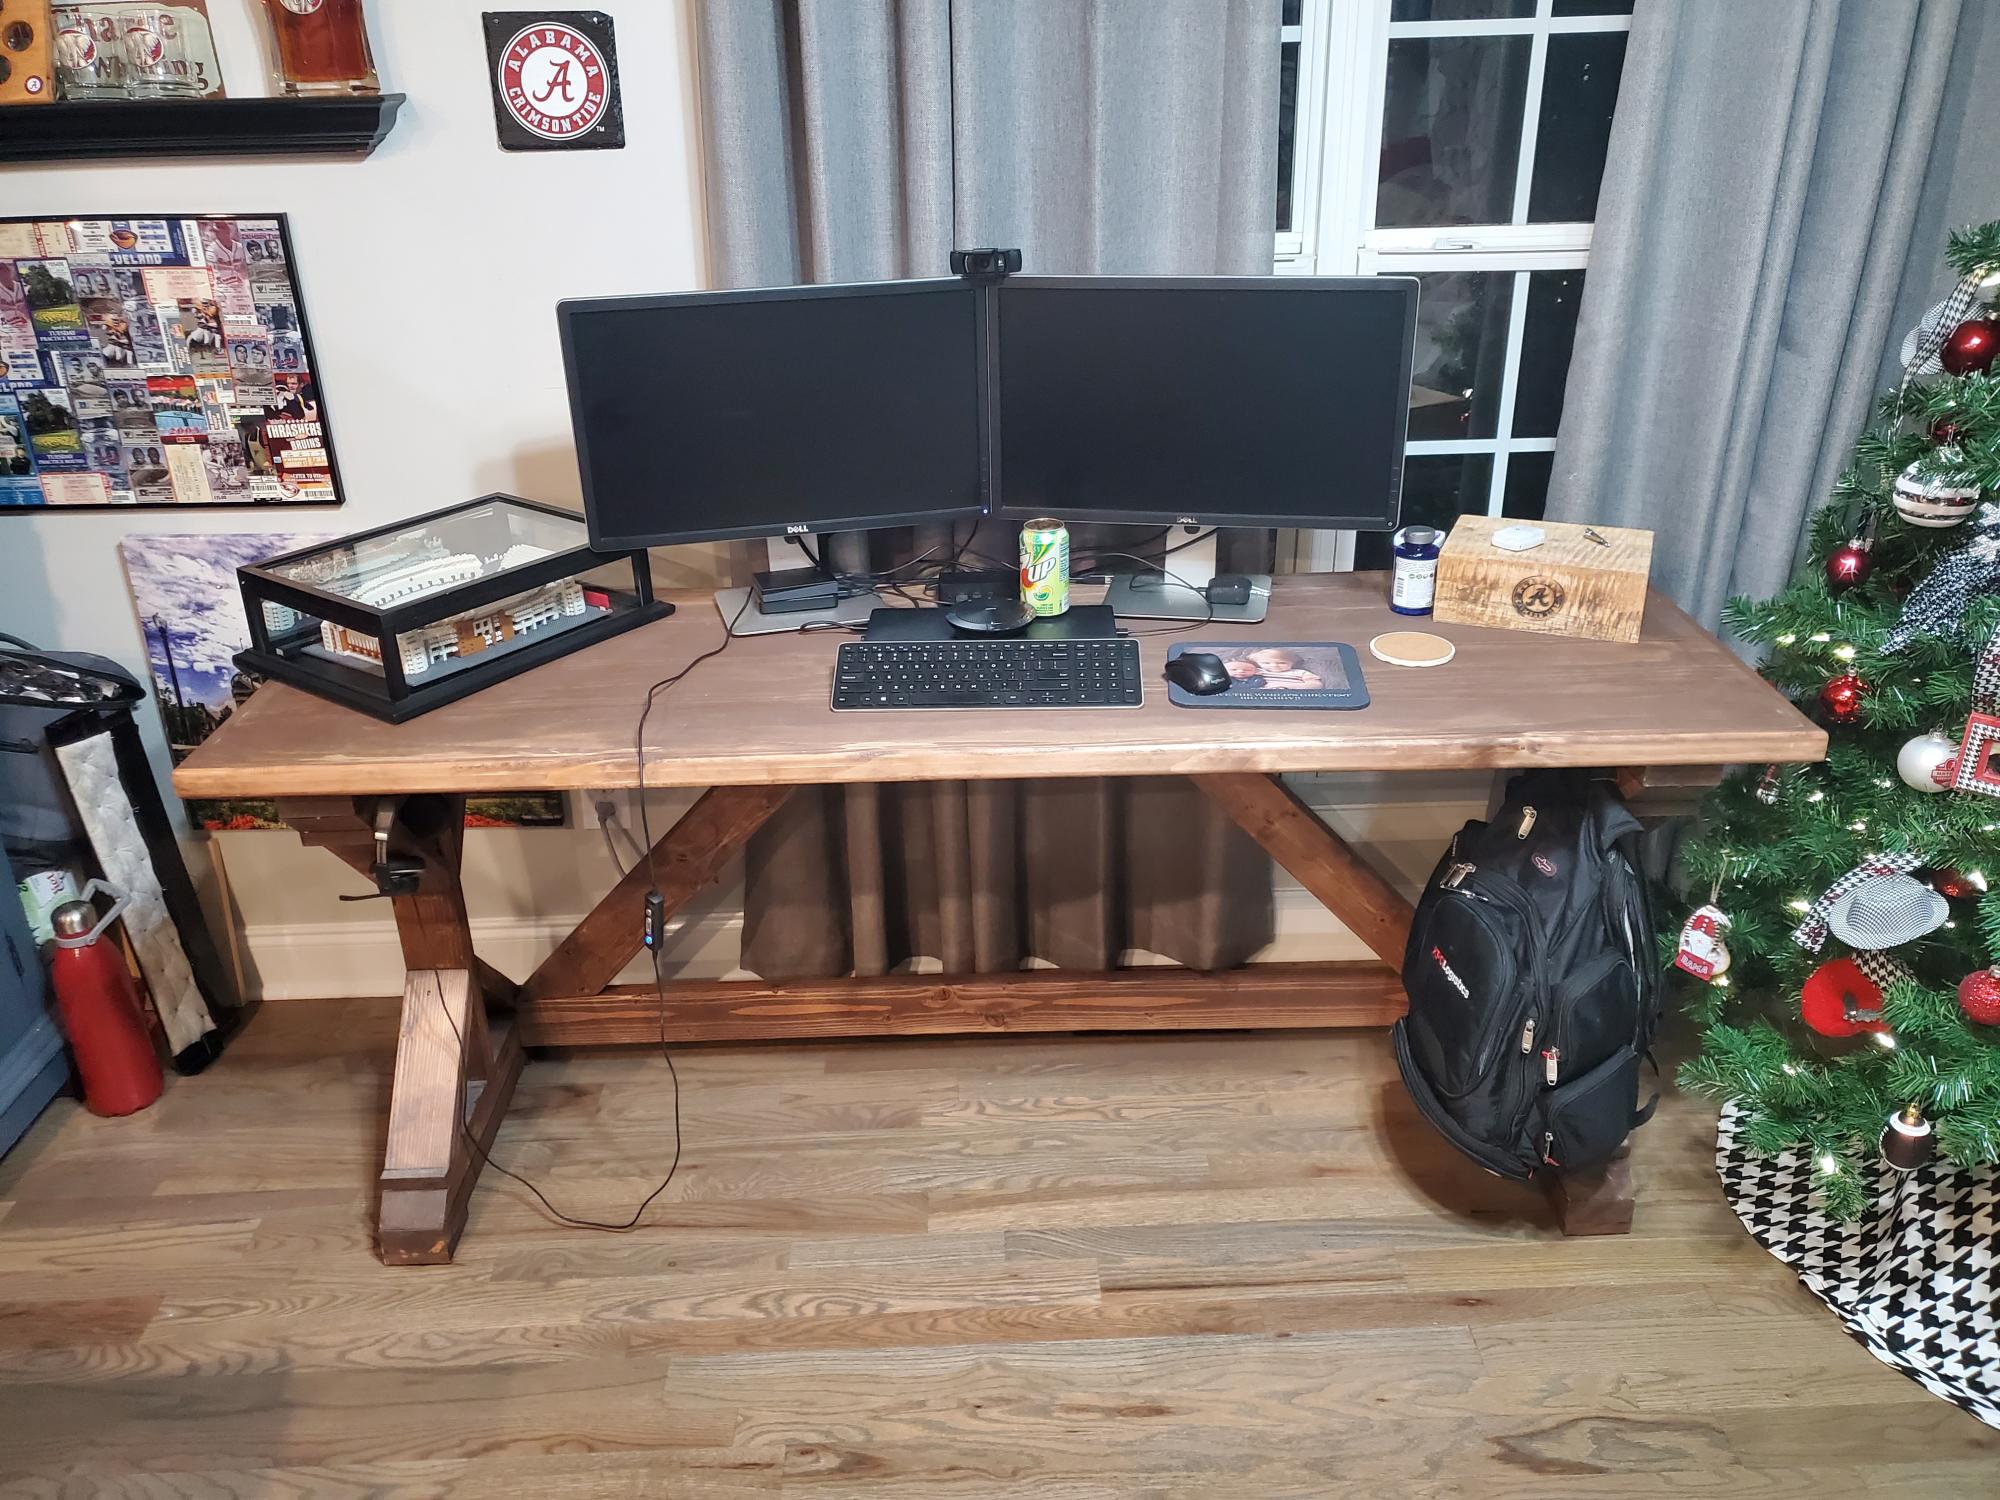
The dining room table was my office since WFH requirement. I made this one for me and then made 2 more 1 for my wife and 1 for my sister in law. All with different dims of course. Fun project!
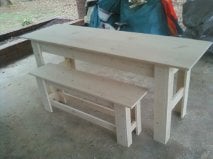
The boss requested a table to the patio, figure I would keep the theme going and use the same size wood that used for the pergola. Followed the Fancy X Farmhouse Table plans with a few exceptions. Instead of 2x4, it was constructed with 6x6, 4x4, 2x8, 2x6 (Doulgas-fur, rough-cut). The bench plans can be found on the site as well, the original plans were for a full-length bench, on one side two benches were built with half the length.
Had a weekend to complete it for a party the following week. table top needs to be refinished.
Great look and feel for the backyard patio.
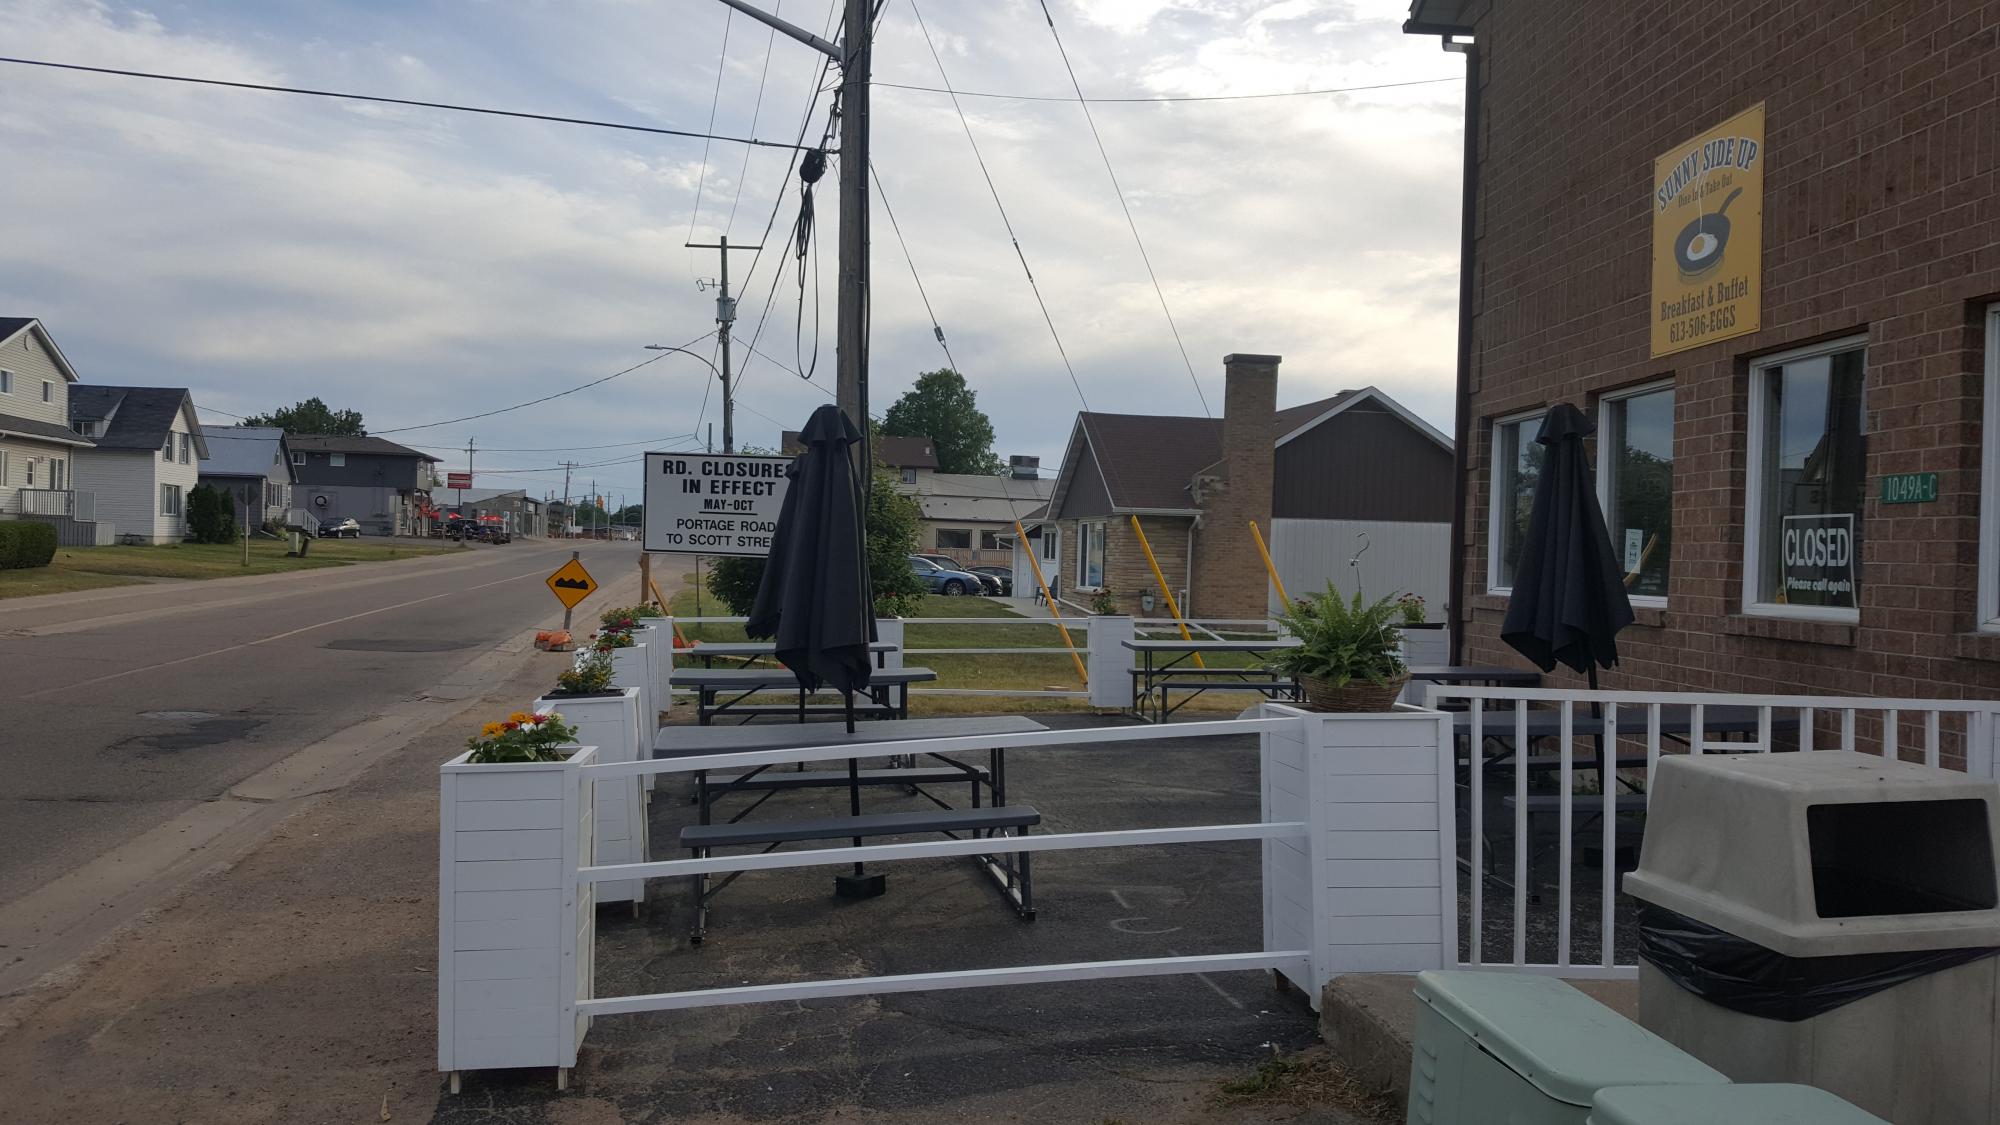
A friend of mine asked me to build her a patio enclosure for her restaurant, but she wasn't sure what she wanted. I suggested modified planter boxes as they were easy to make and the supplies could be purchased locally. After the planters were painted, my friend was thrilled with the final look and she is constantly being complimented on how pretty they are. Thanks for the free plans Ana!
Cheers,
Teresa.
Mon, 06/14/2021 - 20:28
Love this application, fantastic job! Thank you for sharing:)
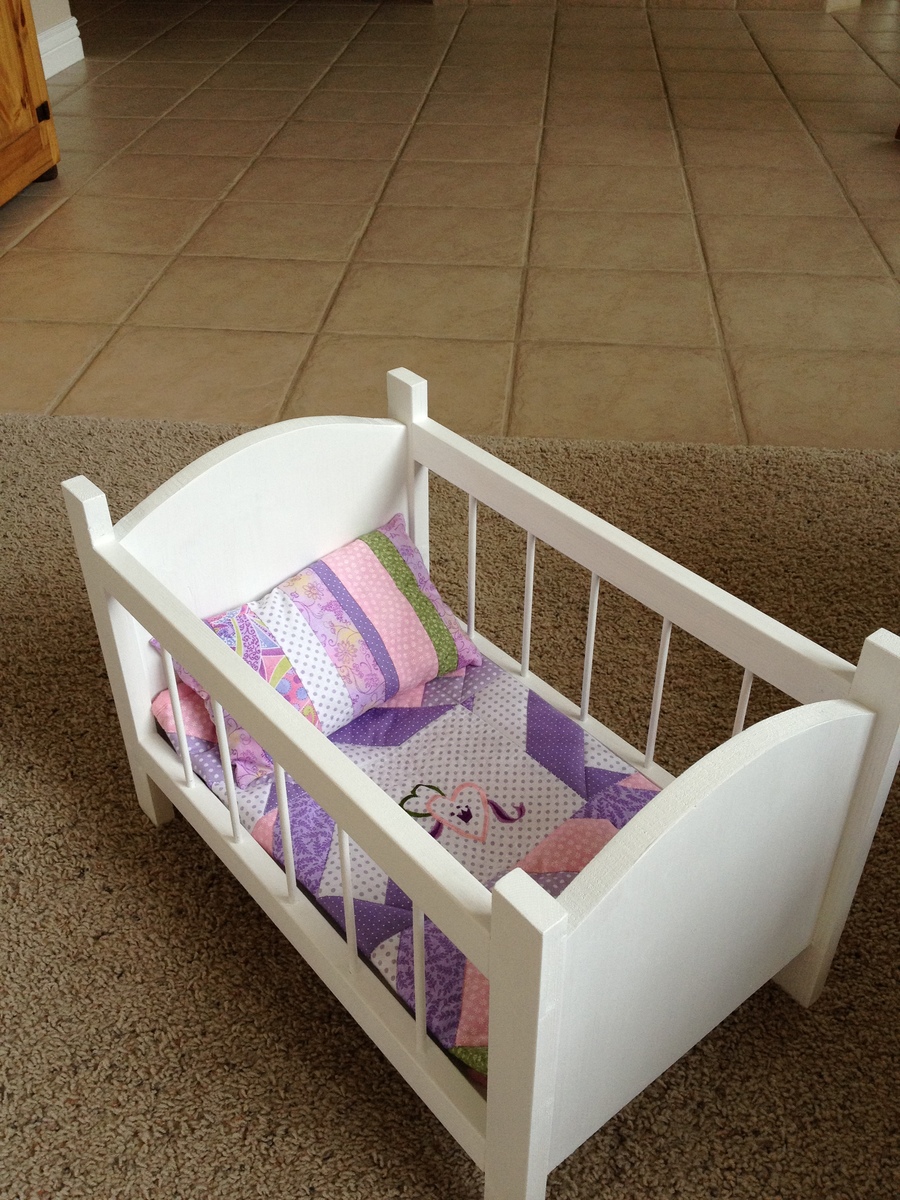
After building the playhouse loft bed recently, I whipped up the fancy doll crib for my daughter. My mother made a beautiful pillow and quilt to match the one of my daughter's bed.
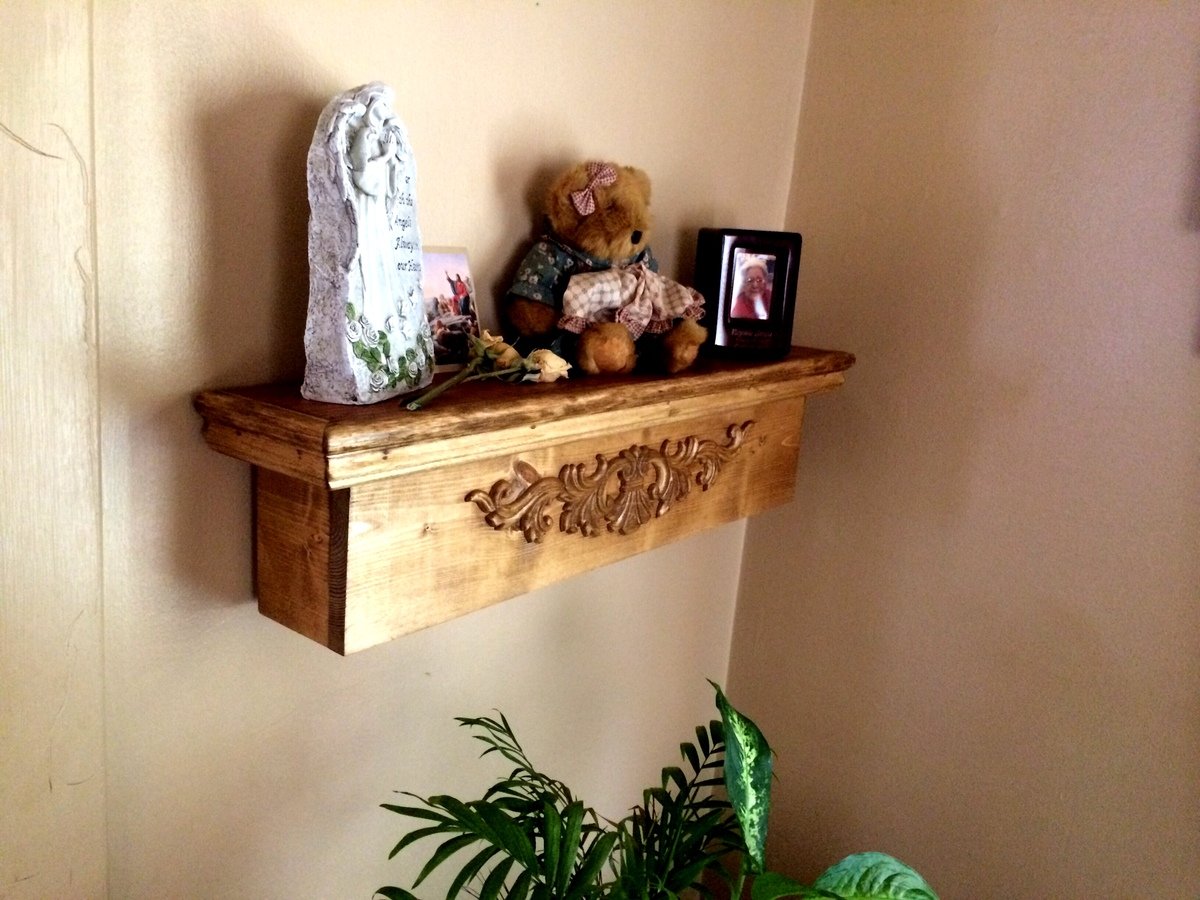
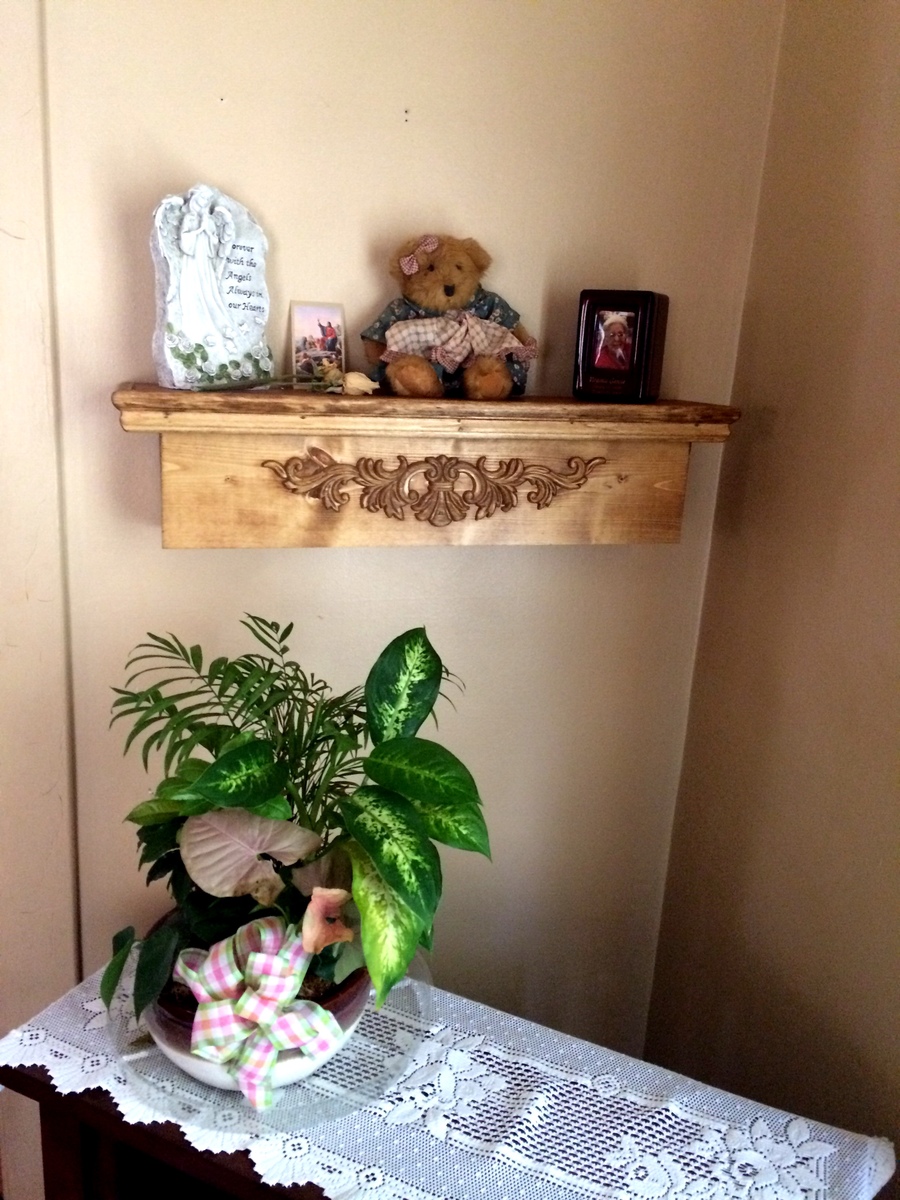
My father-in-law needed a place to display the remains of Great-Grandma after she passed away last winter. I modified the plans posted at Shanty-2-Chic to fit the space in his living room: http://www.shanty-2-chic.com/2013/02/diy-shelving-floating-ledge.html
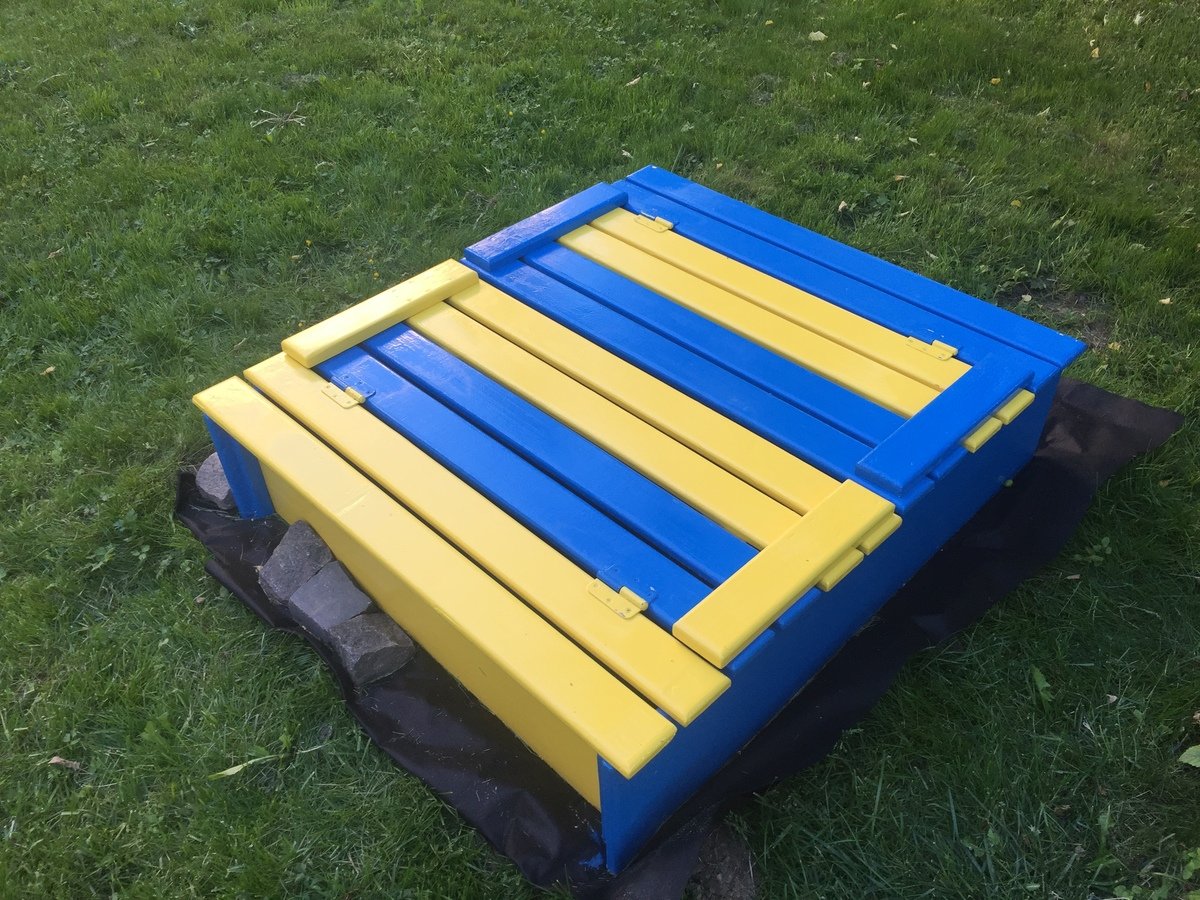
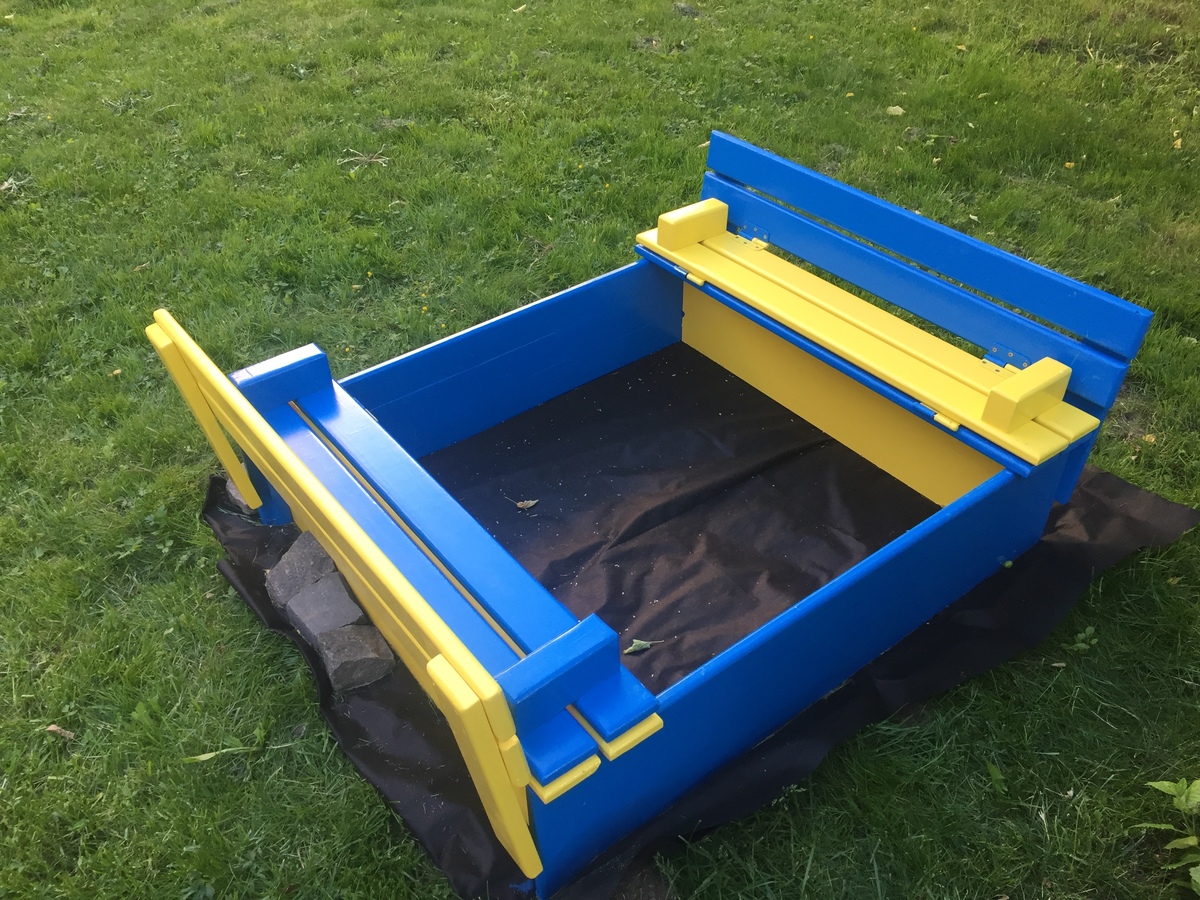
I live in Lviv Ukraine and painted it in he national colors of Ukraine.
The wood came from a old pallet.
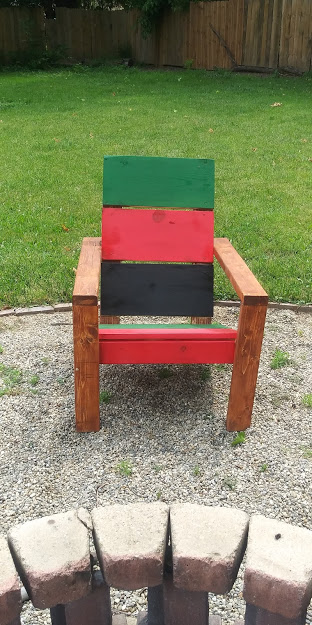
Built a set of six. First chair wasn't perfect, but with each build it got easier.
Our two-year-old daughter's newfound hobby of washing her hands and brushing her teeth really took off a few weeks before Christmas. Santa left stools for her and her little sister to be used in different bathrooms.
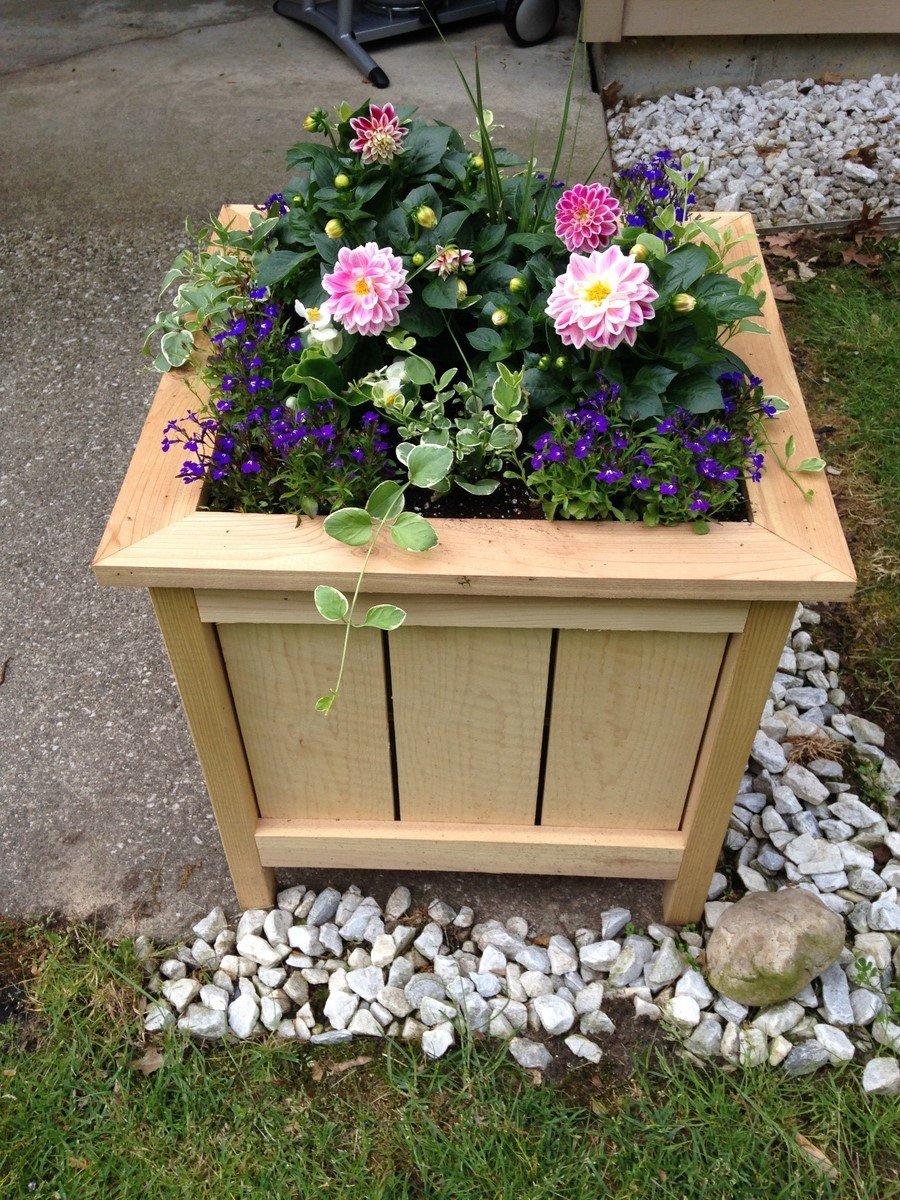
This was a Mothers Day gift for my mom. She absolutely loves it! She lives in a retirement complex and neighbors are complimenting her on it all the time! I did decide to go with all cedar instead of using any pine, so that did increase the cost. I also altered the plan like others and added a trim piece on the top. I think that makes the planter! Thanks Ana for the wonderful plans!
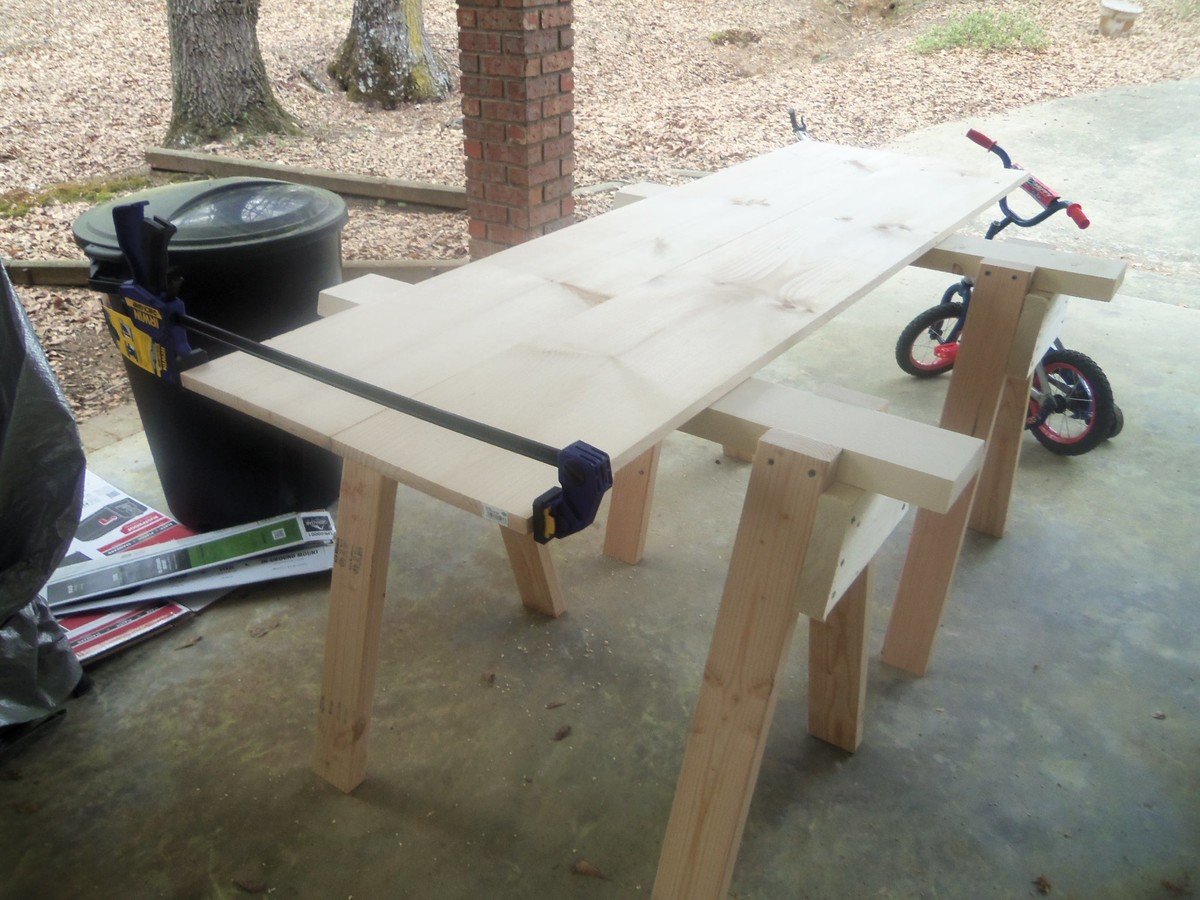
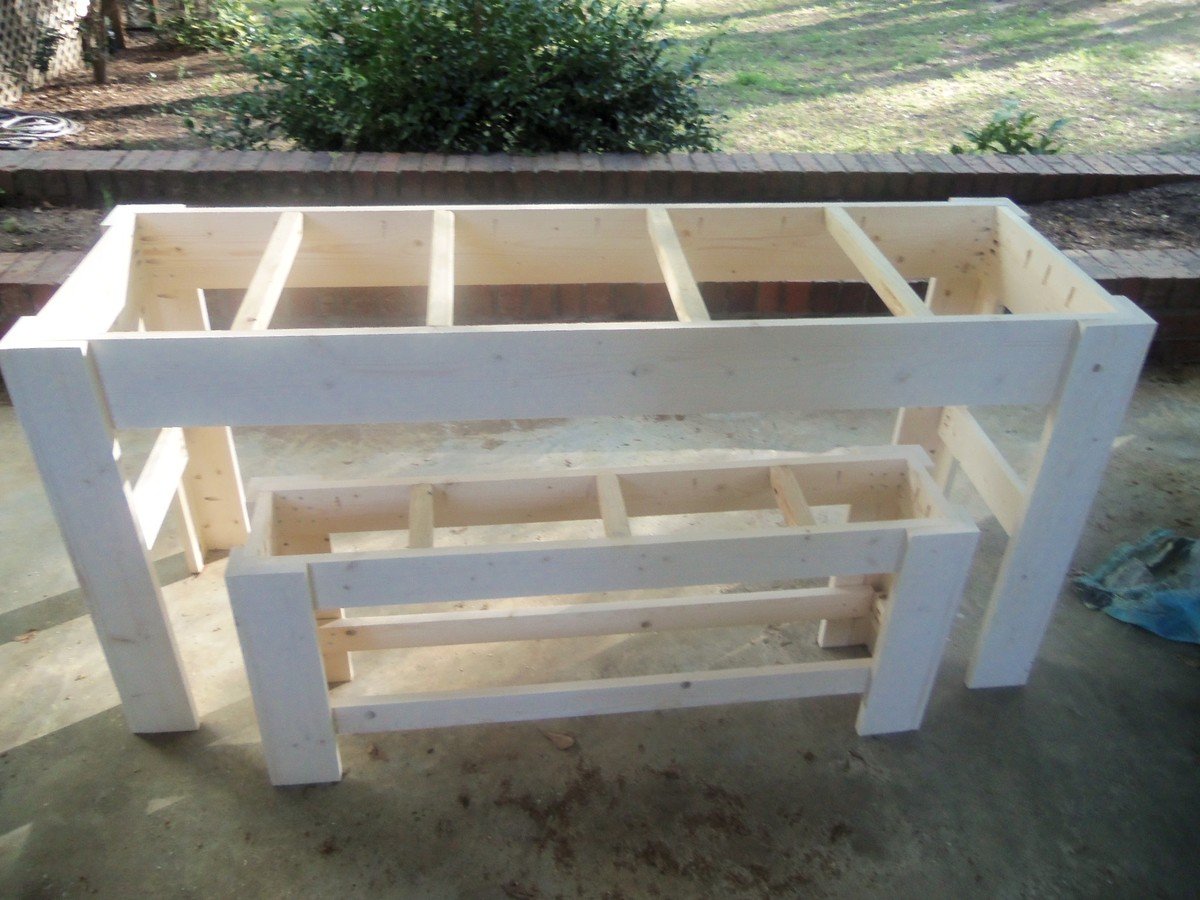
I made this to fit an empty wall in the kitchen. It's an additional work space not really an eating space. I made the table smaller 6ft. by 22.5 inches. I decided to use 2-1X11's for the top instead of smaller boards. I figured less boards to join left me less room for error! I measured my dimensions for the smaller table and then built a matching bench also. One thing I did different on these plans was that I used pocket holes underneath to attach almost all my boards so I wouldn't have any outside nail holes to fill. If you are planning on doing some building and don't have a Kregg Jig or similar tool I would definitely recommend one! I got a mini version and I've used it a ton already. Also if you are thinking about making this table I would consider using 1X4's or cutting down a 1X6 into a 4 or 5 to make the aprons a little smaller. There is not much leg room between the top of the bench and the apron of the table. Overall I loved this project.
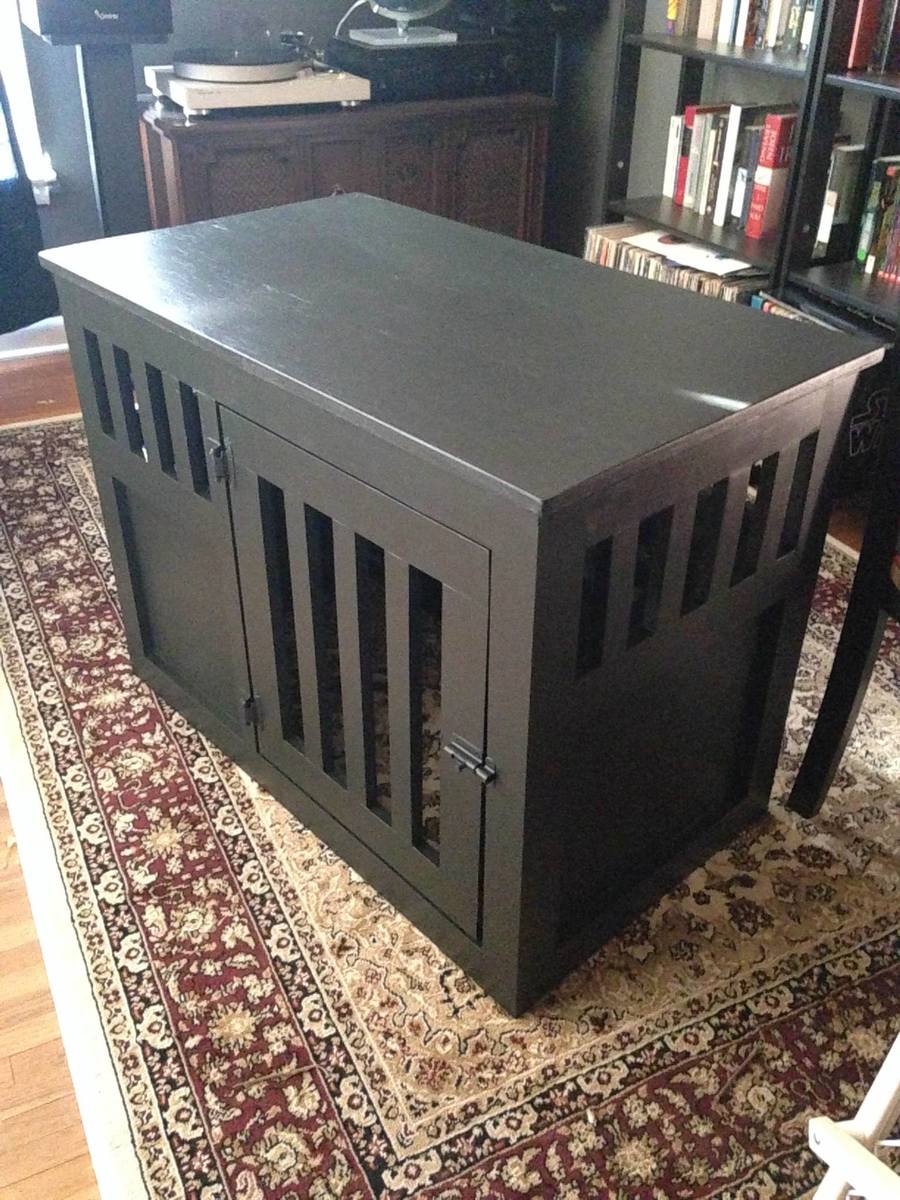
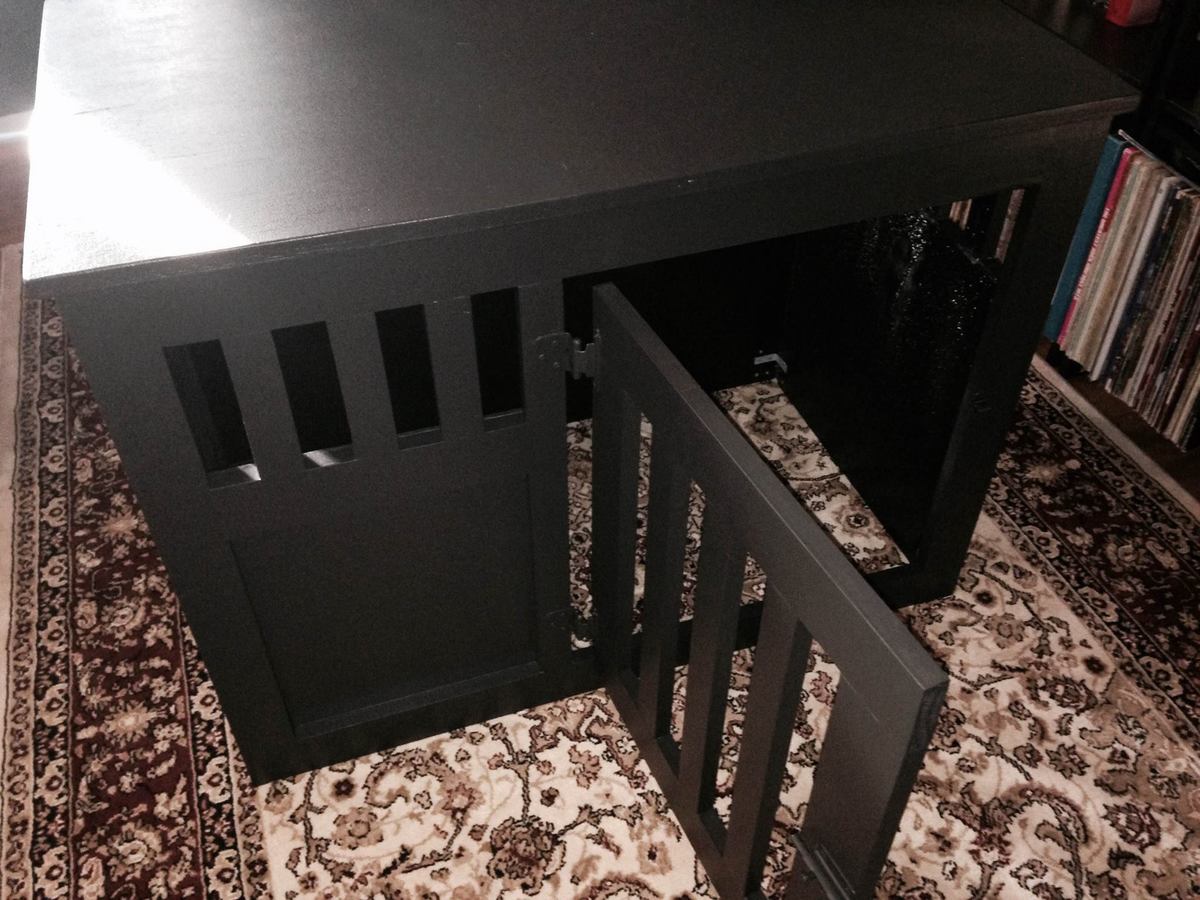
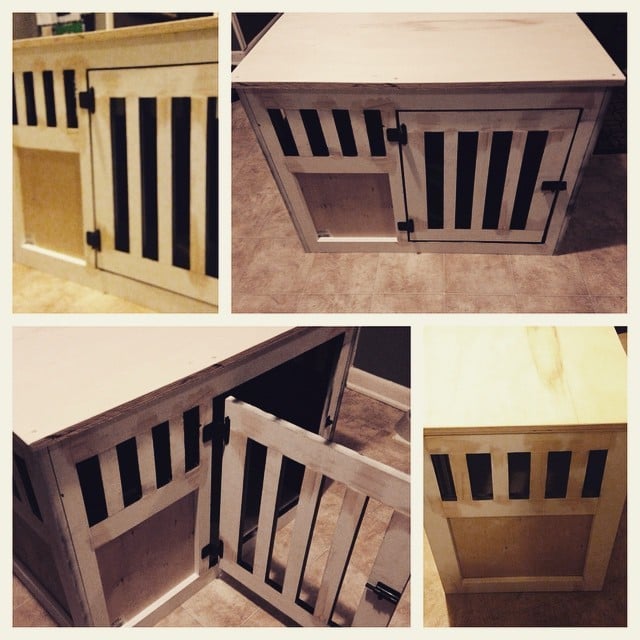
I used the basic plans with two significant alterations. I made the dimesions slightly narrower, and I moved the entrance to the side. Both of these changes were made because of space constraints in the location we chose.
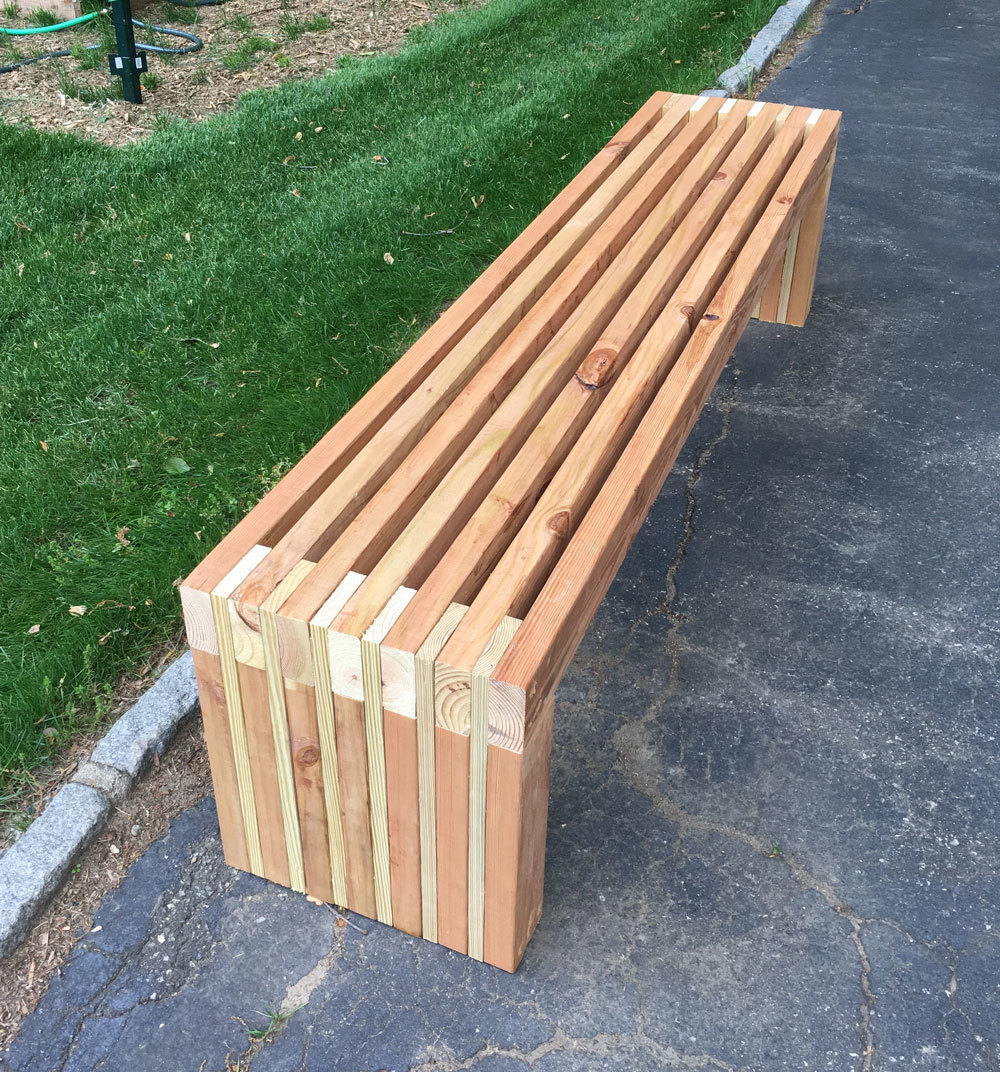
Great bench
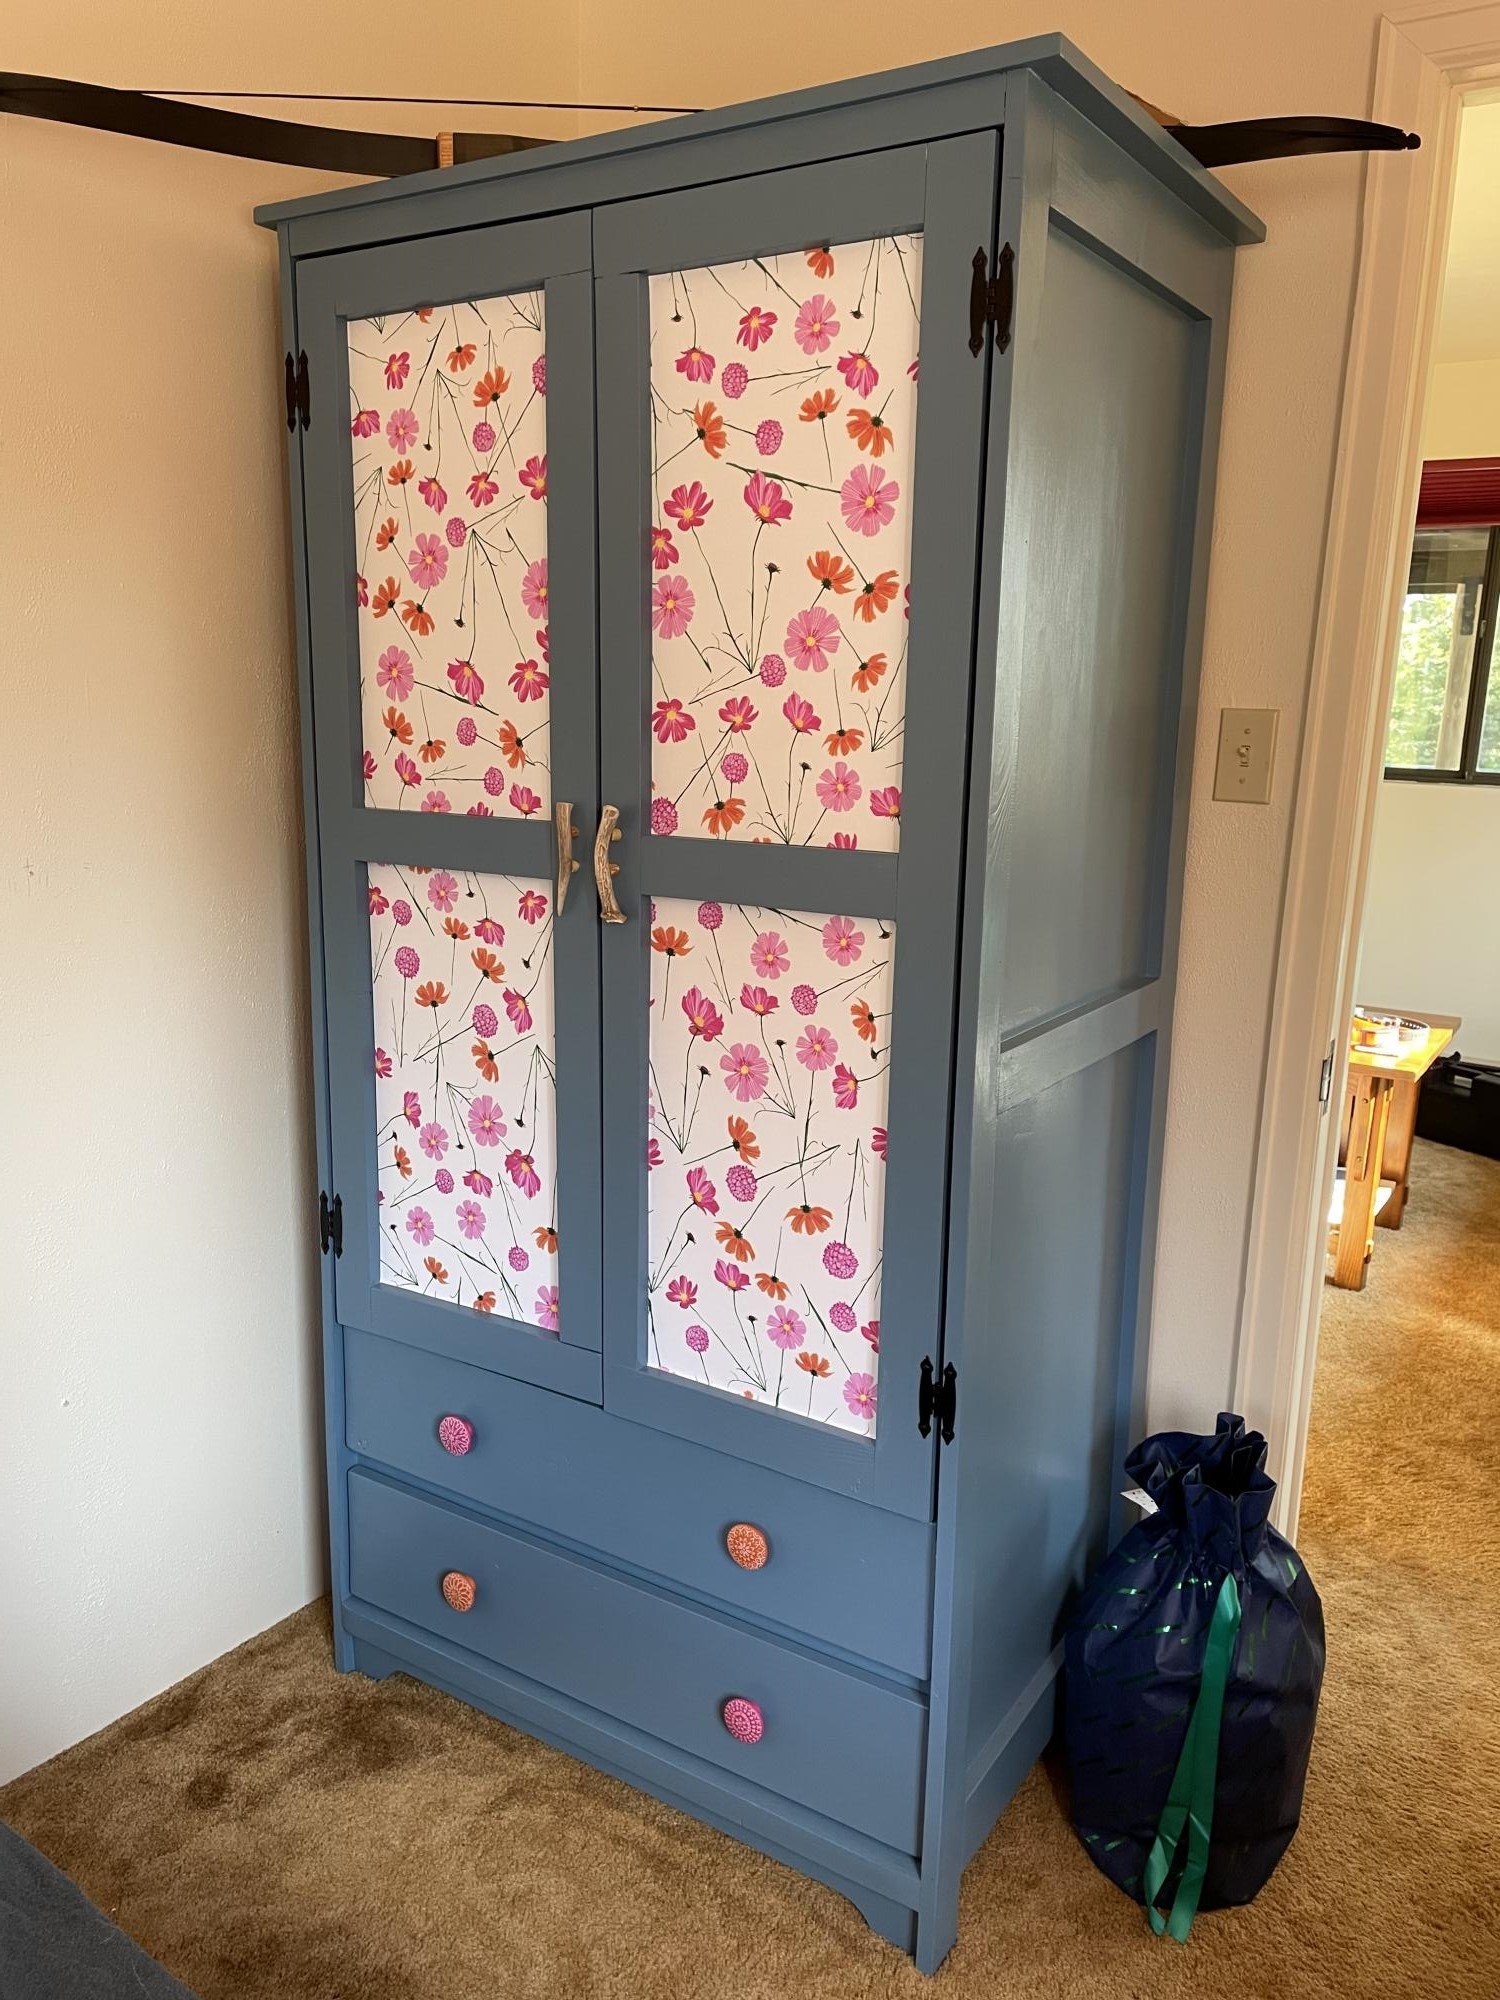
Used Ana’s Toy/TV armoire plans, tweaked the dimensions to make it a bit taller. Added drawers and a hanger rod inside. Found deer antler used for handles. Color and cosmo wallpaper thanks to my wife. Perfect for a quirky old cabin in Colorado. My first attempt at furniture. Thanks!
Fri, 07/23/2021 - 13:46
It's too cute and functional too, thanks for sharing!
Fri, 07/23/2021 - 13:47
It's too cute and functional too, thanks for sharing!