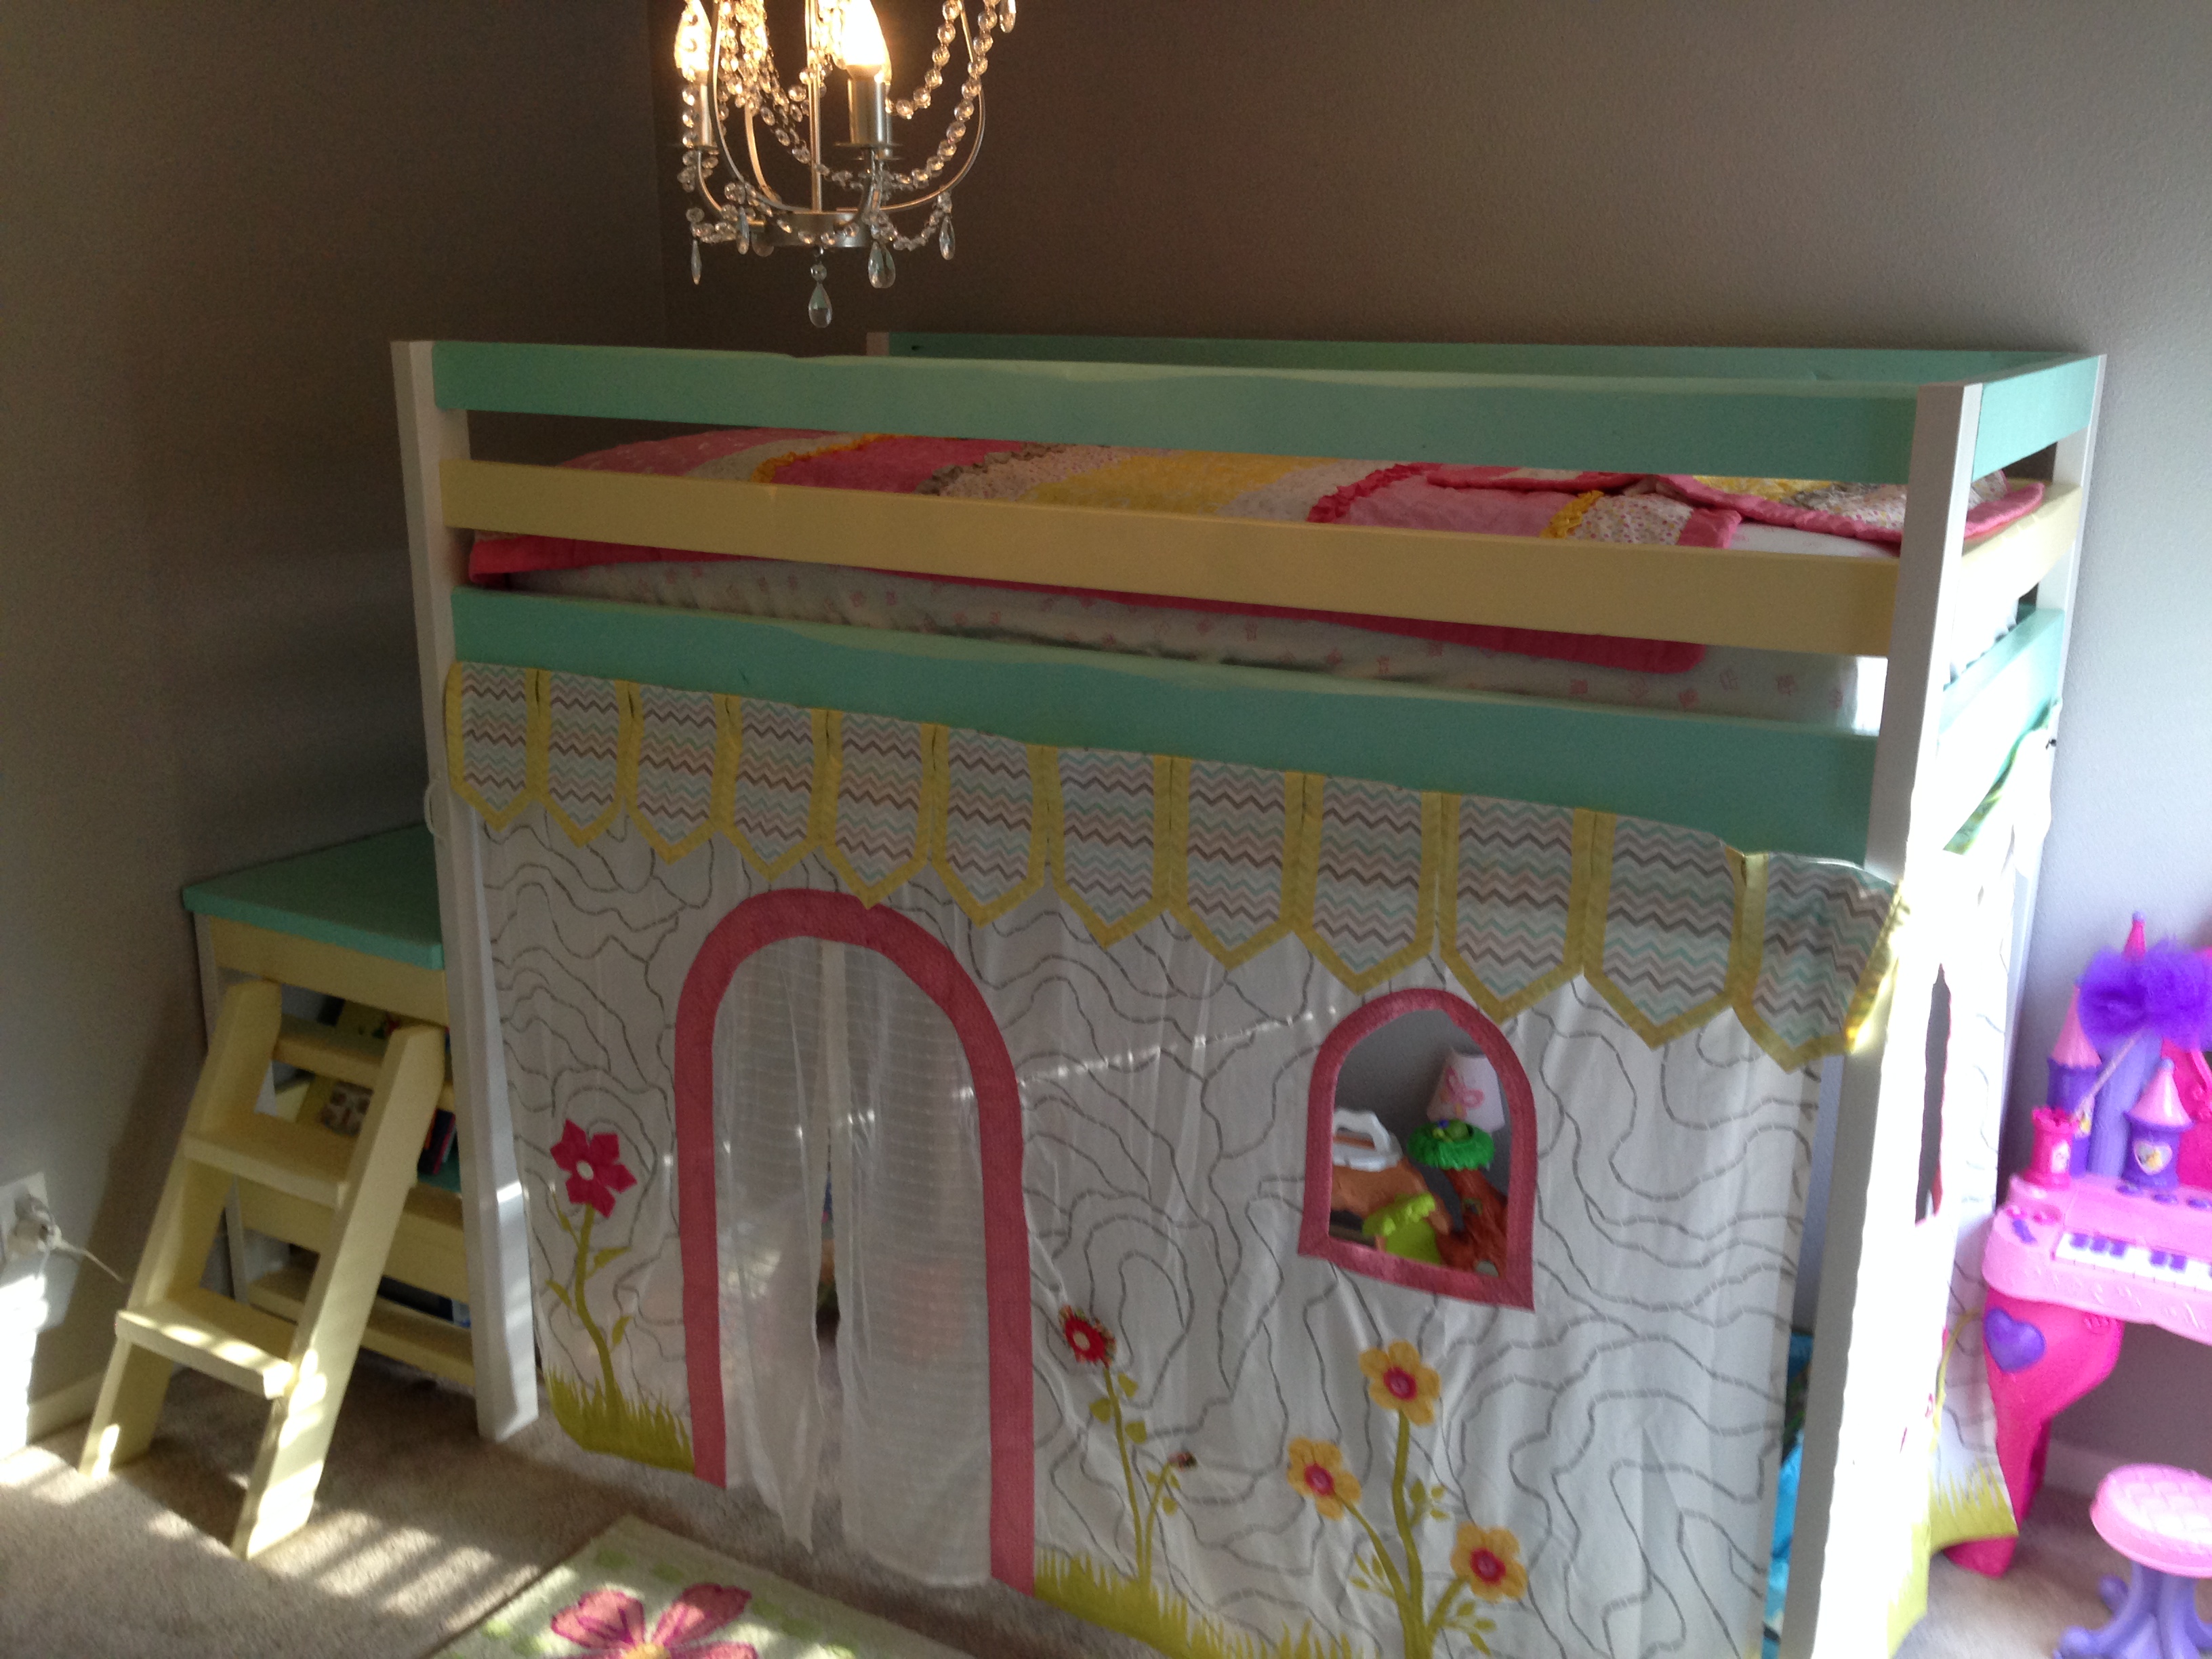
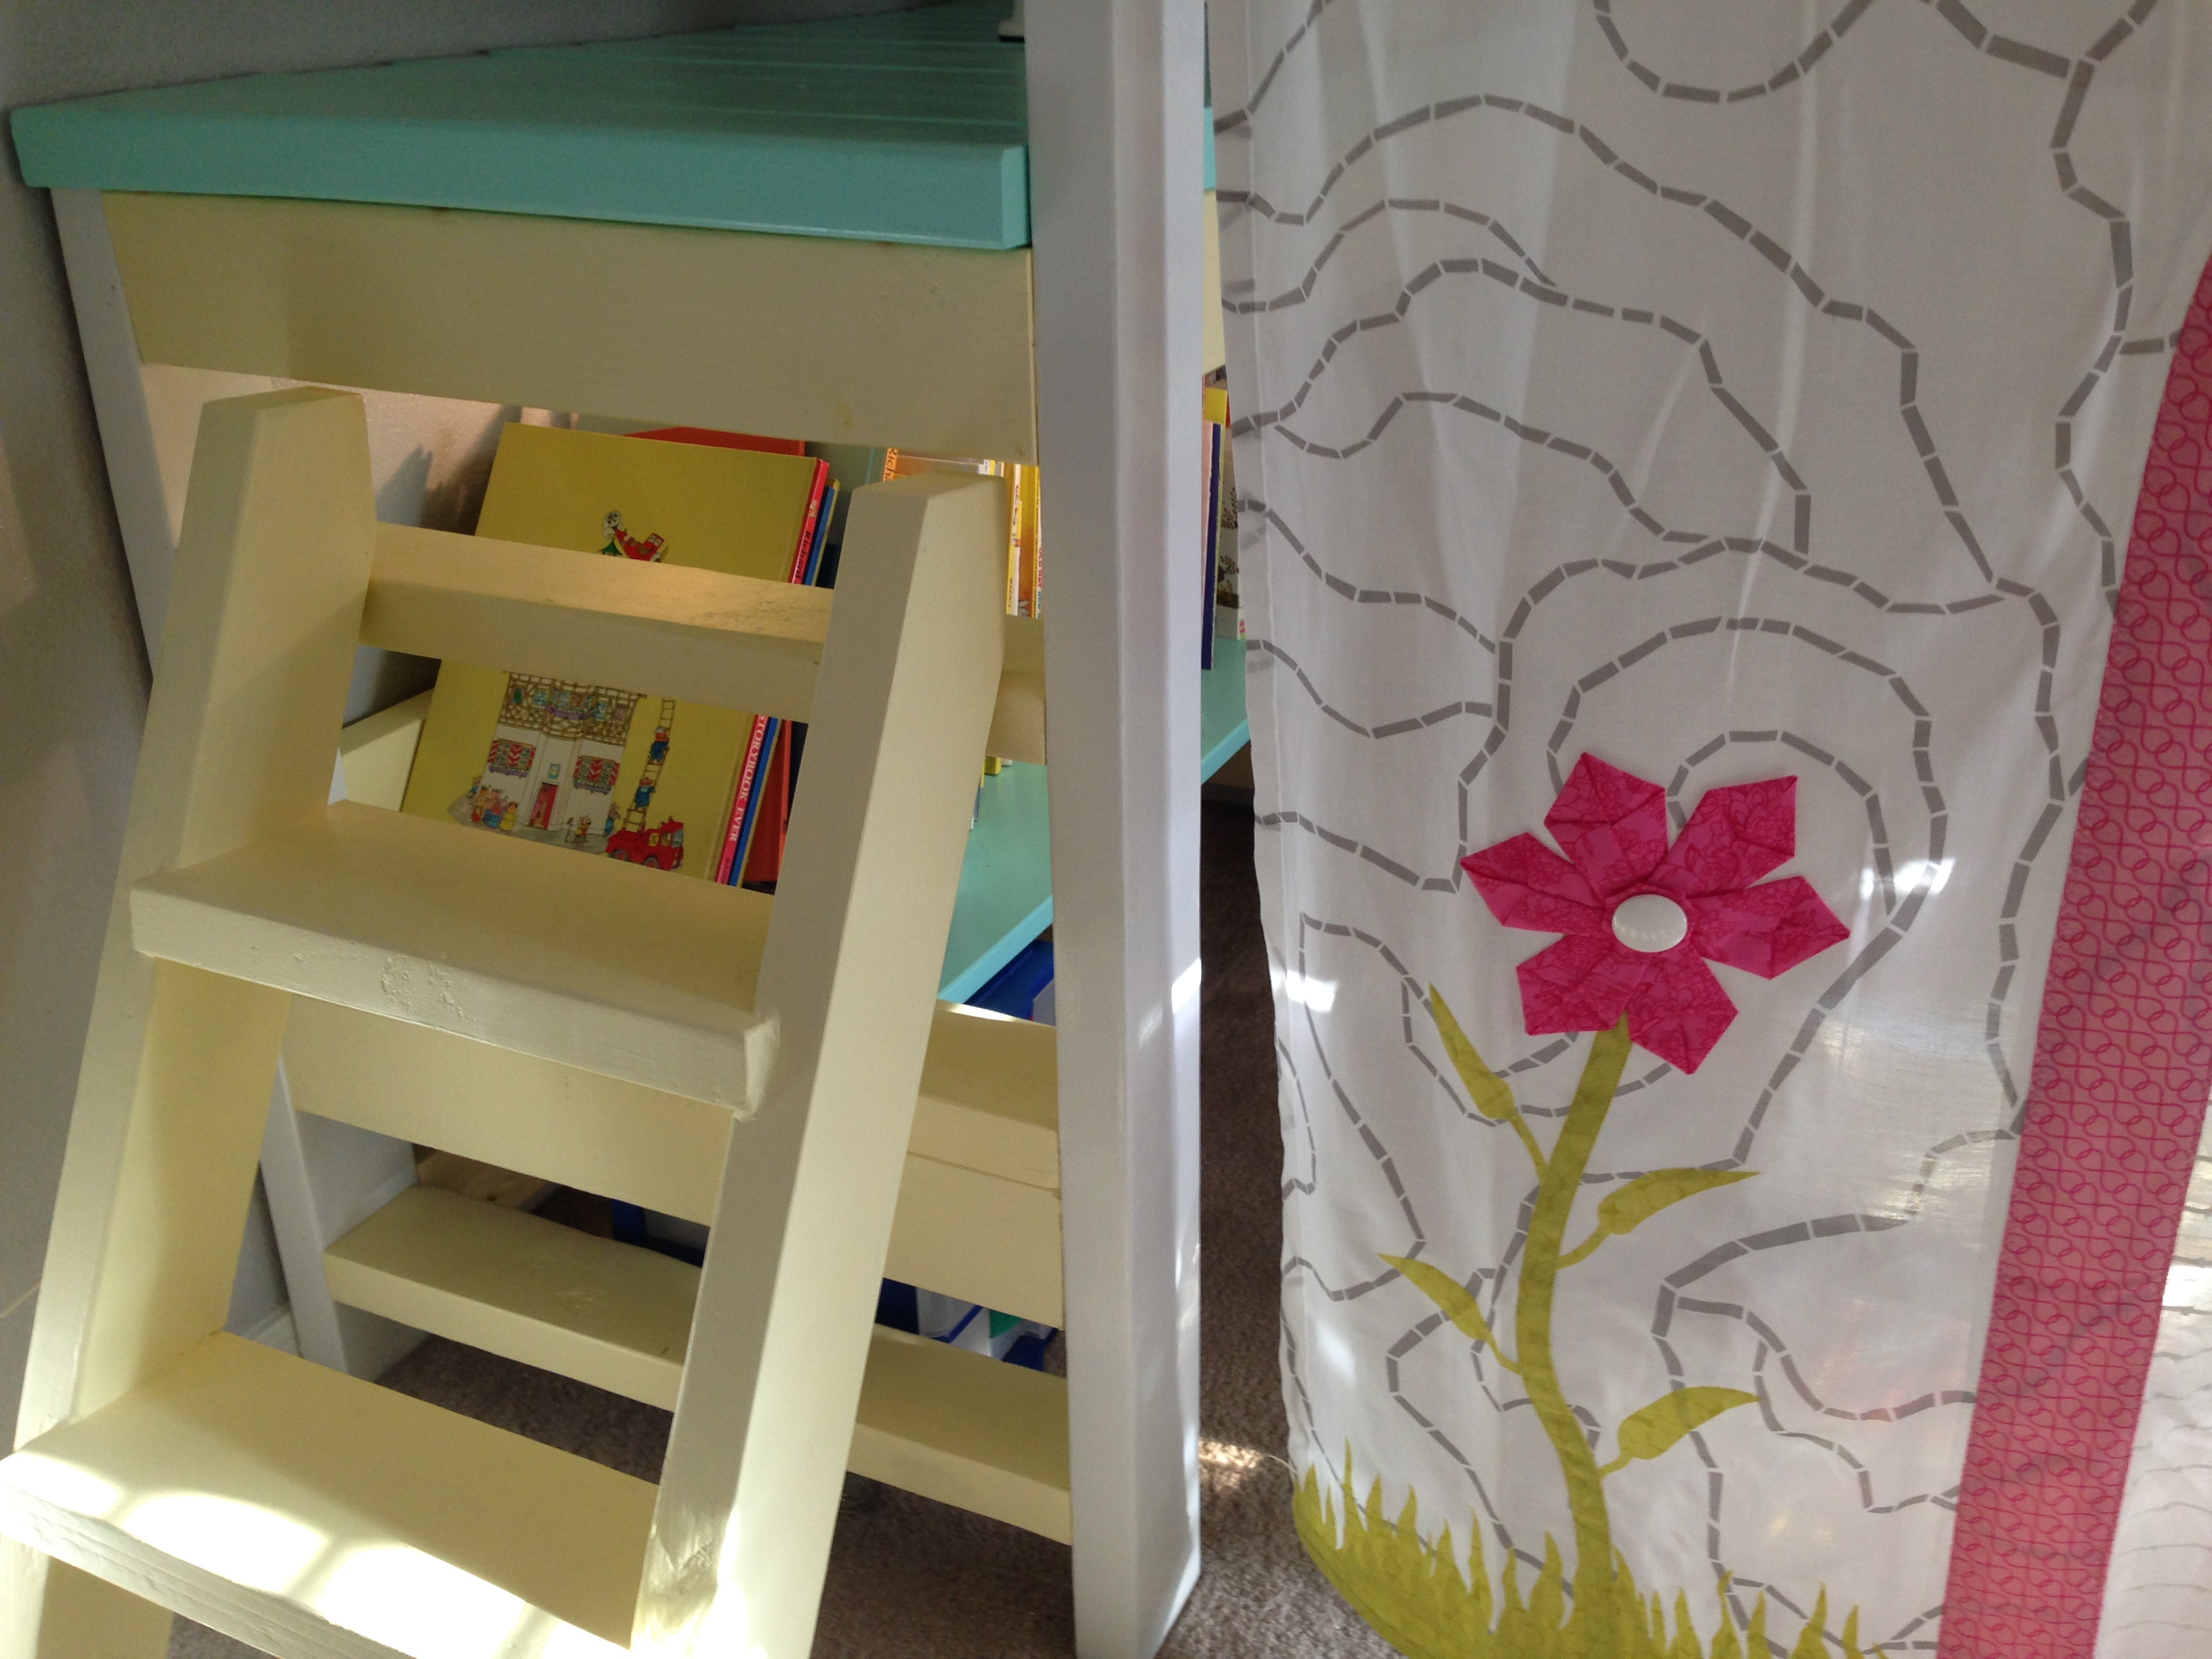
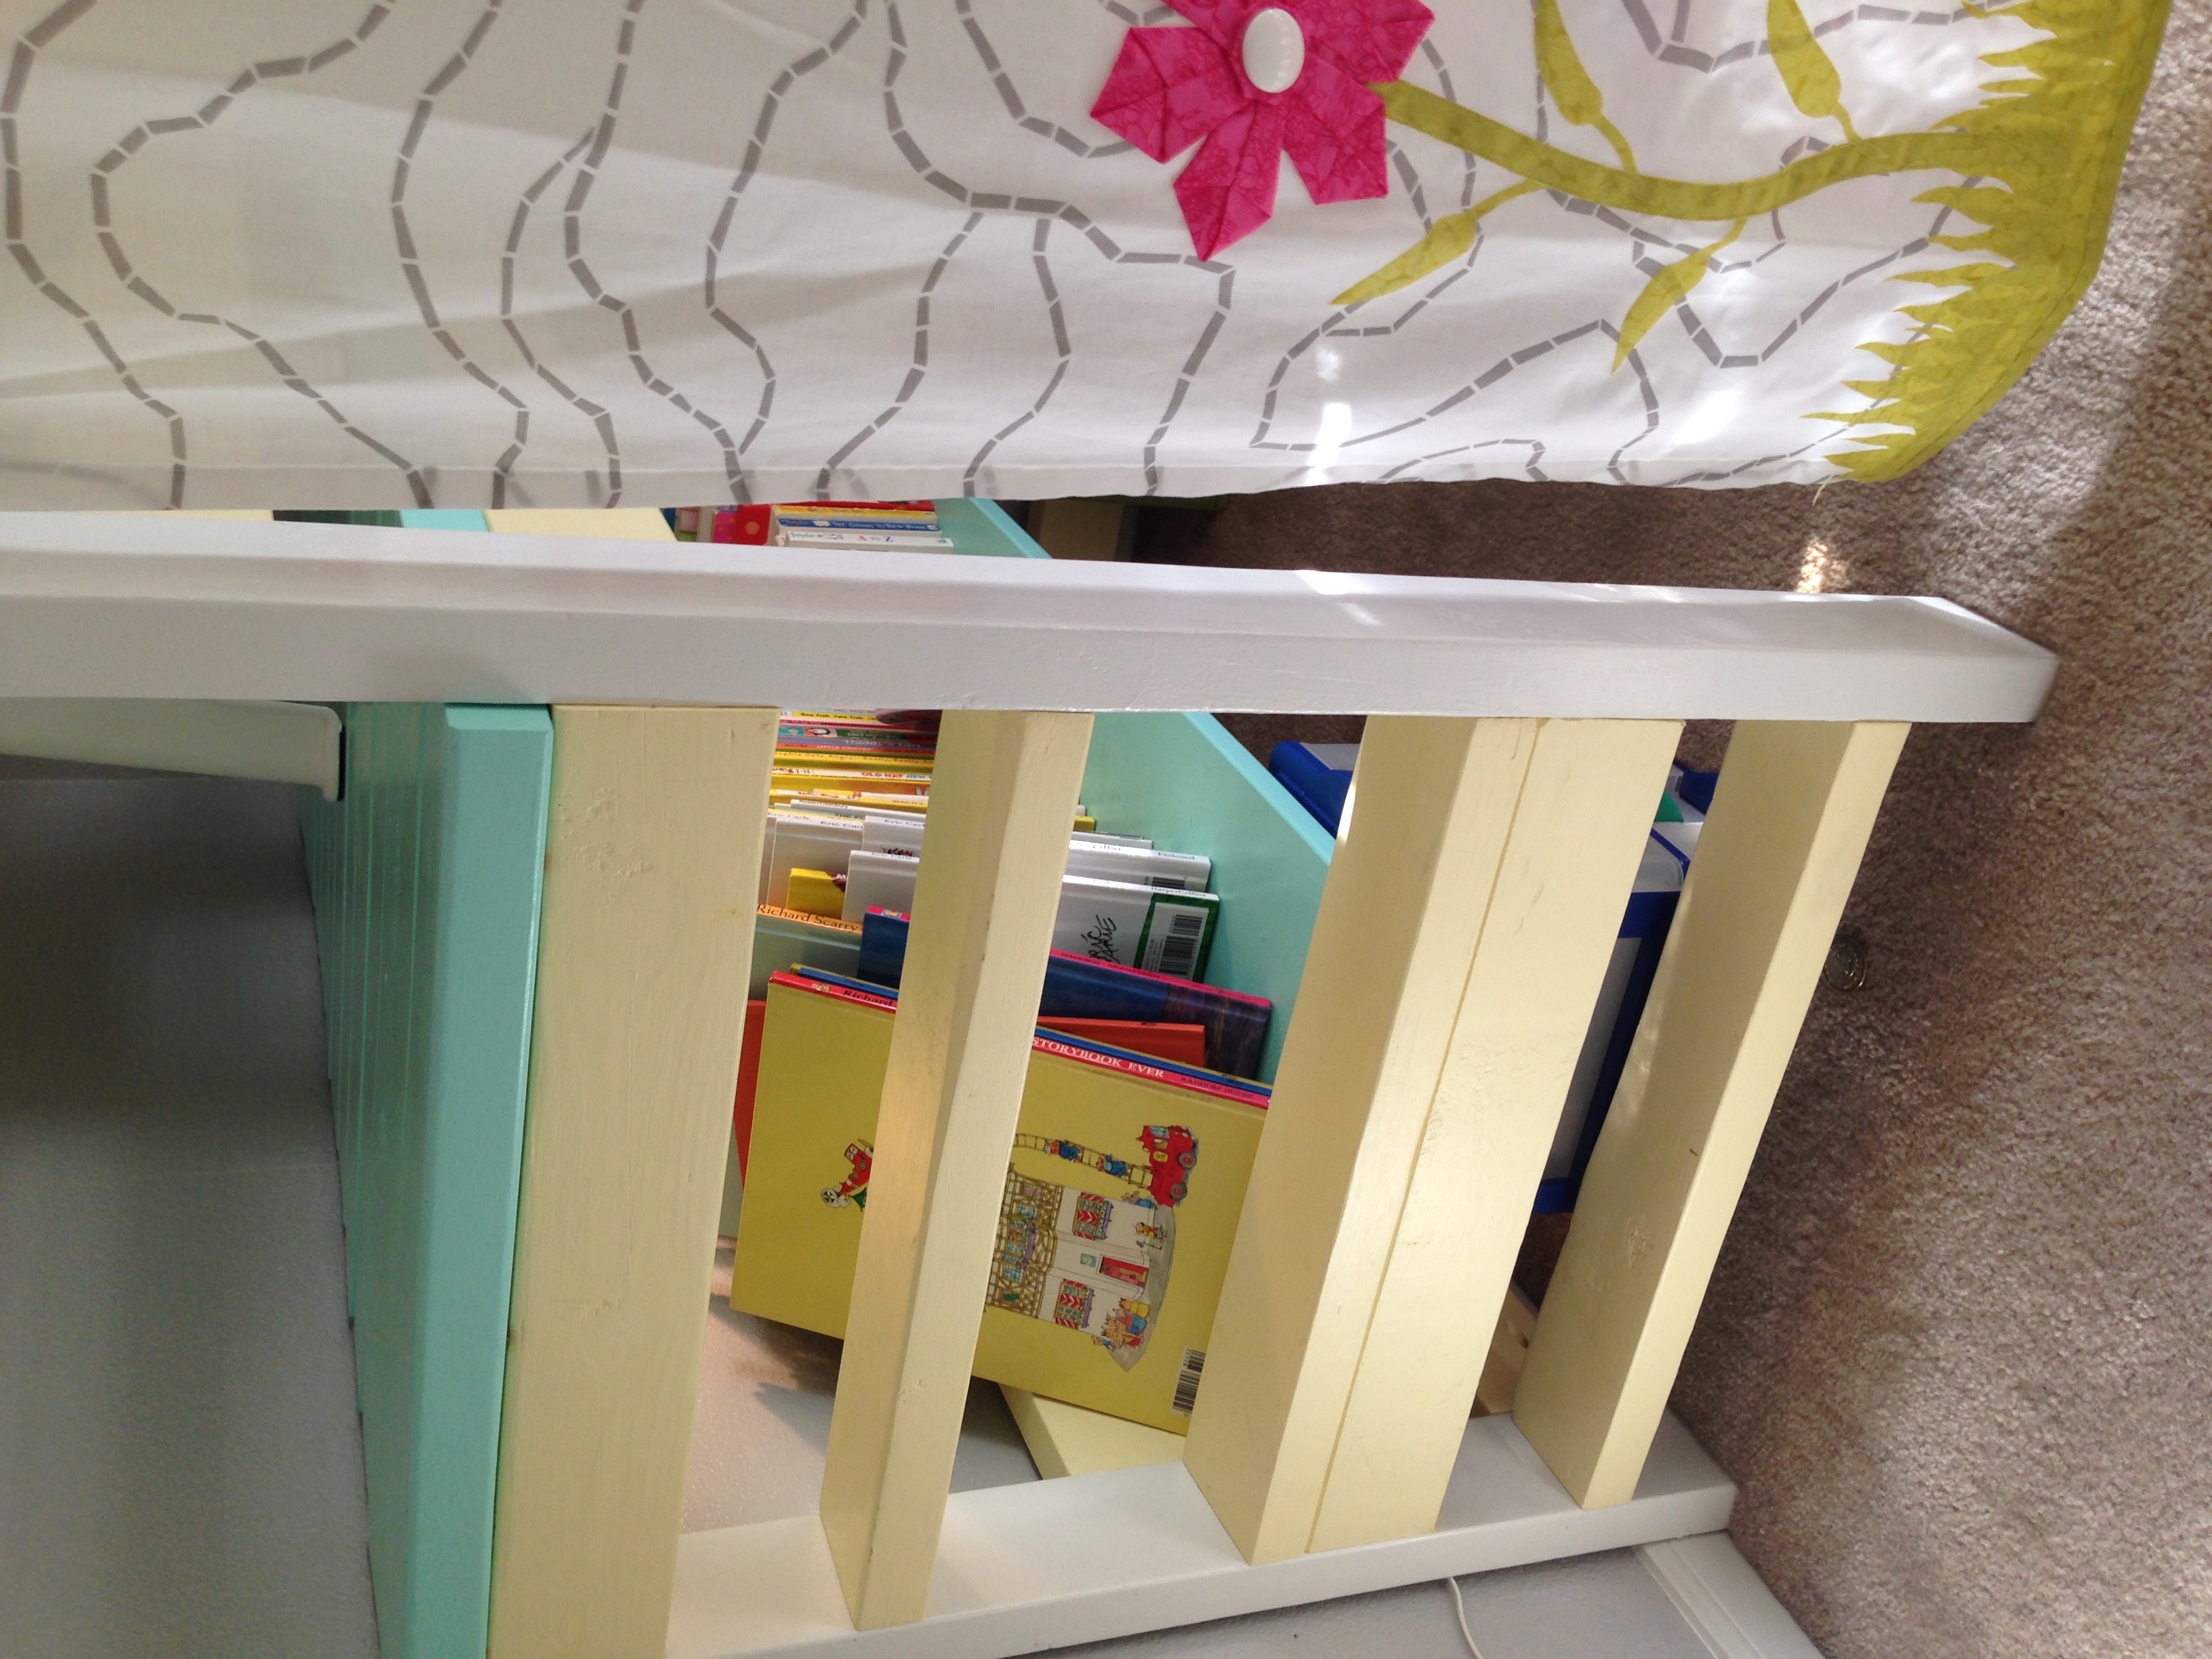
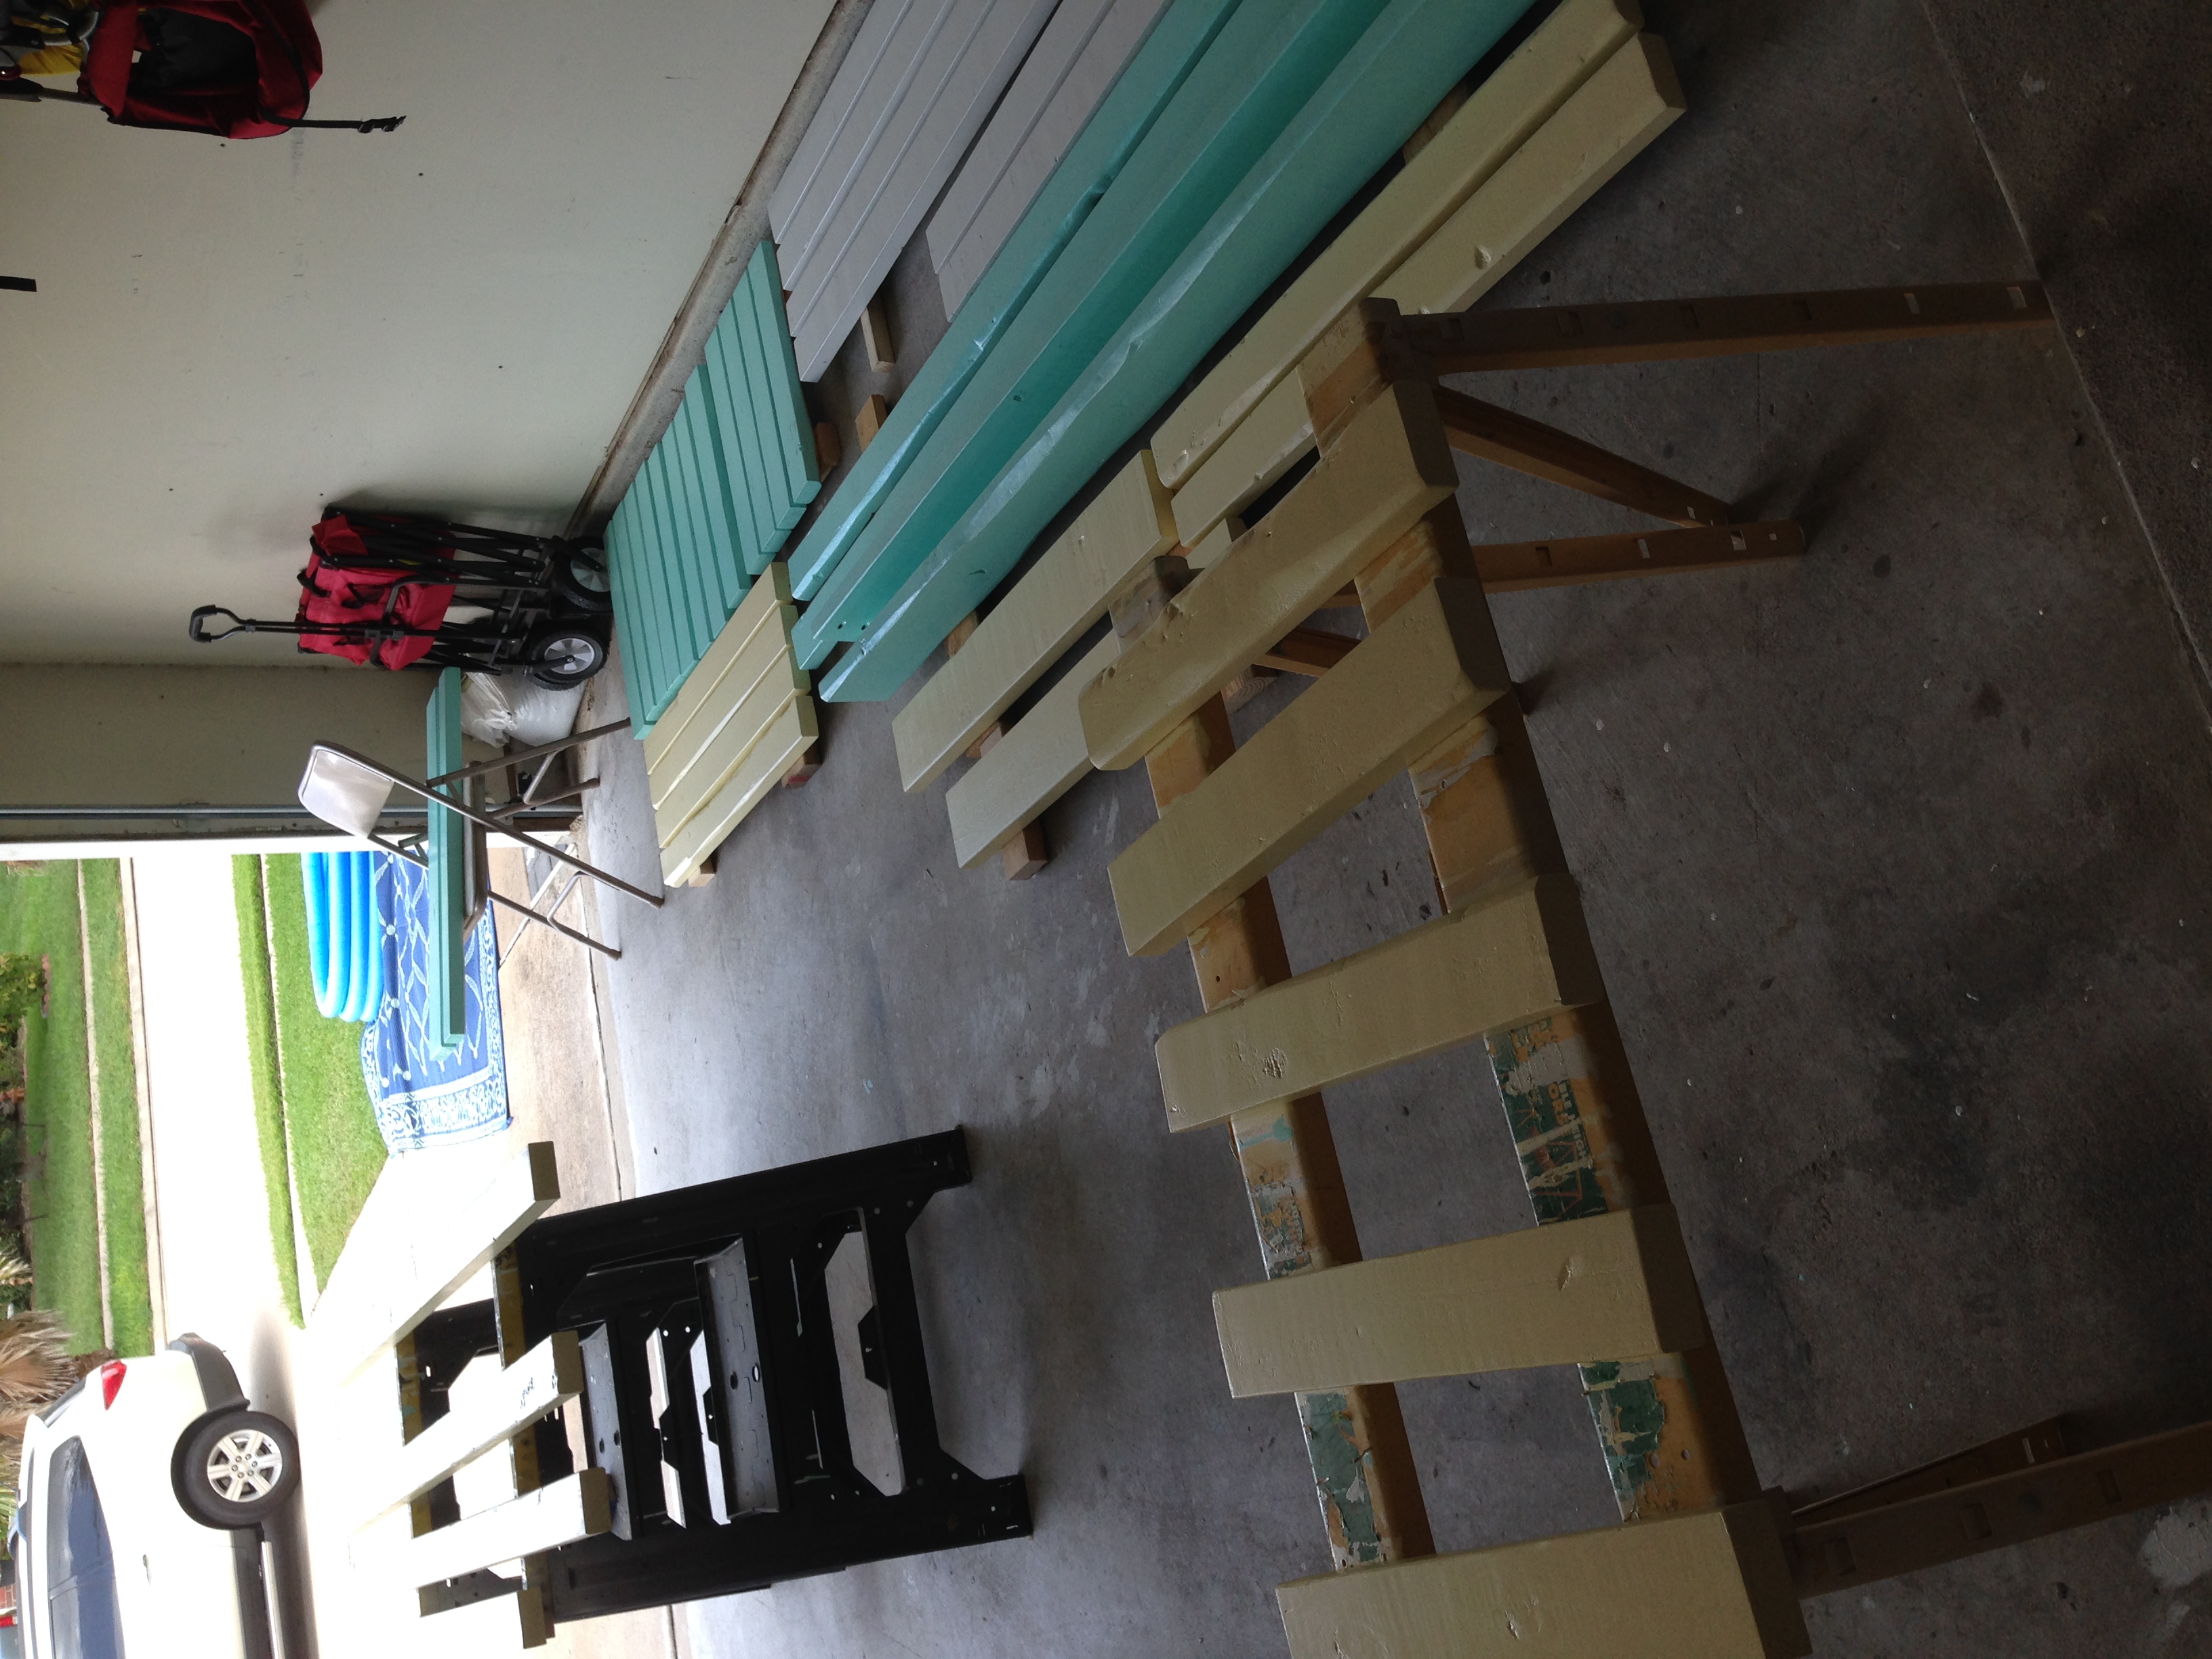
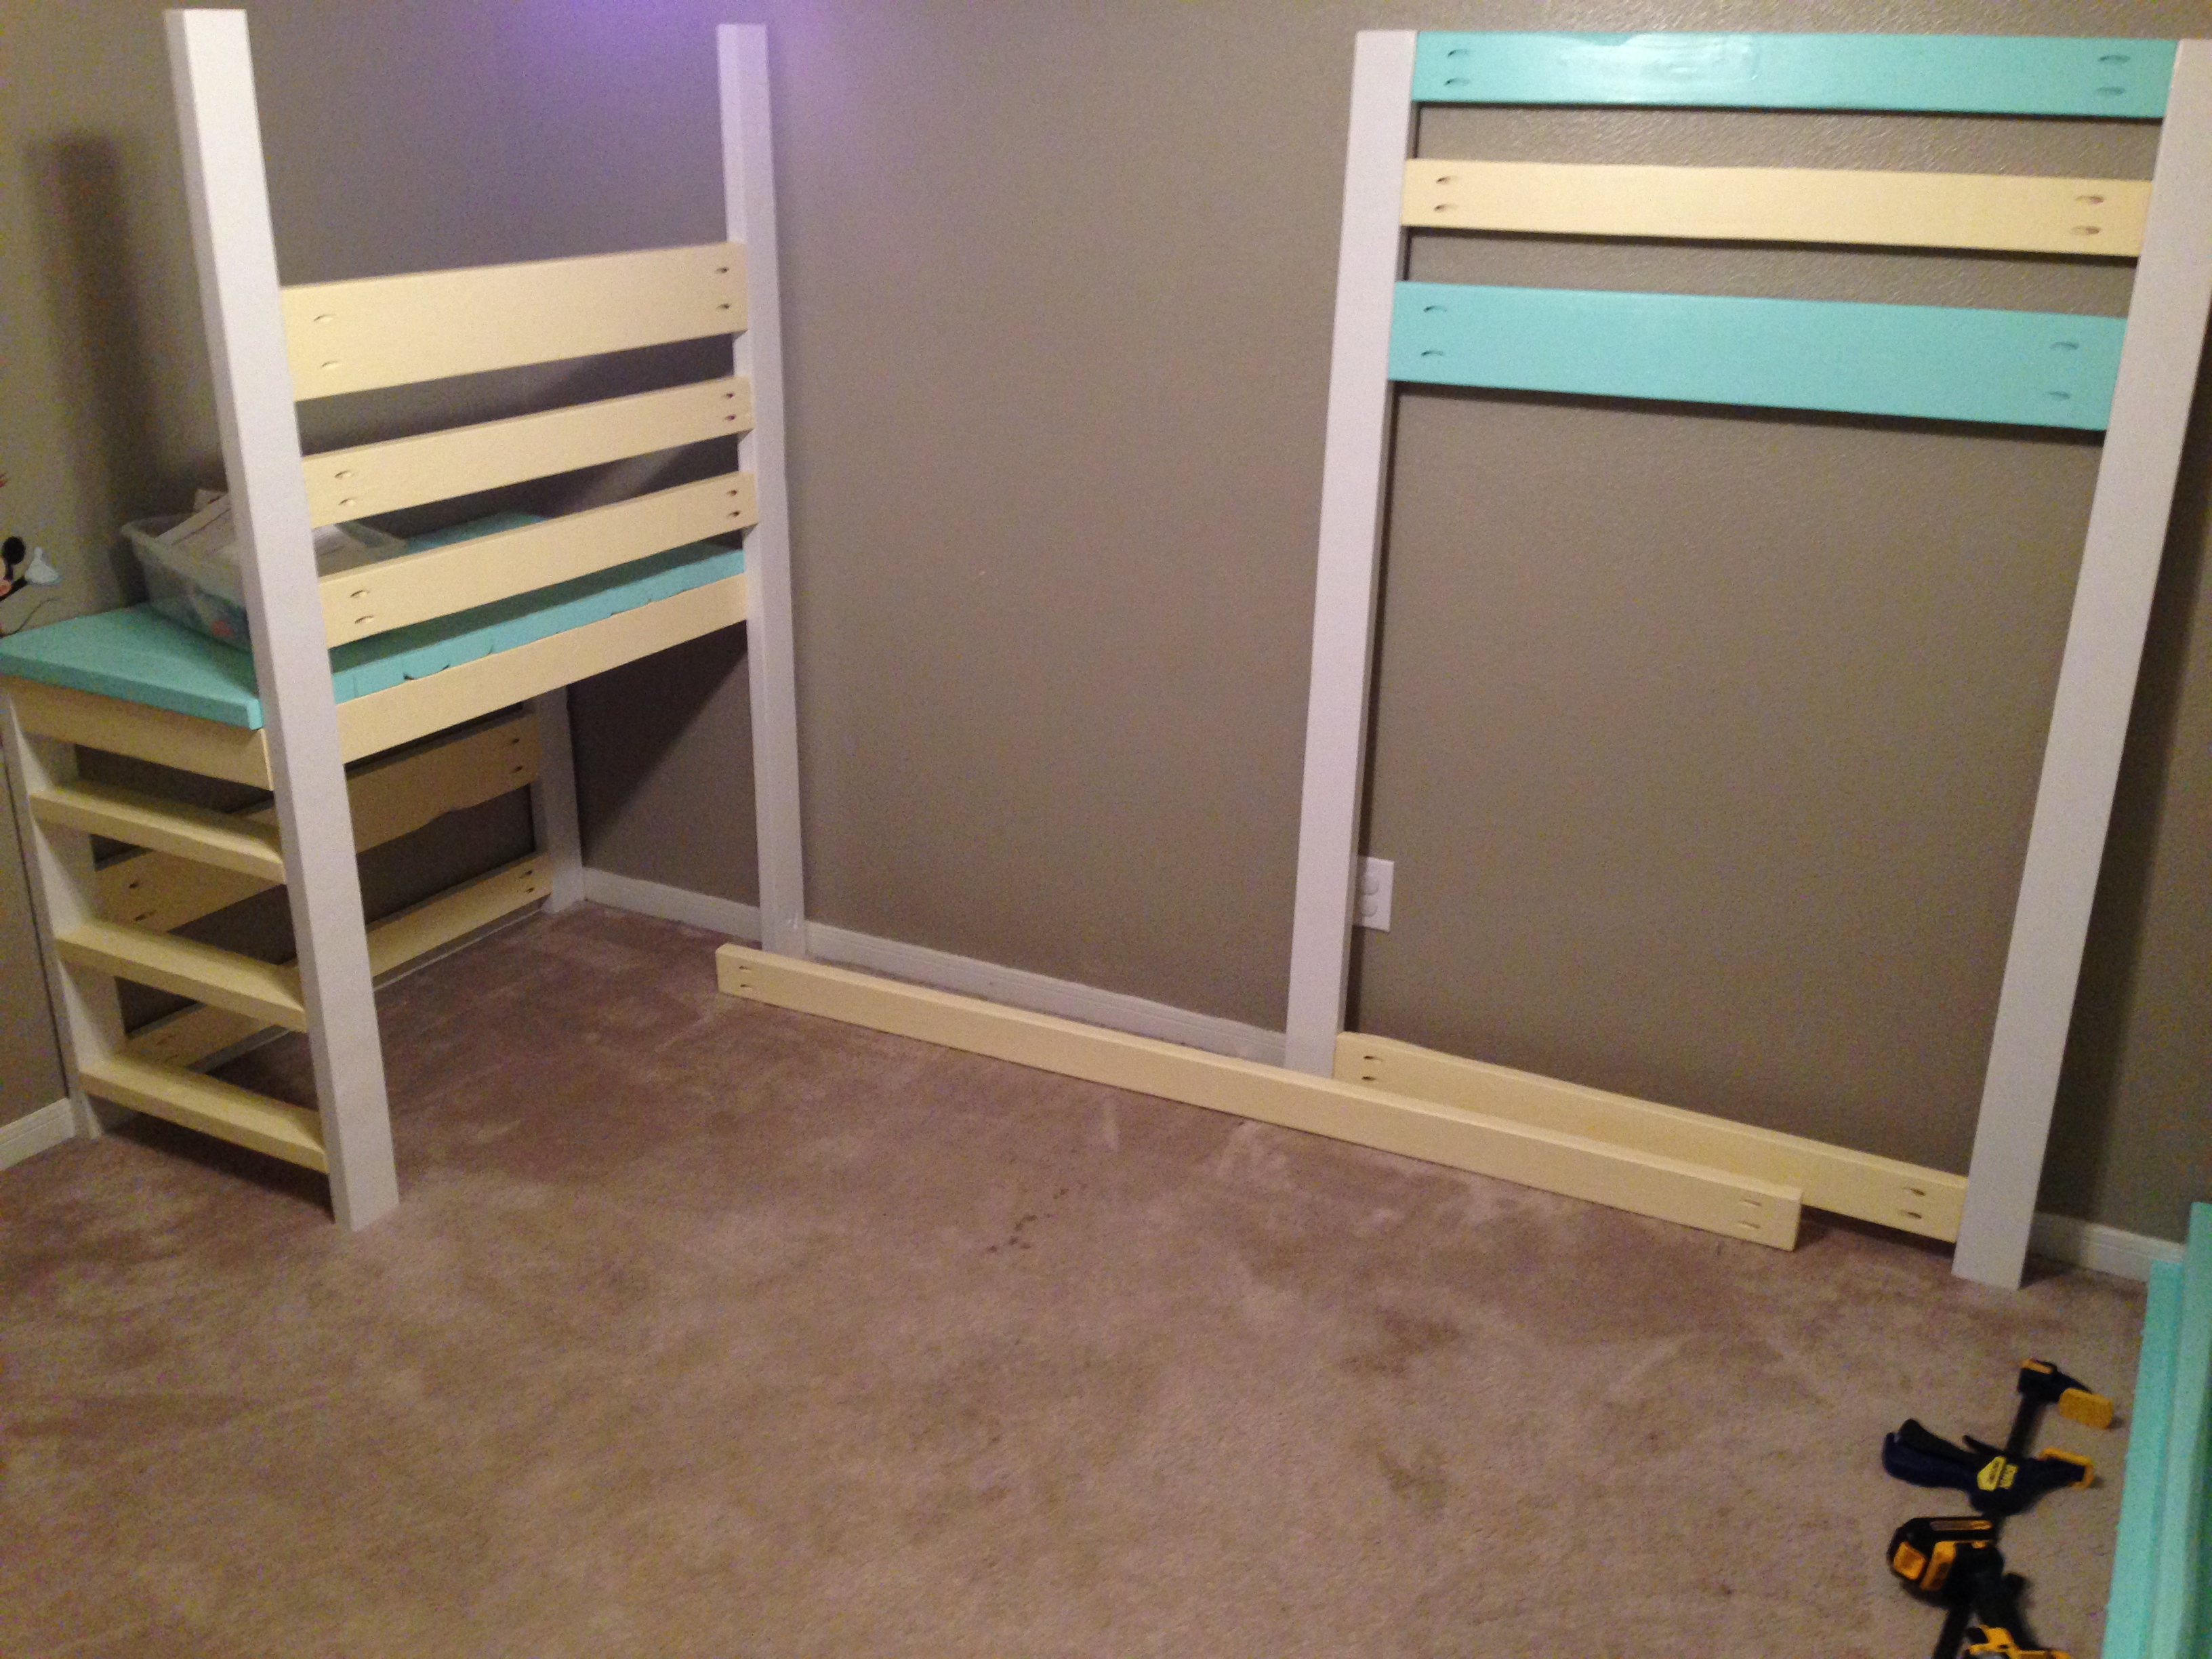
Tryde Side Table
This was my first project, so I picked one of the easier table plans. Once I learned how to work the miter saw, Kreg Jig & drill, it was pretty easy!
Loved this plan, decided to use it for our living room TV console. Planning to add handles to the crates during a weekend when we have some free time. Very impressed with our final product :)
Wed, 12/30/2015 - 12:40
Love that console in your space, great job and thanks for sharing!
This chair was made off Ana white'smodern outdoor chair with modification to add back support. Without the back support the back pillow would keep falling off. The cushion are 25x25 but very thick for comfort.
Thu, 07/04/2019 - 12:48
What degree angle is the extended back cut. I can't find any instructions on this?
constructed in a similar way to the outdoor sectional, using 1x4's. We used 4 1x4's laminated together for each leg.
Fri, 10/14/2011 - 21:41
What kind of wood did you use? I tried something similar but ended up splitting the wood and had to change the design of the table. This is just what I had originally planned but was unable to produce. It's just beautiful.
Sat, 10/15/2011 - 13:55
We used 1x4 Australian Tallowood (Hardwood) decking timber. All the screw holes were pre drilled and countersunk. Bolts at the top and bottom of the legs to hold them together.
Peggy and I modified this table to be larger, put it together with the help of our Kreg Jig and painted it, with Kaitlyn's help, chocolate on the sides with white interiors and blue on the top. We look forward to making lots of art and being crafty at this table. And making lots of other projects to complete our craft room.
I built this stool for my son of three years. The wood is from Red Alder trees that blew down on my farm a few years ago. I milled the logs with a friend and, while alder can behave badly, I always love working with the wood. The end upright in the image was quite cupped and it cracked when I screwed it down - but it's still rigid and solid. The wood takes an oil finish beautifully! Chose to drill and plug the screws, instead of using pocket screws. Gives it a nice rustic look, and is easy to recoat when a touchup is required.
We removed the legs and added an extra piece to the top to bring the mattress height down.
I have wanted to make Adirondack chairs for some time and loved finding these plans. I use exclusively reclaimed or salvaged lumber for all my projects. The lumber for these came from a fire station being torn down to make way for a newer more modern one. These are now home on the patio of the new station. Love how you make plans that are easy to follow and headache free. Thank you!
I used the plans for Ana's vintage crate cart, but made a few changes. I made my boxes 11"W x 12"T x 15"D. I did not leave spaces between the pallet pieces and added a cheap wrought iron style handle from the hardware store for a pull. I only stained the fronts. I love these drawers!!!
My wife has been wanting cabinets under our bathroom sink.... So, I made plans and gave it a whirl. How did I do? If anyone want plans or more info how I did it feel free to ask.
Mon, 10/14/2013 - 20:47
I'll bet your wife is thrilled. It's always harder to try to build around something you already than to start fresh - but you did a fantastic job.
In reply to Great job! by sgilly
Fri, 10/18/2013 - 01:05
It wasn't too bad to do... Didn't take as long as I thought it would and tripled storage in the bathroom. I thought it turned out nicer than I thought. My wife loves it. and thank you for the comment!
Fri, 10/18/2013 - 01:20
Yes the cost savings was amazing. and it will hold up and is thicker than anything you would buy in the box stores. I am really happy with all of this. Thank you so much for commenting.
This table is the perfect length for our dining area. Pretty easy to build if you aren't new to building furniture.
Made this sideboard cabinet for my kitchen using the plans for the barn door cabinet. Just modified a bit by hanging the door instead of doing the sliding barn door. Turned out great and I love the look of it. Provides lots of extra storage and counter space in my kitchen.
My wife has been wanting a farmhouse table for our kitchen for a while...so I looked through this site to get some ideas and finally built her one she loves.
My version of the Simplest Stool will a larger rounded edges top.
Keep on building on! This is the second peice I've built for our dining room - built a bar first. I opted to only make 2 pedestals instead of 3 that was on the plans. Dimensions are a tad smaller to fit our room nicely, measuring 90in x 40in. My wife and I absolutely love this table! I used Red Oak for the top and Doug fir for the base. Hardest part was lugging around that dense oak and looking for chairs! The stretcher was also a bit of a task as well. Had to go out a buy a rubber mallet to bang it in enough so that the slack on both ends were even. We particularly like this piece because it will be used often and many memories will be created around this table! Thanks again for the inspiration!
I was asked by my Mother in Law(and when you are asked of anything from your Mother in Law, you do it!) to build a dining room table for my brother in law. She bought all the wood(all Oak), and all I had to do is design and build it. I used your Pub Height table plans and tweeked it a bit. My Single Brother in Law bought a house, and needed a dining room table. It was my first Dining room table build, and learned a lot. Had some trouble with the boards twisting when I screwed them together, but nothing a little sanding took care of. Overall, I am pretty proud of it, and my BIL loves it.
I built this 6' workbench for your garage or workshop but converted it to a guitar workbench for a local music store. I added a felt fabric top so his technician could repair guitars without scratching or damaging his instruments. Painted it black to give it some flair. Check out my other work at www.customwoodcreations48.com
My Husband and I built our Farmhouse bed as our 2nd project, out of necessity. Our bed broke, and I was really lusting after a Farmhouse bed, so we took the plunge. 6 months later, we moved and our style changed, so we painted it. I love it even better in gray! The best part of building your own furniture is that you can change it as your style changes!
I've wanted to have a go at an Adirondack chair for ages but never had the wood available - I refuse to buy wood for ANY project so I had to wait until some came along. We had heaps of pallets delivered FOC so I dismantled them and had the perfect sized wood for the chair.
Because I used pallet wood there's the odd nail hole etc but each piece was sanded down with various grit strengths until I had the wood as good as it was possible to get it.
I did have trouble with the plans because some of the dimensions did not fit for the size of wood they stated to use but no one else has said they had any problems so I'm guessing the issue was down to me and not the plans. The main sticking point for me was that I had to use a 2" batten in the centre back because the dimensions given for the stringers did not allow for the right number of 4" wood to be used.
This project was the practice run though and so I will make some more with a few minor adjustments to the dimensions. I would also recommend counter sinking the screws (I pre drilled also which makes for an easier finish) and next time I will give each piece one coat of paint/stain/finish before assembling - these images show my unpainted chair and painting in between all the slats was tedious.
These are such fantastic plans! I found my 7yo niece lying across the bed under the Christmas Tree on Christmas Eve. She loved it so much she wouldn't let anyone carry it out to the car for her, she had to carry it herself! I think the picnic bench might be her birthday present...
Comments
tonjacoy101
Mon, 10/10/2011 - 06:12
Great Job!
I love the oclors you picked out!
hammertime
Tue, 10/18/2011 - 06:58
Lovely!
The colors are gorgeous, especially with that chair. Nice job.