Versatile Wine Holder Gift

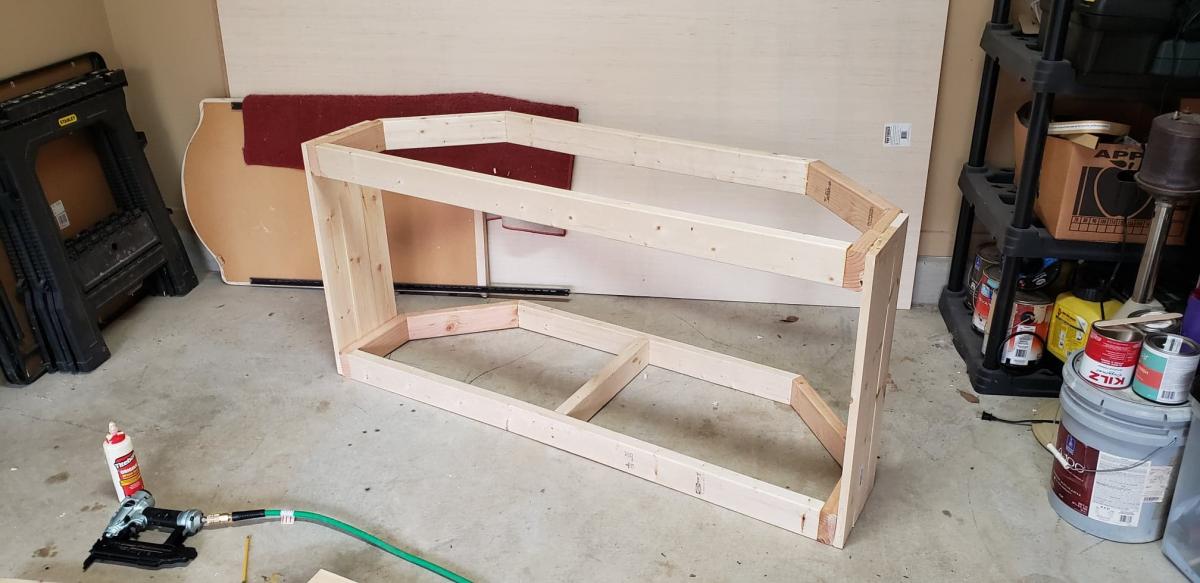
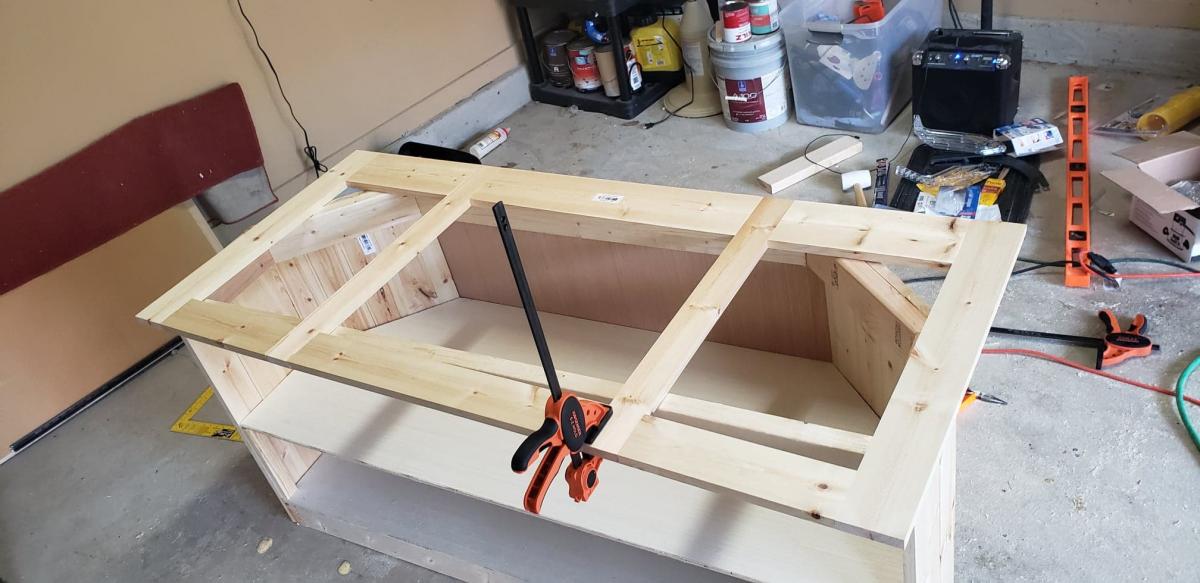
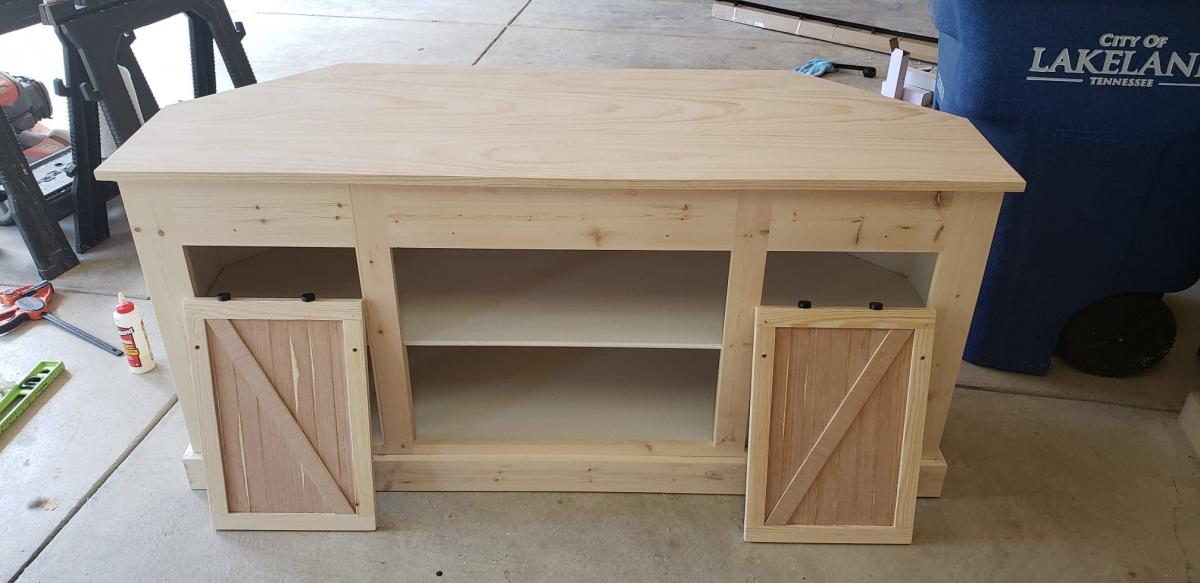
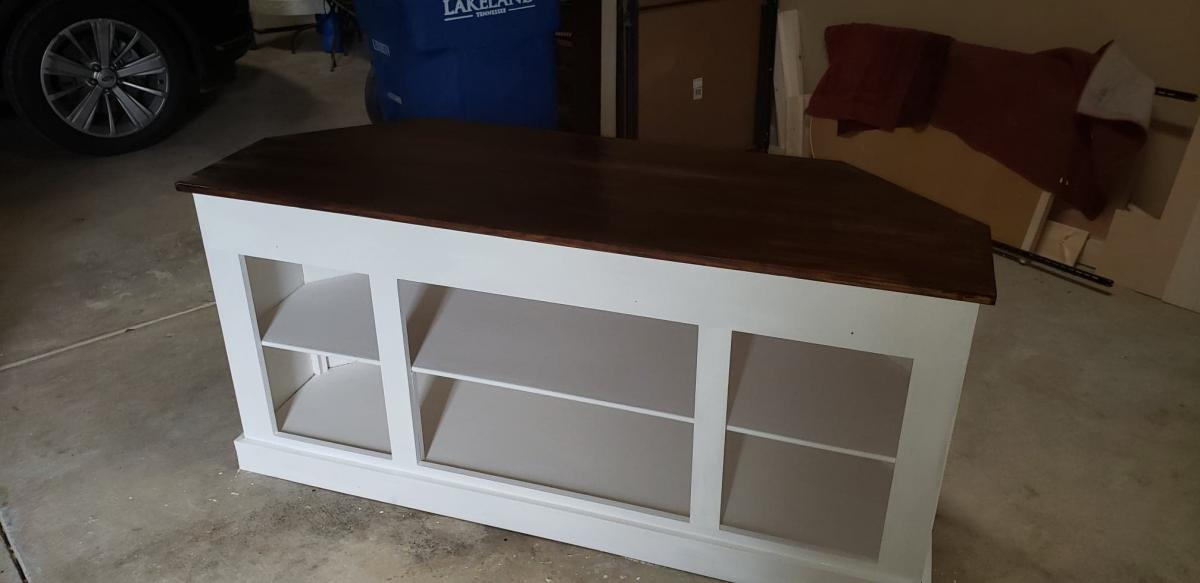
Plans with accompanying video were just perfect and we built two holders in a few hours. Stained with 2 coats of Minwax Cherry and applied Minwax Finishing Paste as topcoat. My wife created a template for the 3 part circle wood section and used a scroll saw for the cuts. We will be building more sets of the wine holders as gifts for family and friends.


Built from Plan(s)
Estimated Cost
Less than $7 dollars with $4 for pair of holders for each
Estimated Time Investment
Afternoon Project (3-6 Hours)
Finish Used
Minwax Cherry and applied Minwax Finishing Paste as topcoat.
Recommended Skill Level
Beginner