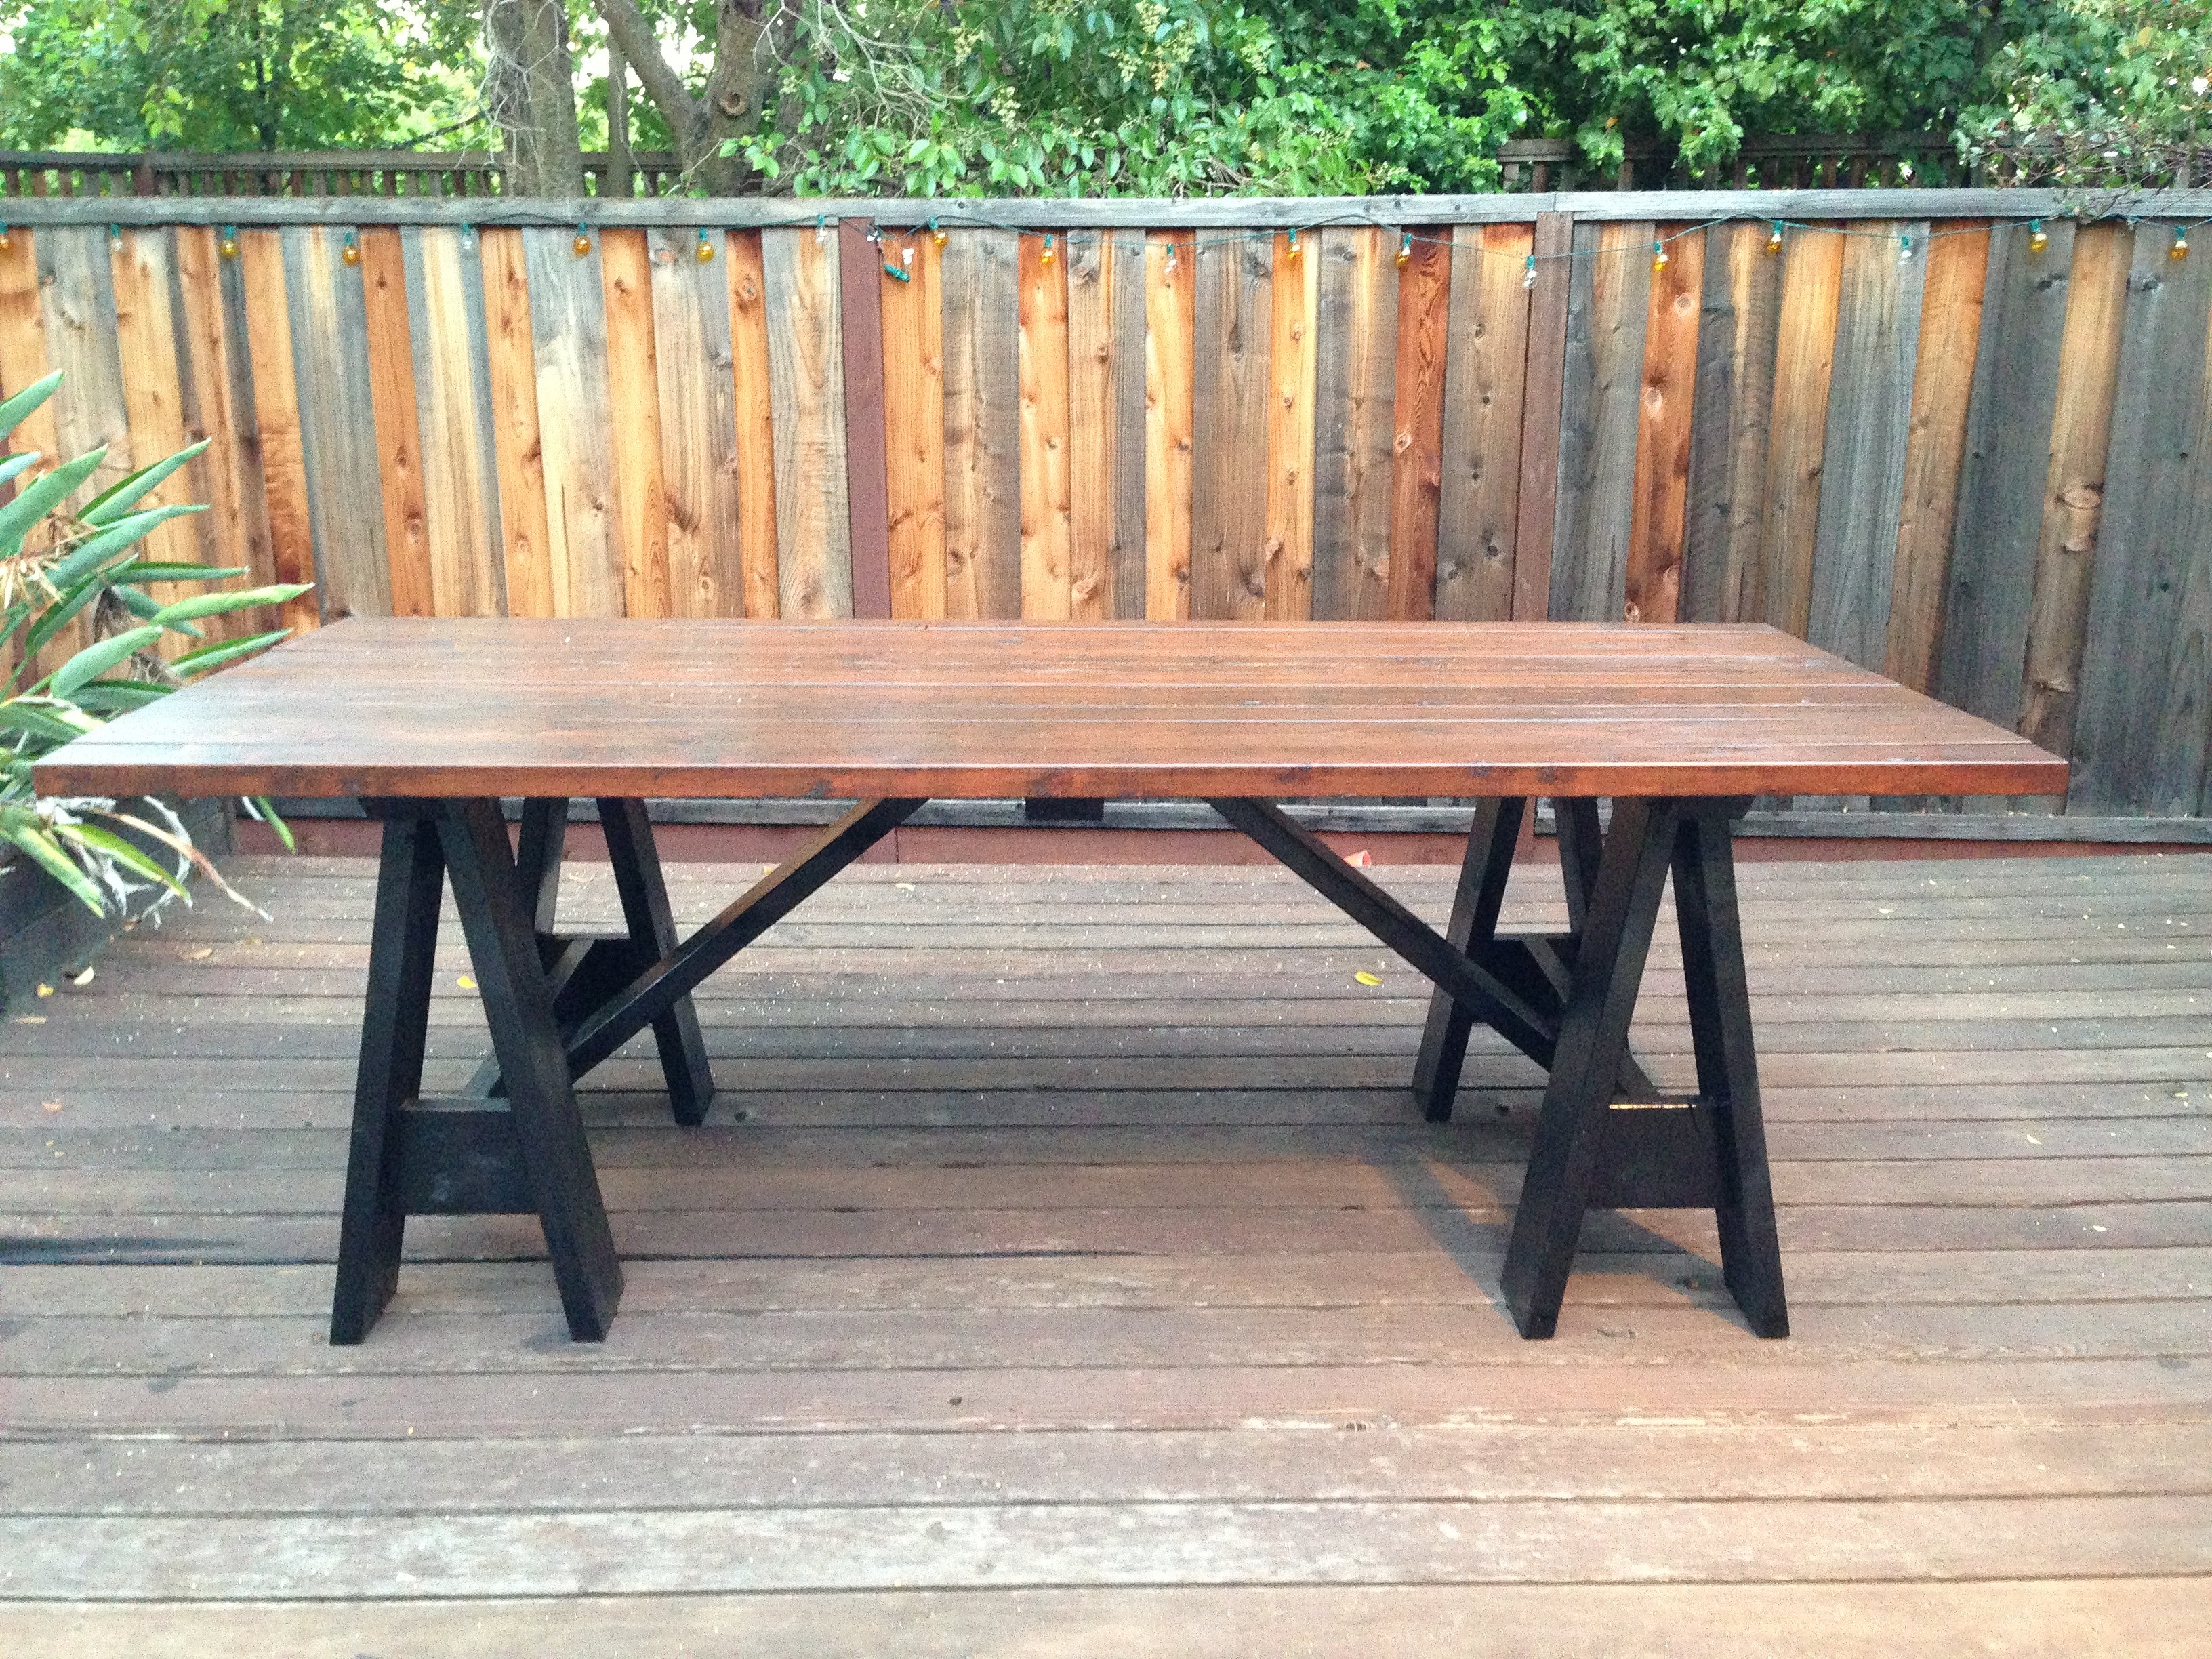
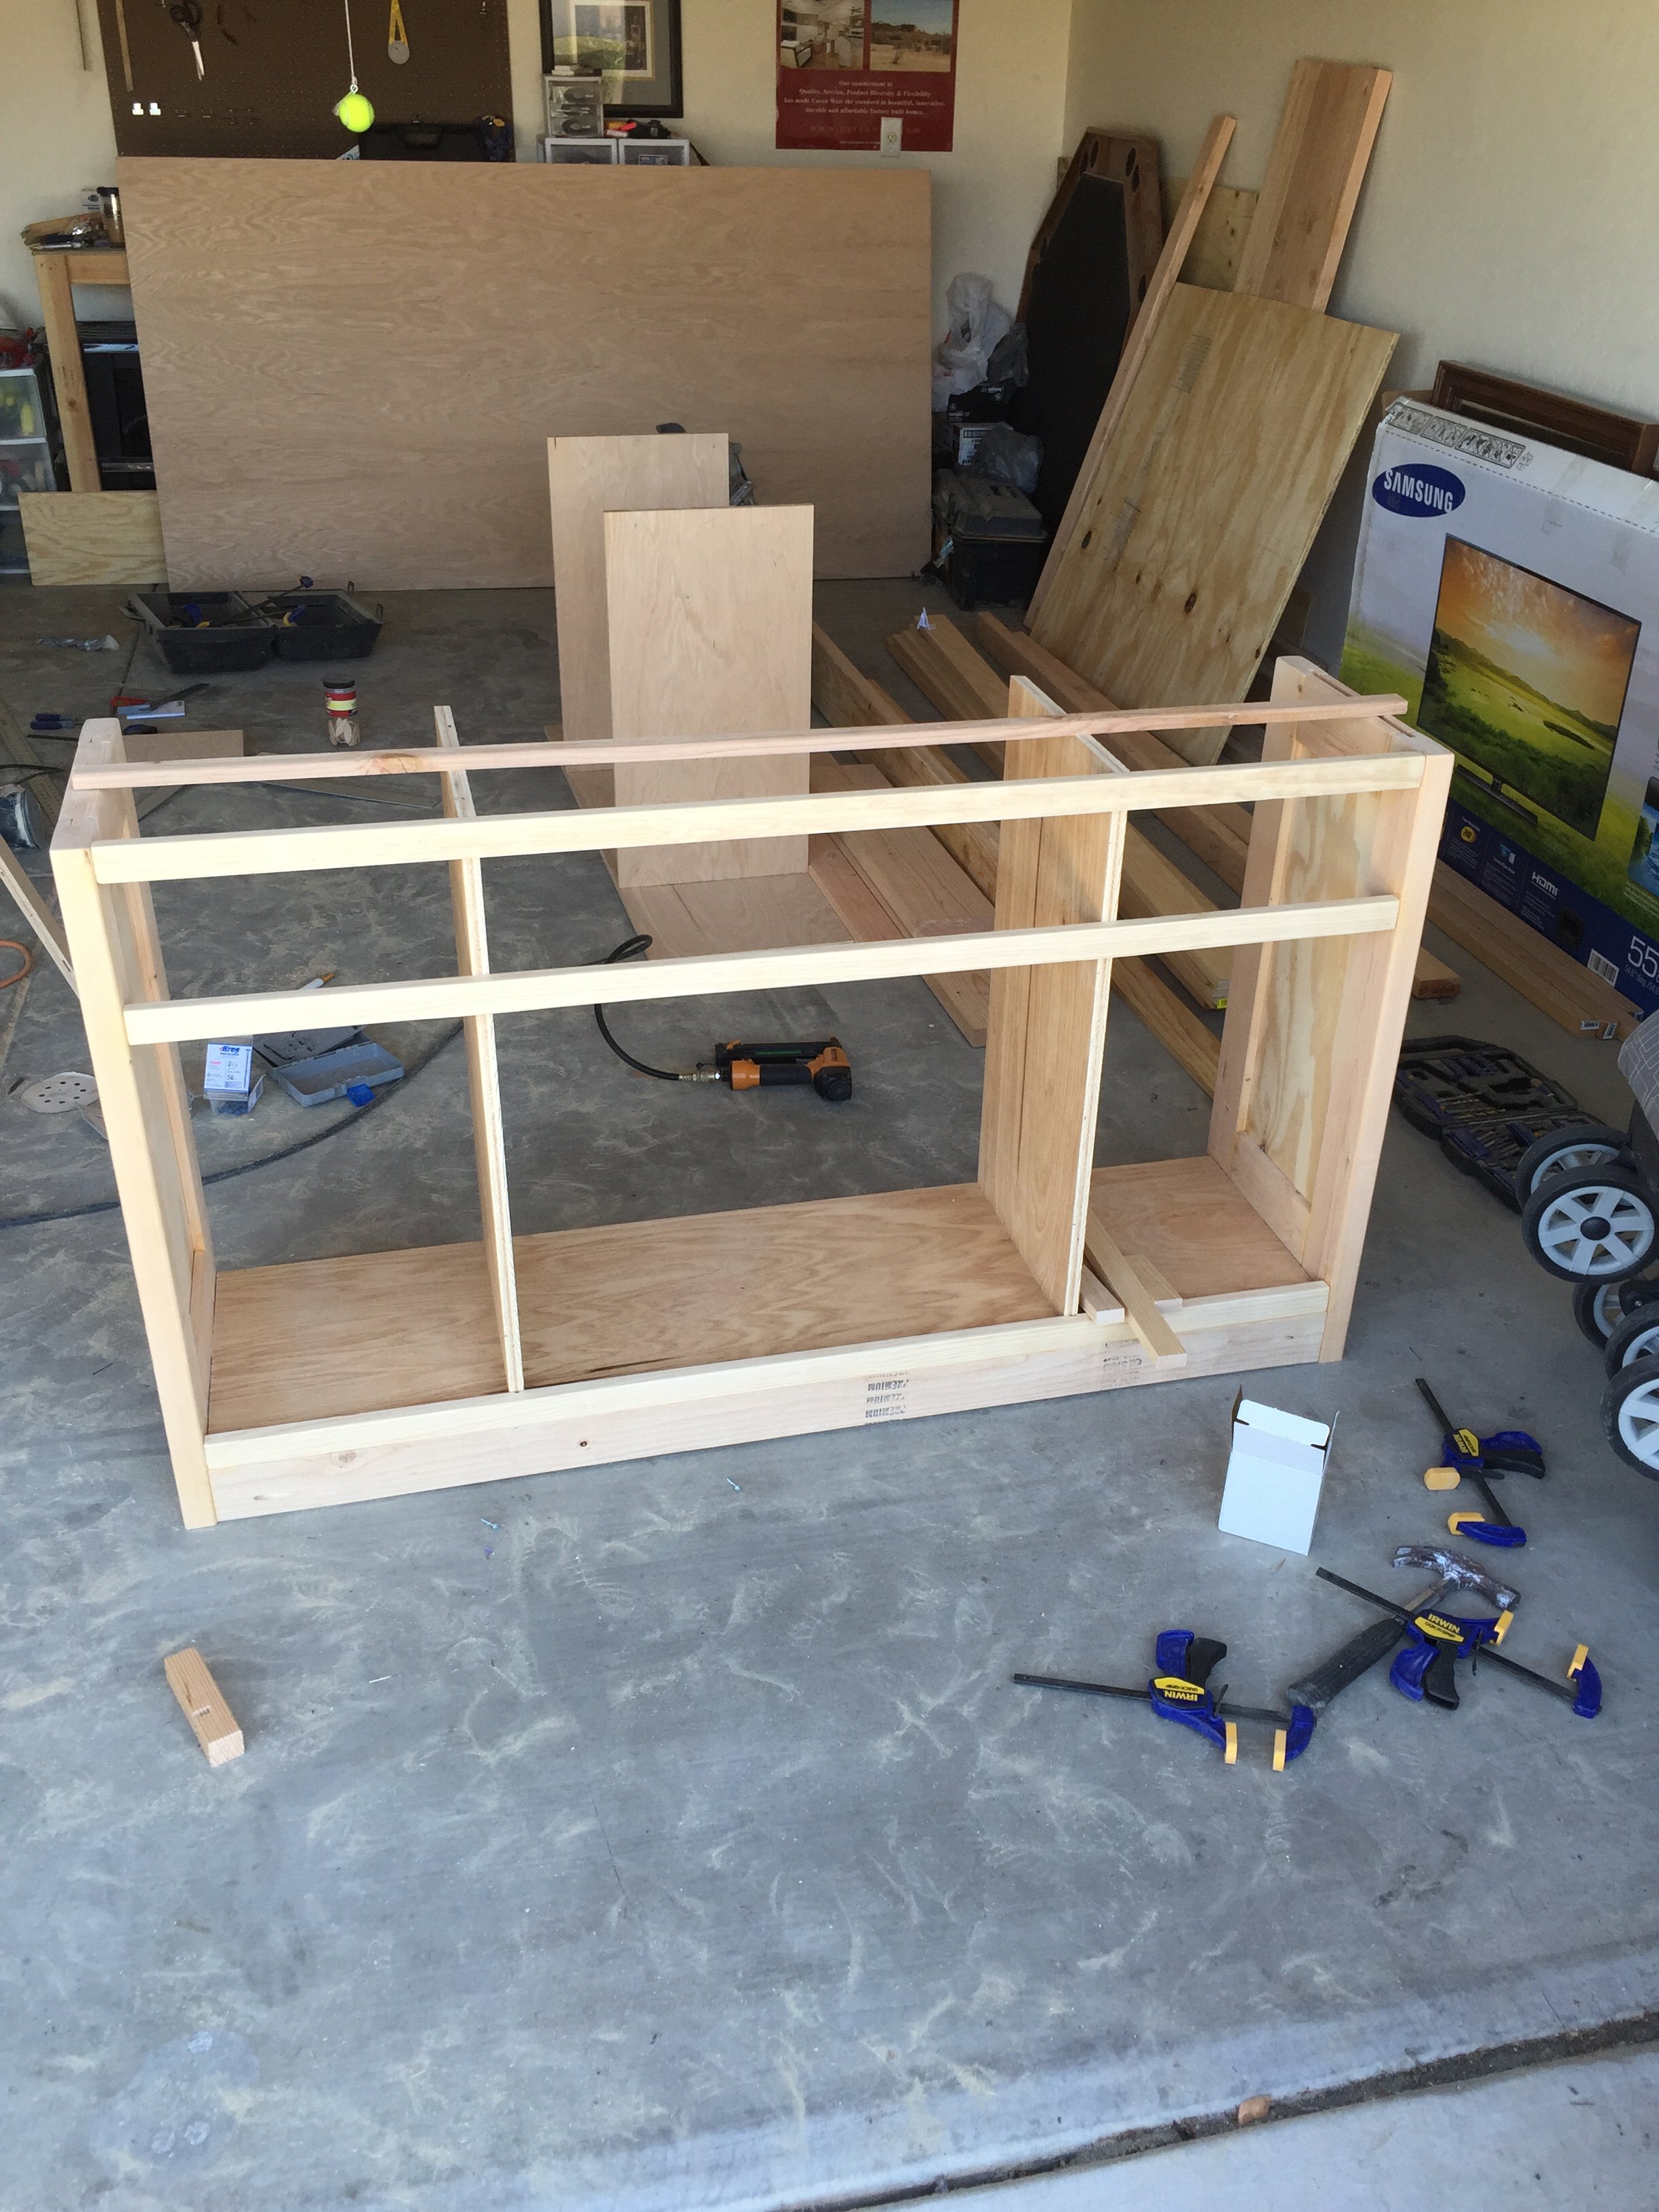
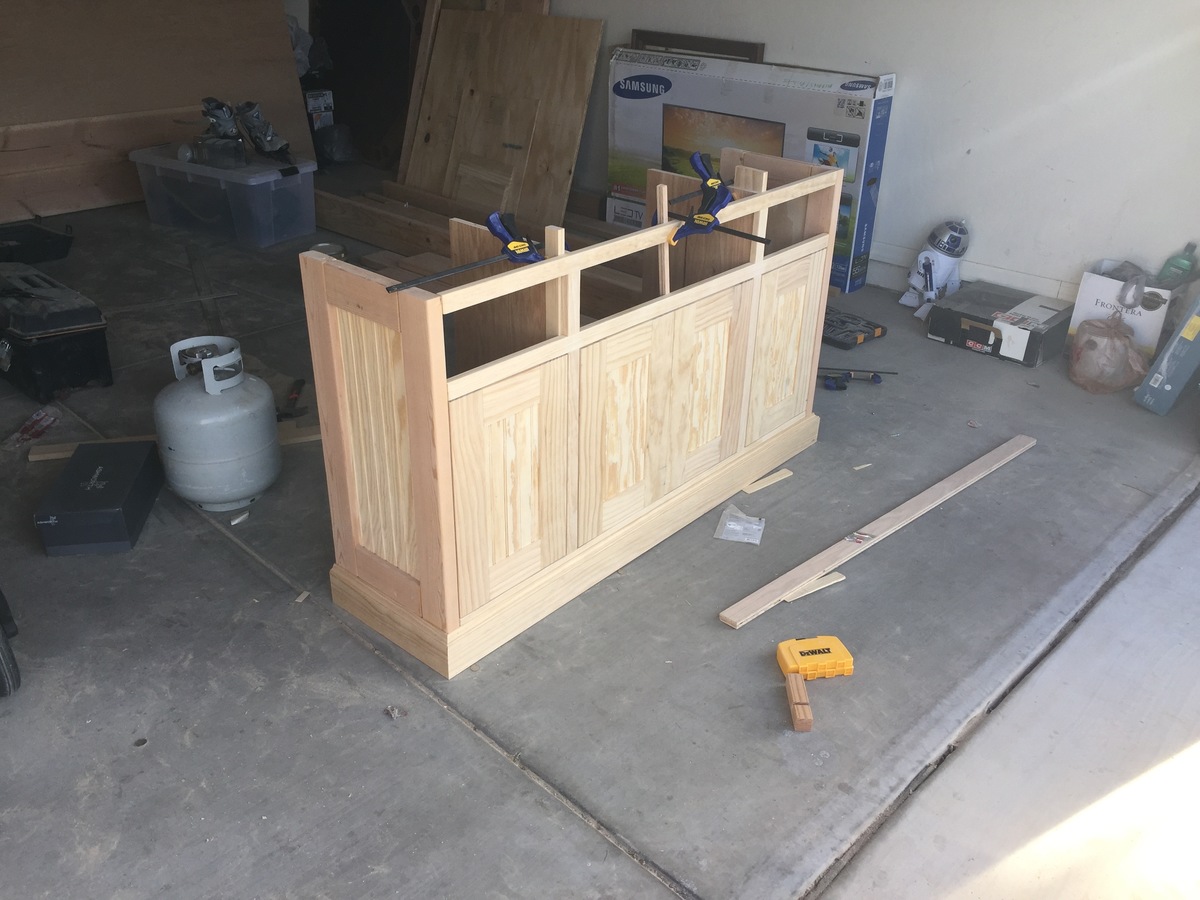
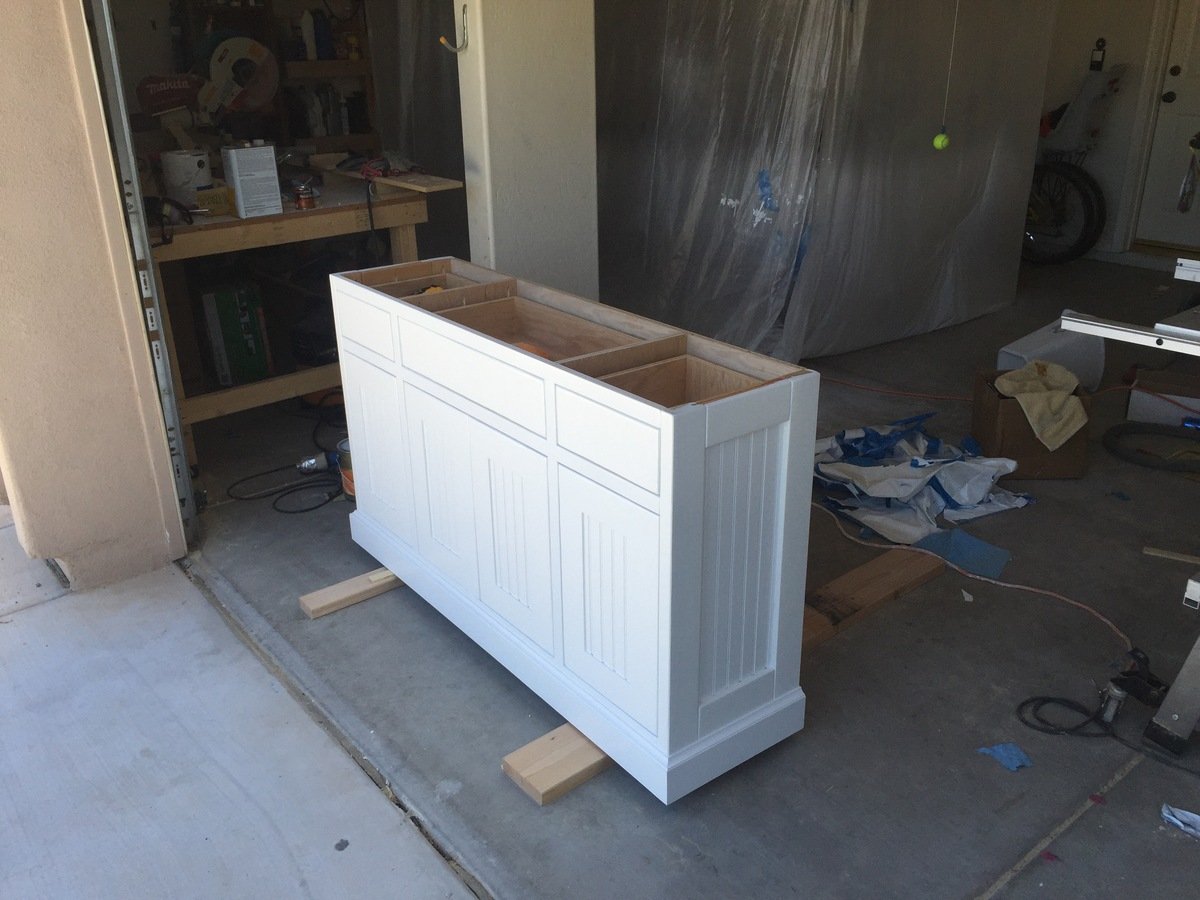
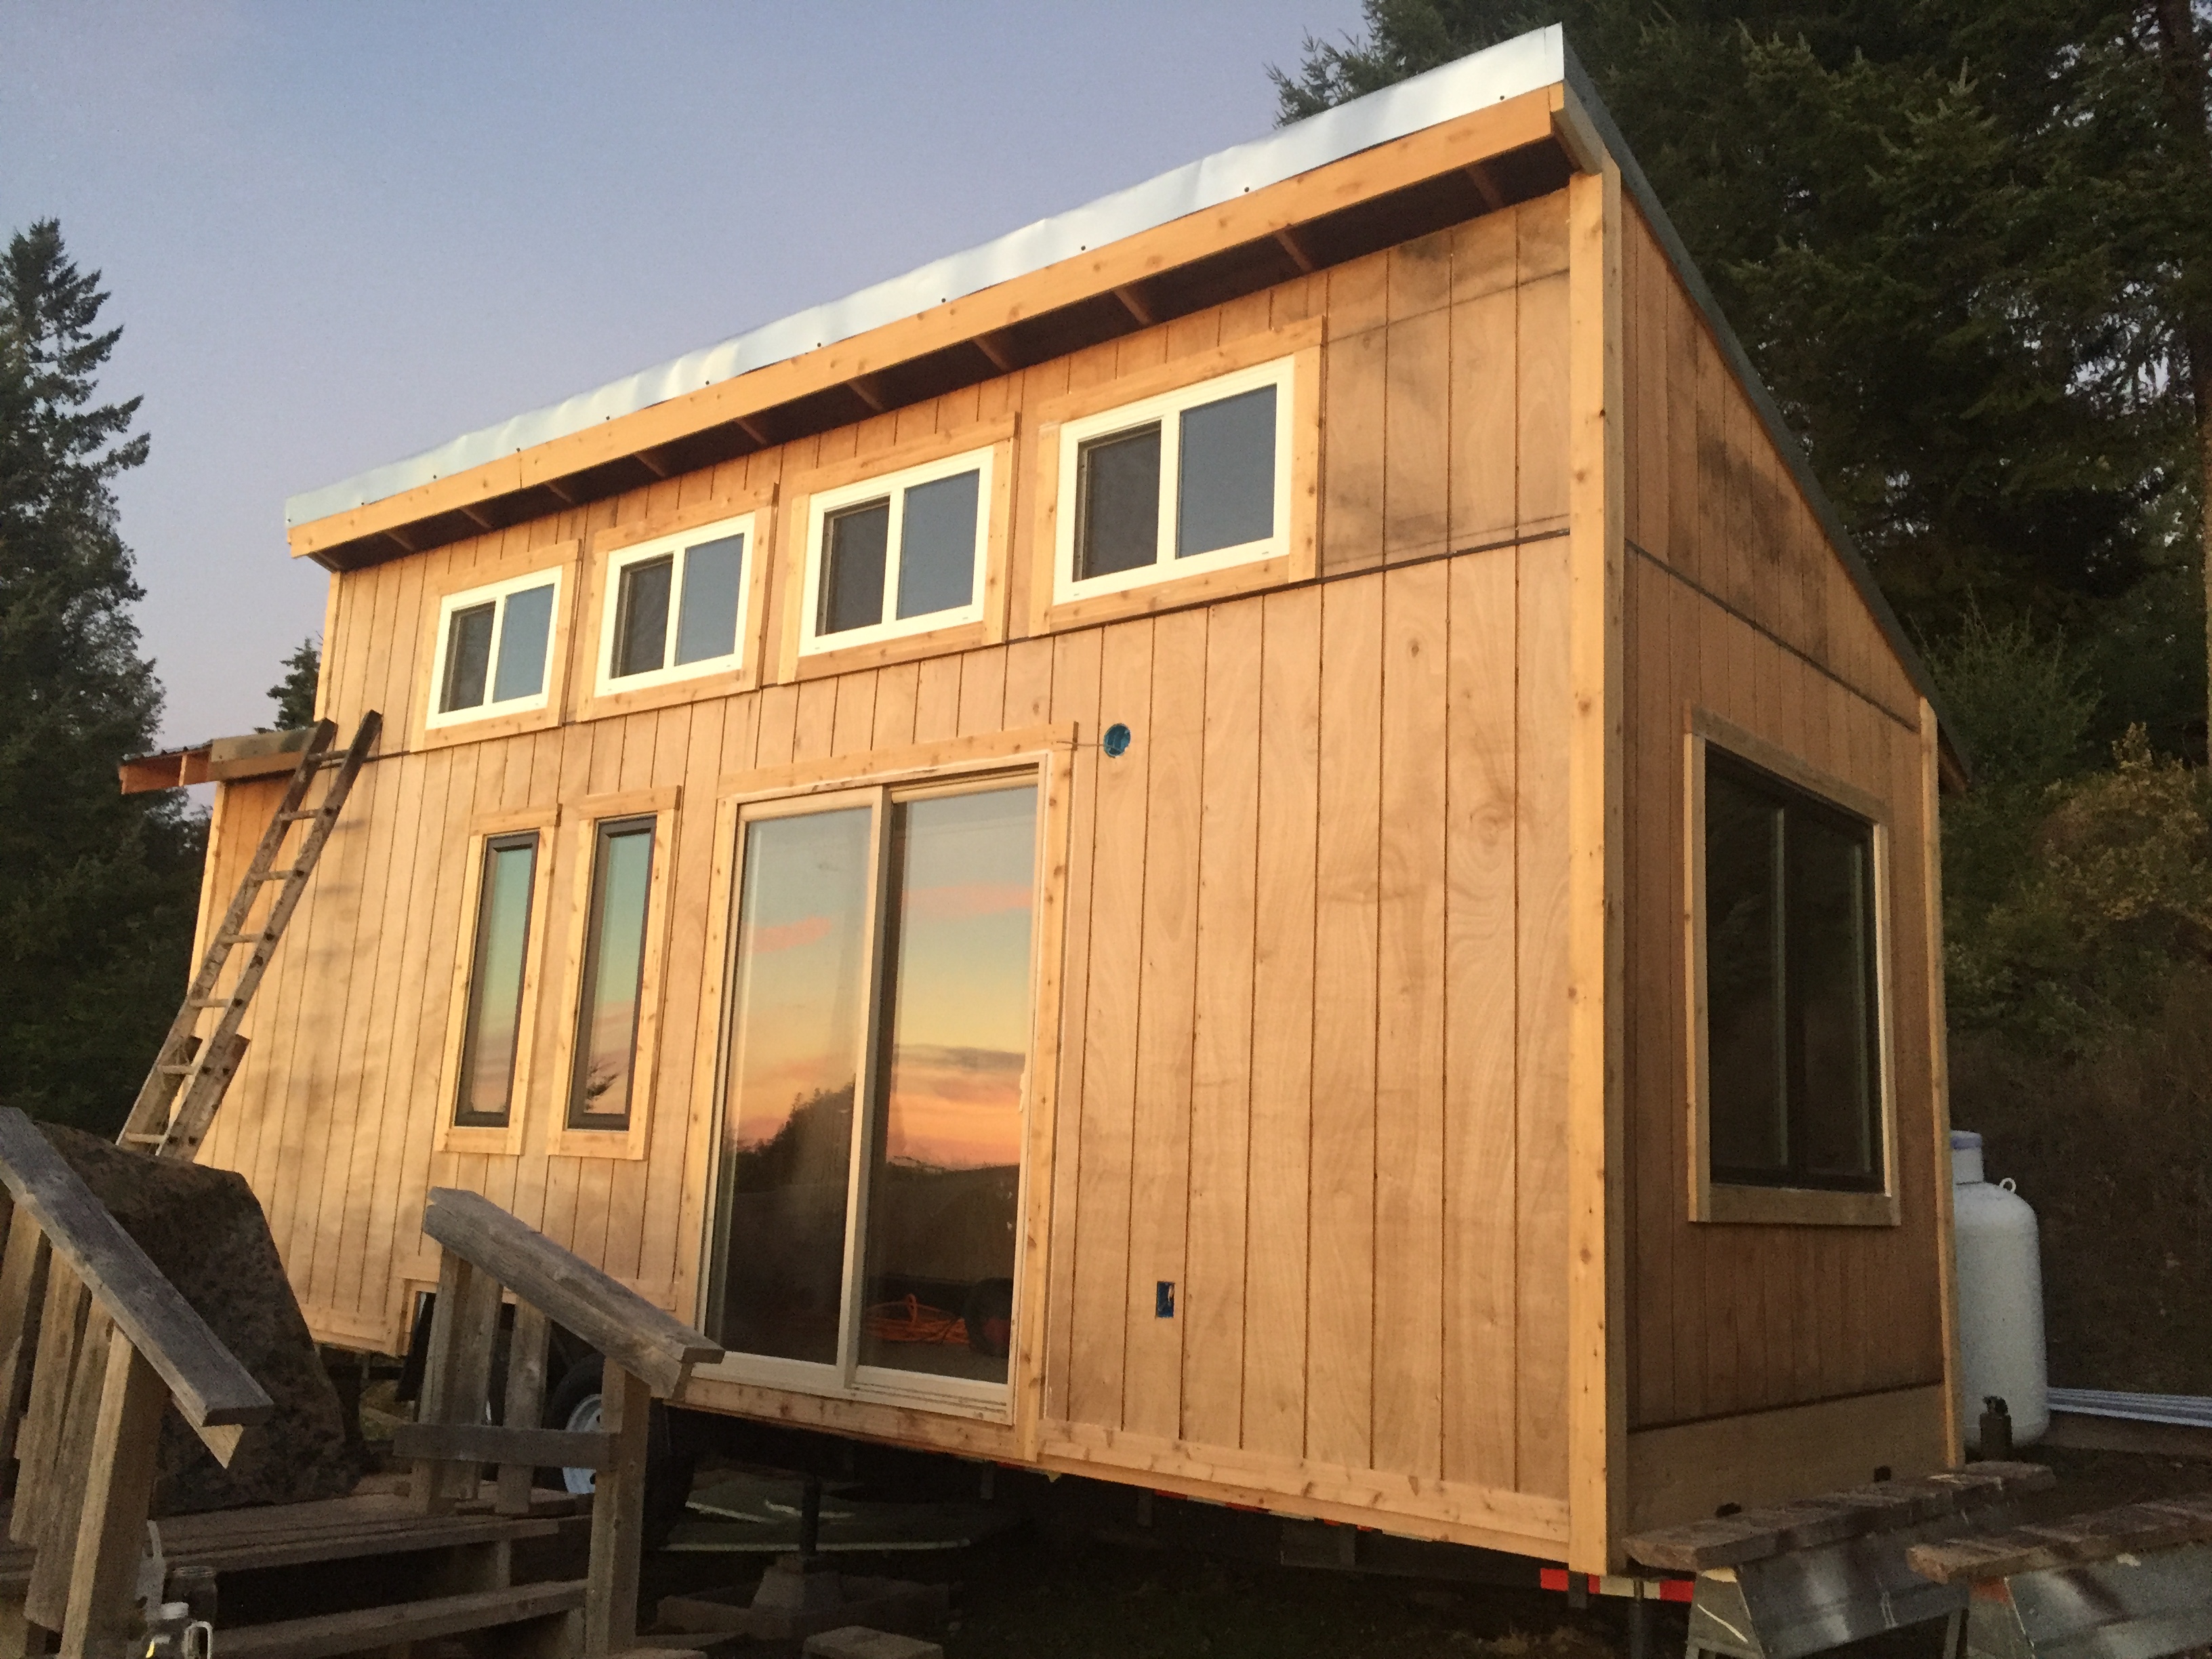
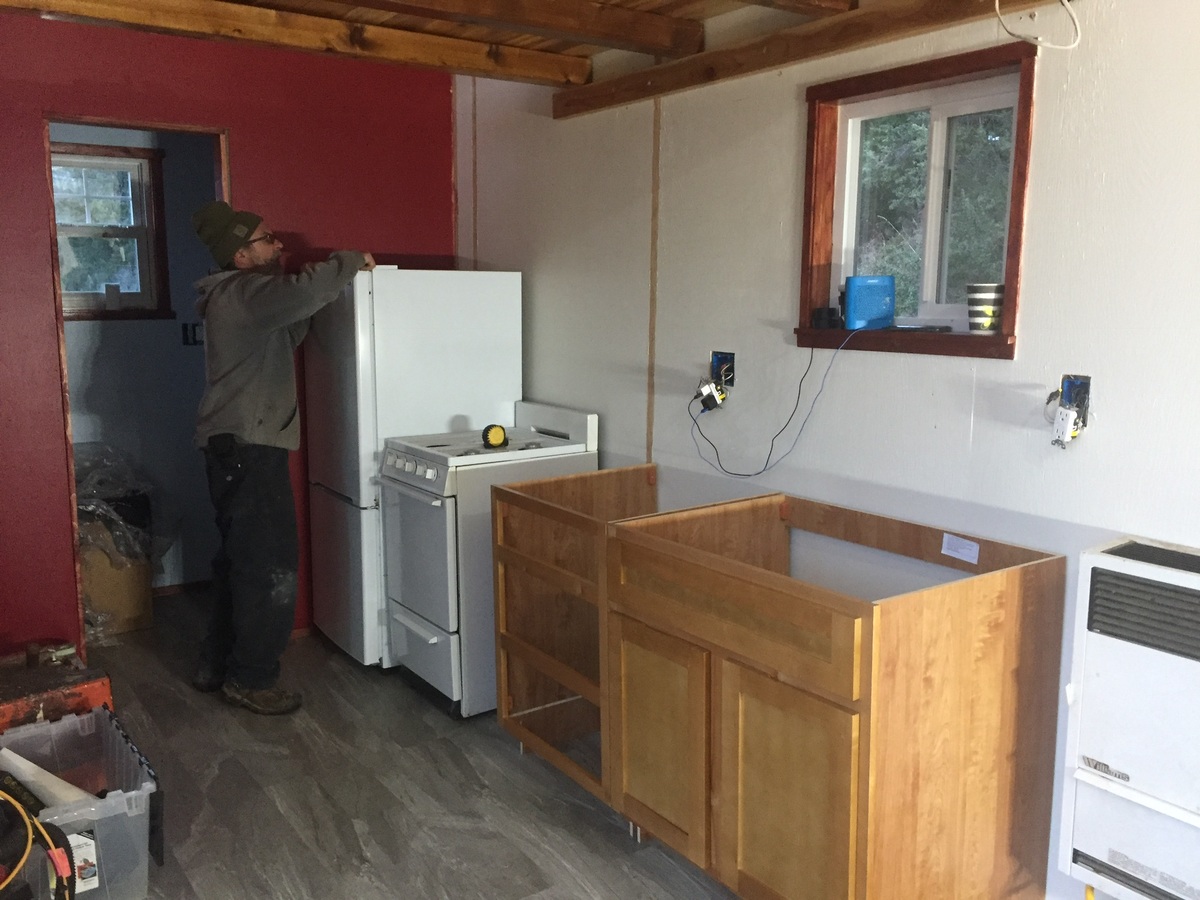
Ever since I saw the "wild rose" I knew it was the one I would build for my mom. I wanted a tiny house she would not have to climb a loft for her bedroom and still fit everything she would need. This is a brilliant layout! Many family, friends, and strangers donated money, time, appliances, and windows to get this house built. My husband and I have been finishing it up ourselves with some professional help in between since September and just put the appliances in today. Tomorrow the sink and counter-it's really happening, pinch me I'm dreaming! Thank you Ana & family, I can't imagine what kind of house my mom would have ended up with without your help. This was a really easy and fun build. Thank you so much!


Comments
CSaintD
Wed, 06/24/2015 - 12:28
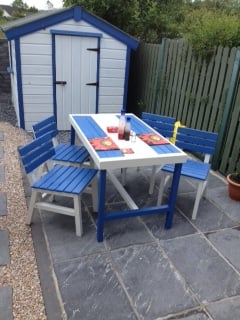
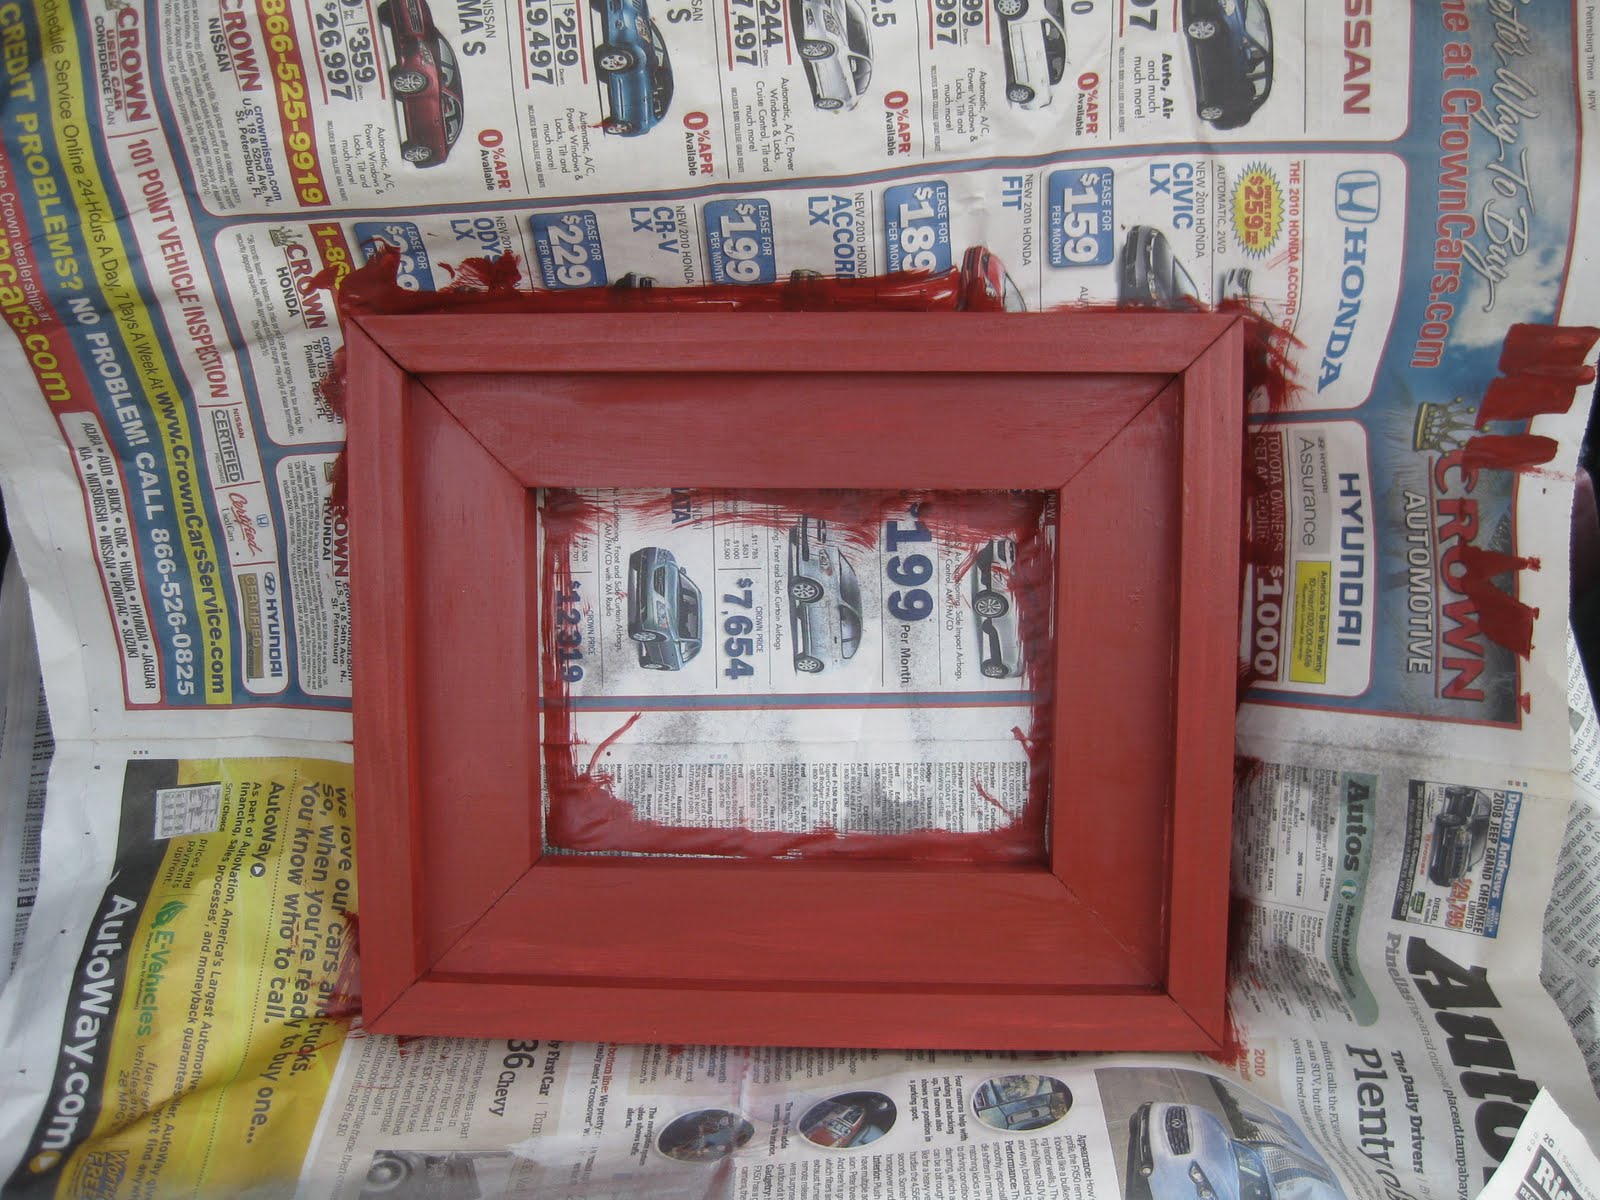
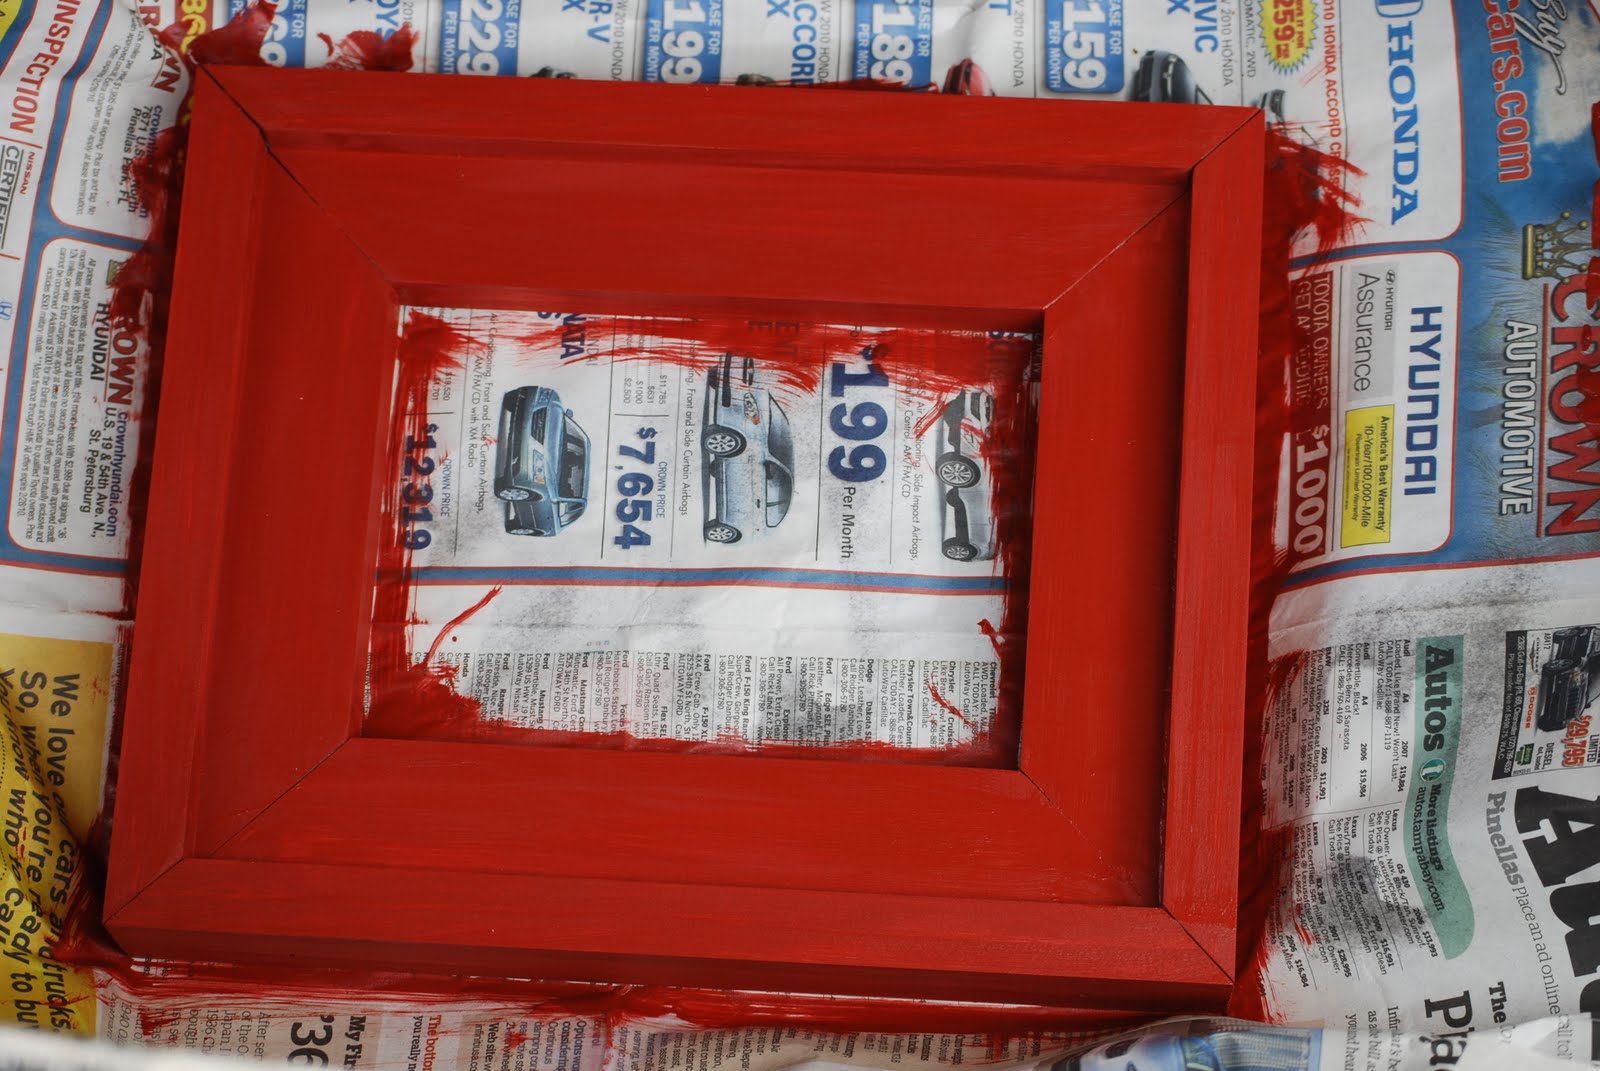
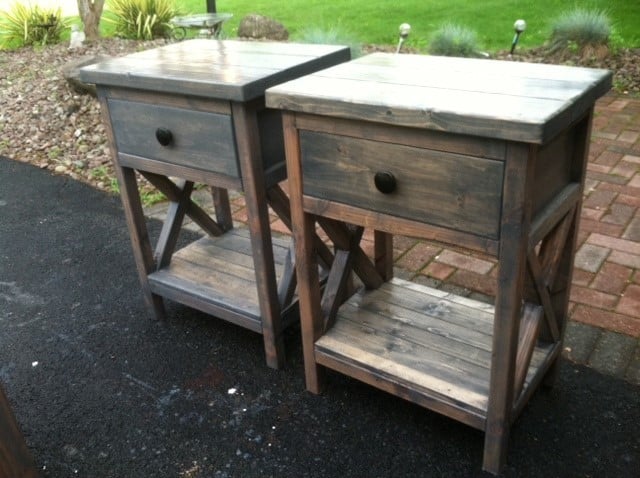
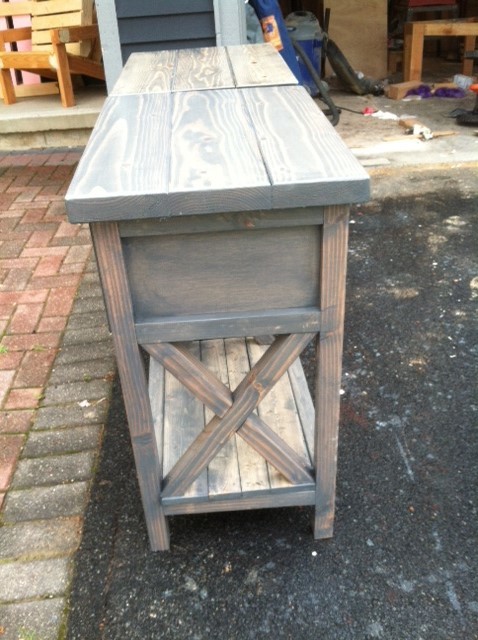
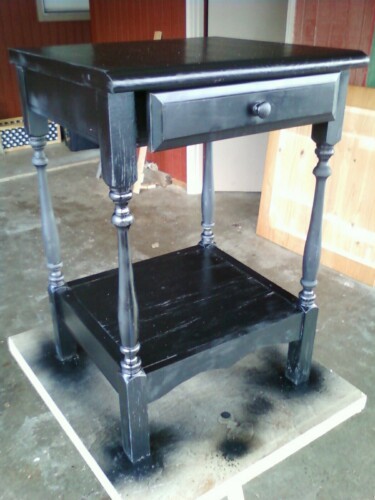
Cute paint job
Great work and a really cute paint job on those! Congrats!
In reply to Cute paint job by CSaintD
Pauline M
Wed, 12/30/2015 - 04:25
Thank you
Thank you for your kind words and I am so excited that you took time to leave me a reply.