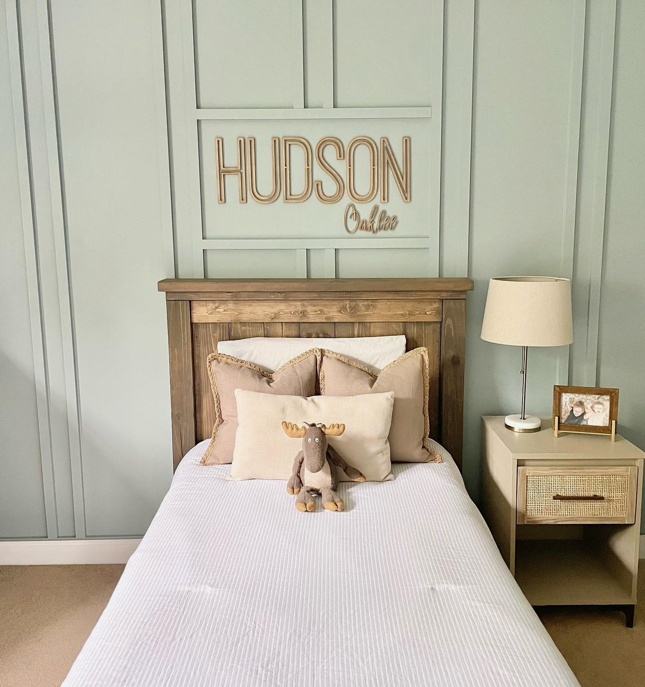
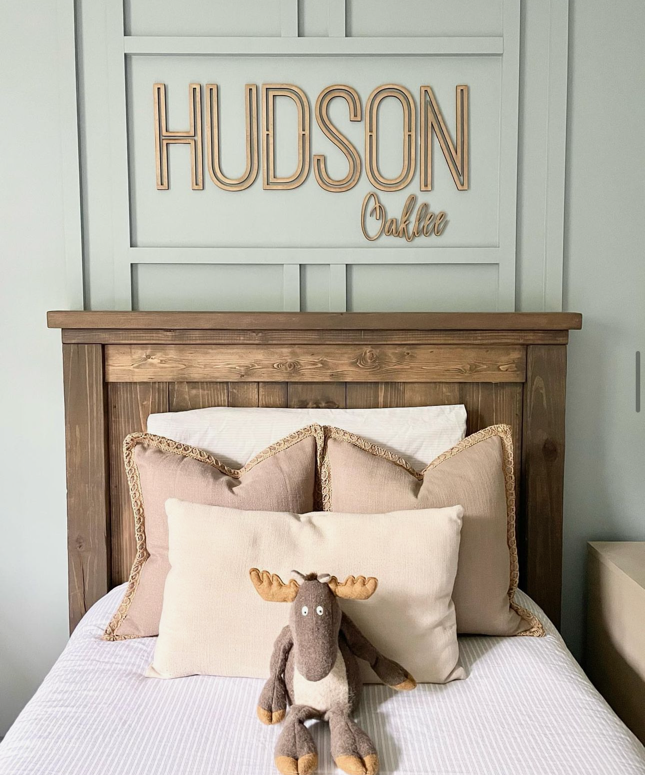
Our Farmhouse Bed - Queen

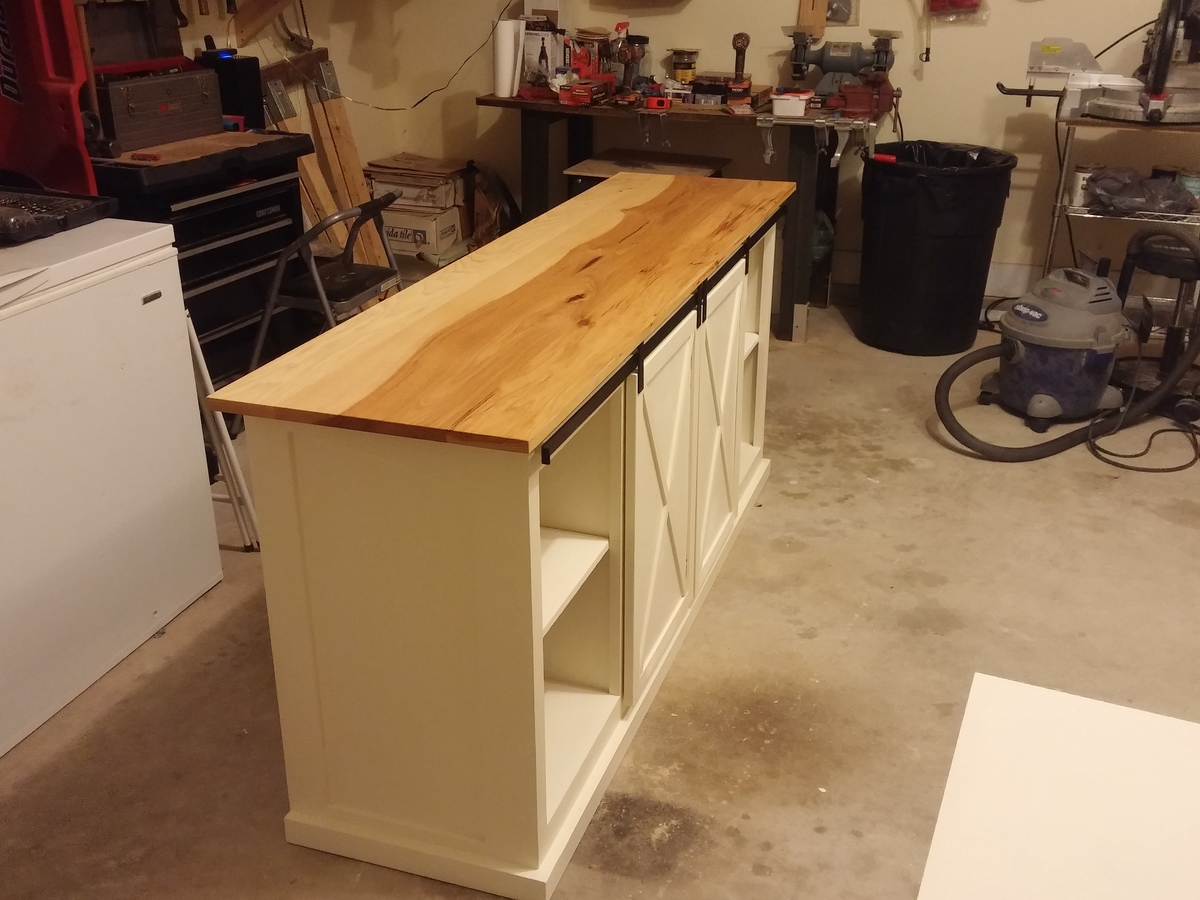
This project was super easy to follow the instructions. We did have to rip a couple of the boards for the paneling on the back to make everything fit together with no gaps but it turned out beautiful!
Built from Plan(s)
Estimated Cost
$150
Estimated Time Investment
Weekend Project (10-20 Hours)
Recommended Skill Level
Beginner