Kids shop
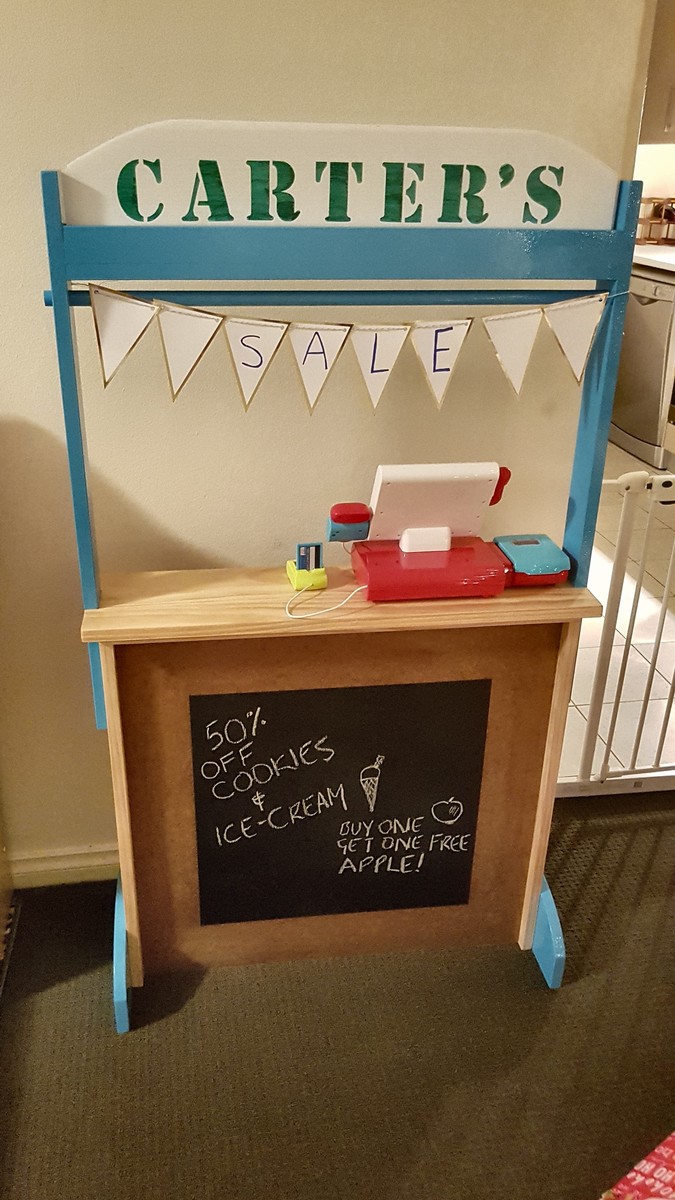
Really enjoyed this project, thanks for the great plans!
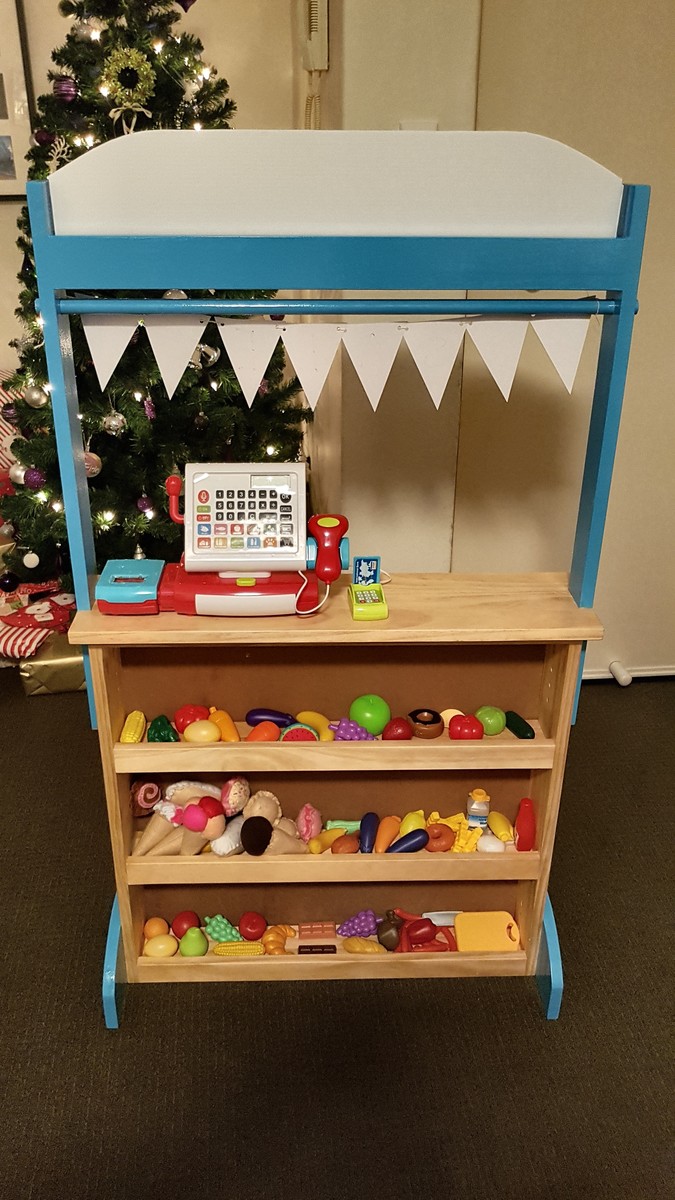

Really enjoyed this project, thanks for the great plans!

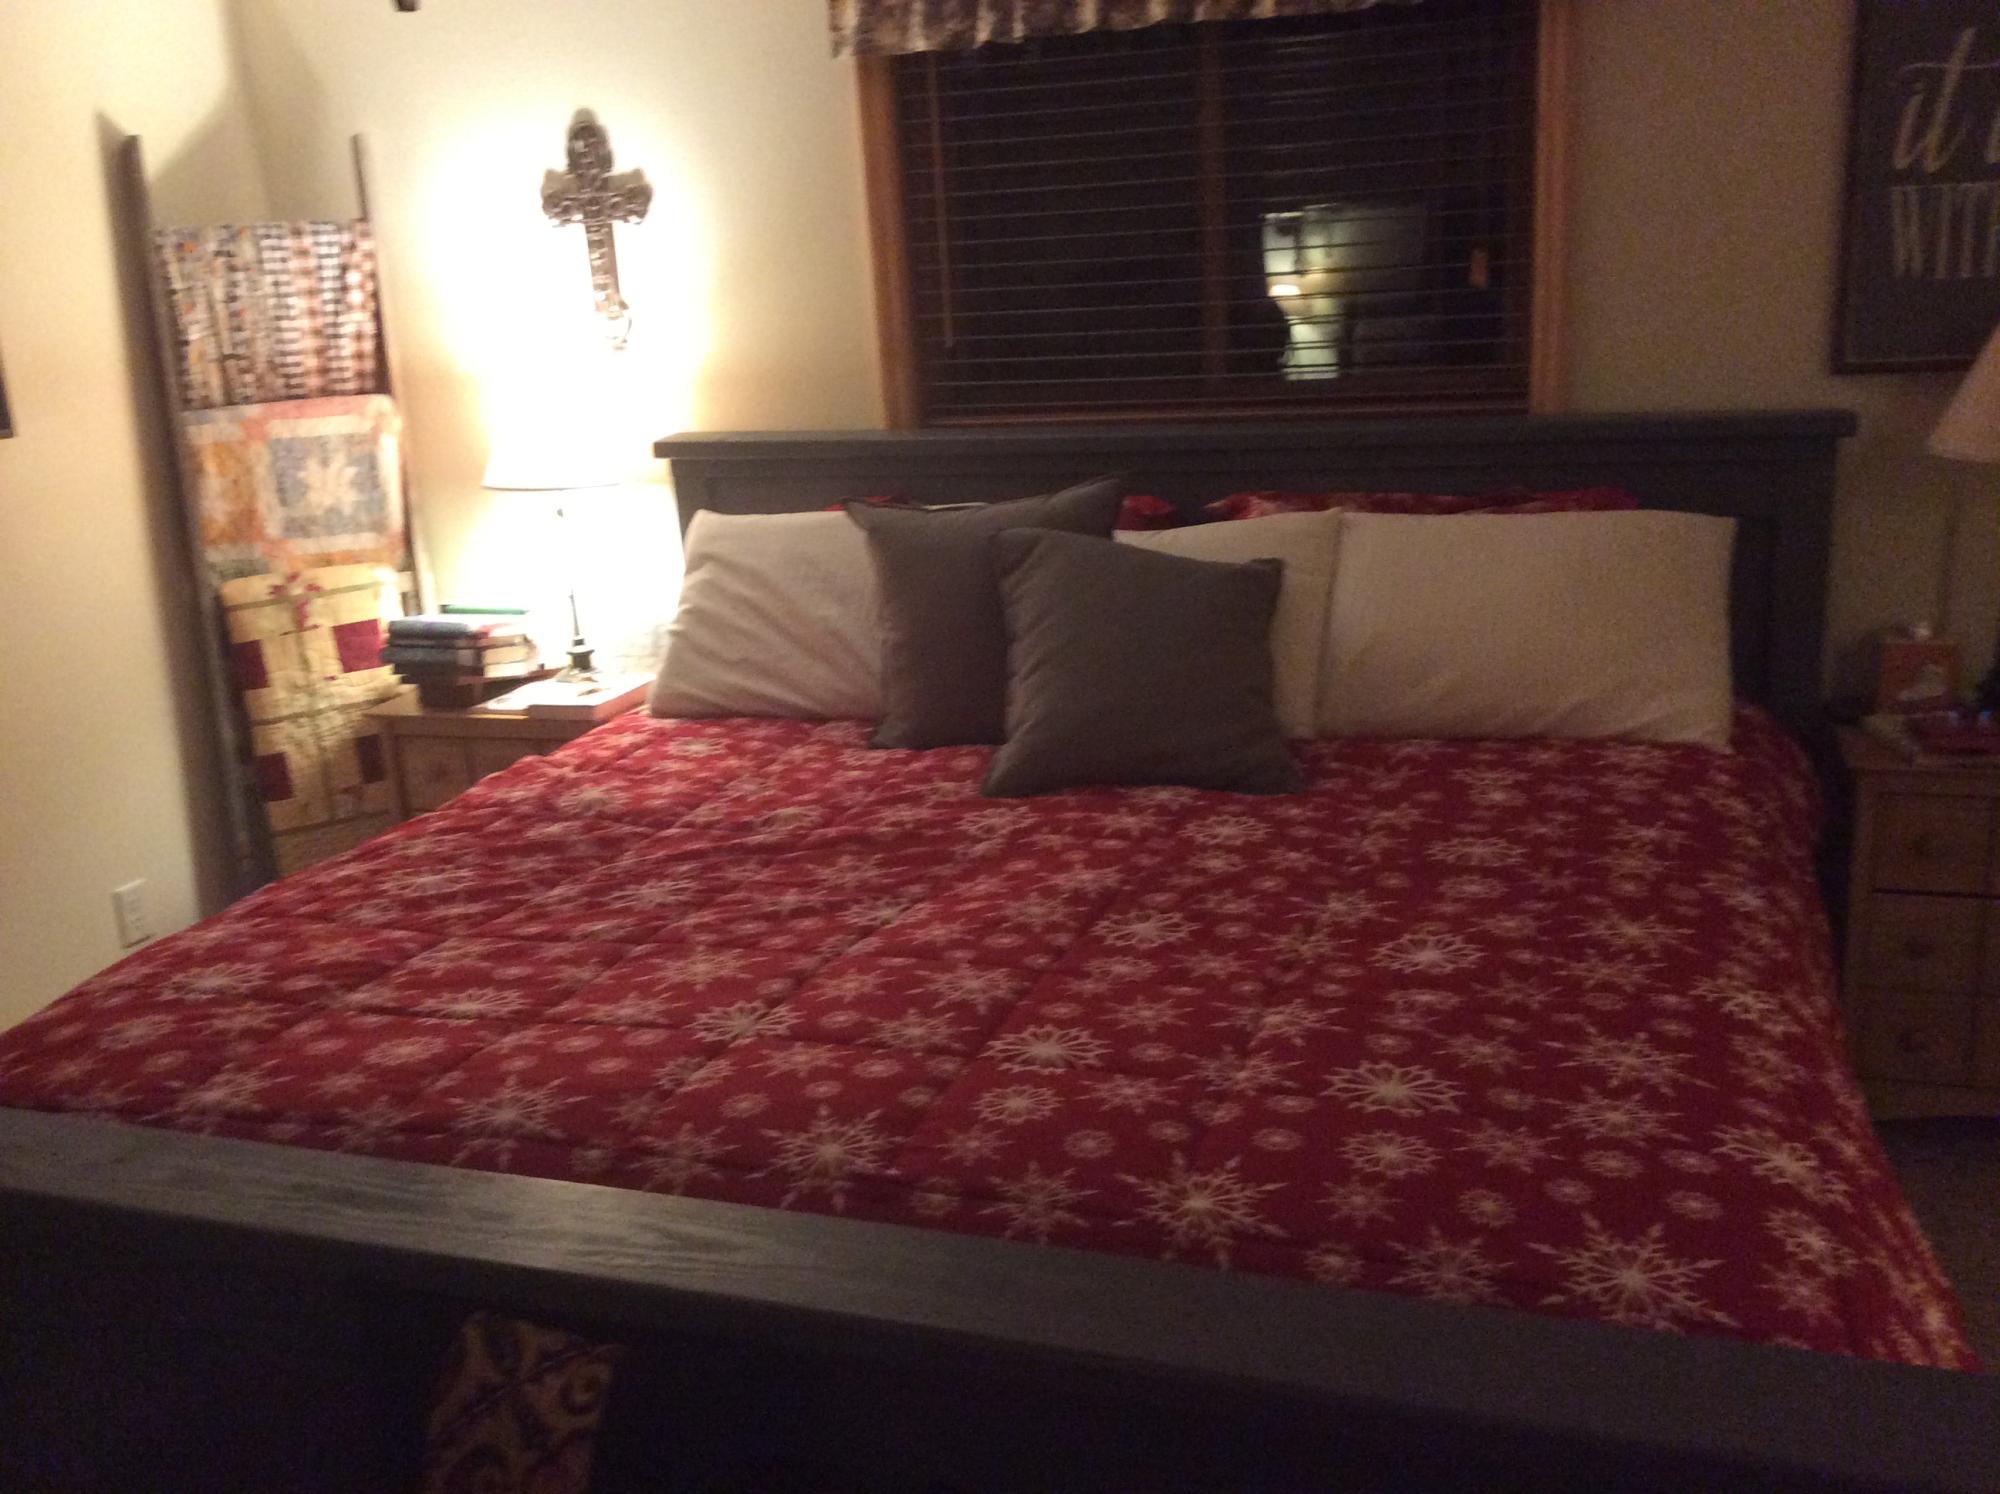
One of many Ana White projects my husband has tackled in the last several years...we painted it a grey stain...love it!

I used Ana's plan as a base.
I changed it from 8x8 to 8x12, made the 4x4x8's to 4x4x10' for a higher main platform and swing platform, and added a 12' long monkey bar set to the other side. Also, an 8' climbing wall and a plank walkway to accompany the two slides.
For the clubhouse, I used Hardiplank 4x8 sheets for the siding and an EZ-Framer kit for the structure itself.
The slides I purchased from Lowes, monkey bars from Amazon, and the swing frame braces from Amazon as well. The swing kits I got from ebay.


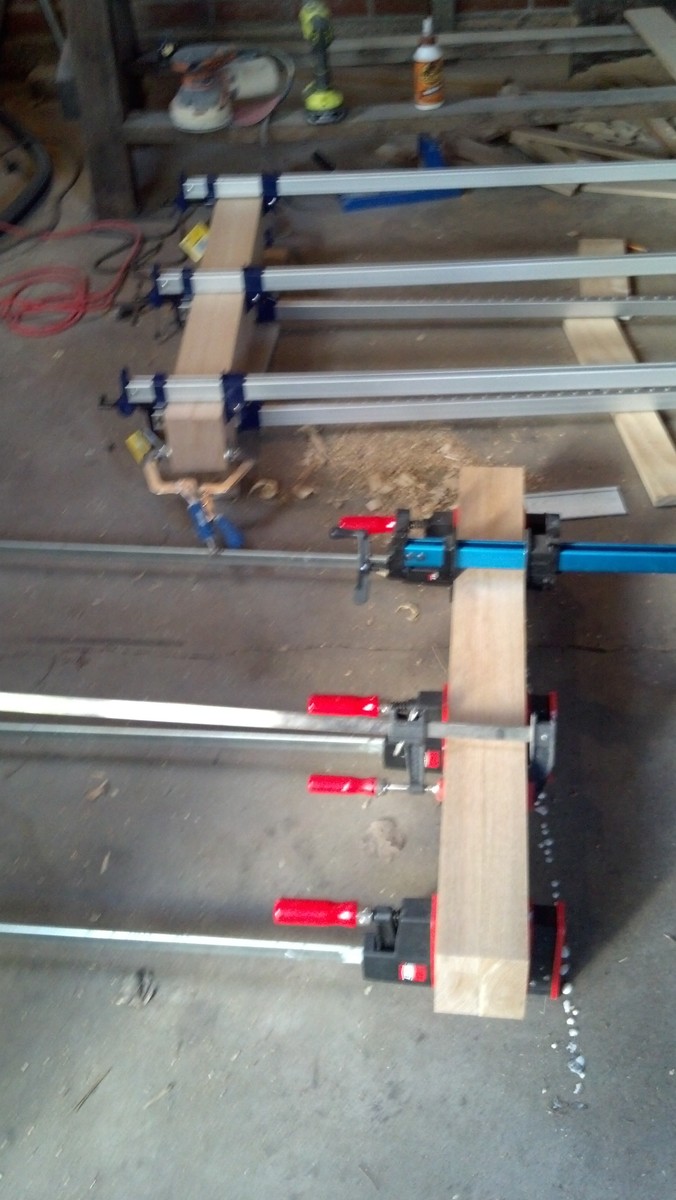
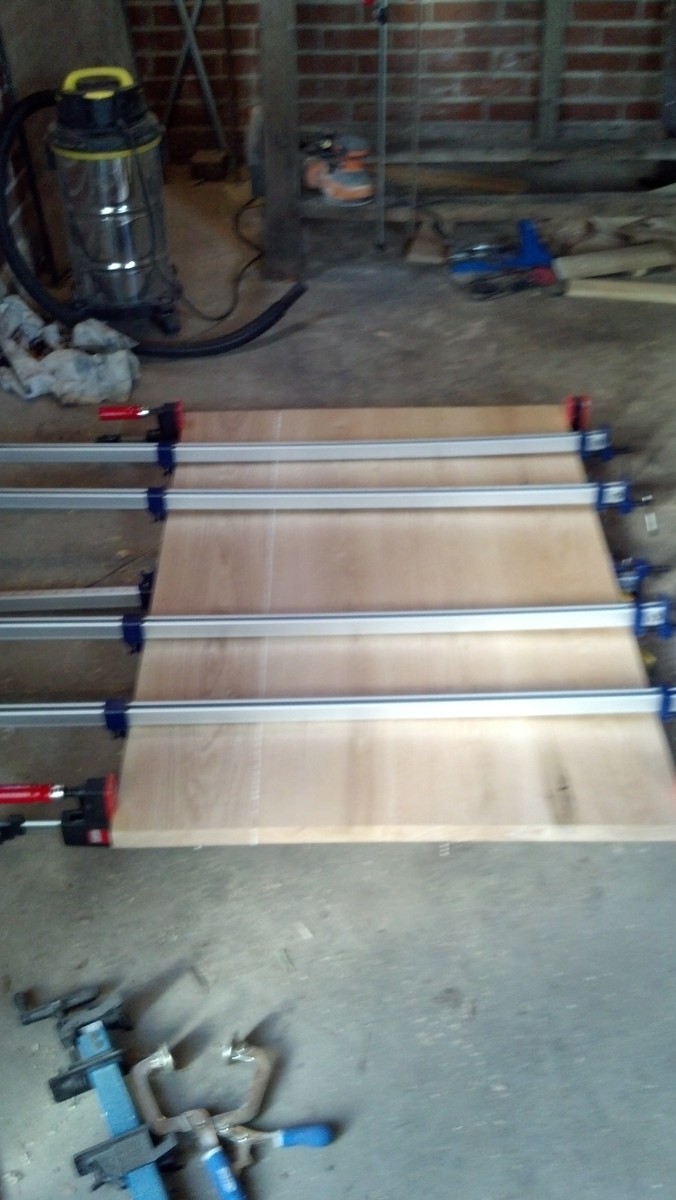
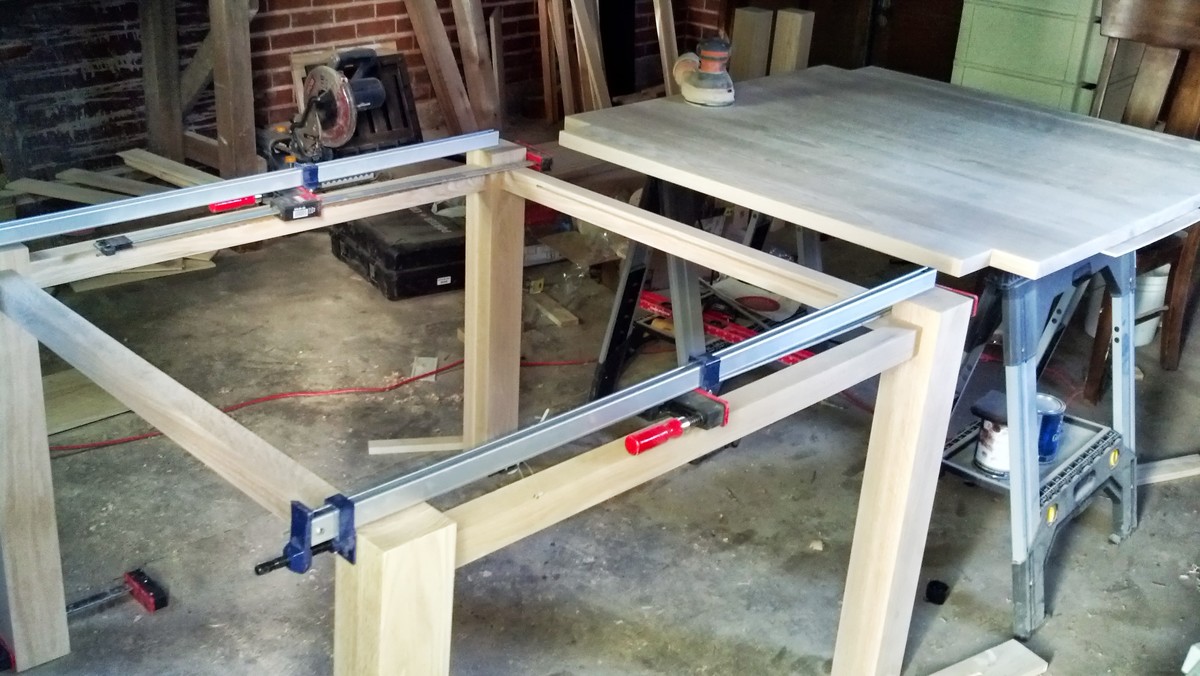
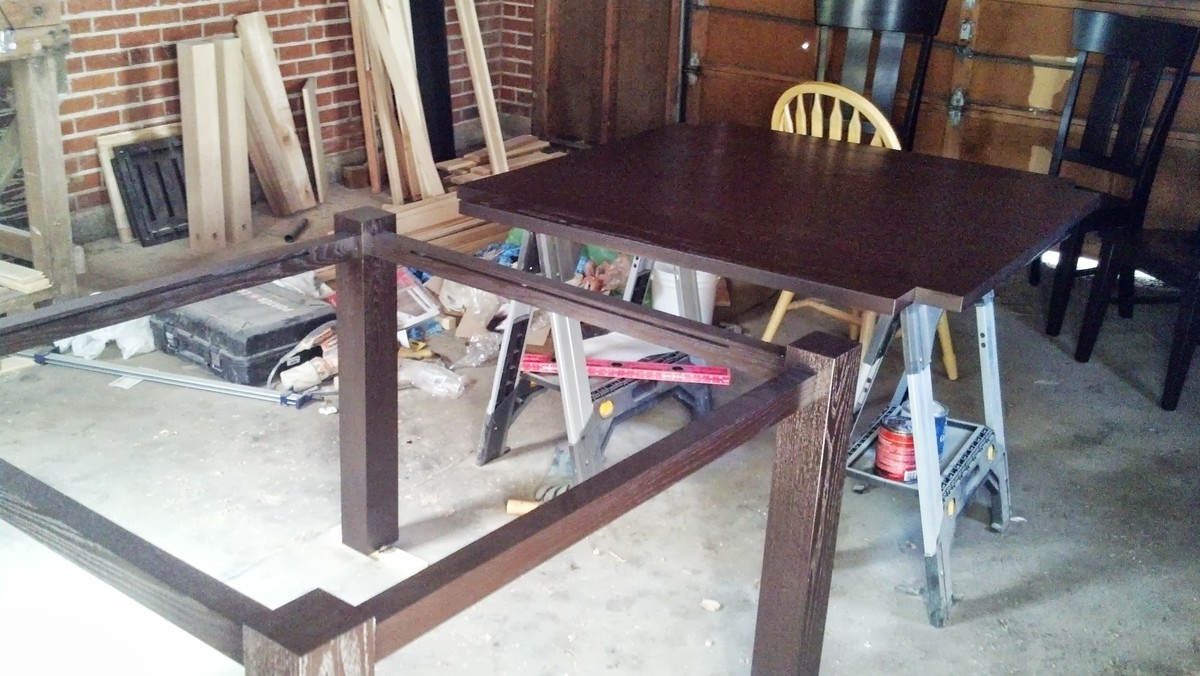
I love the C&B Big Sur dining tables and was excited to come across these plans. I tackled making a copy of the Big Sur dining table using Ana's plans as a starting point with some modifications and custom dimensions (4' x 4' x 31"). This was my first major woodworking project and I wanted it to be as nice and strong as possible so I tackled joining the rails of the frame to the legs with mortise and tenon joints. The main reason I did this was because I used 1 1/4 and 1 3/4 red oak for the entire table and I just wasn't convinced screws could handle the weight of the top on the frame. I also wanted to learn how to make those joints. I used my plunge router to cut both the mortises and the tenons and it worked out reasonably well. Now that I have a table saw I will be using that with a dado blade for tenons in the future. I sanded to 320 grit and finished with four coats of General Finishes Gel Stain in Java followed by four coats of Minwax spray on polyurethane. The last step was to apply paste wax using 0000 steel wool and then buff with a clean rag. I love the way this came out and am now planning on making a bar cabinet with wine bottle holders in the same style. The total cost of the table was on the higher end than I'm used to because the wood was pricey but it was still so much less than the C&B Big Sur price tag. I'm lucky that I have a hardwood lumber supplier just a few minutes down the road that does custom milling of 100's of different species.
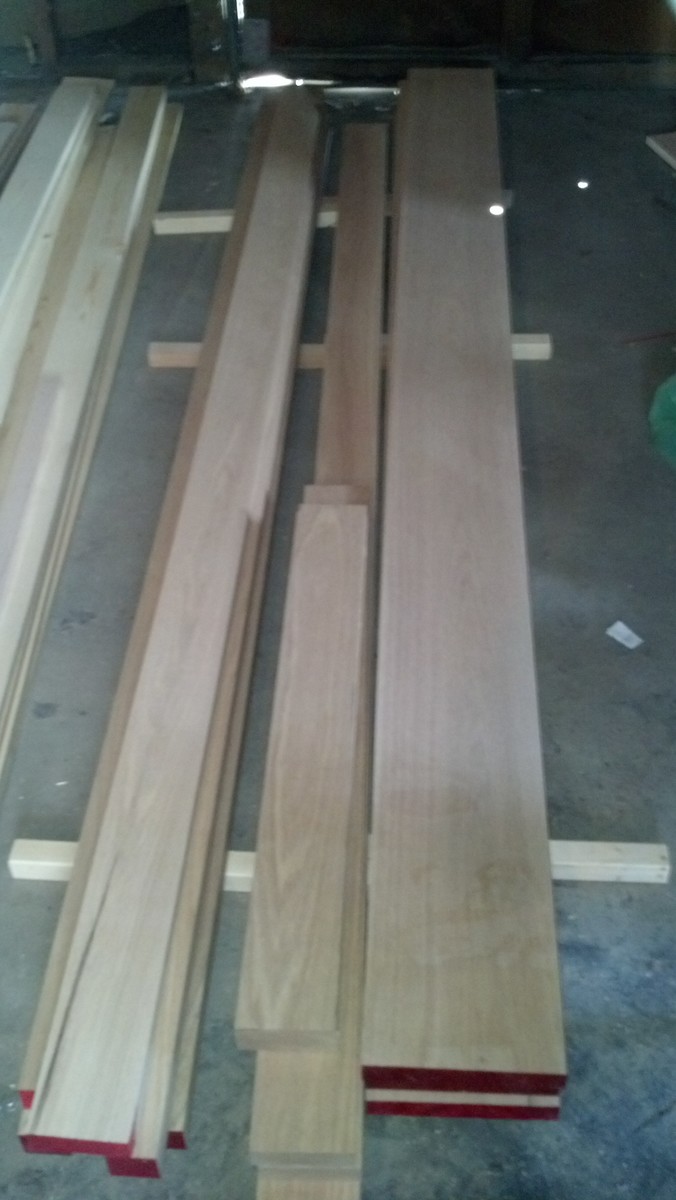
I finally have order in my garage! I built a mobile lumber rack using plans from the Rogue Engineer. My husband and I knocked out this project one Sunday afternoon. It can store a huge load of lumber and best of all, it’s portable. We are very, very pleased with the final project! Storing all our lumber on the rack has freed up a great deal of space in our garage.
Sun, 06/21/2015 - 16:07
I made one of these about a month ago after seeing it on the Rogue Engineer's website and just love it. It's exactly what we needed since we are always having to move things around in the garage. You did a great job.
Sun, 06/21/2015 - 16:08
I made one of these about a month ago after seeing it on the Rogue Engineer's website and just love it. It's exactly what we needed since we are always having to move things around in the garage. You did a great job.
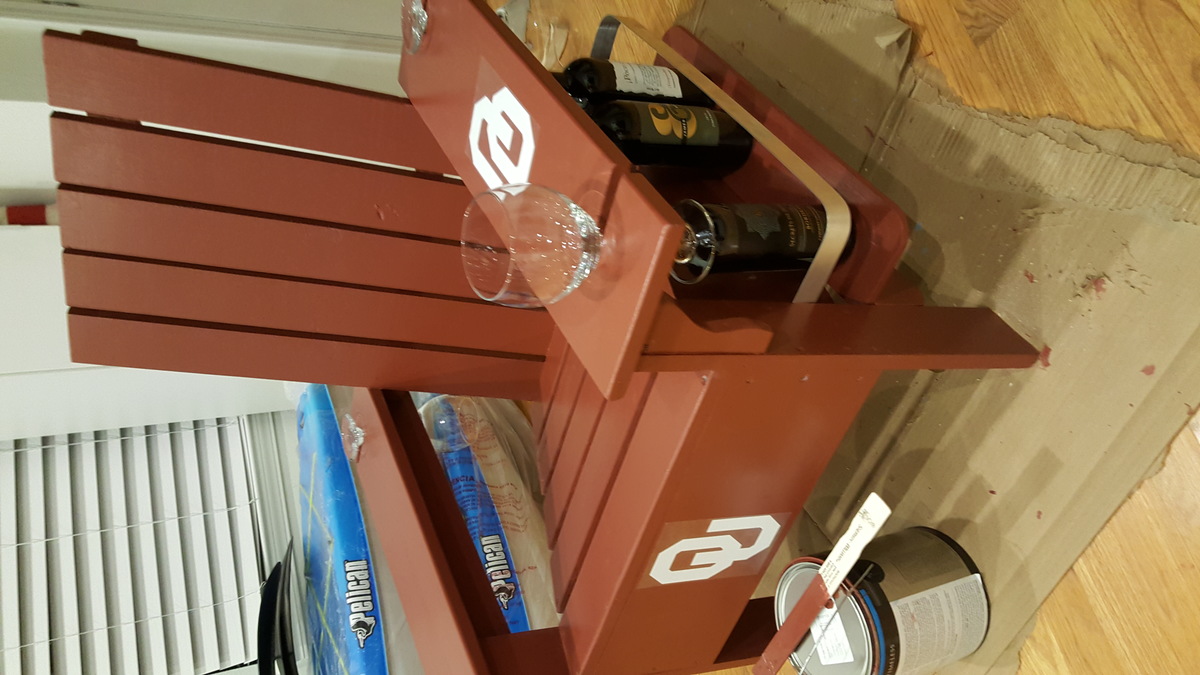
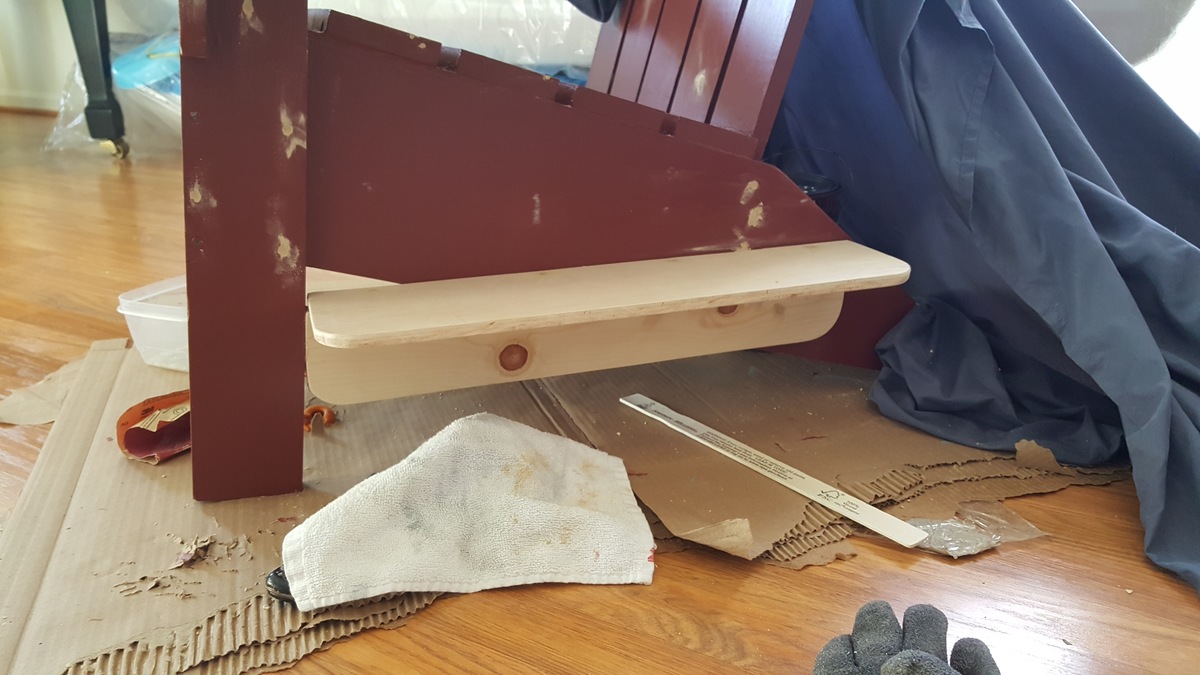
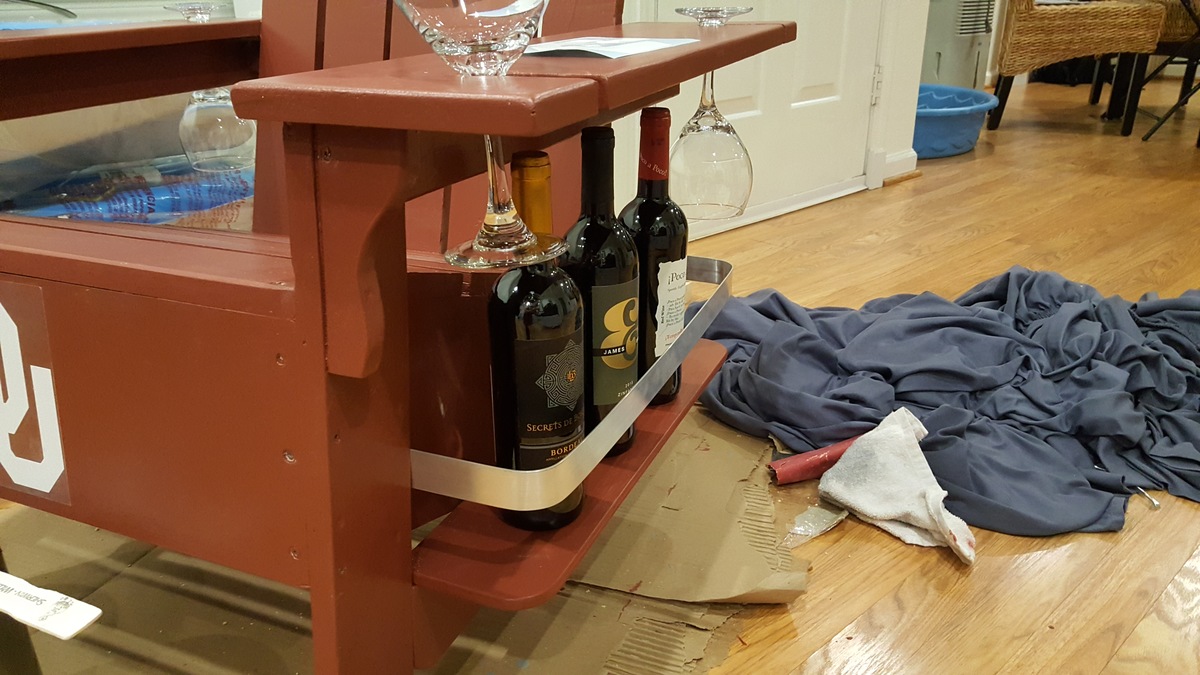
Thanks for the free plans made some modifications. Sharing for all....Have the assembly line going as gifts to my Oklahoma University friends...Personally I am Oklahoma State University....but was a Wine-A -Dirondack among friends....

This is the cabin single bed. The bookcase/drawers and desk are almost done and will be posted soon. This was a great project, very easy and my son is so excited! Thanks again Ana :) We used a green milk paint with Federal Blue milk paint over it, distressed it and then used a brown glaze and polyacrylic.


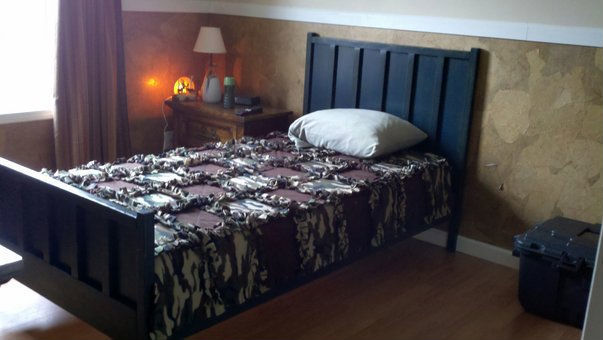

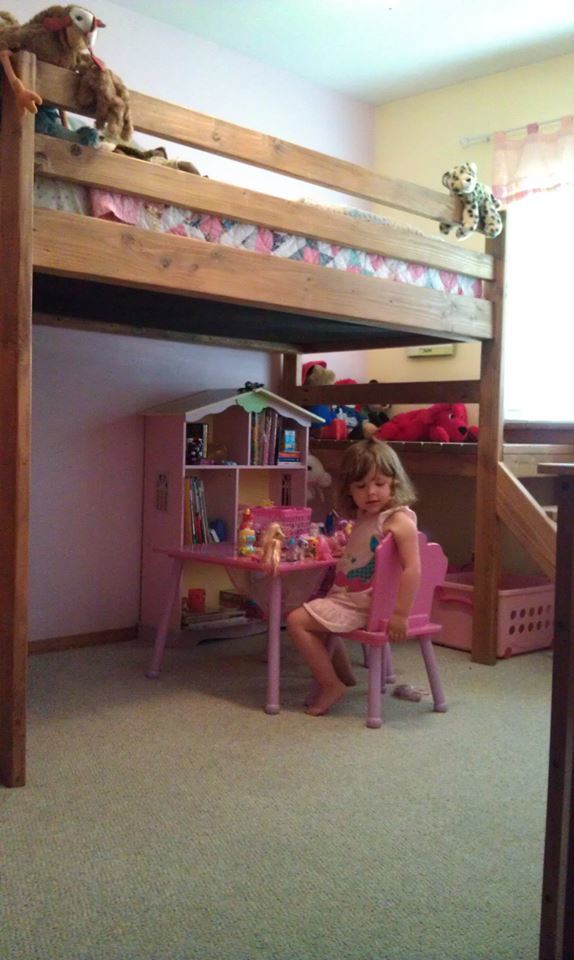
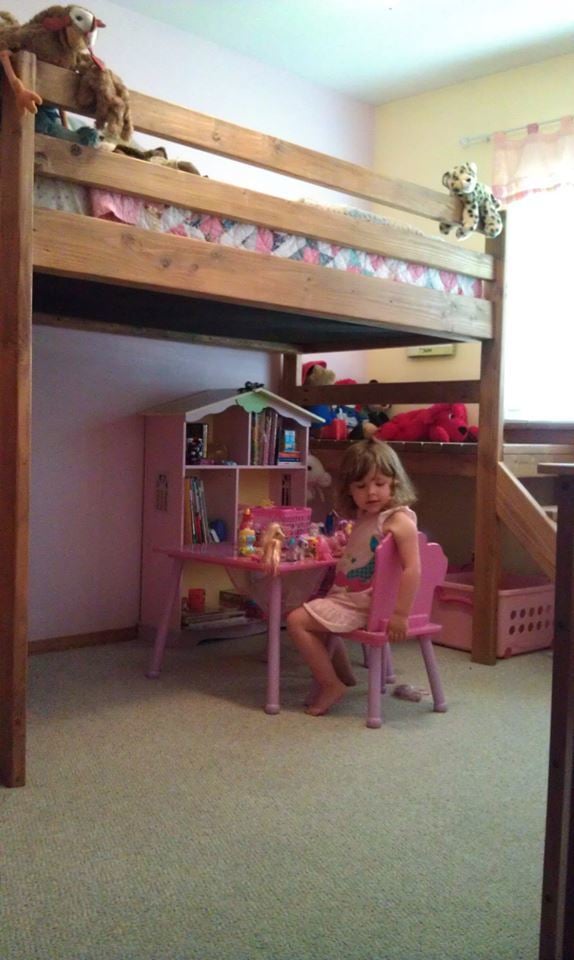
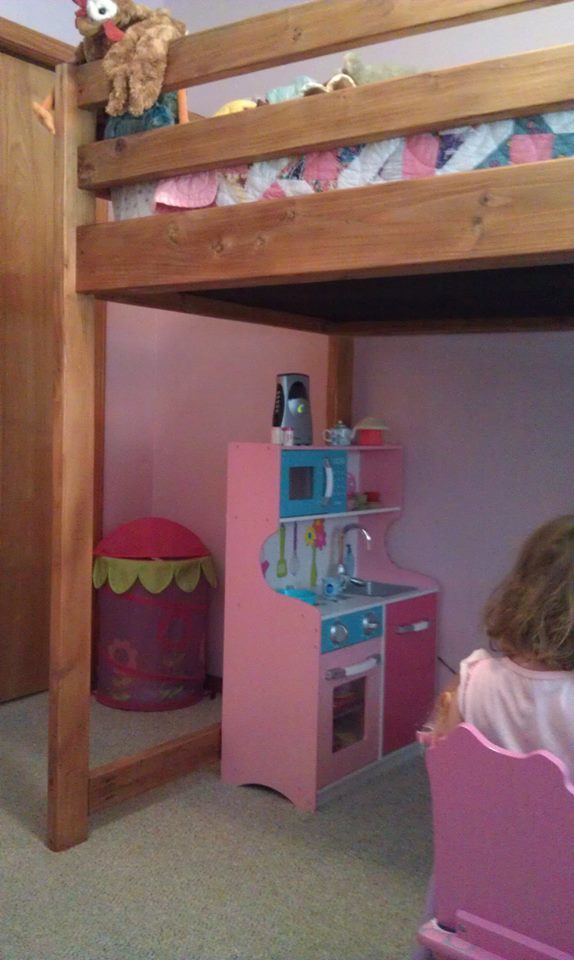
Wanted to utilize my daughters small bedroom, and give her a custom bed without a huge price tag.
Supply list...required an additional 2x4
Used a bunkie board bought at local furniture store ($50) instead of slats for mattress.
Cleats that were 2x2 weren't wide enough to keep bunkie board in- it kept falling out. (standard is 38 " wide) so I replaced those with 2x3s. Decking on platform is very sturdy- maybe a bit overkill for a 40 lb kid.
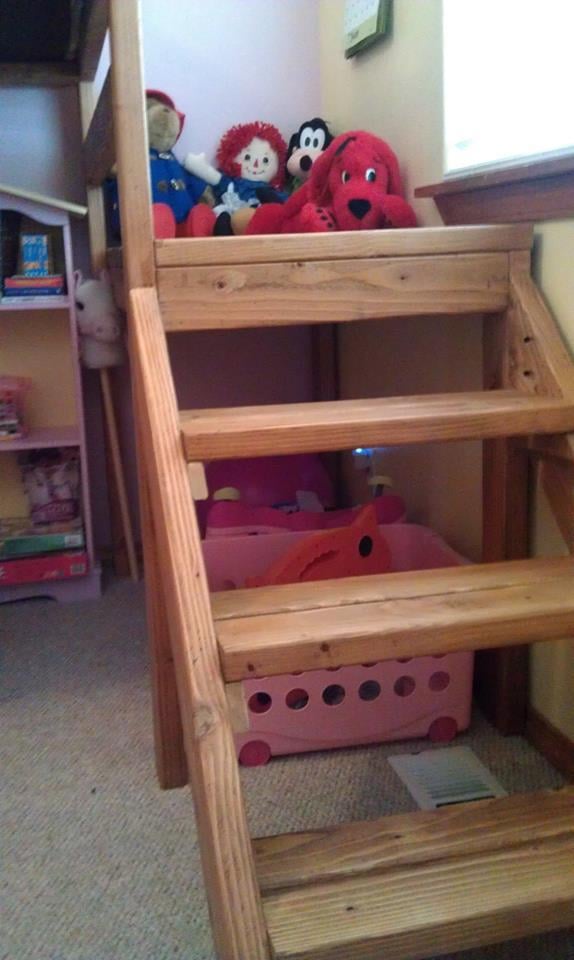
Overall a quick project. My mom and I built it- Lowes did all cuts for us (no charge!) except the angled stairs- which mom did.
Turned out great- were were brand new to this- so struggled a bit as instructions are somewhat vague (where to drill holes- step by step process out of order) Drill all your pocket holes in all pieces prior to assembly. I would have sanded and stained prior to assembly too- doing in a tiny bedroom was tricky. Staining and sanding took the most time.
Overall alot of fun- ready to do next project. Thank-you for the inspiration!
Sun, 07/07/2013 - 20:58
The bed looks great! It really caught my eye as I made this bed for my daughter Annika too. I am sure yours will enjoy it just as much as mine does.
Mon, 07/08/2013 - 14:00
Ha! I'm building one for my daughter Annika as well! :D I feel like I'm part of a secret club now.
I am so happy with my work.. It has turned out perfect. I love them.
In reply to Cute paint job by CSaintD
Wed, 12/30/2015 - 04:25
Thank you for your kind words and I am so excited that you took time to leave me a reply.
We used the plans for a six drawer storage bed to build this with a custom headboard and footboard. We used plywood to build these boxes but have since switched to using MDF. We use a pine laminate for the drawer faces.
Sat, 09/26/2020 - 05:51
I absolutely love this style. I am trying to figure out your modifications.
What size pine planks are those for the foot and head board? 6”?
Thanks!
In reply to Size boards? by leftysgirl
Wed, 10/05/2022 - 10:08
I would guess 1x6 too
Utilized your idea... First ever woodworking project. My wife is super excited these shelves came out superb. She is excited to see what I have planned next. Thank you.
Mon, 12/27/2021 - 22:22
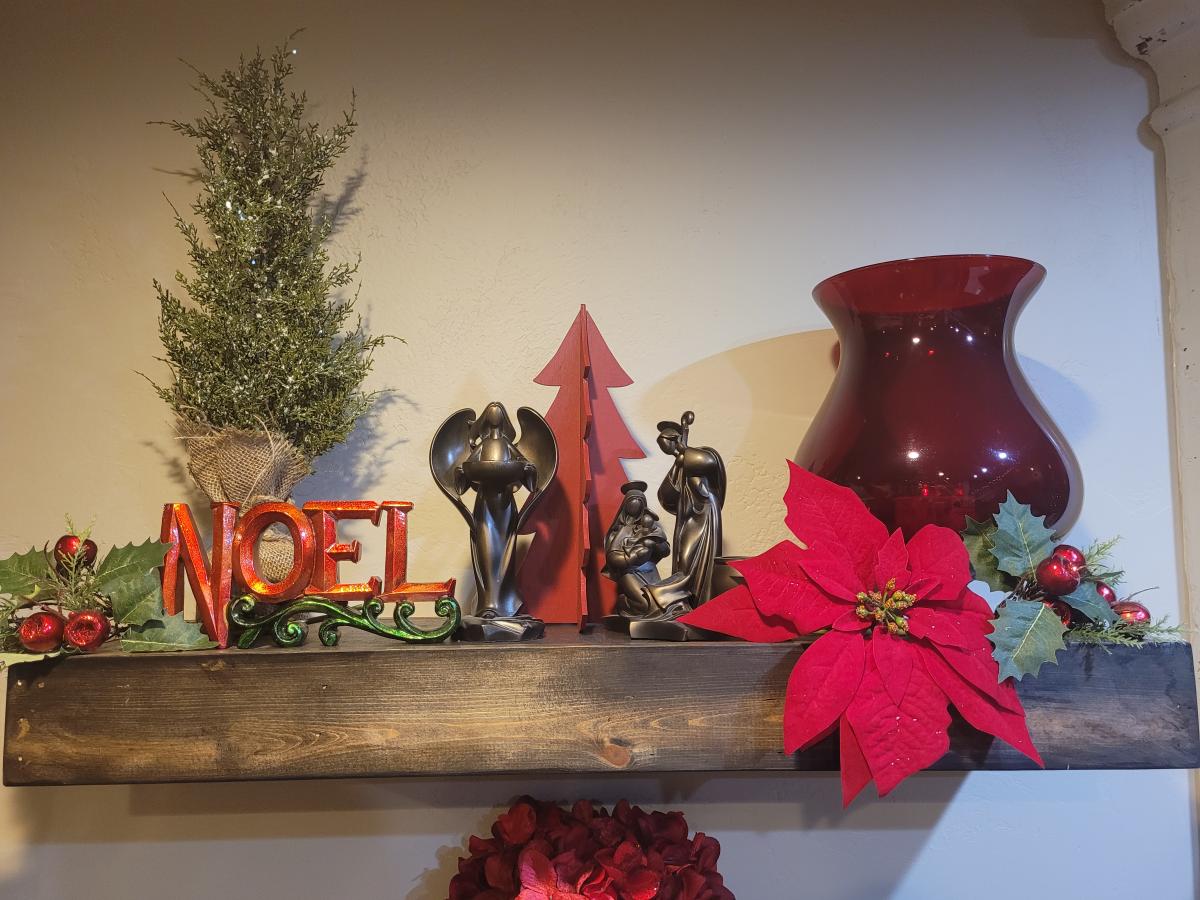
Way to go, that looks amazing! Can't wait to see your next project:)

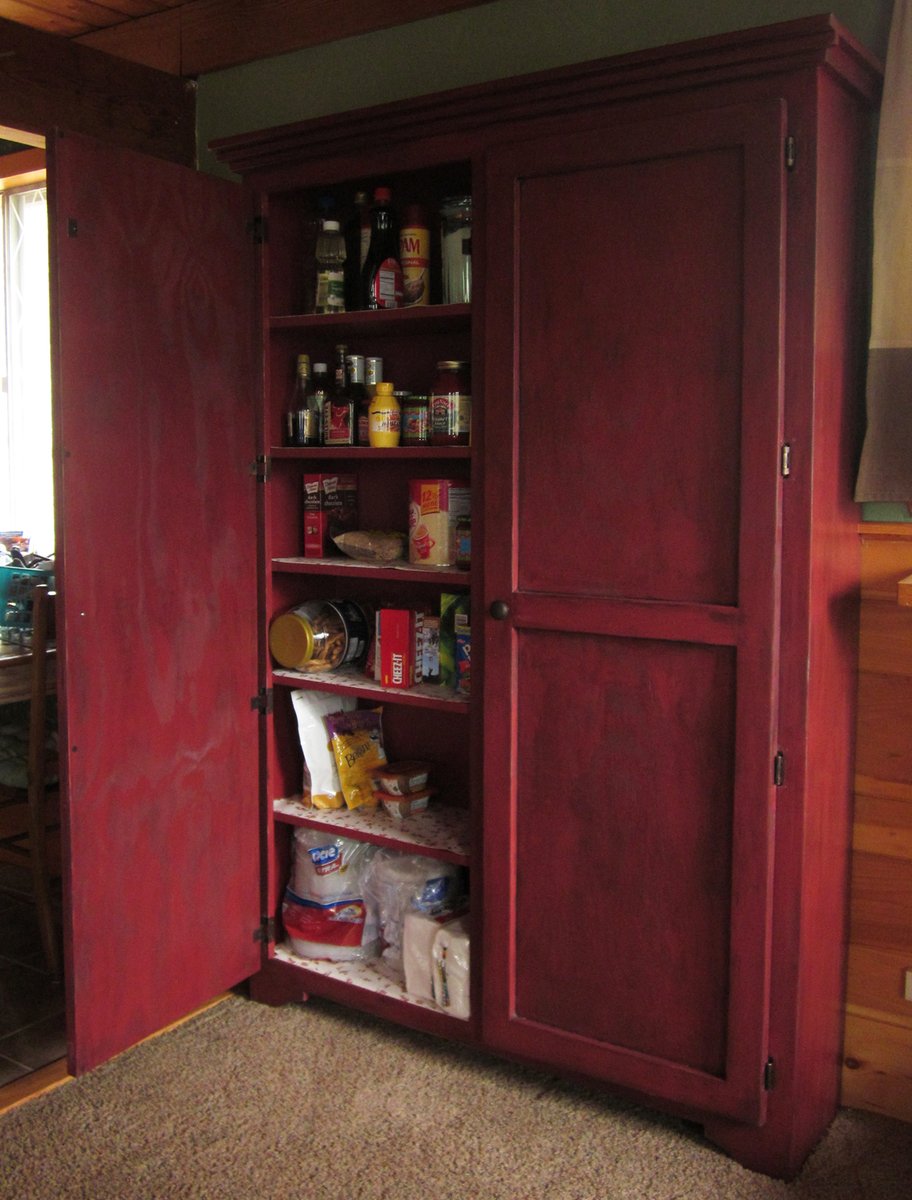
We bought a vacation home that has such a small kitchen. I knew we needed more storage. So I checked out Ana's plans and made this bad boy based on the Simplest Armoire plans.
The home is in the mountain/lakes area of northern New Hampshire, so I wanted to bring the outside colors in. I used Valspar Cabin Red paint and the Valspar Antiquing glaze over the top after distressing it a bit.

My husband and my boys built it, painted it, and stained it in a weekend. Great father and sons project. I used the same black paint and stain that Shanty-2-chic used. I LOVE it.. now on to the benches.

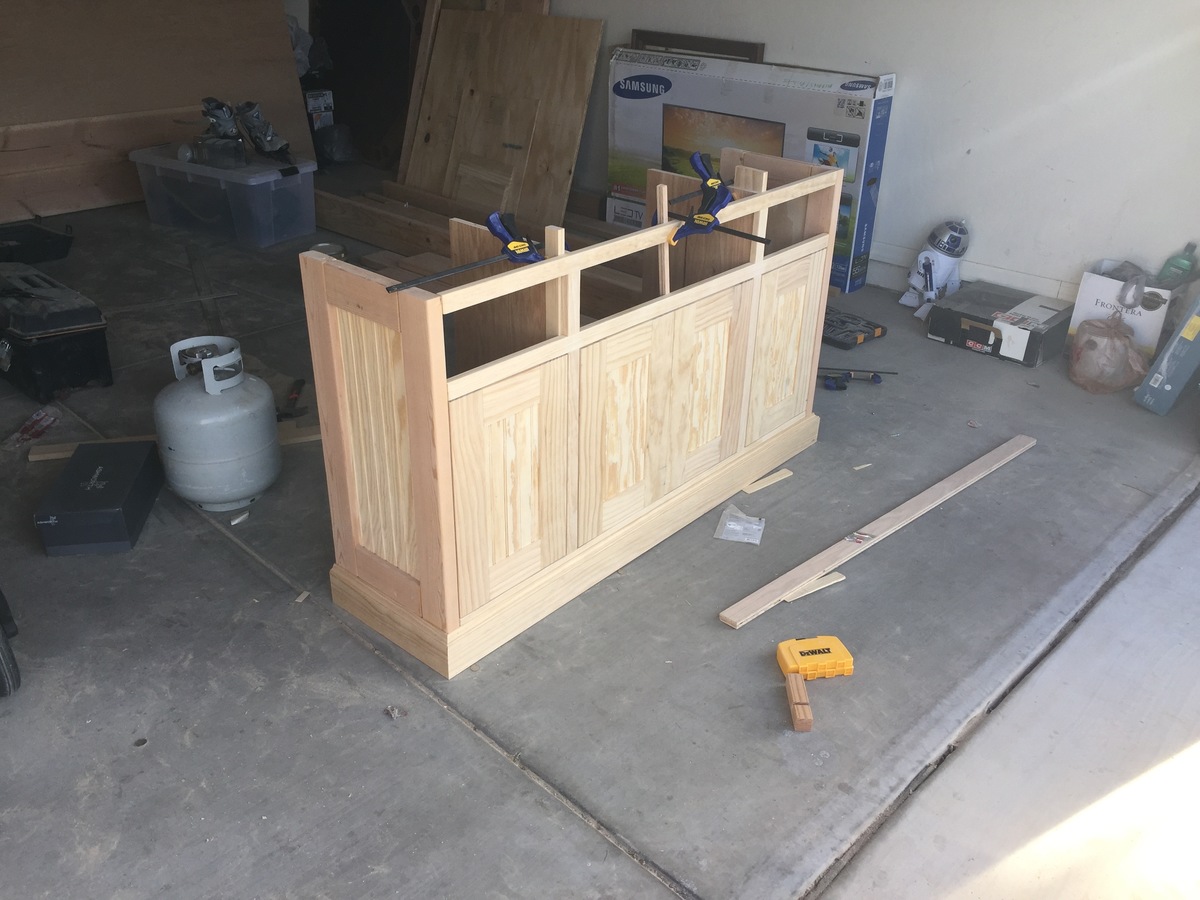
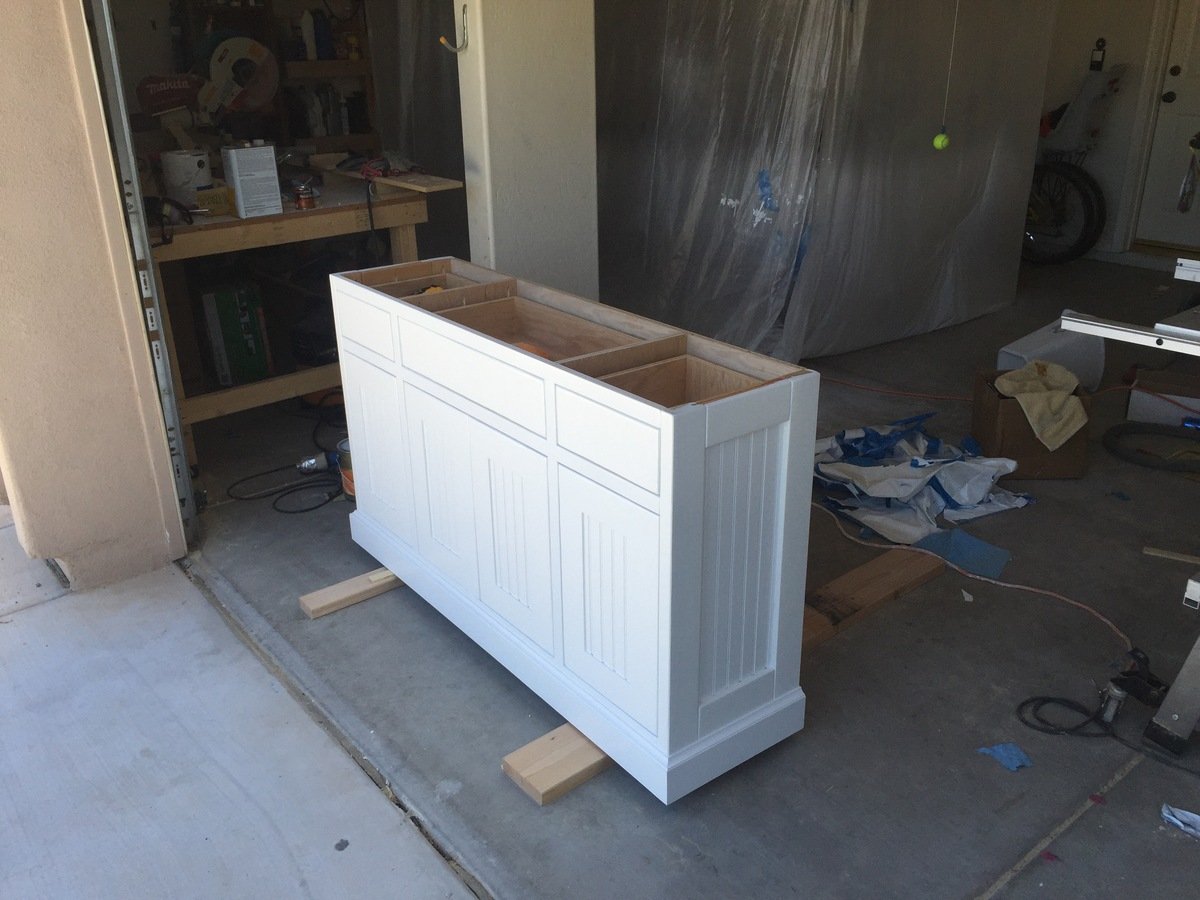
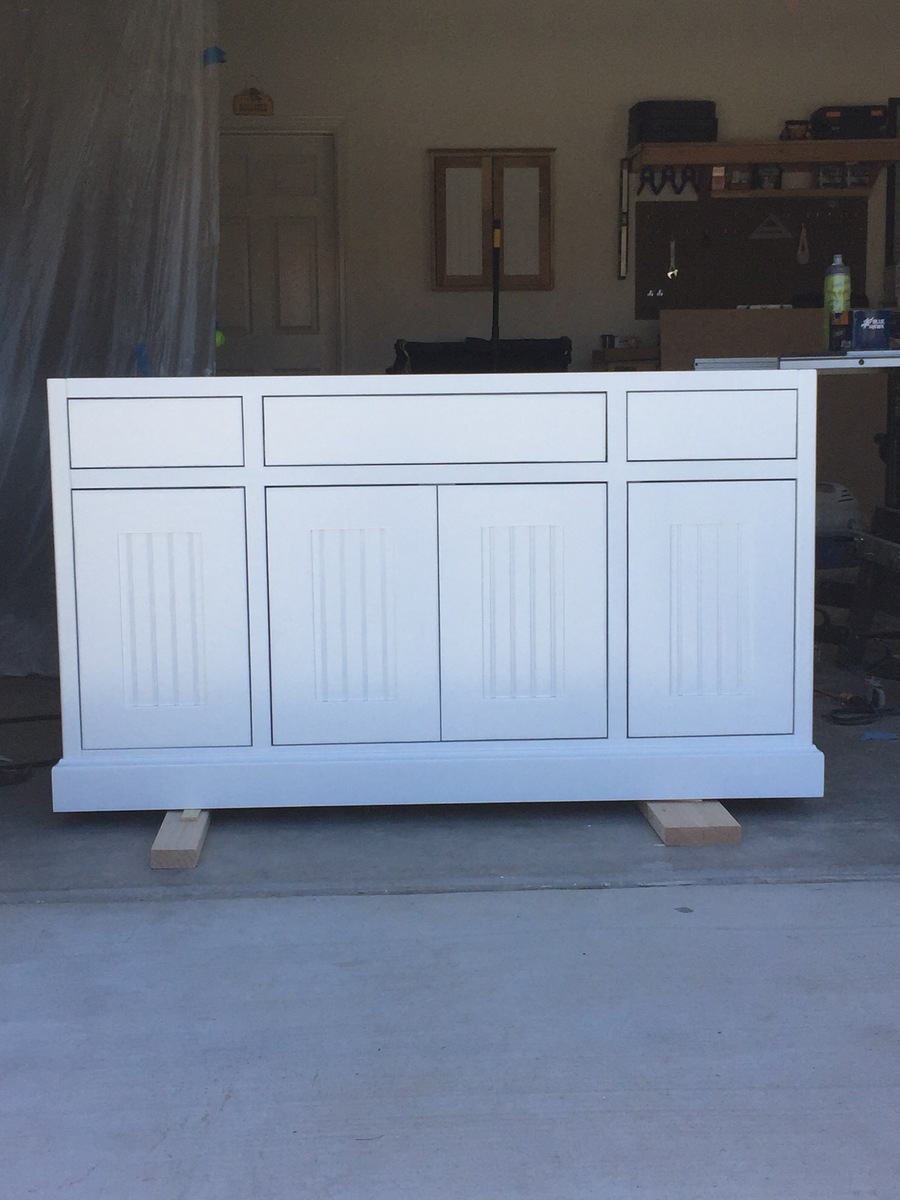
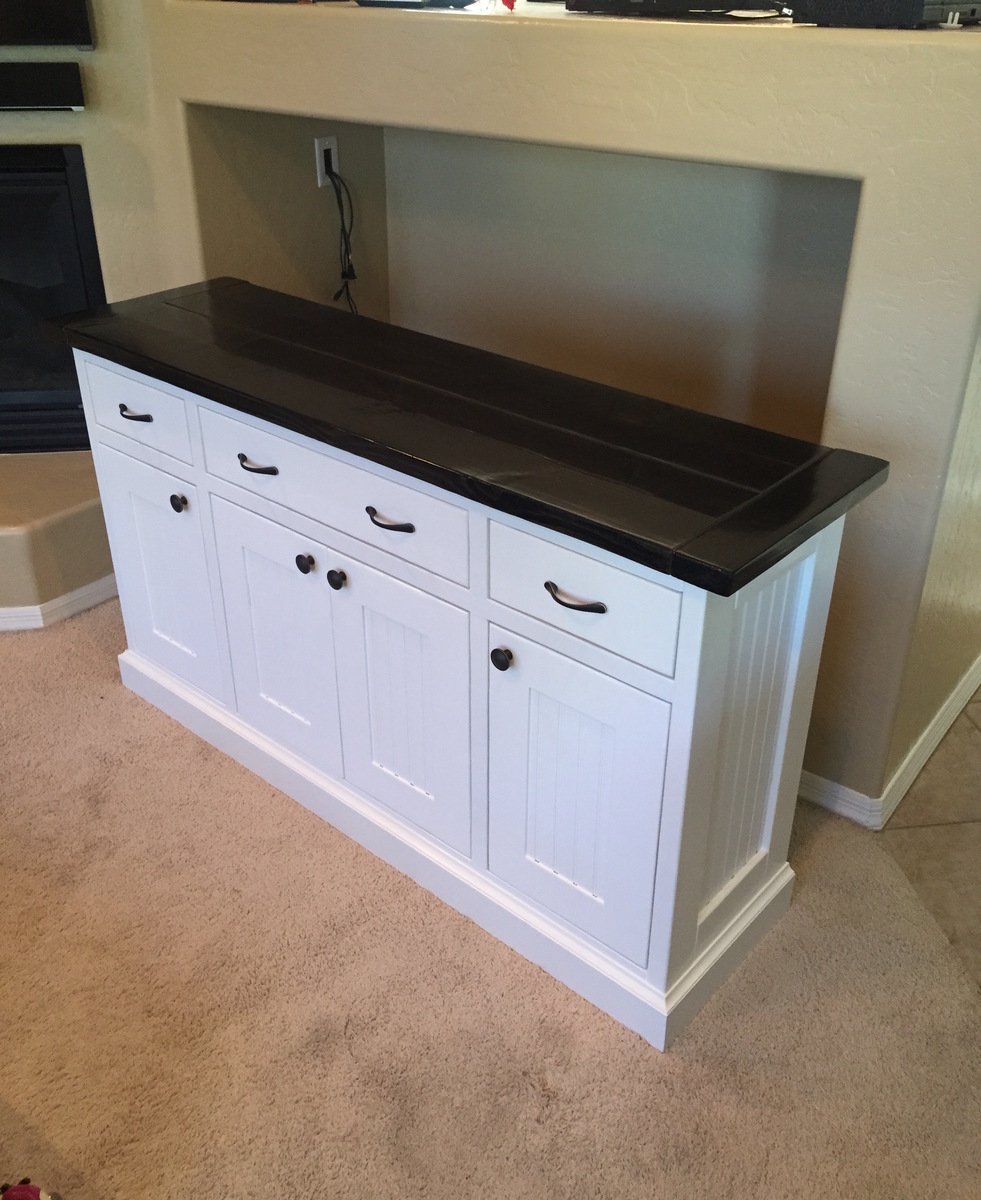
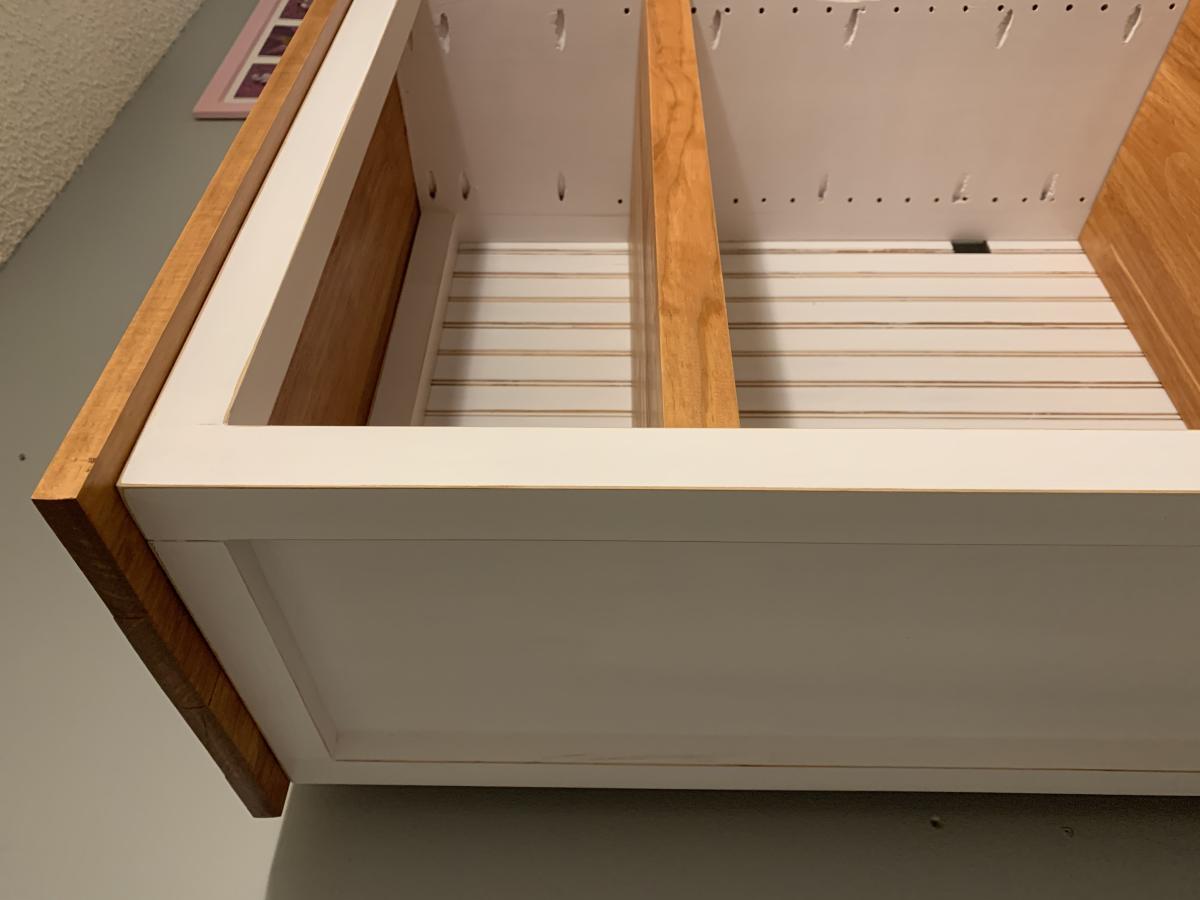
So many great plans on this website! I am constantly looking to Ana's website for inspiration for my next project around the house. The inspiration for this piece was that we needed something to fit an odd space in our home. Looking through the site we found the perfect fit. We based our design off Ana's planked wood sideboard table with a few minor changes. First since we wanted to do a two-tone finish, so I added an additional piece to the top of the face frame to keep the look symmetrical. I also used two 2x10's for the table top instead of what the plan called for and beadboard for the inset panel in the doors and sides. I decided to use tongue and groove construction for the sides of the table and for the doors. A technique for building inset doors that has worked for me is to build the doors to the exact size of your door opening and use the table saw to trim the tops and sides to fit as needed. This way I am to achieve a very uniform fit that can be difficult to obtain otherwise (unless you are a pro, which I am not!) I finished the inside of the sideboard table with satin polyurethane, the exterior base and doors with sprayed high gloss paint. The top was finished with min-wax ebony and 3 coats semi gloss polyurethane. Everyone in the family was very happy with how this turned out.
Fri, 06/26/2015 - 19:21
this looks really great. I love the two tone colors. a nice stain + white paint is my favorite combo :)
Wed, 08/19/2020 - 18:32
hi do you happen to have the dimensions and break down of how you made this particular one?
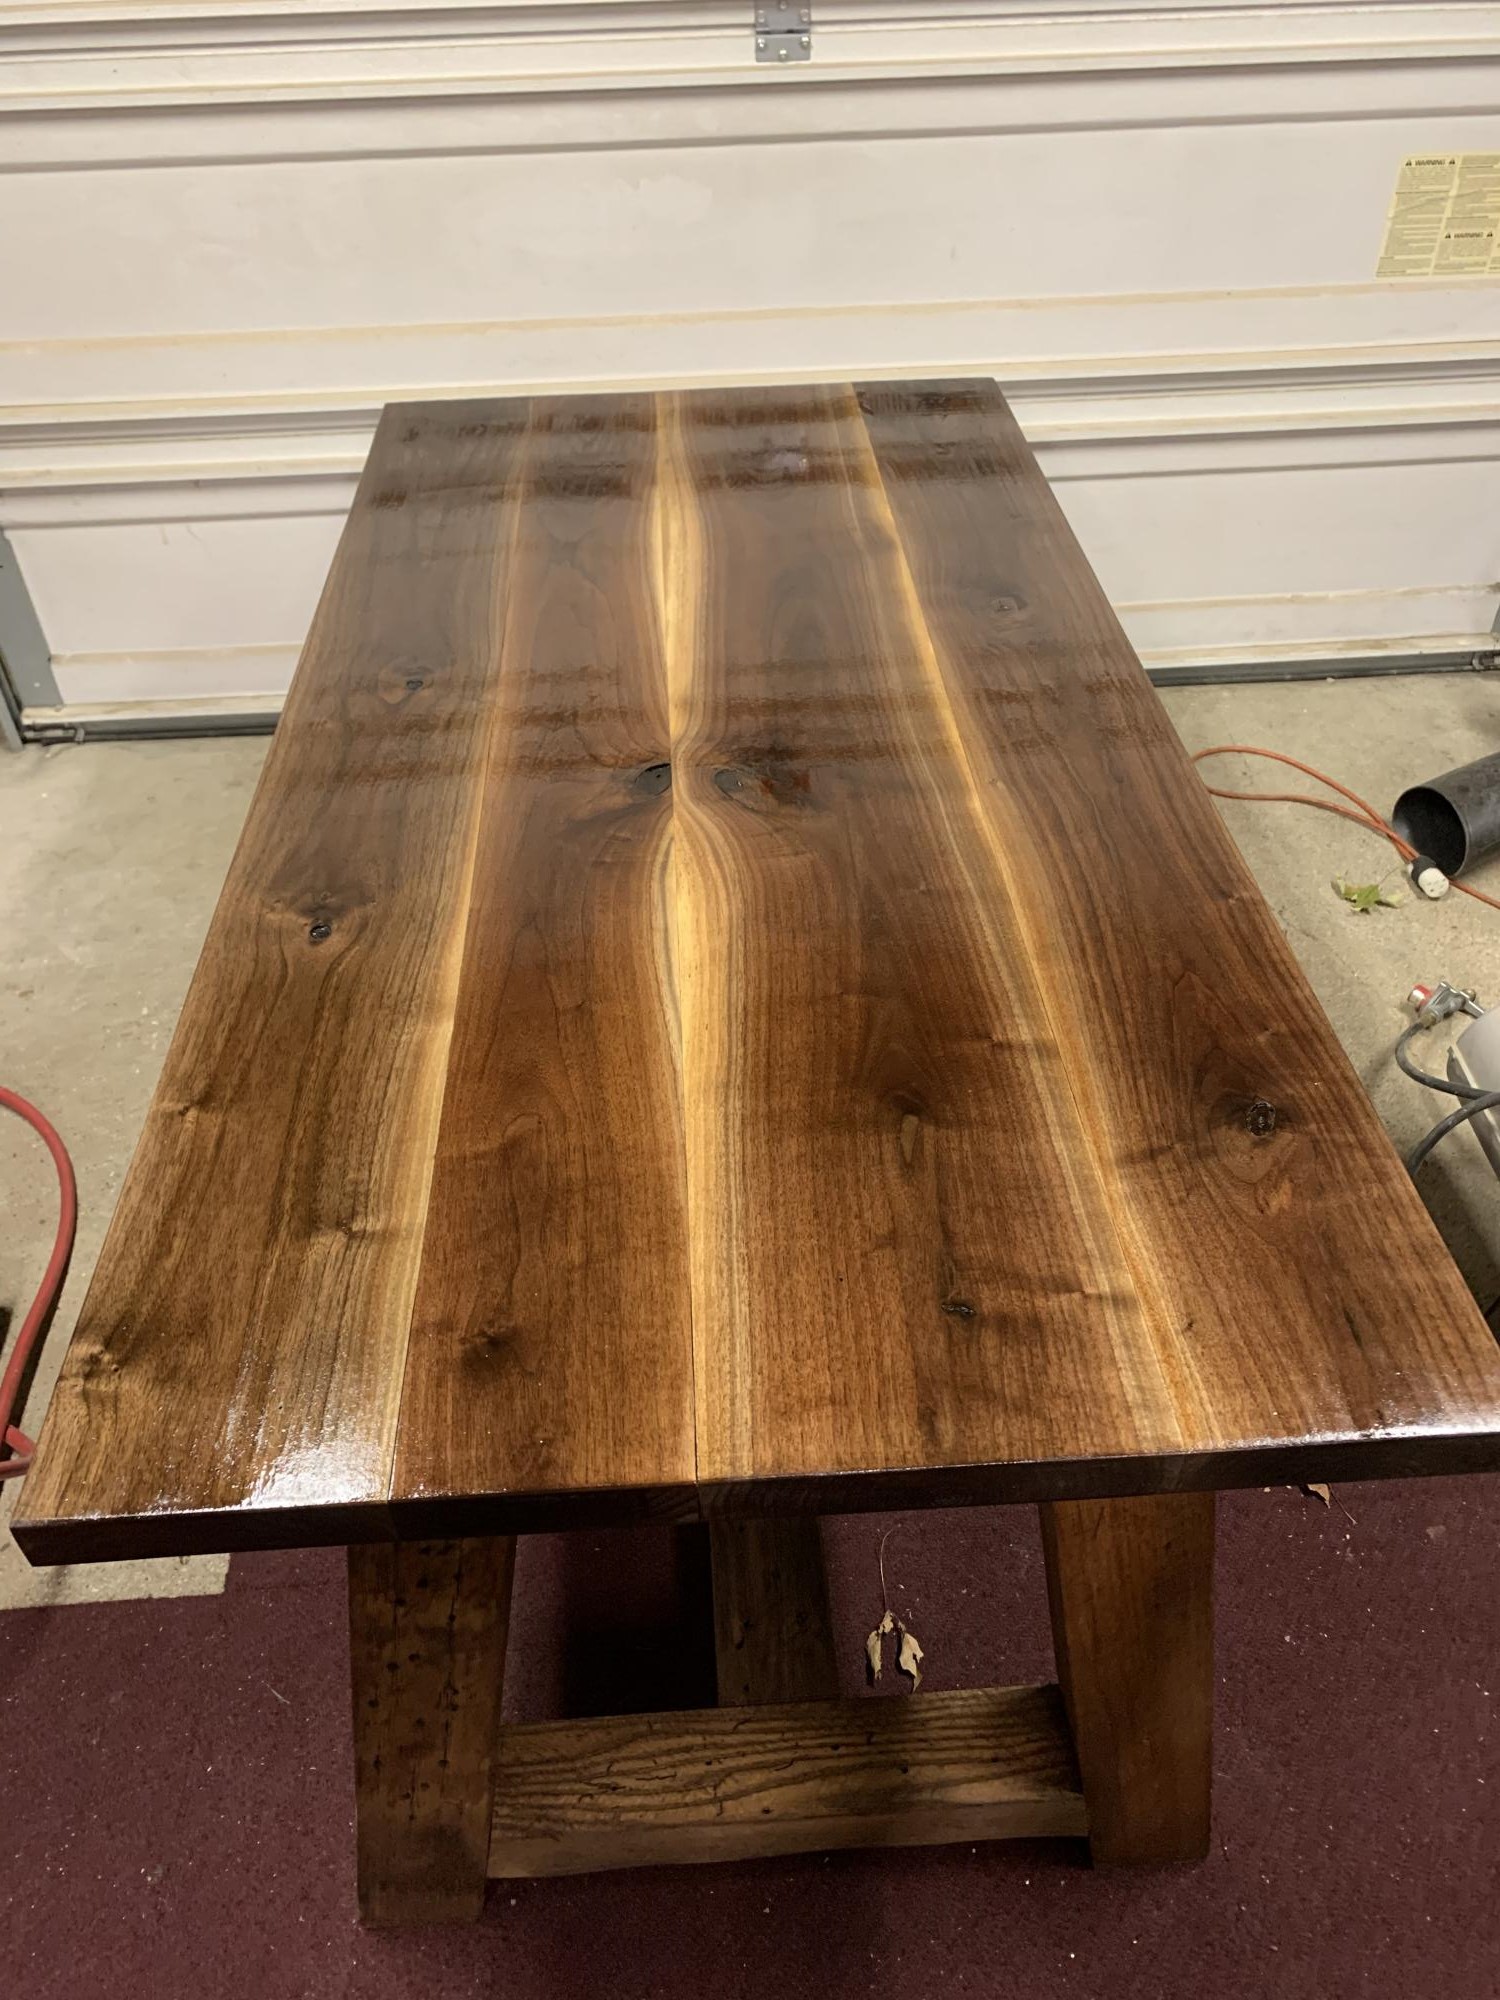
I used some of the measurements that I found on your site and downsized them to fit my needs. The table was a wedding gift for my granddaughter. She and her new husband were very pleased. Thanks for your help.
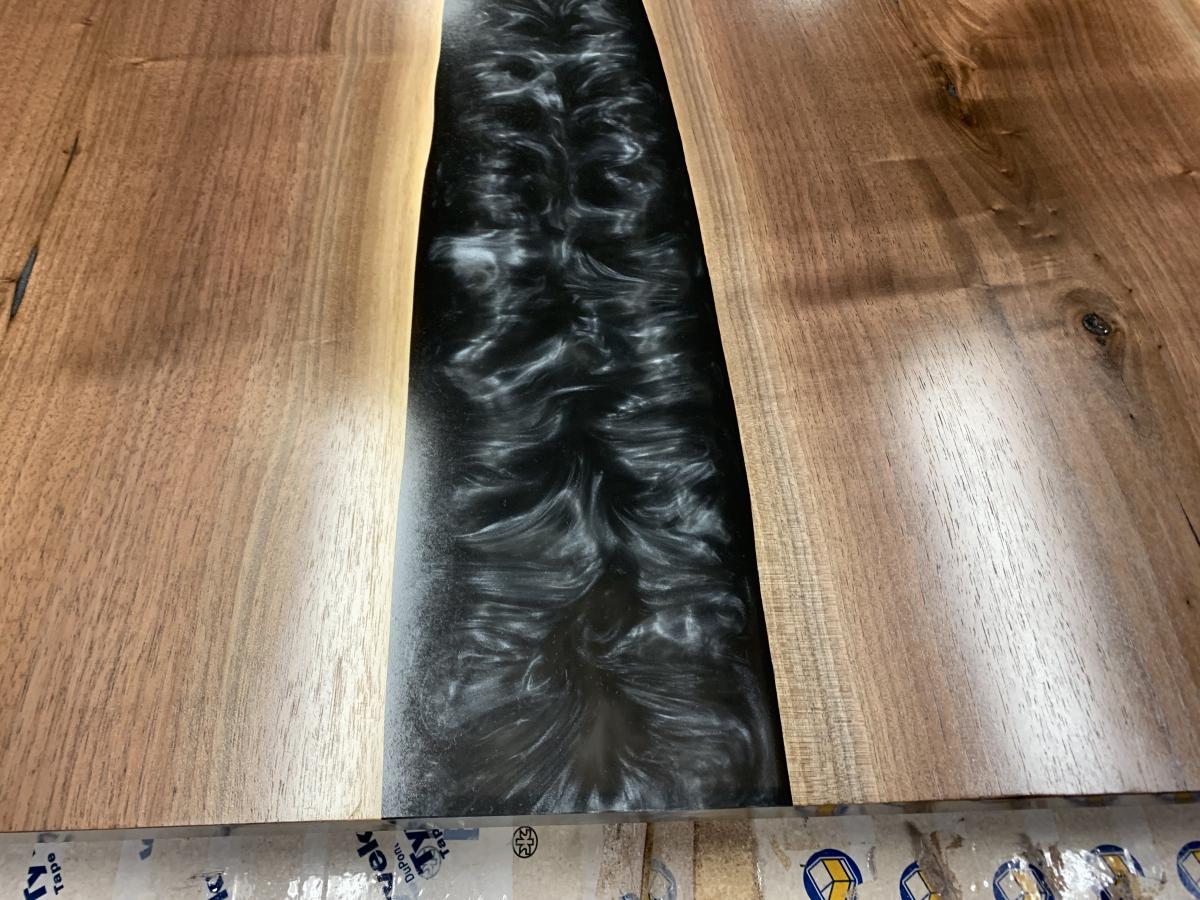
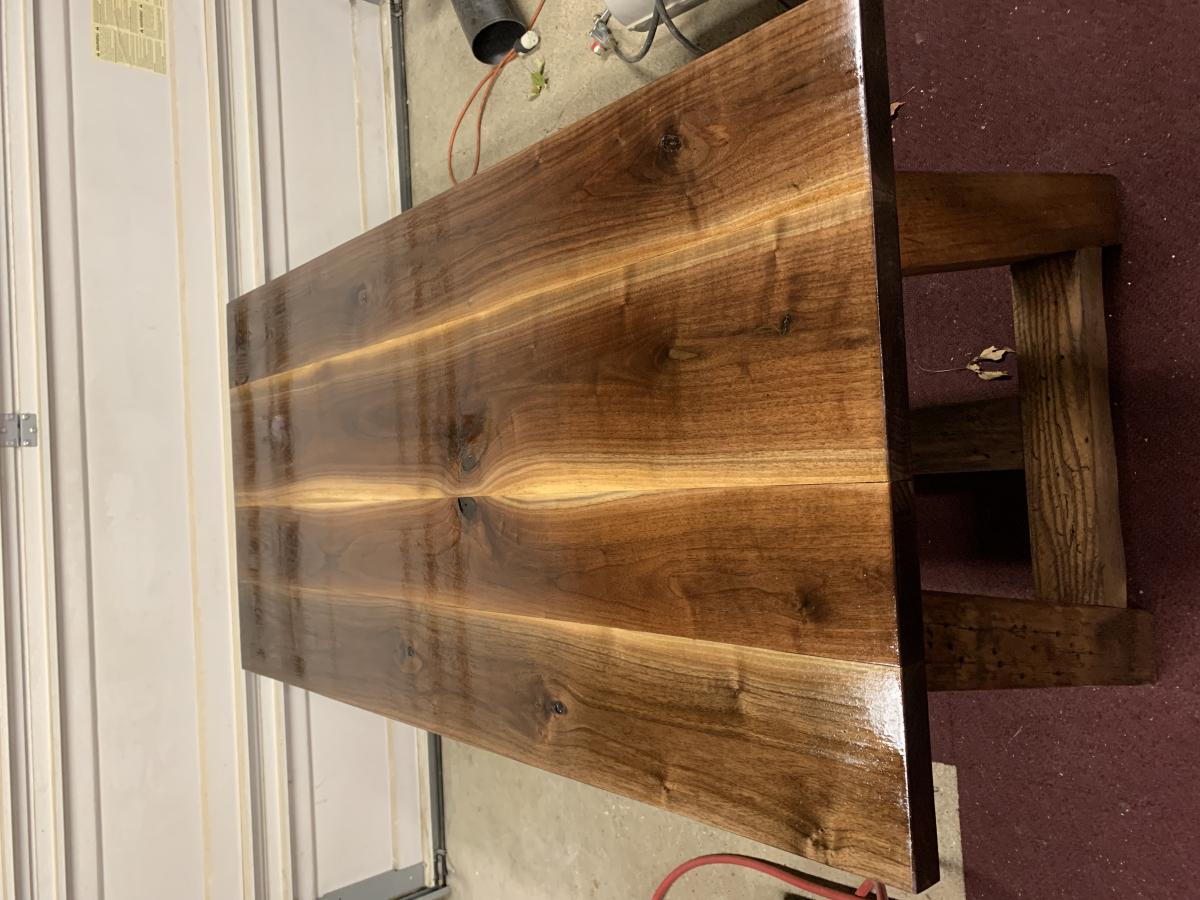
This was my first try at making a picture frame. I've used this same principle to make single framed picture frames numerous times since then. Thanks Ana! Such an easy build!
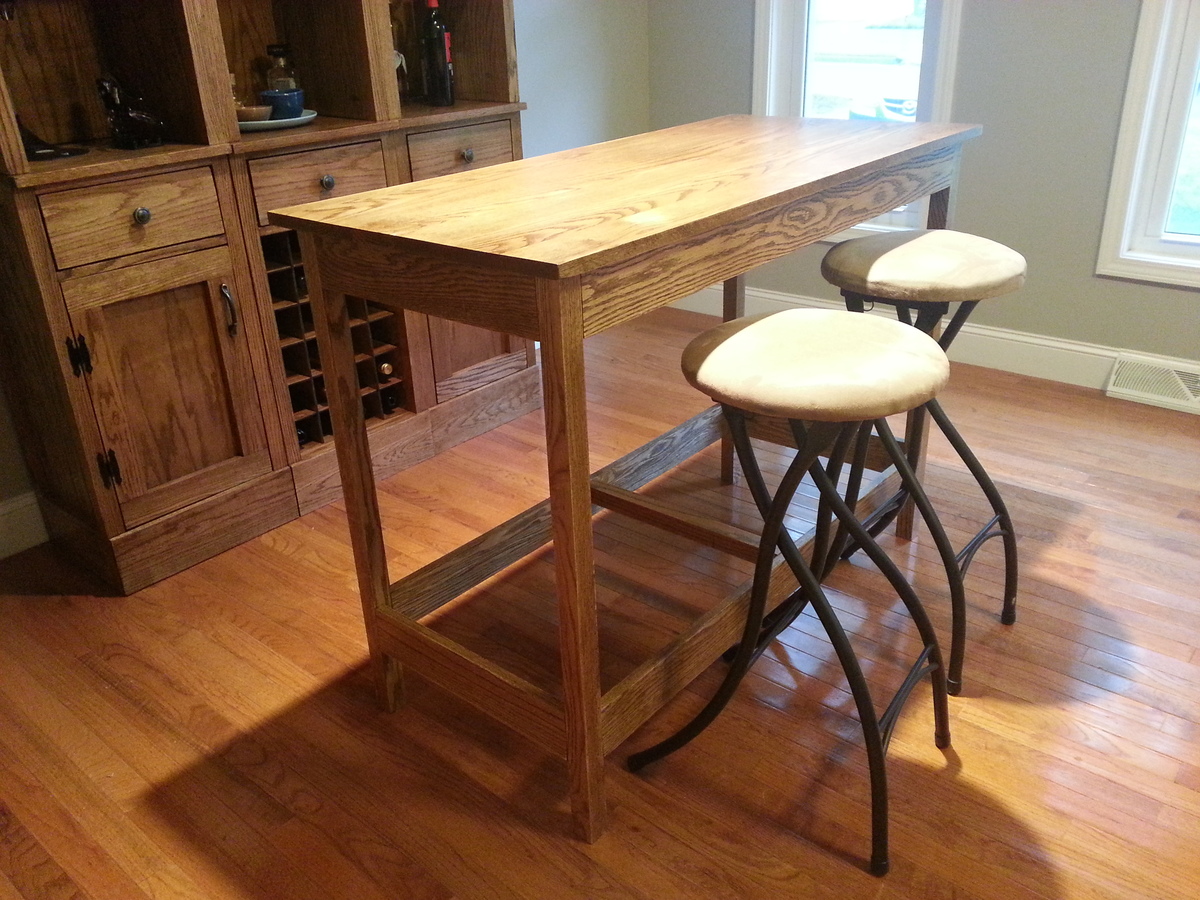
Second Project! Although the storage capacity of the Modular Bar is awesome, we needed a good workspace for pouring the drinks :)
I modified the "Simple Kitchen Island" plan a little:
1) Instead of using a 2'x4' project panel for the tabletop, I used the jig to put together two 1x12s, this made it a little bit narrower, but since I was staining I prefered the look of the edges of solid oak.
2) I didn't need the storage of the bottom shelf (and the dogs would get in anything I put there), however I knew people may put their feet on the bottom rails so I beefed them up to 1x4s instead of 1x2s and added a middle beam to stabilize them some.
3) I increased the total height some so we can pull the island up to our current 36" high dining room table to accomodated two extra people.

Country Table - dark walnut stain and satin polyurethane coat.
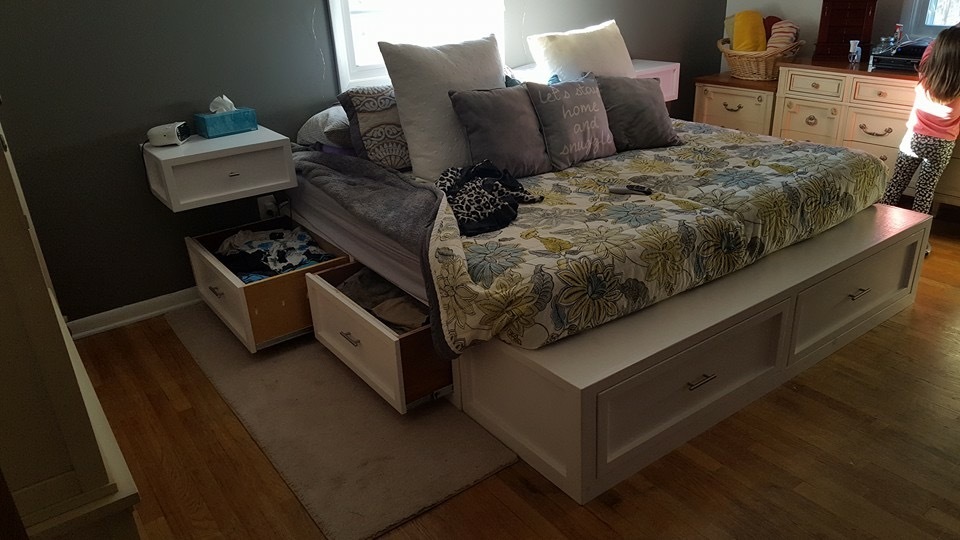
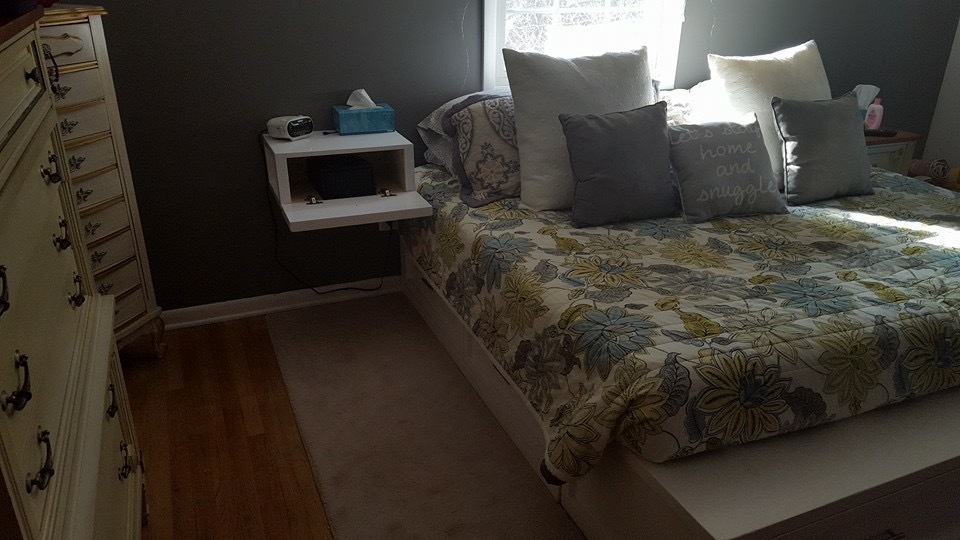
I saw your design for the queen and made the king for my wife. As you can see the mattress we have is not long enough because they are two small twins next to each other. We need a new mattress but it’s not in the budget yet.
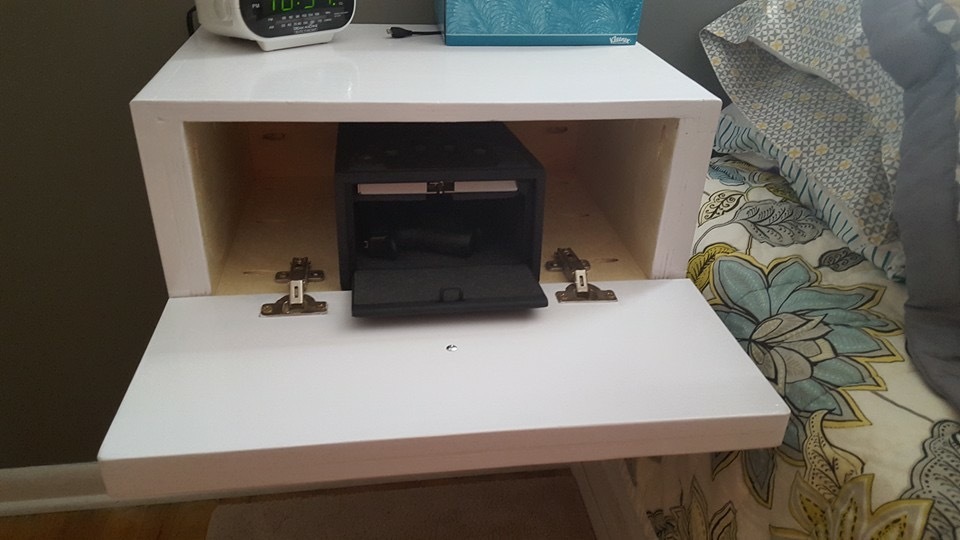
I also made some floating night stands of my own design to match so the drawers would still be able to open on the sides.
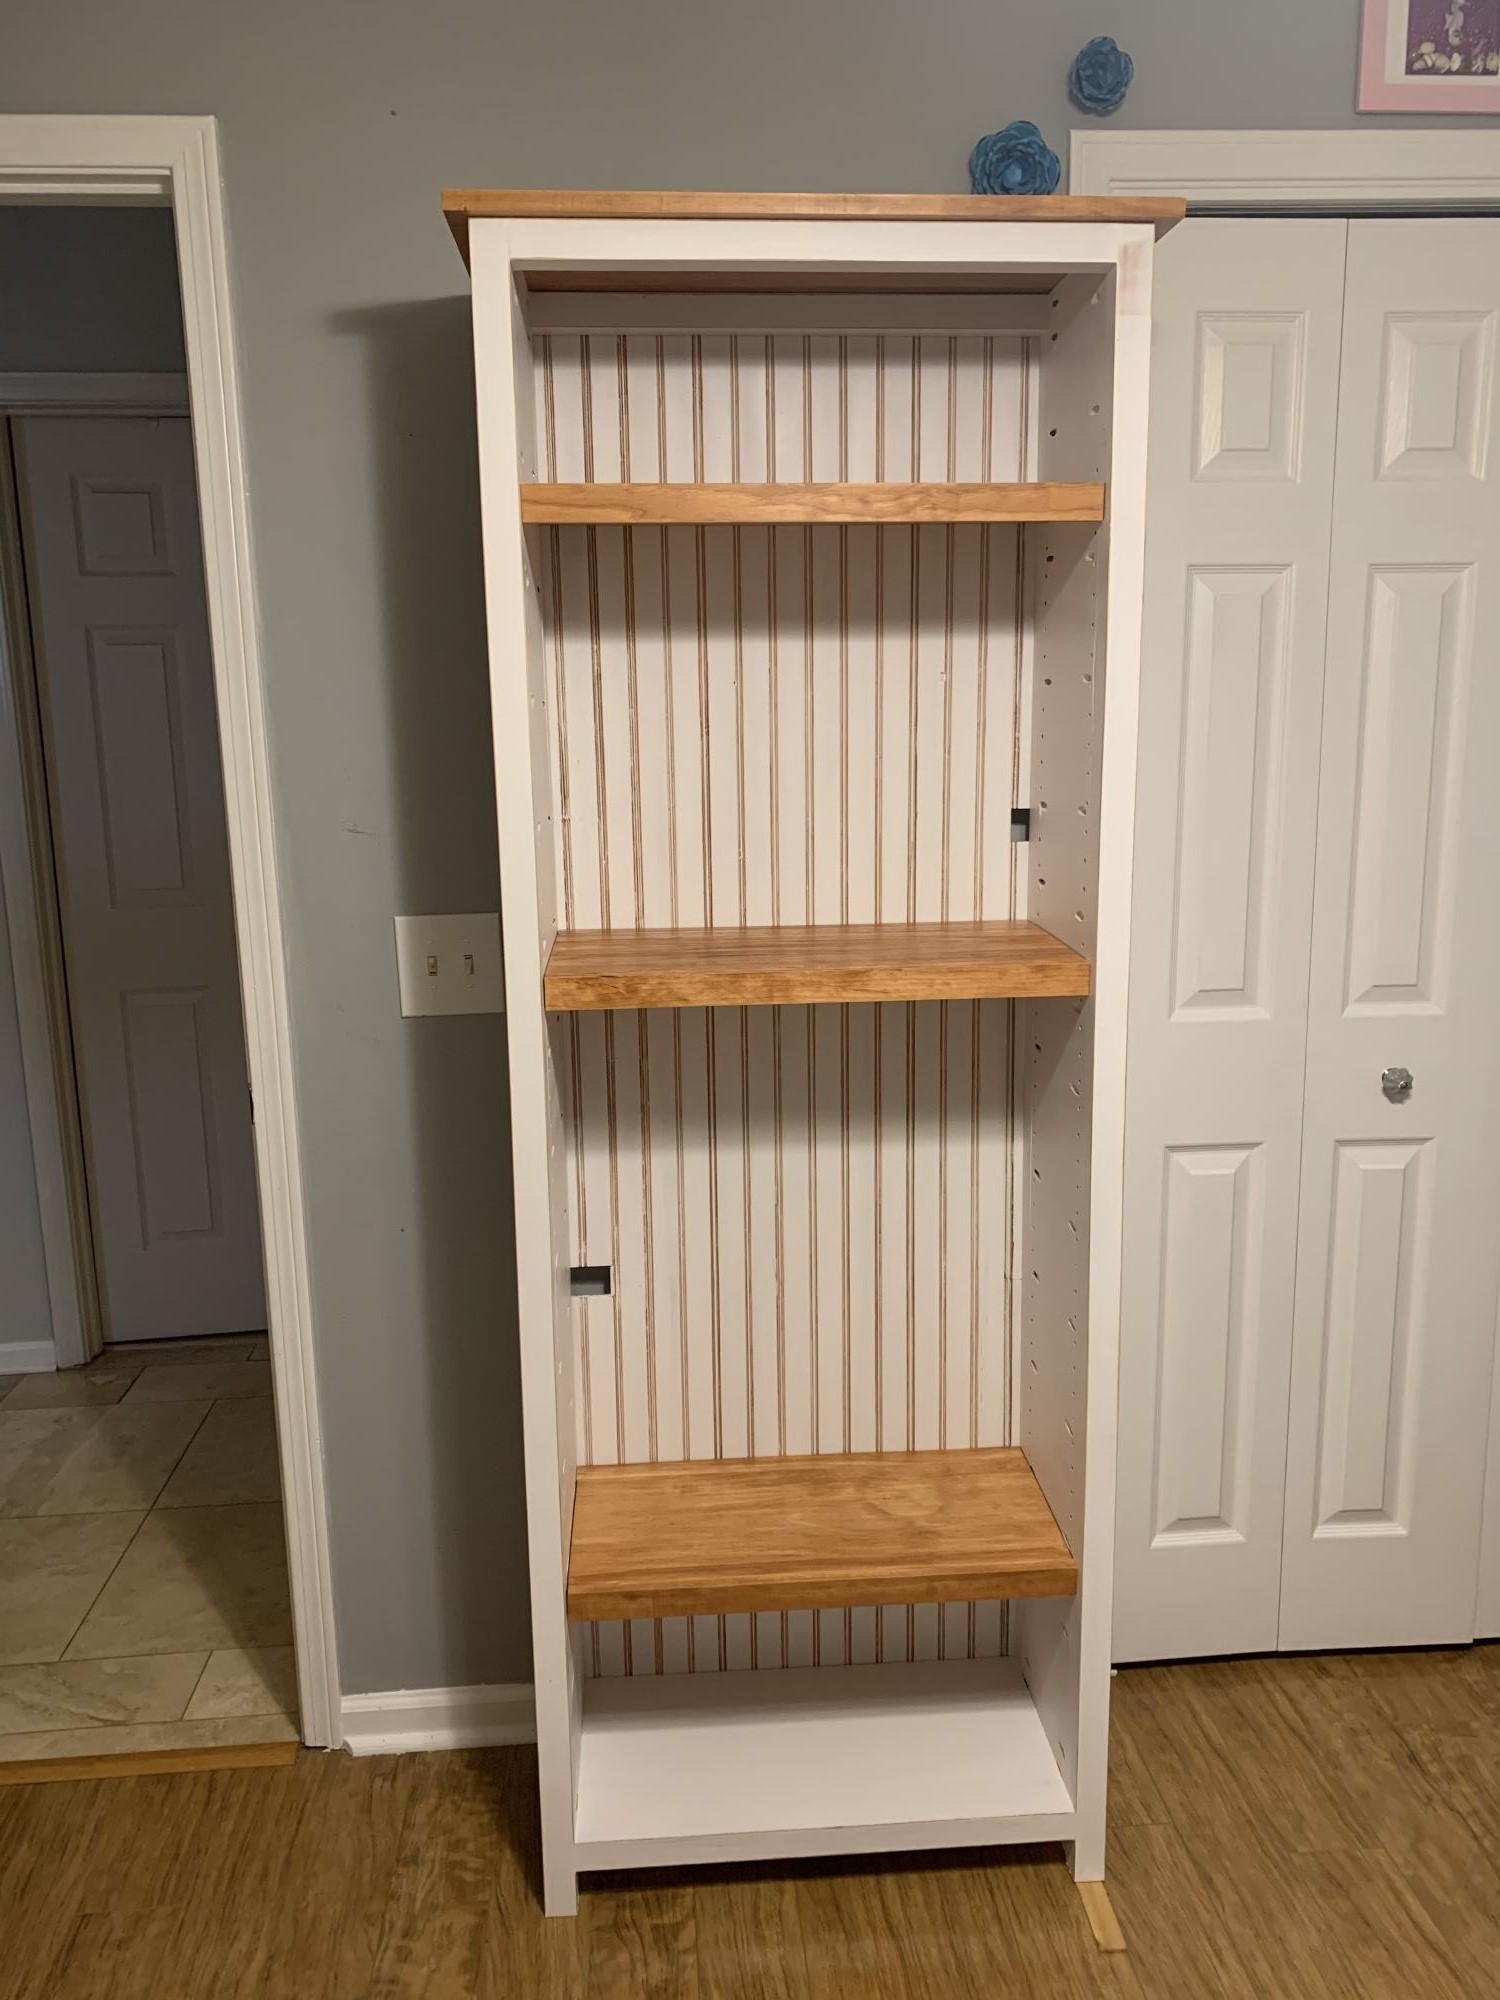
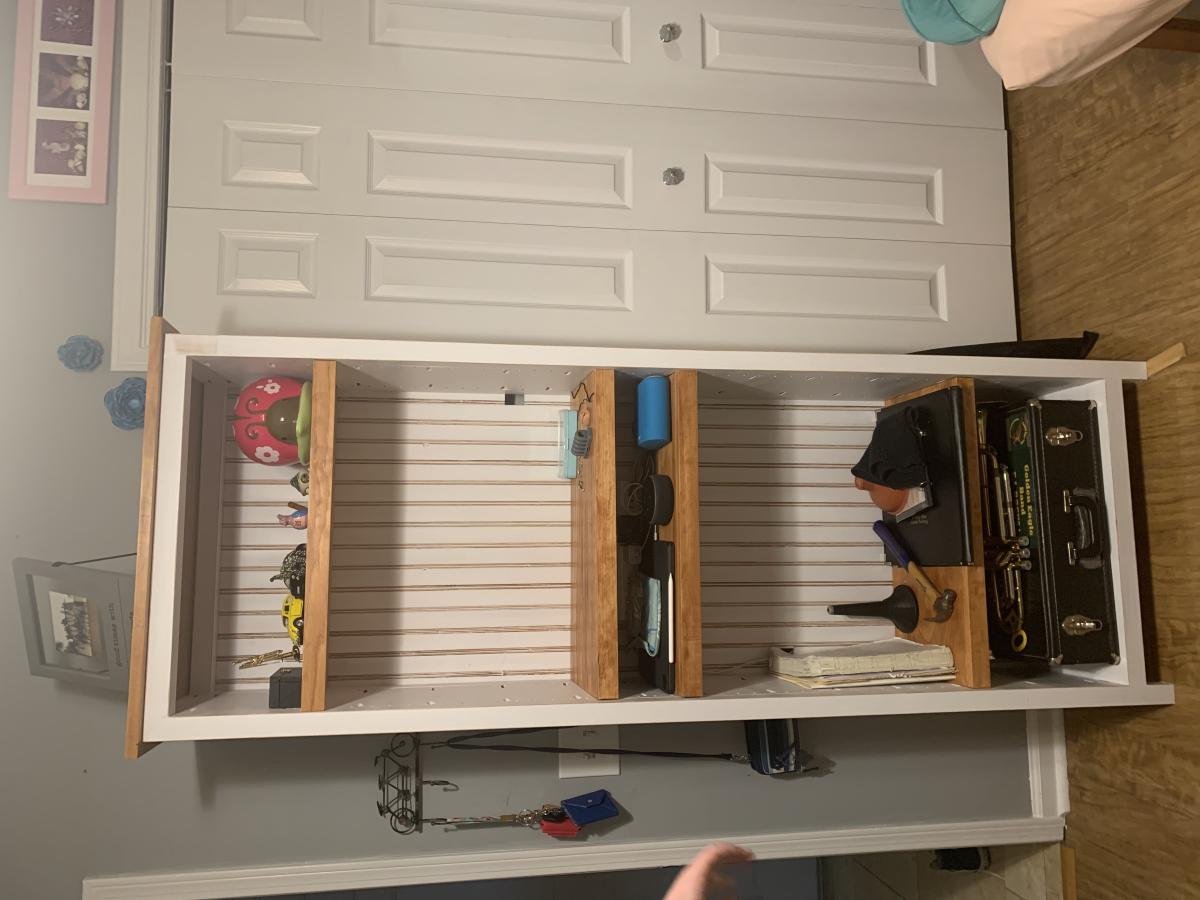
I used the Kentwood bookshelf plans and tweaked it to fit the space. My daughter loves it and is working on organizing her room. She is looking for the perfect mirror to put in the biggest shelf, and an earring jewelry box
Comments
drcarter007
Wed, 01/03/2018 - 20:19
Really enjoyed this project
Really enjoyed this project and my boy loves the shop. Great plans, thank you!