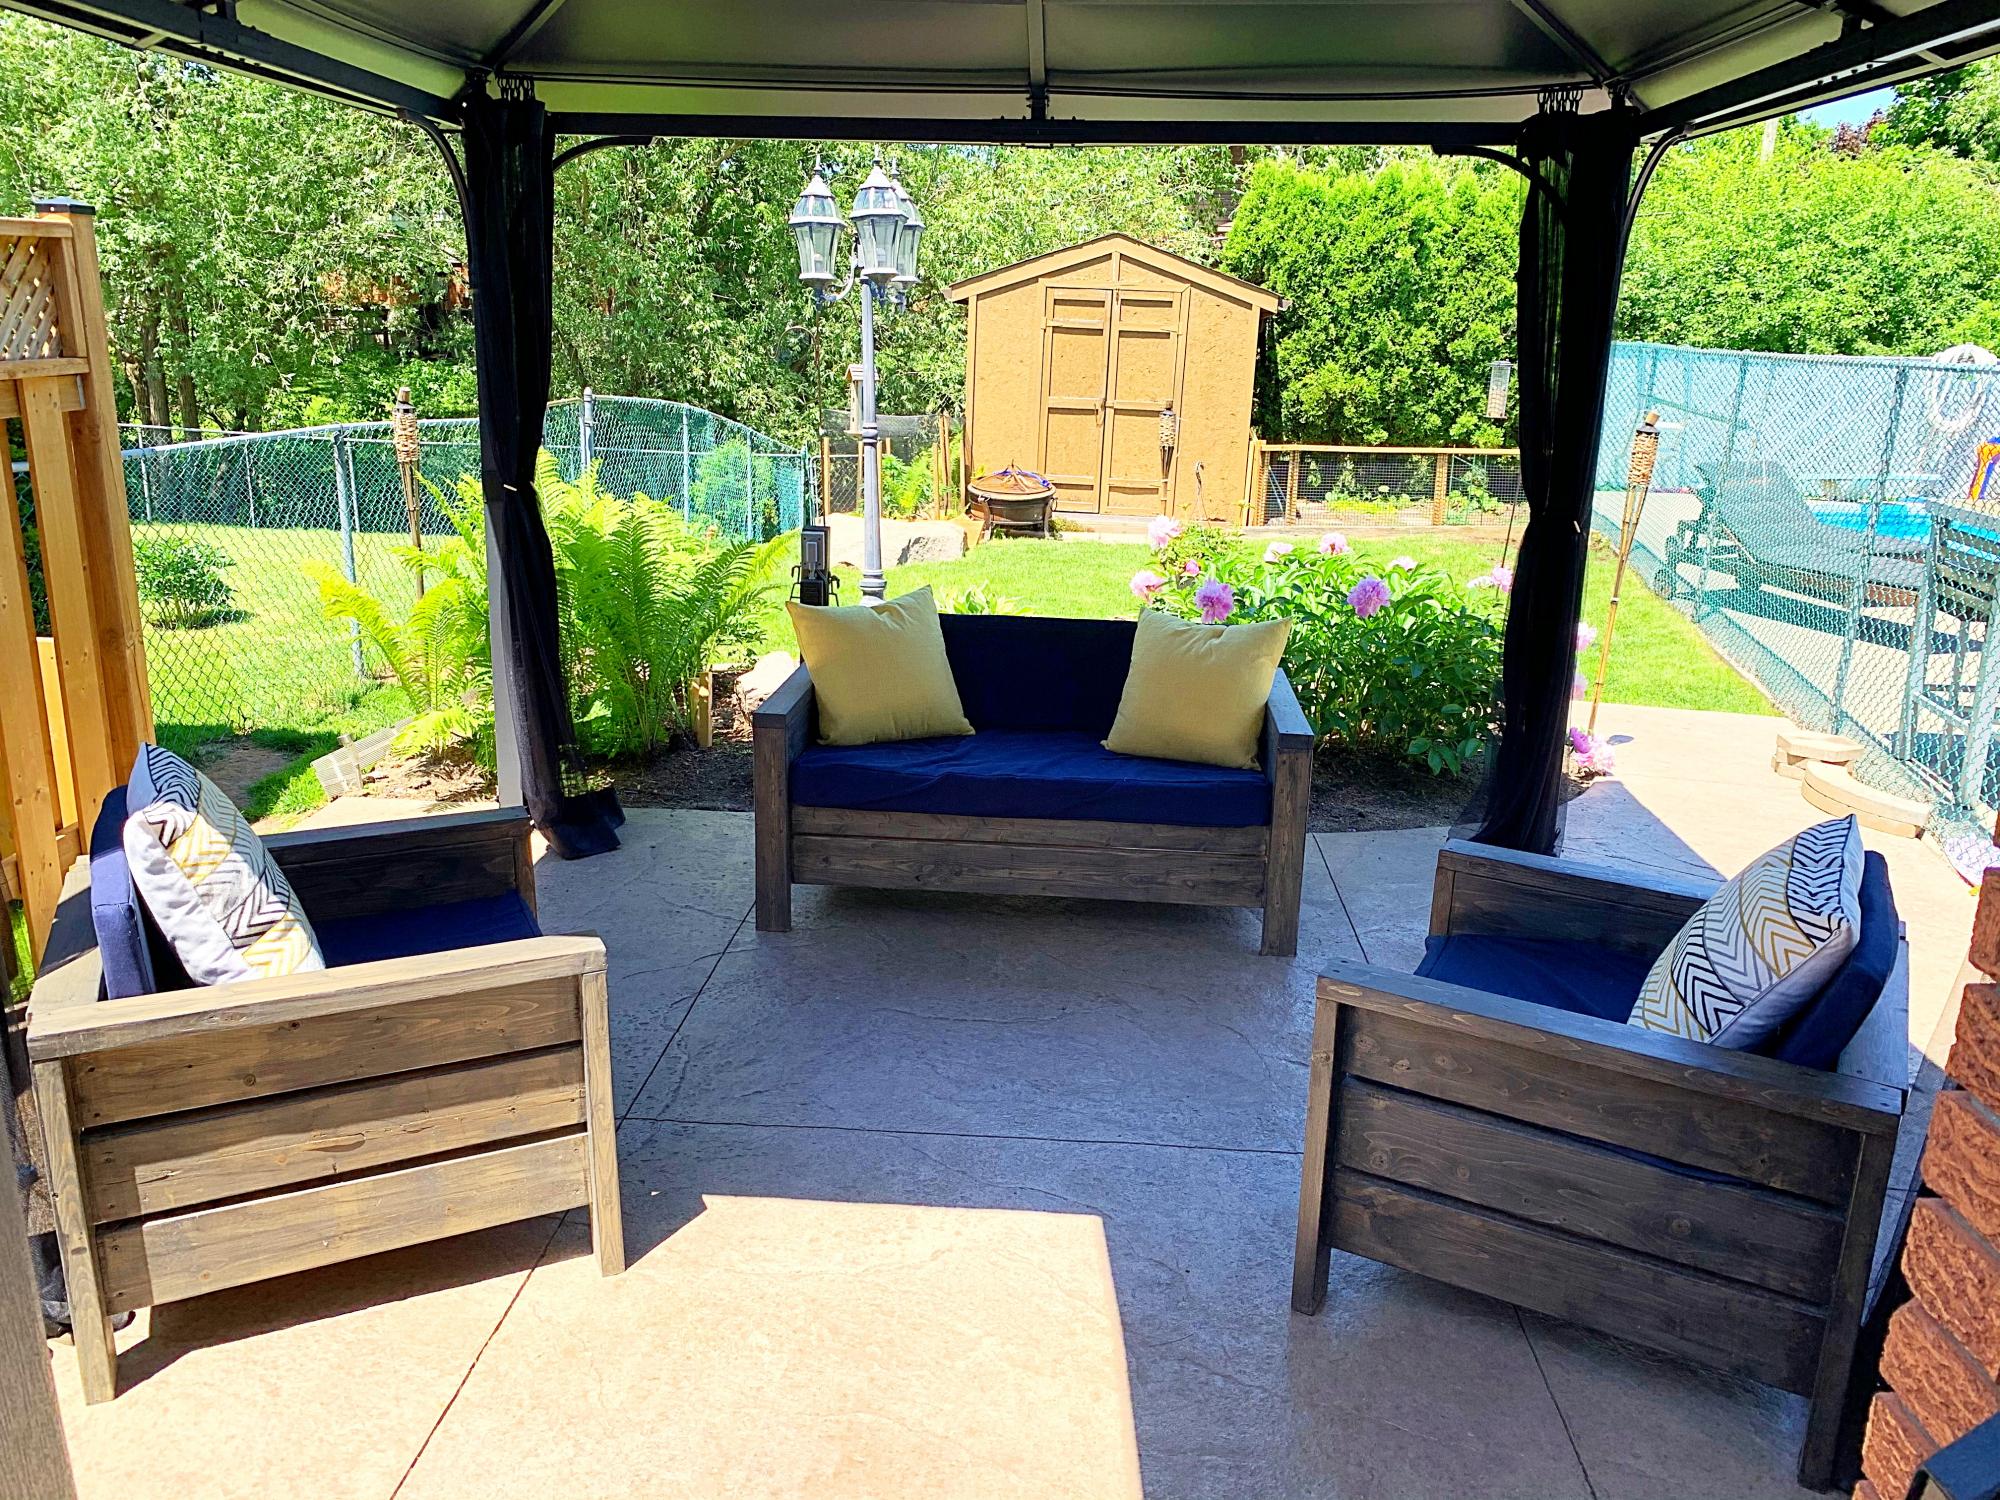
Simple modern outdoor chair modified to match my porch.
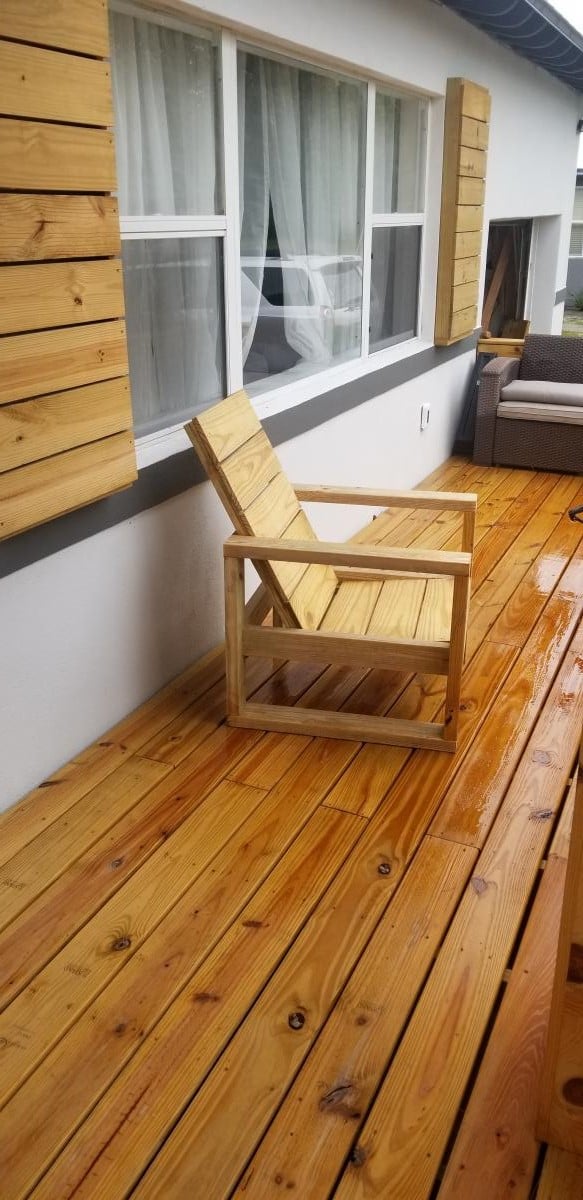
I built a set of these chairs based on Ana's simple modern outdoor chair. I wanted it to match my front porch which I built a few weeks ago. Thank you for the plans.
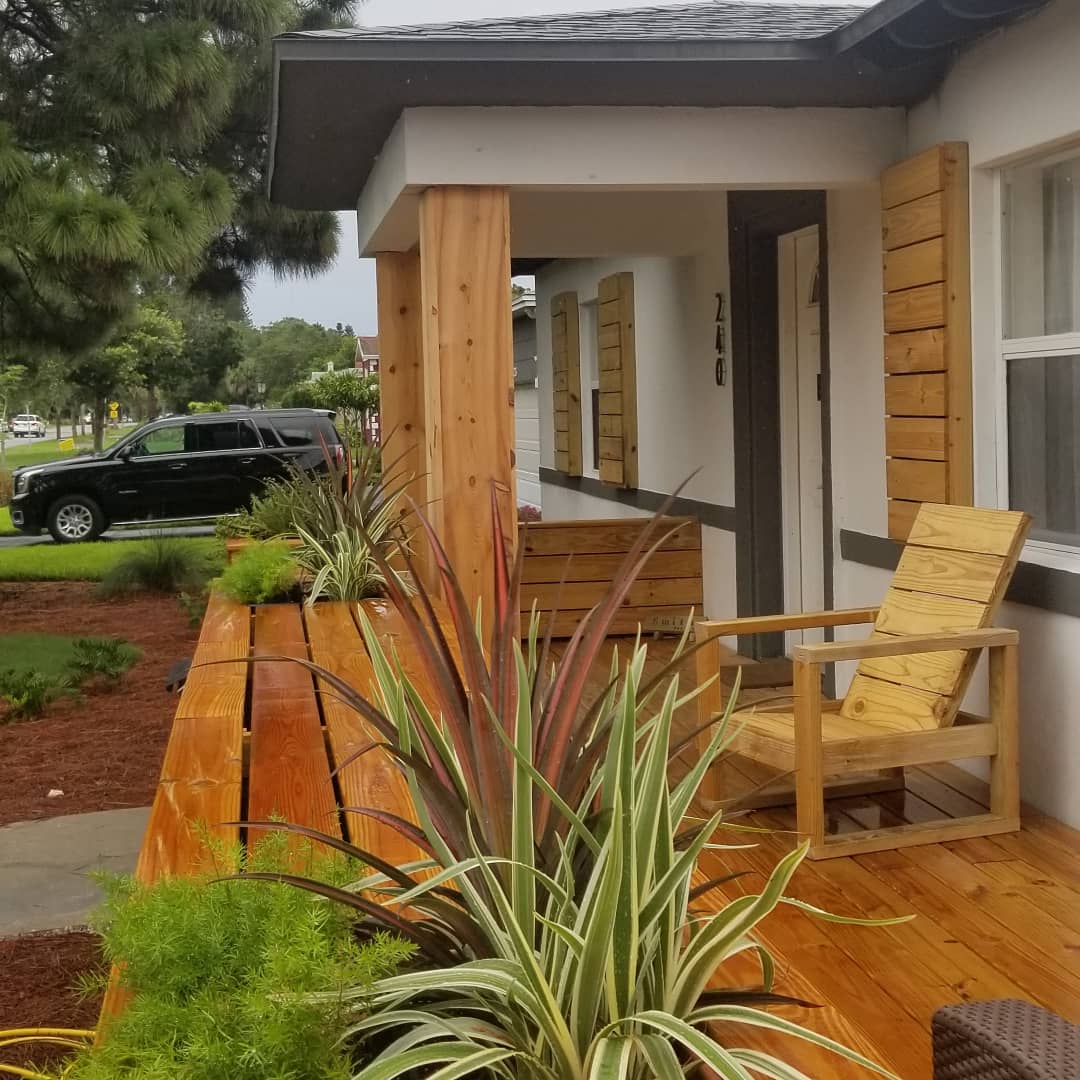
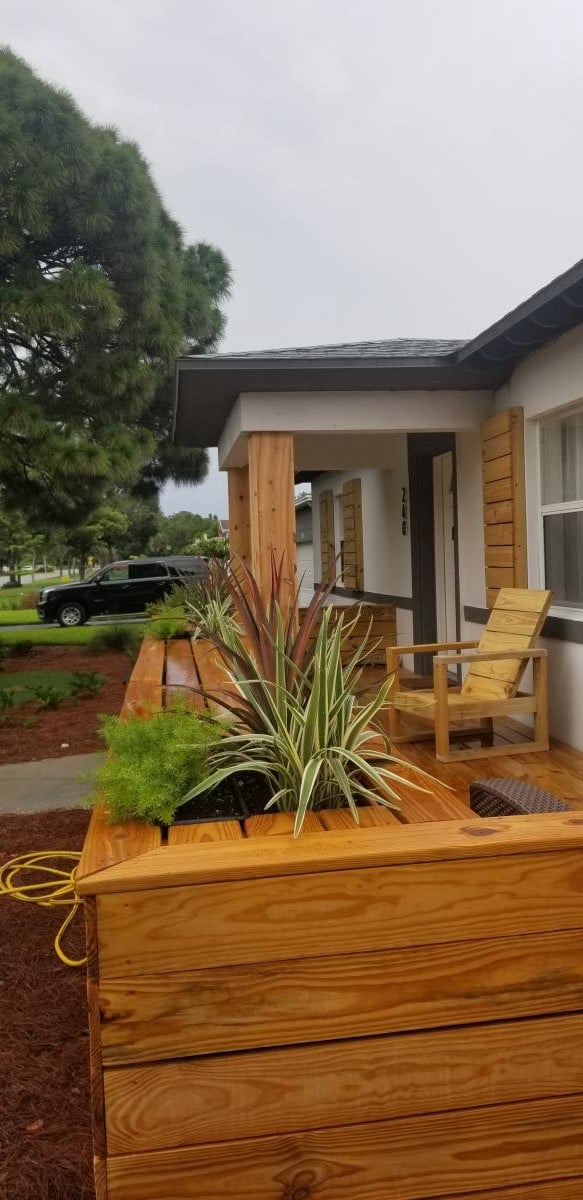
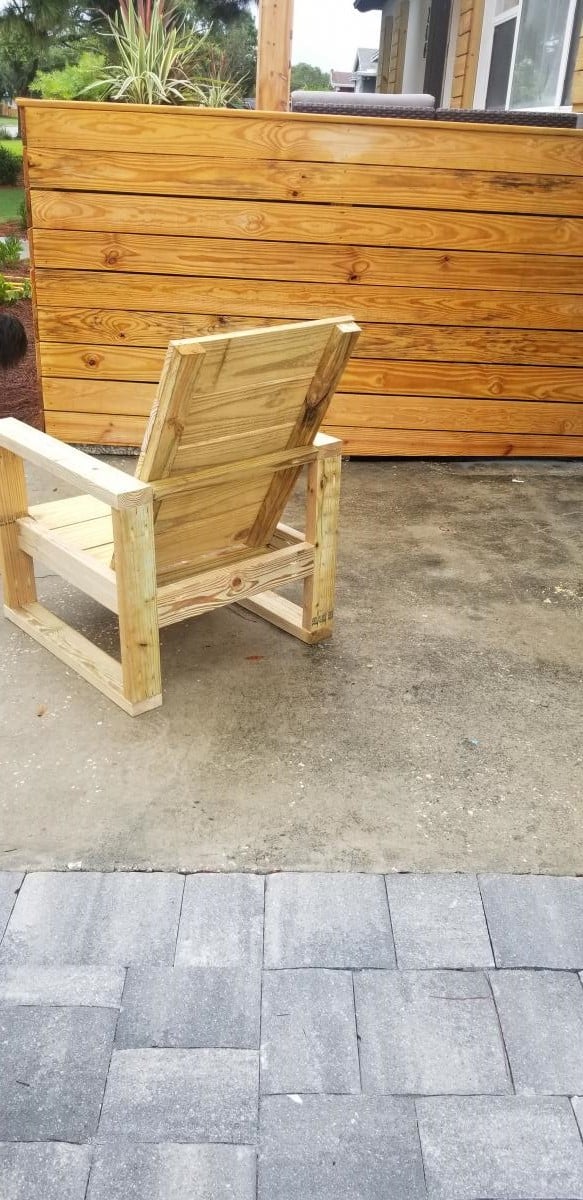
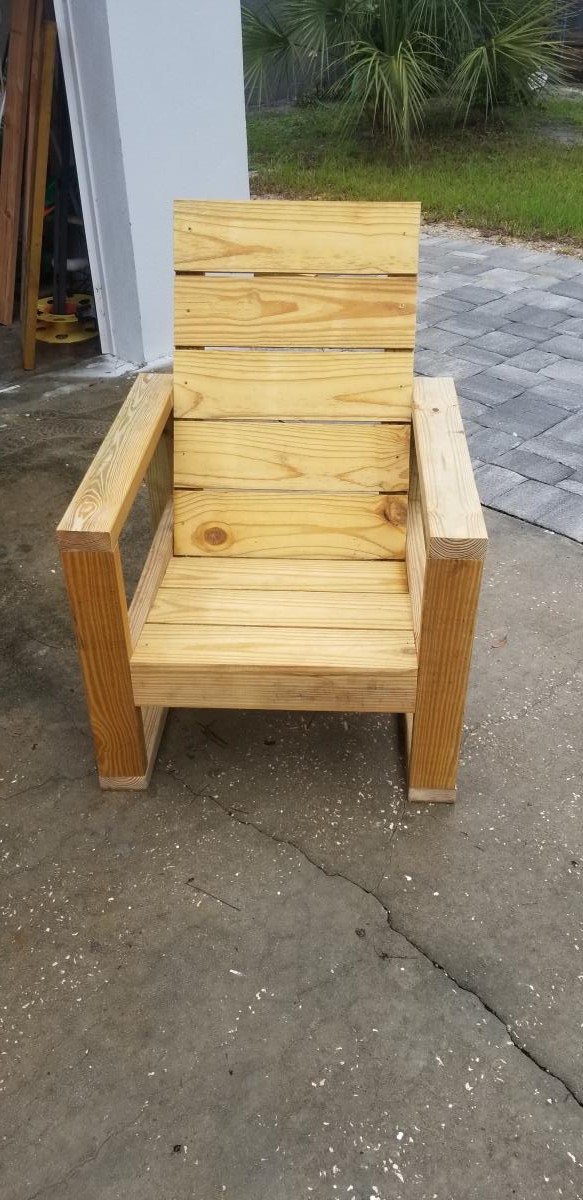

I built a set of these chairs based on Ana's simple modern outdoor chair. I wanted it to match my front porch which I built a few weeks ago. Thank you for the plans.


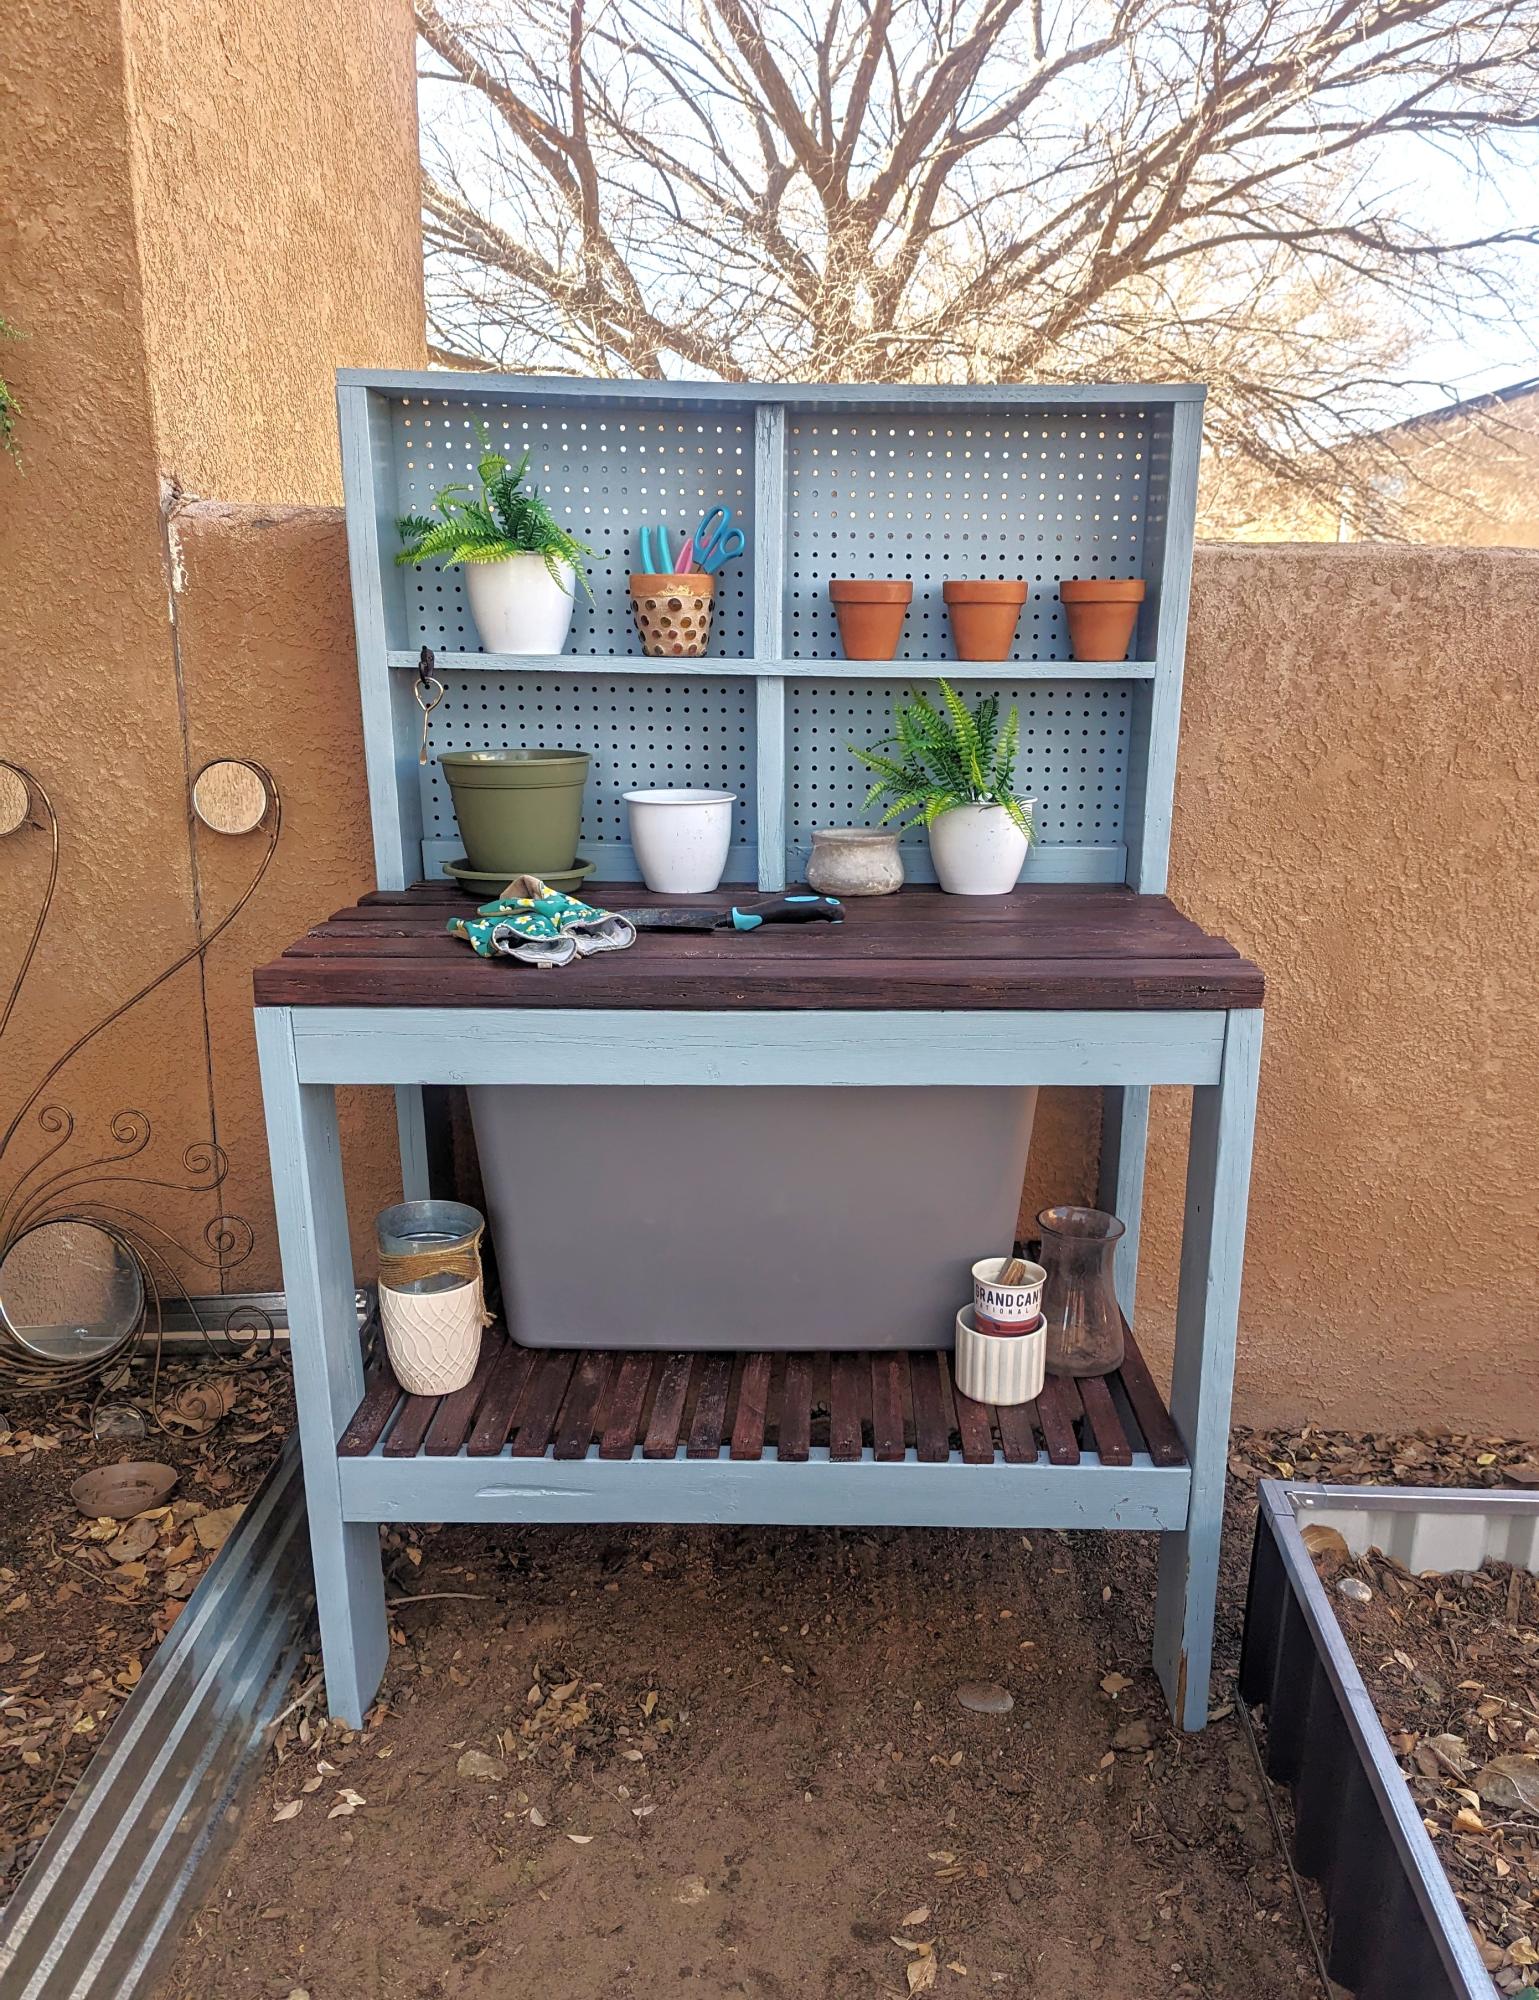
This is the first thing I have ever built and I love it!
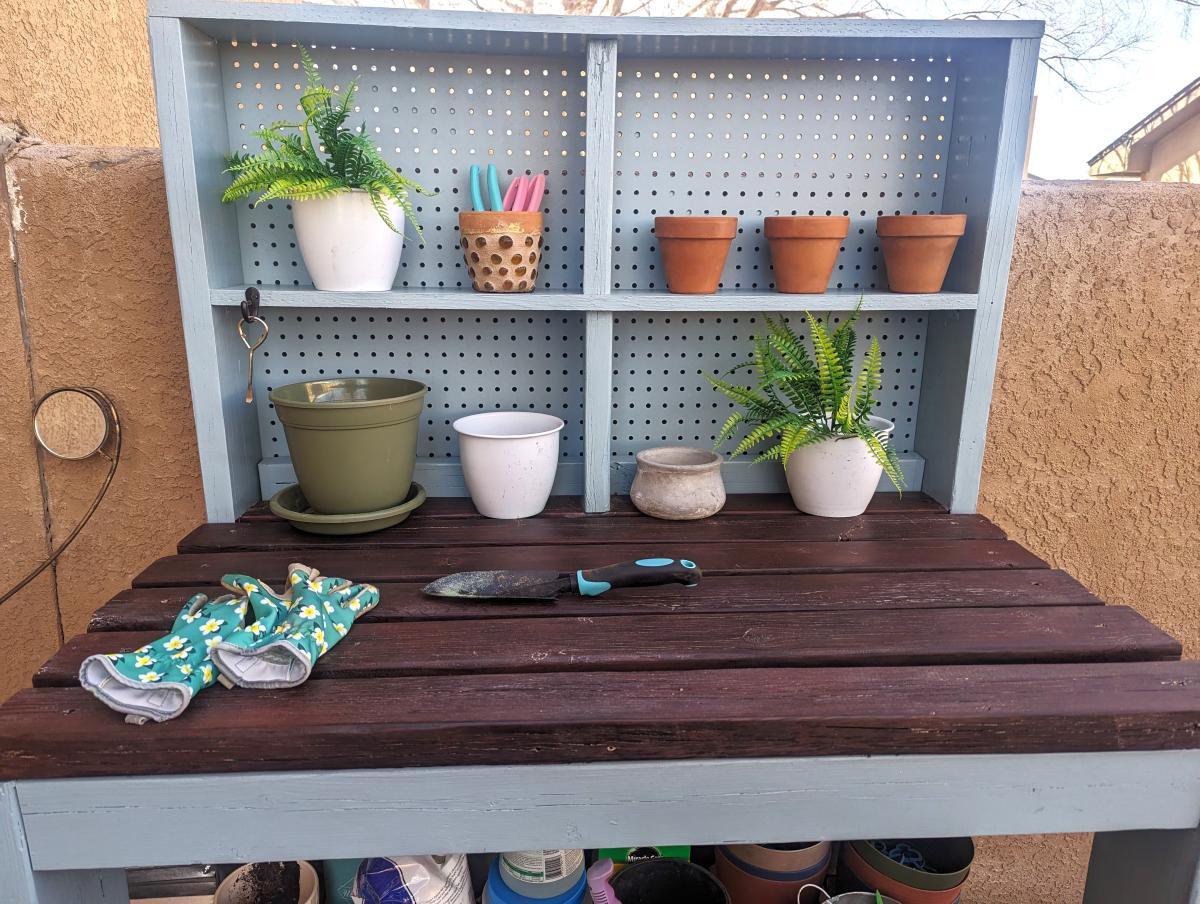
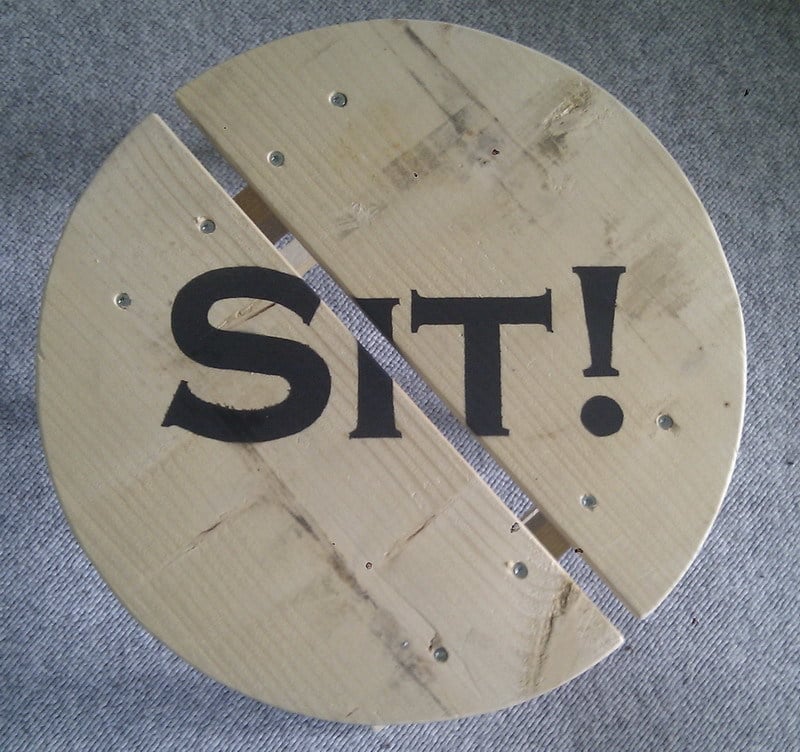
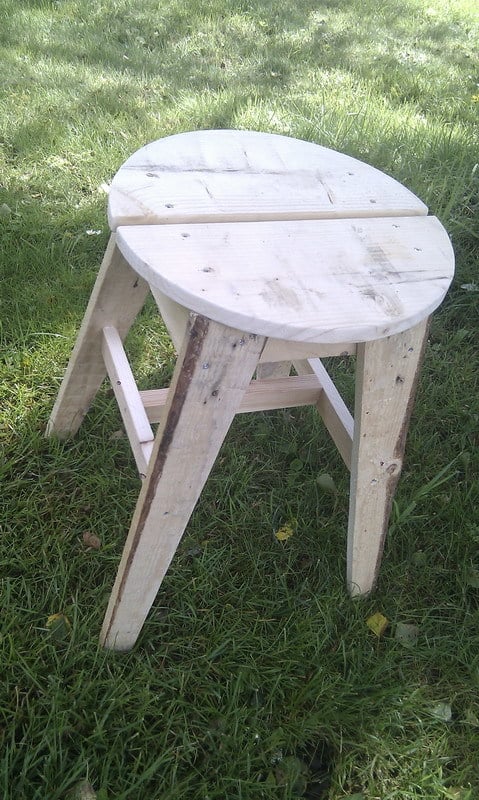
Inspired by a photo on a DIY site i made this simple stool from pallet wood. No plan, just an idea, and i know that the hight should be around 20".
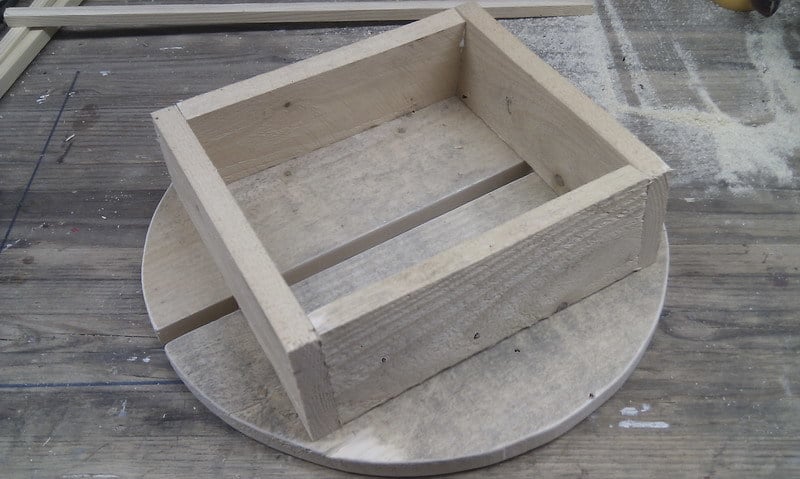
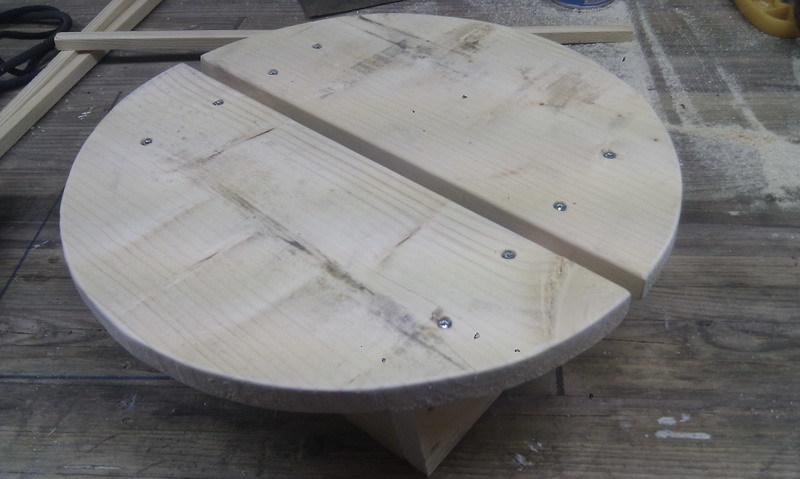
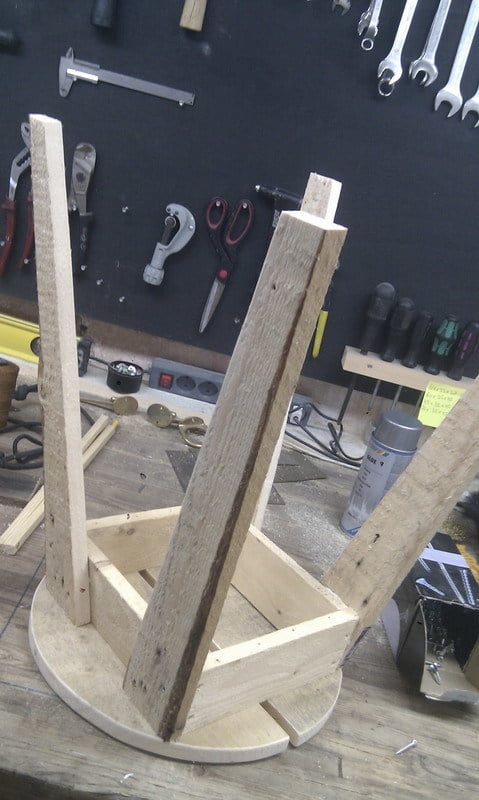
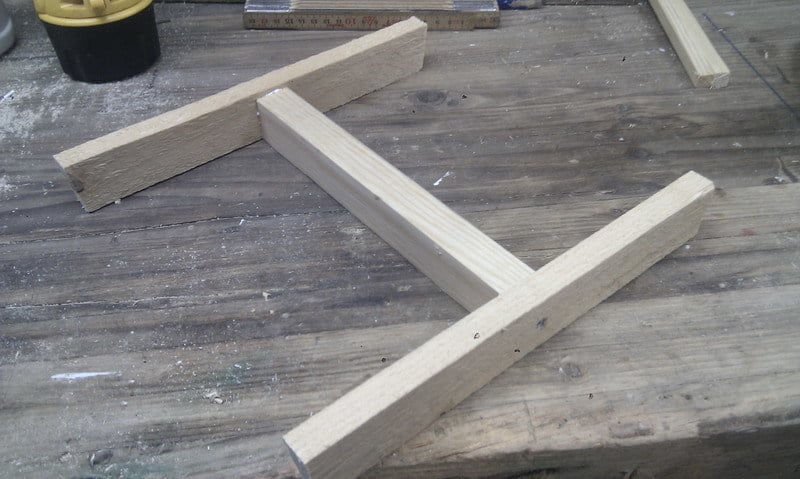
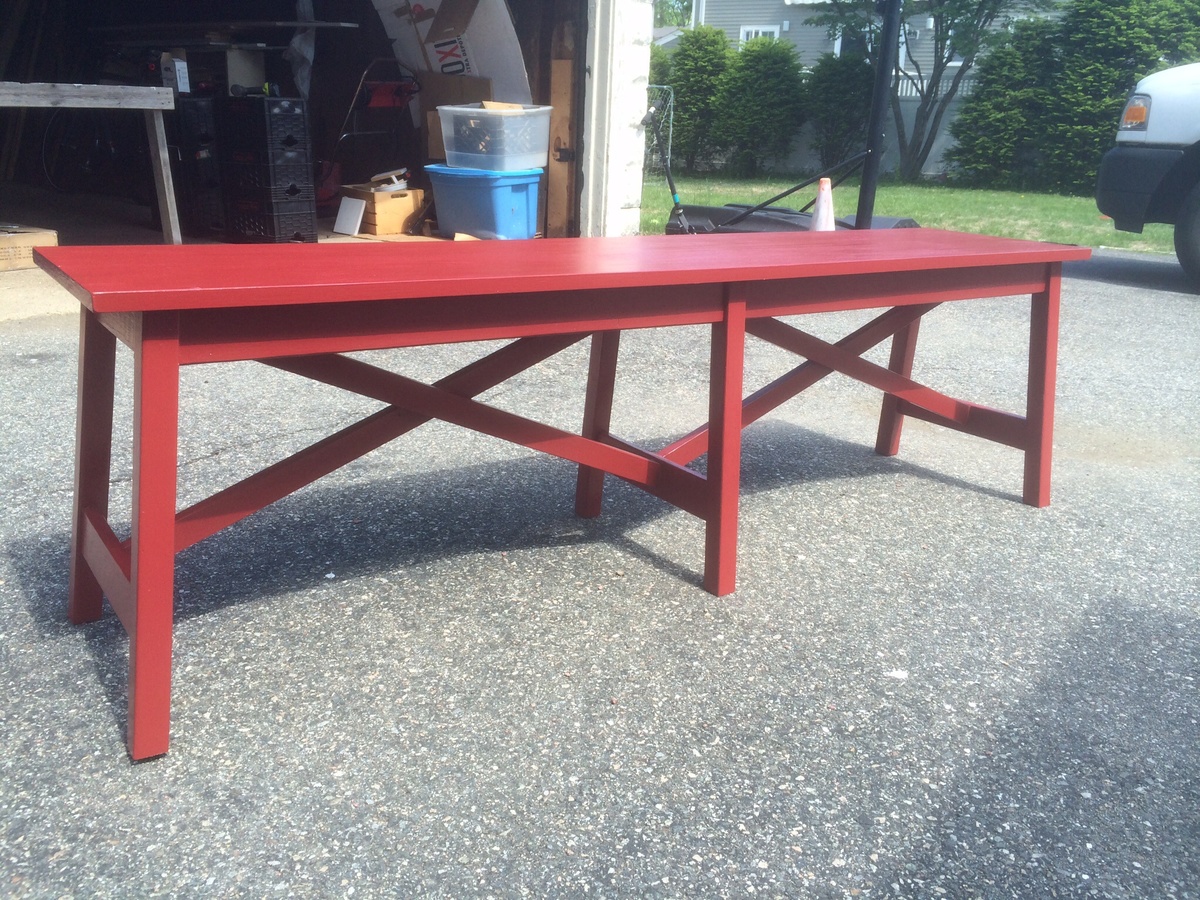
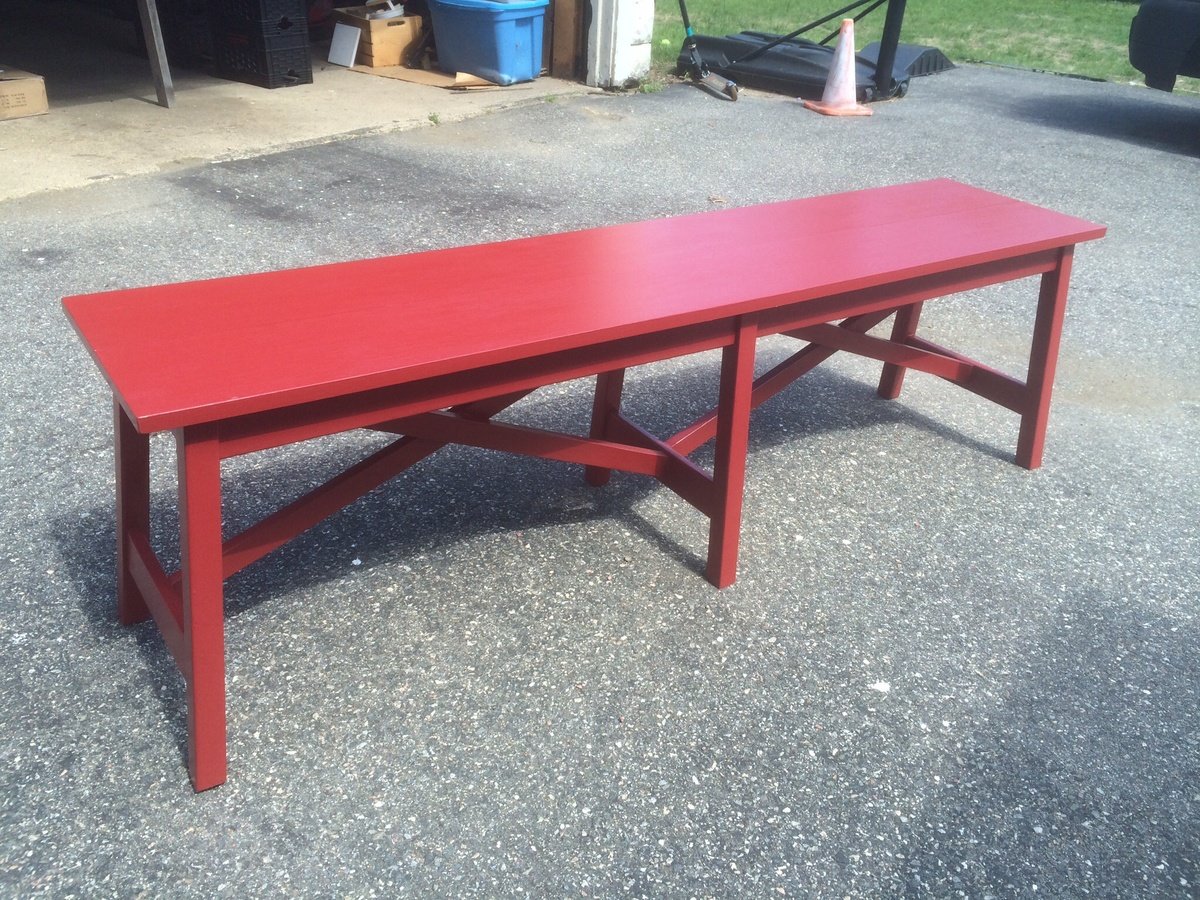
Build this bench for our dining room. Had some left over stuff and got a 11 feet plank for free at the lumber yard.
66 inches long, 14 inches wide and I made it a little higher, 19,5 inches.
Have a weakness for red benches :-)
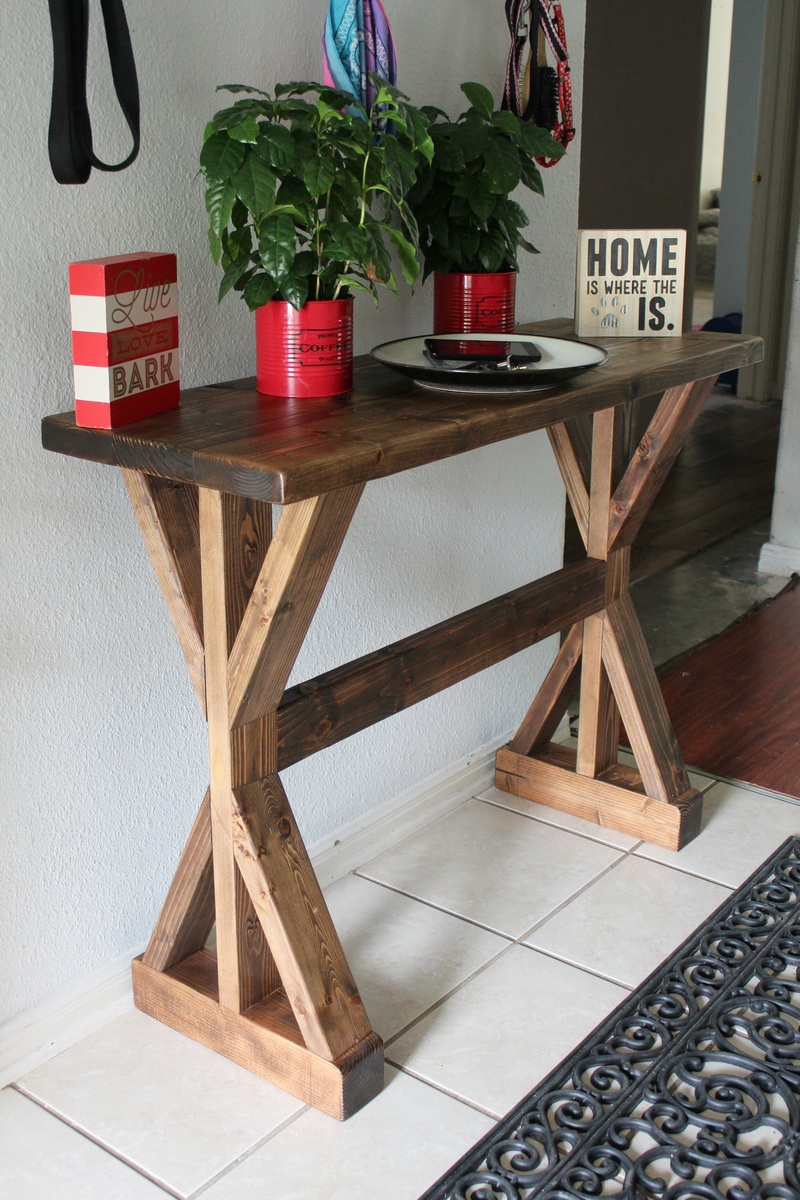
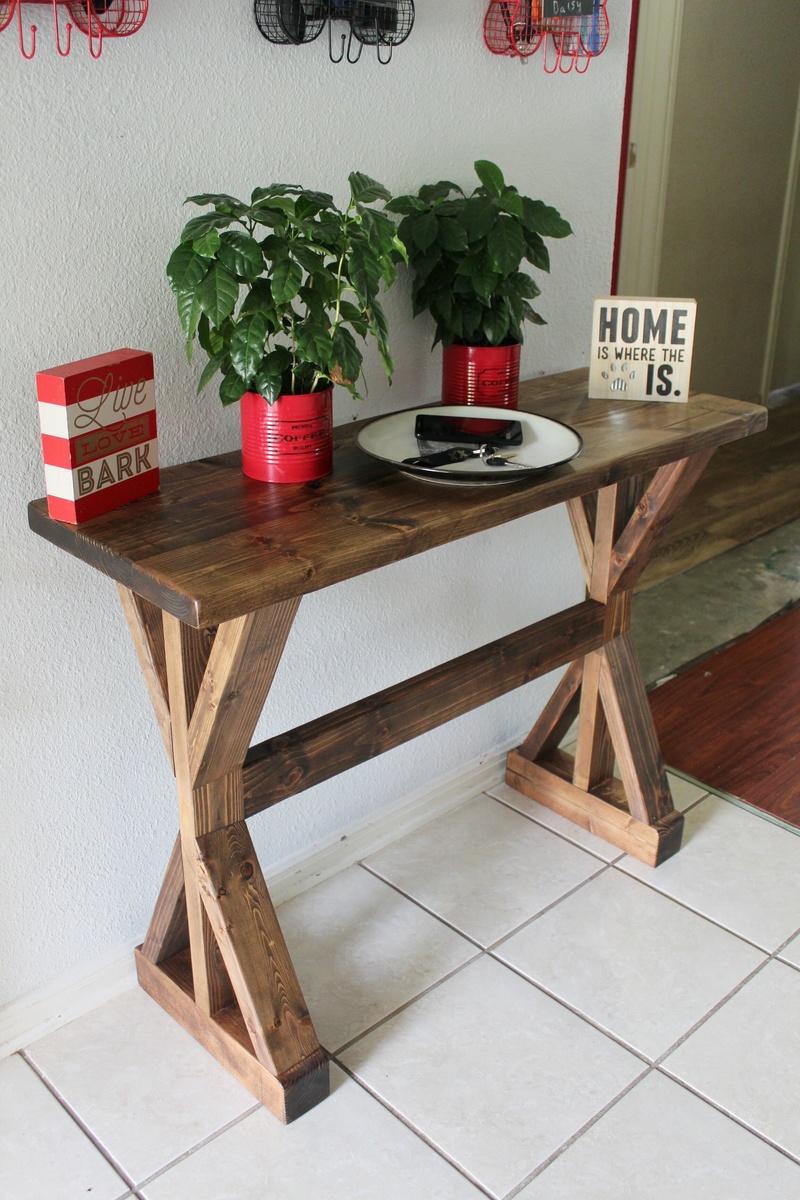
My new handmade Rustic Console, made from 4x4 Douglas fir, 2x4 pine and 2x6 pine wood. This stained using leftover stain from Minwax Expresso and Special Walnut and mixed them together and created a deep golden dark brown color with made the grain texture stand out more. Then I applied Varathane Polyurethane to protect the finish. The entire project was fairly easy besides the angle pieces on the legs since my miter saw only can achieve a 65 degree cut. I ended up creating a jig to cut the angle pieces.
44in long X 15in wide X 33.5 in high
More pictures available on my Facebook:
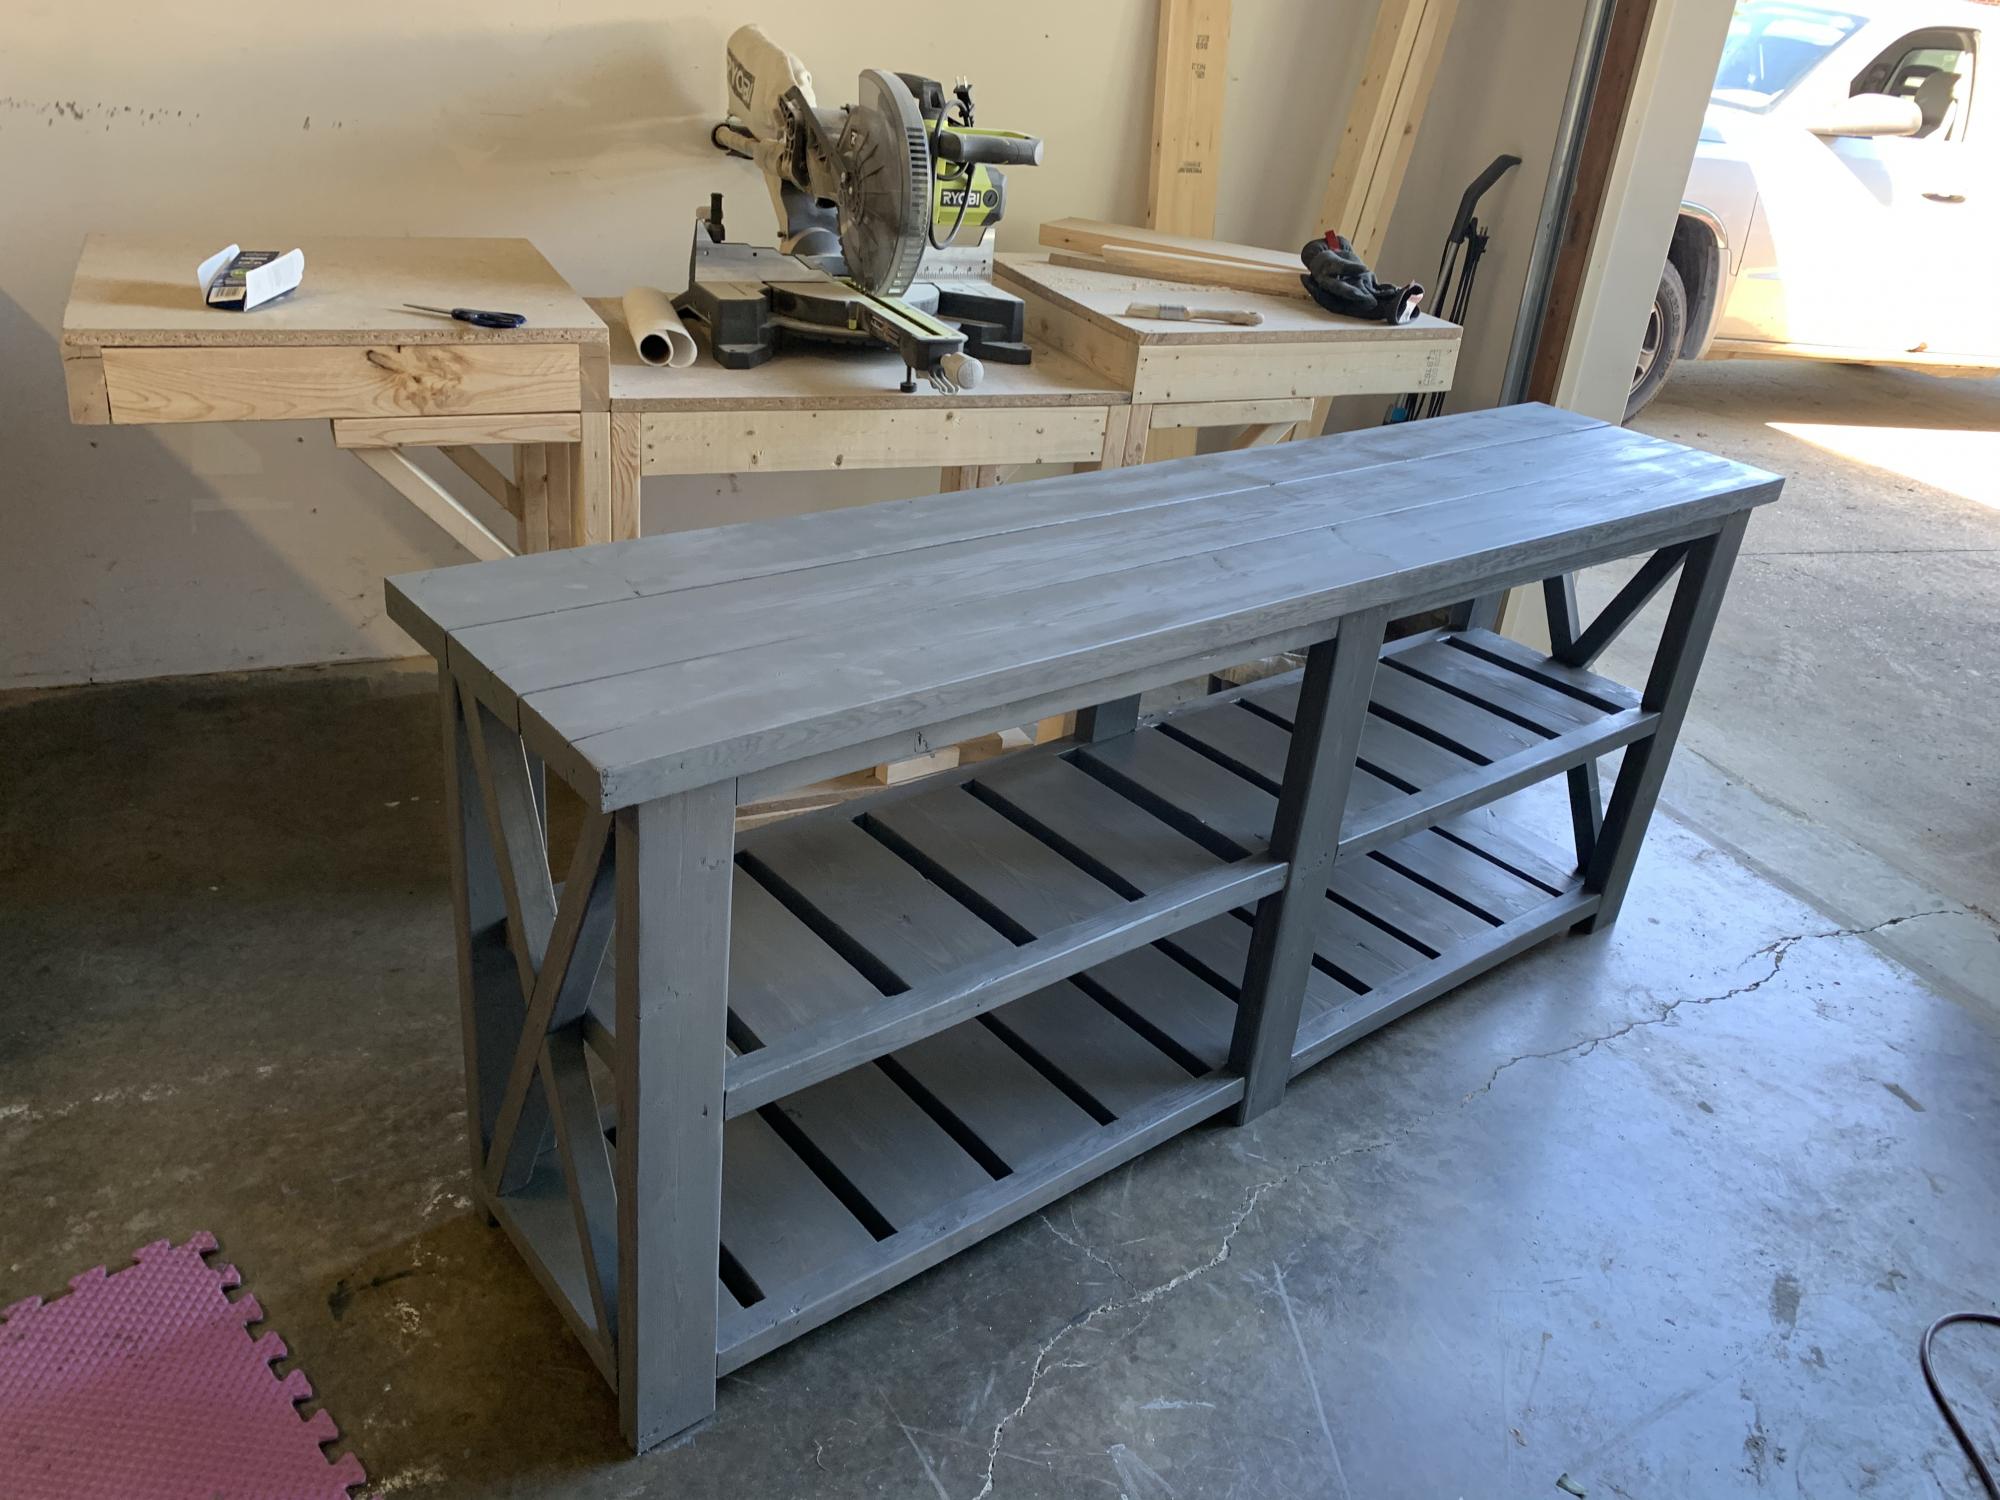
This was our very first project! It went amazing ❤️ I absolutely love it. The plans provided were exactly what I needed and broke down everything for a first timer. Thank you so much Ana!

Such a fun project and turned out so good. Really changed our entry space. I opted to use 1x4s instead of 1x3s on the face frames to give it a little bit of a thicker appearance. Stained with October Brown from Valspar and one coat of warm satin polyurethane.
Cody Field

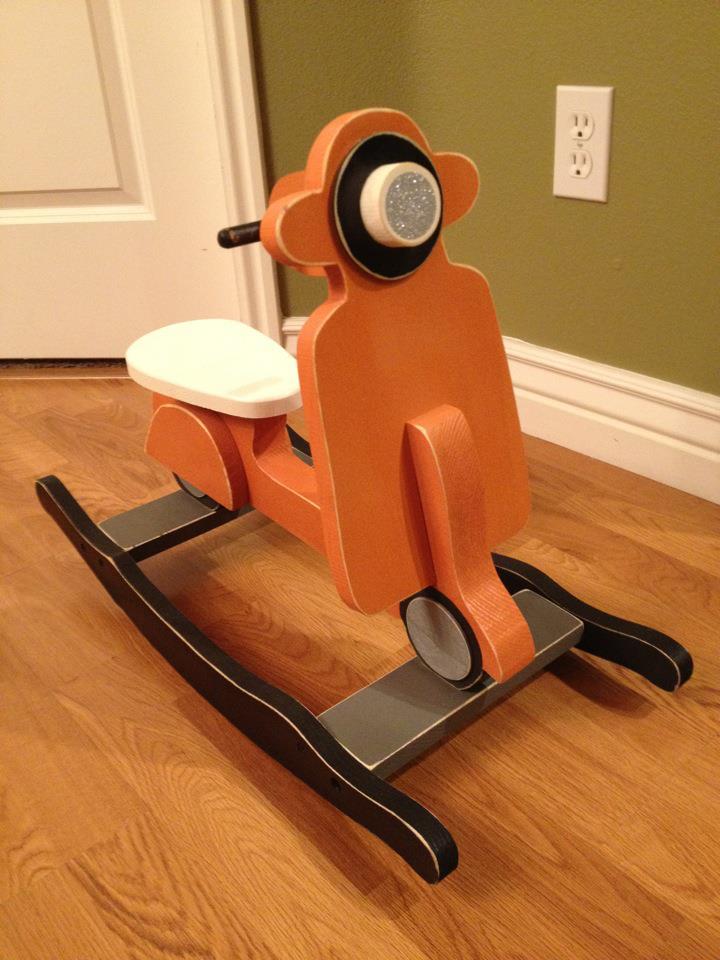
I am going to be a first time Grandma and this project has been on my mind to make for him as soon as I saw it!!!
Assembly was a little tricky as I felt I needed to be sure it was very sturdy and safe. I also felt a bit out of practice as I haven't been making stuff as much as I was in the past, it may be more of a beginner level project, but I definitely needed my dad's guidance and assistance. (Thanks dad!)
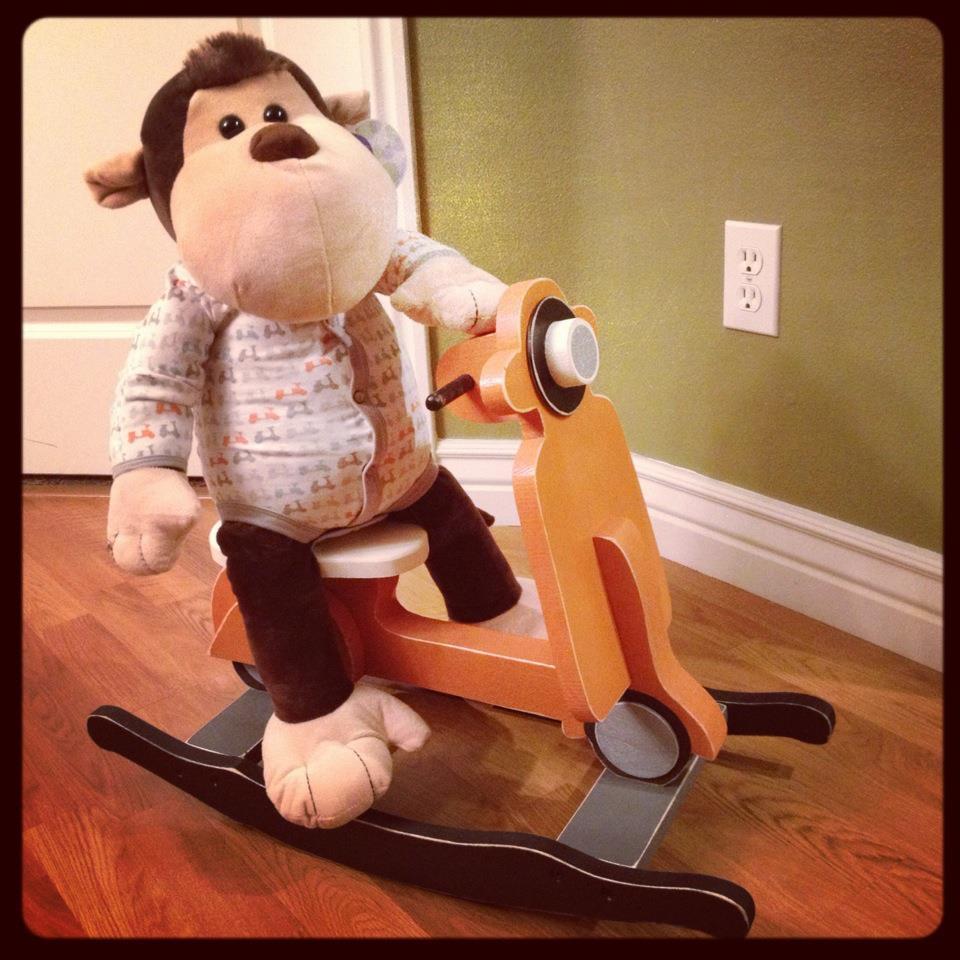
I felt it needed a thicker wood for the body of the scooter so I used 1.5" wood instead of 3/4".
I am unsure on the time to make as I worked on it in the evenings after work. It did take more time than I expected, but I am super picky and wanted to add some extra touches to it.
I found the perfect monkey and bodysuit with scooters on it and that made it the perfect baby shower gift!
Sat, 08/04/2012 - 06:26
Oh my goodness, I LOVE this! The modifications you made are brilliant too! I've been trying my hand at building more, and it seems like I'm plagued with splitting and such. Now I know to try 2x instead of 1x wood! I also love that you sandwiched the supports between the rockers instead of on top. Great ideas to make this build better!
Sun, 02/02/2014 - 17:35
I love how yours turned out!!! I want to build this for my daughter for her 2 year old birthday but was afraid the 1x wood wouldn't be strong enough so I was considering the 2x, and I'm definitely going to do it now after looking at yours, thanks! Her birthday is in one week so I have to stay focused this week!
Fri, 12/04/2015 - 16:35
You did an amazing job. So adorable! May I ask what you used to cut the thicker stock? I don't have a bandsaw and I'm wondering if it's a "must have" tool for this project. ;)
Thanks! :)
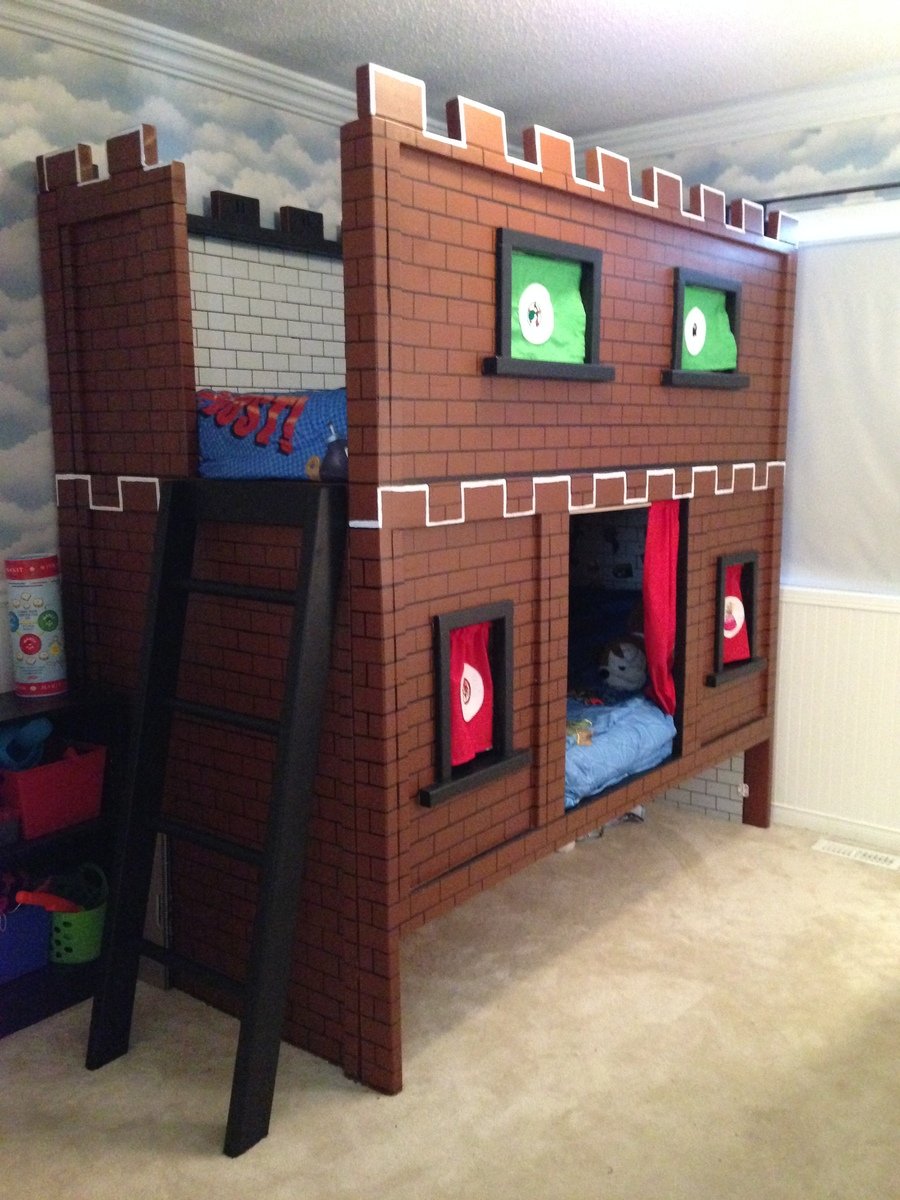
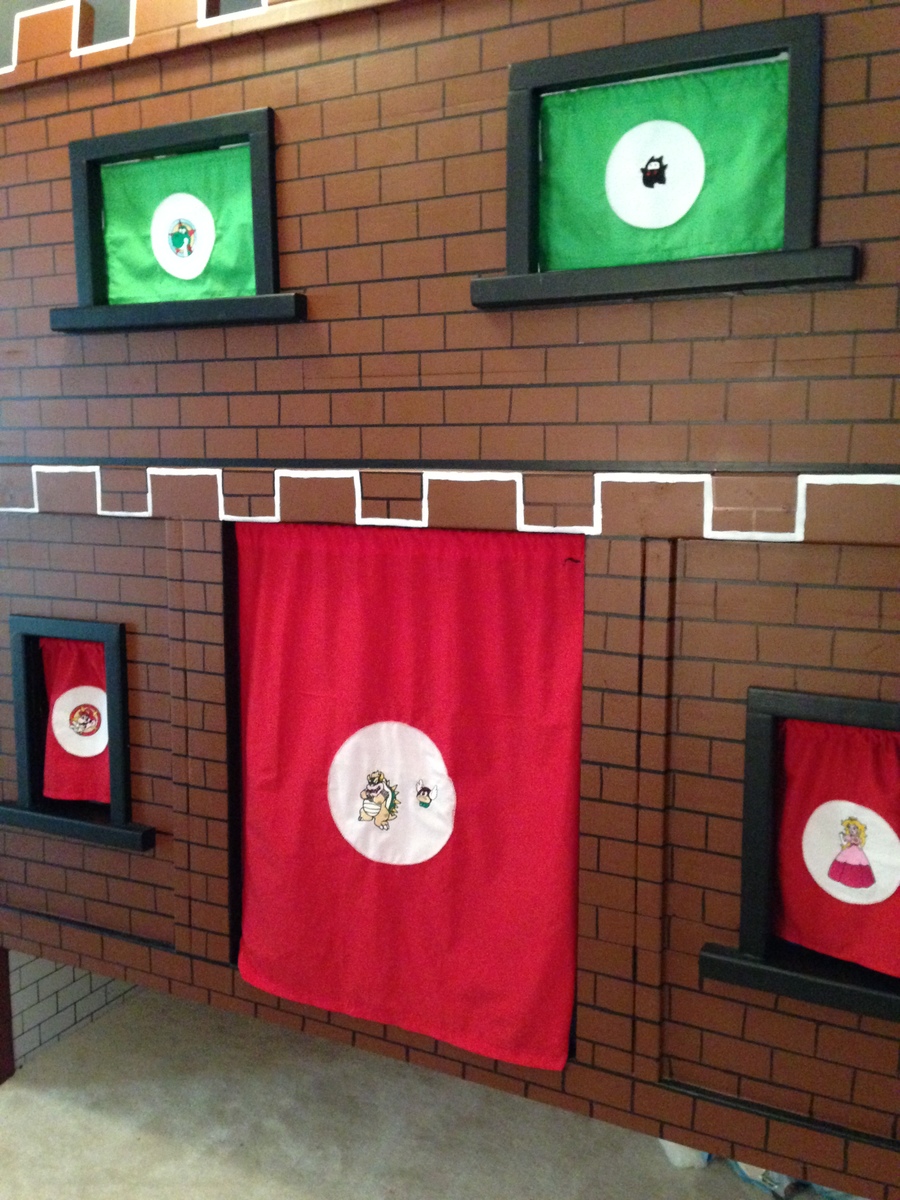
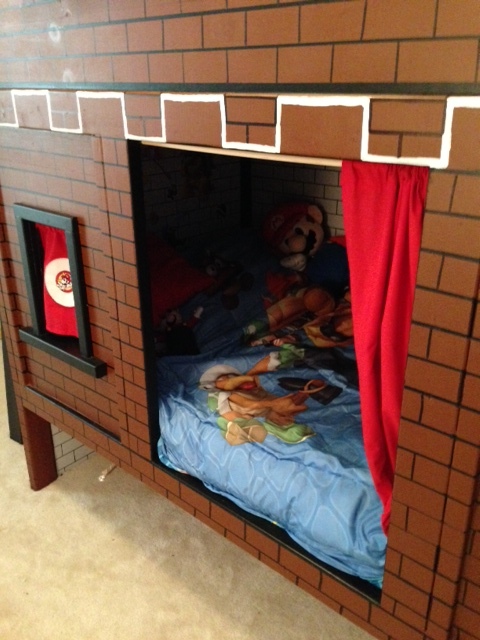
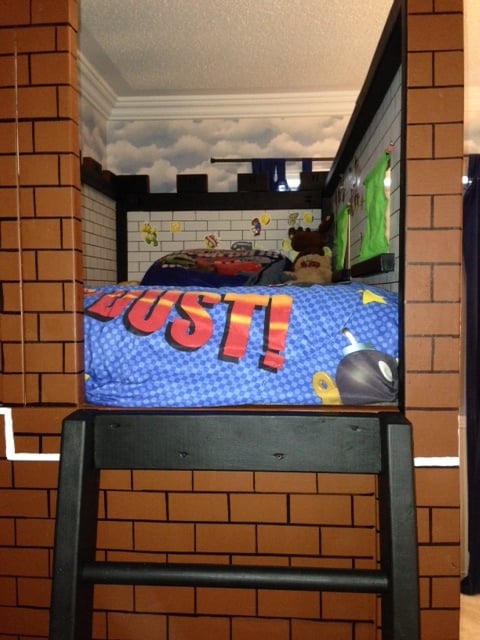
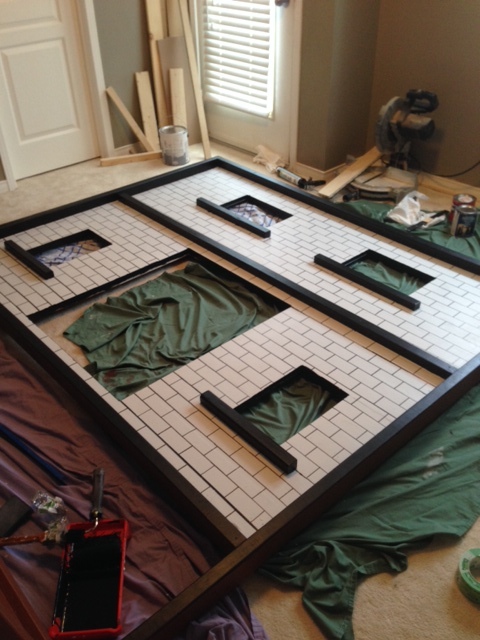
My son is a big Mario nut. And when it came down thinking about a new bed for him we sat down online and started searching for ideas. When we found this bed we both loved it right away. And when i found it was made from plans on Ana- white i was so excited as i have made a few projects already. My son was so happy the whole time this was being made. He was going to have his own castle. Once we finished the build he decided that he had to have a door so i made some curtains and embroidered Mario characters on each one. I let him decorate the inside with Mario stickers and he loves being able to have a Mario level right where he sleeps.
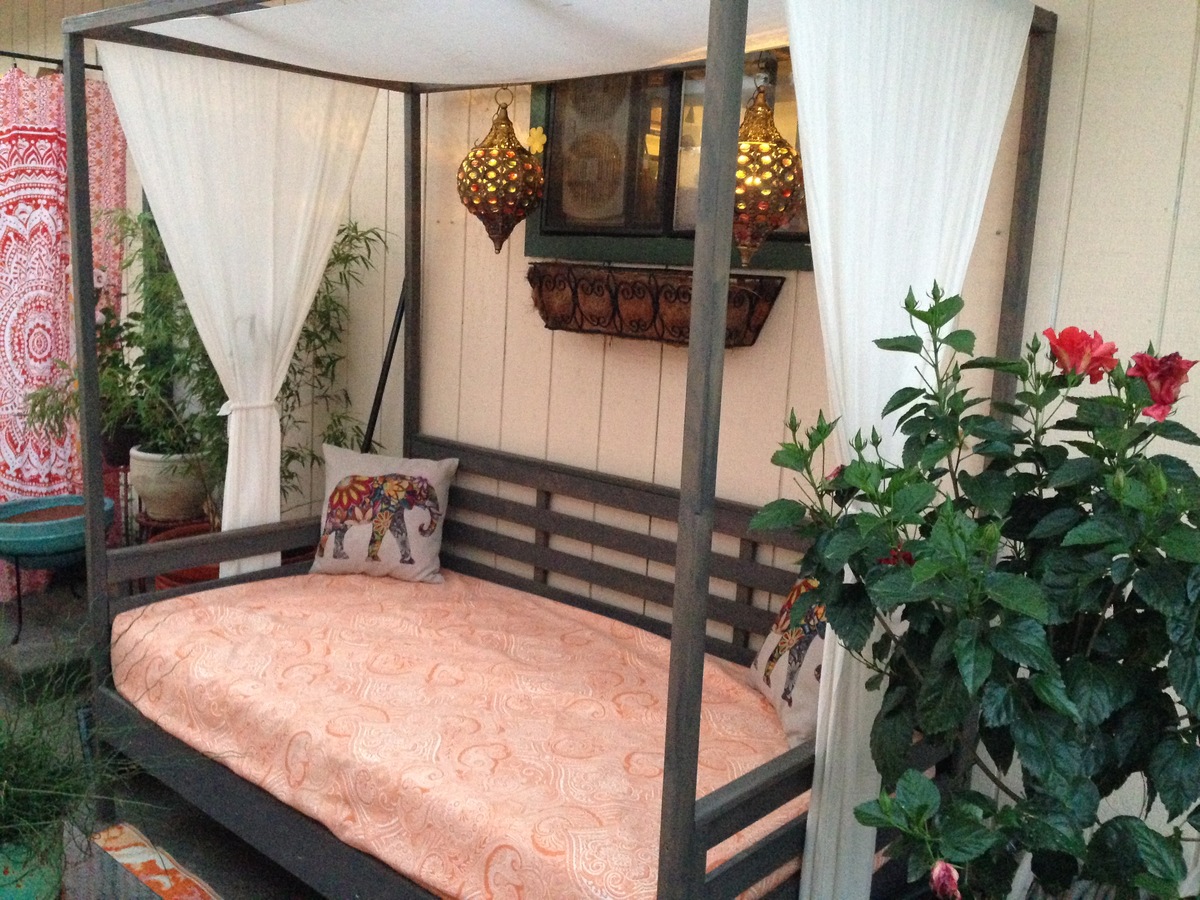
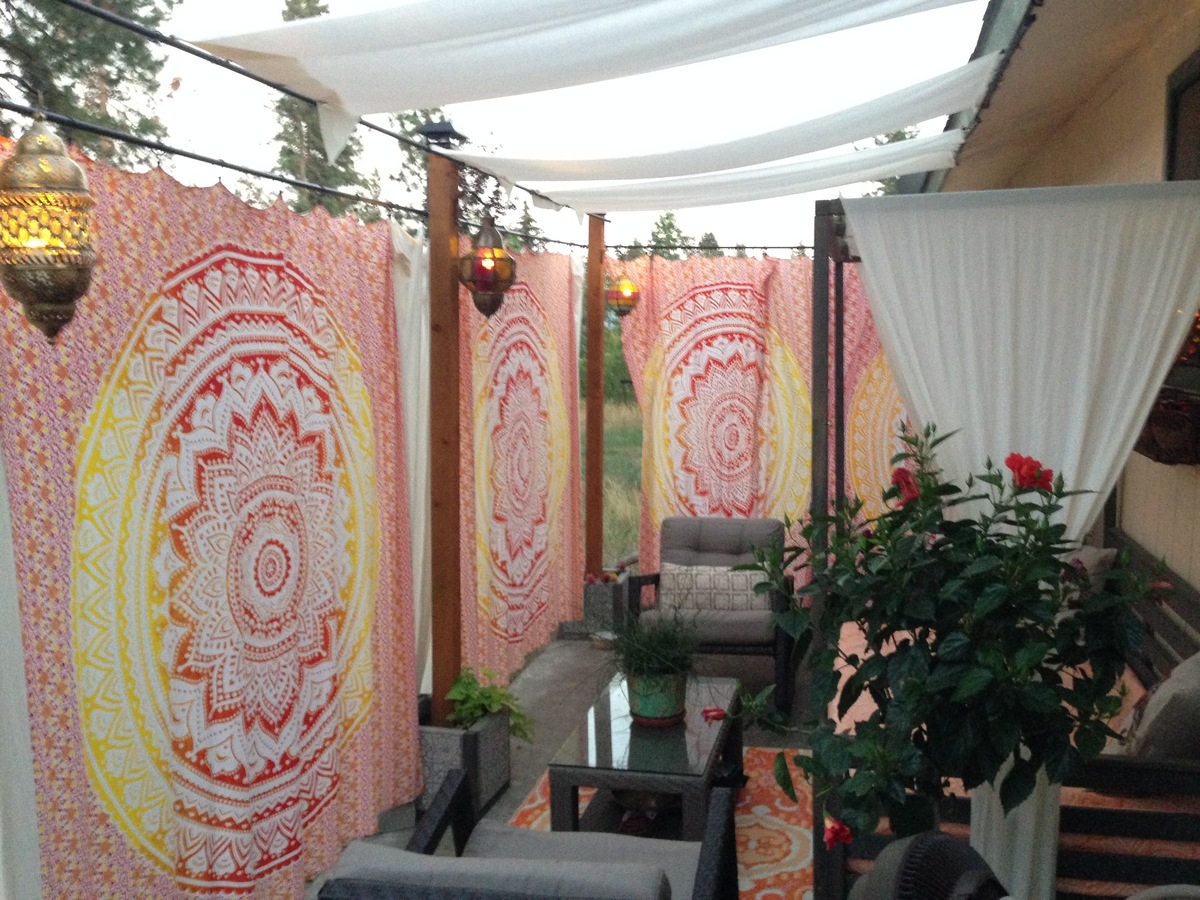
This was an awesome, quick, and easy project. The sanding, staining, and drying, took forever for me but the actual cutting and assembly was super quick. I have this on an uncovered patio and my local store didn't carry cedar in the sizes I needed so I went with the cheapest wood I could find and used a high quality oil based outdoor stain. I am hopeful it will hold up to our pacific NW winter because it won't be coming in. Considering I had never made anything before and had never used a miter saw, sander or quick square, I am happy with the time it took to finish this.
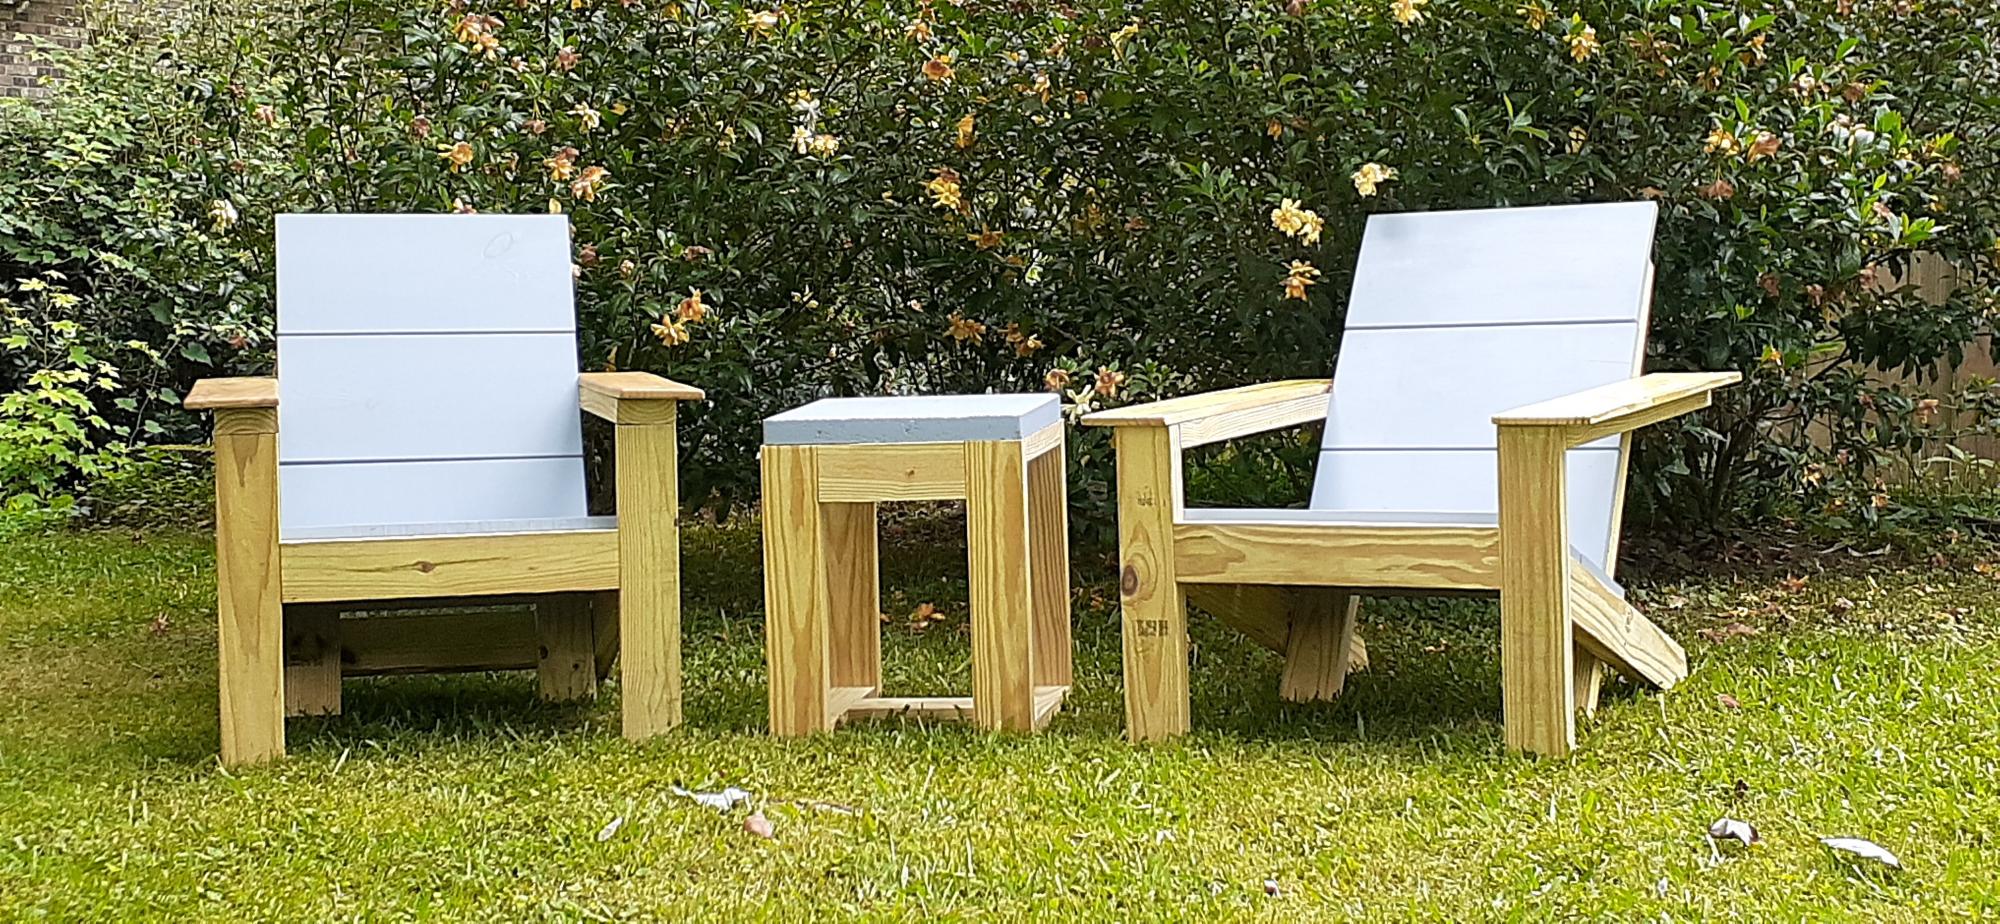
I used 5 5/8 fence pickets I had in the scrap box to give the chairs a wider arm rest. I wanted something wide enough to safely hold a paper plate and drinks.
I planned them, routered the edges and put a coat of oil based polyurethane on them.
The table is just something I put together and the top is a 1.5 inch thick 16x16 concrete paver.
If you like the wide arms, use wood glue and clamps, not nails or screws. Saves you from having to fill them and it looks better too.
Enjoy
And thank you Anna for a great build!
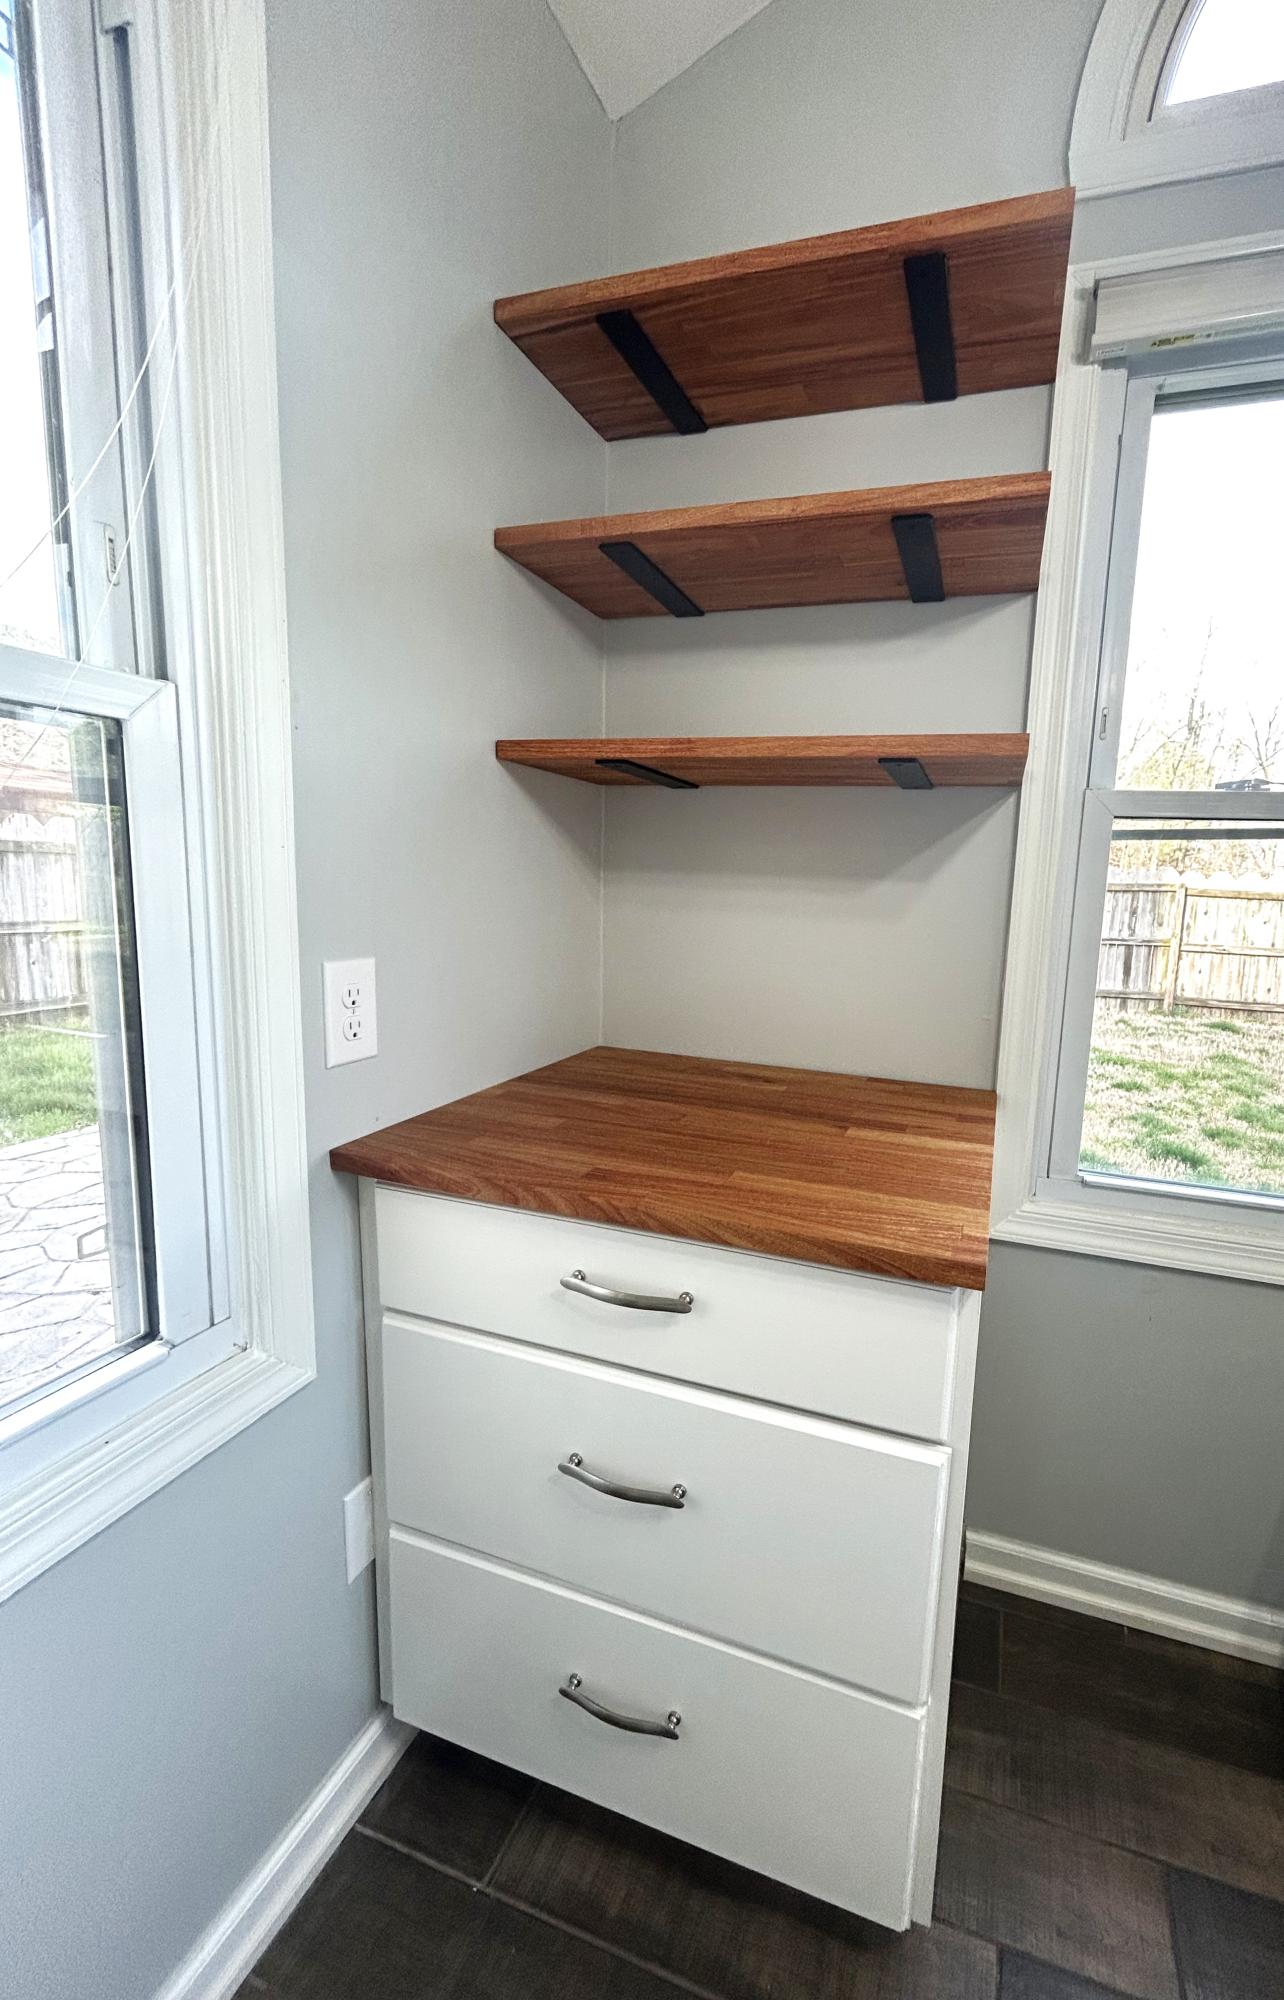
Kitchen cabinets and shelves in our breakfast nook. Our new kitchen does not have enough storage, so I’m creating my own! A matching set is in the works on the other side of the window.
Beth Ivy
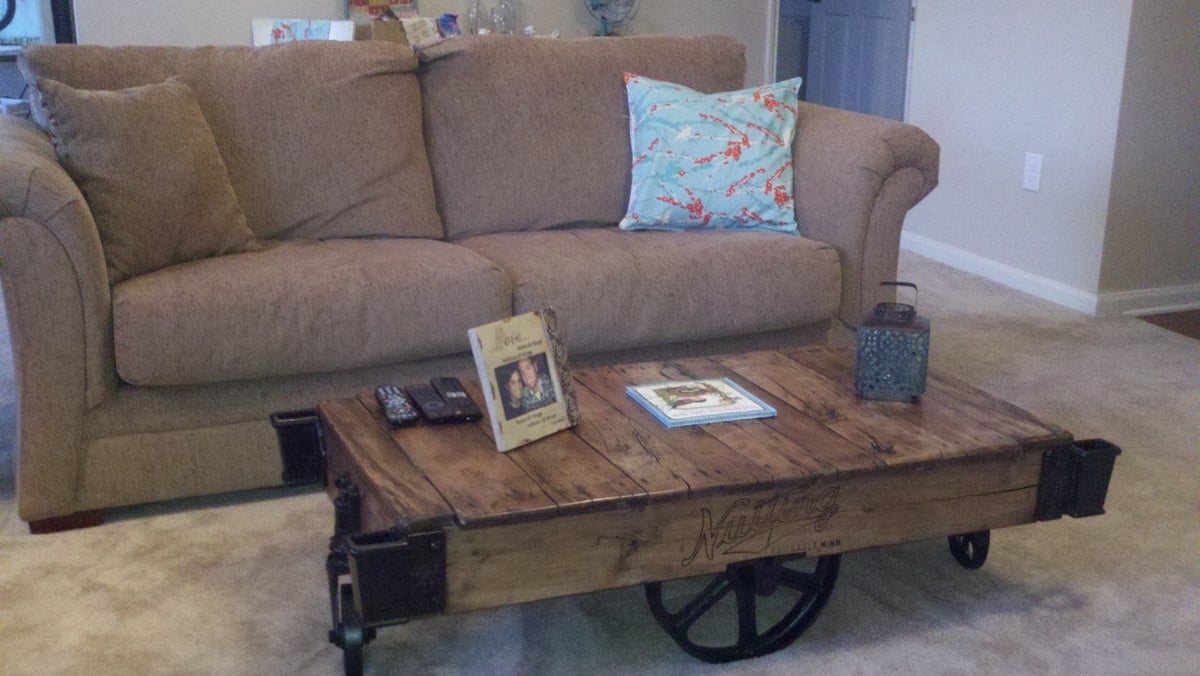
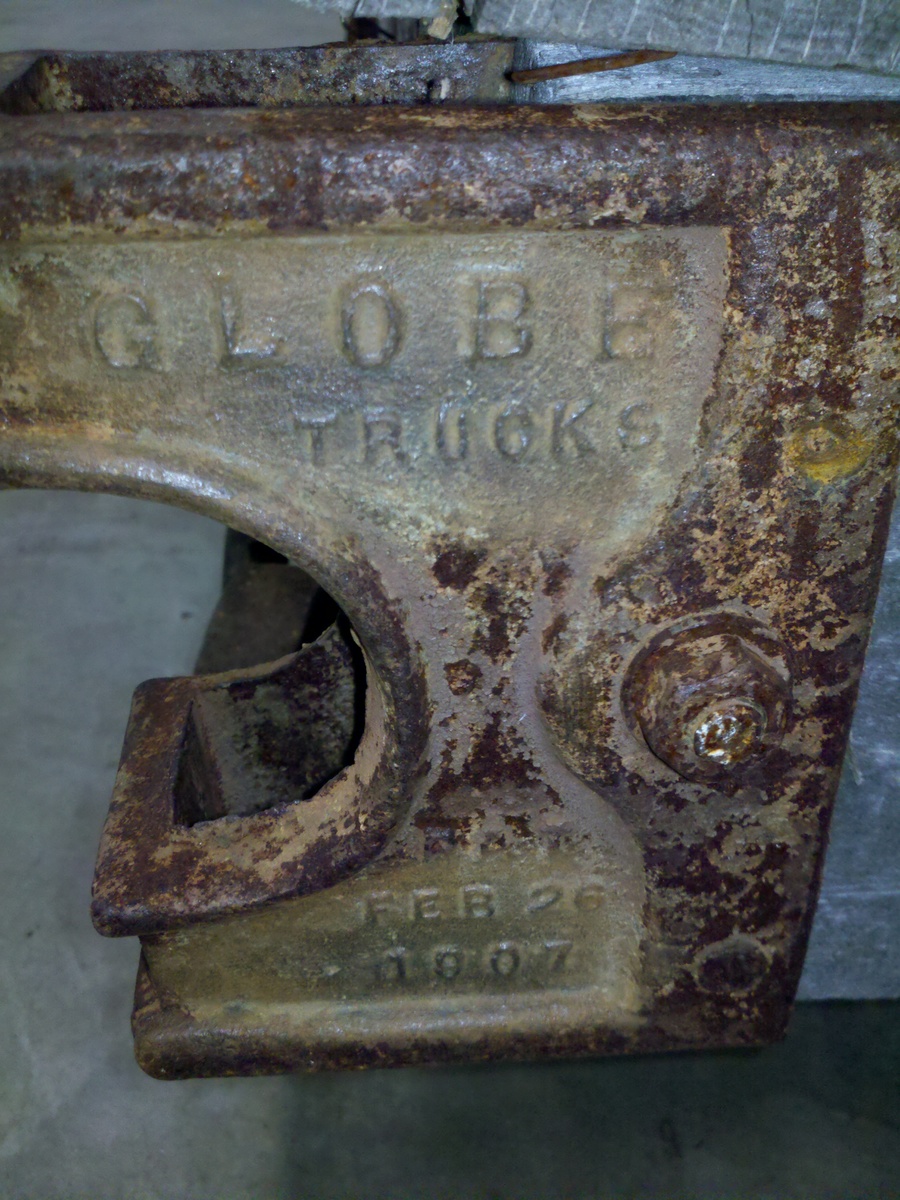
My daughter found some of these online for $400+ refinished. I was able to locate some locally and did all the refinishing myself and saved a bundle. I have finished 6 of these carts to date. They are old railroad luggage, cotton bale, and whatever movers. They were manufactured around the early 1900's. The ones I have done were made by the Lineberry, Nutting and Globe companies. One piece of hardware is actually cast with a date of Feb, 26 1907. These were a lot of fun and hard work. I carefully disassembled each one including the original nails to be resused, I did not repair any of the wood, just presevered it in its original found state. As you can see from the pictures there are a lot of splits, cracks, and checks in the wood. I wanted to keep those as they added to the caracter of the table. As you can see in the before and after pics there is quite a amazing difference.
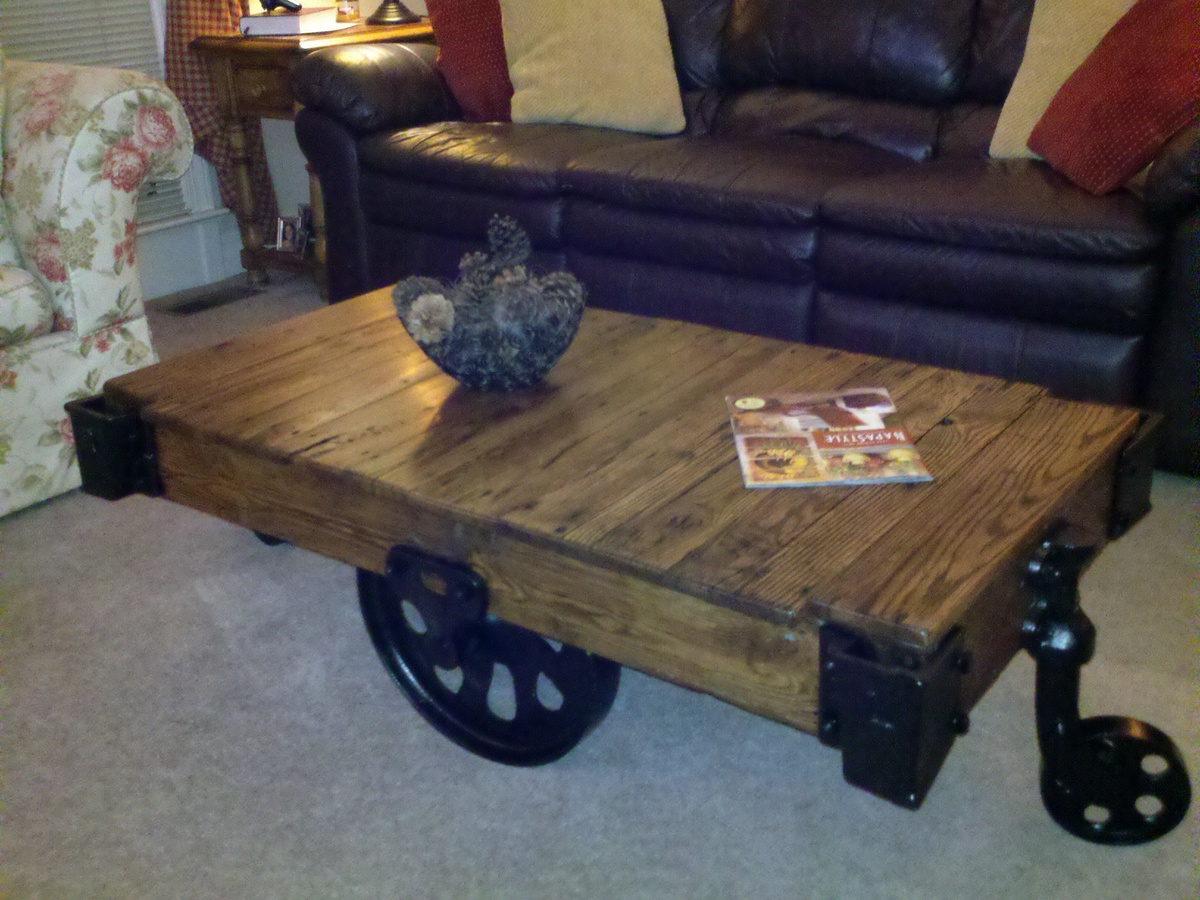
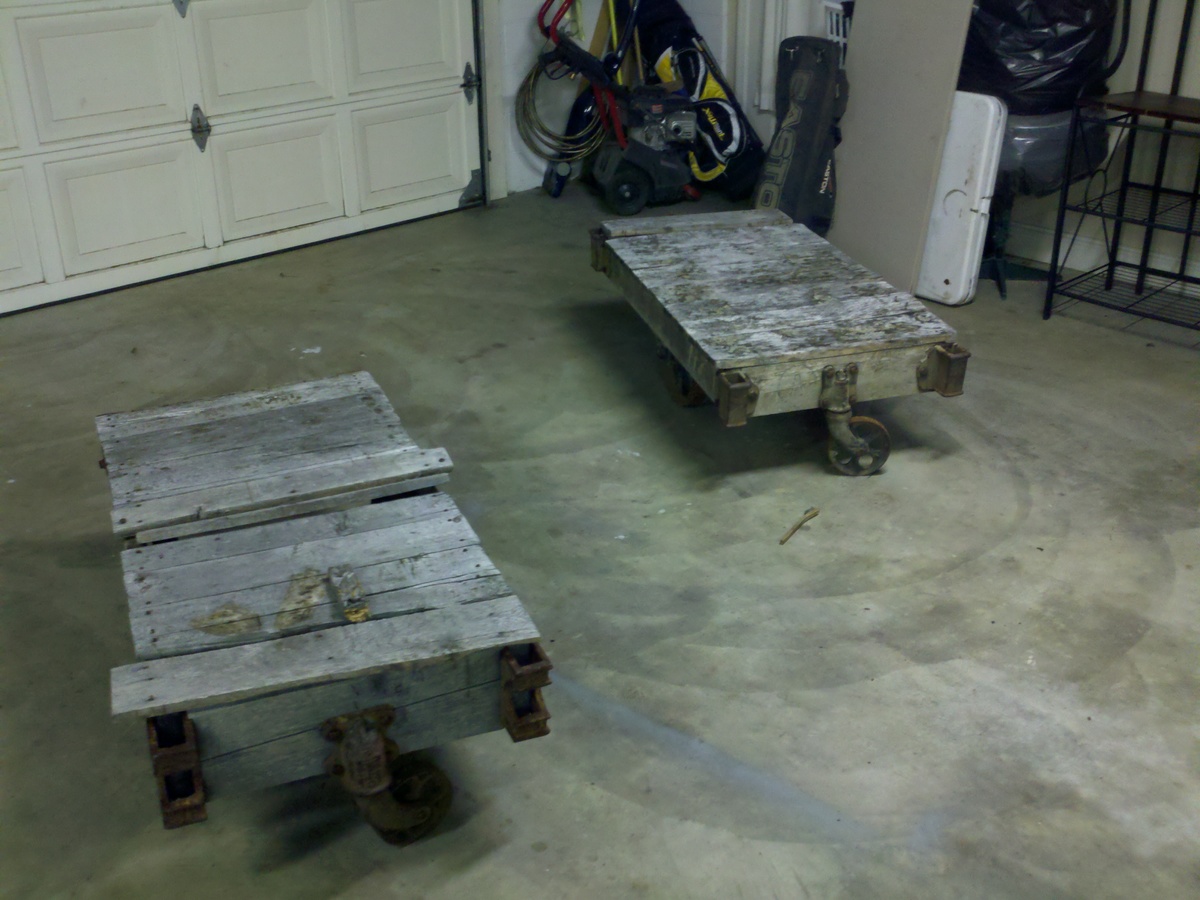
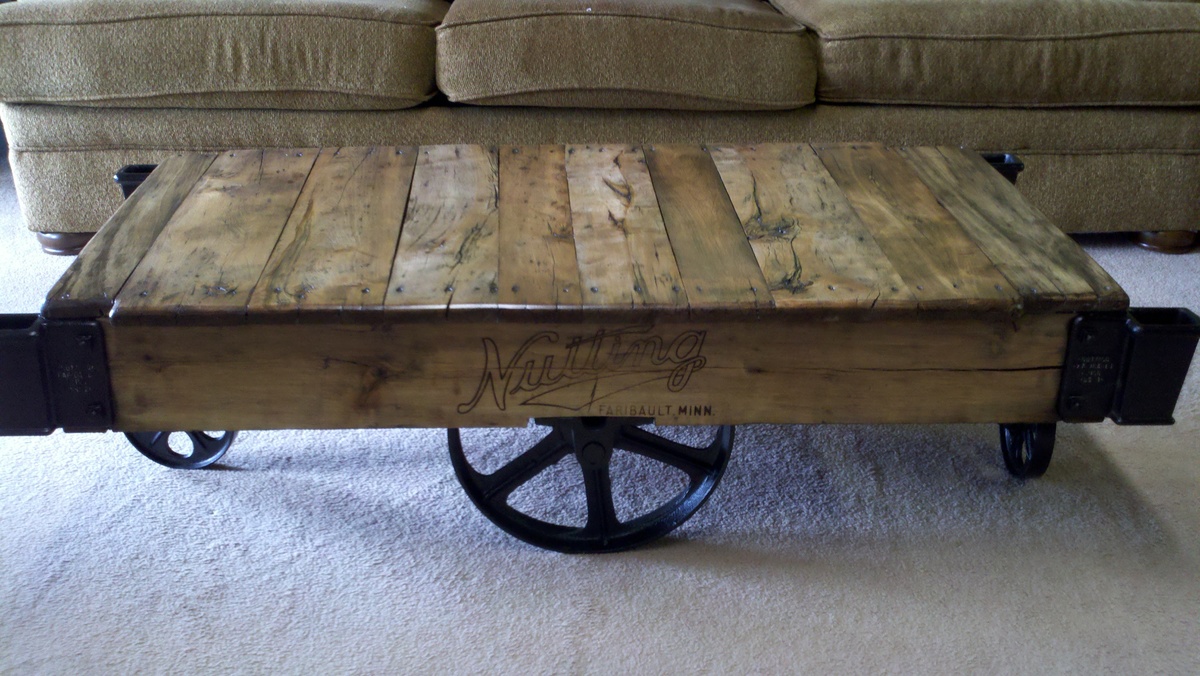
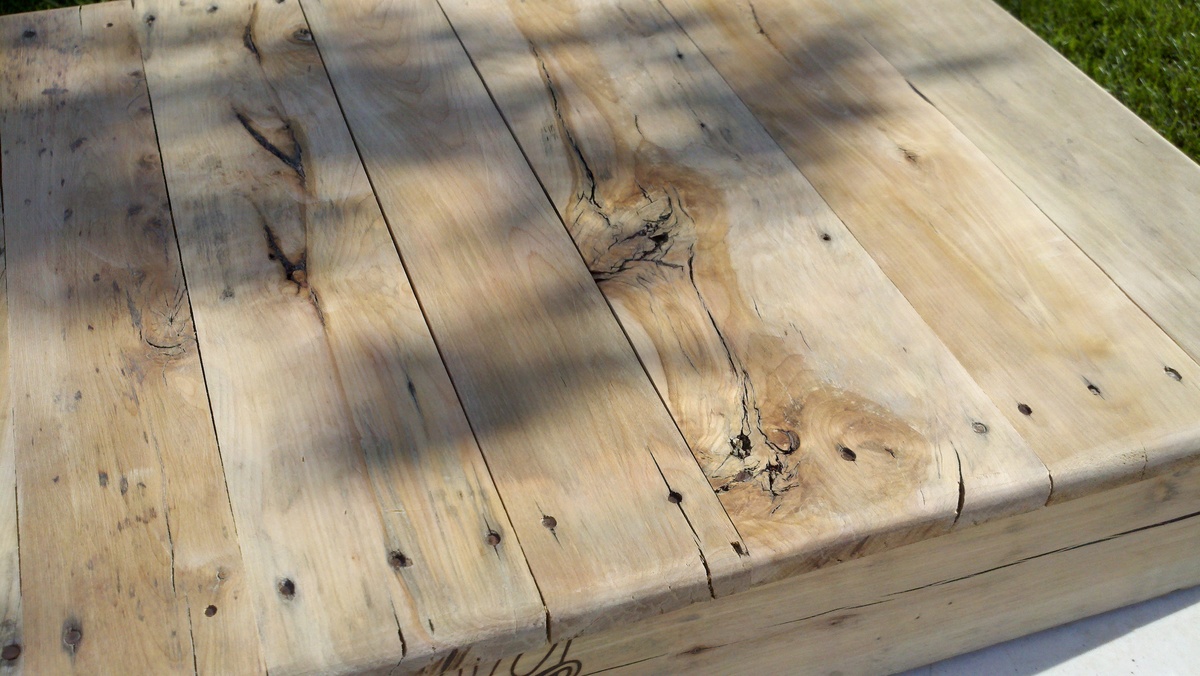
Tue, 08/21/2012 - 20:01
Where did you get the hardware ie... the wheels? I've been looking everywhere for the steel wheels
In reply to Factory Carts by Jennifer Branton (not verified)
Wed, 08/22/2012 - 06:46
I have one of these carts unfinished with wheels and all hardware, for 100.00 these carts are heavy so shipping may be an issue. my email is [email protected] i can send pictures if interested.
Sun, 01/29/2017 - 18:16
You don't happen to have any of these still around and/or are selling any, are you? Thank you!
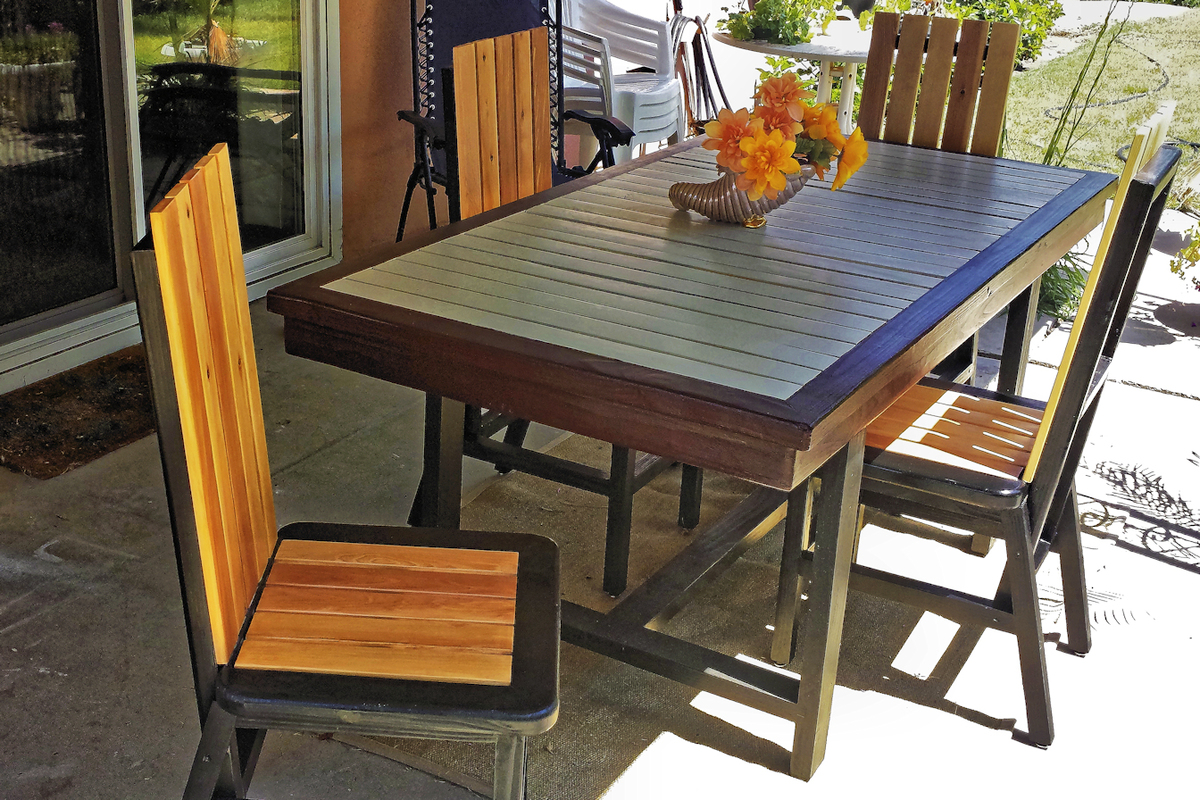
The structural elements of the "classic chair" are excellent and so adaptable. I simply lengthened the leg to produce a conventional 19” seat height and extended the back frame dimensions to provide a higher seat back. I also substituted 2"x4" framed seat bottoms featuring slat inserts for the plywood seat bottoms. Most of the frame materials are Doug-fir 2"x4"s ripped down to 1.5"x1.5"s. The slats on the seat-bottom and chair-back are cedar fence boards ripped down to 2.5" wide.
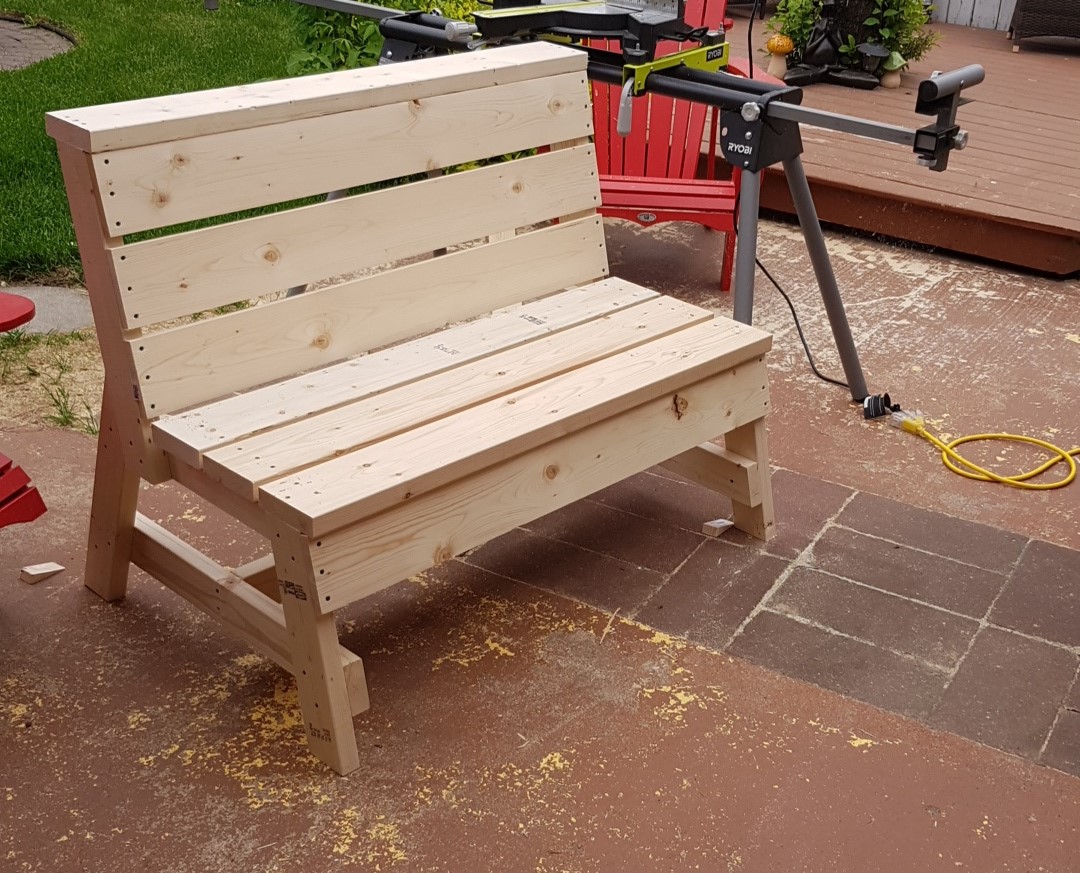
I built the one bench using the original plan with the storage and table top unit but needed two additional seating benches to go around the firepit without the bulk of the backside of the bench.
I modified the original plan as follows:
Shopping List:
(2) 2X6X8
(3) 2X4X8
(2) 1X6X8
Cutting List:
(2) 2X4X17" front legs, 15 degree cuts, parallel long to short
(2) 2X4X23" back support, 15 degree cuts, parallel long to short
(2) 2X4X20.75" back legs, 15 and 60 degree cuts, not parallel long to long
(2) 2X4X23" Back support, 15 degree cuts, parallel long to short
(2) 2X4X24.75" under seat, 15 degree cuts, not parallel long to long
(2) 2X4X30" bottom support, 15 degree cuts, not parallel long to long
(1) 2X4X42" bottom cross brace between leg sets, 90 degree cuts
(2) 2X6 cut equally in half, 3 for the seat and 1 for the top plate
(2) 1X6 cut equally in half, 3 for the back rest and 1 to be tucked under the seat overhang
Sat, 08/15/2020 - 22:52
I am the individual who submitted this modification on June 14, 2020. I was making a change to the submission but somehow sent it before correcting the cut list. The "(2) 2X4X23" back support, 15 degree cuts, parallel long to short" is repeated twice and should be only once.
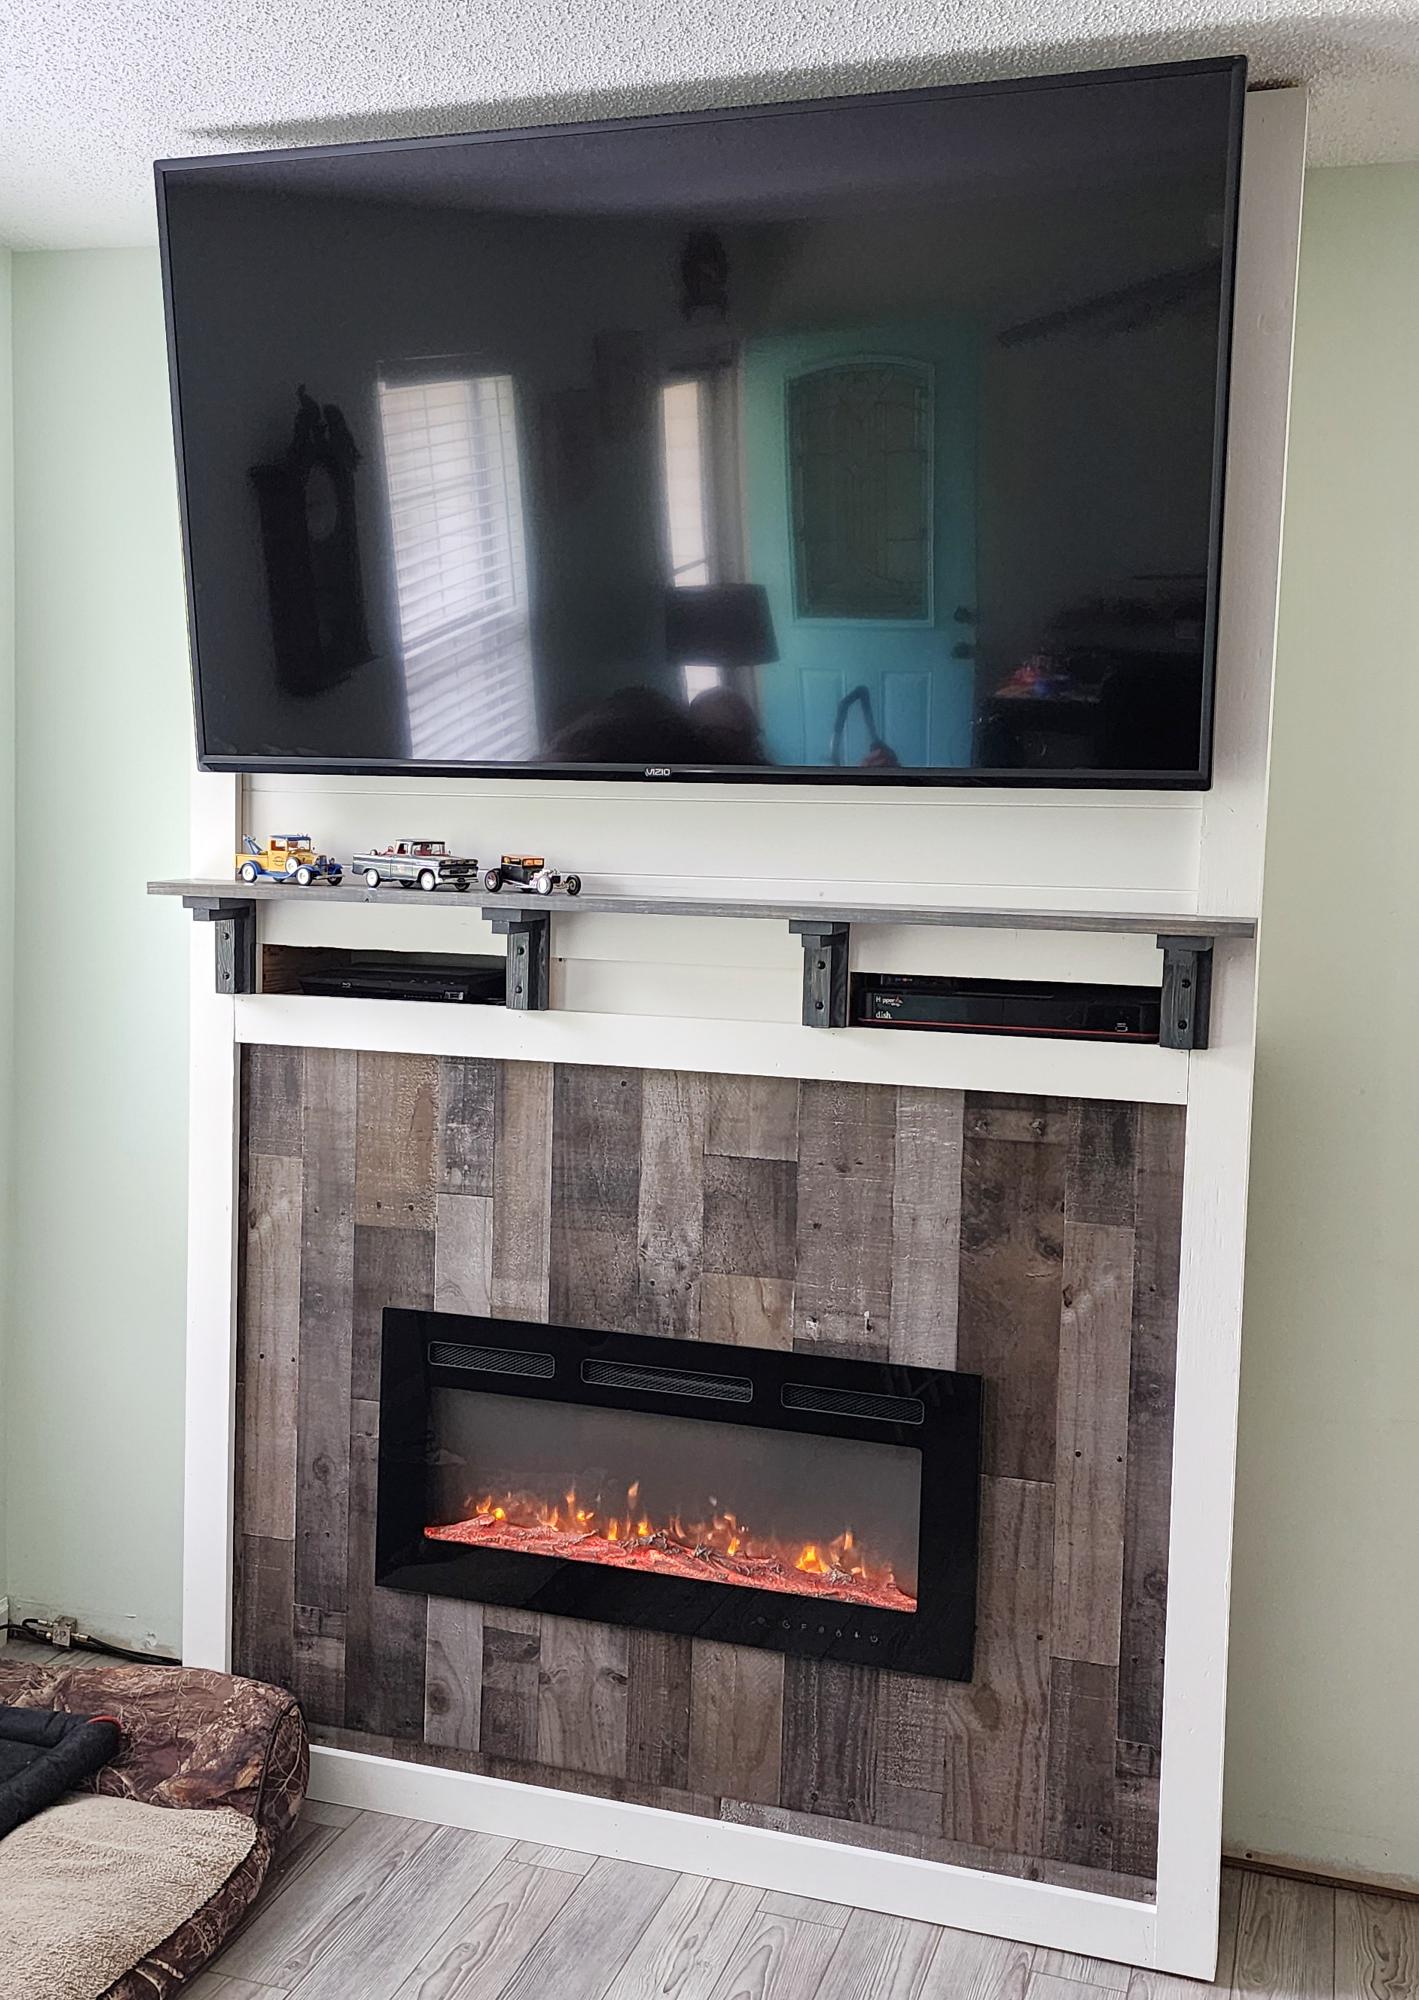
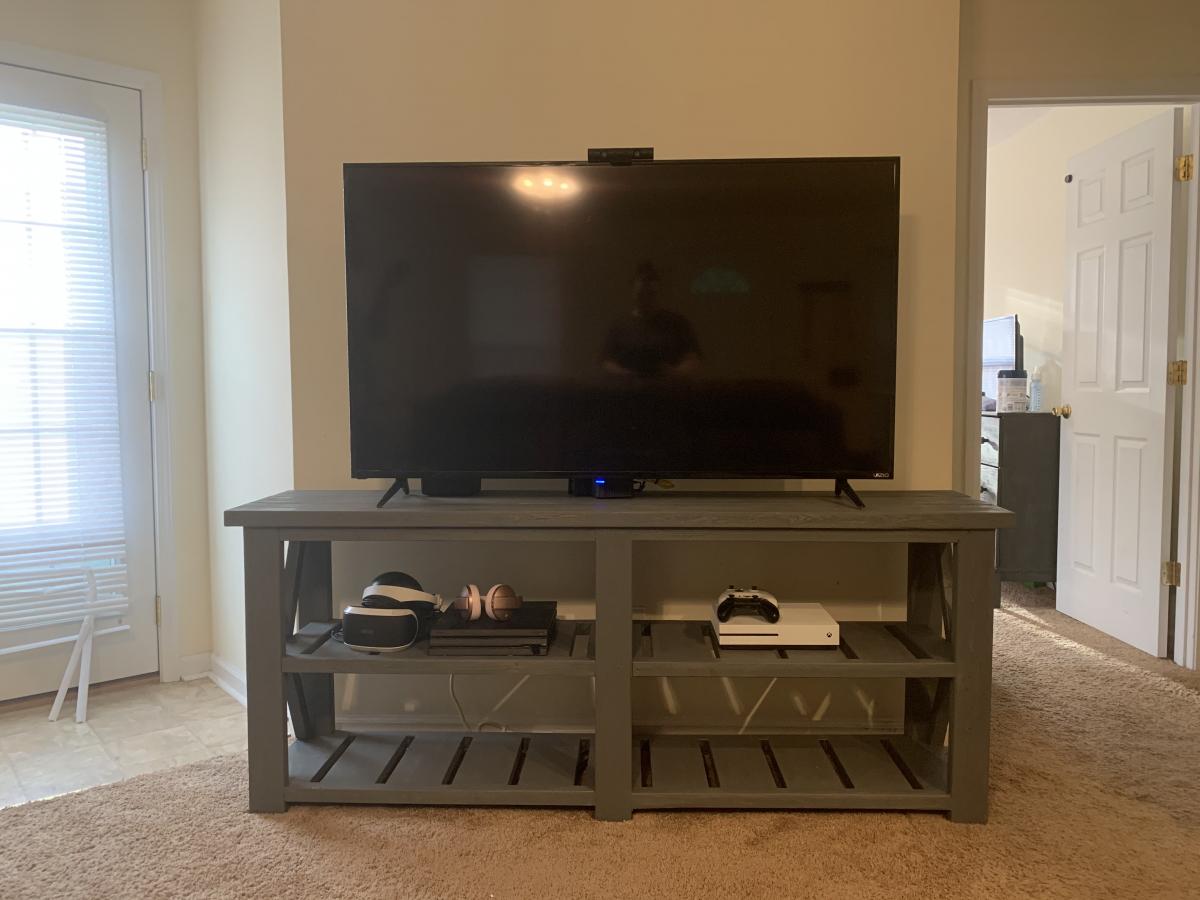
I wanted a tv/ fireplace for Christmas and my husband built this using your plans. I love it!
Joe Hall
This was made from Anna's Farmhouse bed for dolls plan and the trundle plan. I bumped out the dimensions since my DD has a "My Twinn" doll as well as American Girl Dolls and the My Twinn is a few inches bigger.
It was hard to find bearings for the bottom of the trundle so I used drawer runners instead. I also made the trundle first then sized the bed to fit around it. I added a facia to the trundle for decoration with mitered side edges to give a "lip" to pull the trundle out.
This was my second project, made on my first project... the workbench!


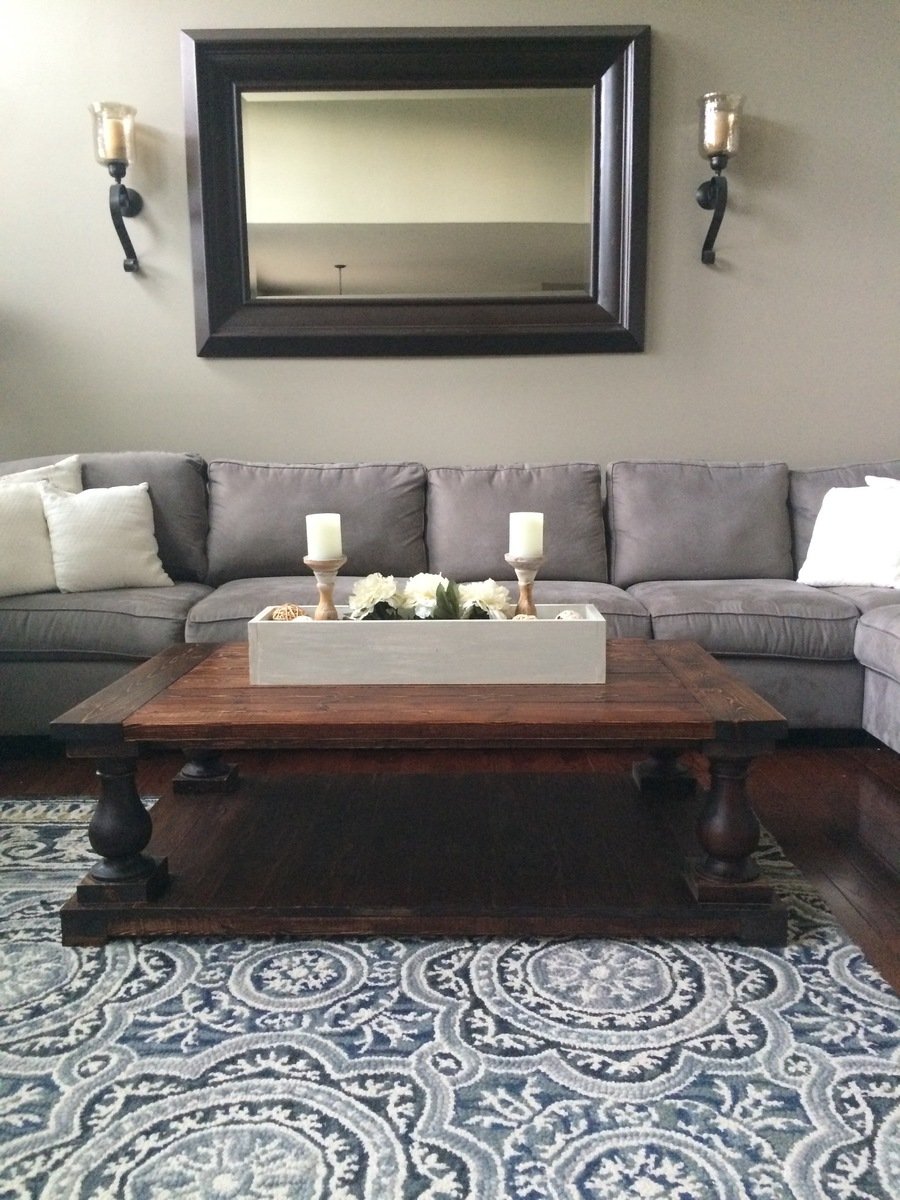
RH Balustrade Coffee Table
Loved this plan!!! It was my first furniture project (before all I did was mantels and shelving) amazing easy to follow build plans. Can’t wait to browse Ana White’s other posts! Thank you for providing this plan!
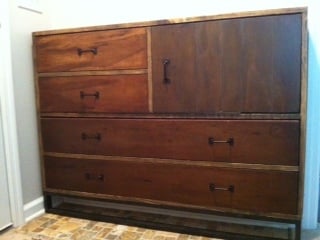
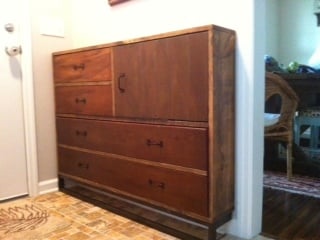
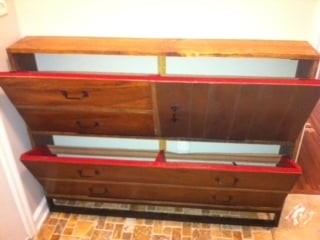
This little dresser kicked my tushy! It was my second project and I was feeling confident coming off that first one and boy was I brought back to reality quick. If the measurements and cuts aren't perfect and I mean perfect it takes a lot to fix it and make it work! But I finally got everything worked out and it looks pretty great in my little foyer I think. I stuck to the plan everywhere but the 1x2's that go across the "drawer" parts because my wood had a slight warp to it I needed a 1x2 running vertical up the back to keep my shelves even and therefore the original 1x2's wouldn't fit. You can see it in the open picture. I used jute webbing in place of the 1x2's to keep the shoes in place. The front is quarter inch ply added to make it look like a dresser with cabinet. I took someone else's idea to use the ply from the brag post and found a dresser to emulate. That part was actually pretty simple! I love this site for that very reason, so many great ideas in one place! I painted the inside a barn red for a surprise pop of color and that's that.
Comments
Ana White
Sat, 06/06/2020 - 12:08
Love the modifications and…
Love the modifications and the new porch!
boneill
Wed, 07/29/2020 - 19:24
Questions
Looks awesome. Would be great to see how to do this step by step . What size seat slats did you use ?