My farmhouse bed with storage
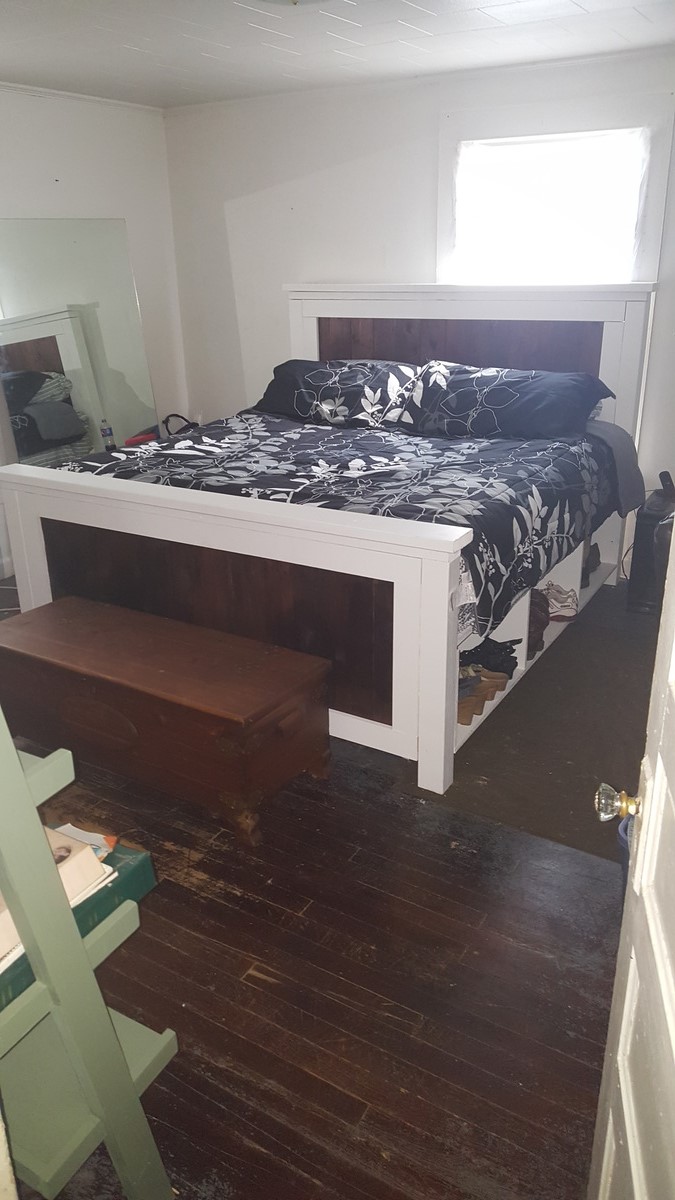
This is my king size farmhouse bed with storage. I also changed the height of the footboard to be even with my mattress.
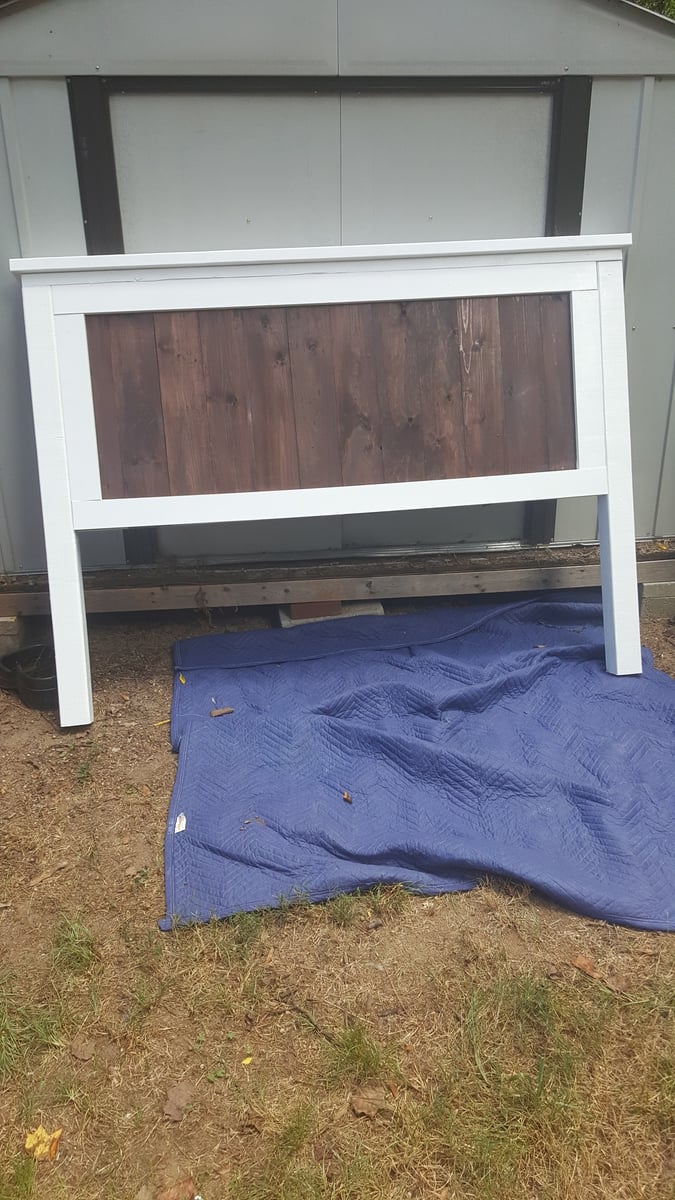
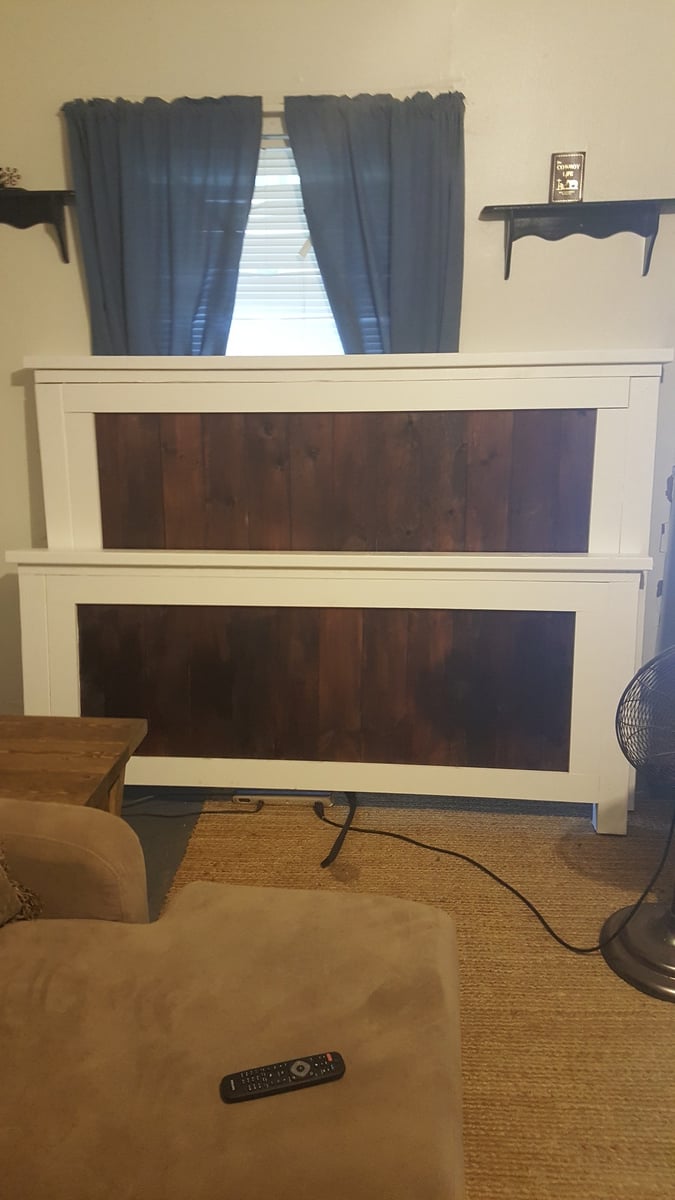
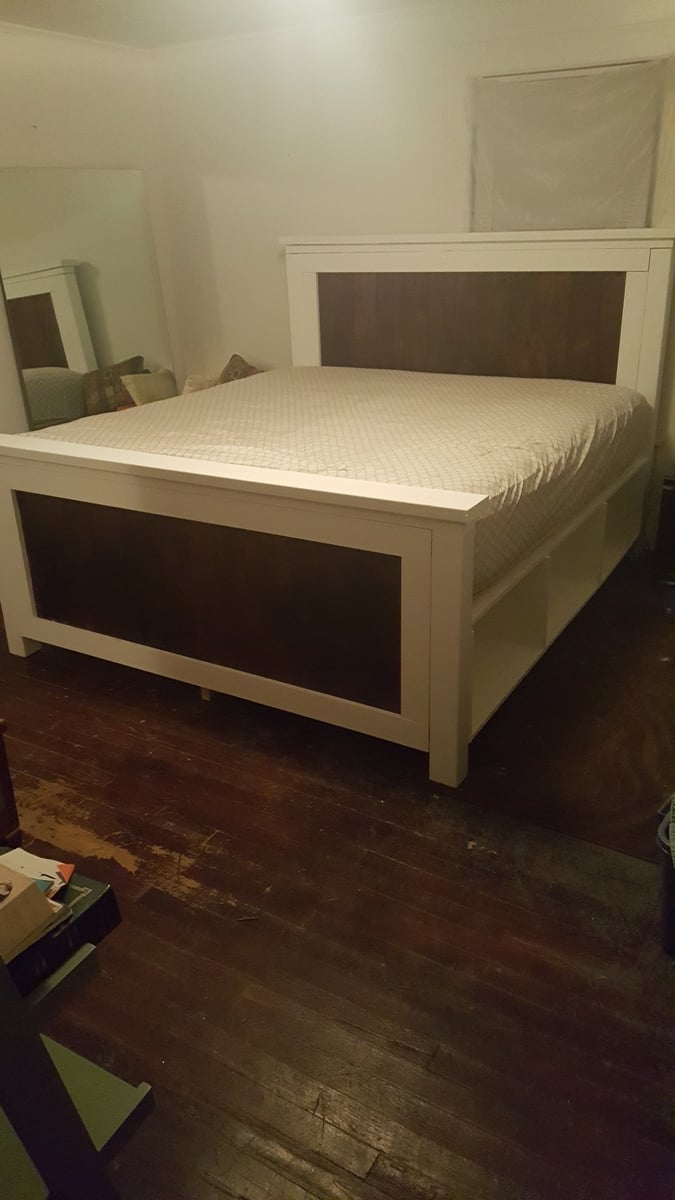

This is my king size farmhouse bed with storage. I also changed the height of the footboard to be even with my mattress.


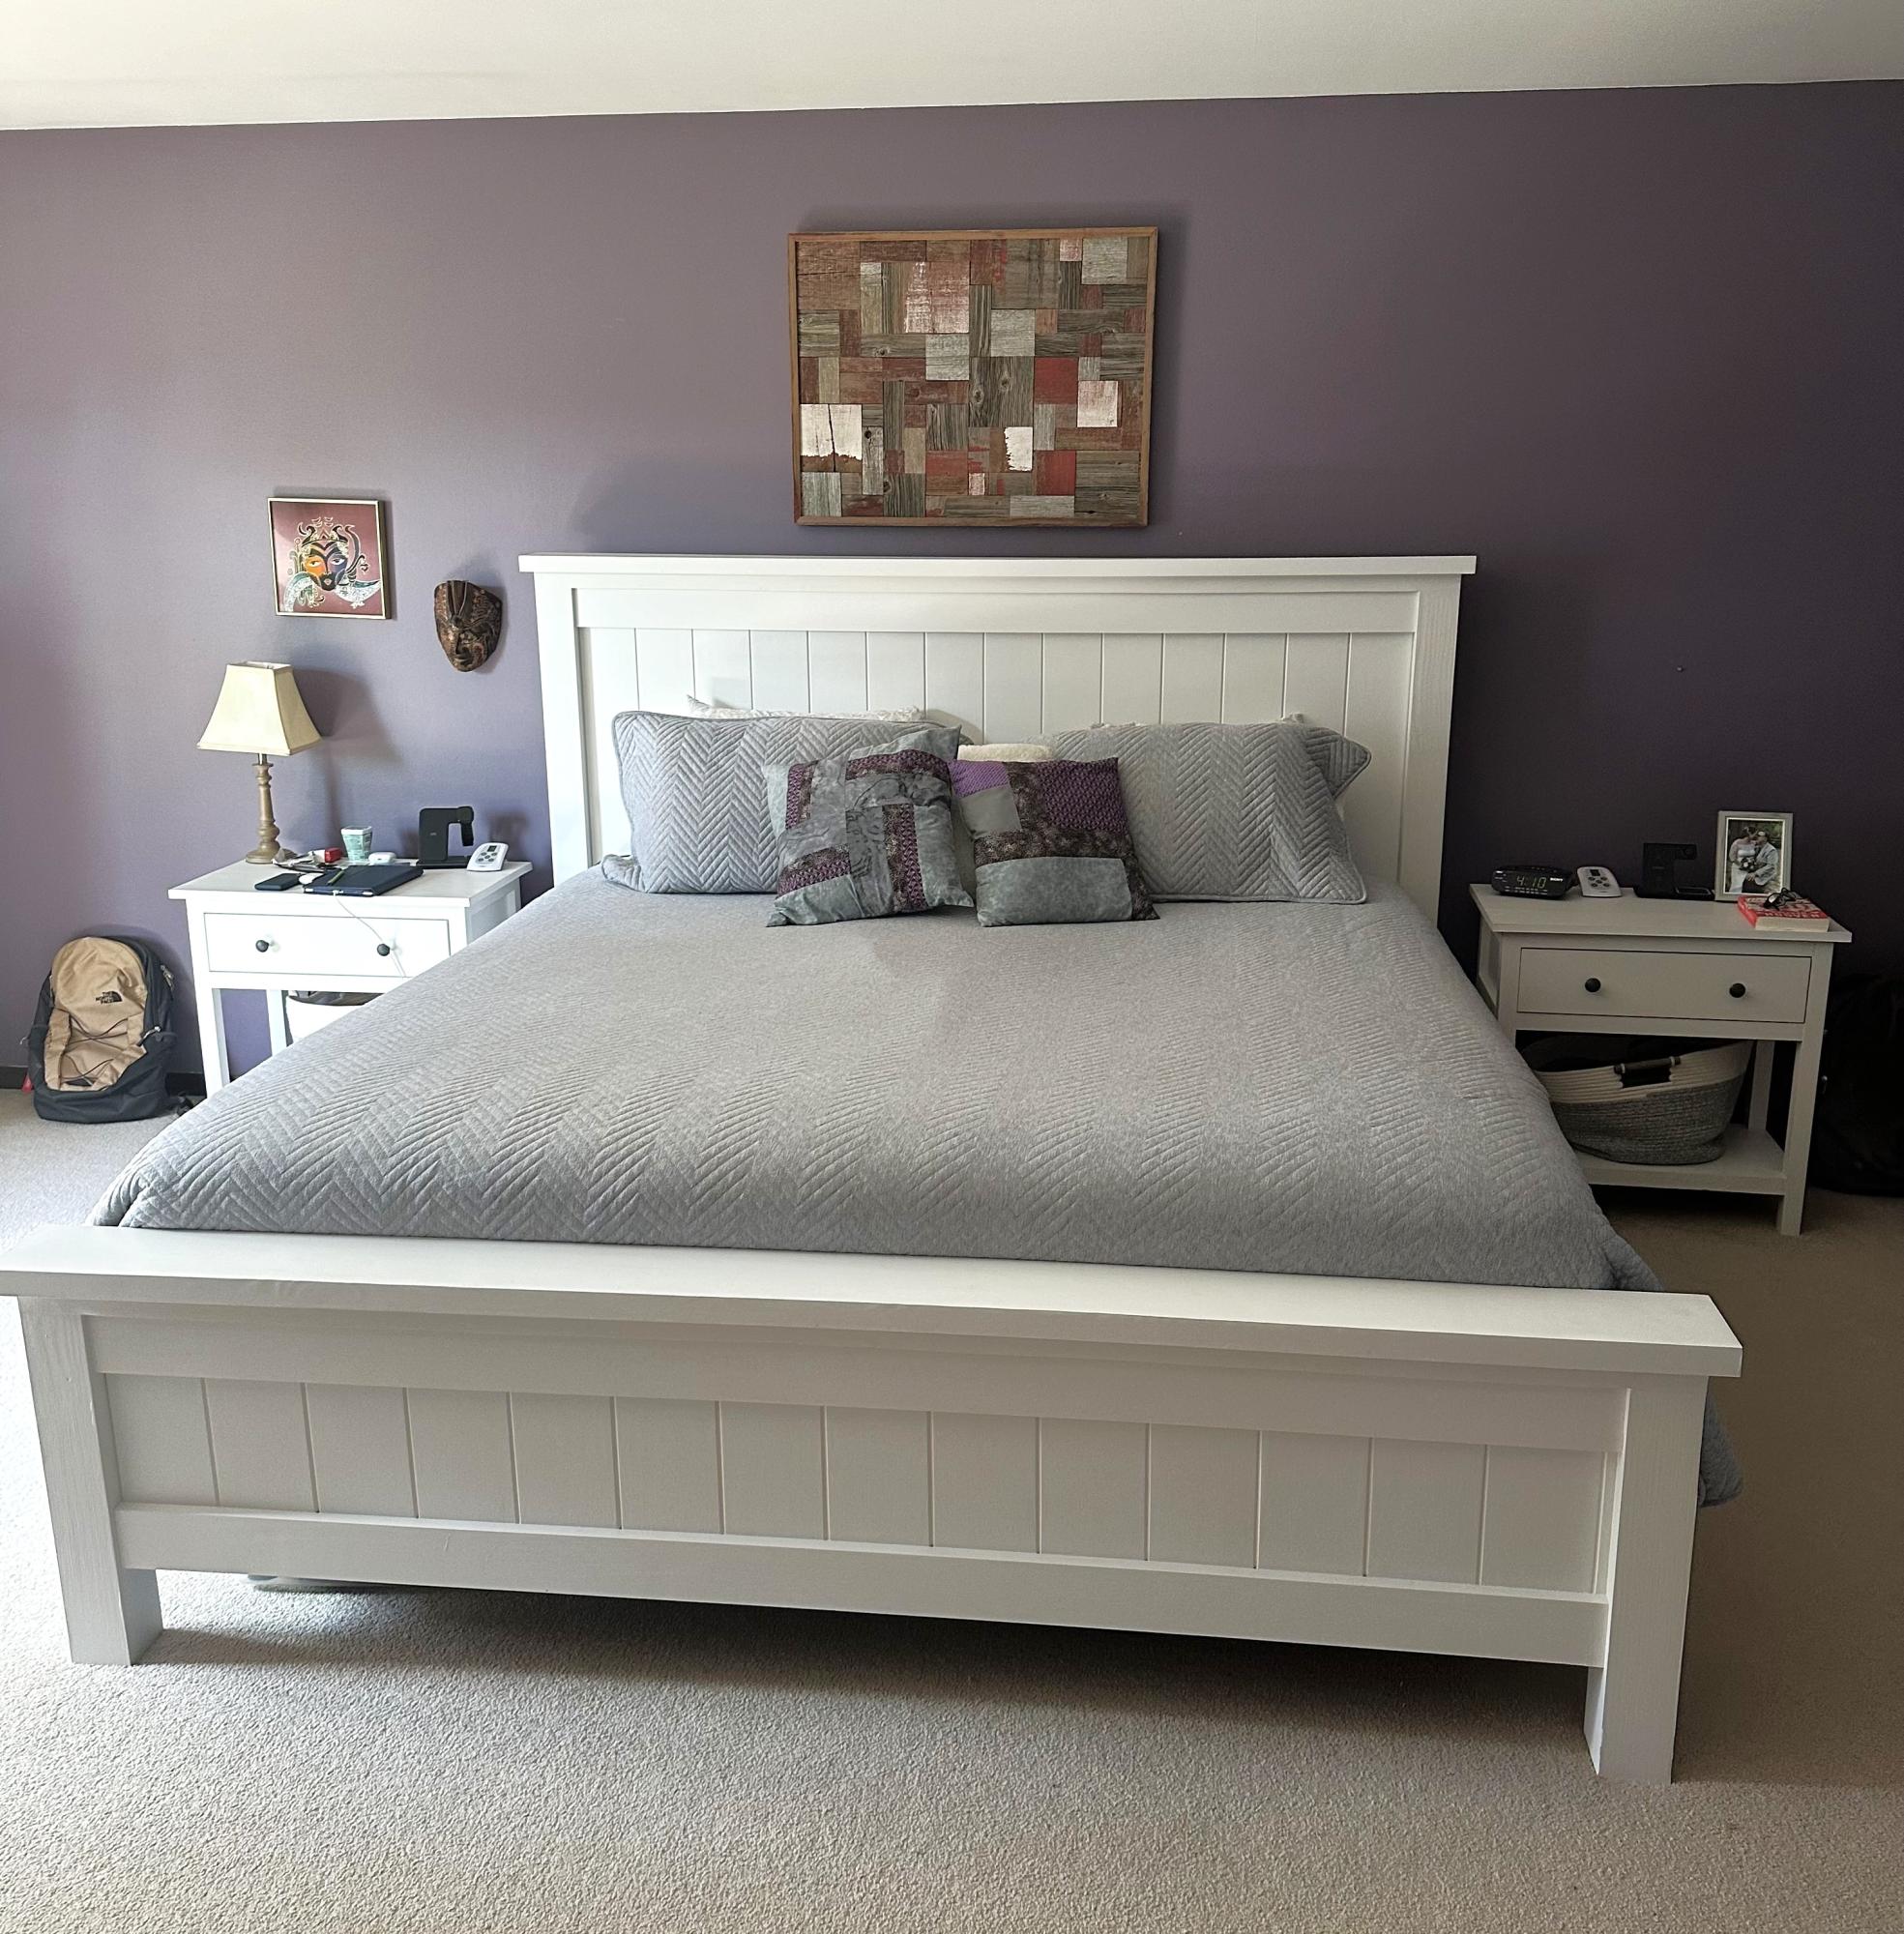
DIY Farmhouse Bed

I was looking for a nice project with compound angles and found this plan of Ana's, it was easy to build as well as fun and rewarding. I picked the colour as we had just returned from a trip to florida and then up the East coast and found this to be reminiscent of the beach.

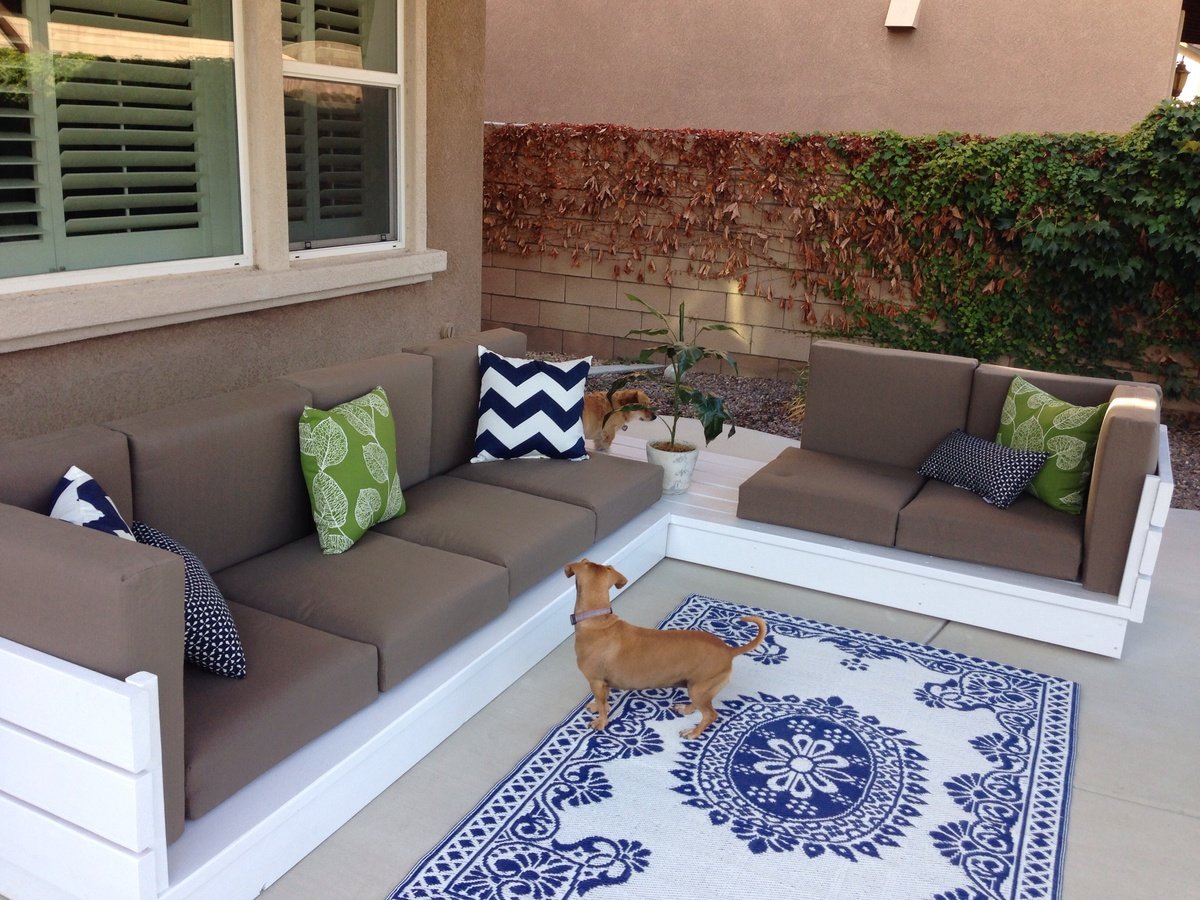
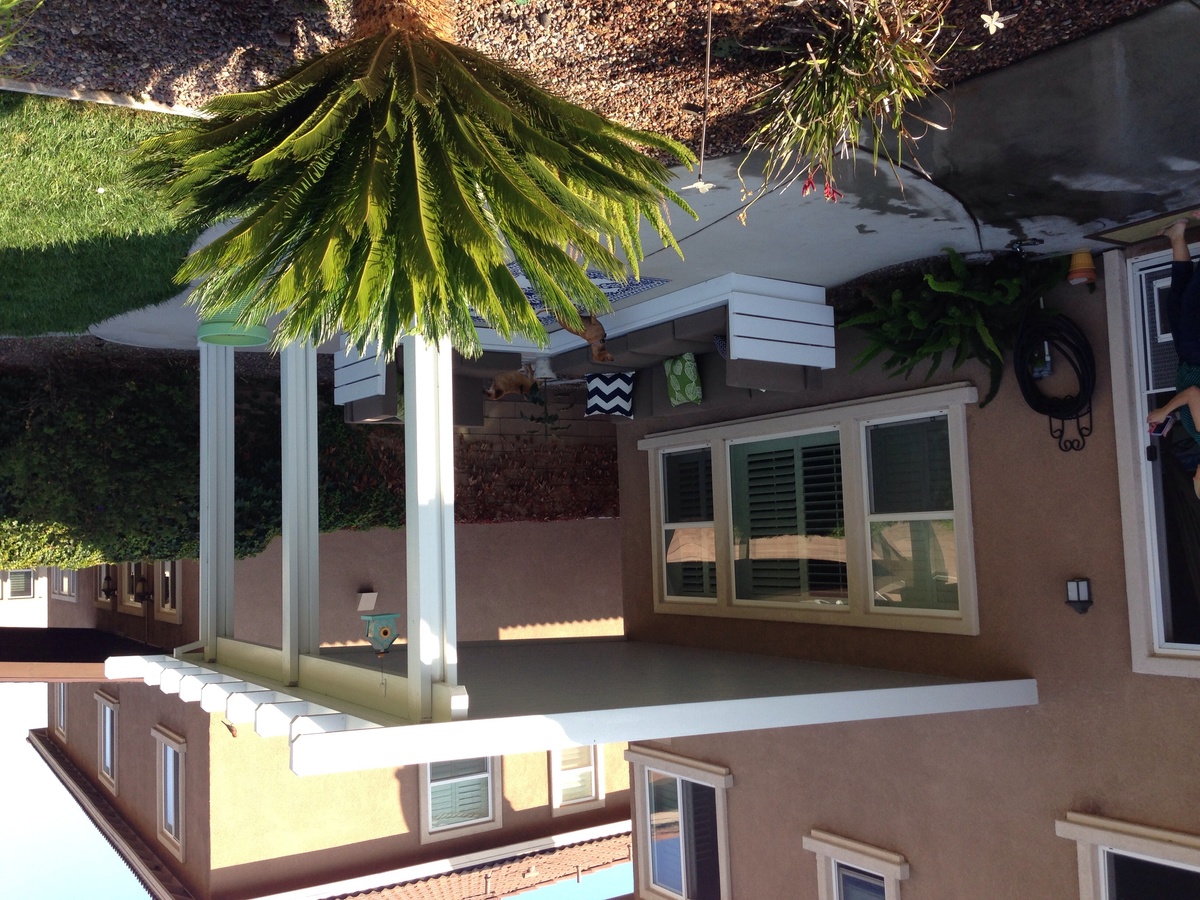
Wanted something for the outdoors. The minute I saw Ana's post I new this would be my starter project. Next on the list is work bench. Then coffee table for sectional, then some chaise loungers!
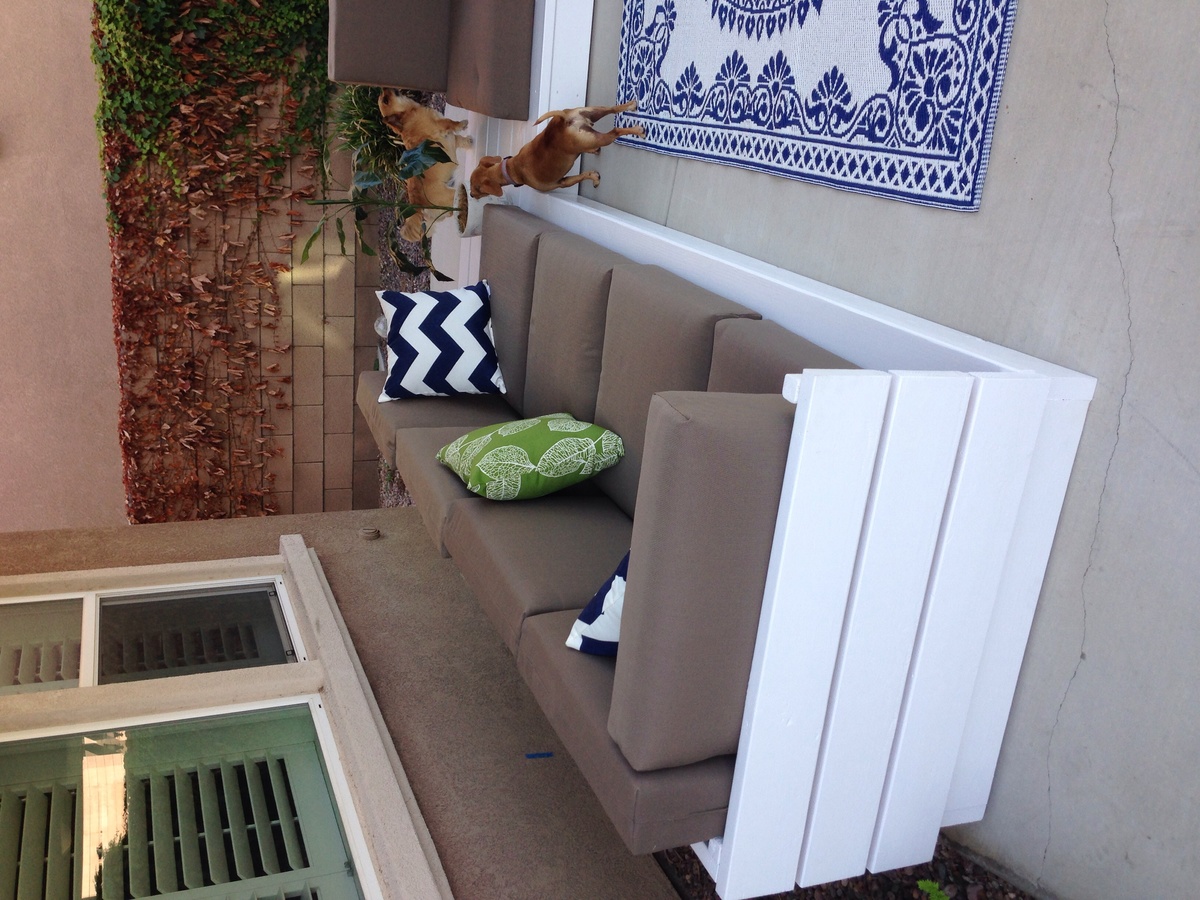
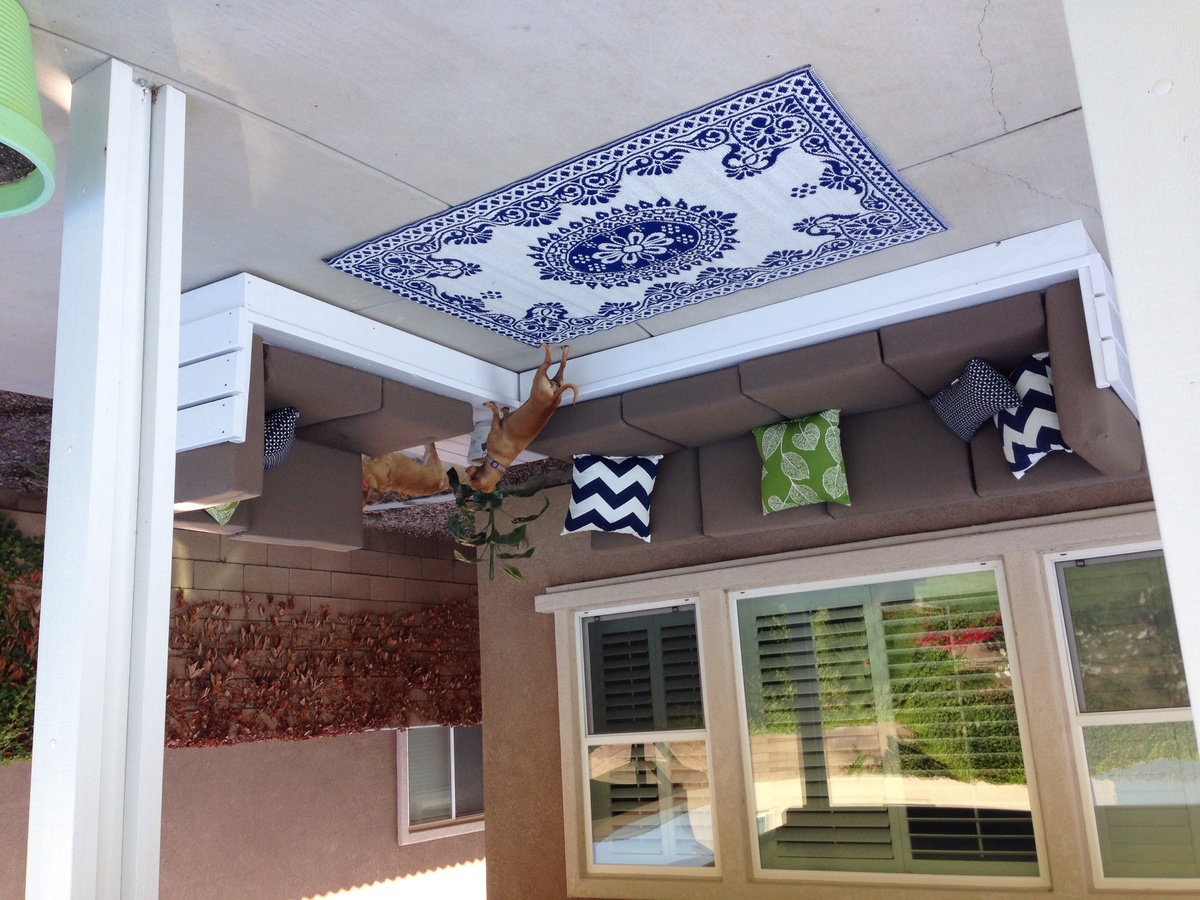
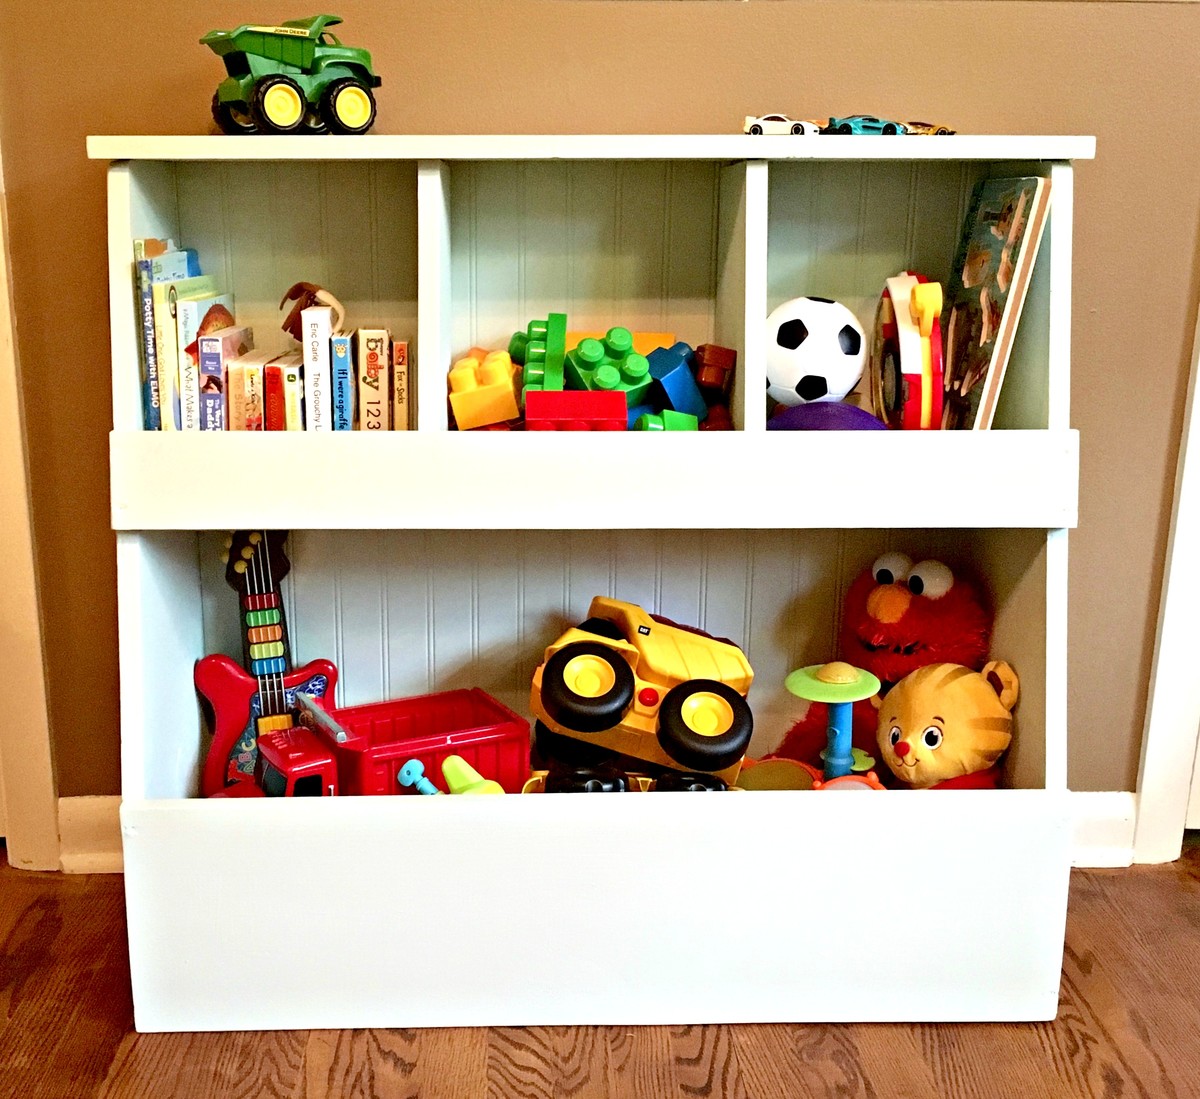
I had heard about Ana on the YoungHouseLove podcast and she inspired me to take on this storage bin! It looks great and my 2 year old son loves it! I documented the process on my blog at 1thing1week.com where I take on one new challenge each week.
Fri, 10/07/2016 - 10:52
I'm so glad you found us from the Young House Love podcast! Thank you for listening. This is quite an amazing first project!!! Love it. Ana
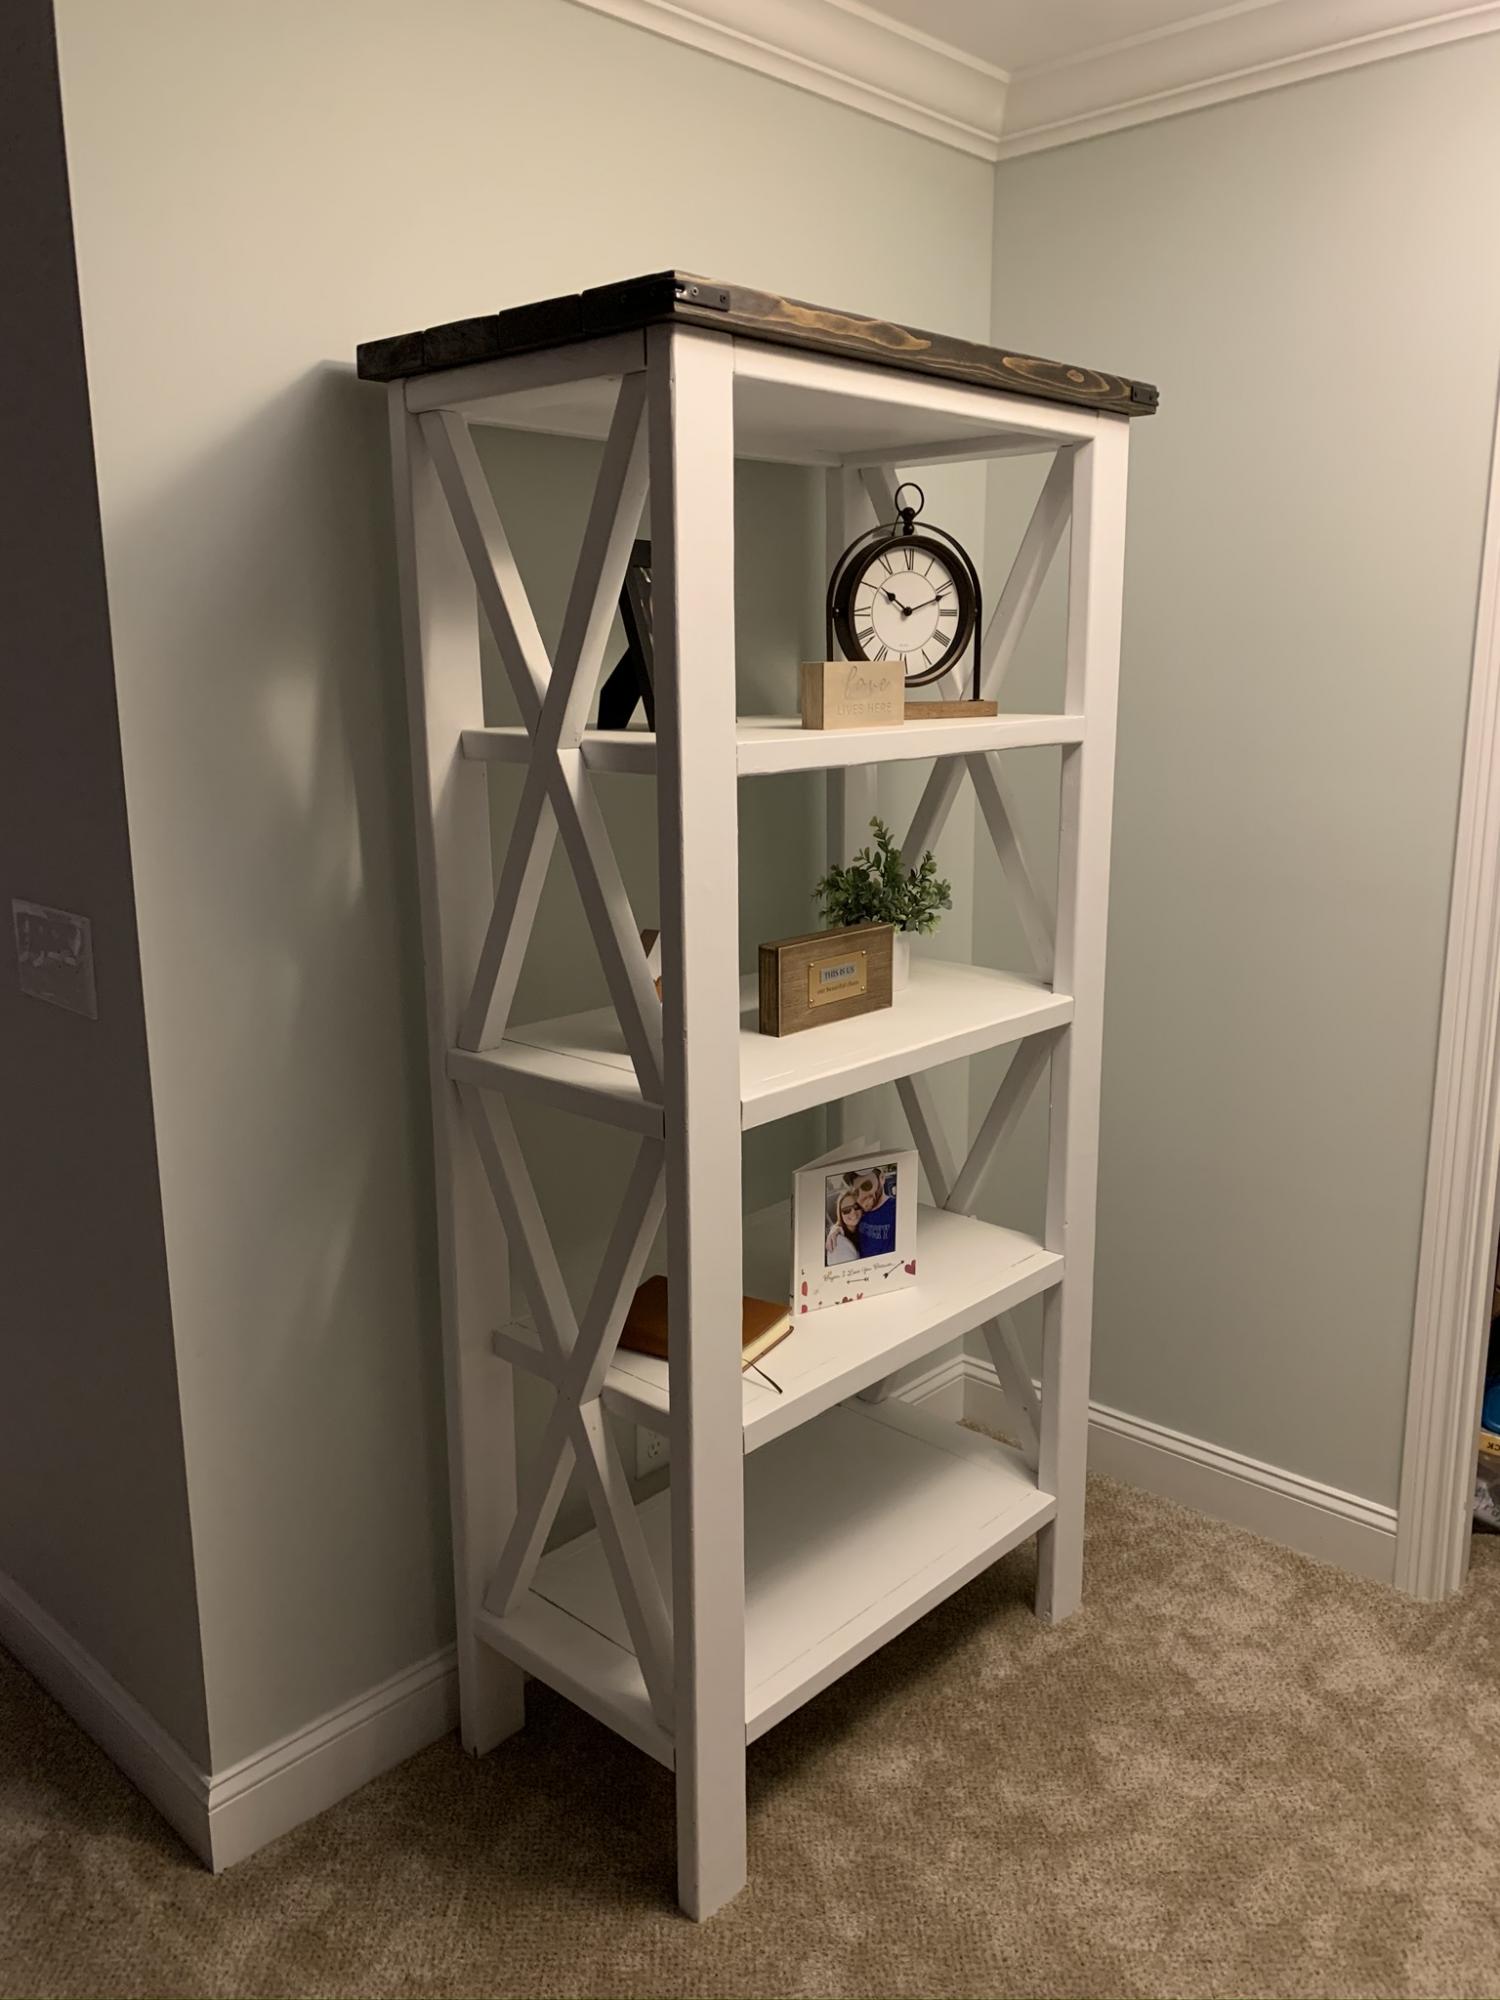
Added a 2x6 stained top to the bookshelf to add accent .
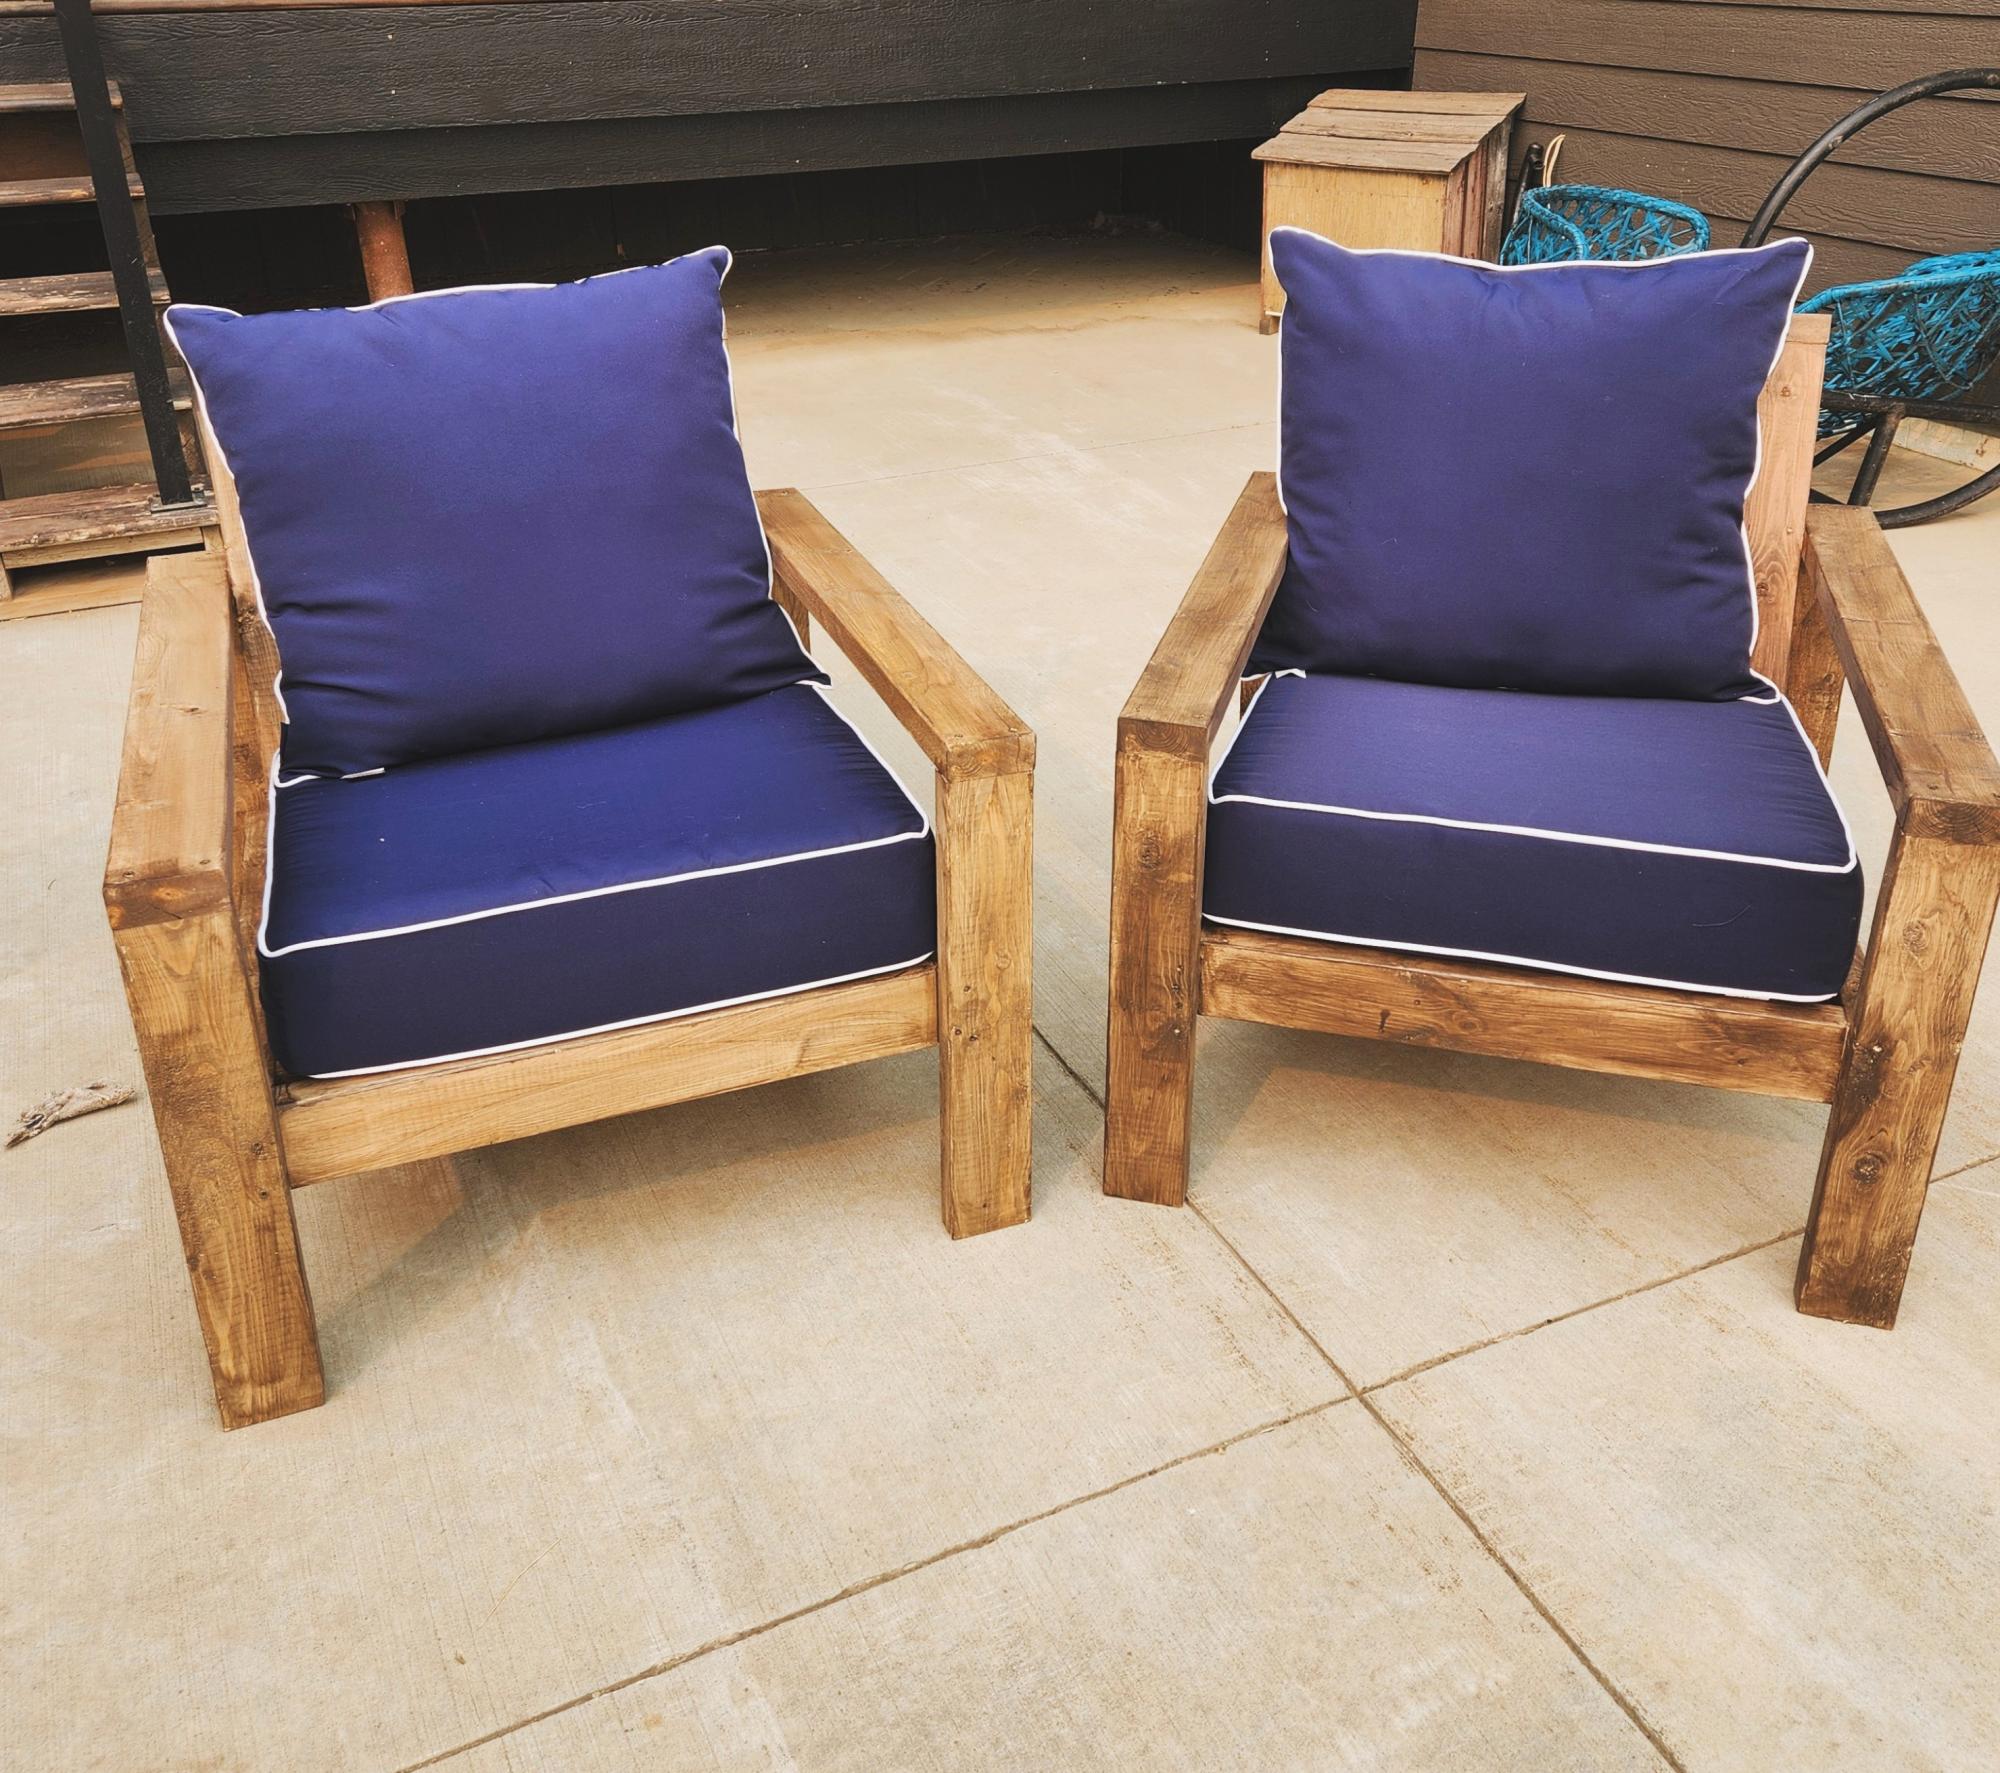
Loved how easy to follow along the instructions were for my first ever project.
Christina

First project with my new (to me) wood shop. Really liked this plan and enjoyed putting it together! It came out great!
My cost was really low on this because I was able to use a lot of wood that I already had. The main cost was paint/stain and poly.


Sat, 09/08/2012 - 14:29
I love the spindle legs you chose, and the finish. It really gives the table a vintage look!
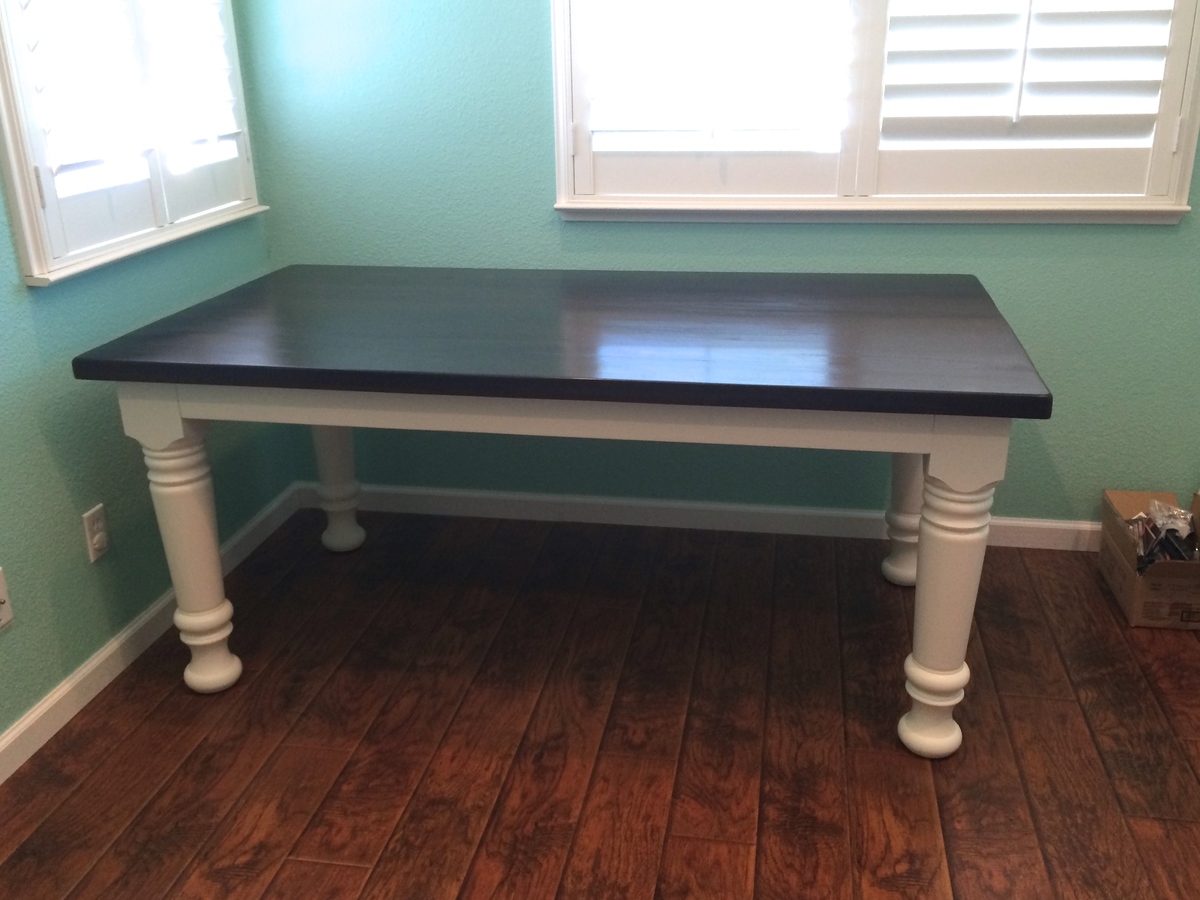
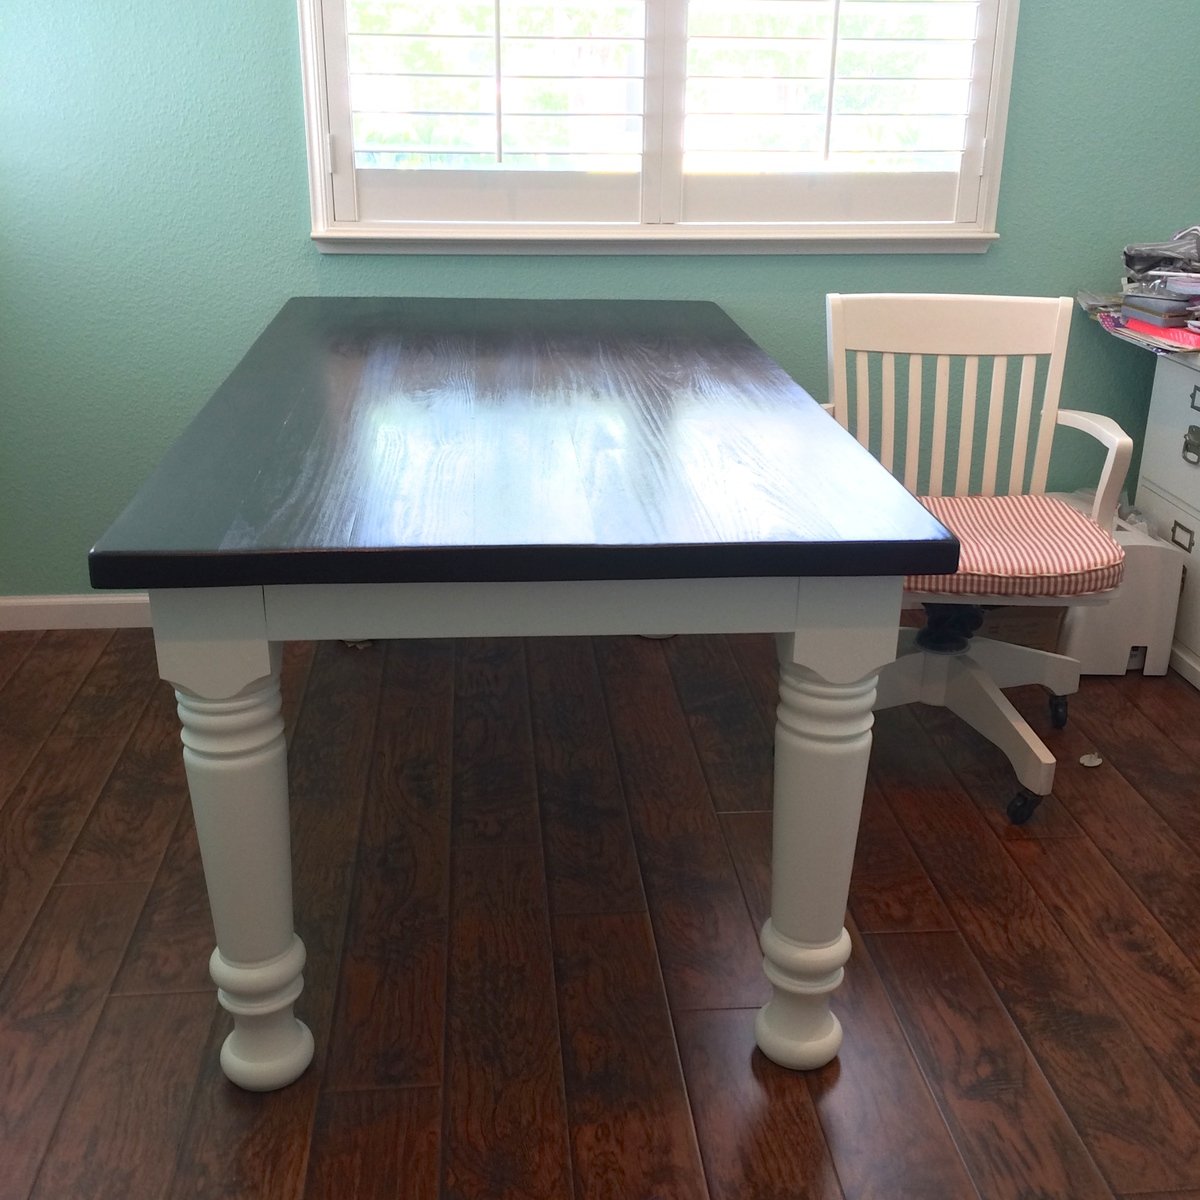
My wife wanted a rock-solid table for her sewing and craft projects, and this Ana White design fit the bill perfectly. We substituted Obsorne's Massive Farm Dining Table Legs to give it a more imposing look and feel.
I ended up spending a fair amount of time on the finish, but I couldn't be happier with the final product.
King size, so I added two 1x3 supports on the back. I love it!
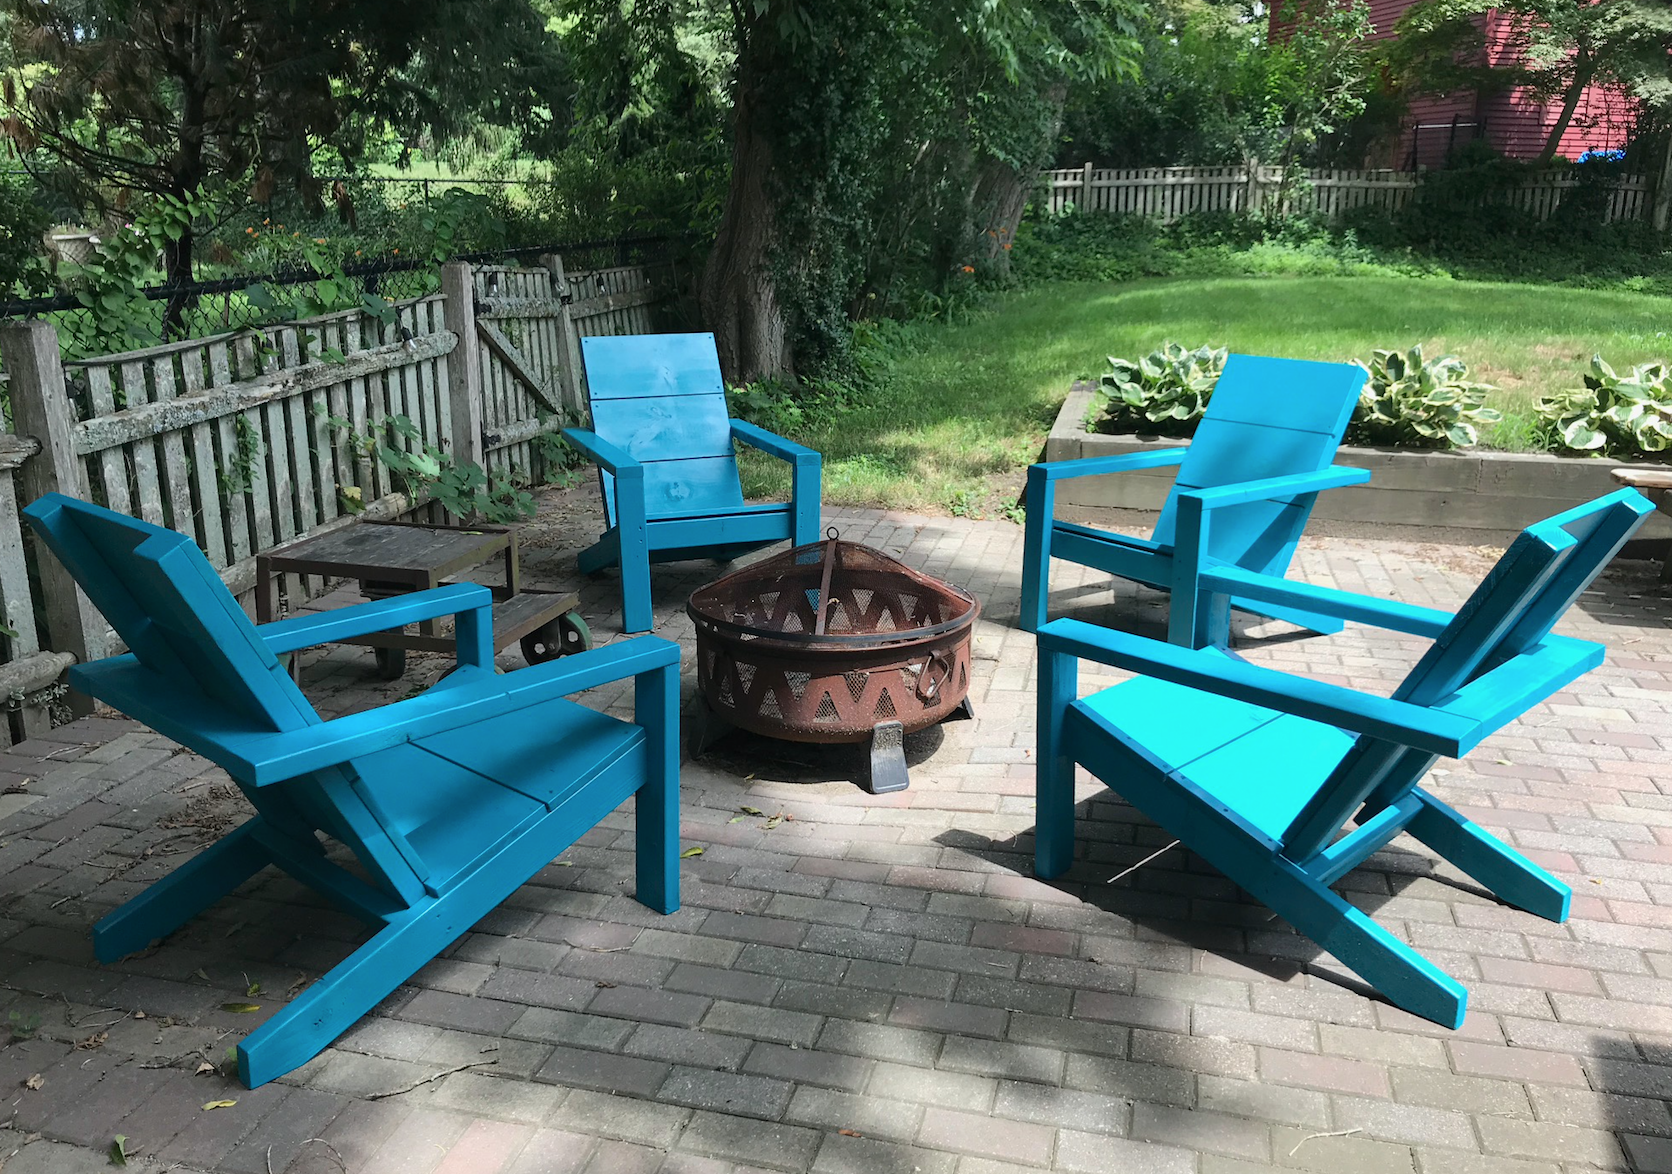
My first Ana White project! I'm getting so many compliments on these! My shop is my driveway so due to the weather, it took me about a week to get these built and painted. And I can only fit enough wood in my car to make one at a time! But they were so fun and easy to make!

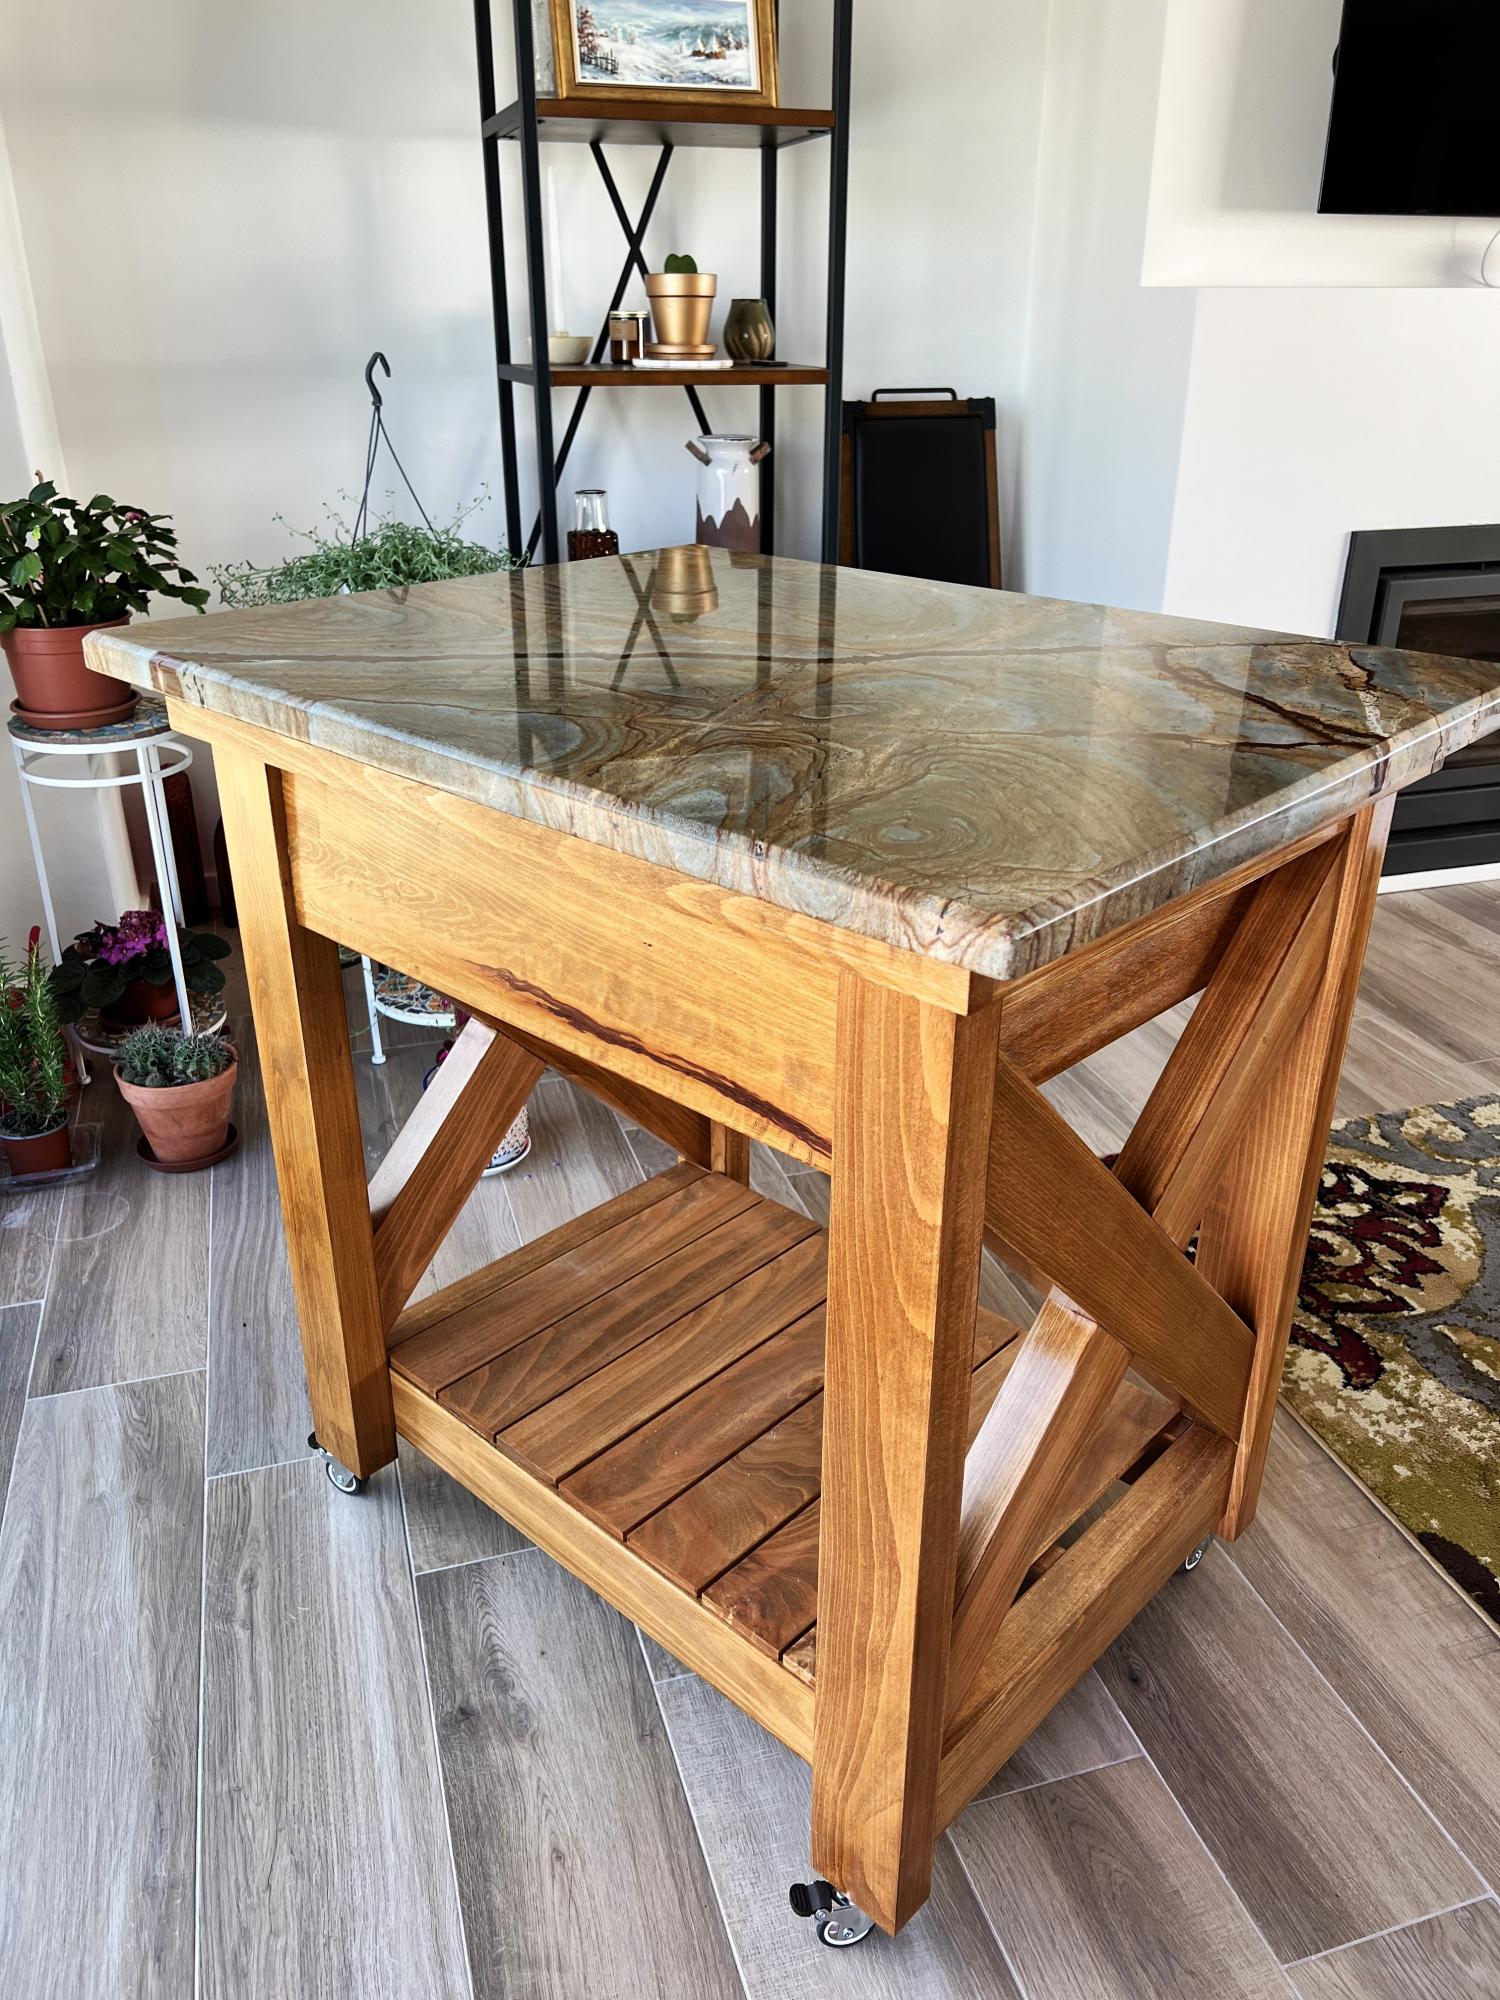
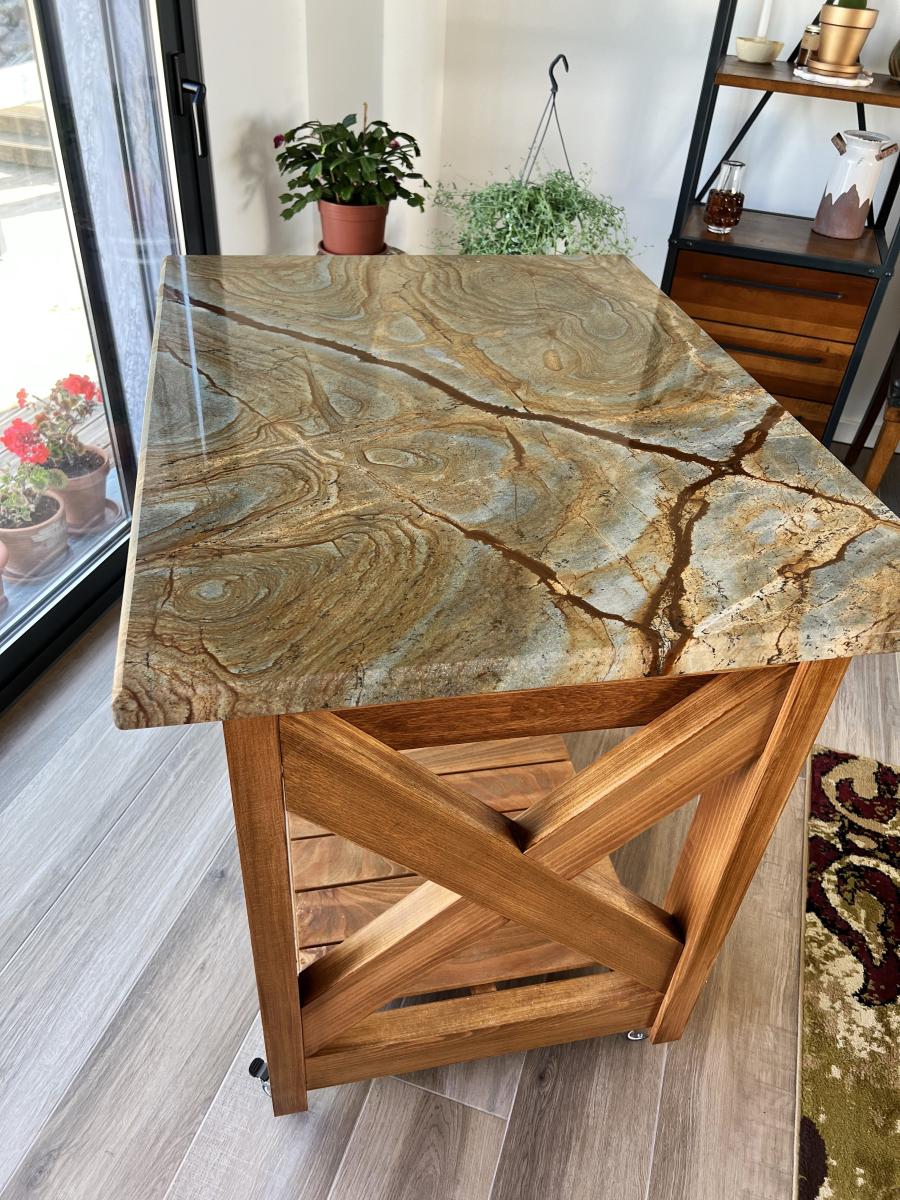
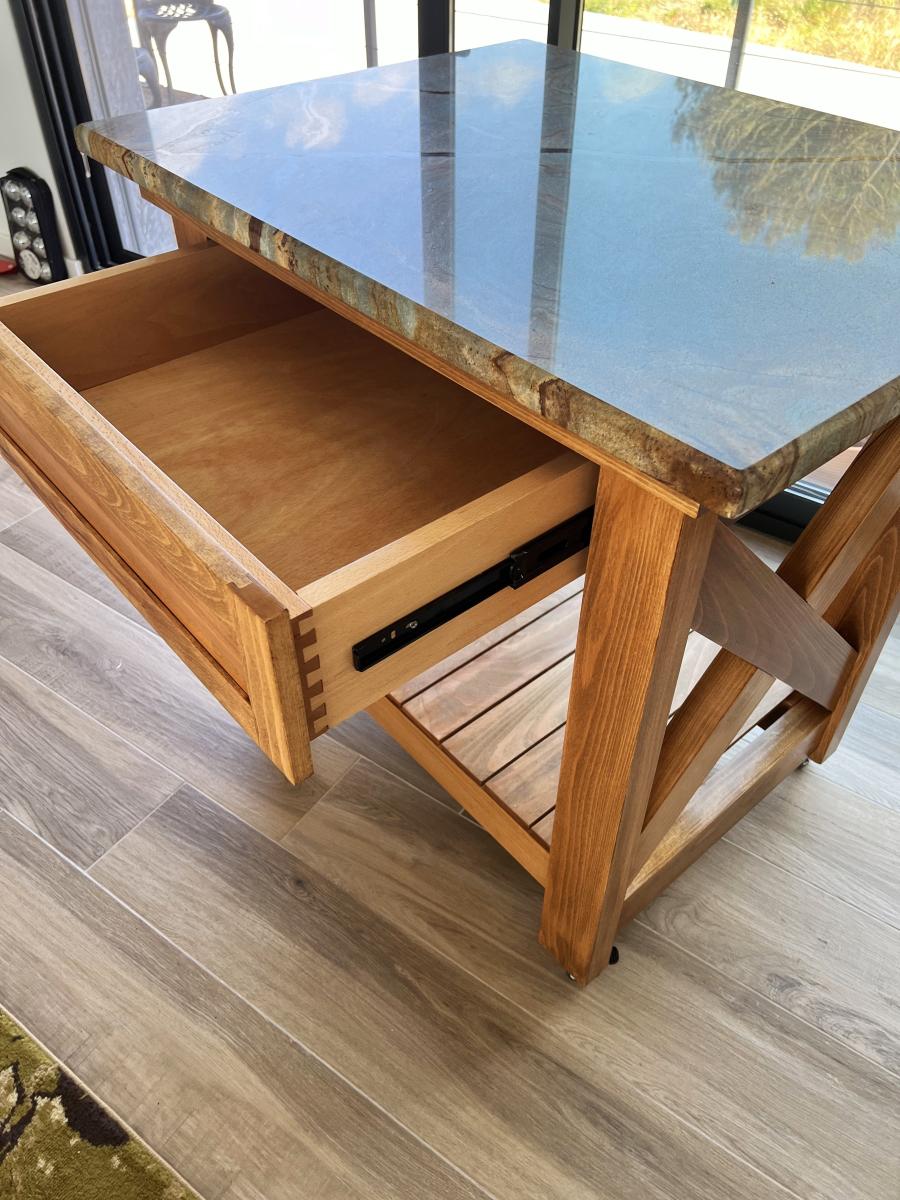
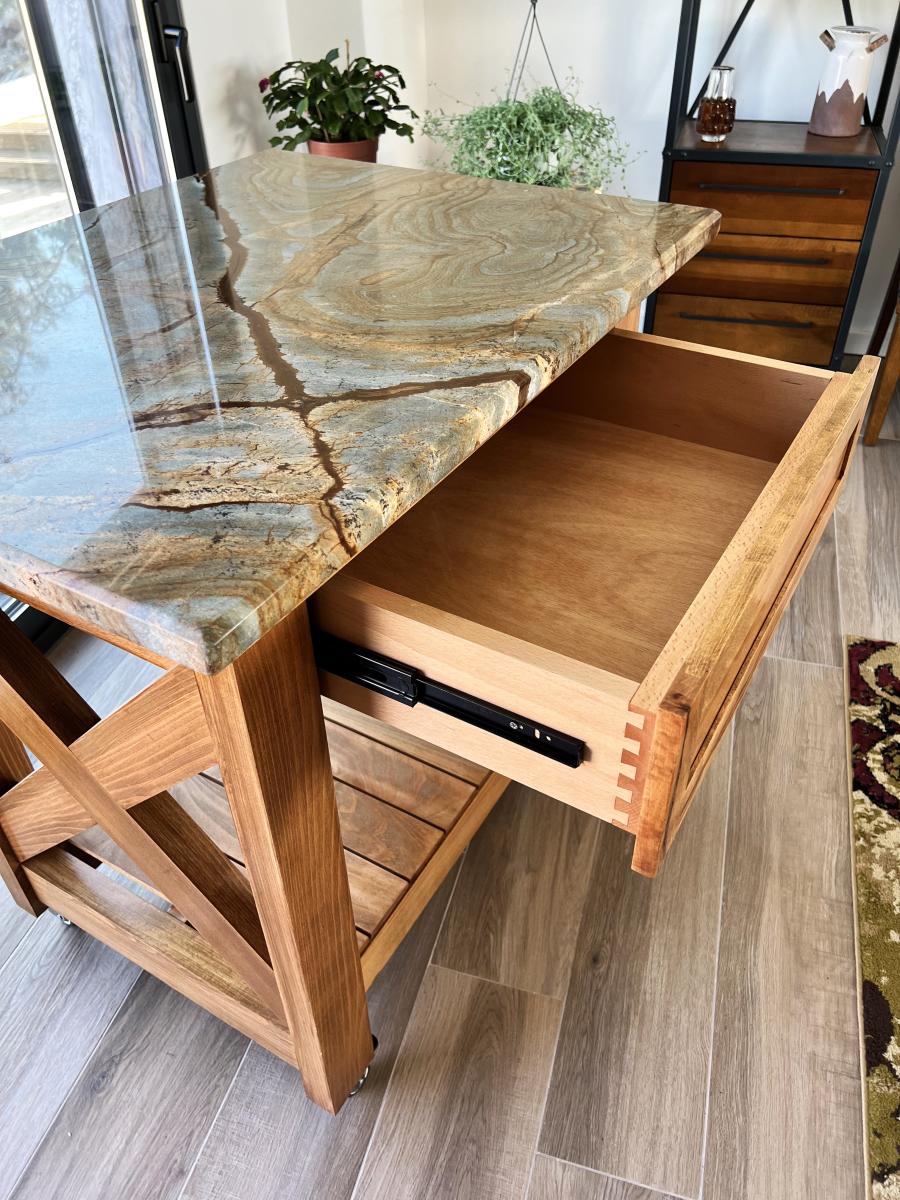
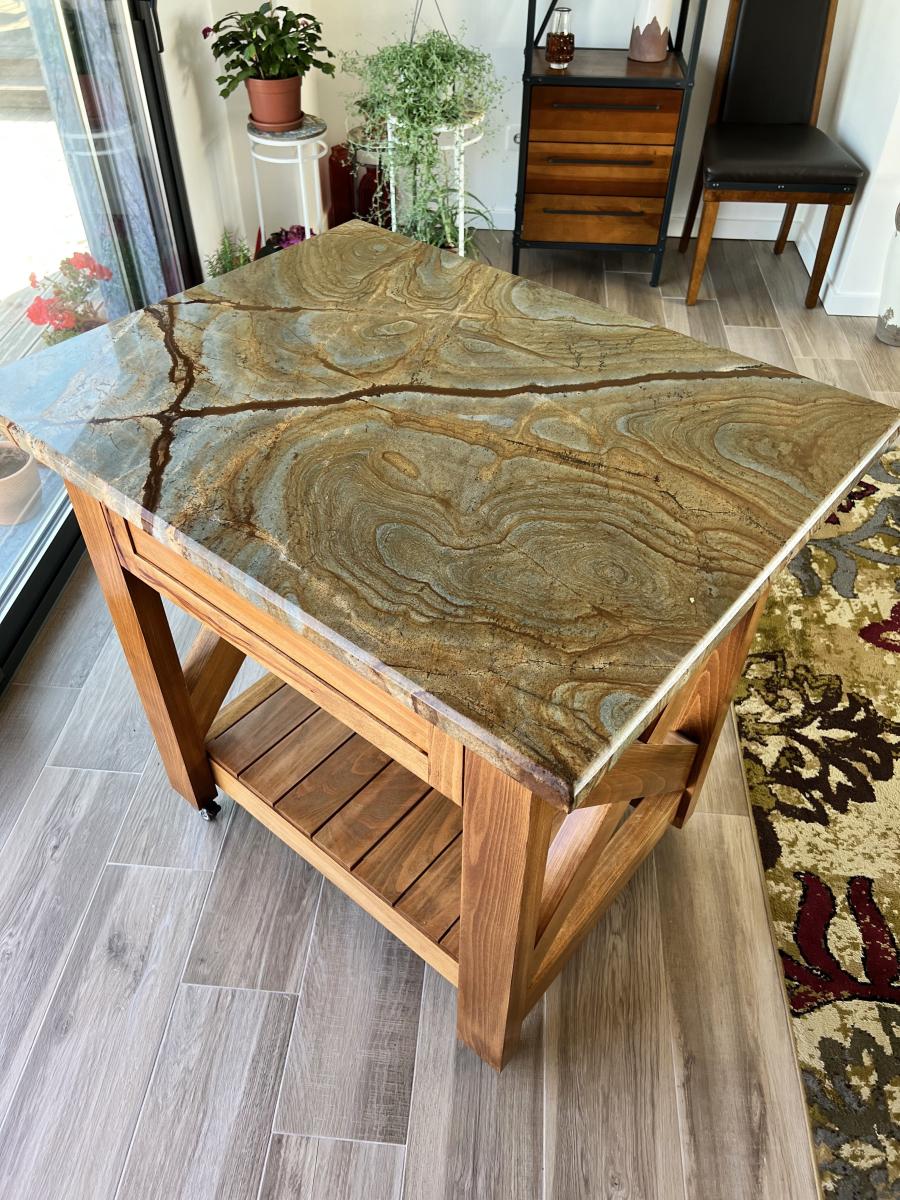
I made a few changes to the original plans for this island. I had to convert all measurements to metric to begin with. I live in Portugal and standard size woods, such as 2x4s are simply not available. I found a lumber yard that had some extremely nice German Oak which was a pleasure to work with. Although, this did add some weight to the finished project. All wood needed to be jointed and planed to ensure straightness. The "X" cross braces are full length. I used my router to remove half the thickness where they intersect so that they interlock with each other.
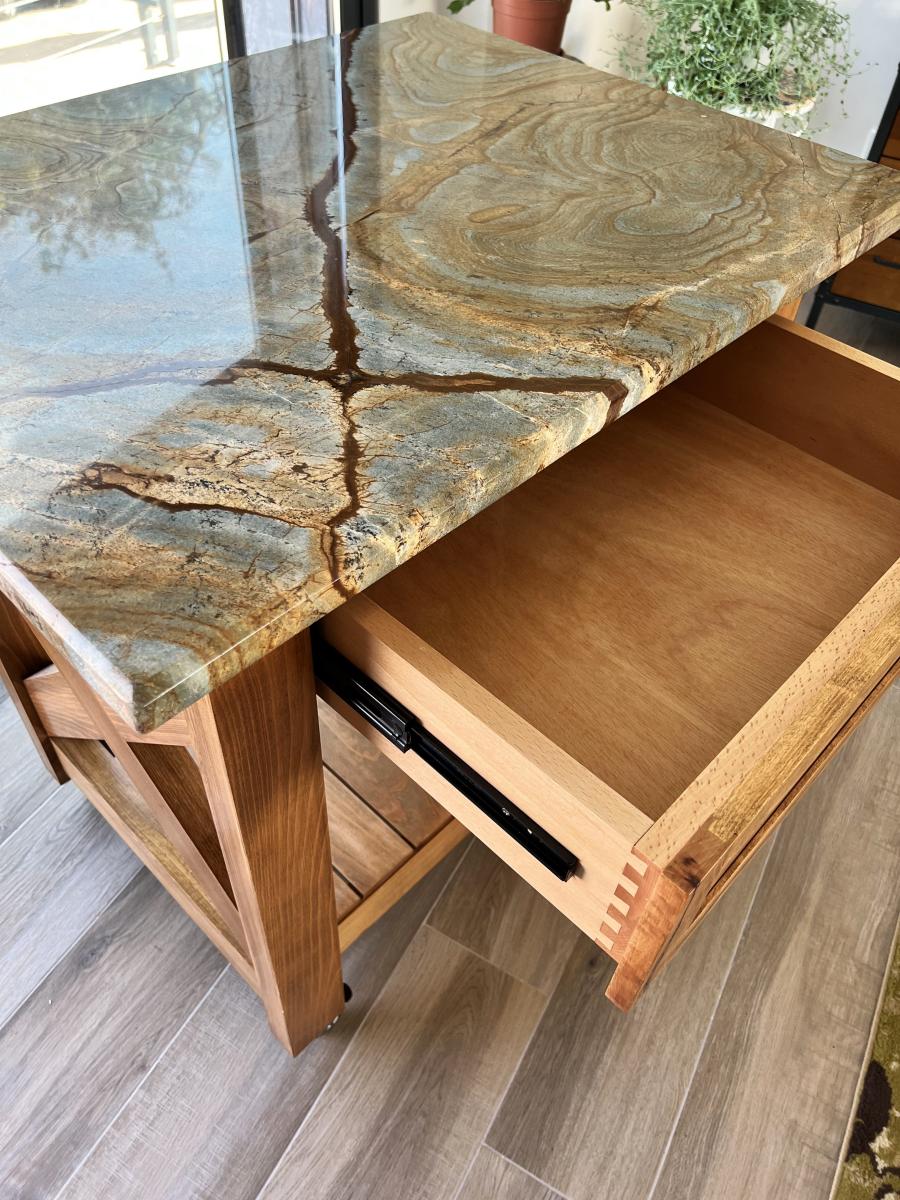
The granite top was a remnant we brought with us when we moved here and was sized and shaped previously. Instead of using pocket screws to join pieces together I opted for doweling all pieces and did not use screws at all, except when attaching the tracks for the drawer.
Fortunately, the overall plans did not require much alteration to accommodate the granite.
I would have liked larger wheels but these allowed for the island to match the countertop height in our kitchen.
Christopher Mathrusse
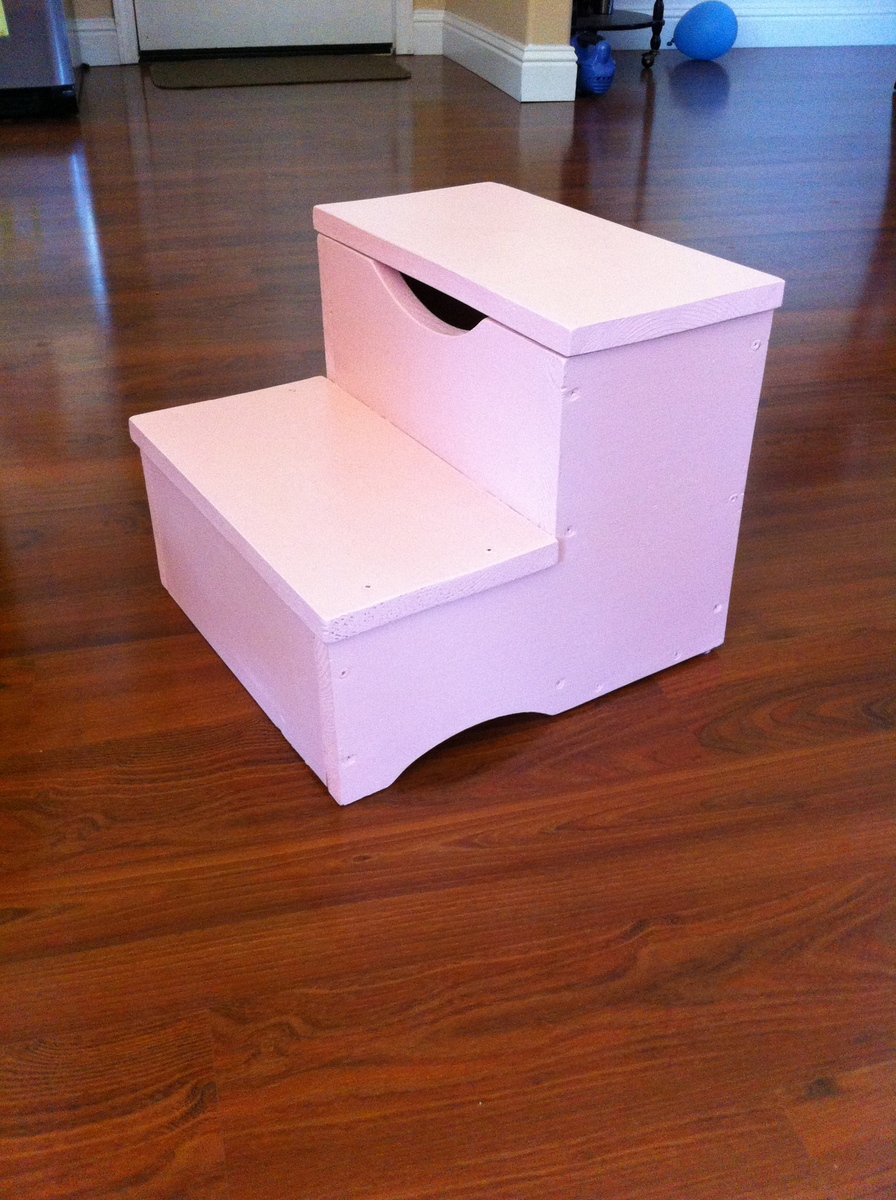
My first project from this site. My 3 year old daughter uses it every day. BTW...she picked out the color and she helped me paint it. gotta love pink?
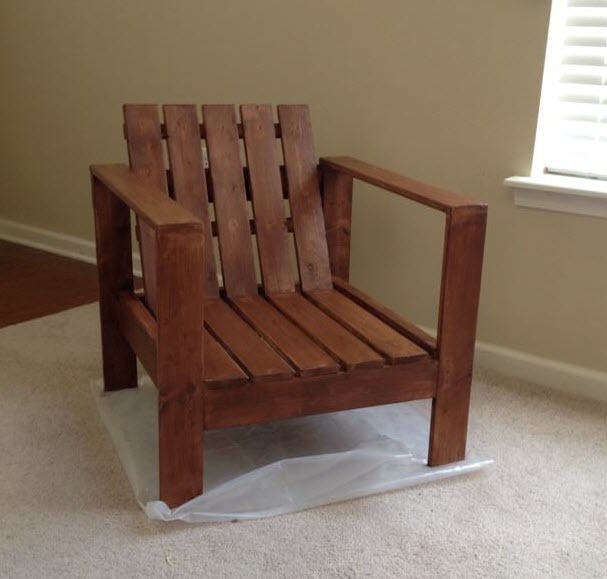
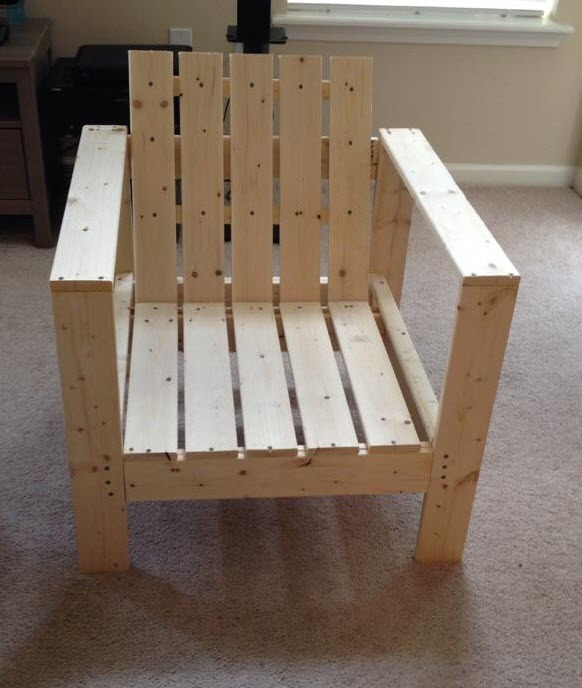
This was my first project from Ana's site. I wanted something simple and cheap to make, so all in all, this project was very simple.
I think I will paint instead of stain next time though as the quality of the wood I purchased from Home Depot wasn't the best.
Very happy with it though, and I'm planning on making more.
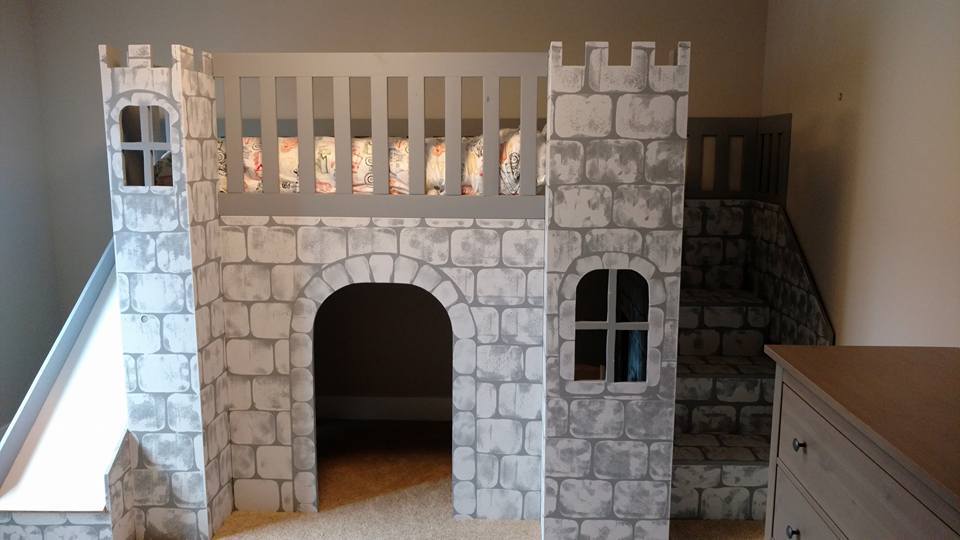
I had been searching for a loft bed for my son for some time but couldn’t find anything affordable until I stumbled across these great plans! I found the instructions to be very easy to follow (though I did spend a lot of time going over them first) and the cut diagrams were great to prevent waste. I also fell in love with hmkeith11 paint job which I copied as well. I used Behr paint in pencil sketch and just a large grout sponge to make the bricks. Super easy and turned out great.
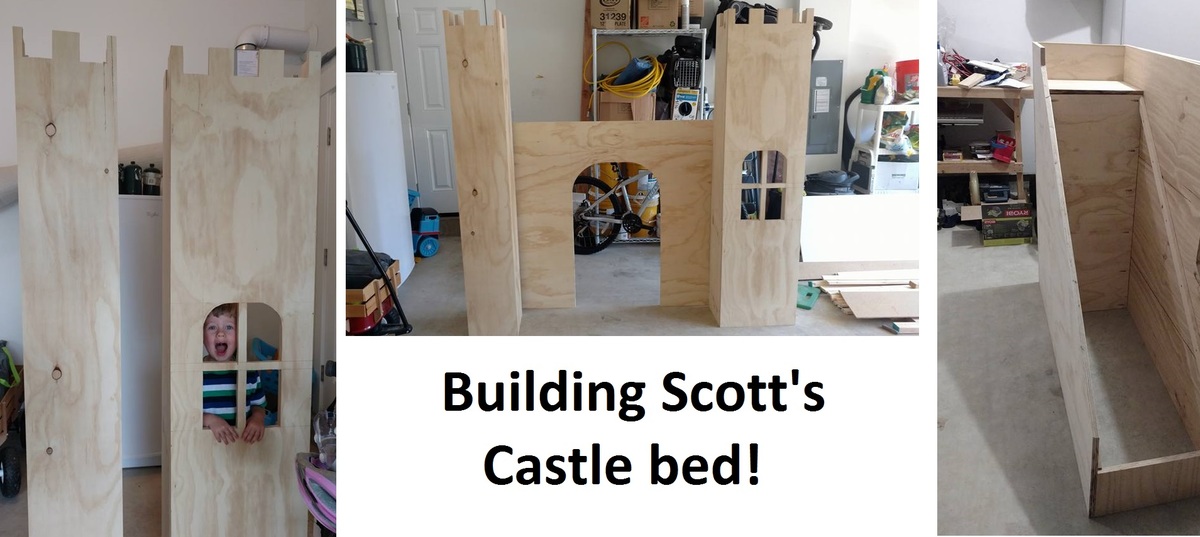
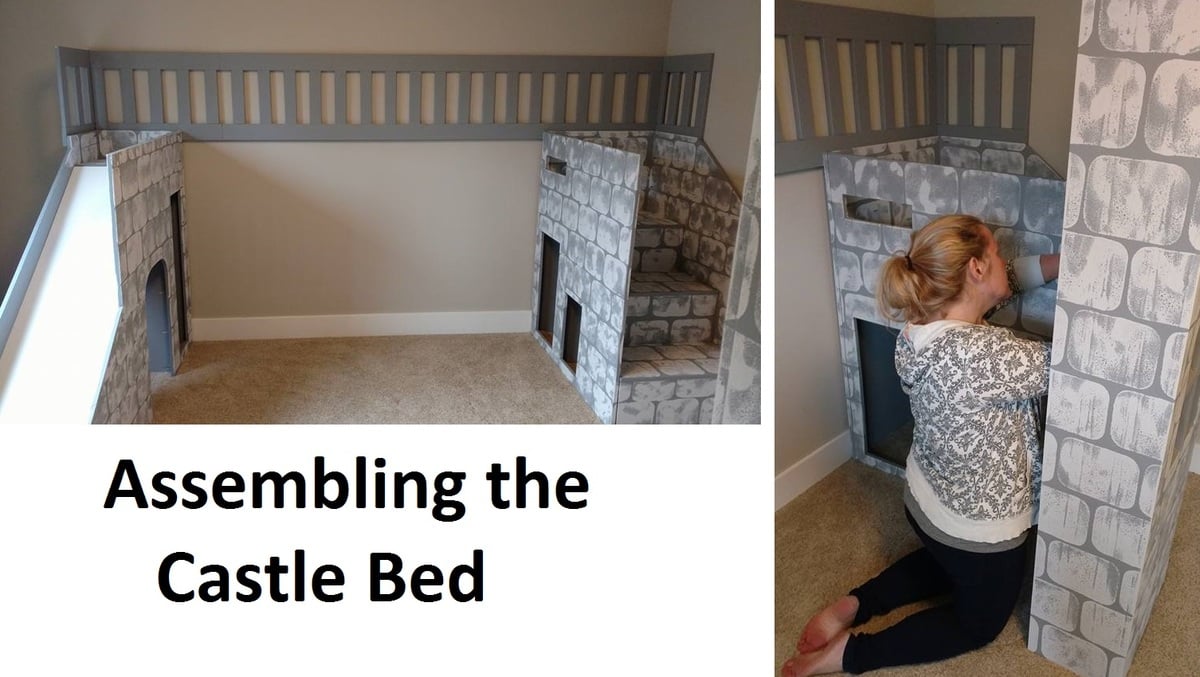
I made a few modifications to the plans. First I made the towers 6ft tall but did not change the height of the mattress platform. I also made the towers one piece and just cut the tops of them to get the “castle look”. I made the towers taller so the rail on the front would be bigger and allow for a more “secure” feeling when sleeping (and to ease my fears of two fearless boys jumping on the bed). I also eliminated the small front piece that connects the slide to the tower. I just made the front door panel longer and attached the slide right to the tower with a few screws. I like the look better and it eliminates a small rail at the top of this small panel giving it clean look (in my opinion). I also added a small door under the stairs since the wall was long enough in my son’s room. Its fun and adds a second exit point. Lastly, I modified the supports for the mattress based on some other brag posts feedback. I rested the support beams on the plywood sides and added a third beam and 2 beams going across tied into the wall studs and the front door panel. I wanted to feel 100% sure my very active kids couldn’t bring this bed down. I also added a piece of plywood on top of the bed supports since we have memory foam mattress, this gave the mattress the correct support it needs.
This was by far the biggest woodworking project I have ever taken on. It took me 2 months of working just weekends for only a few hours a day and some evenings after my kids went to sleep. Perfect size project for me. I’m also a short female, so go for it moms! You can do it!
I had also never cut such large pieces of plywood and didn’t know how to get my cuts straight. I found out how to make a skill saw guide and boom! Problem solved. Just buy a piece of Masonite, rip a 4 inch piece then glue it down on the other piece with the manufacture straight edge pointing in and you got yourself a guide for straight cuts! Here is a link: http://www.provenwoodworking.com/woodworking-saw.html
My son is thrilled with his bed and it was a great challenge to build!

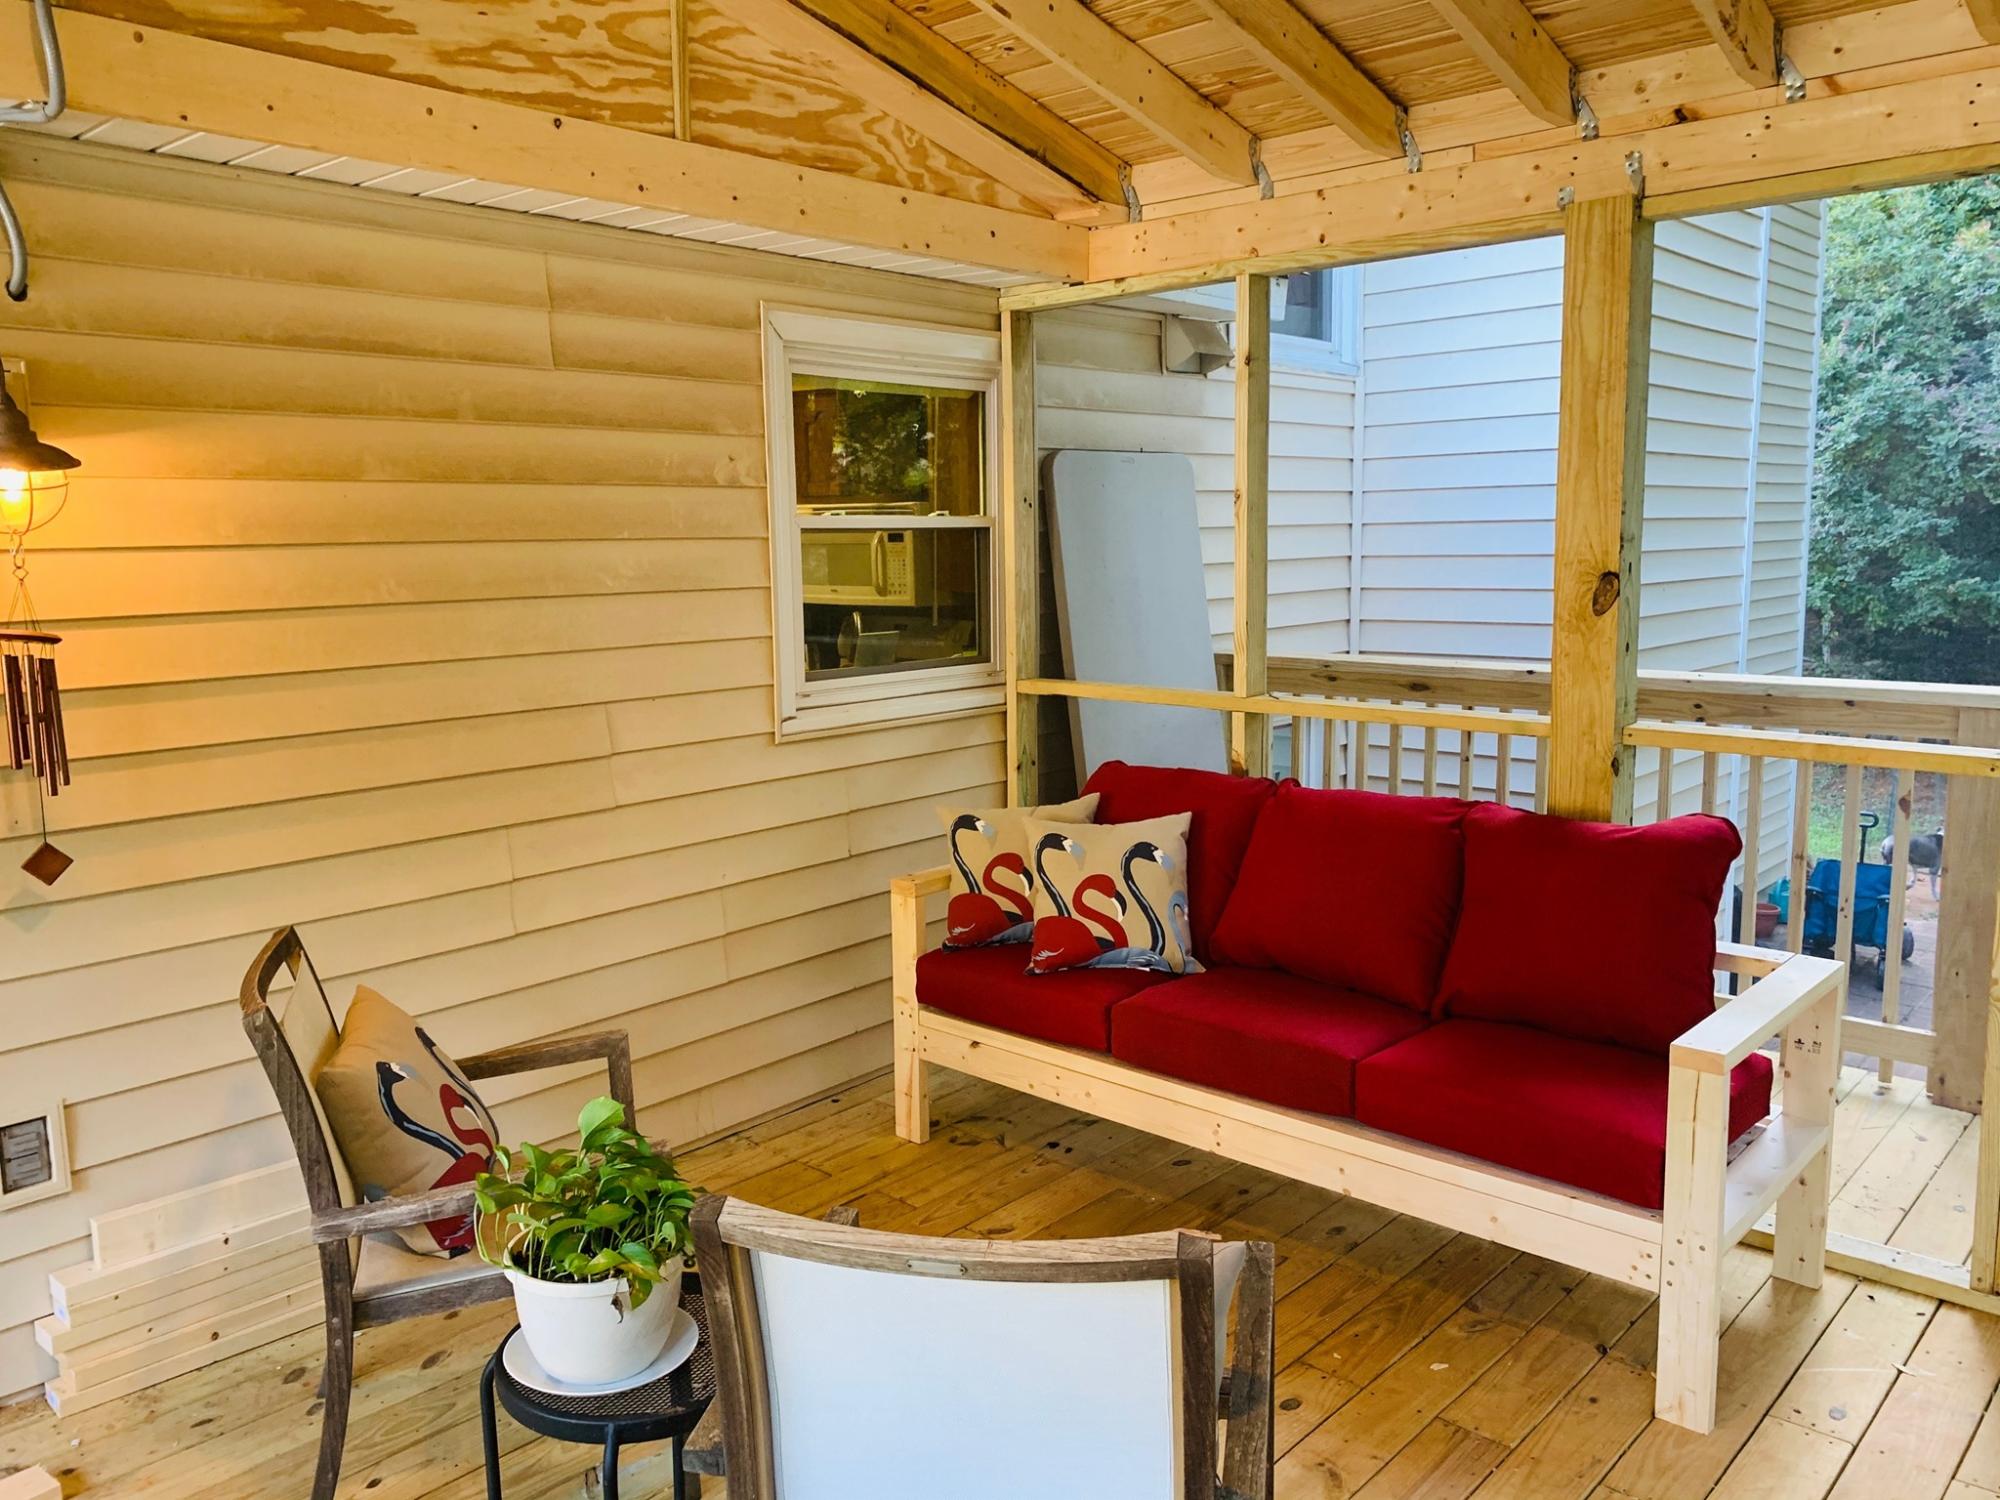
Followed the plan exactly. Added an extra 6 foot board across the back for better pillow support. Got the 24" cushions from the big box store. With one extra 8 foot board + left overs, I have enough to make a modified, small 34"x17" coffee table from the 2x4 plans linked below, which is perfect for the space I need. Will add a photo for that when I'm done.
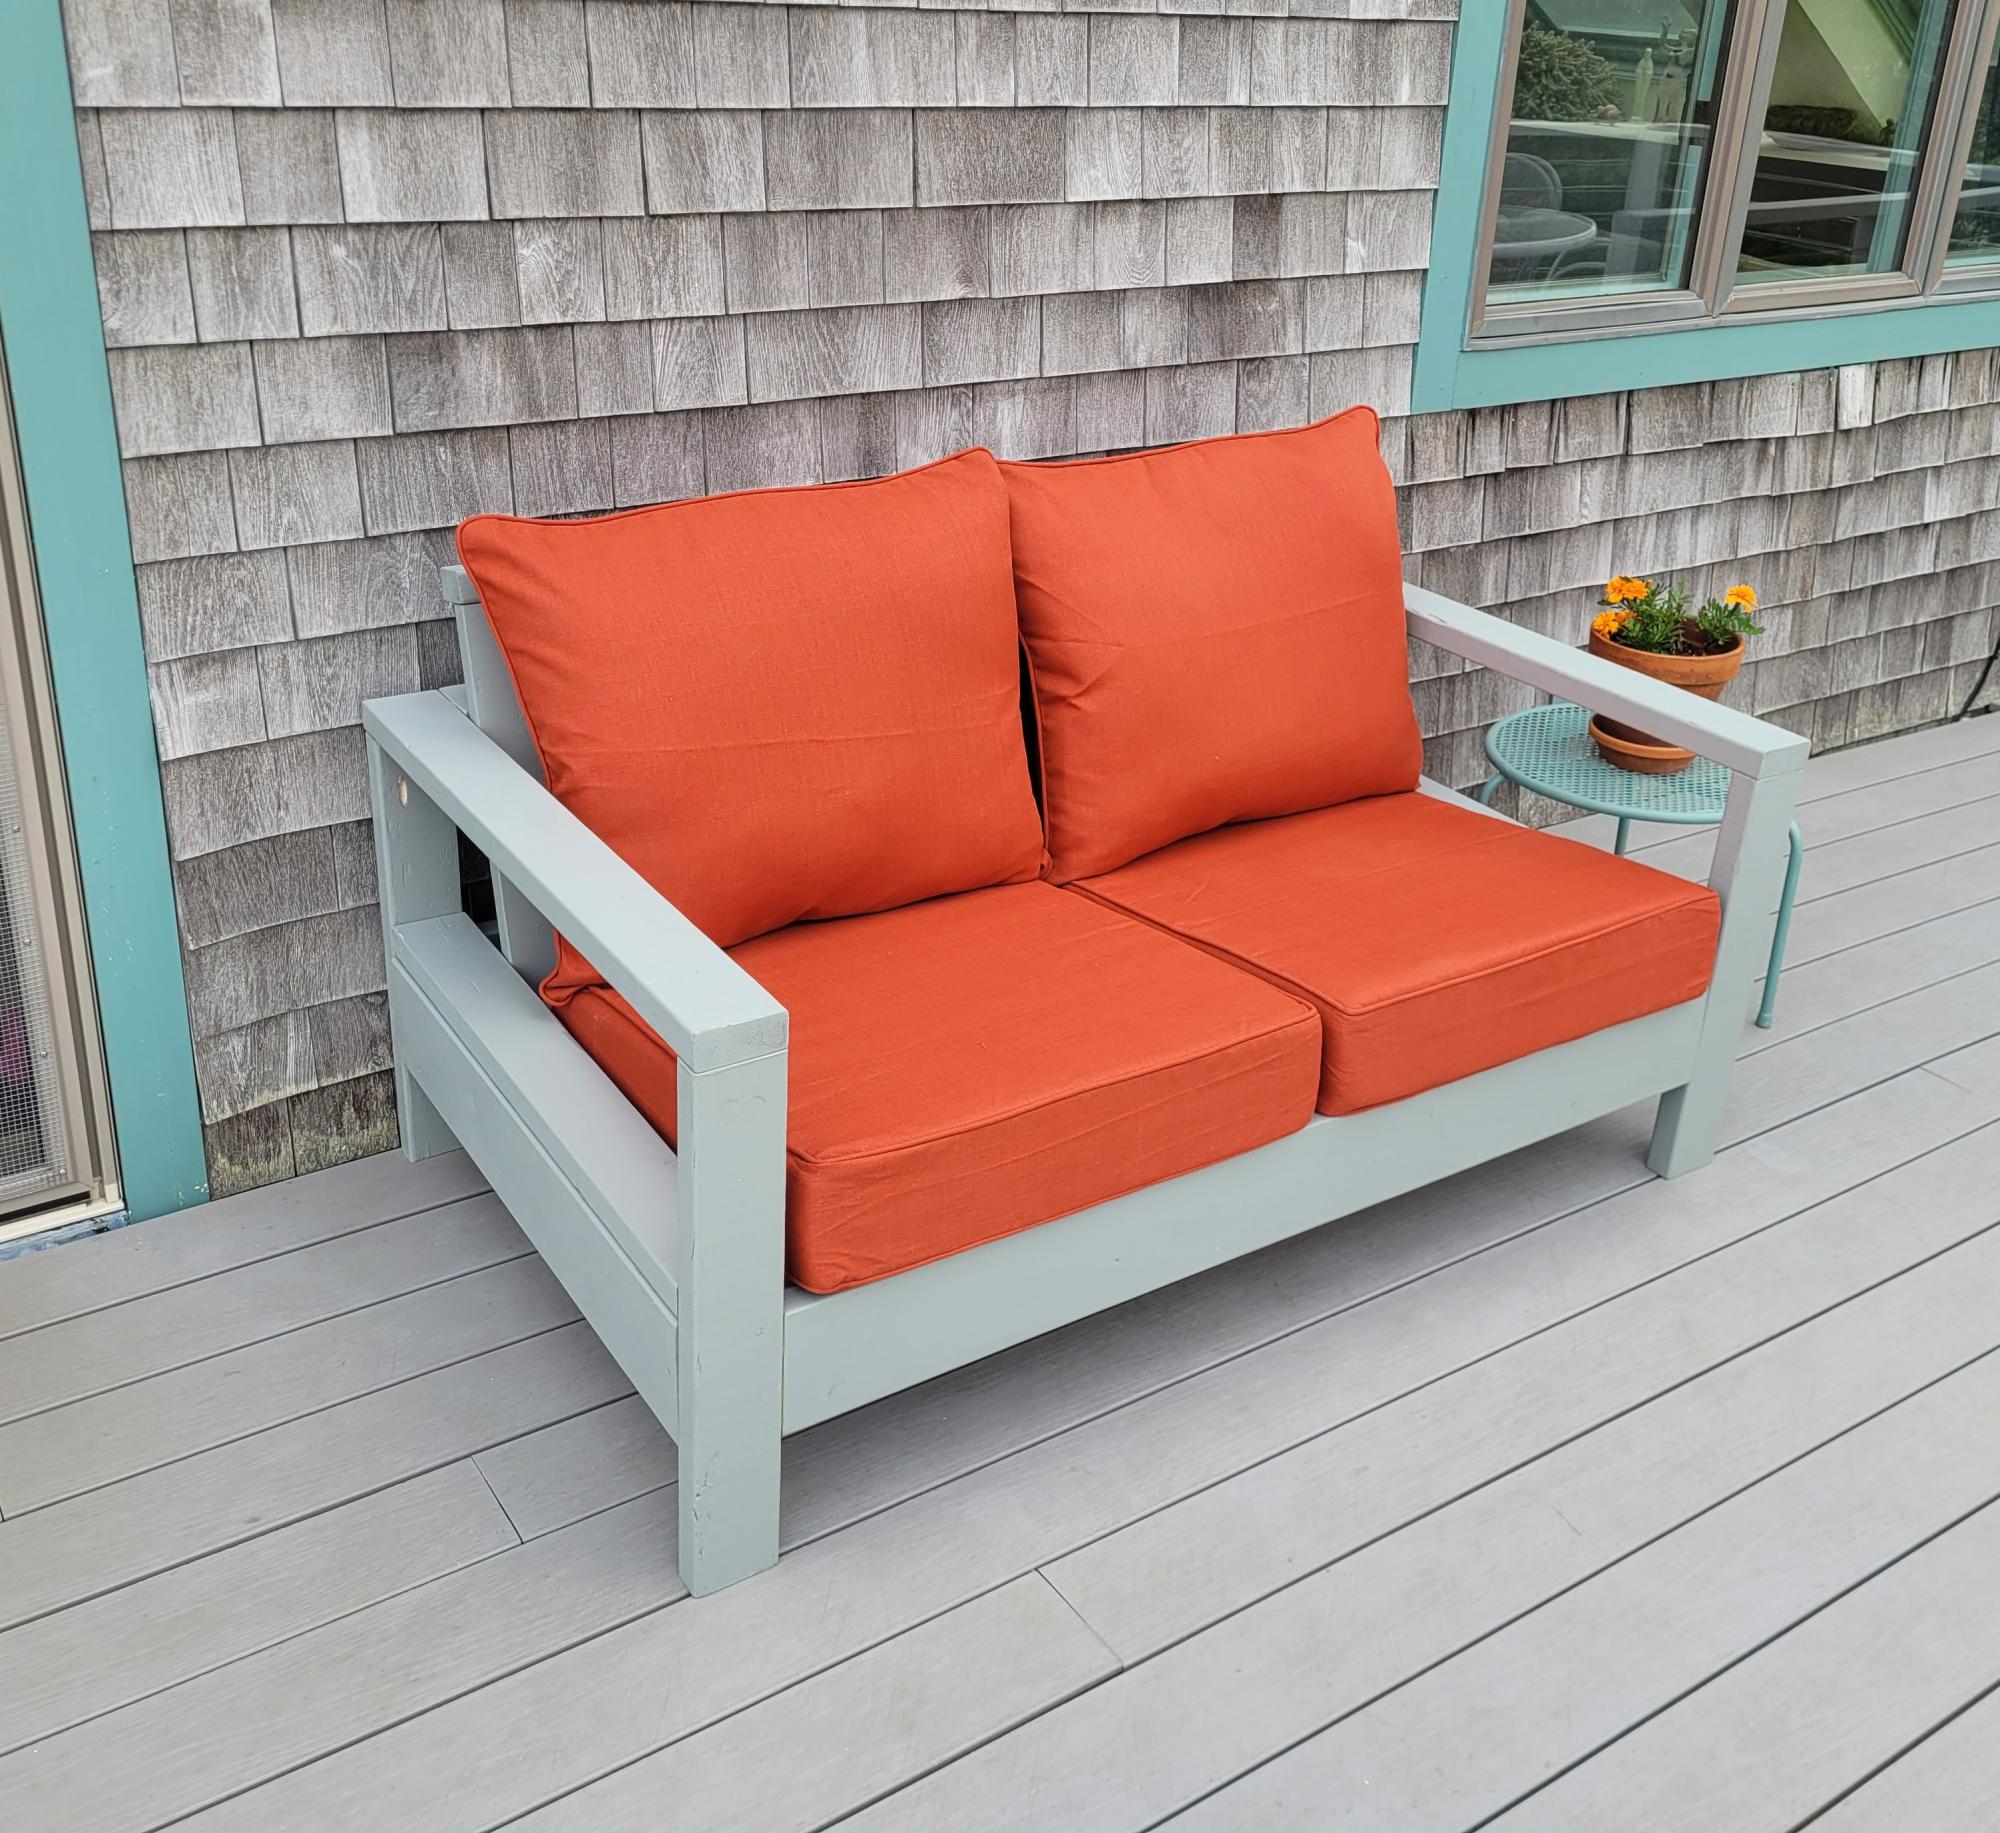
My first time building anything. Came out great. Thanks for the great instructions!
Annie K
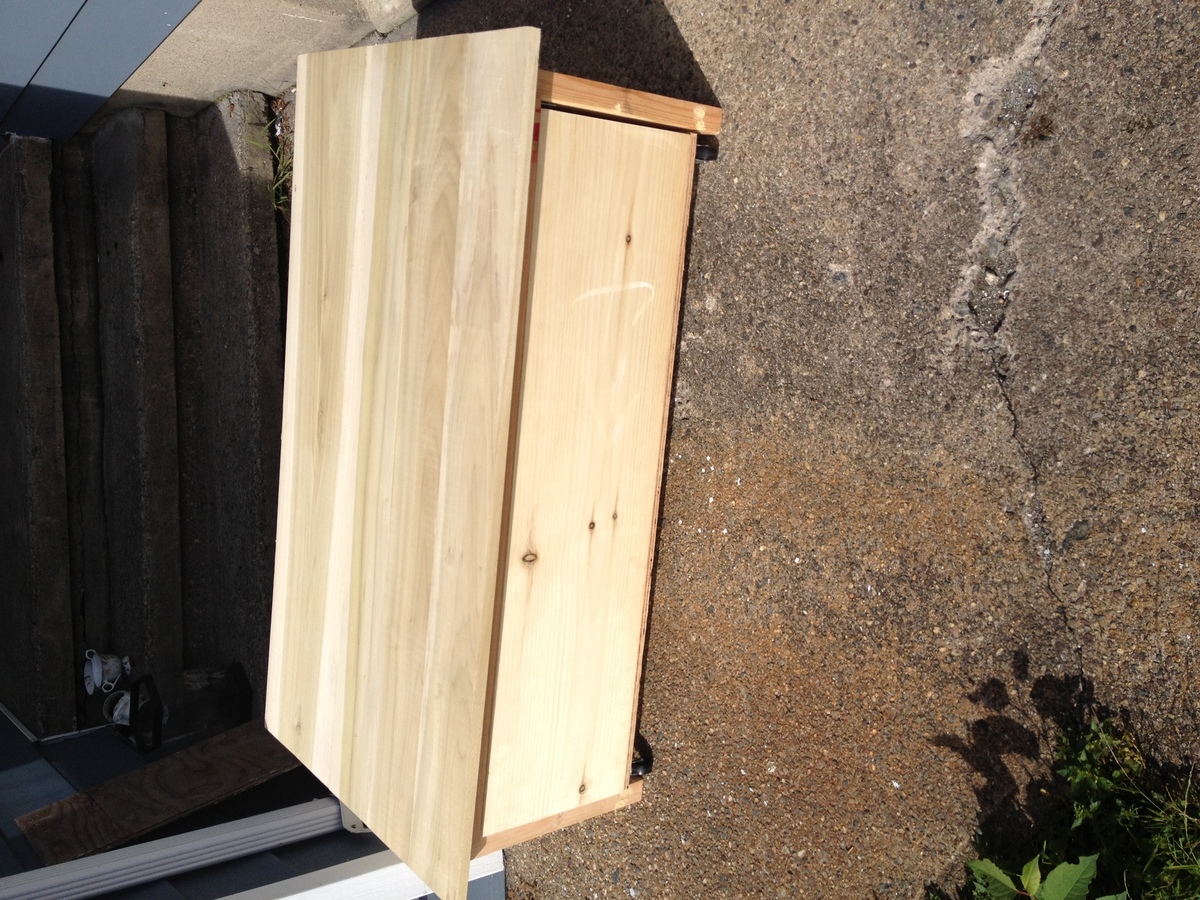
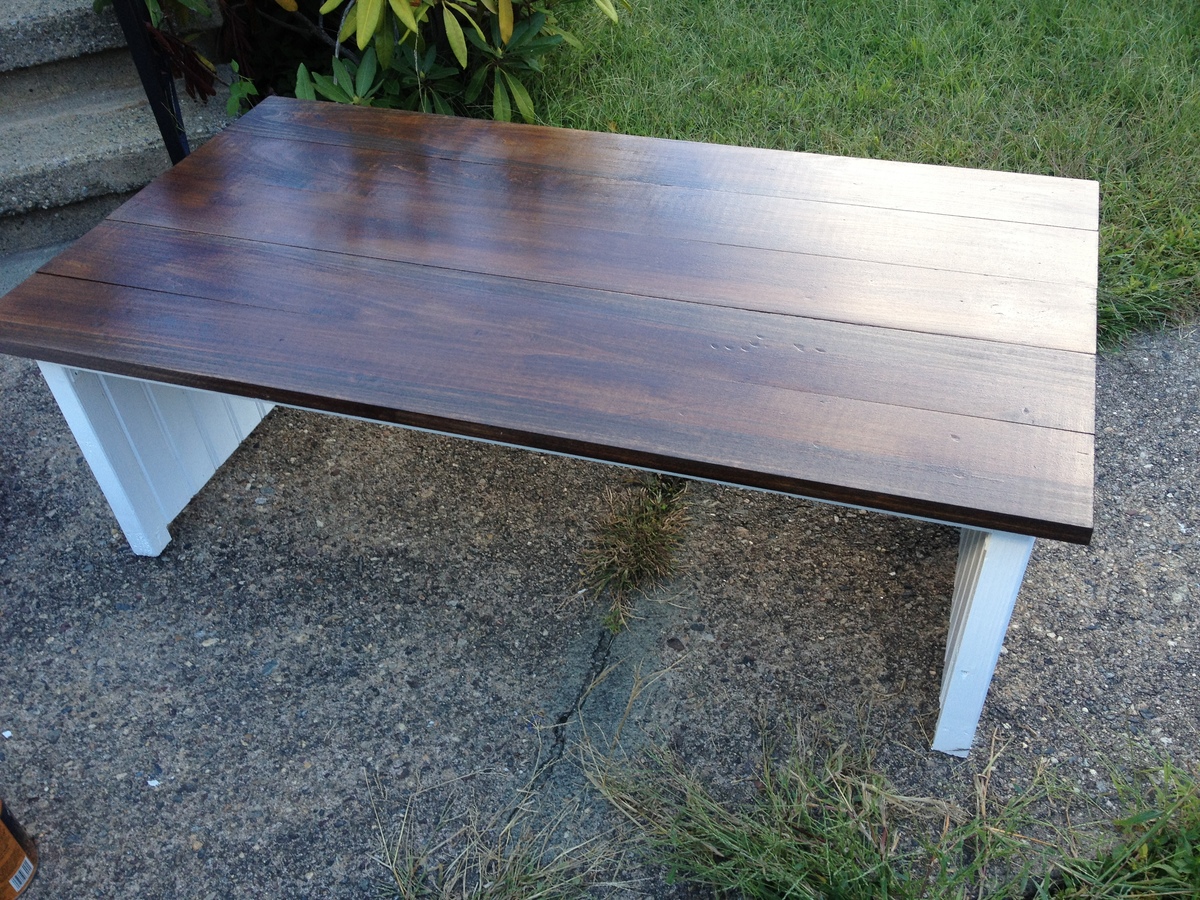
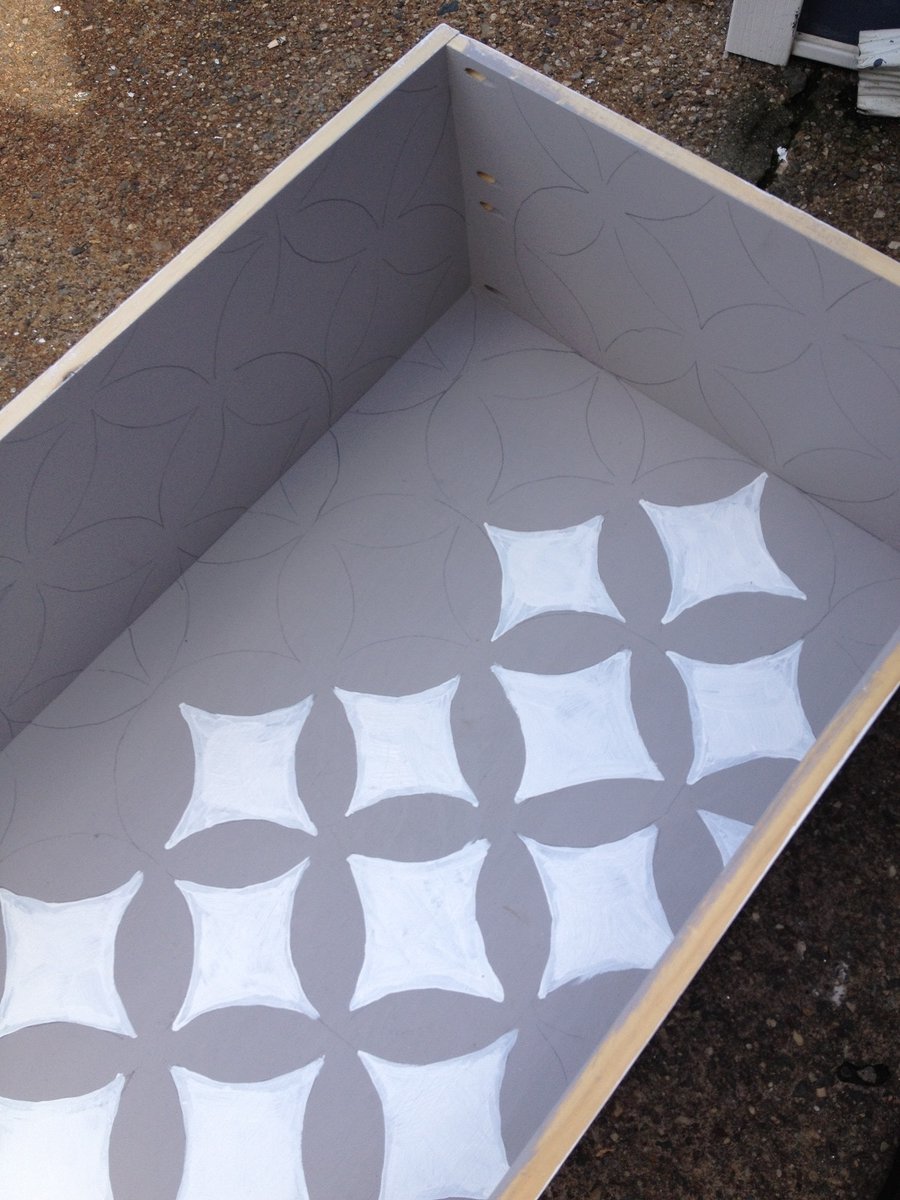
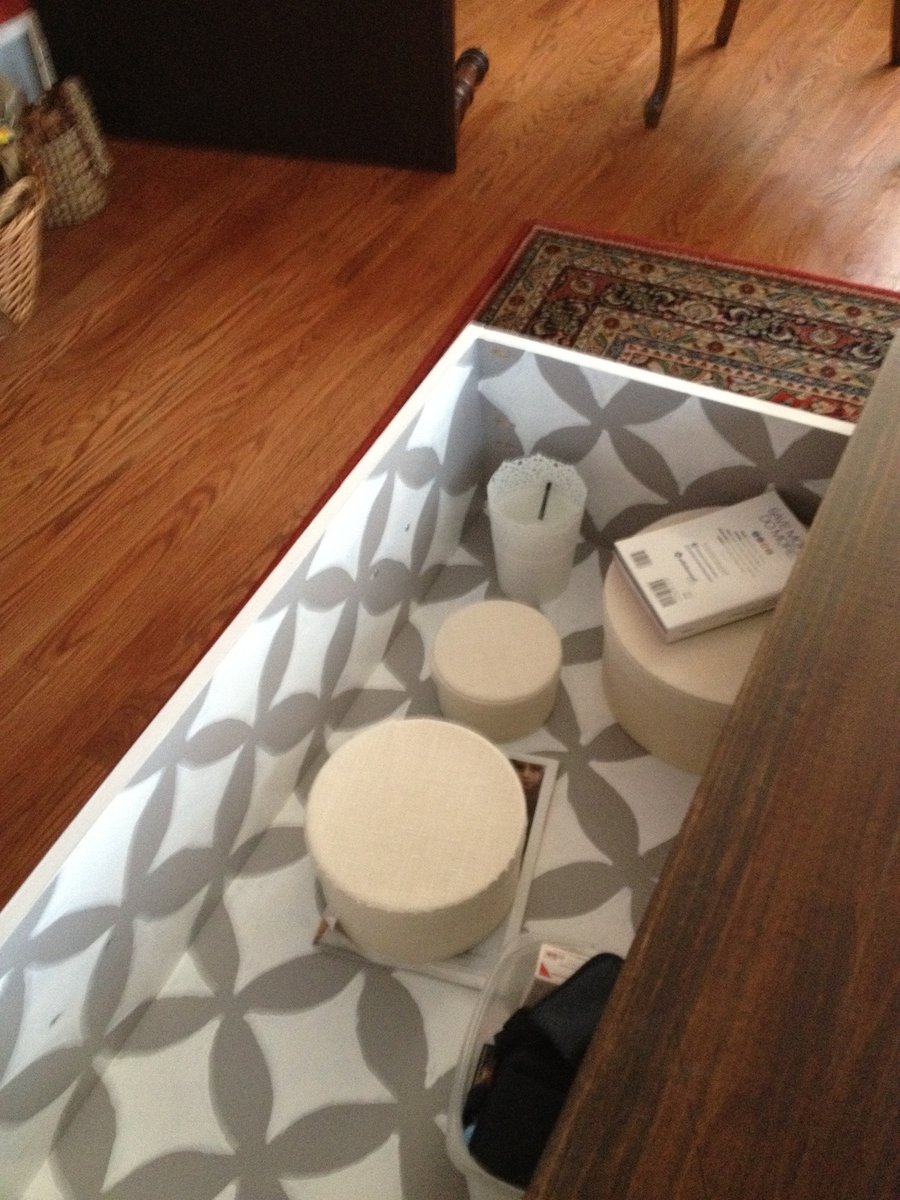
I love the 20 second tidy up coffee table, and thought it would really help with our living room storage issue. I stenciled the inside for a cool look and added some handles from Martha Stewart that I found at Home Depot. I built the base and sides out of #2 pine, and made the top of Poplar for more long lasting durability (though it did bump up the price a lot!) I am so happy I spent the money on the Kreg drill system, it really made things so much easier. This was my first building project, but I think it turned out really well!
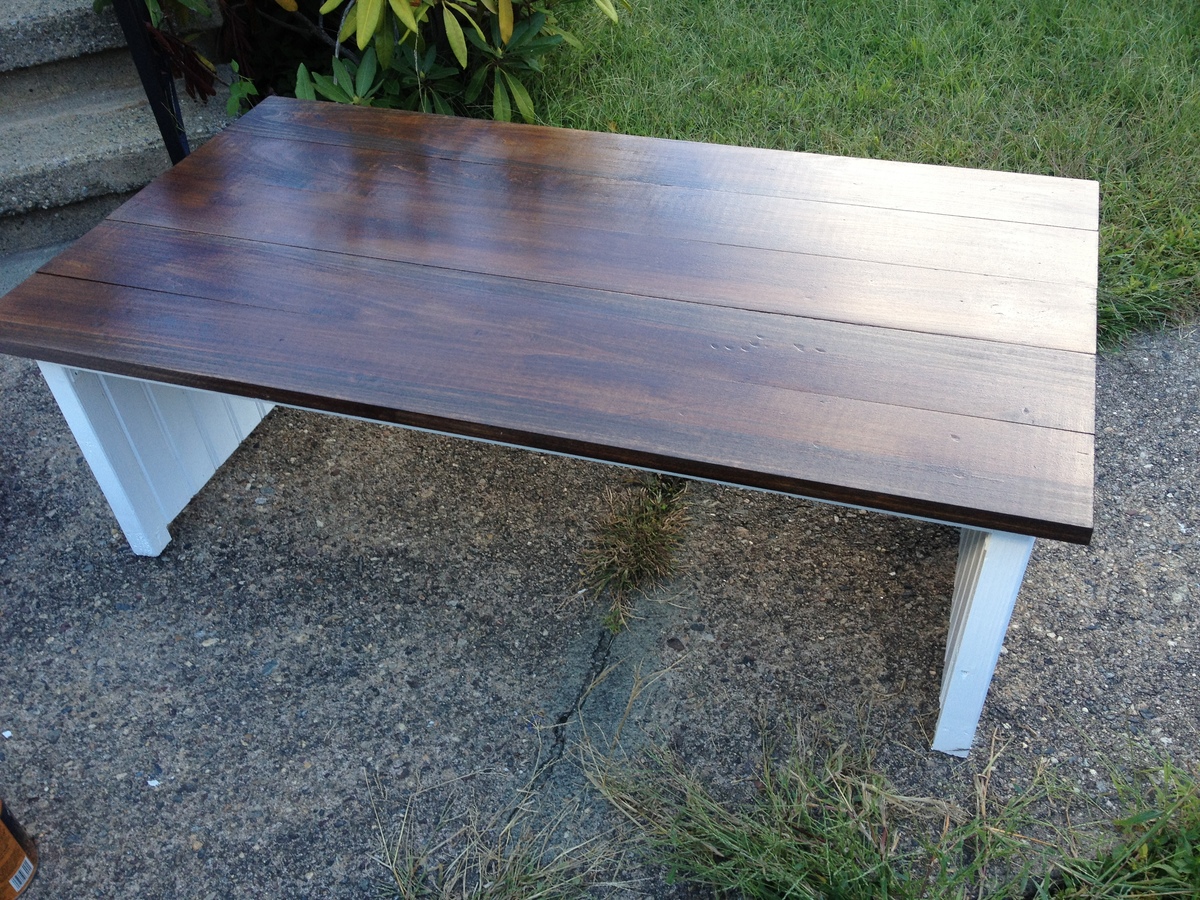
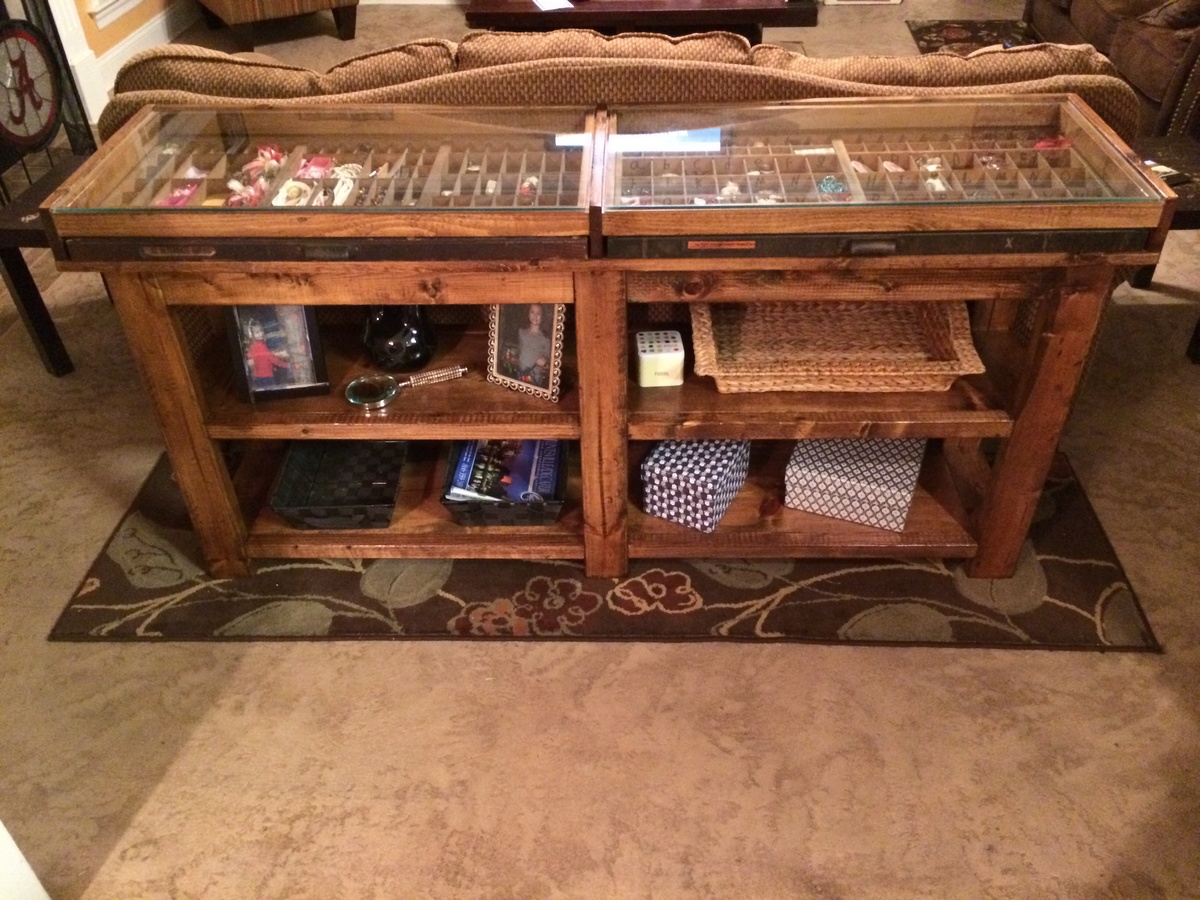
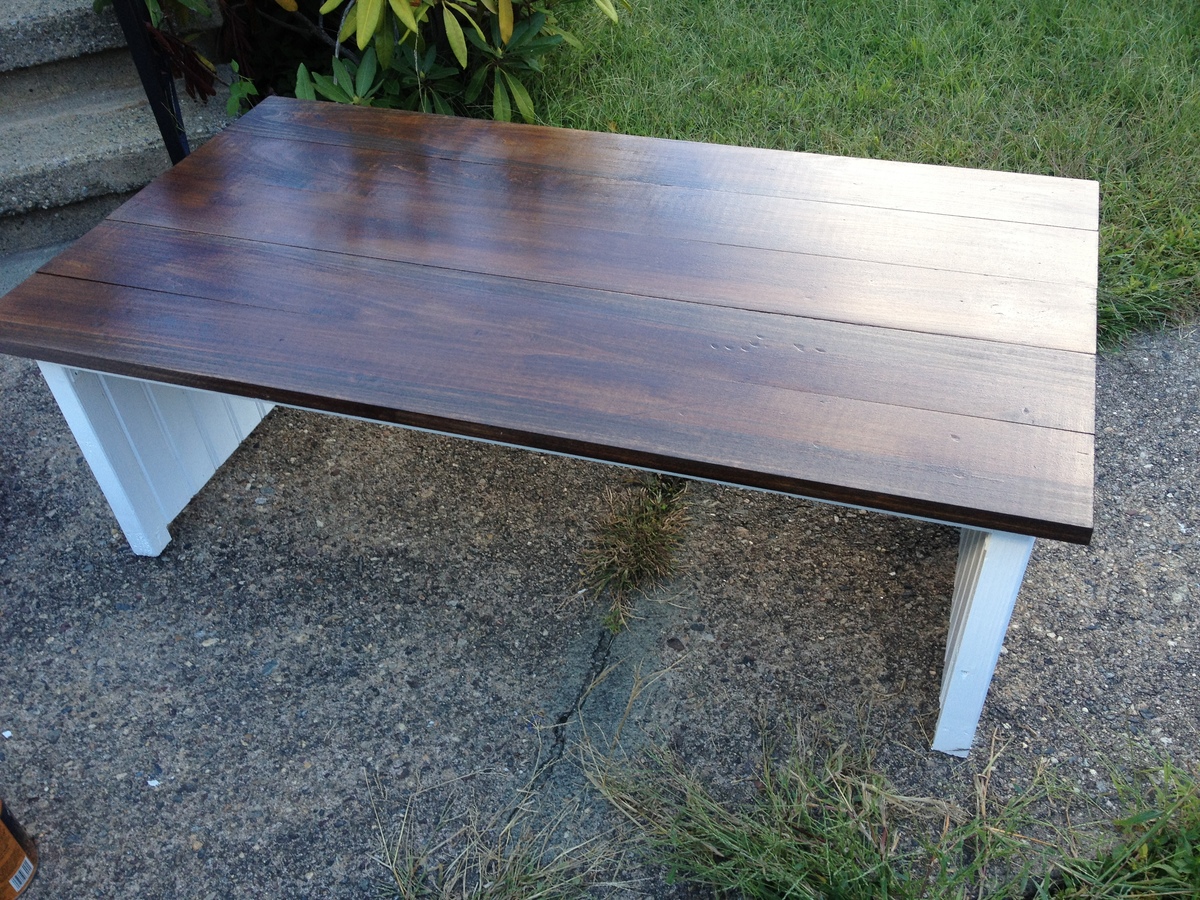
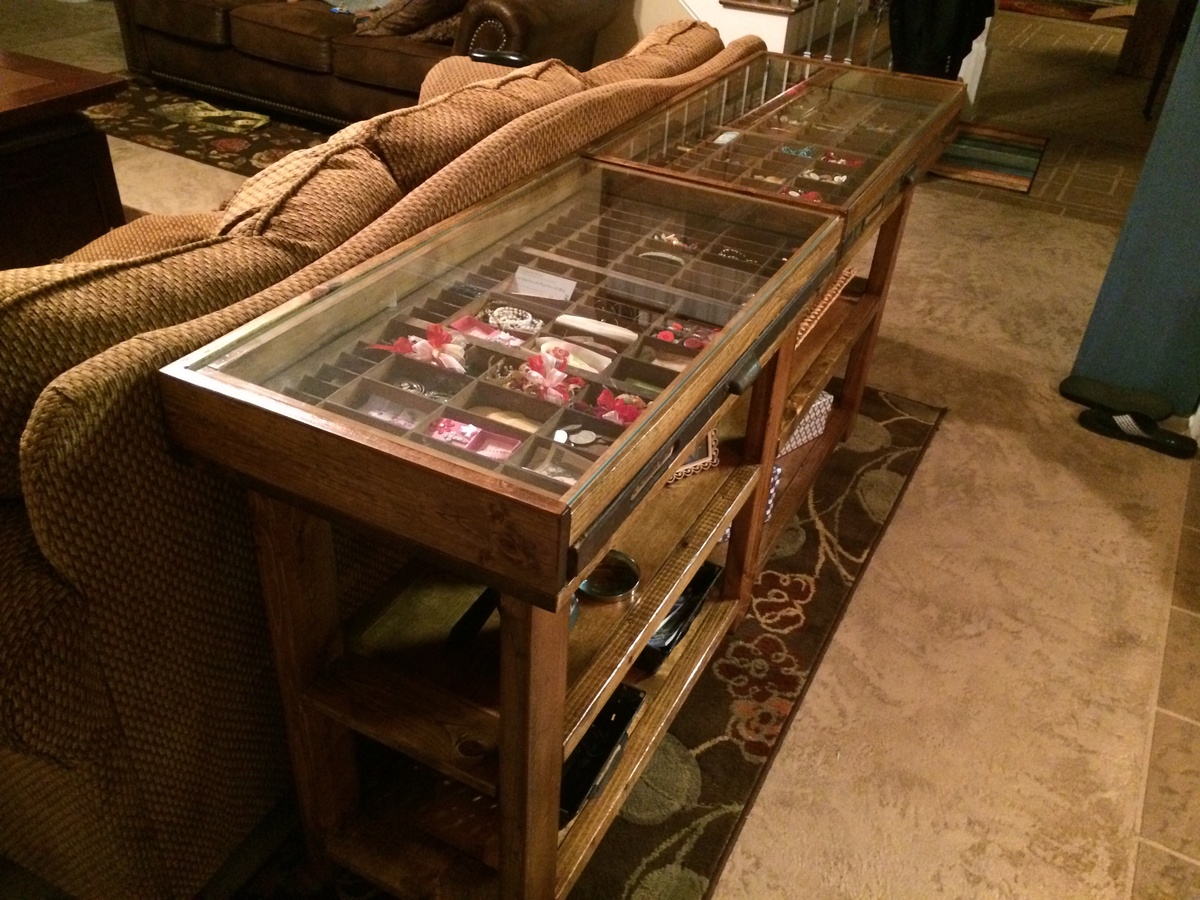
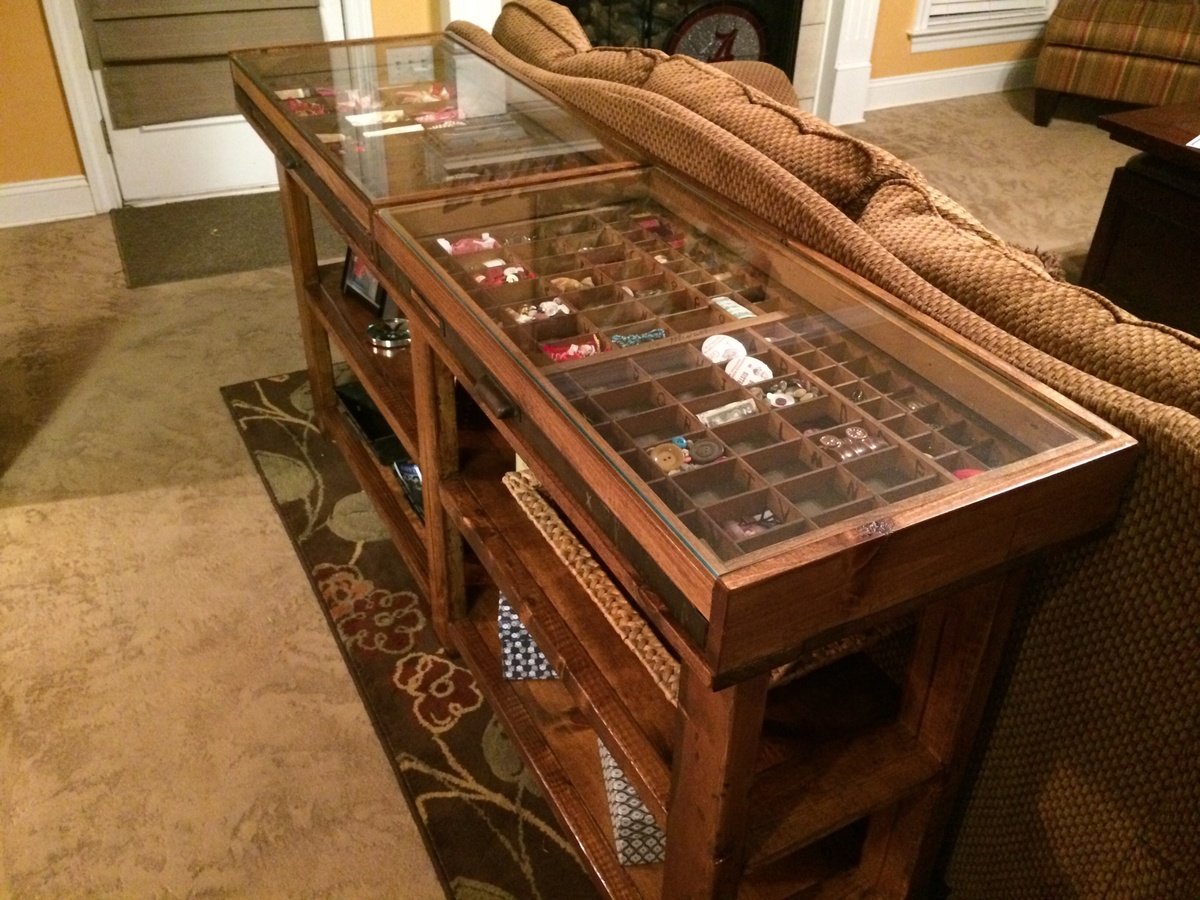
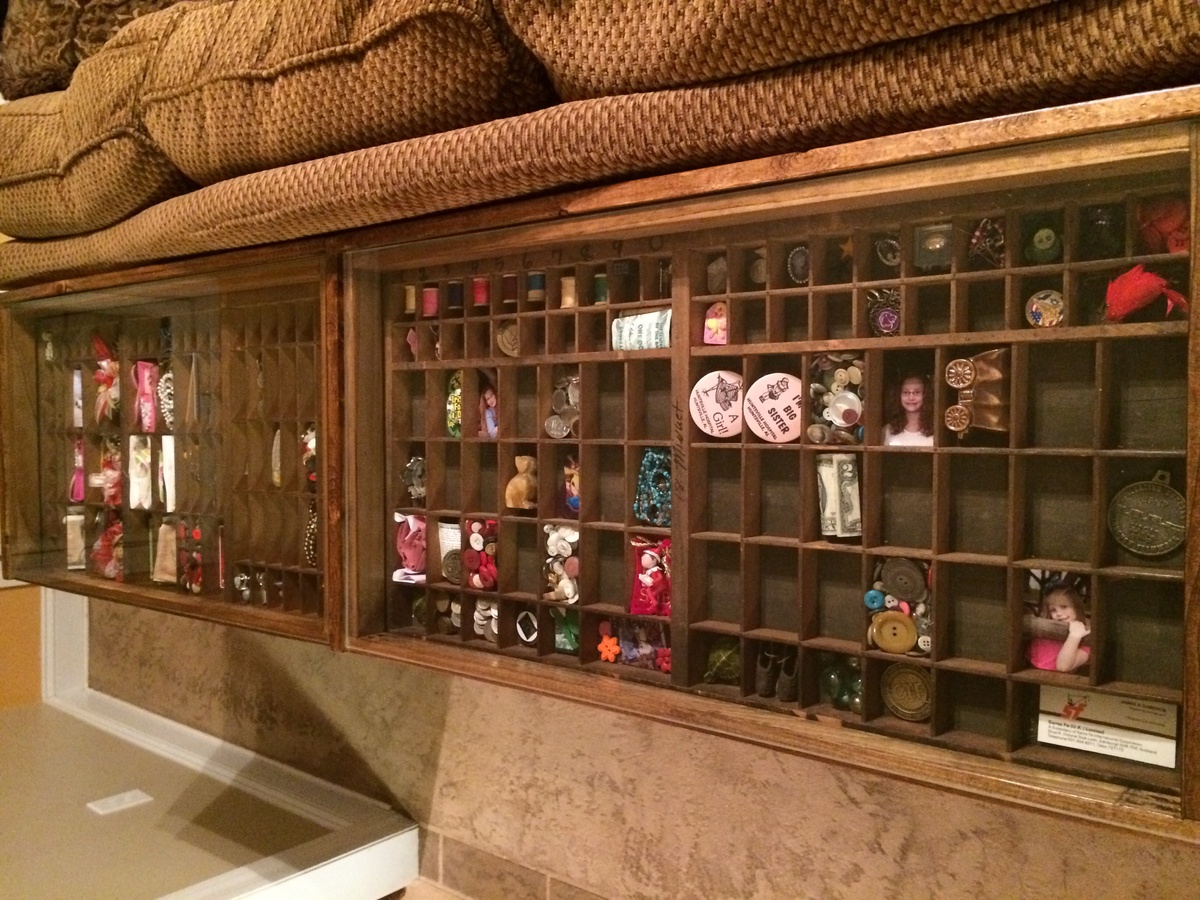
My wife had purchased a few antique printing press trays a few years ago to use to display family keepsakes. She also wanted a sofa table for the Living Room so I combined the two concepts into one table. I used the Rustic X Console table concept and modified it to fit my space and added the drawer compartments for the trays to slide into. I added two glass pieces to the top and there you have a sofa/display table. I used pine boards, hammer to distress the piece, Early American stain and a couple of coats of poly for the finish. The glass pieces we the biggest expense at $50. The table itself was built for around $55 before the glass was added.
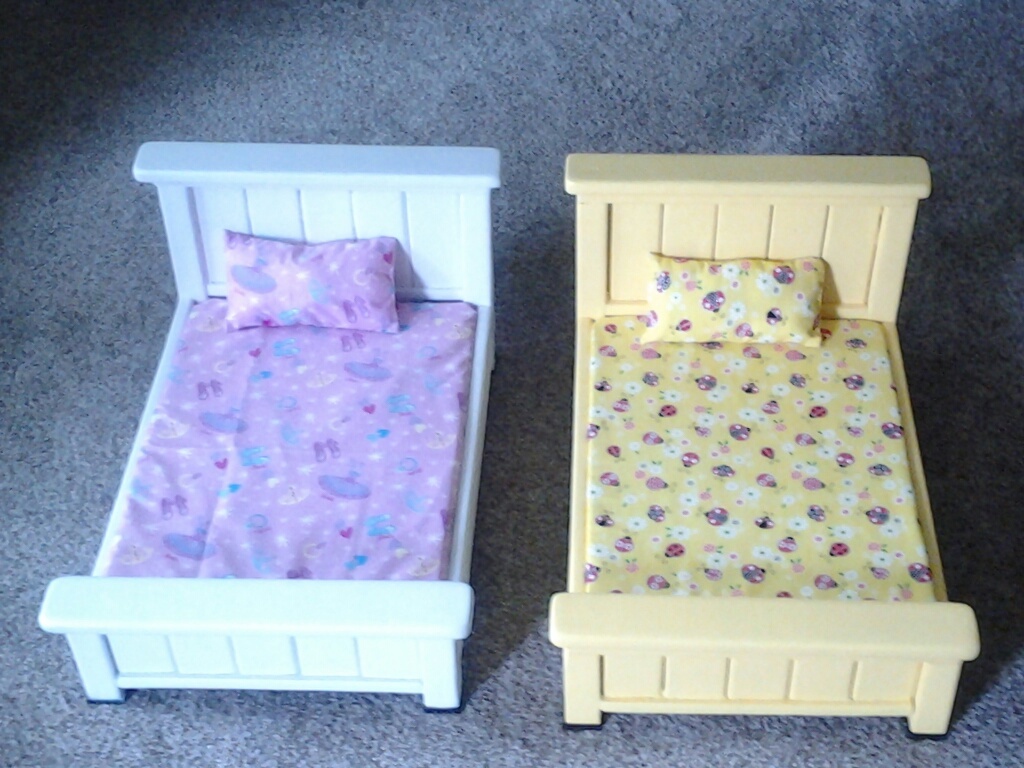
Eaasy to build. Just measure the wood. I used My finish nailer and pocket hole screws and counter sunk wood screws. I used 1/8 piece masonite instead of the plywood. My wife also knited blankets and my mother made the mattress and pillows. They just loved them.
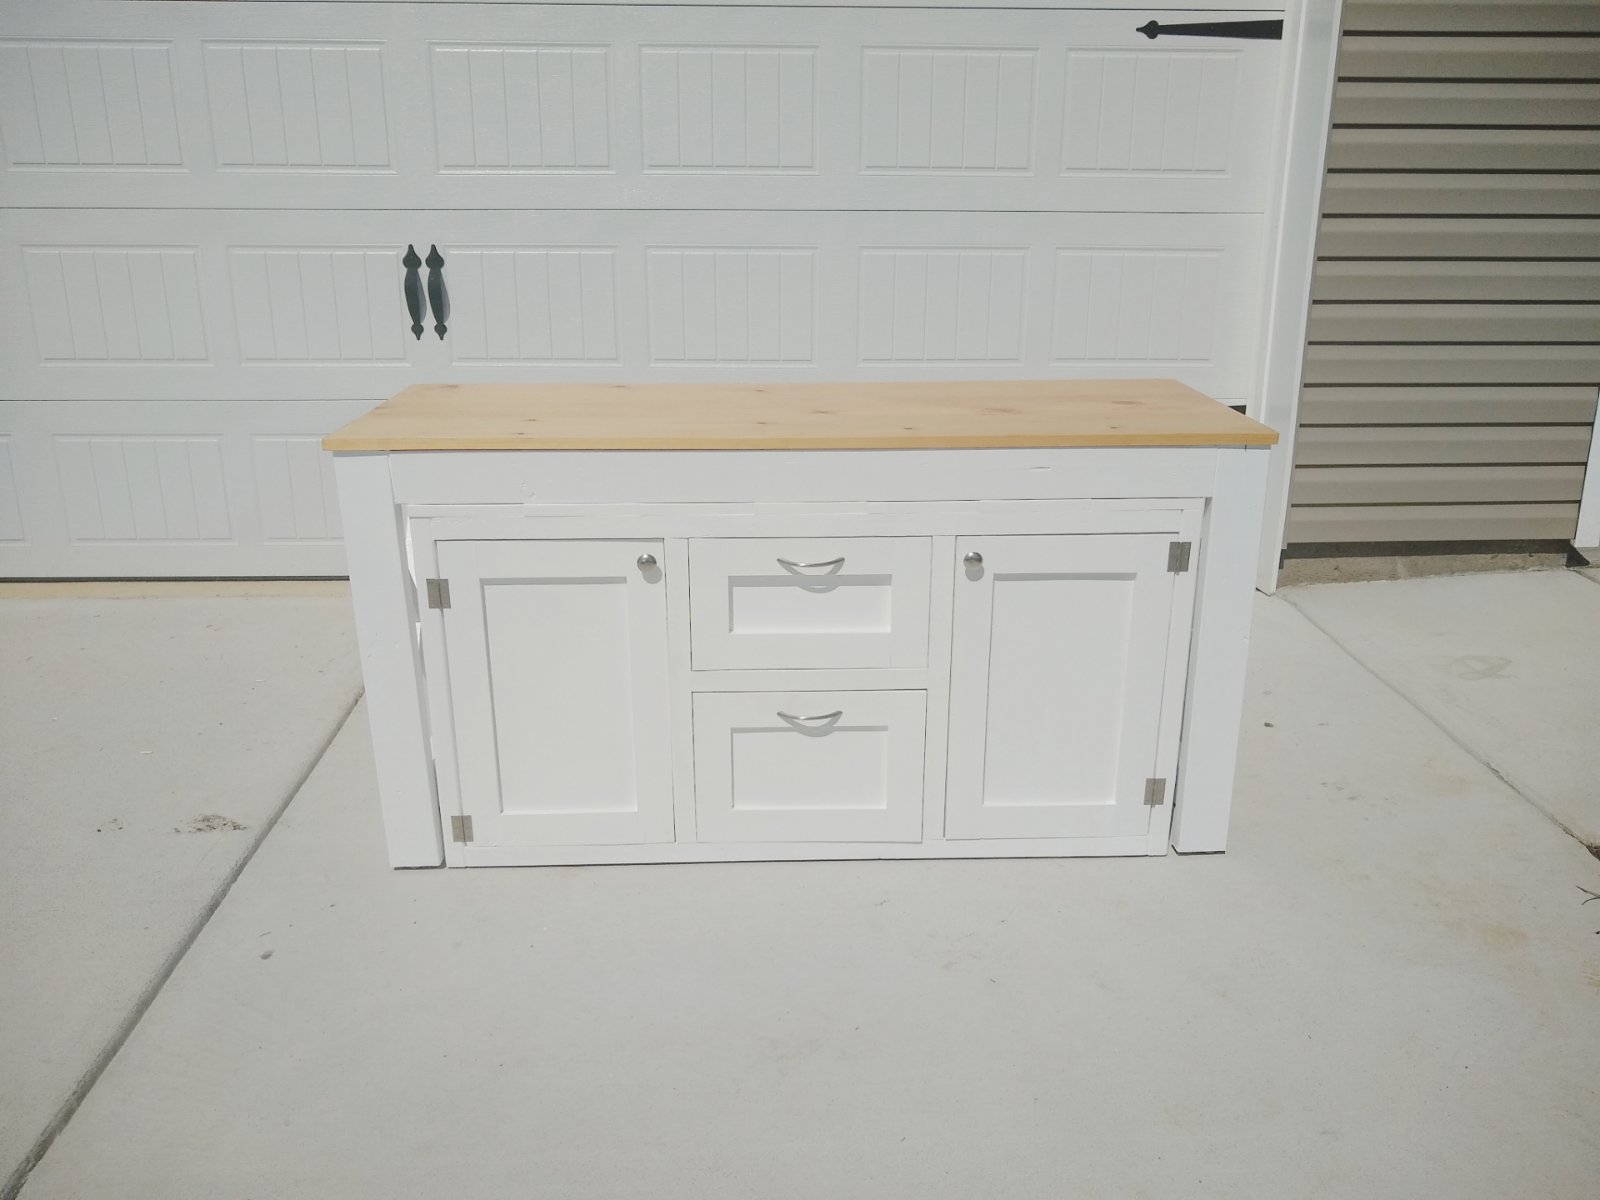
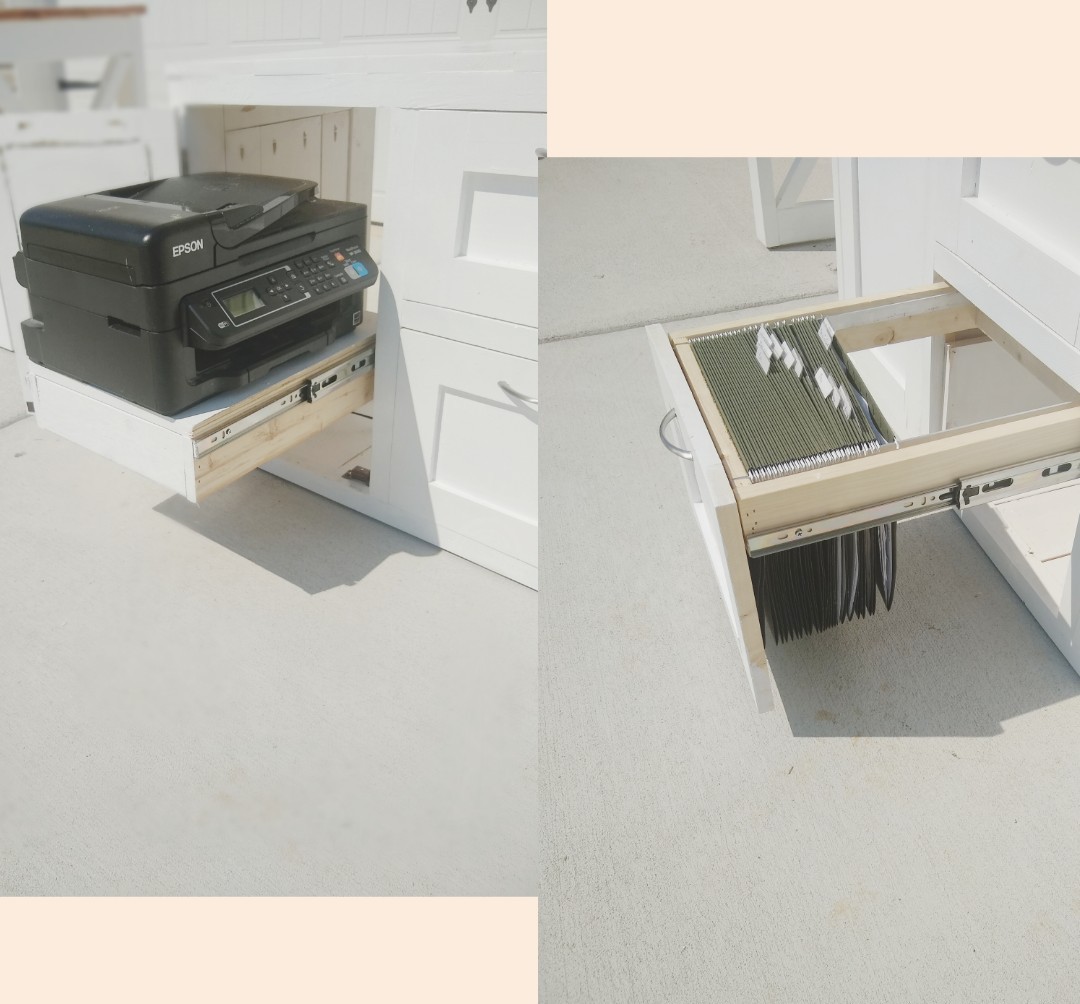
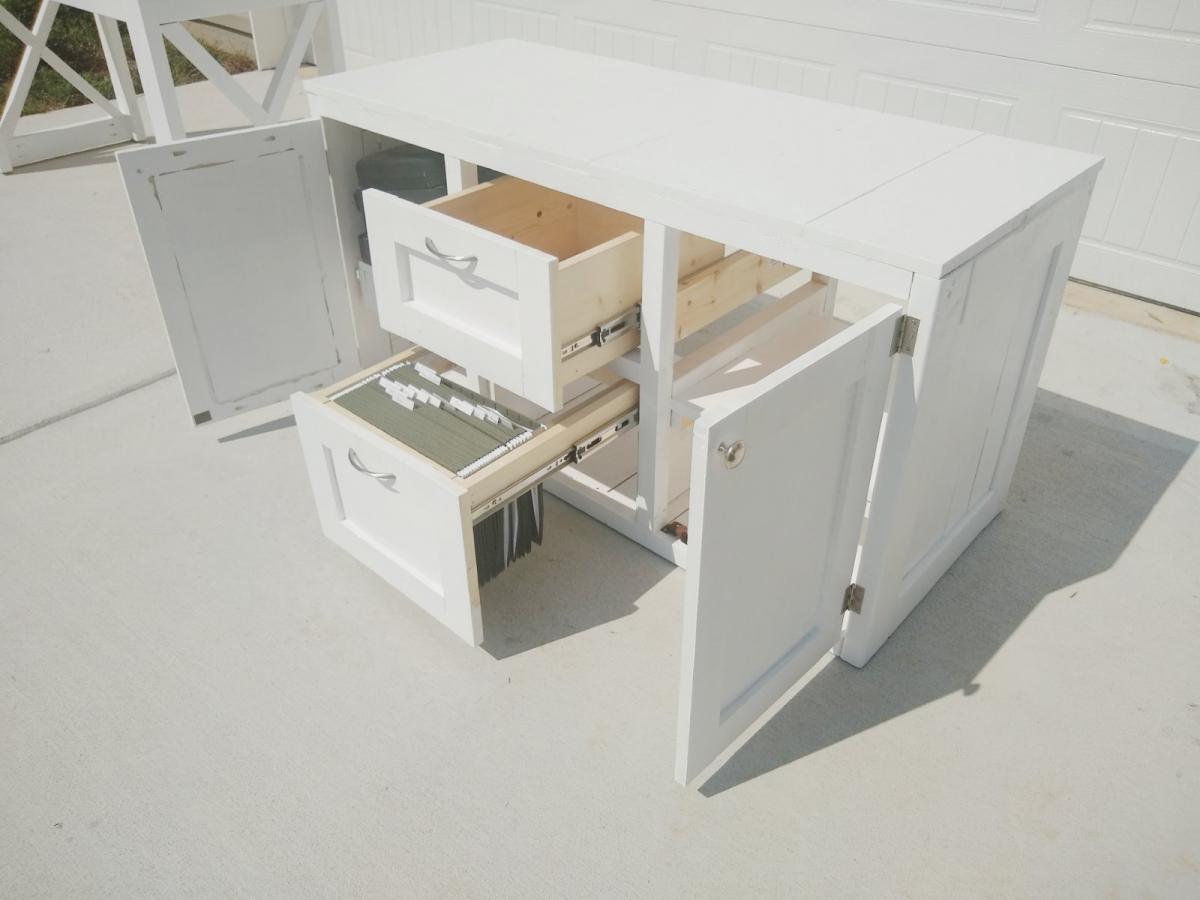
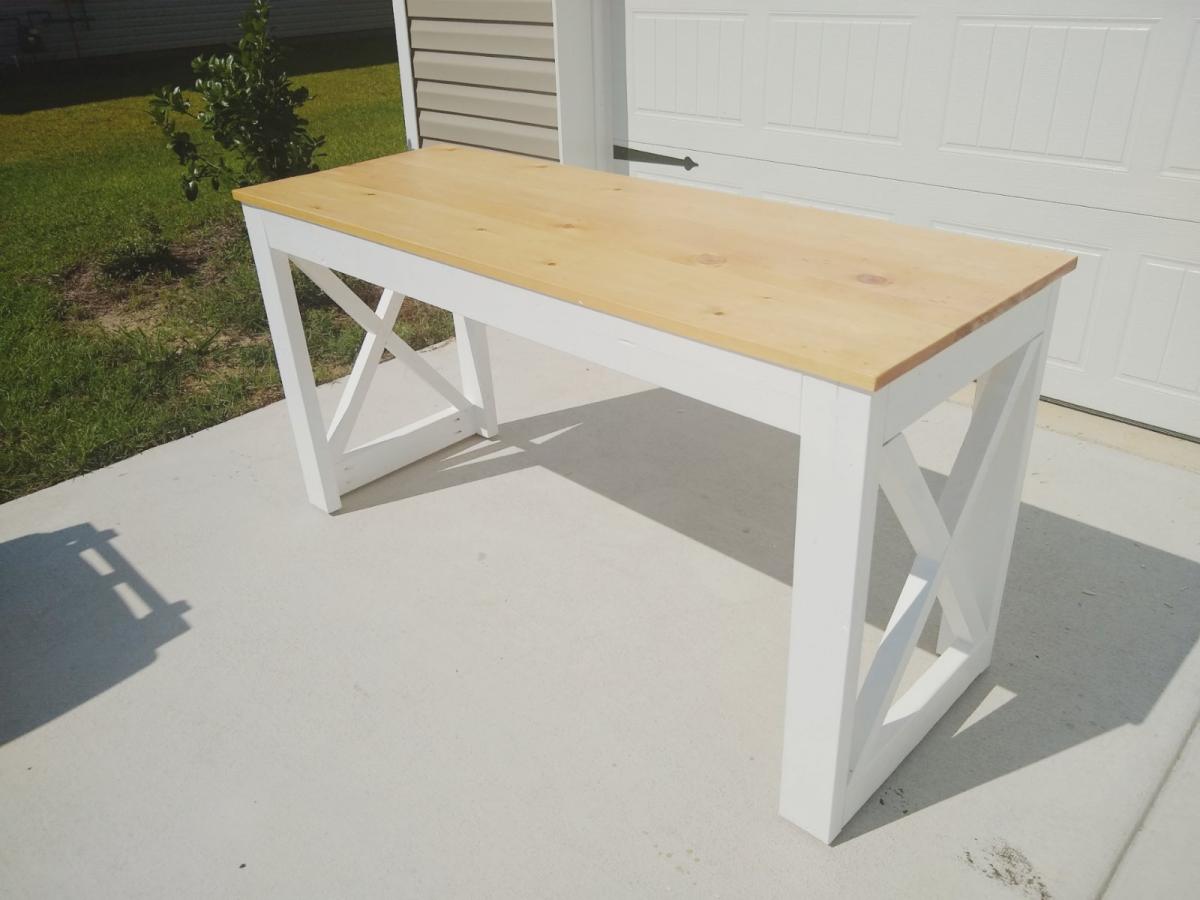
So loving this nesting office station❤️! We will have a sofa sleeper in the office as well. So we needed a desk that could be moved to the wall when the sofa sleeper is being used by guest. I saw a post from Ana for her Nesting Grill Station and I came up with the idea to make this nesting office station. The cabinet includes a file folder drawer (which is from Ana's mail boss plans), a regular drawer, cabinet doors with shelves. One of the shelves is a pull out shelf for the printer. I think it came together great! Design for nesting desk inspired by these plans: https://www.ana-white.com/woodworking-projects/nesting-grill-station https://www.ana-white.com/woodworking-projects/mail-boss
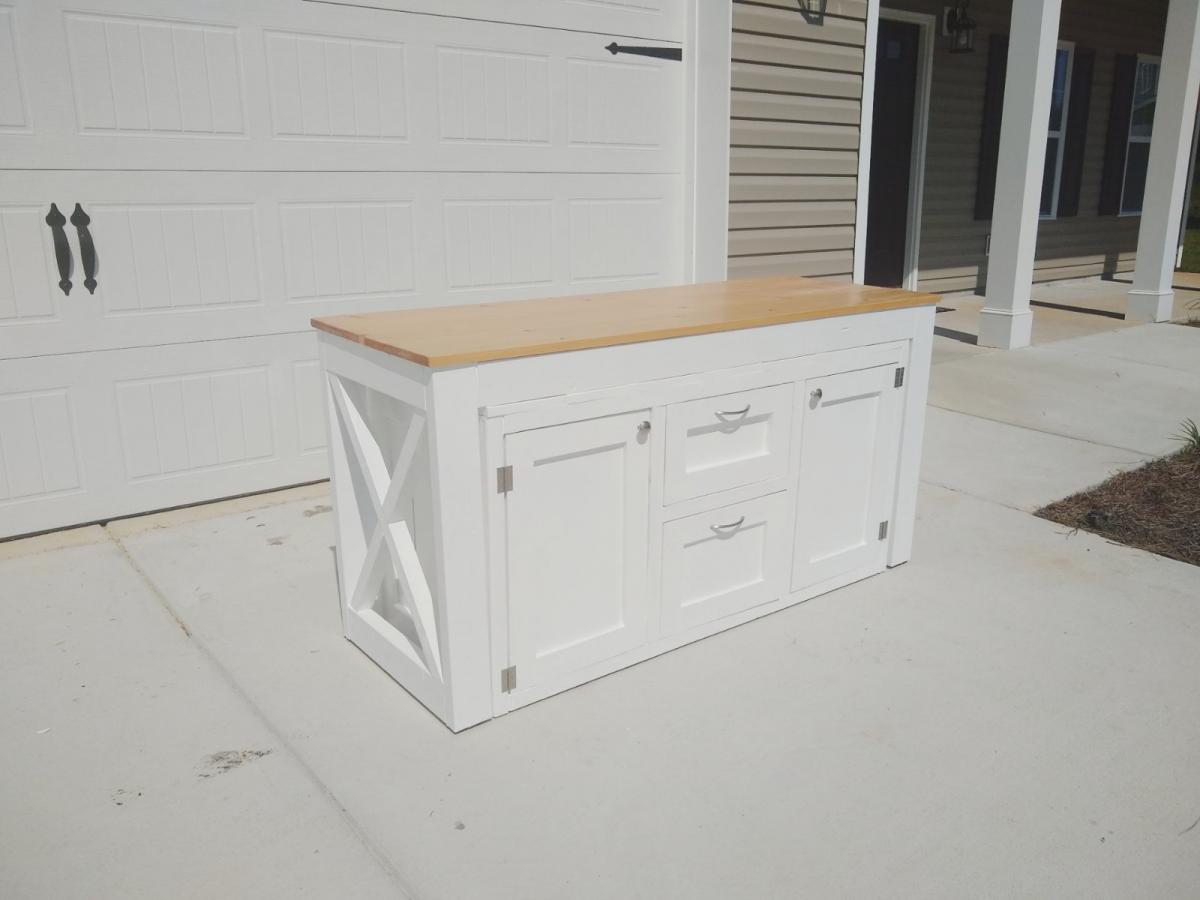
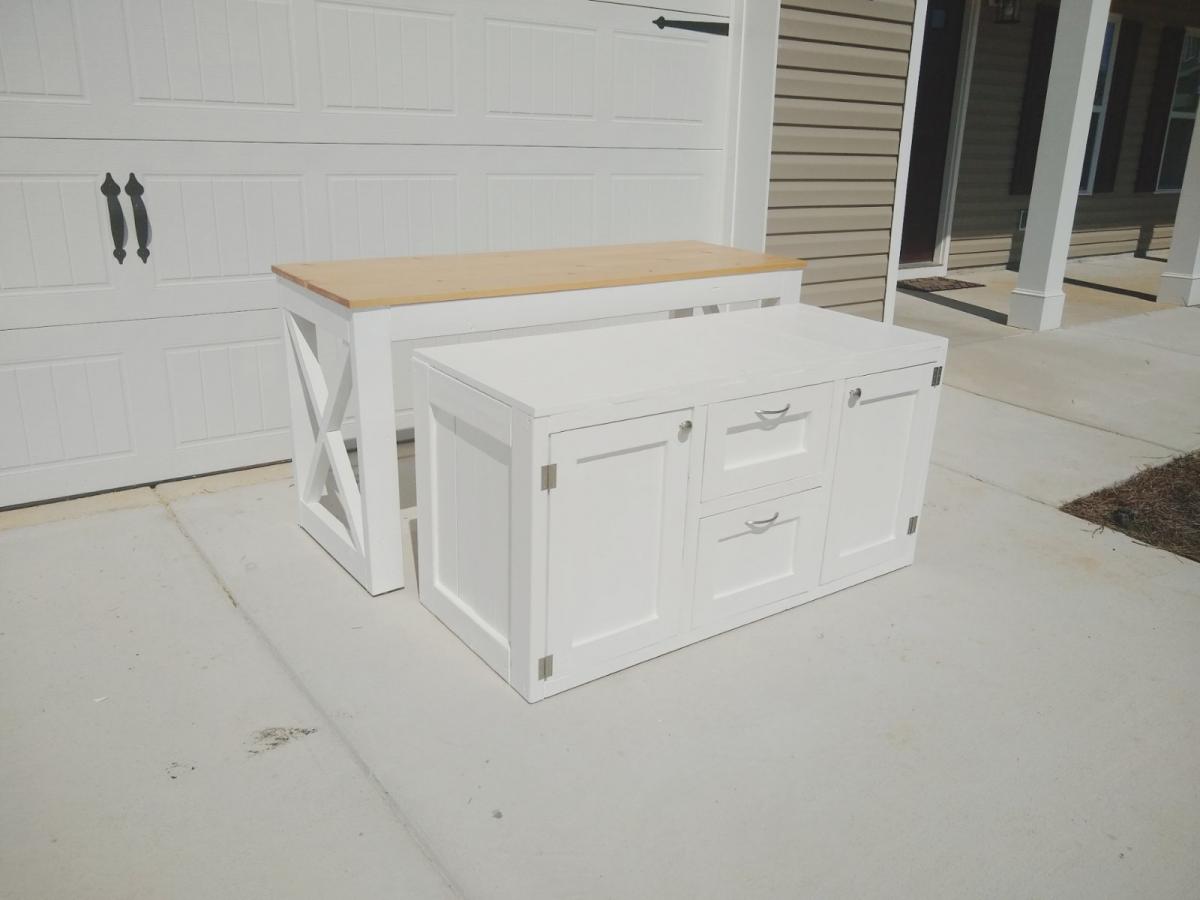
Wed, 07/15/2020 - 04:40
I love this! Very creative and practical design and oh so pretty. Nice job!
Mon, 08/31/2020 - 09:47
This looks so good. Great work. Do you mind sharing how you concealed the wheels? Do you have wheels on both pieces?
Sat, 10/03/2020 - 08:35
Hi, Thank you! Actually I didn't add wheels to the design since this will be in an office with thick carpeting. I added adjustable metal foot pads to the bottom of the desk.