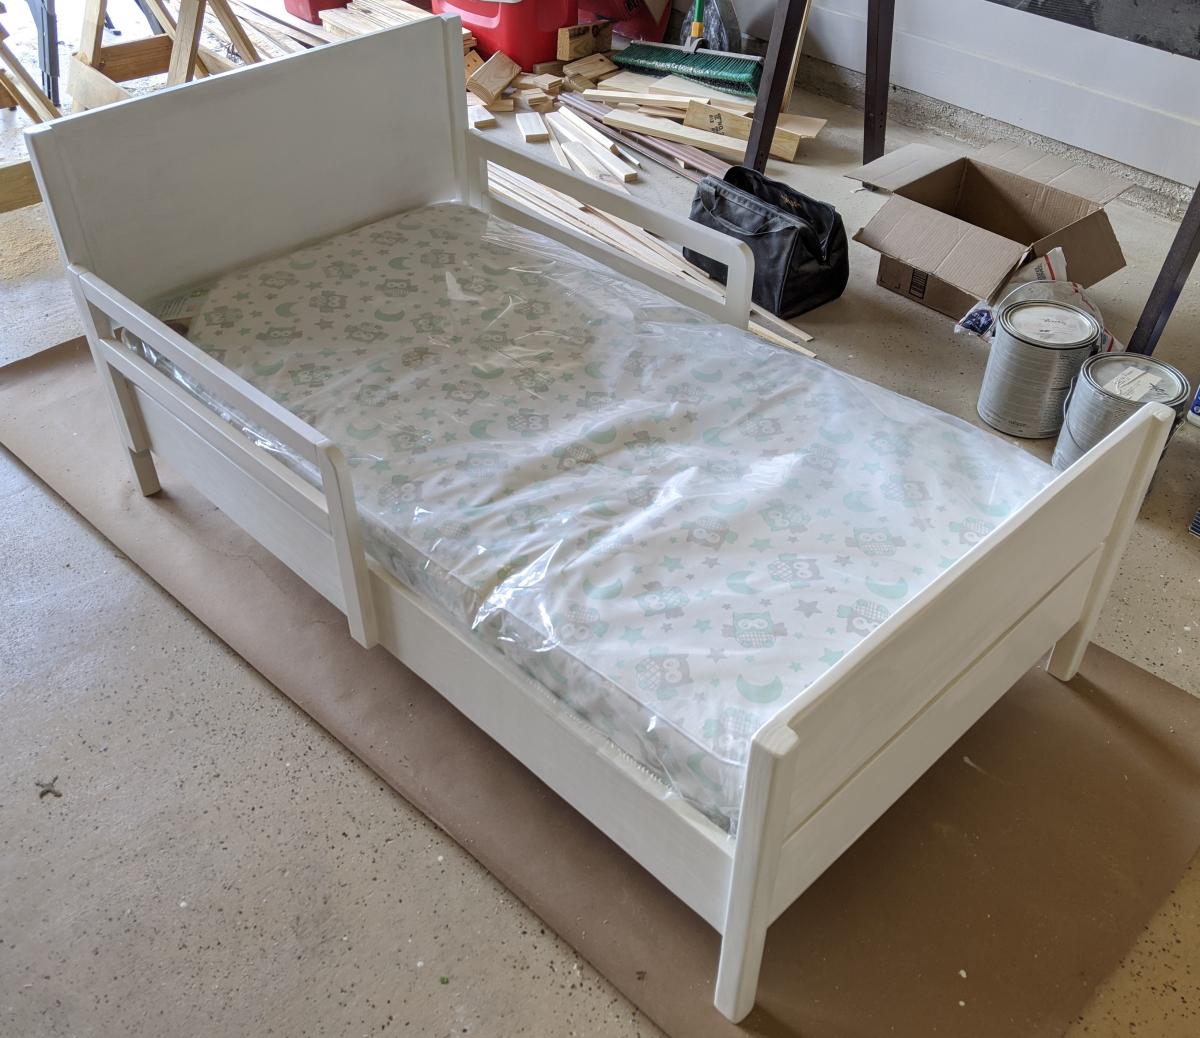
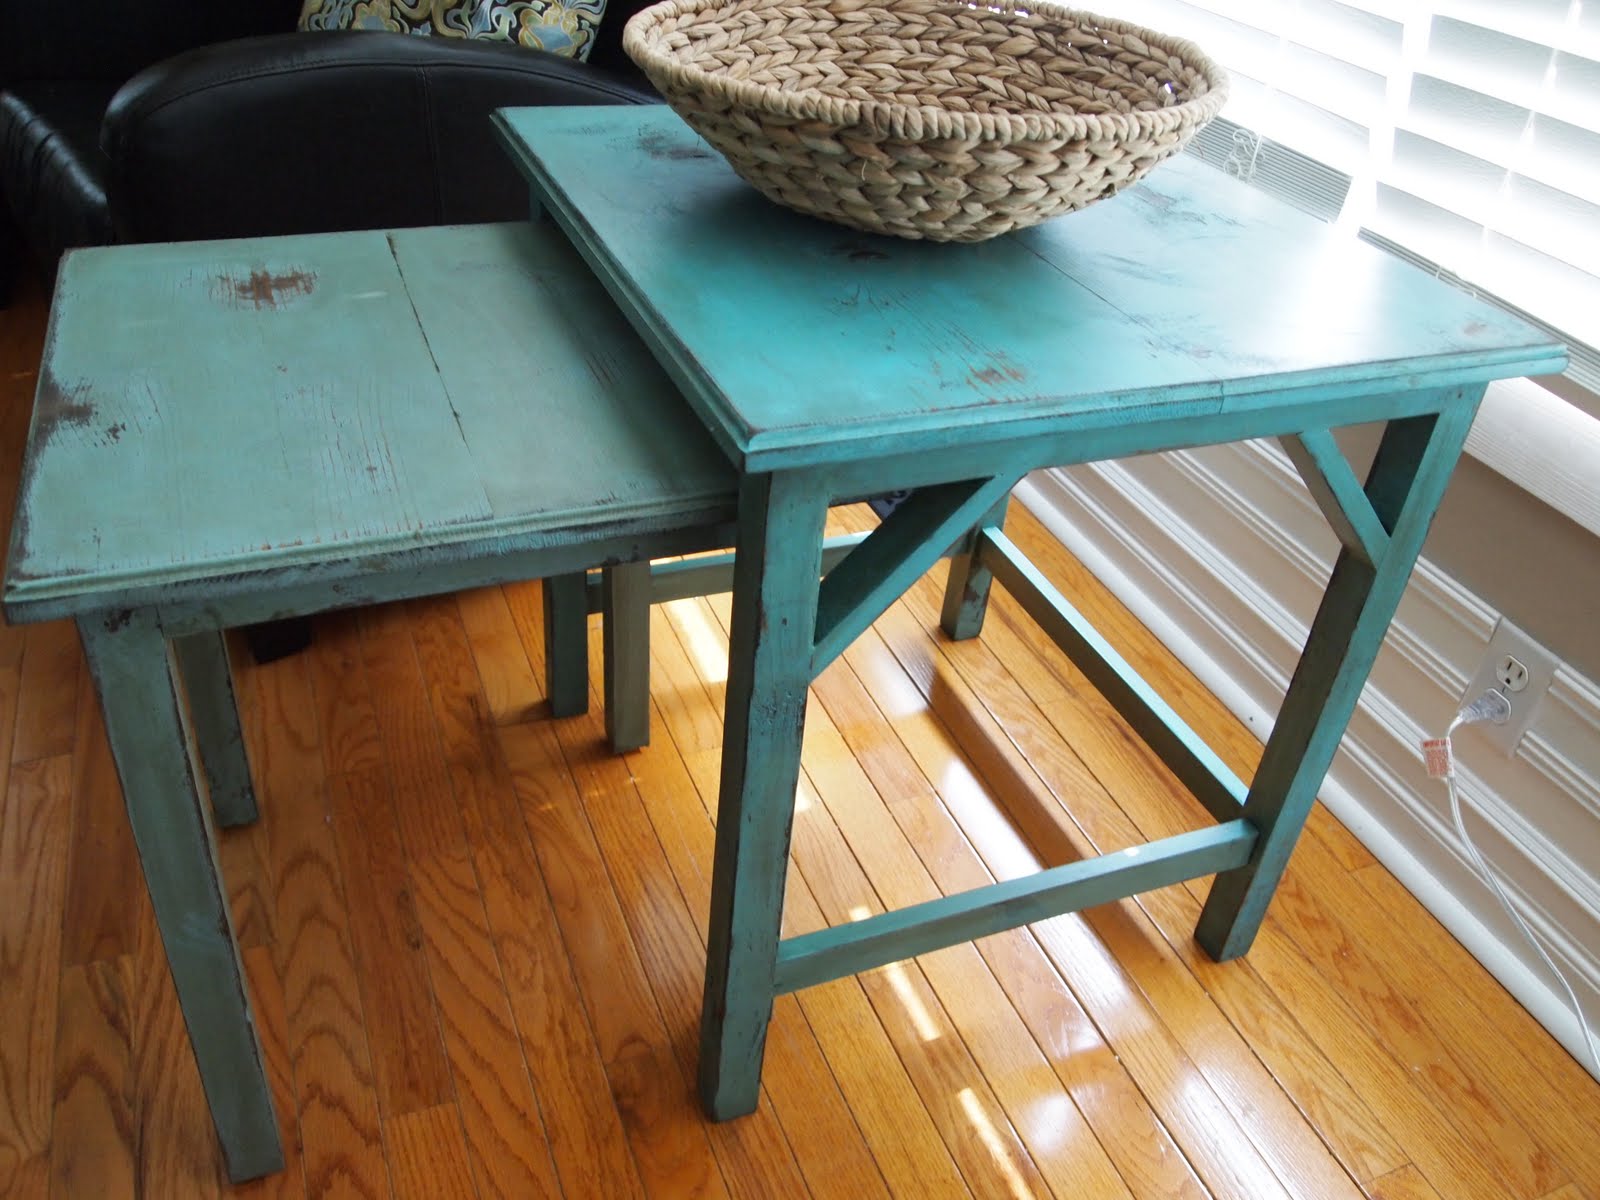
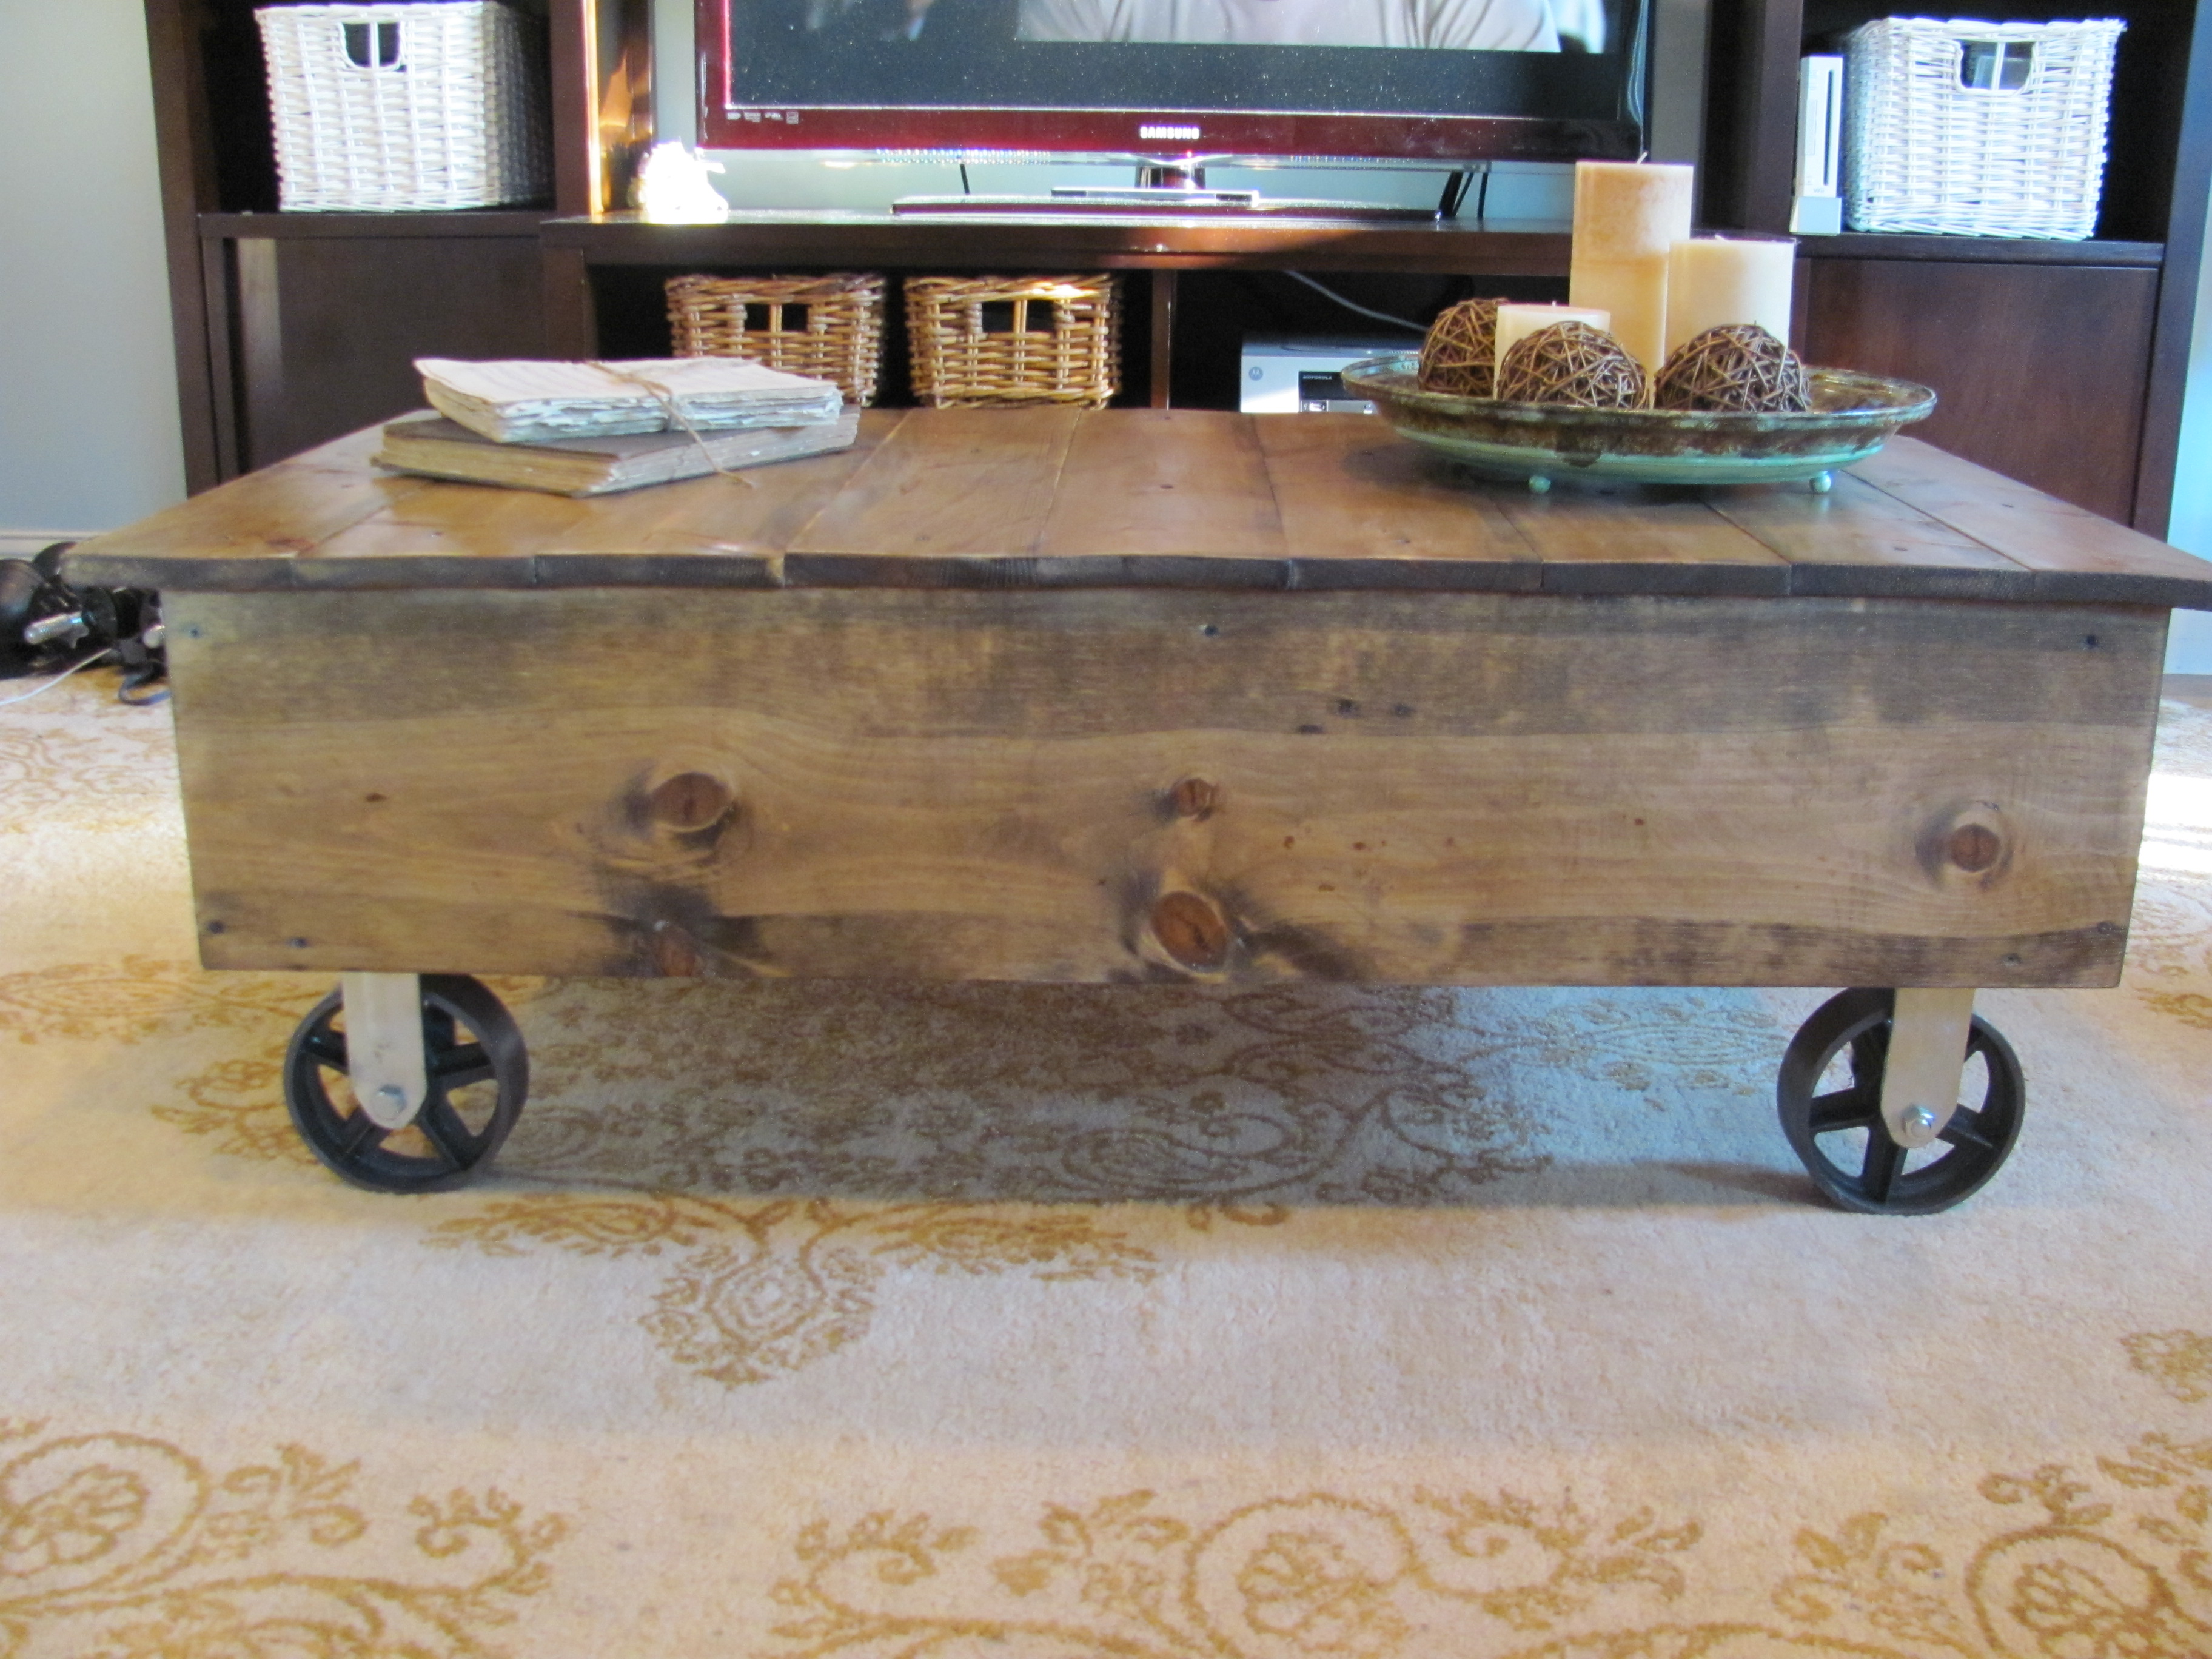
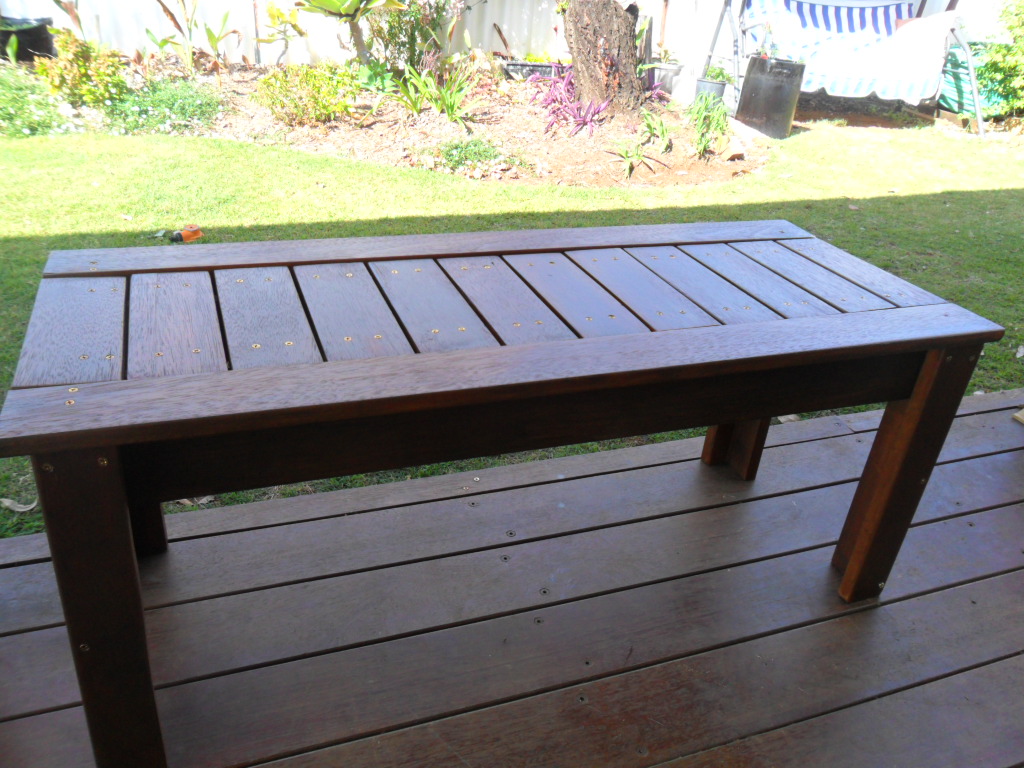
Apothecary Console Table from Pallets
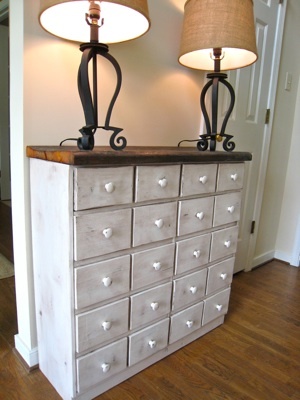
I used a combination of Ana-White's Building Plan along with close examination of the Pottery Barn Andover Table to create my Apothecary Console. I've recently picked up a bunch of free pallets and have been experimenting with ways to use them.
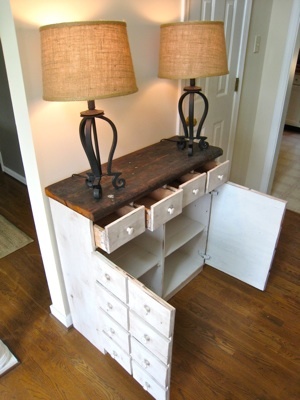
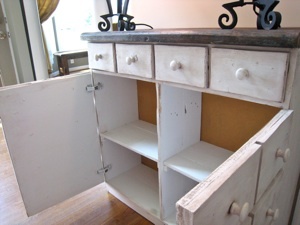
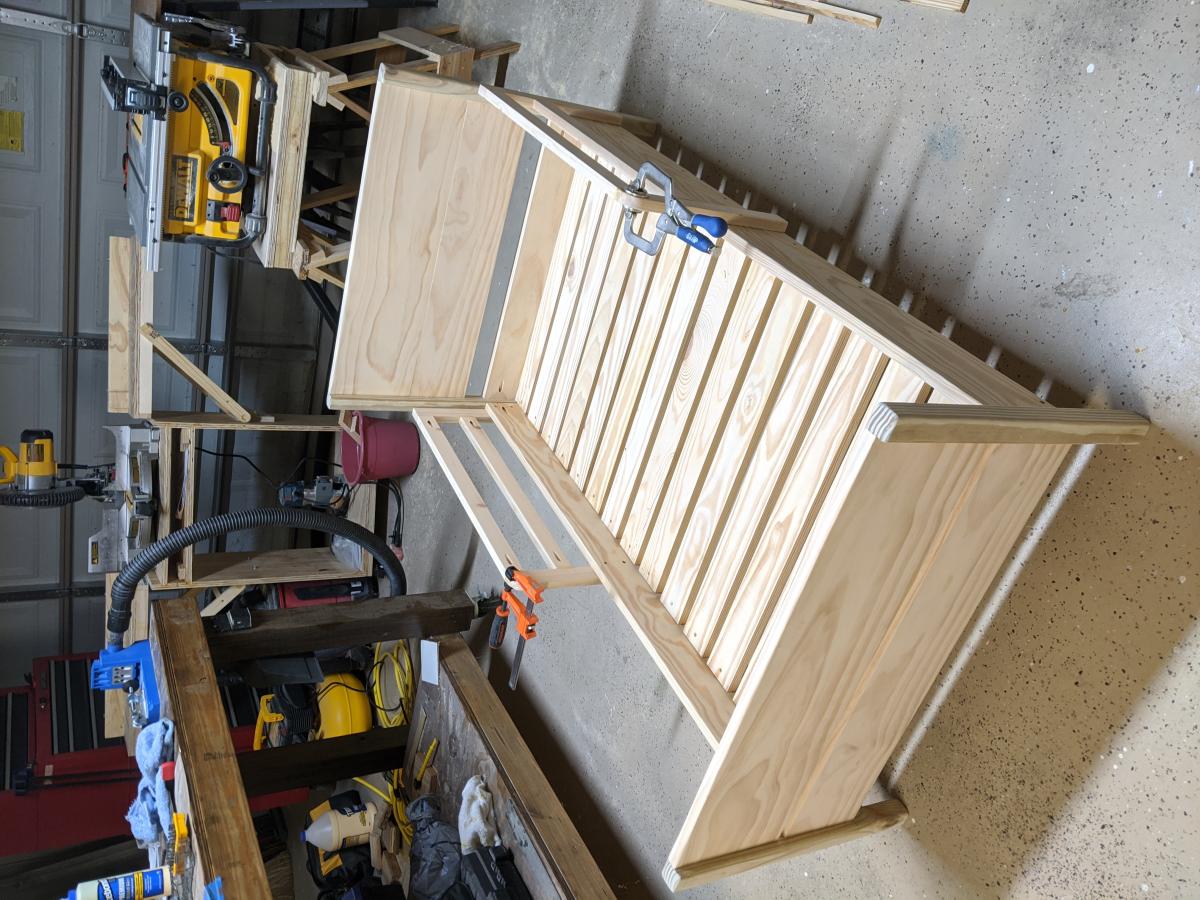
Pallets were used for about 95% of this project. The only thin I bought was 1/2" plywood for the doors, 20 wooden knobs, and two sets of hinges. I took some backing off an old dresser and used that for the back and I found an old rotted piece of antique wood at an antique store that I used for the top.
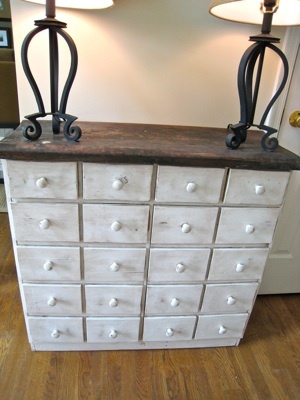
Since I didn't buy 1x12", I had to join together some 1x6"s that I pulled off the pallets. There's a lot more to tell about this project so if you're interested, I documented the whole thing on our blog:
http://www.tommyandellie.com/Site/Home/Entries/2011/7/18_A%7Bpallet%7Do…
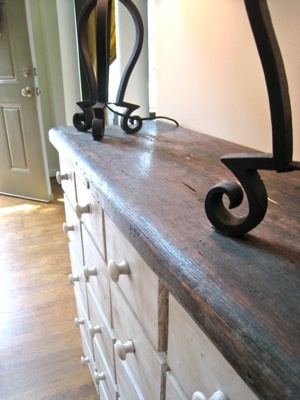
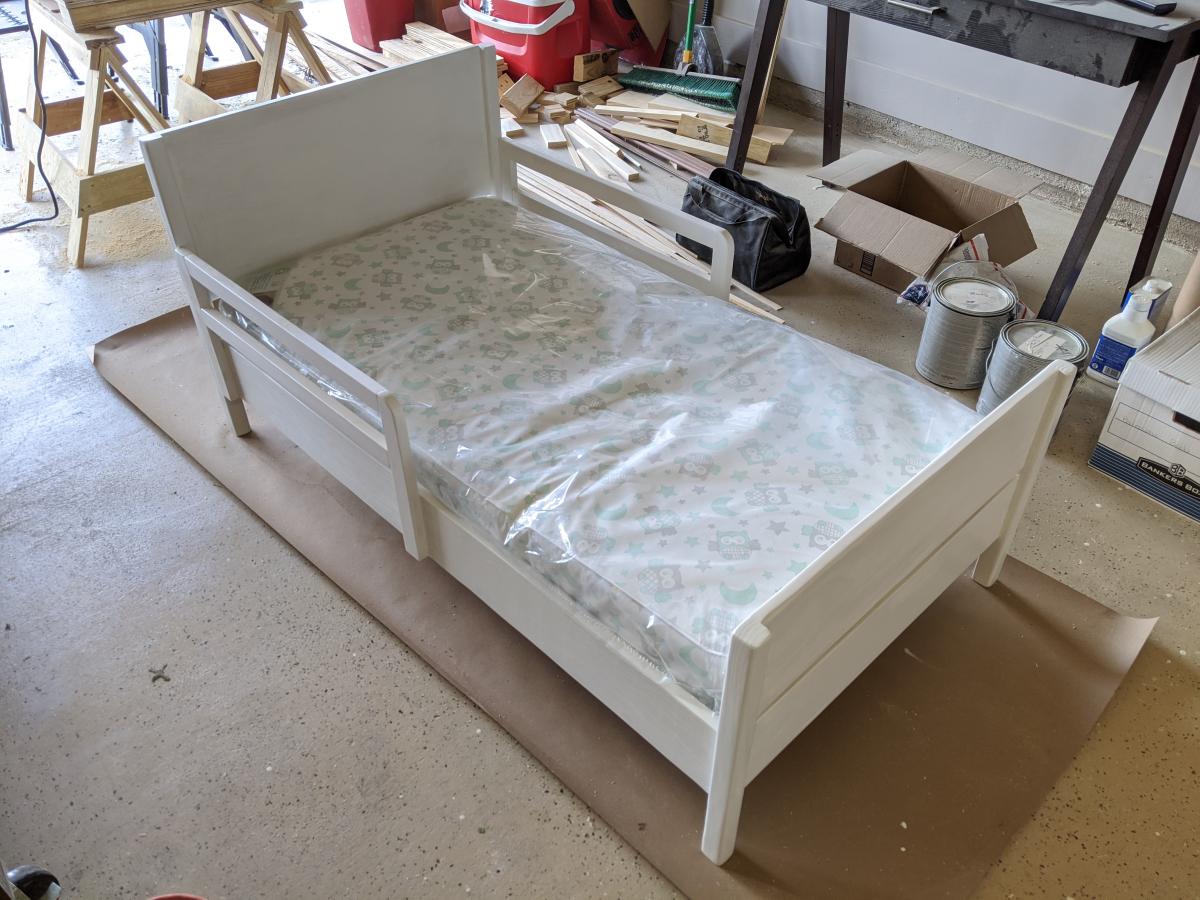
The antique piece of wood just has a coat of Poly.


Comments
tsibiga
Sat, 07/16/2011 - 05:52
I'd buy 1x12"s
In my blog, I posted that I would not build it like this again......I would buy 1x12"s for sure.
Pam the Goatherd
Sat, 07/16/2011 - 08:34
Wow! That's amazing!
Wow! That's amazing!
theworldmovesforlove
Sat, 07/16/2011 - 23:15
Wow
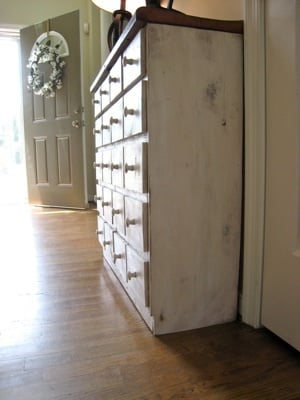
This looks fantastic! You did a really great job at keeping the false drawer faces straight and uniform. It looks really great!
Jenn Hoff (not verified)
Tue, 07/19/2011 - 14:52
Um, wow. That is
Um, wow. That is breathtaking.
tsibiga
Tue, 07/19/2011 - 16:06
Thanks!
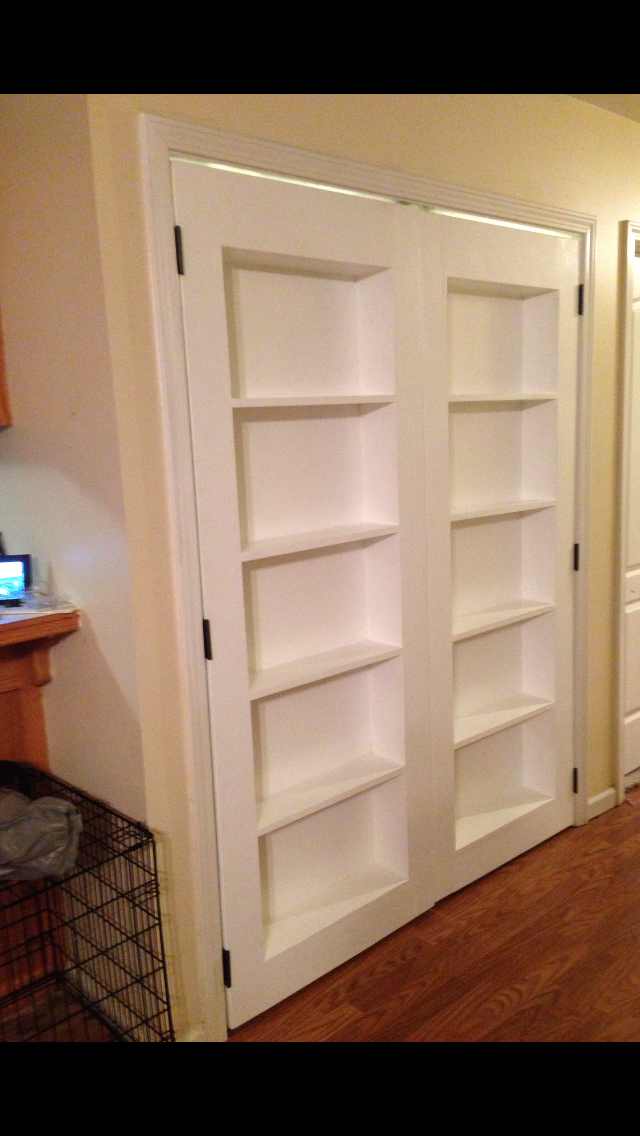
Thanks for all the great comments. I think it'll look even better once we paint the foyer....the white is just blending in right now....and I think paint on the walls will really make it stand out.