Above Toilet Cabinet

I built this above toilet cabinet for my son and his wife for Christmas. They needed a little extra bathroom storage. Turned out pretty good.

I built this above toilet cabinet for my son and his wife for Christmas. They needed a little extra bathroom storage. Turned out pretty good.
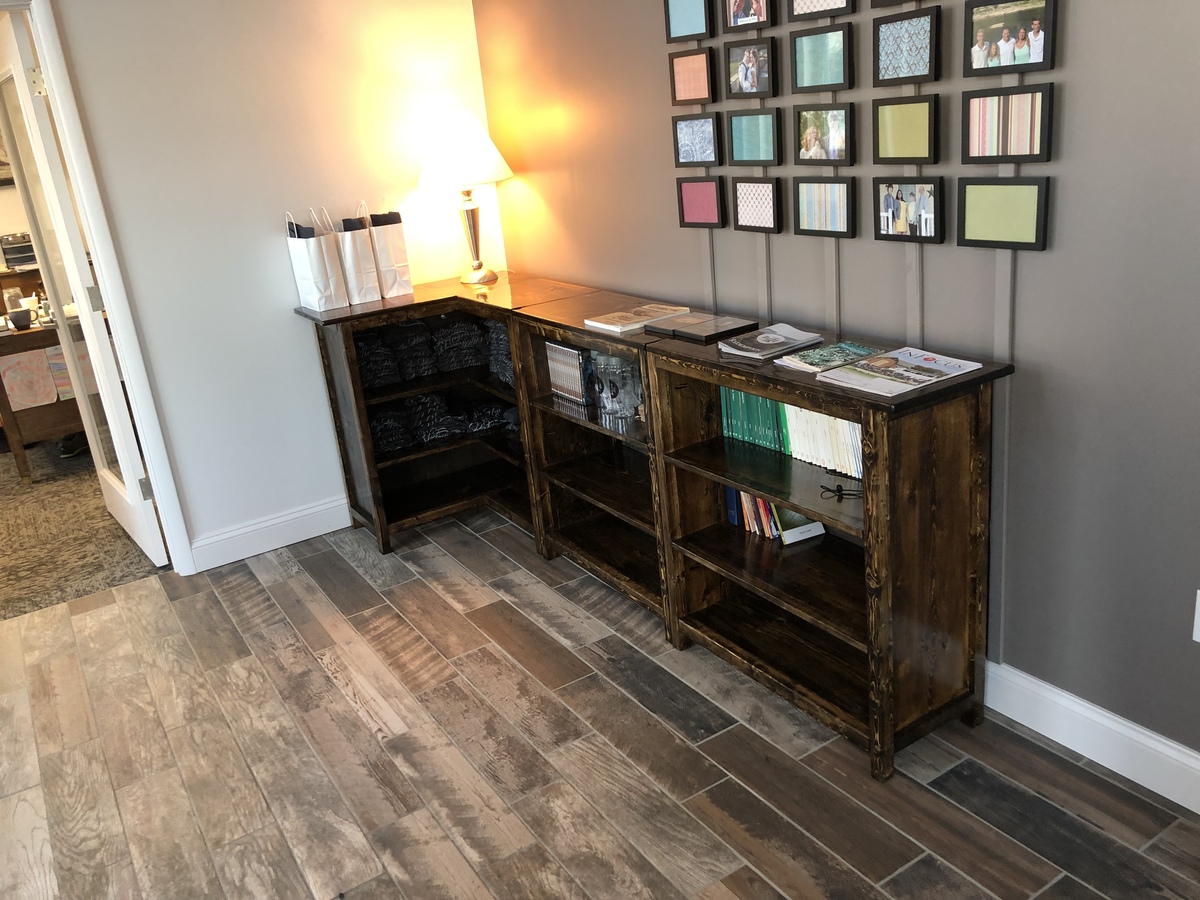
Made it taller and added a shelf
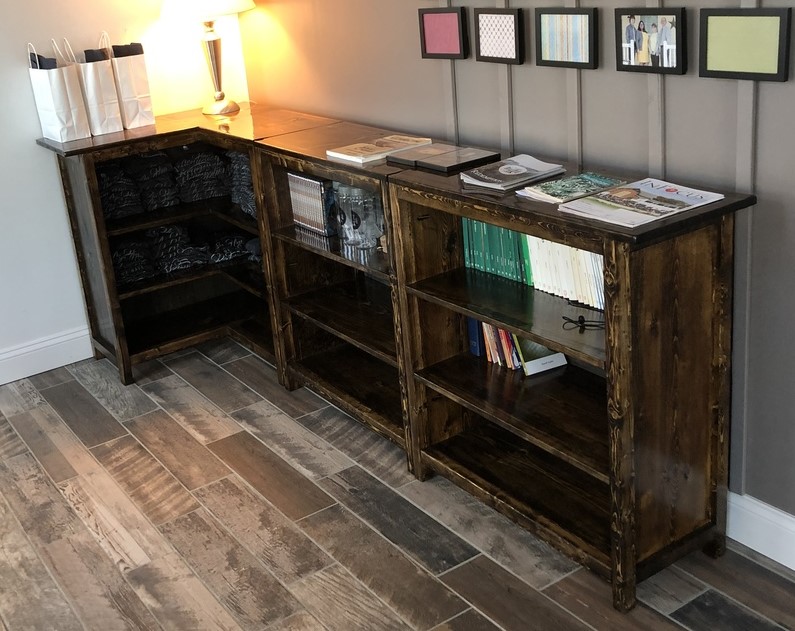
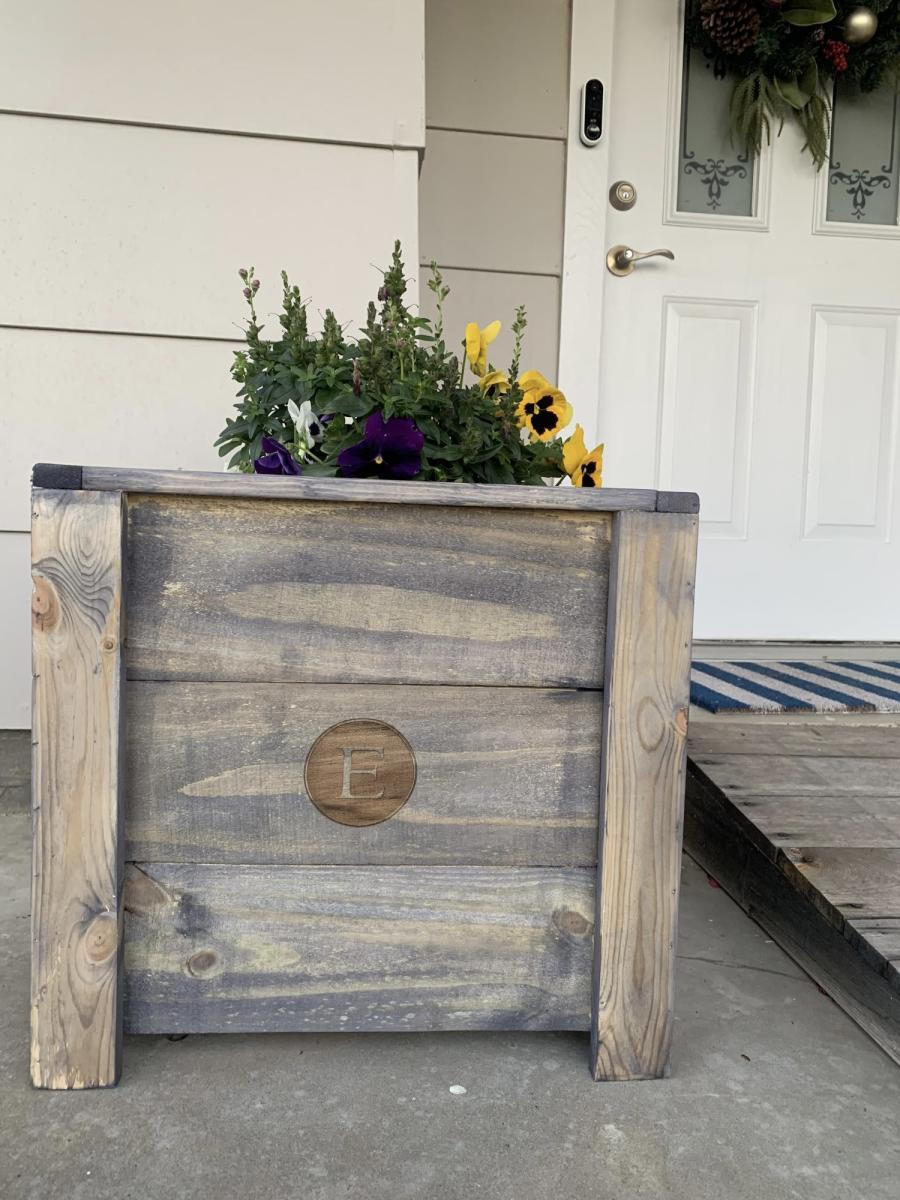
Loved building these planter boxes!
I was able to use my laser to addd some personalization.
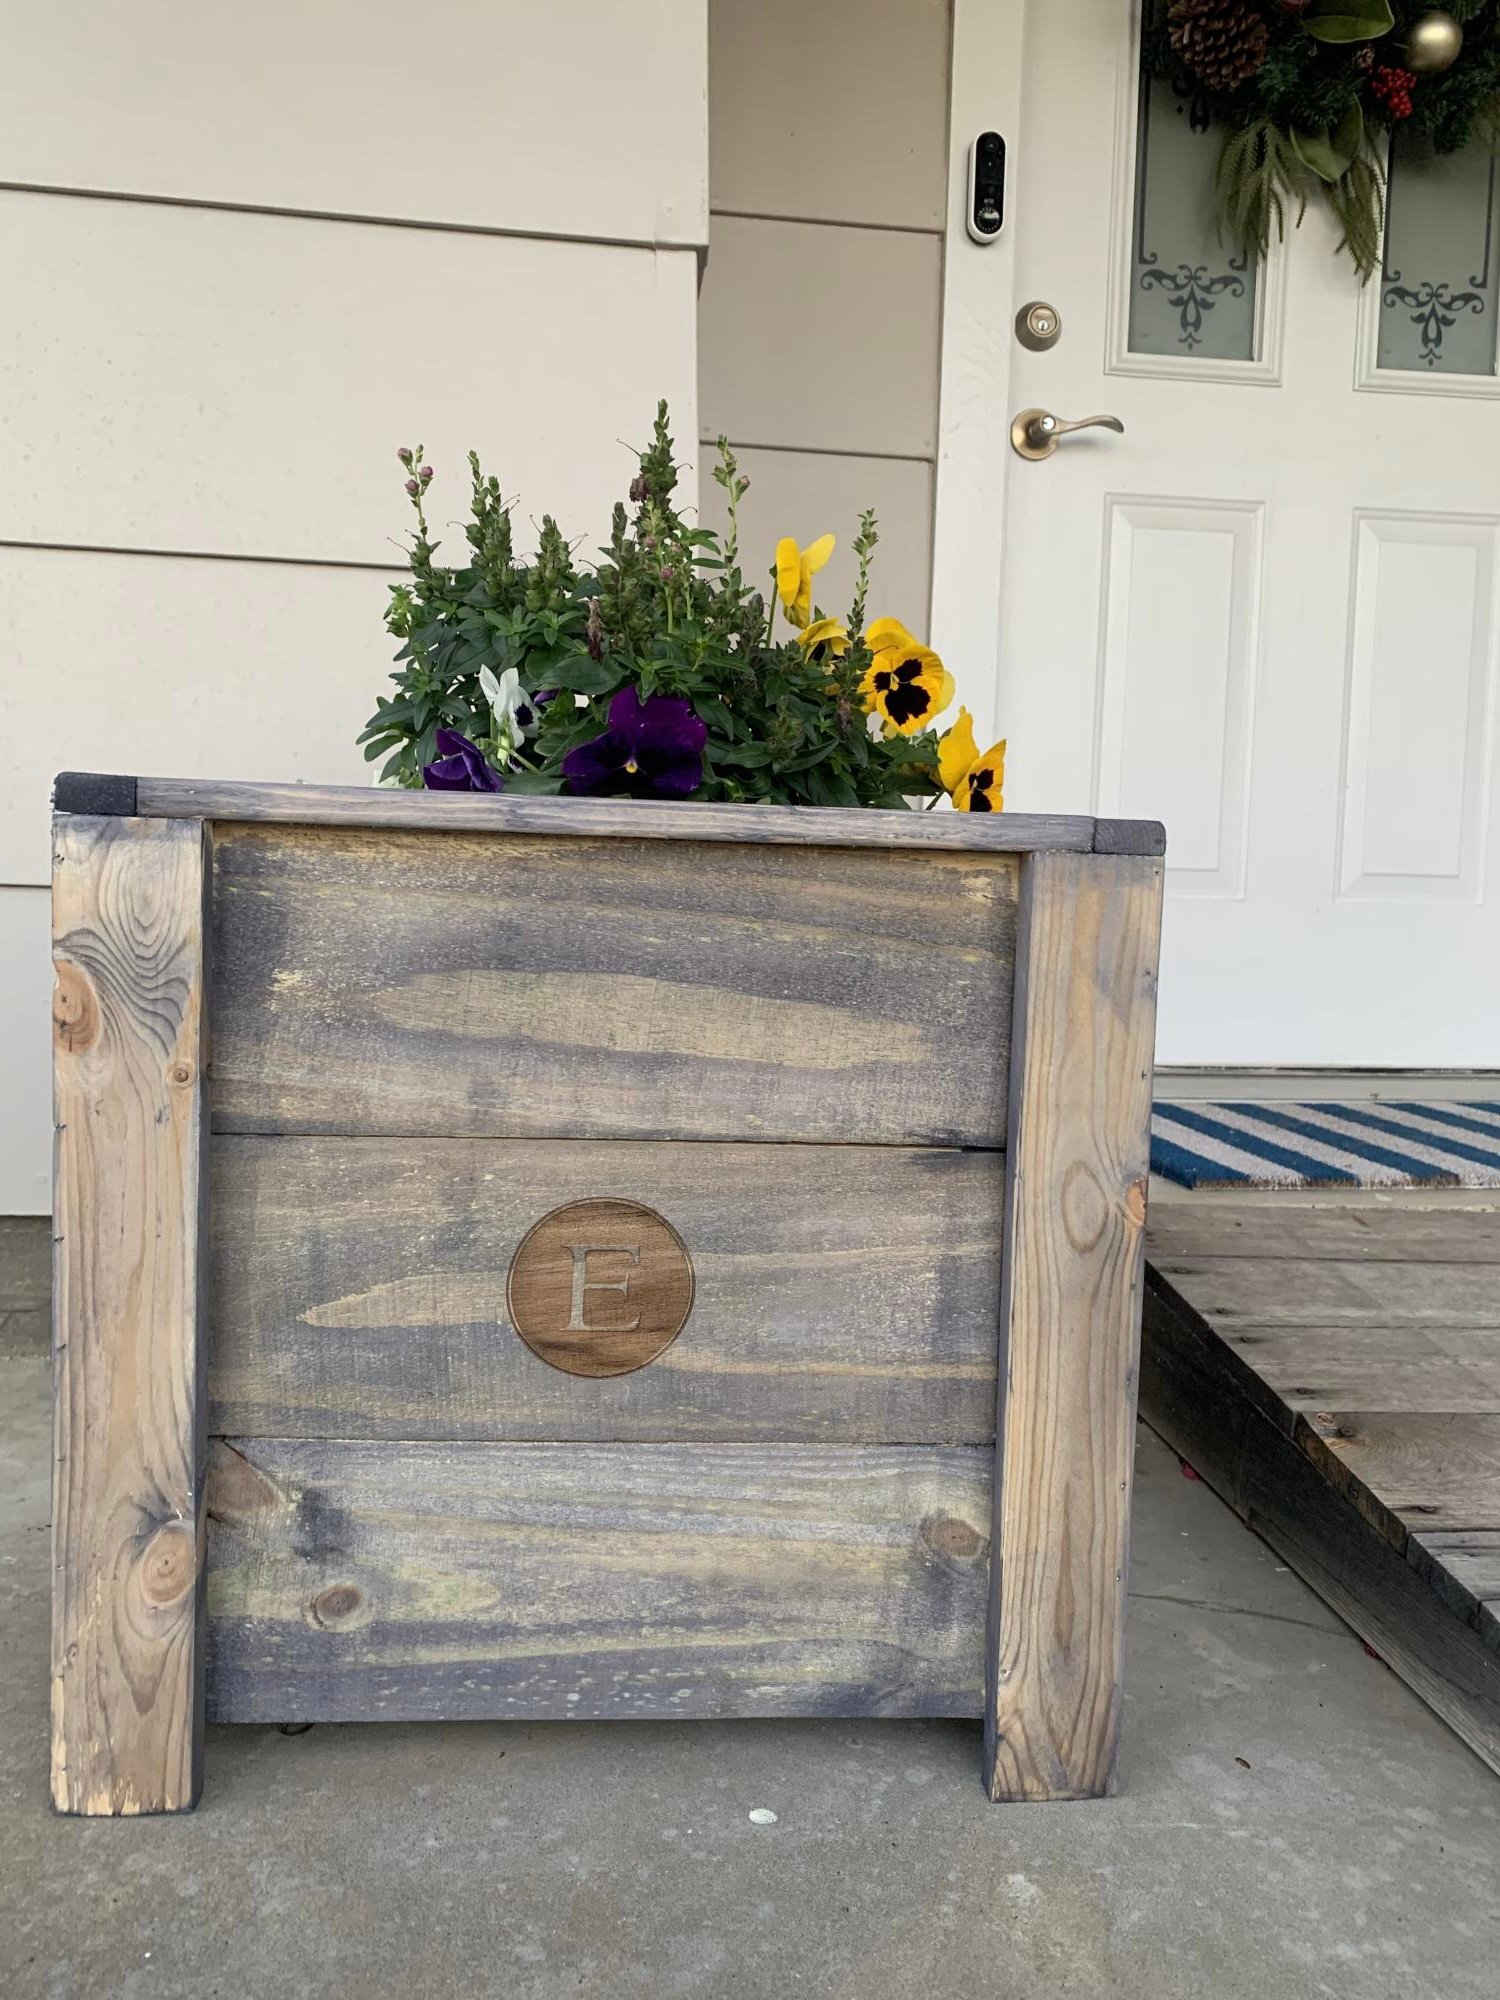
I also added small wedges at two levels in all four corners. This not only made it very sturdy but with a half lap “x” it creates two levels to pick from for different size pots

I love to sew and create new things so I decided I would make a leather upholstered ottoman. Leather is extremely easy to work with!
I started by sewing together leather rectangles that I purchased from an online auction.
When that was complete I determined the size of the box, foam thickness and the overall height I would like for it to be, I created/designed as I went.
Other than the upholstering items (buttons, needles, foam, batting, leather) everything else was scraps that I had and was able to reuse to create my ottoman. I added a shelf below for storage and am glad that I did it is a great place to put magazines.
It ended up taking much more time that I planned because I didn't follow a definite plan. Now that I have completed one I am sure that the others will take much less time. I am so happy about how it turned out!
I gifted it to a friend for a housewarming and she loves it! It even matched her area rug; apparently it was meant to be!


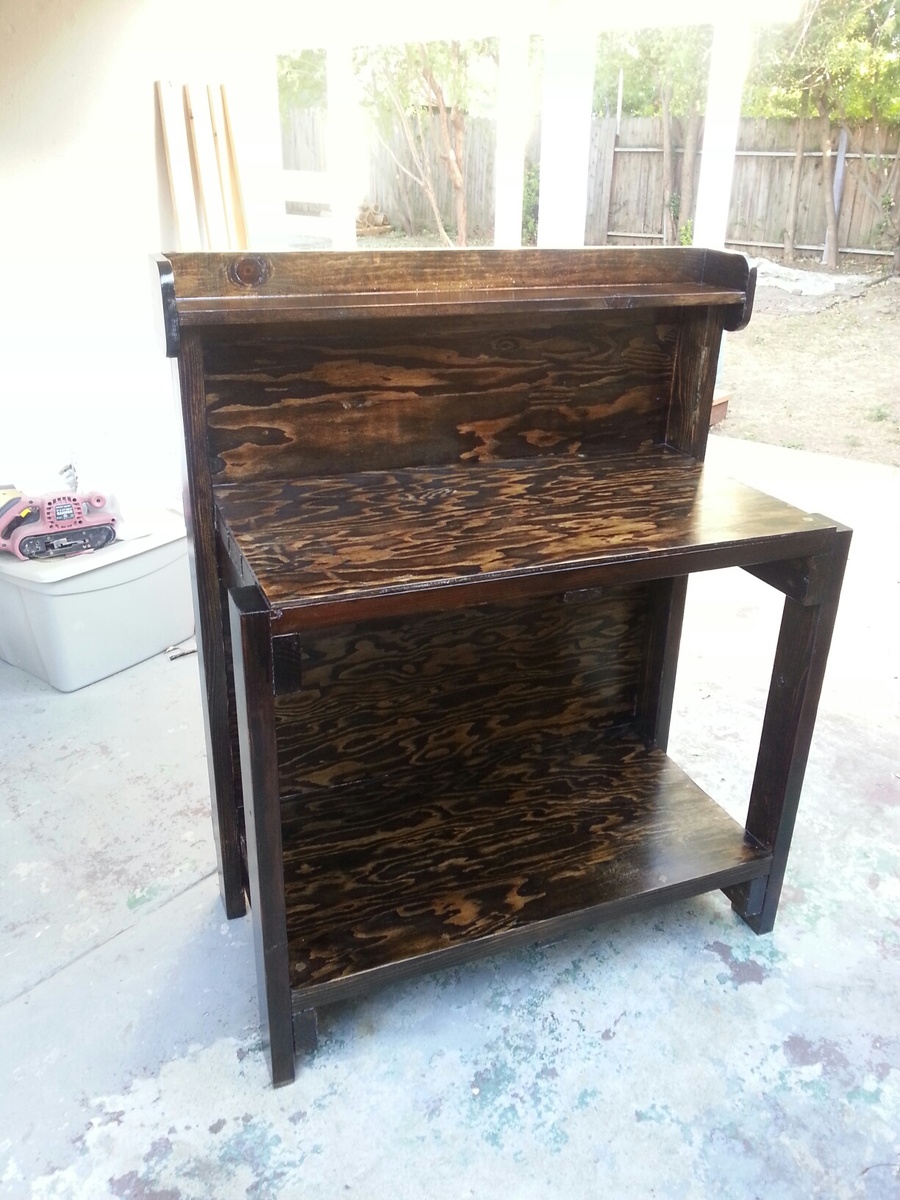
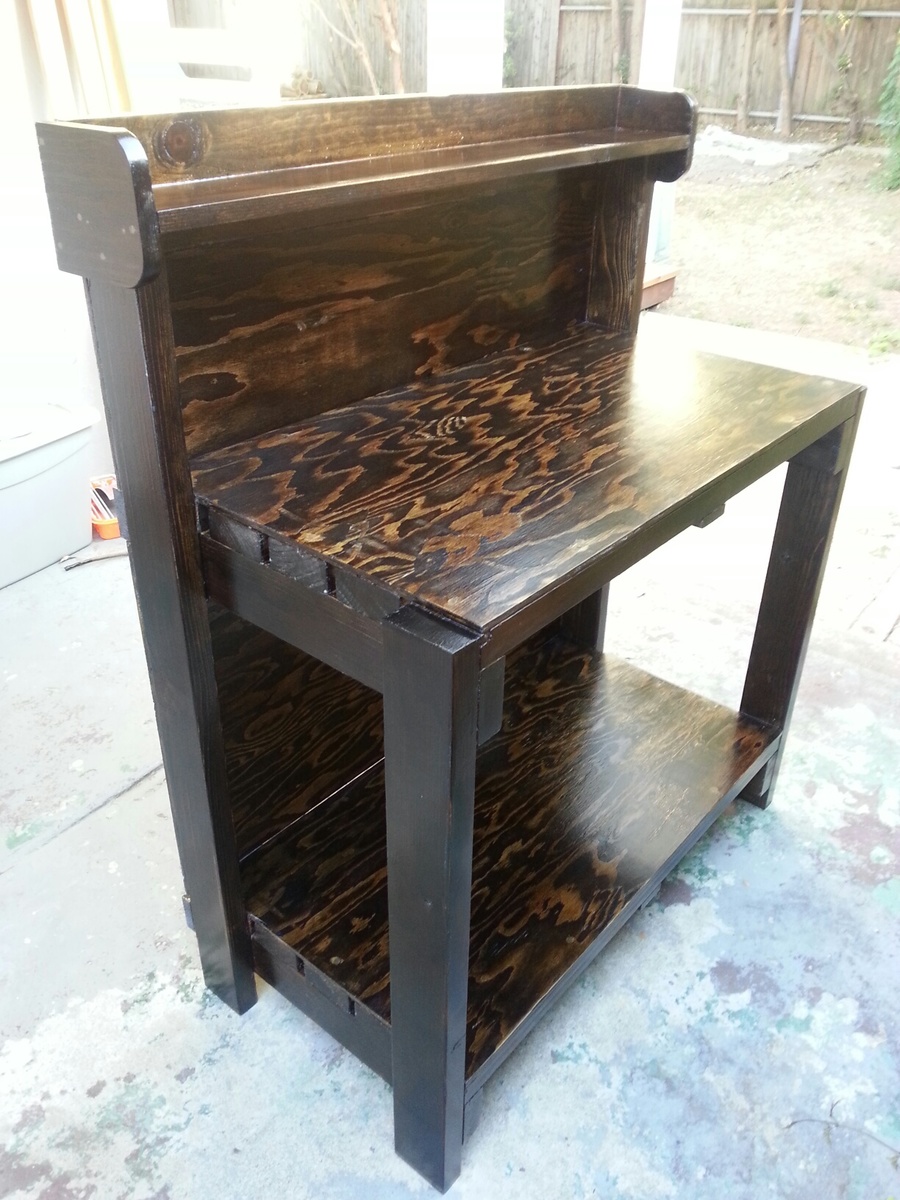
This is my first woodworking project and when I saw the plans, I knew it would be perfect for an indoor study and work bench for my hubby. Not having any power tools except for a drill and two sanders, I went to Home Depot and they were obliging and patient enough to cut my lumber for me (I loved making the bench so tools will be next on my list). The plans were easy to understand and since Maths is not my strong point, I was happy to have something so easy and methodical to work with. I loved the extra shelf on the top and the larger one on the bottom.
I made 2 modifications:
The height of the front legs are 33” instead of 36” because I wanted it at wrist height for my husband on the current stool he has in his room. I kept the back legs at 48”. I forgot to account for the 3” difference when I was assembling the lower shelf, so I ended up taking a hacksaw to the base of the 4 legs after assembly to account for this and this explains why the bottom shelf is so low to the ground. But it works!
Hubby wanted something attached to the back of the bench to protect the wall behind from spills. He also wanted a smooth shelf surface where nothing could get stuck in small spaces. The shelves also needed to be able to take weight and being a newbie, I didn’t want to mess with the measurements too much. After assembling the bench (including the back supports), I purchased a large 3/8” sheet of plywood and had it cut into 4 pieces – two for the back spaces and two for the shelves and then used screws and glue to attach those to the piece. The one thing I should’ve done was purchased 1 ¼” screws for attaching the plywood to the shelves, because I overlooked it and they went straight through to the underside of the shelves and had to have someone cut the screw ends off, which was no small feat.
But overall, I was very pleased with the way it turned out, especially for a first-time project.
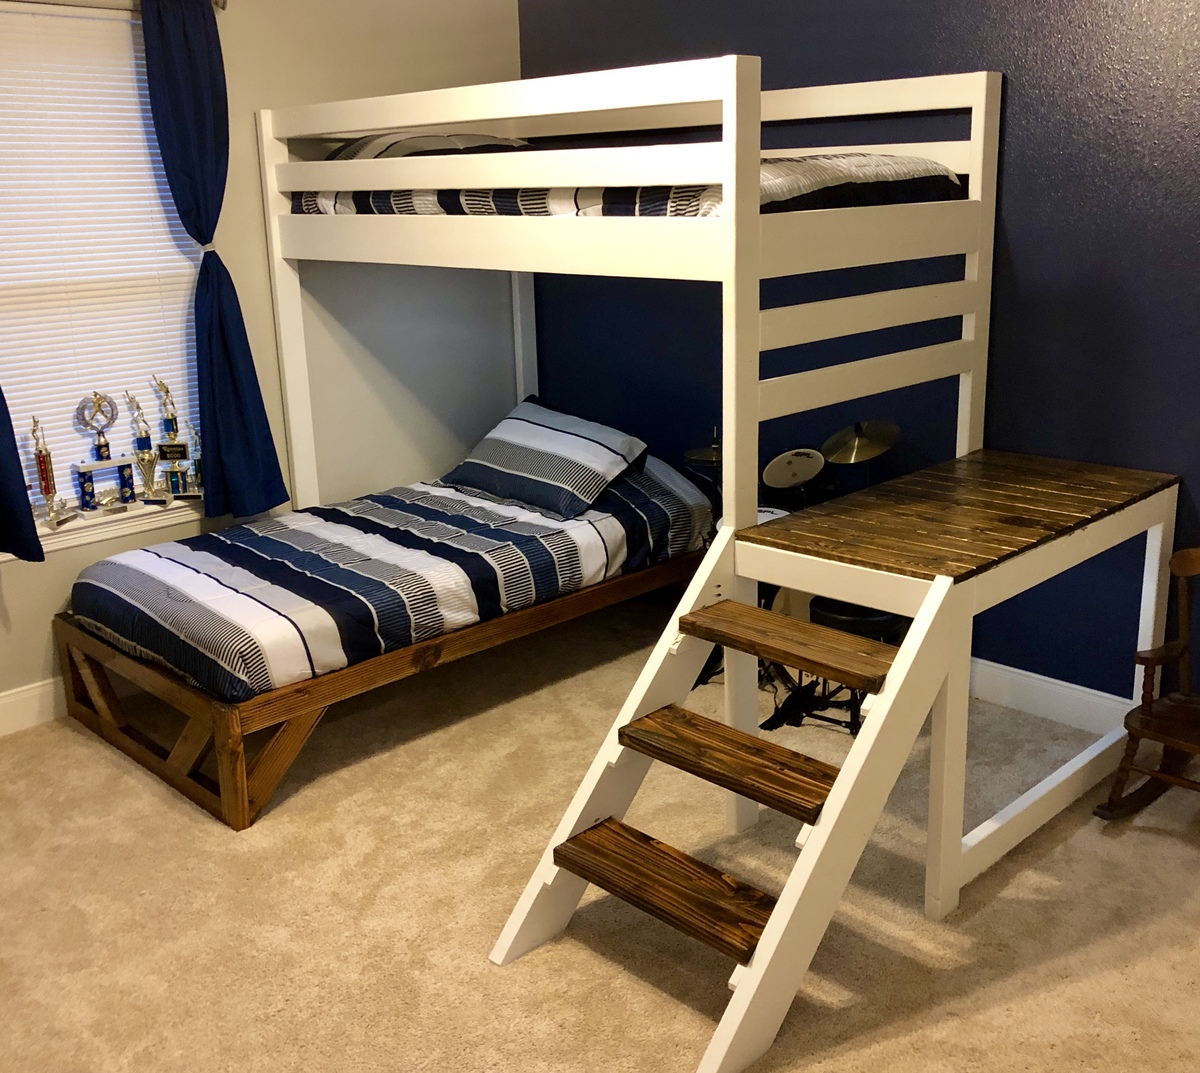
Loft bed over perpendicular twin base. Added puck led lighting for about $10.

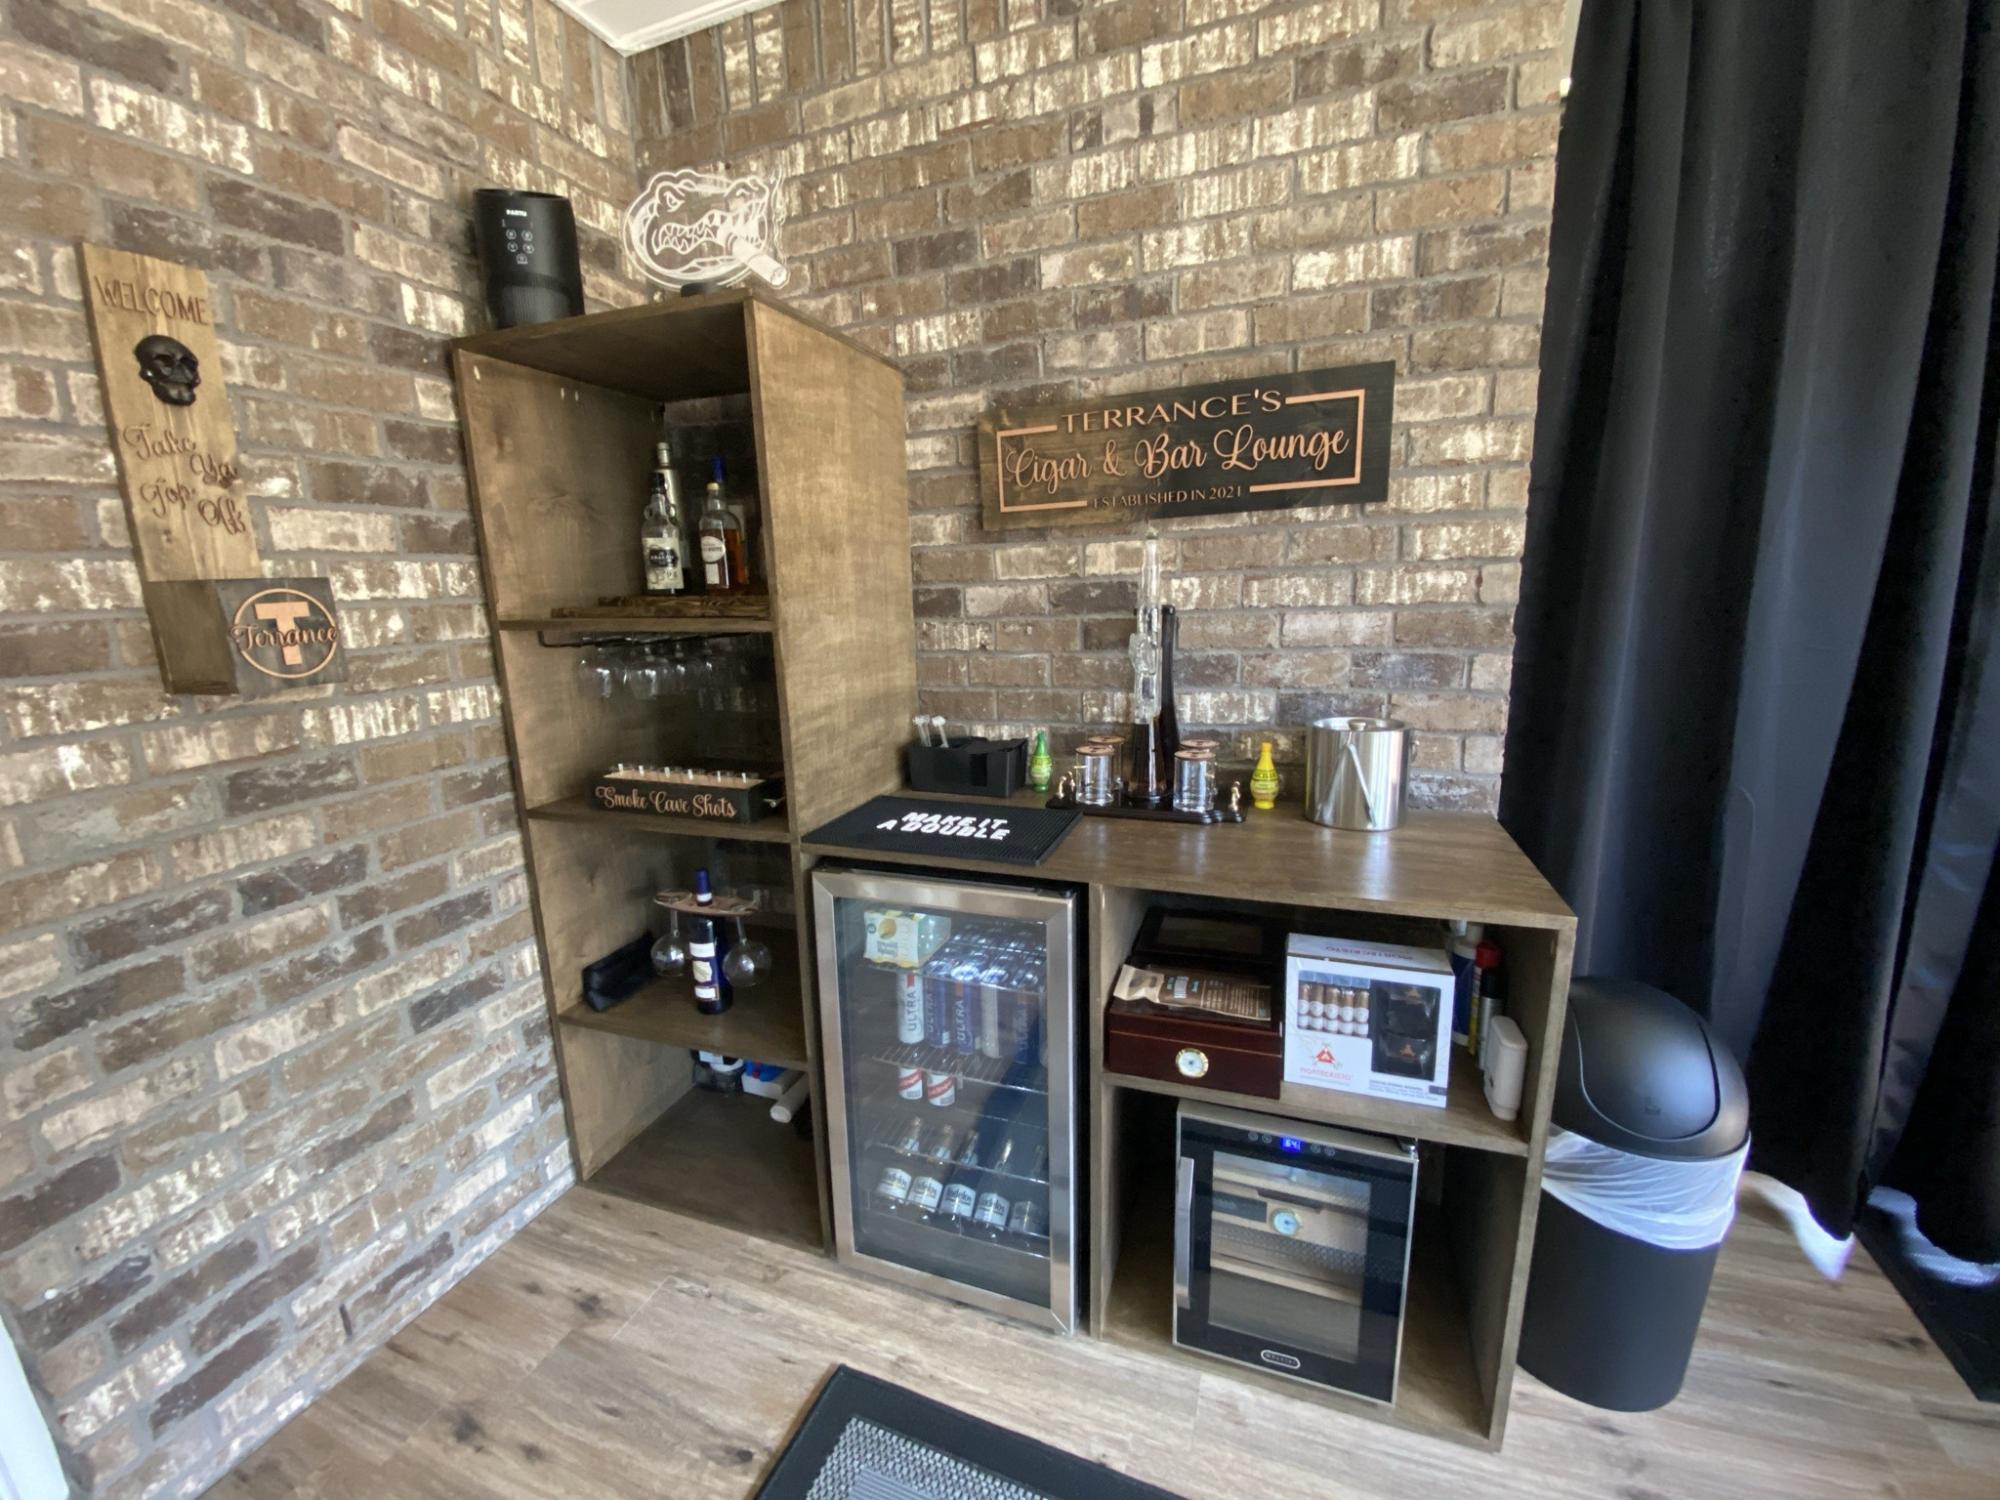
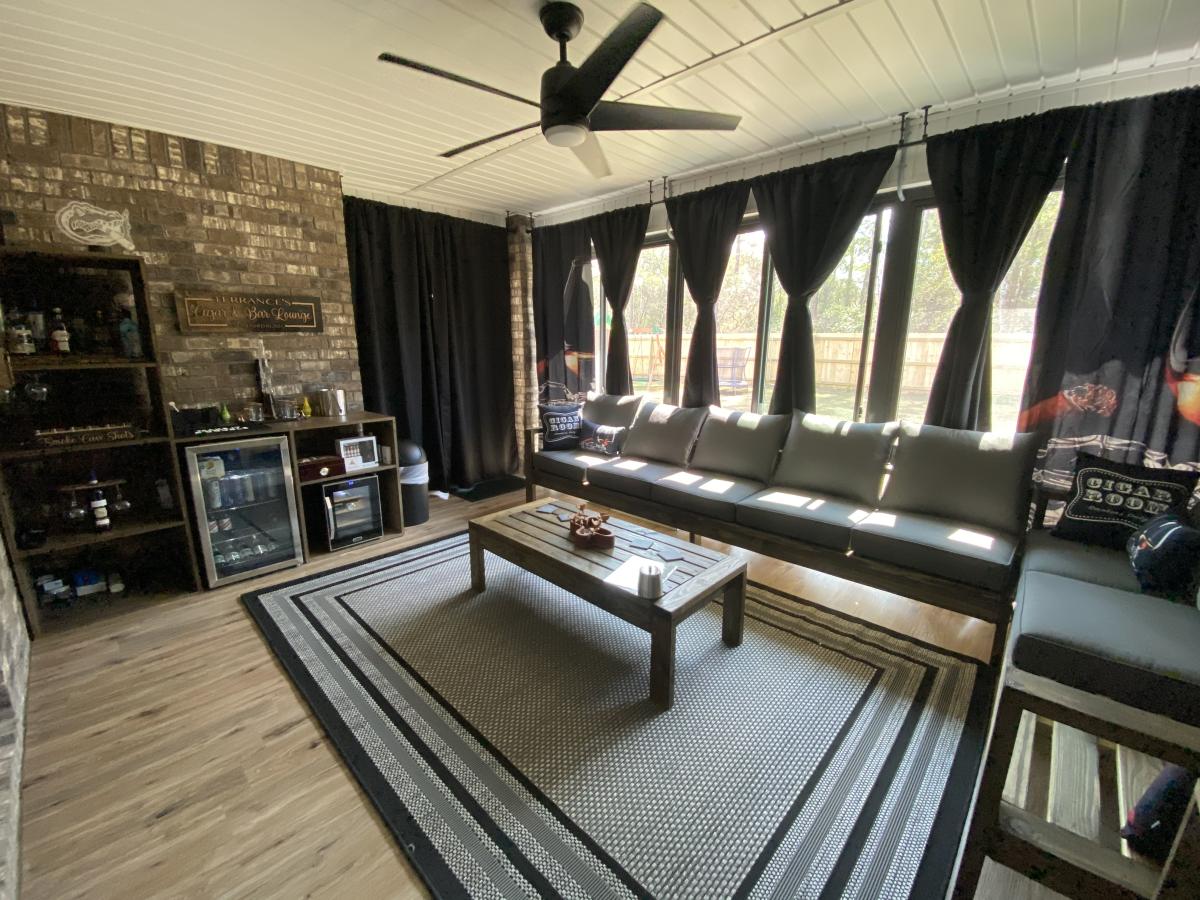
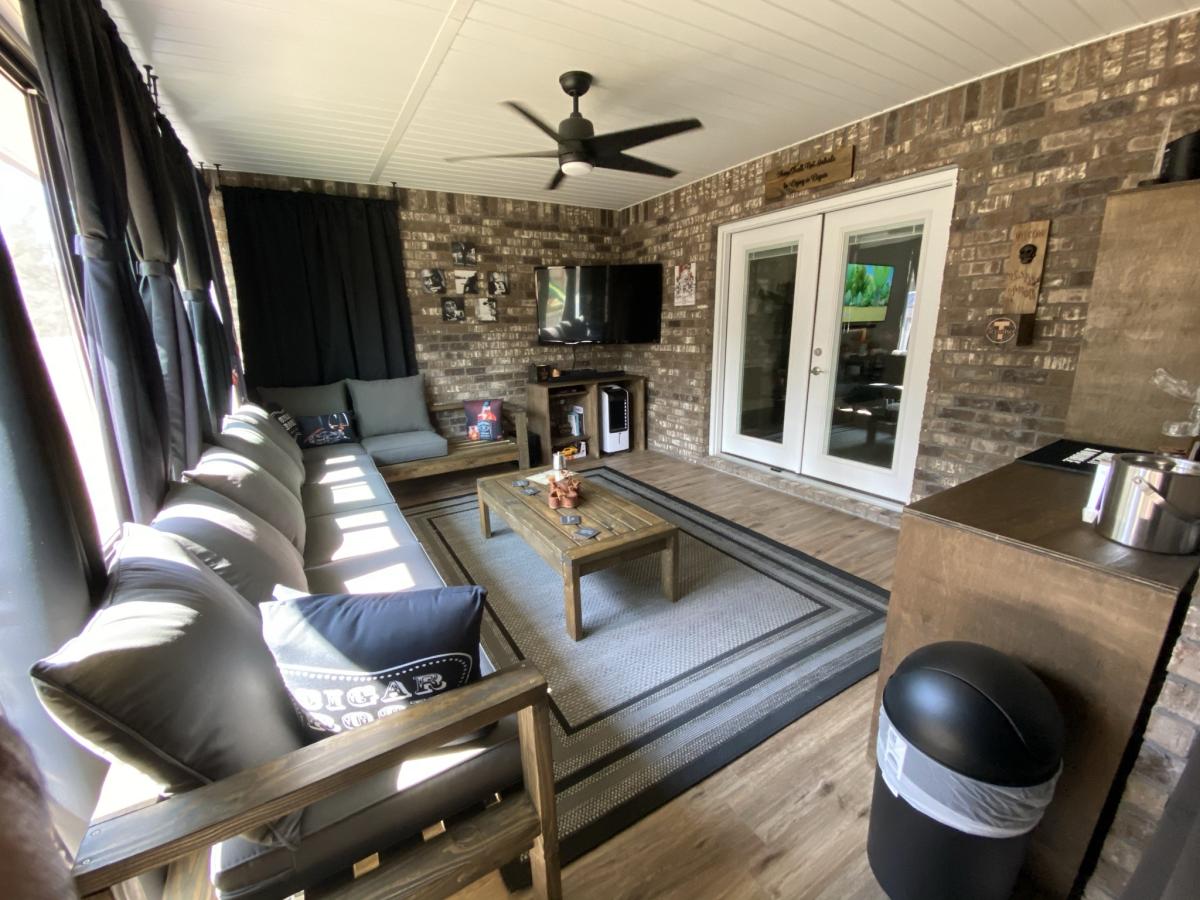
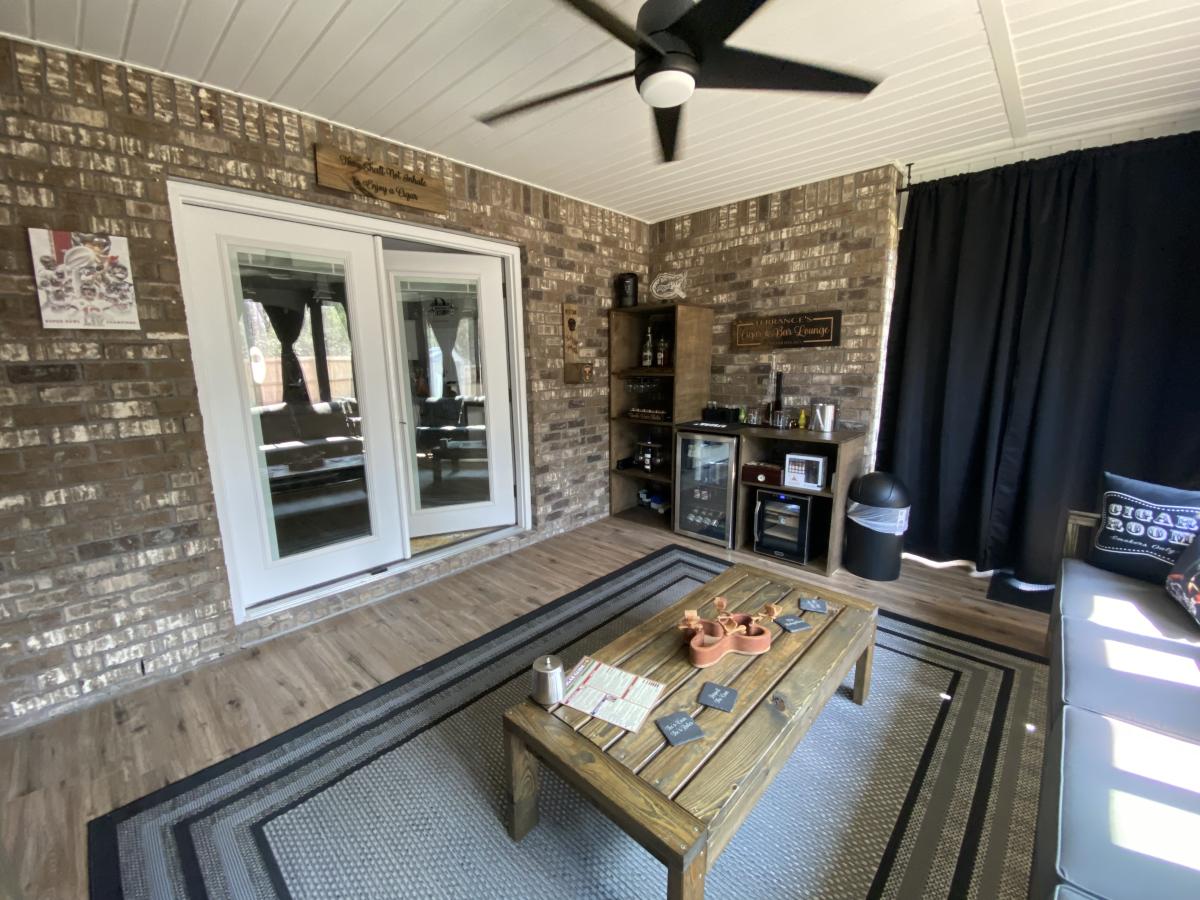
Resized the sectional to fit on our patio for my husband’s man cave! Also built the table and bar area using Ana White’s wood ordering system.
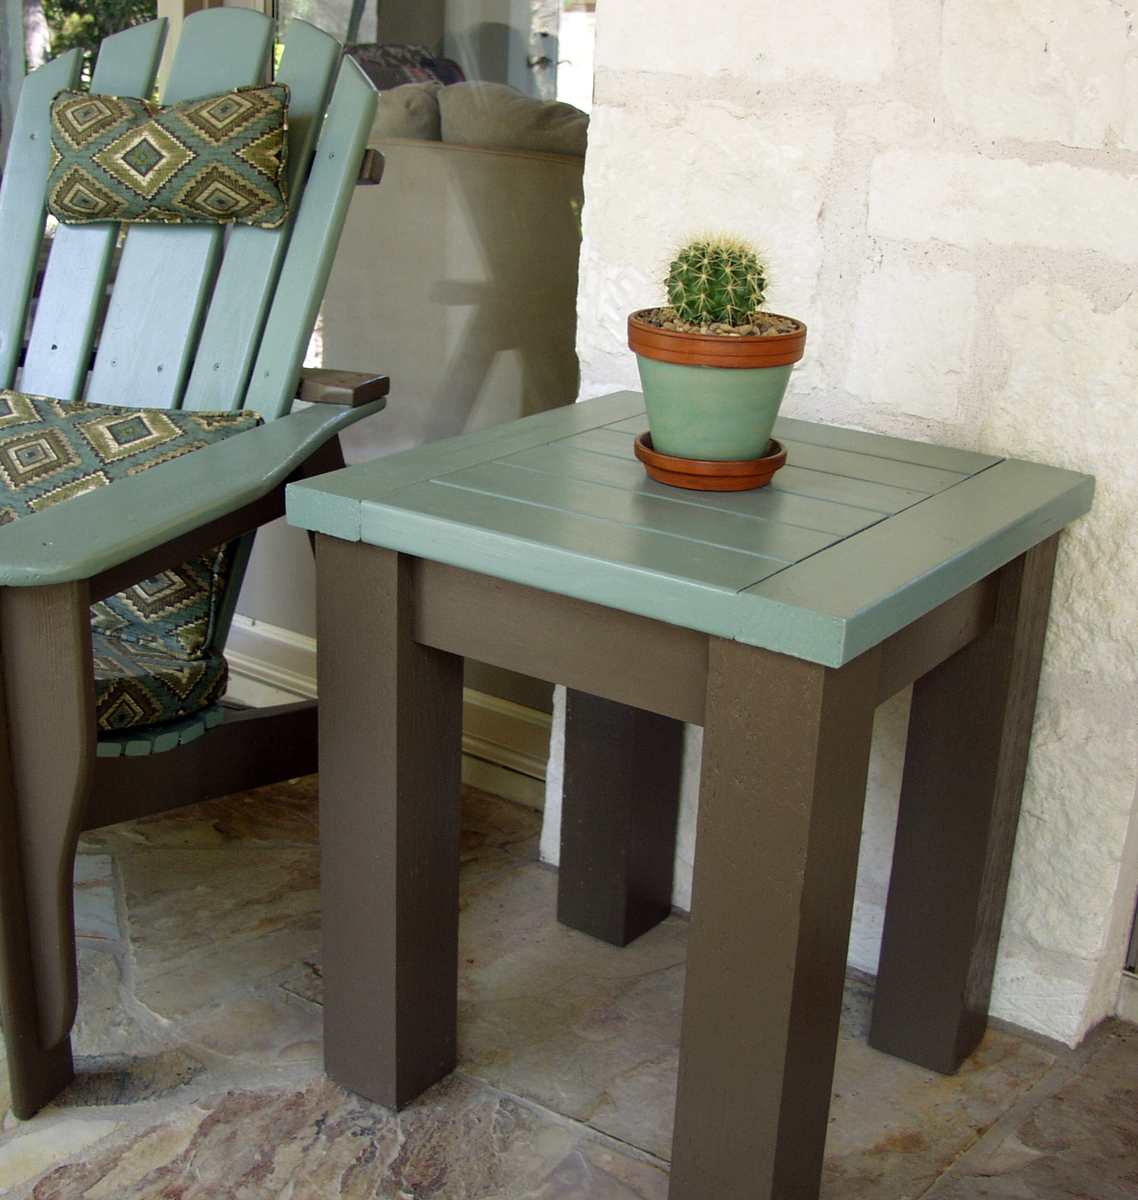
This was my first project, so I picked one of the easier table plans. Once I learned how to work the miter saw, Kreg Jig & drill, it was pretty easy!

This was my first time building a hall tree. I’m a huge fan of Ana White and love watching her videos and tutorials. I’m not an expert builder, just self taught. For this project, I used bead board for the backing which cost about $31, and it’s called Rustic Barnwood. I also decided to go with something different, and chose Slate stain to give some slight contrast. I really enjoyed working on this. I can’t wait to share my next project. Thank you Ana, I’m a huge fan!


Wed, 02/01/2023 - 08:53
Great hall tree, thank you so much for sharing, can't wait to see your next project!
constructed in a similar way to the outdoor sectional, using 1x4's. We used 4 1x4's laminated together for each leg.
Fri, 10/14/2011 - 21:41
What kind of wood did you use? I tried something similar but ended up splitting the wood and had to change the design of the table. This is just what I had originally planned but was unable to produce. It's just beautiful.
Sat, 10/15/2011 - 13:55
We used 1x4 Australian Tallowood (Hardwood) decking timber. All the screw holes were pre drilled and countersunk. Bolts at the top and bottom of the legs to hold them together.
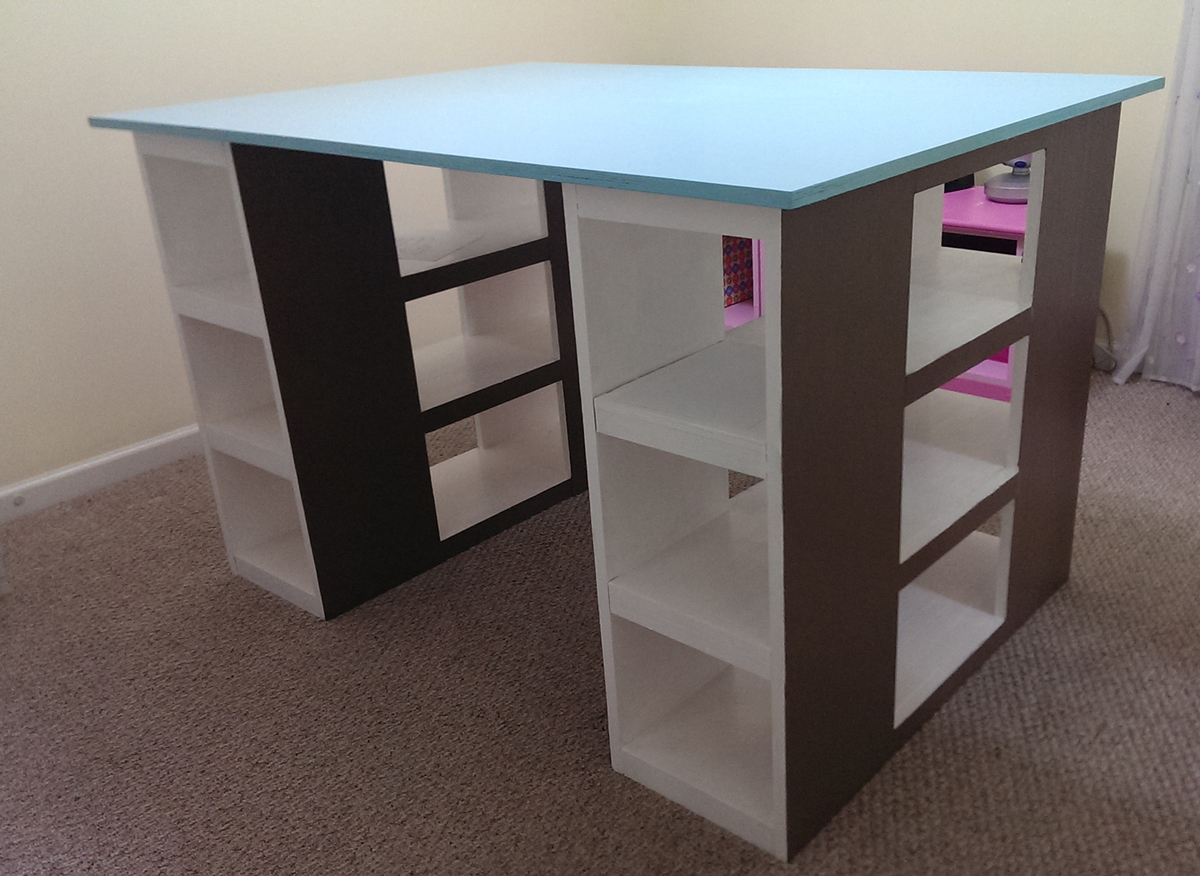
Peggy and I modified this table to be larger, put it together with the help of our Kreg Jig and painted it, with Kaitlyn's help, chocolate on the sides with white interiors and blue on the top. We look forward to making lots of art and being crafty at this table. And making lots of other projects to complete our craft room.
I love this table! Thank you Ana for the plans! Everyone who sees it says it came out incredible. I used my birthday money to buy the Kreg Jig for this piece and I'm glad I did! I'm excited to continue building. This was my first real build and it was fun! I painted it with a mixture of Barcelona and Graphite Chalk paint to make the brown and then I used that brown mixture to paint it as well as Graphite so it has two tones of colors. Chalk paint from Annie Sloan. I then clear waxed for protection and finished with dark wax.

I used the plans for Ana's vintage crate cart, but made a few changes. I made my boxes 11"W x 12"T x 15"D. I did not leave spaces between the pallet pieces and added a cheap wrought iron style handle from the hardware store for a pull. I only stained the fronts. I love these drawers!!!
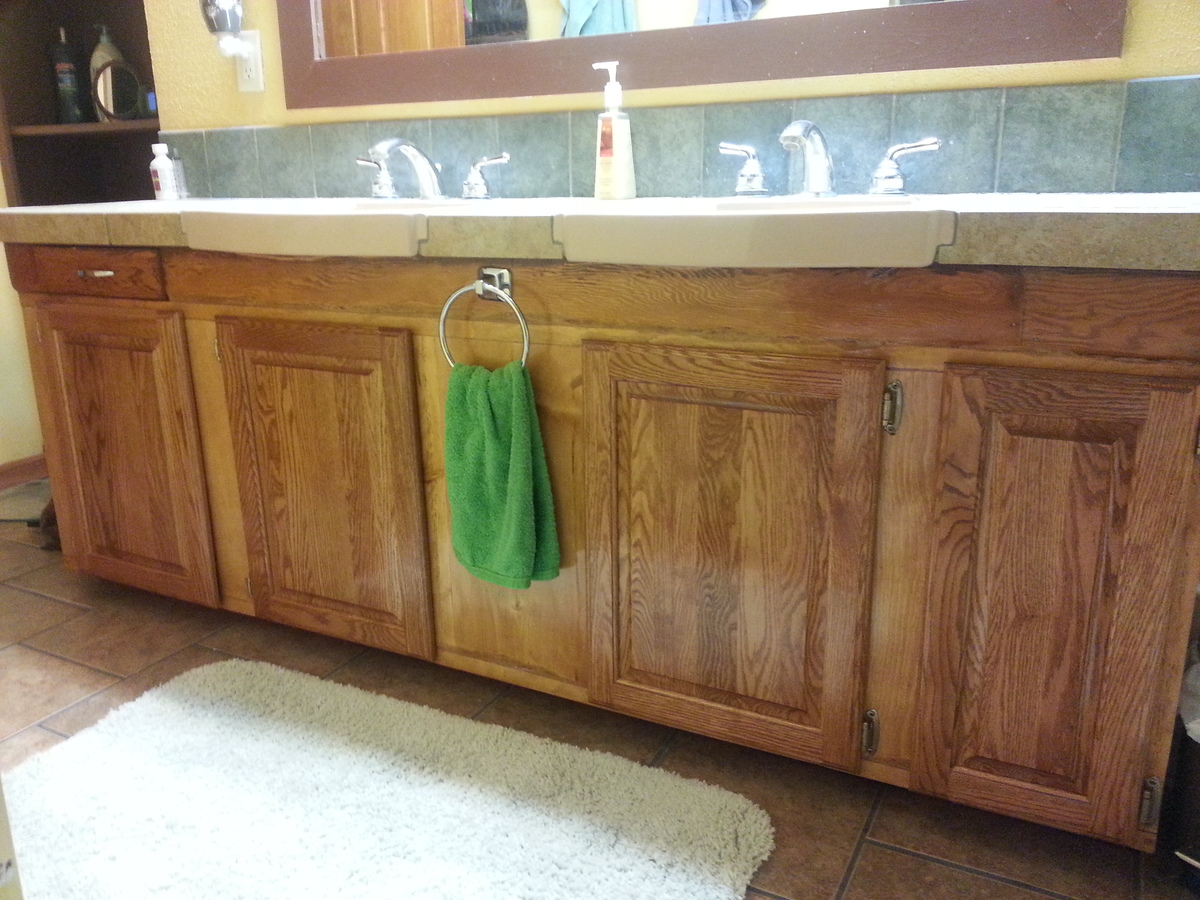
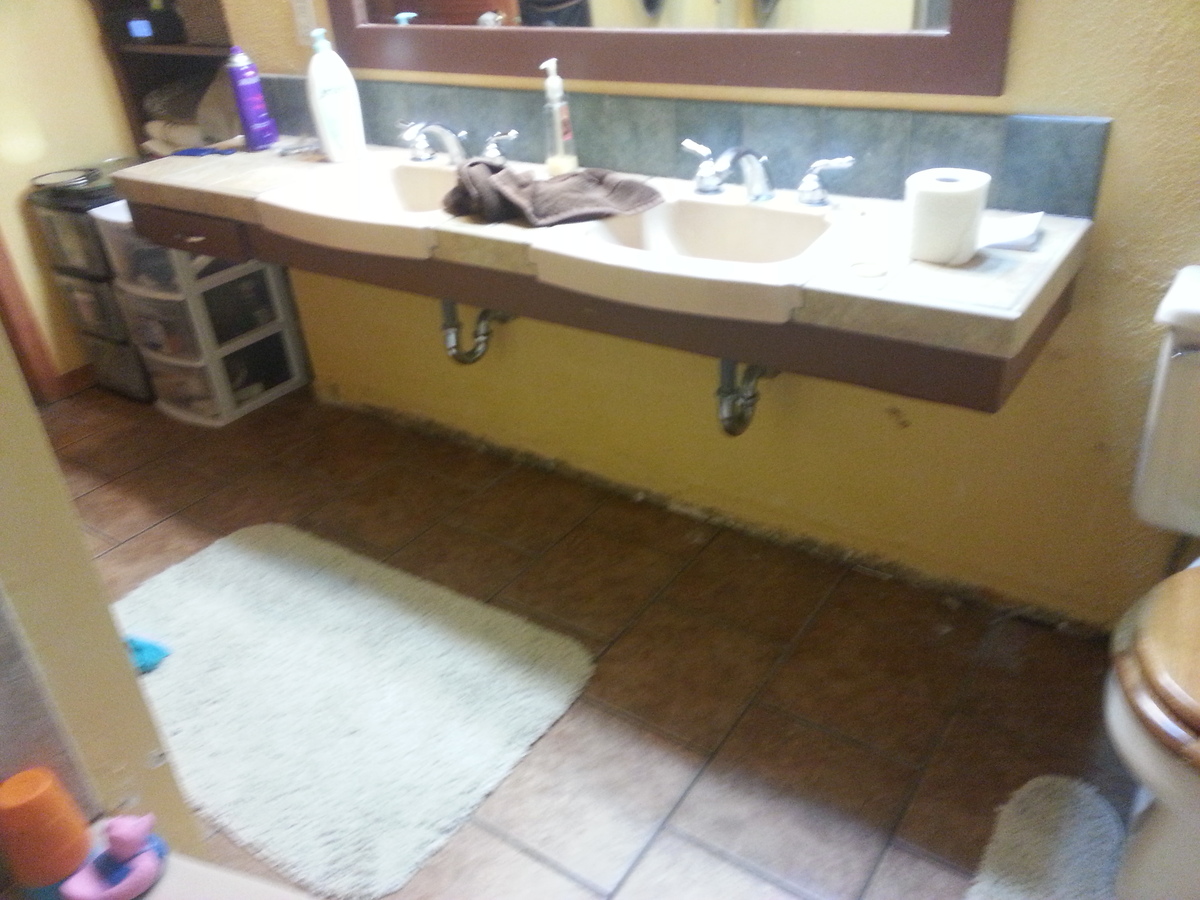
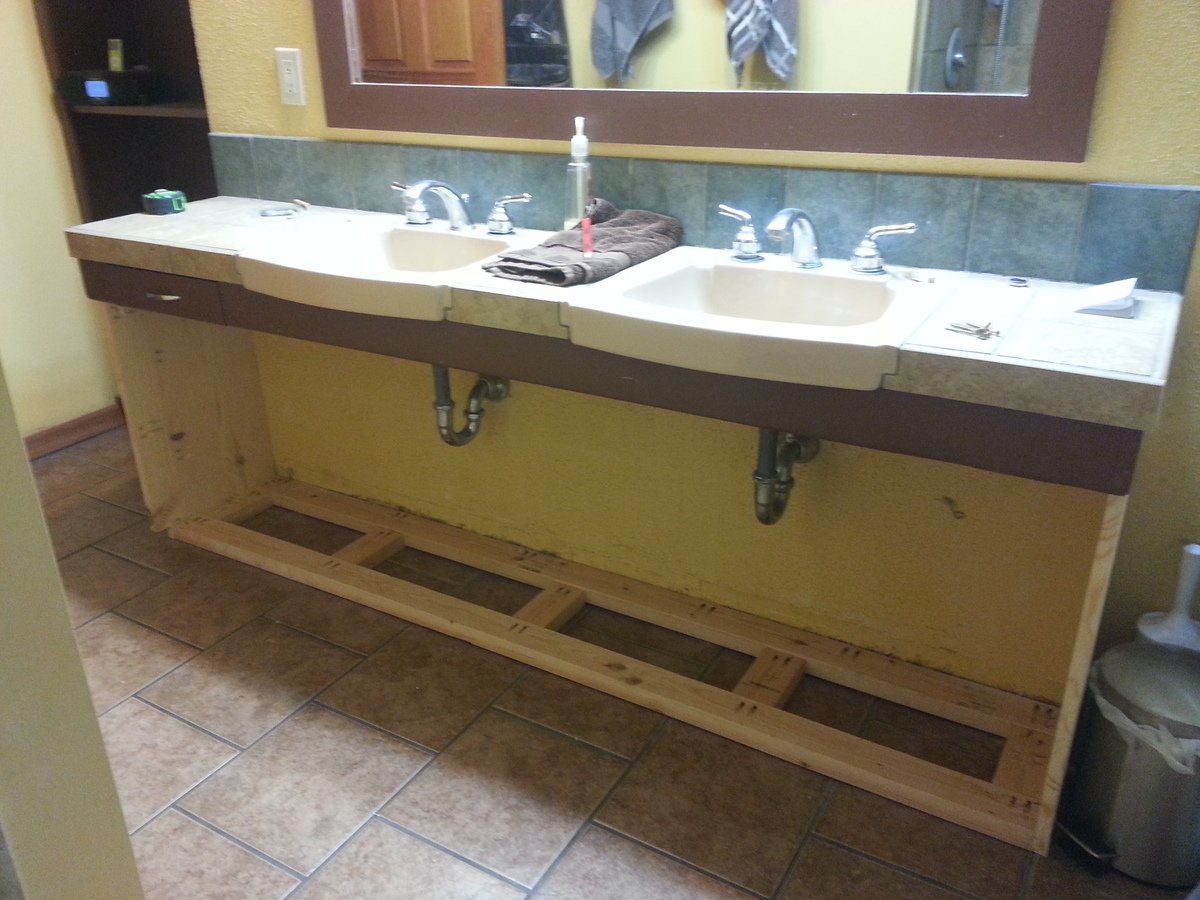
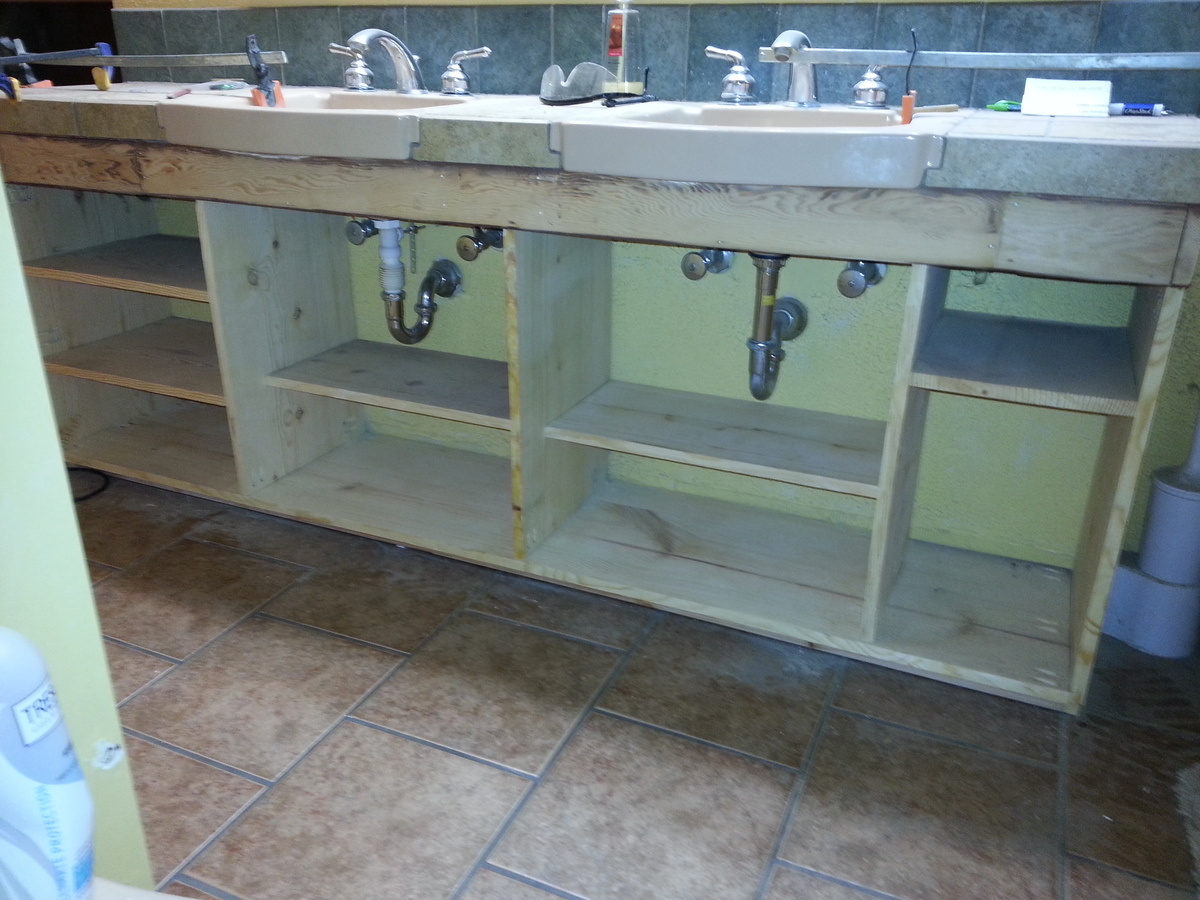
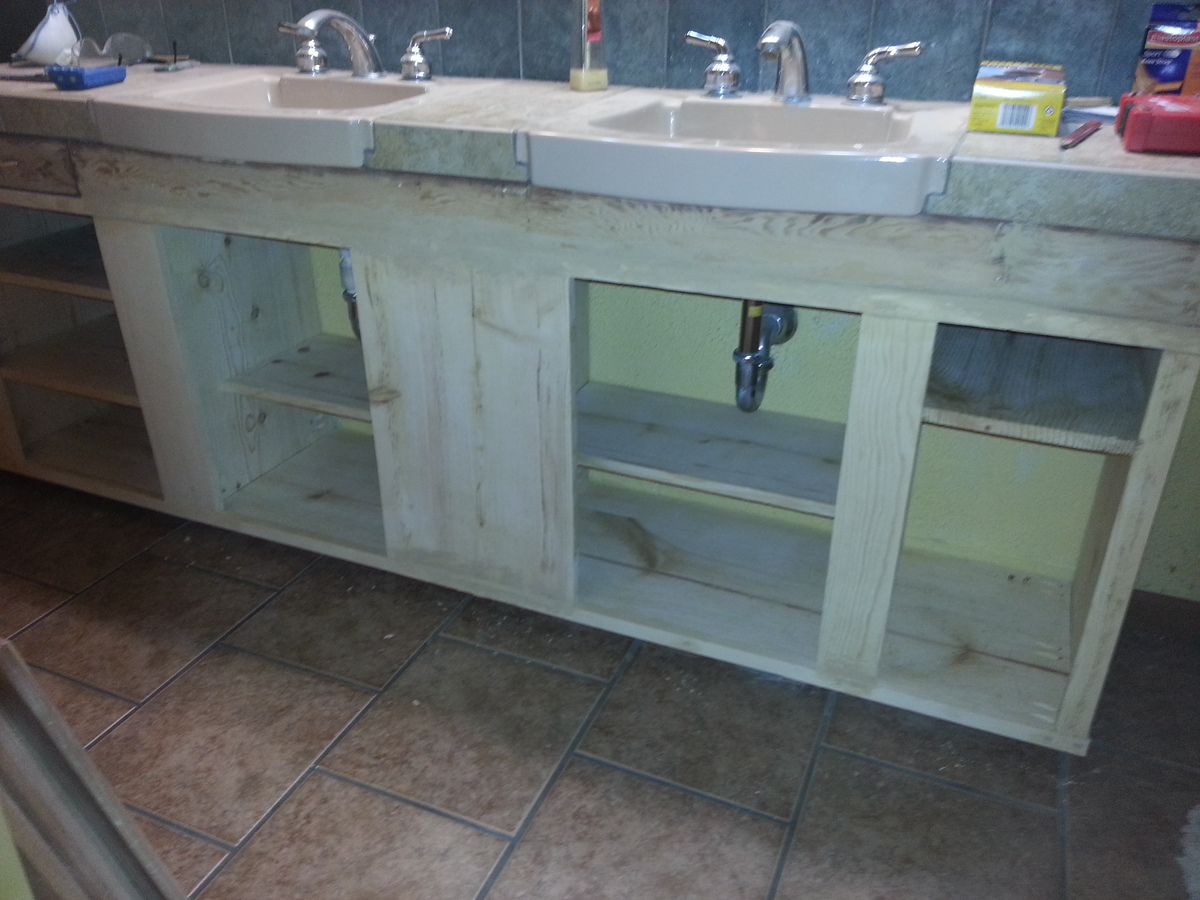
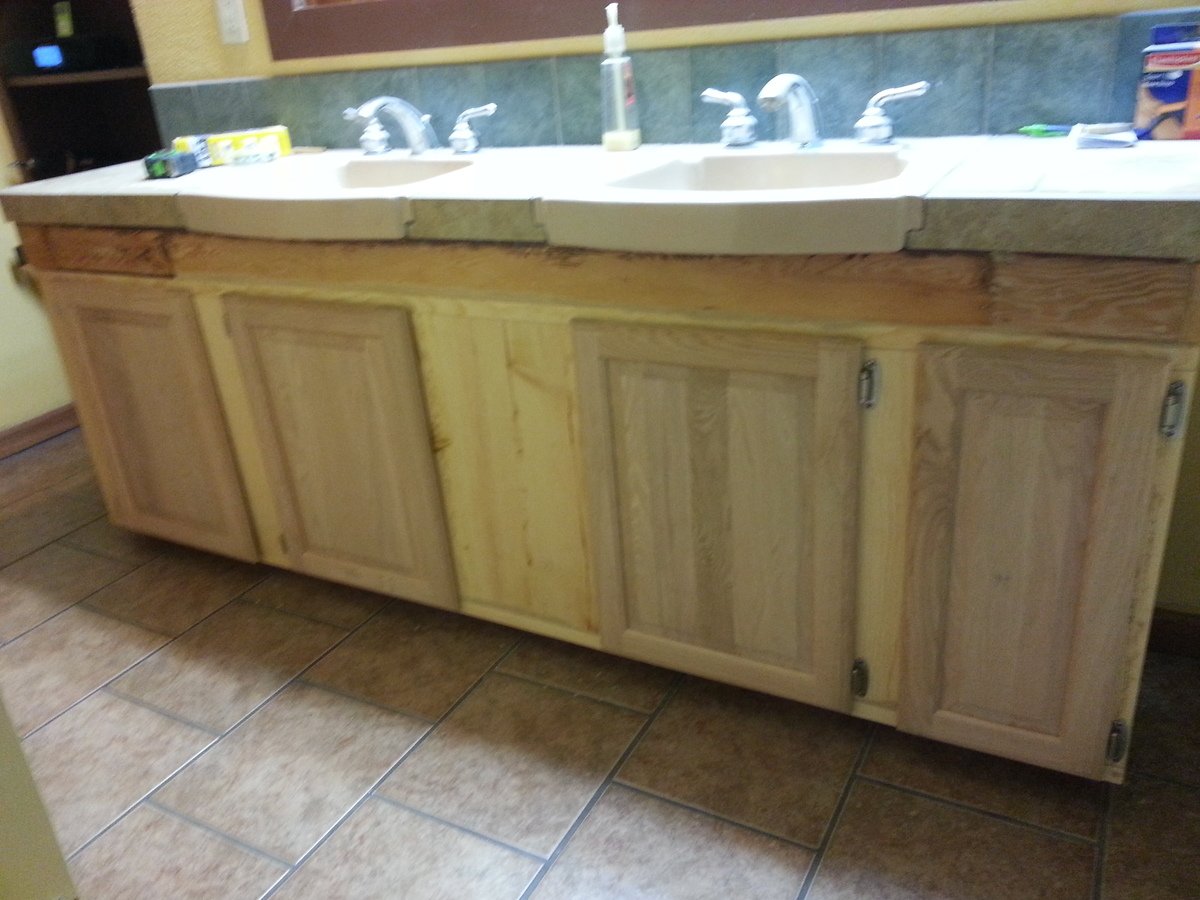
My wife has been wanting cabinets under our bathroom sink.... So, I made plans and gave it a whirl. How did I do? If anyone want plans or more info how I did it feel free to ask.
Mon, 10/14/2013 - 20:47
I'll bet your wife is thrilled. It's always harder to try to build around something you already than to start fresh - but you did a fantastic job.
In reply to Great job! by sgilly
Fri, 10/18/2013 - 01:05
It wasn't too bad to do... Didn't take as long as I thought it would and tripled storage in the bathroom. I thought it turned out nicer than I thought. My wife loves it. and thank you for the comment!
Fri, 10/18/2013 - 01:20
Yes the cost savings was amazing. and it will hold up and is thicker than anything you would buy in the box stores. I am really happy with all of this. Thank you so much for commenting.
Keep on building on! This is the second peice I've built for our dining room - built a bar first. I opted to only make 2 pedestals instead of 3 that was on the plans. Dimensions are a tad smaller to fit our room nicely, measuring 90in x 40in. My wife and I absolutely love this table! I used Red Oak for the top and Doug fir for the base. Hardest part was lugging around that dense oak and looking for chairs! The stretcher was also a bit of a task as well. Had to go out a buy a rubber mallet to bang it in enough so that the slack on both ends were even. We particularly like this piece because it will be used often and many memories will be created around this table! Thanks again for the inspiration!

Hey All,
My wife and I had 5 children in 5 yrs (no twins), our oldest being 6. Christmas was fastly approaching and we were brainstorming on what to get them. Through the years we had spoken of an indoor climbing wall and/or ballpit due to the long hot summers in FL but never really dedicated the time to researching our options. We decided that Christmas would be a great time for a project like this. I sketched out a few ideas and started to google. I came across your site via a pintrest image. The wheels started turning very quickly for me, we were super excited as you can image. The dimensions are different (8x8 ish) from the indoor playground you all constructed but the bones were there thanks to you all.
I measured our room, purchased the wood after creating a diagram of the basic frame work. 2 weeks (20hrs ish) later of sanding and precutting I started lugging approx 300-500lbs of material to our second floor playroom area. Why so much material, you ask... We wanted to include all of the ideas we have had through the years plus a few others we came across on your site. It was a huge undertaking considering how many eyes were watching and the fact that we wanted to keep it a surprise. For the framwork I enlisted the help of #1 (the 6yr old) and we stayed up late and had great fun. Once we got to the point were I thought she would start connecting the dots I continued on by myself mostly. Every night I would mock up what was needed and then break it down to not give it away. Many long nights, cuts, a broken toe and a hole in the sheetrock later we were getting close.
The kids had their guesses as to what it would end up being but were ultimately super surprised. After 8 weeks of work during which we had my wifes family visit and then my parents came. Thank you to them all by the way b/c they worked on this too, which helped me immensly. Christmas Morning 90% of it was finished with the exception of the ballpit, canvas & foam coverings for safety. It took another 3 weeks to finish as I had never used a sewing machine before and wanted the kids to know this was a labor of love.
We ended up with monkey bars over a ballpit, cargo climbing nets on the far back wall and also transition from the ballpit to the top deck, outfitted with pirate telescope that leads to the slide and LED lighting throughout. Under the deck we have a small fort like area for them. My wife and I decided to not fully enclose this space b/c we all know kids get into all kinds of mischief when they think noone is watching. The kids chose the name for the playground. Hope you like the "Toledo Towers" , I know they sure do :)
Thank you for access to plans, endless threads with advice and plenty of pics to motivate.
Juan Toledo & Fam
Tampa, Florida
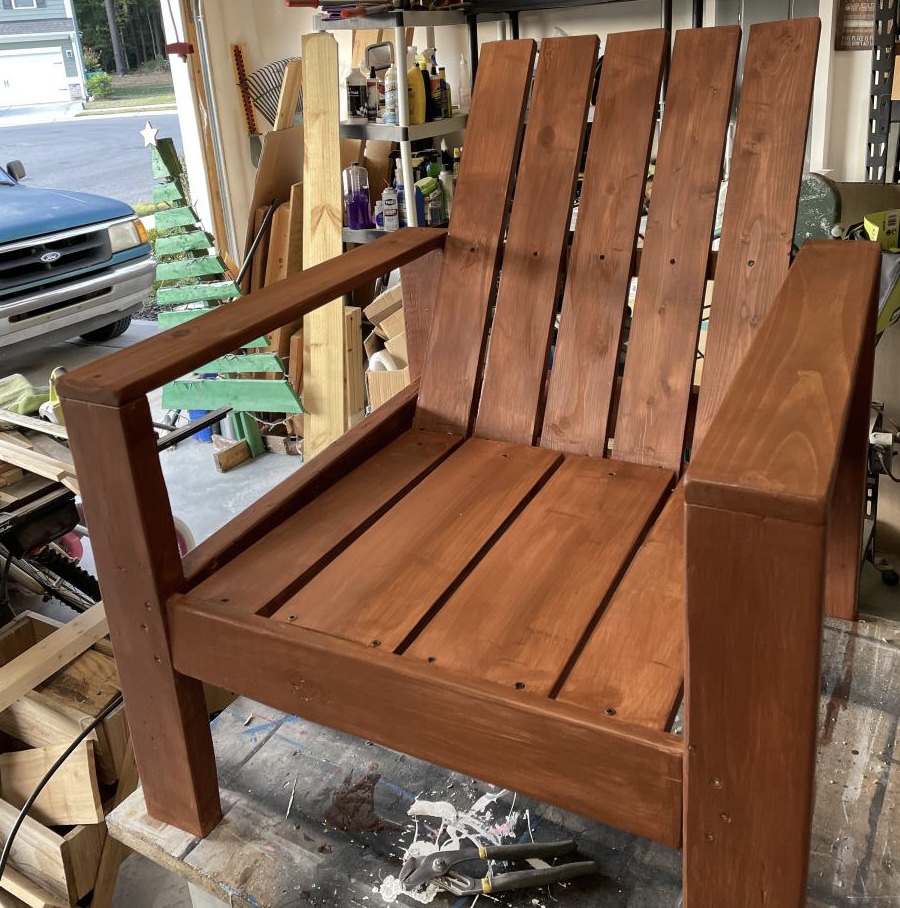
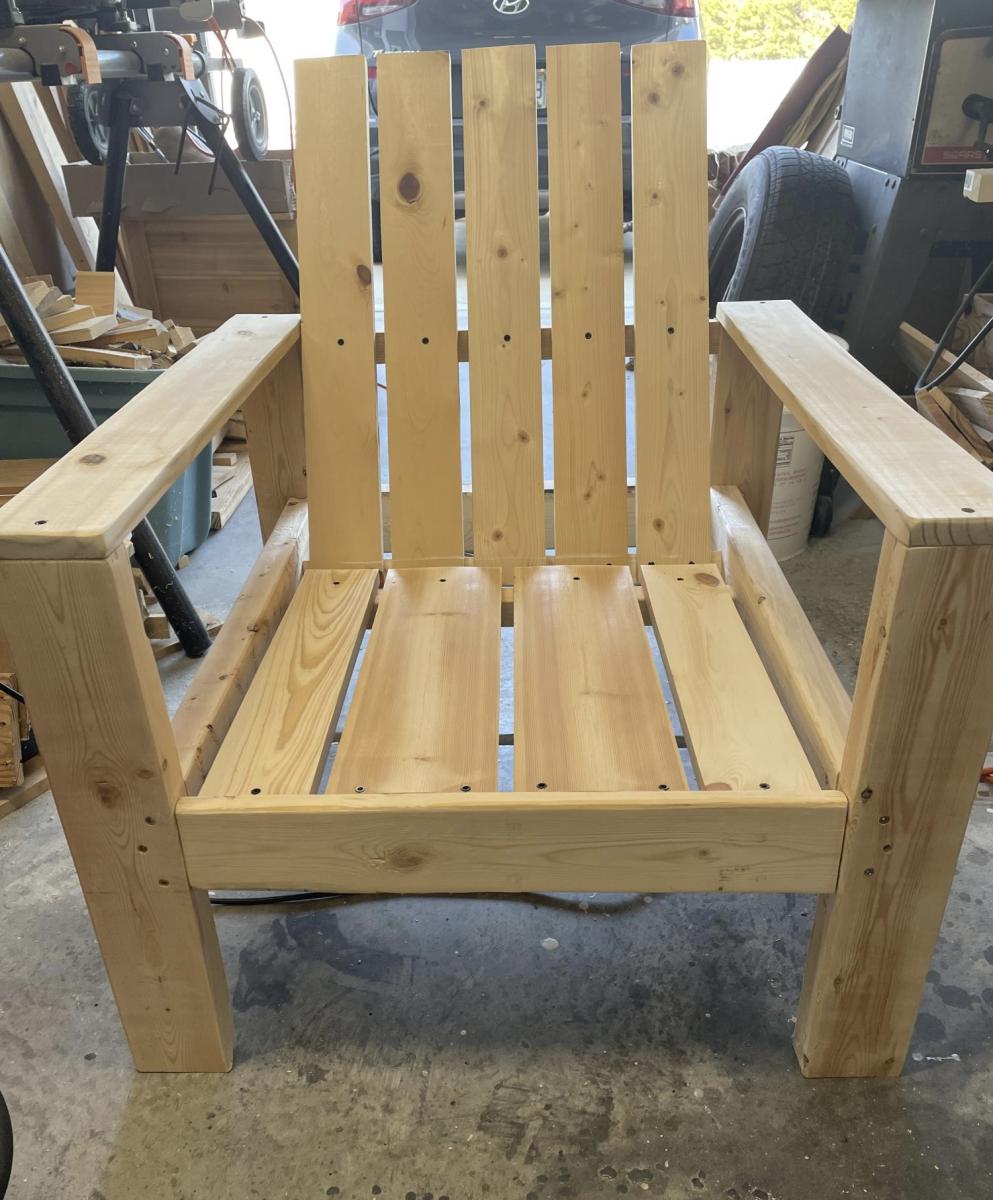
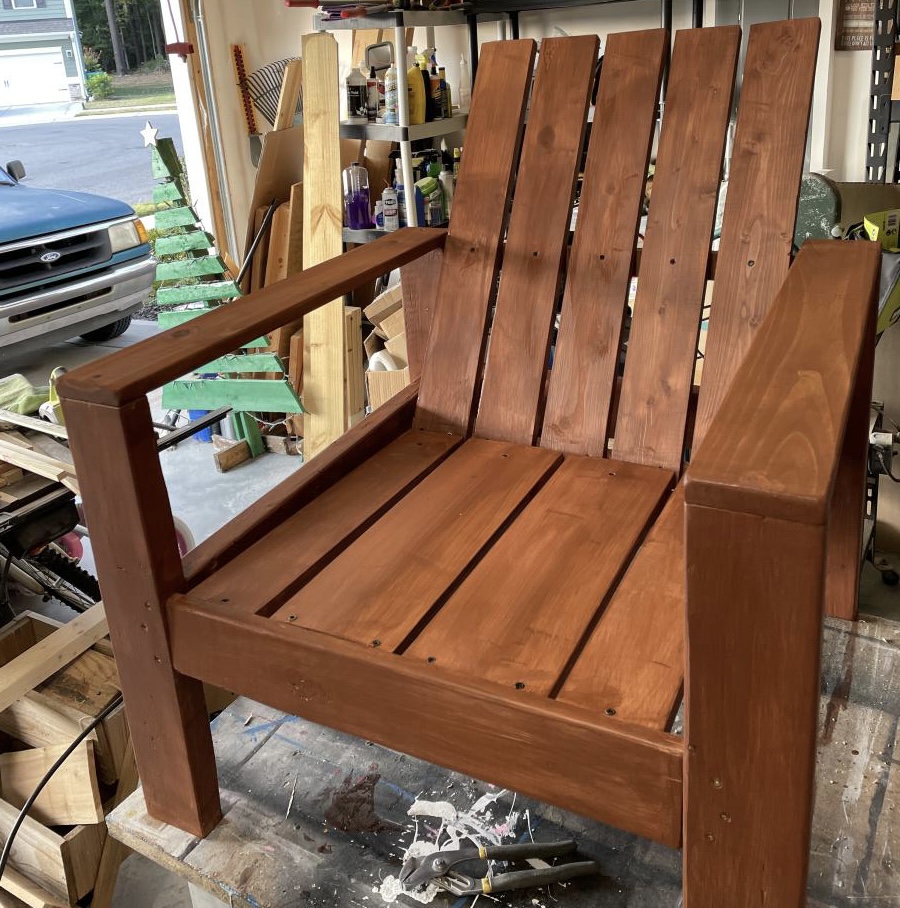
Made first chair for the firepit area, hope it holds weight!!! Plans were very easy to follow as usual.
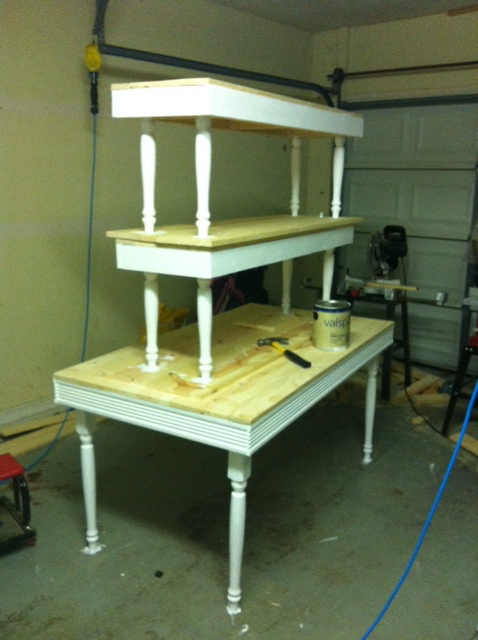
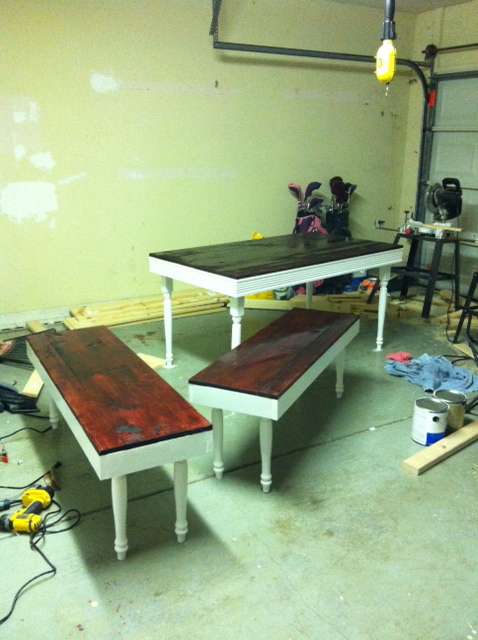
My wife has been wanting a farmhouse table for our kitchen for a while...so I looked through this site to get some ideas and finally built her one she loves.
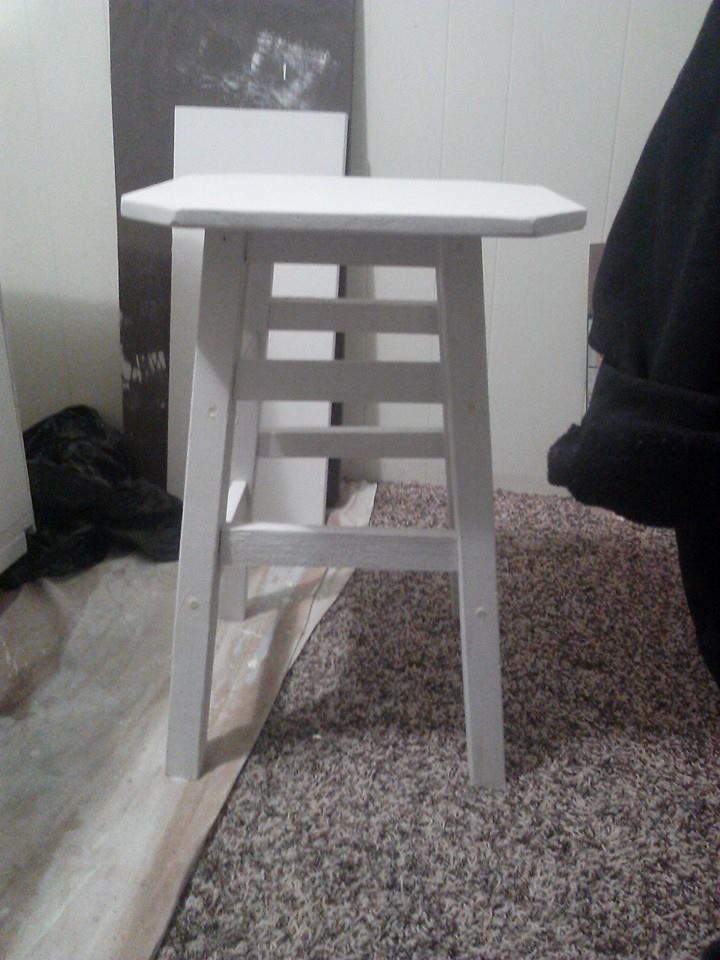
My version of the Simplest Stool will a larger rounded edges top.

This was my first attempt at a cutting board, in retrospect I maybe should of made a simpler one. I made a few mistakes and it took longer than anticipated but I'm happy with the way it turned out. l've shared some of my mistakes and provide some of the tips on my blog. More pictures as well. Cheers, Ian http://www.woodworkingfourdummies.com/blog/diy-brick-cutting-board