2 Drawer Rustic Kitchen Island
modified a bit to add 2 drawers and only 1 shelf, also make with 6" overhang around for stools or chairs.
modified a bit to add 2 drawers and only 1 shelf, also make with 6" overhang around for stools or chairs.
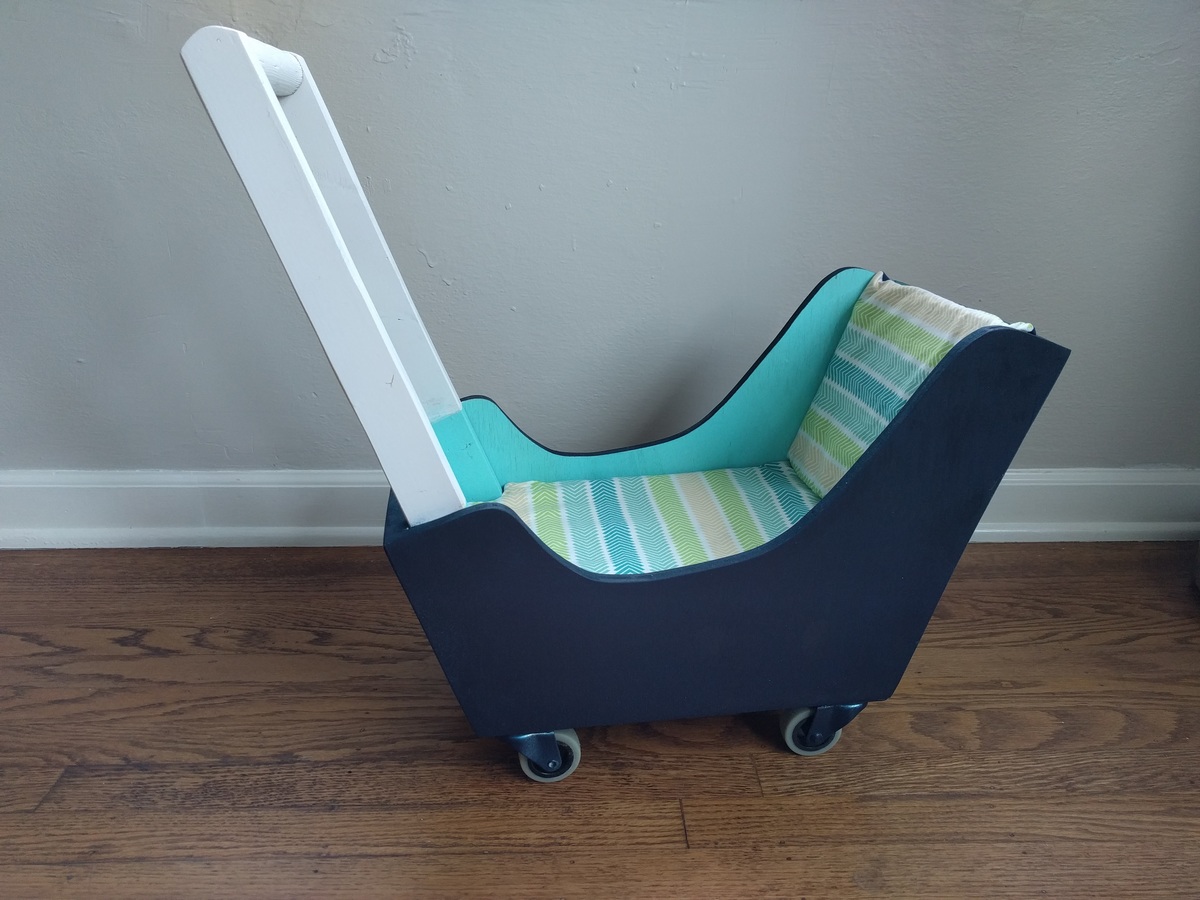
This was such a fun project and my daughter loves her baby carriage.

I took this on thinking it would be a great addition to my home. And I was not disappointed. I am just getting back into building things. My only training was high school shop back in the Stone Age. Lol But it was a challenge that I think I did well with. Thank you Ana for the inspiration and instructions.


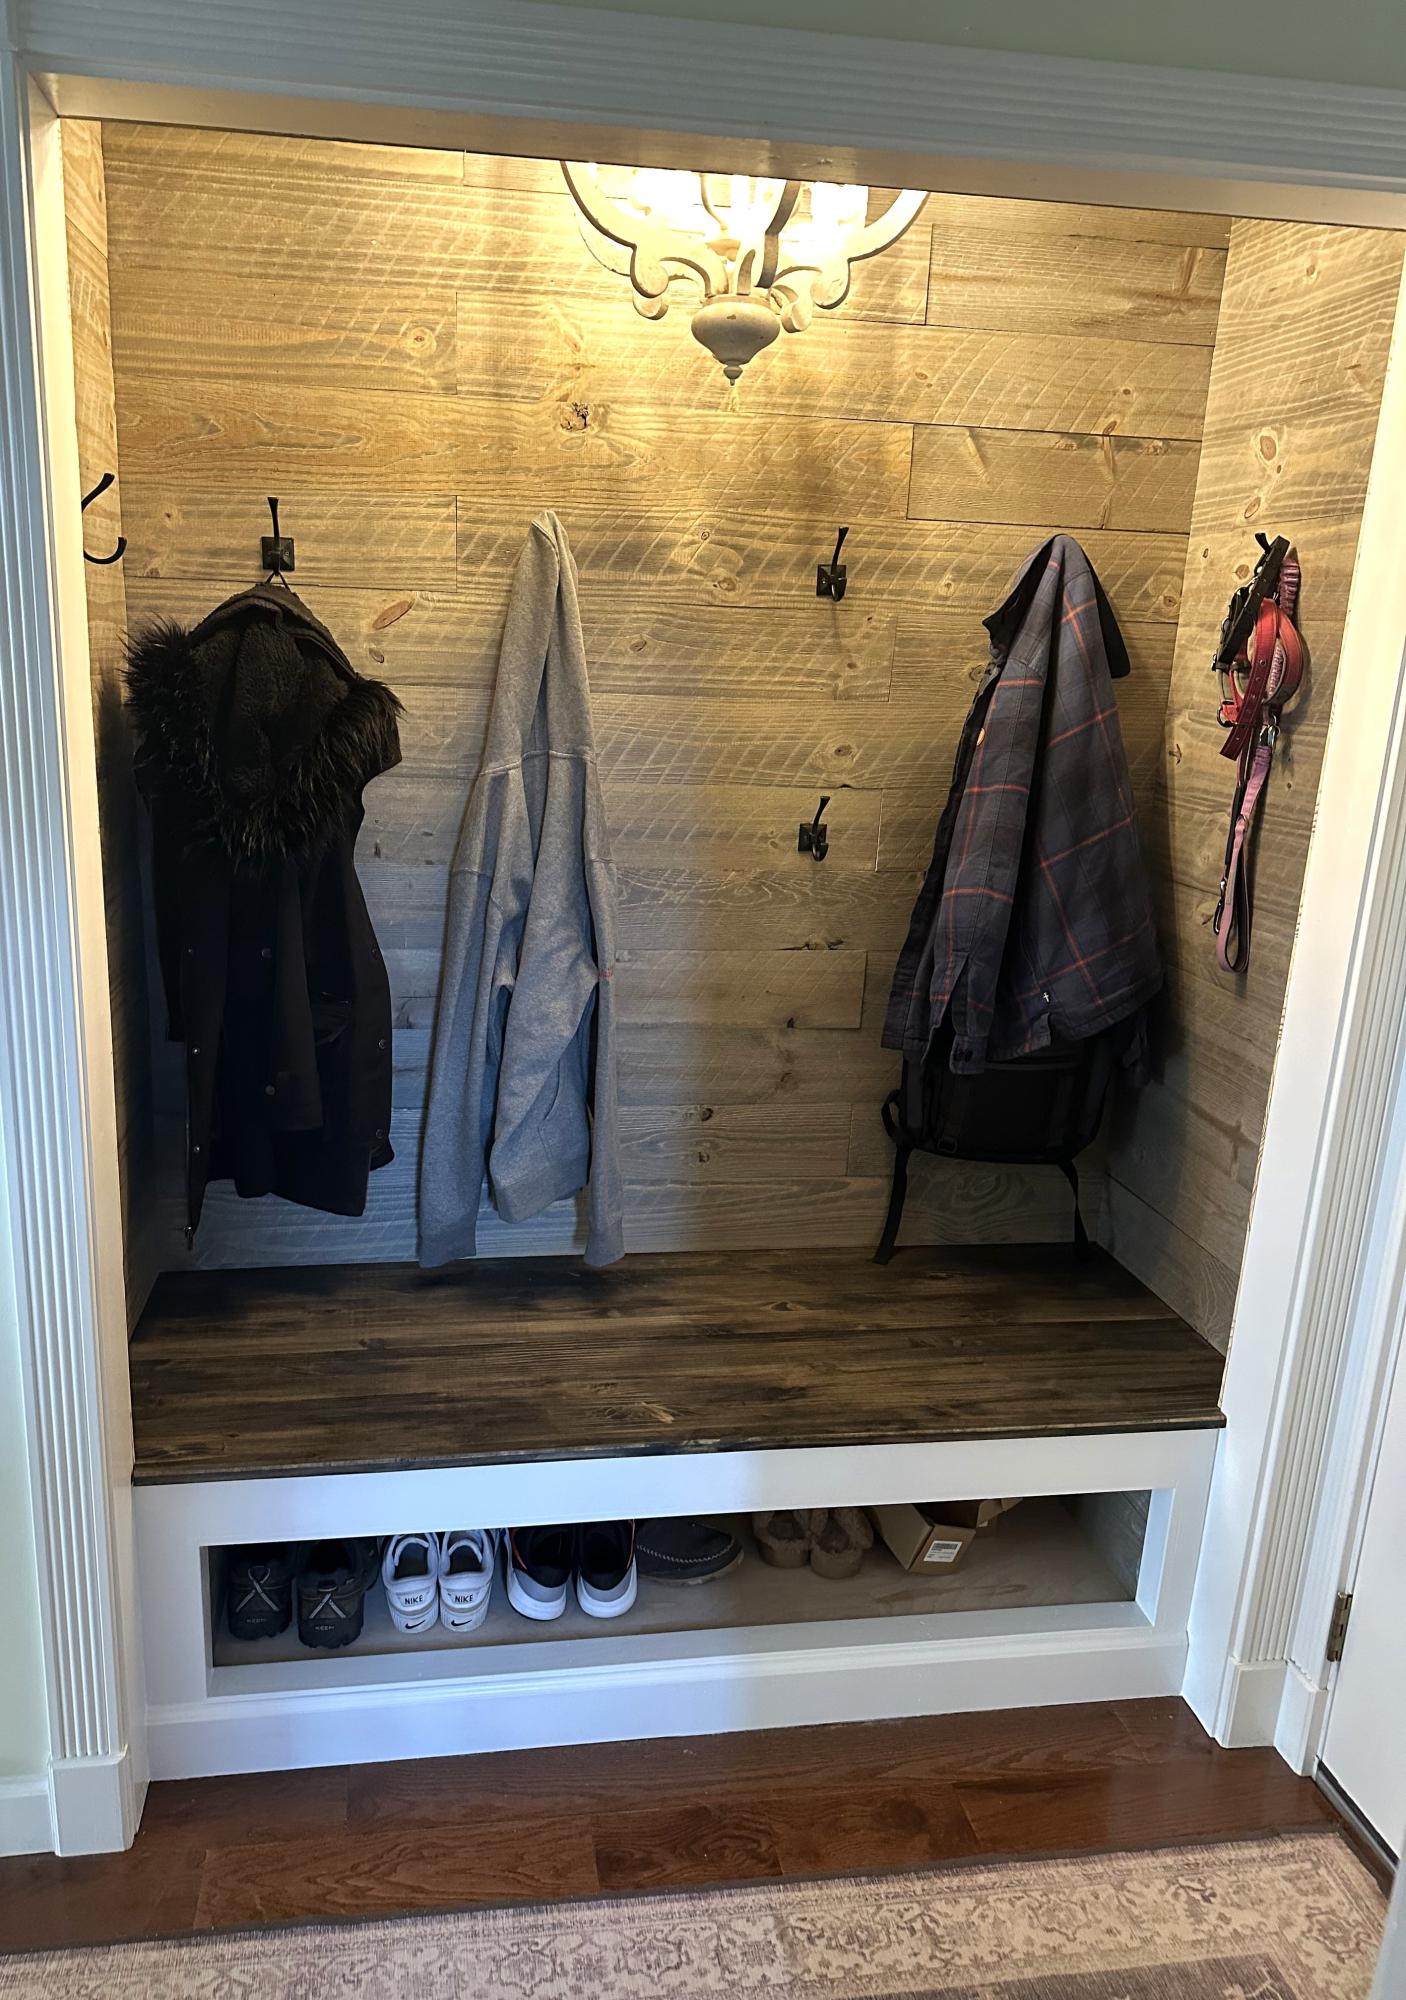
We moved our pantry to another closet. I made this so the family would have somewhere to put all there stuff right when then walk in. - Brian Hajdas
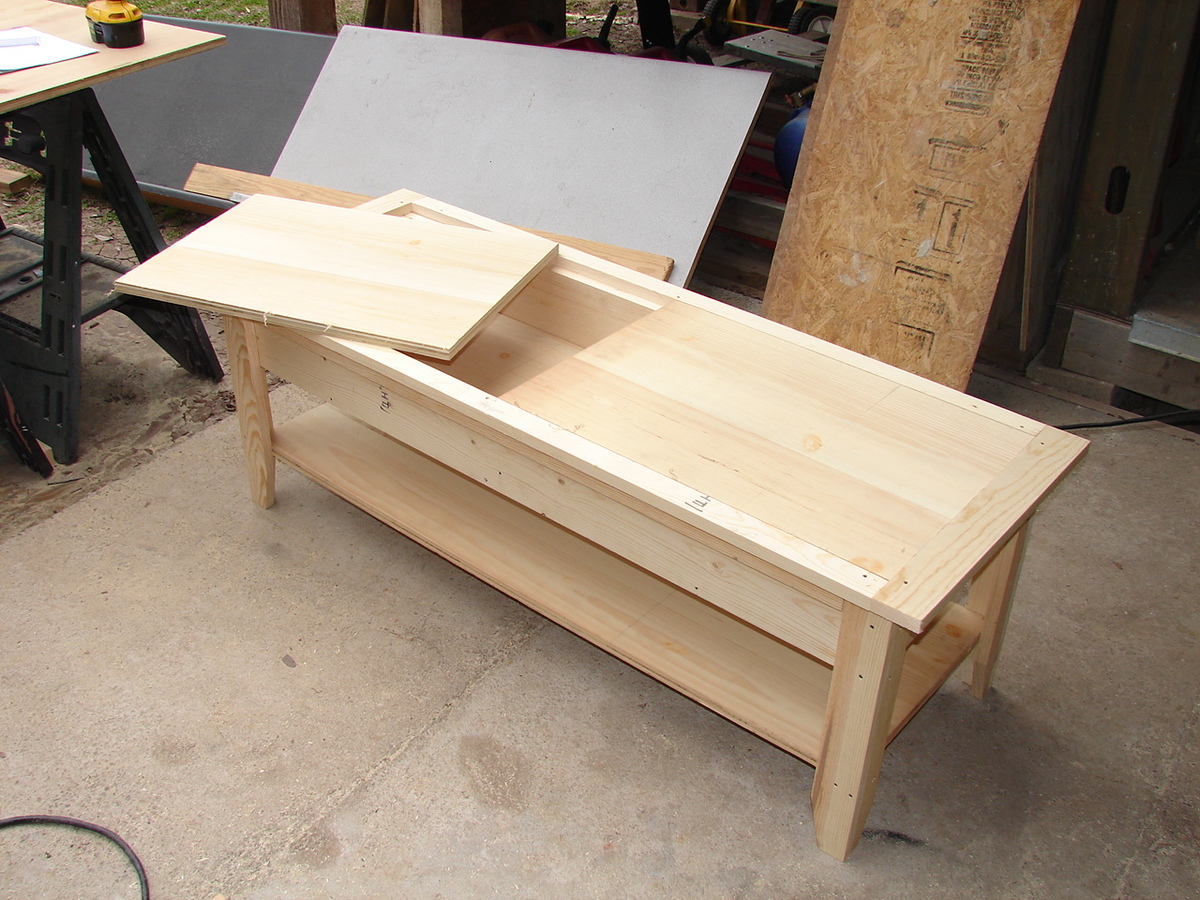
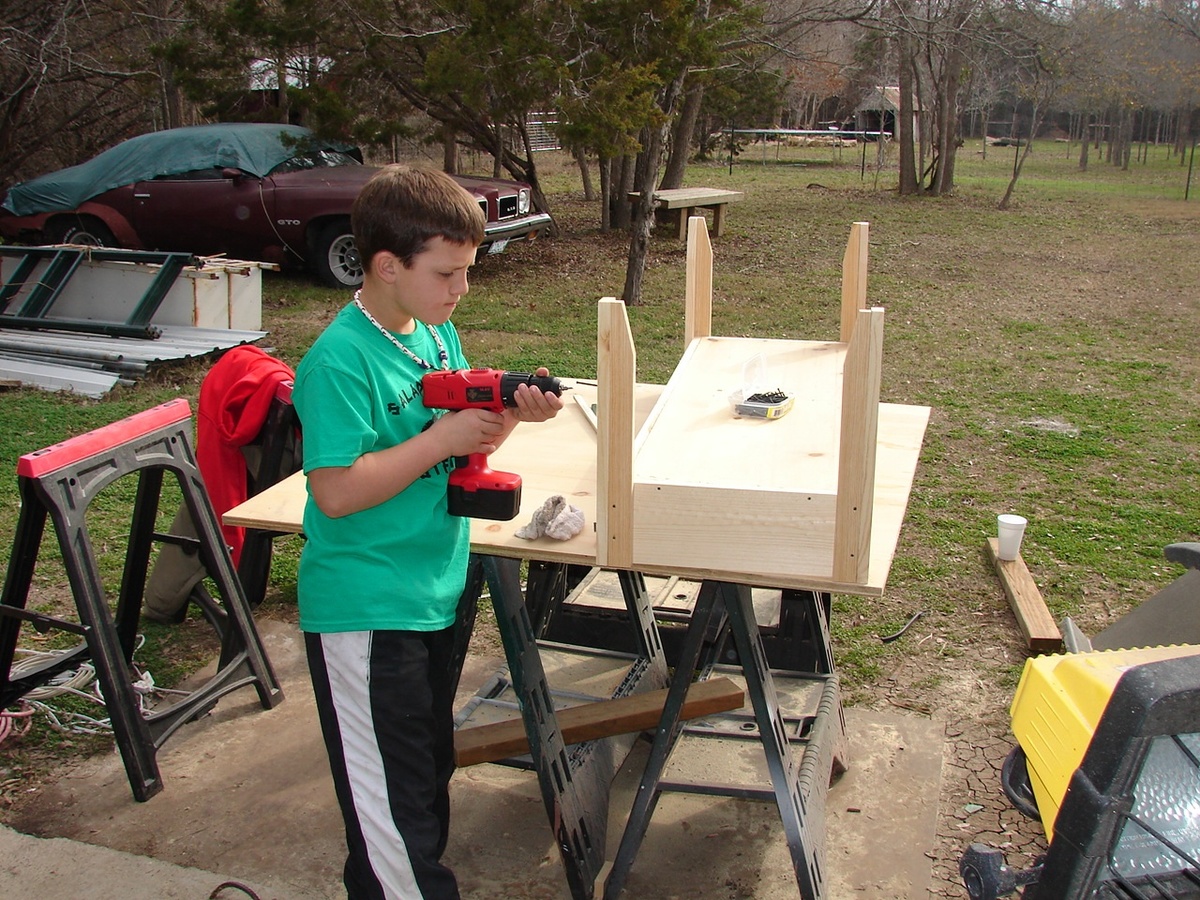
My son Bryce built the Lego Table for the Bell County Youth Fair and Livestock Show. He was entered as the youngest student at 9 years old and competed in the Junior Woodworking division. The table placed third out of 9 entries and he was the youngest kid to place. He was so excited! The table was easy to build and looks fantastic. Thank you for the plans. We are currently about to start work for this year's show.
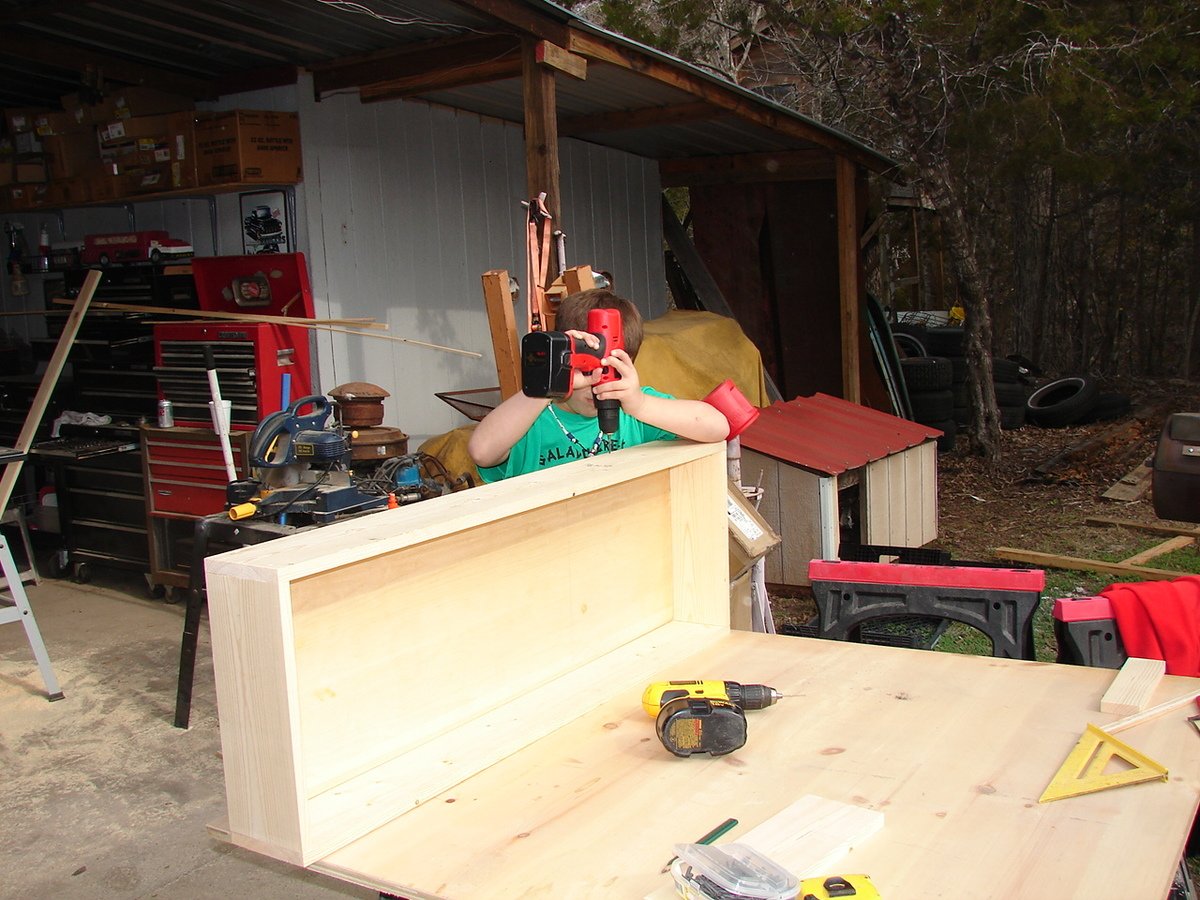
This is one of three doll beds I made for my nieces and their AG dolls.
Tue, 10/07/2014 - 10:05
Very cute beds! And the comforters are adorable. (I have enjoyed building baby doll beds and high chairs for the granddaughter and great nieces. They're older and now and have the AG dolls, so need to get busy on this bed for them.)
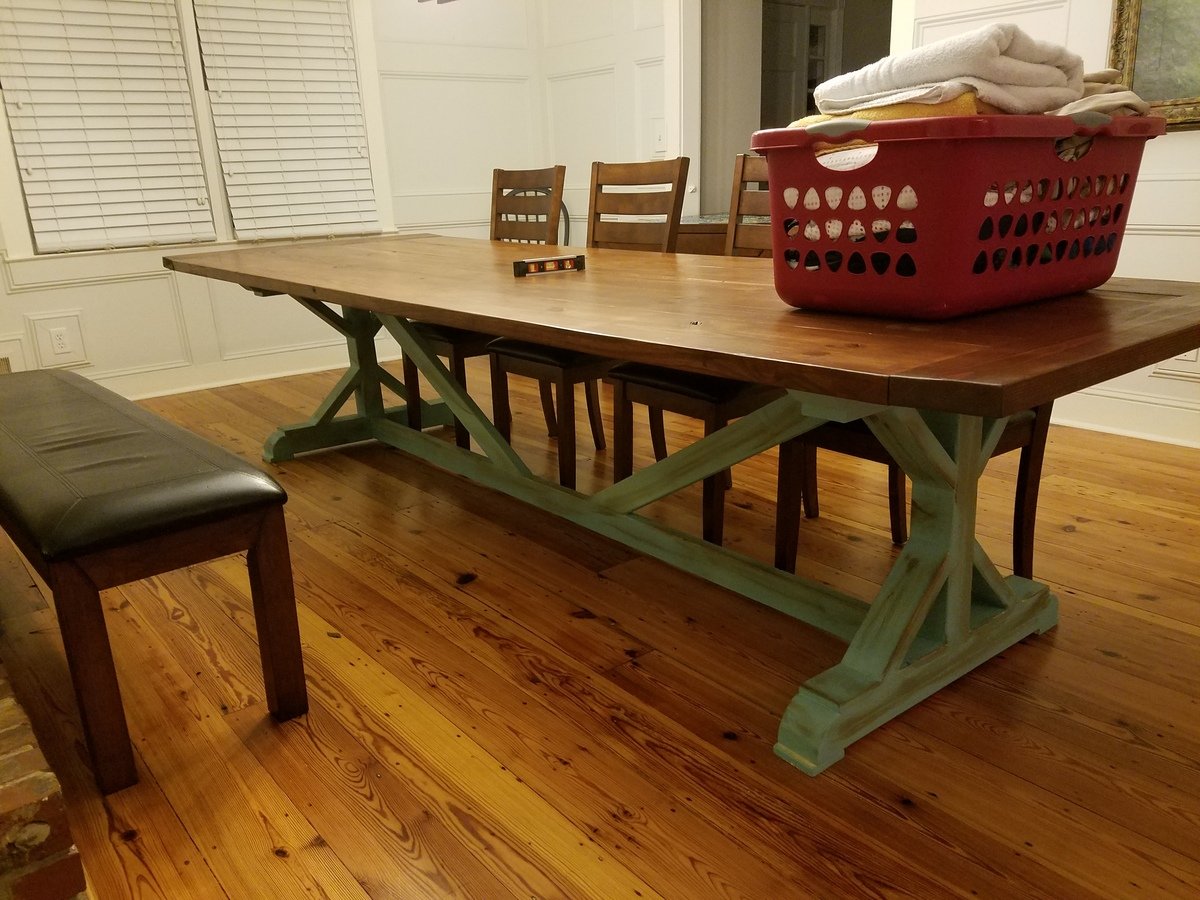
Took me about 2.5 weeks to finish this project (working on it mainly on the weekends when I had some time)! This build was modified to fit our dining space I made the table a little wider at 44" and a little longer at almost 11'!! This was my first furniture build and I am very happy how it turned out! I look forward to building more projects! Please pay no mind that as soon as it came in the house it was being used to fold laundry LOL!! This is the beginning of a new life for my dining room!
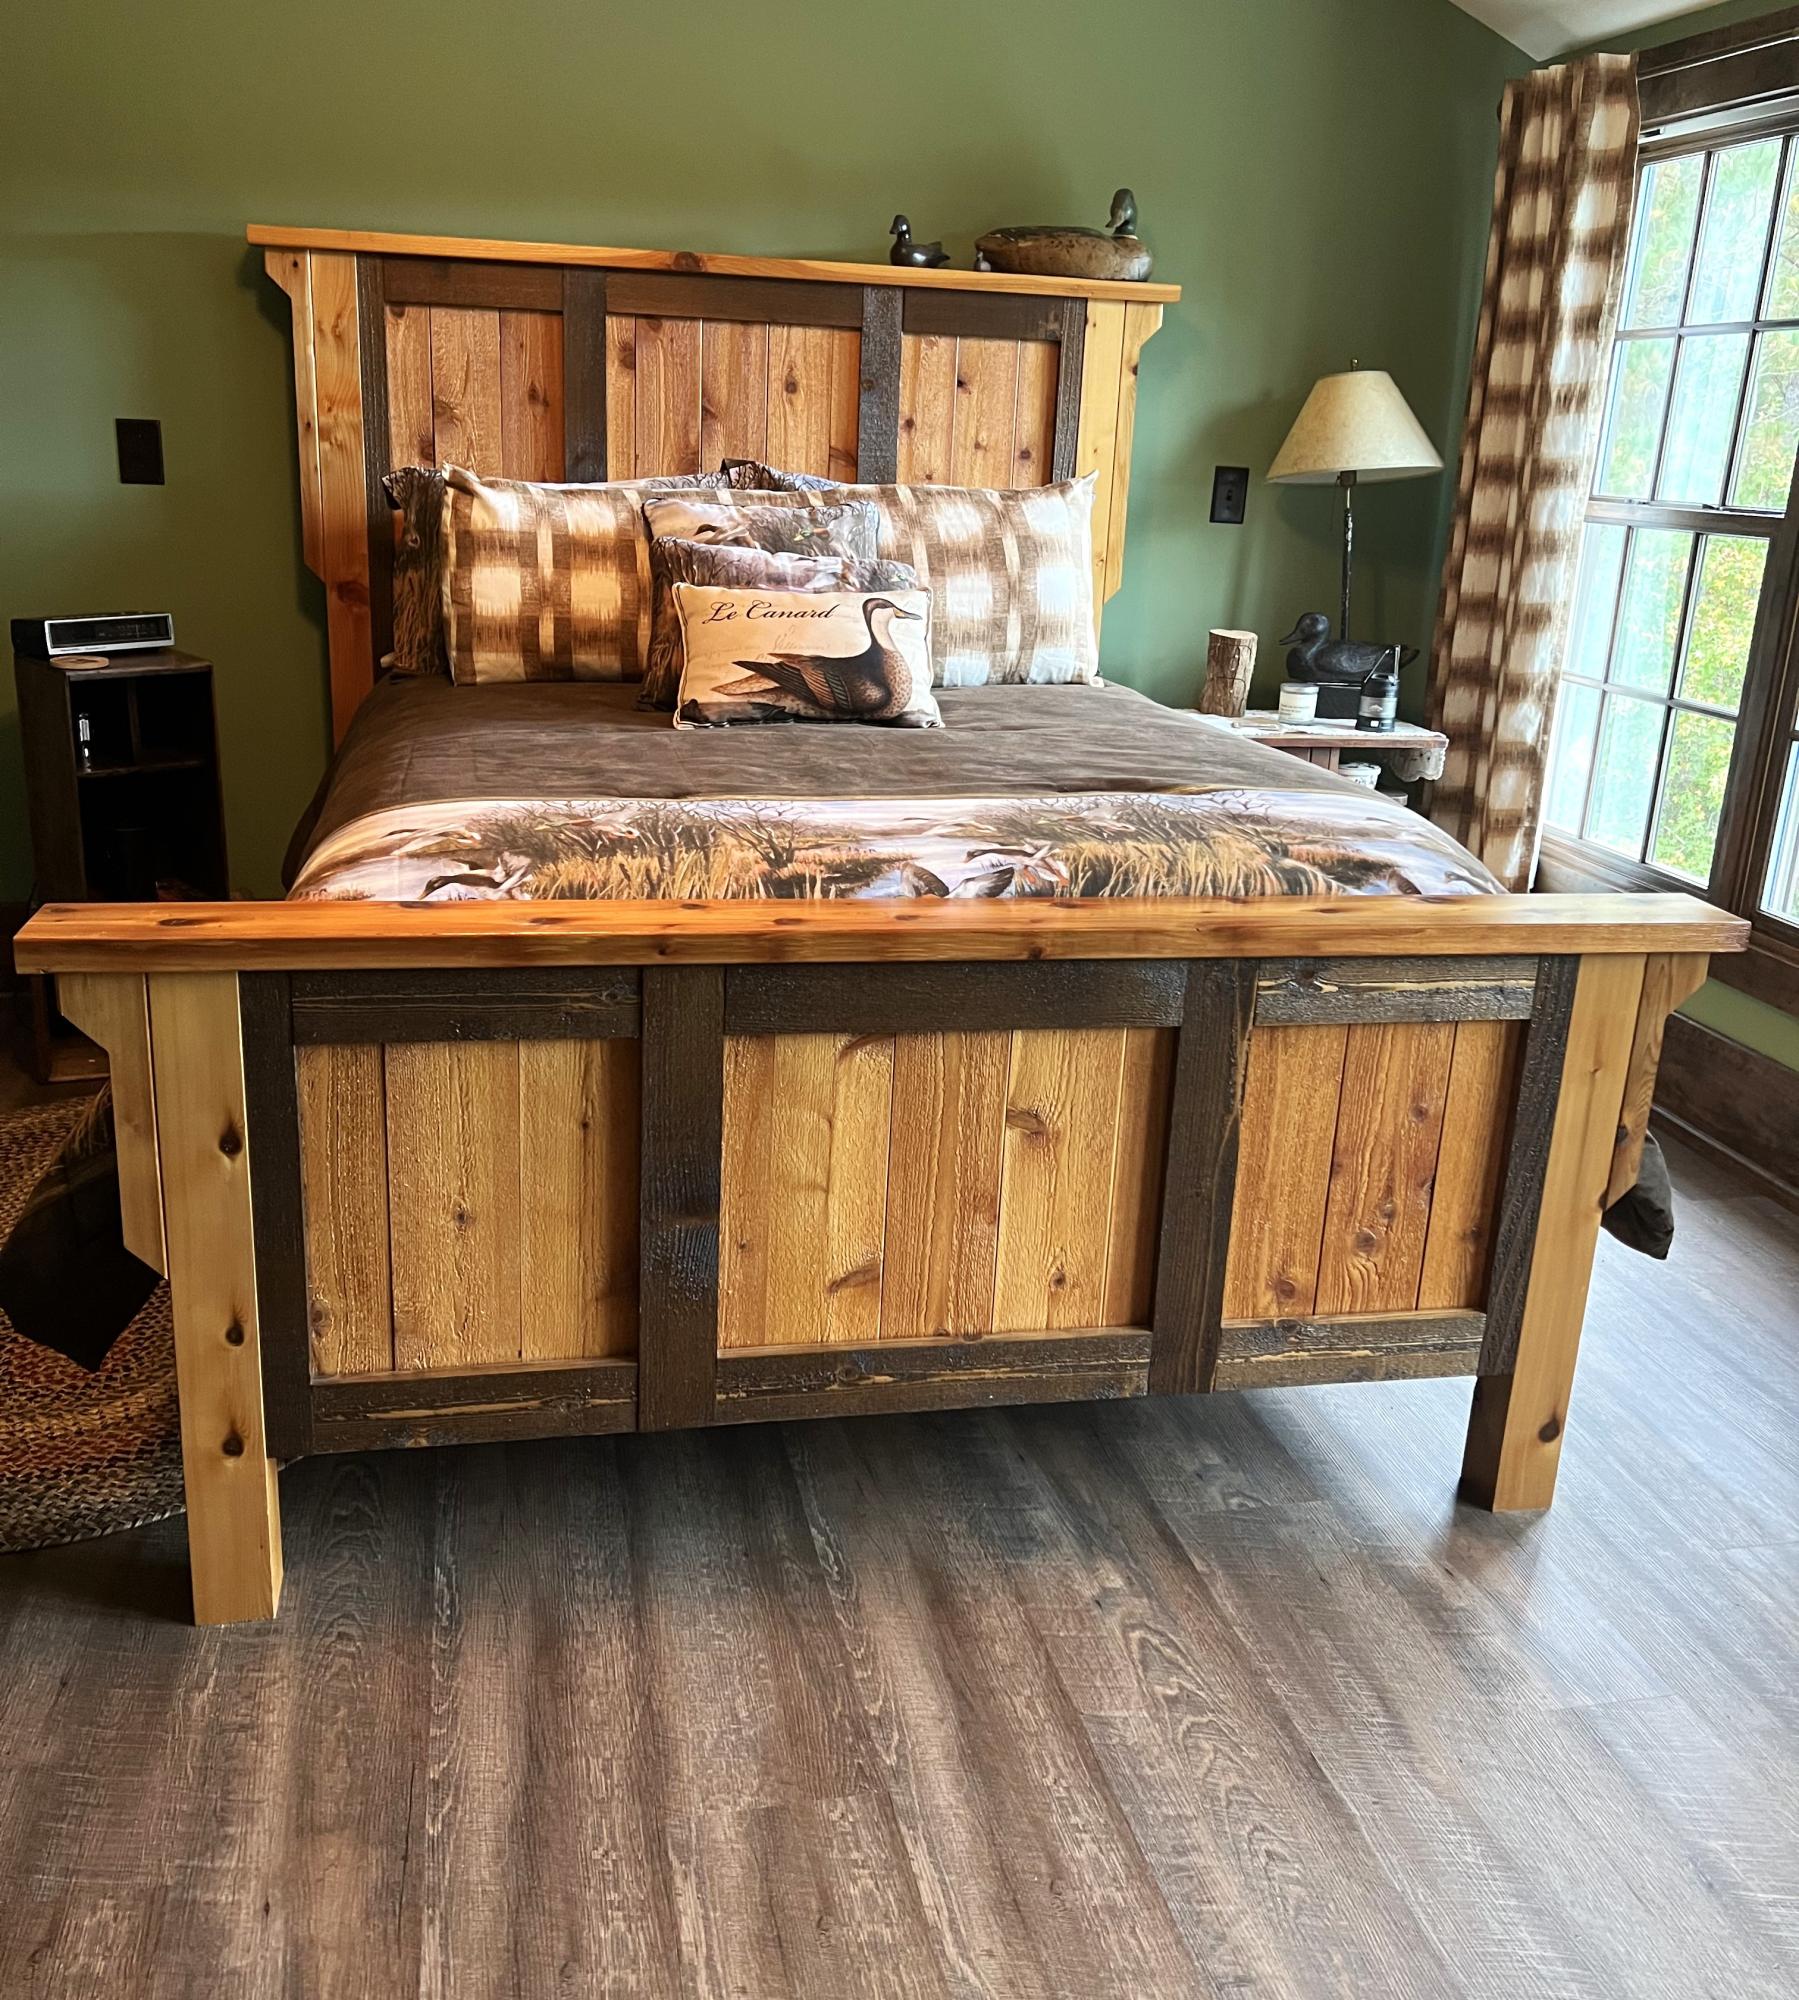
We found your plans about 4 years ago. They are in our barn/Rodge. I absolutely love your stuff.
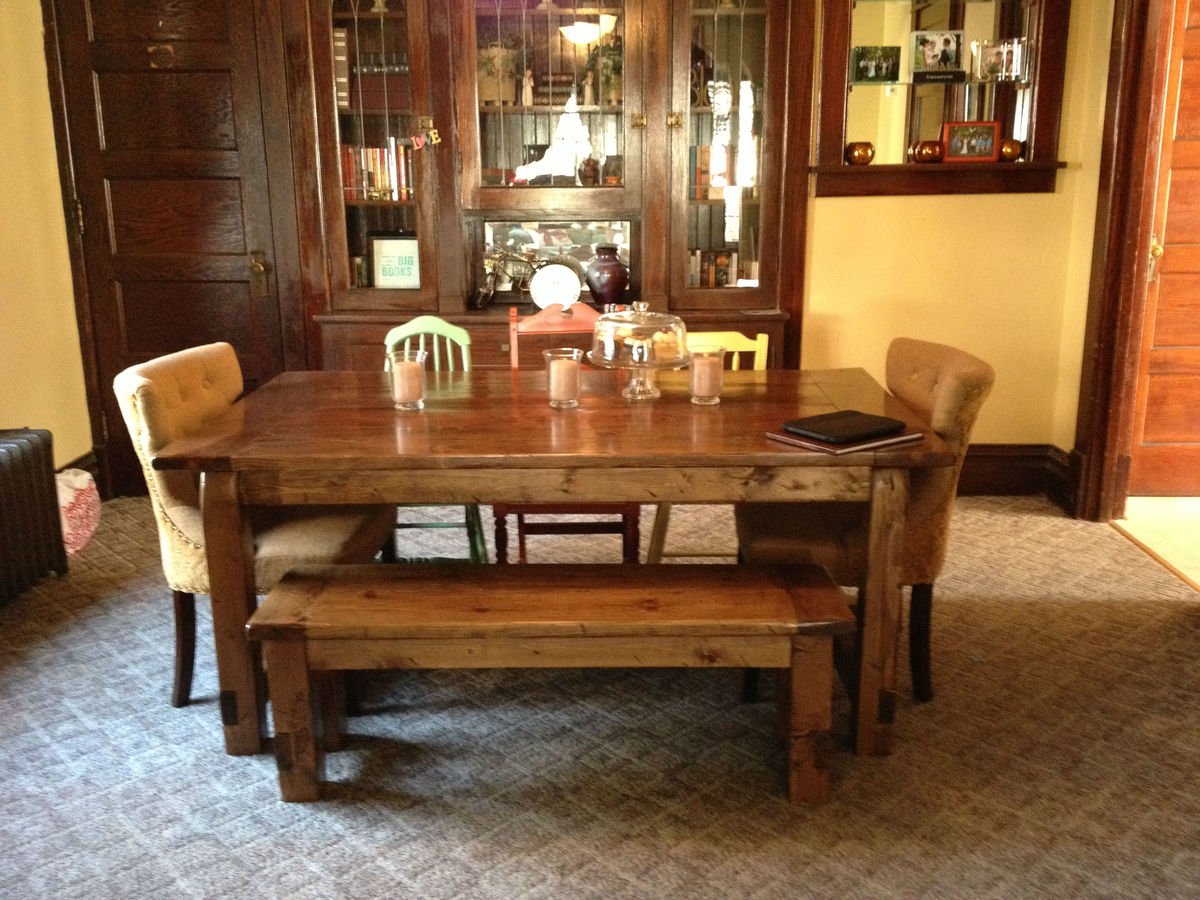
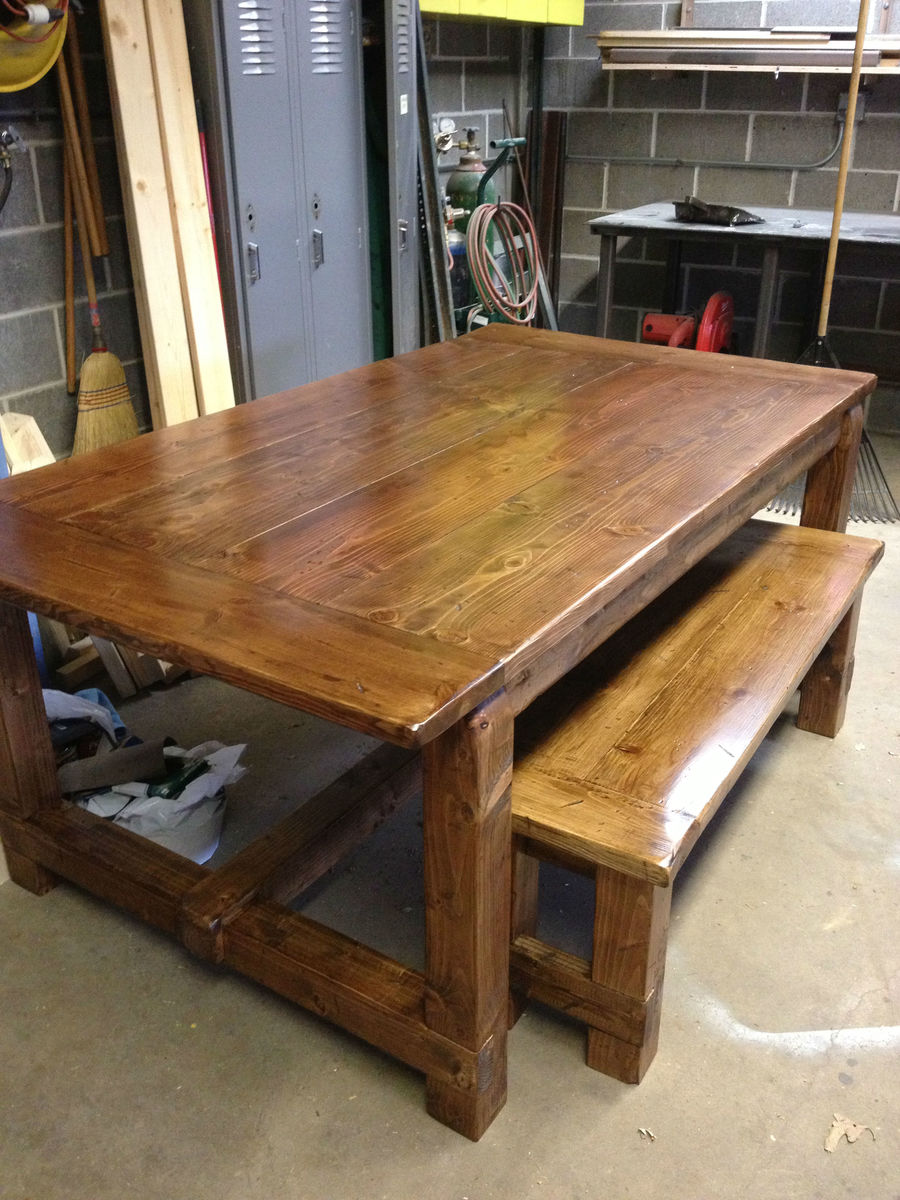
This was my first project. This was a birthday gift for my wife. She wanted one of these farmhouse tables but the cost was a little much for what we needed. I ran across a blog that followed the plans here and it walked me through step by step. It really wasn't that difficult of a build, and I almost want to sell this one(to the many people that have asked about buying one) and building another to fix the minor mistakes I learned while building it.(maybe triming the top so I would have nice tight seams, glue visible between boards, etc..) I started with the bench being this was my first project and first time using the kreg jig. The wife loved it. So much in fact that I took the scrap wood and made a coffee table and end tables for living room that matched. I did change the runner under the table and used another 4x4 instead of the 2x4. I like the beefier look with all the other 4x4 used for the legs. I also used the smaller table plans for the 72x41 plans as we didn't have room before building the larger one. With the extensions, we have comfortable seated 12.
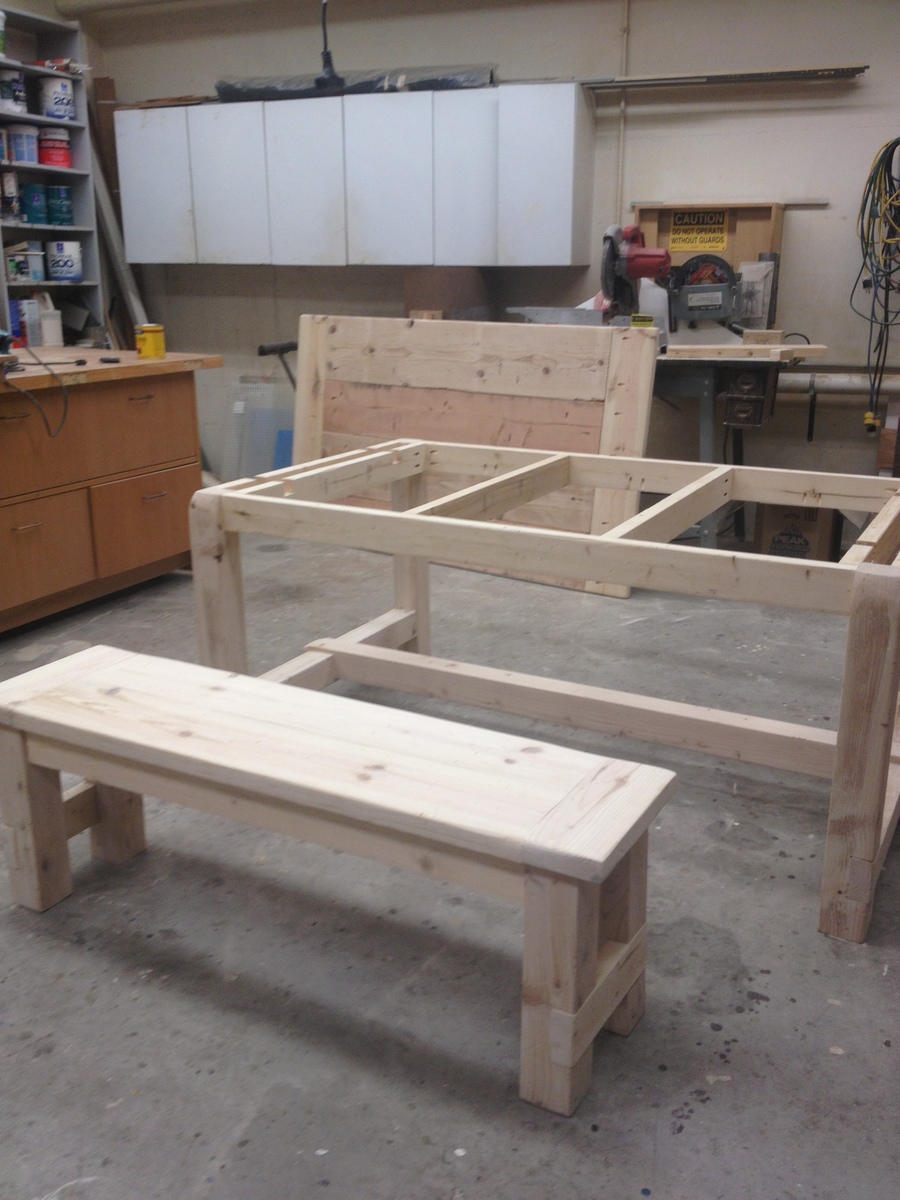
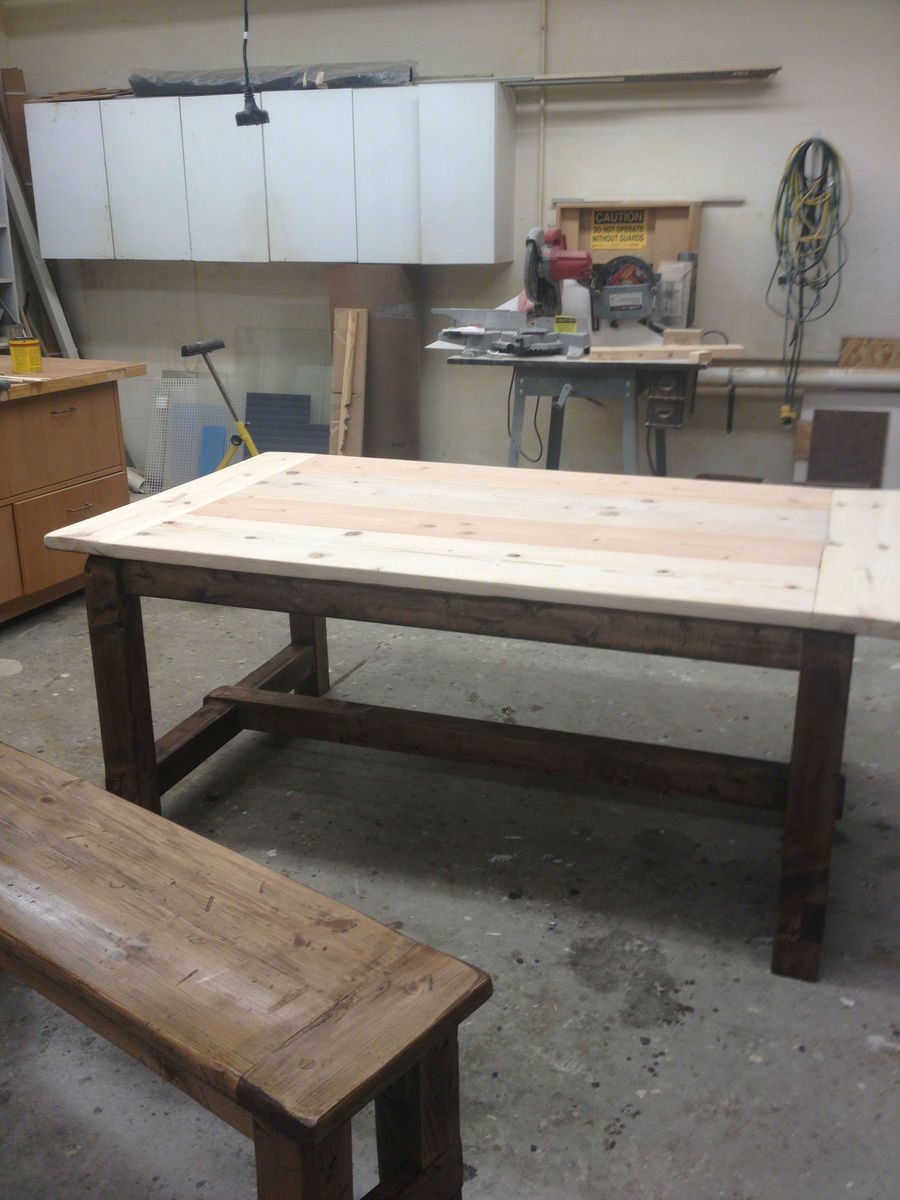
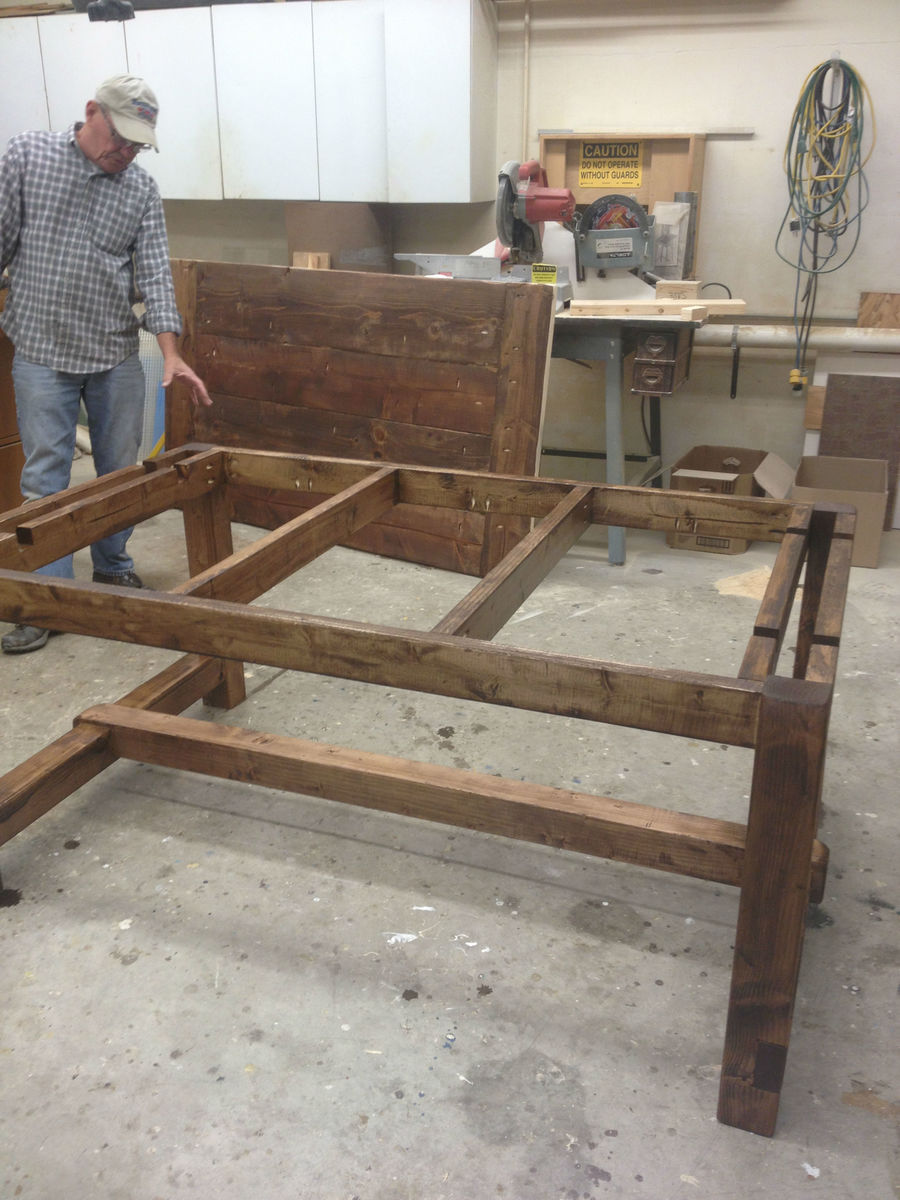
Mon, 12/31/2012 - 19:48
GREAT job! I just built this same table last weekend using what looks like the same plans (Tommy & Ellie?) and I had the same thought run through my mind about selling mine--even though it turned out great, I still wanted to improve on the minor things, like the tighter seams by ripping down the sides of the boards. I posted mine on CL to see what would happen and had it sold within 2 days at a $500 profit.
Yours turned out fantastic, I like the 4x4 lengthwise stretcher, that was a good call.
Thu, 06/06/2013 - 10:56
LOVE the table. LOVE your mix-n-match chairs & bench. Awesome job. I want to be like you!
Sat, 11/09/2013 - 09:18
Love your table! Looks amazing! Where would I find the smaller table plans? I think that is what I would need.
Sun, 07/12/2015 - 22:36
I love the table you made! I checked out the blog post and have been studying your plans for an hour now. I'm really wanting to make this table with my husband! We will be first timers so we don't have all the fancy clamps and stuff. Can this be done without the use of clamps? The original plans don't call for them, but it seems like every other post of people making the table uses clamps. Thanks so much!
Thu, 09/15/2016 - 16:53
very nice job , im going to tackle it this weekenddid you use 2x4 or 2x6? plans call for 2x4 but neveryone seems to use different sizes
paul
Mon, 11/06/2017 - 11:26
On your Farmhouse Table and Bench build from 2015, you substituted 4x4s for the leg supports under the table. In the original plans, the 2x4s are notched out to provide support for the other 2x4s. You can't do that if everything is 4x4s, so I was wondering how you connected the pieces...or did you notch out both pieces so they would rest in each other (kind of interlocking)? It's hard to tell from the pictures. Thank you. Sandy

This took only two hours! I couldn't believe how easy it was. I used cabinet grade plywood from another project and left over paint. The shelves are actually six inches rather than four inches and they feel very sturdy.

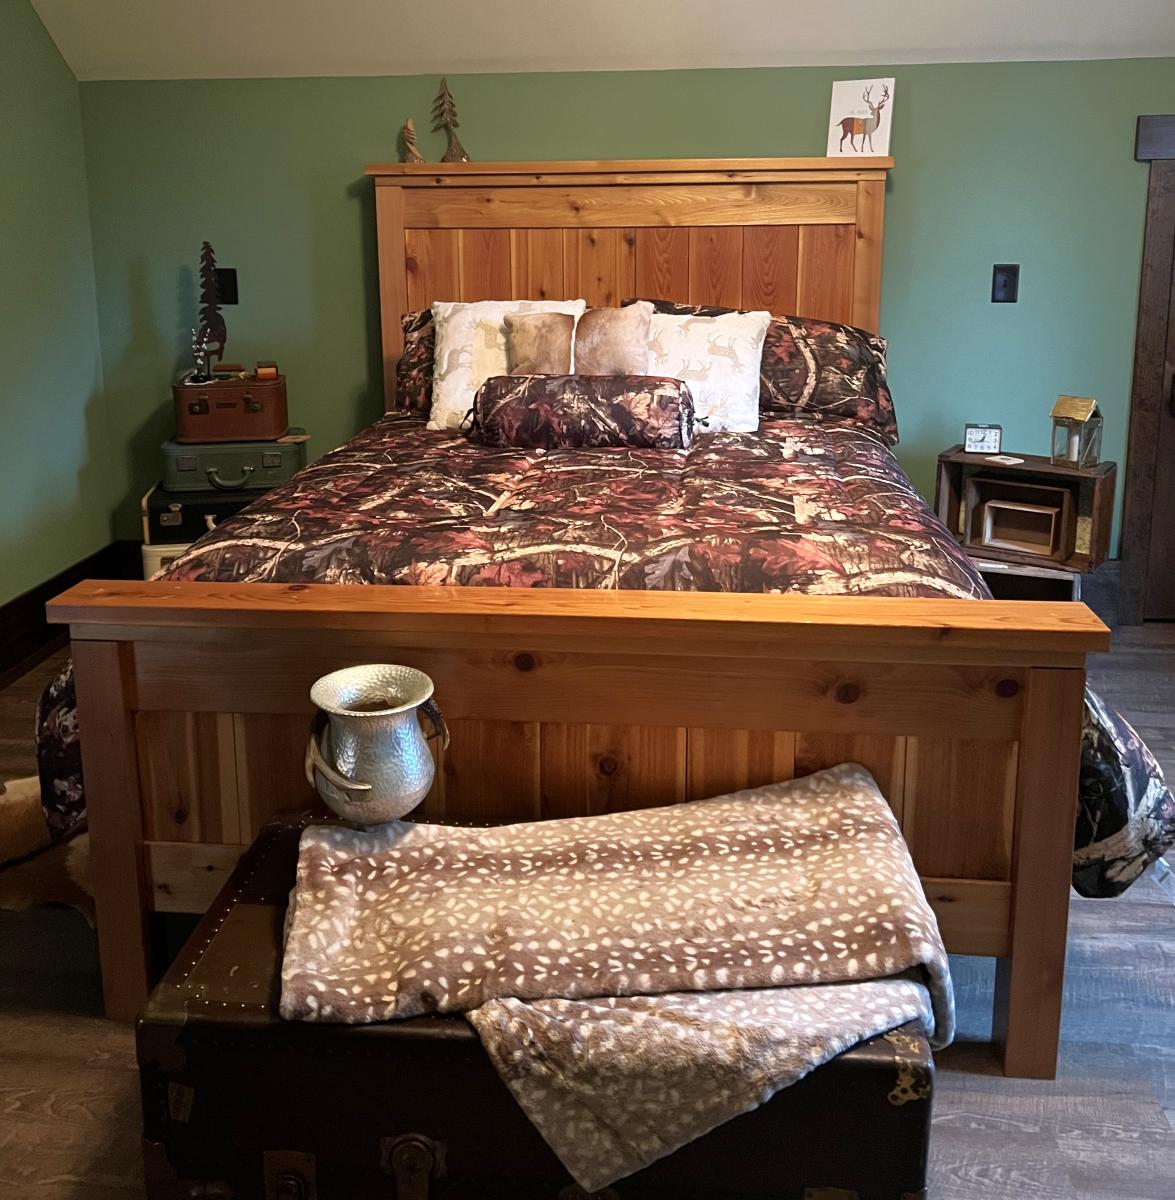
We ended up making the foot board about 12 inches taller as we prefer a taller foot board. We opted to make this platform bed as you'll see in the photos. It turned out great and was fairly simple due to the DIY plans provided here and all the friendly posts by others with their hurdles, etc. This is an amazing site, THANK YOU Ana!
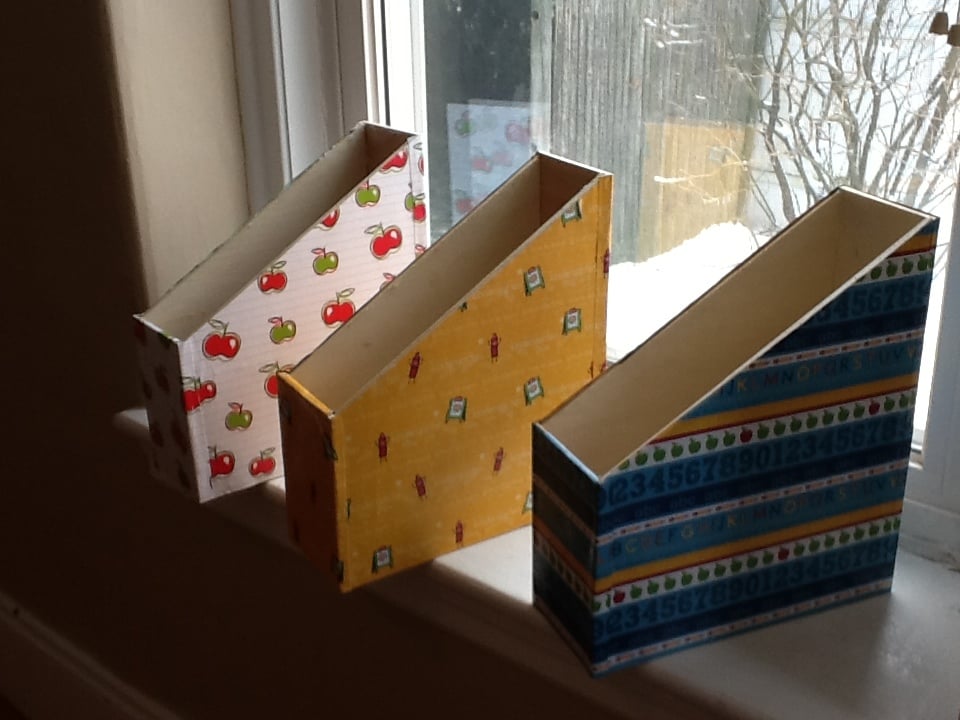
I was inspired to build a set of book boxes for my classroom after seeing Ana's plans for her Wood Magazine File. I'm currently using those cheap cardboard book boxes teachers can buy from those big teacher stores, but they're starting to fall apart after only 2 months! I'm trying to use only scrap wood, but I'll probably be forced to go out and buy another sheet of plywood soon.
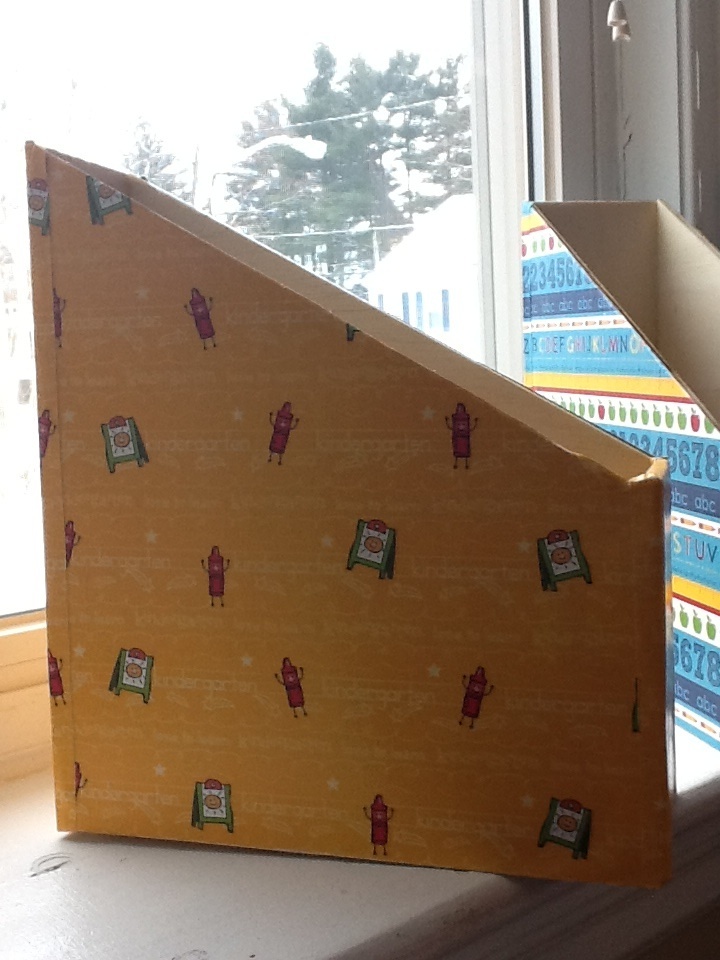
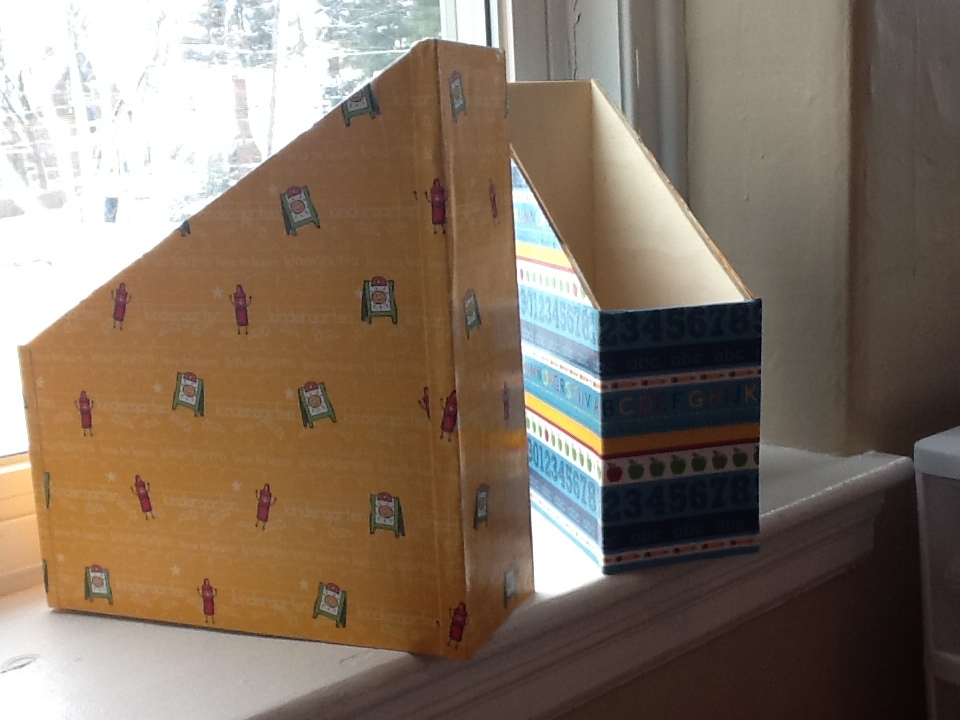
I covered them in scrapbook paper I found on clearance at Michaels and used Mod Podge and nails I already had. For the bottoms I used left over wood from making the Modern Outdoor Table which I have yet to post. So, these babies have only cost me a little over a dollar to make. I'm not sure how long the decoupaged paper is going to last with 5 year olds. My roommate suggested using fabric instead and I think I may do that with the remainder wood I have.
*Tip: Make sure your cuts are straight because only the bottom piece of lumber can be nailed. You have to glue the other joints which can be tricky with funky cuts.

I am a hobby woodworker having a PhD in computer science; quite the combination I wonder. To my advantage, before start working I usually build the project in software like Google Sketchup etc. This gives me the precise picture and dimensions of the different components of project.
I usually work in my backyard of house which is used for variety of purposes. I so happens that whenever I was working, I used to go inside the house each time to fetch the tool I forgot. Big trouble!
To rid myself of this problem, I built me a toolcart to my liking. It has cabinets, drawers and of course shelves. It also serves me a second table to put my tools on during working. Alas, I do not have the amazing kreg jig so it took me more time than usual to build this. Anyhow feel free to comment.

Wed, 10/15/2014 - 09:08
Could you upload the google sketchup for this. Very interested in your plans, especially your layout on the drawers and locking mechanism.
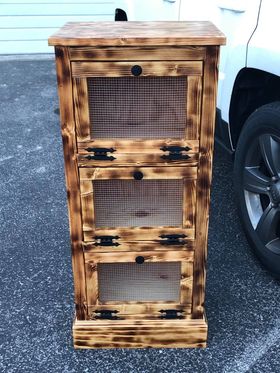
My first Anna White build. Easy and fun. I made this for my Grandmother for Mother's Day 2019. She absolutely loved it.
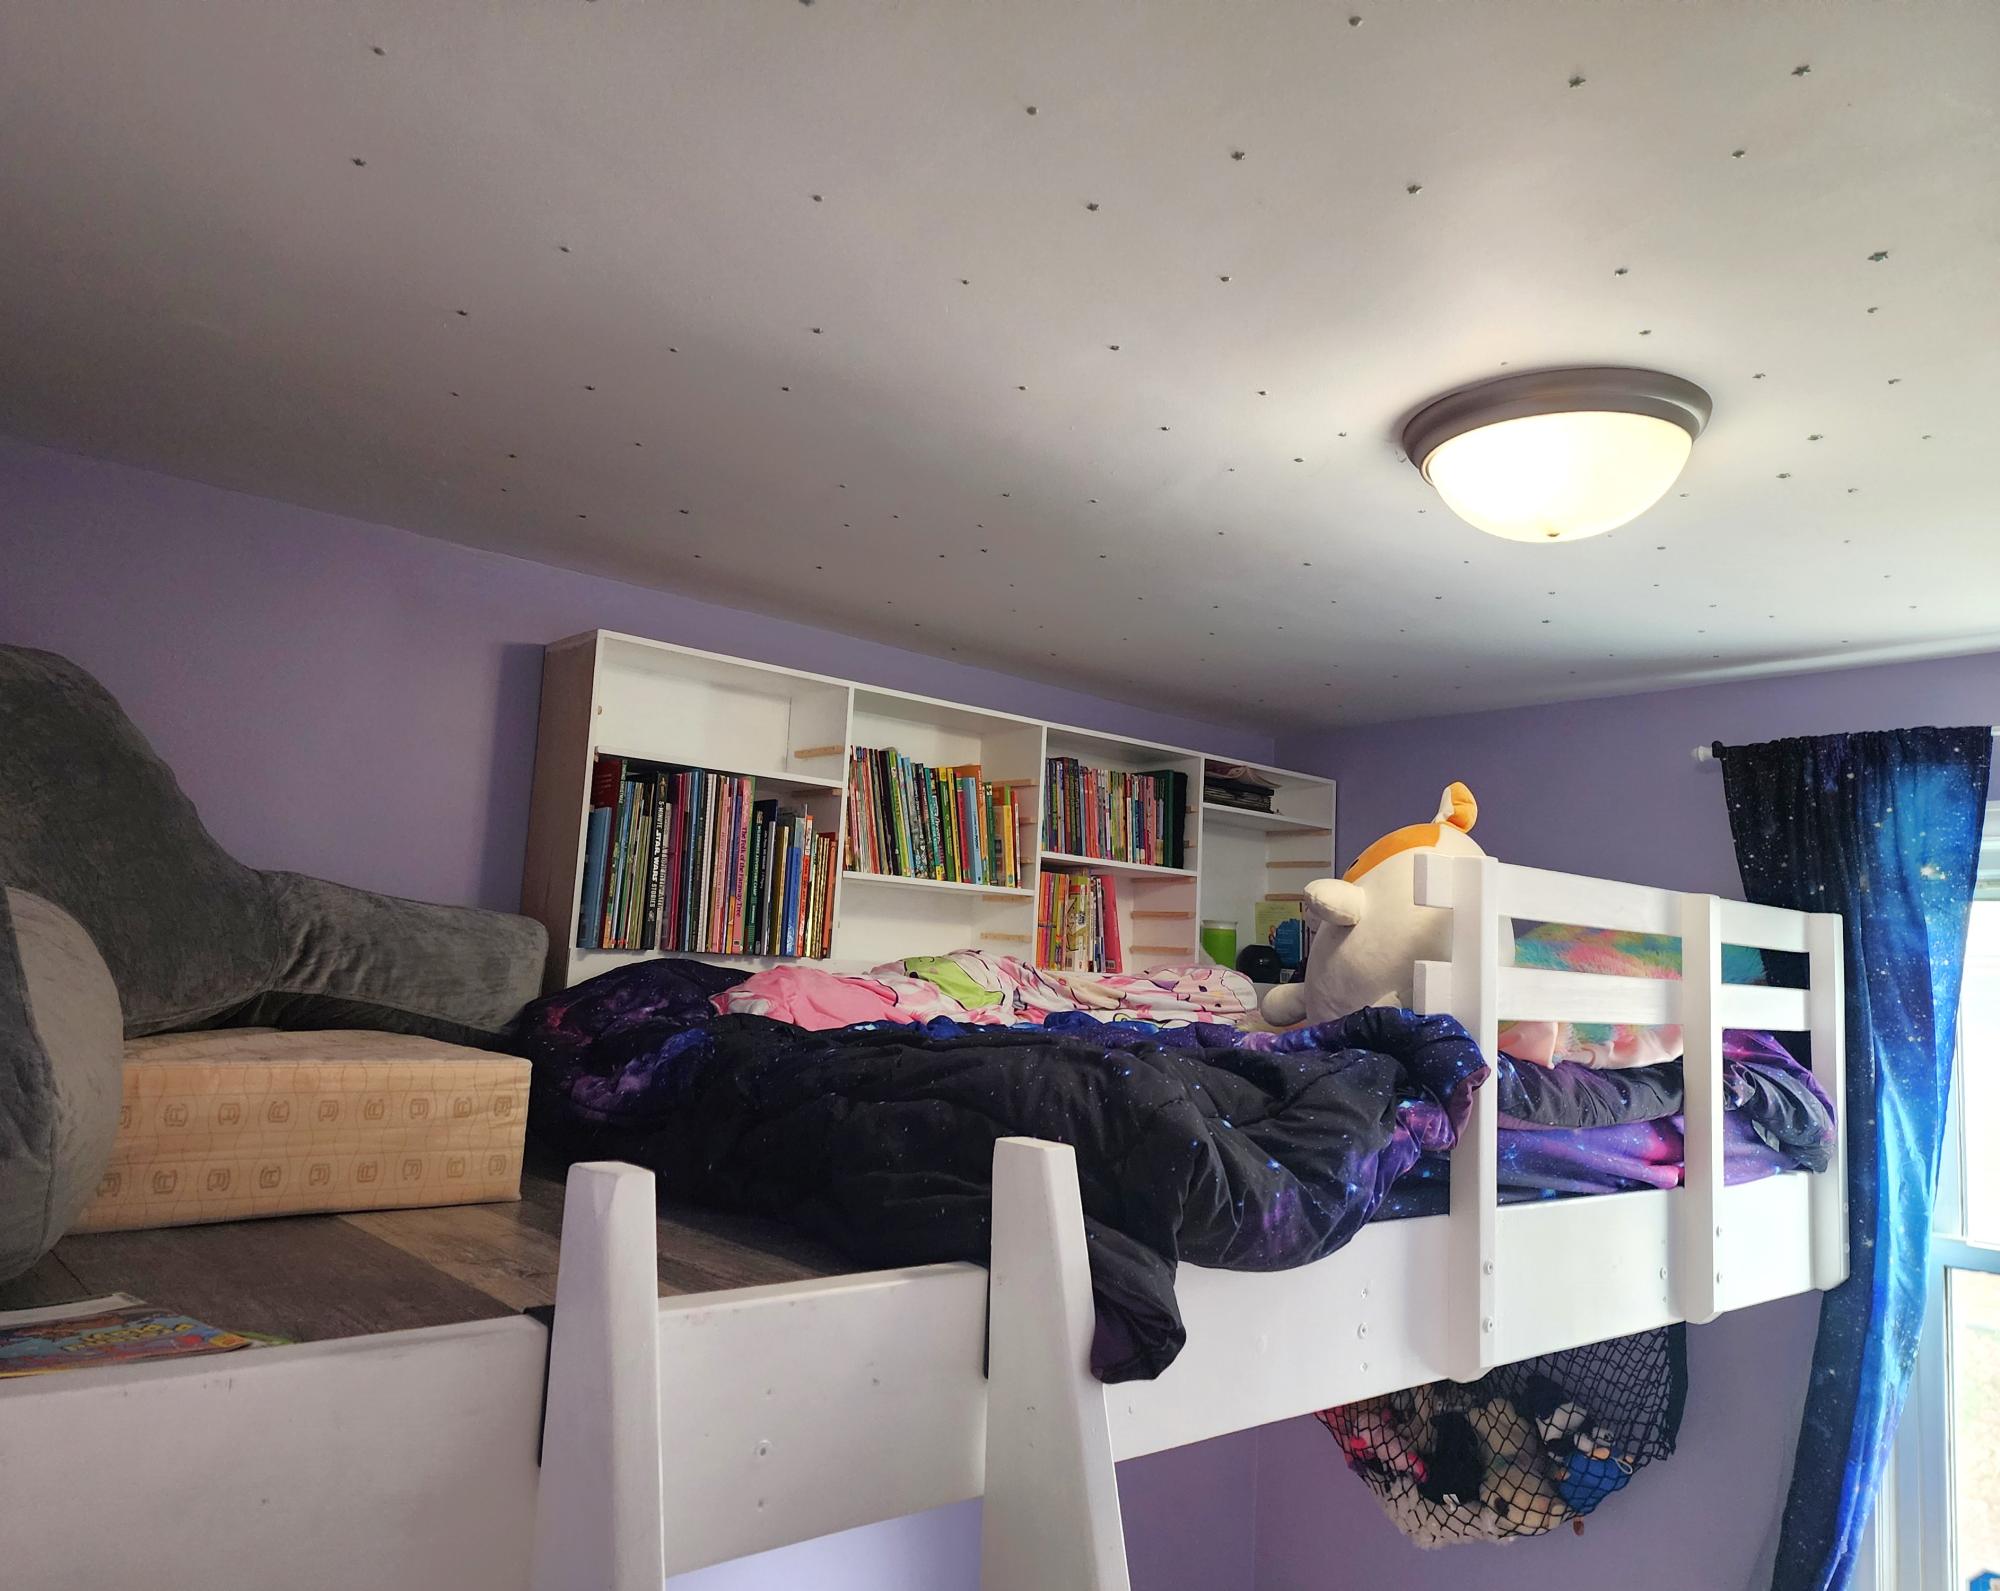
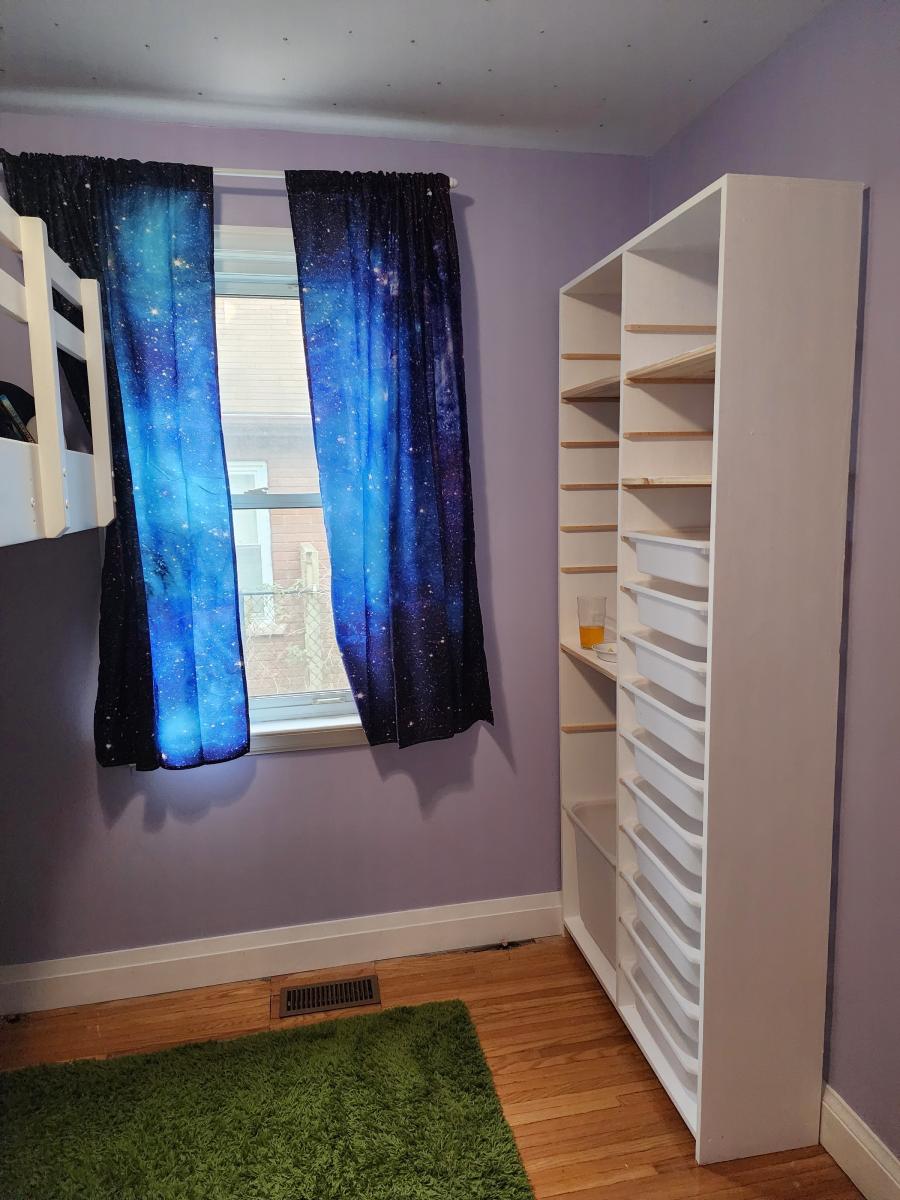
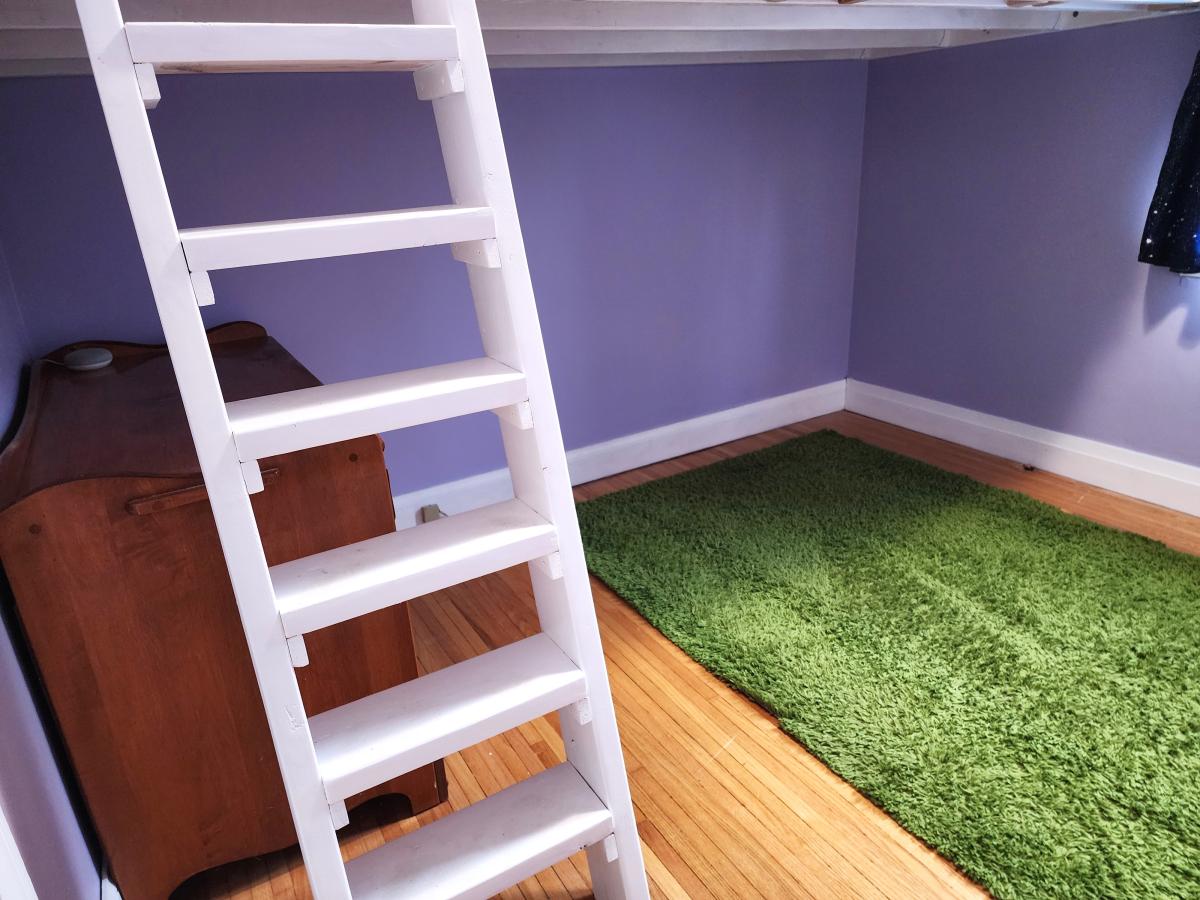
I built the loft platform wider than necessary so I could fit a narrow shelf beside it. - Meg
Decided to make a pair of nightstands! Made them a few inches less wide than the original plans and adjusted the height to match my bed. For the first one, I went with the drawer as-is from Ana's plans, but for the second I got brave and used actual drawer runners from the hardware store. It wasn't as hard as I was afraid of; I just reduced the width of the drawer to account for the runners and used a false front so I could attach the drawer front in the right place.


I had so much fun with this! I followed the plans exactly and made up the nightstand as I went along.


Sun, 10/19/2014 - 15:25
Oh, this is super cute! Love the stained trim and that little nightstand is darling!

I have used 1/2 inch thick plywood, 2x3 instead of 2x2, and 1x3. I don't have any miter saw or table saw. I used hand saw (comes with miter box) and circular saw to cut all the materials. It isn't perfect but I like it.

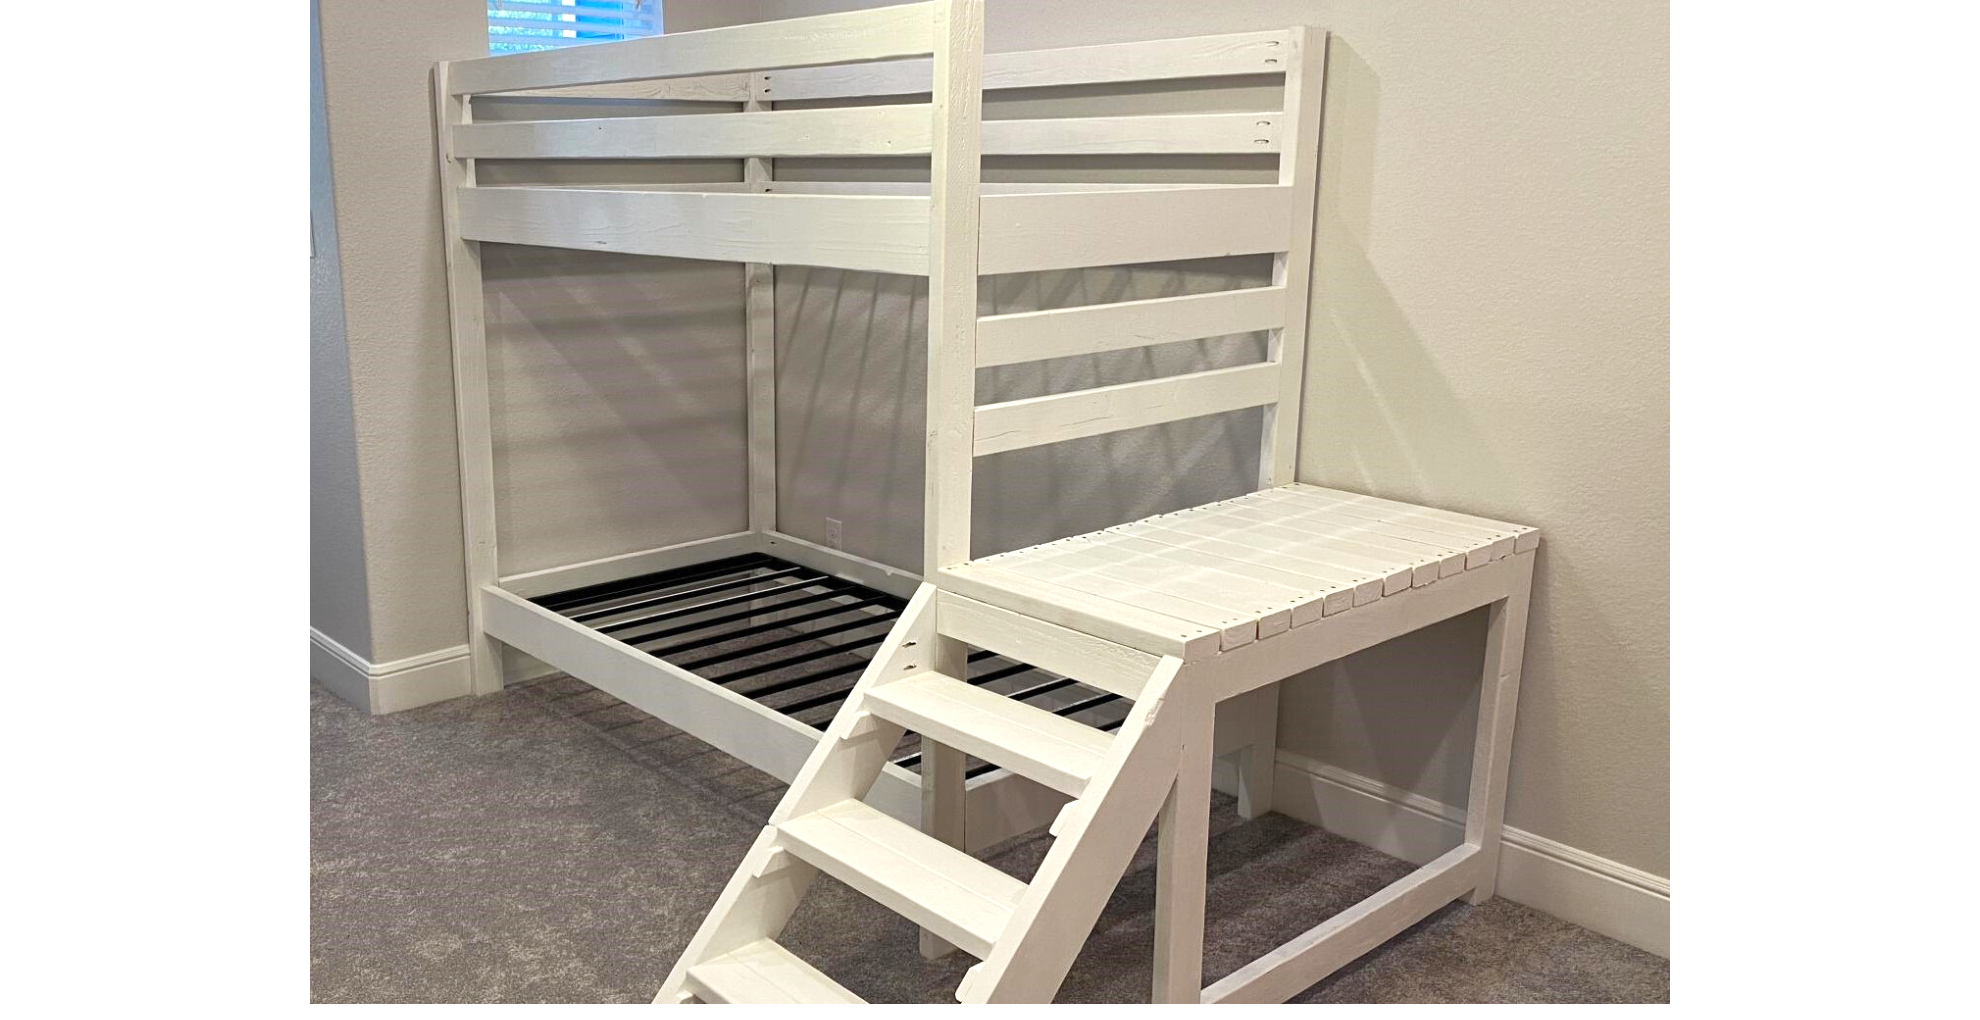
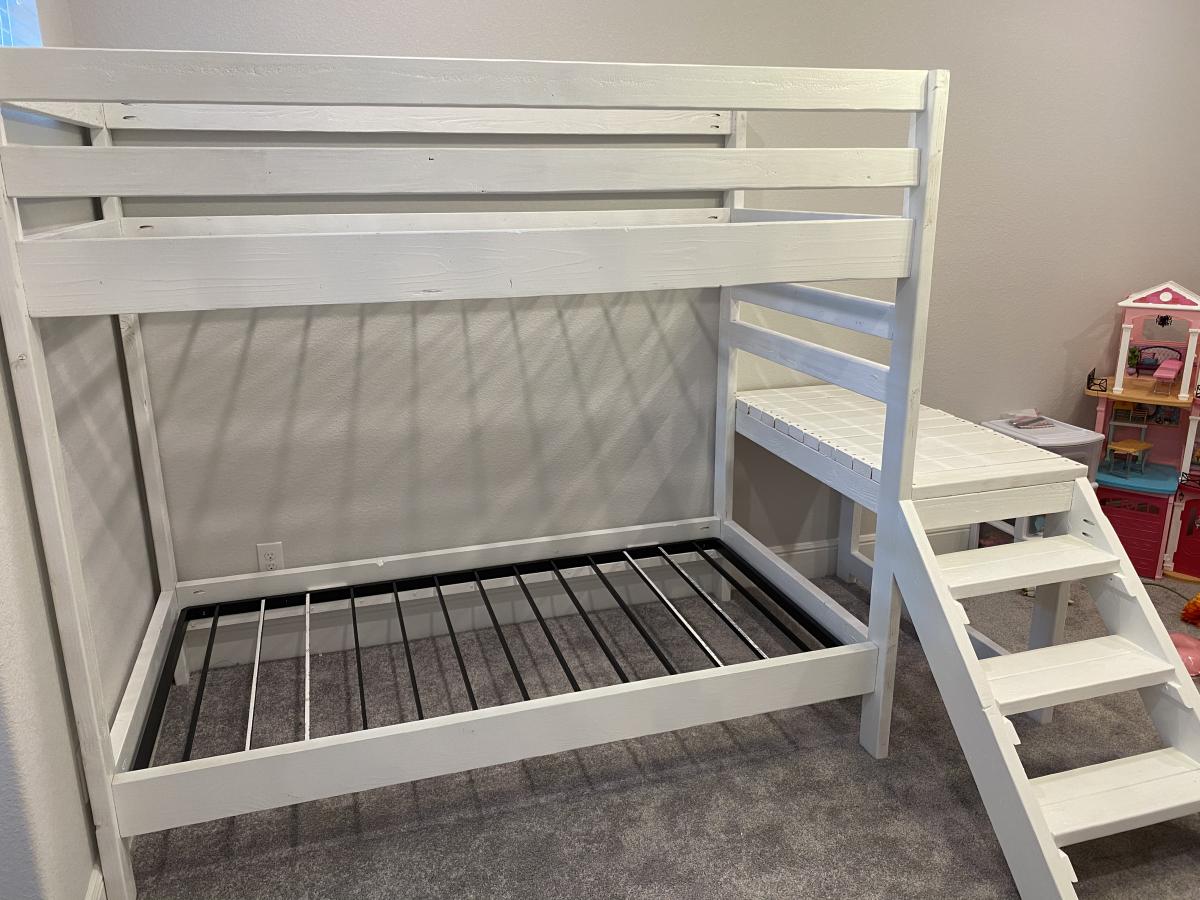
Used the Camp Loft Bed with Stairs Plans but double the bed rails. I just loved that the stairs and platform make it a little safer getting in and out.
Comments
MegsBK
Sun, 10/05/2014 - 08:51
Fantastic!
Isn't that the best plan? So versatile. I love the look - would love to see a picture after you have the island as part of a kitchen scheme.