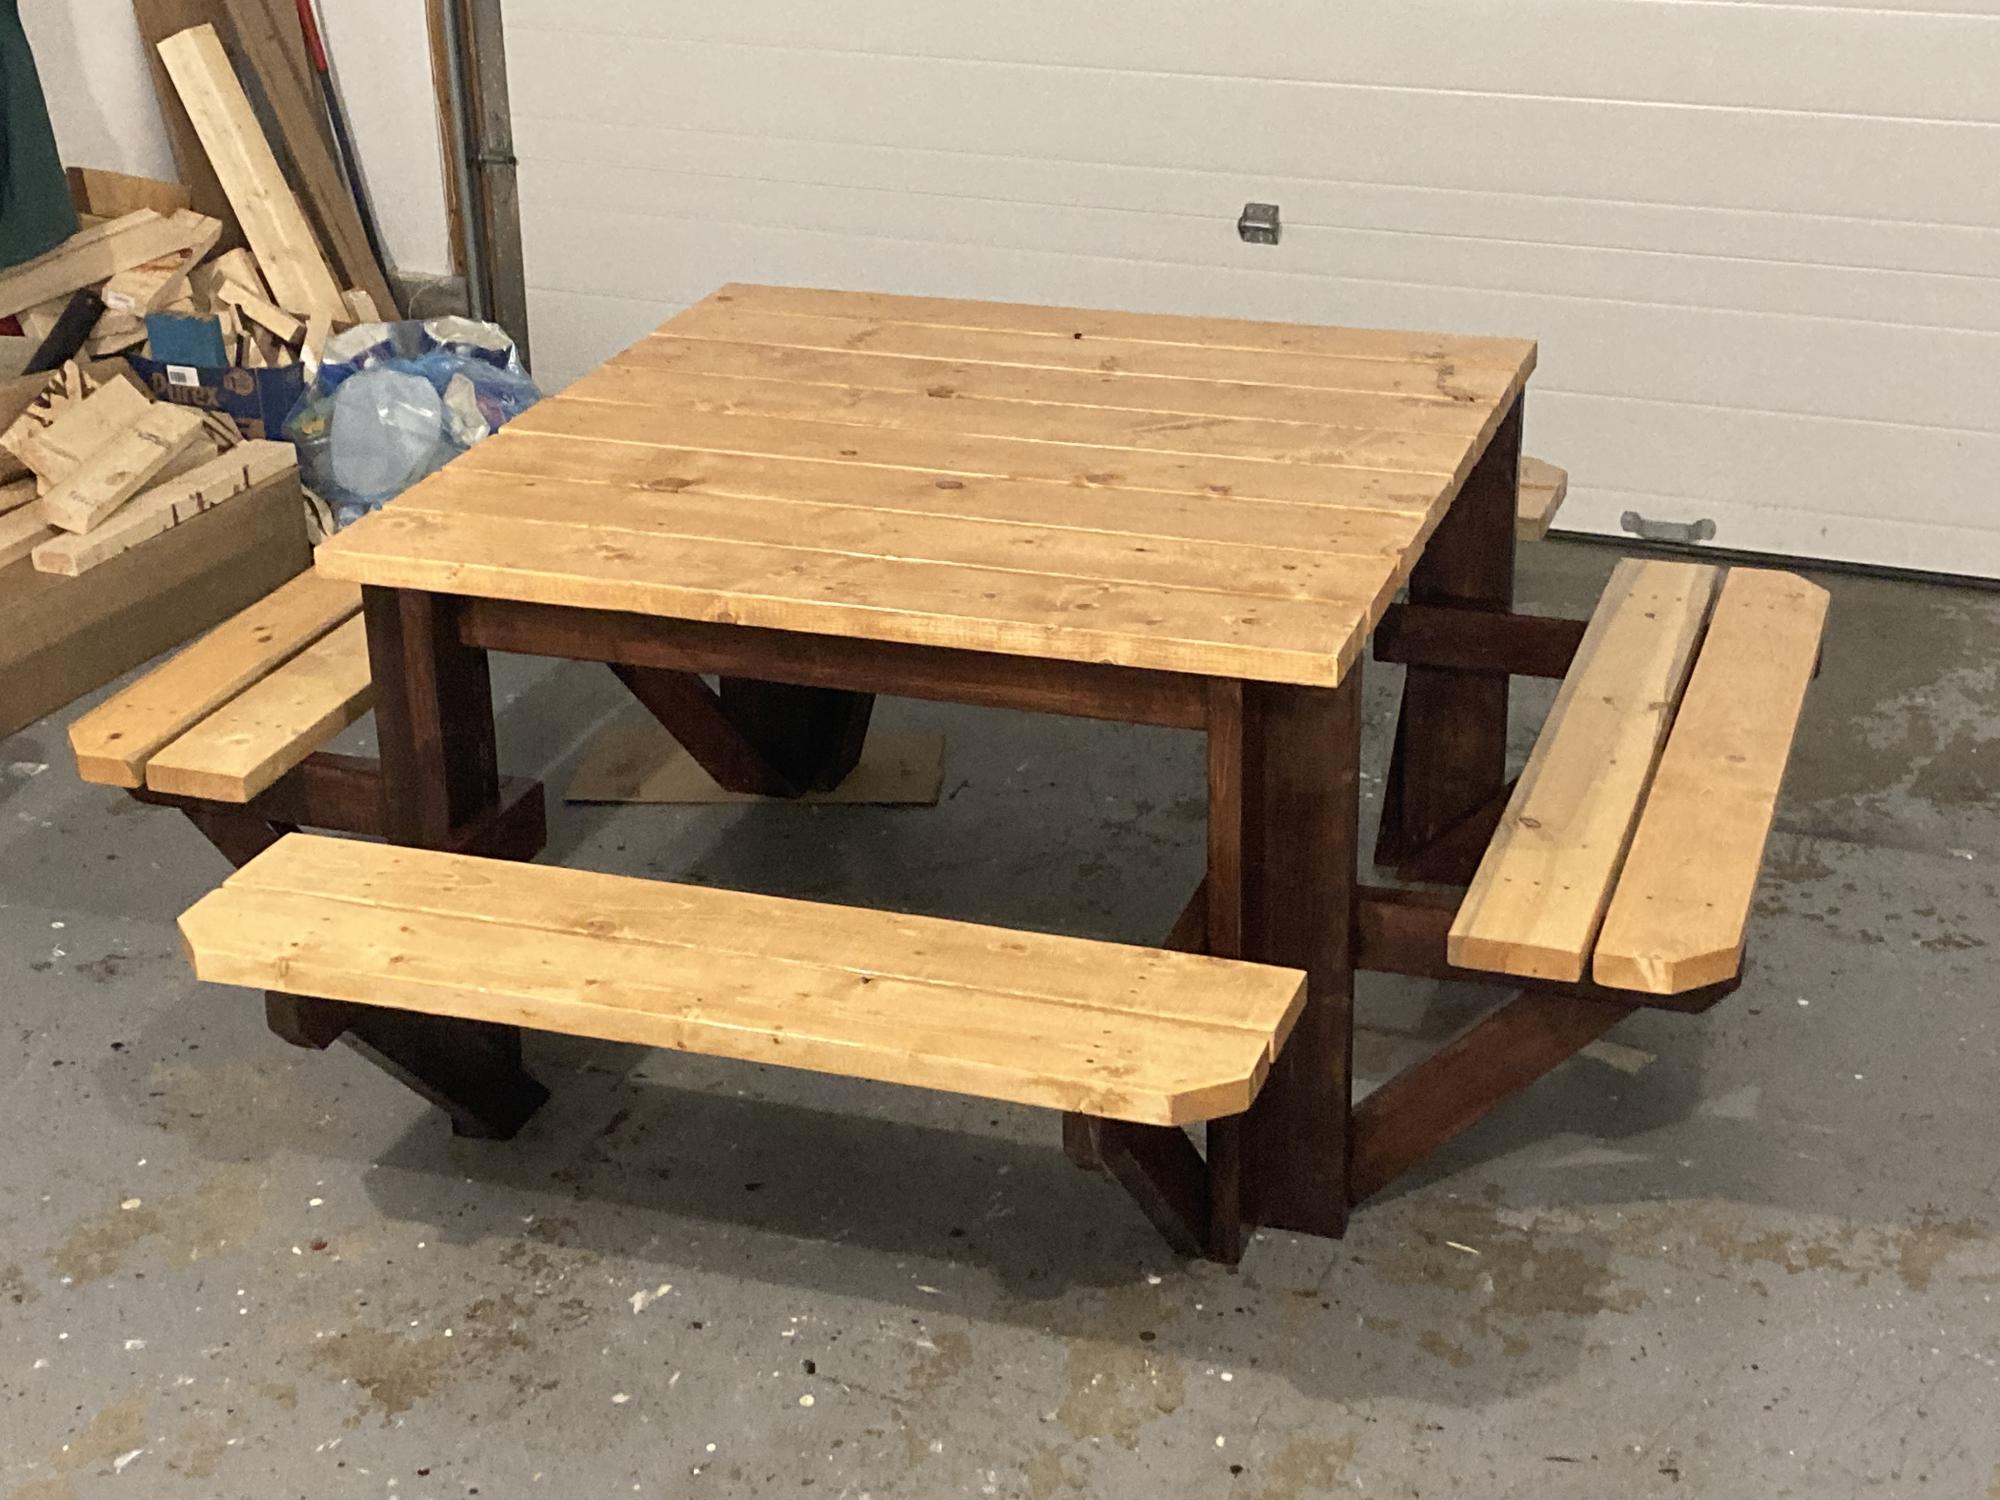
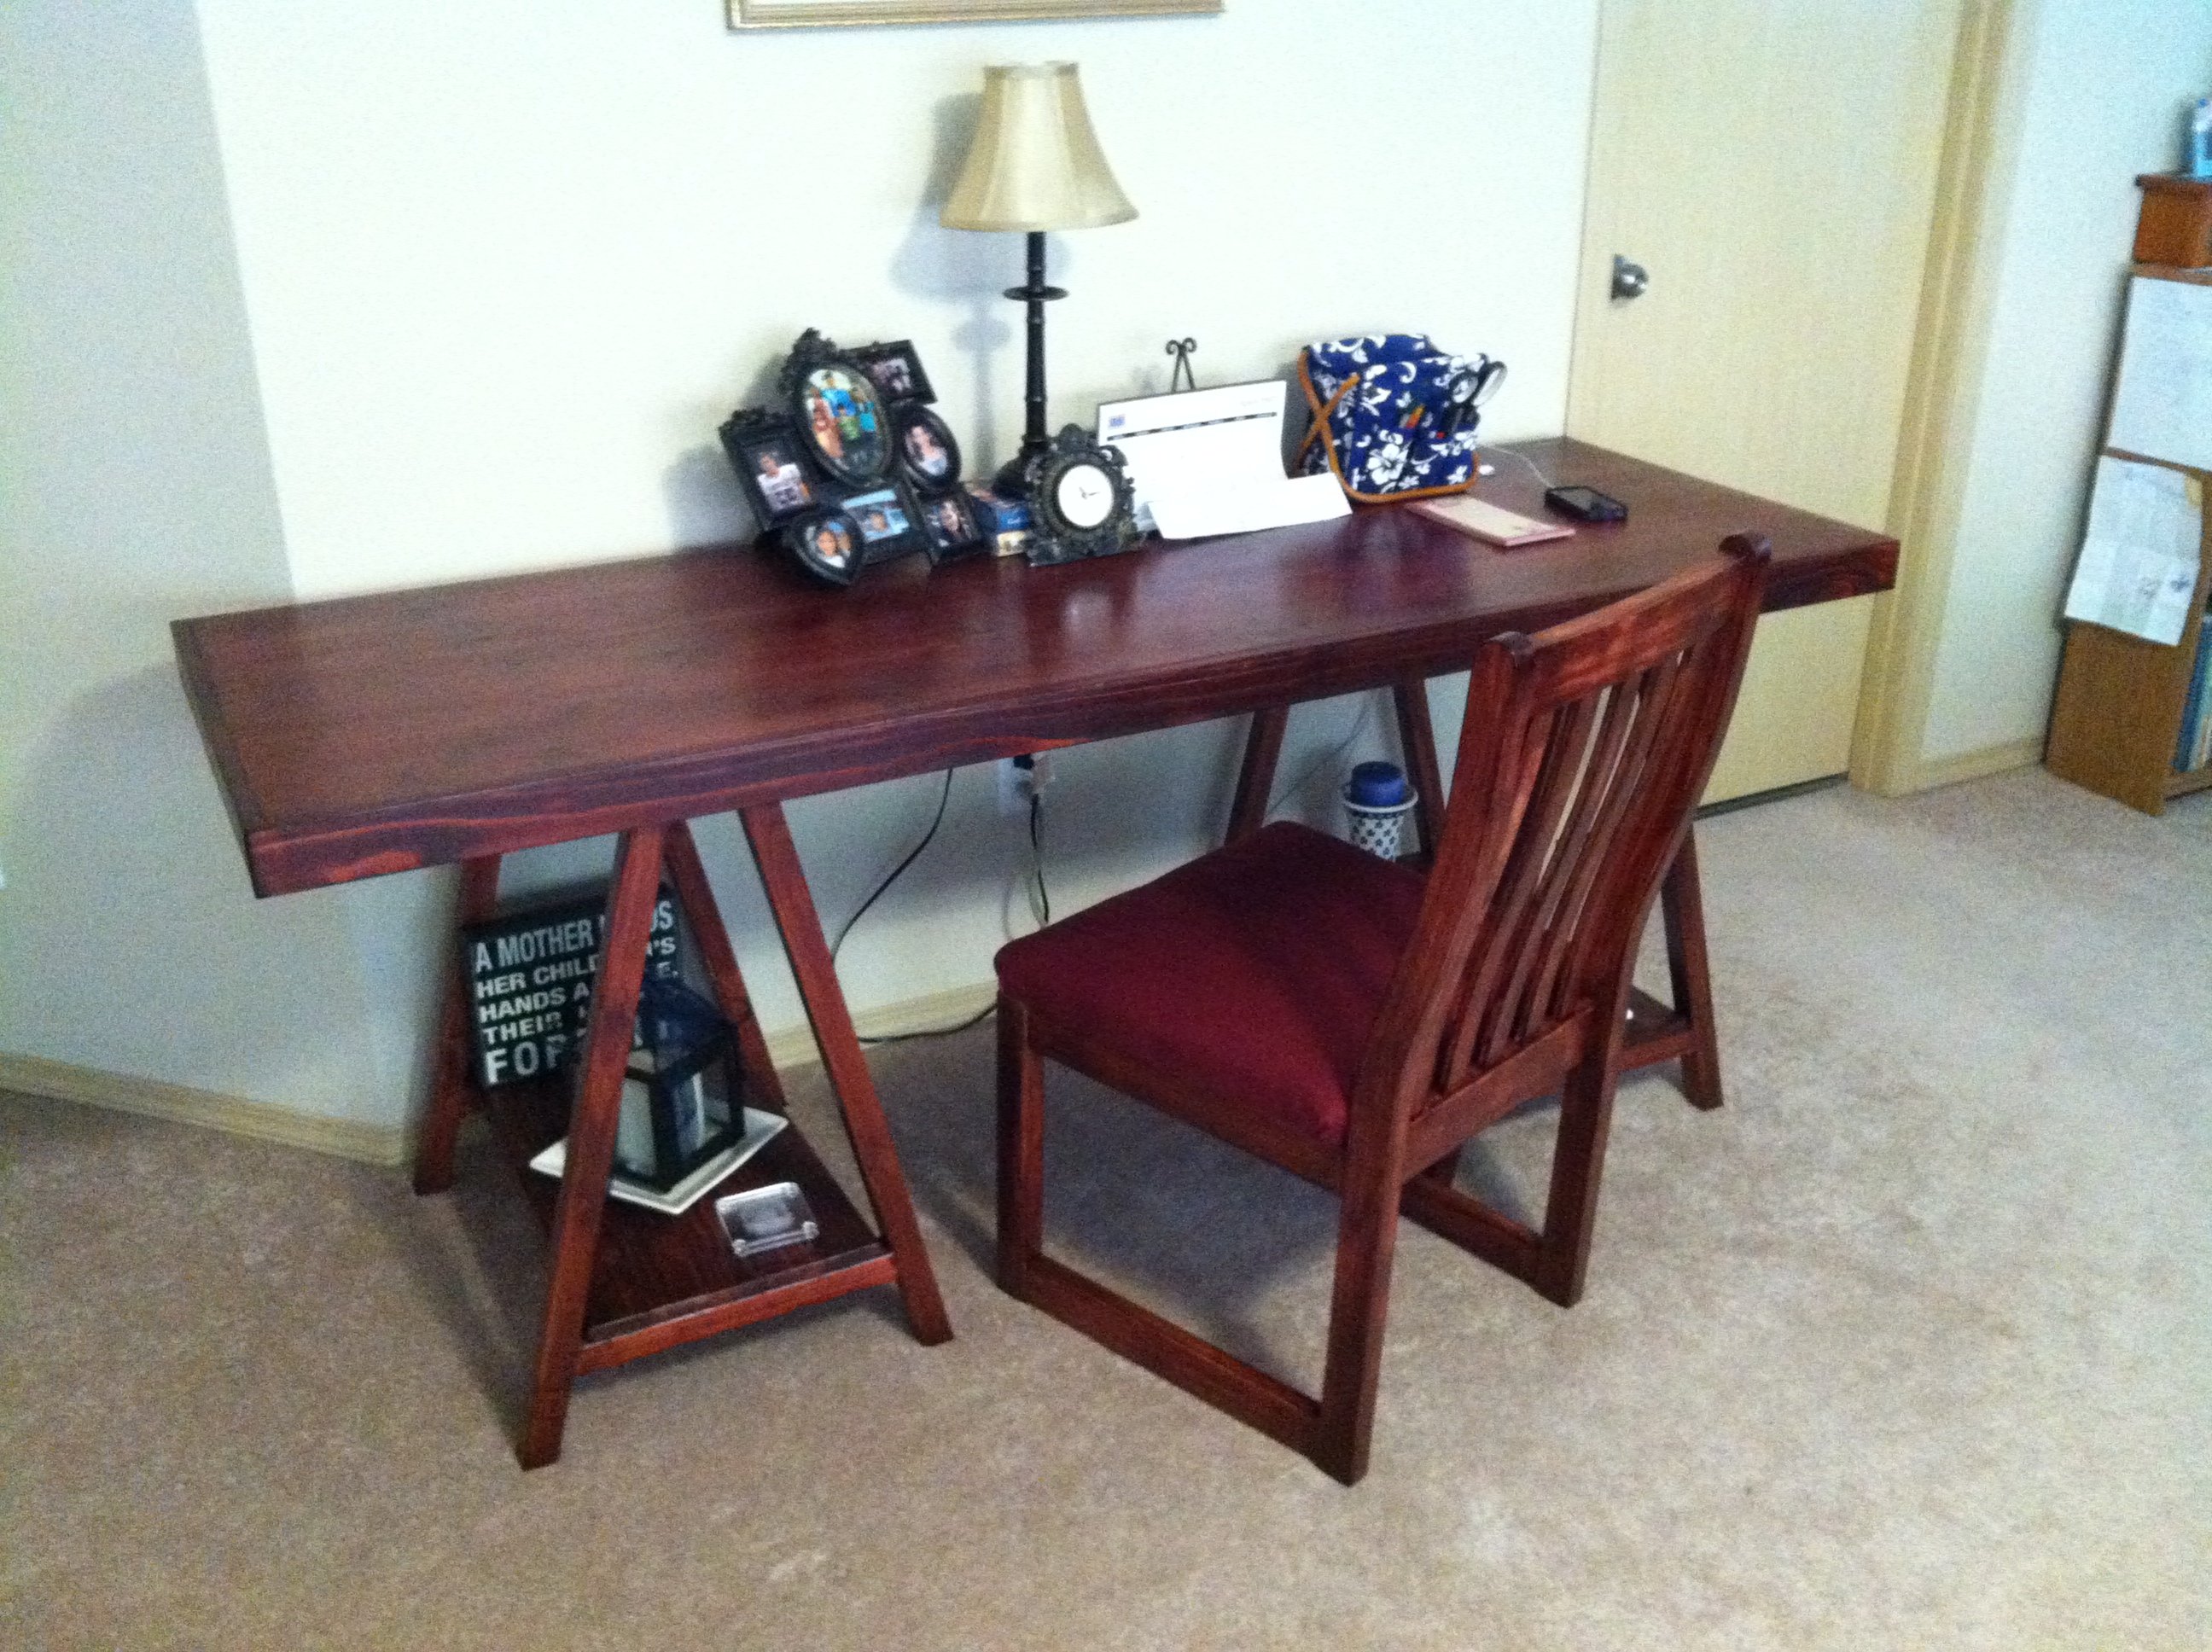
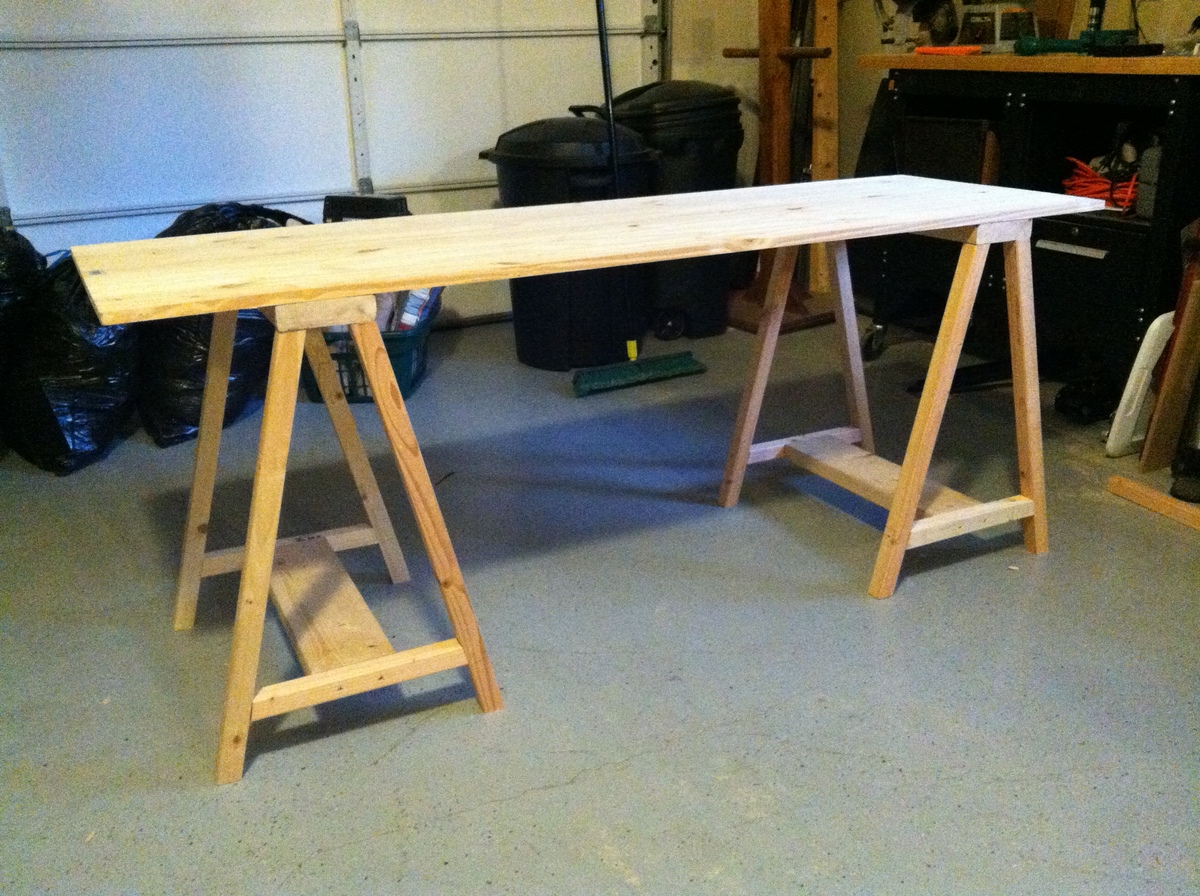
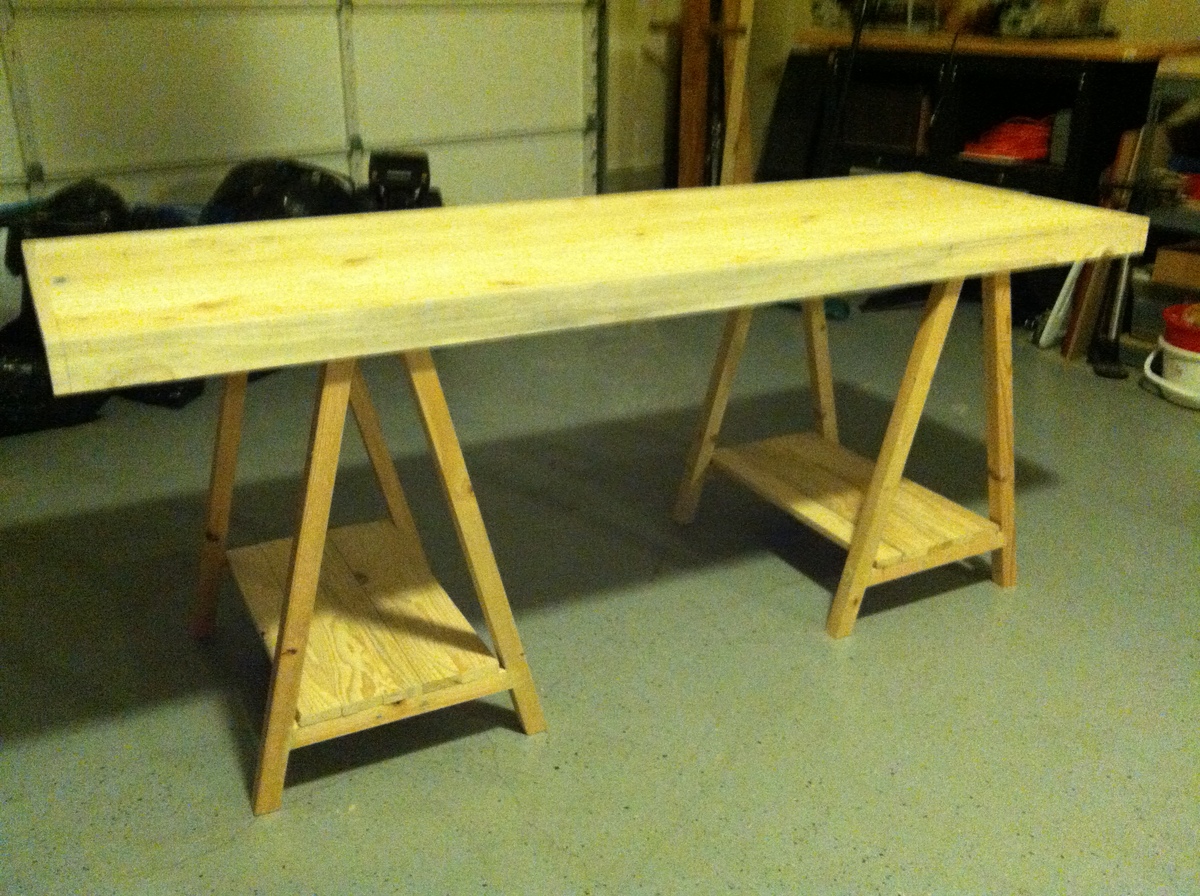
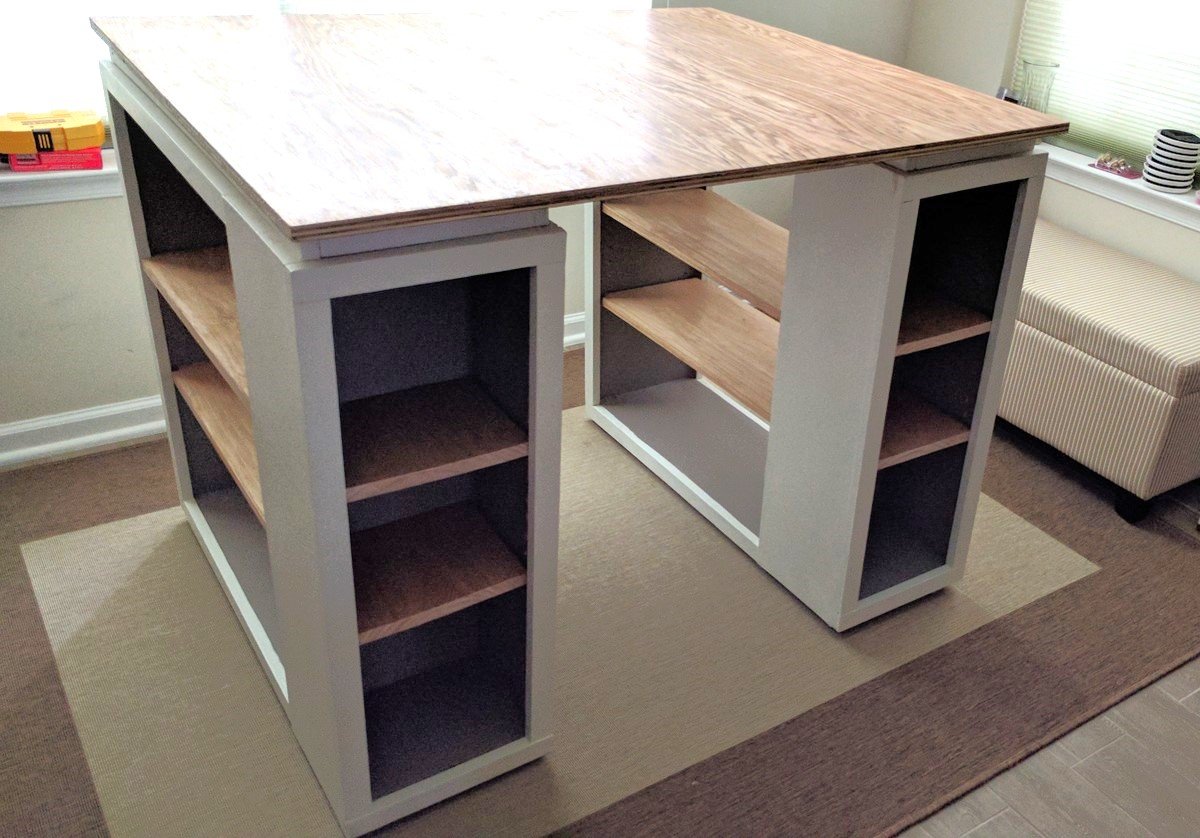
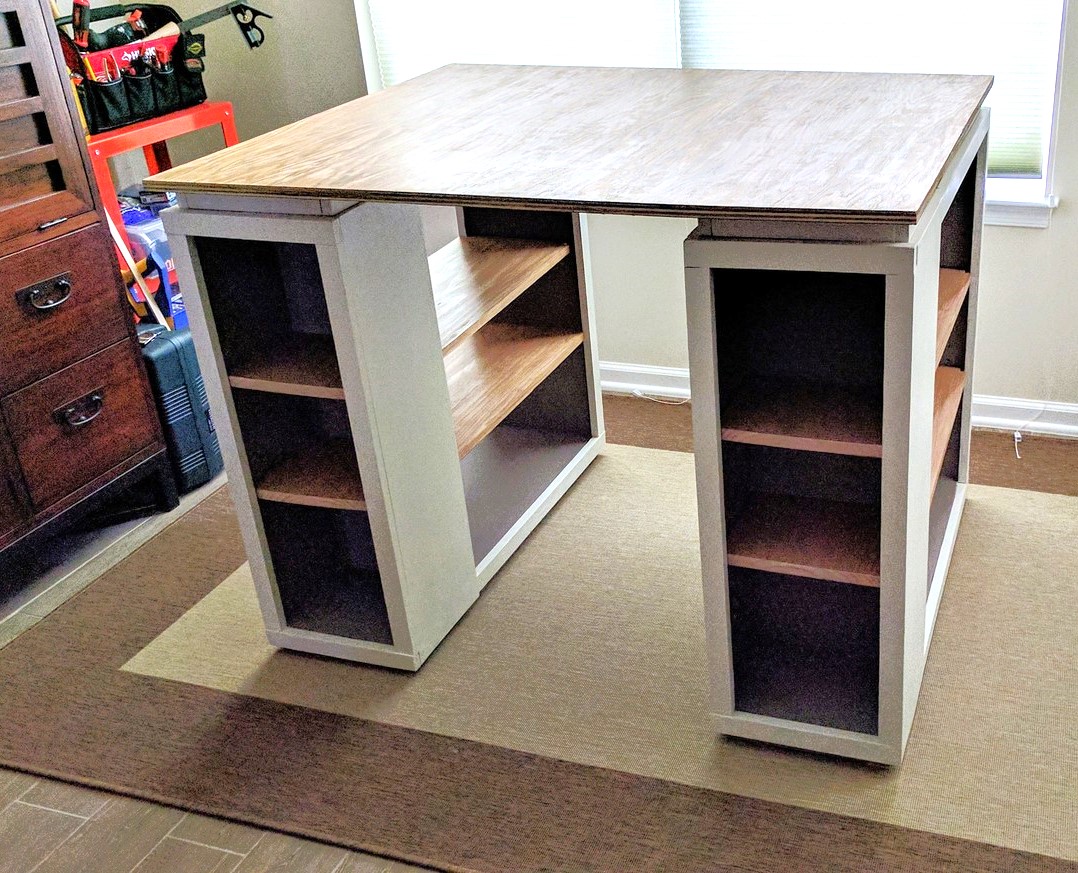
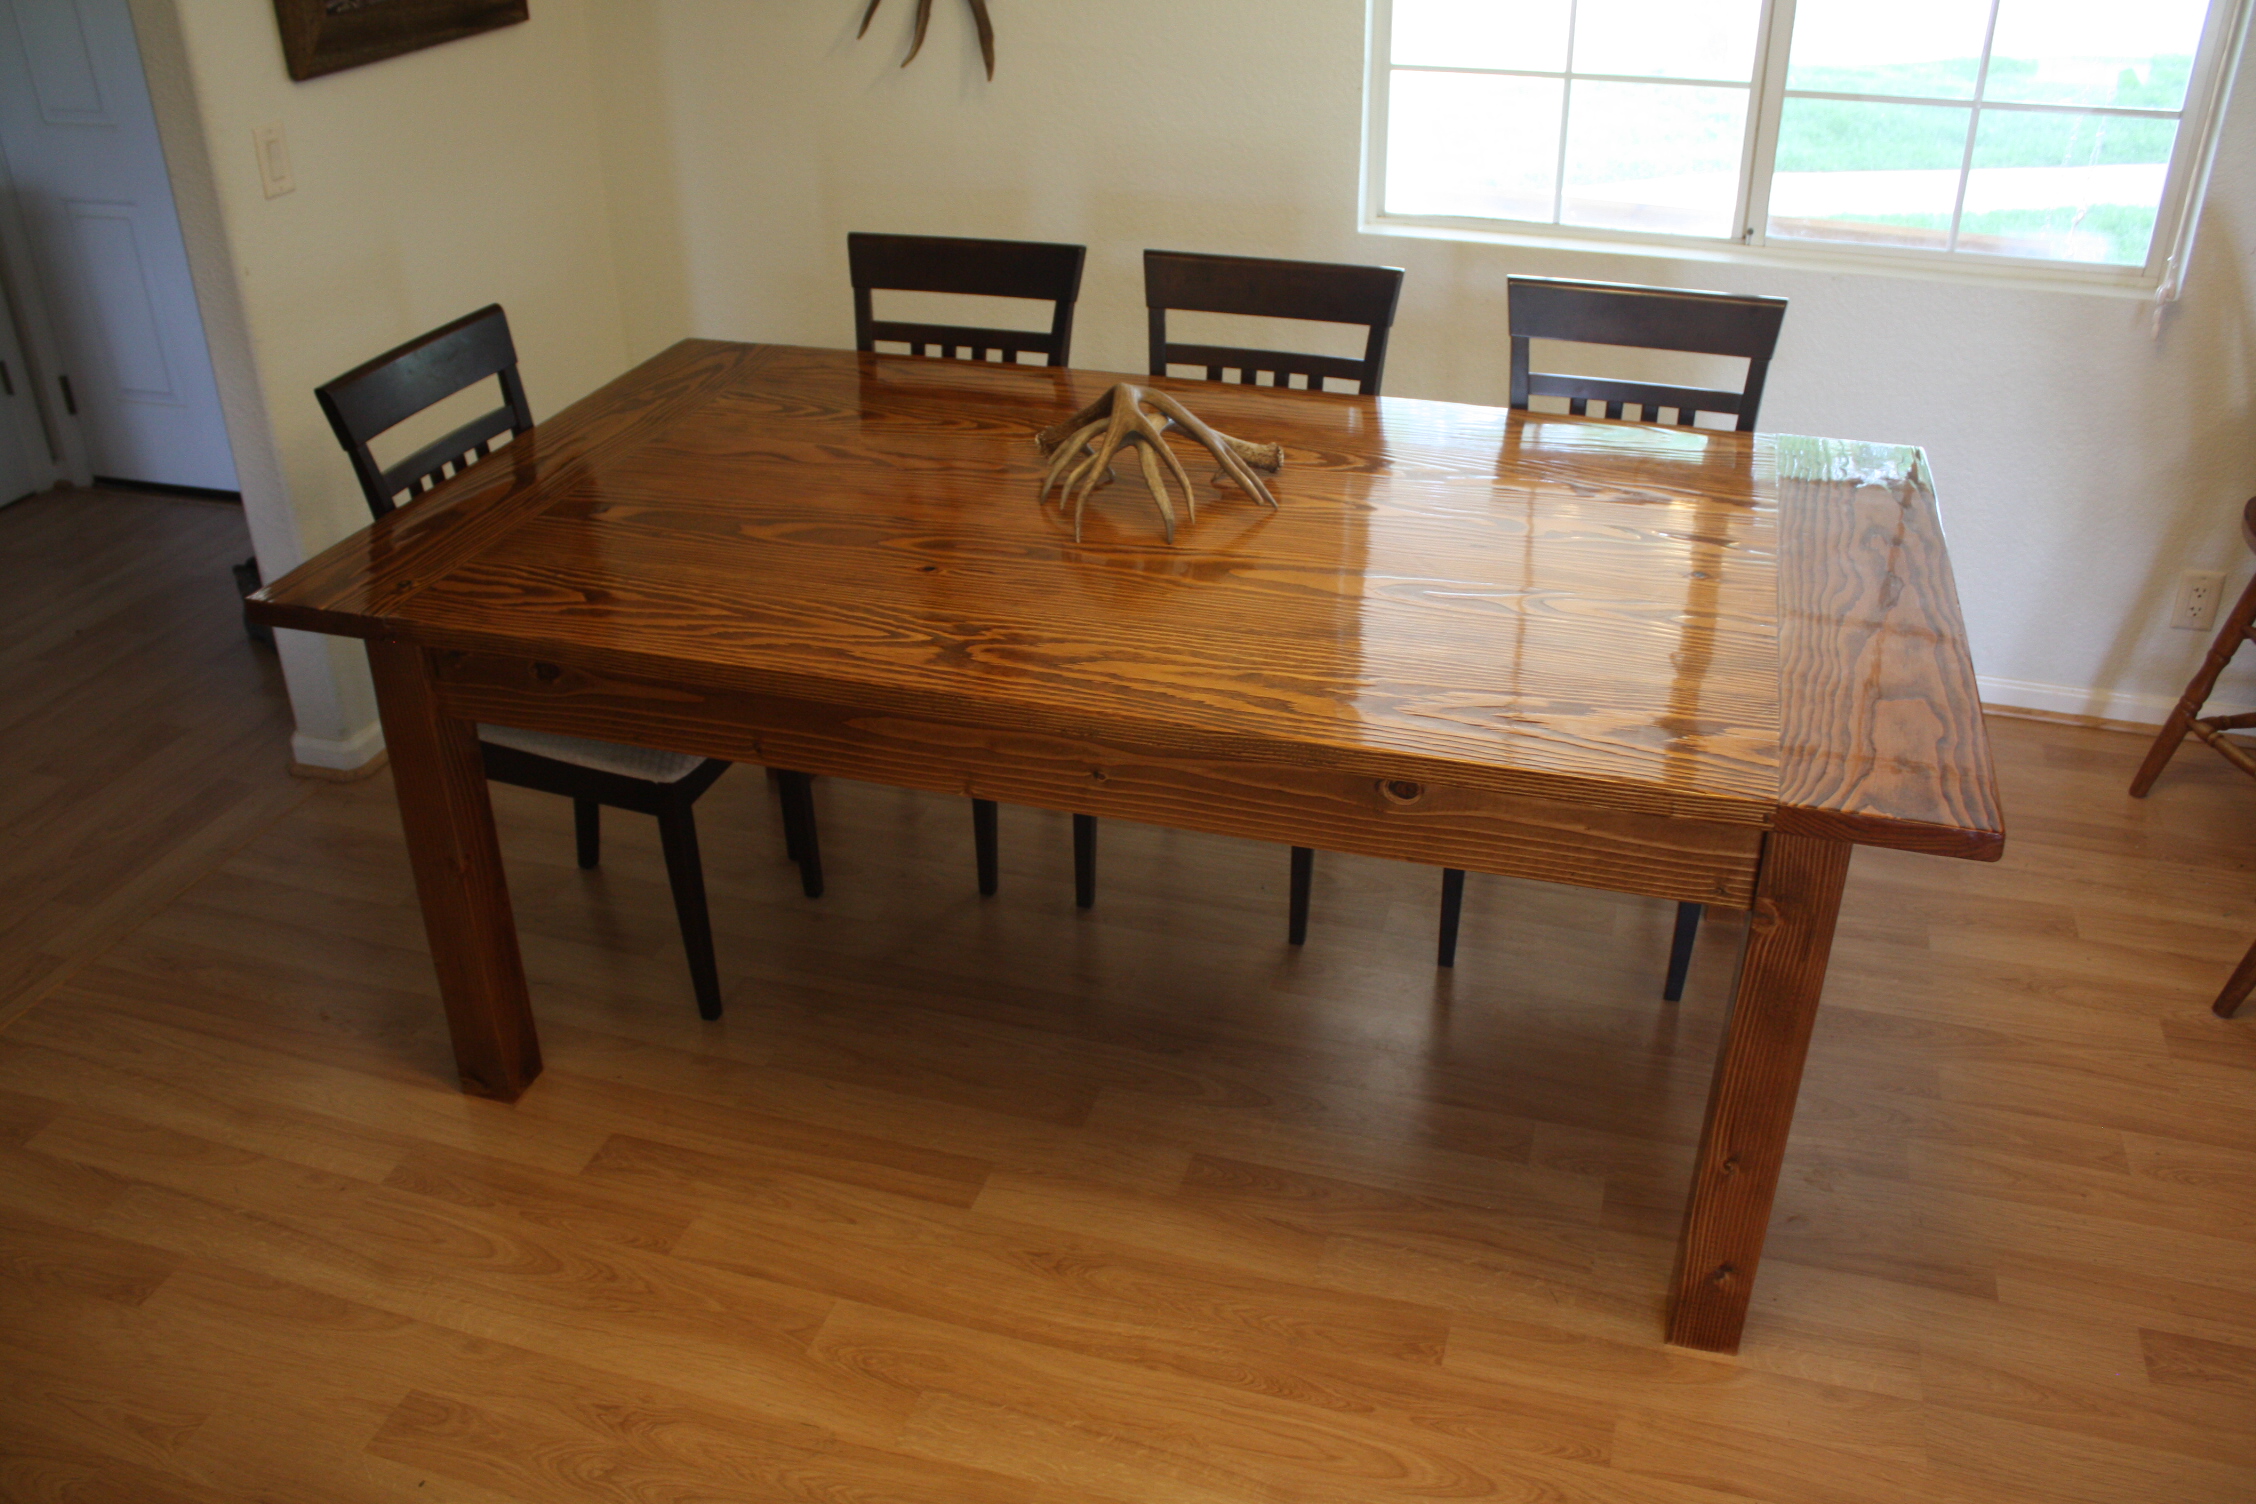
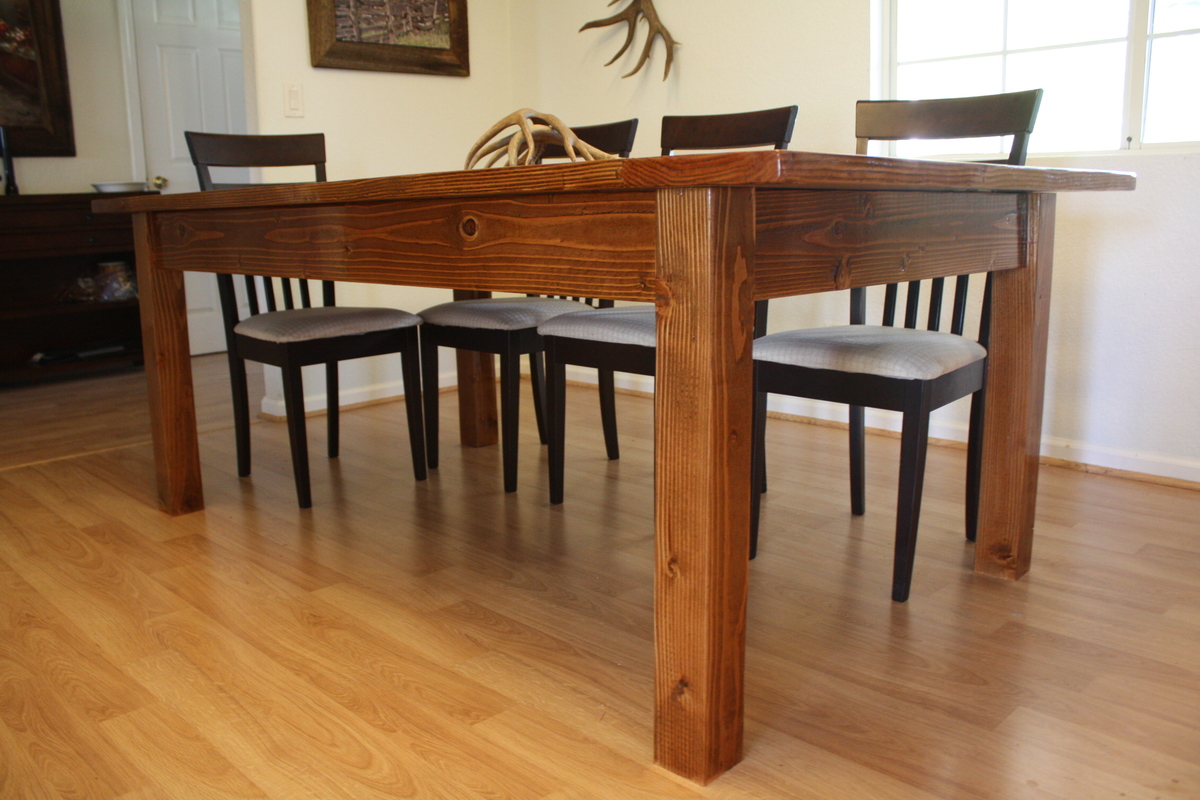
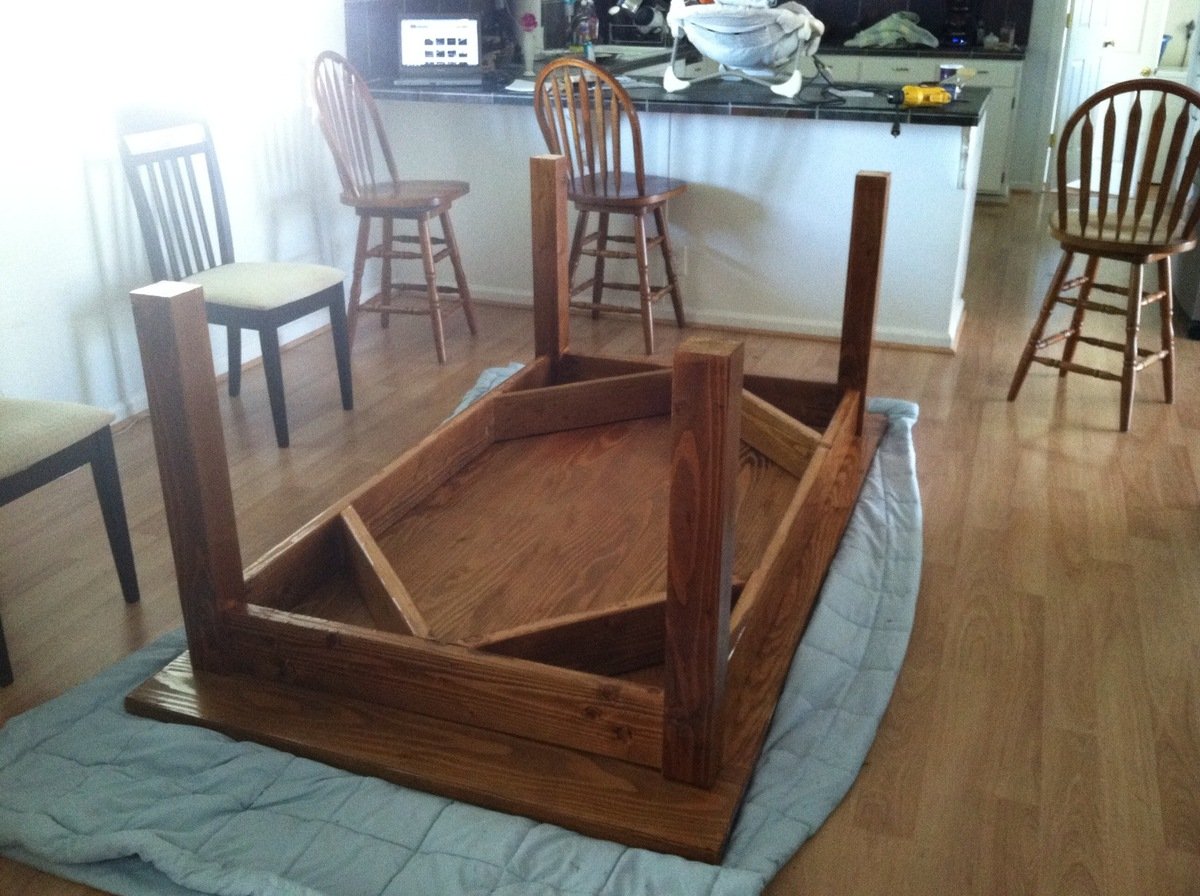
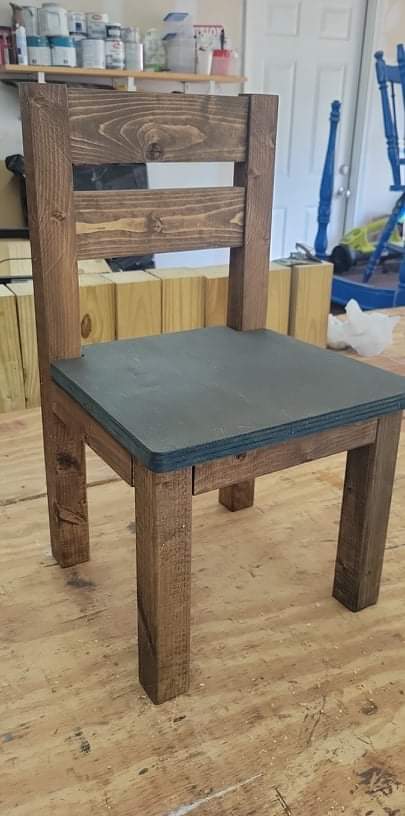
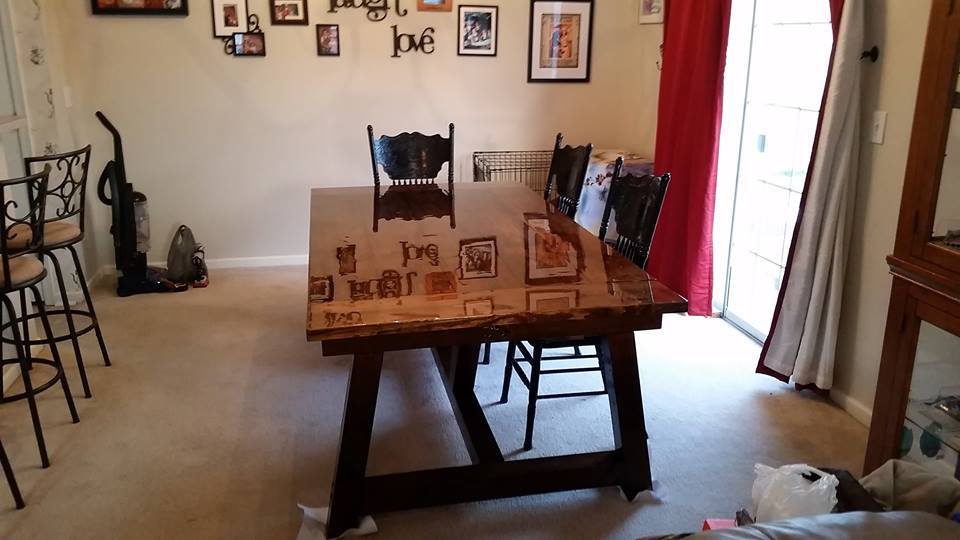
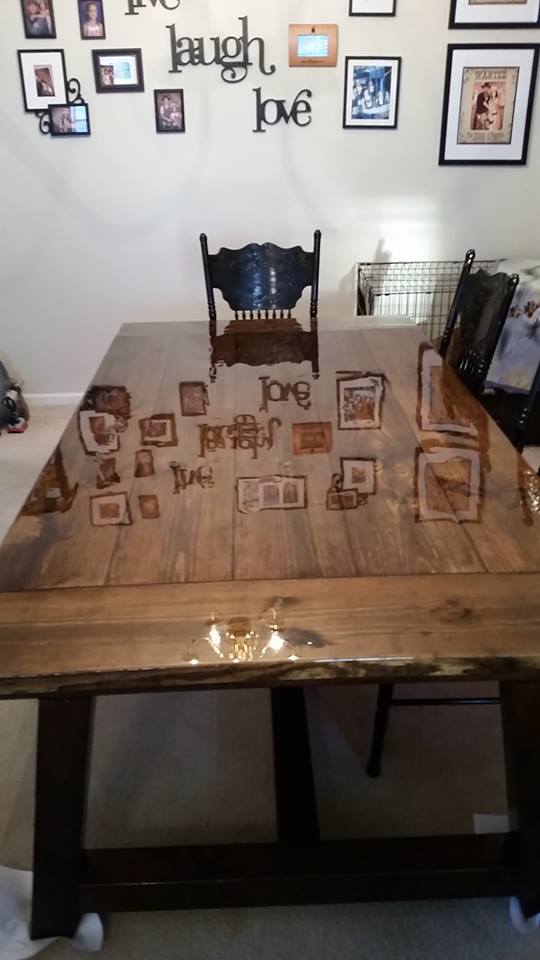
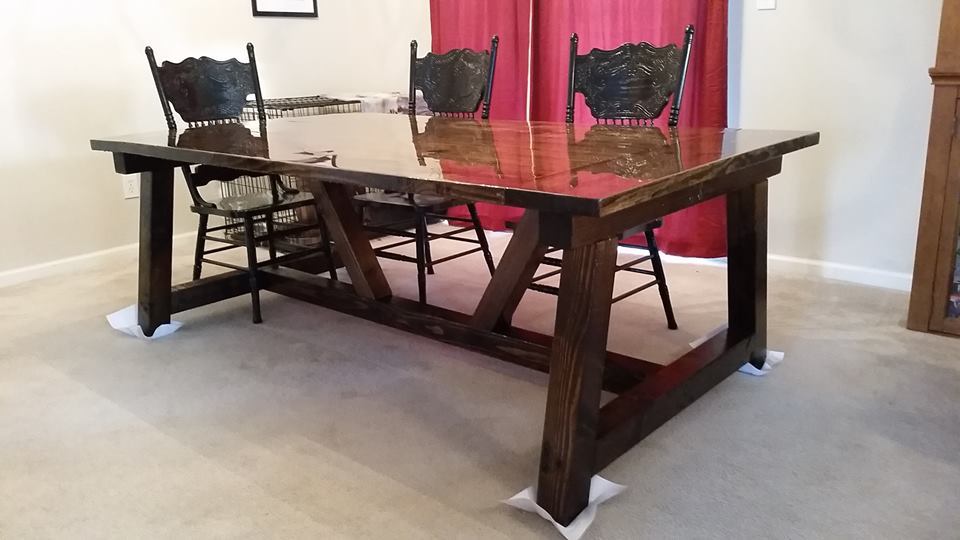
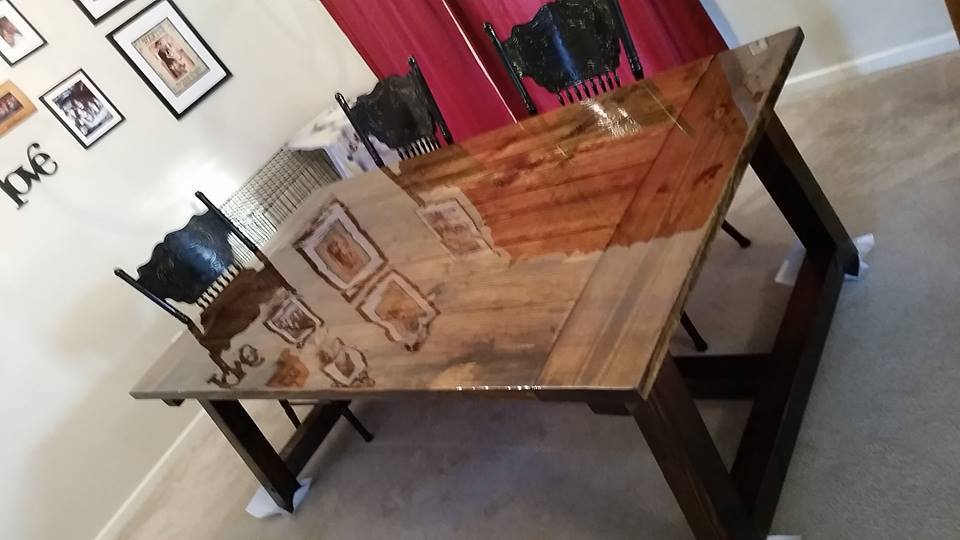
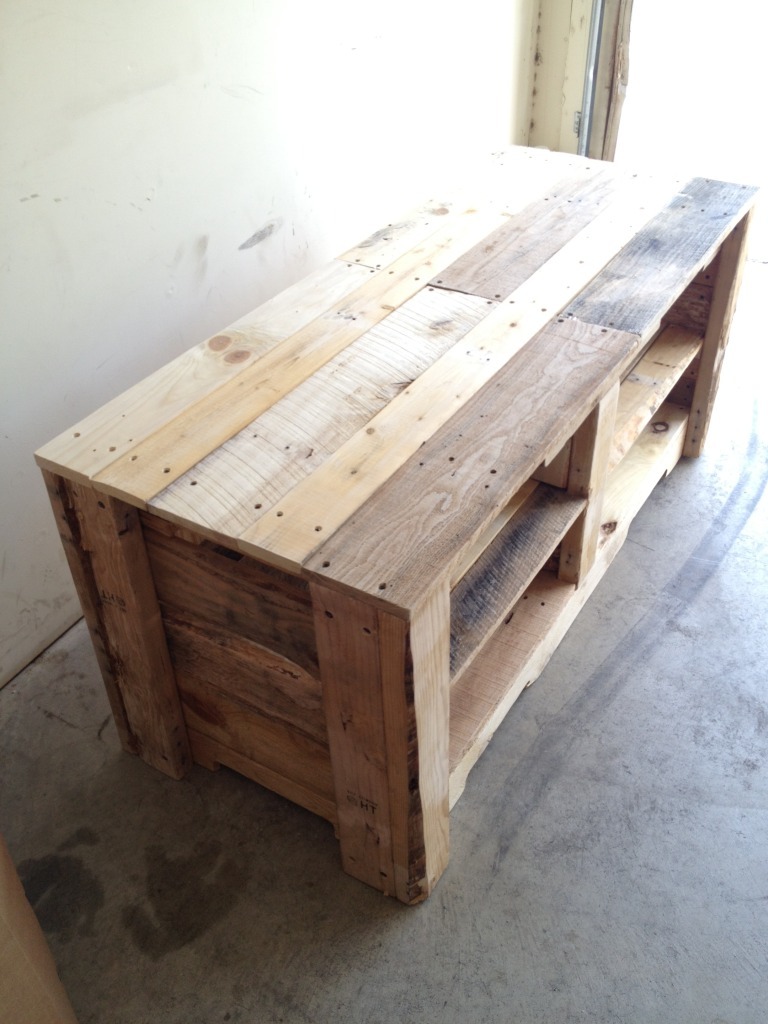
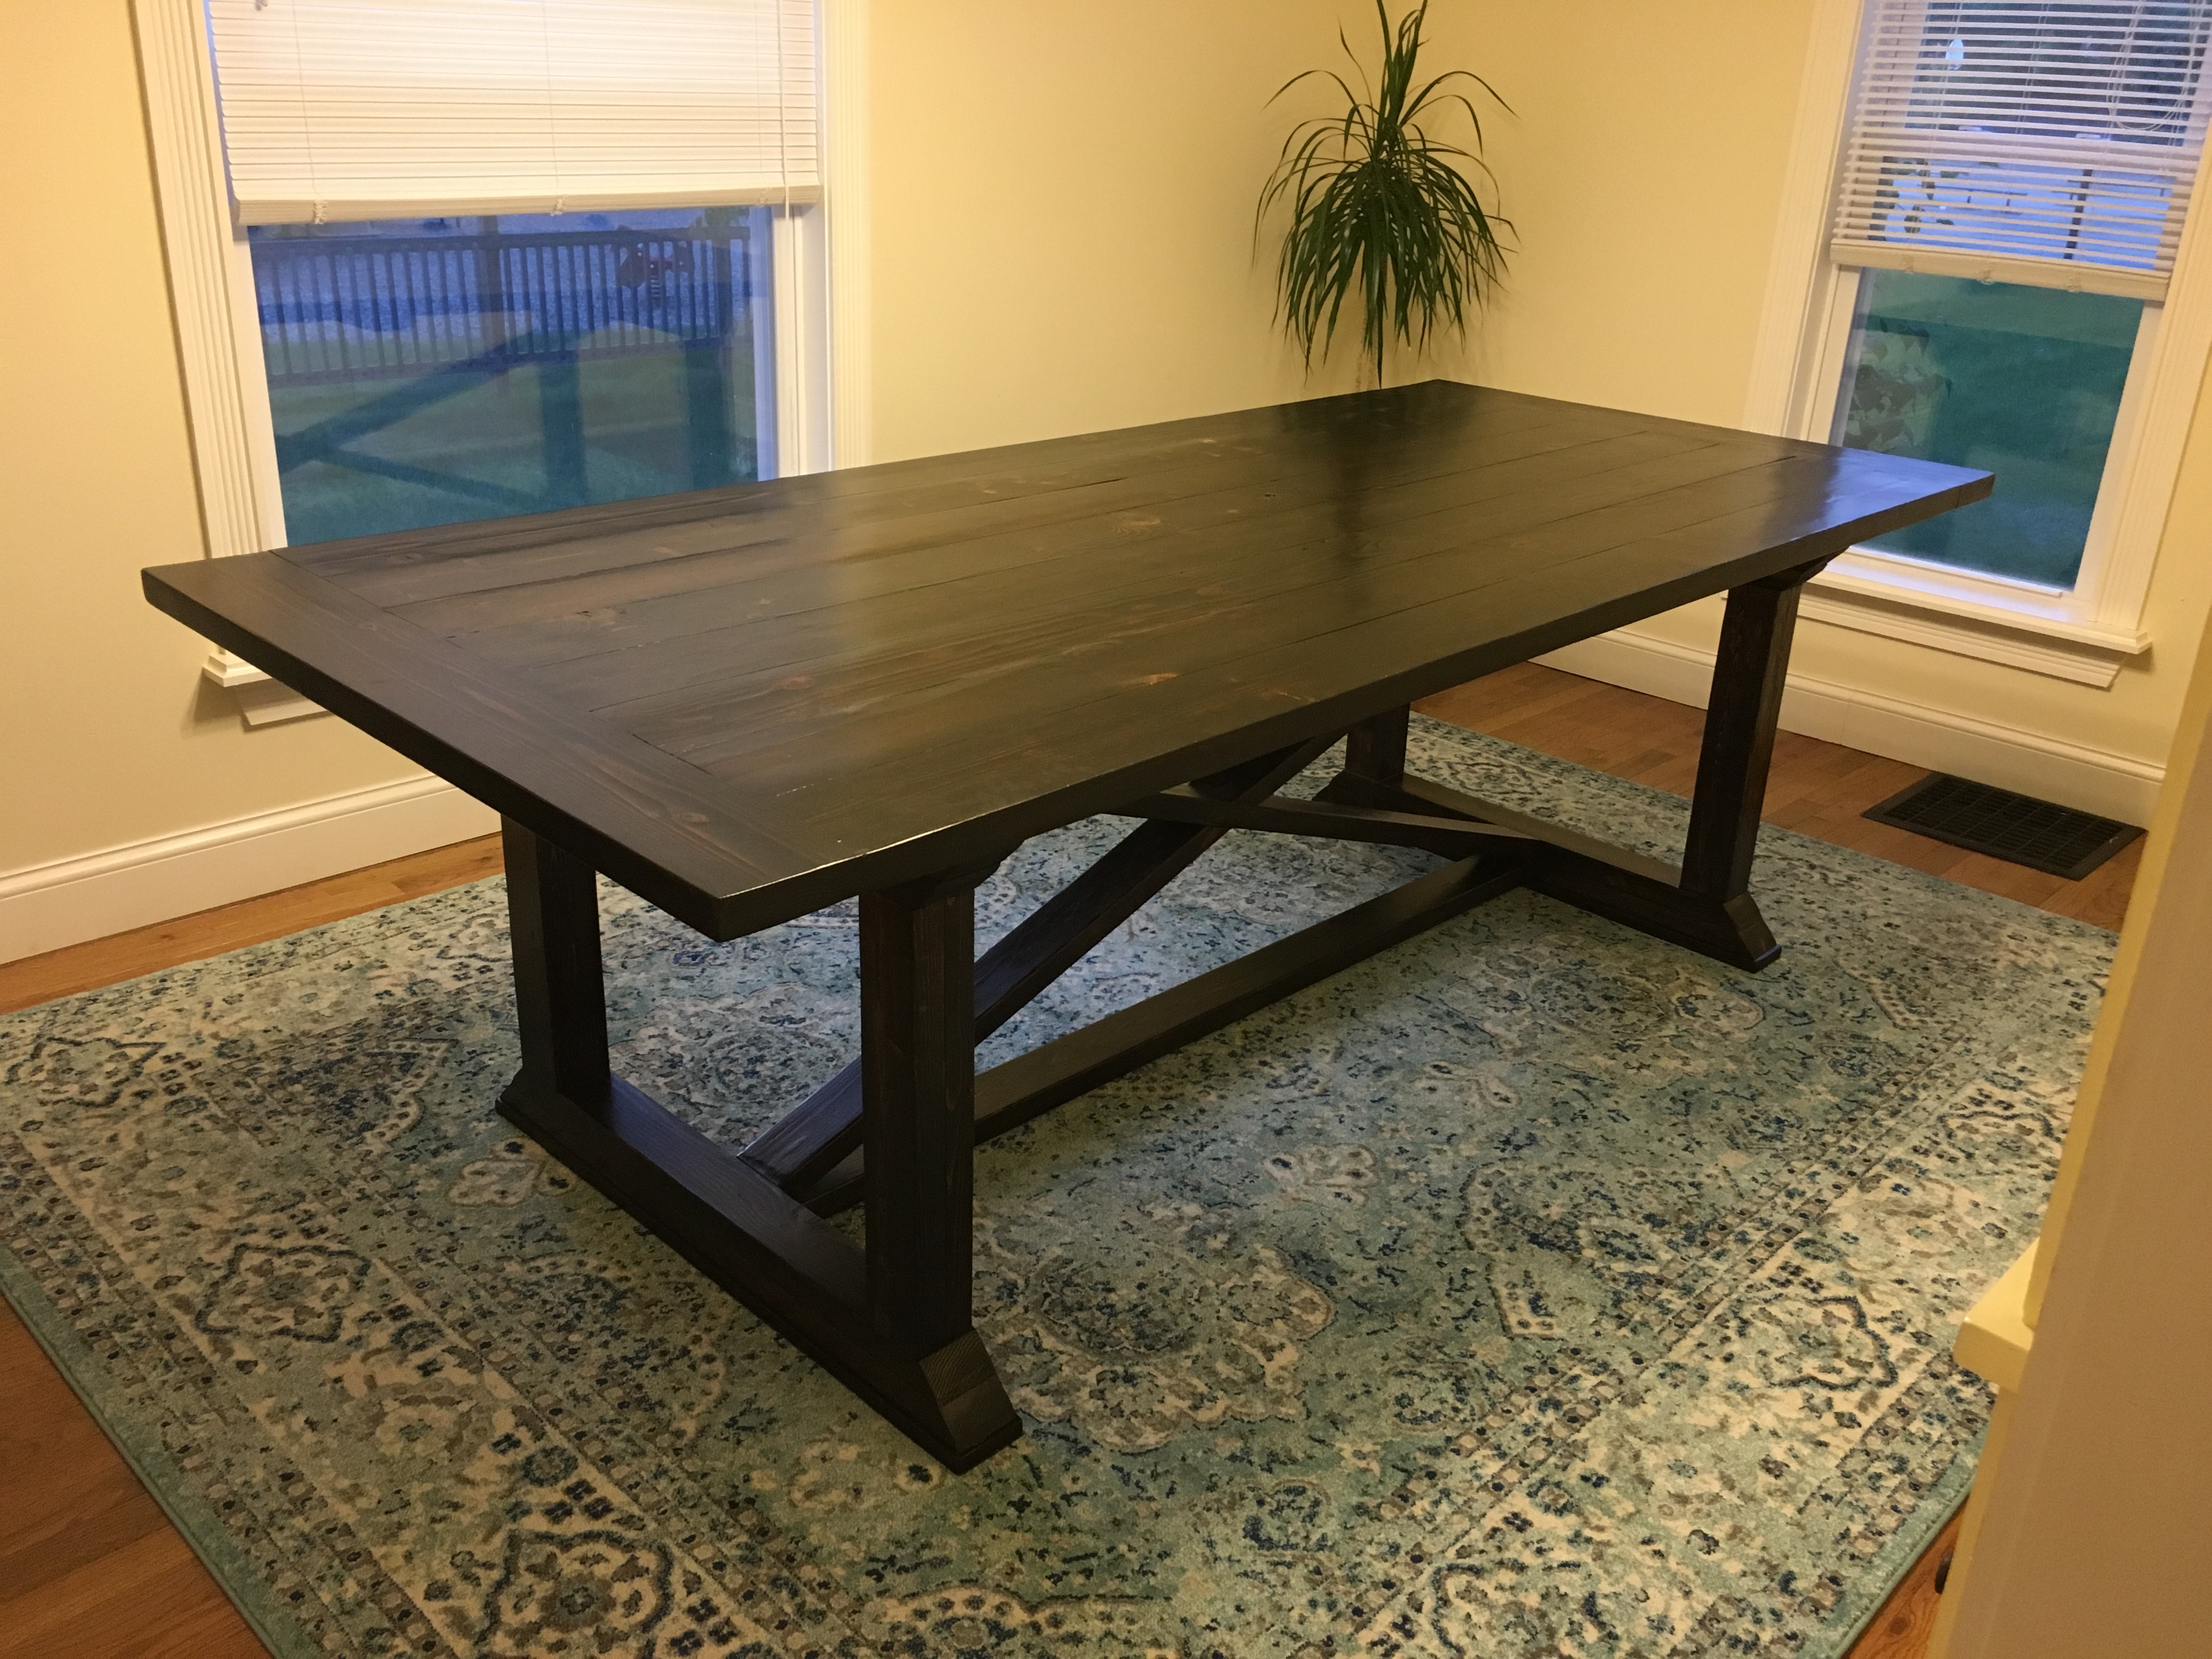
Farmhouse Table

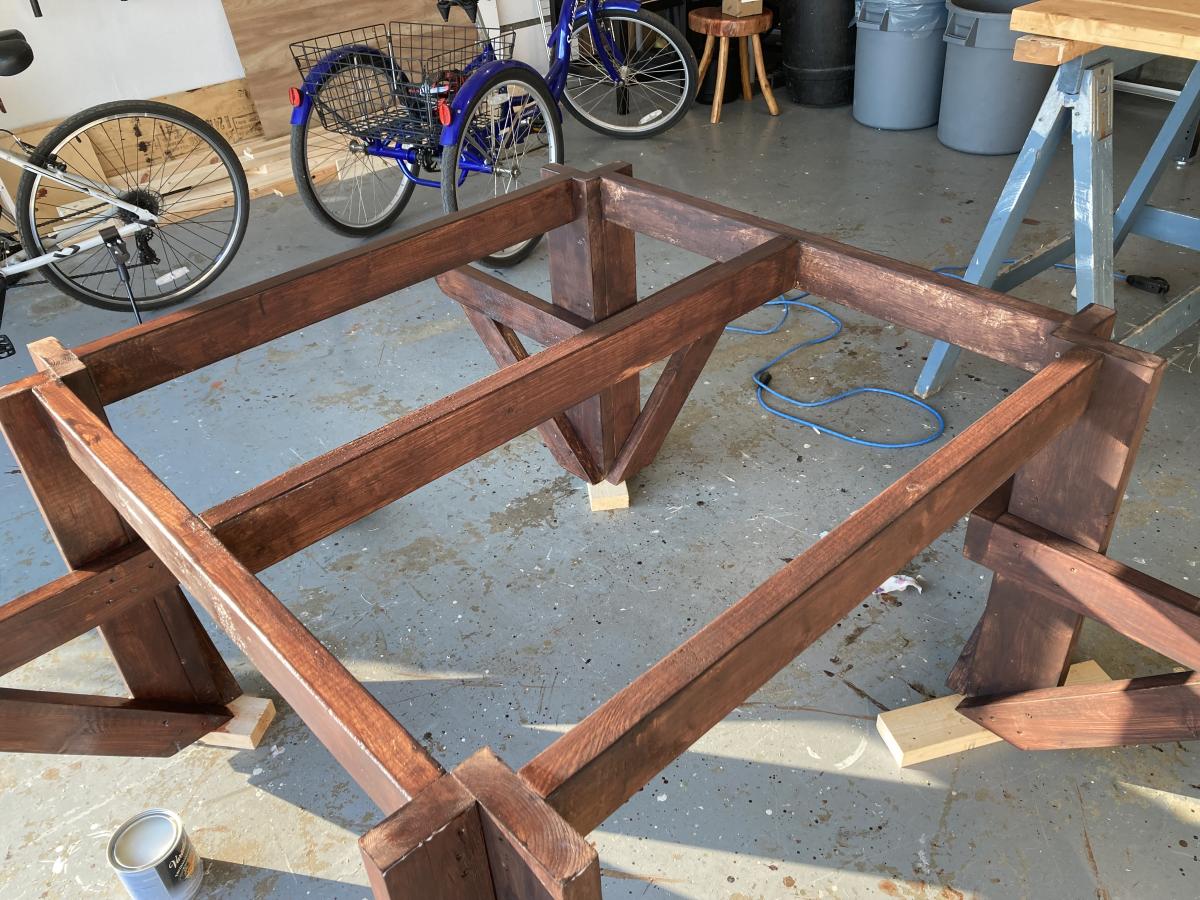
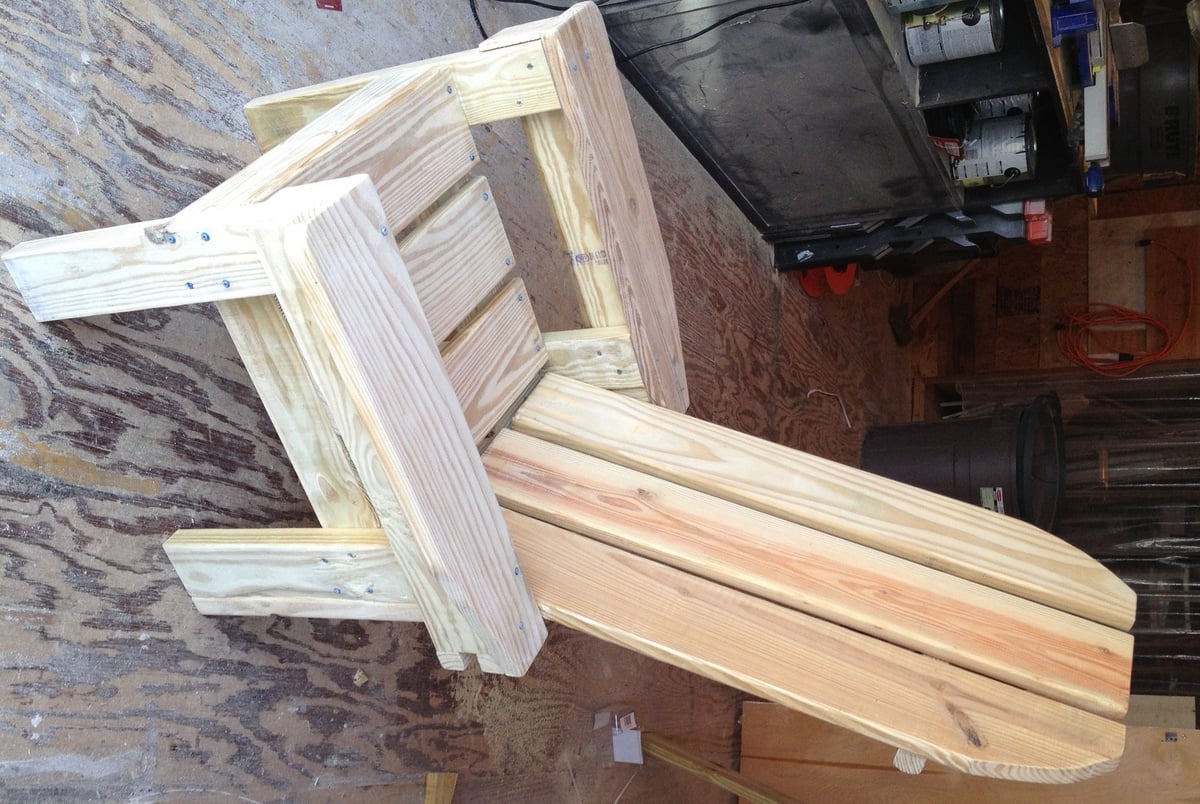
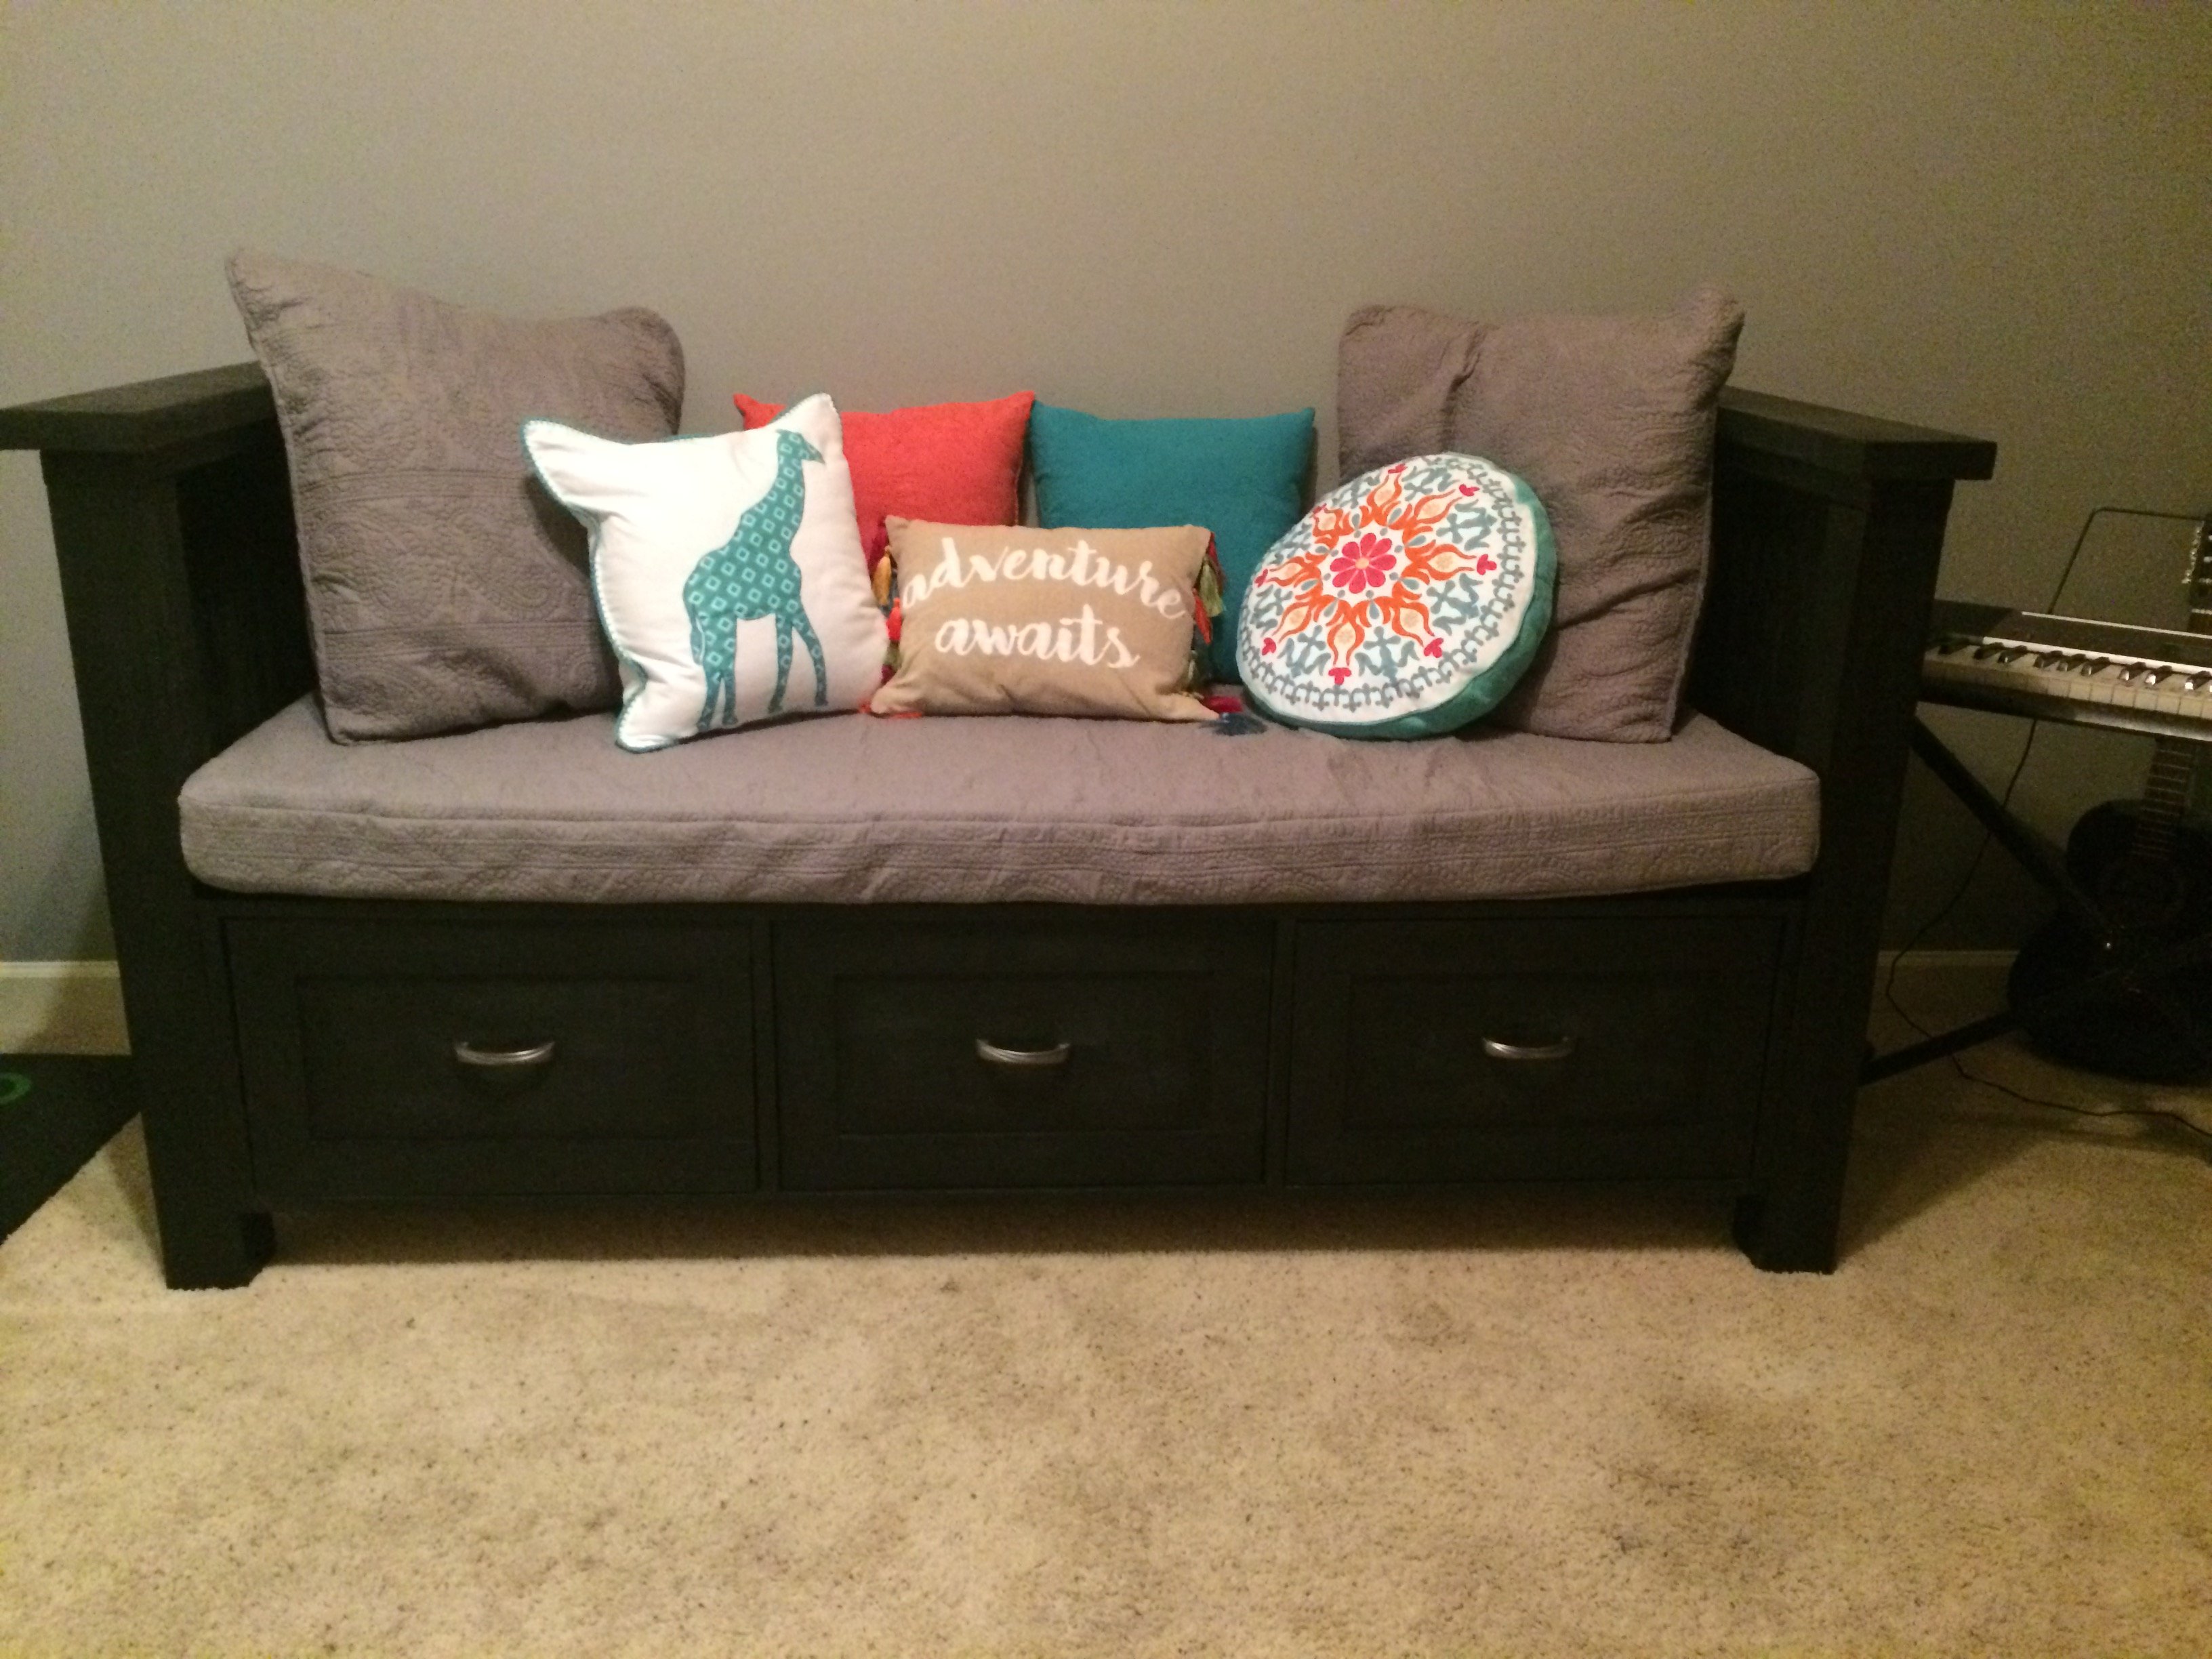
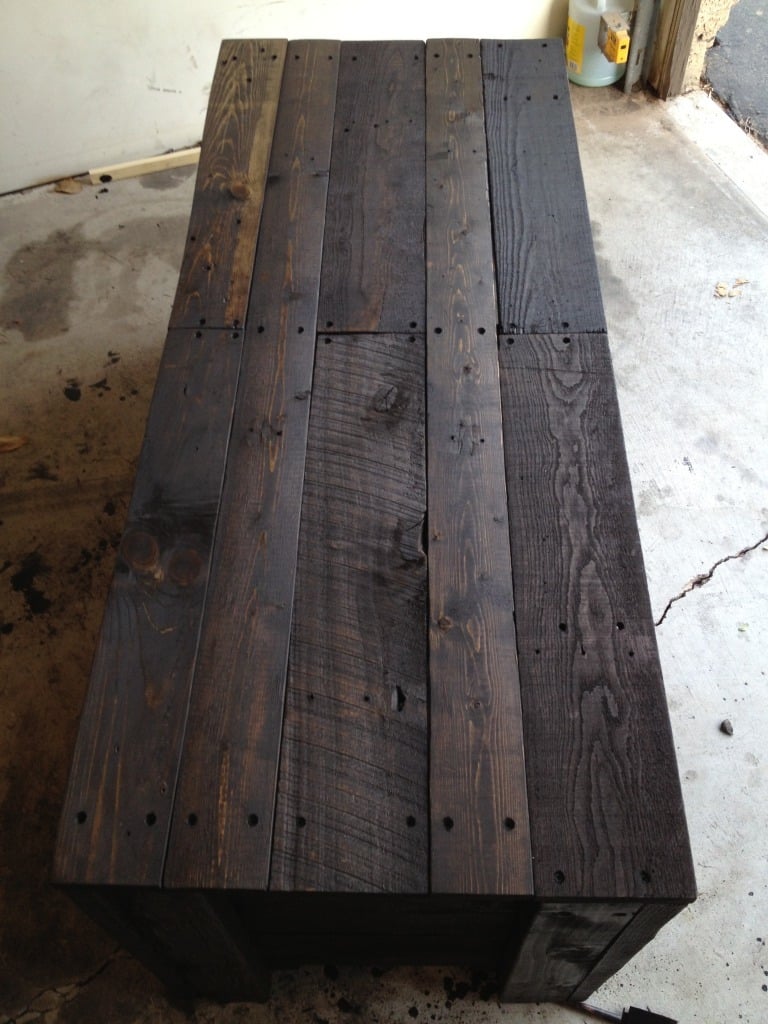
The table came out great! I ran every board through the table saw to make sure each piece was square. On the breadboard ends I added 2 1 1/2x1 1/2 x 9 supports. I decided to take off a lot of material with 40 grit sandpaper so every top board was completely smooth. Added adhesive felt to the bottom and used minwax polycrylic finish.
Built from Plan(s)
Estimated Cost
$125 with stain, polyethylene, brushes and rags.
Estimated Time Investment
Week Long Project (20 Hours or More)
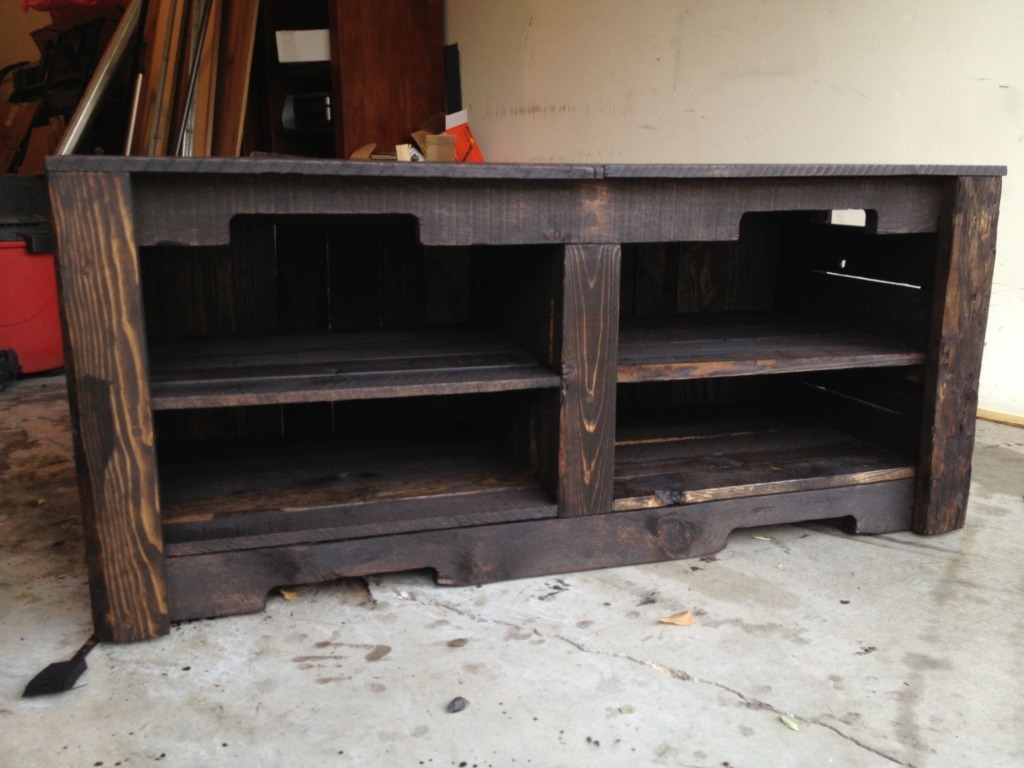
Finish Used
Minwax oil base Esspresso
Minwax polycrylic semi gloss
Minwax polycrylic semi gloss
Recommended Skill Level
Beginner