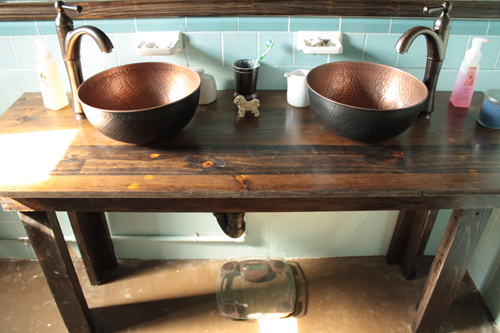
Farmhouse Vanity

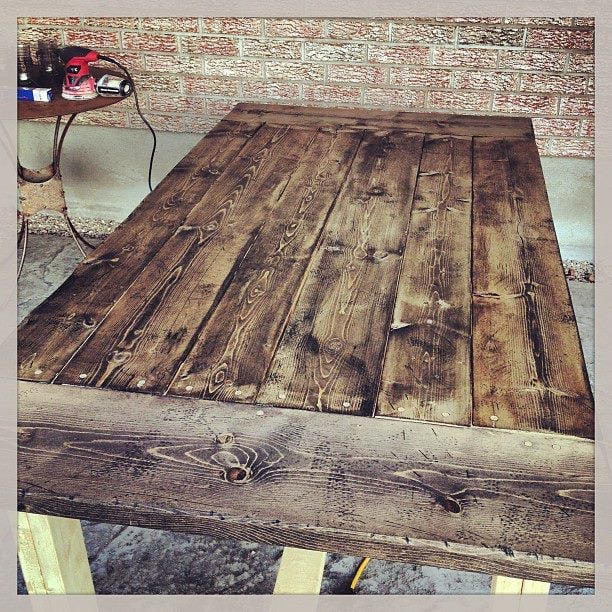
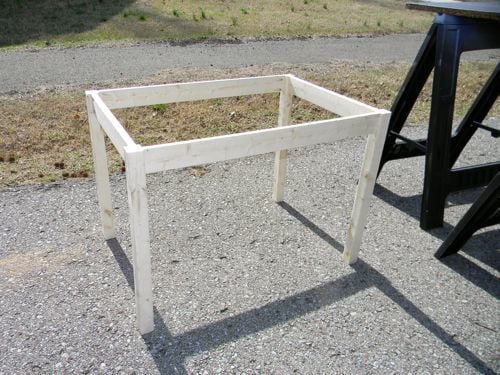
This was my first project working start to finish with my husband, and let's just say that I prefer to build without him! This was a lot of trial and error, but I think in the end it turned out really well. We splurged on the plywood top, the sheet alone was $60, but since we used it on this, 3 benches, and our kitchen island, it was well worth the splurge!
We made the vessel sinks from metal bowls snagged at Target for $17 each. We drilled a hole using a hole-saw bit, and popped in an $8 drain kit from Lowe's. The faucets were given to us by my father-in-law, who's the manager of a plumbing company. I sewed a curtain that I stapled on the inside to hide the plumbing beneath the sinks. I love how it all looks now!
Built from Plan(s)
Estimated Cost
$60 for vanity, $50 for sinks
Estimated Time Investment
Day Project (6-9 Hours)
Finish Used
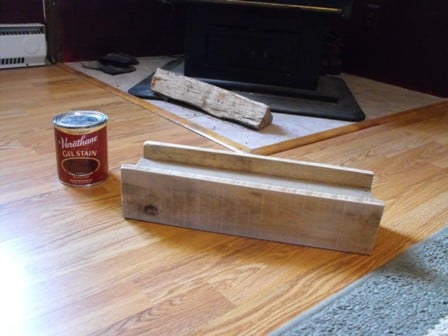
Minwax stain in Dark Walnut followed by 3 coats poly
Recommended Skill Level
Starter Project