Miter Saw Stand
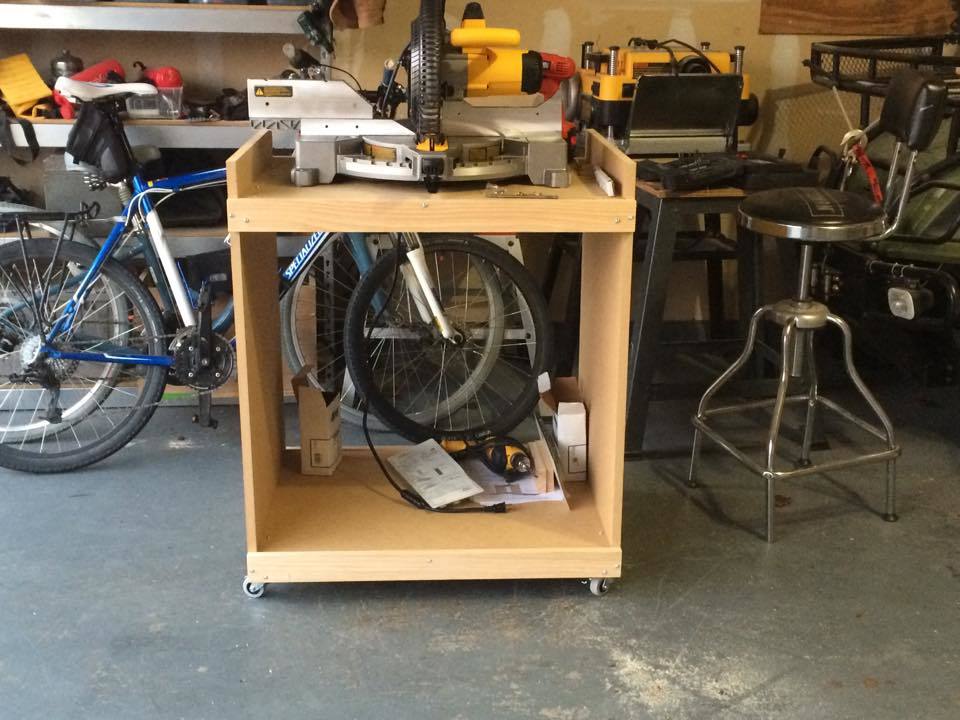
We wore out our old miter saw and had to buy a new one. The old stand wouldn't work, so decided to build one! Absolutely LOVE it and have had many compliments when people see it.

We wore out our old miter saw and had to buy a new one. The old stand wouldn't work, so decided to build one! Absolutely LOVE it and have had many compliments when people see it.
Thanks for the plans!
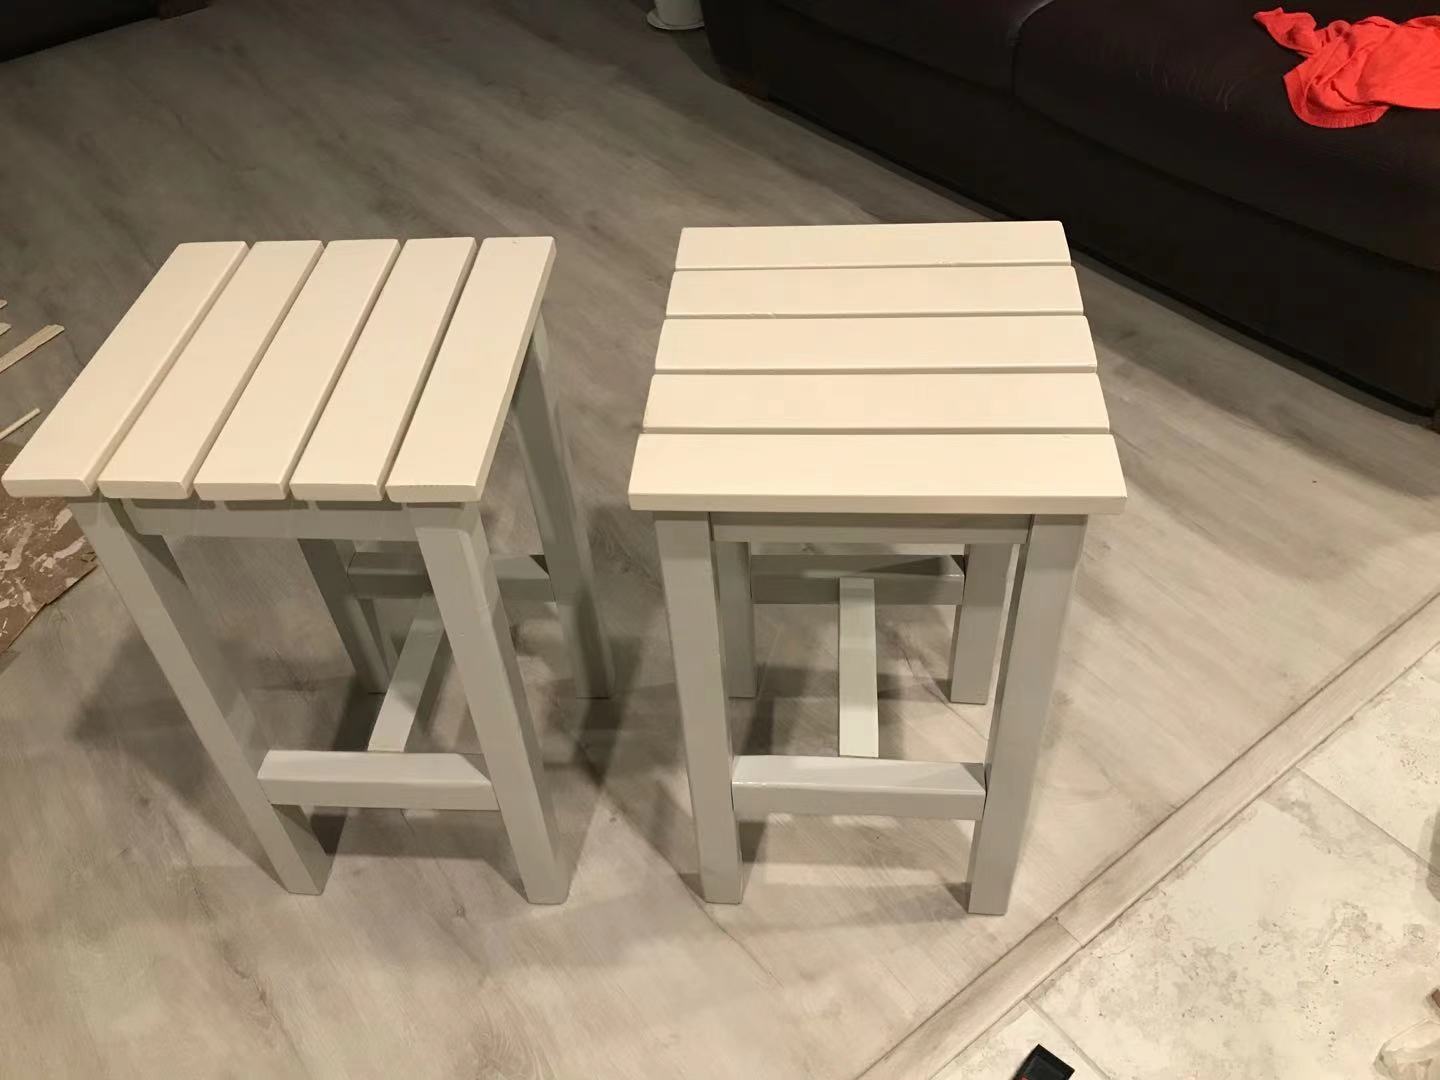
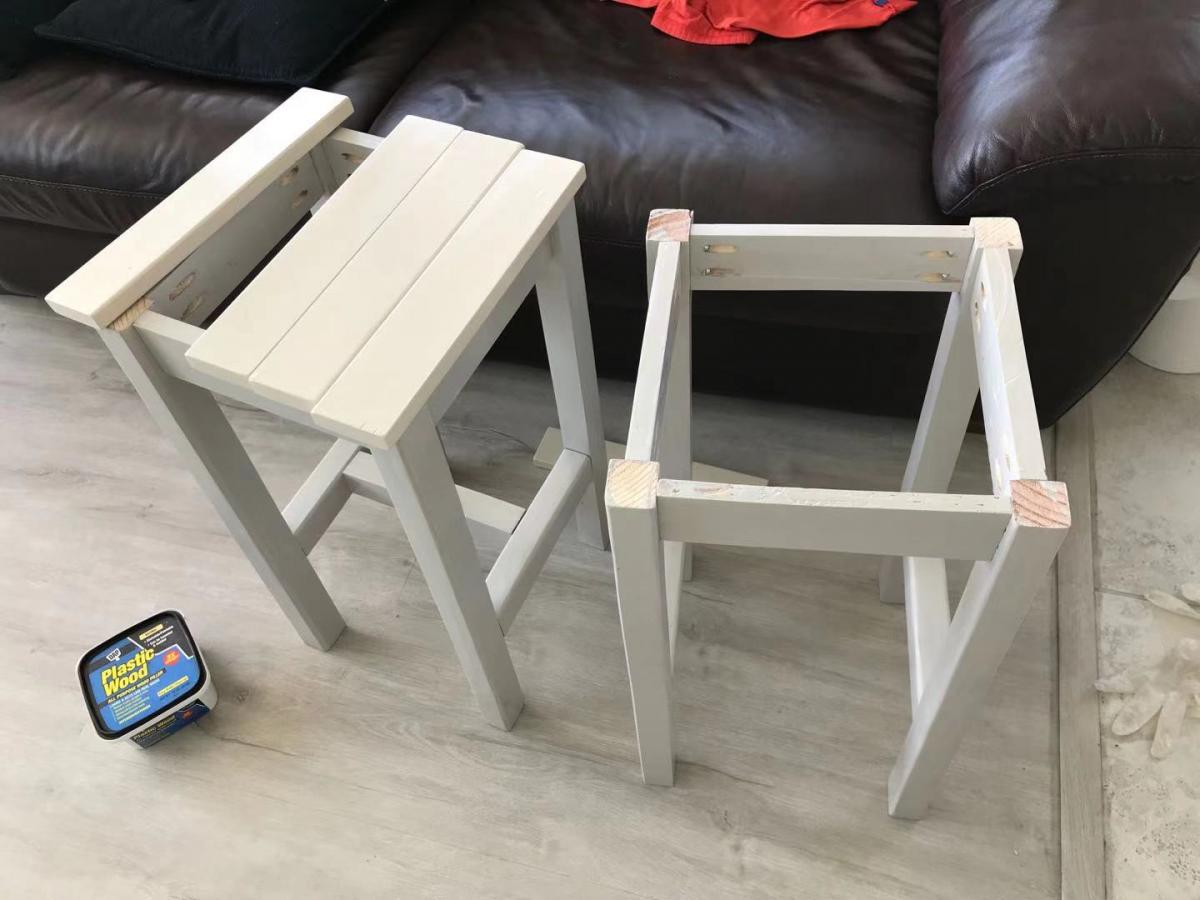
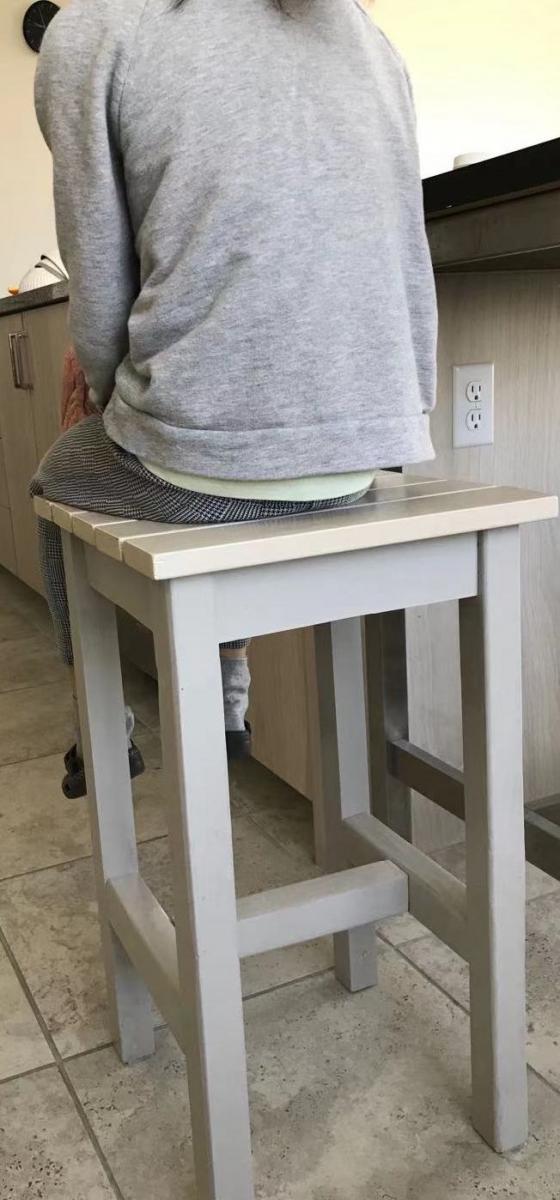
I decided to make two Adirondack stools, they looks simple and easy and I have 2*2 and 1*3 slats on hand.
Cutting and painting didn't take too much time, but I was struggling with assembling. It was hard to square the board. When I finished them, they were great, I love them!They are 24" heigh.
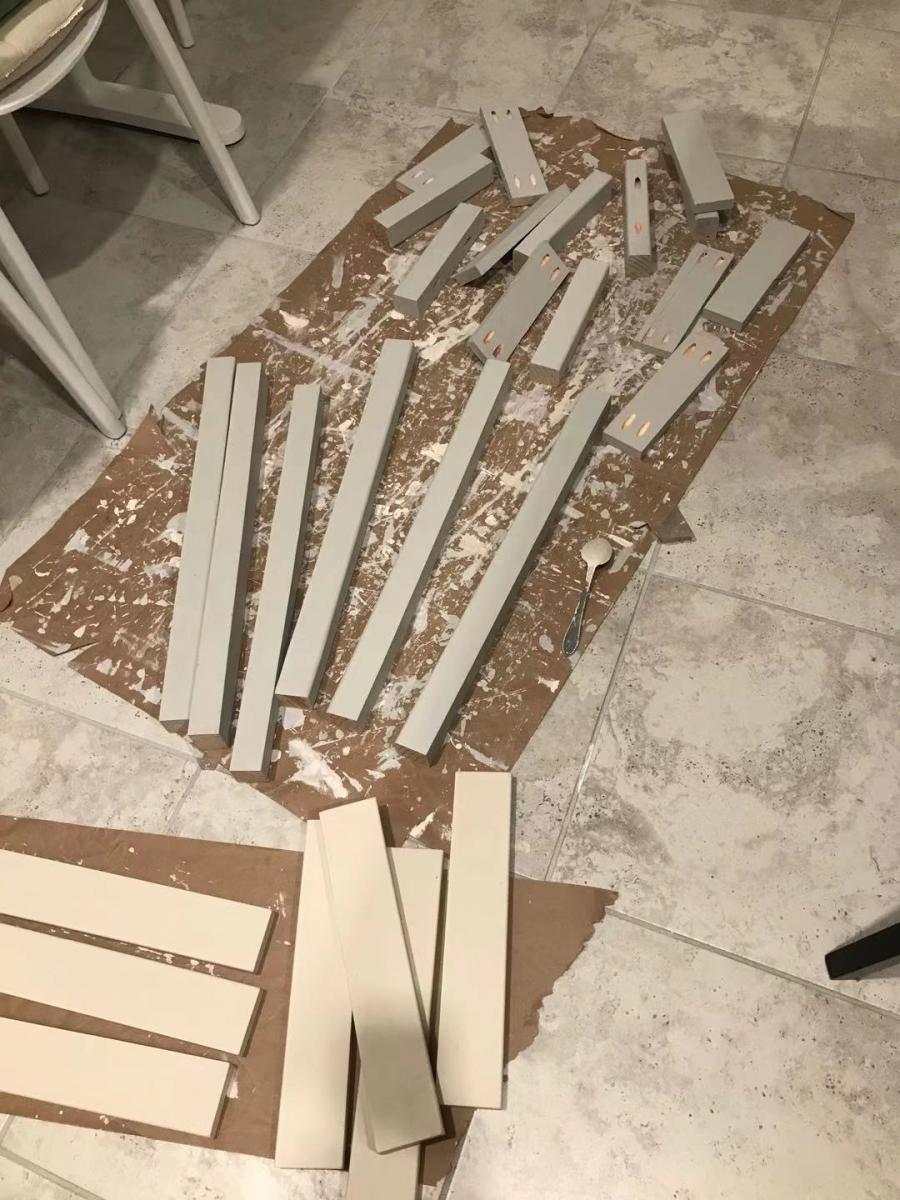
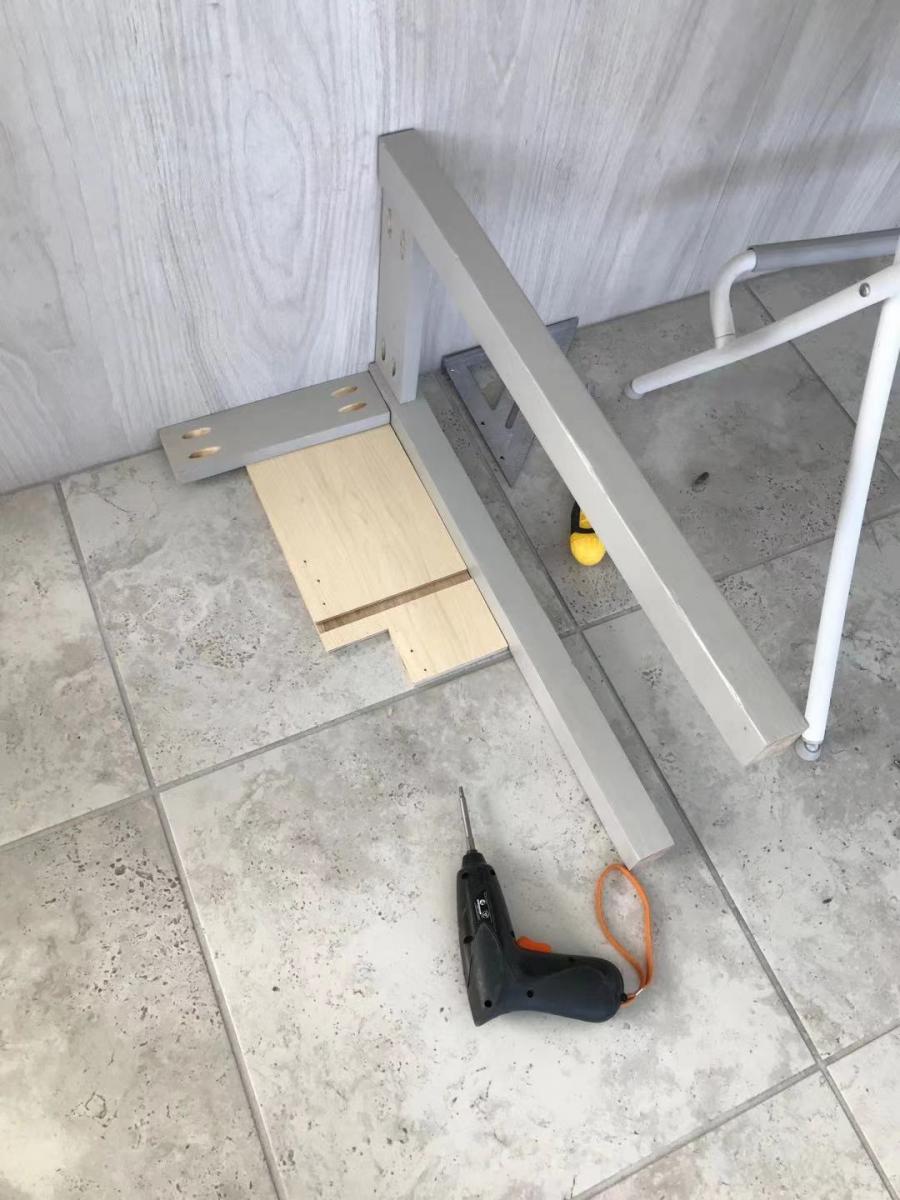

Finally found the perfect table for my foyer! Only possible because of this site... Thanks Ana! The step by step instructions and detailed illustrations were sooo easy to follow. I finished the table in a day and a half. The drawers on the other hand gave me a run for my money. I am positive that was due to my less than perfect circular saw skills! Which are improving by the way:) Everyone loves the table and are pretty impressed with my (as my 8 yr old would say) "mad skillz"!


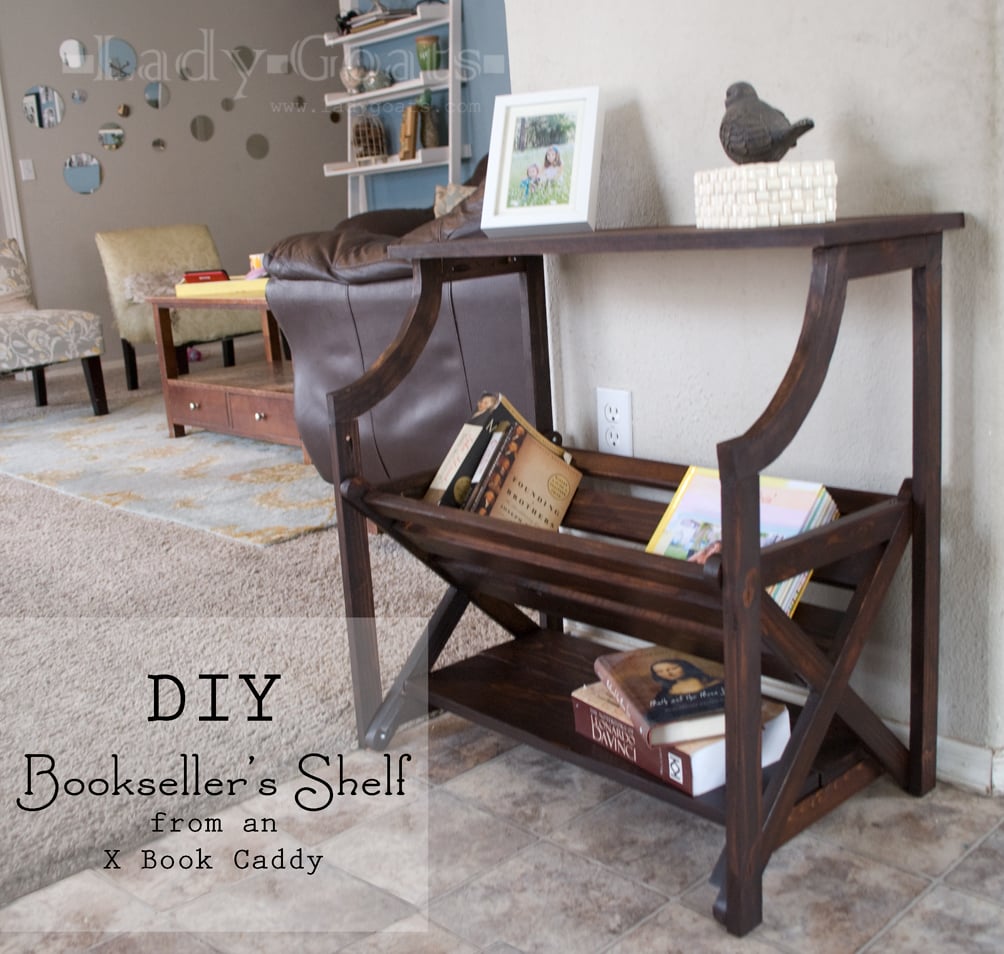
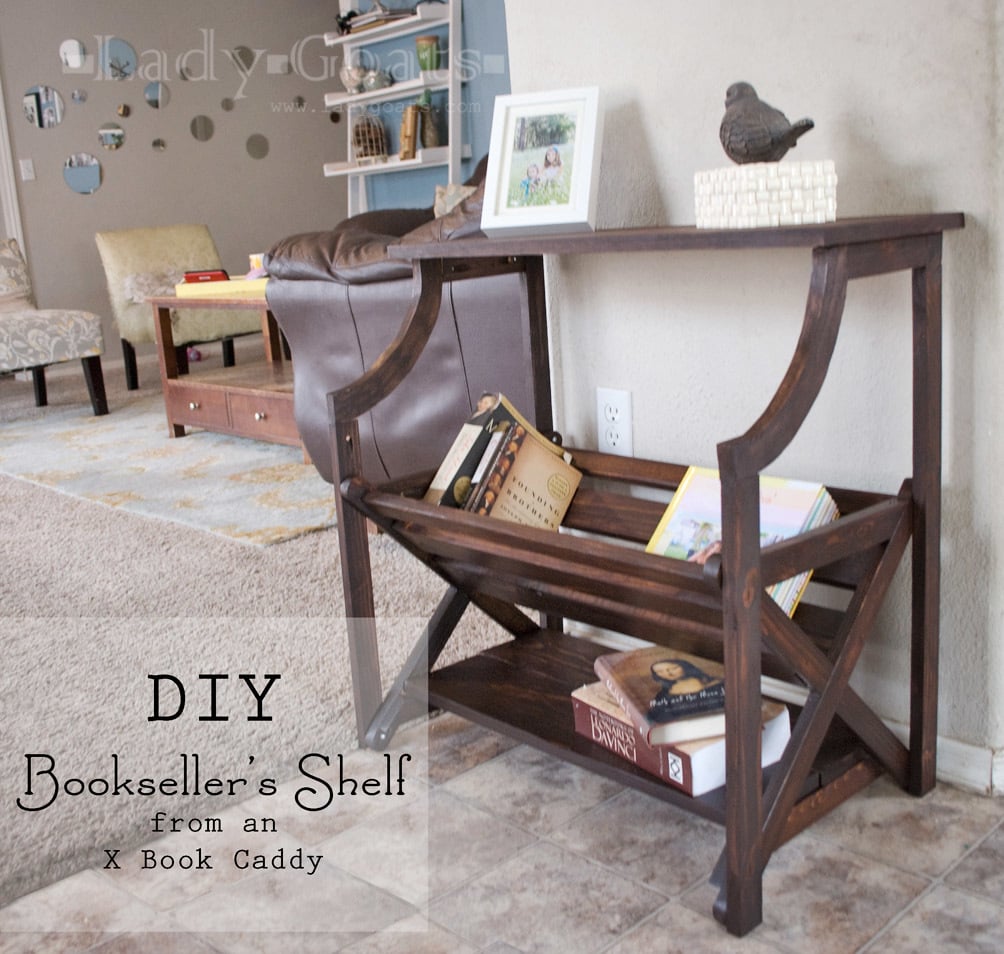
After building my daughter a storage bed, I no longer needed the X Book Caddy that I had built to contain her books. It's taken on a new life as a nightstand for me!! I modified the caddy to be nightstand height, but it can easily have height added to become a console table. If you want, go build the x caddy and then click over to my blog for the tutorial on making it the bookseller's shelf!
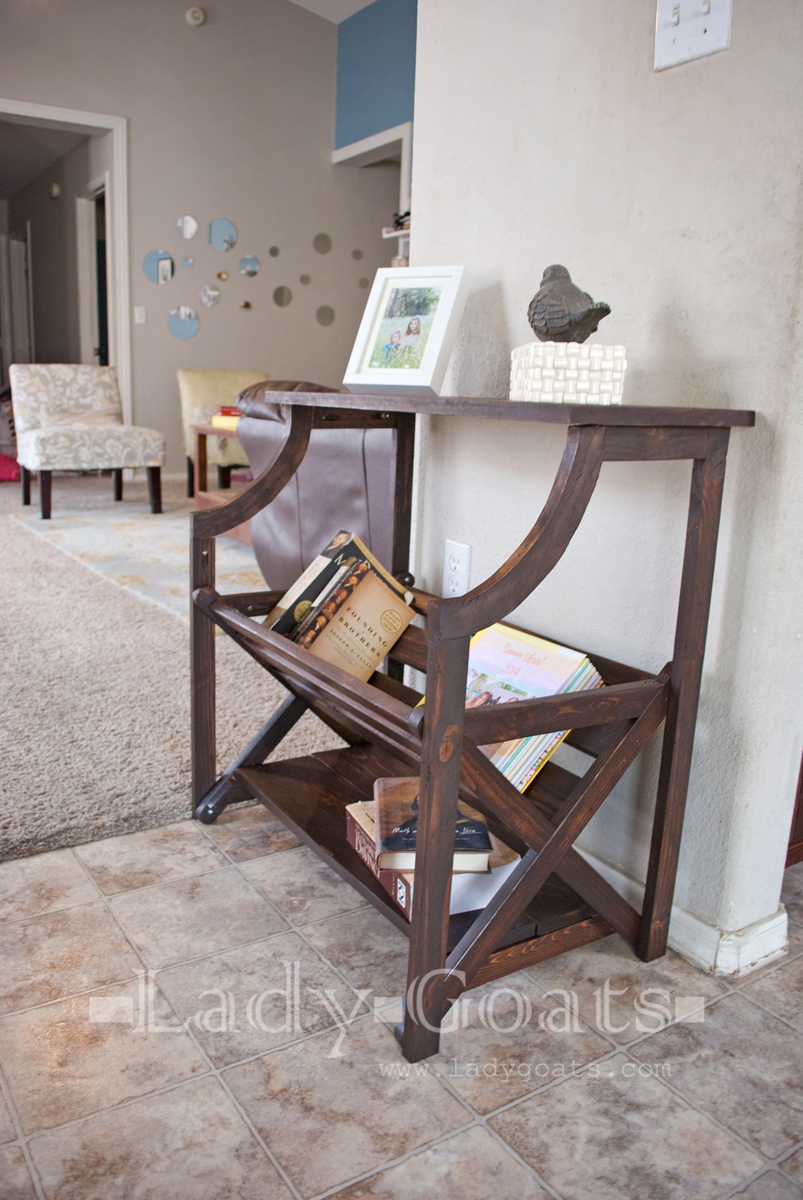
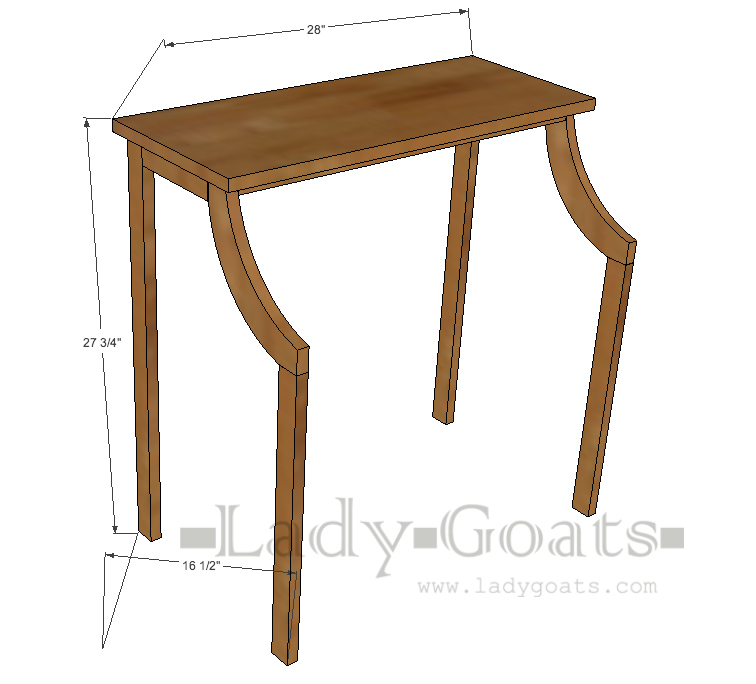
Tue, 01/27/2015 - 15:12
Wow I just love how this turned out! Thanks for sharing your talent!
In reply to Wow I just love how this by Ana White
Fri, 01/30/2015 - 19:24
Wouldn't do it if it weren't for you! <3
In reply to This is fabulous! by marenras
Fri, 01/30/2015 - 19:25
Can't wait to see it! I just saw that Ana did something very similar, so make sure you check it out, too! http://ana-white.com/2011/02/library-console-table
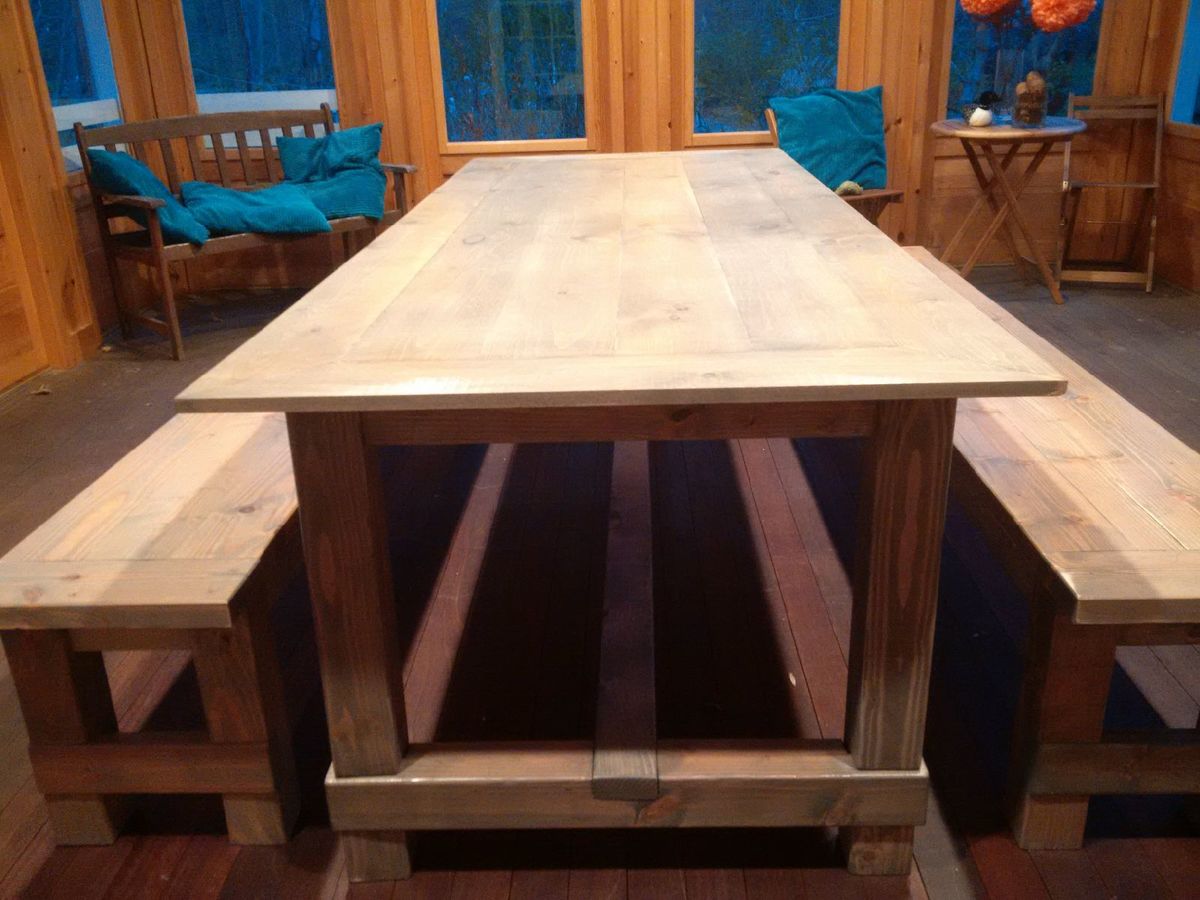
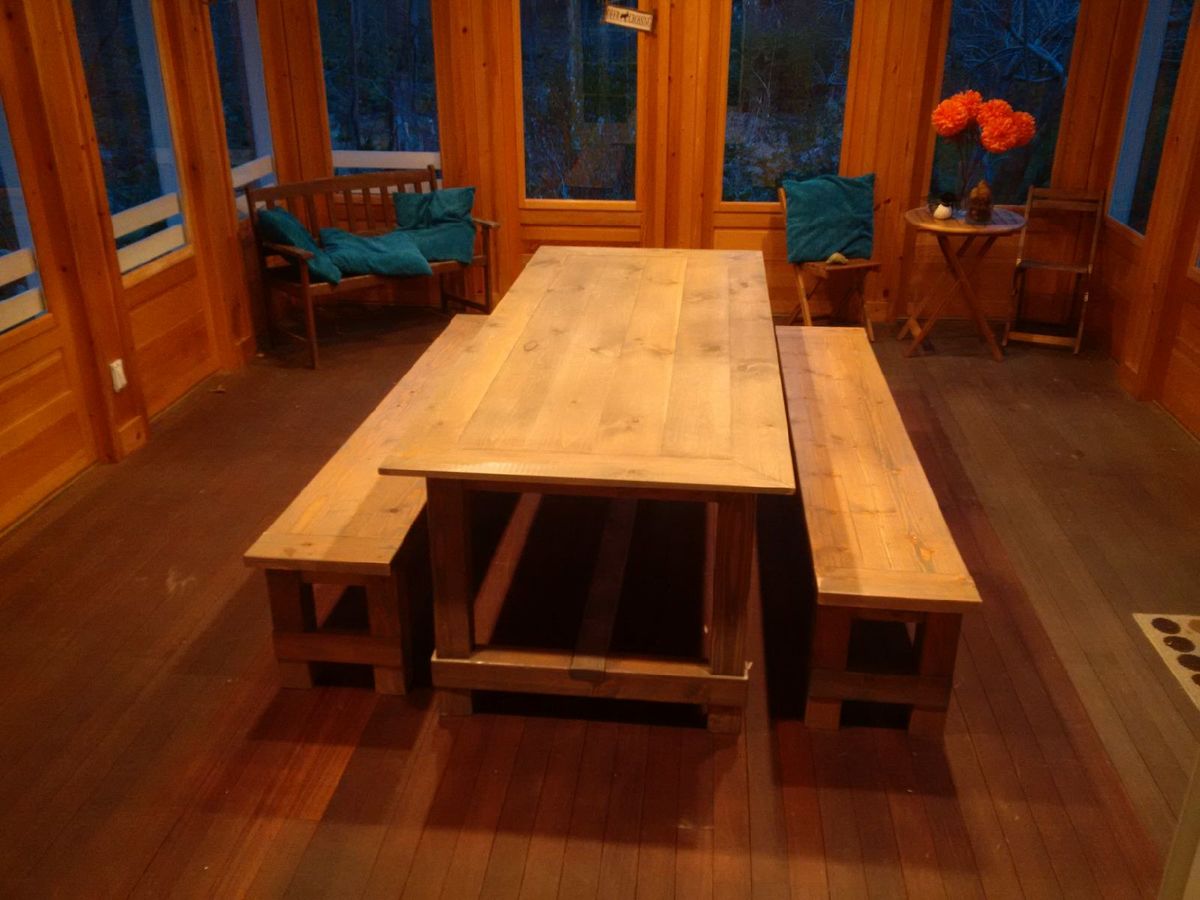
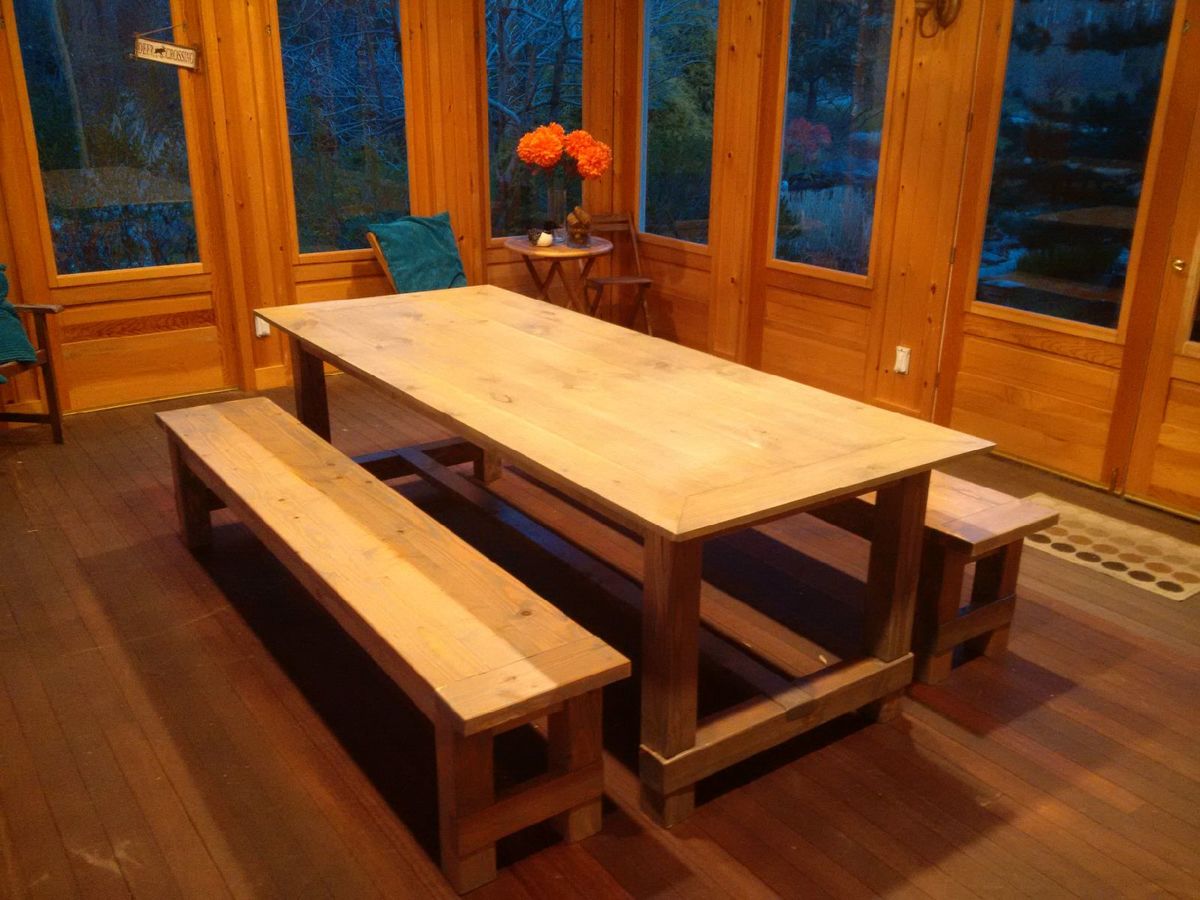
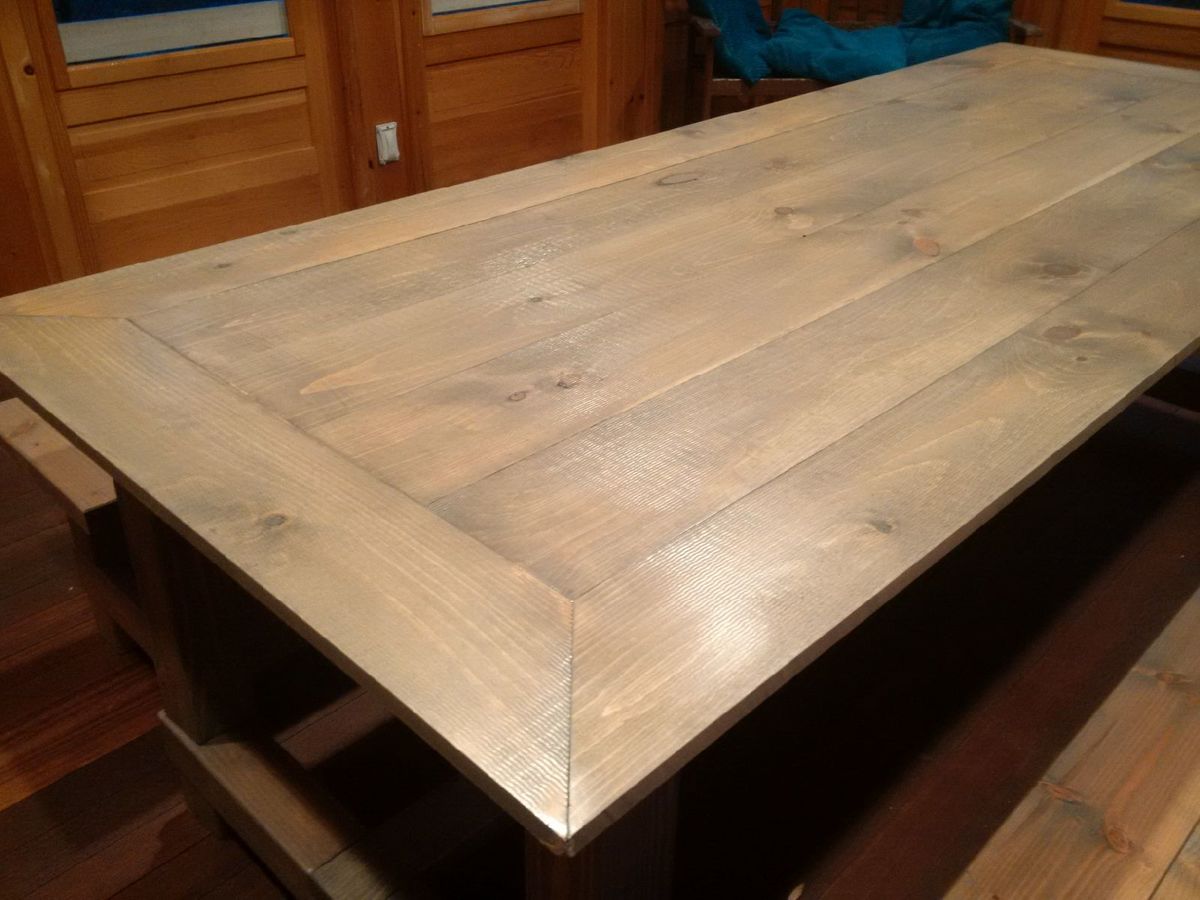
Slightly modified the farmhouse table plans to build the top out of 6 inch pine shiplap, its thinner than the farmhouse plans (its 3/4inch), but I liked the rough cut on the top surface, and overlapping edges made for a great fit.
I cut the outside edge boards down to 4inch wide, and then mitred the corners to act as a frame for the 6 inch boards. I will build copper corner protectors.
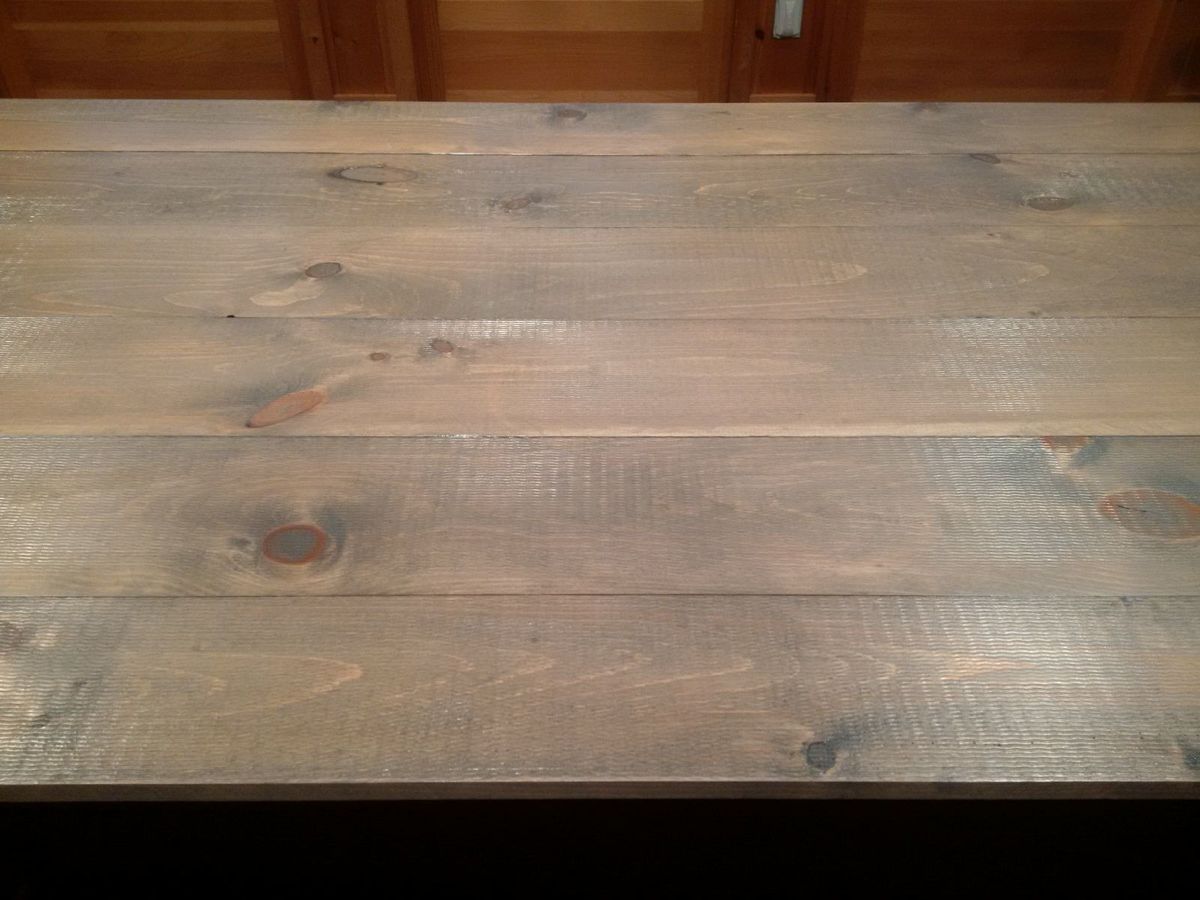
Finish was: pre-conditioner on the wood, 3 coats of minwax weathered oak stain, 3 coats of polyurethane. Sanded the benches between coats, but not the table, as the table has a rough surface.
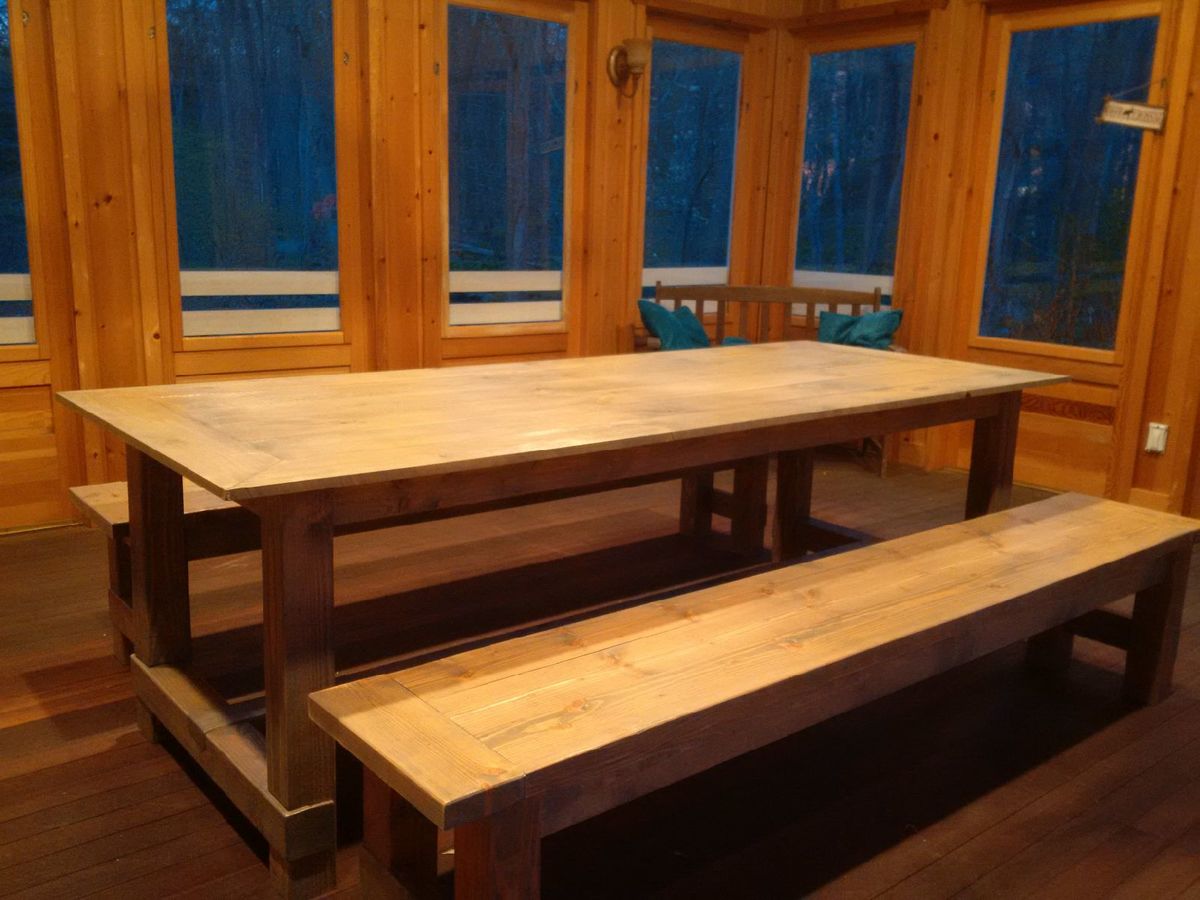
benches are 2x6 fir boards, cut the long edges off on a table saw to make them join better, as I dont have a jointer. Same finish applied as the table.
Table is 8 feet long, 38 inches wide. seats 10 comfortably.
It was half finished in my garage for several months, in which time I used it as a workbench - so it has plenty of authentic weathering dings and dents.
It was my first project, as I have only recently moved into a house with a garage.
Loved the construction part, hated the finishing steps.
thanks!
oz
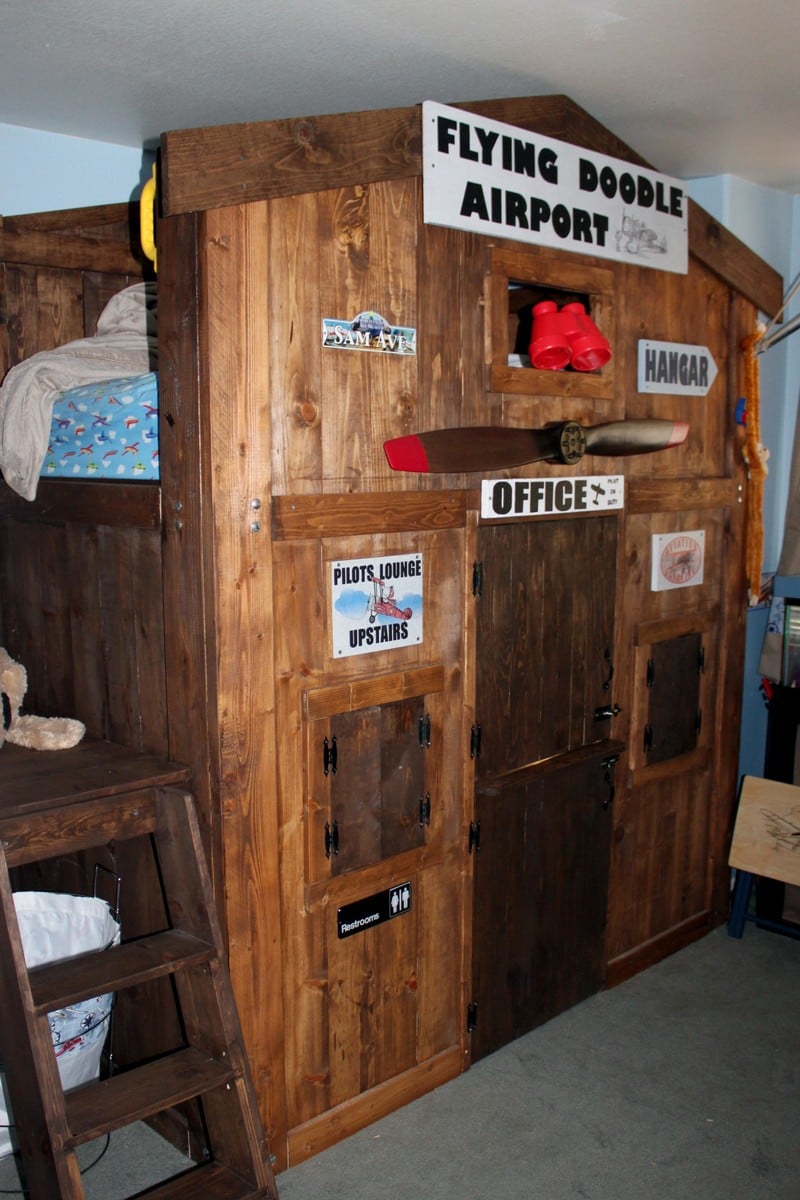
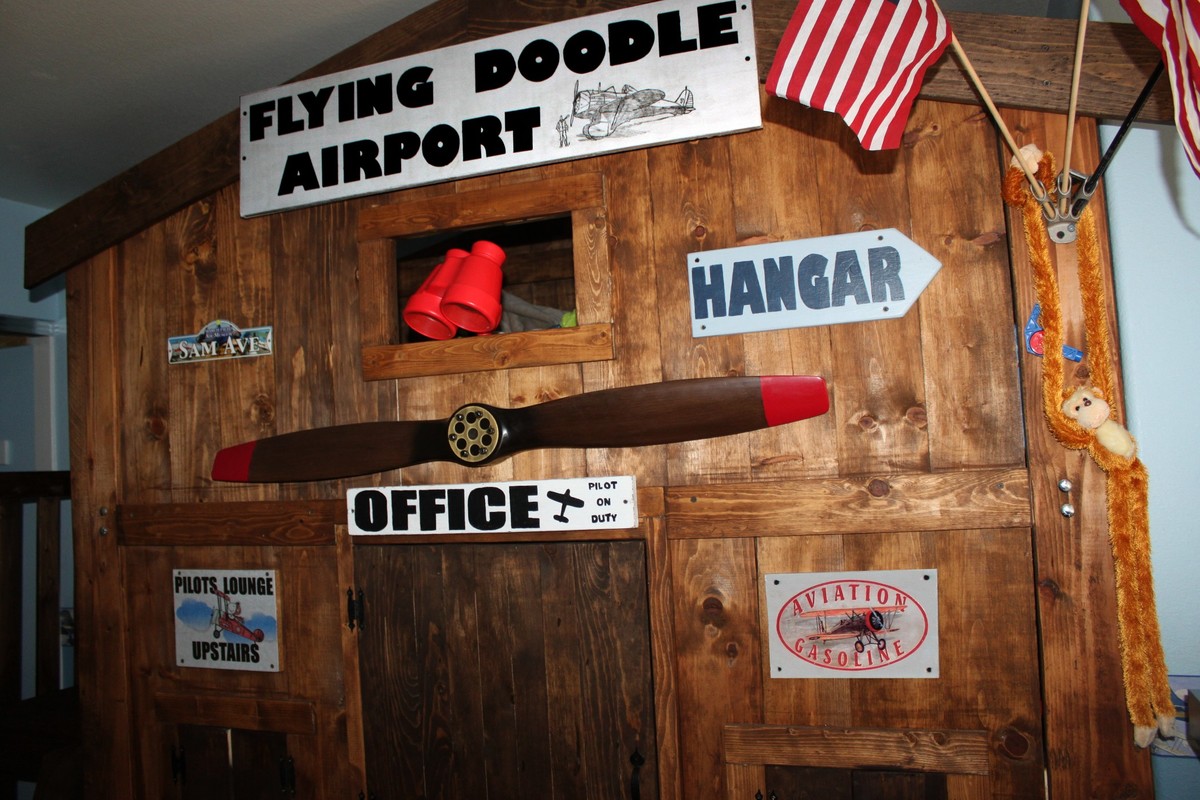
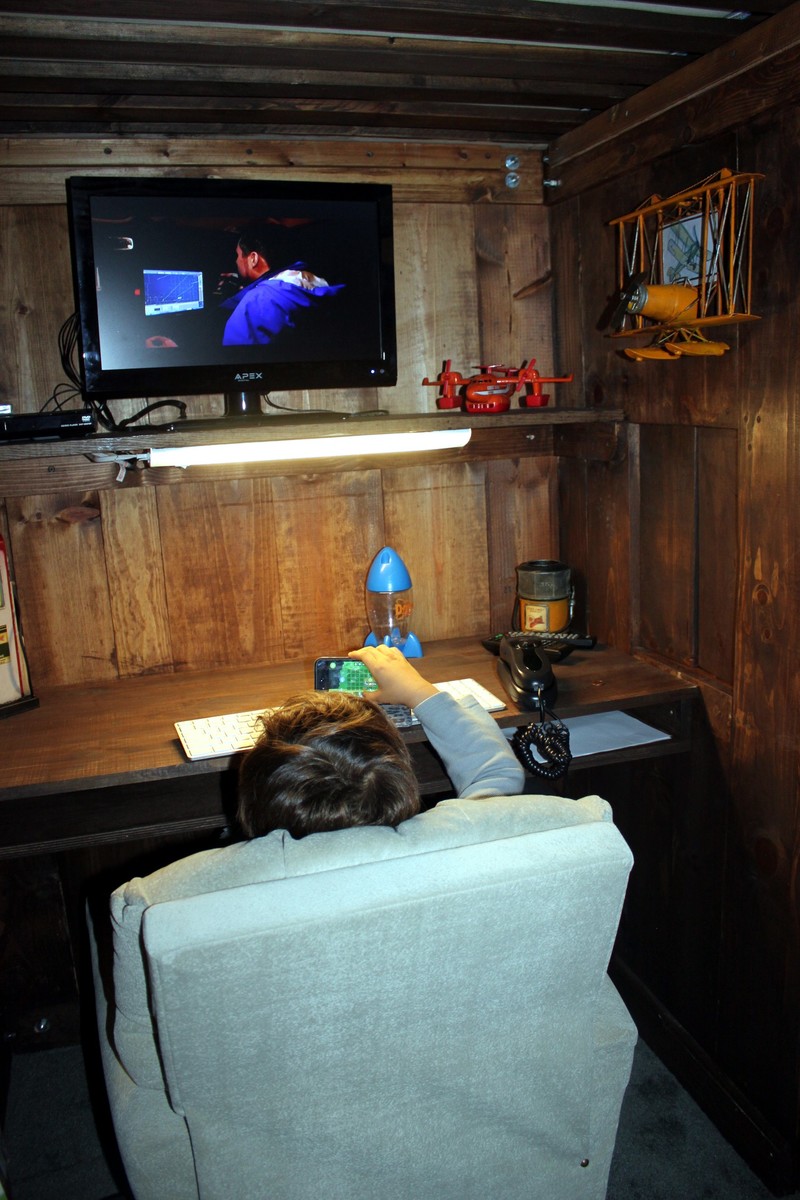
In my 70 years, this has to be the biggest project I've done. My grandson especially loves vintage airplanes; so I decided to make it look like a small vintage airport. I based this on the Clubhouse Bed, but for the steps at the end, I borrowed from the Camp Loft Bed - I added rails at the end because he felt a little uneasy when he tried the stairs. He wanted more of a clubhouse (he is special needs and likes the closed in feeling) and wanted doors and shutters so he could close everything.
Doodle is his nickname - hence "Flying Doodle Airport".
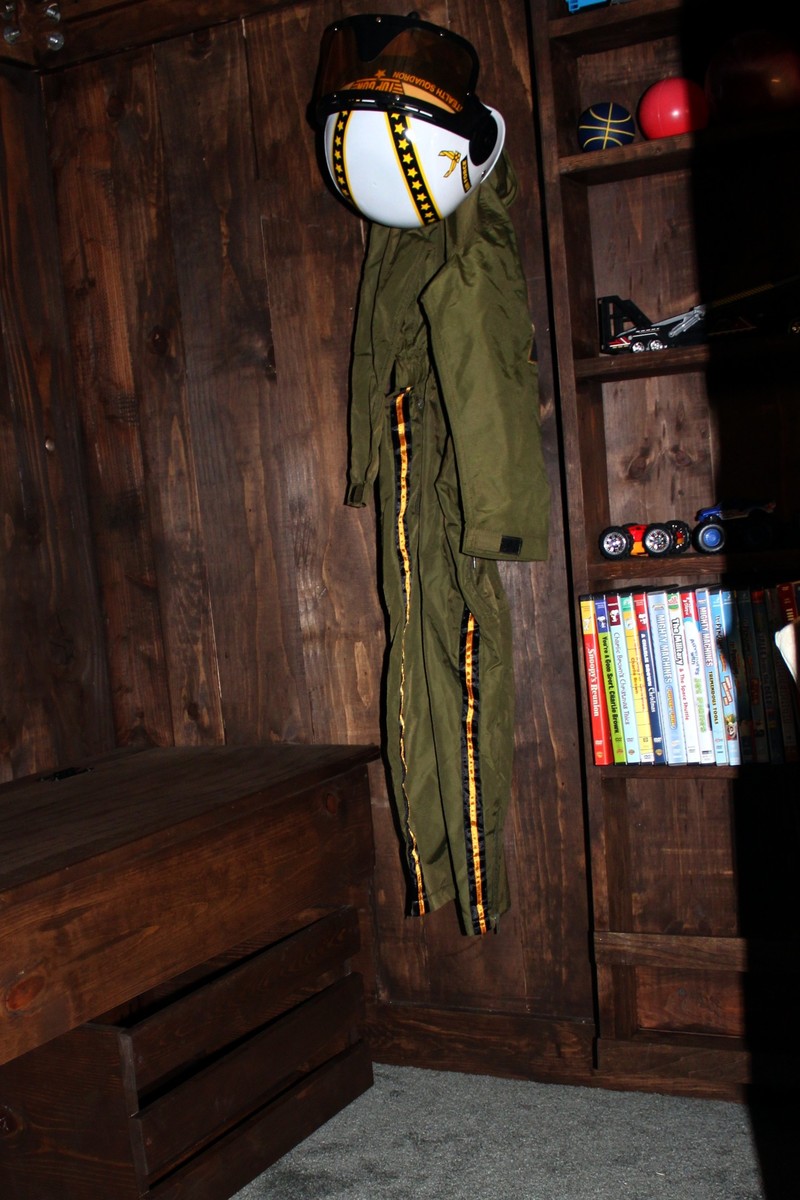
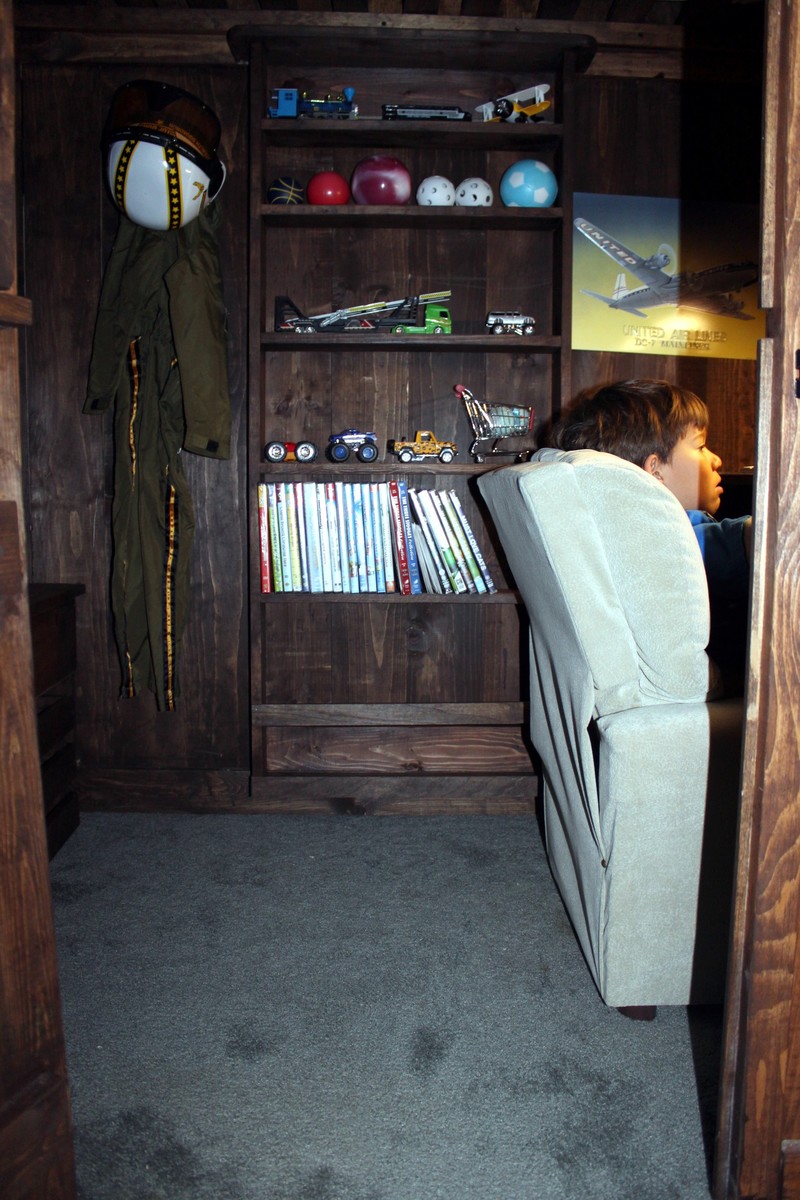
Inside is a lift up storage bench (with crate below for extra storage); a toy/book shelf unit; and his desk. He is currently using his lounge chair, but has already asked that I build him a real office chair - one that has wheels and turns around. I guess that's my next build.
This took about two weeks from start to finish.
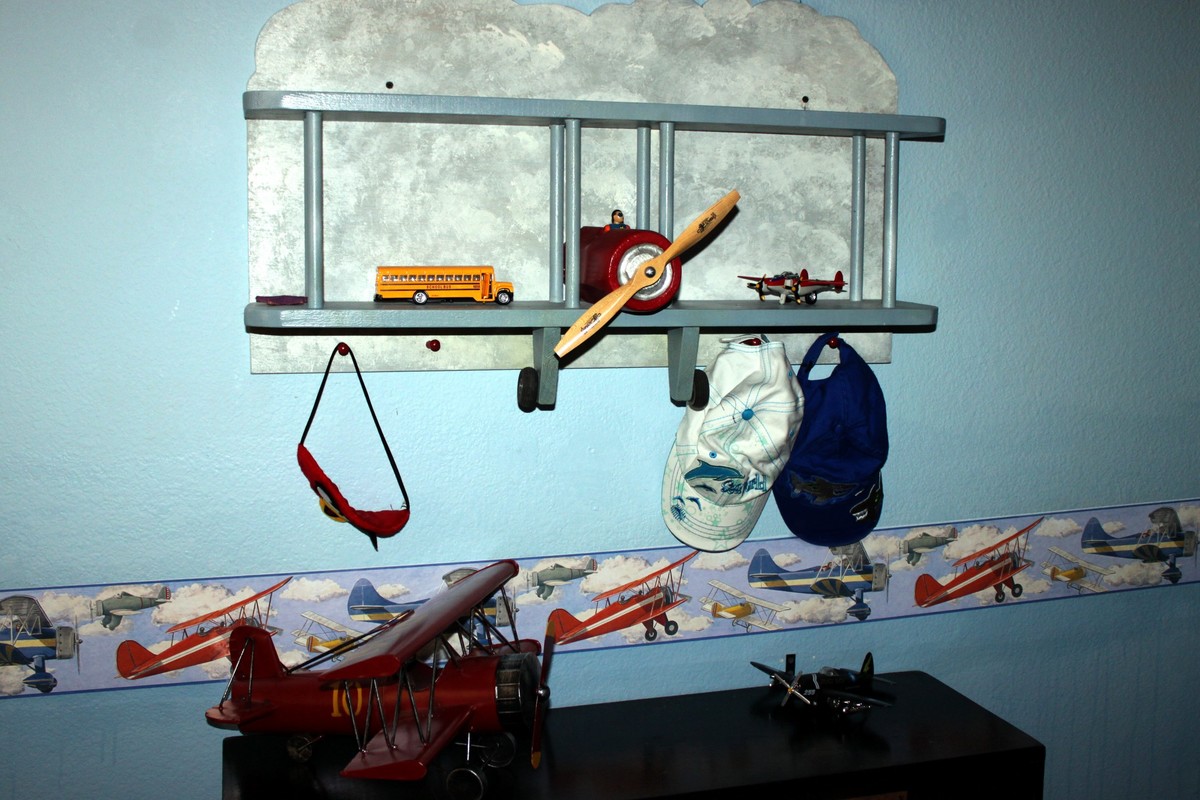
The last photo is of the Bi-plane shelf that I built last year and didn't get to put up until now. I was ill for the entire year and was finally able to start woodworking again this year - and I am so happy. A lot of plans have been posted and I'm anxious to play "catch-up".
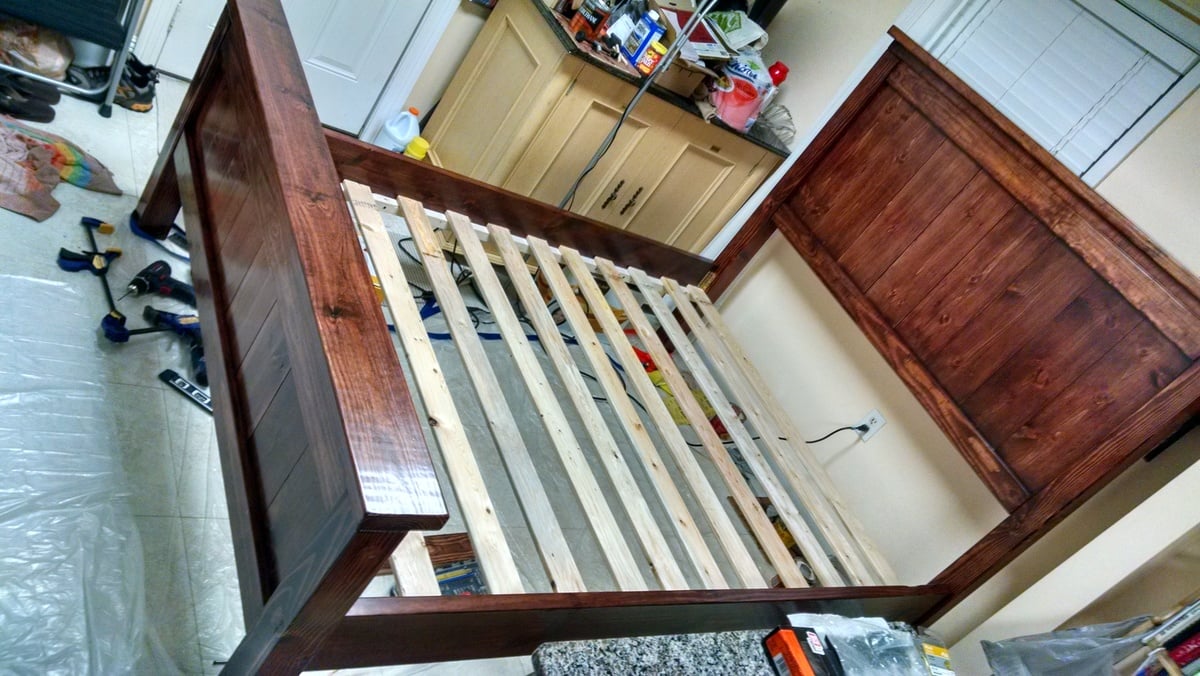
We had the bed on plastic bed risers because we needed more storage in this small house. It was on one of those free metal bed frames you get when you buy the mattress and box springs. Wheels on risers is not too stable and we couldn't keep the pillows from falling down in between the bed and the wall. Sitting up in bed was also difficult due to pulling on the window curtain and the bed sliding or moving when leaning back on the wall.
I searched for a few months at furniture stores, websites, and craigslist to buy a headboard when I found this estimated price on someone's at $150 or so. That's less than I would spend for a headboard that I both liked and was made of real wood. Plus, it would come as a whole bed vs just the headboard.
I probably spent around $250 total, screws, hardware and stain/poly included. All the wood was $195 all from home depot. I had to go through every single 4x4 on two occasions to find 4 that I thought were good enough for furniture.
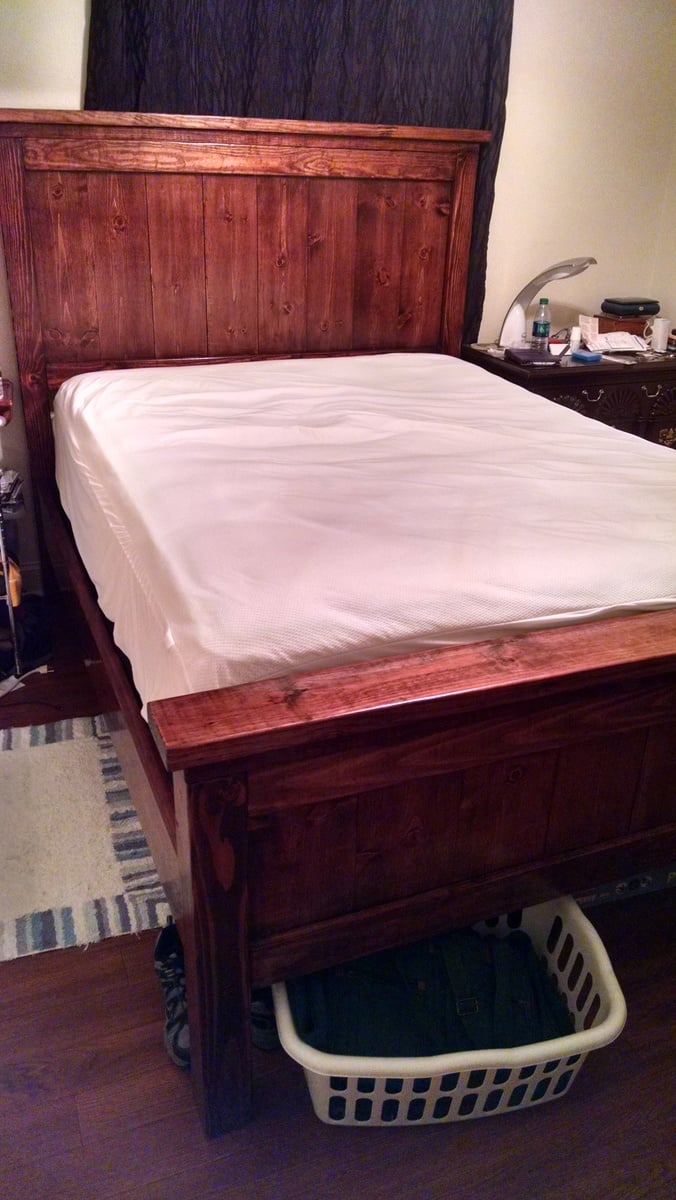
The clearance is a full 12 inches below the rails and footboard. I wanted the footboard to be about even with the top of the mattress. Also, the bottom of the headboard to be even with the top of the mattress to maximize area to lean back against. As a result it does seem a little silly looking and disproportionate without the mattress on the bed. Also I had to use four 4x4's to get the height needed above the mattress and box springs and 12 inch clearance for storage underneath.
This is the first time I've polyurethaned anything and I think it came out nicely.
Started March 29th 2014 and just finished a couple of weekends ago. I don't have that many tools, for example I used some ratcheting tie downs to hold things together while screwing together the headboard and footboard. I believe at the time I only had one clamp. I was really dreading this project taking more than a year. One of my buddies constantly ragged on how long it was taking me. I want to thank him for all the times he laughed at me while I was too tired to get off the couch. Bo, you are a true friend. Studying and school work took alot of time and I was away over the summer and winter breaks. My next project will only take one month I hope. I'm going to try to do something like the farmhouse table only for taller chairs that will seat about 4. I like the rounded edge look to the wood which allows for a little bit of error in the straightness of the wood and cuts etc. This was a fun project and when we get more room I want to build a king size.
I guess I'm going to see what chair plans there are on this site now before I look at starting a table.
Thanks to all the other brags that allowed me to show my wife what the bed could look like finished and different rail systems and supports. I bought rockler hardware, no mortise required, from amazon so the bed could be disassembled and moved easily without nuts and bolts exposed. I'll definitely do that again for the next bed I build.
I have more photos of it unfinished and being built if anyone cares to see I can upload them as well.
Happy building everyone!
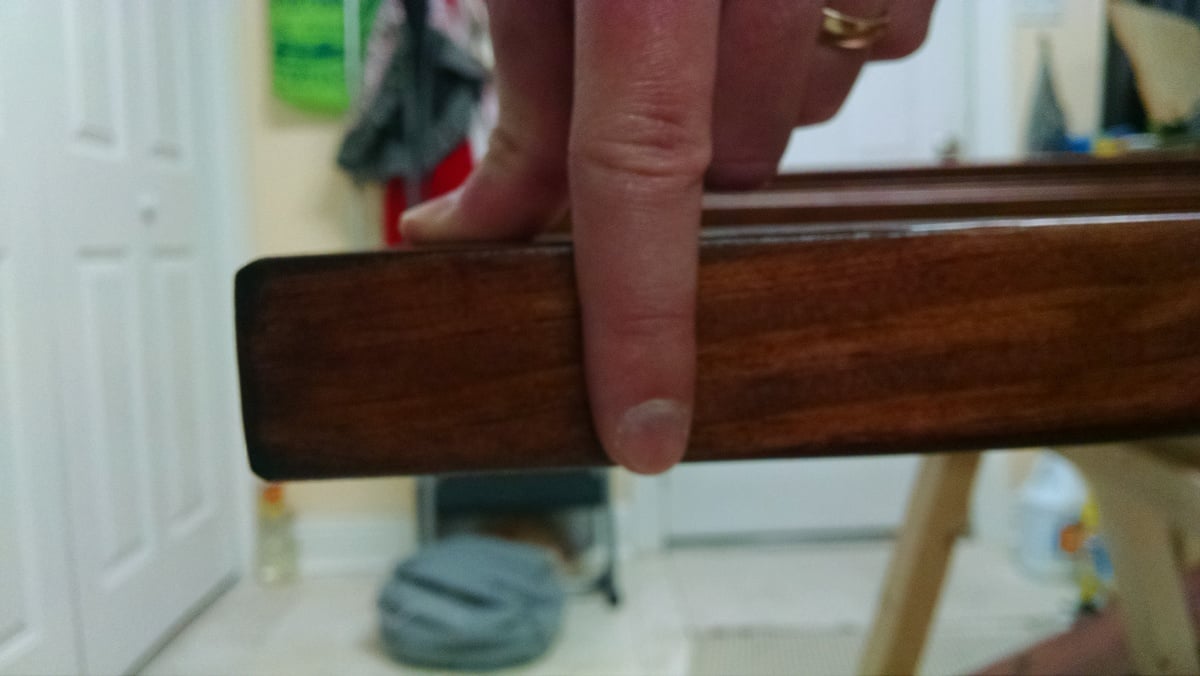
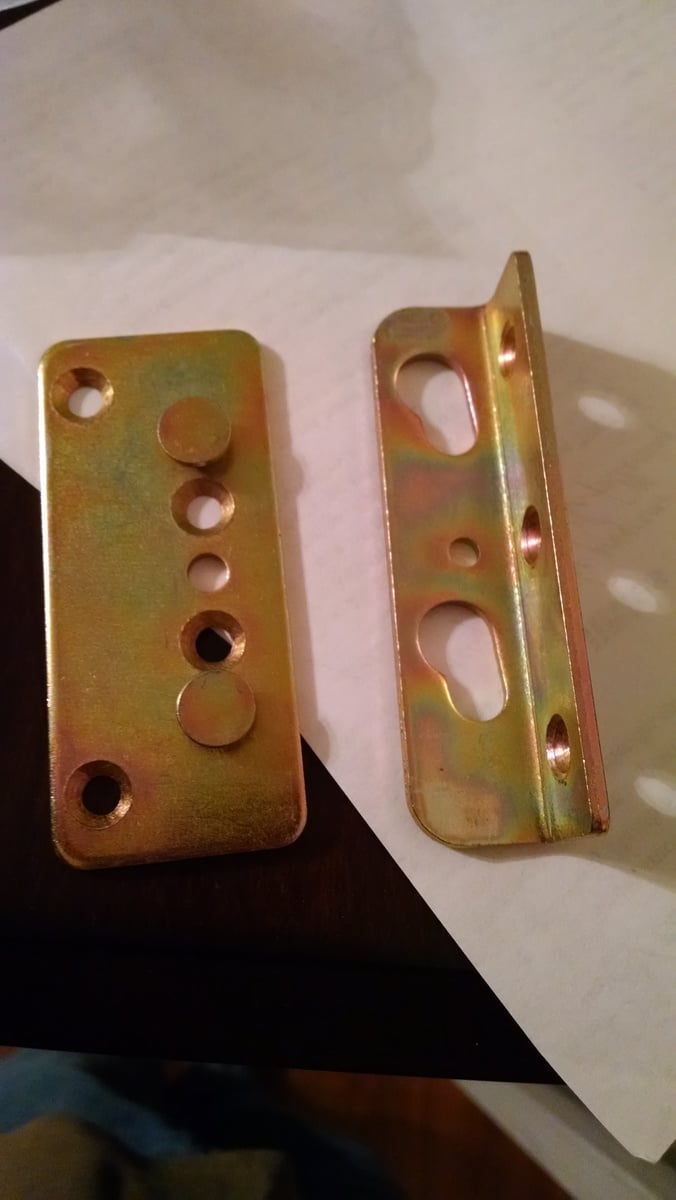
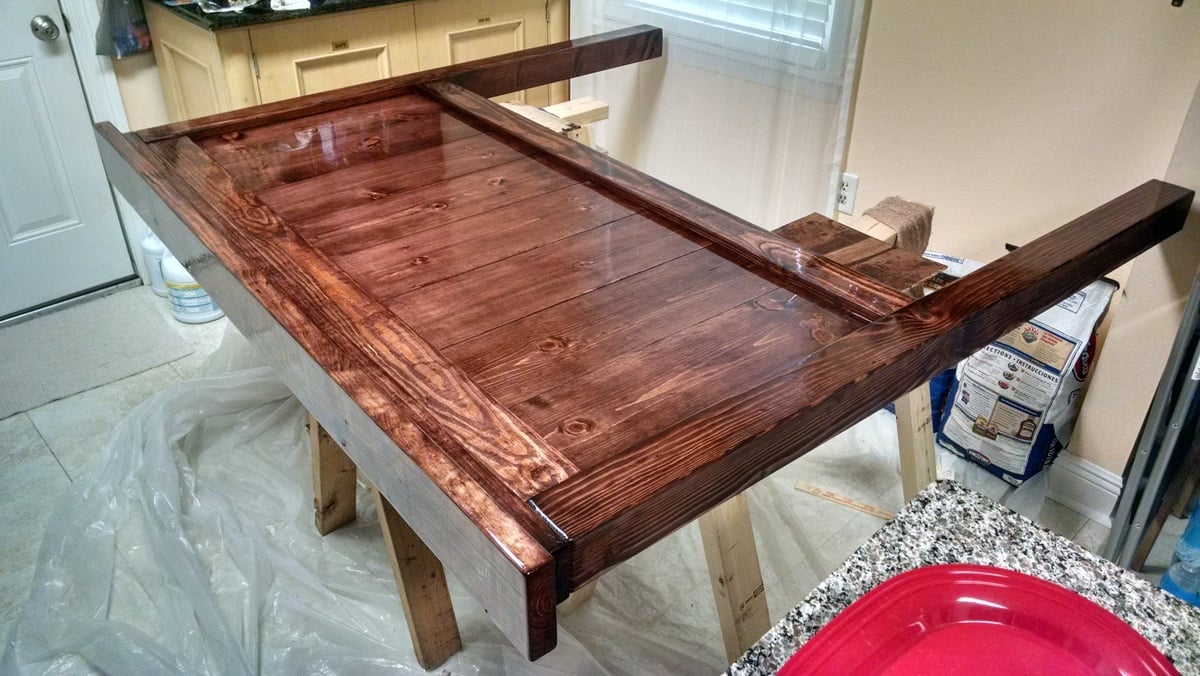
Wed, 02/11/2015 - 09:07
You did a GREAT job on this! I just finished the headboard earlier today, and I am about halfway through the footboard. This is my first piece of furniture as well, so you have really inspired me! :)
Fun project indeed! Just make sure its all square every step of the way.
Thanks, I look forward to perusing some more projects!!
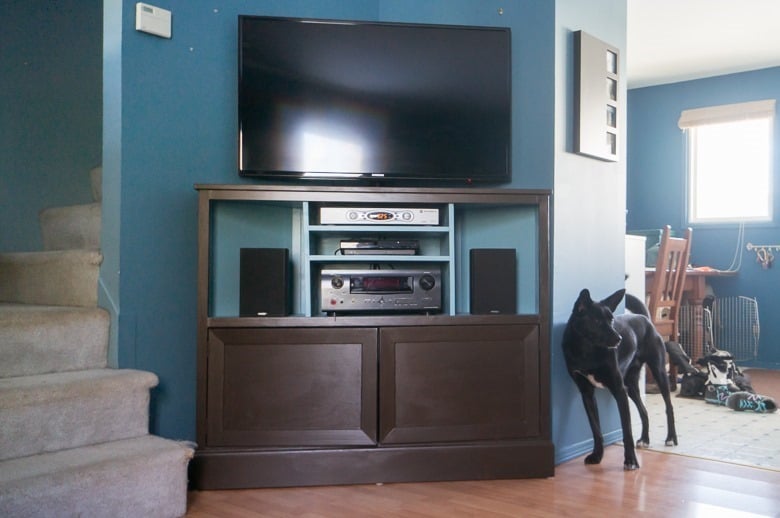
My husband and I wanted to store our bicylces on the main level of our home, but to do that we need to move our tv and it's components to a corner. We didn't see any premade consoles that we liked, so I searched around on the web until I found Ana White's design!
Feel free to visit our blog to see the unit come to life in detail :)
We wanted a narrow console table that would fit next to the bed in our guest room. This accent table is less than 12 inches wide. I came across a stair baluster plan and made it my own. The balusters and top are red oak, the aprons and bottom shelf are poplar. I used white semigloss for the body and red mohagany stain for the top to try and match the doors in the room. Came pretty close! I'm very happy with the two toned look and the project overall. This is my third furniture project! I'm addicted.
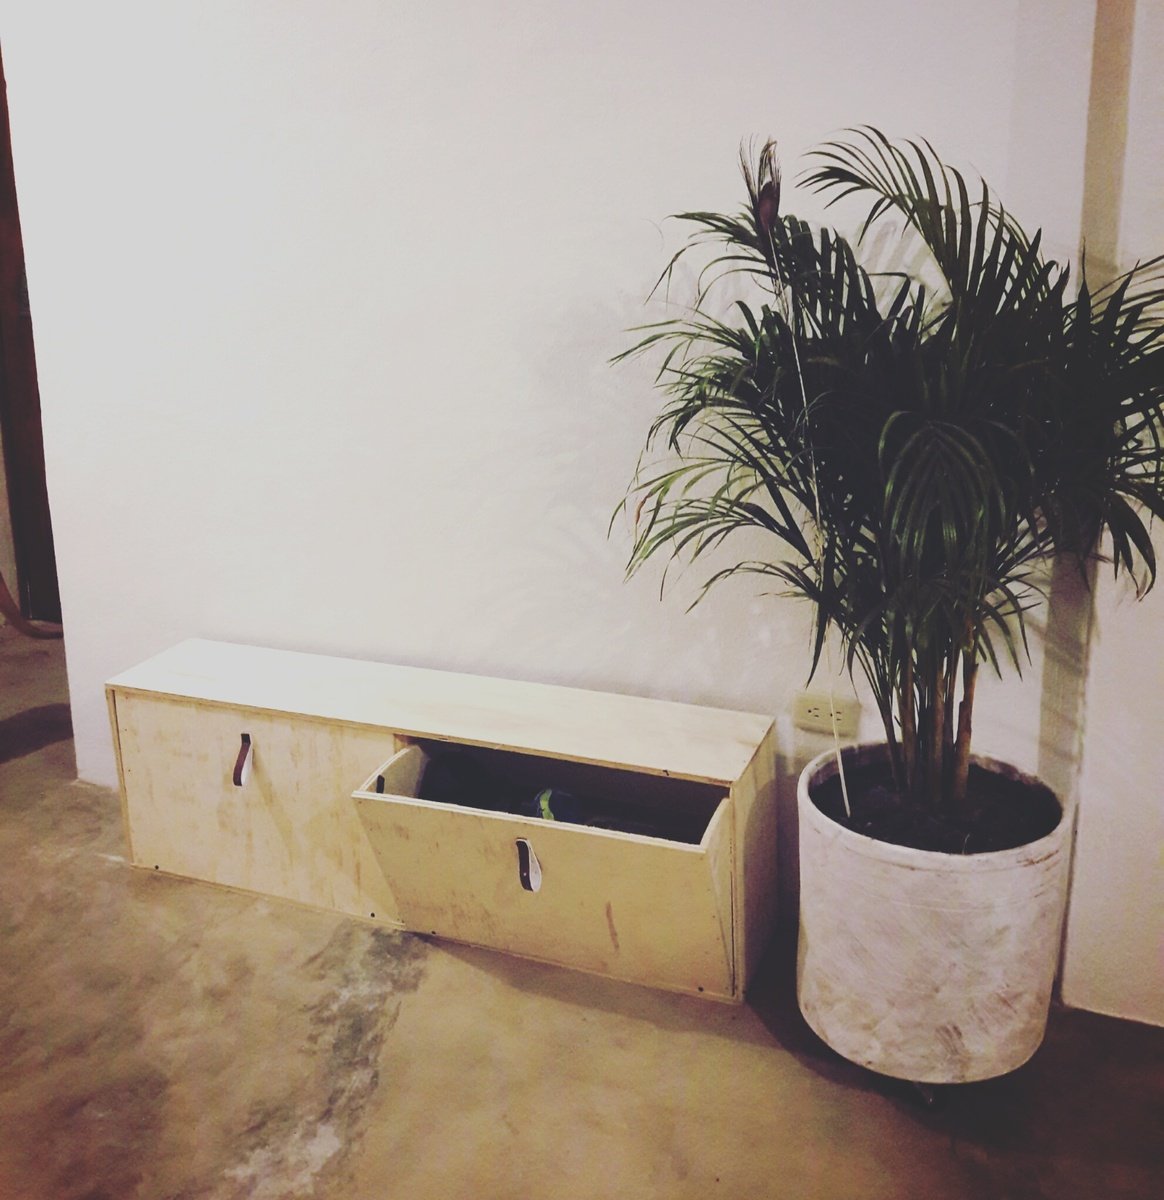
Based my design off the shoe bench version of dresser. Used old leather belts to keep bins from falling out. Am considering adding legs but currently without legs the dresser doesnt fall forward when bins are open. Added a third support in the middle - dresser seems strong enough to seat 1 person but the idea isnt that its extra seating, more like another surface for a lamp and some plants. Used a long nail on either side of bins to keek bins aligned when open. A hinge would work better though, I got lazy. Great way to store shoes!
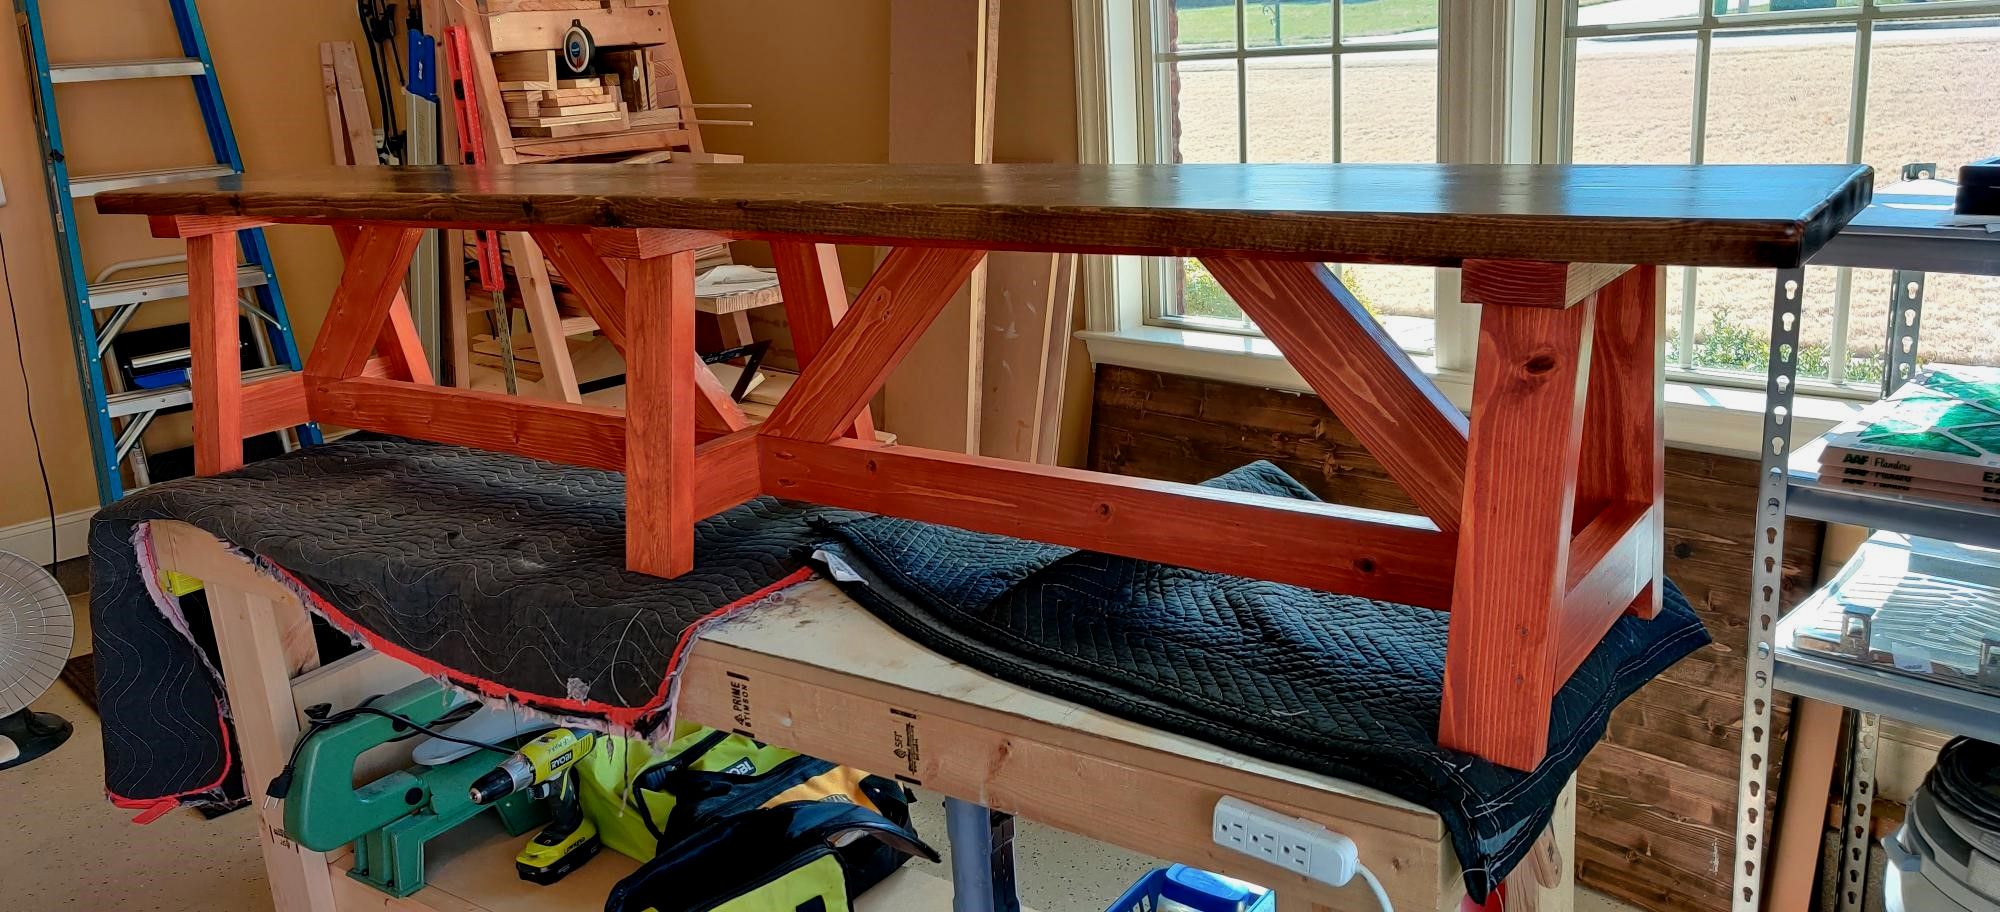
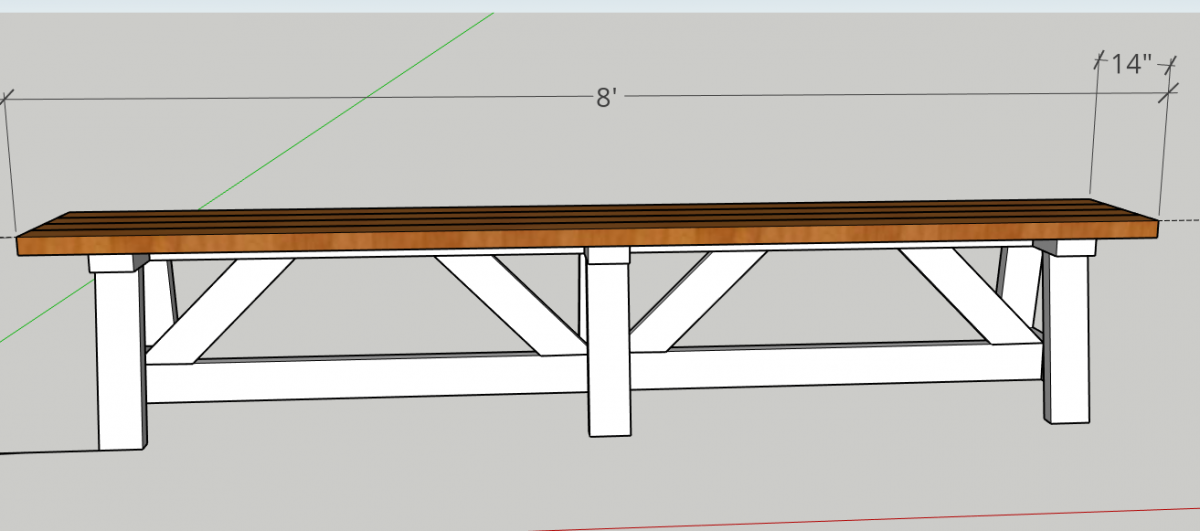
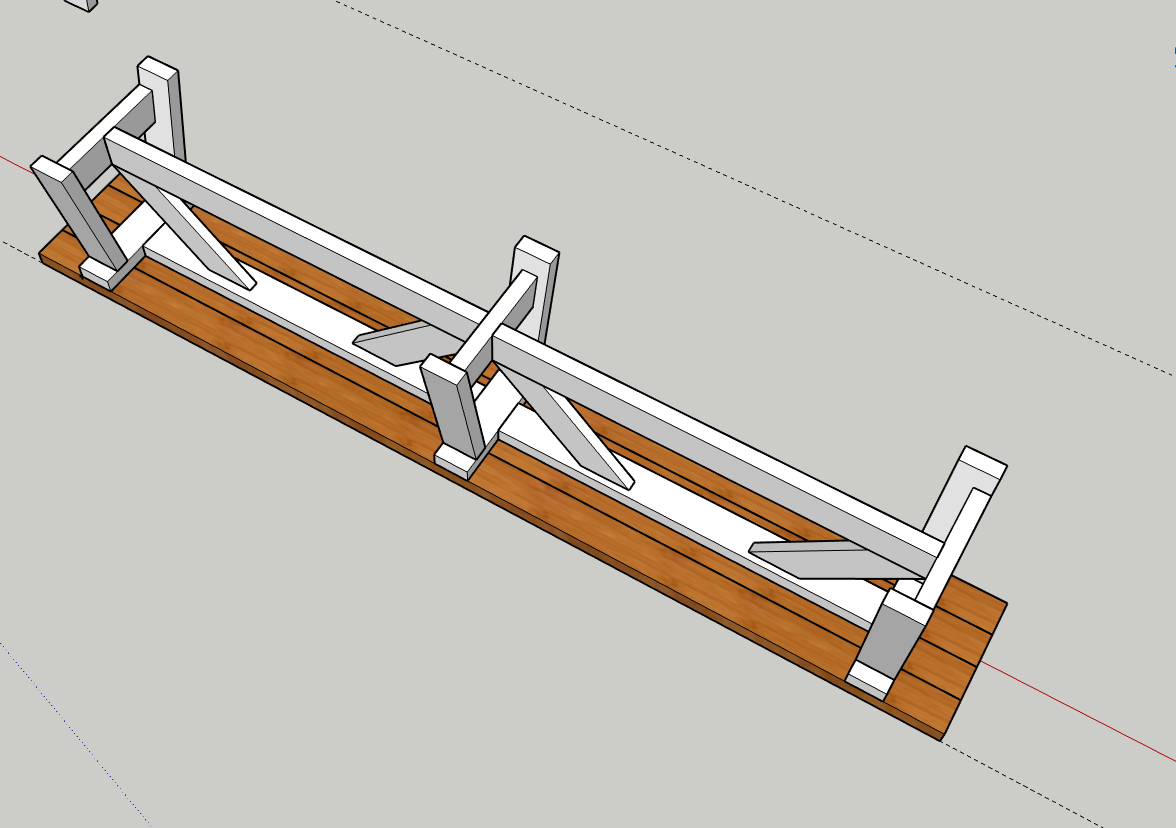
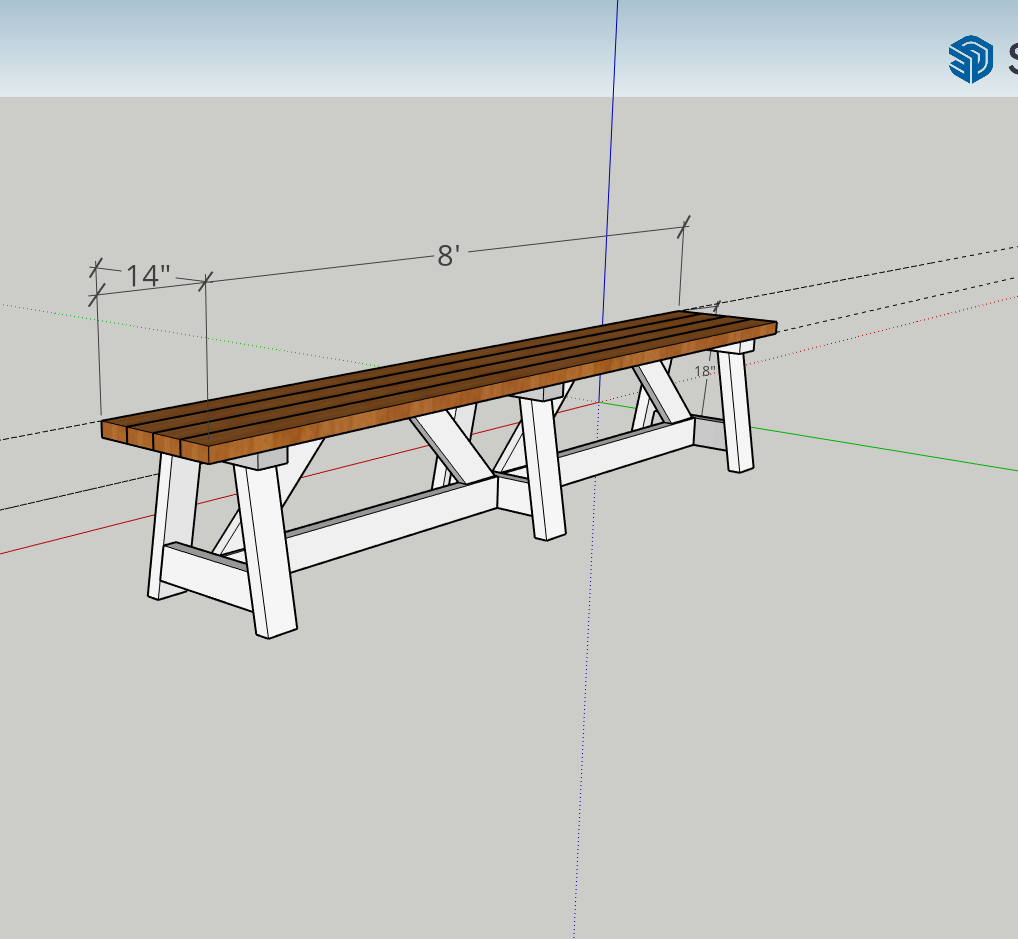
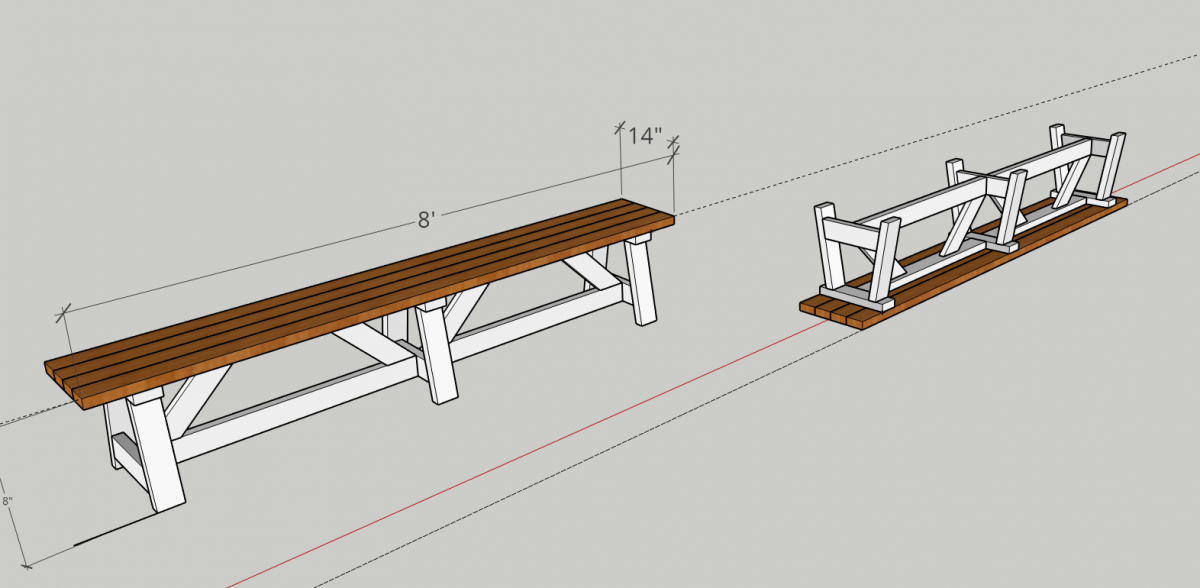
I had a friend that loved the 48" long truss style farm bench. However, she wanted one 8' long. I modified the "2X4 Truss Style Farm Bench" and came up with this design. As you can see, she want a very specific stain color combination.
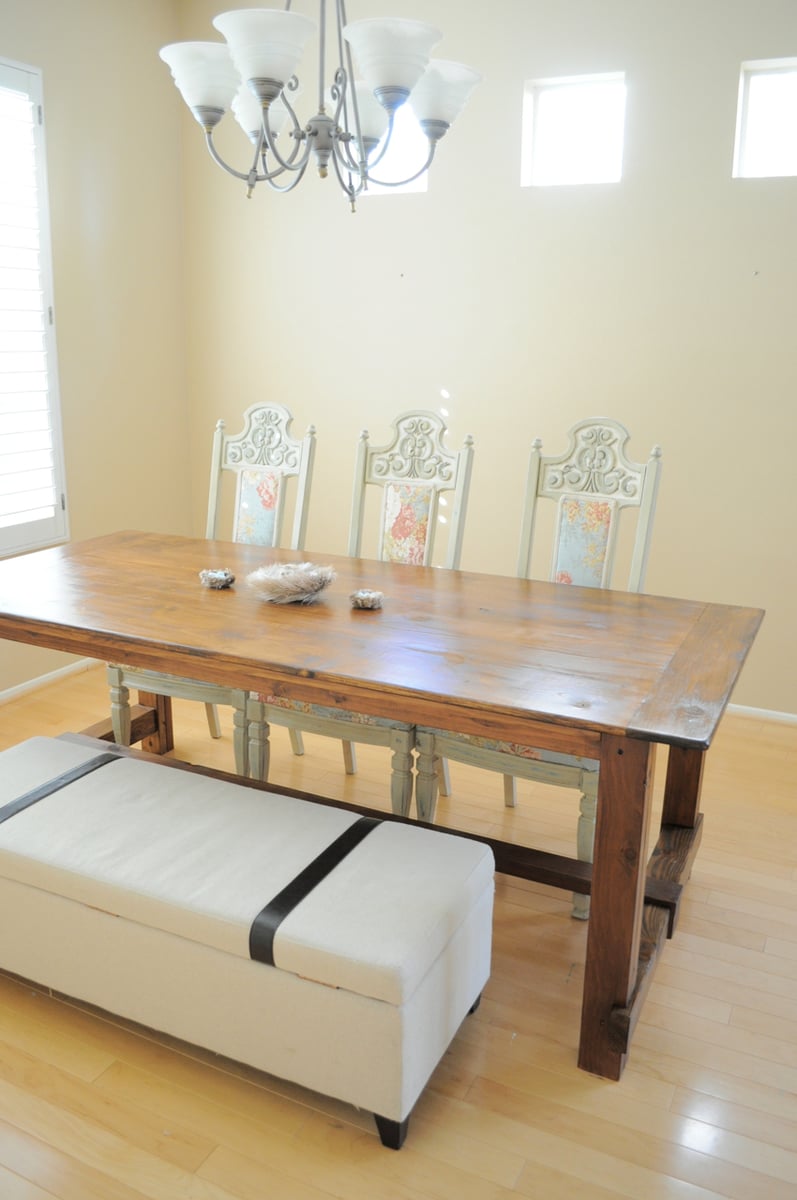
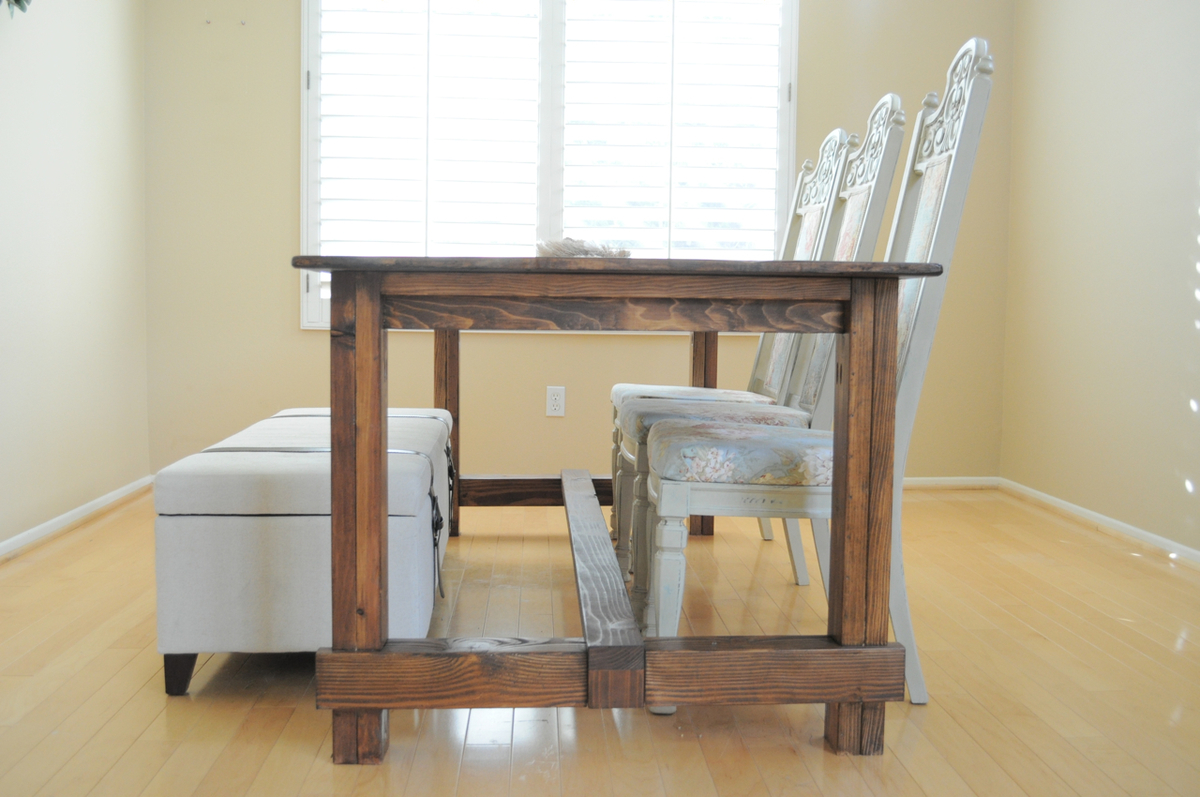
So the husband was not happy with the fancy x dining table he made and thus, within a short 4 month period, he made another dining table :/ This one, however, he loves, so no more dining table making for him anytime soon! He veered off plans by joining most of the projects using dowels. You can read more about the build at our blog:
http://tonyandkristine.blogspot.com/2013/03/diy-farmhouse-table.html
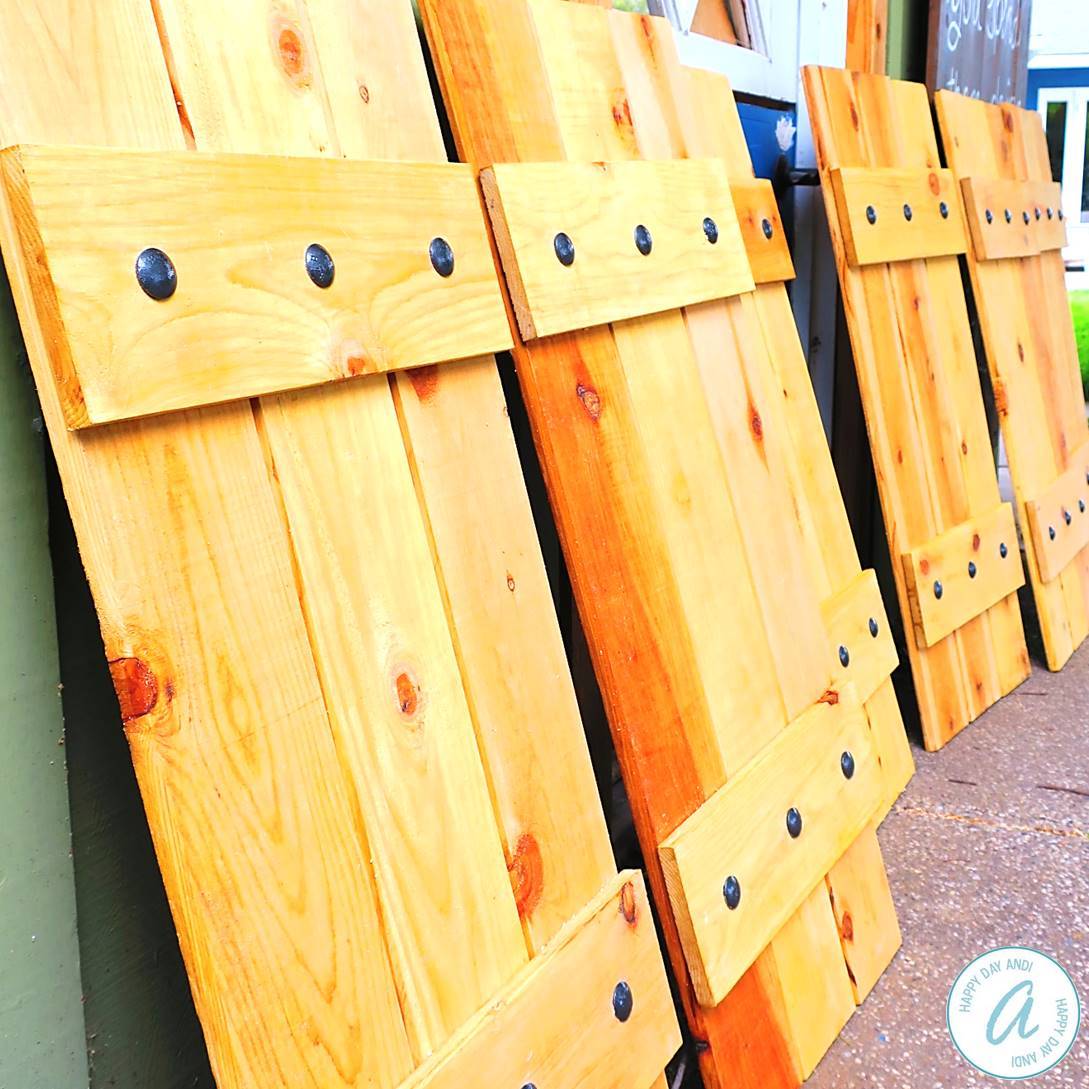
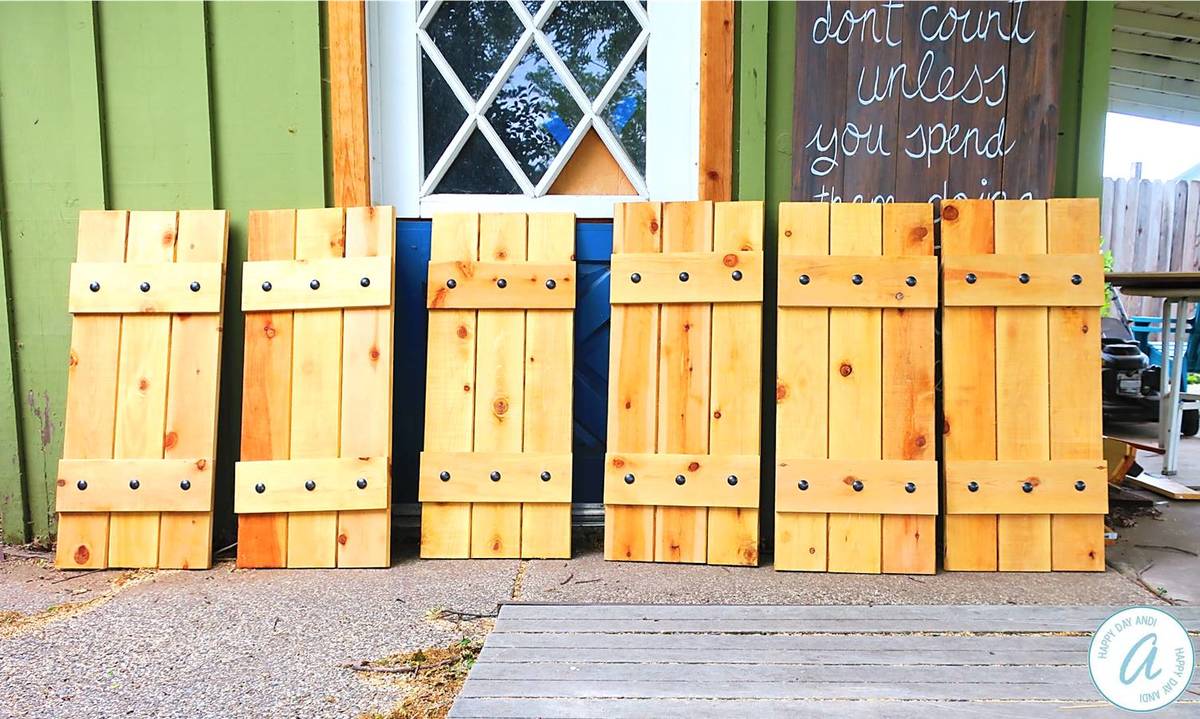
I really wanted to add a layer of depth to the front of our house, and my favorite option was adding new shutters! I used fence boards to keep cost low and to be sure that the wood would stand up to all weather conditions. I protected the wood with an oil-based sealant made for exterior use. I attached the cross braces with chunky screws and painted those black. I love how they turned out!
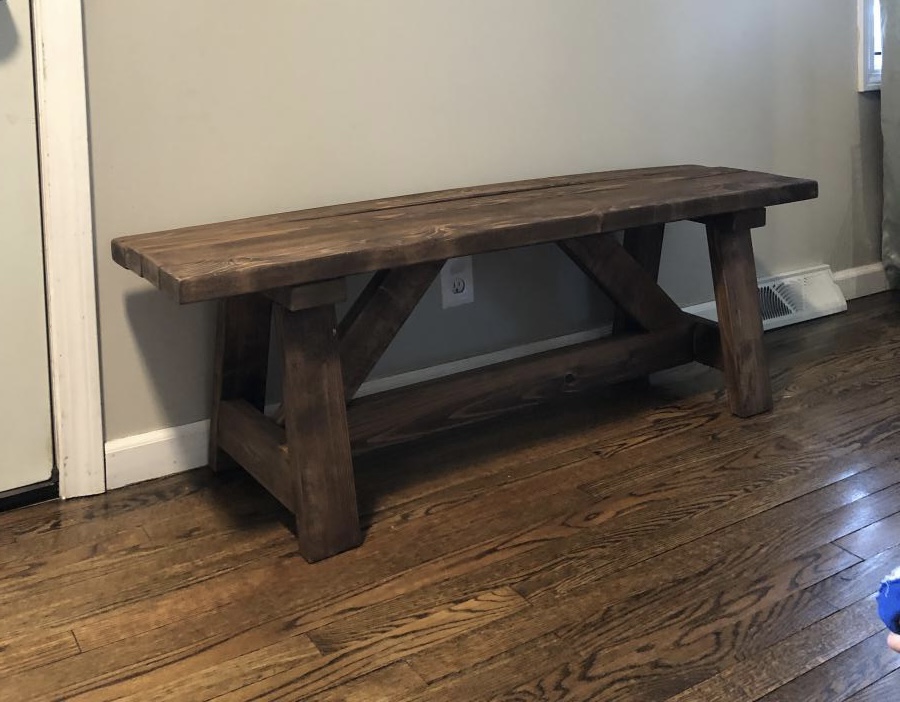
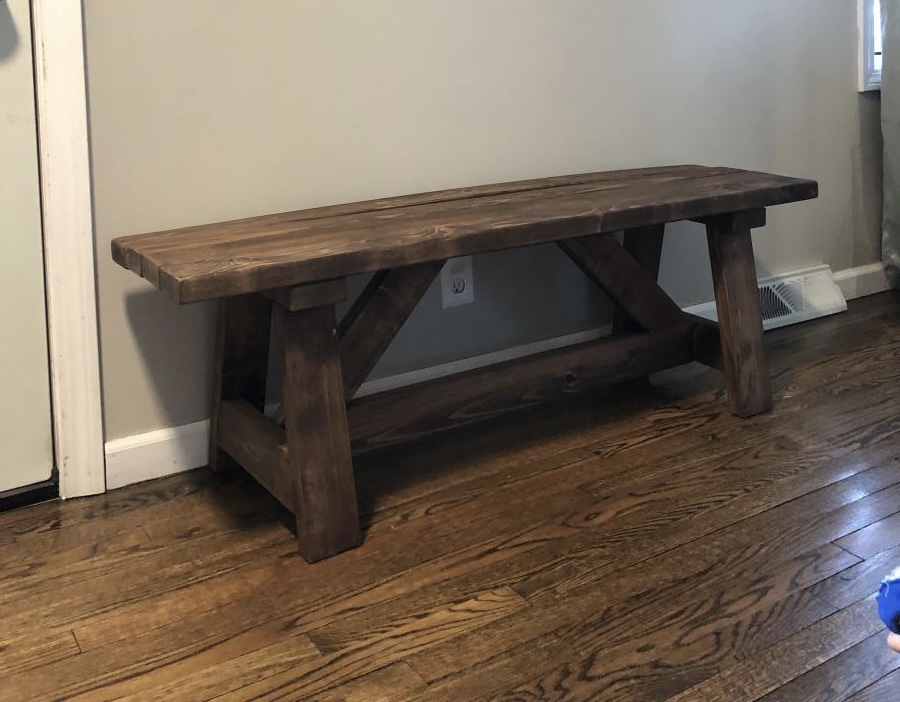
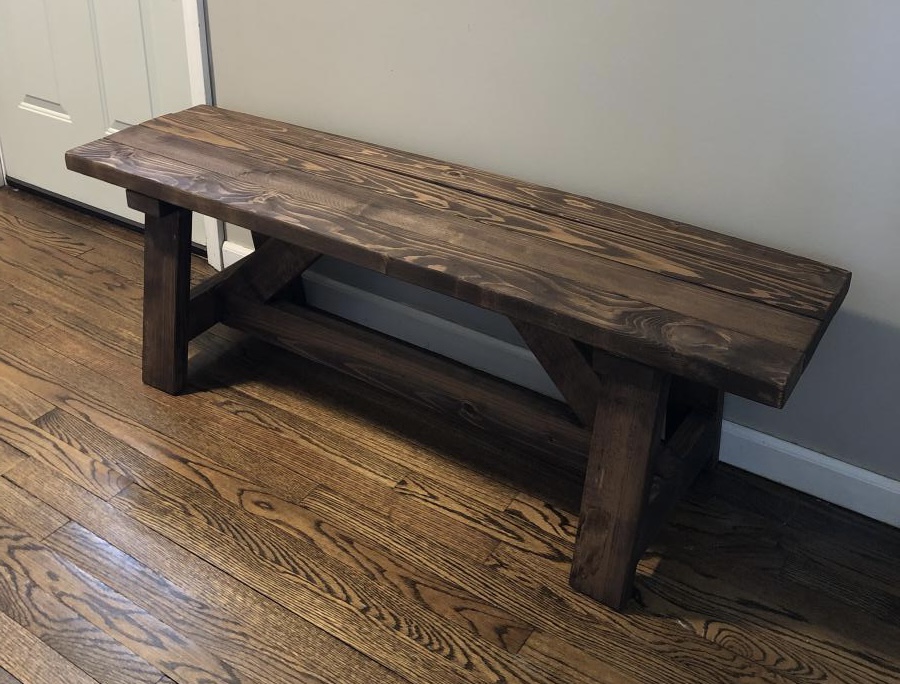
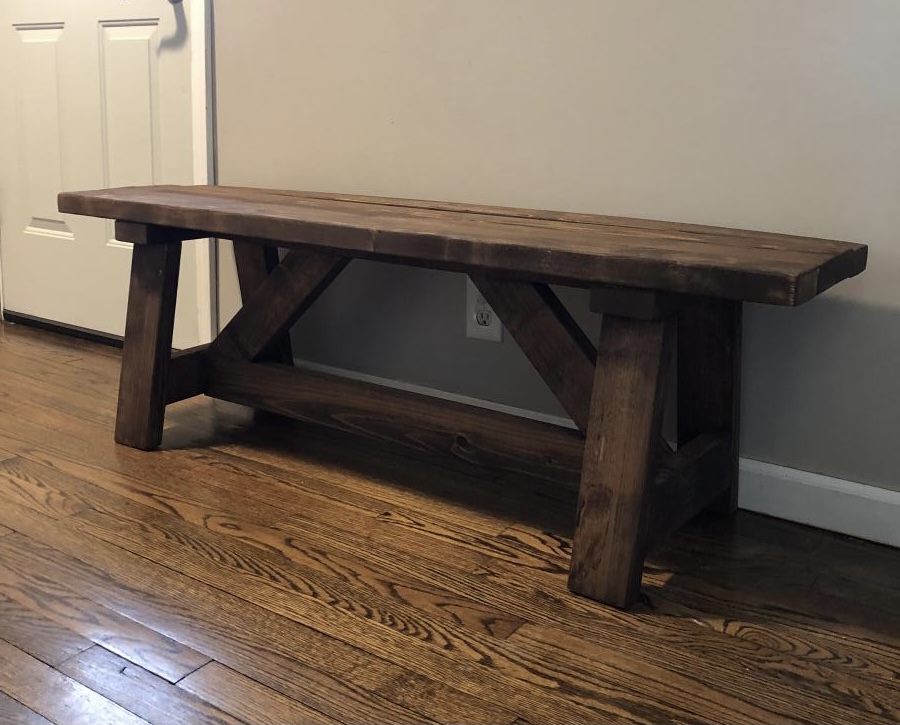
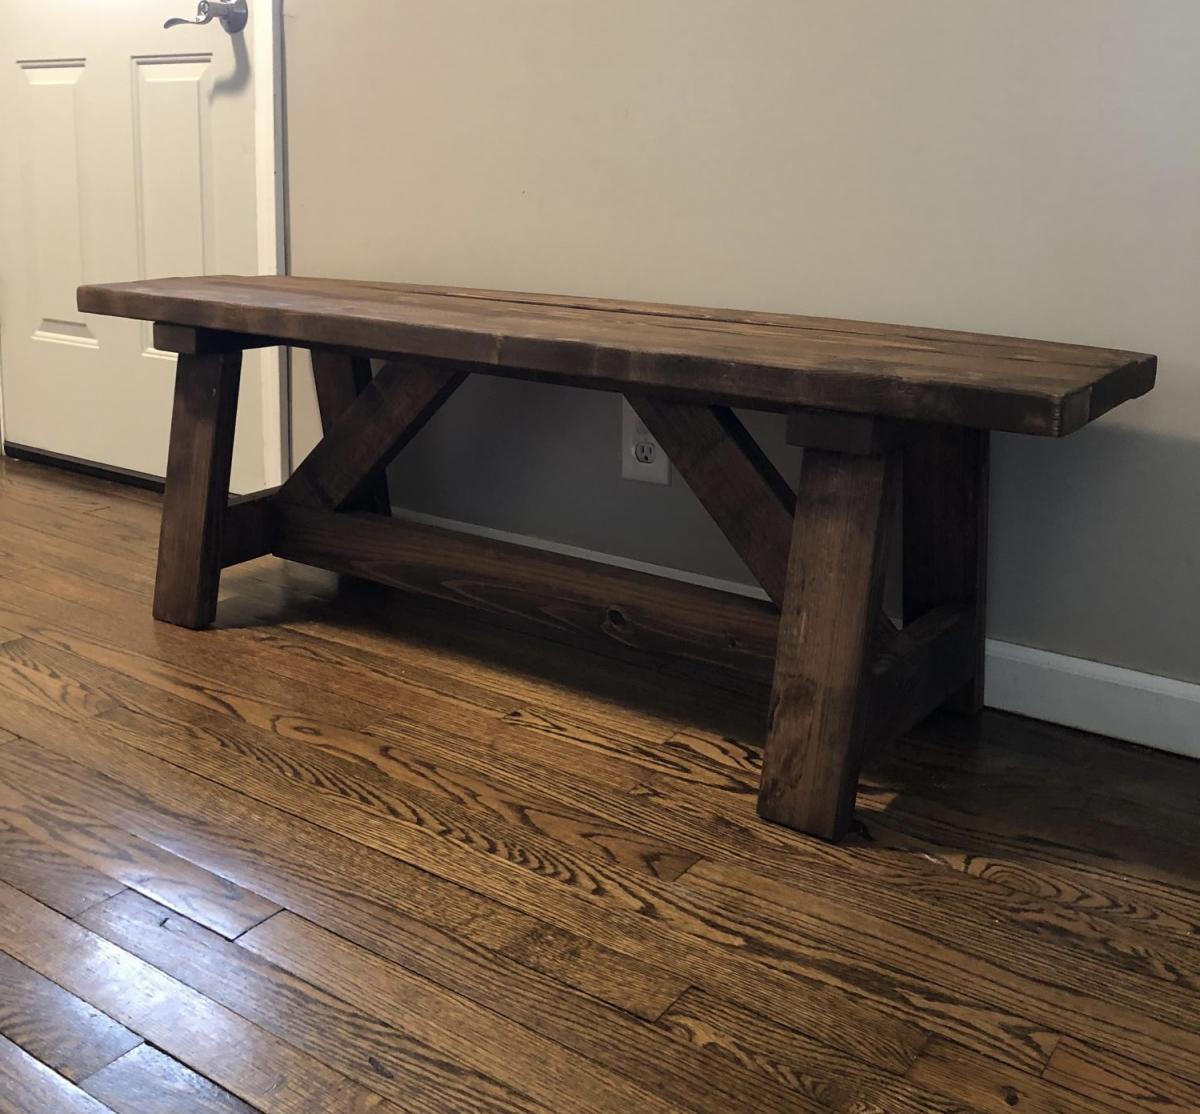
I loved making this bench - only 5 2x4s. I used premium studs, sanded before building, wood glue/countersunk screws and filled them in. Used English Chestnut stain and I’ll add polyurethane to ensure longevity. My first build - the trusses/supports weren’t the right size, somehow we’re short? So I cut those out twice. It’s OK because I had excess anyways! Nice snug fit now.
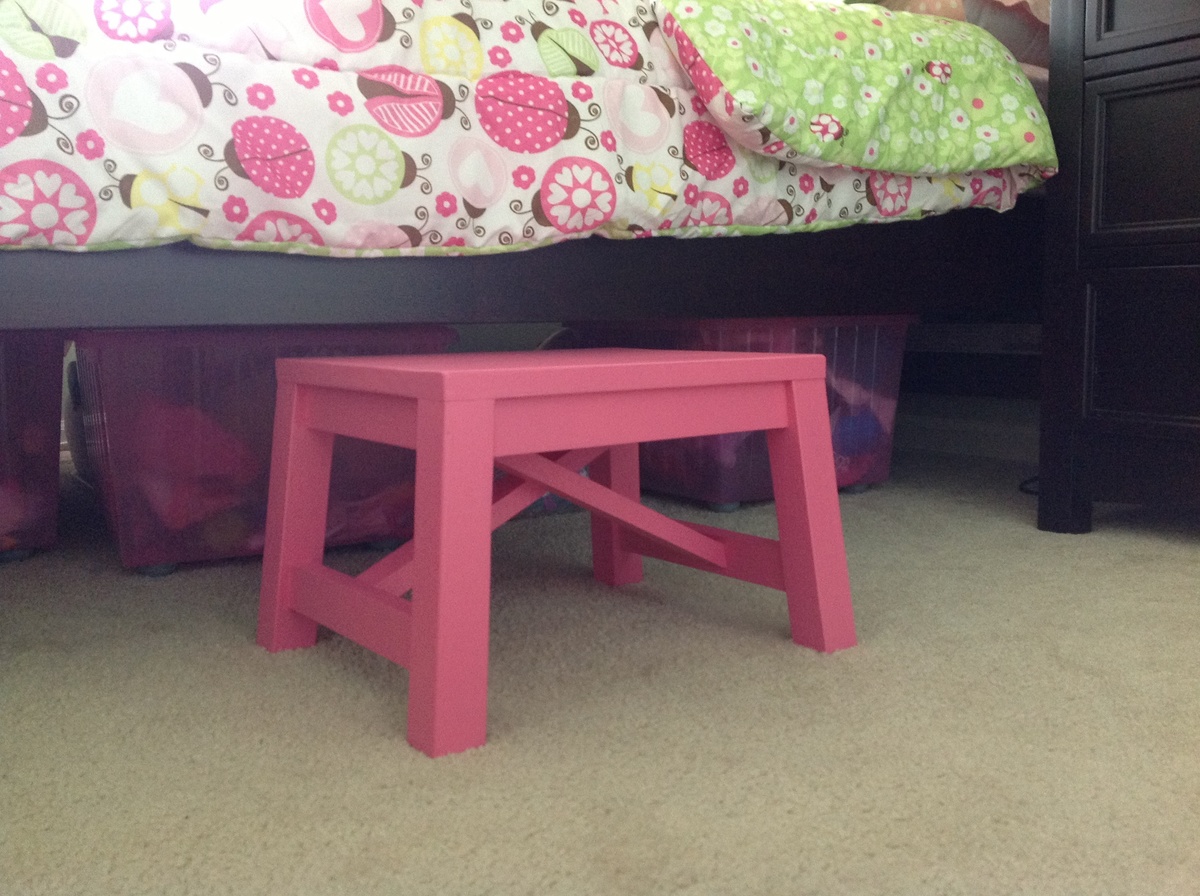
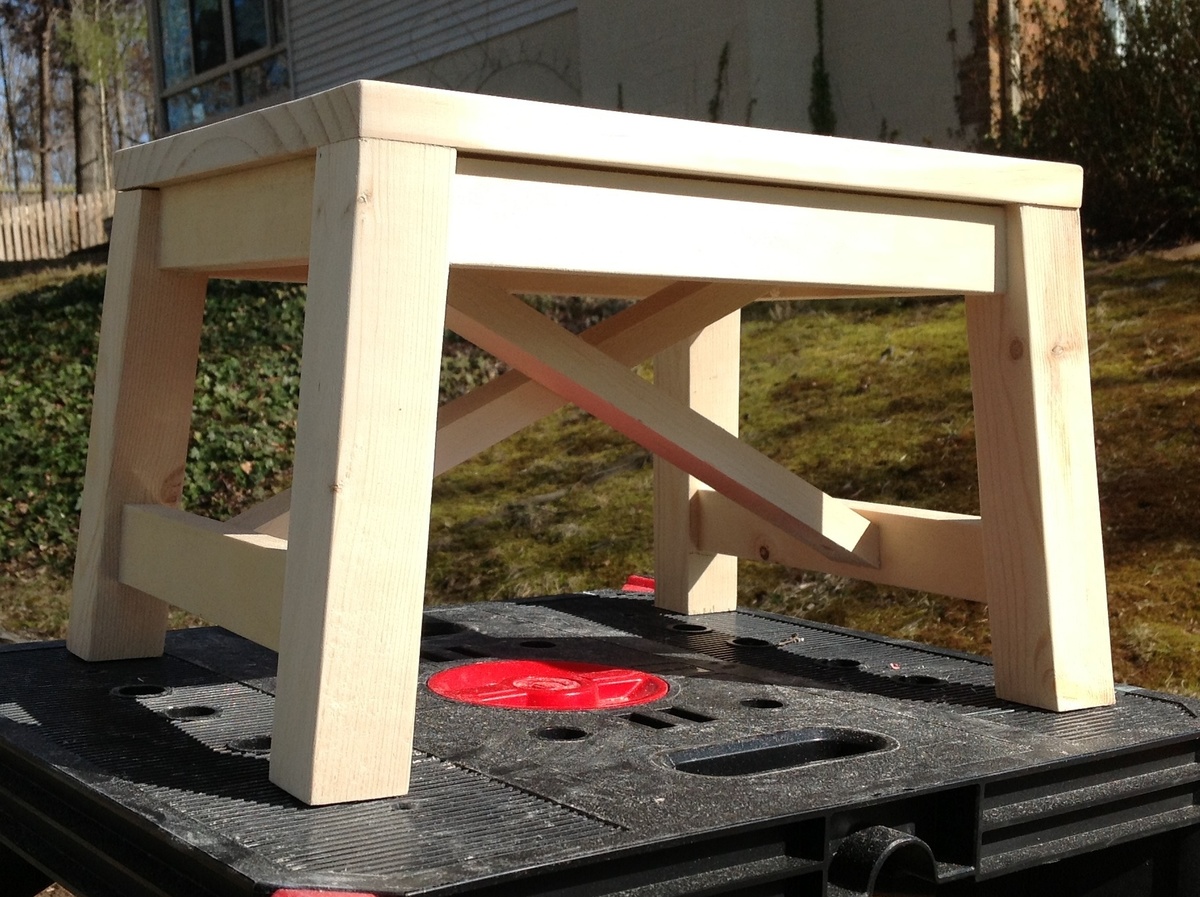
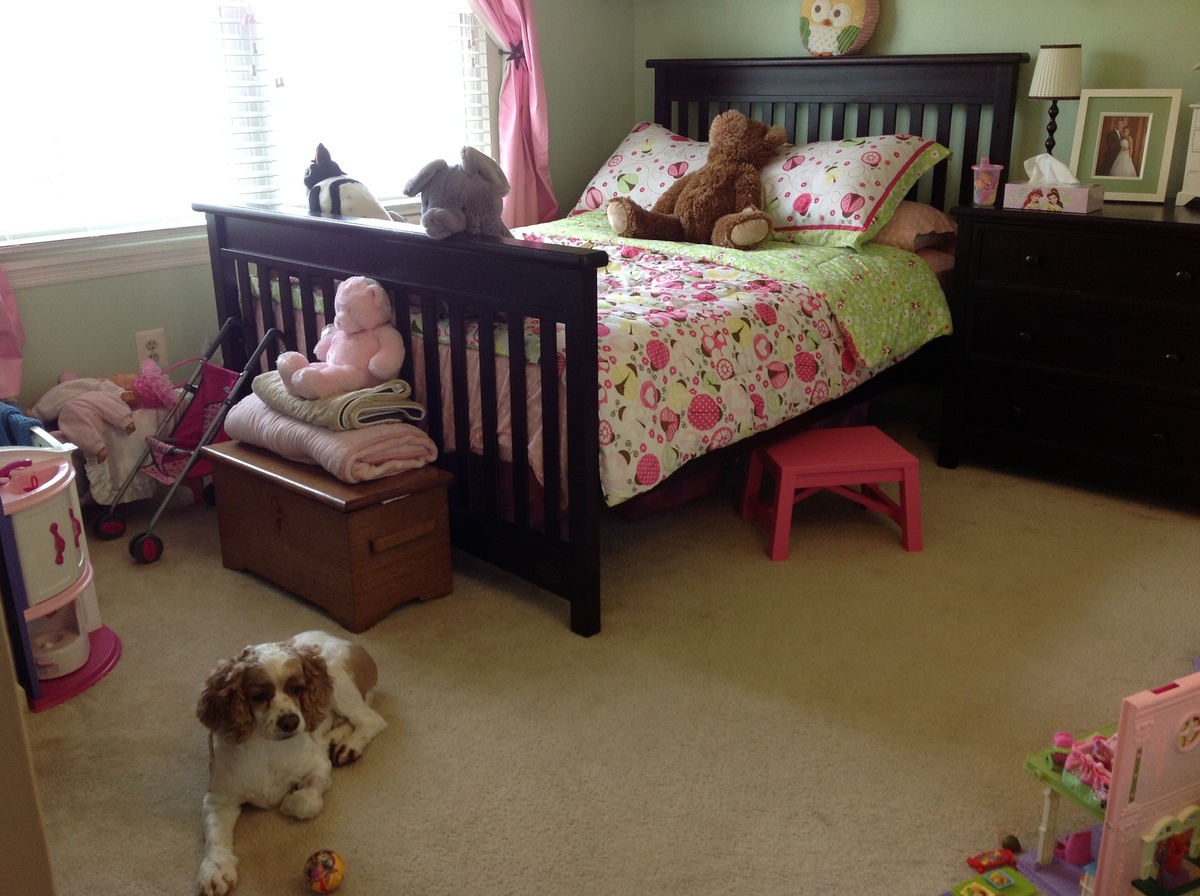
Moved our 3 year old into her big bed and she needed a stool. I loved the Rustic X Bench design and simply shrunk the measurements. The legs are made from 2x2s and were compound cut with the 5 degrees off center and 5 degree bevel. I used 1x2s for the aprons and other supports including the "X" support. Topped with a 1x12 cut 14" in length. Joined all together with countersunk 1 1/4" screws. Only added wood glue for the top piece. Stool measures 9 3/4" high which gives a nice 1/2" clearing to push under her bed when needed.
Fri, 03/29/2013 - 08:47
Love it! I have loved the full-sized bench since I first saw it. Miniaturizing it into a stool makes it even cuter! Thanks for the info on sizing. I'm going to have to make one!
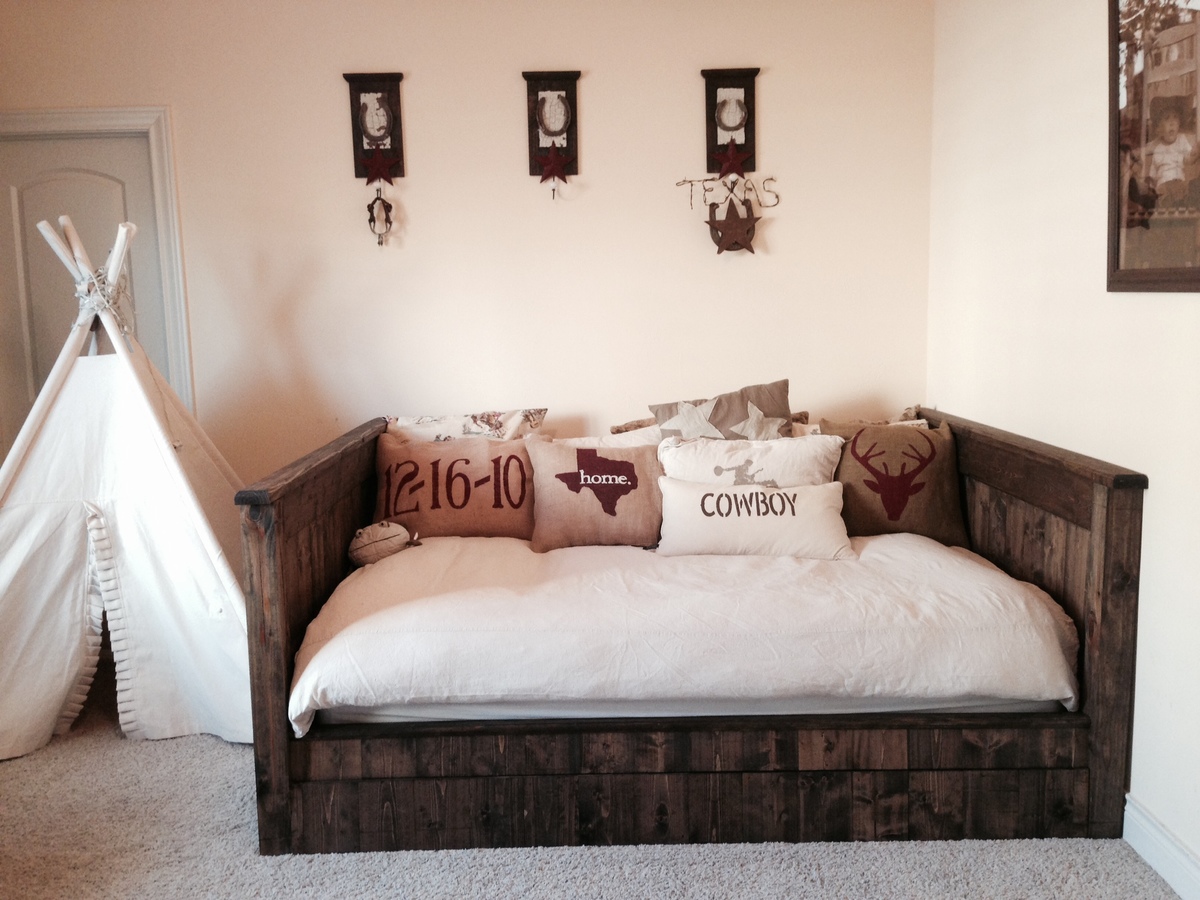
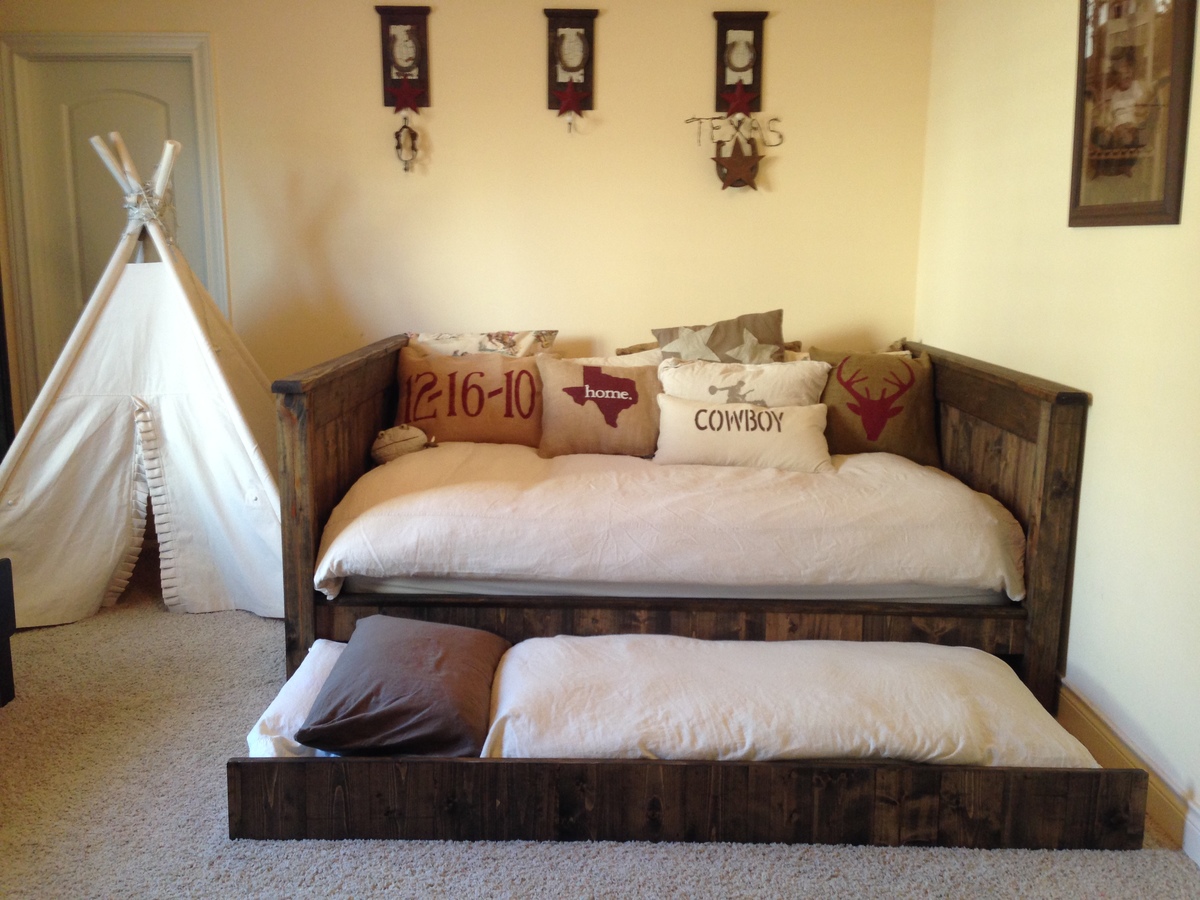
Queen size Day Bed with Full size trundle made of yellow pine and dark stain from Homedepot
Wed, 02/11/2015 - 10:37
This is on my "to-do" list, including the trundle underneath, for my guestroom. Glad to see that it turns out so well.
Sat, 10/24/2020 - 00:05
Please may I have the plans for this bed? I want to build it in a twin XL size. 39x80. The mattresses are 10” thick. I have tried adapting several of your daybed/ farmhouse bed plans to include a trundle and to be long enough to accommodate the XL mattresses and have been stumped. I like the lower arms of the Hailey and simple daybed and wish this bed had a back piece. But this would be the closest “jumping off point” to get what I’m looking for. (I think) Any help would be greatly appreciated.
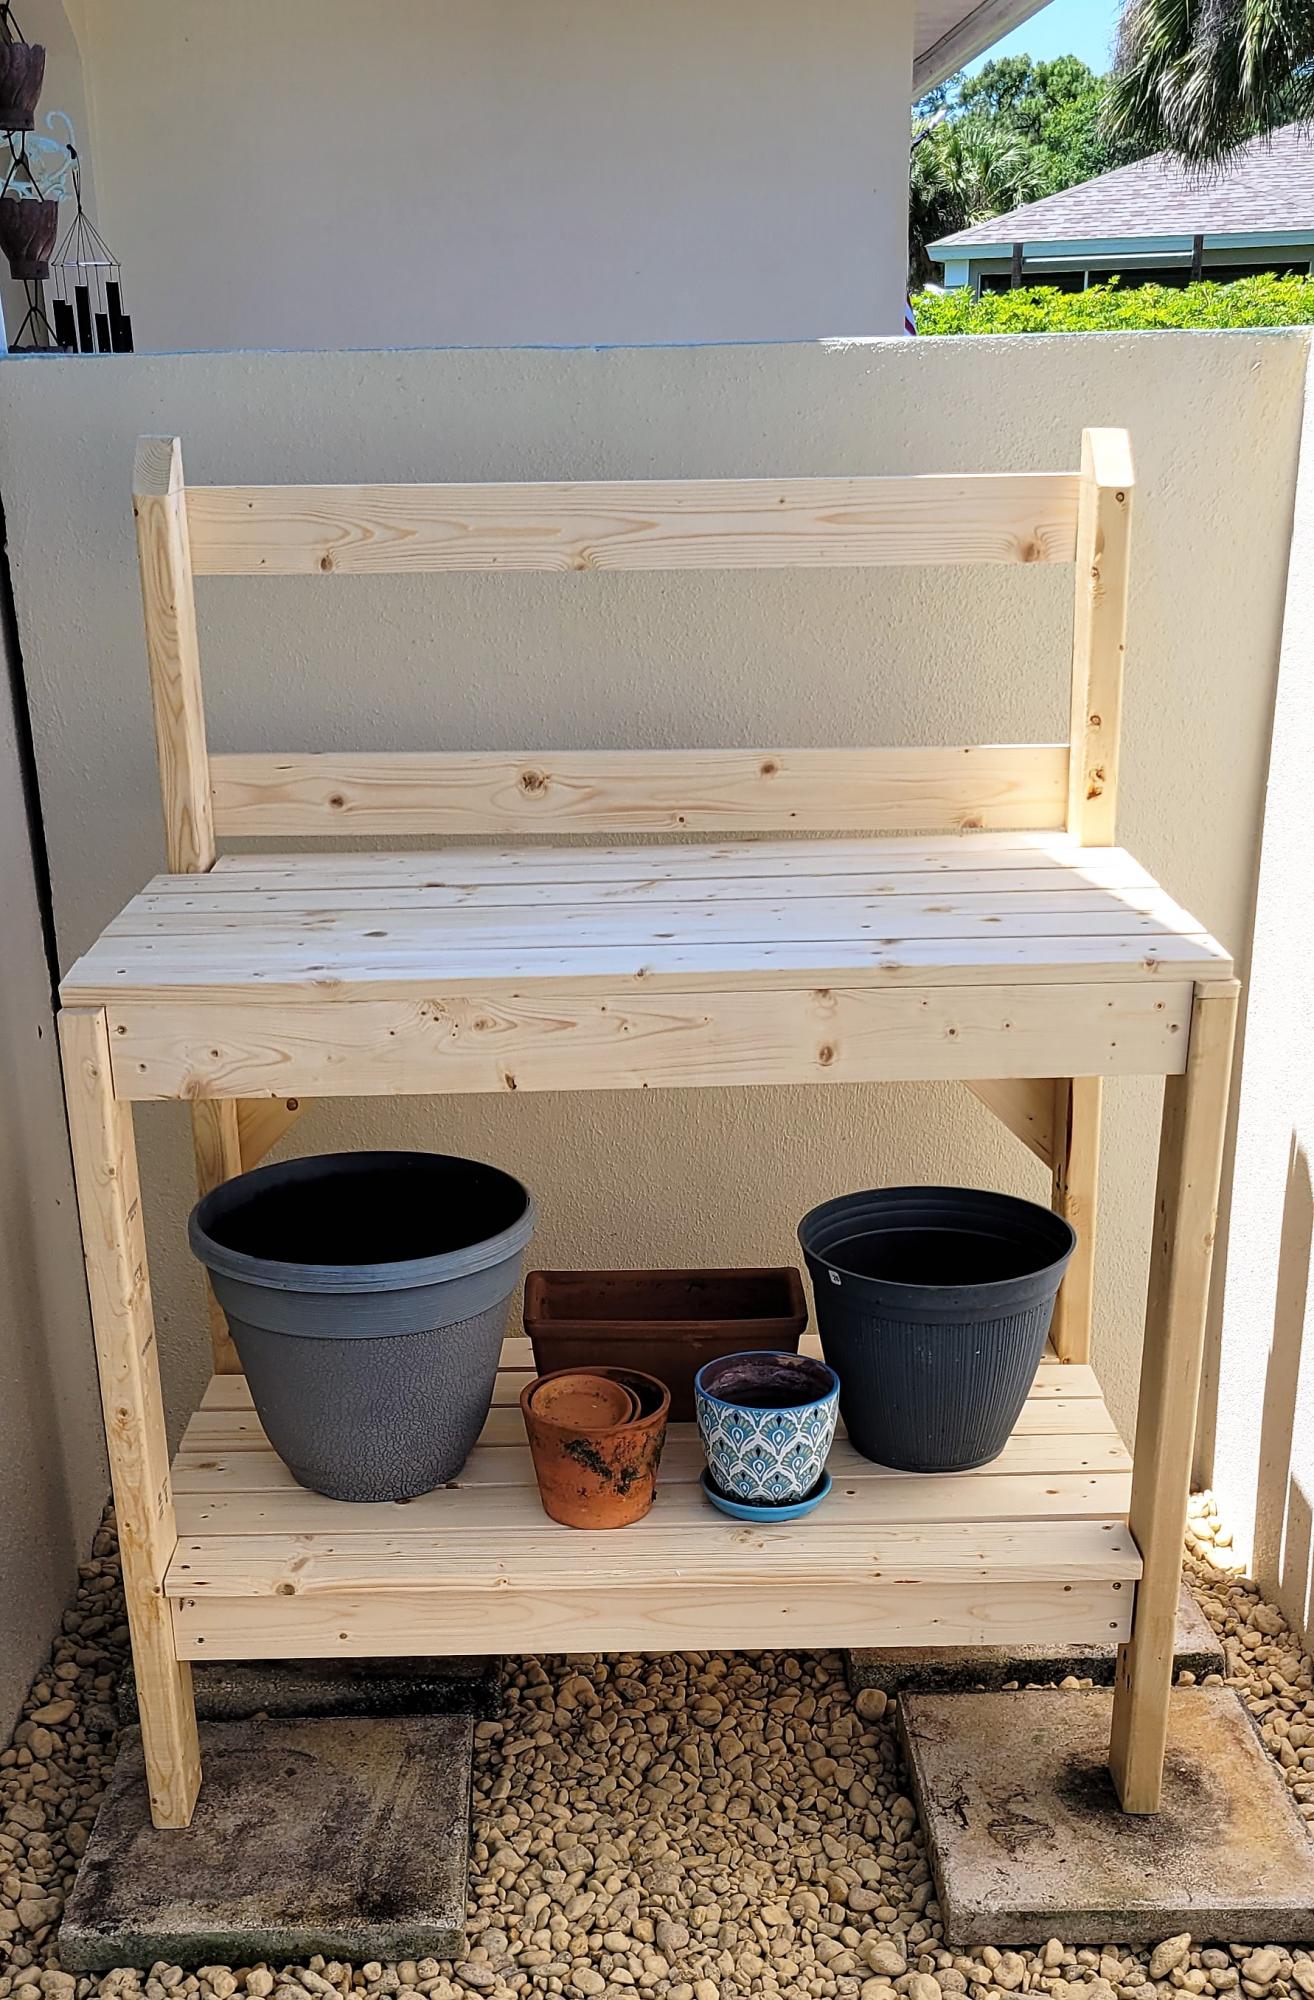
This was pretty easy to follow based on the instructions. It took me a little longer than expected becuase of the weather, I had to run back and forth to cut the wood from where I was building it.