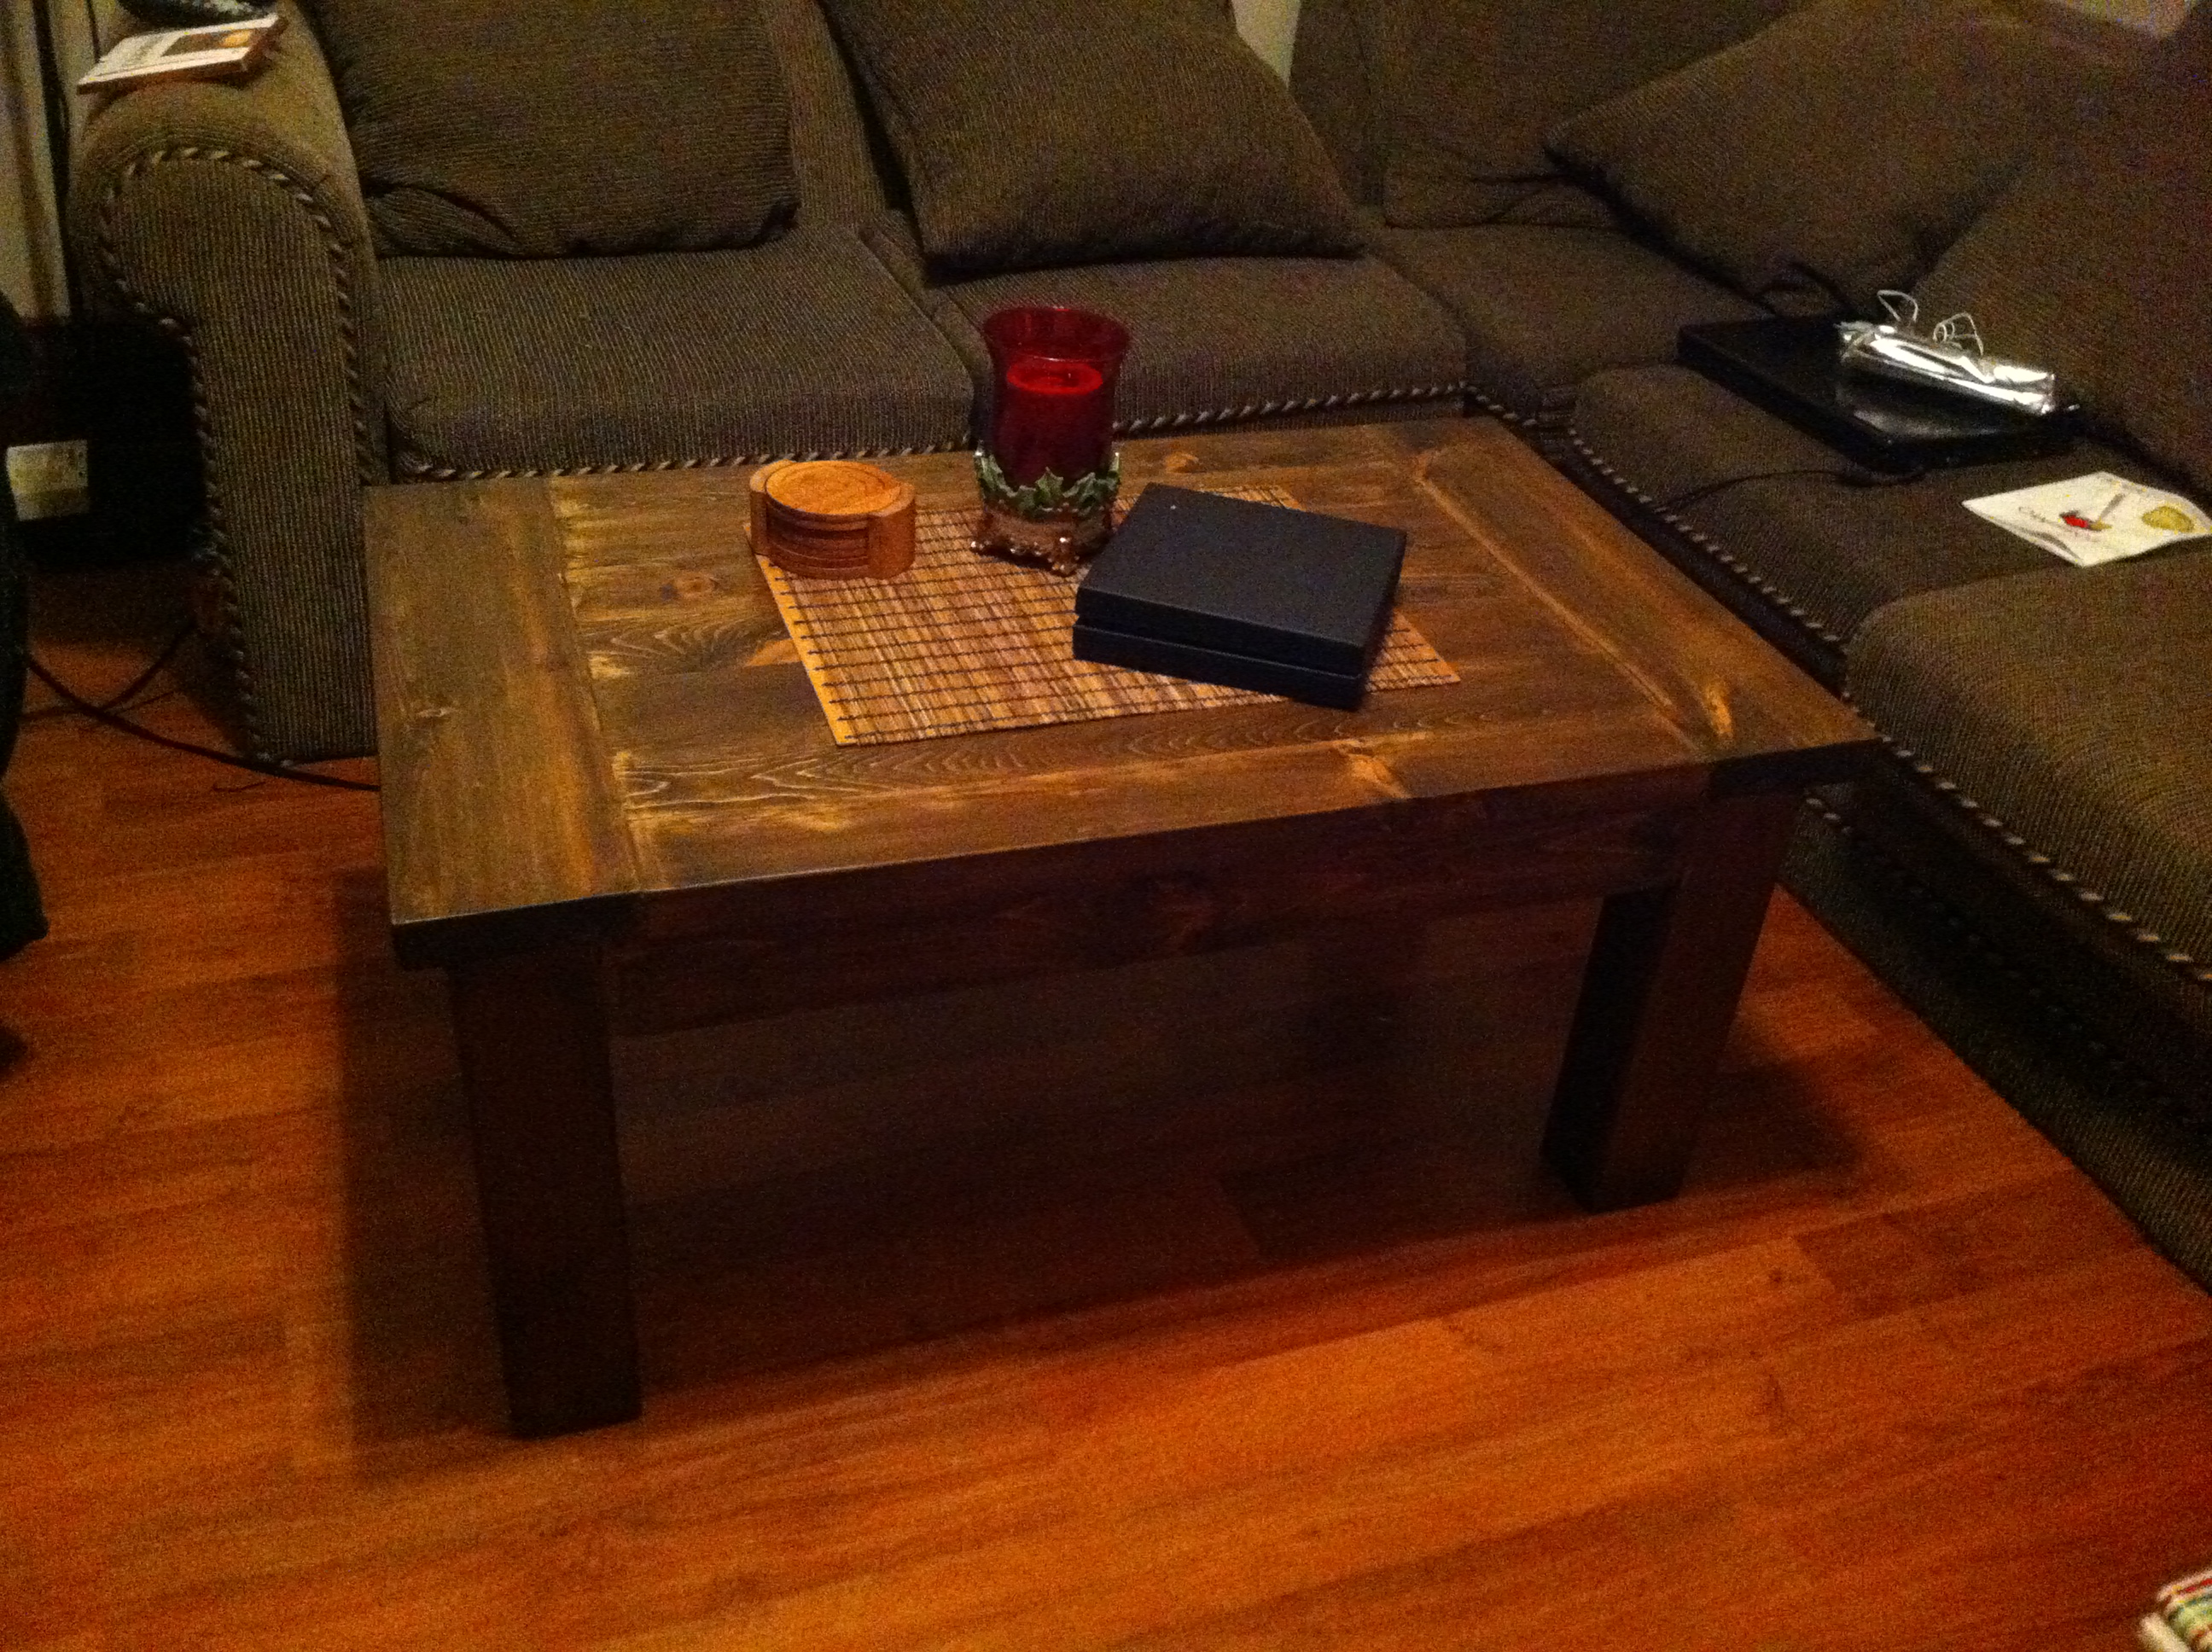
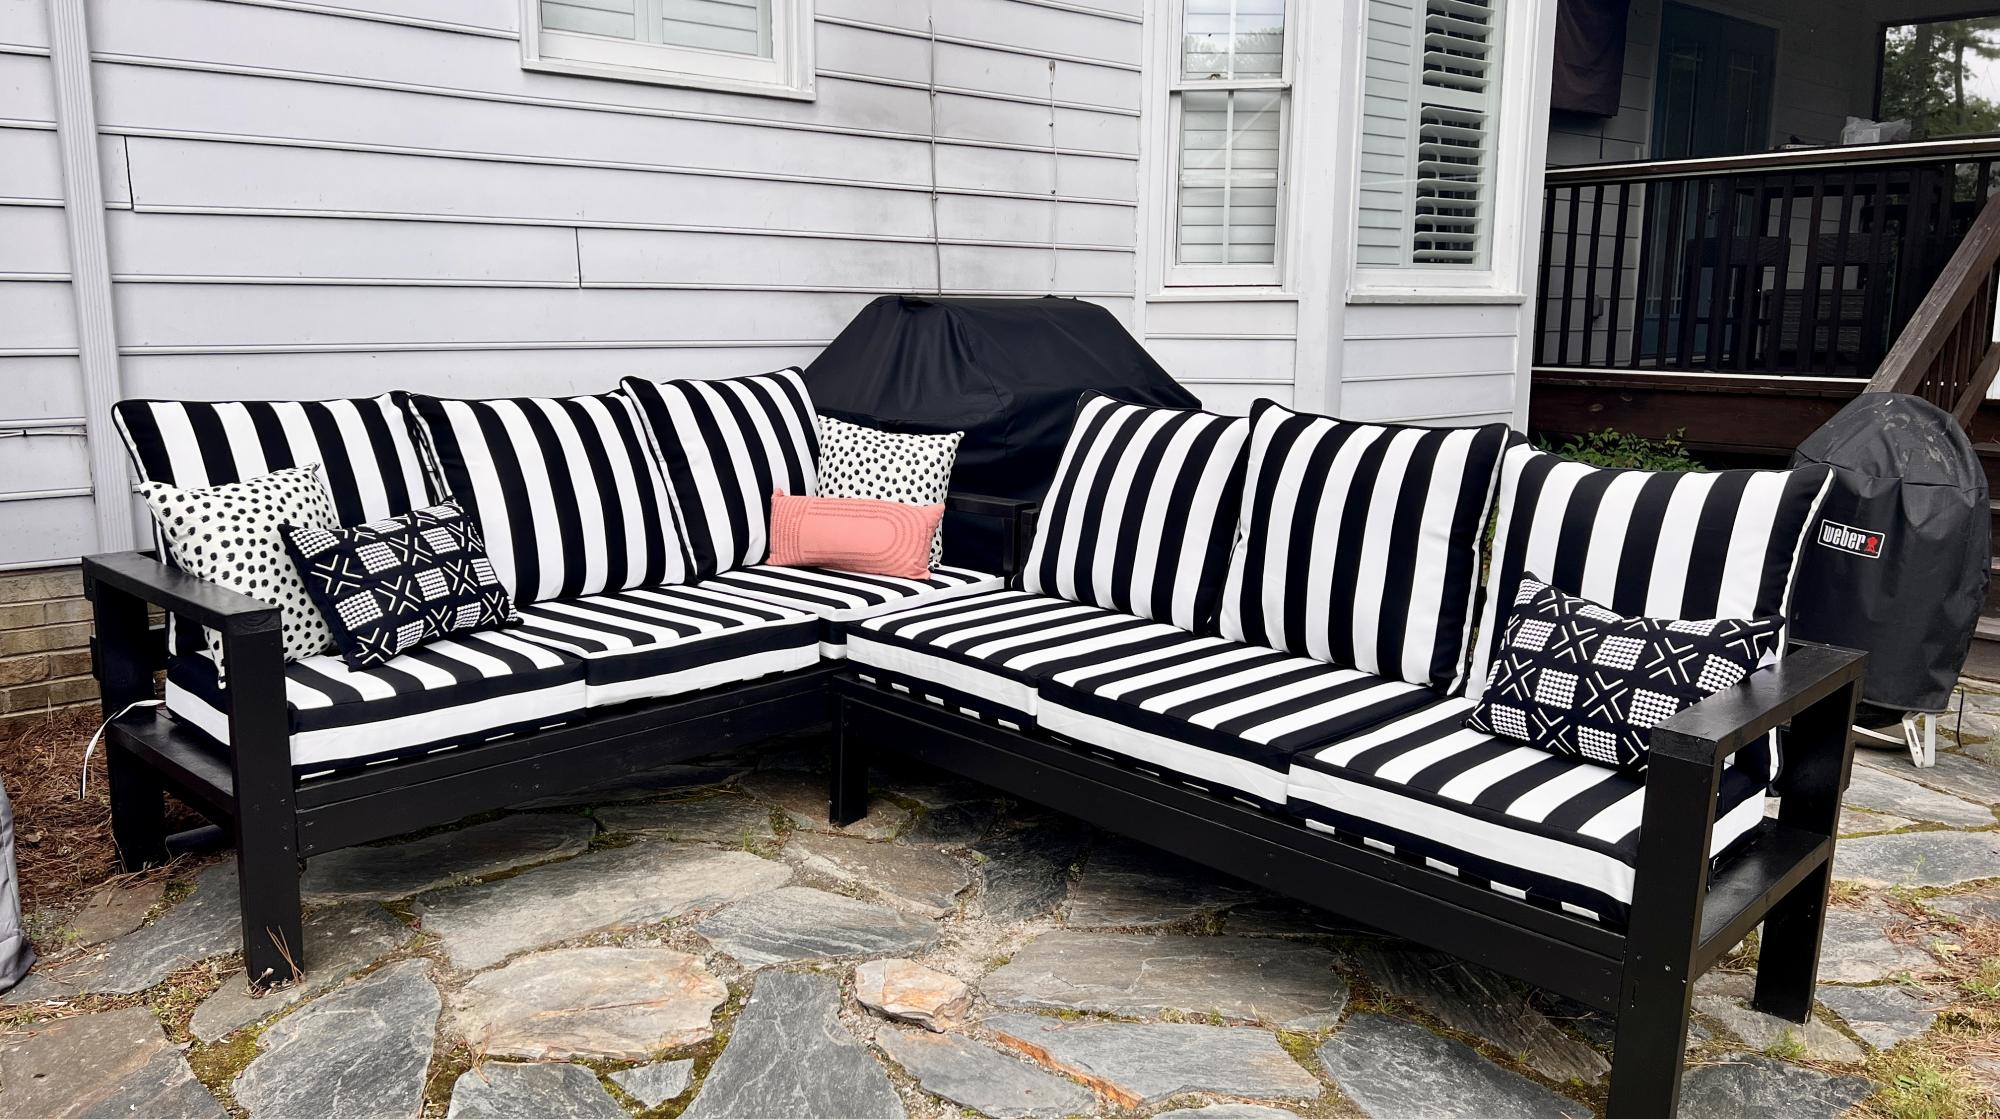
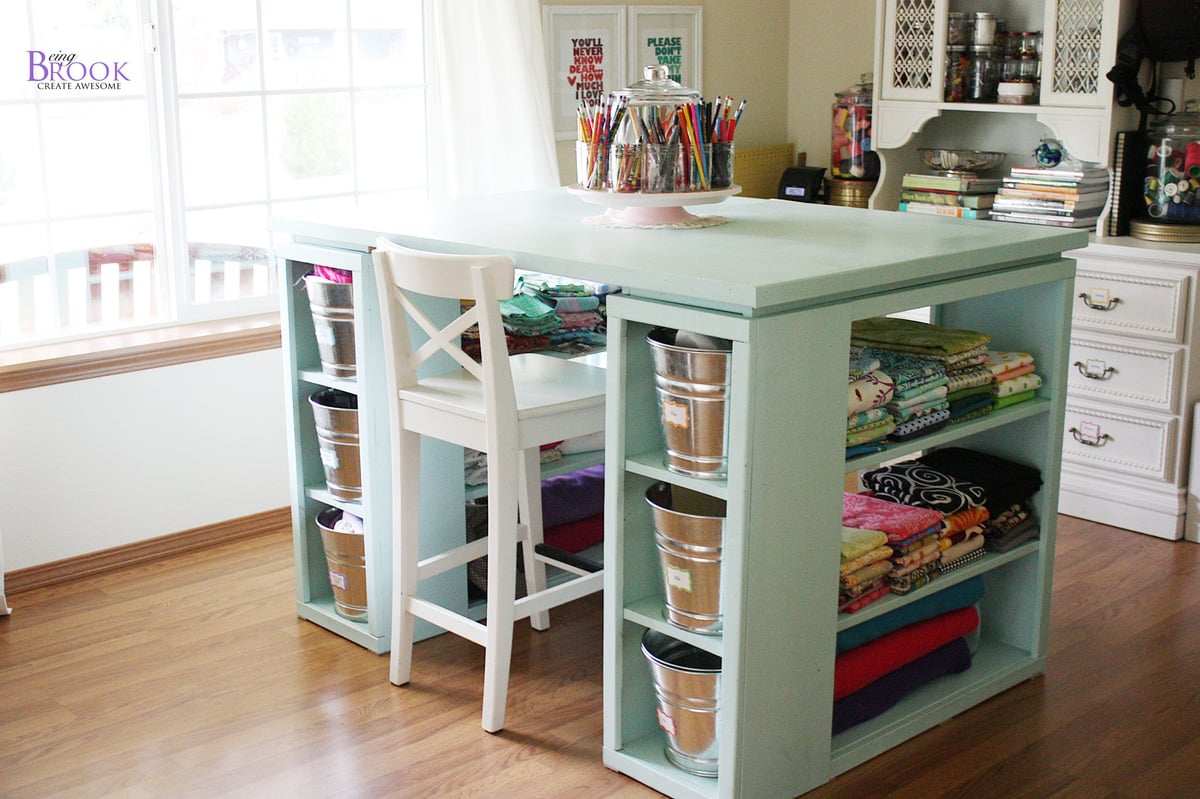
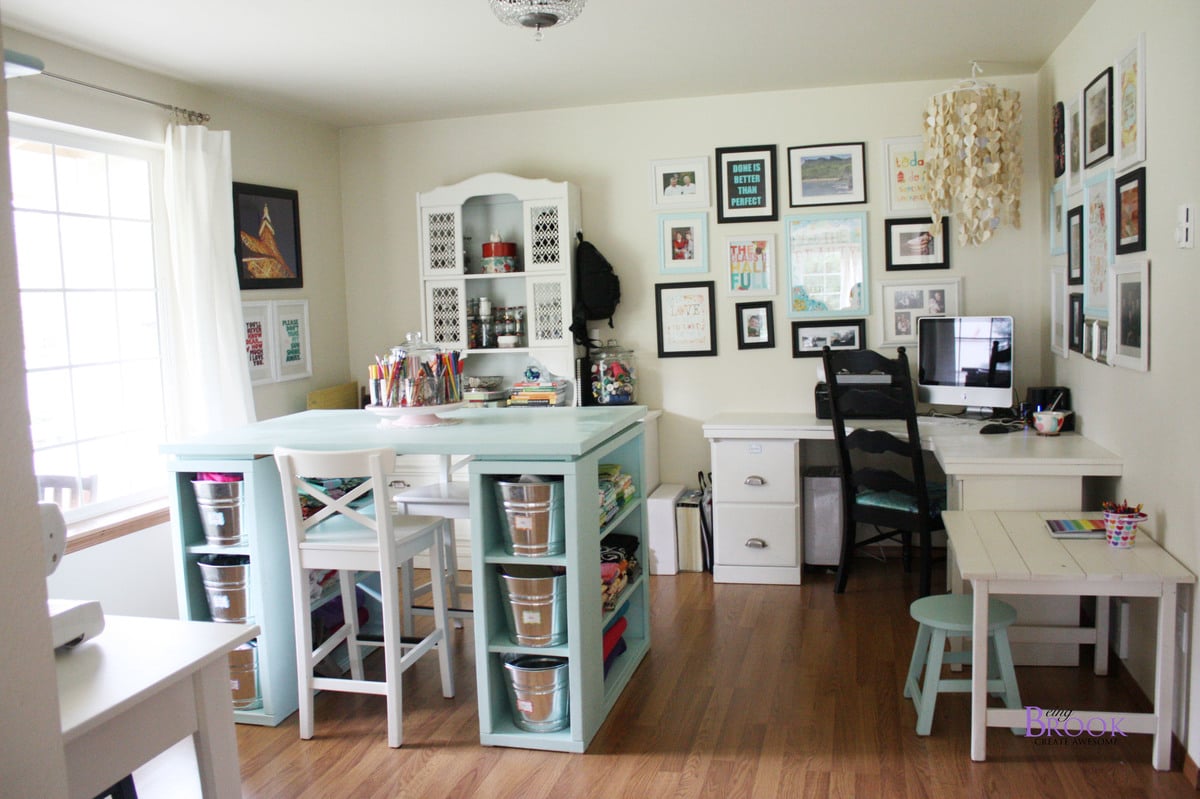
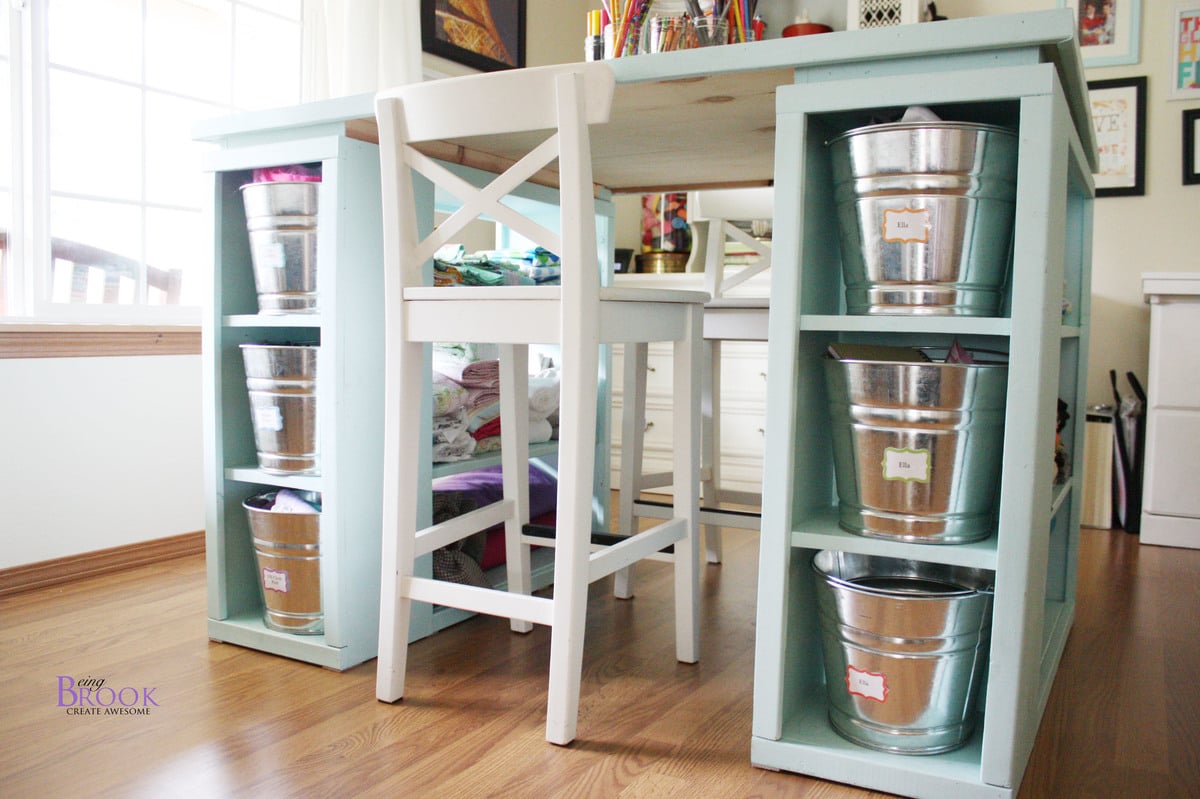
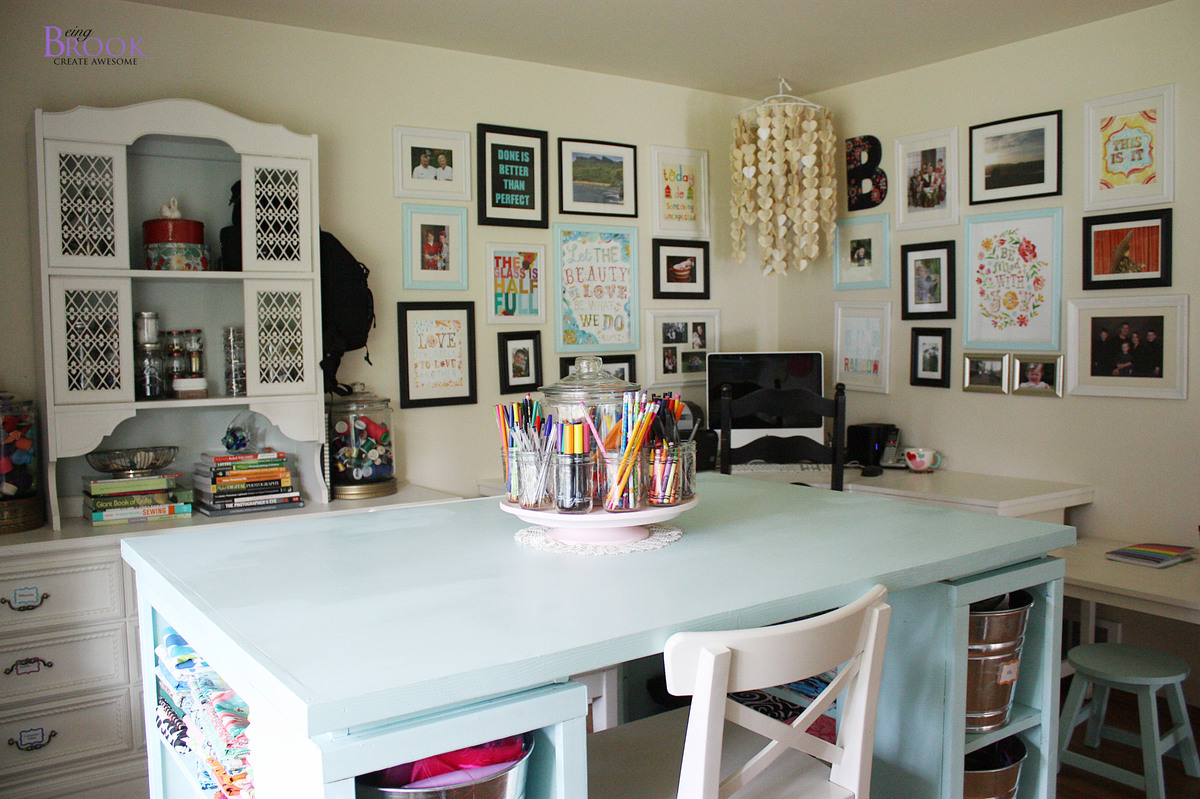
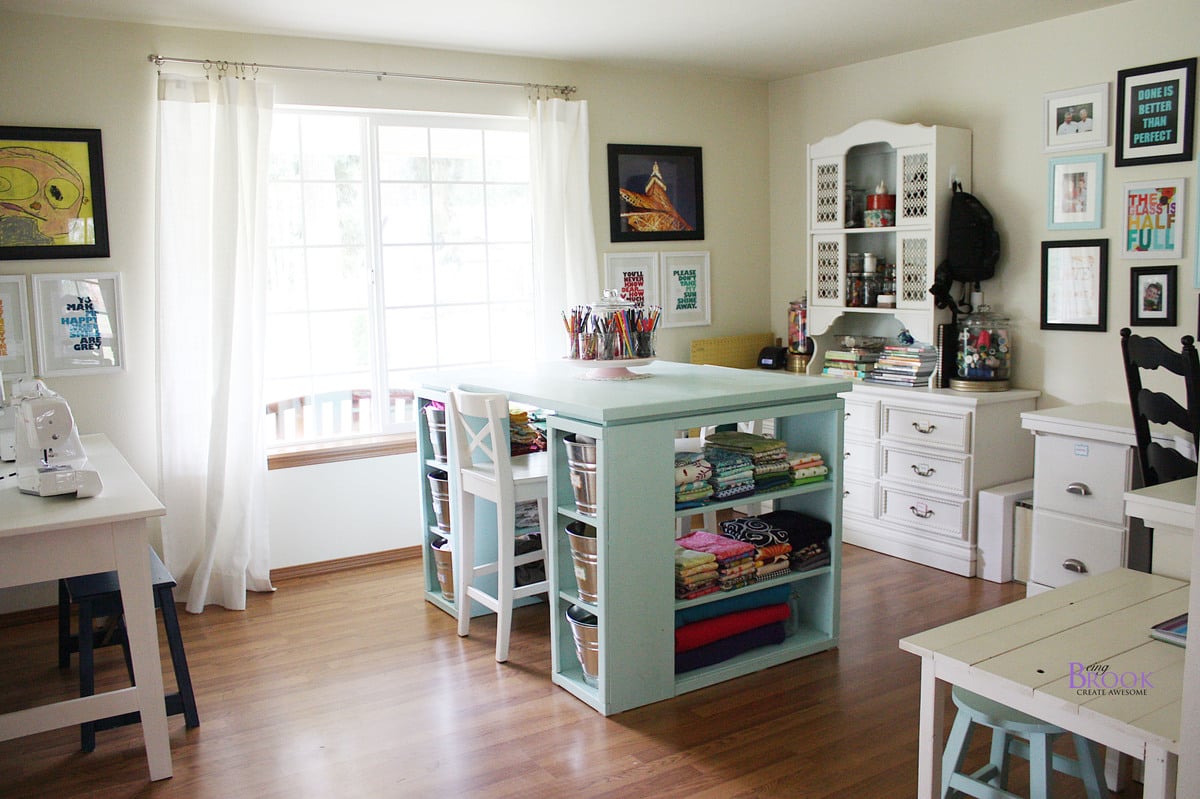
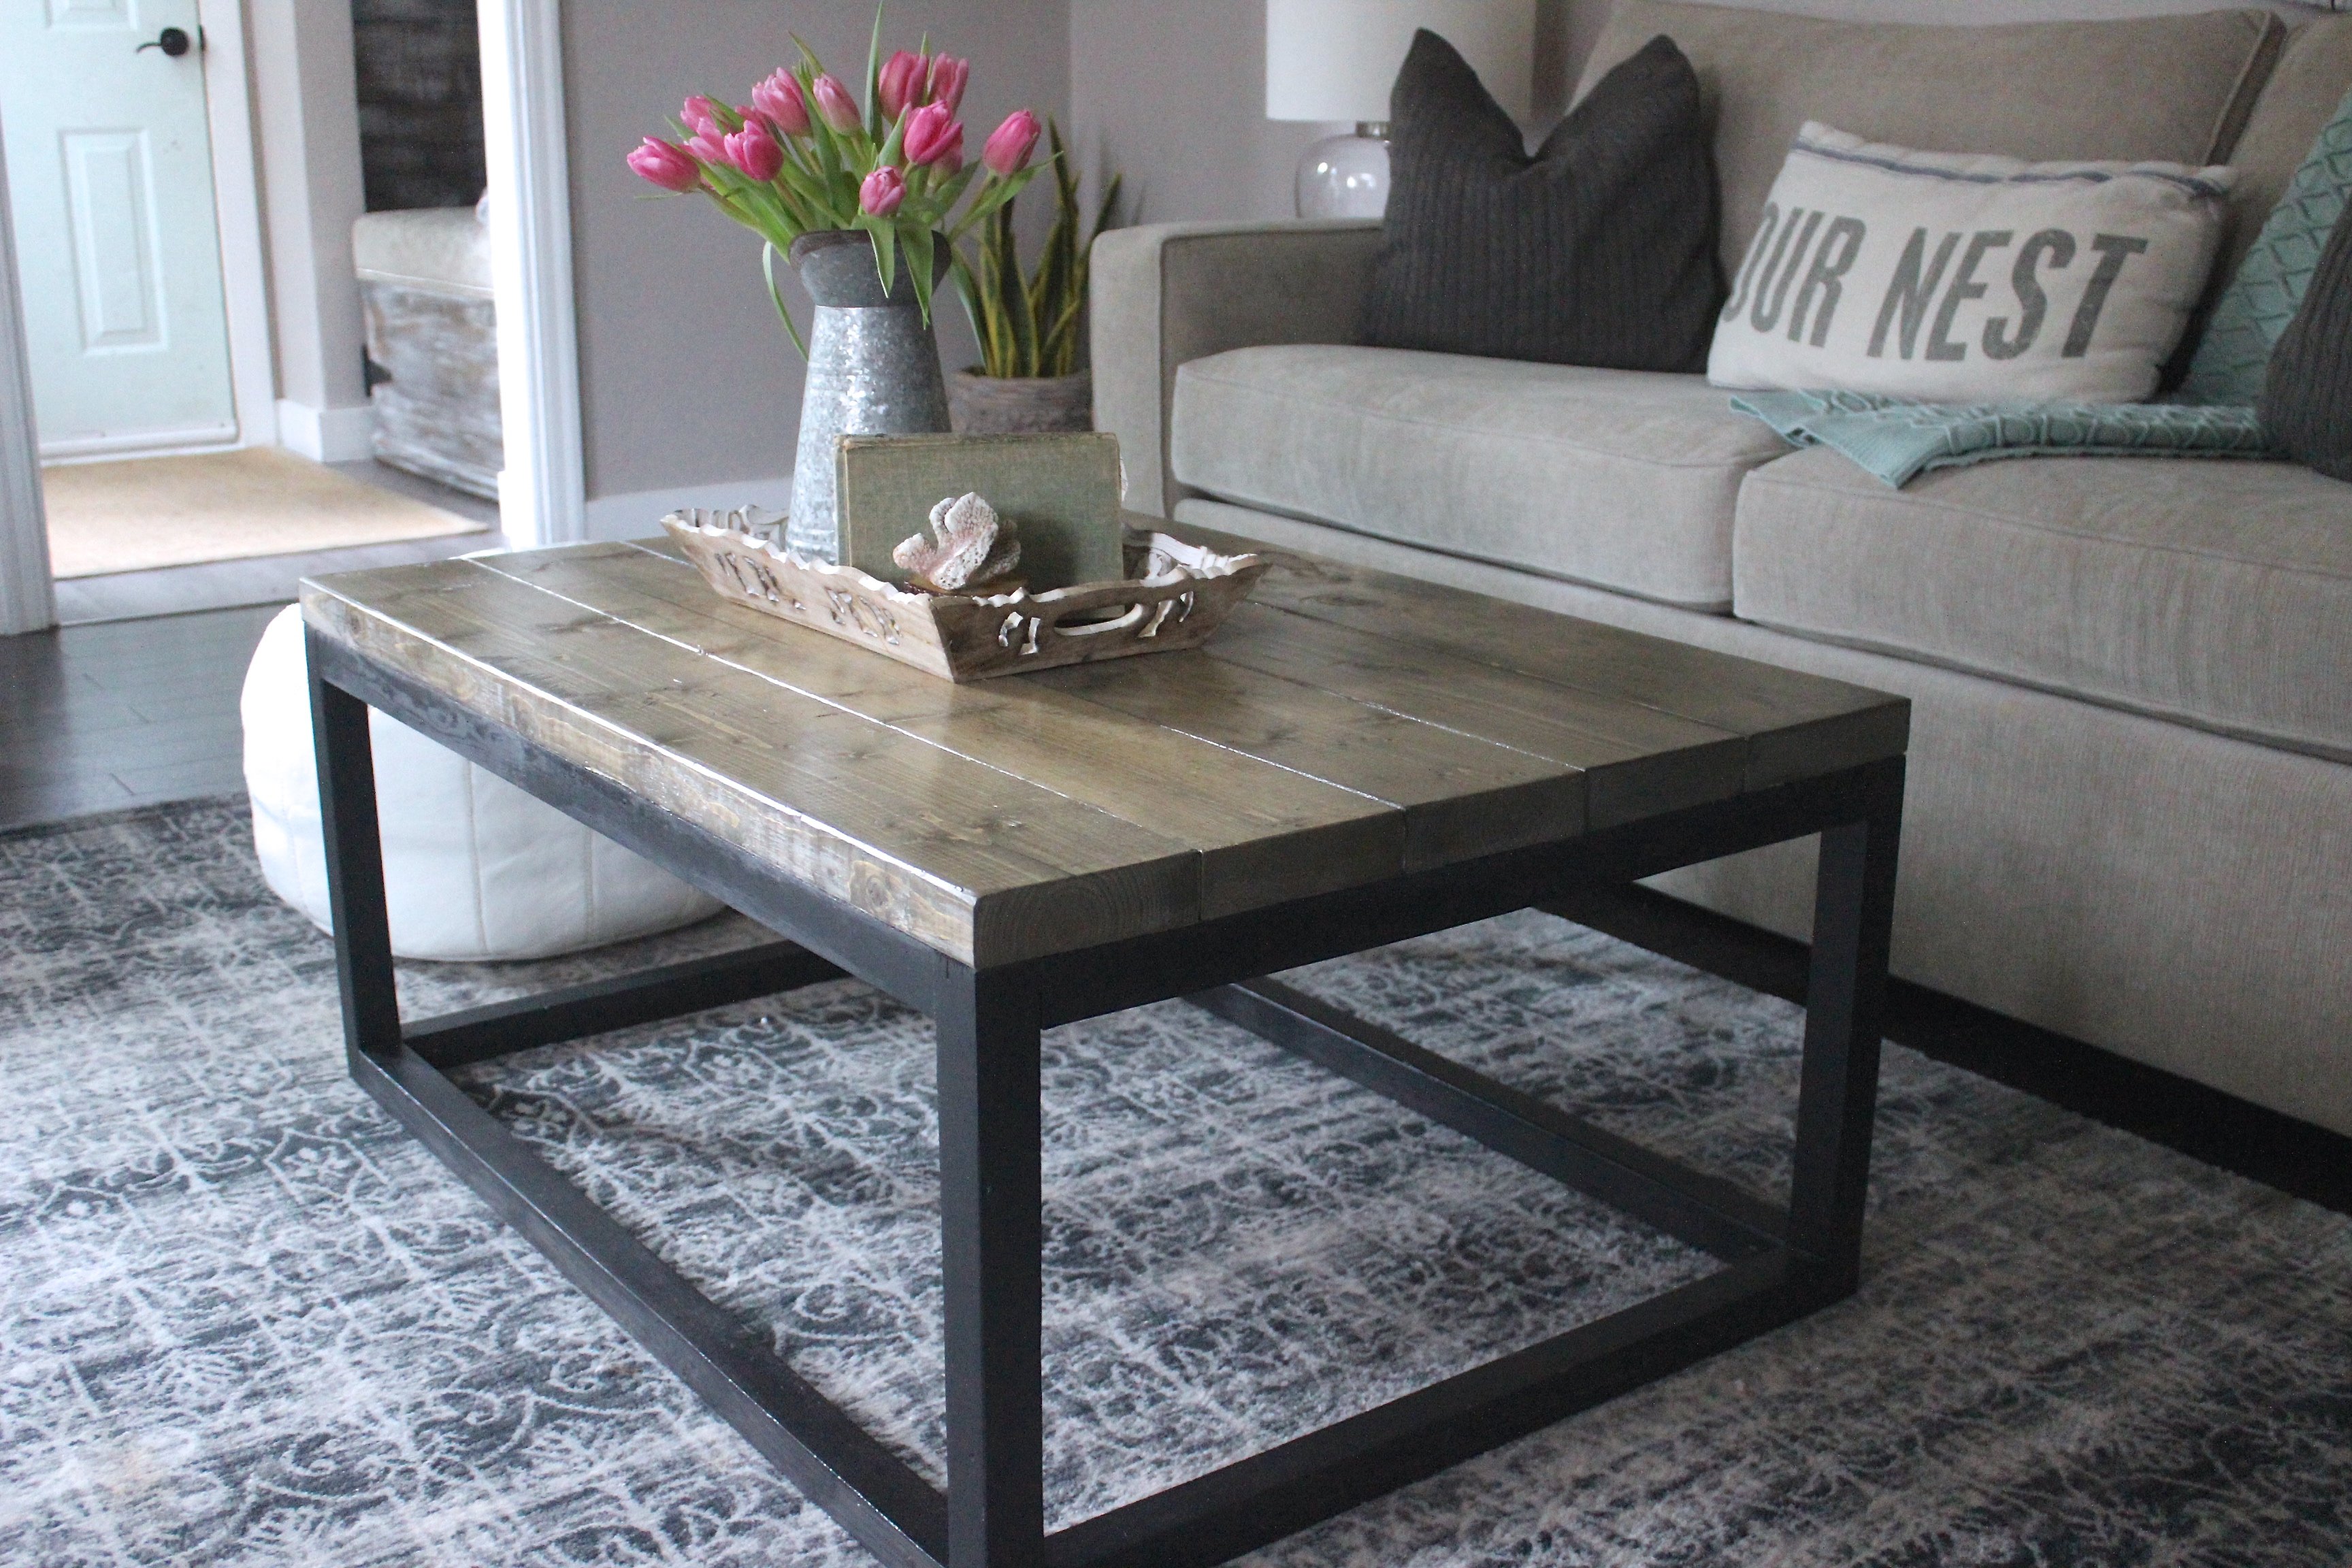
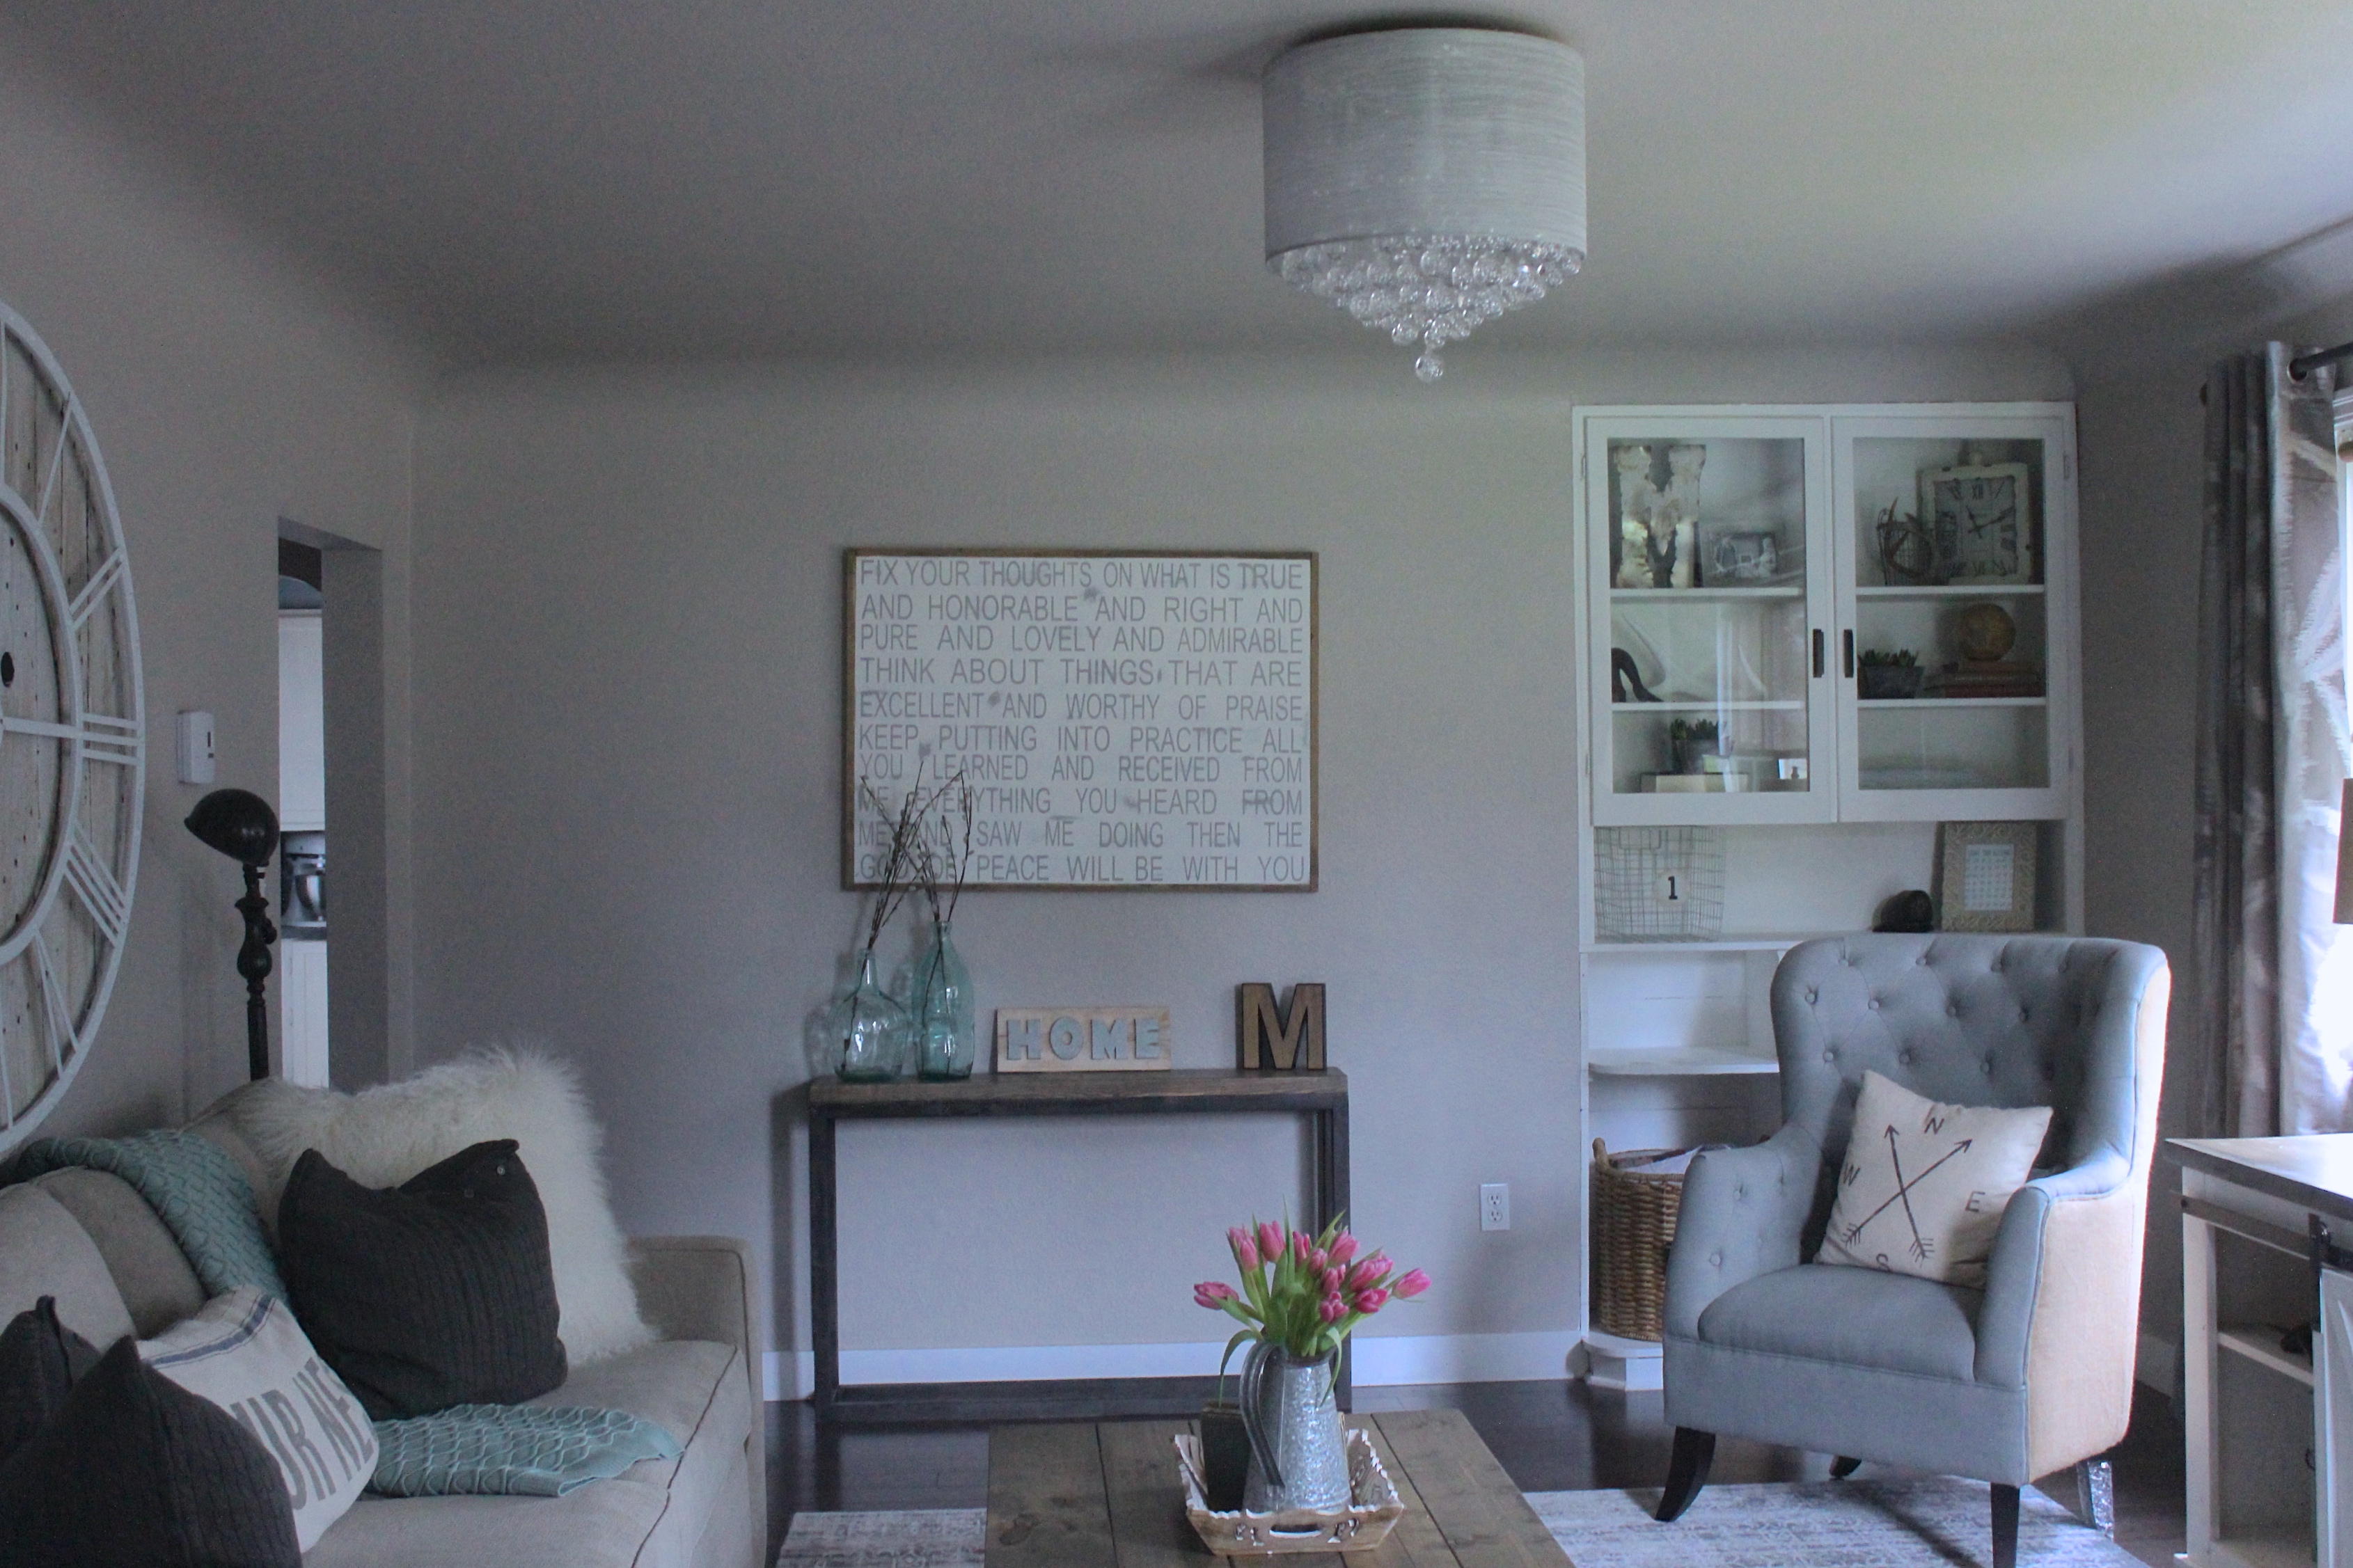
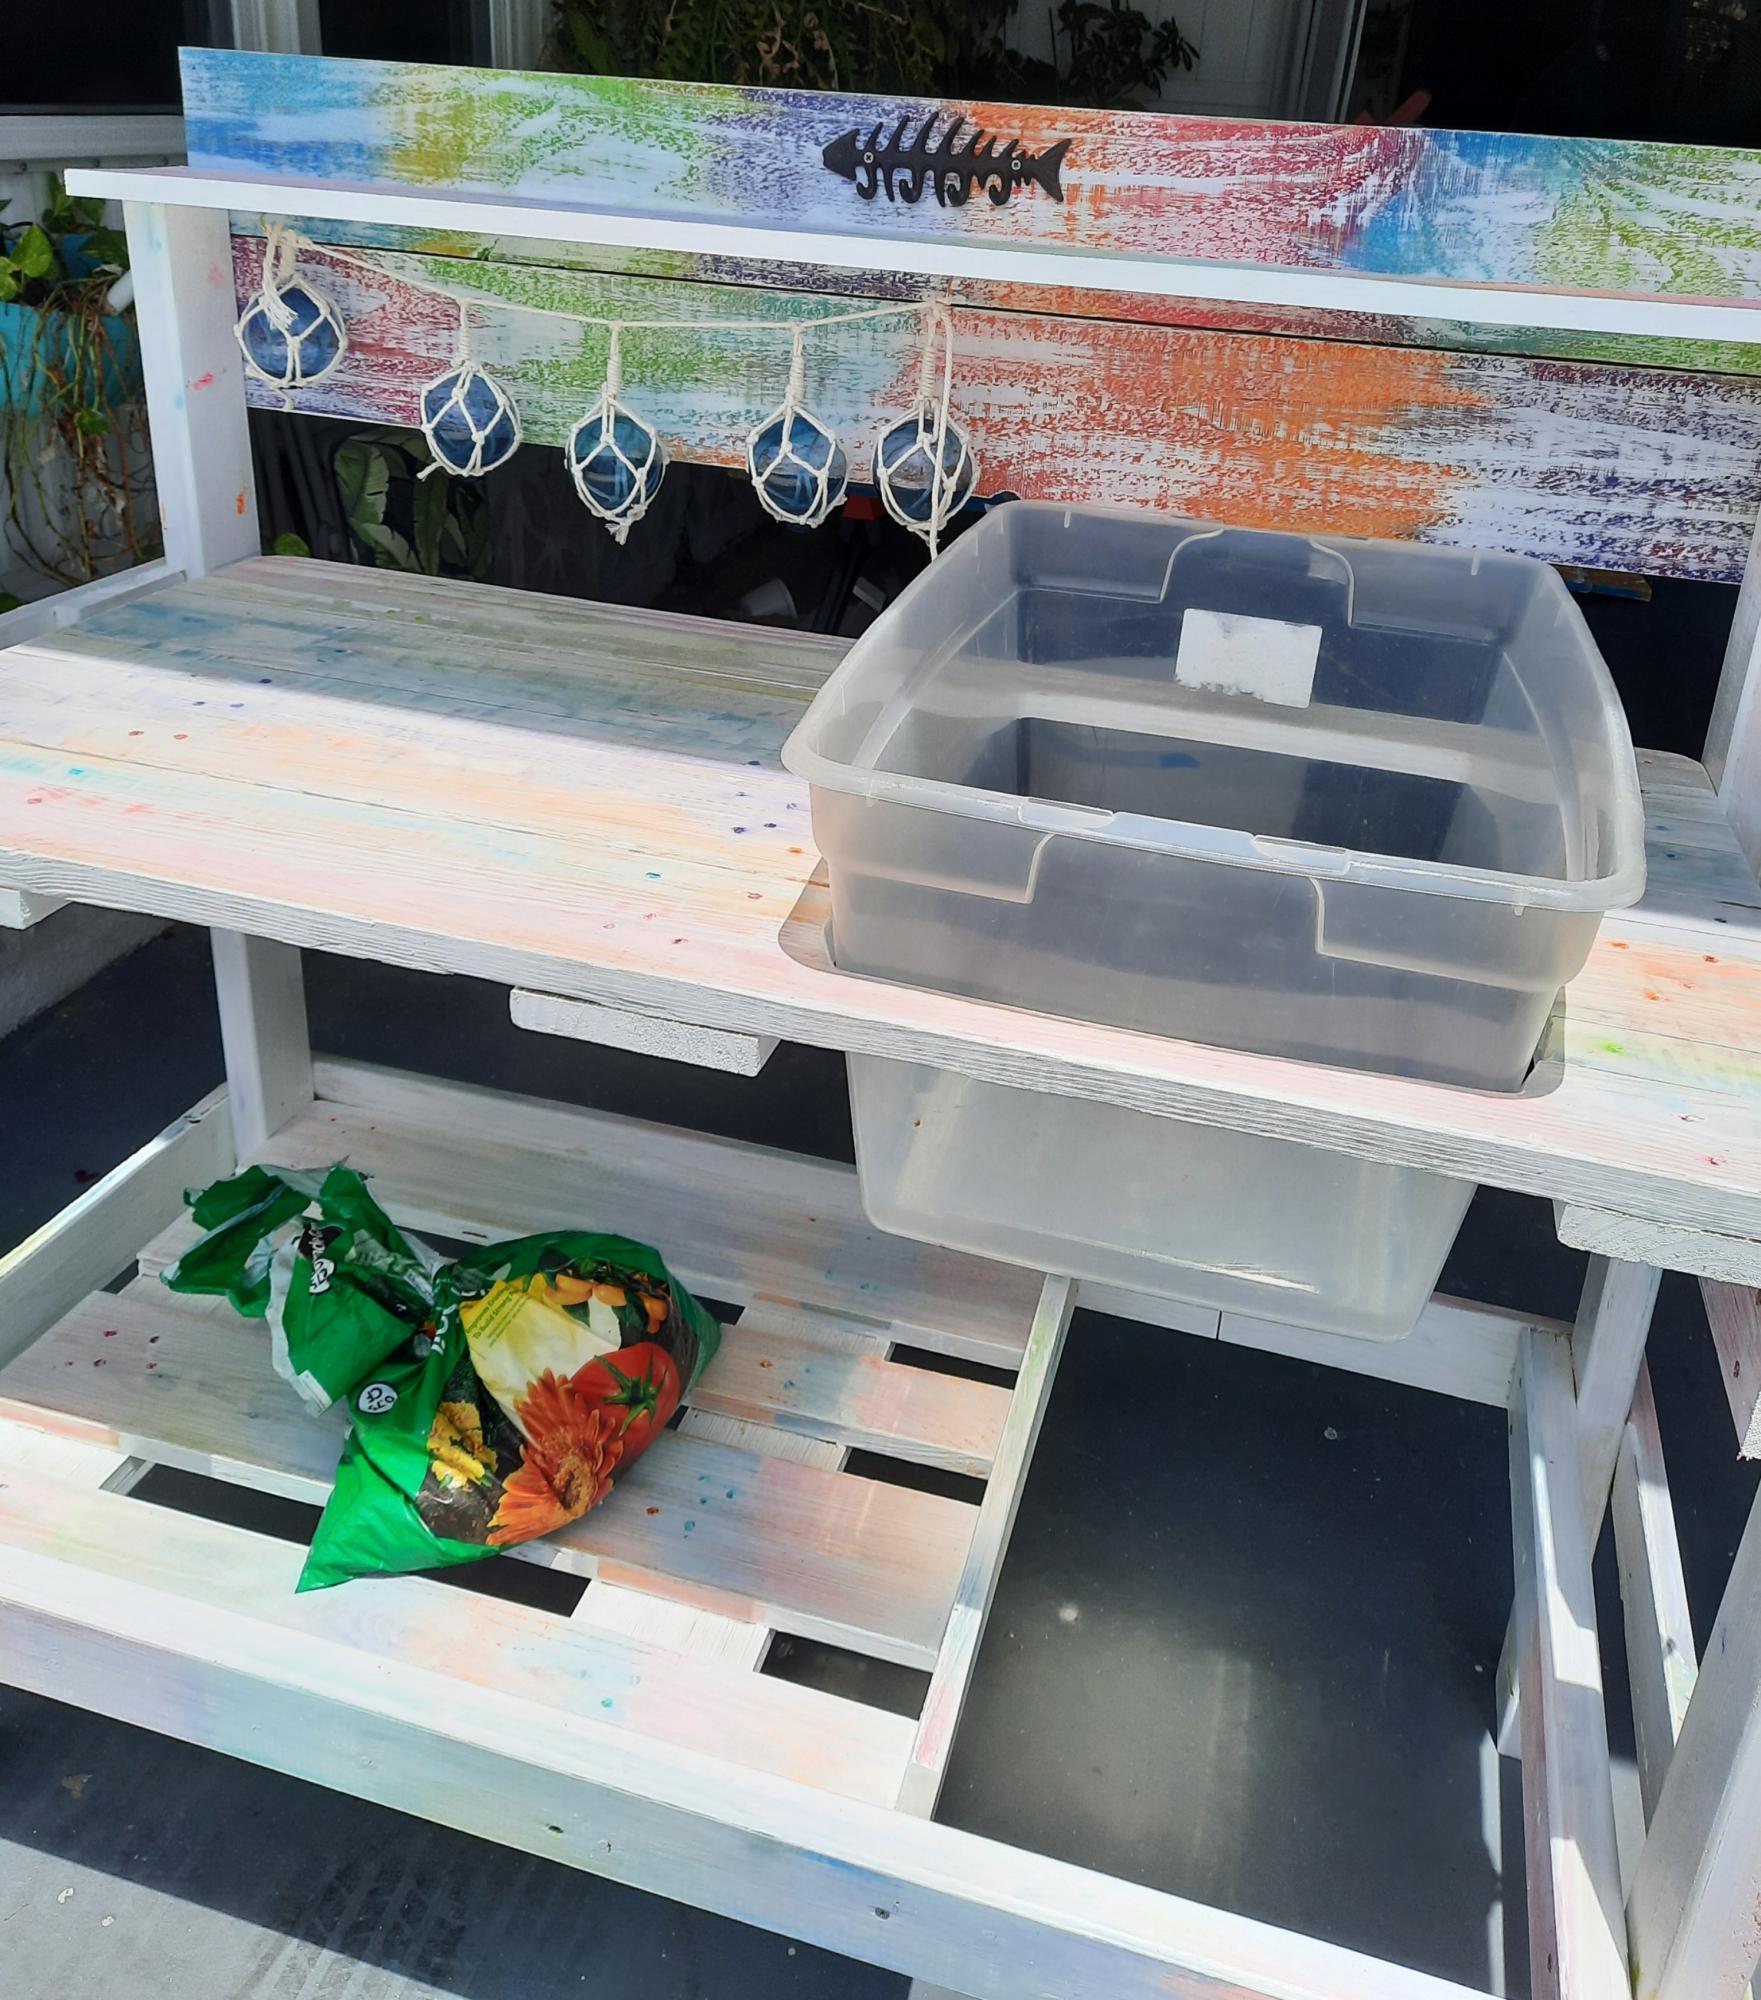
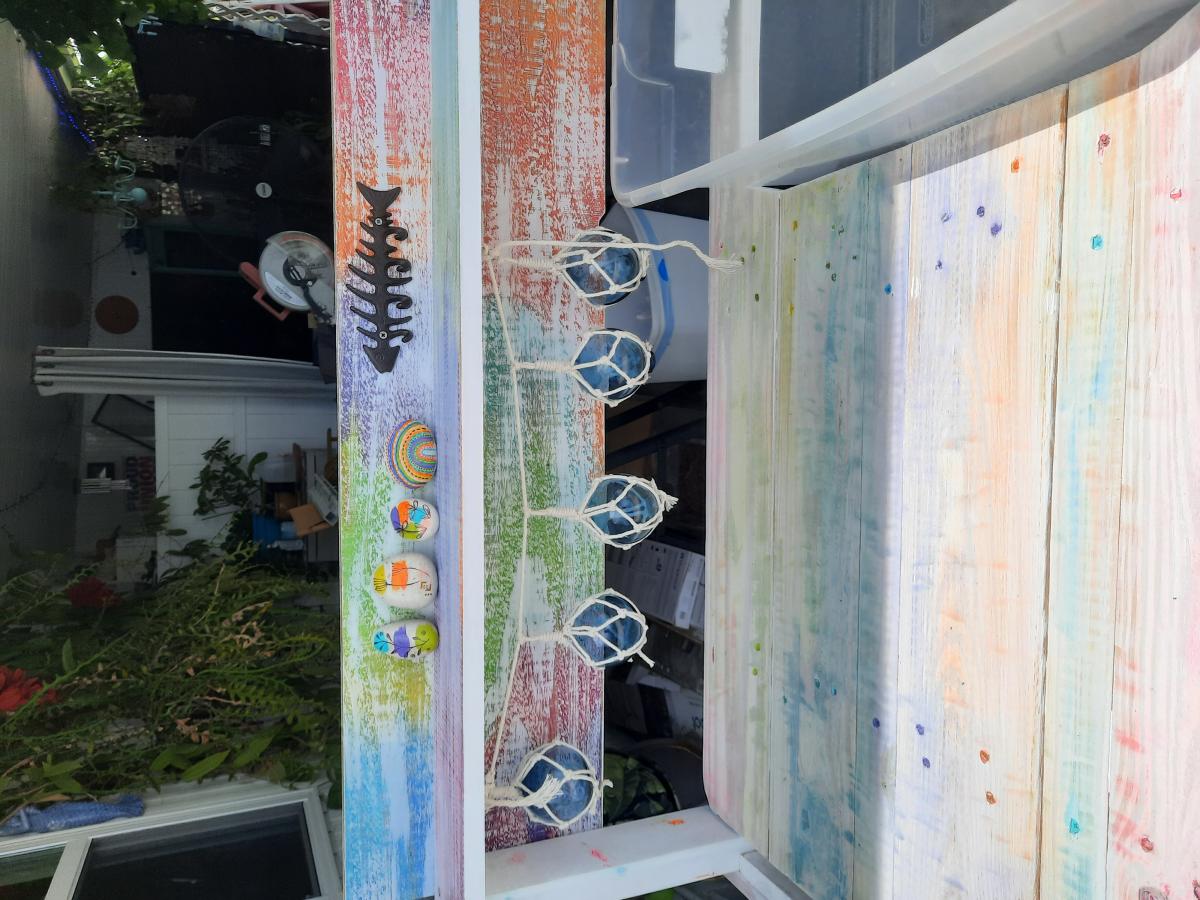
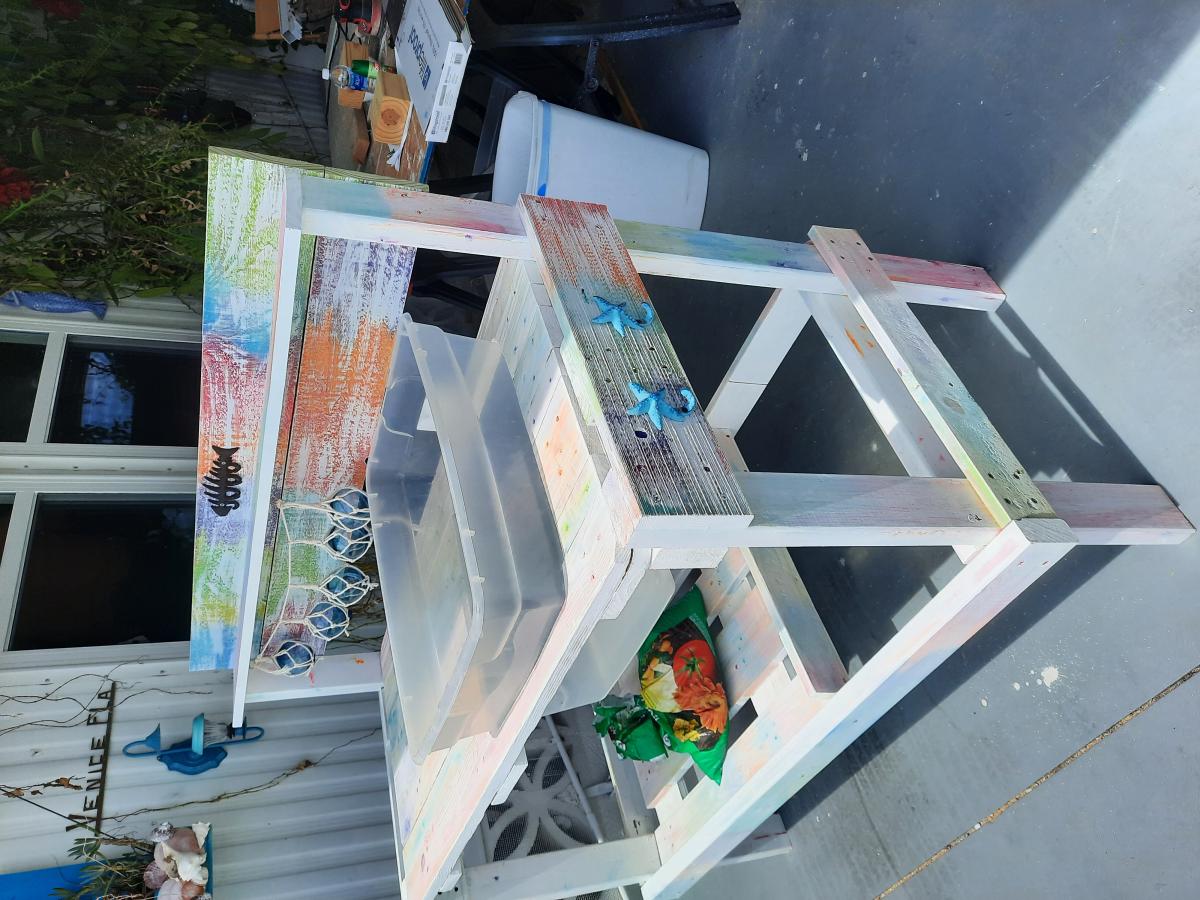
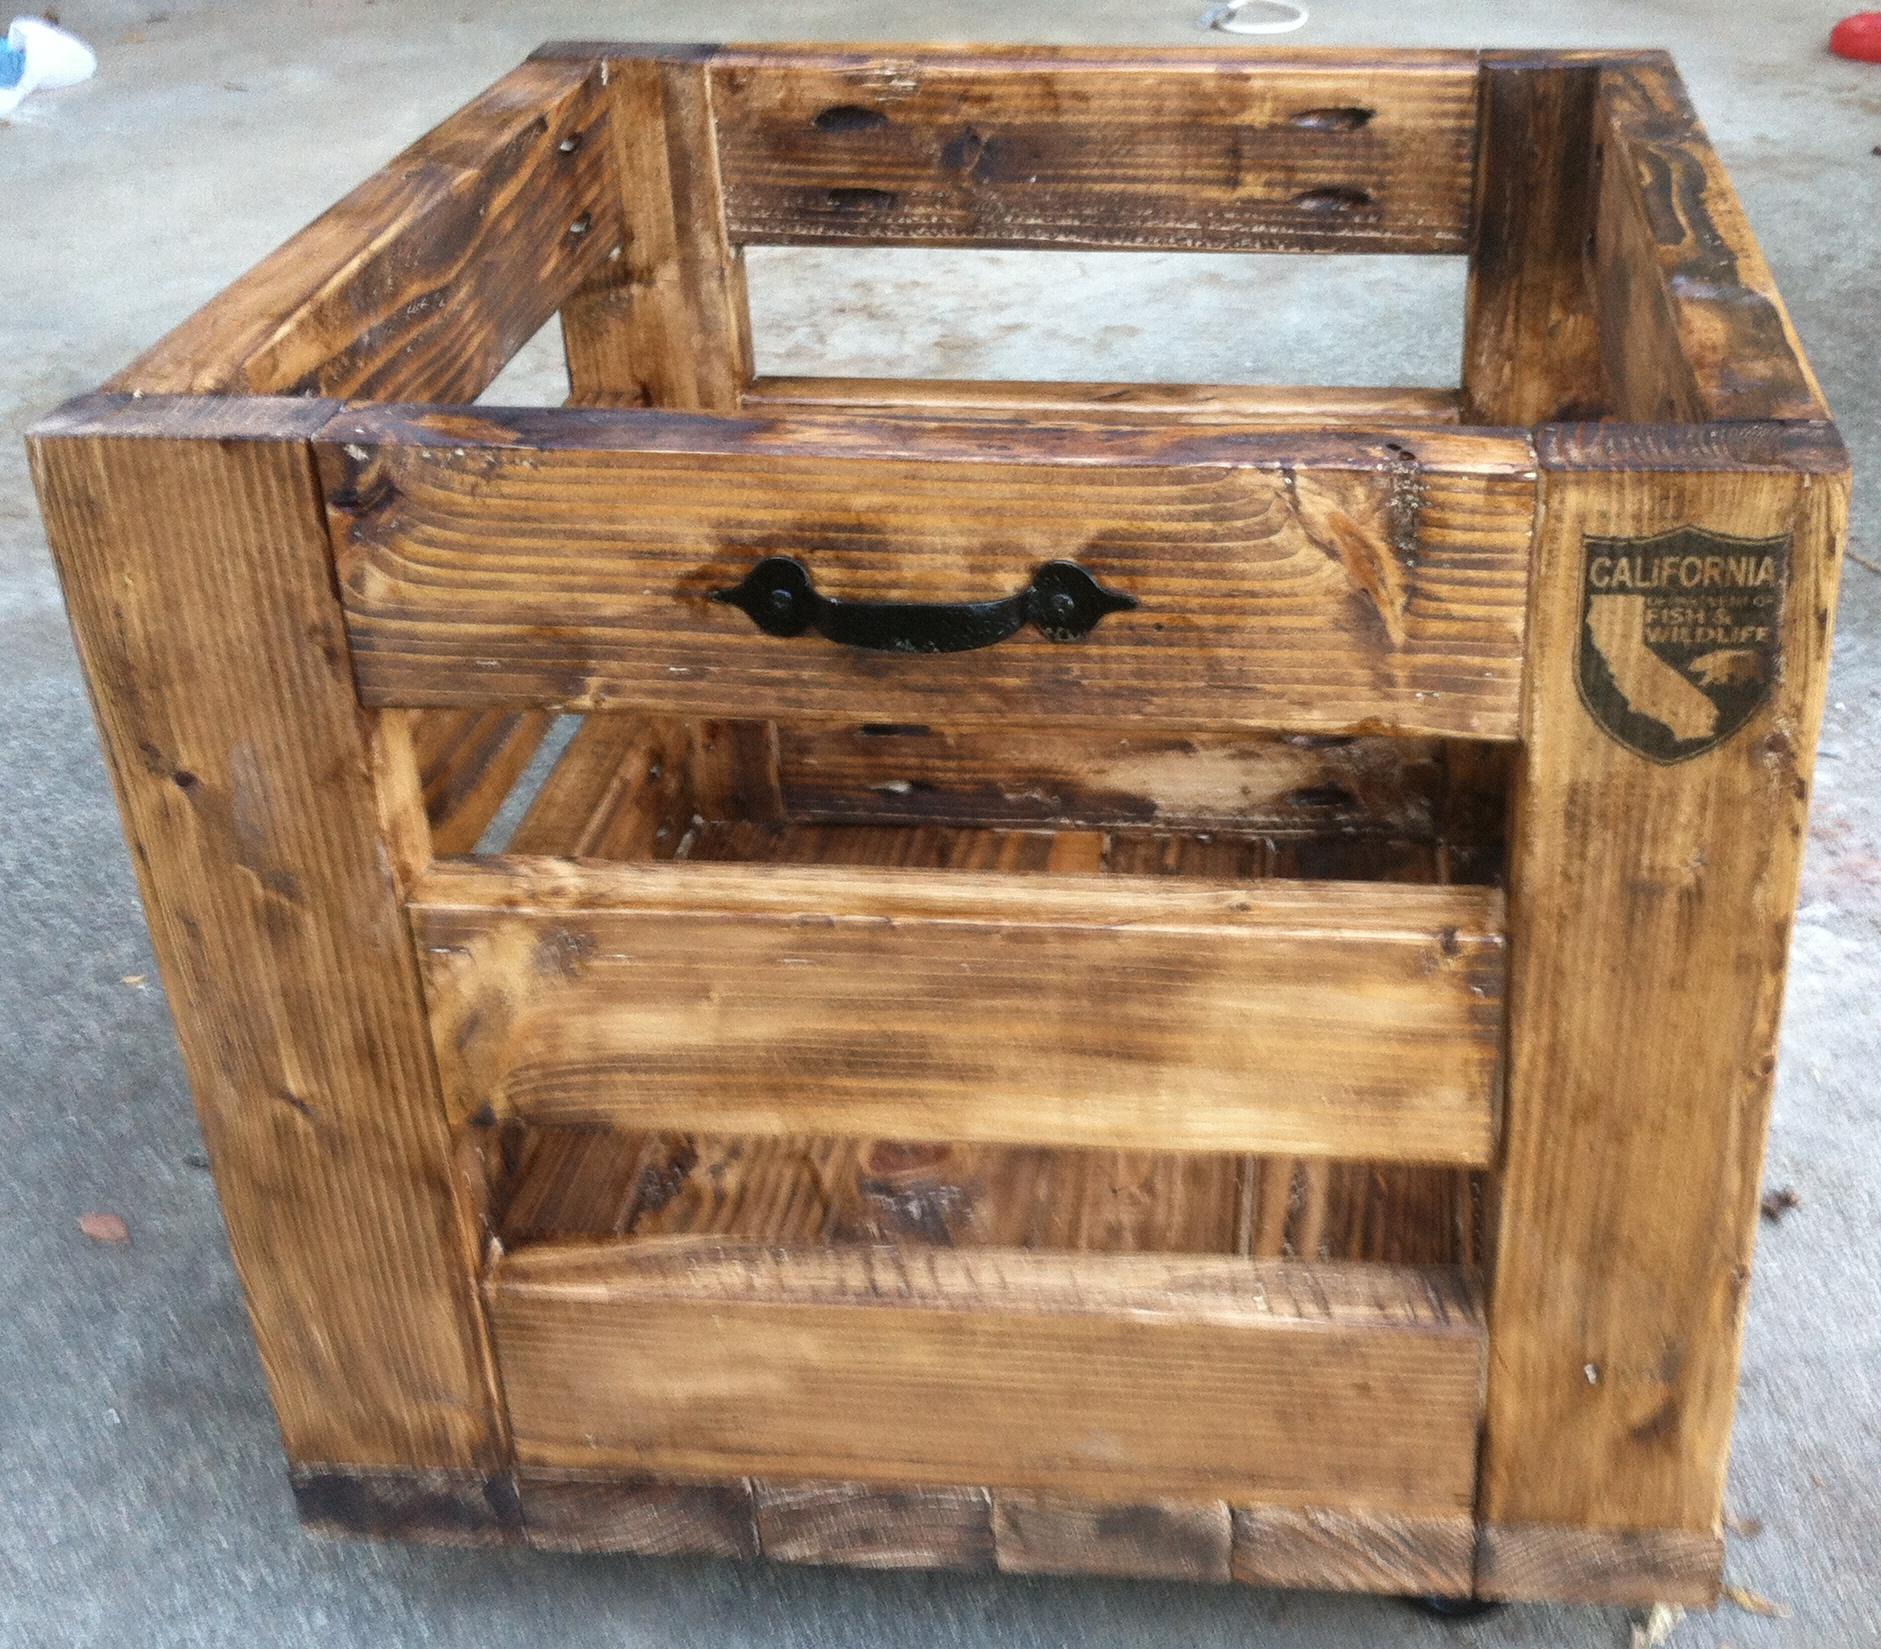
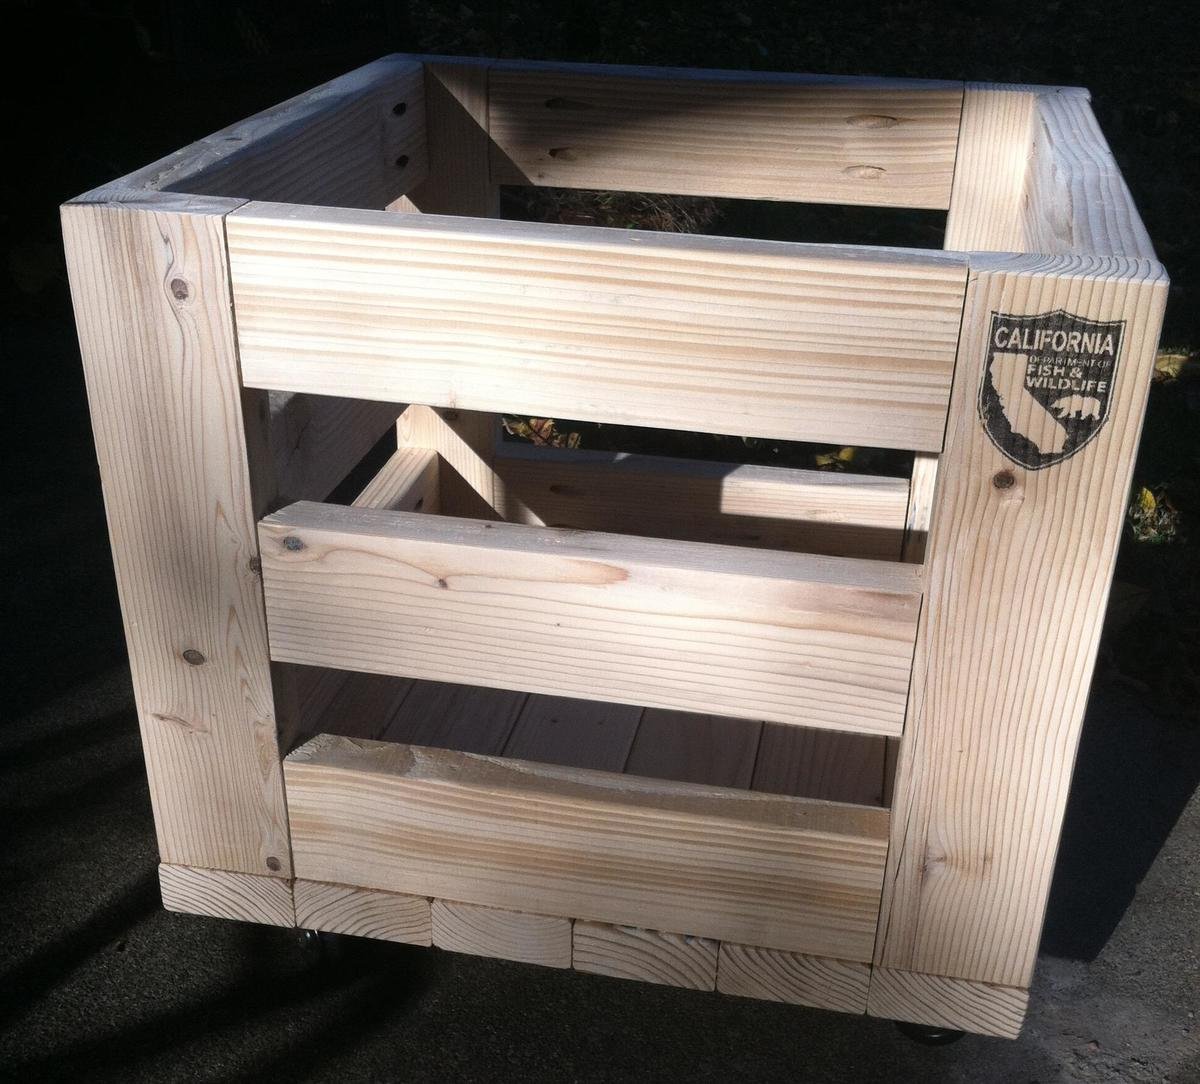
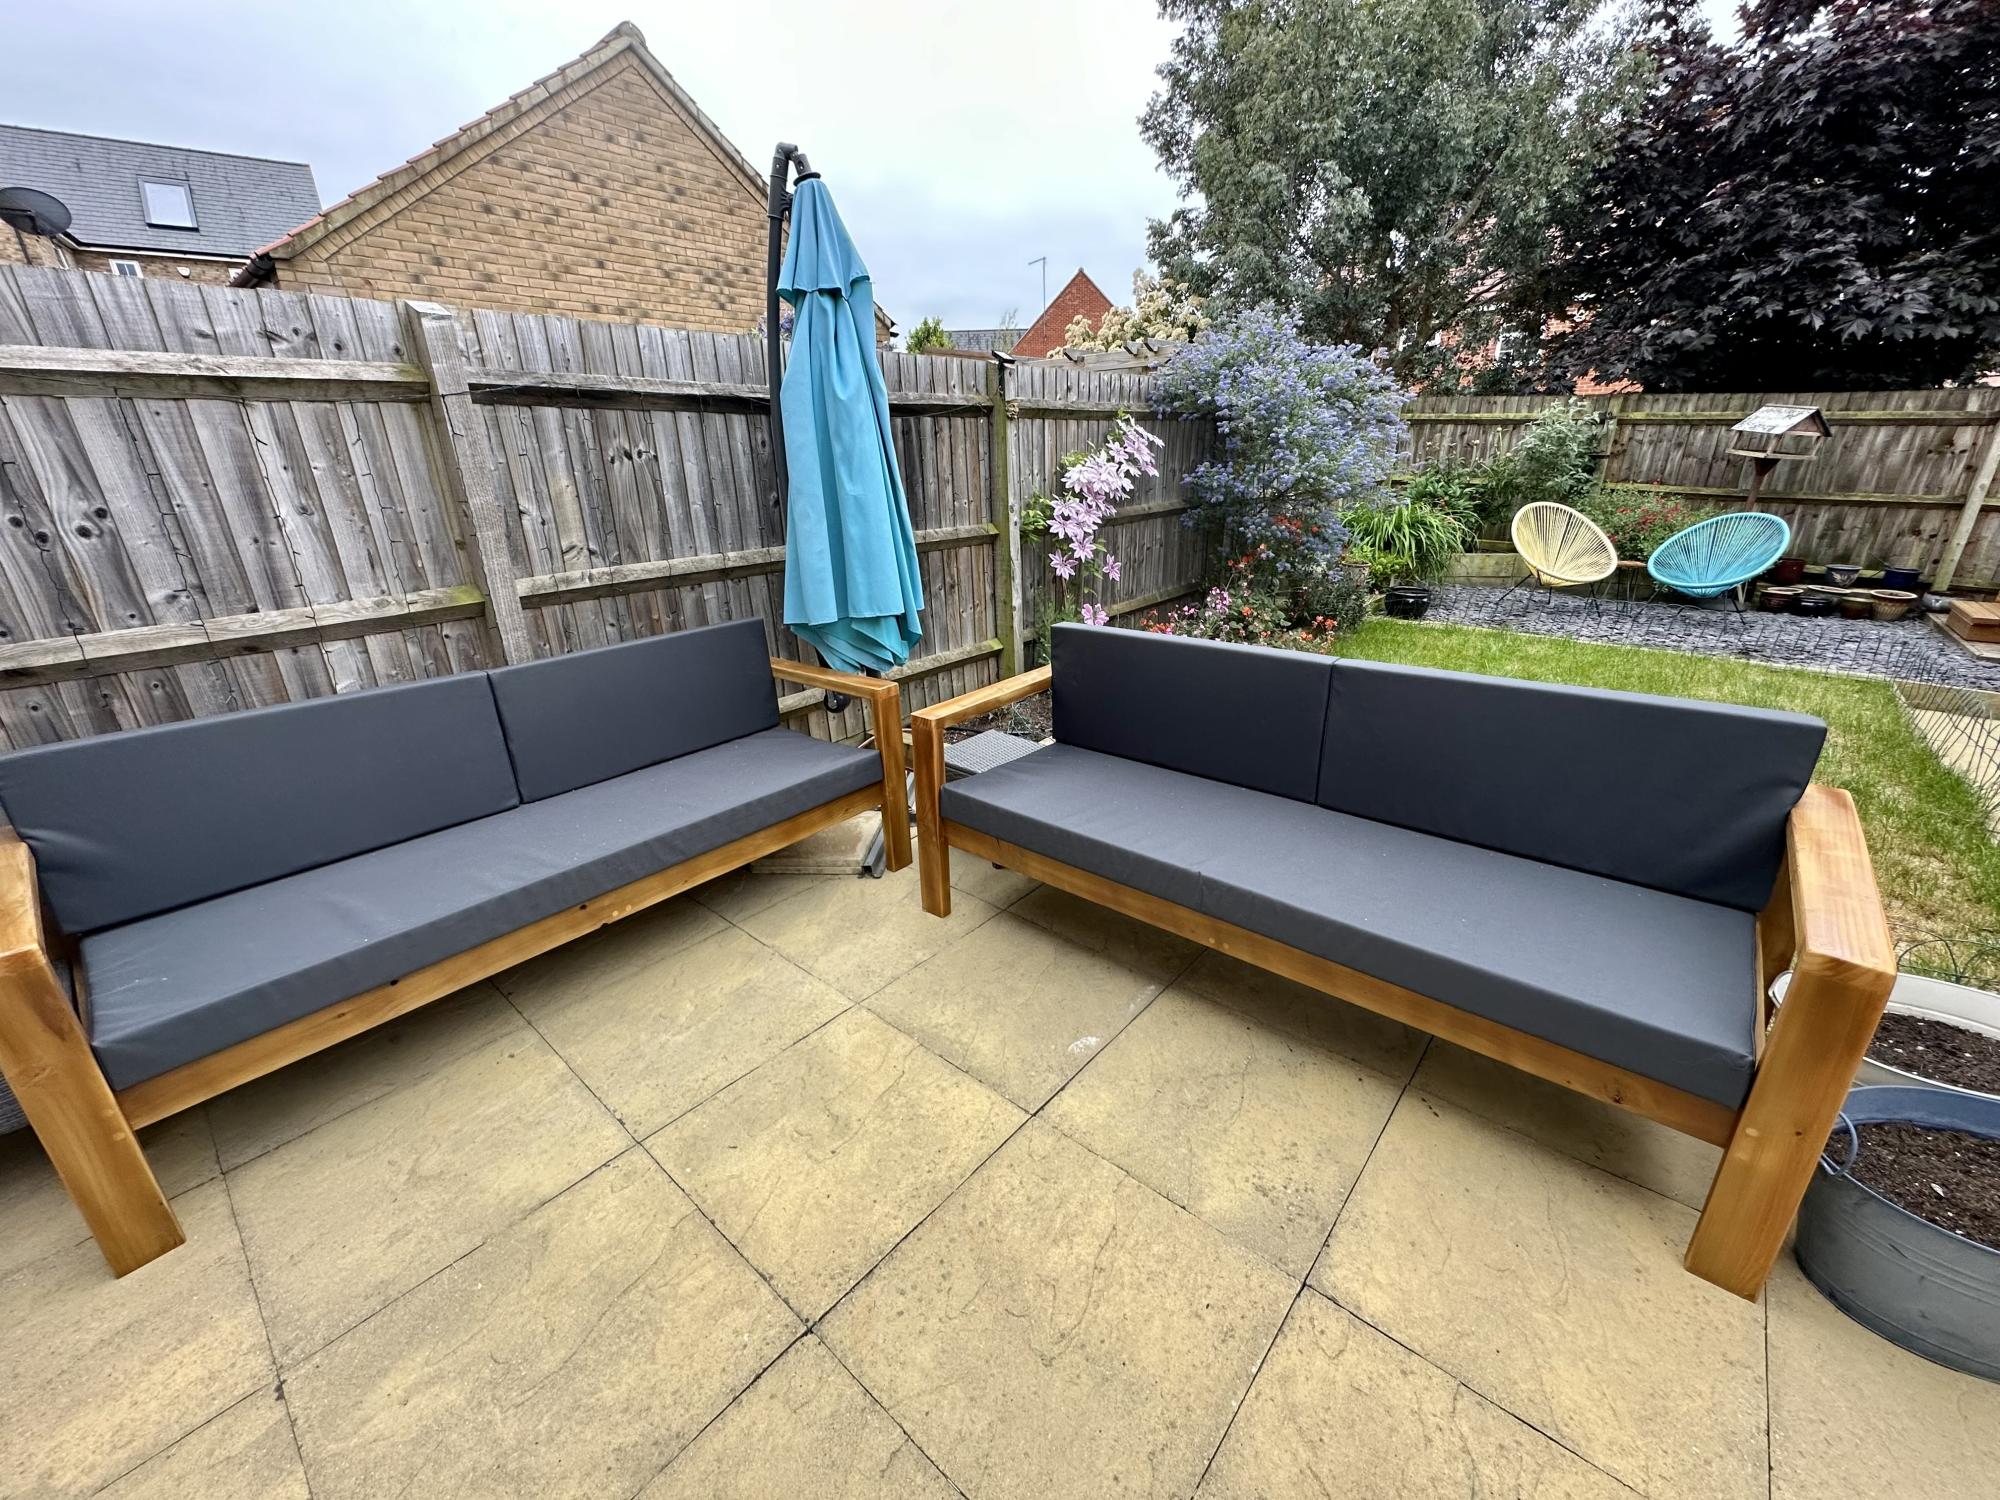
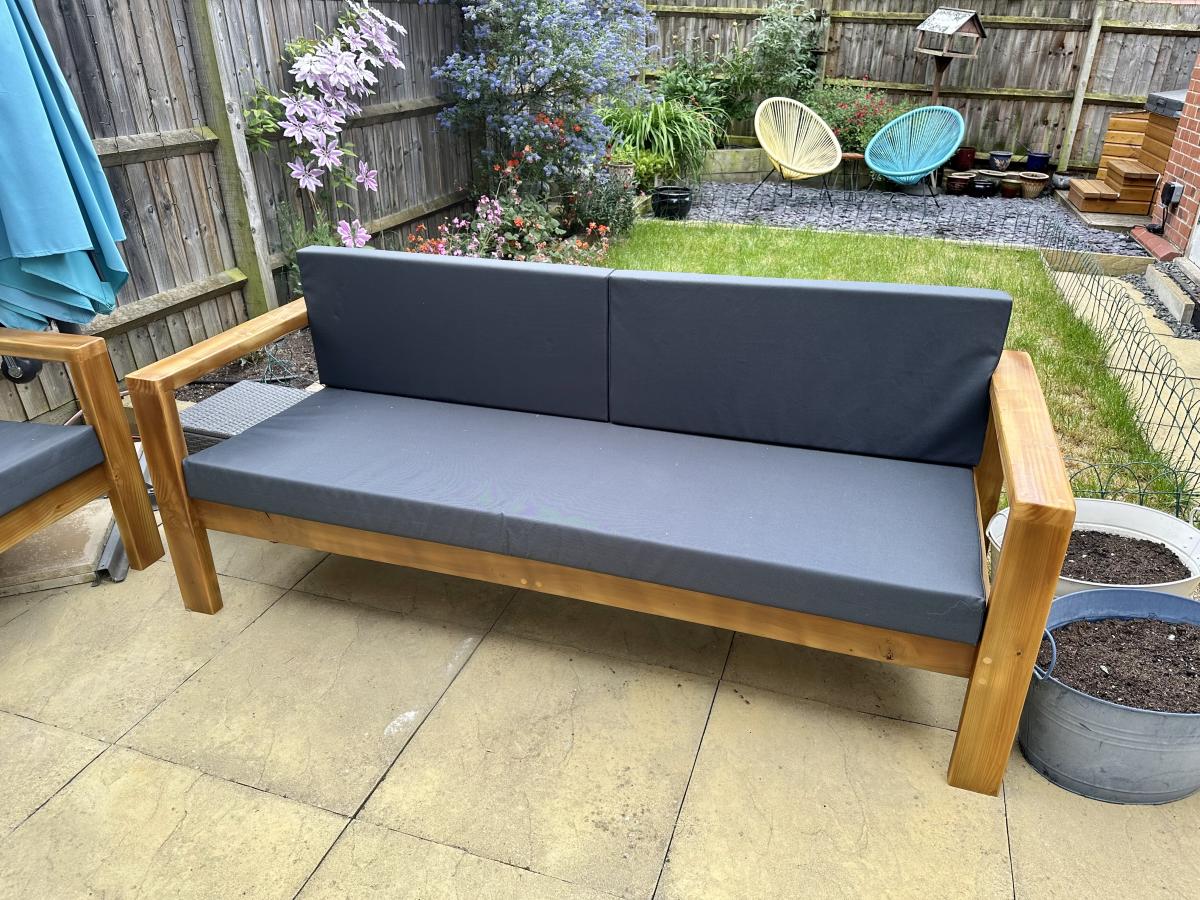
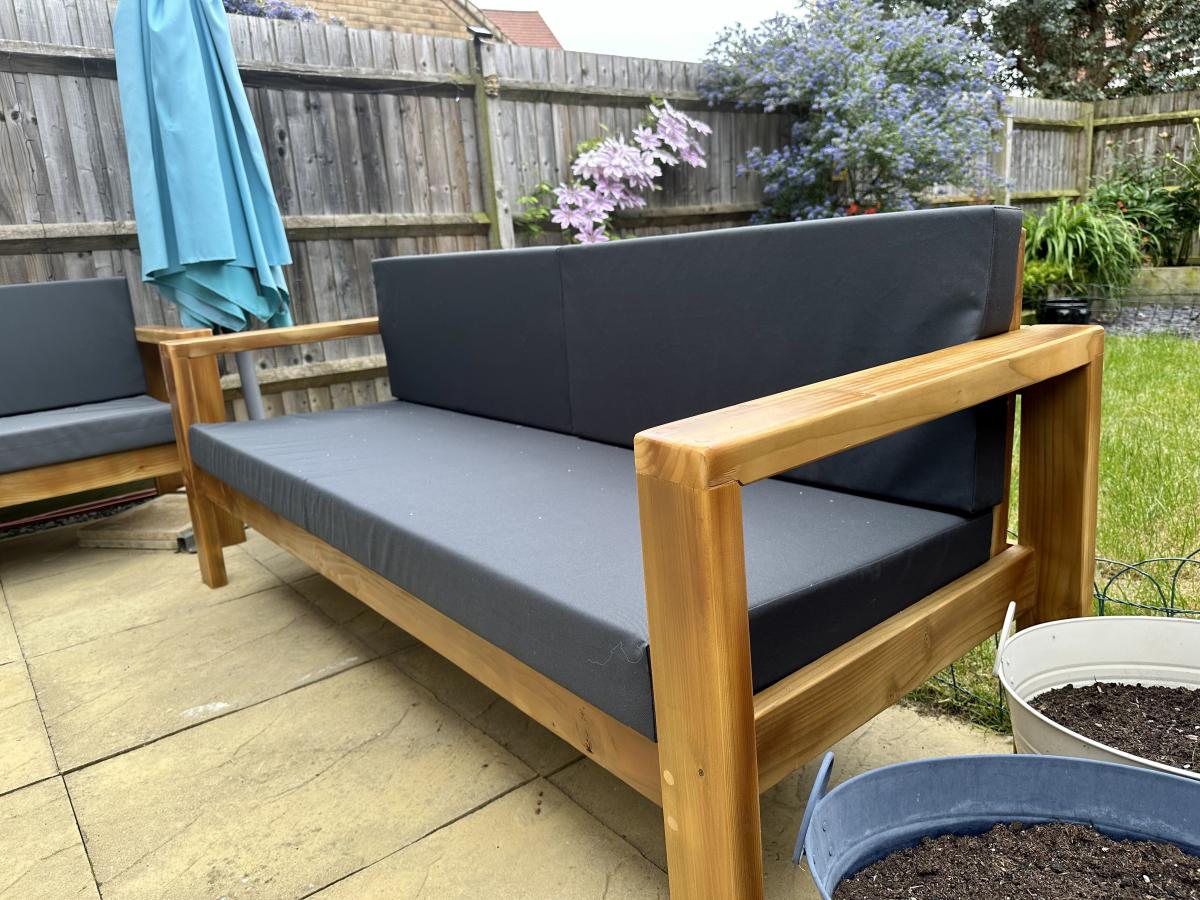
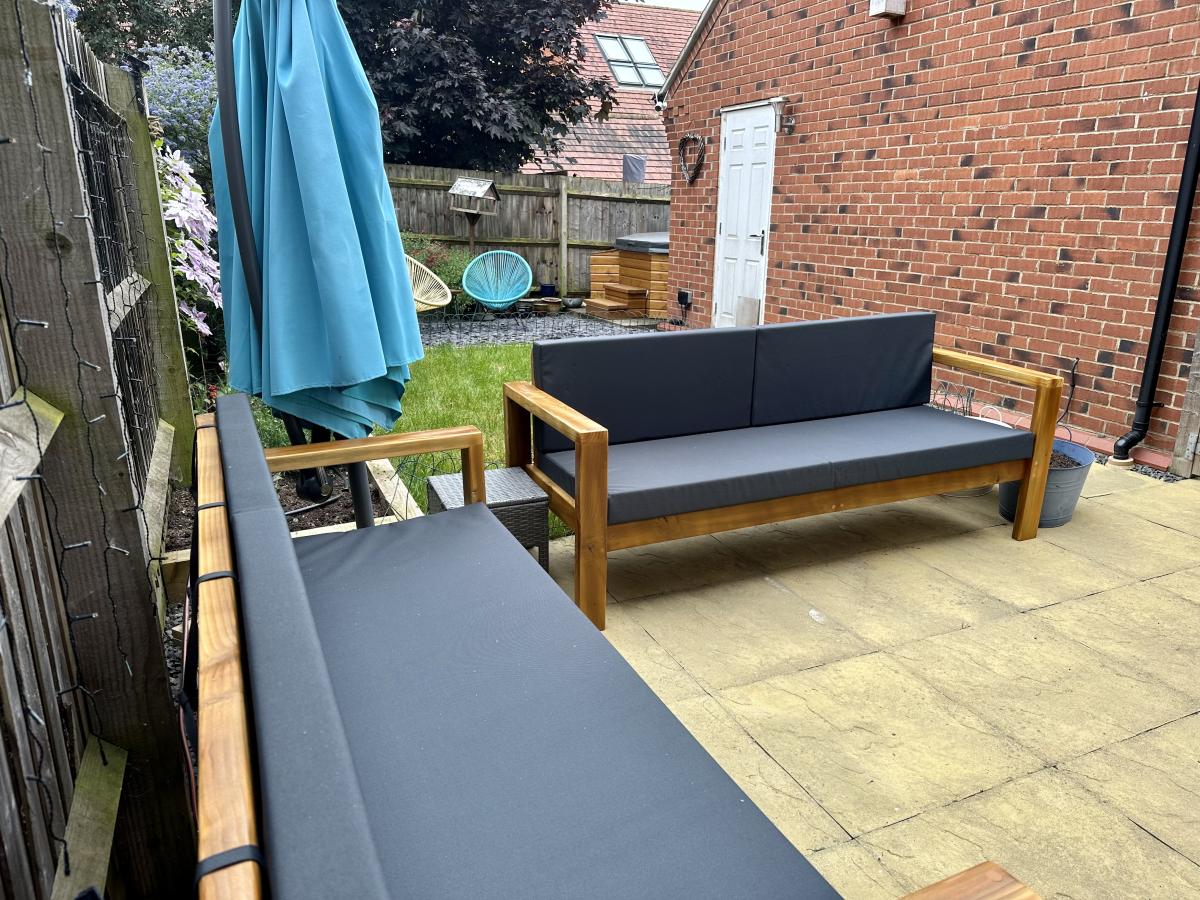
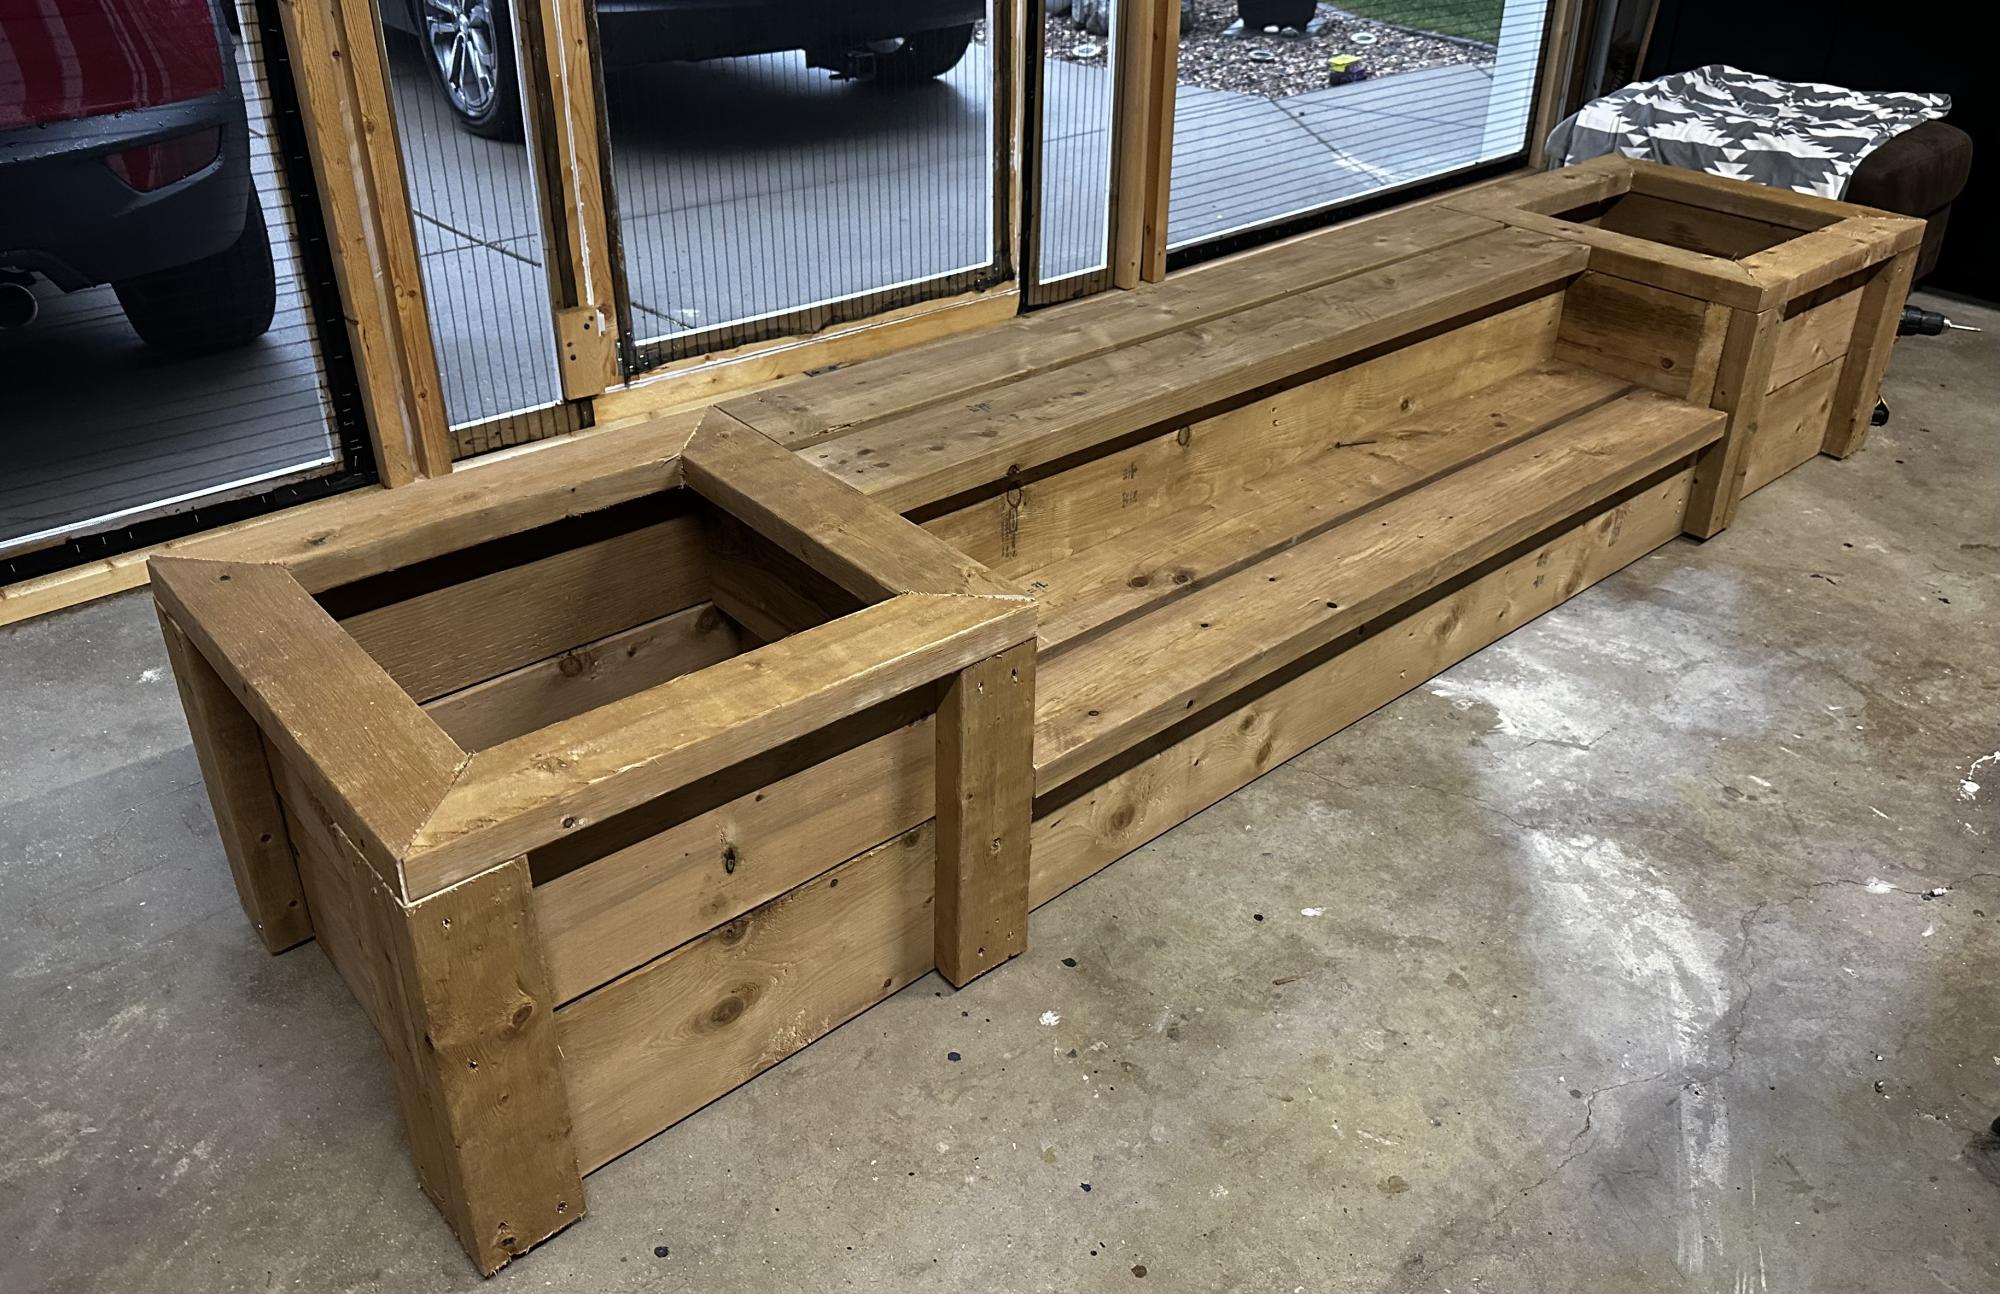
Front porch table

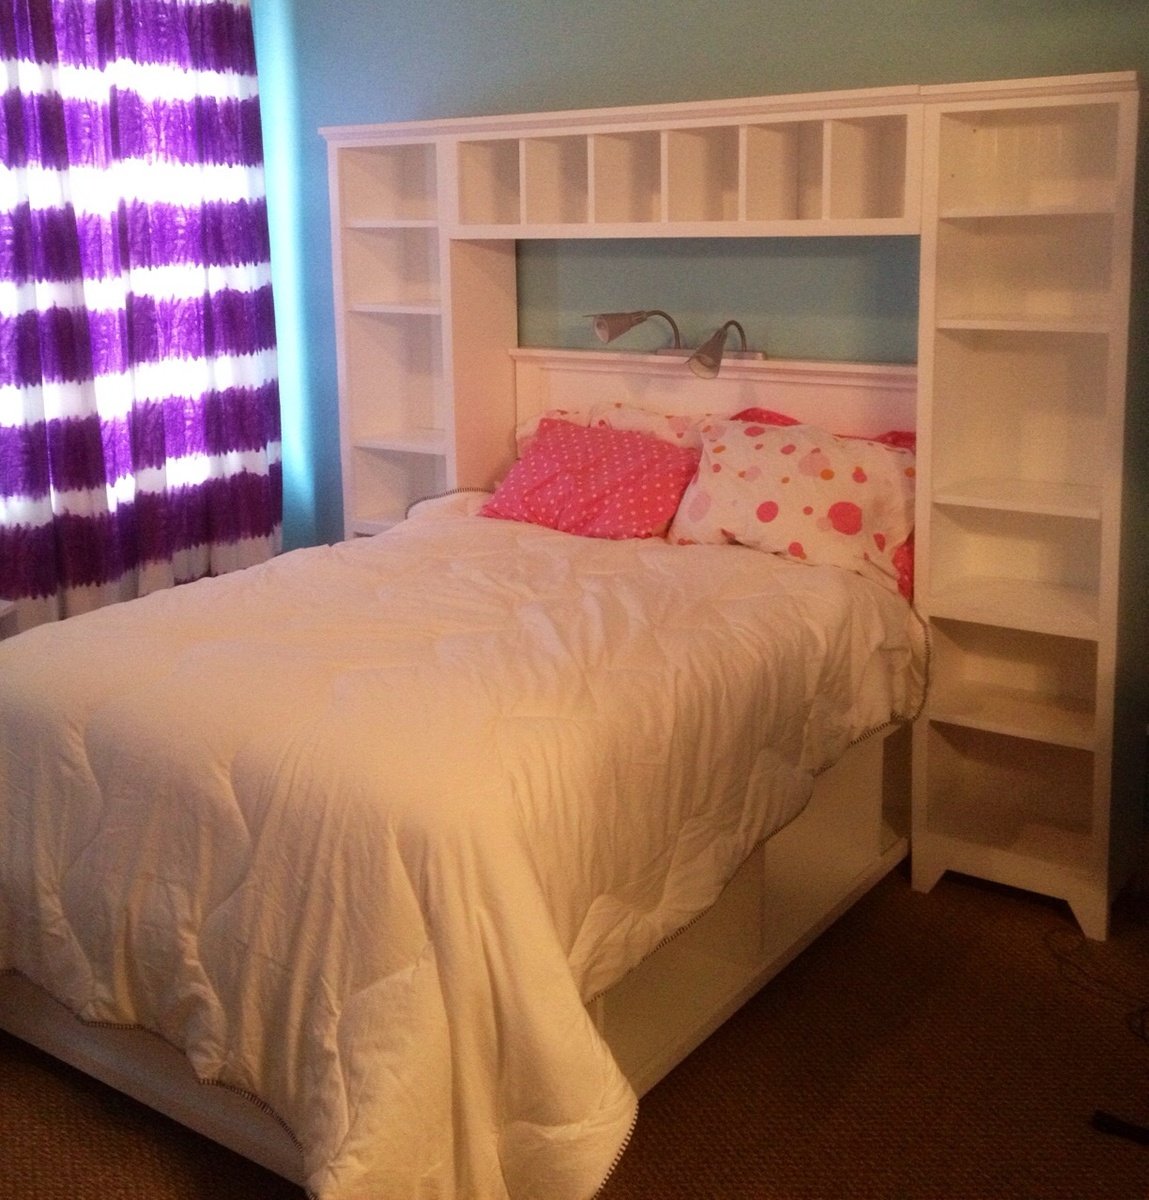
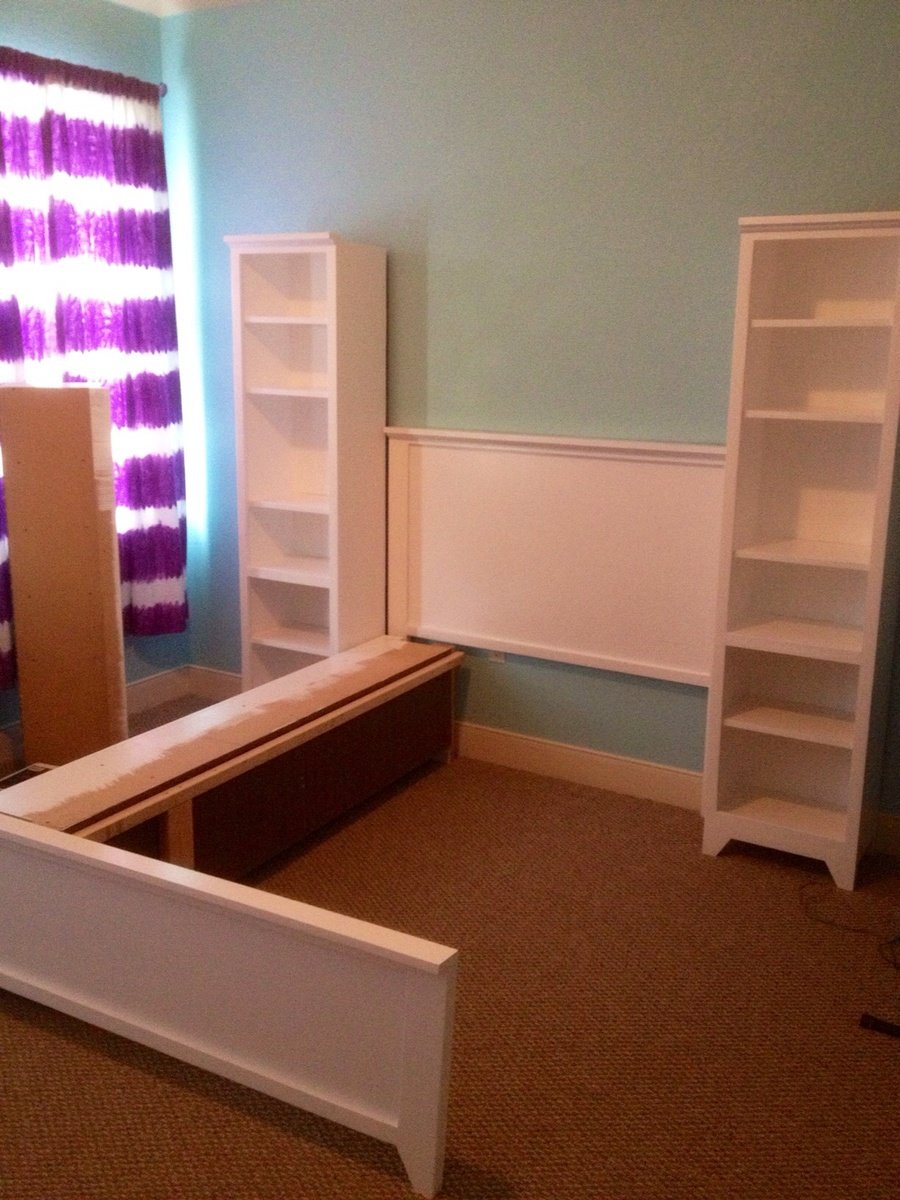
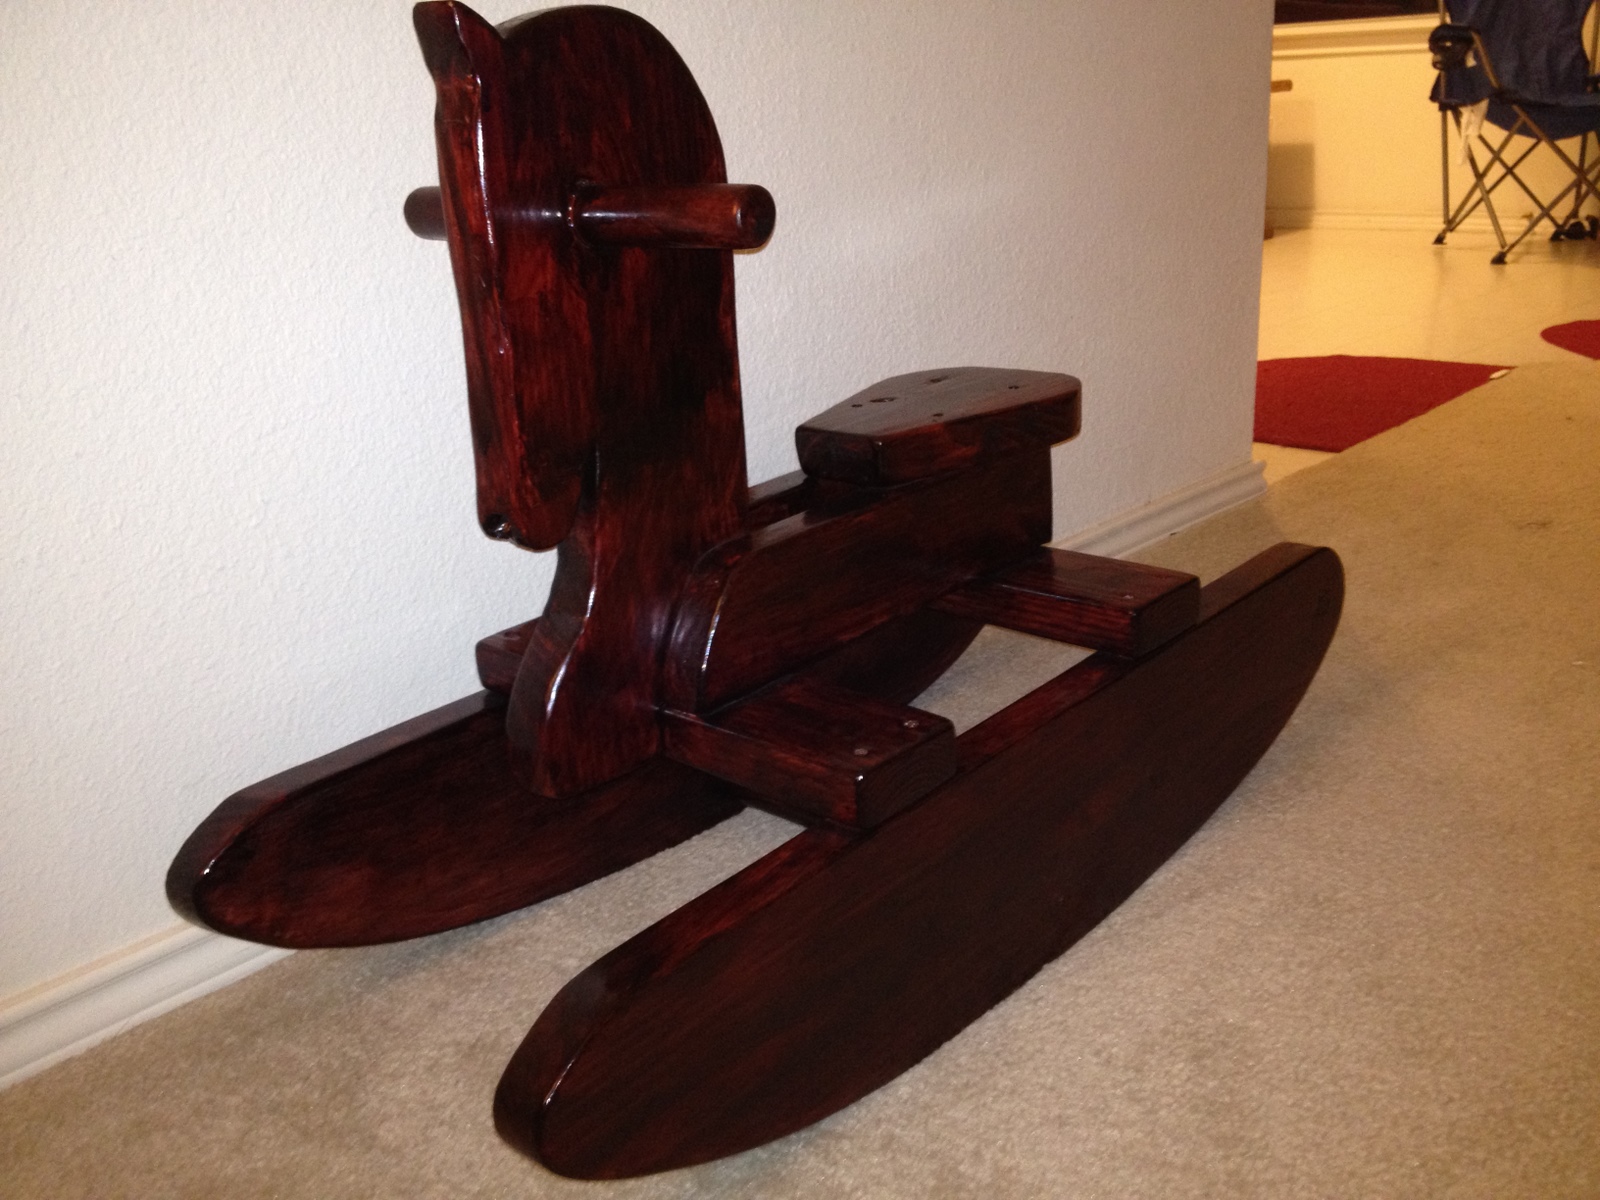
My father in law was a very good woodworker. He had a great shop with all the power tools anyone could want. He passed away 2 years ago and one day I went in his shop and remember thinking this woodworking could be sort of fun.
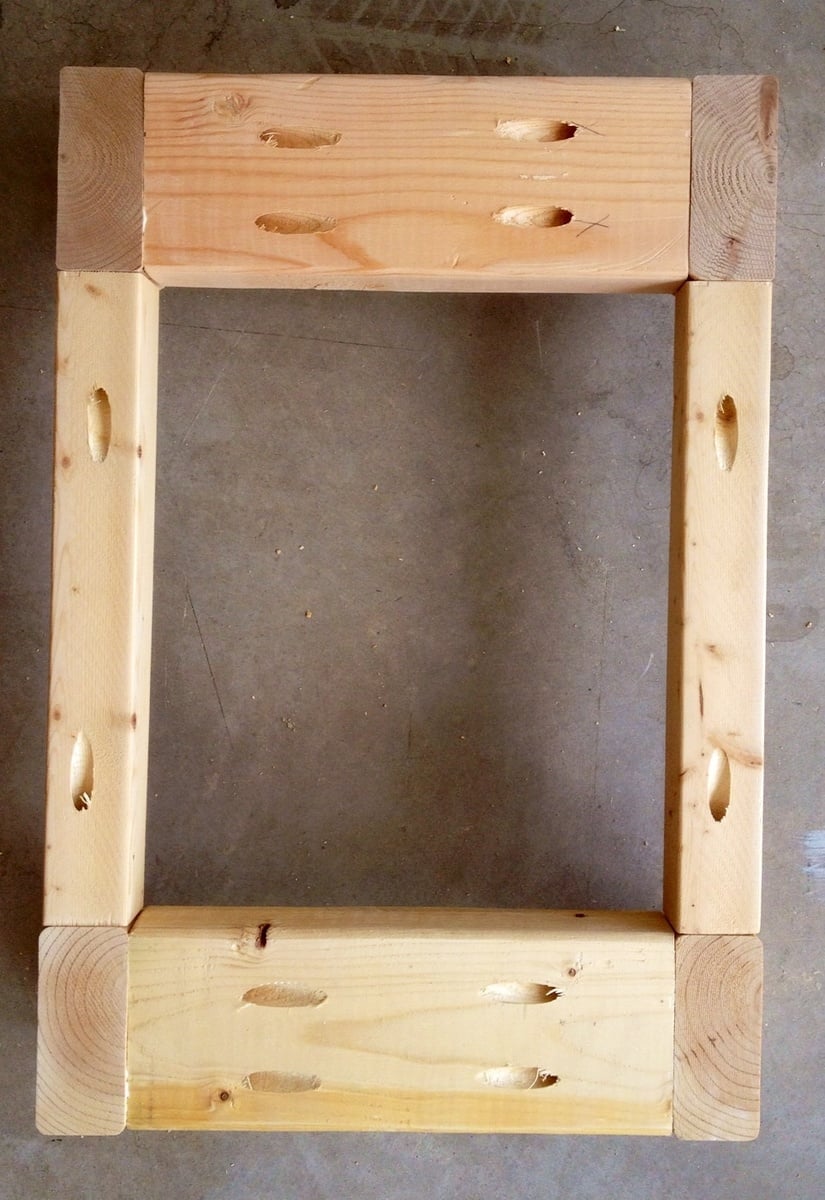
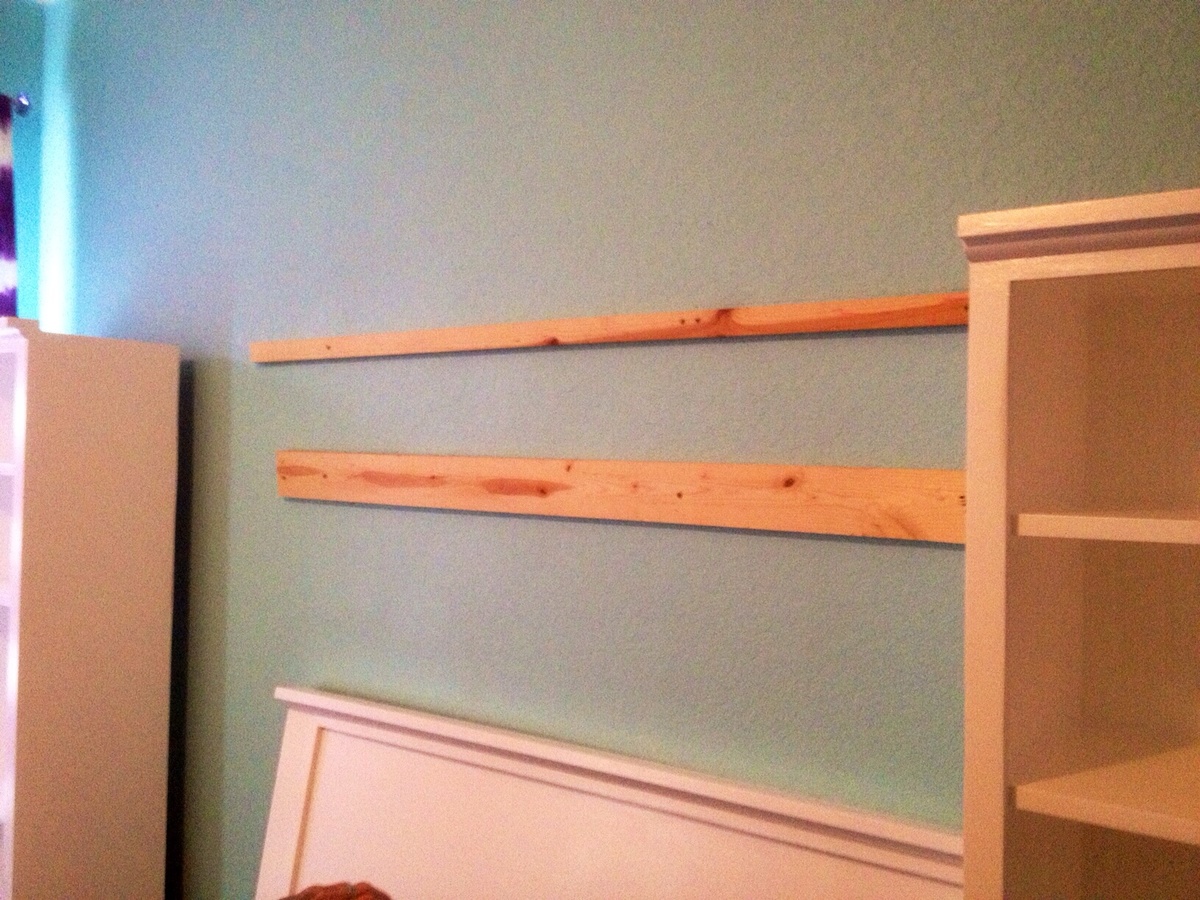
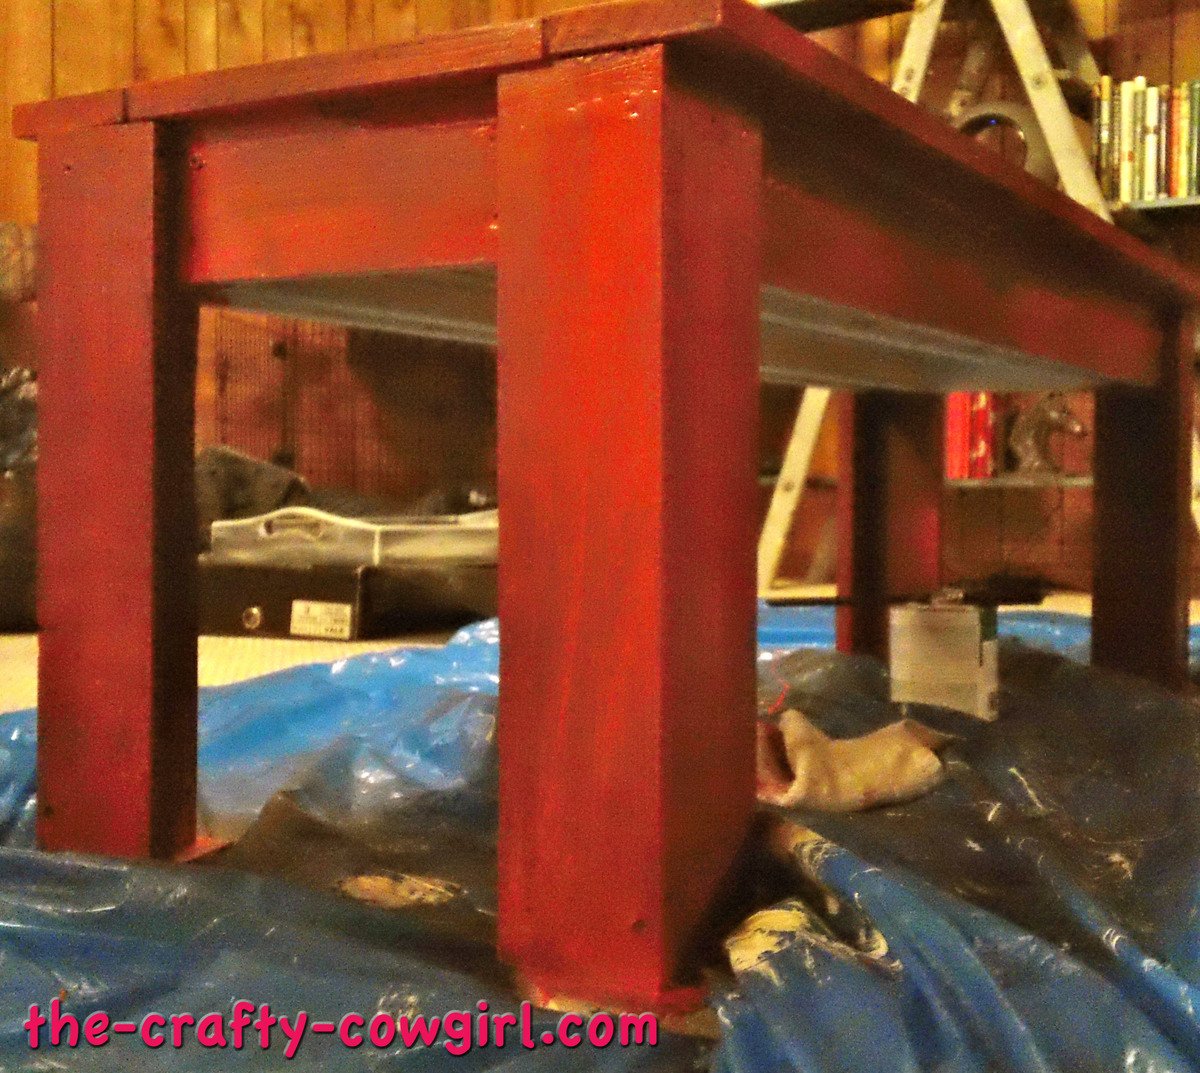
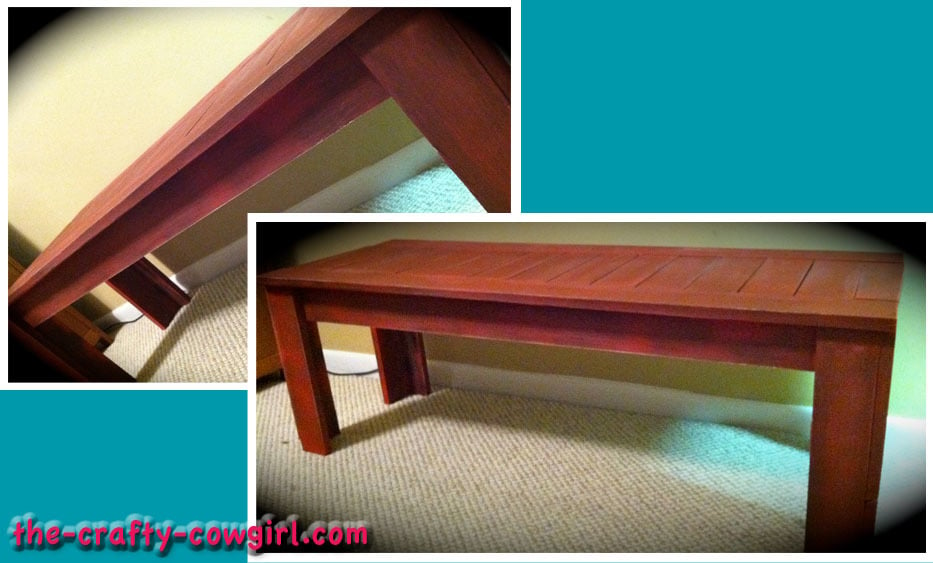
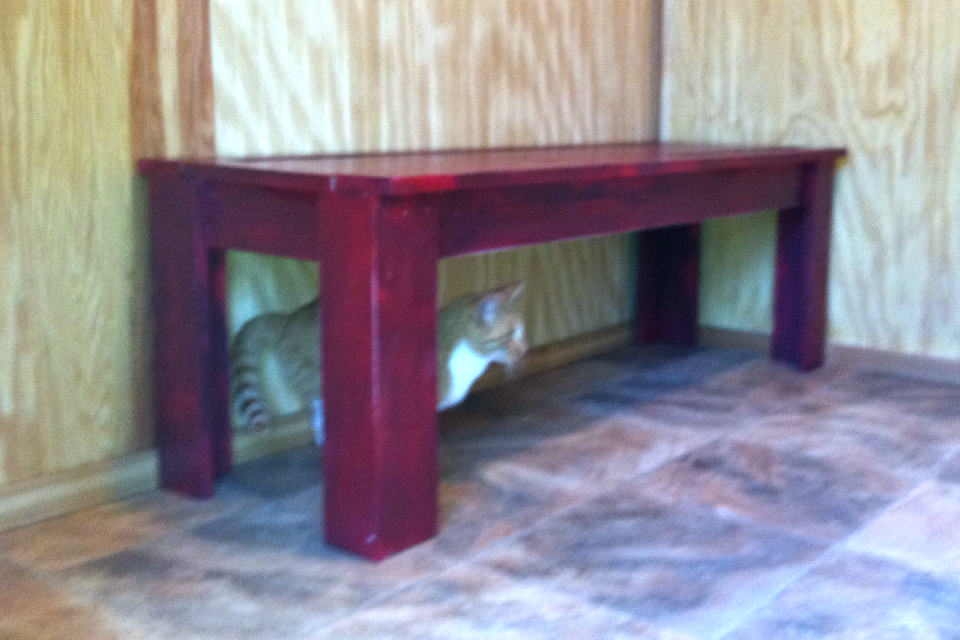
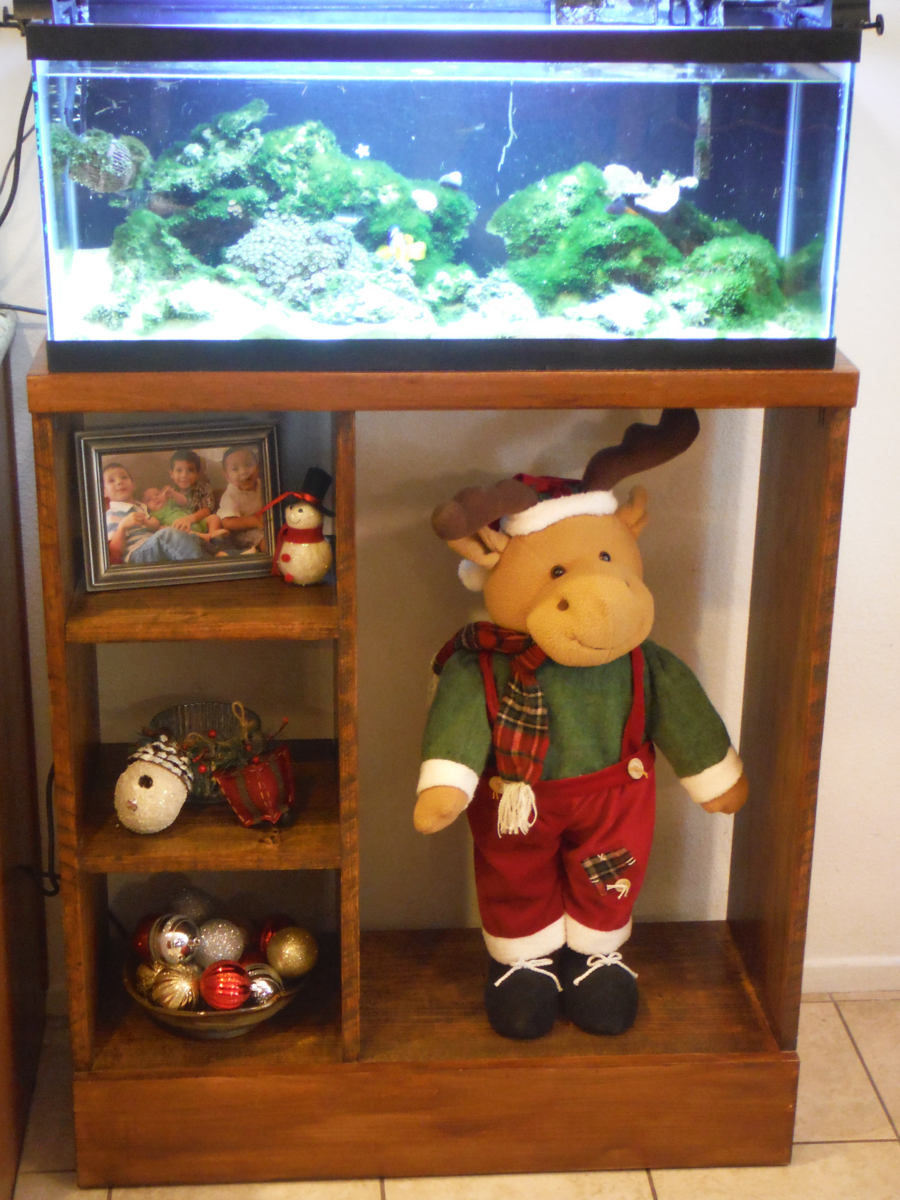
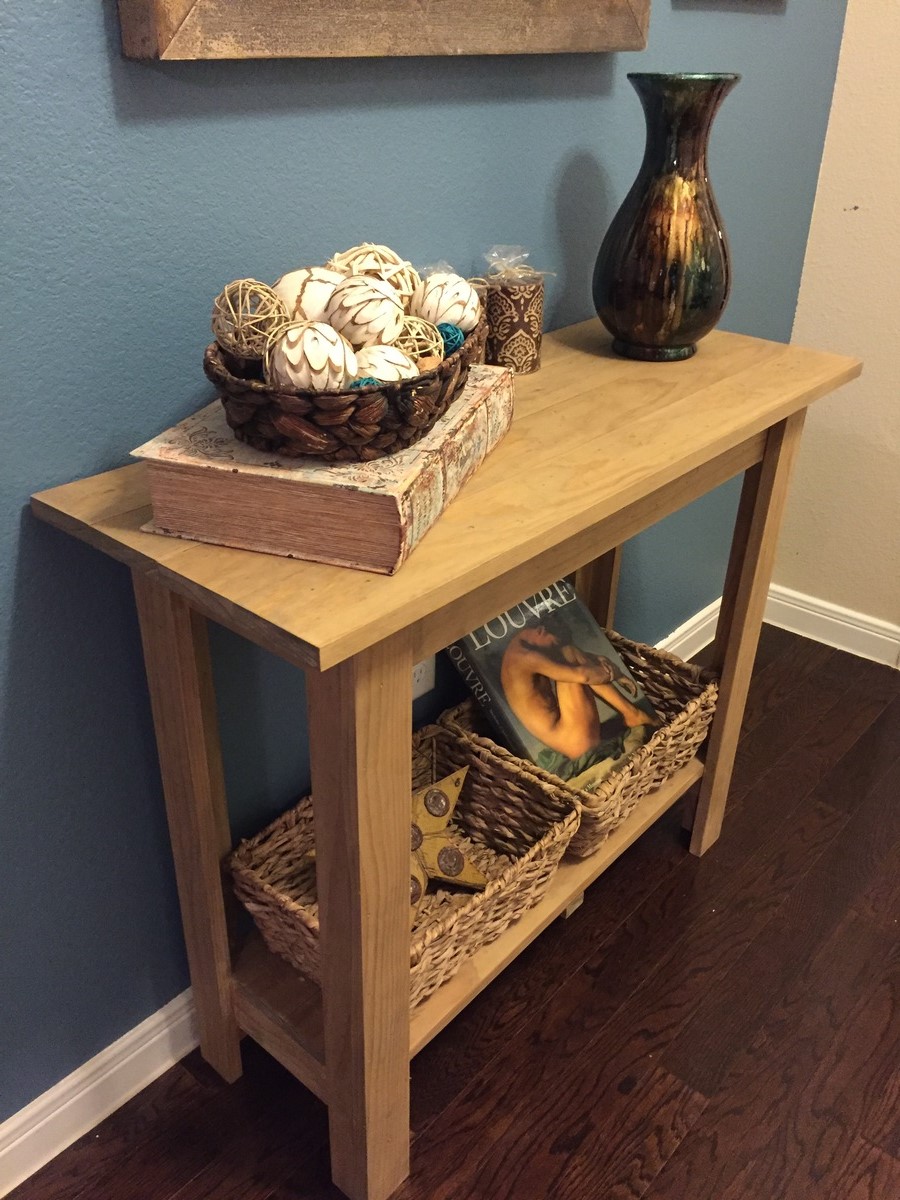
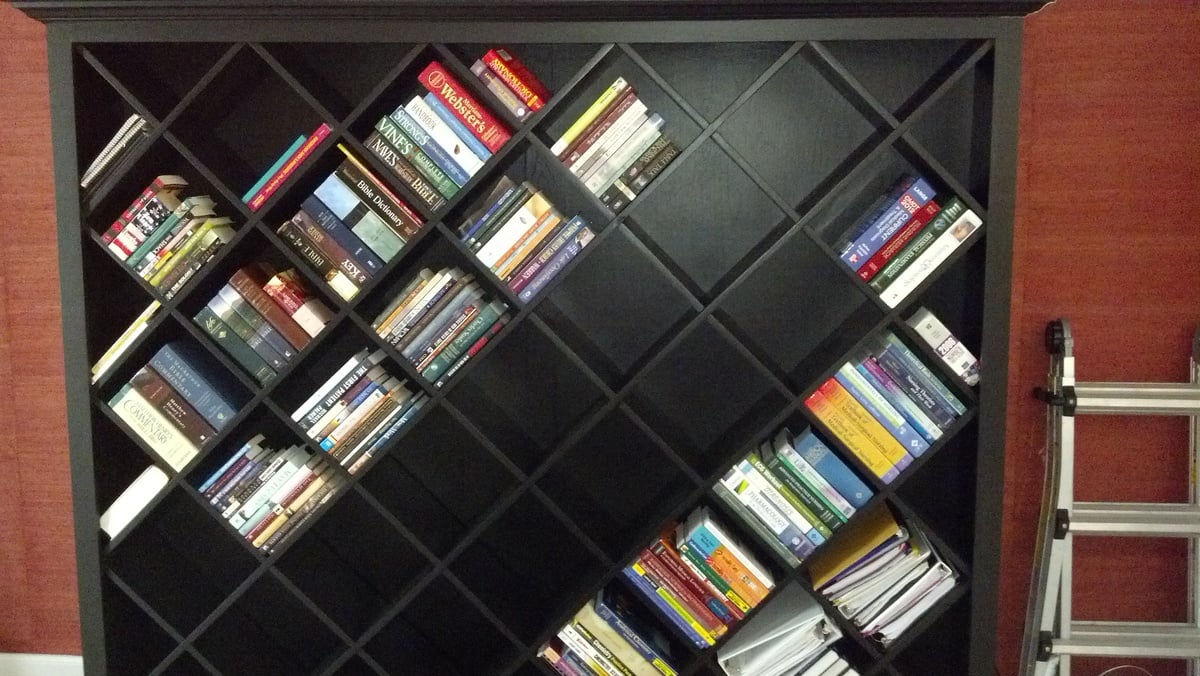
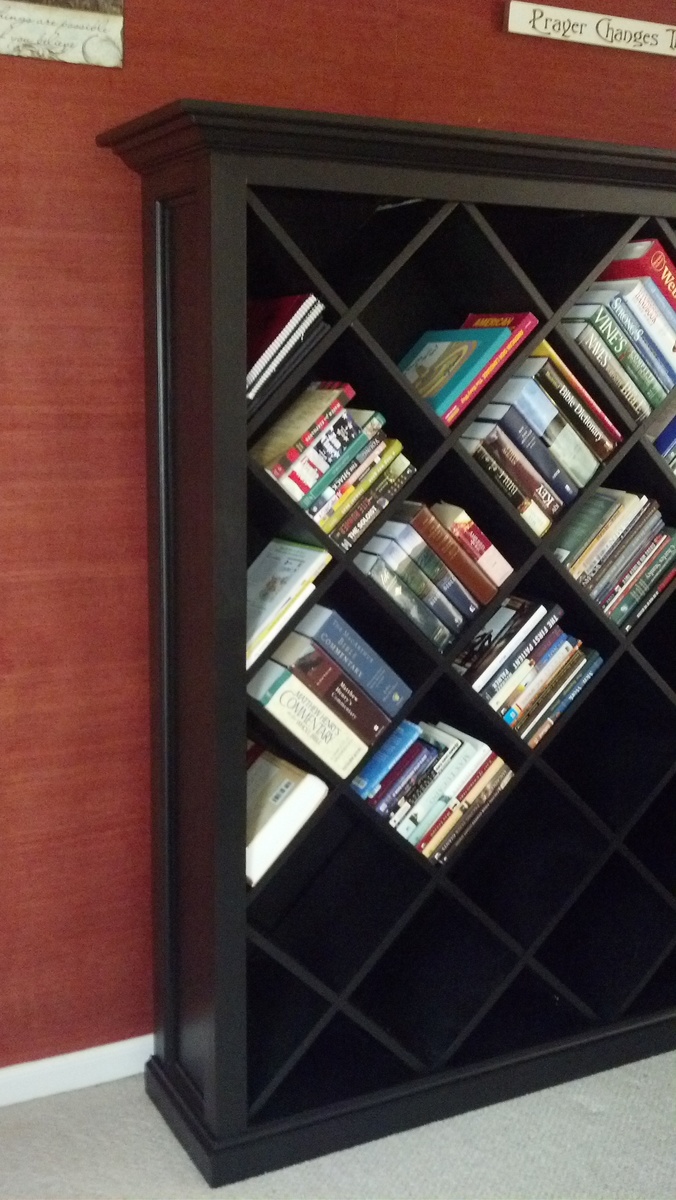
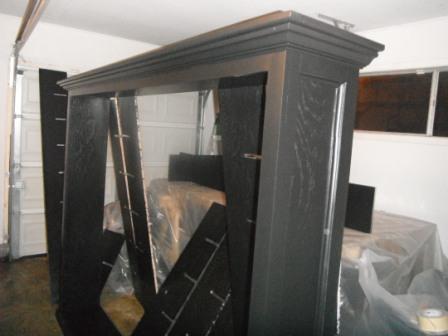
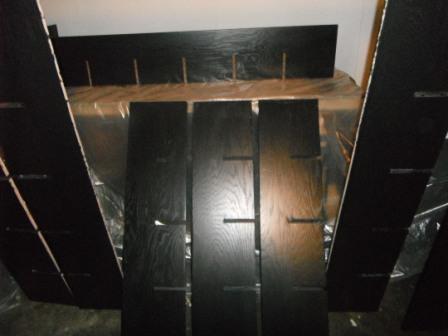
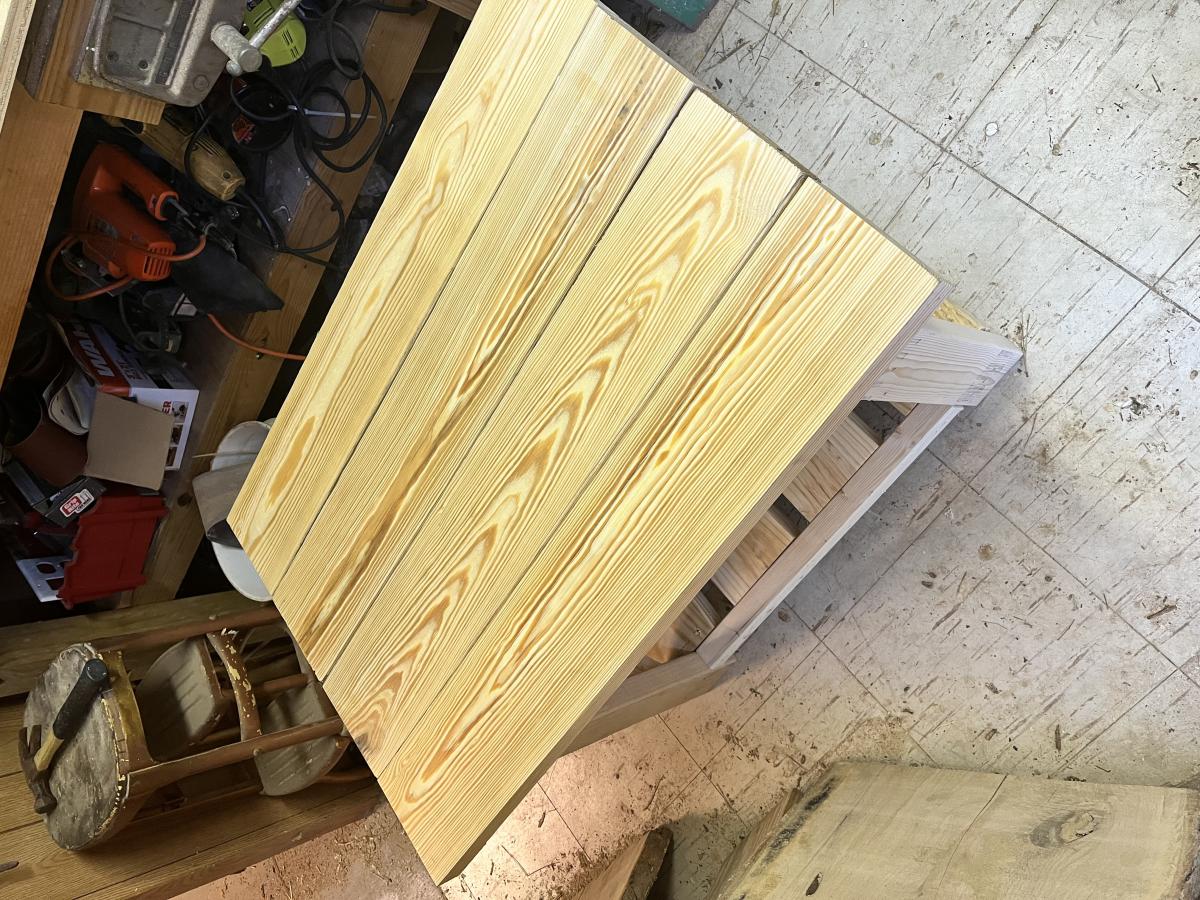
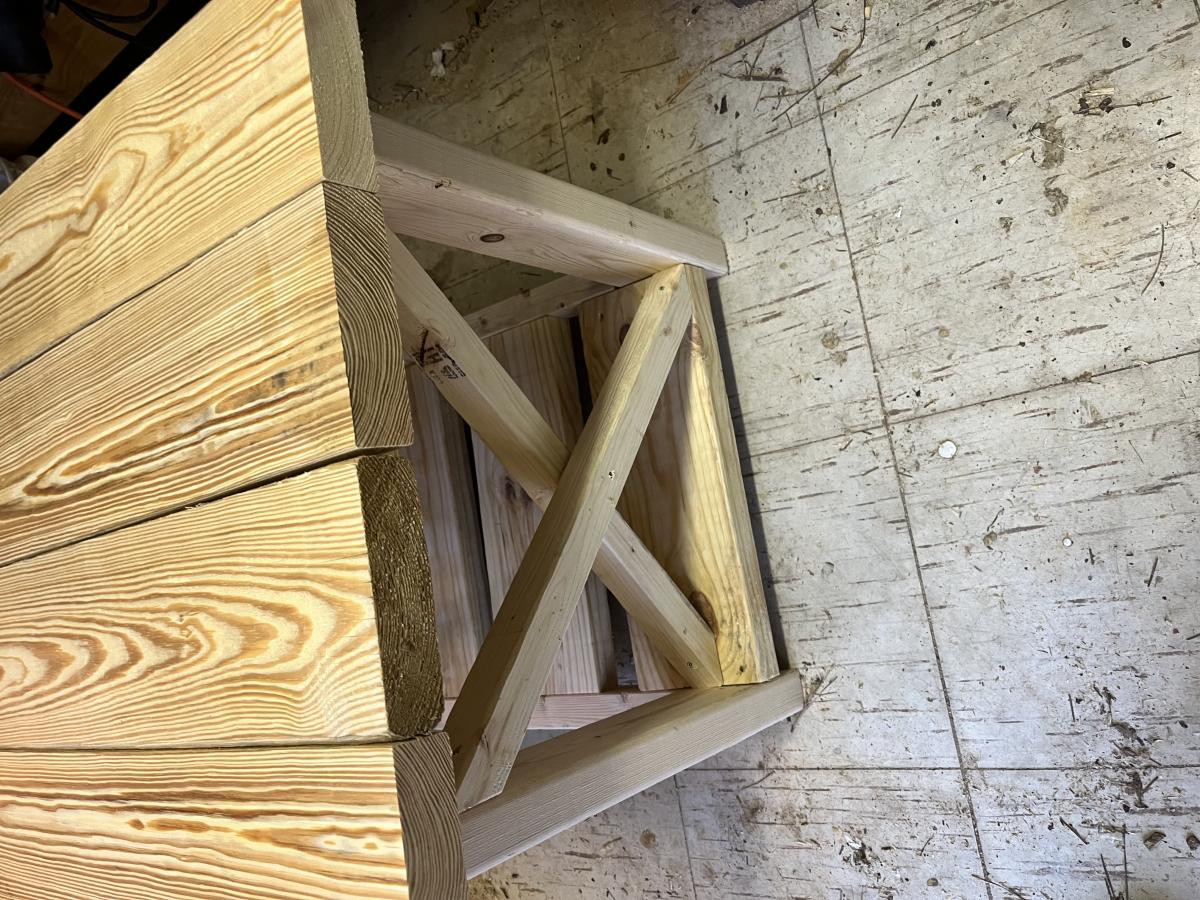
I searched the internet and came across the Ana White instructional site. Your site and instructional videos have helped me so much. The photos attached are my first attempt at furniture making. I used and modified one of your plans for this piece of furniture. It was SO helpful. Thank you for making these videos and plans available for those that are leaning this craft.
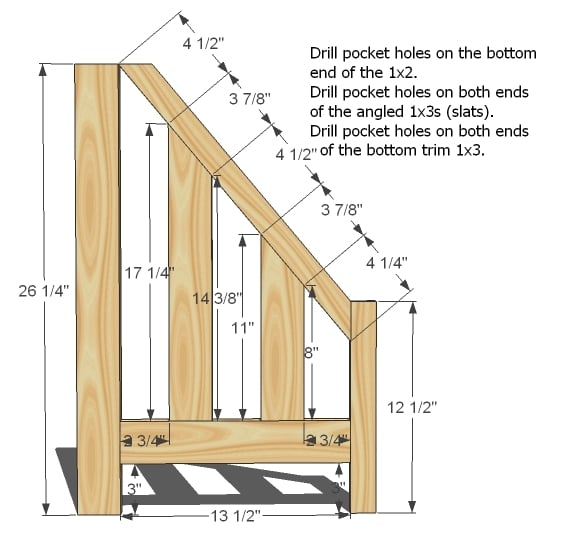
Built from Plan(s)