Community Brag Posts
ten dollar ledges
theses are the $10 ledges, i used 1 1x4, 1 1x6, and 1 1x2. i made a total of four which measured 2ft long. it was very easy to do, and was pretty fast, and really cheap
Comments
Man Crate Mini
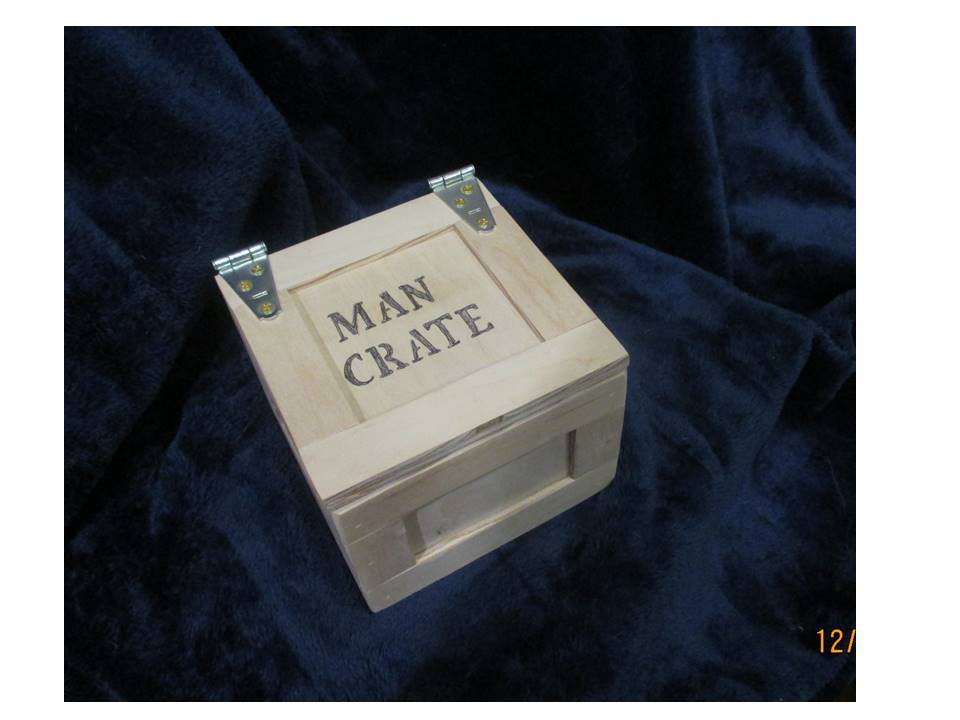
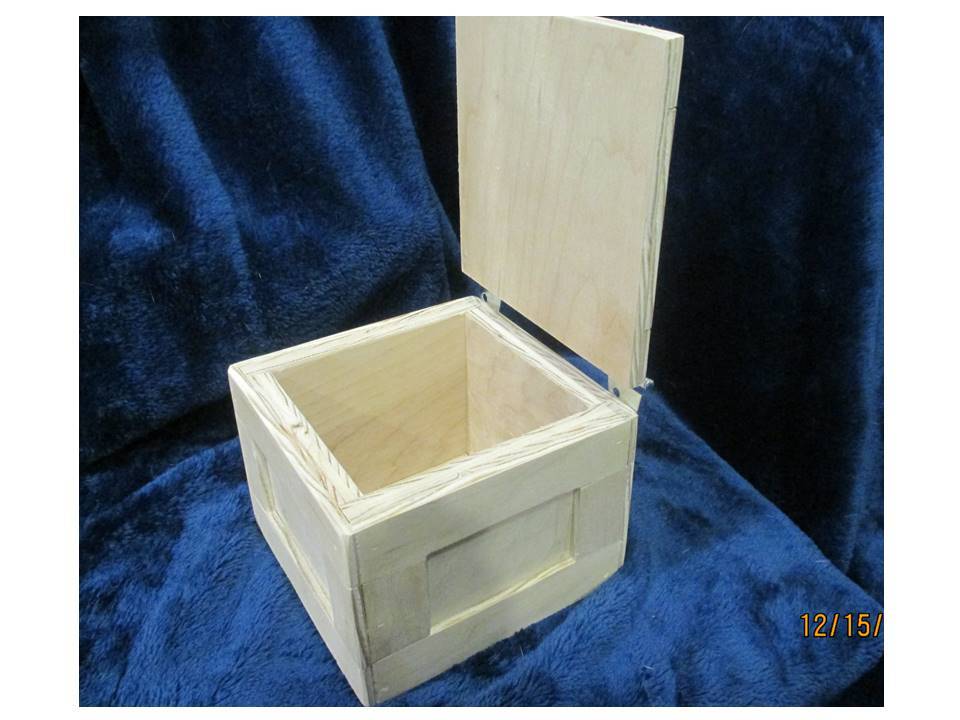
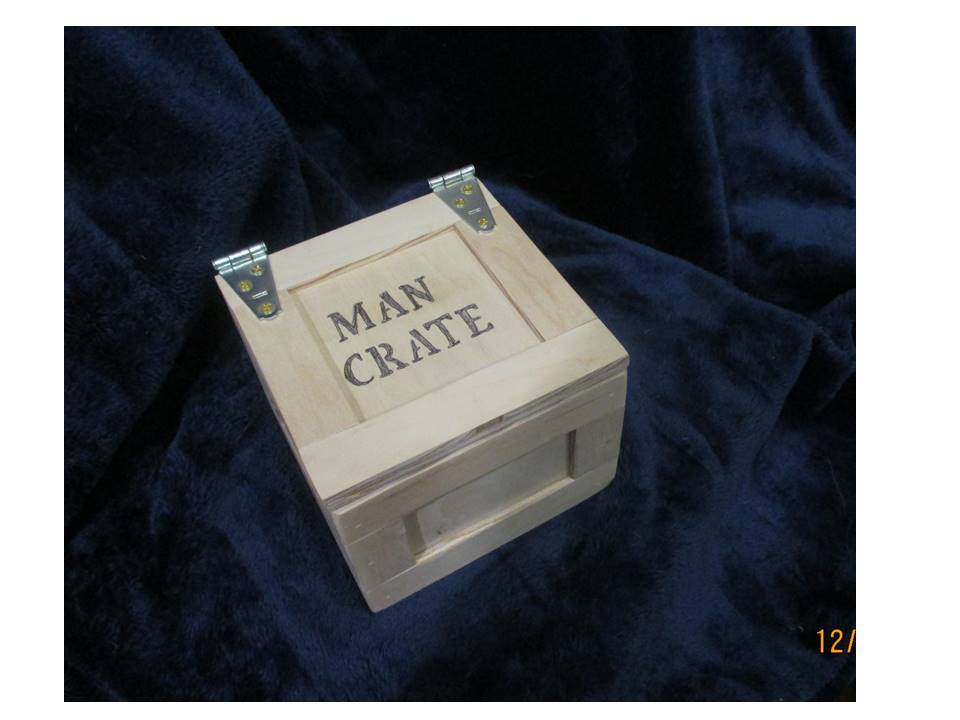
This is a miniature version of the Man Crate, measuring 6” x 6” x 4 ¾” tall, made from 1/2" and 1/4" scrap birch plywood, with added hinges to make a lift-up top.
This is going to be a gift - - I’m going to send it filled with candy.
Playhouse Loft Bed
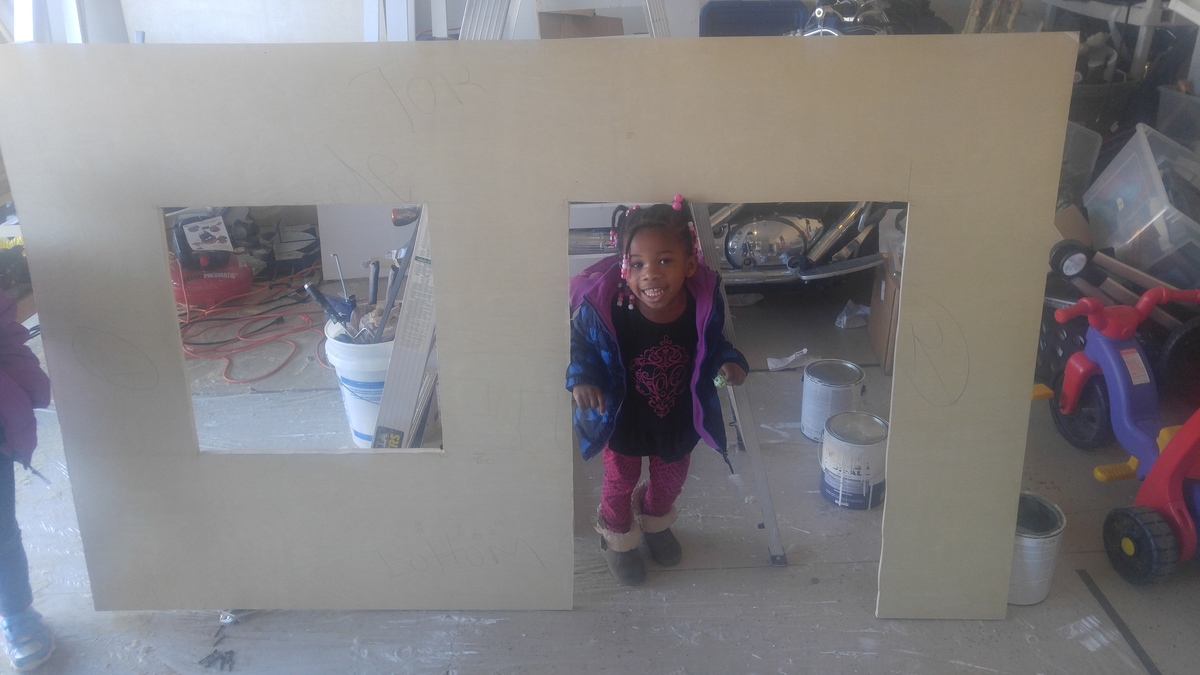
The girls and I are all in! We just started our build for the Playhouse Loft Bed. Wish us luck!
AlphaPilot
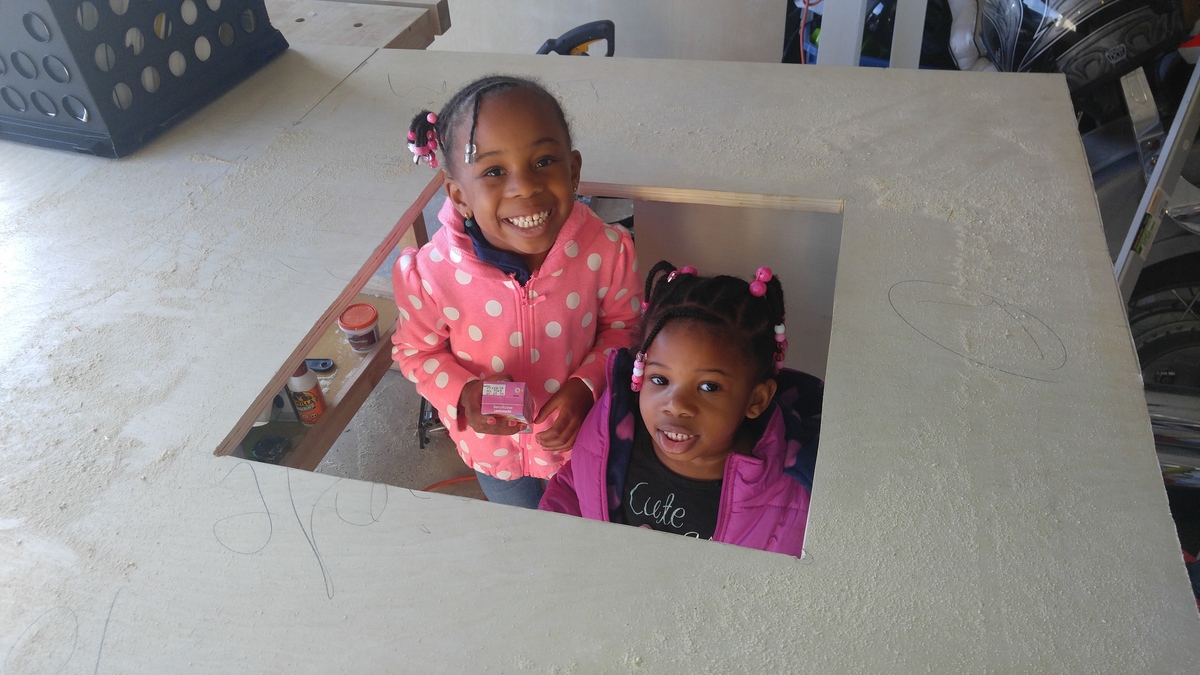

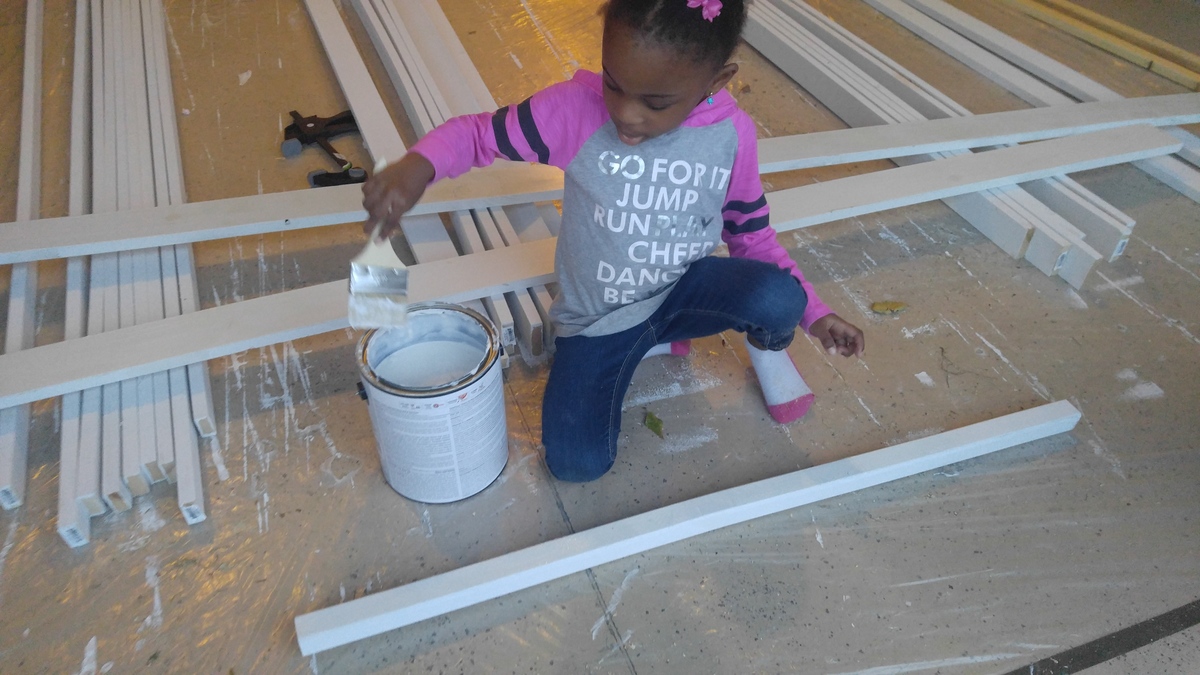
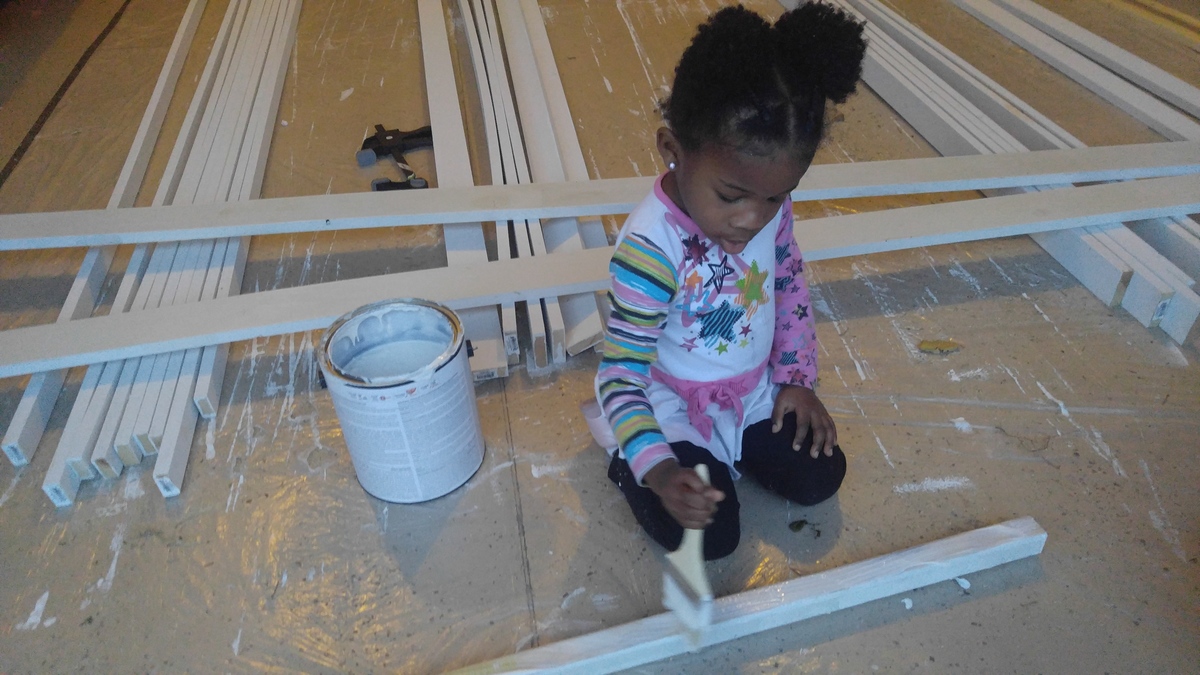
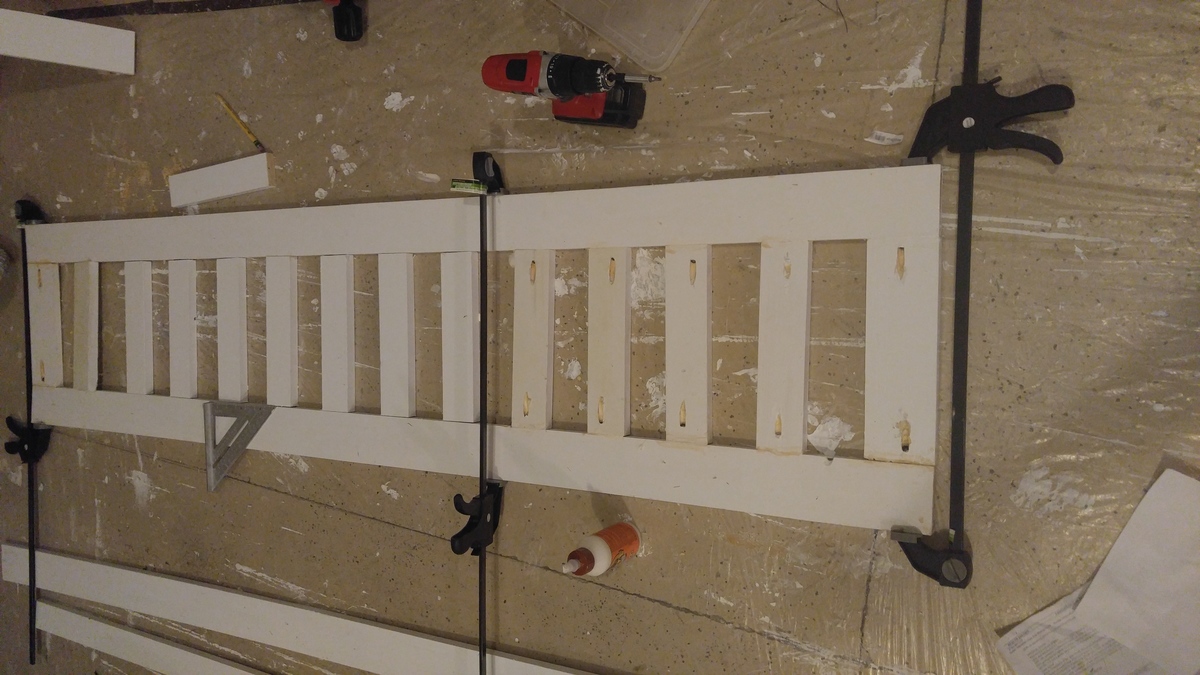
Valpraso Satin
Comments
Thu, 04/06/2017 - 07:29
MISSION ACCOMPLISHED!!!!
We finally finished our project and the girls are enjoying it!
Little Mancave for Noah
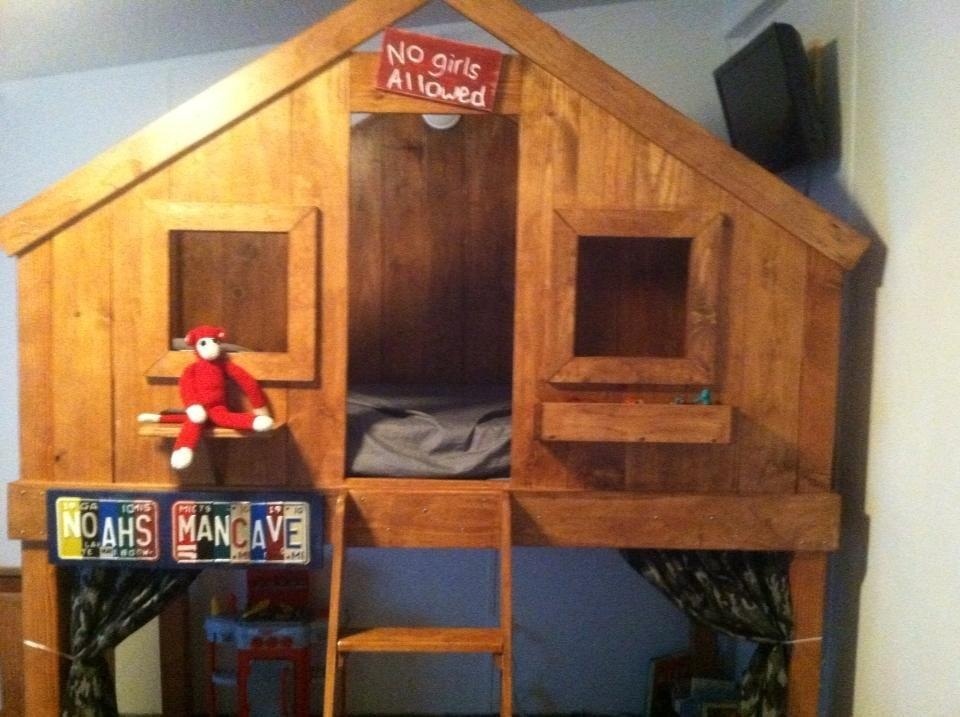
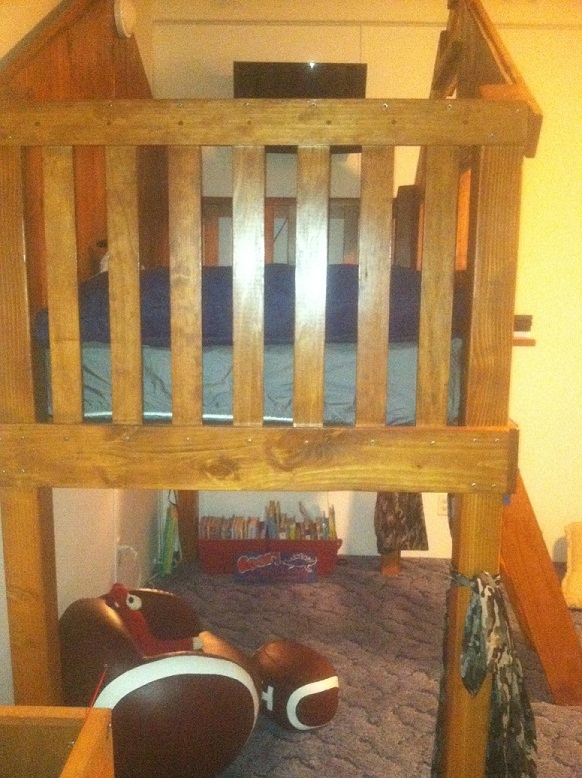
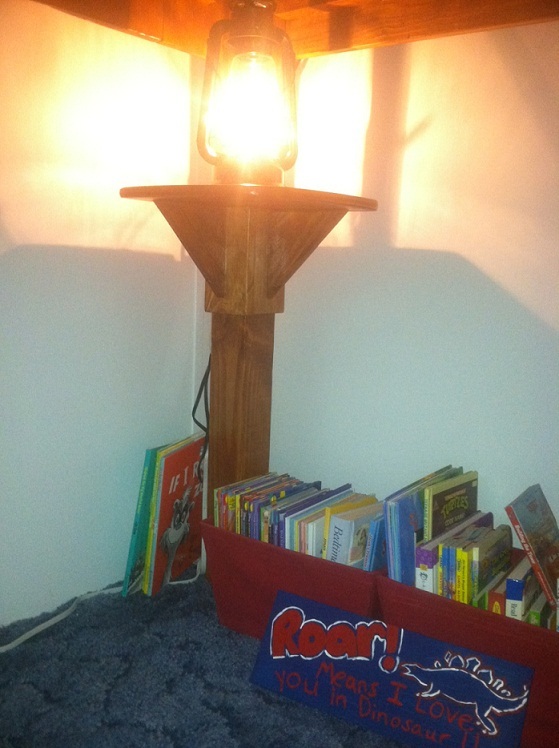
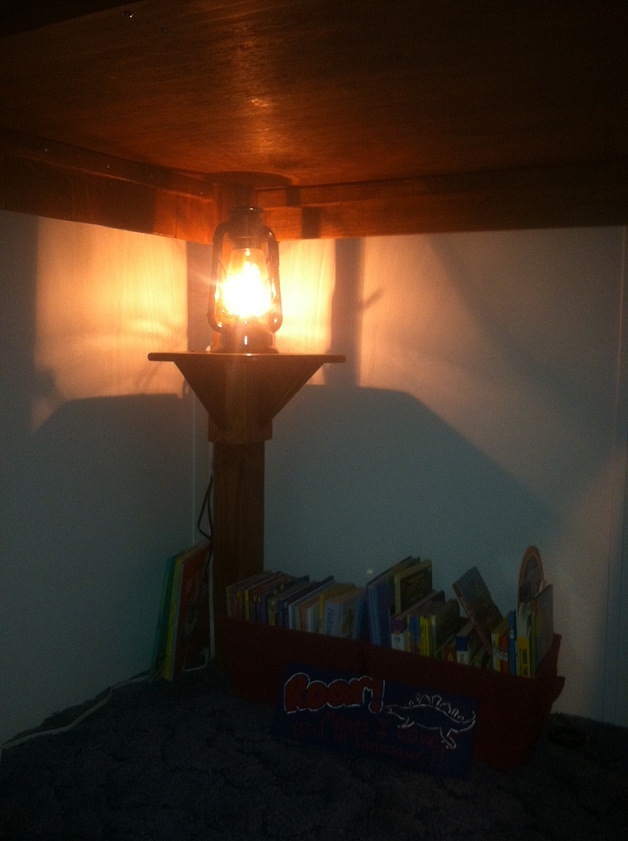
We absolutely LOVE this clubhouse bed. Not sure who loves it more, my litte boy or his parents! My husband has zero wood working skills, but his dad has a few wood working skills, so together they made this happen. We bought half of the lumber-cheapest whatever we could find, and my father -in-law bought the other half -the much more expensive stuff. We probably could have made this around $150-$200 using all the cheap stuff. We added a window box to hold little super heros and a shelf on the opposite window, we also added a shelf half way up on one of the post at the bottom to hold a lantern. We raised the bed 4 inches higher to give more room at the bottom. We used ply wood for the bottom of the bed rather than slats. We used a cherry 223 Minmax -1 coat and then put a clear coat on it.
Comments
43" Rustic X Coffee Table
This was my first build of this Rustic X Coffee Table and I really liked how it turned out! This one was modified to 43" long, same height and width. I love all the Rustic X pieces in this collection! They have been a favorite.
I finished the table using black tea, steel wool and vinegar, followed by Minwax's Dark Walnut stain and topped off with a Satin oil-based Polyurethane.
To see my other projects, make sure to visit my facebook page (only after you have spent enough time on Ana's site!)
www.facebook.com/simplyrustik
Stain: Dark Walnut (Minwax)
Varnish: Satin Polyurethane
Distressing: Physical distressing performed before Pre-stain.
Comments
Thu, 12/18/2014 - 17:46
This looks awesome! I love
This looks awesome! I love the look! Thanks for sharing!
-Ana
Mini farmhouse nursery table
Needed a small table for the nursery and this was perfect!
Console table

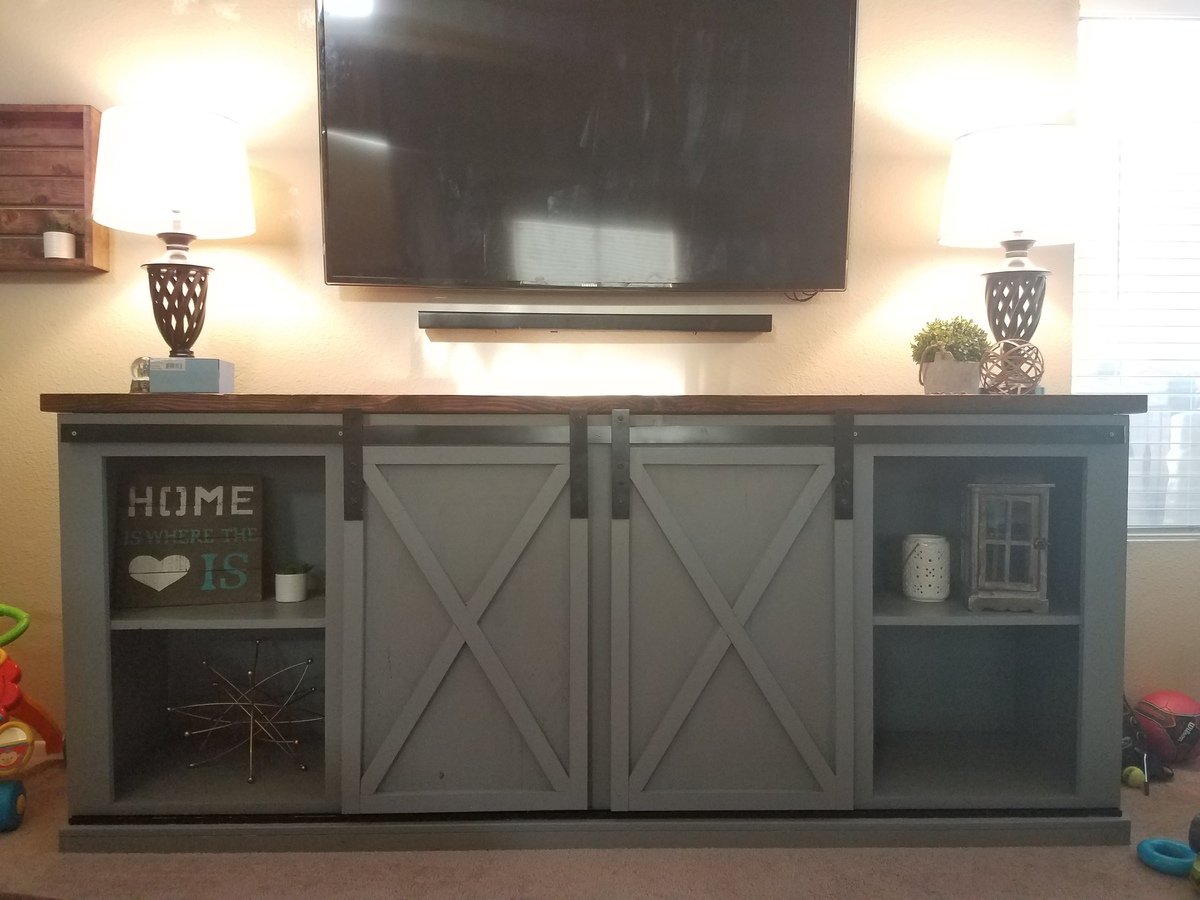
Made this to match the Tryde coffee and end table I made for my other half. She loved them, and loves this. We added the bottom piece which wasn't part of the plan. Using the 2x4 in different direction gave it a unique look. We love it.
$1 Cedar Planter
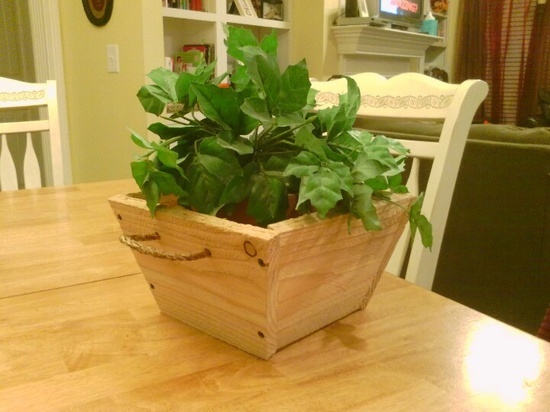
You were right, this really was super-easy and super-cheap!
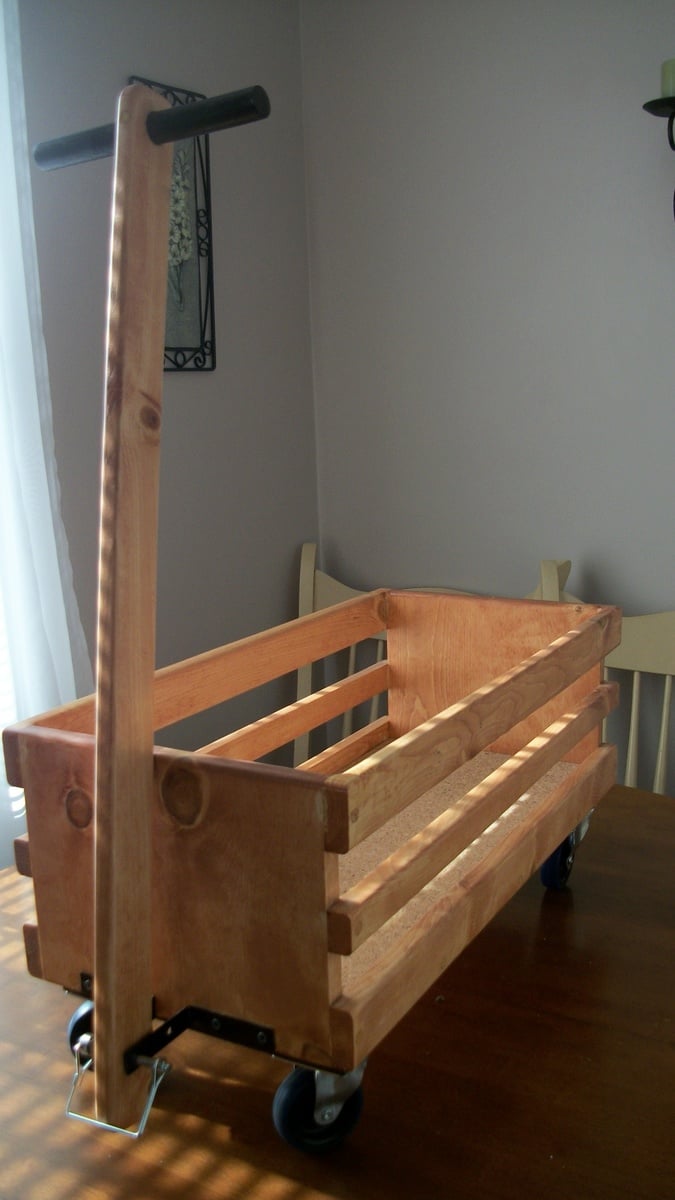
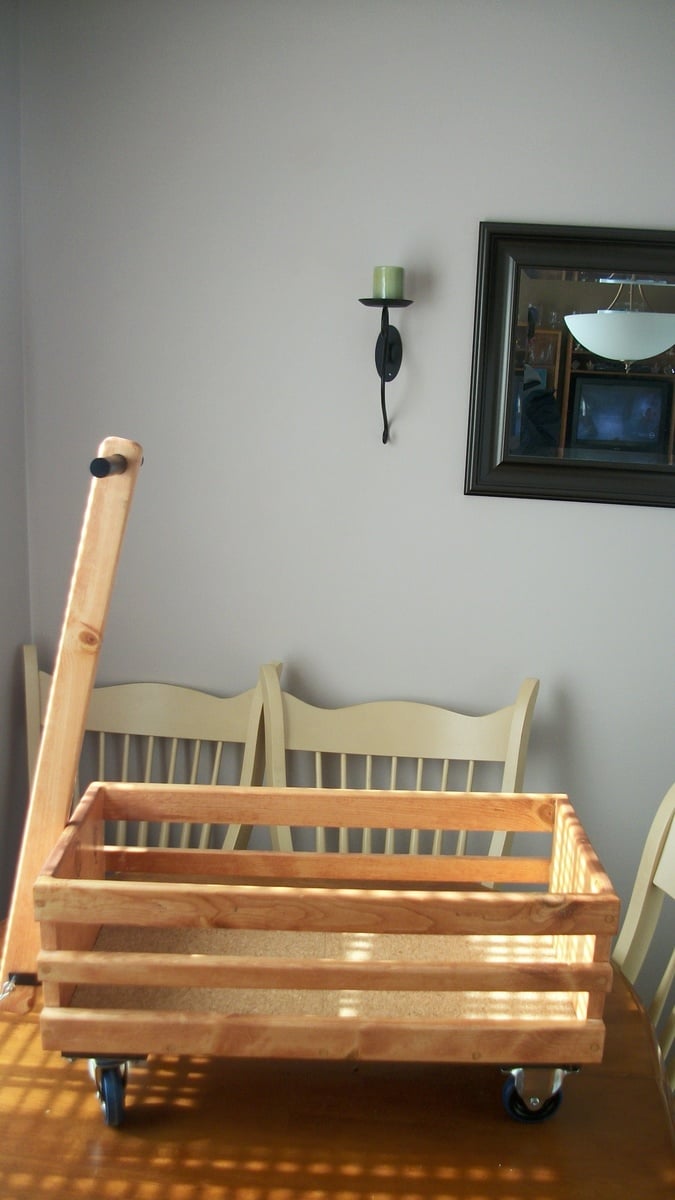
Wagon
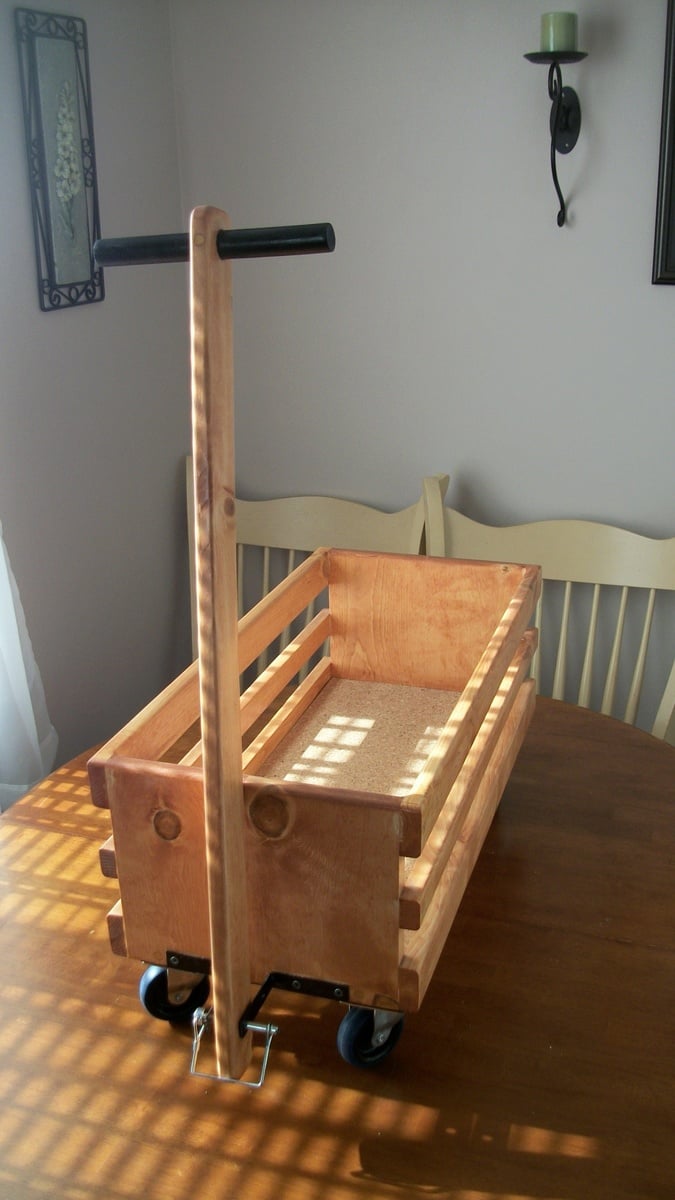
Based this wagon on plans found on Ana White's site. I built this for a 2 year old girl of a co-worker. She is right now using it to pull around her dolls.
The Best Floating Shelves

These floating shelves were so simple and are so strong! I decided to not attach the tops because you can’t see up there anyways. So will make a good hidden storage spot for small items.
kids' lounge bench
My first project besides some simple shelves. I wanted to use old sturdy wood I had from parts of a bed so I used the ana white plan but improvised quite a bit. I also accidentally made it much higher but like it this way. I am going to paint it a deep bright greek blue in the spring. I am happy with it!
Comments
Industrial Closet System
I built this closet system for our basement gym as a Christmas present to my boyfriend. He loved it!
I stained all of the boards before building as suggested in the plan - it definitely saved a lot of time and stress. After cutting and staining, and I brought all of the pieces downstairs to build.
The actual building went relatively quickly, but without perfectly straight boards, the shelves themselves were a little tricky. I also just nailed the shelf boards down with wood glue rather than screwing them in to save time - it's still sturdy and secure.
The length of the closet is about 8 feet long, so the middle shelf is about 1 foot and the two rod shelves are about 3.5 feet long.
Comments
Anna-white.com
This was pretty easy and inexpensive to make. I'm going to make the coffee table this weekend, but converting it to a chest with a lift top. Purchased some cantilever hinges for that on Amazon for about $35. Will post pics of that once it's done. Sorry the photos came out sideways....They keep uploading that way even though they are right side up on my iPad......
Four Dollar Birthday Chair

My wife wanted me to build a chair for our son, who is about to turn 1. The idea is that he'll take pictures with this chair throughout the years. I searched high & low for the perfect chair that my wife would like and found nothing. I don't know why I didn't just come to your page first, I've visited for years. I dressed it up a little using stringers (porch railing) for legs instead of 1x's, and button plugs vs. putty to cover the screws. Just needs paint and its done. The wife loves it!

Comments
My family loves it and so do I!
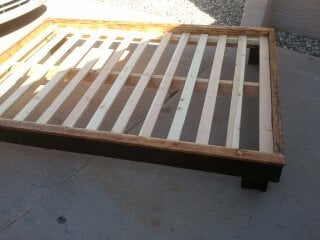
Easy Peasy!
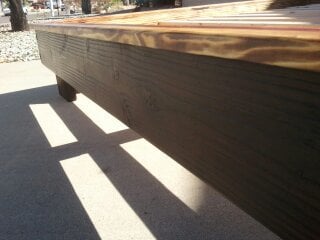
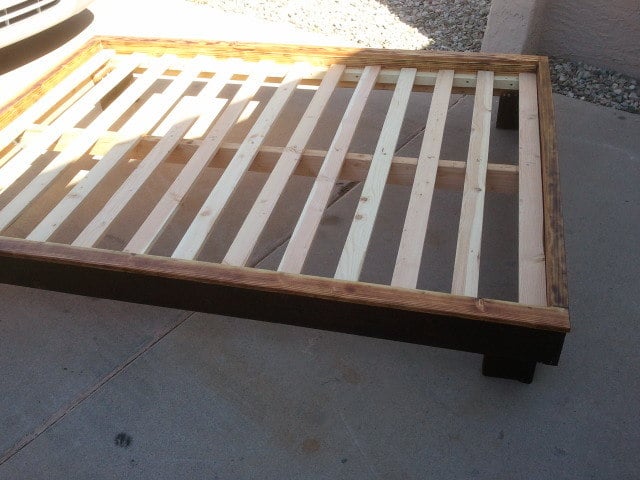
Materials & cost: Framing grade pine and 1x3 furring strips. $110 including finish materials.
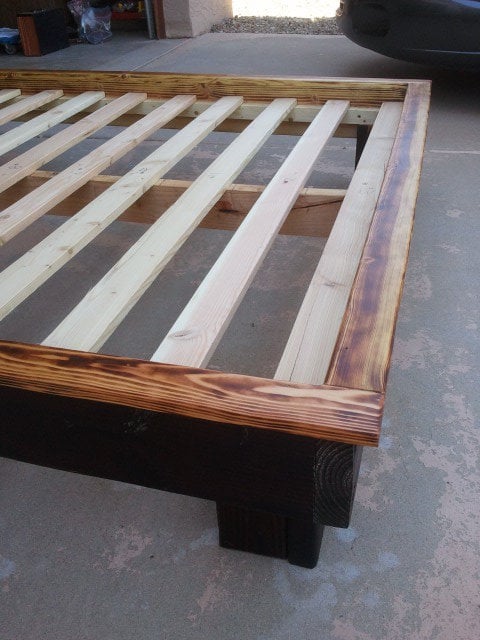
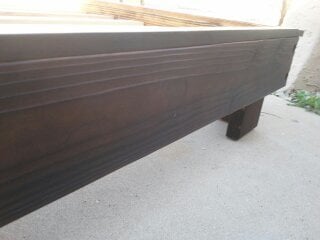
I used some of the excess 2 x 6 that I had left over to make the feet square instead of just using 2x4s like in the plans. just cut them to the same length as the 2x4 feet, then butt them up against the 2x4 feet and mount them to the frame.
Also, I made the support beam removable by using face-mount 2x4 joist hangars to hold it instead of bolts.
Total build time = less than one week
Next project will be a custom headboard for it..
.
.
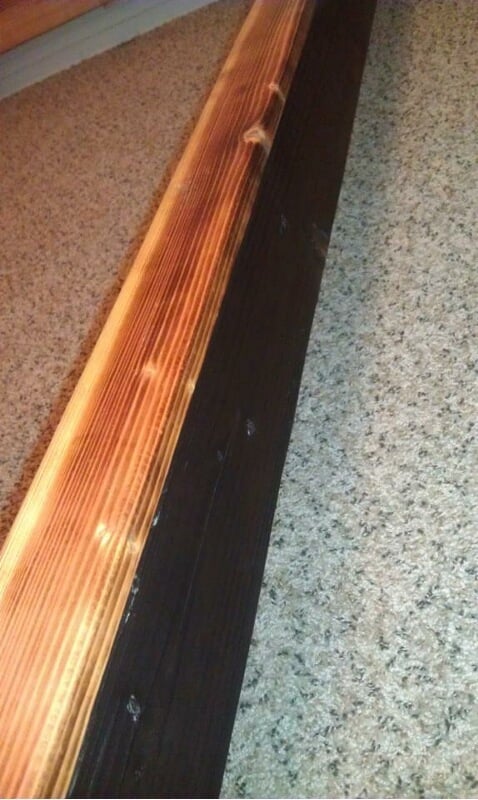
I torched the surface of the pine with a propane burner. Charred the base and feet heavily then brushed off the char with nylon bristle brush. You can't see it in these photos, but it brought out a lot of bronzes and amber in the wood grain. Plus it gave the wood a texture that reminds me of heavily weathered or aged wood.
For the 1 x 3 strips on top, I routed all the edges inside and out, then I used the propane burner, but just scared it a little. I kept the torch moving so that it didn't get too dark. I then coated the whole project with boiled linseed oil (2 coats, wipe on, let soak for 20 minutes, then wipe off. 24 hours between coats, and let dry 72 hours). Then, I used a citrus and beeswax paste wax on top. 2 coats of wax and a lot of buffing later, I like the results.
American Girl Dollhouse
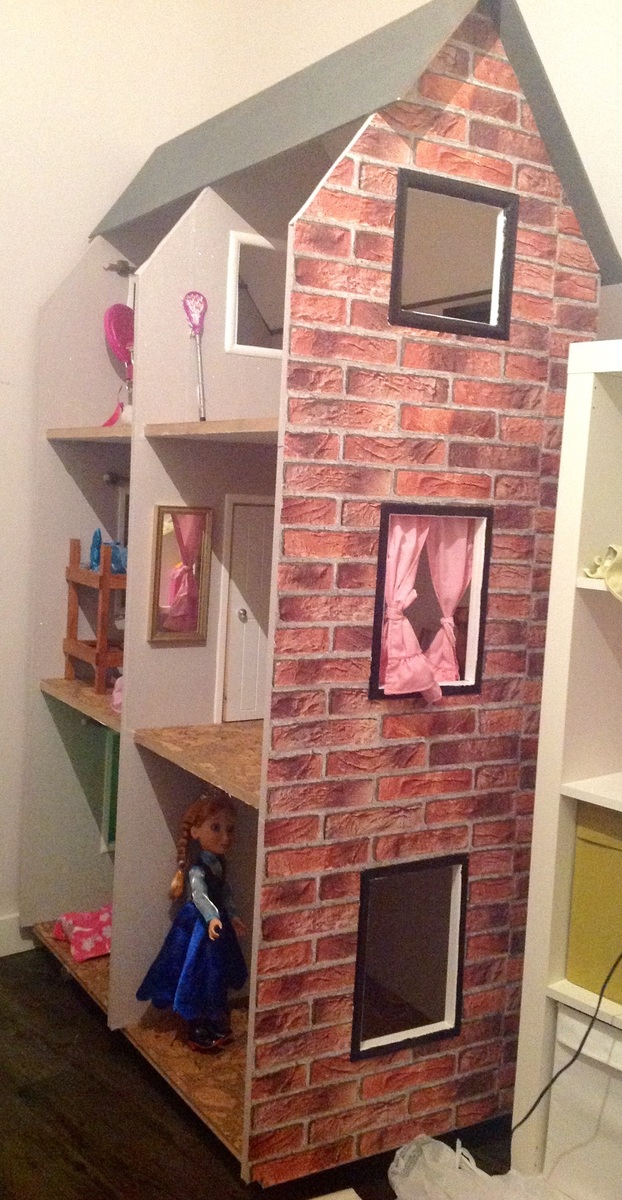
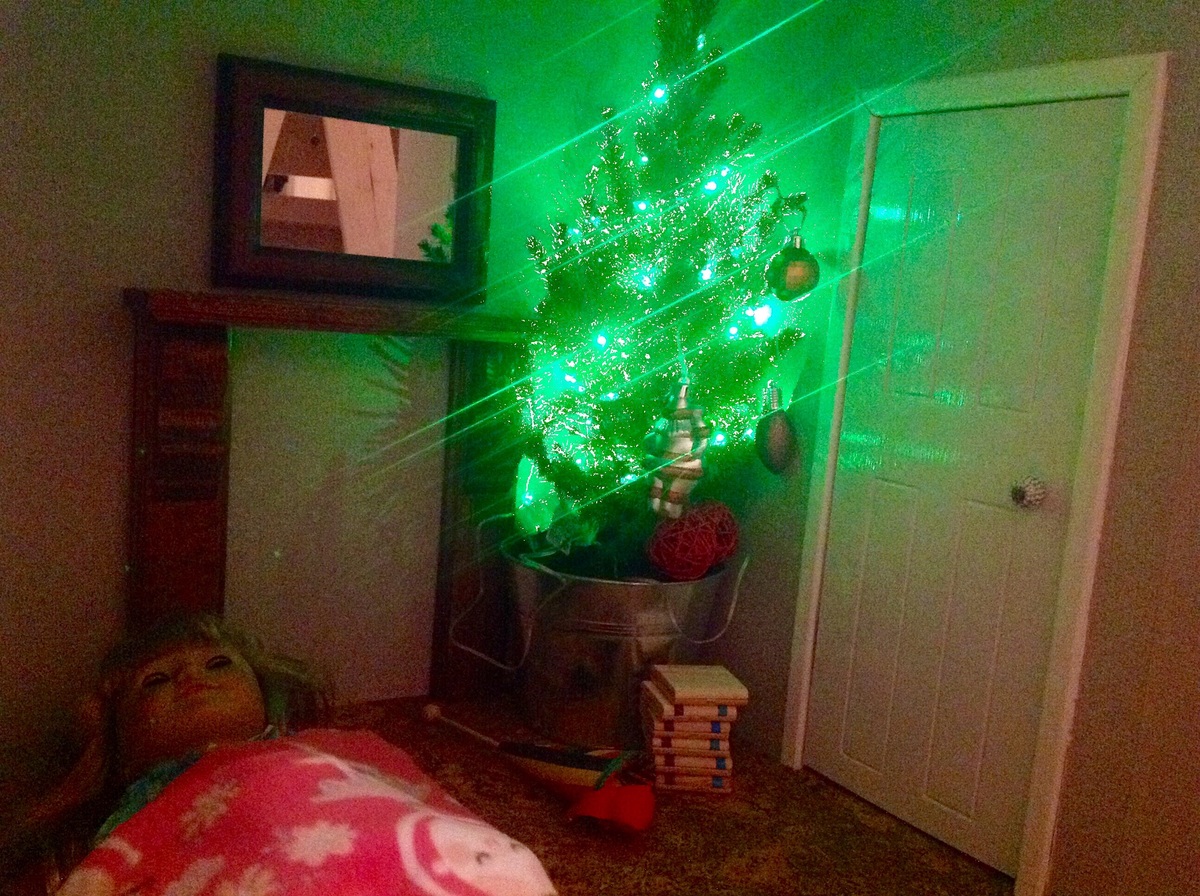
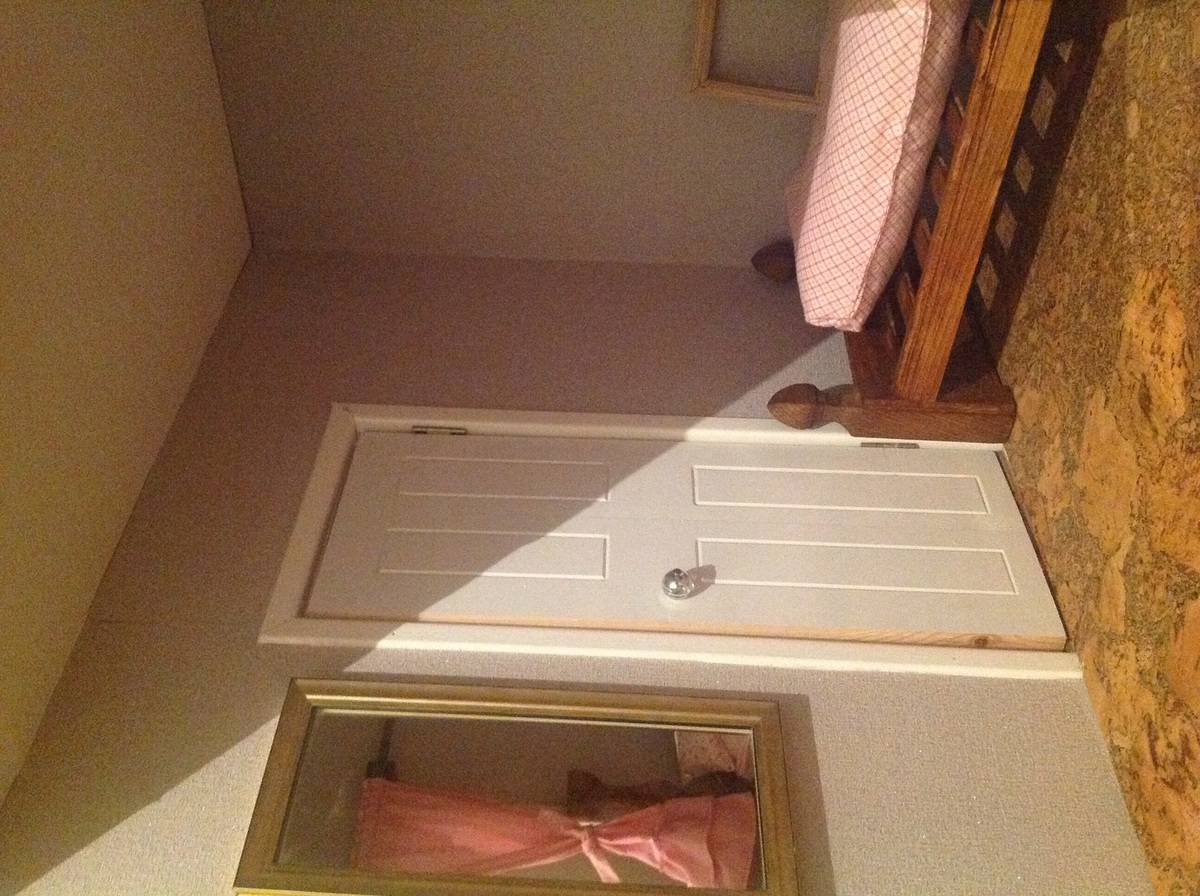
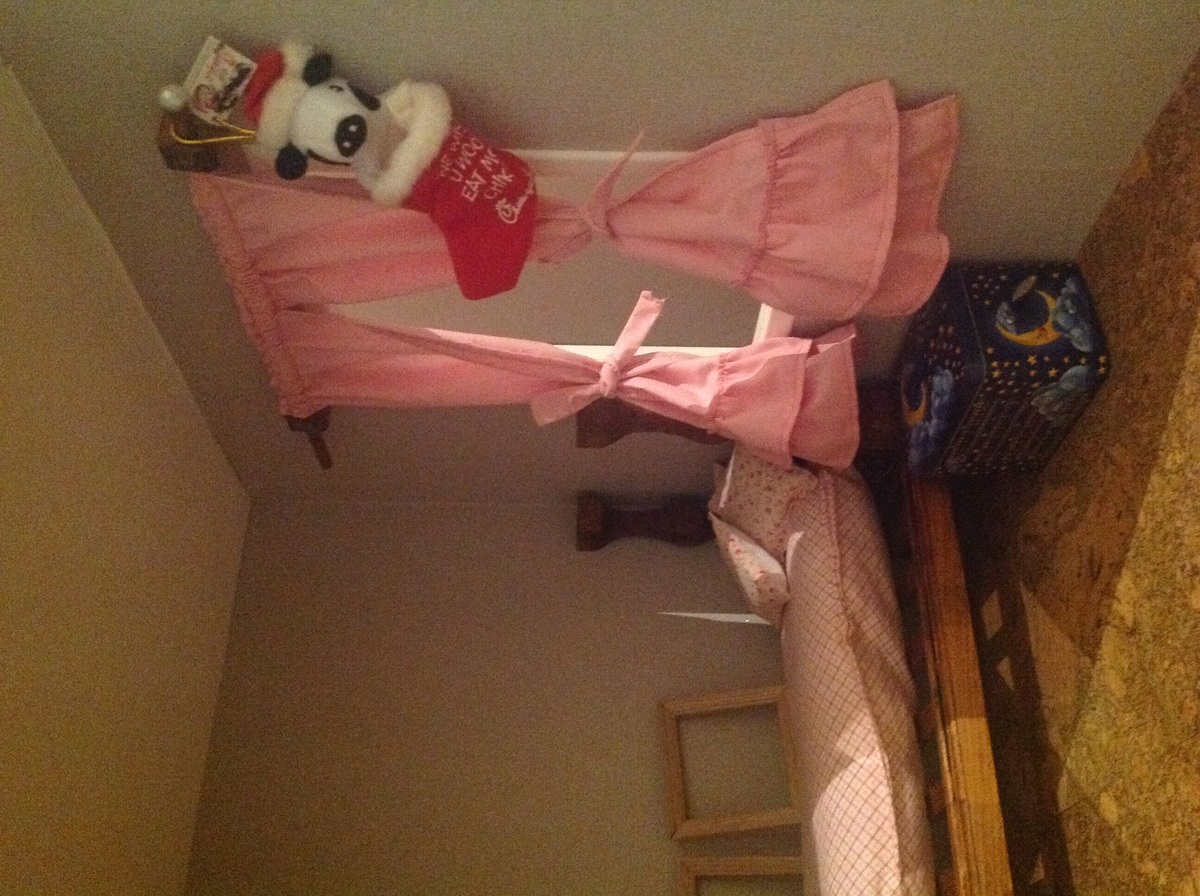
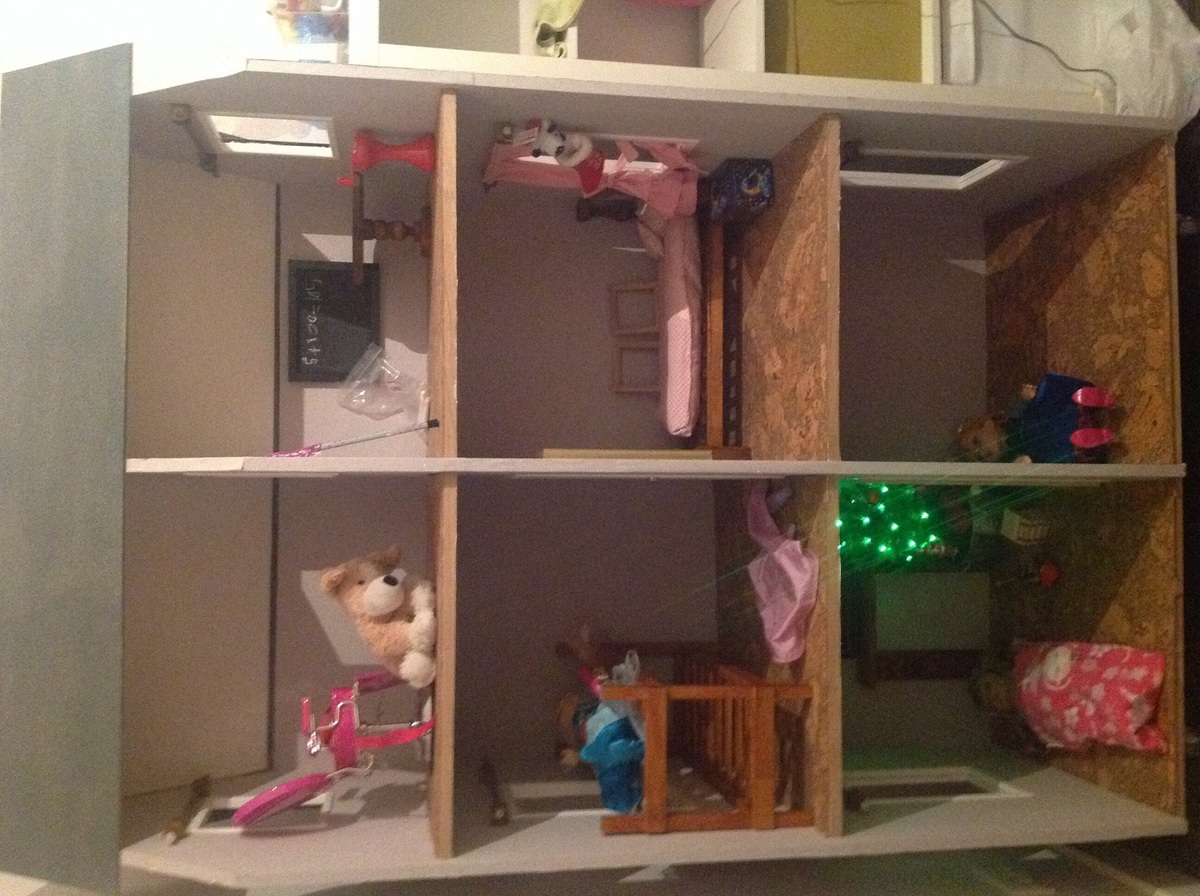
I followed the plan for making the shell of the house, but since I have access to help and the on-post woodshop I made a few changes. We cut a 2x4 to fit the doorway, and then used the lazer cutter to make the panels, after sanding and painting, I used a necklace bead as the doorknob. We also cut some 1" square blocks and drilled the center, the used the grinder to round them out to make a holder for the dowl curtain rod. I also used scrap frame wood for the window/door trim. Then I covered the entire house in wallpaper! The outside is a brick wallpaper, the inside is a gray/silver with sparkles, and the ceiling is white with sparkles. I used cork for the floor so it would be soft and warm feeling. It took me a long time, but I am very happy with the results. My daughter was thrilled to recieve this on Christmas morning!
My first project!

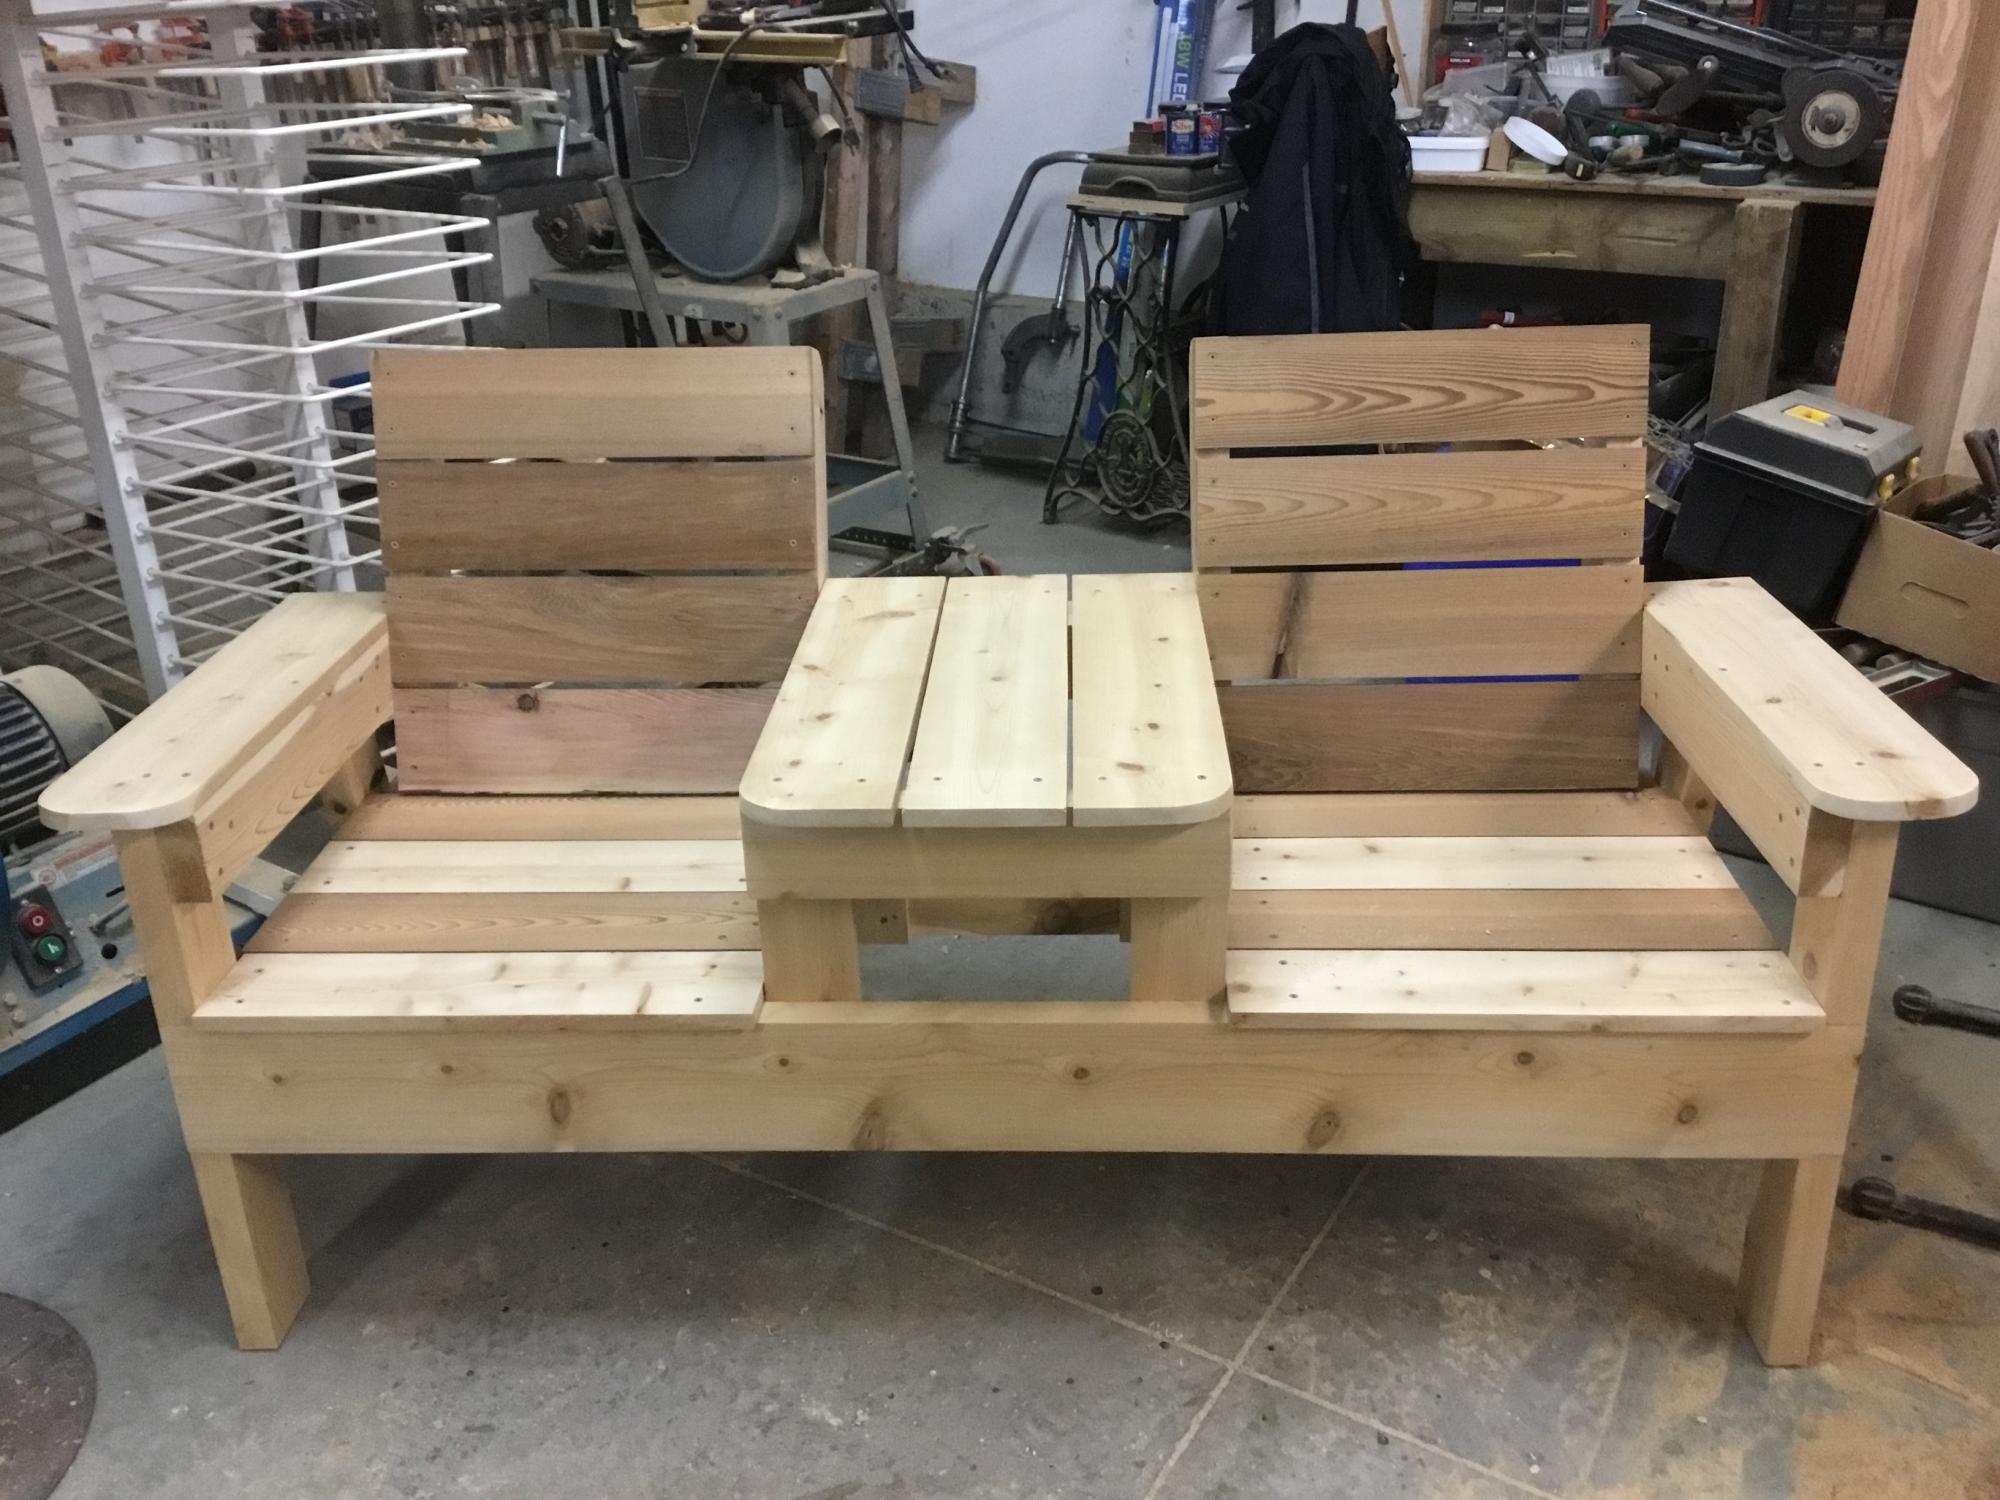
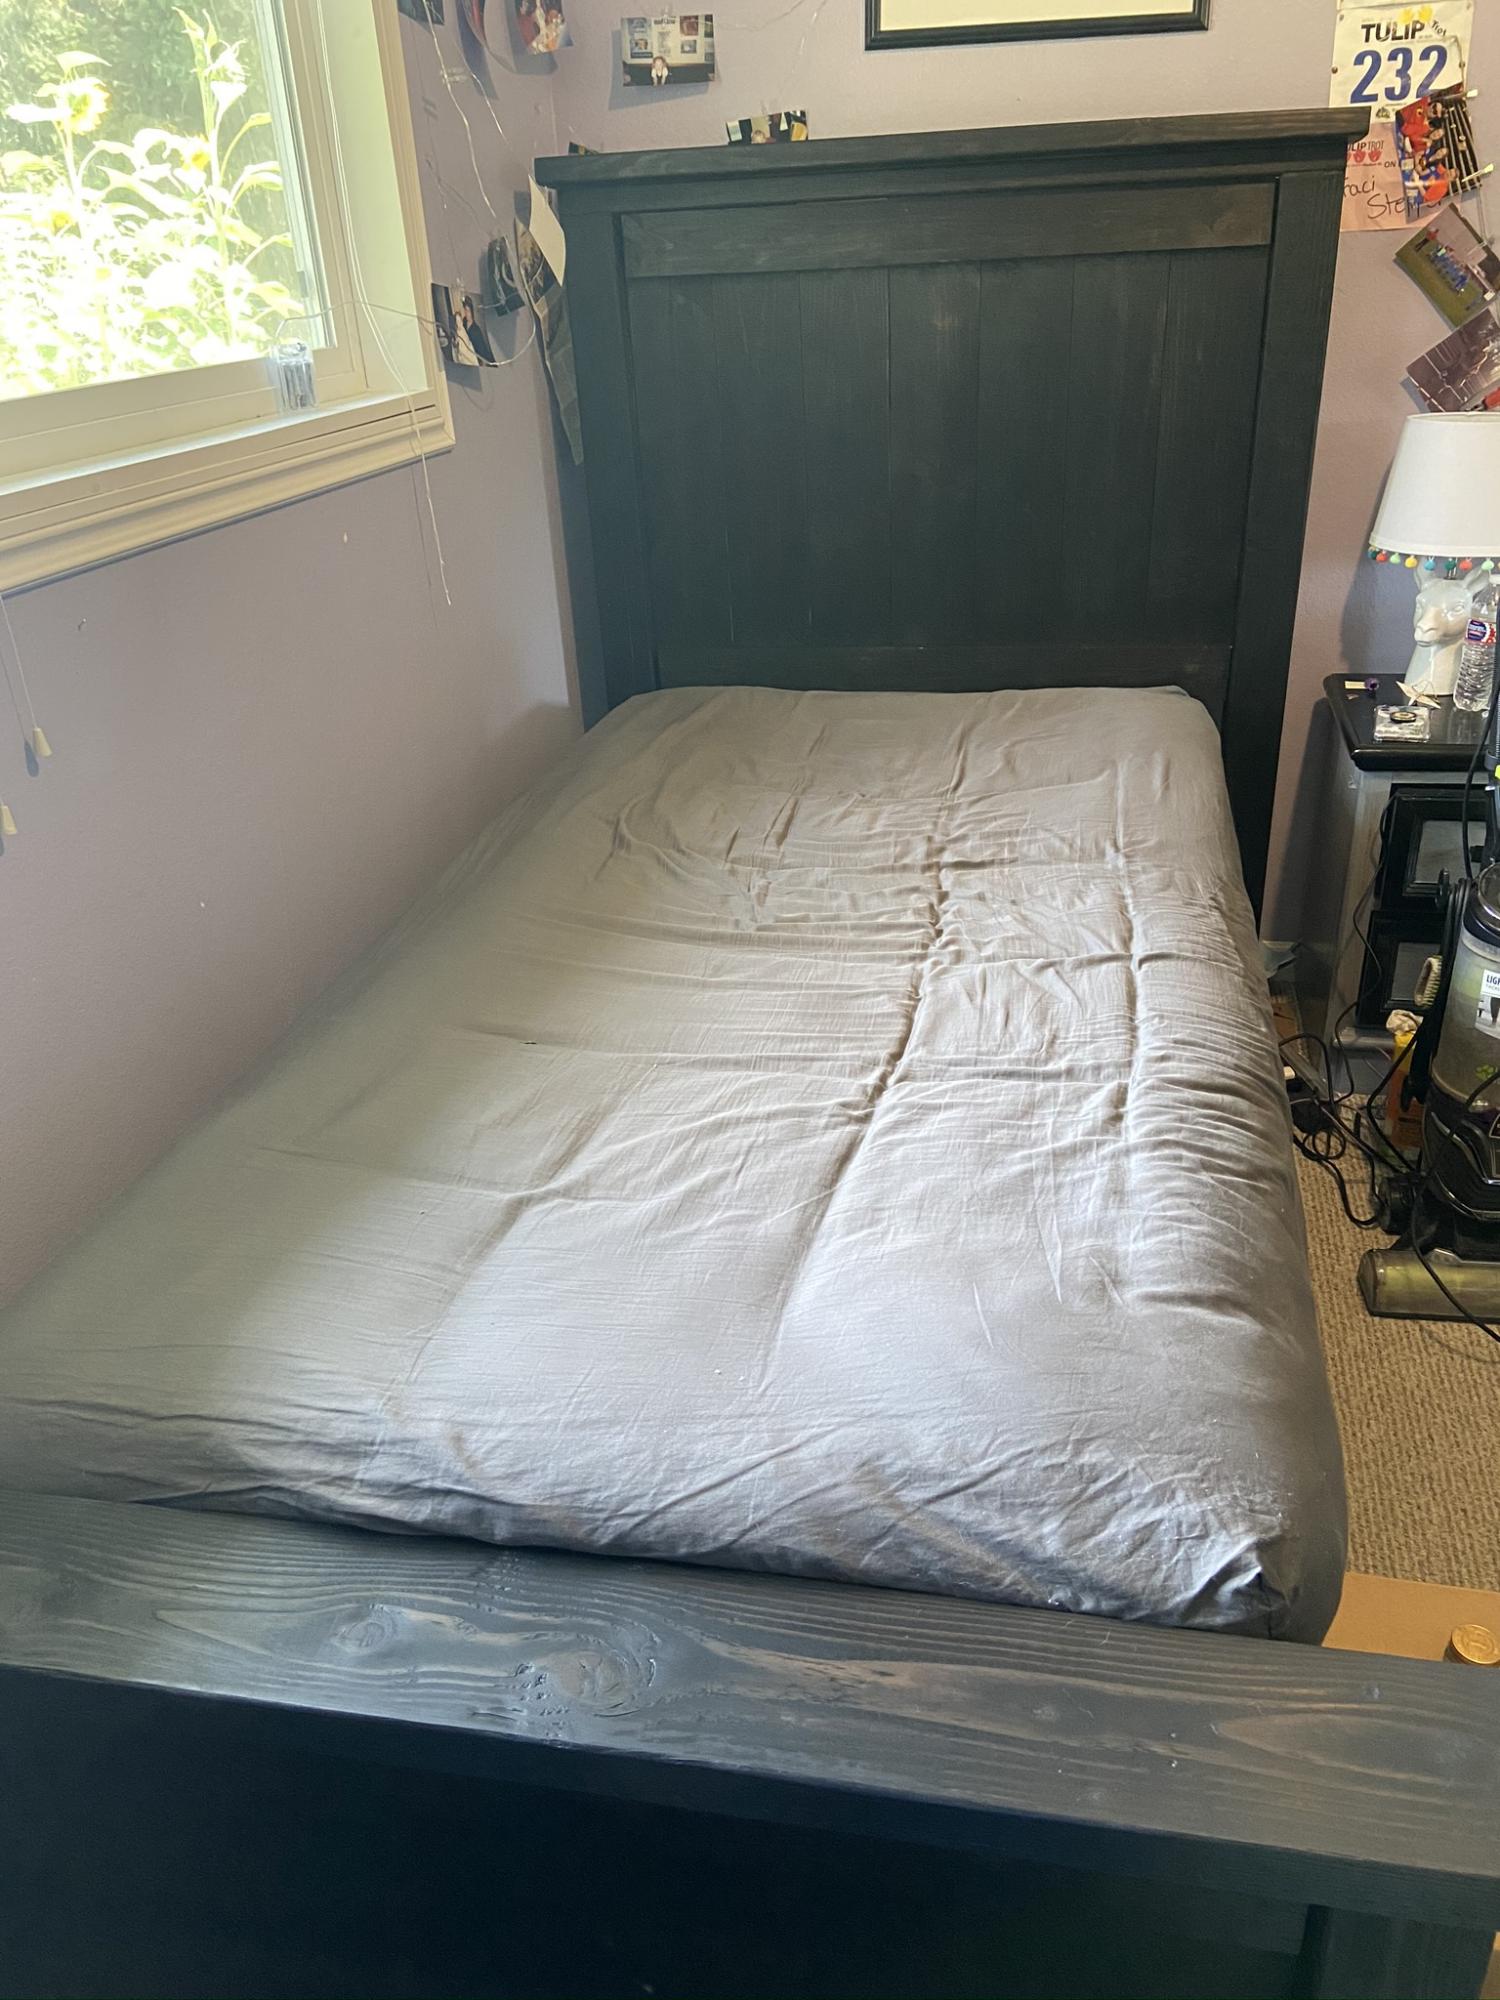
Built a pair of these for the master bedroom as my first project... Not too bad, very functional, and I was able to use mostly wood I had laying around...


Comments
Ana White Admin
Mon, 01/11/2021 - 09:30
Fantastic!
Love this build, thanks for sharing!