Wood Stained Farmhouse Bed with Trundle

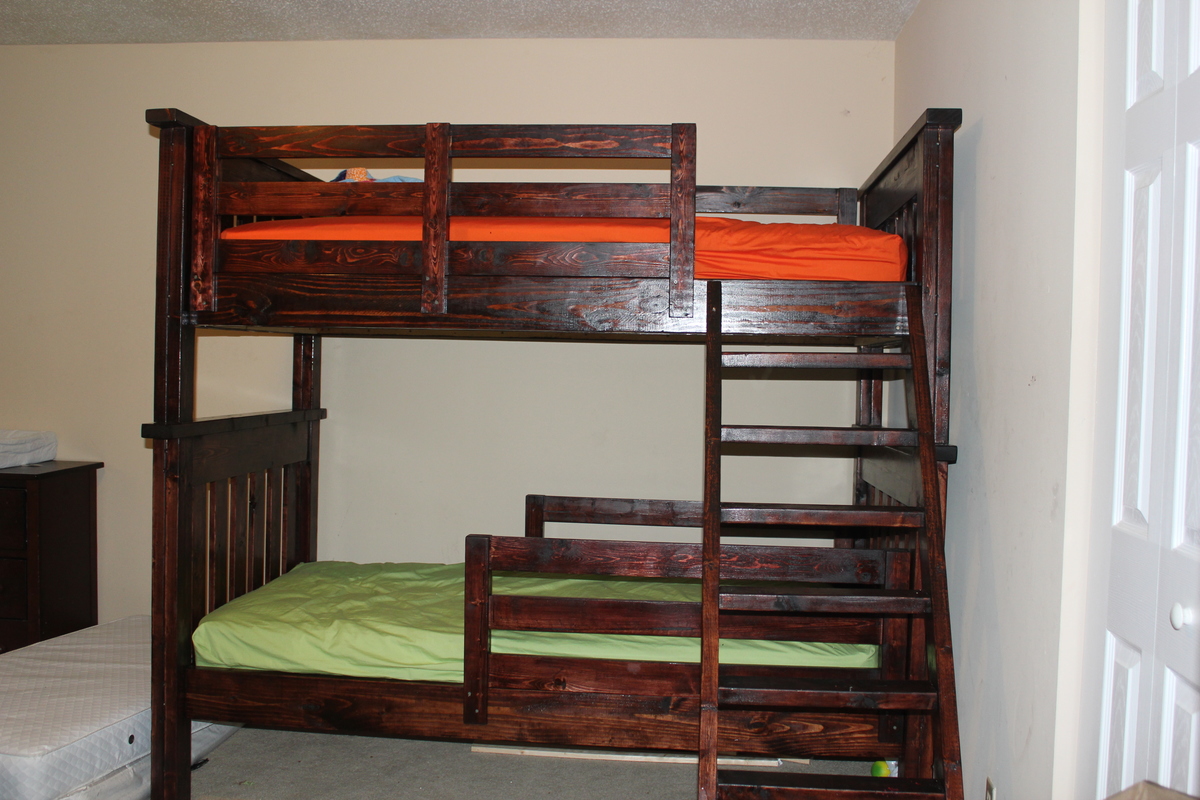
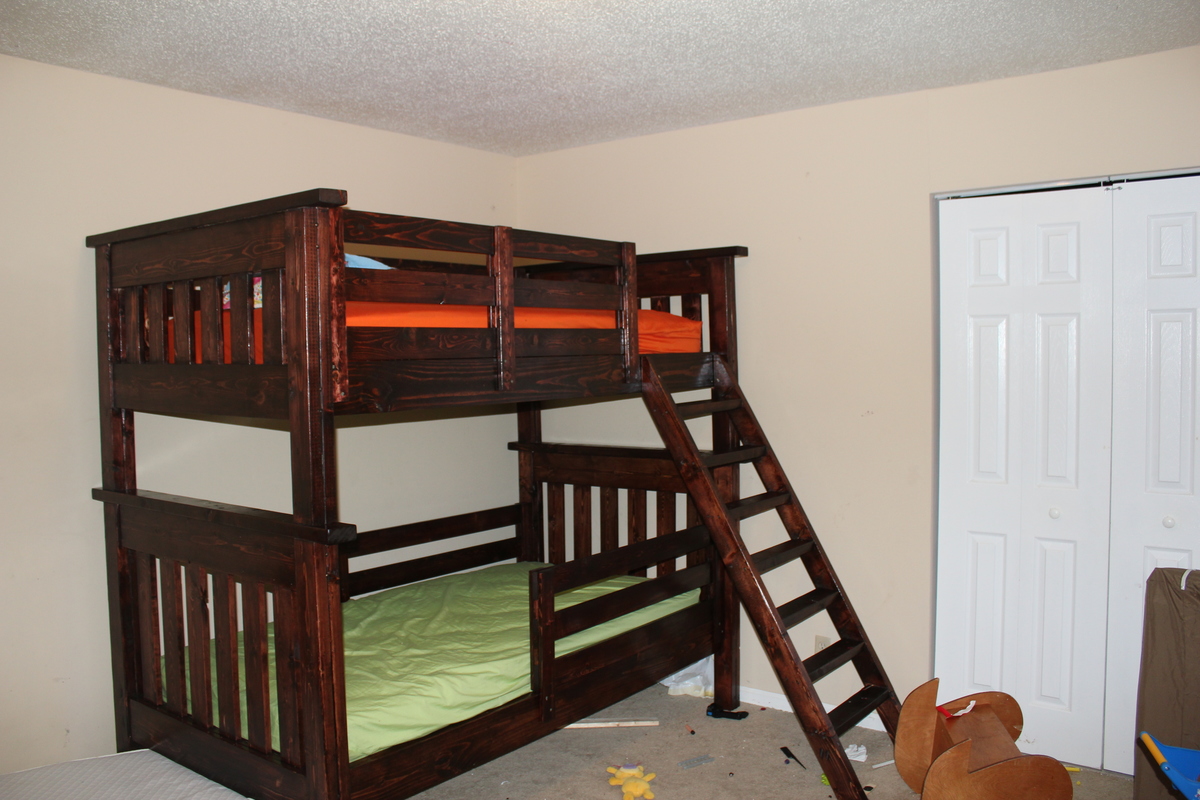
My husband built this twin farmhouse bed for our son. I stained and poly'd. We modified the plans slightly to fit our needs. We also added the trundle.
Submitted by Jennie Wood


My husband built this twin farmhouse bed for our son. I stained and poly'd. We modified the plans slightly to fit our needs. We also added the trundle.
Submitted by Jennie Wood

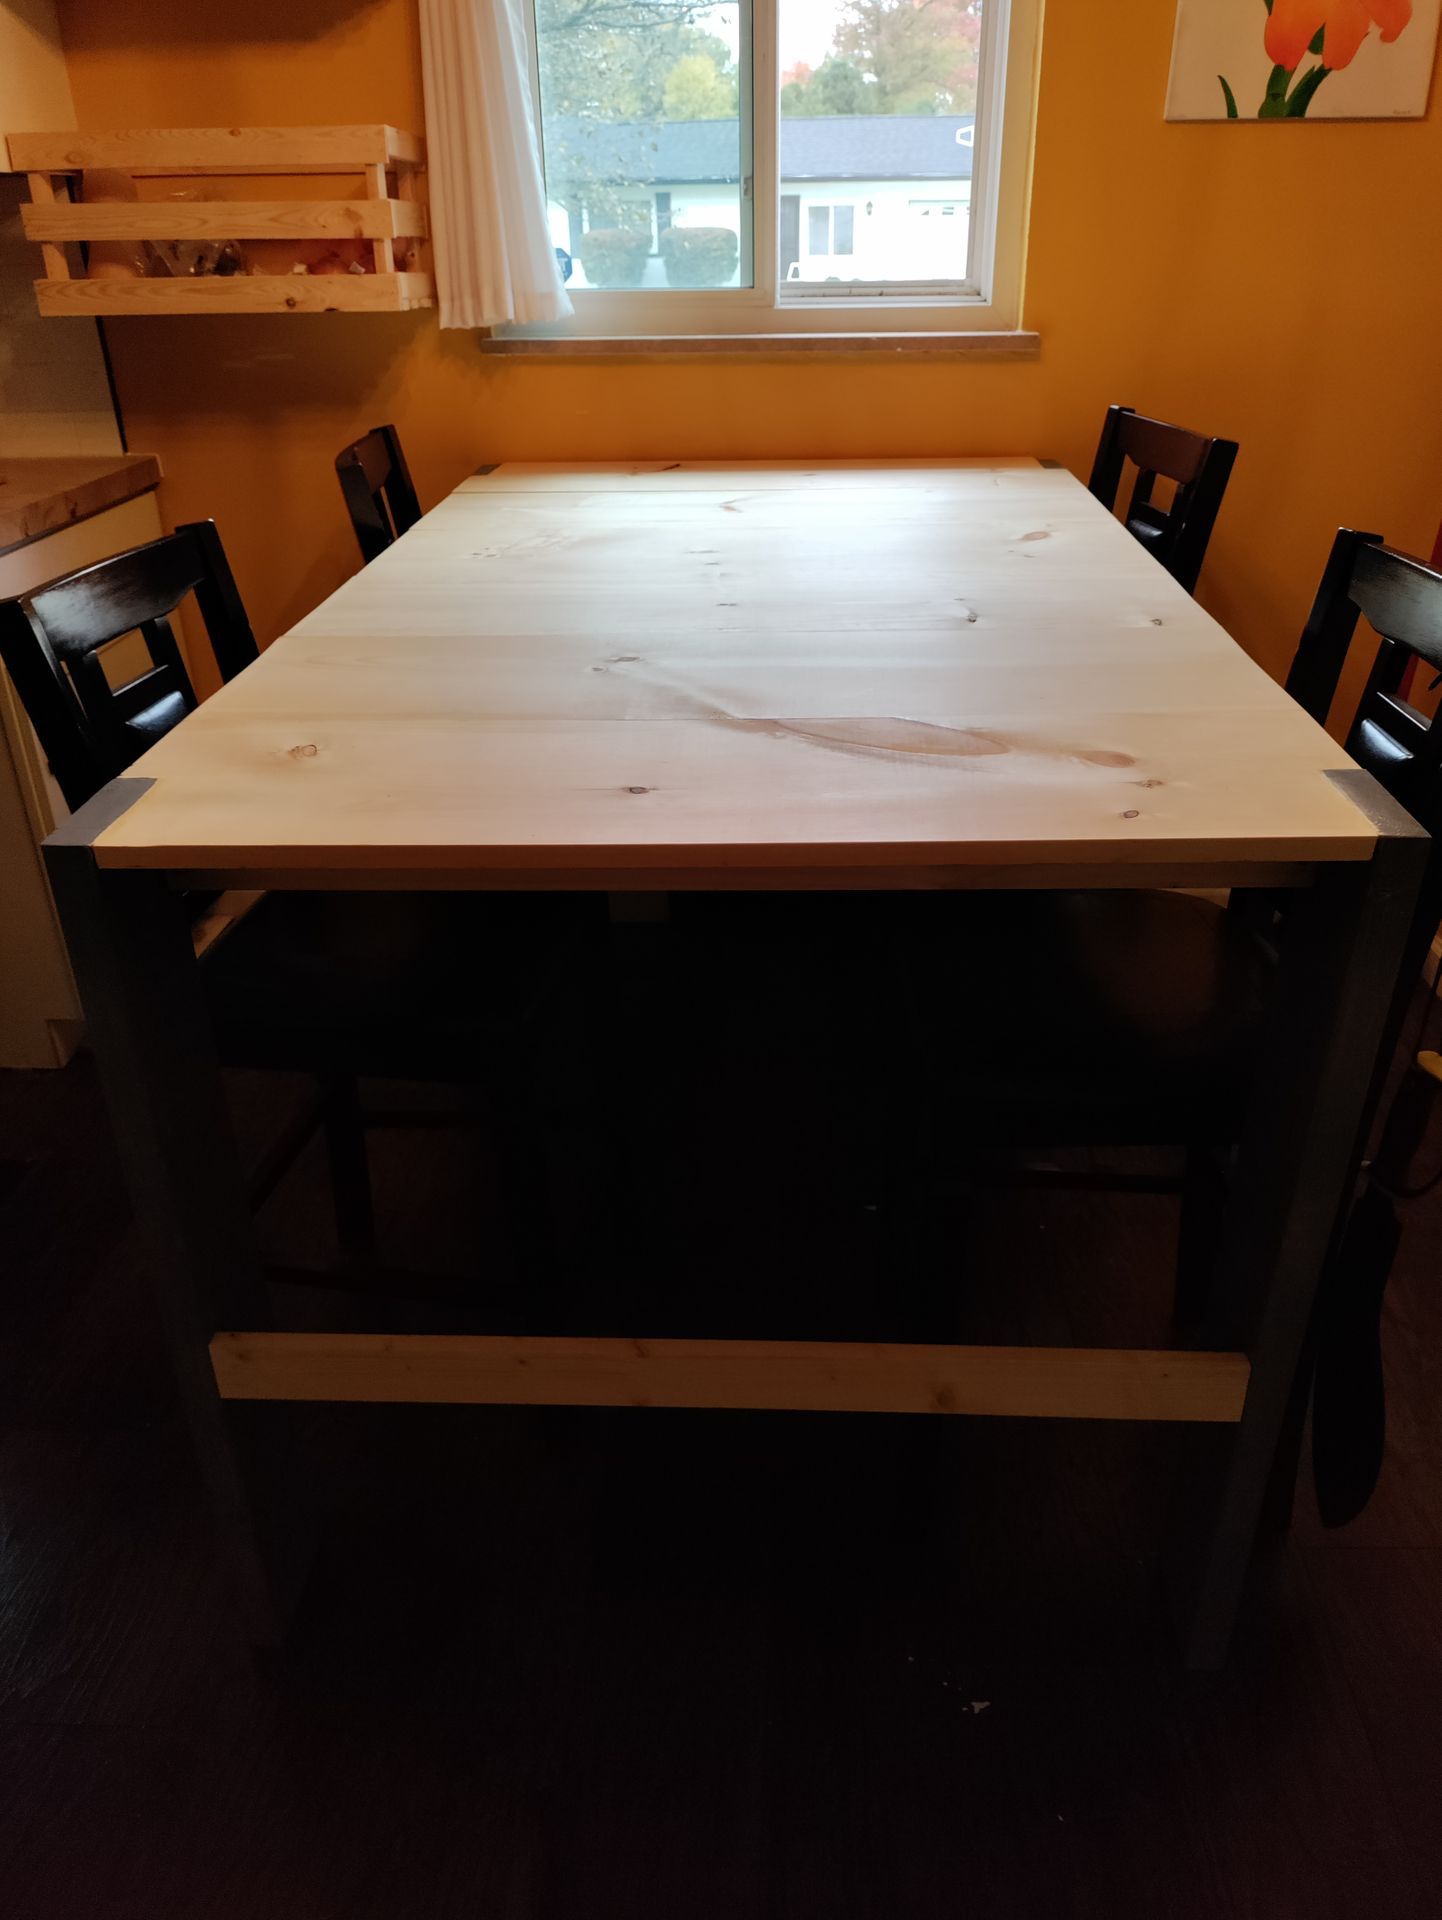
I loved the Chunky Leg Coffee Table and thought it would be perfect as a kitchen table! I made a few modifications, but it's solid and everyone loves it.
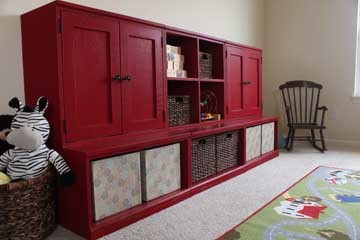
This was my first building project ever! Even though it took longer than I expected to complete (I have four tiny kids and snagged an hour here and there during nap time over the course of many months), it was absolutely worth the time investment (and wait)! Hanging the doors was tricky (my awesome husband tackled that part), but other than that it was easy to put together. Finishing it was the hardest part by far. If I were to do it again, I'd probably do some preliminary sanding of the boards before putting them together and I would most certainly not use oak (I was talked into it by the HD guys) especially since I ended up painting it. I think it would have turned out just as great if I'd used a cheaper wood or MDF. Thanks for the plans Ana!
This was my husband and mine's first DIY project! We started off using a miter box, and quickly caved and bought a miter saw. We also had trouble getting the X's to fit correctly, so we redid them and made it in a different order than Ana--we lined them up on the boards they would be attaching to and drilled in there. So we didn't make X's and then attach, but rather did it all at once. This made sure everything fit together!
Also, we didn't stain the top pieces of wood before we assembled, and it was hard to get in-between the boards, definitely recommend at least one coat of stain before attaching the top!
Had a great time making this bench, and love it!! Everyone that sees it is so impressed!! We made this one for outdoors, but we are thinking of making another in nicer wood for our indoor dining room table....
This wedding present for Dan's sister's wedding present took us a very long time to complete.
We finished all the little boxes and sides in an afternoon, but logical problems meant putting it all together took ages.
The Bride had specified she liked white weathered (rustic?) paint (can't think if there's a better name).
We finished it with two coats of grey stain, then two coats white paint that we sanded off a few hours after painting.
I think it came out great ! The edges are a little uneven and of course the shelves aren't completely level... but hey - rustic!
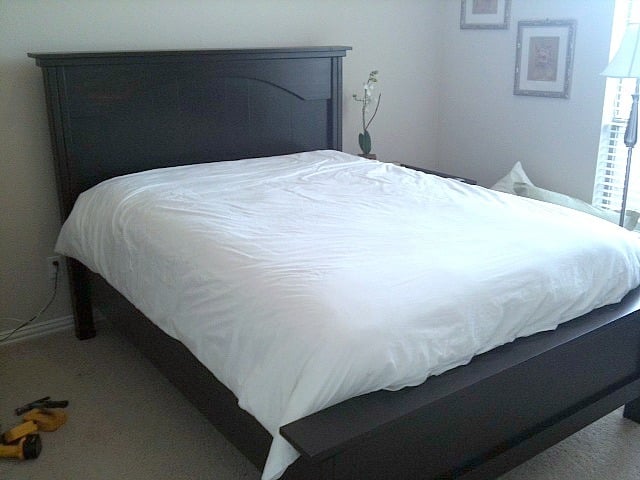
It has taken longer than I care to admit to finish this project, but life tends to get in the way sometimes. But it turned out great, there were little to no hickups during the process, and of course I had a lot of fun building this bed!
Thanks Anna for the plans!
I have posted pics of the process below.
Pic 1: All the wood. Nothing smells better than a garage full of lumber! Oh, and please excuse my bulldog mooning you. She doesn't mean anything by it.
Pic 2: Headboard and Footboard finished and leaning up against the garage.
Pic 3: Just making sure everything would fit right. I used the cross-beam from the original bed frame as a guide.
Pic 4: staining in progress.
Pic 5: Finished and installed!
This was a doozy! Being only our second project ever (the farm table being our first) it took us about 3 weeks of hard work on the weekends and light work on the weekdays to complete this project. We extended the guardrails in both height (using 3ea 1x4s) and length to span the entire backside and all the way to the ladder on the front on top bunk. We wanted to be able to have a regular height mattress on each, so that if we take them apart to use as two separate beds they'd have a decent mattress on both. We also made two regular length, but extended height guardrails for the bottom to accommodate a toddler. We used the mortise bed rail fasteners from Rockler (due to the design the non-mortised kind were not an option). That took a good chunk of time. We also did 1x2 slats,13 per bed,to act as the mattress support. As with most projects, the lumber was around $200! The other was made up of sanding supplies, prep, stain, finish, safety supplies (mask, gloves) screws and so forth. I bet we spent about $40 on screws alone as we wanted to be really sure it's solid for two monkeys. It's a really beautiful piece that would cost well over $1000 if purchased mainstream.
My first wood working mallet!
Sun, 05/17/2015 - 18:12
I have one of these from when my husband was in wood shop as a kid! Also a pencil holder he made in school on the drill press, I've used it on my desk for 35 years! :)
Sun, 05/17/2015 - 19:38
I've been thinking about getting a wooden mallet for a bit now. Currently I just use my rubber mallet, in the rare instance I need a mallet, but being so soft, gets quite a bit of wear and tear. The video is a great!
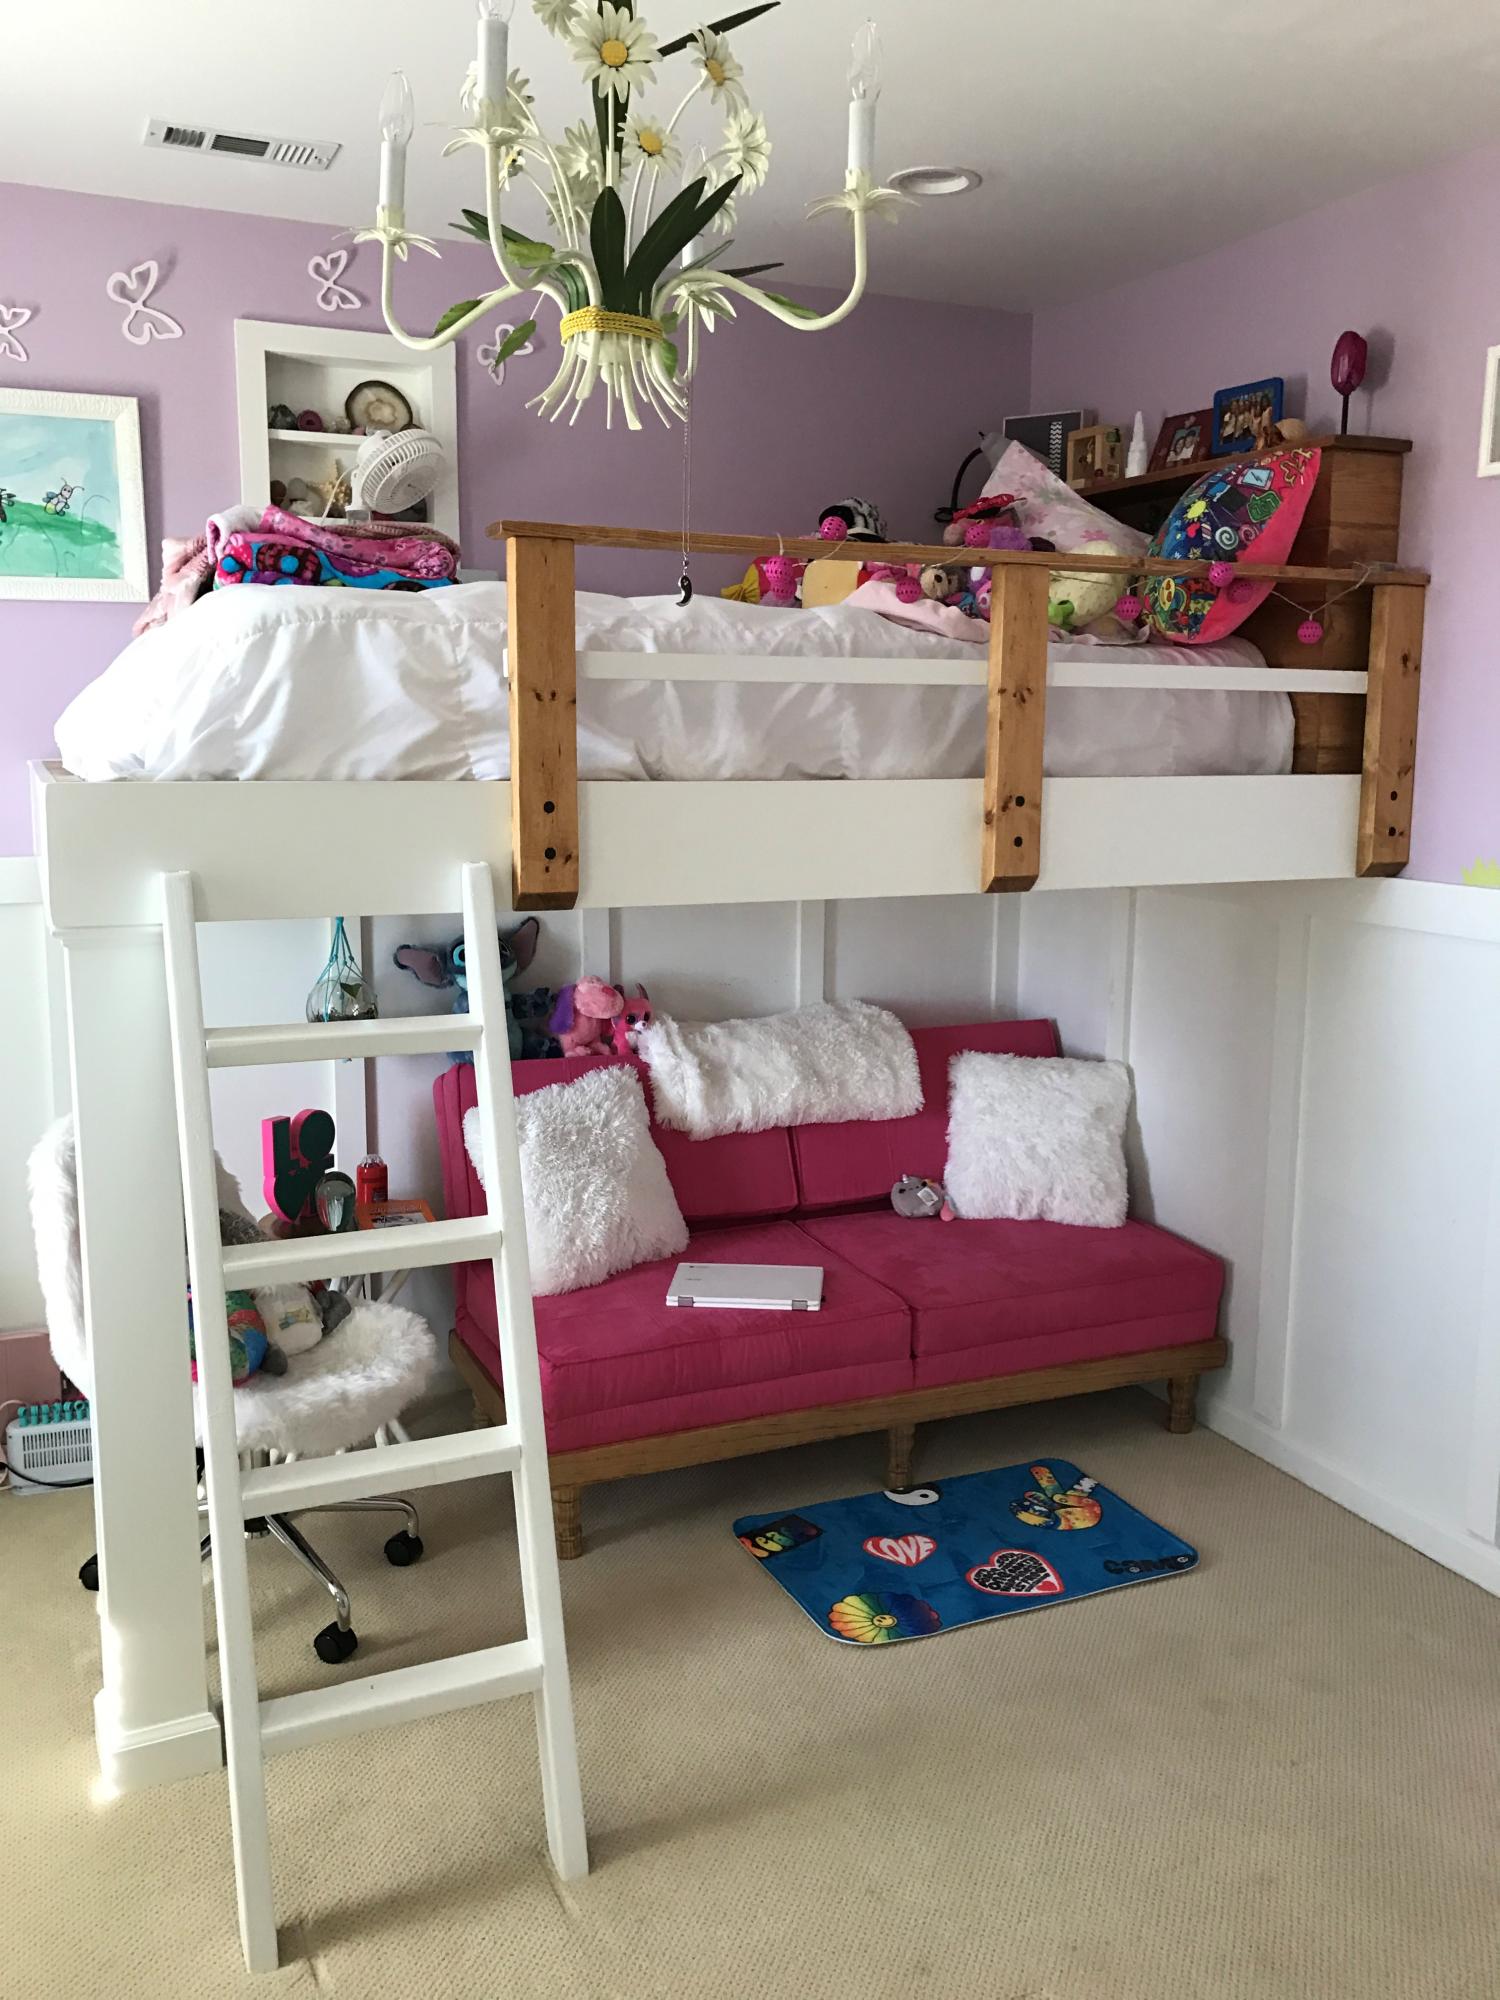
Built this loft bed for my tween girl who needed/wanted a hangout area and has always dreamed of having a loft. It may look daunting but it's actually quite simple. 2x8"s built to size in the shape of the bed, screwed into the studs in the wall with lag bolts. A 4x4" holds the frame up where it is not supported by the wall. I considered a pole or chain or other suspension method from the ceiling but decided that a nicely trimmed 4x4" would look nicer and it really doesn't get in the way since the ladder is there anyways. I built the bed frame bigger than I needed for the twin mattress to accommodate free space for clutter, e.g. books, pillows, etc. Once the frame is up I added supports for the mattress, with 2x2"s spanning length and width, then plywood. 2x4"s are screwed in vertically and then topped with a flat 1x3" and spanned with a 1x2" to protect her from falling. Since she's older I didn't feel that I needed to add as much support around both open sides. It has not been an issue at all and I am fully comfortable with it. I installed small LED color changing lights in the underside of the bed. The headboard was made from standard 5" t&g boards and has a small shelf to hold "stuff." A custom in-wall shelf holds more of her "stuff." The wood color is just a dark walnut Danish oil that I love working with.
Finally, I built the base for the couch with 1x3". The couch itself is two separate futon style chairs that open up into single beds, perfect for sleepovers! They are meant to just lay on the floor but I wanted to make it look more like a couch. We bought those from Walmart. I recommend! Hope you like. Let me know if you have any questions. I don't have formal plans but can try an answer all questions best I can! Cheers!
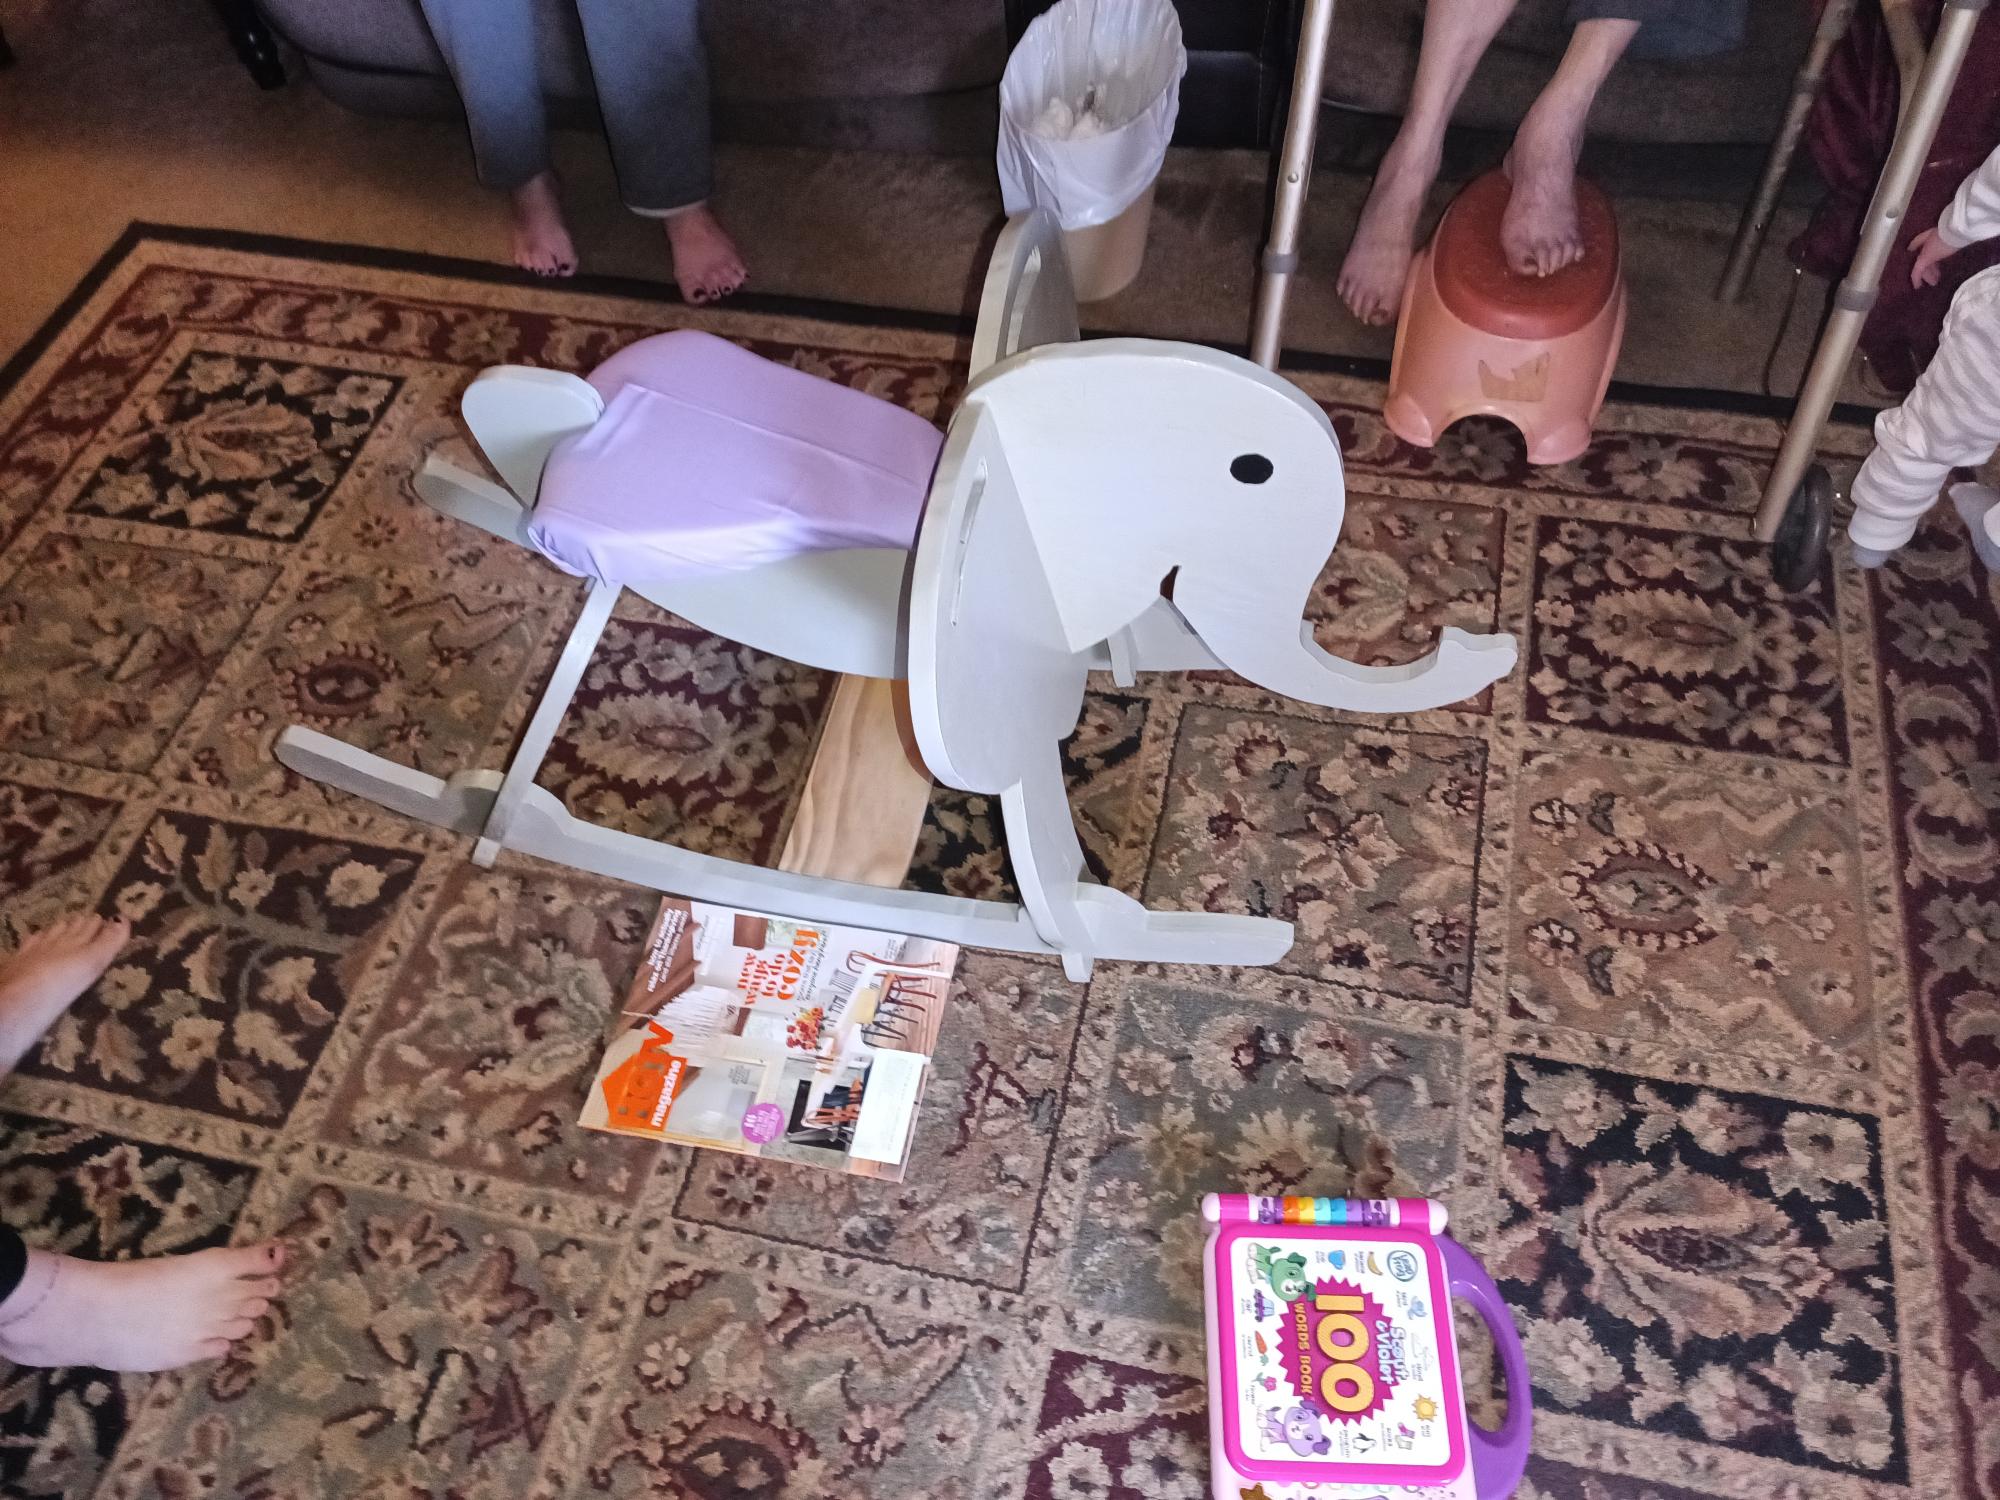
My great niece was turning 1 and I wanted to make something original for her. I wanted to make sure she could use it and keep it to show her kids, hopefully. It took a few weeks of working and waiting for finishes to dry and working out the finer details to make it solid and sturdy.
Teeny bathroom storage tower. Modified size to 12"w x 26"h x 10"d.
Hello, I was looking for a unique gift for a baptism baby.I started this chair with great enthusiasm. Gradually after my job, I made one mois.Du cutting the pallet until making coussins.J 'I used paint 0% solvent. I am very happy for the first time. I will now make a model adult.Conseil: Paint before because after the assembly is much more diffcile.Faire just after retouching at the screws. Start you! Thank you Ana. PS: Excus me for my English , Im french


this was a fun build had to tweak the plans a little but turned out great!
My wife loves the farmhouse style, so this was my first build based on the X console plans for sofa tables. Its very "rustic" to say the least, but is very functional and was a great project to get started.
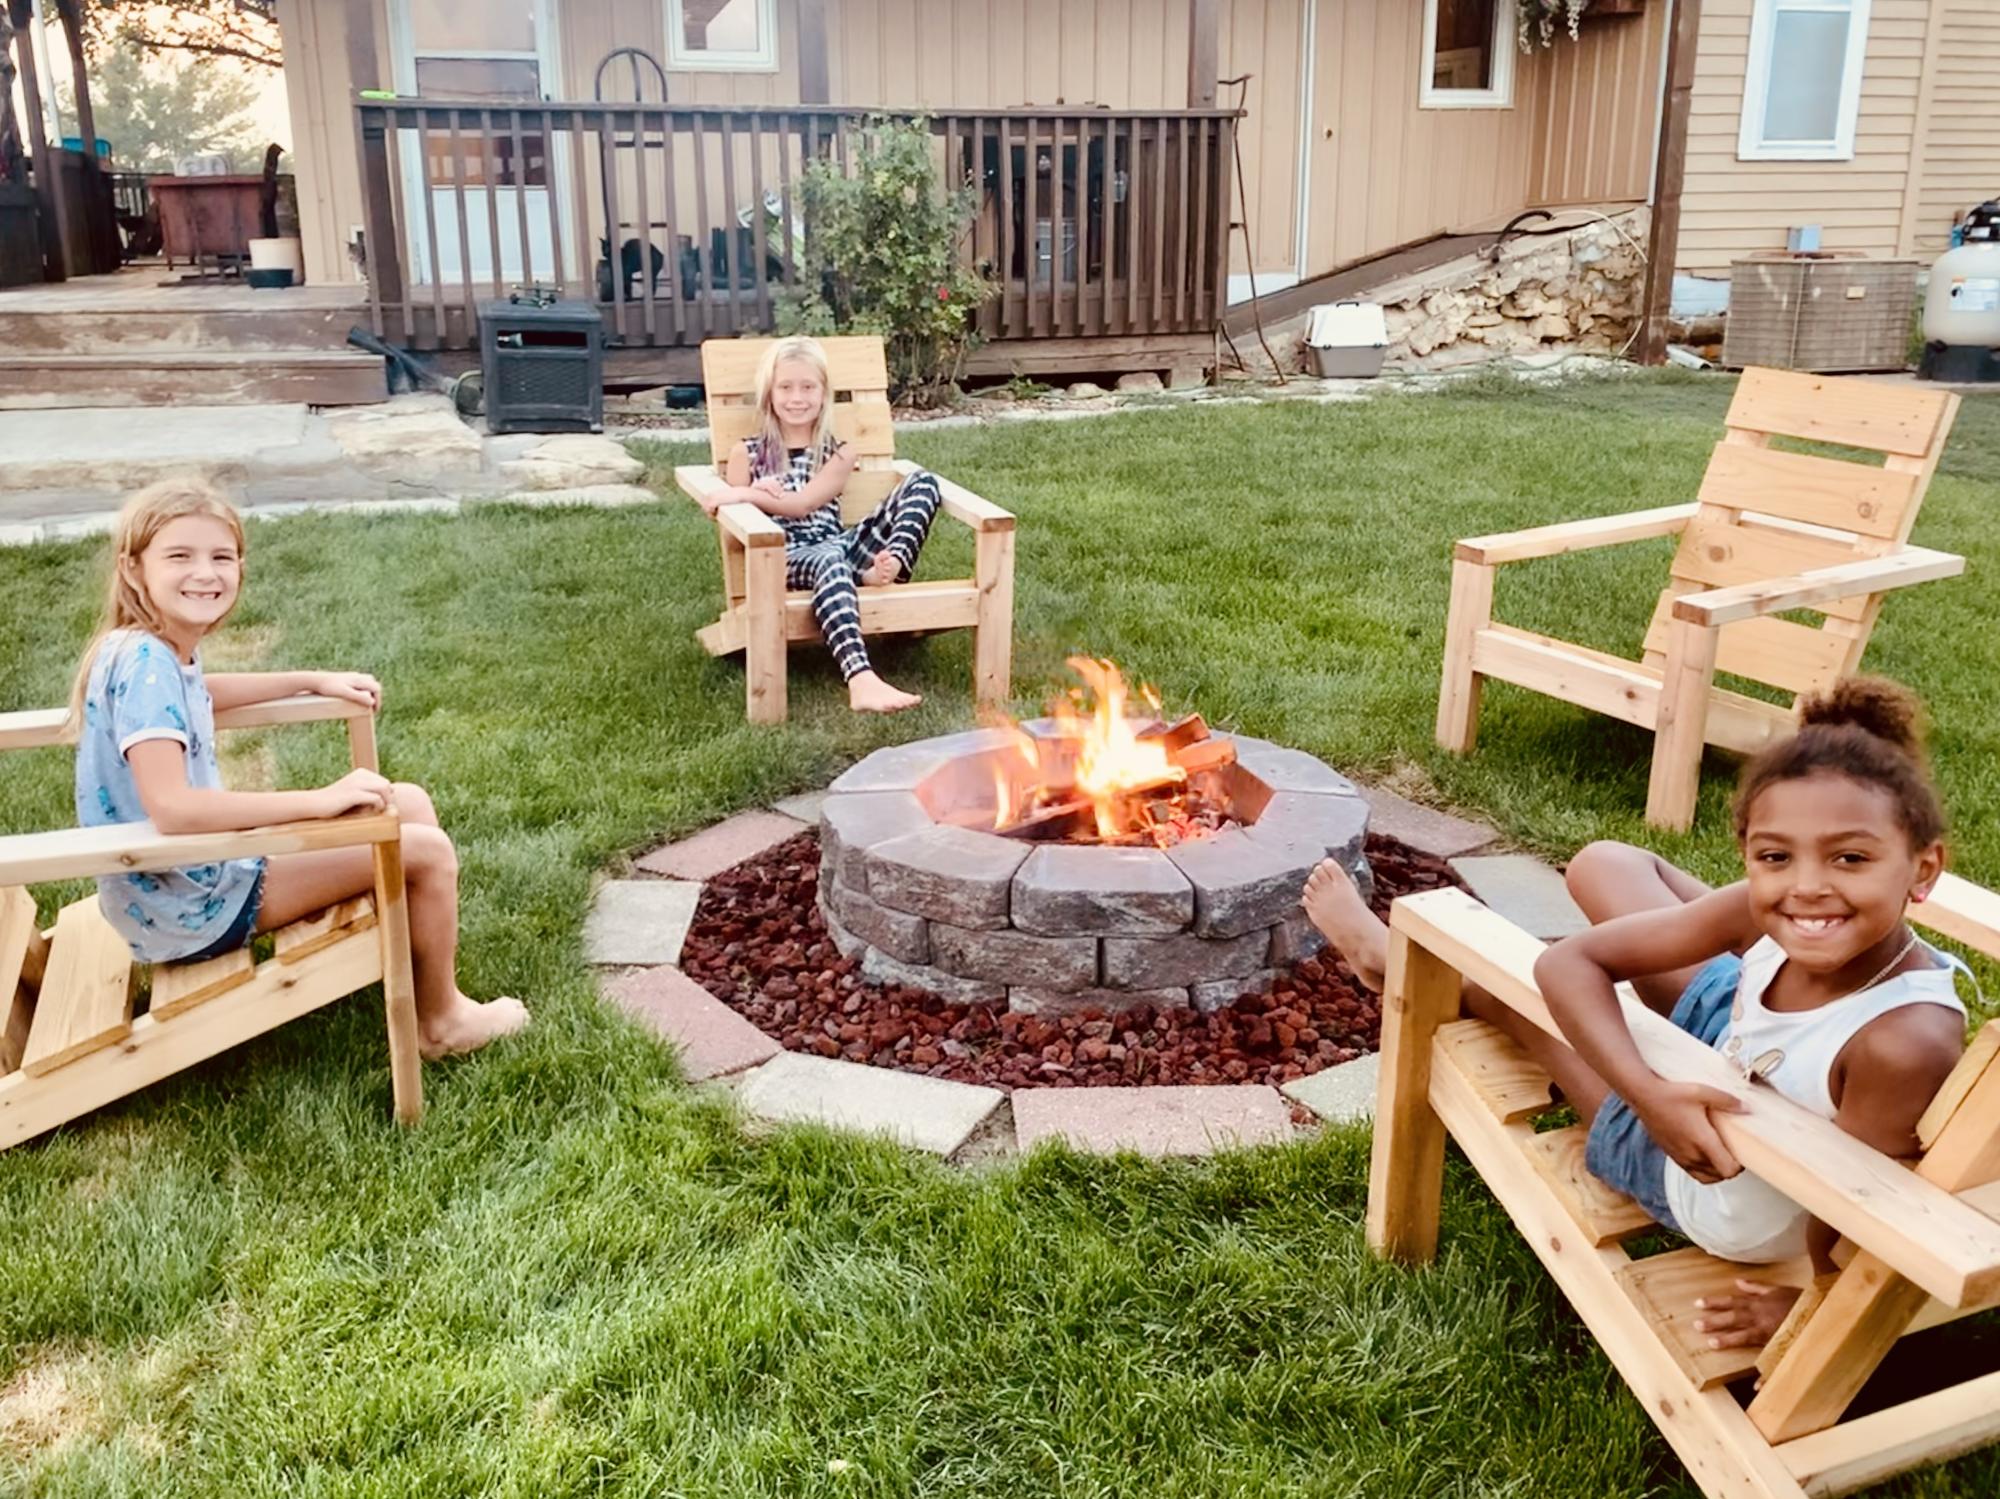
My mom and I made these together as our first Ana White project! So much fun making both these chairs and memories! Next up is the three pedestal farm table and bench!
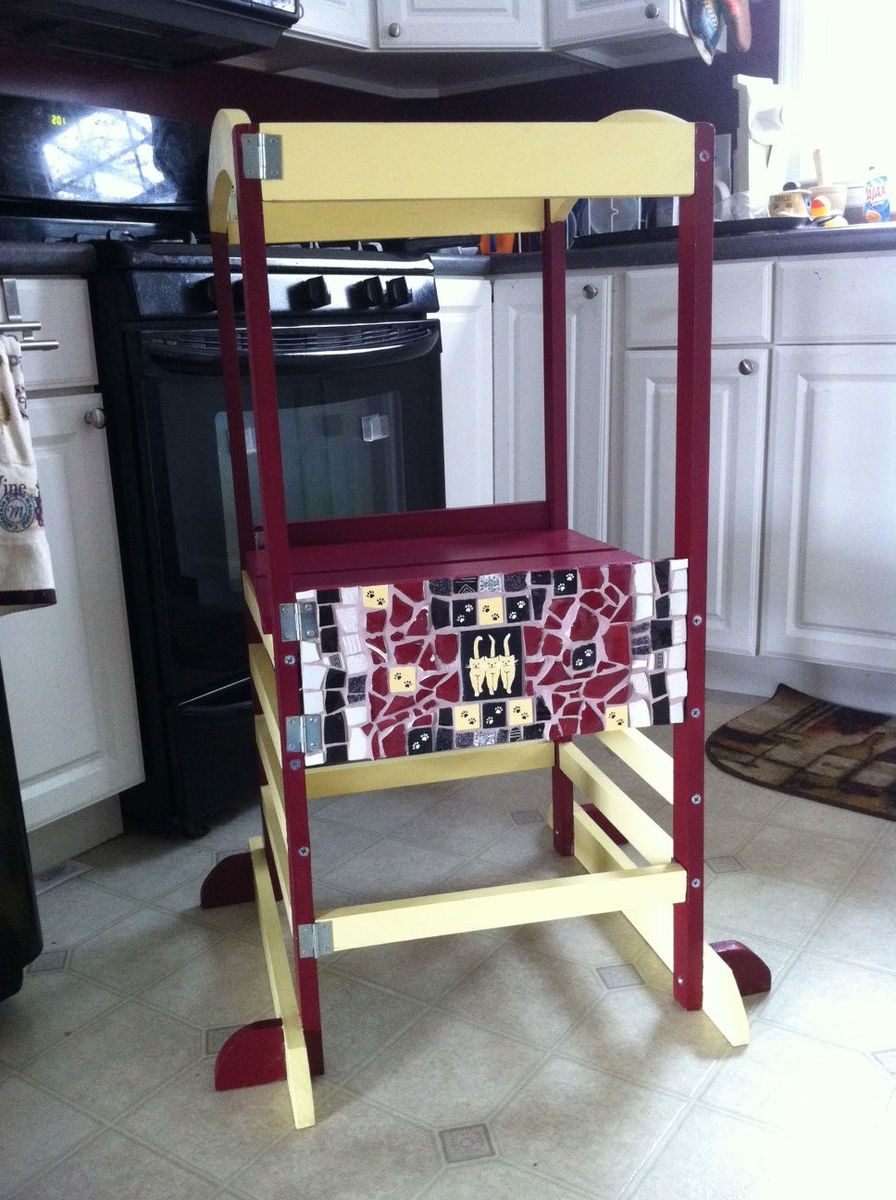
Built this helper tower for my munchkin so she has a safer place to stand when she wants to help us in the kitchen. Put a mosaic on the front and painted it to match the mosaic and the red color on some of the walls in our kitchen (hard to see in the photo). I am thinking of velcroing some ribbon to the sides to cover the screws and hinges. If I use velcro, then I can take it off easily to tighten the screws in the hinges if needed.
This cute step stool is my first build from Ana's book.
It is made of macrocarpa, and finished with "teak" water-based stain by Resene, danish oil, and clear furniture wax.
I took the plans and modified them a bit to build what we were looking for. - I used 2x8s for the top of the table so that the middle board could have two removable sections that could be used for ice buckets for drinks. I made those out of plastic planter boxes. I also used 4 2x4s across the top for support.
The last major change is that i used corner brackets and bolts or screws to attach all the pieces. I liked the industrial look it gave the table and benches.
Everything was sanded down and finished with a drift gray stain and seal.
The building part was easy, but sanding and staining prior to putting it all together is what took most of the time. It was probably an hour of cutting, an hour of building and the rest was sanding or staining.
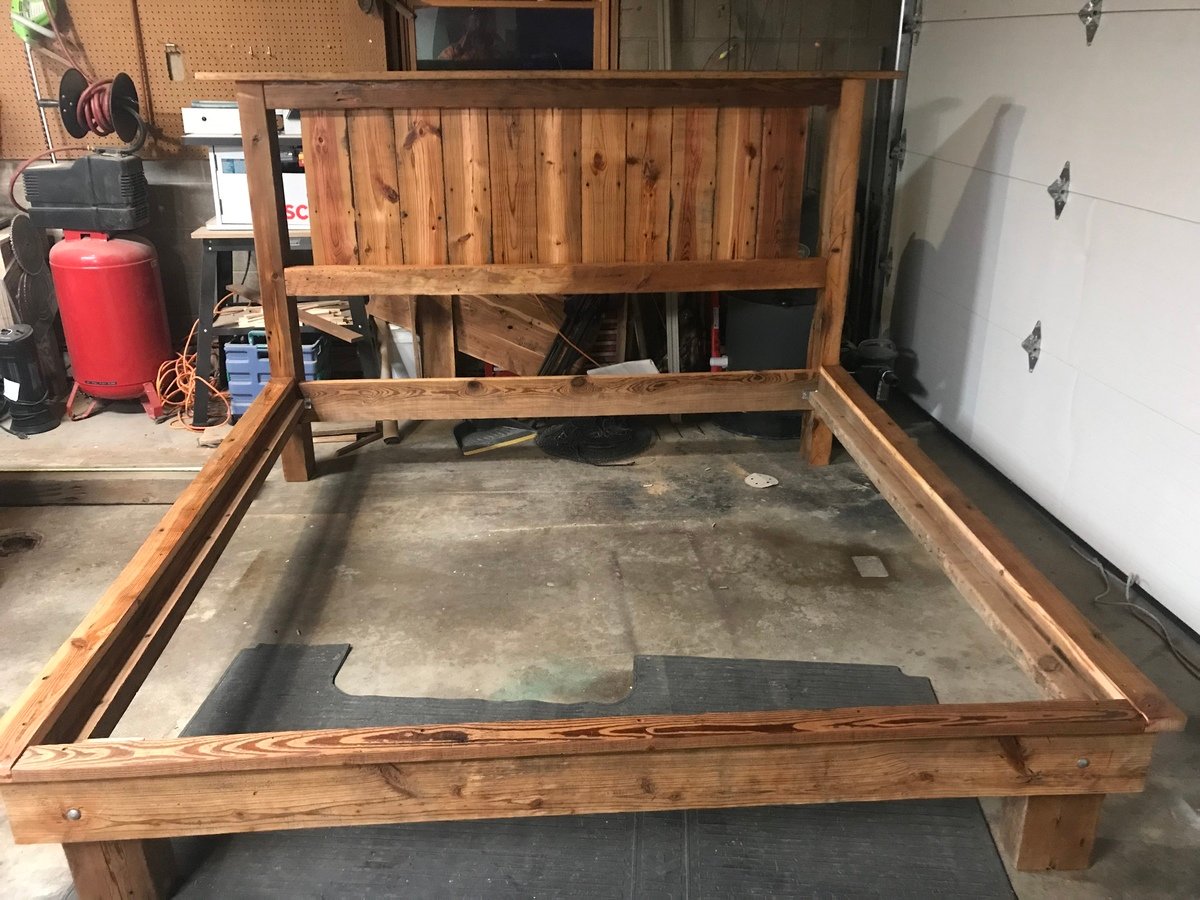
Just love your site so many great ideas