Master Closet System
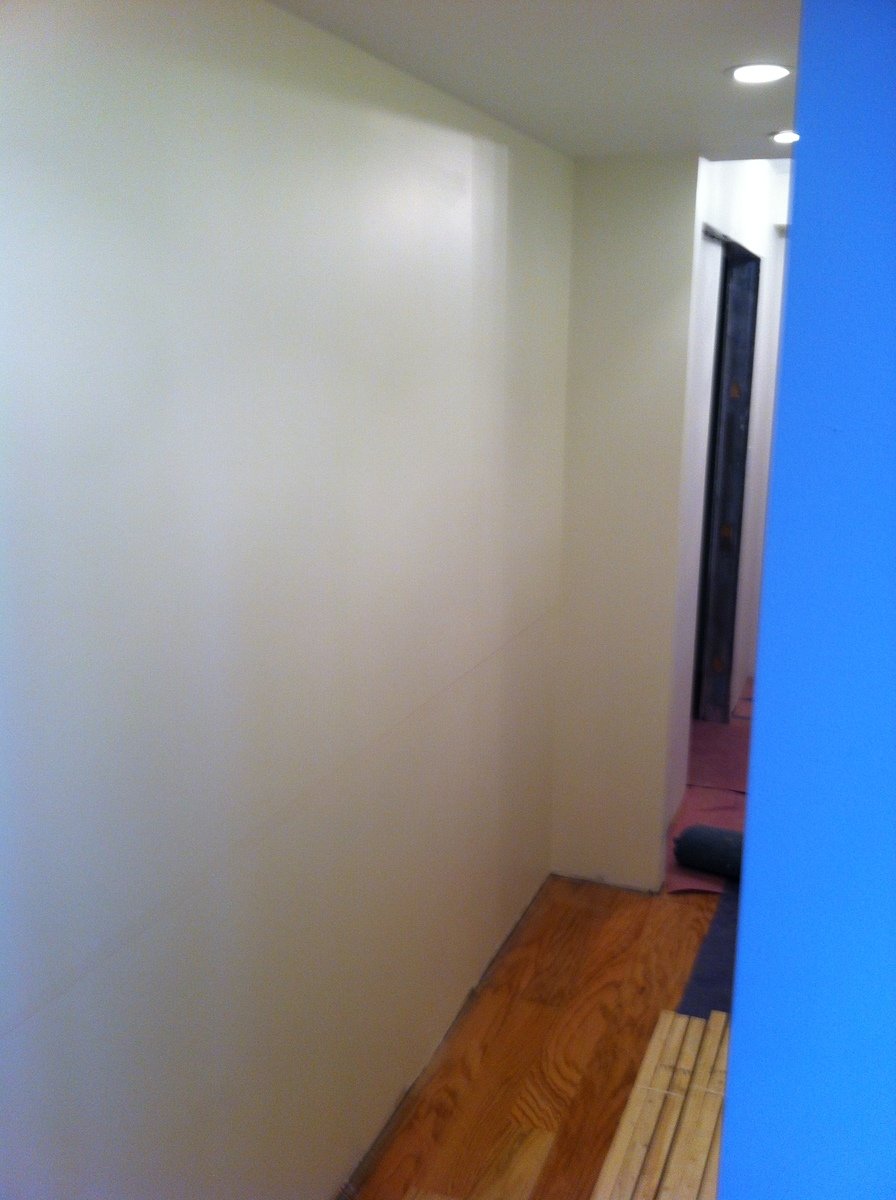
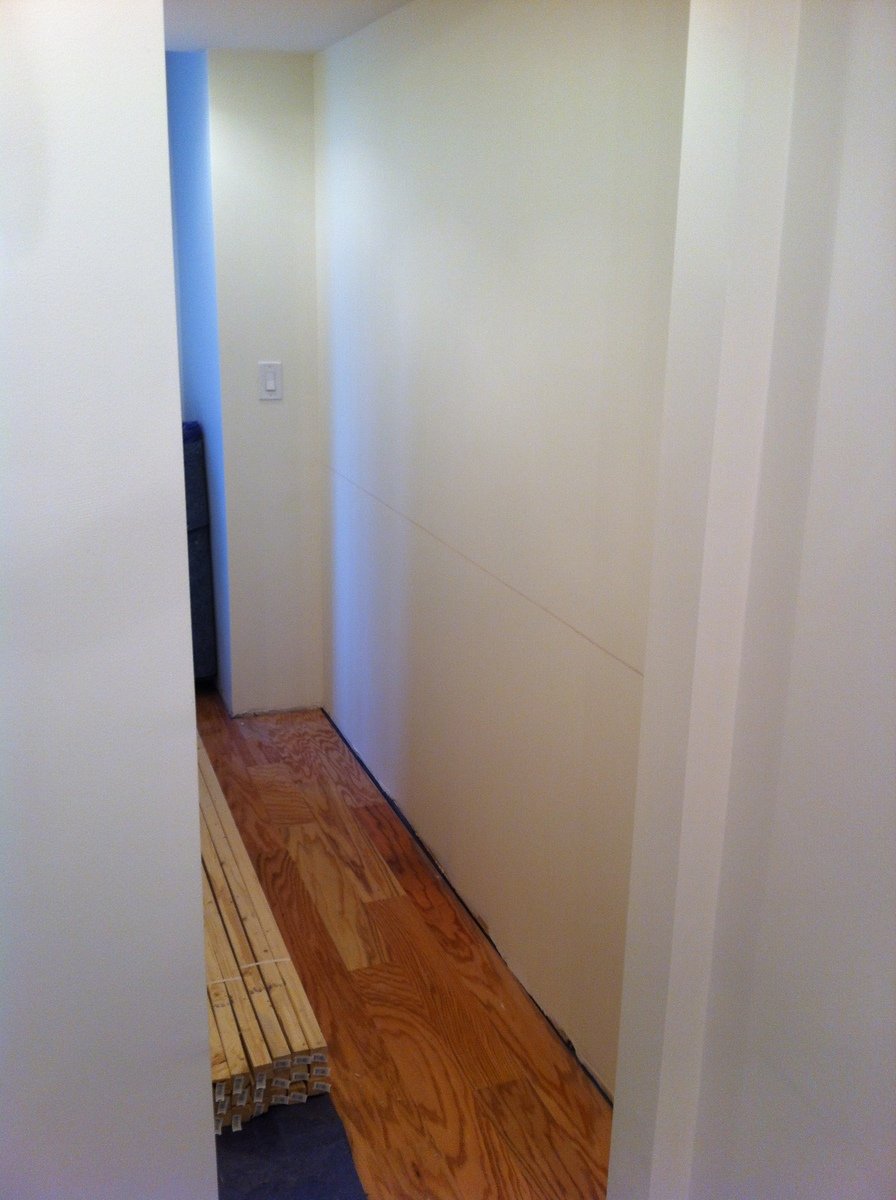
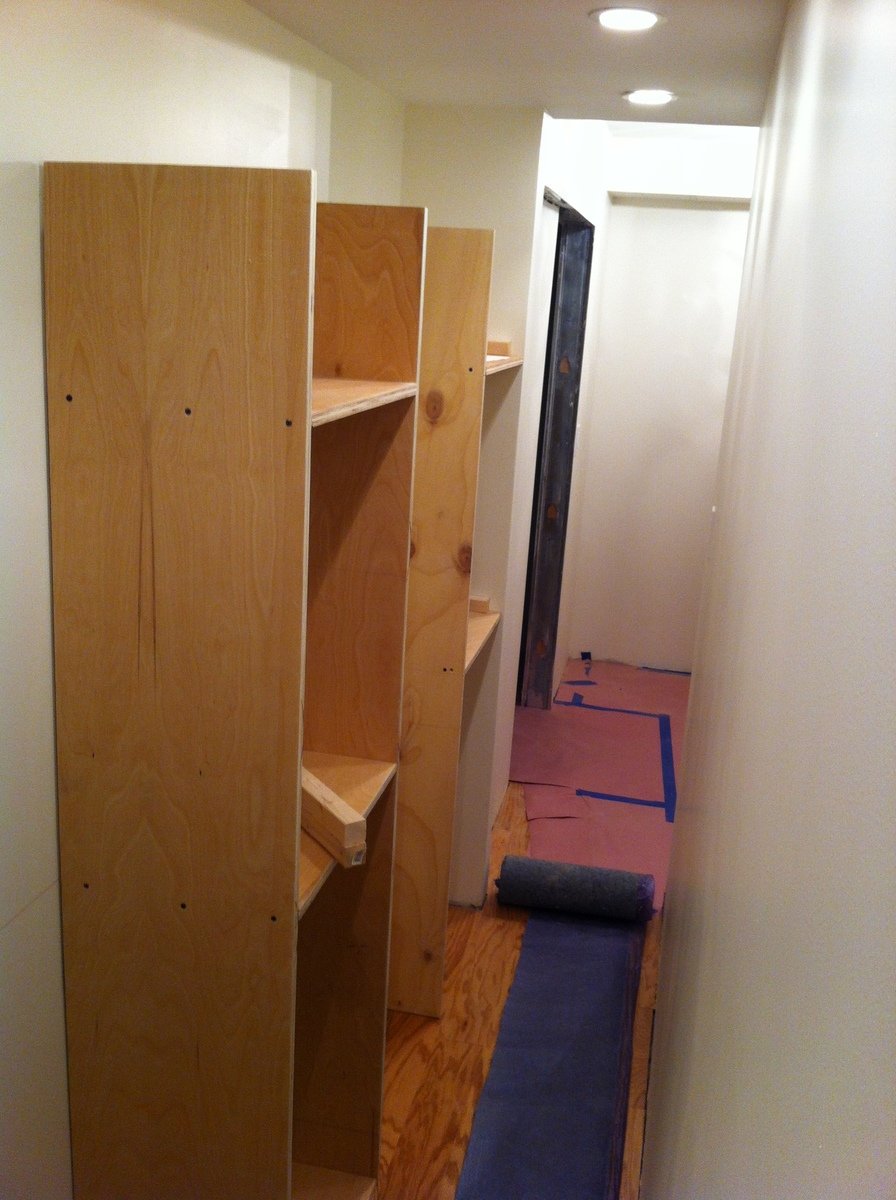
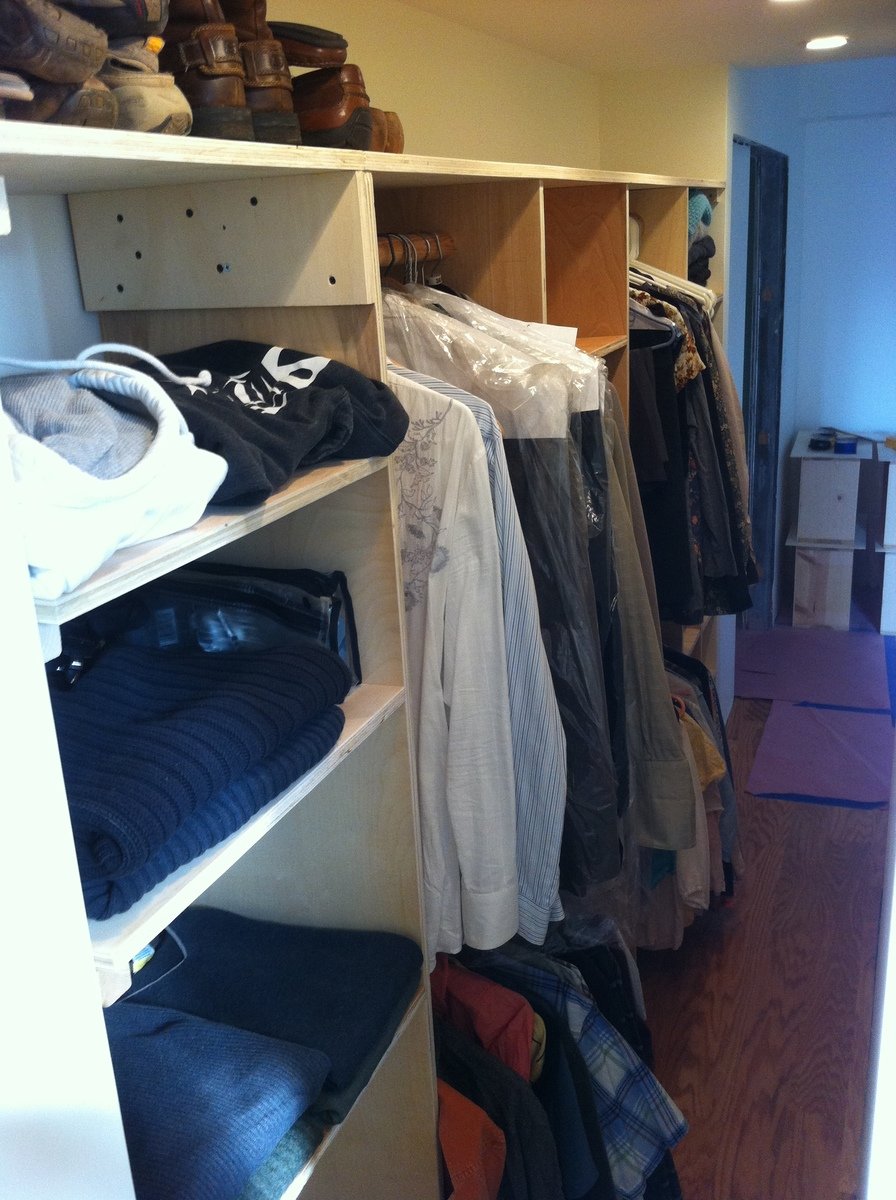
Followed plans with slight modifications:
1. Made shelves deeper but narrower
2. Used 3/4" Birch Plywood for all
3. Built no base just mounted to floor & wall
4. No drawers just shelving
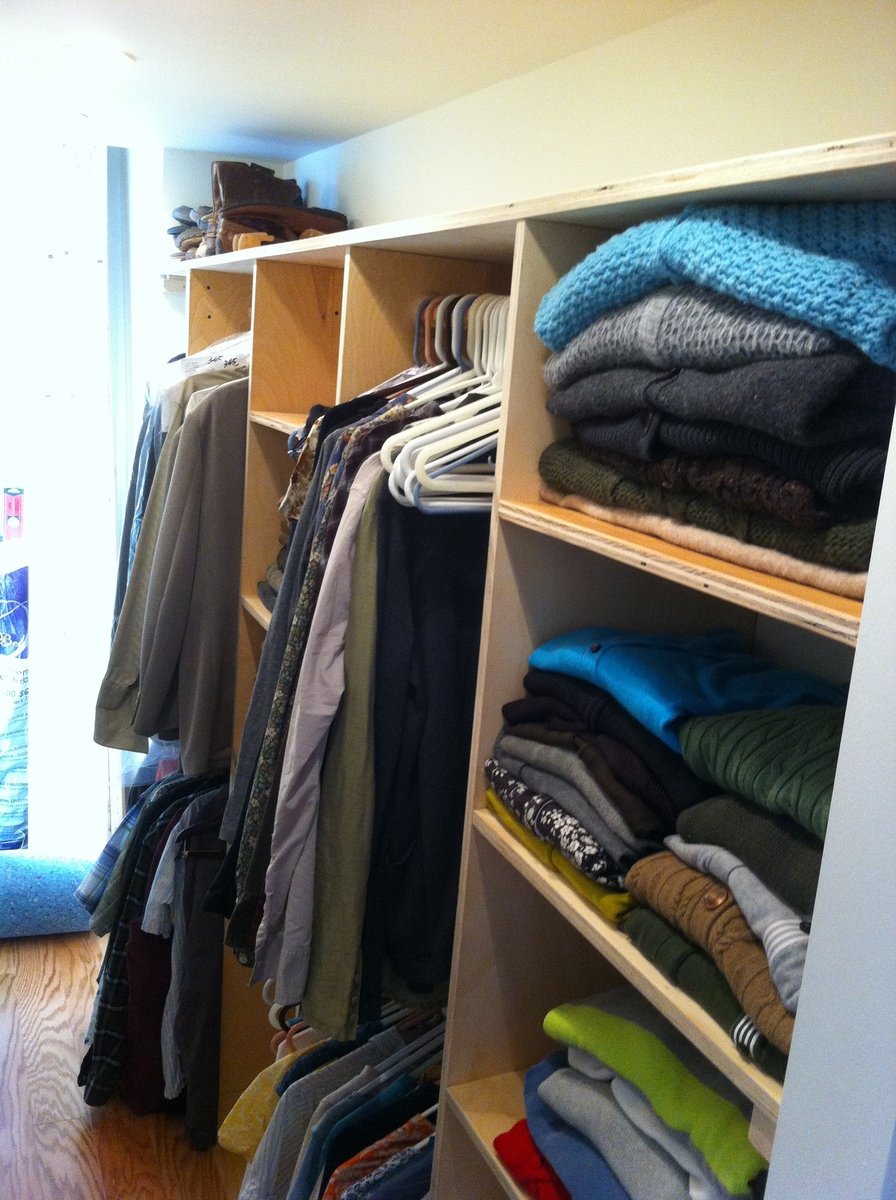
Followed plans with slight modifications:
1. Made shelves deeper but narrower
2. Used 3/4" Birch Plywood for all
3. Built no base just mounted to floor & wall
4. No drawers just shelving


This was my very first project, and it was so easy thanks to Ana's plans. I bought a few tools that I didn't have already - Kreg jig and miter saw - and things went super fast from there. I found cushions at Ikea that fit perfectly, and were cheaper than making them myself. I just hope they last! I used cedar for the sectional and storage table, and stained them a dark brown. I used deck stain as suggested by a Home Depot employee, so that the stain and waterproofing was all in one step. I have received tons of compliments on this set, and people still can't believe we build this ourselves! Thanks, Ana!
...onto the next project...
Fri, 11/14/2014 - 13:46
Wow! That's amazing! And I absolutly love the decor! You have an awesome yard too!
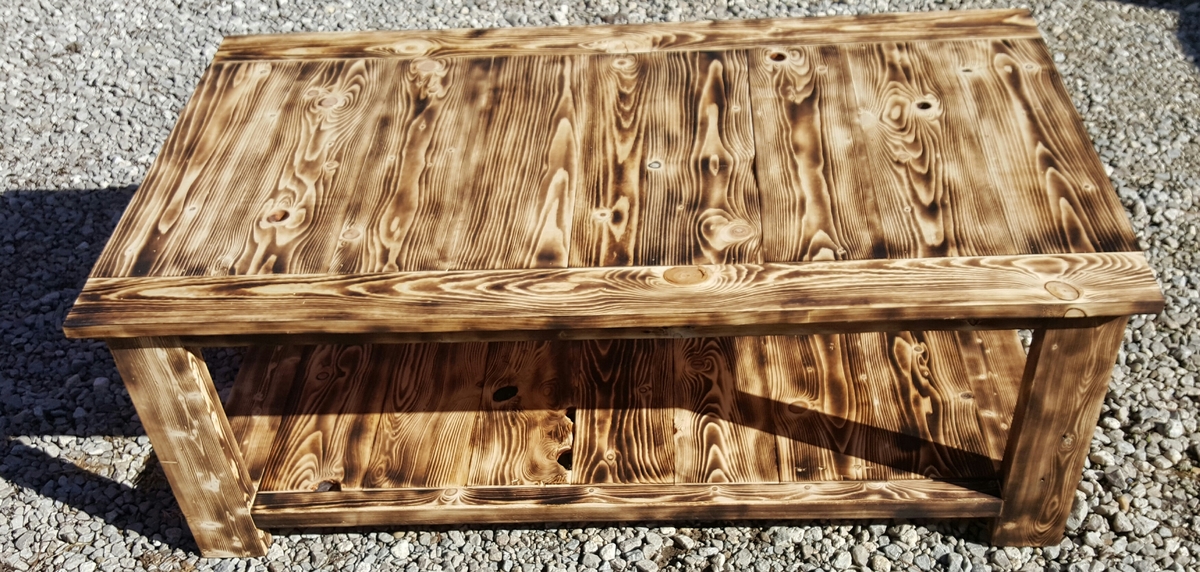
I changed the plans some. I started with a large pallet crate used to transport train windows. So with the used palletwood i had to put the boards in sideways and pockethole screwed them together. With going on the cheap iwent with a 1x4 and 1x6 top so i could use the pallet wood. I ended up torching it with a torch to bring out the grain and it looked good with the rustic look of table.i plain to eventually clear it when ohio weather permits. I only had to buy i 8 foot 1x4 and 1 8 foot 2x2. Have less then 15 dollars
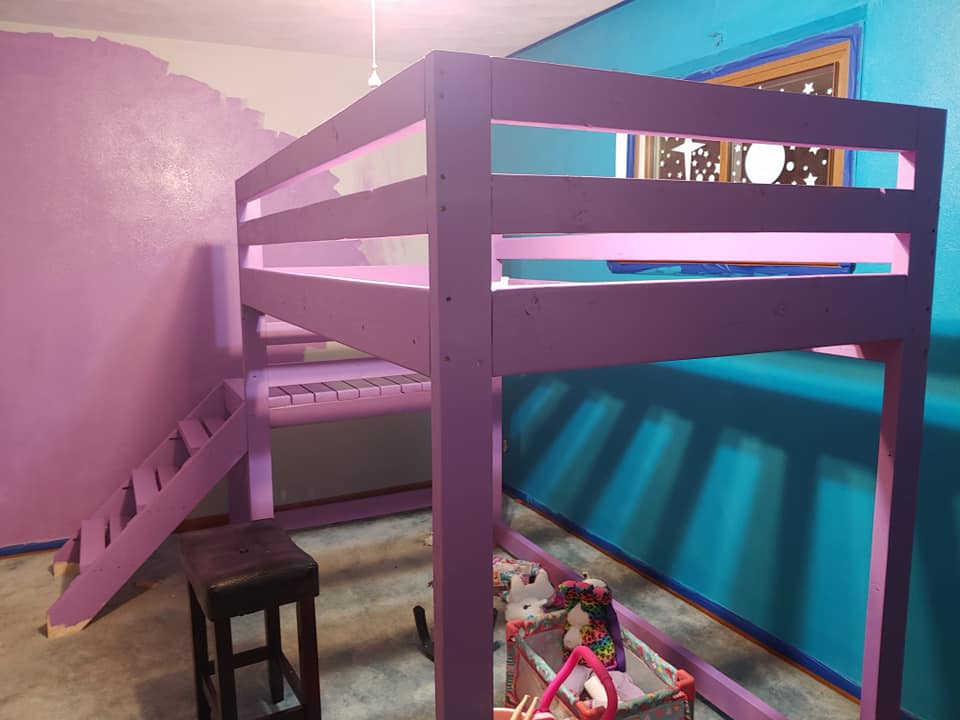
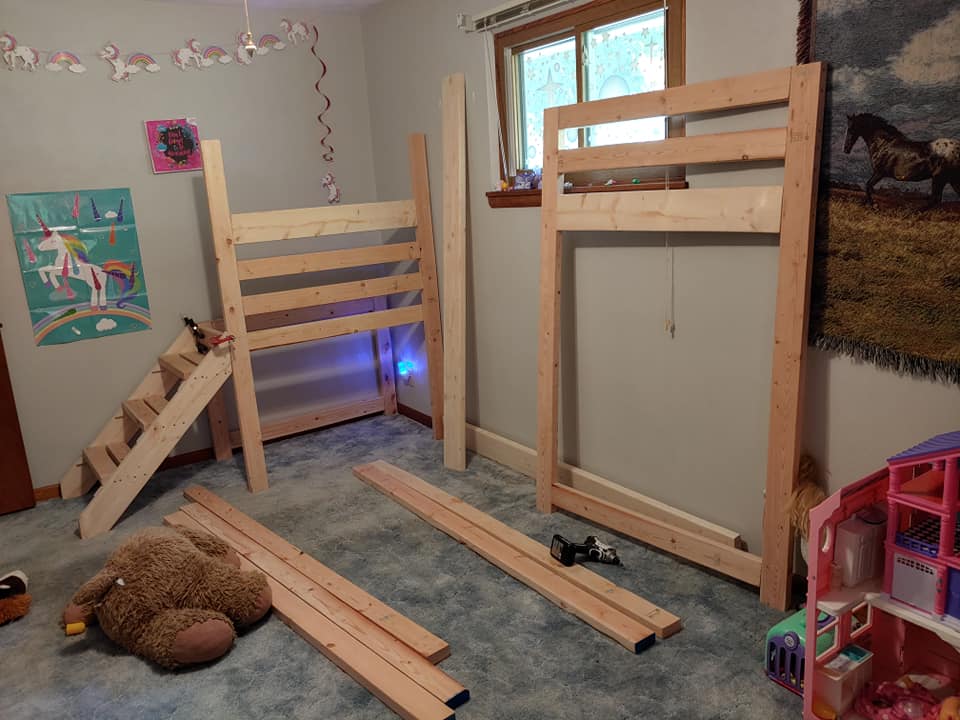
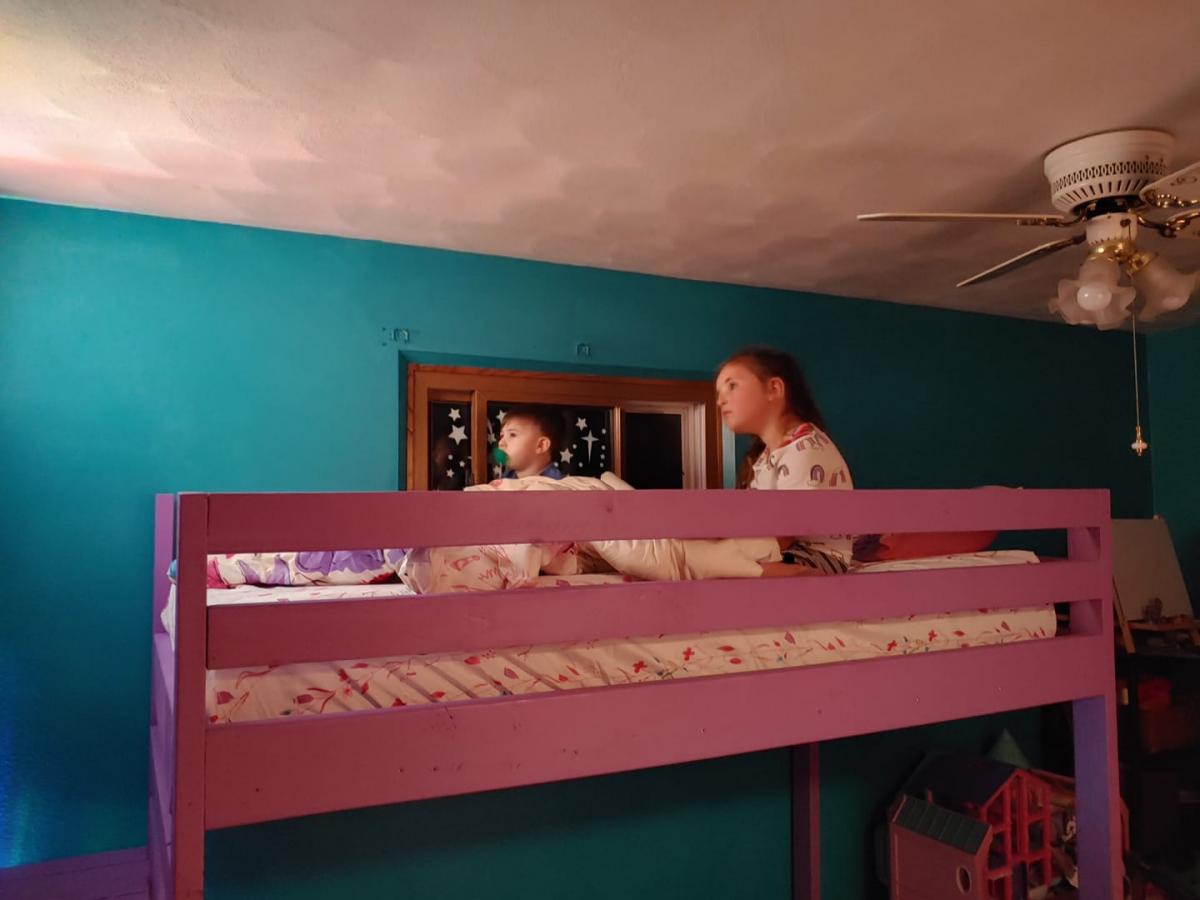
I started planning this project this spring when we bought and moved into our new house. I knew with the room size a loft bed would make the most of the room. My daughter is scared of heights a little bit so I was worried about using a ladder. I stumbled on this site and these plans and knew this is exactly what I was going to build. Ever since we finished painting it and getting her room done she has been glued to it!
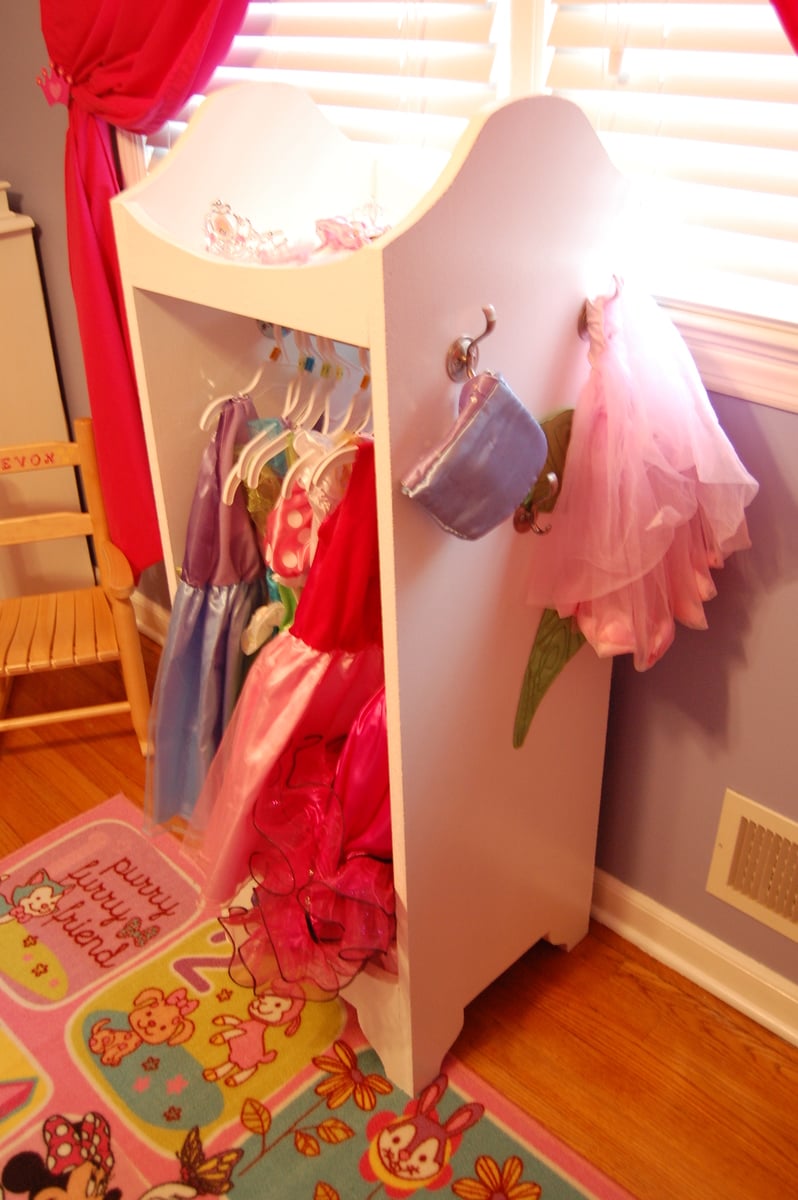
Our daughter has just recently gotten into playing dress up so we were looking for storage for all of her new dresses and accessories. This tower was the perfect solution. We used a mostly MDF and some plywood we had left over from other projects to help keep the cost down. We added a mirror to one side and 3 hooks to the other side. Very pleased with the result!
I improvised on this a bit. I envisioned being able to put small items on the shelves at some point so I made it with solid shelves instead of all 2x4's. Except the stuff I bought for the shelves was so flimsy I had to add the support pieces. Ahh, well. I'm learning. And with the three support pieces (2x4's cut to size) running widthwise, it turned out to be a solid shelf. LOVE this site!! Thank you again, Ana! Next project is a bathroom vanity.
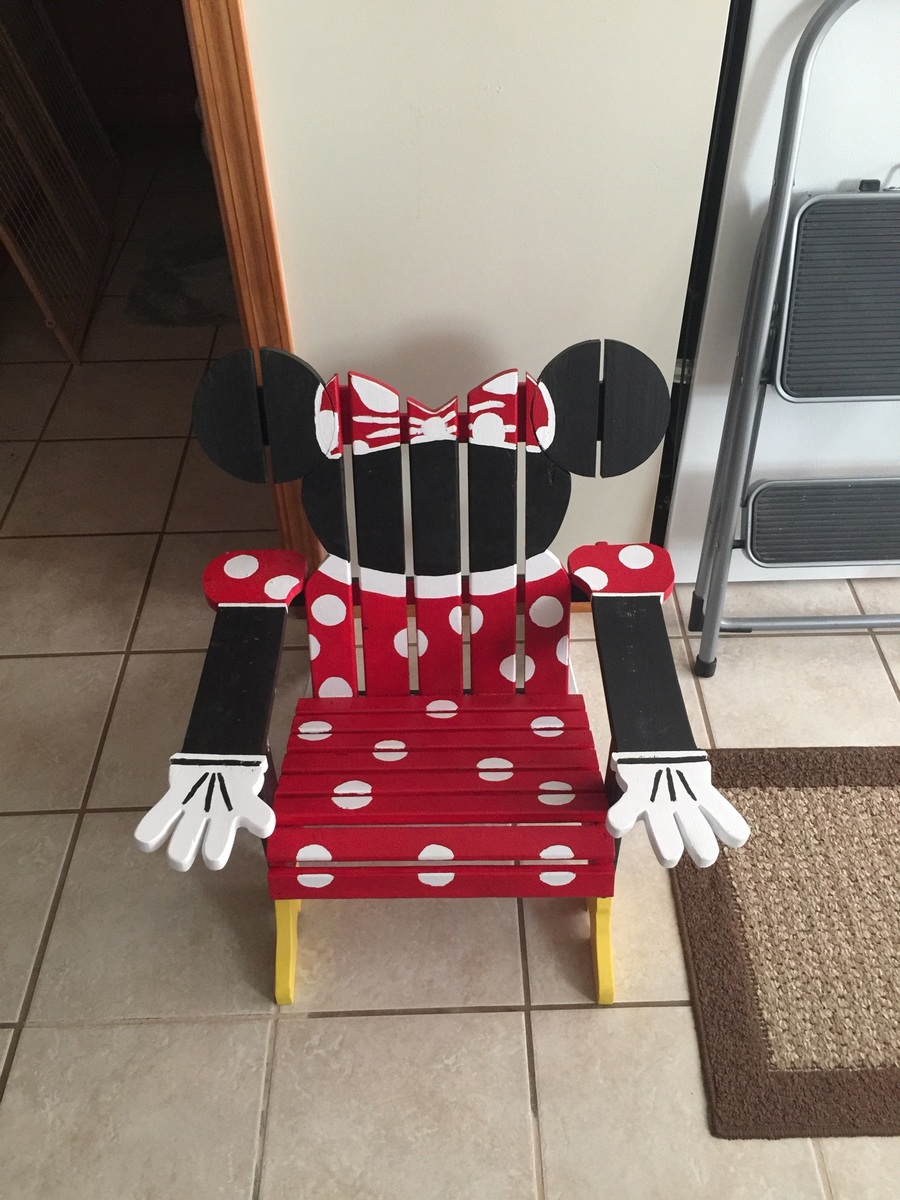
Made based on a picture i was shown,and used the kids andarondac plans on this site
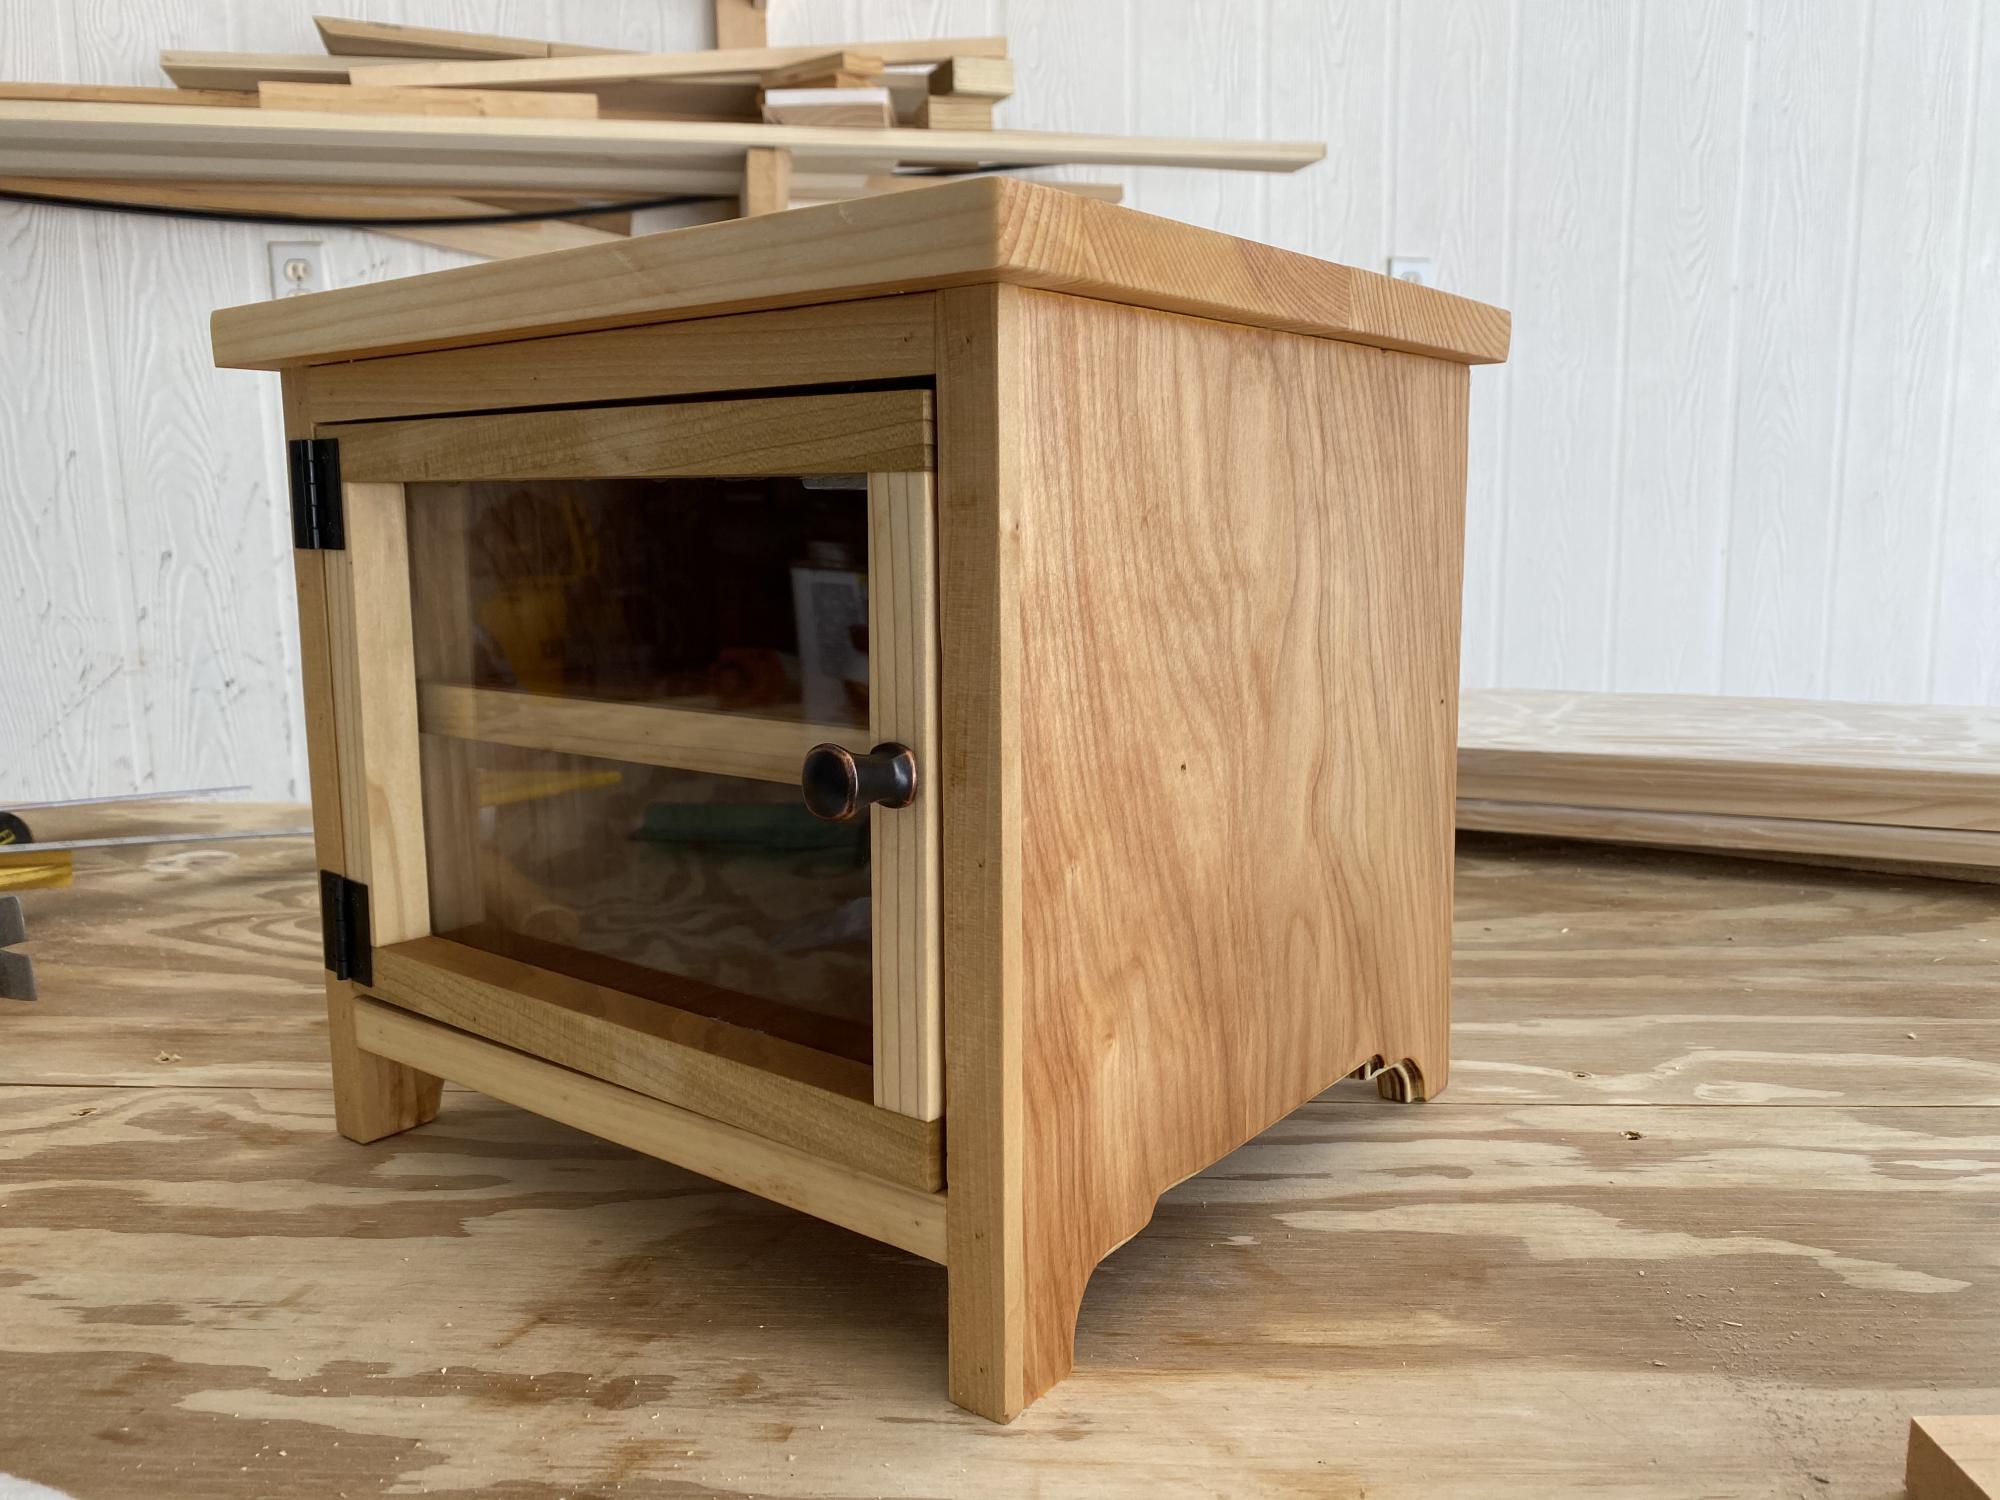
I found the knob on clearance for 59 cents at Lowe’s and the hinges were under $3. The rest was just pretty plywood and some thin poplar instead of edge banding with a boiled linseed oil finish.
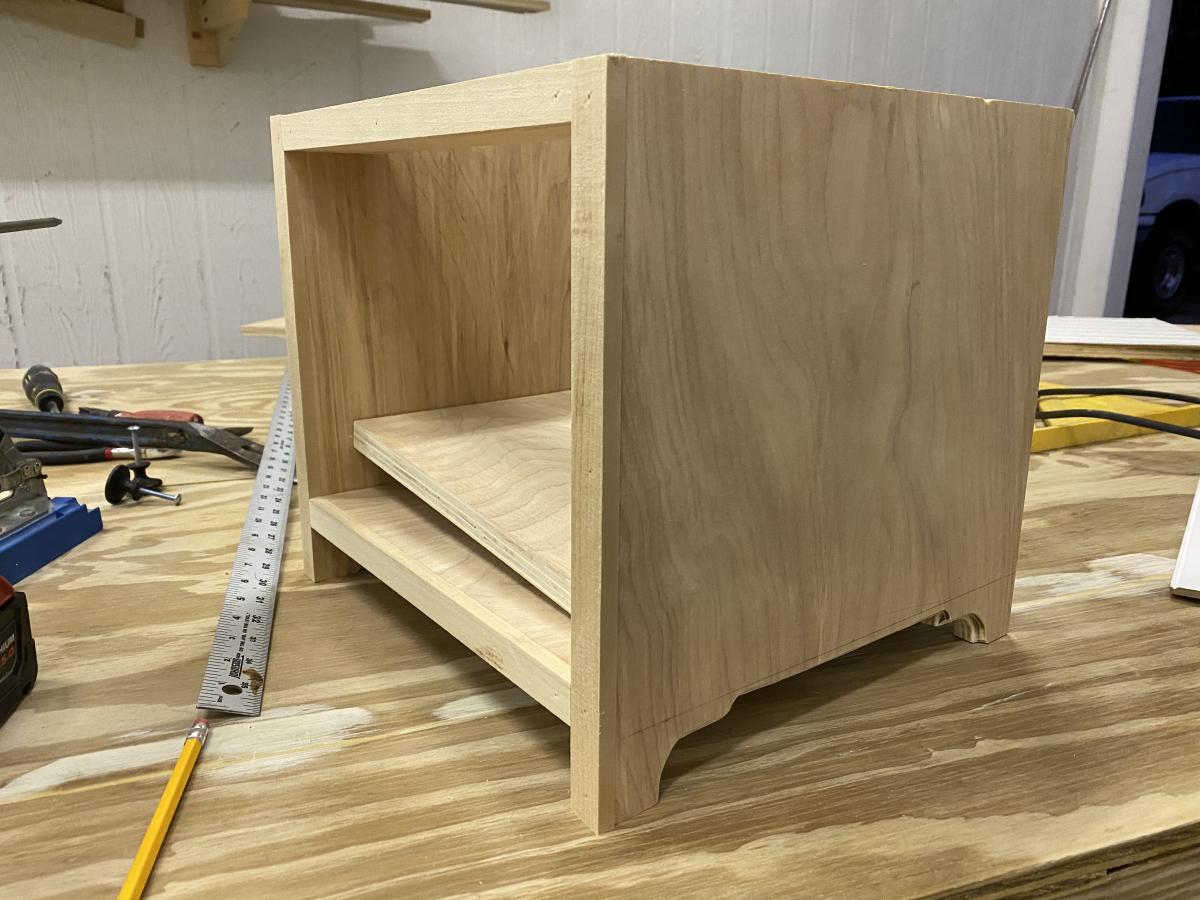
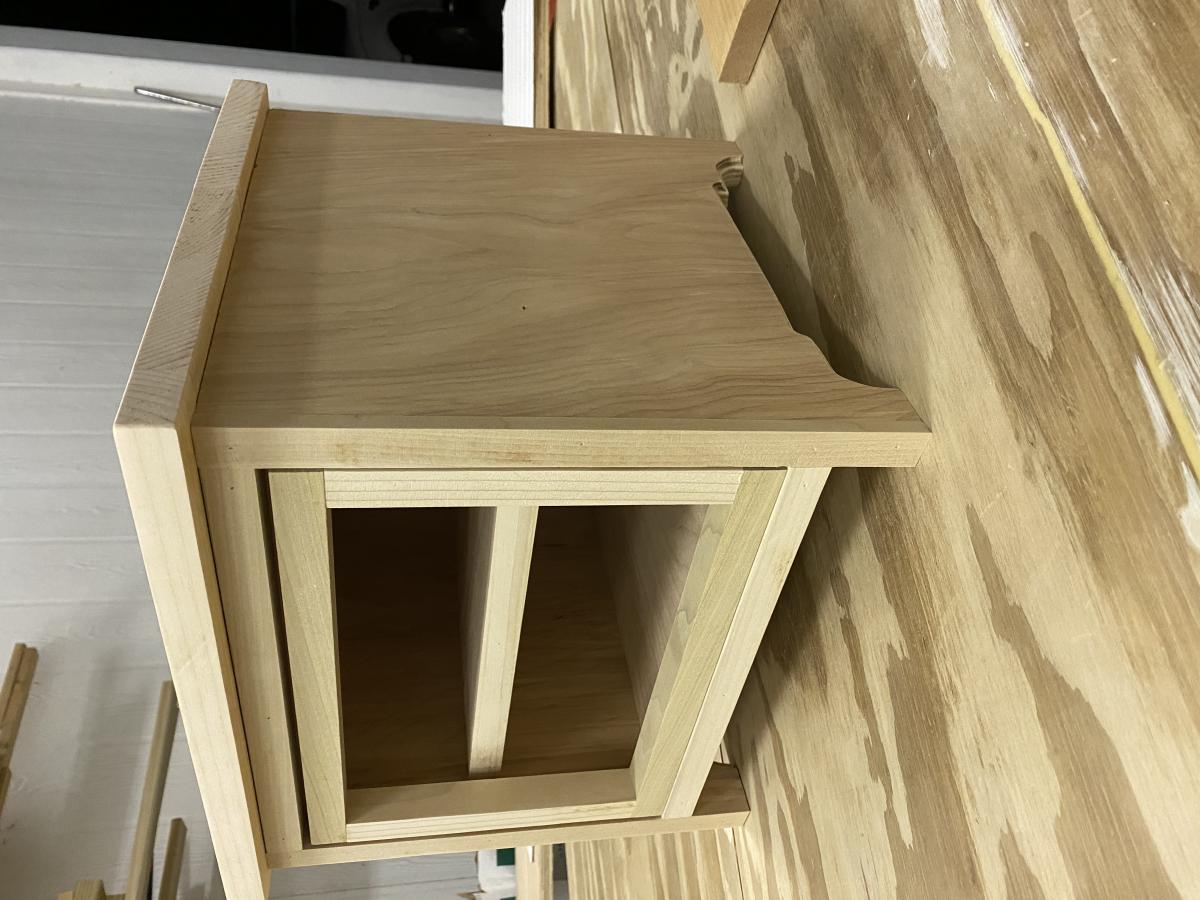
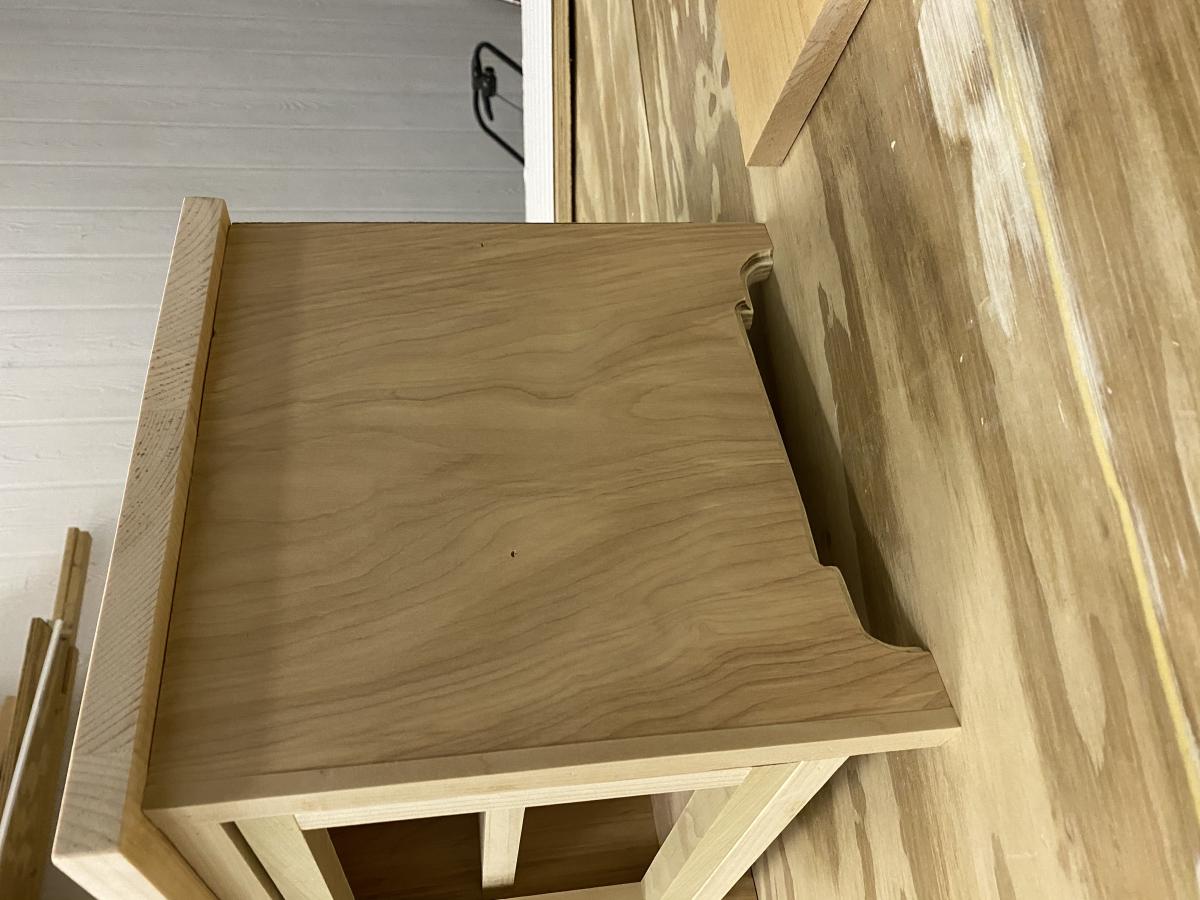
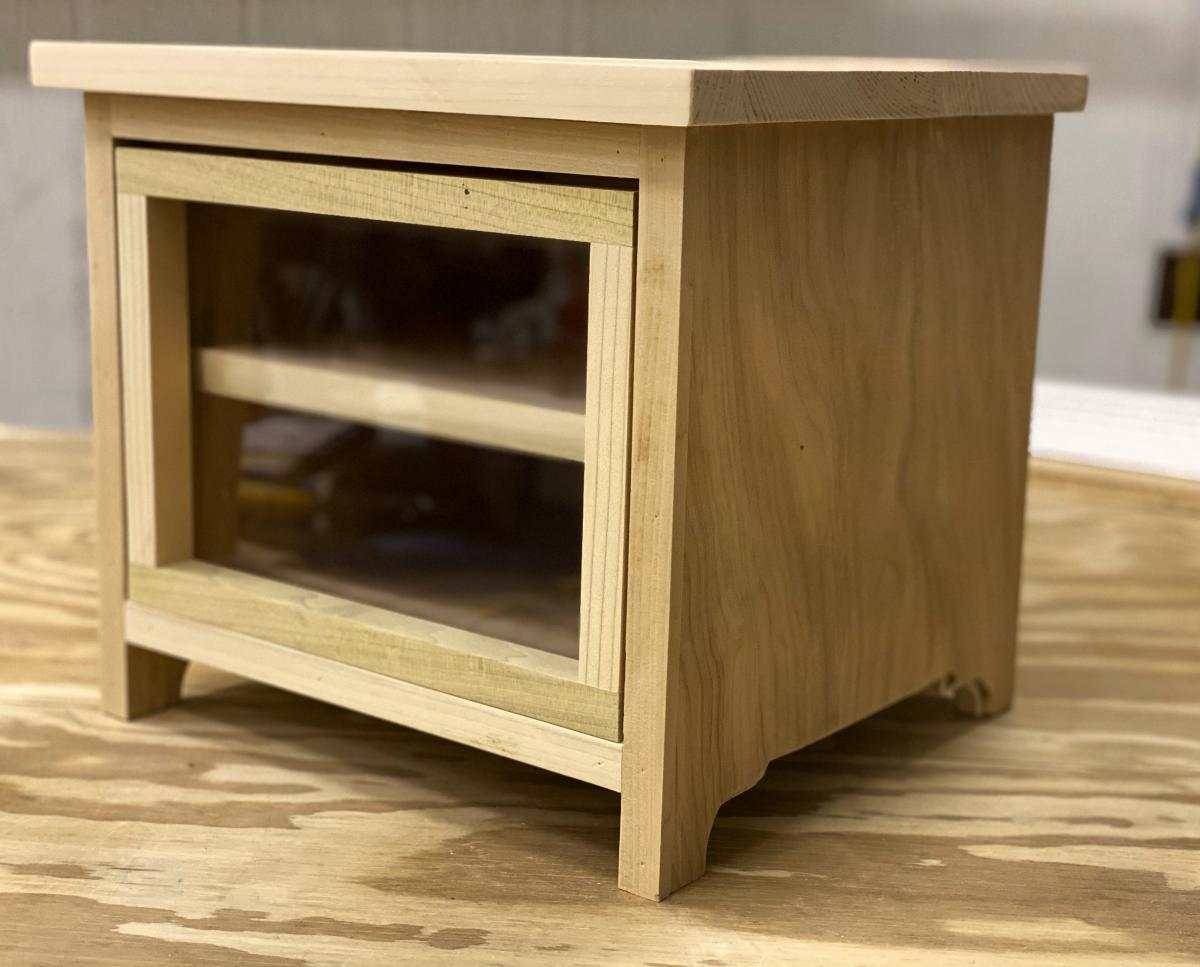
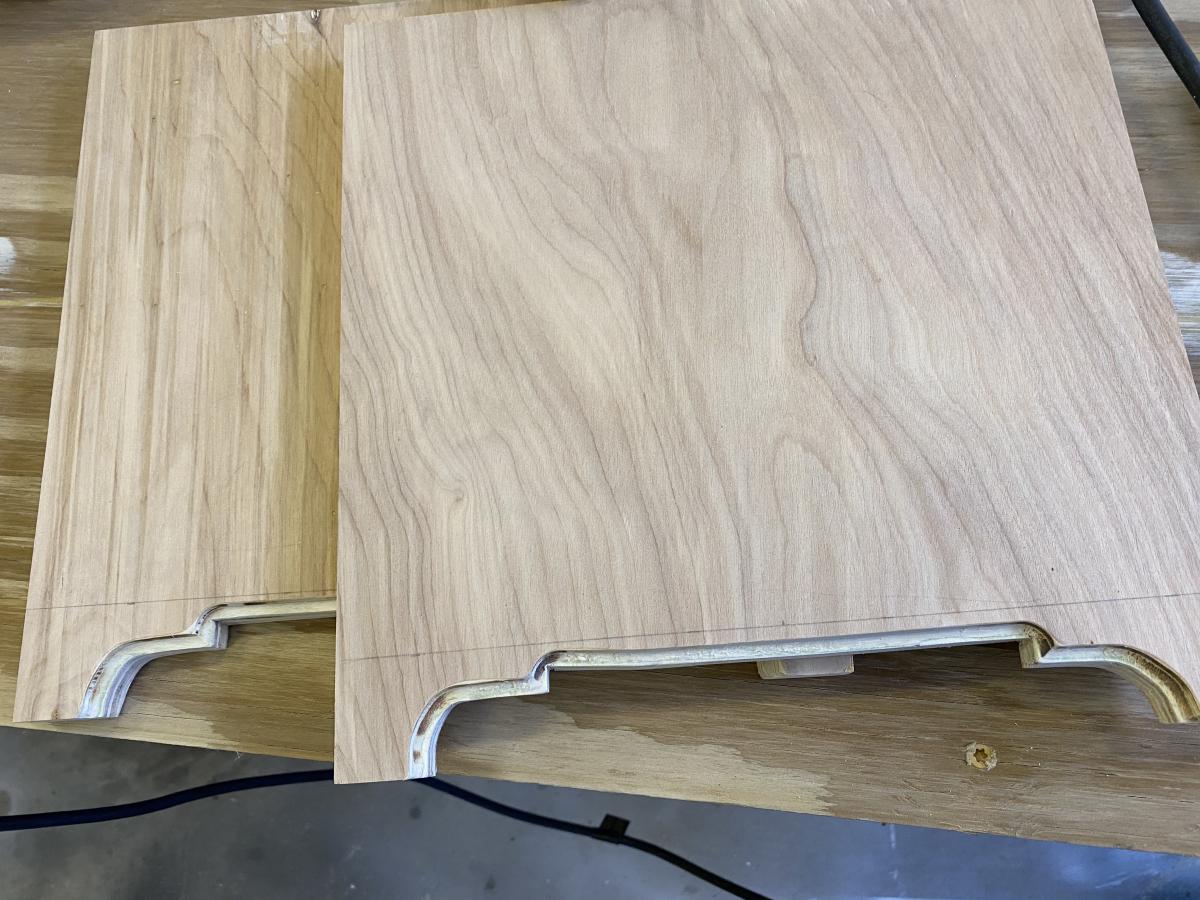
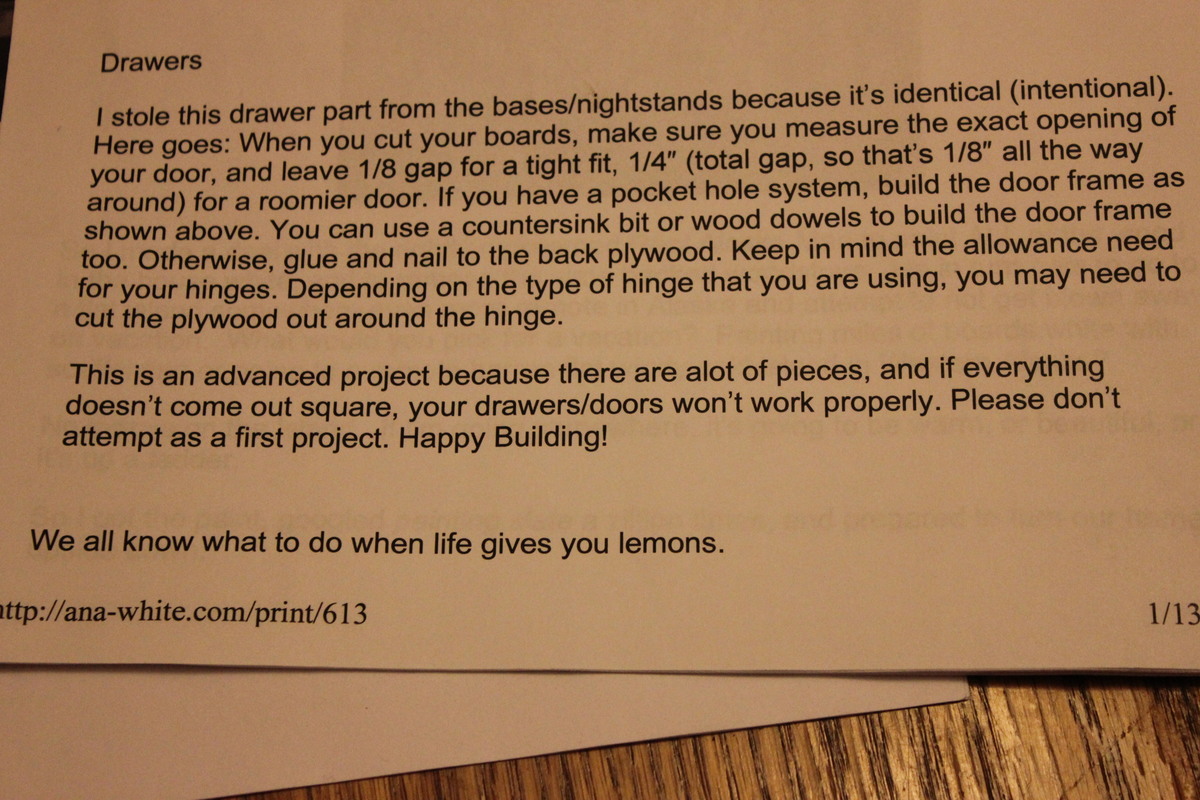
This is the first project my husband and I have made. Funny enough, it was suggested in the directions to not do this as a first project. We had already gotten the materials and our minds were already made up on building this media console. We just took it one board and one nail at a time. Sometimes we would take one step forward only to turn around and take two steps backwards. We learned A LOT on this project. Needless to say, we loved working together and building our own furniture... We will be building more for sure!
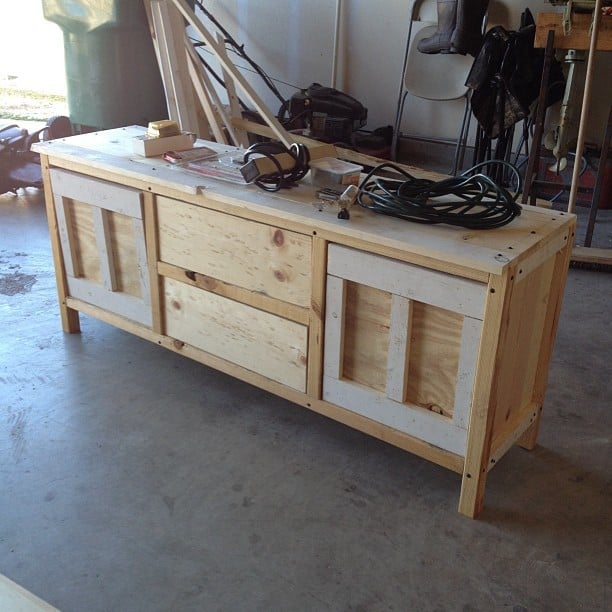
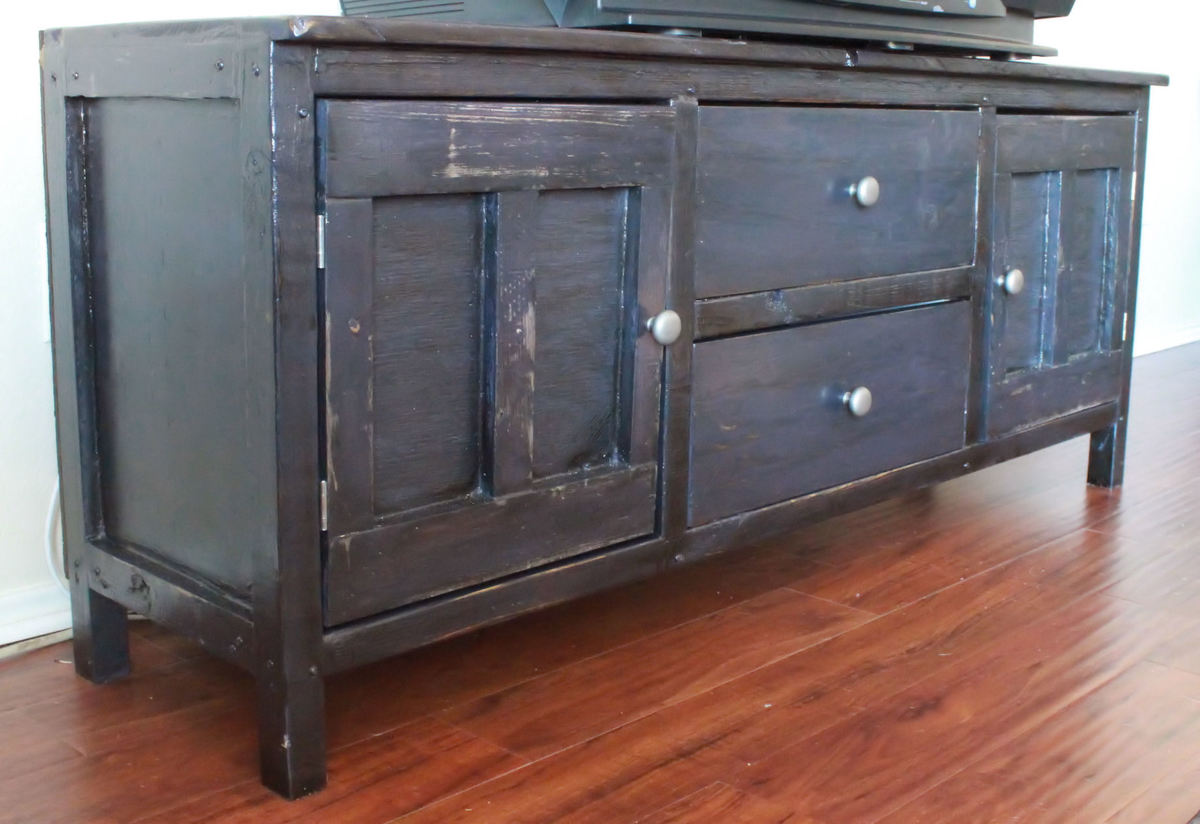
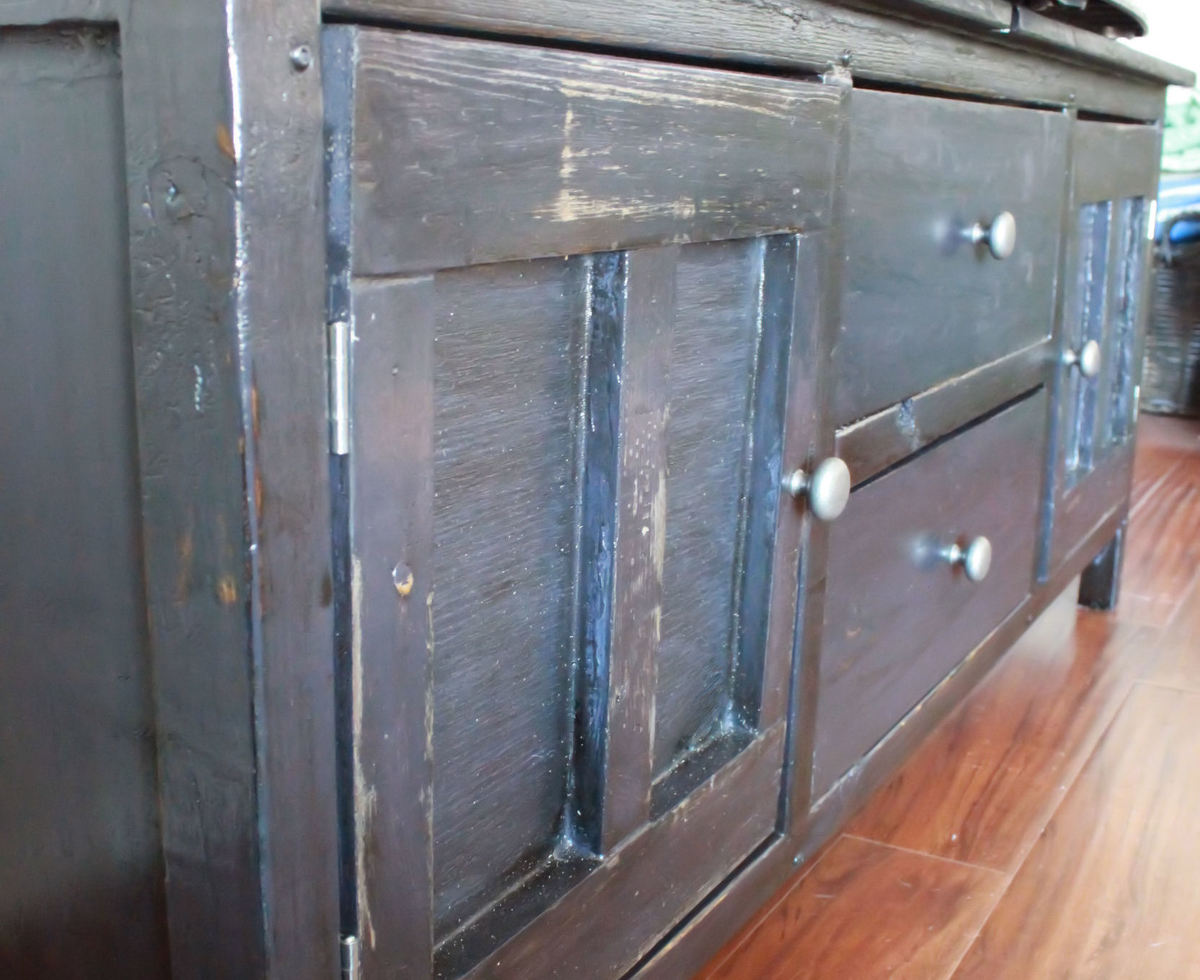
This was such a great project and not too complicated for my first large one. I loved using the milk paint to create the old world distressed charm.
I built this 7 months pregnant and couldn't be happier with it. The plans were excellent and easy to follow. I was intimidated by the hard ware at first but that was also very simple. Overall very happy with this project build.
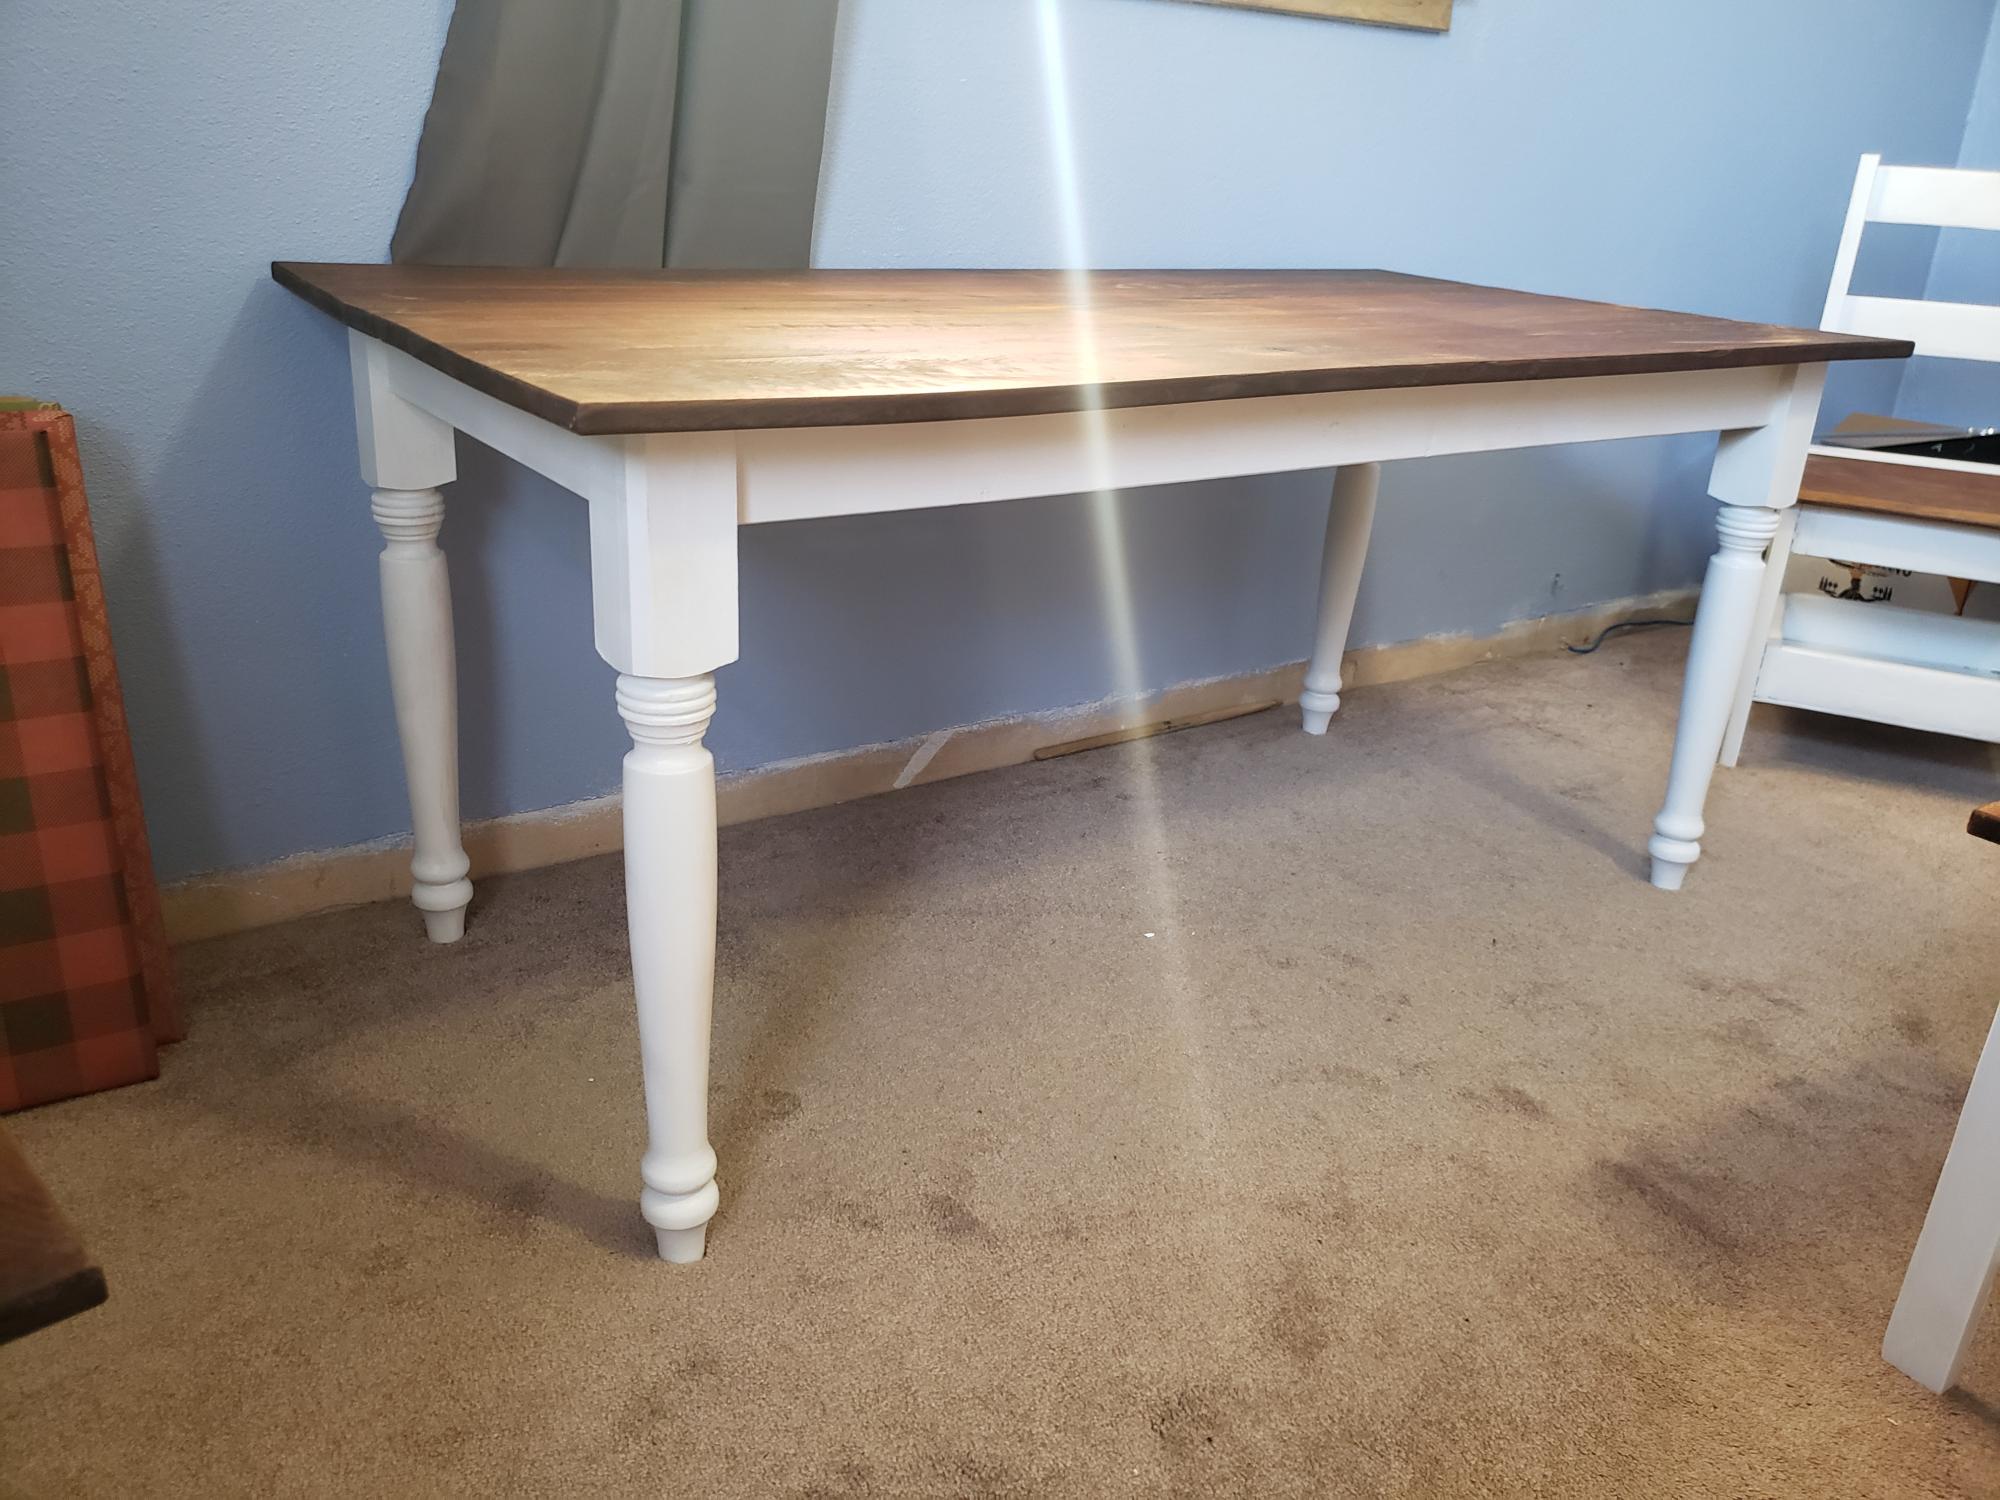
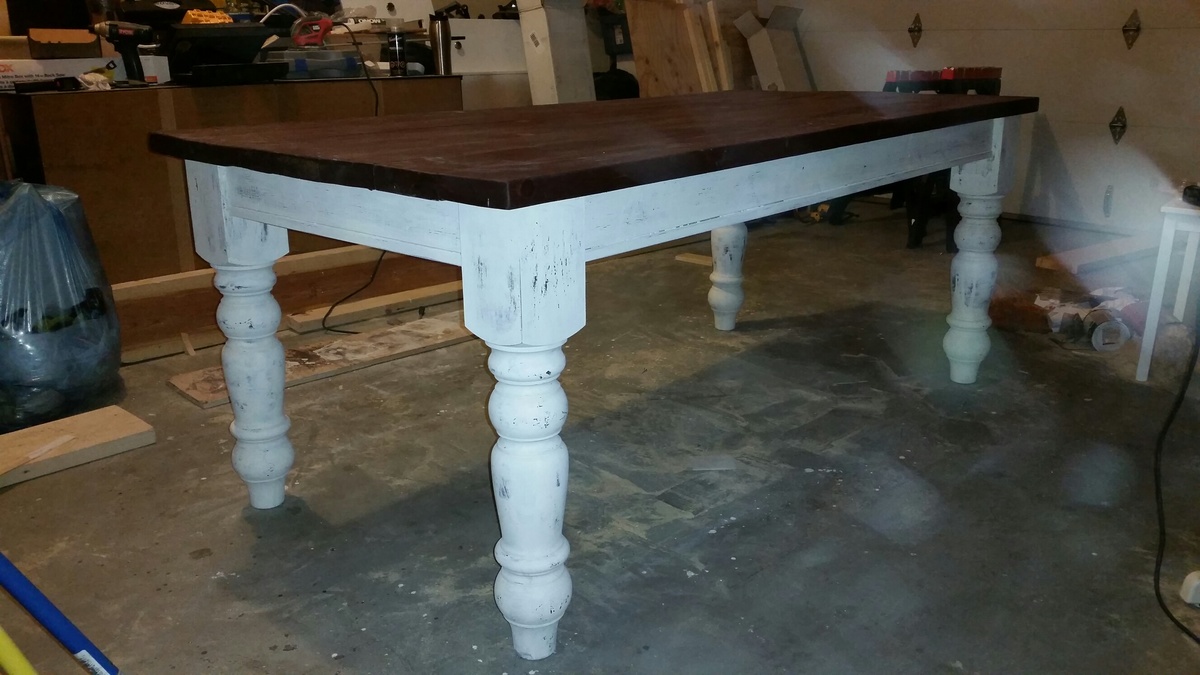
Made per the plans but I made walnut tabletop for it
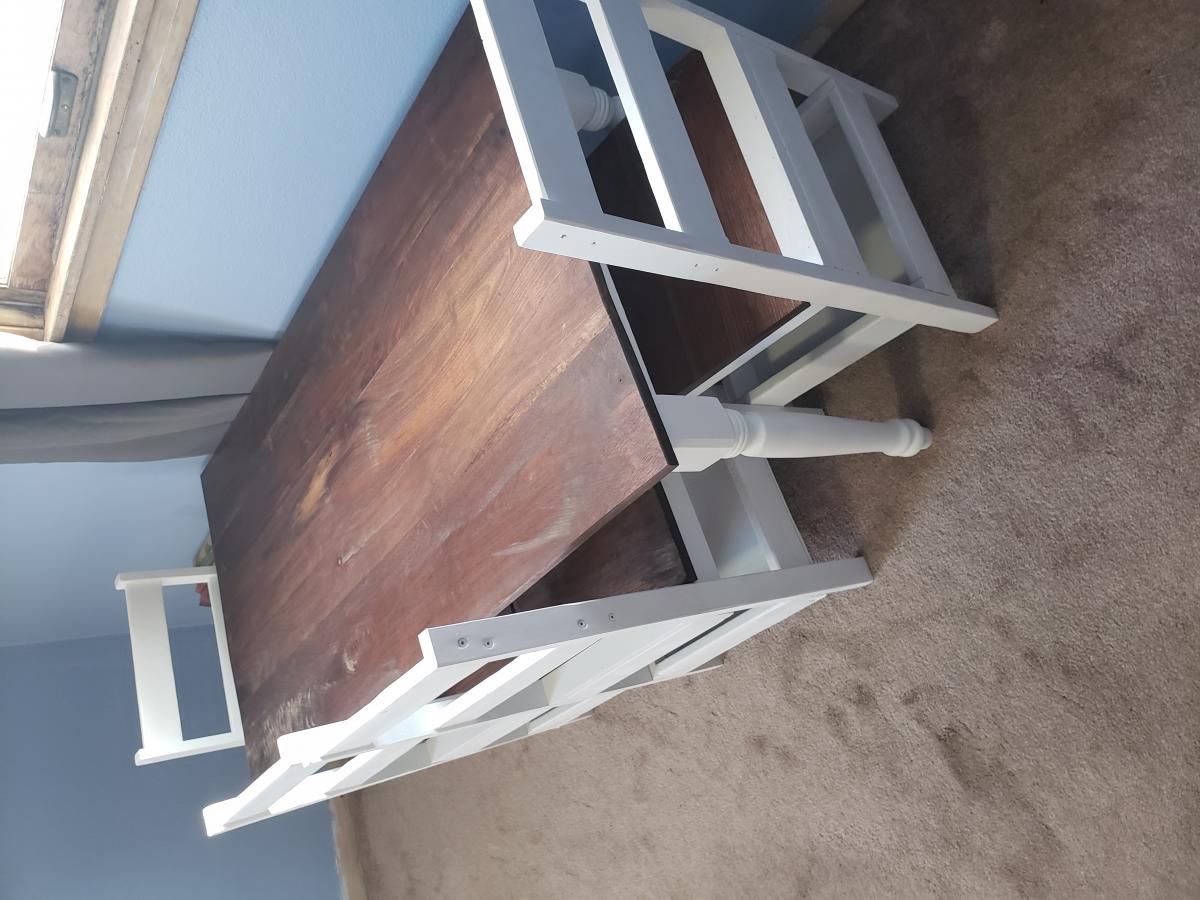


 My FIRST carpentry project! Good thing my husband was willing to help as it was a little heavy and I was googling terms like "counter-sink." It would have been so much easier if we hadn't made it a birthday surprise for my daughter. She LOVES it!
I purchased choice 2x4s and was so sad to see how much sanding the planks still required, even with an electric rotary sander. That added a few hours-perhaps because I am such a beginner!
We used a white nylon rope which matched her room better, but again, increased the cost a bit.
I am really proud of the results!


Thu, 11/20/2014 - 17:44
You should be VERY proud of the great job you did on your first building project, it looks awesome! Love the color, and that smiling face says it all! Well done!!
Fri, 11/21/2014 - 09:26
Wow what a great idea for this wall space! Your daughter has a really cute room!
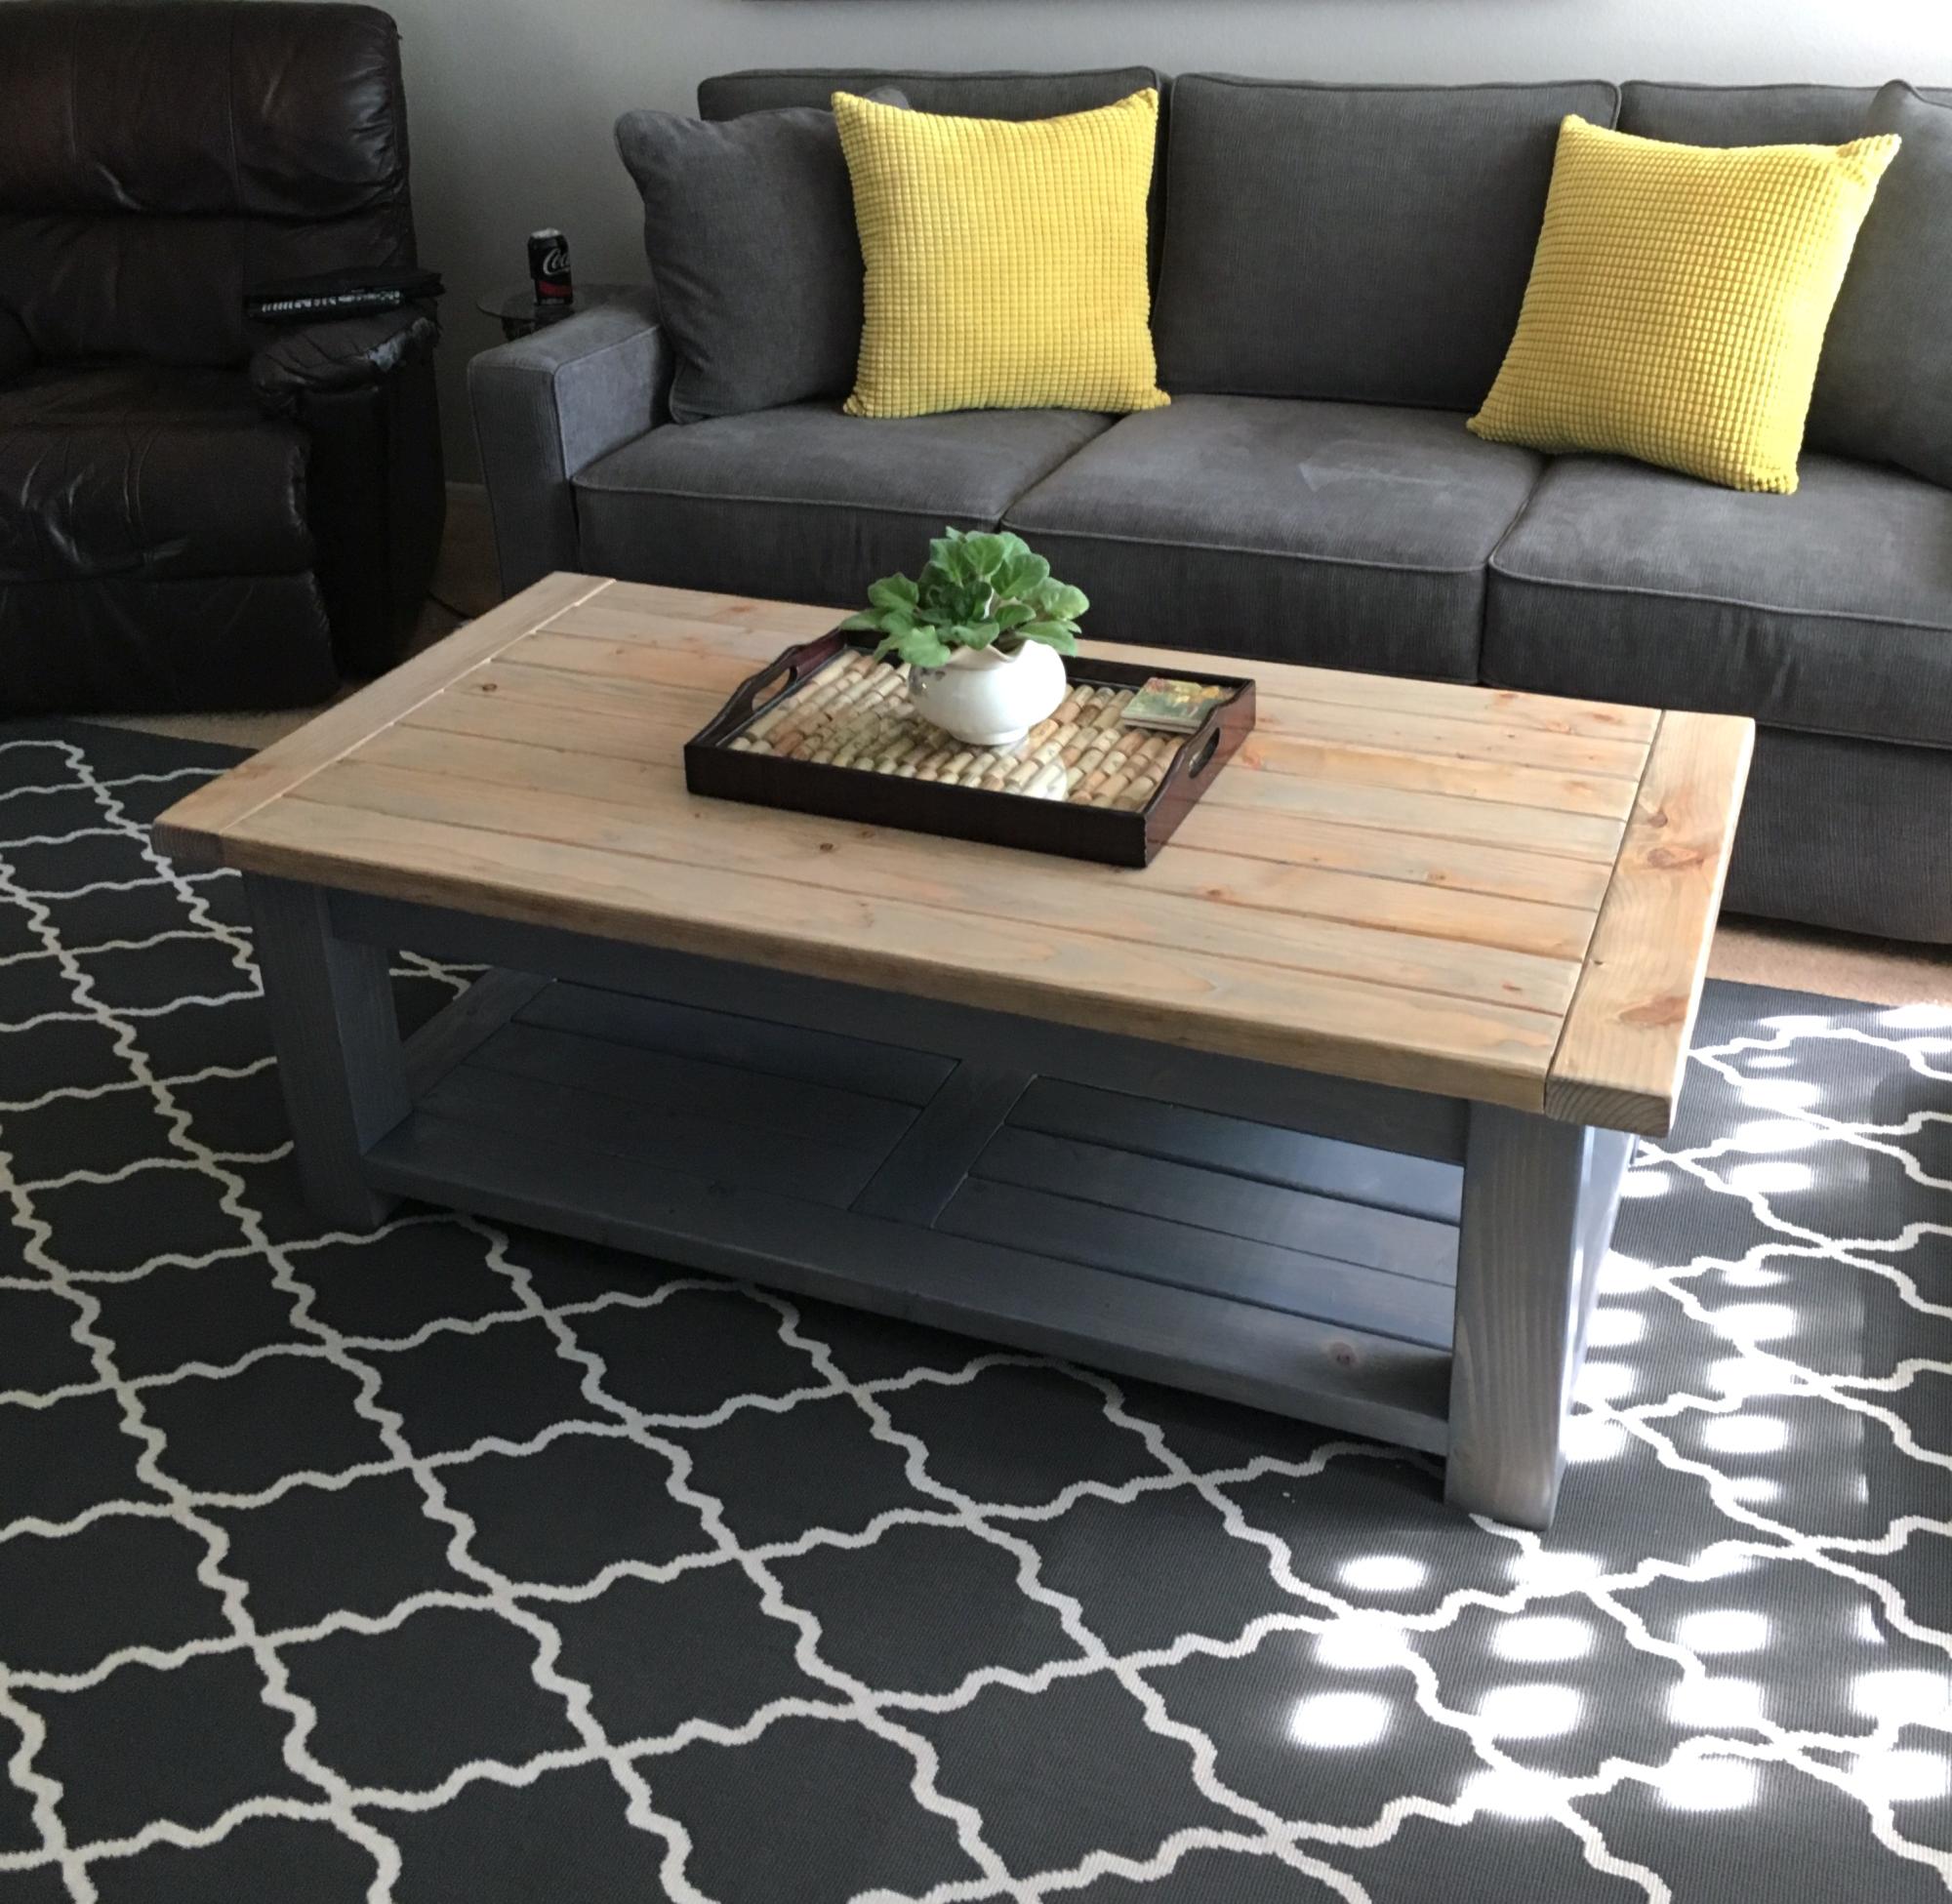
Followed the plan until we decided on a bottom shelf. Where there's a will there's a way. Made it a little bit harder but well worth it

This was my first bench build and I’m happy with the way it turned out! I adjusted the plans to account for wood movement of the table top using mortise and tenon joinery and draw board pins on the bread board ends. Also edge glued the table top boards and used z-clips to attach the bench top.
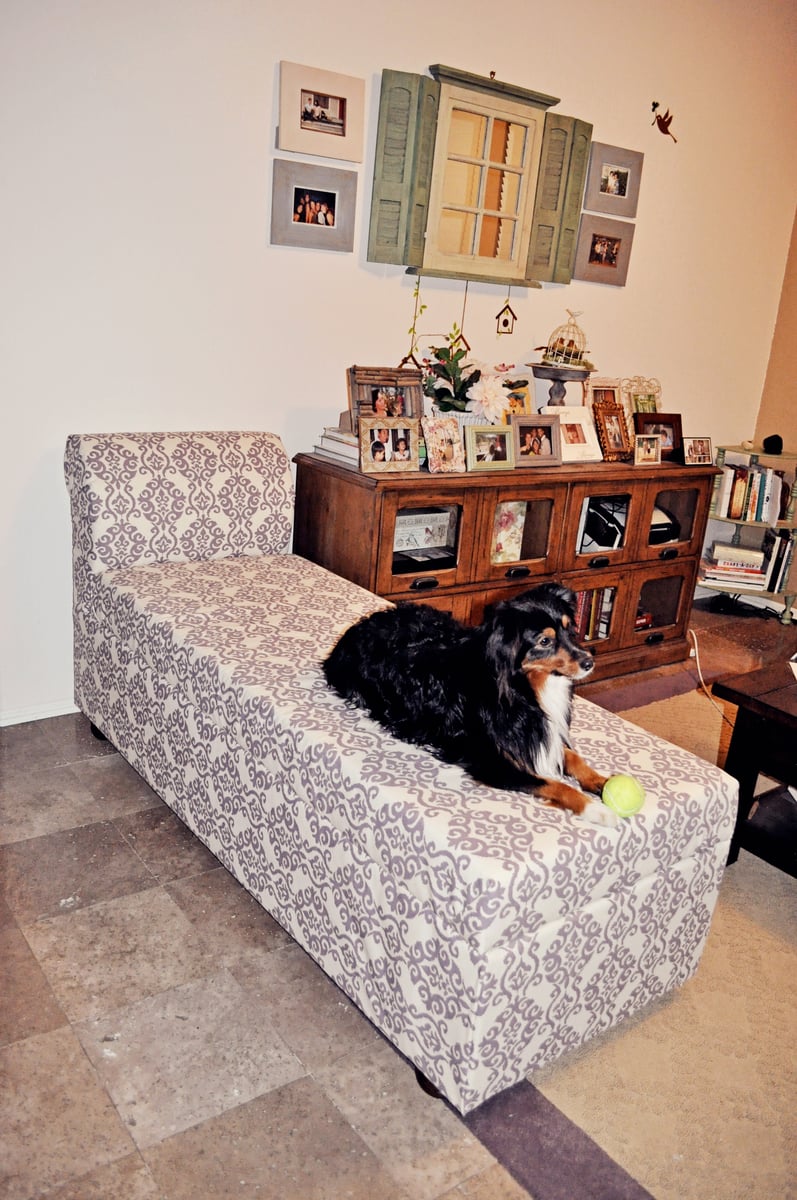
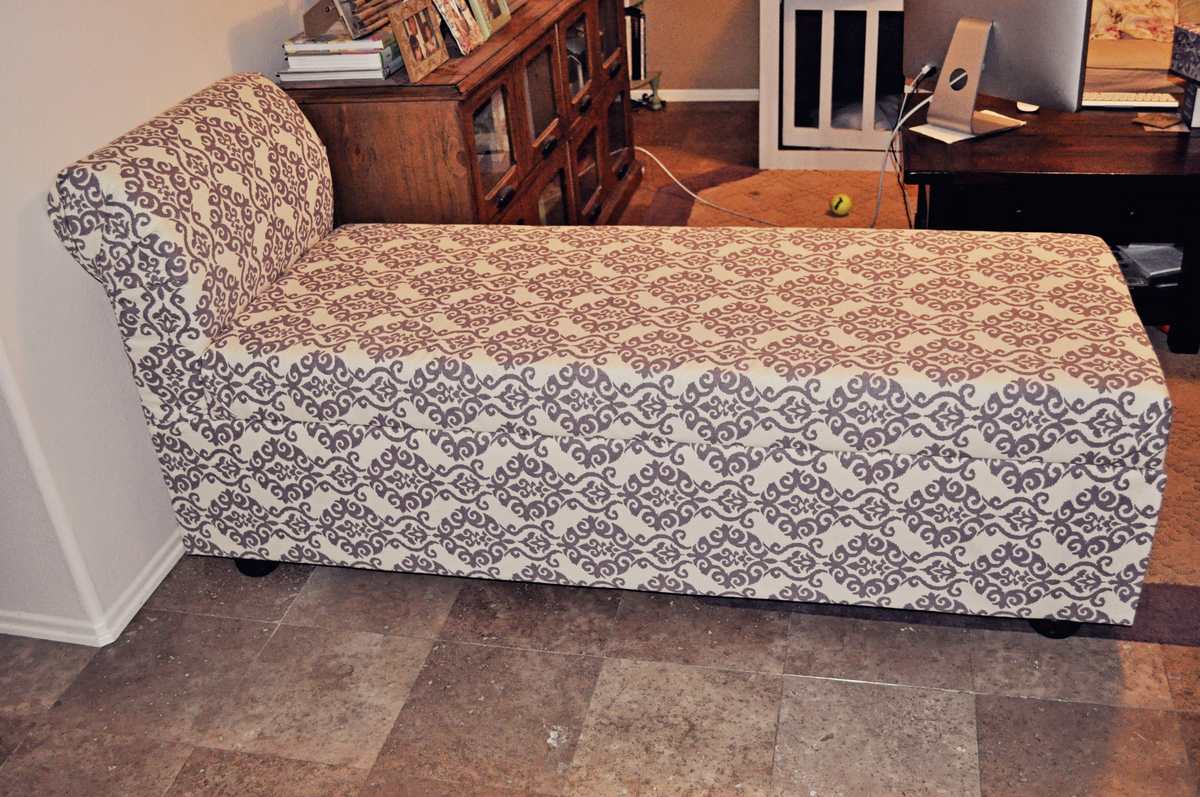
It took the husband and I a good 3 days to finish this project. You can read more of my experience with this chaise on our blog:
http://tonyandkristine.blogspot.com/
For the plans, I found them at Lazy Liz on Less blog:
http://lazylizonless.blogspot.com/2012/05/it-took-me-while-to-decide-wh…
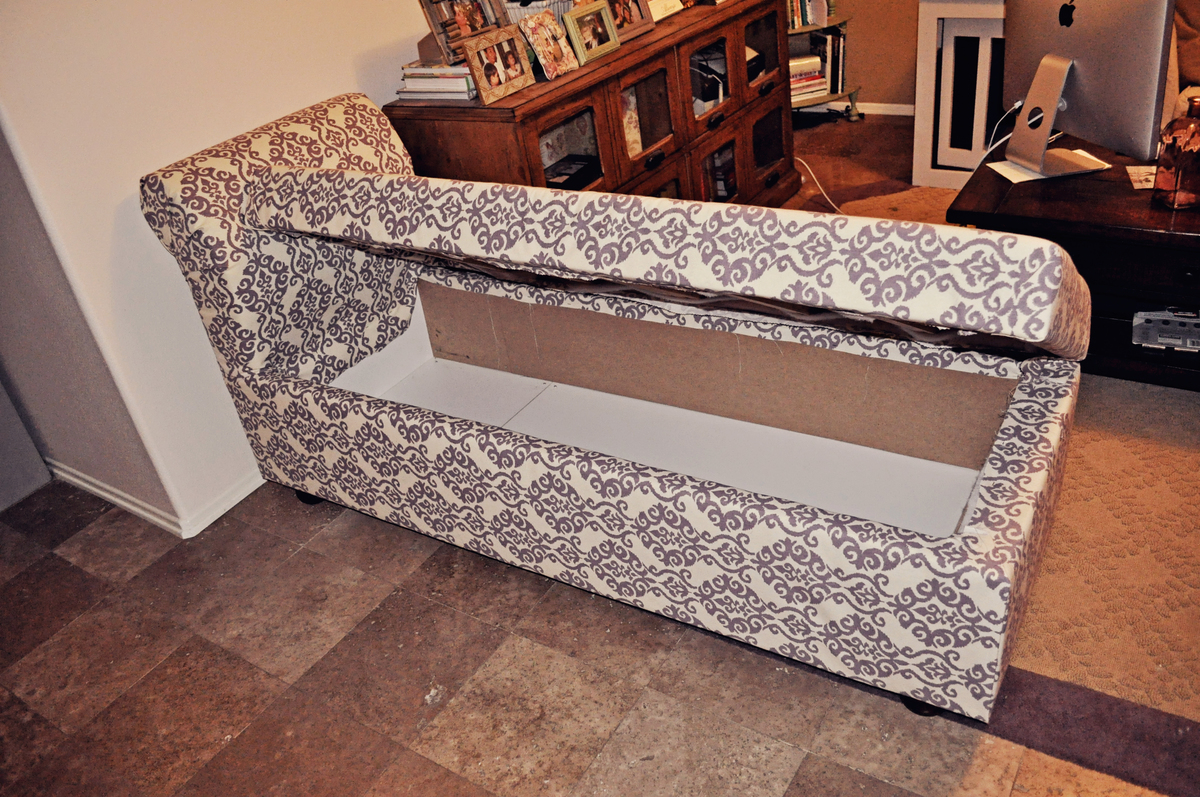
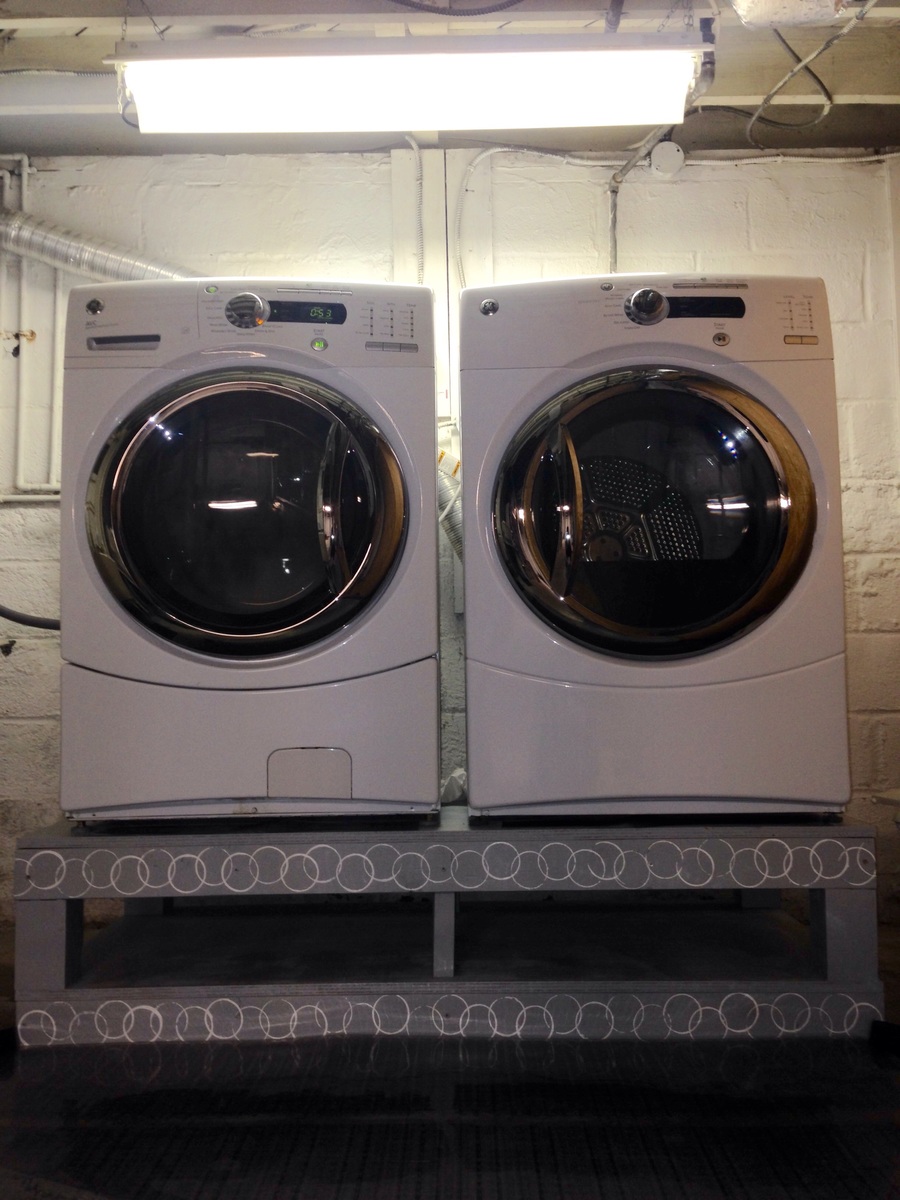
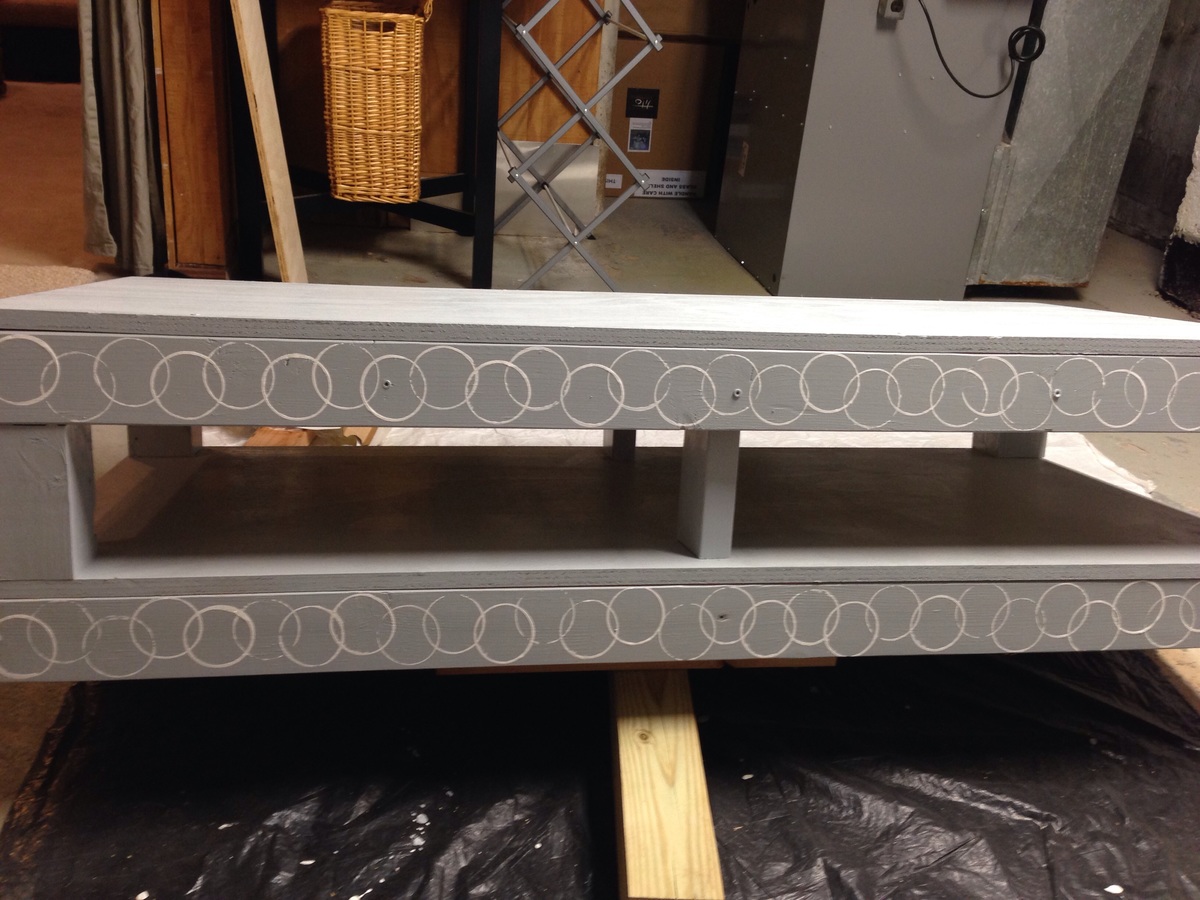
Thank you so much to Sausha and this site for the instructions, shopping list and measurements! I finally have my pedestal! No more back aches! I modified the height to 15" by making the posts to 6" and added center posts using 2x4.
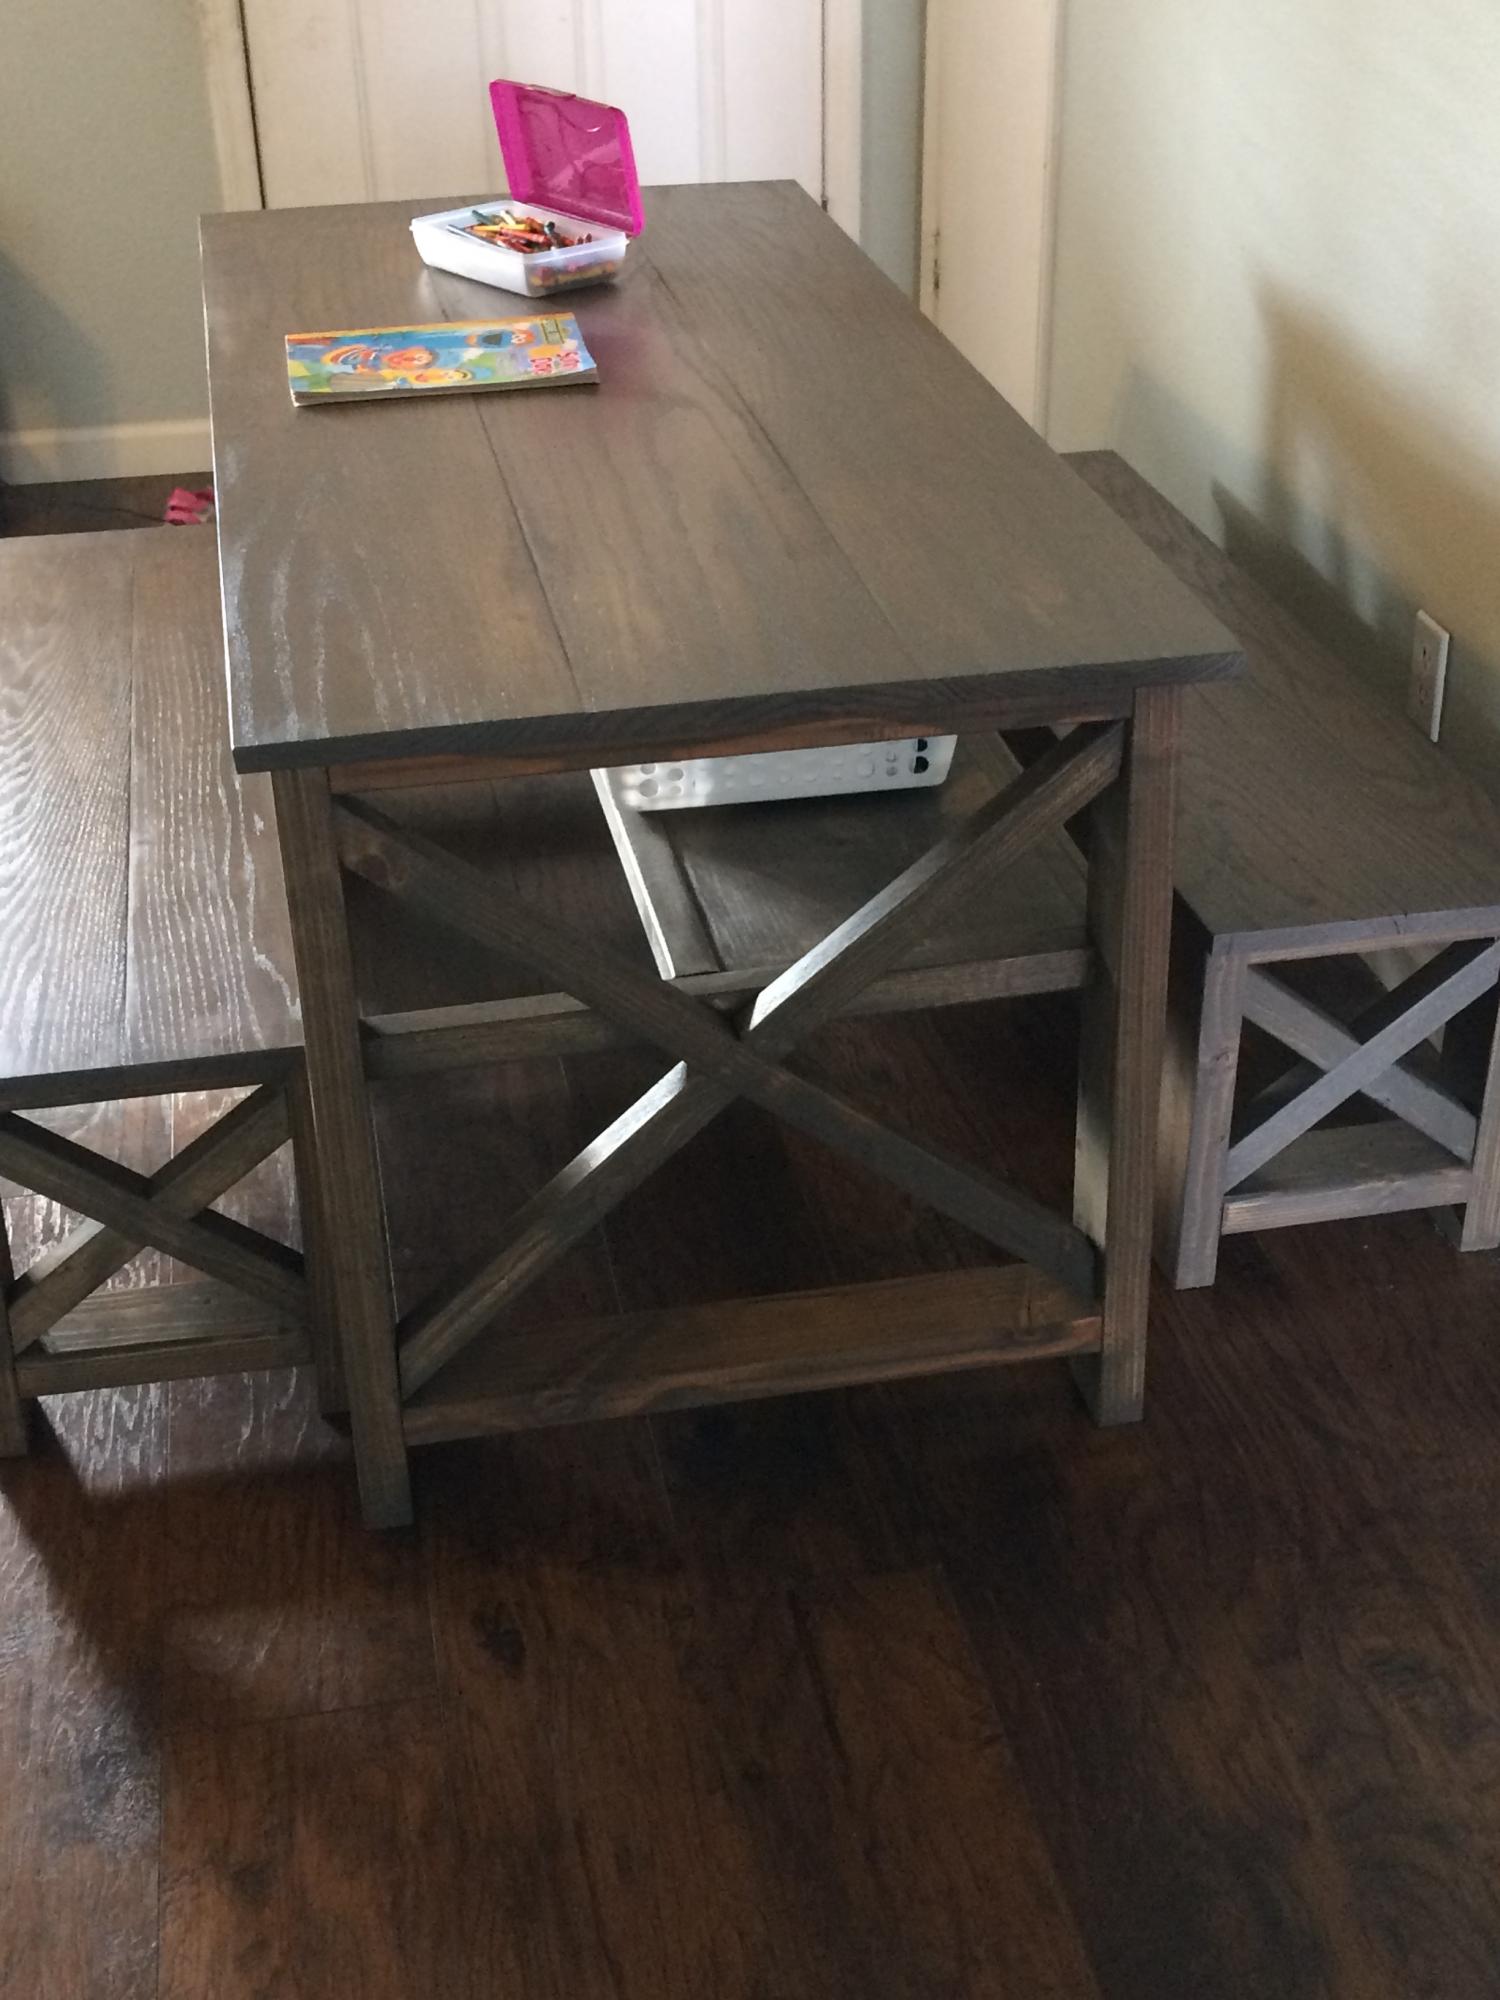
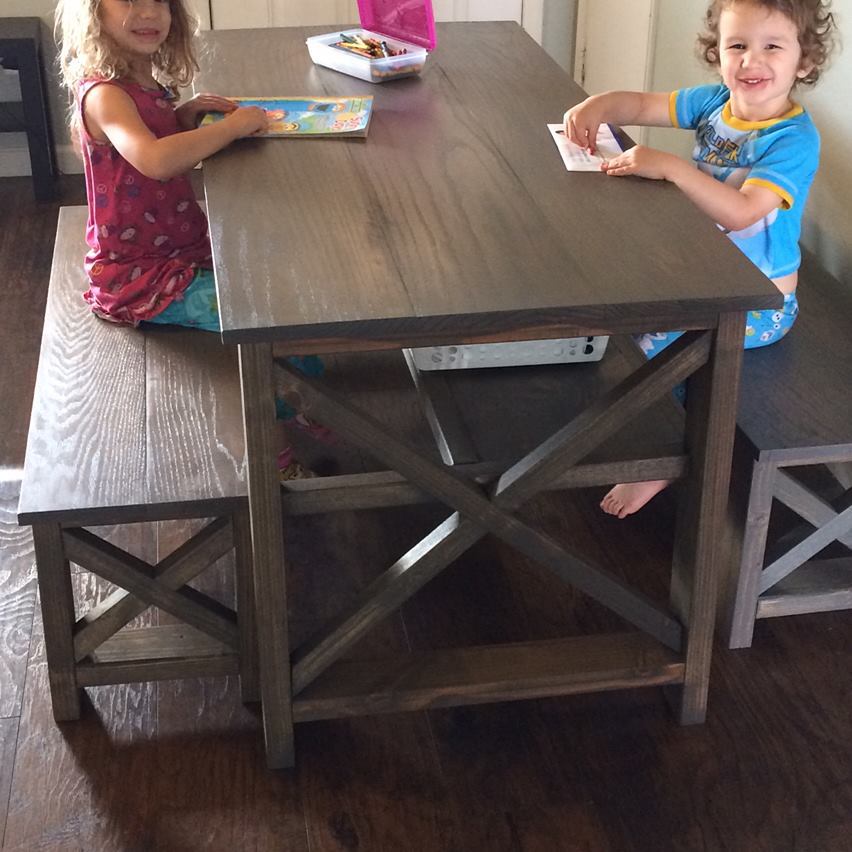
This is a twist on the Rustic X console. I made it wider, shorter and only did one shelf which is indented so the benches can both slide under for easy storage.
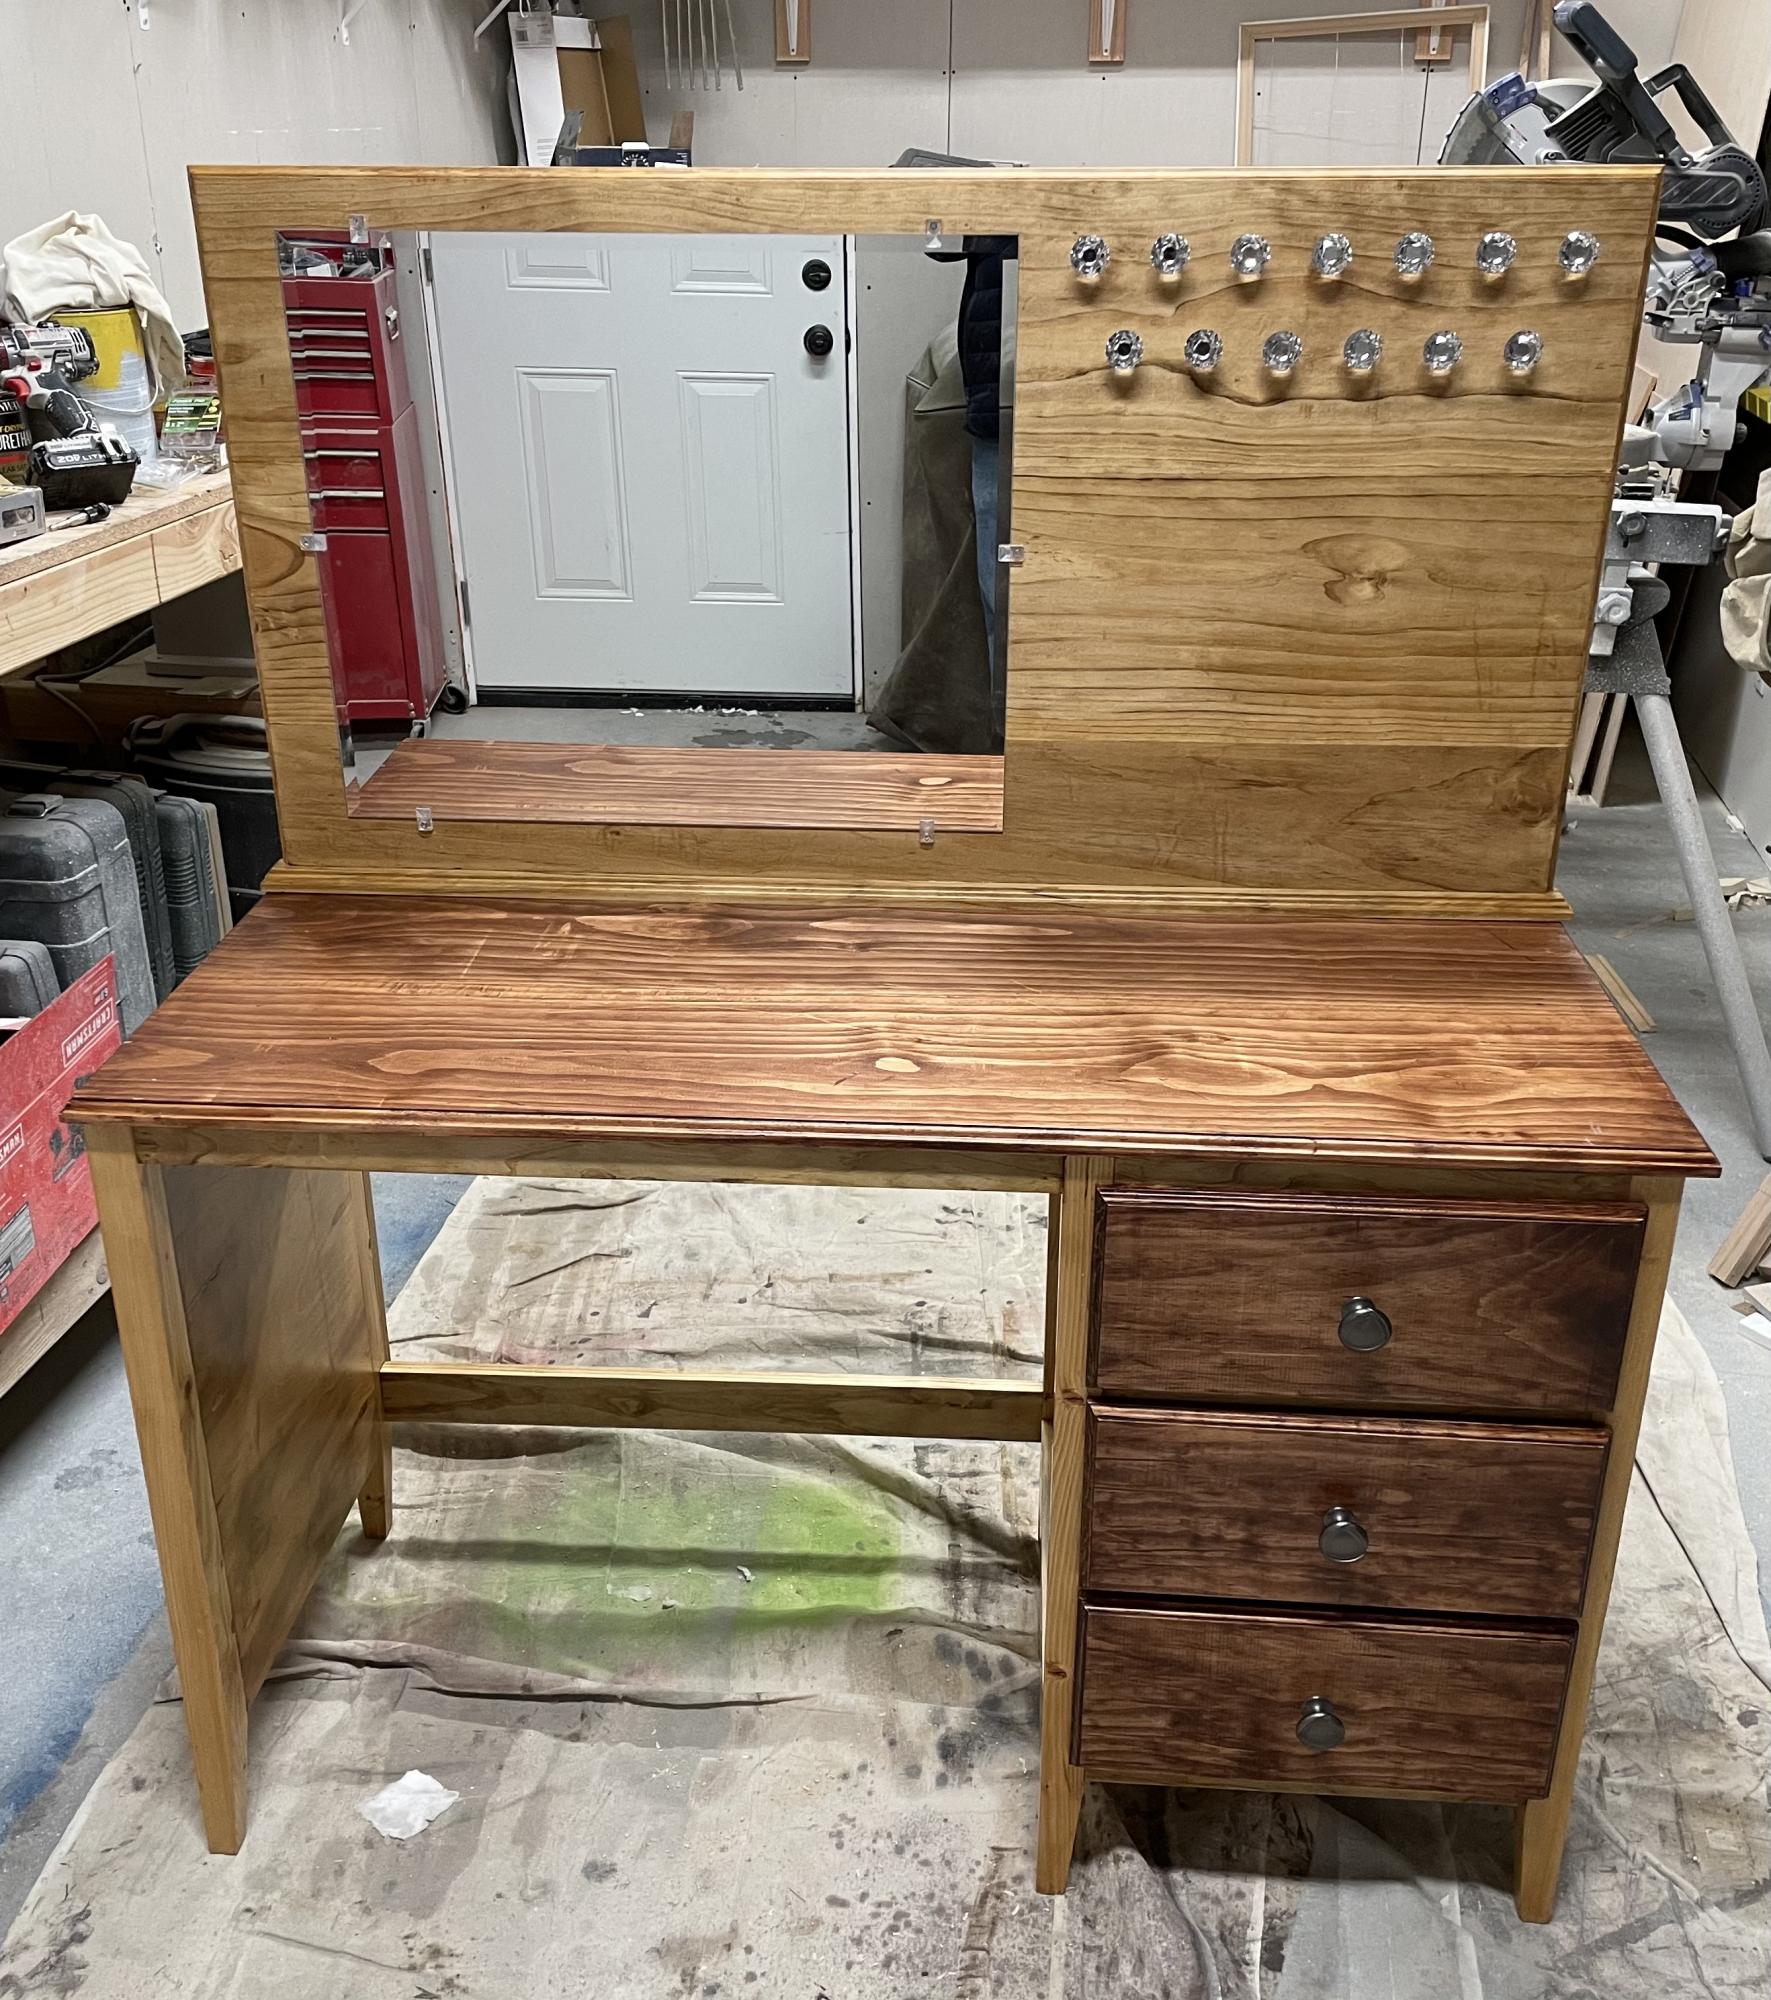
I built this for my adult daughter’s Christmas present. I modified the plan to have three drawers instead of the cubby. I also tapered the bottom of the legs. I added a back piece to hold a mirror. I also added door knobs to the back for necklaces.
The top and the back board are both 4 boards glued and clamped together. I finished the edges of the top, drawer fronts, and the back board with an ogee router bit.
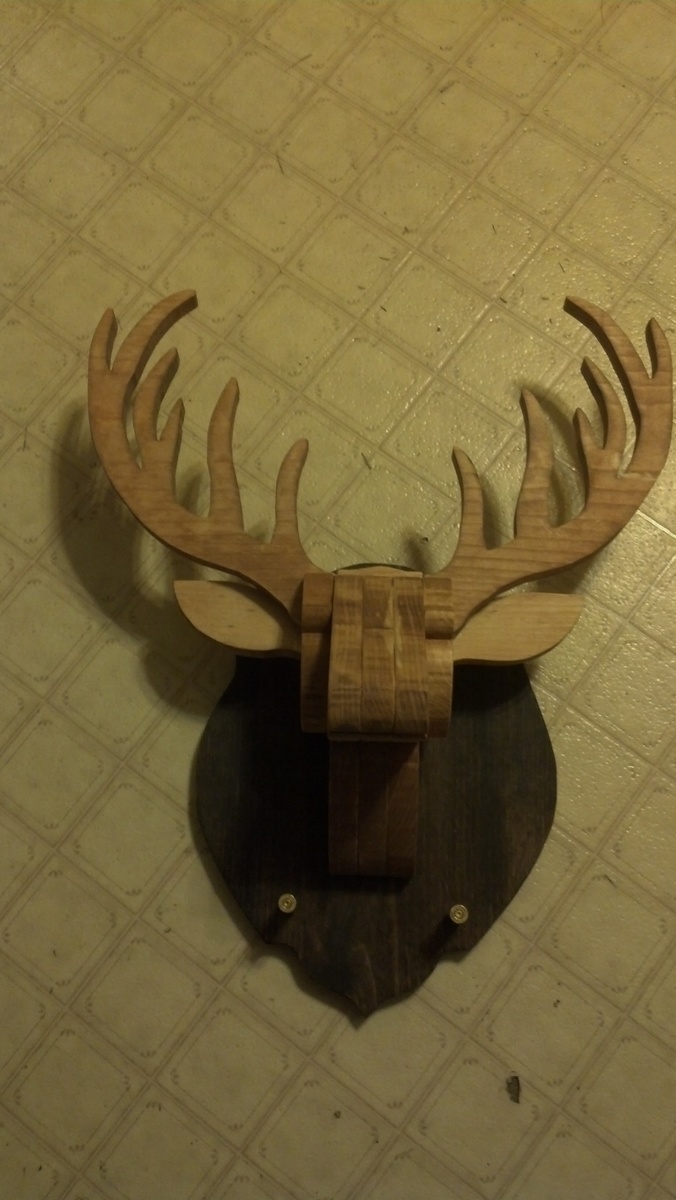
I did this project for my father's birthday this February. Any ideas to improve it let me know. I hand drew the plaque on the back. I used some old brass when I went hunting in the past.
Mon, 01/28/2013 - 08:15
This is too cool! Is it too much to ask for a daytime photo? This is great!
Comments
rhettar
Sat, 01/19/2013 - 04:43
There's stuff in there...
It's nice to see the closet system with actual stuff in it, so you can see how much it really holds. Good job!