Rustic X Desk Workstation - by Twisted River Design Co.
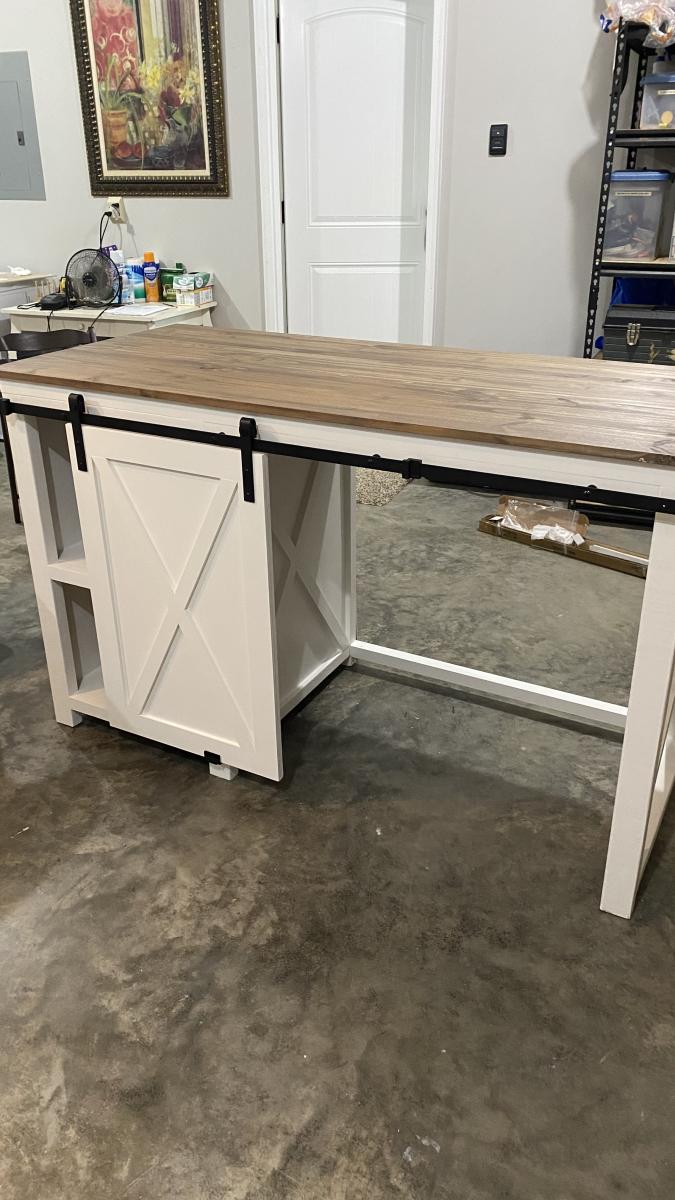
"It’s screaming creative clutter 🤣😅 but at least I got it built! Thank you so much @anawhitediy for the desk plans 🖤"
Andrea Howell
"It’s screaming creative clutter 🤣😅 but at least I got it built! Thank you so much @anawhitediy for the desk plans 🖤"
Andrea Howell
We used this plan for the reclaimed wood look headboard from Ana-White and these dimension mods for a king. We used lots of tips from Create and Delegate who made the same headboard last year. I love how it turned out! I posted more photos and blogged about everything we did for the finish, etc. at - http://nestbliss.blogspot.com/2011/04/we-made-bed.html

I actually made this table to fit inside a wardrobe as we needed some shelf storage space. It worked out well!

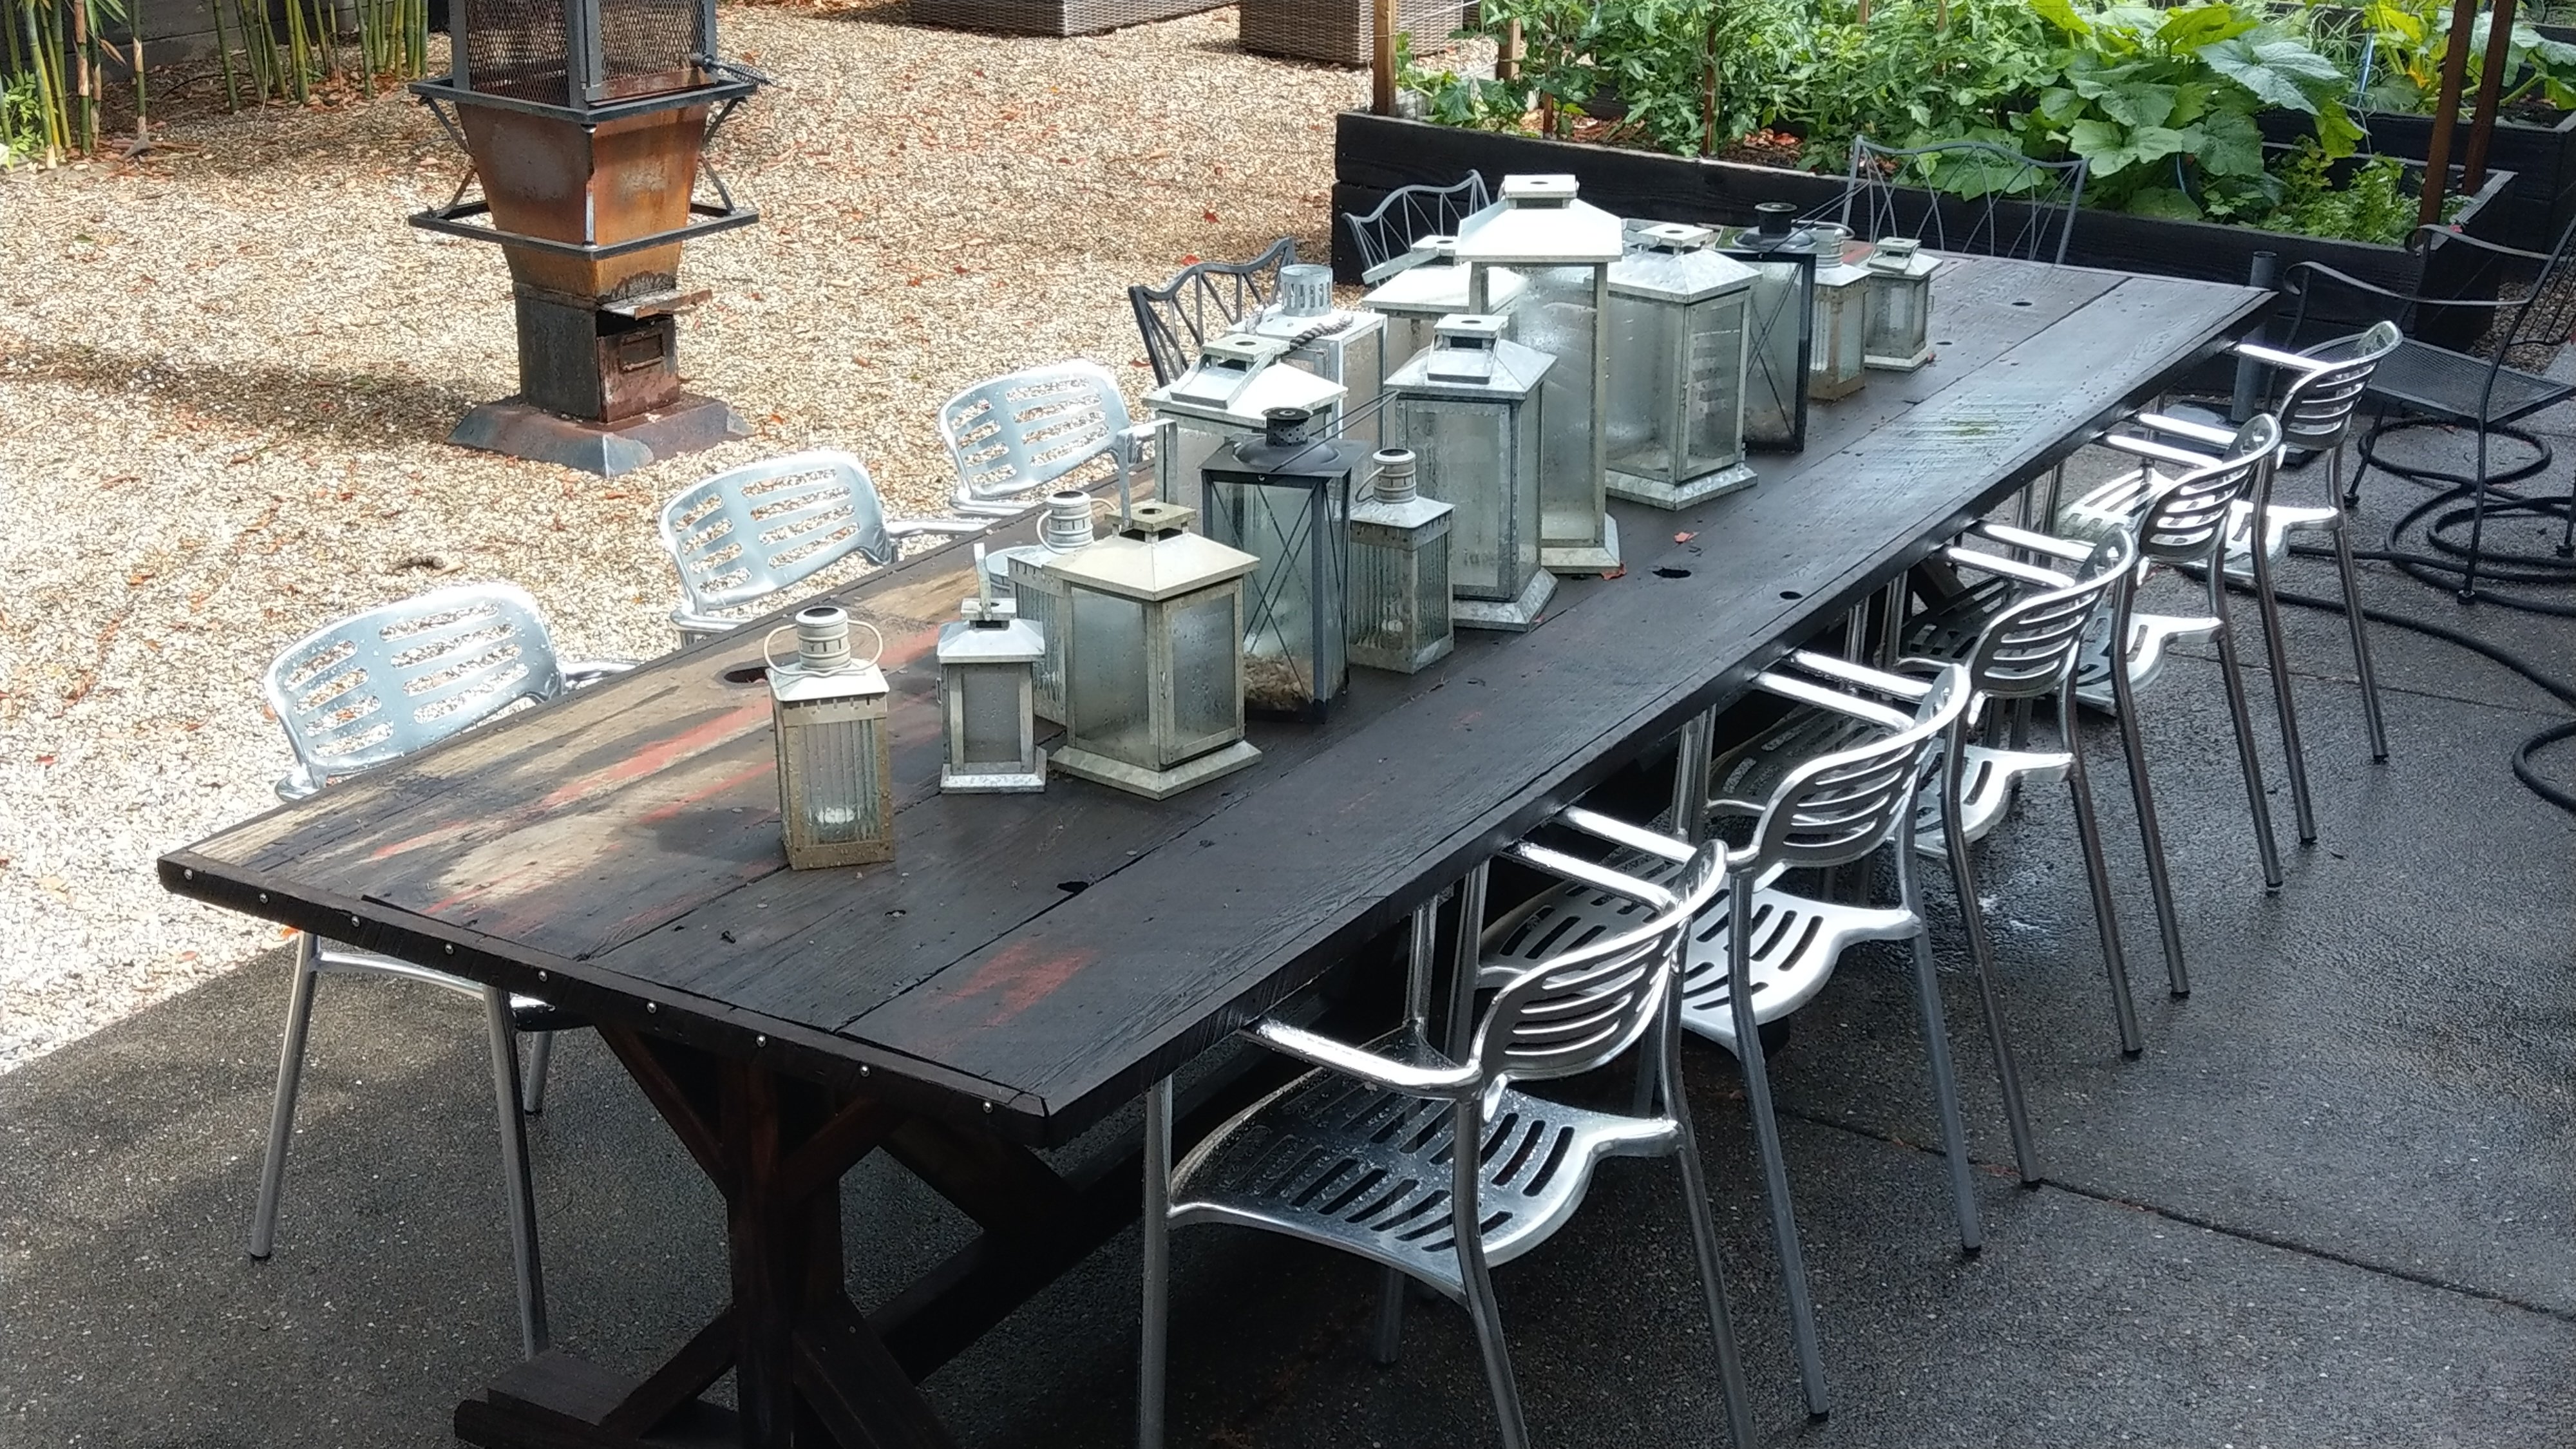
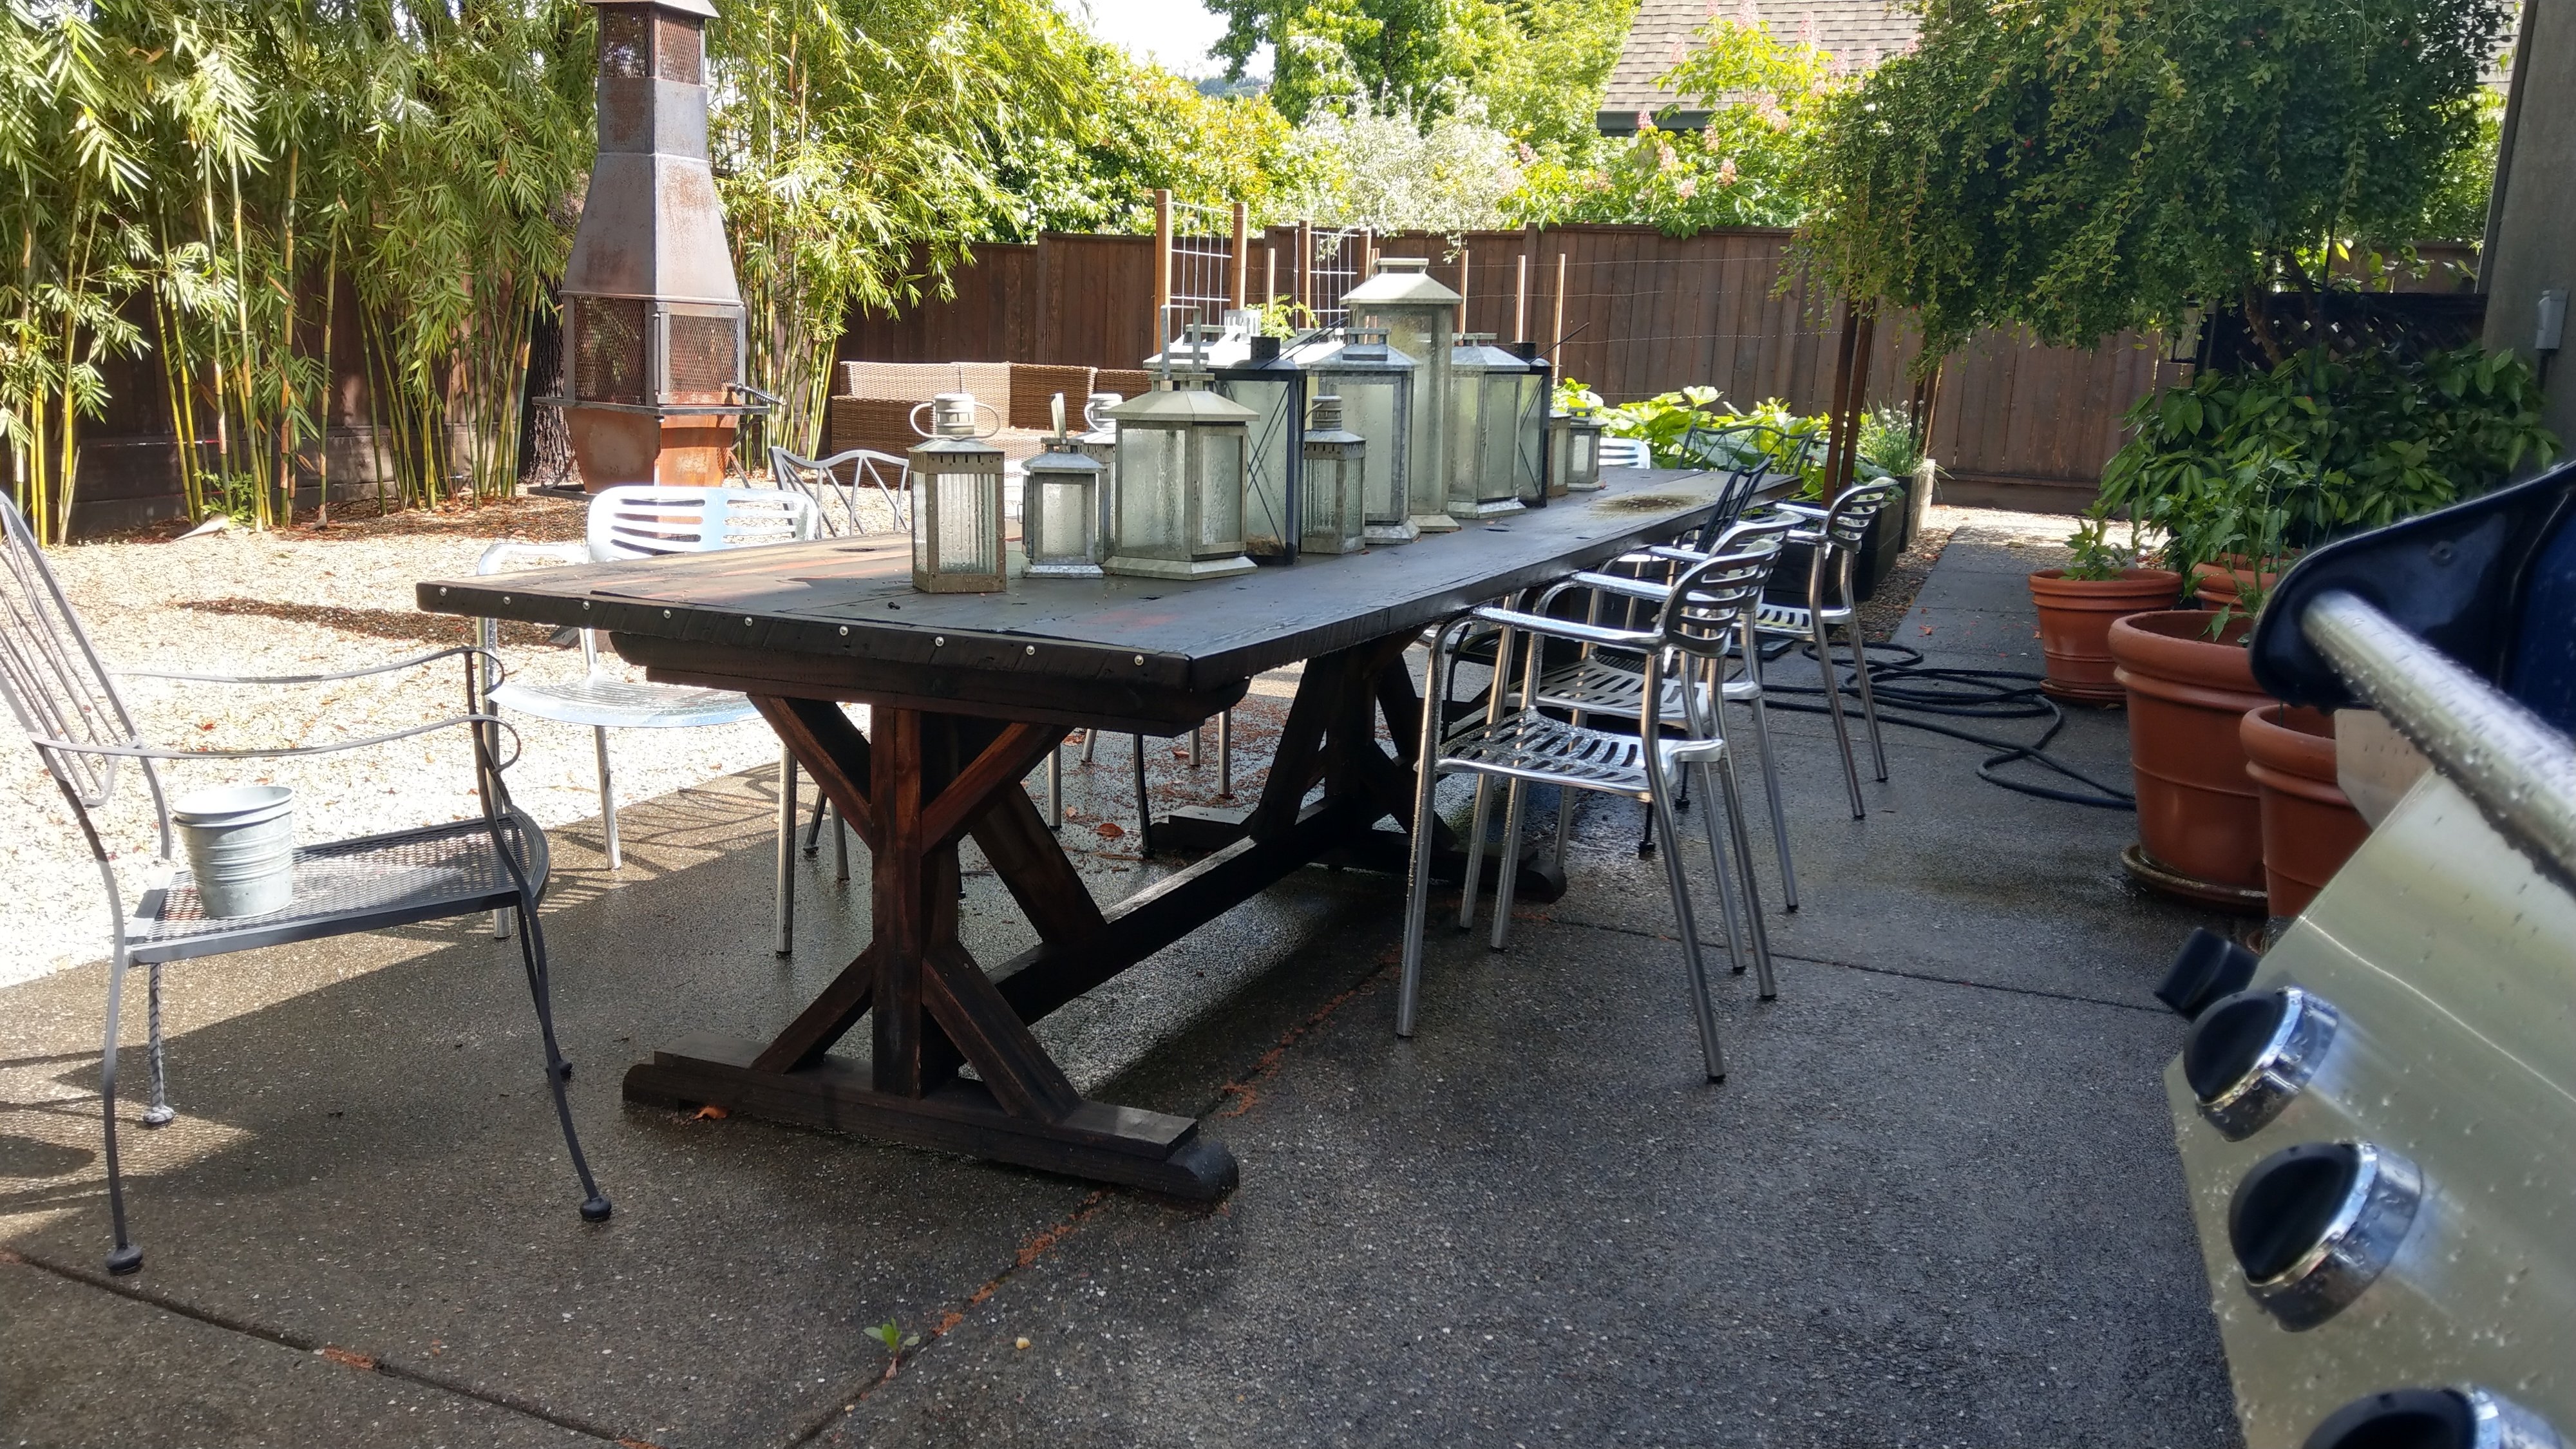
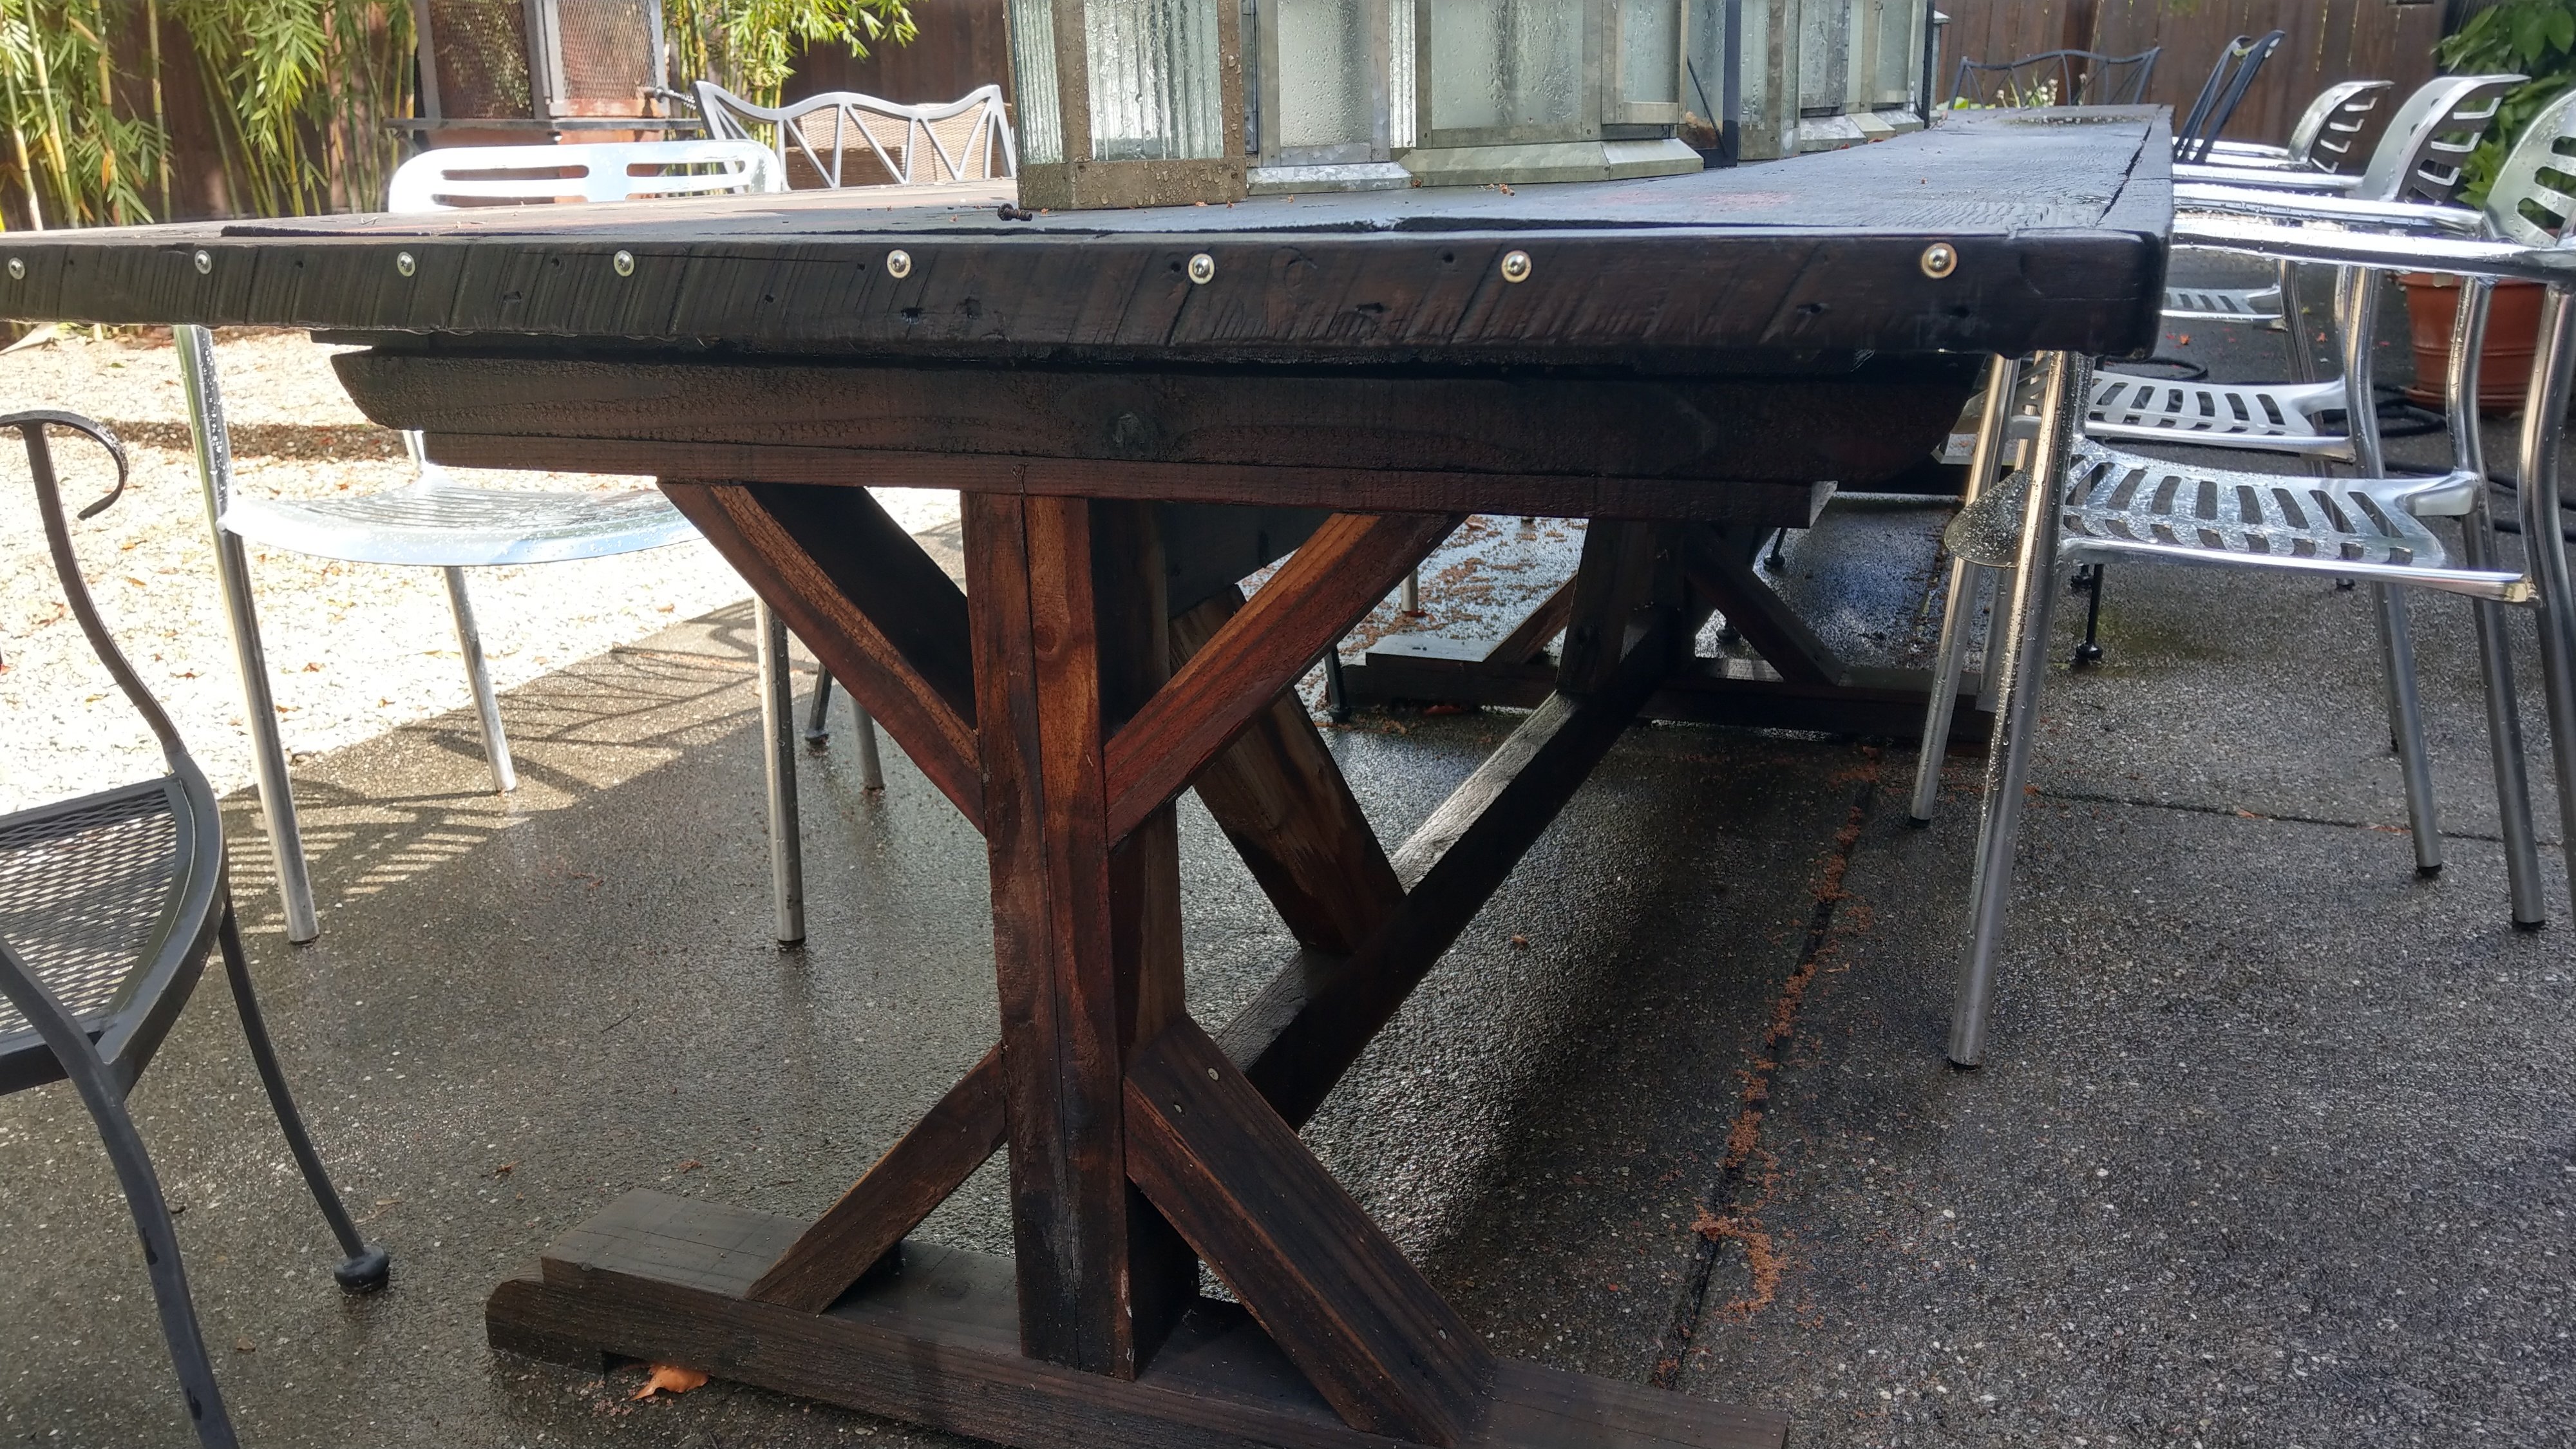
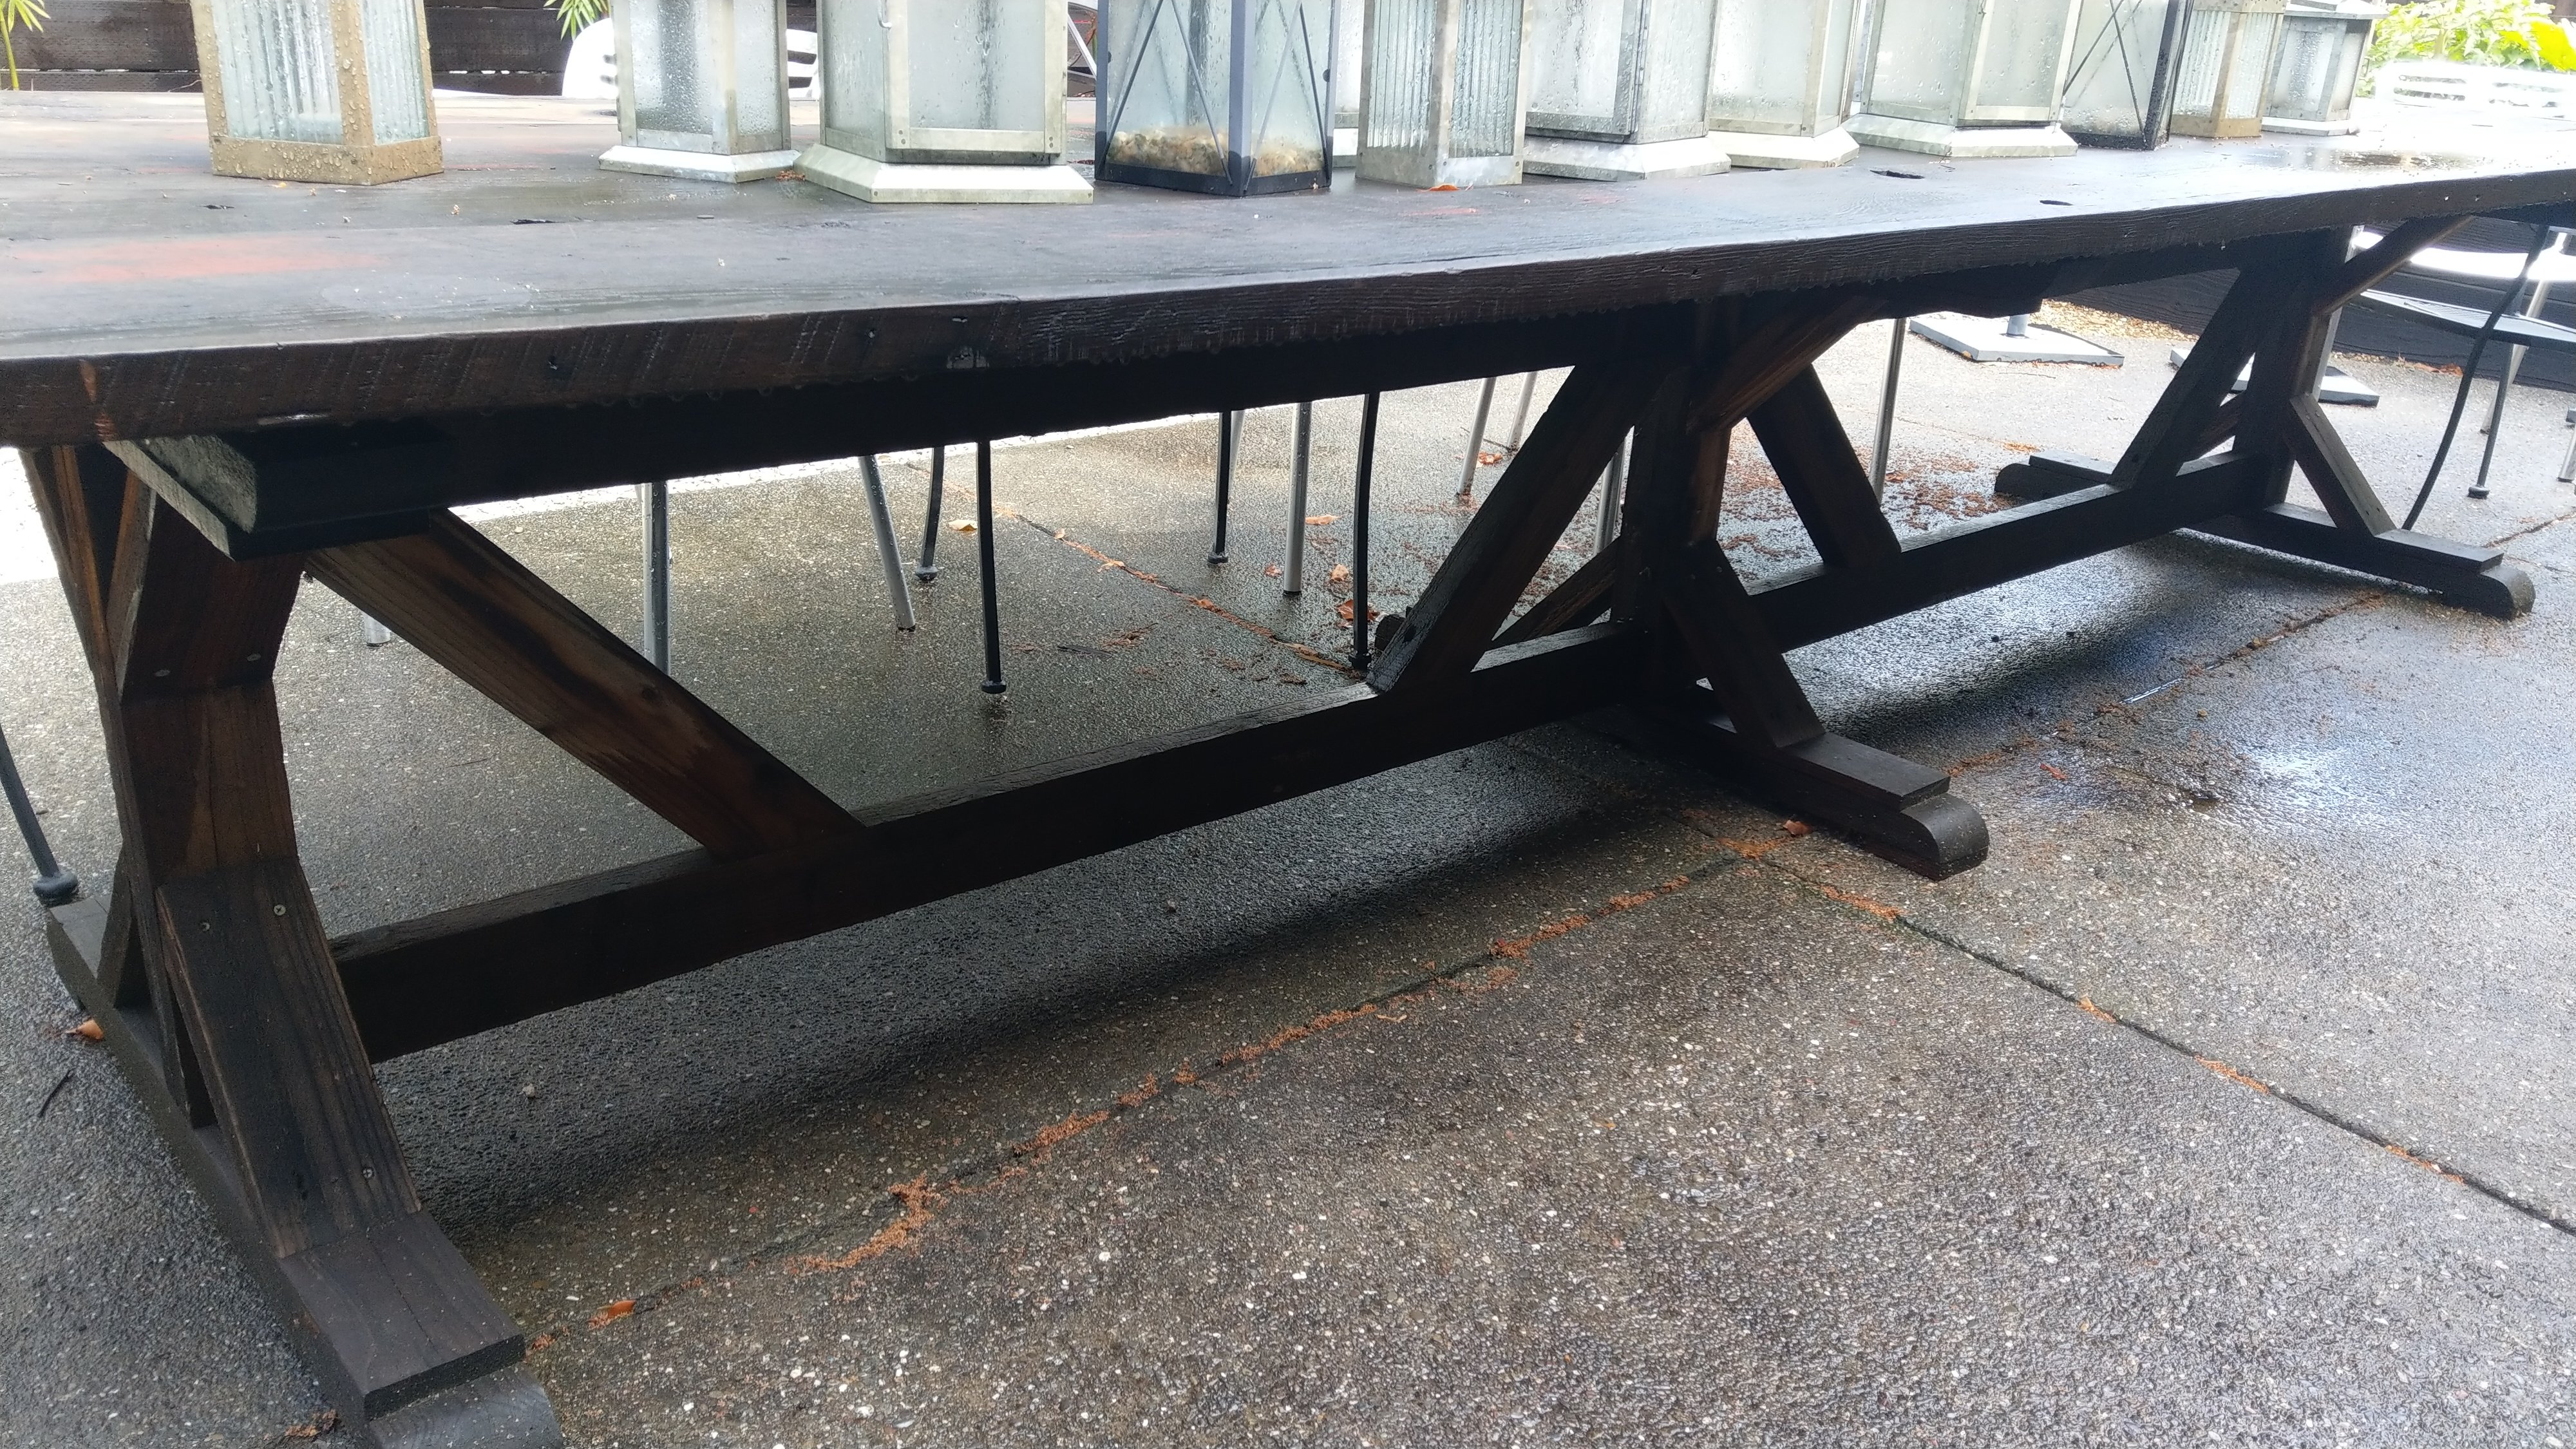
I came across some 18'x12"x1" (actual size) boards that were milled around 1870. These planks came out of the roof for the building. Rather than cut them down I just built a "double frame"
I used 2x redwood for the frame.
Here is my version of the shiplap fireplace wall finished up!
Shared by Cass Griffin
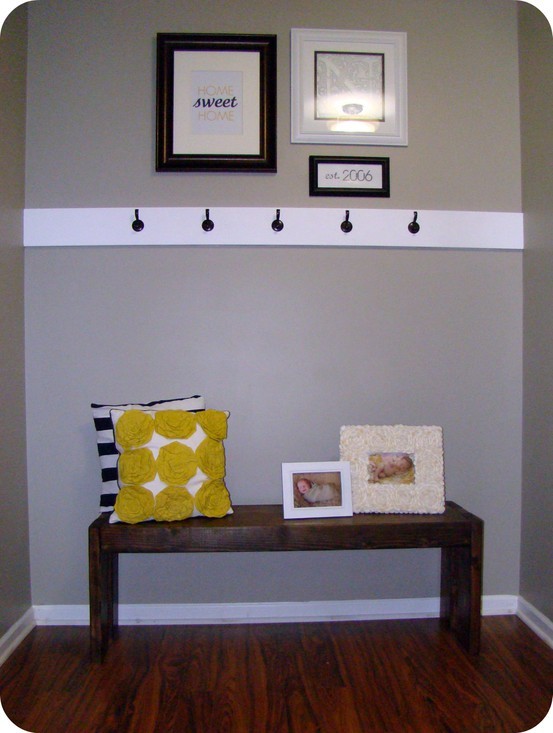
I was looking to make my foyer a bit more kid friendly while still being coze and practical. I came across the modern farm bench plans, and I knew it was the perfect fit!
I have done a few other plans, but all with help. This project I started around 9 pm (after bedtime) one night, and by 11:30, it was completely built and stained. My son was climbing all over it by the next morning :)
I love it - I think it adds the perfect bit of rustic charm to my foyer, while still giving my little guy a sturdy spot to get his shoes/coat on. I have since added baskets underneath for winter storage.
This will definitely not be my last build! Thanks Ana!
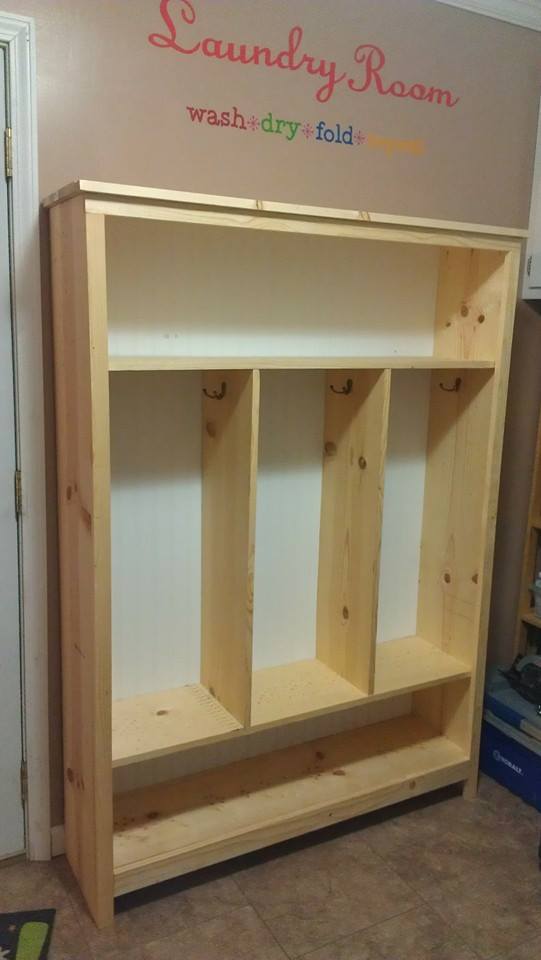
Took 4- Hours to complete and cost about $140 in materials. Used pine boards and kreg jig.
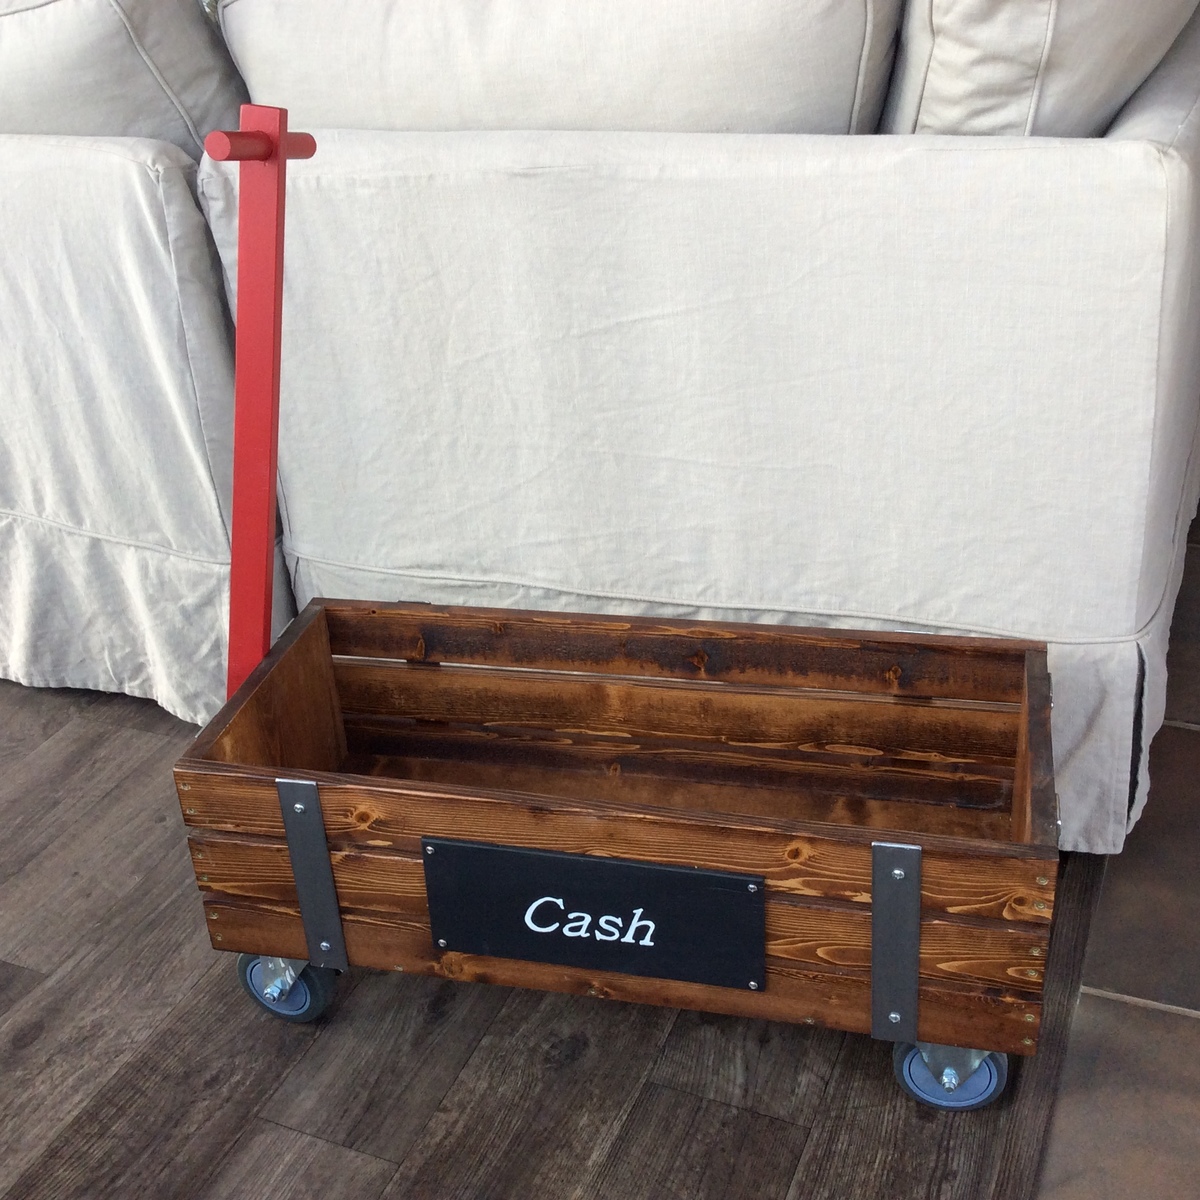
I made this for my grandson's 2 nd birthday. I followed the plans to a T. It did cost quite a bit more than was stated, the wheels alone were $60 but should last a lifetime!
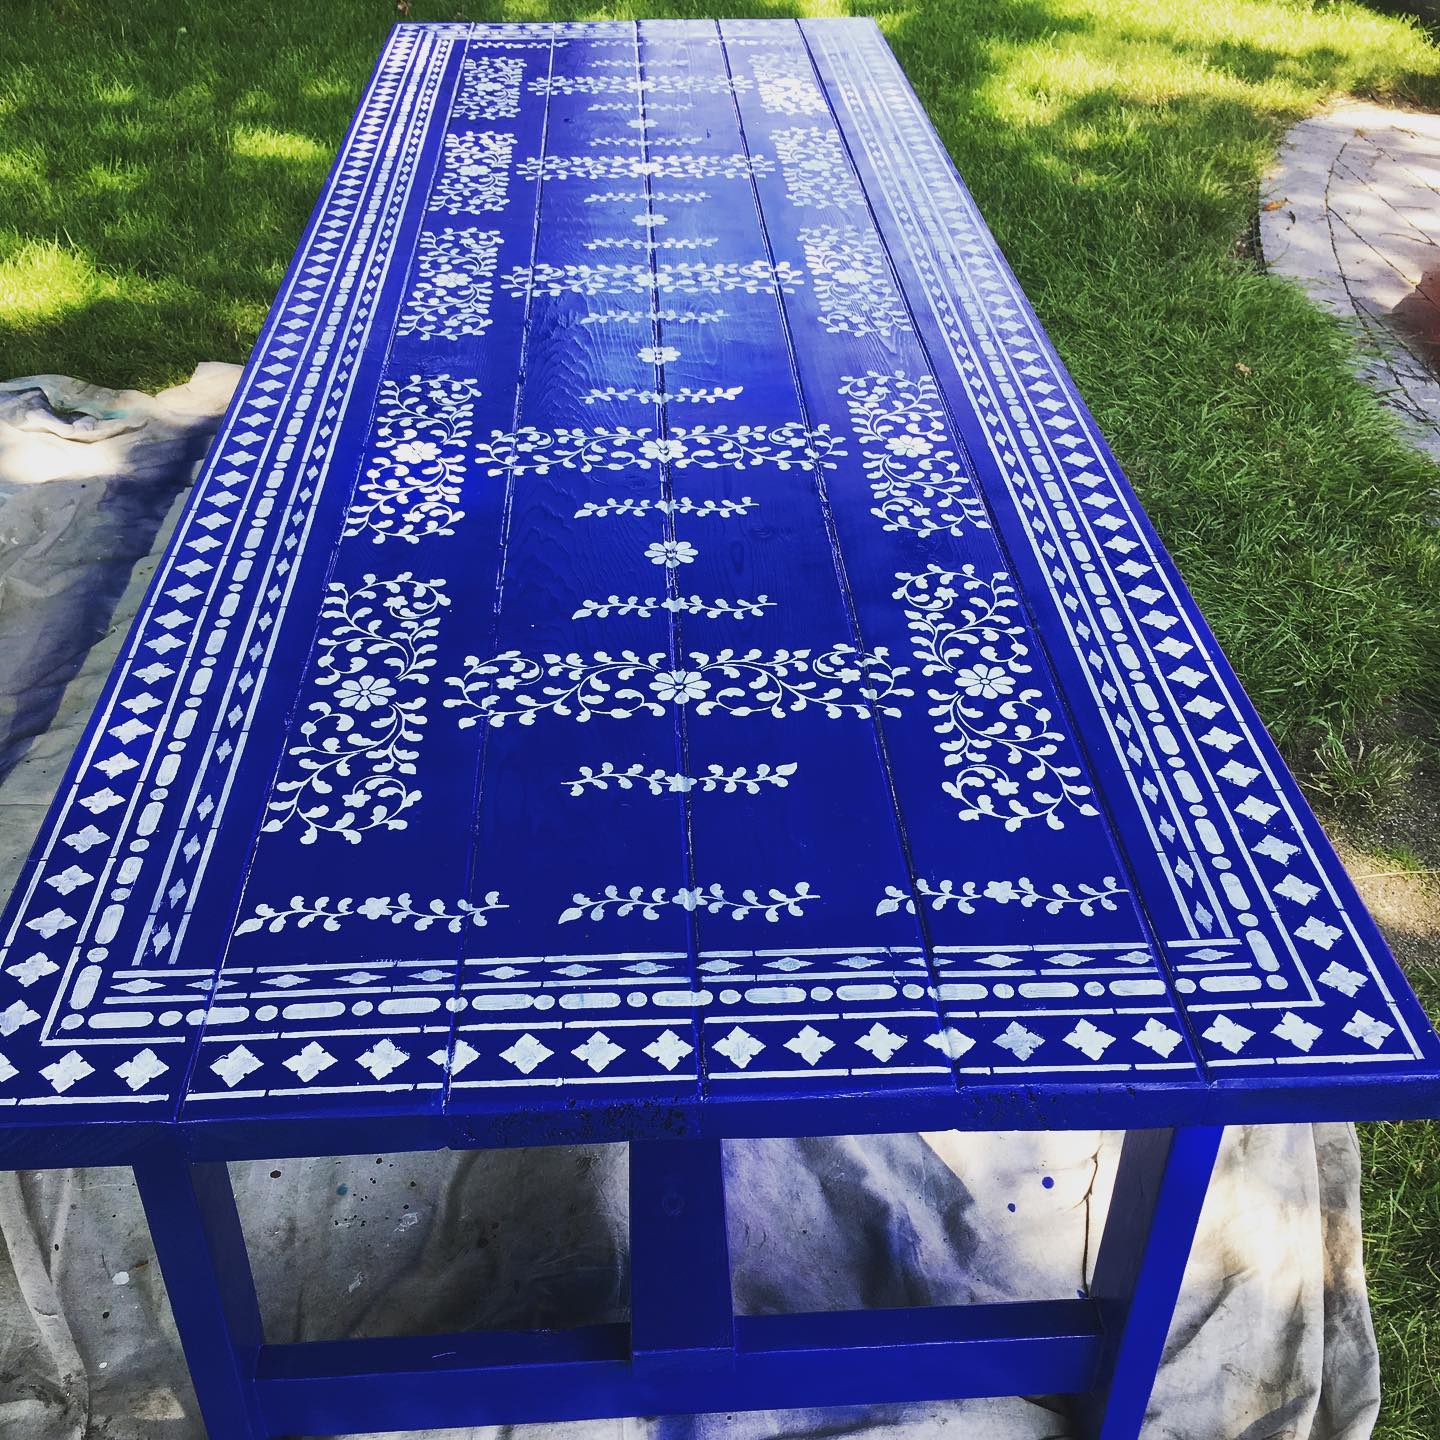
We used Ana White's plans beginner farm table plans to build this table and can't recommend these plans more! Thank you Ana! The build took my husband and I two hours to build. The sanding, sealing, painting, stenciling, and finishing took several days, but the actually build was VERY easy and straightforward. We're total beginners, so we were very happy. The stencils are from Cutting Edge Stencils and are called "Indian Inlay Furniture Stencil Kit by Kim Myles."
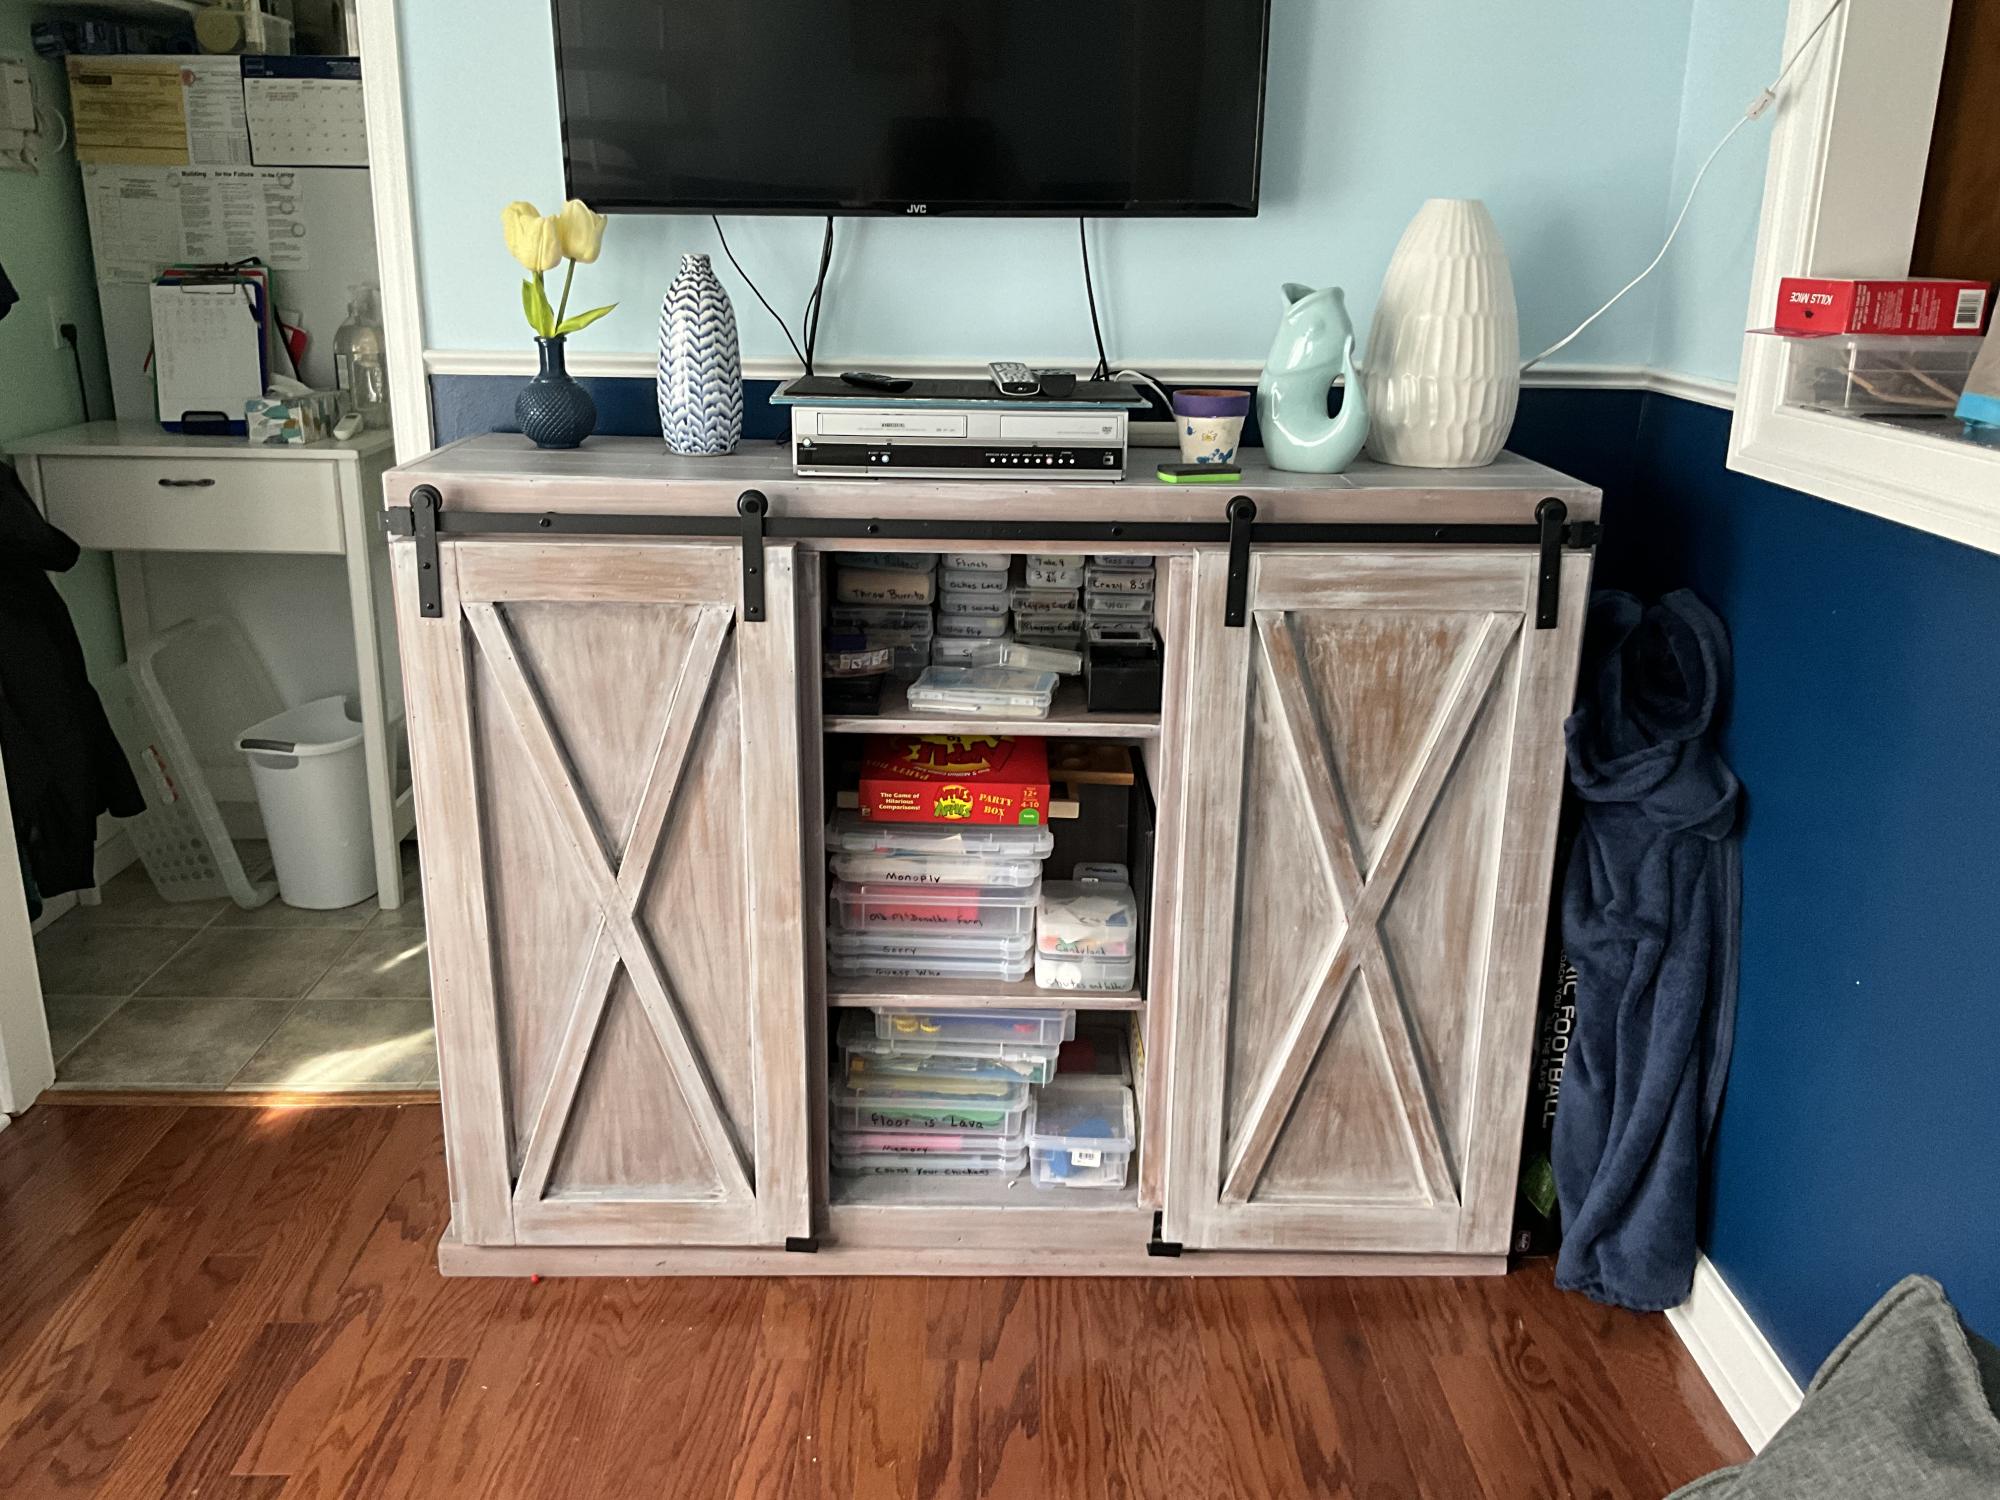
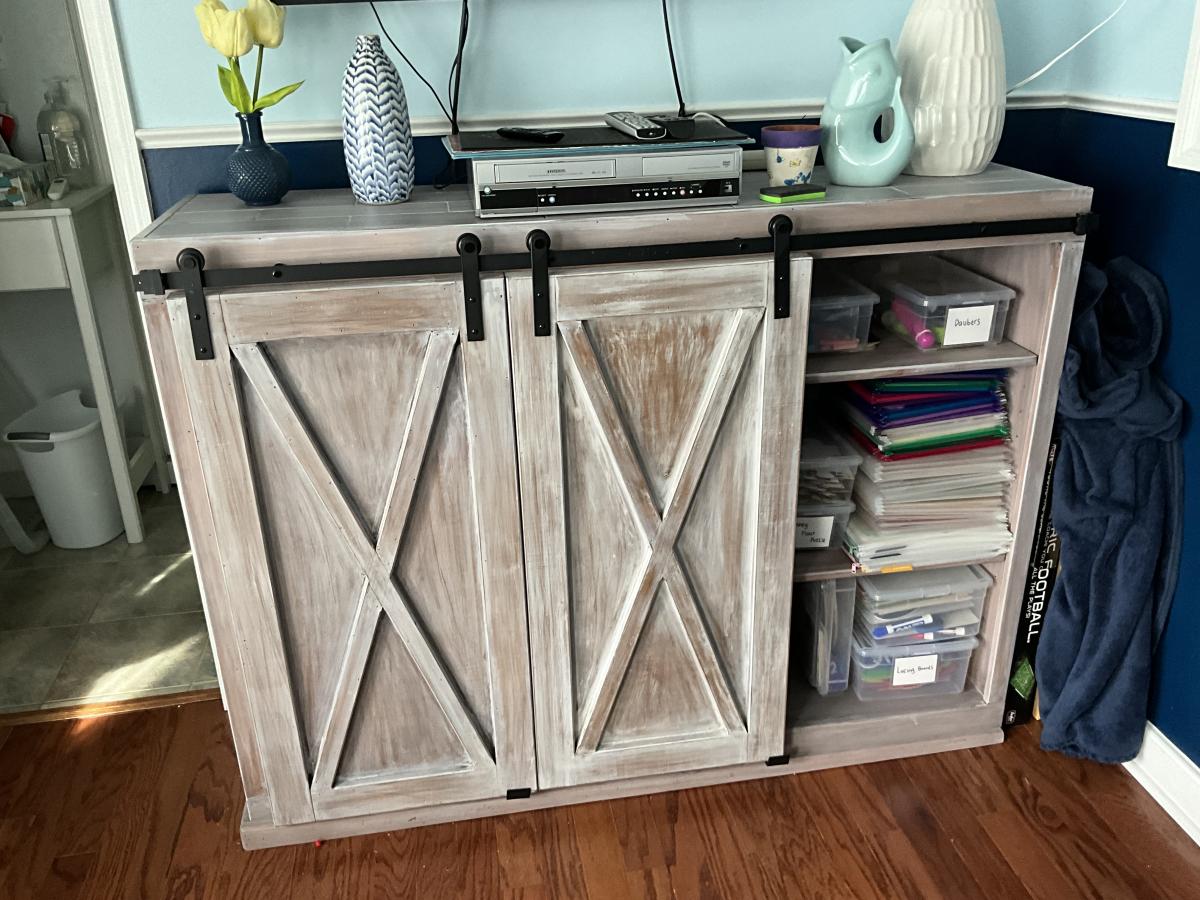
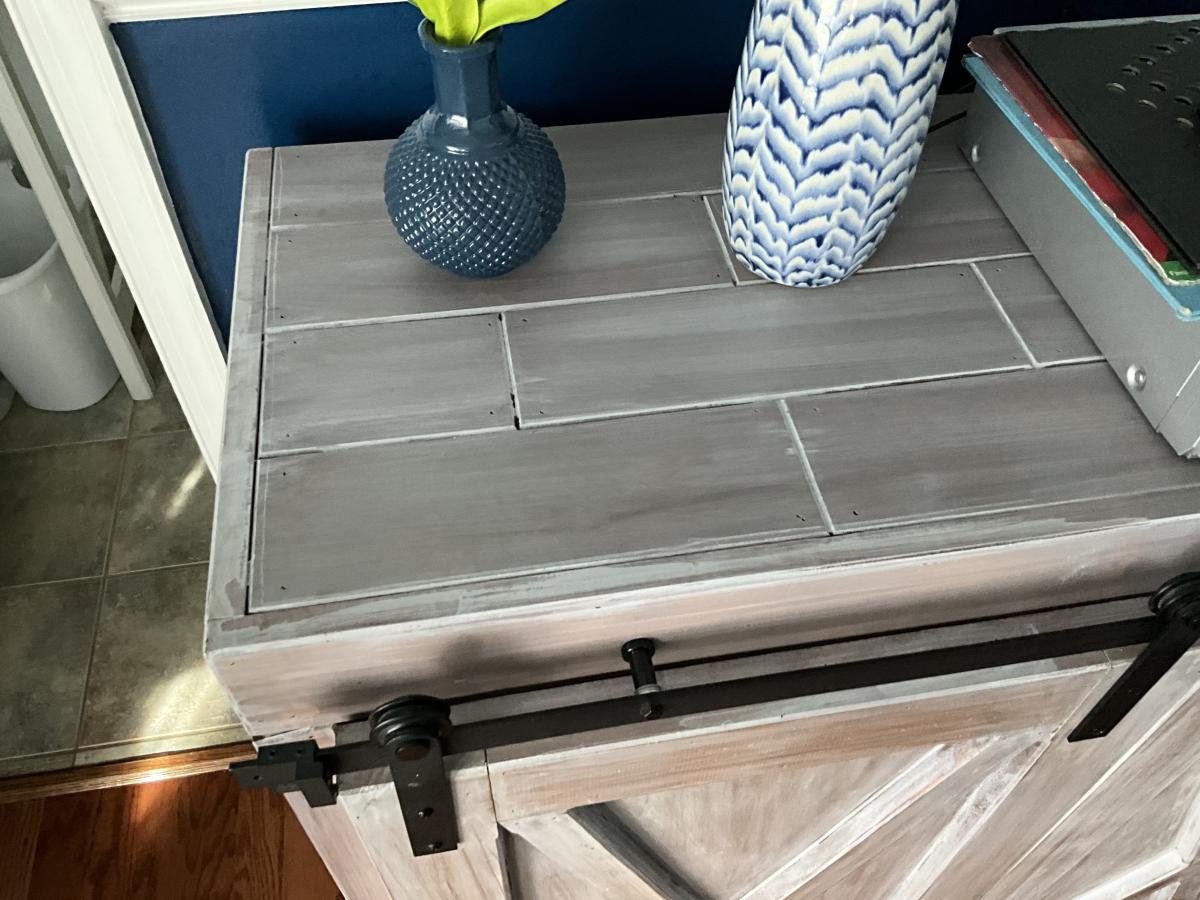
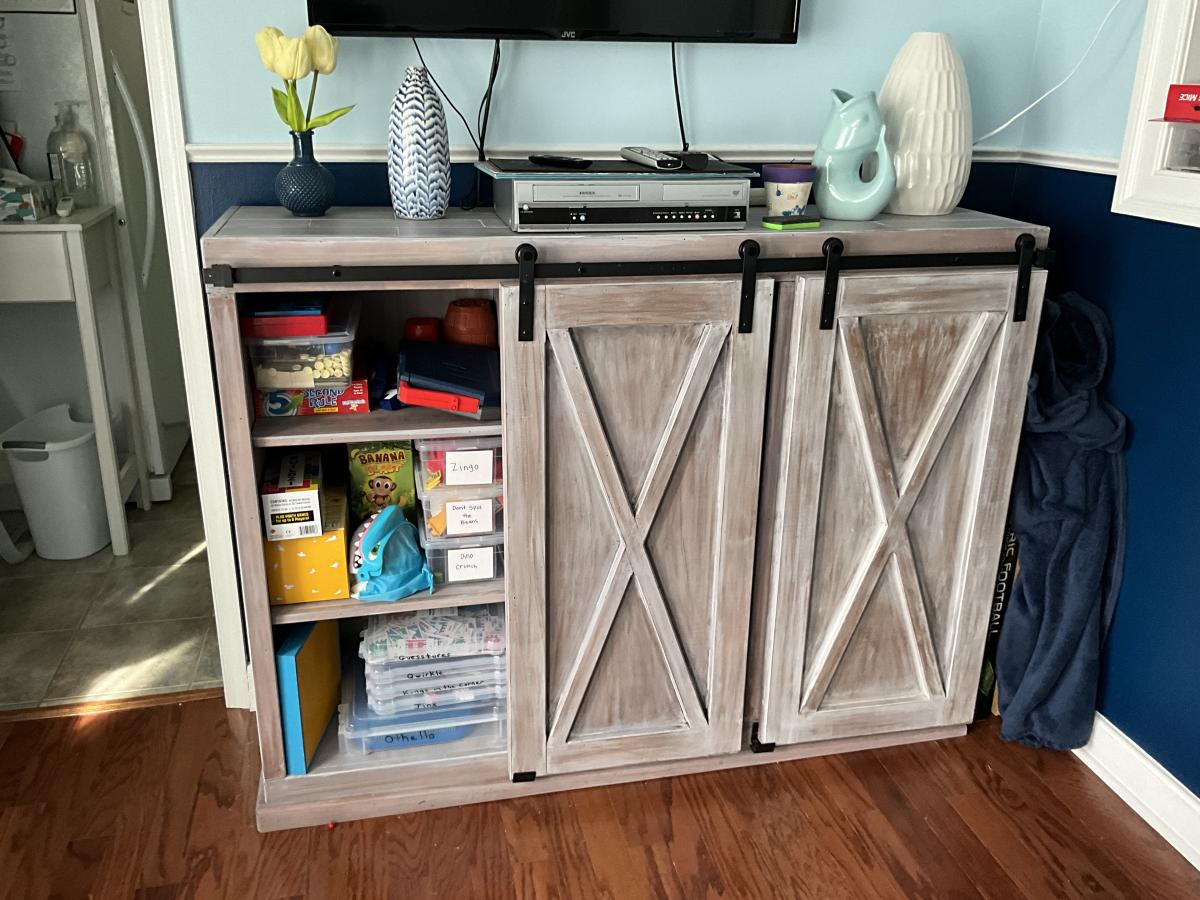
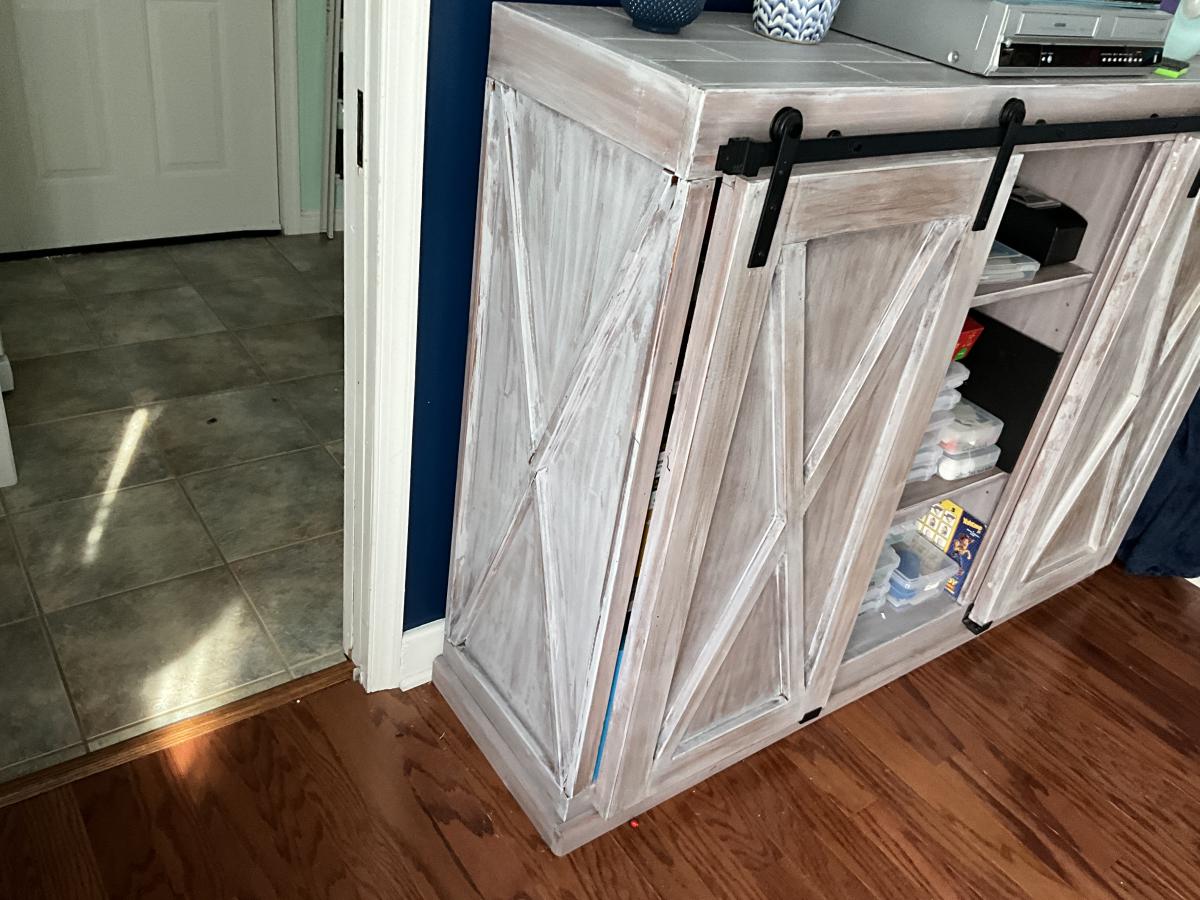
Wife wanted a cabinet in our front room and she loved this design . She even helped with the finish the top is made from the same birch plywood
Tue, 03/21/2023 - 11:18
Love the finish and great build, thanks for sharing!
I have allergies to wood dust, which can make working in my shop a challenge. To help deal with the large amount of dust I've been kicking up lately with my table saw, I built my own dust collection system. It's not as good as a professional dust collector, but it's pretty good, and it was really easy to build.
Sun, 12/04/2011 - 07:13
On facebook somebody suggested that putting the port for the vacuum in the center would improve the vortex action. That would match the configuration of the vortex collectors, which draw from the center as well.
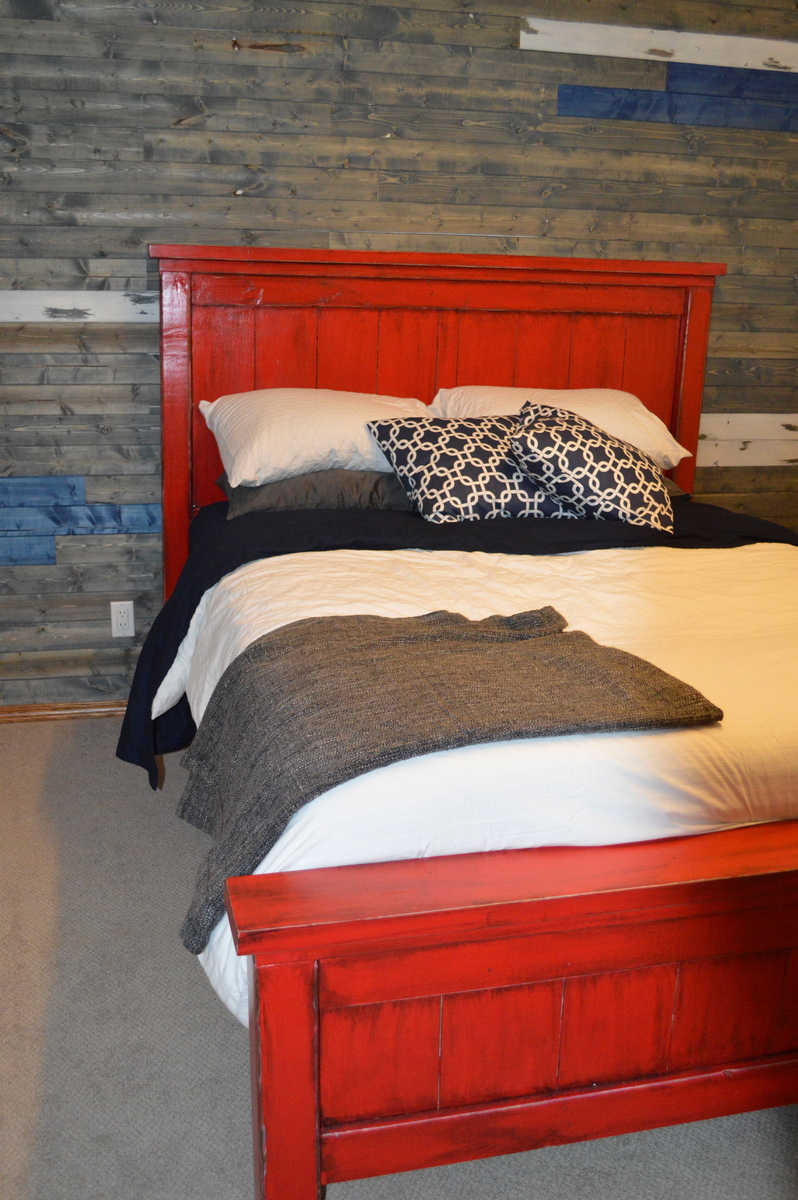
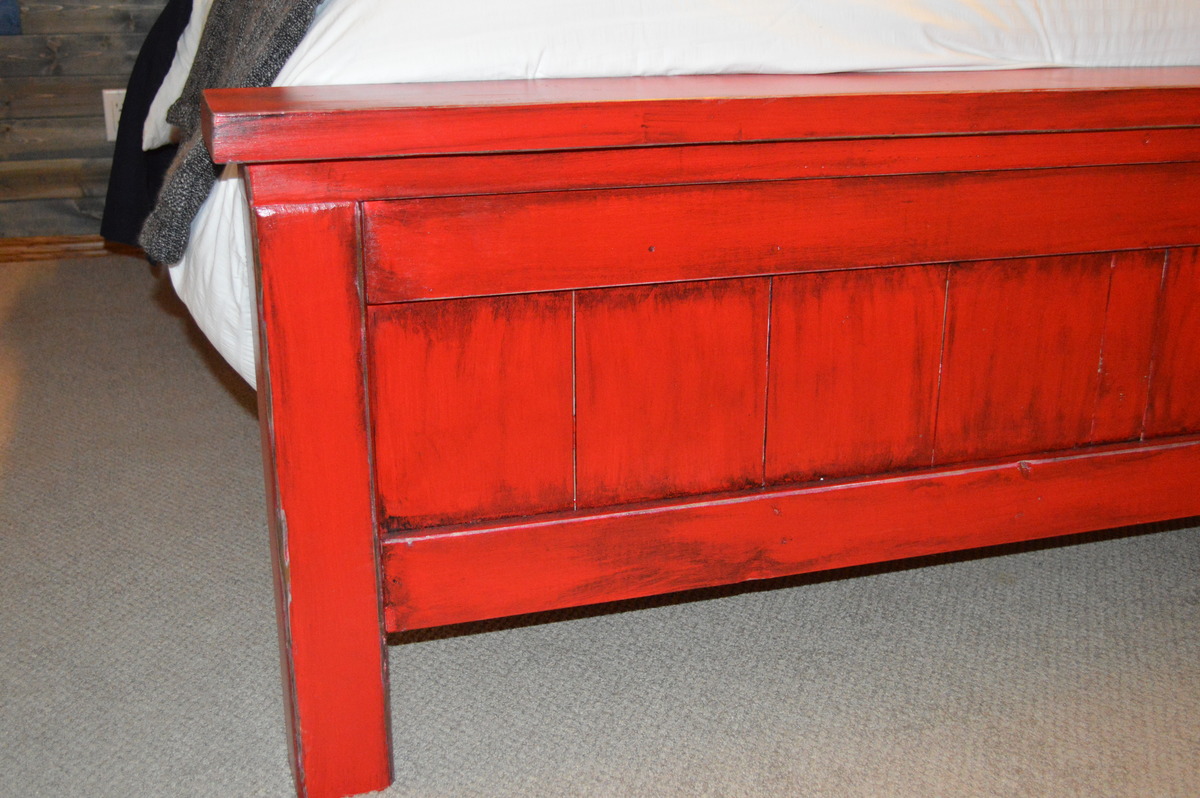
We loved the first farmhouse bed we built so much, that we decided to build another one for our guest bed. We loved the red paint, and weren't too sure how to accent it, so we went with a planked feature wall. Just need to build some night stands and hang some pictures and our guest room should be complete!
Sat, 11/02/2013 - 22:15
Love the bed and the wall!! Where did you find your plank wood??
Sun, 11/03/2013 - 19:22
We didn't have any old distressed wood, so we bought pine tongue and groove from the hardware store and stained them ourselves. Then we just used a nail gun to attach them to the studs on the wall. It was surprisingly easy to do, just a bit time consuming. And nerve wrecking, we figured it would look either really good, or just awful! W are very pleased with how it turned out!
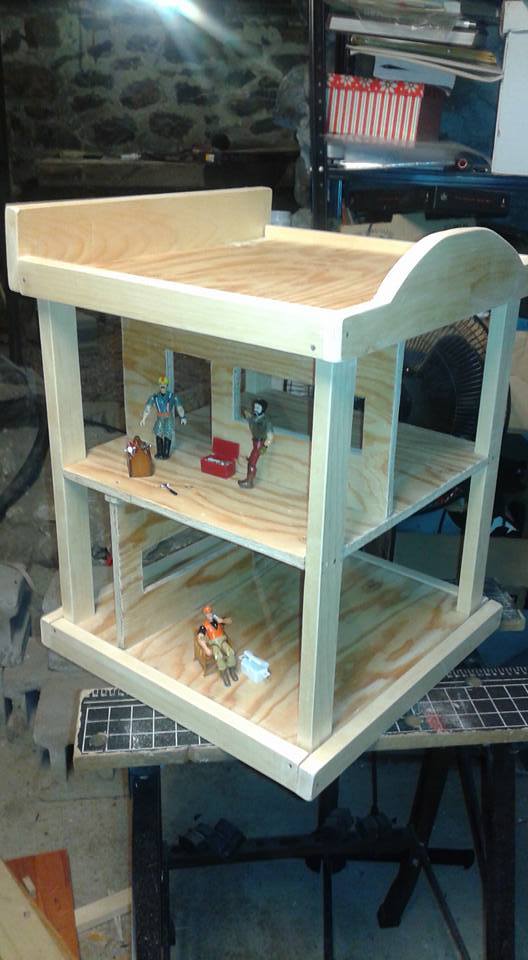
Action figure playset built from firehouse playset plans.
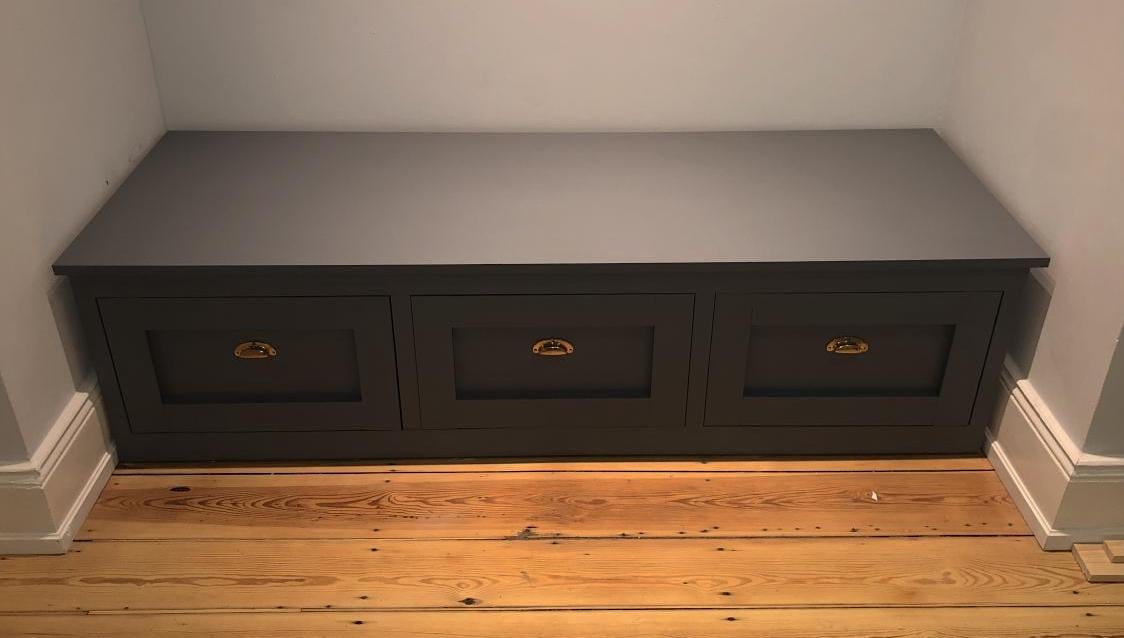
Not as easy at it seems... but also, this was one of my very first woodworking projects.
Tue, 06/11/2019 - 09:25
This is an amazing first project! I love how it fits perfect in your space and the color. What a beautiful floor too.
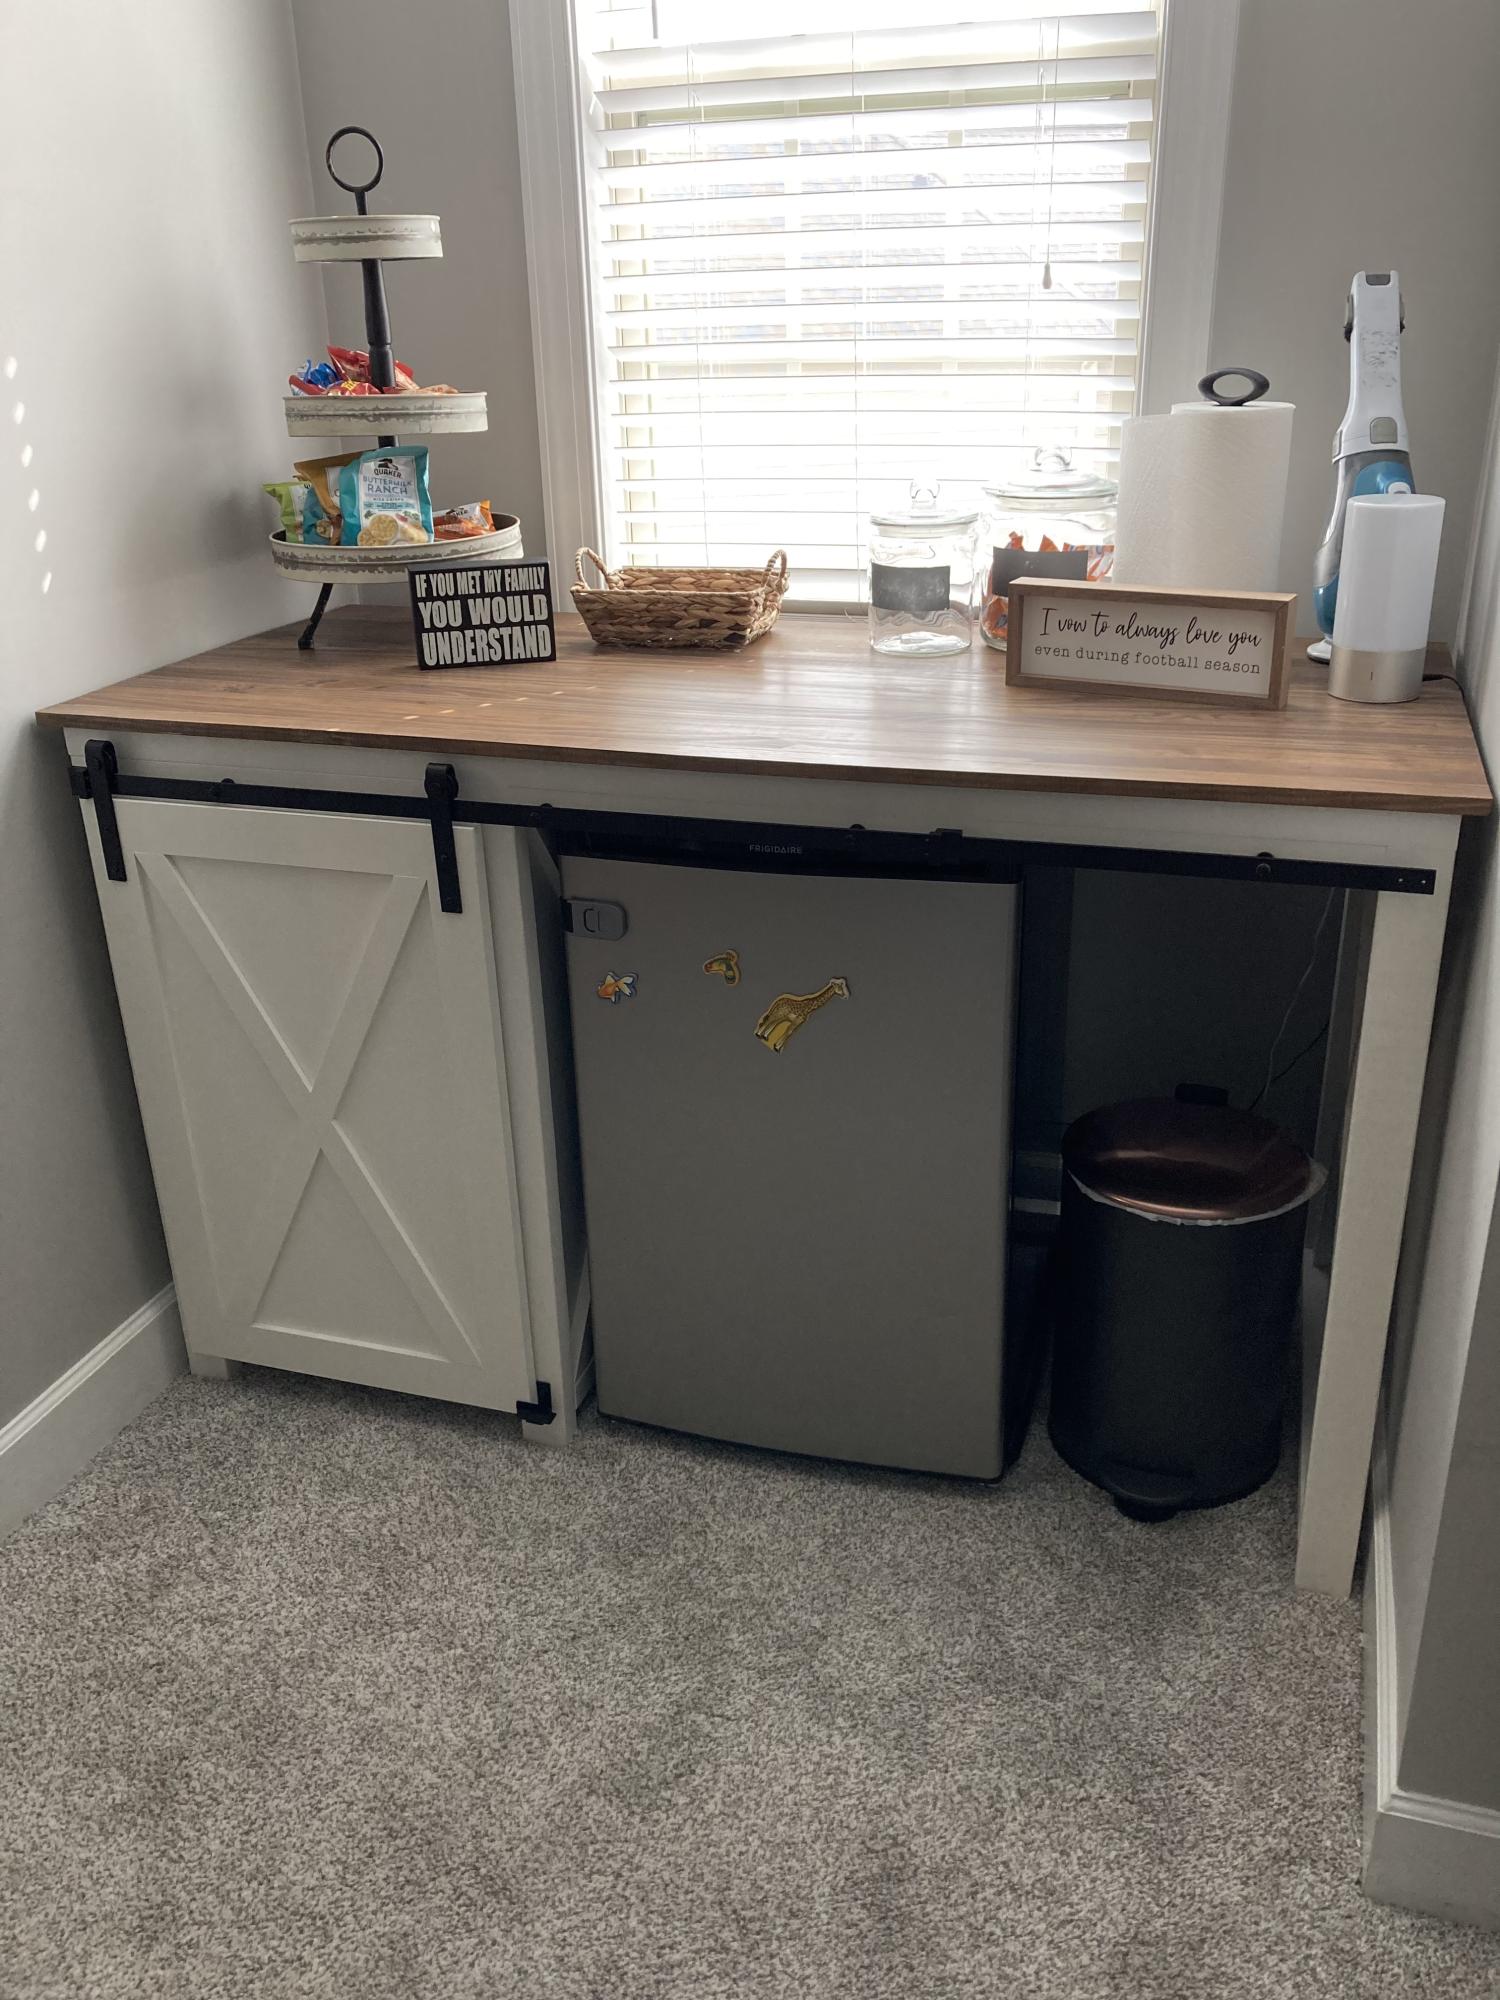
Our son and his wife wanted a snack cabinet in their bonus room dormer. My husband and I used your Farmhouse Desk plan and tweaked it with your Barn Door Cabinet plan. They love it! It was a first cabinet build for us and we were proud! You are our go to for ideas and plans. Thank you!
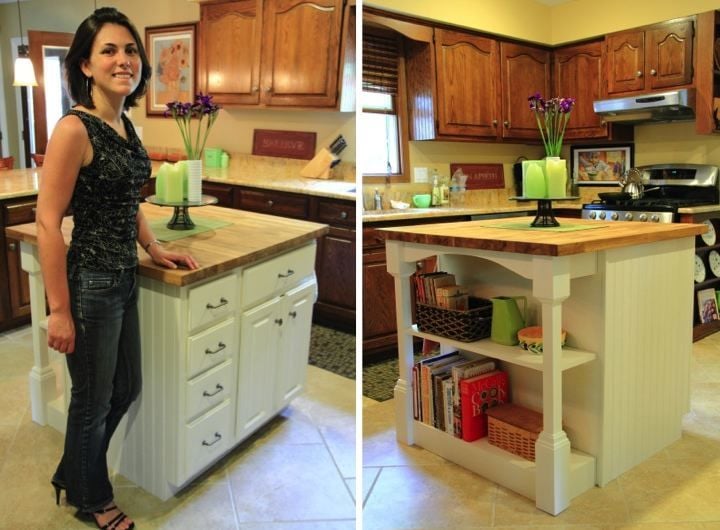
I made this kitchen island for my mom last year by repurposing two cabinets and building a bookcase for the back.
For details: http://www.homeandawaywithlisa.com/blog/2011/11/28/kitchen-island-for-m…

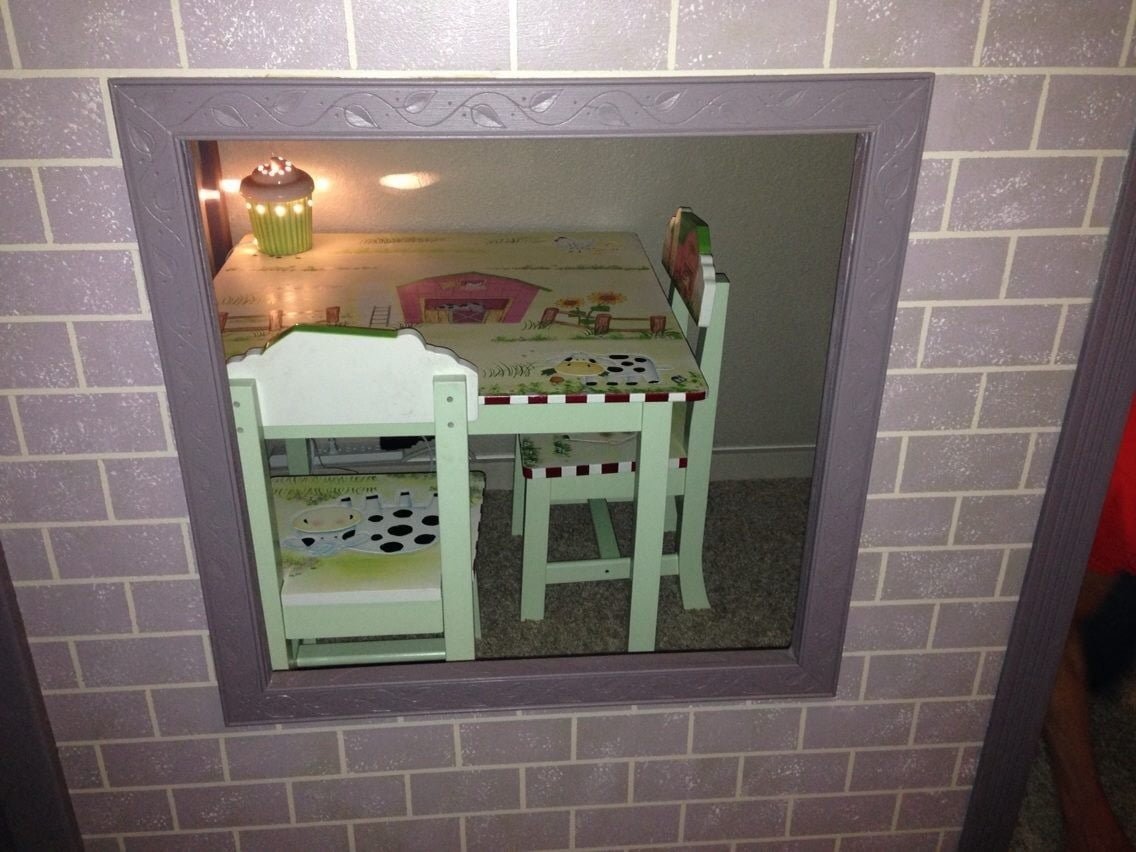
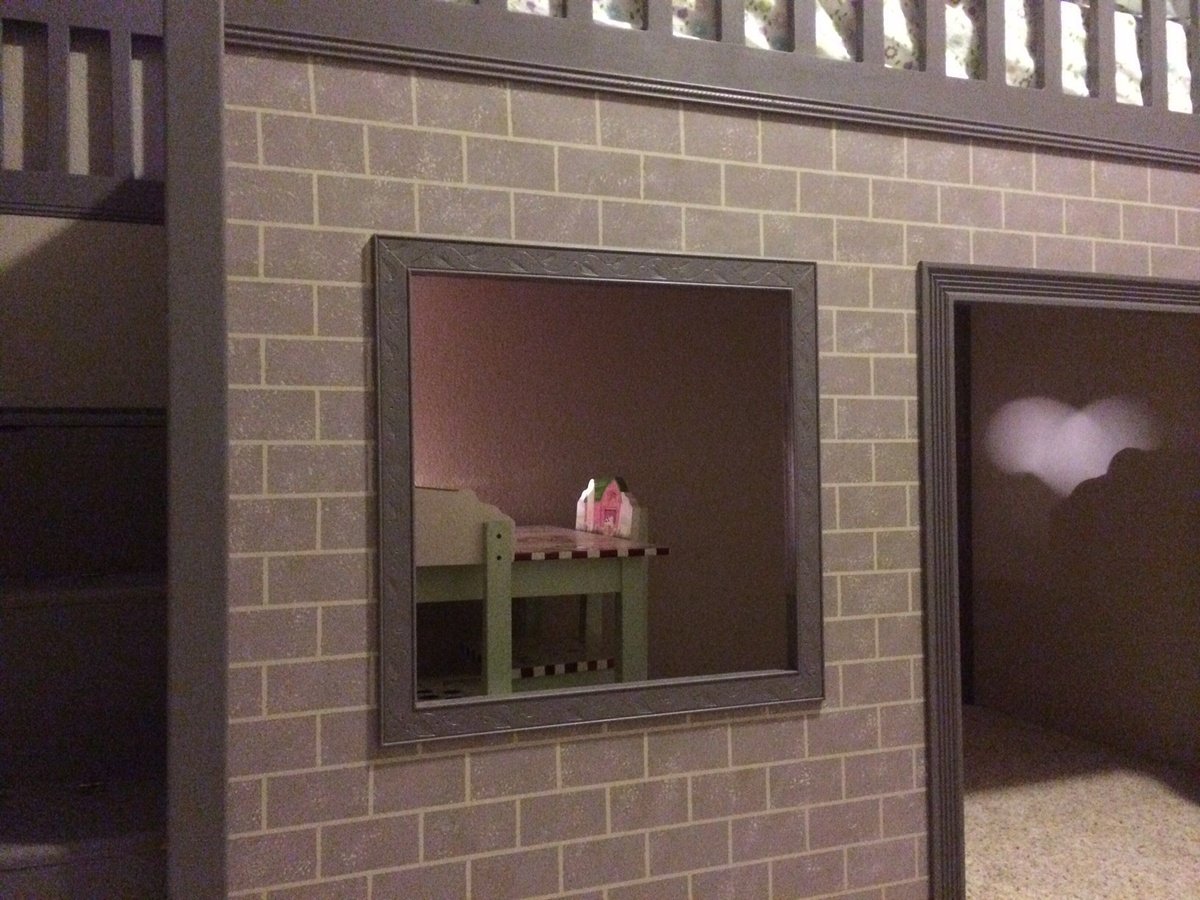
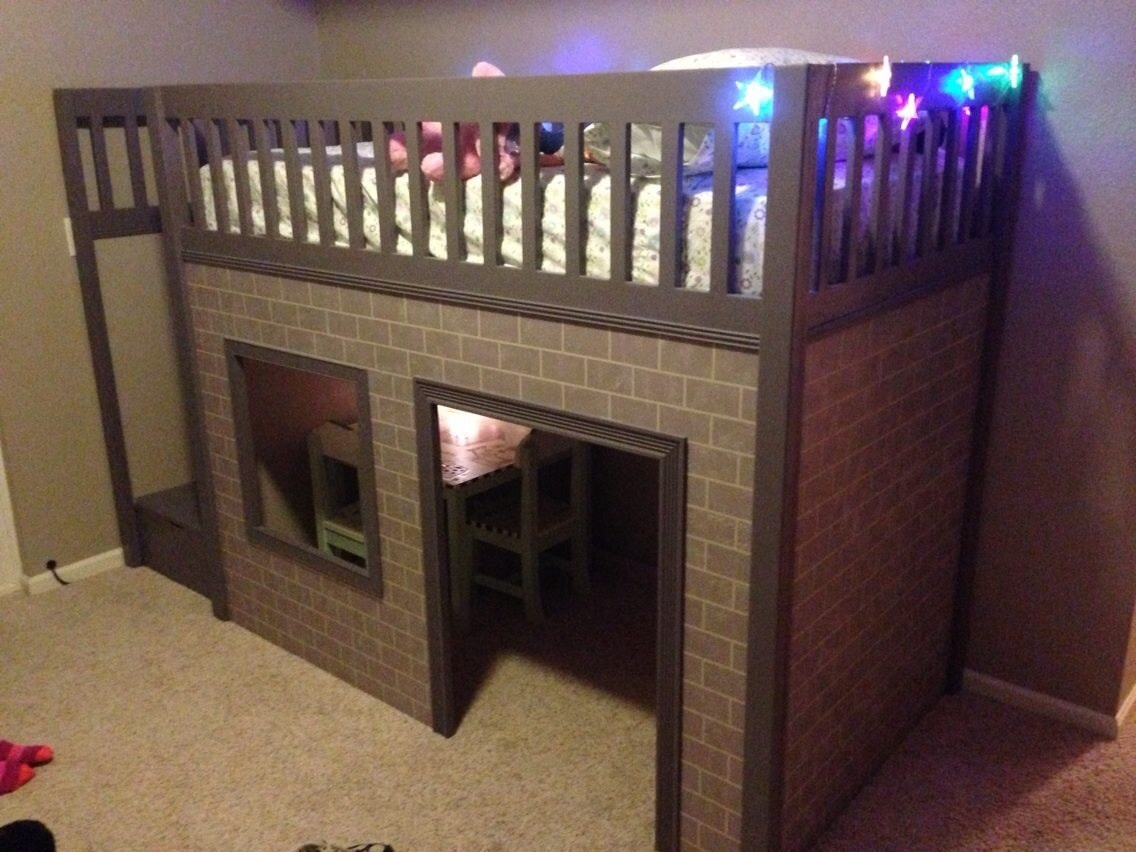
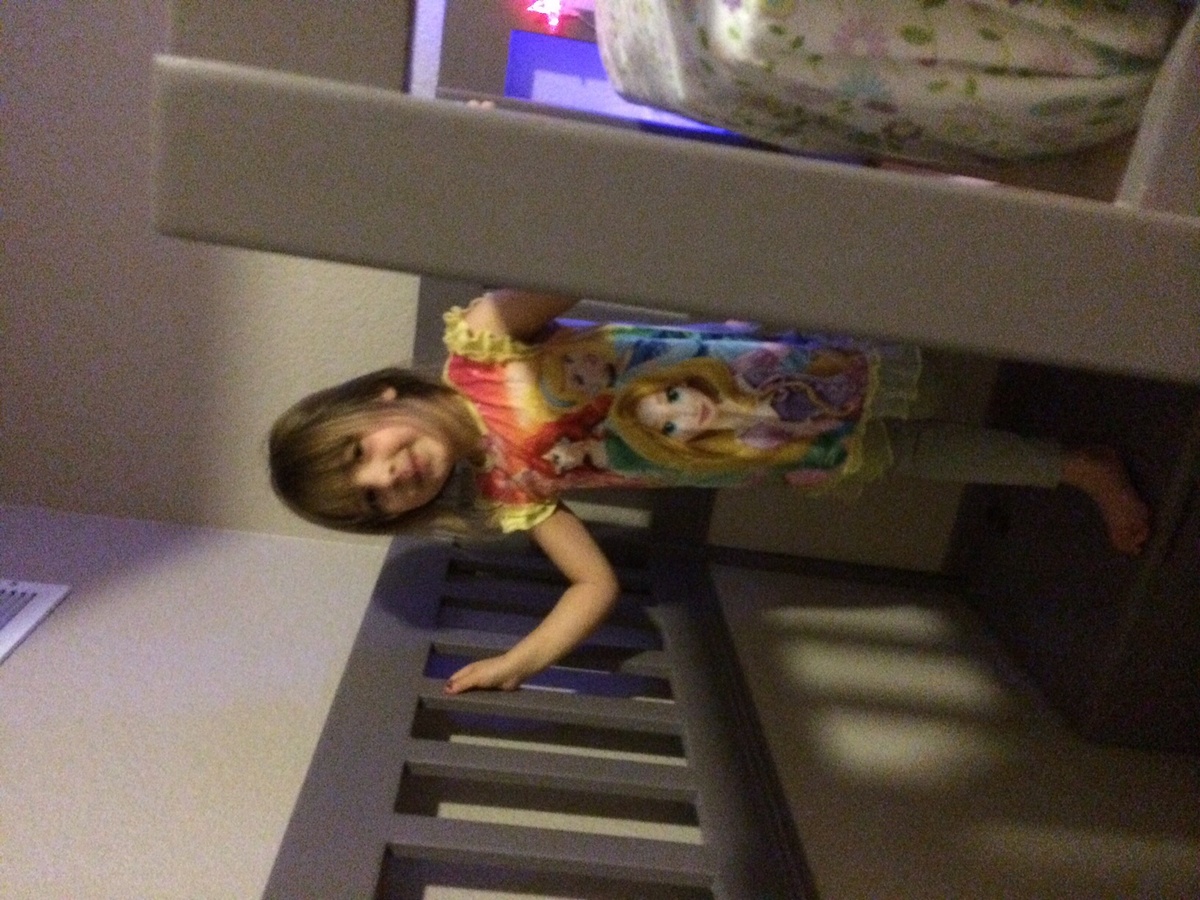
My granddaughter is so in love with her loft bed! She feels so special, and she is! Thanks for such wonderful plans.
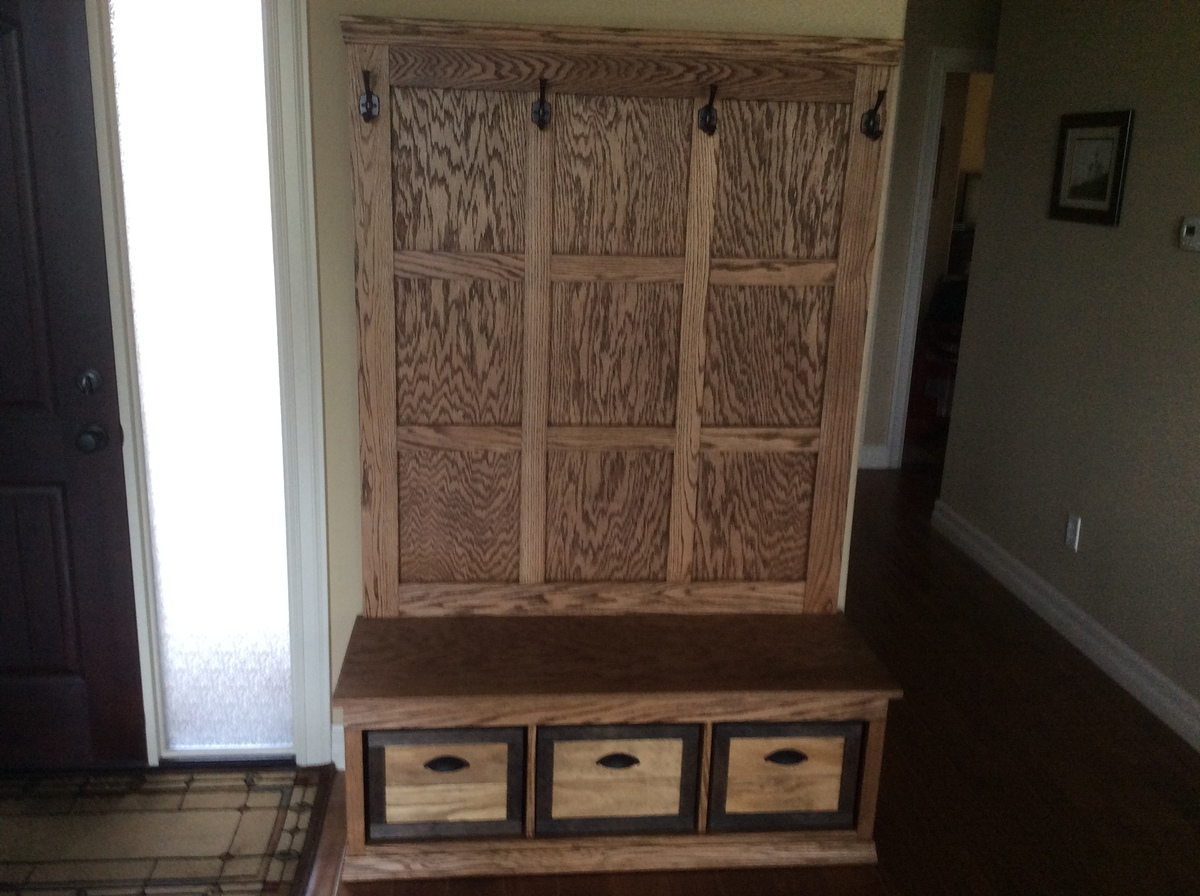
Our first major furniture build so the great plan really helped out. Positive feedback from everyone who sees it. We ended up building the "3-drawer open shelf simple entry console" next and modified the design to match this hall tree. We couldn't find baskets that we liked so made the custom crates for storage. On the entry console we built drawers with the crate design on the front.
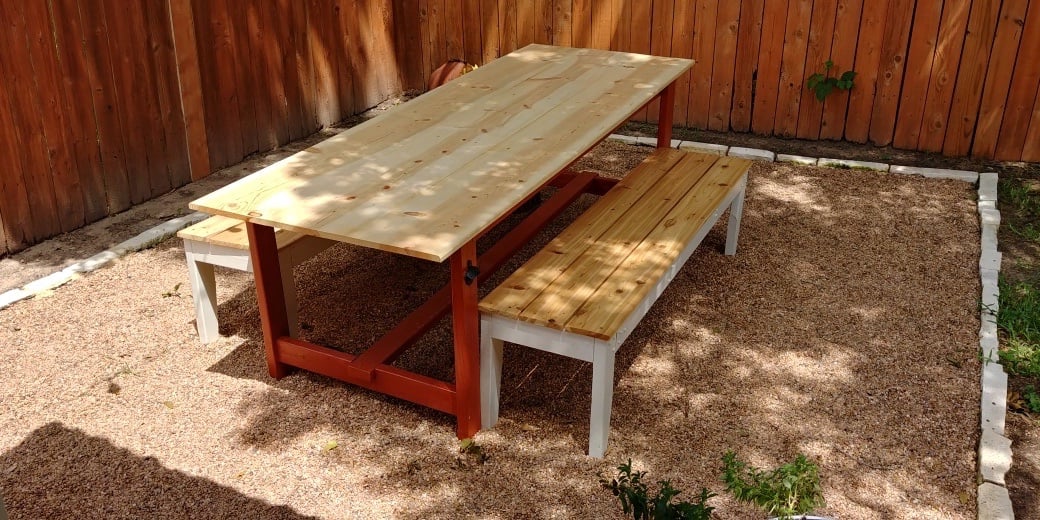
This table was for my wife's birthday present. I followed/modified the simple and pocket hole farmhouse table plans. The table top is 1x12 pine as I couldn't find any cedar that wasn't cupped or warped after several weeks looking and wanted a wider board top. Then we used the easiest padded bench plans, adding height as suggested to the legs and using 3 cedar 1x6's for seats. All tops were sanded and sealed before 4 coats of marine spar poly were used.
Thanks for the plans, Ana.
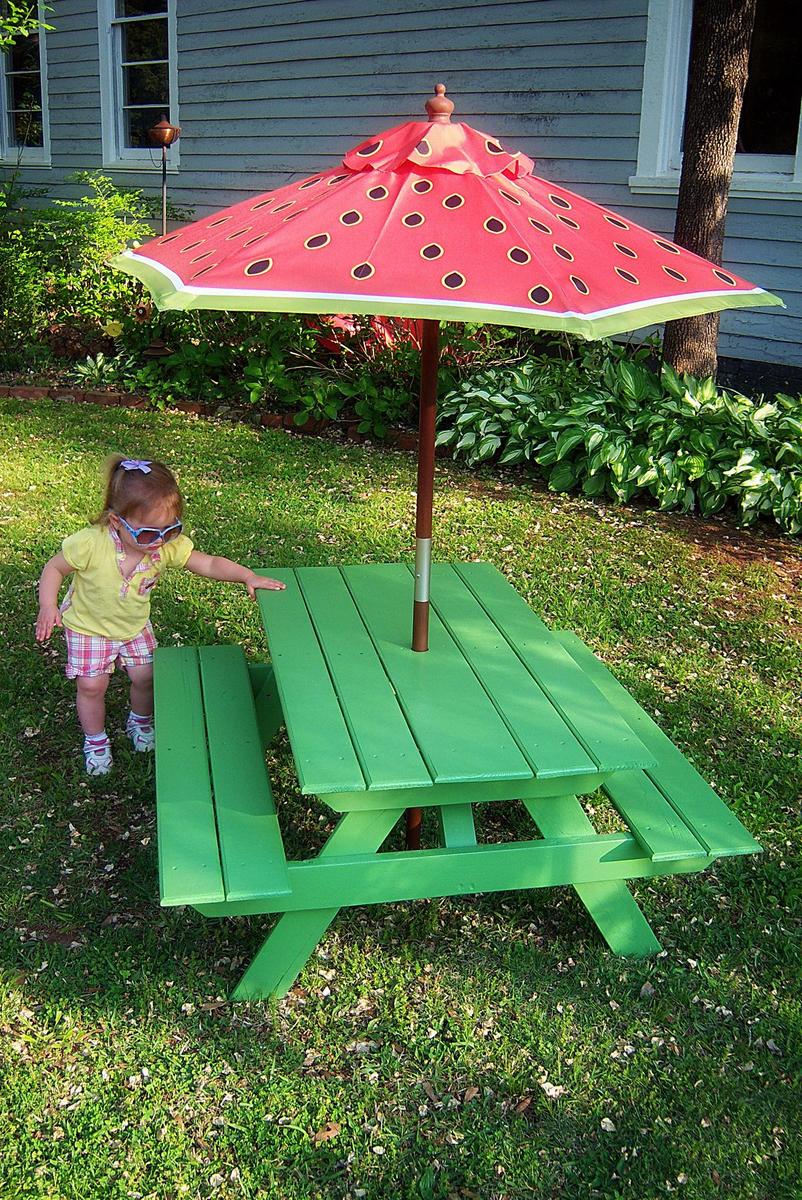
My daughter was given this umbrella at Christmas, but needed a table to go with it. Ana's plans for the preschool sized picnic table worked perfectly. I built it using one standard sized shipping pallet and even got to try out my new router! Thanks Ana!
Tue, 04/04/2023 - 13:58
Looks like the perfect solution, love the fun finish! Thanks for sharing.