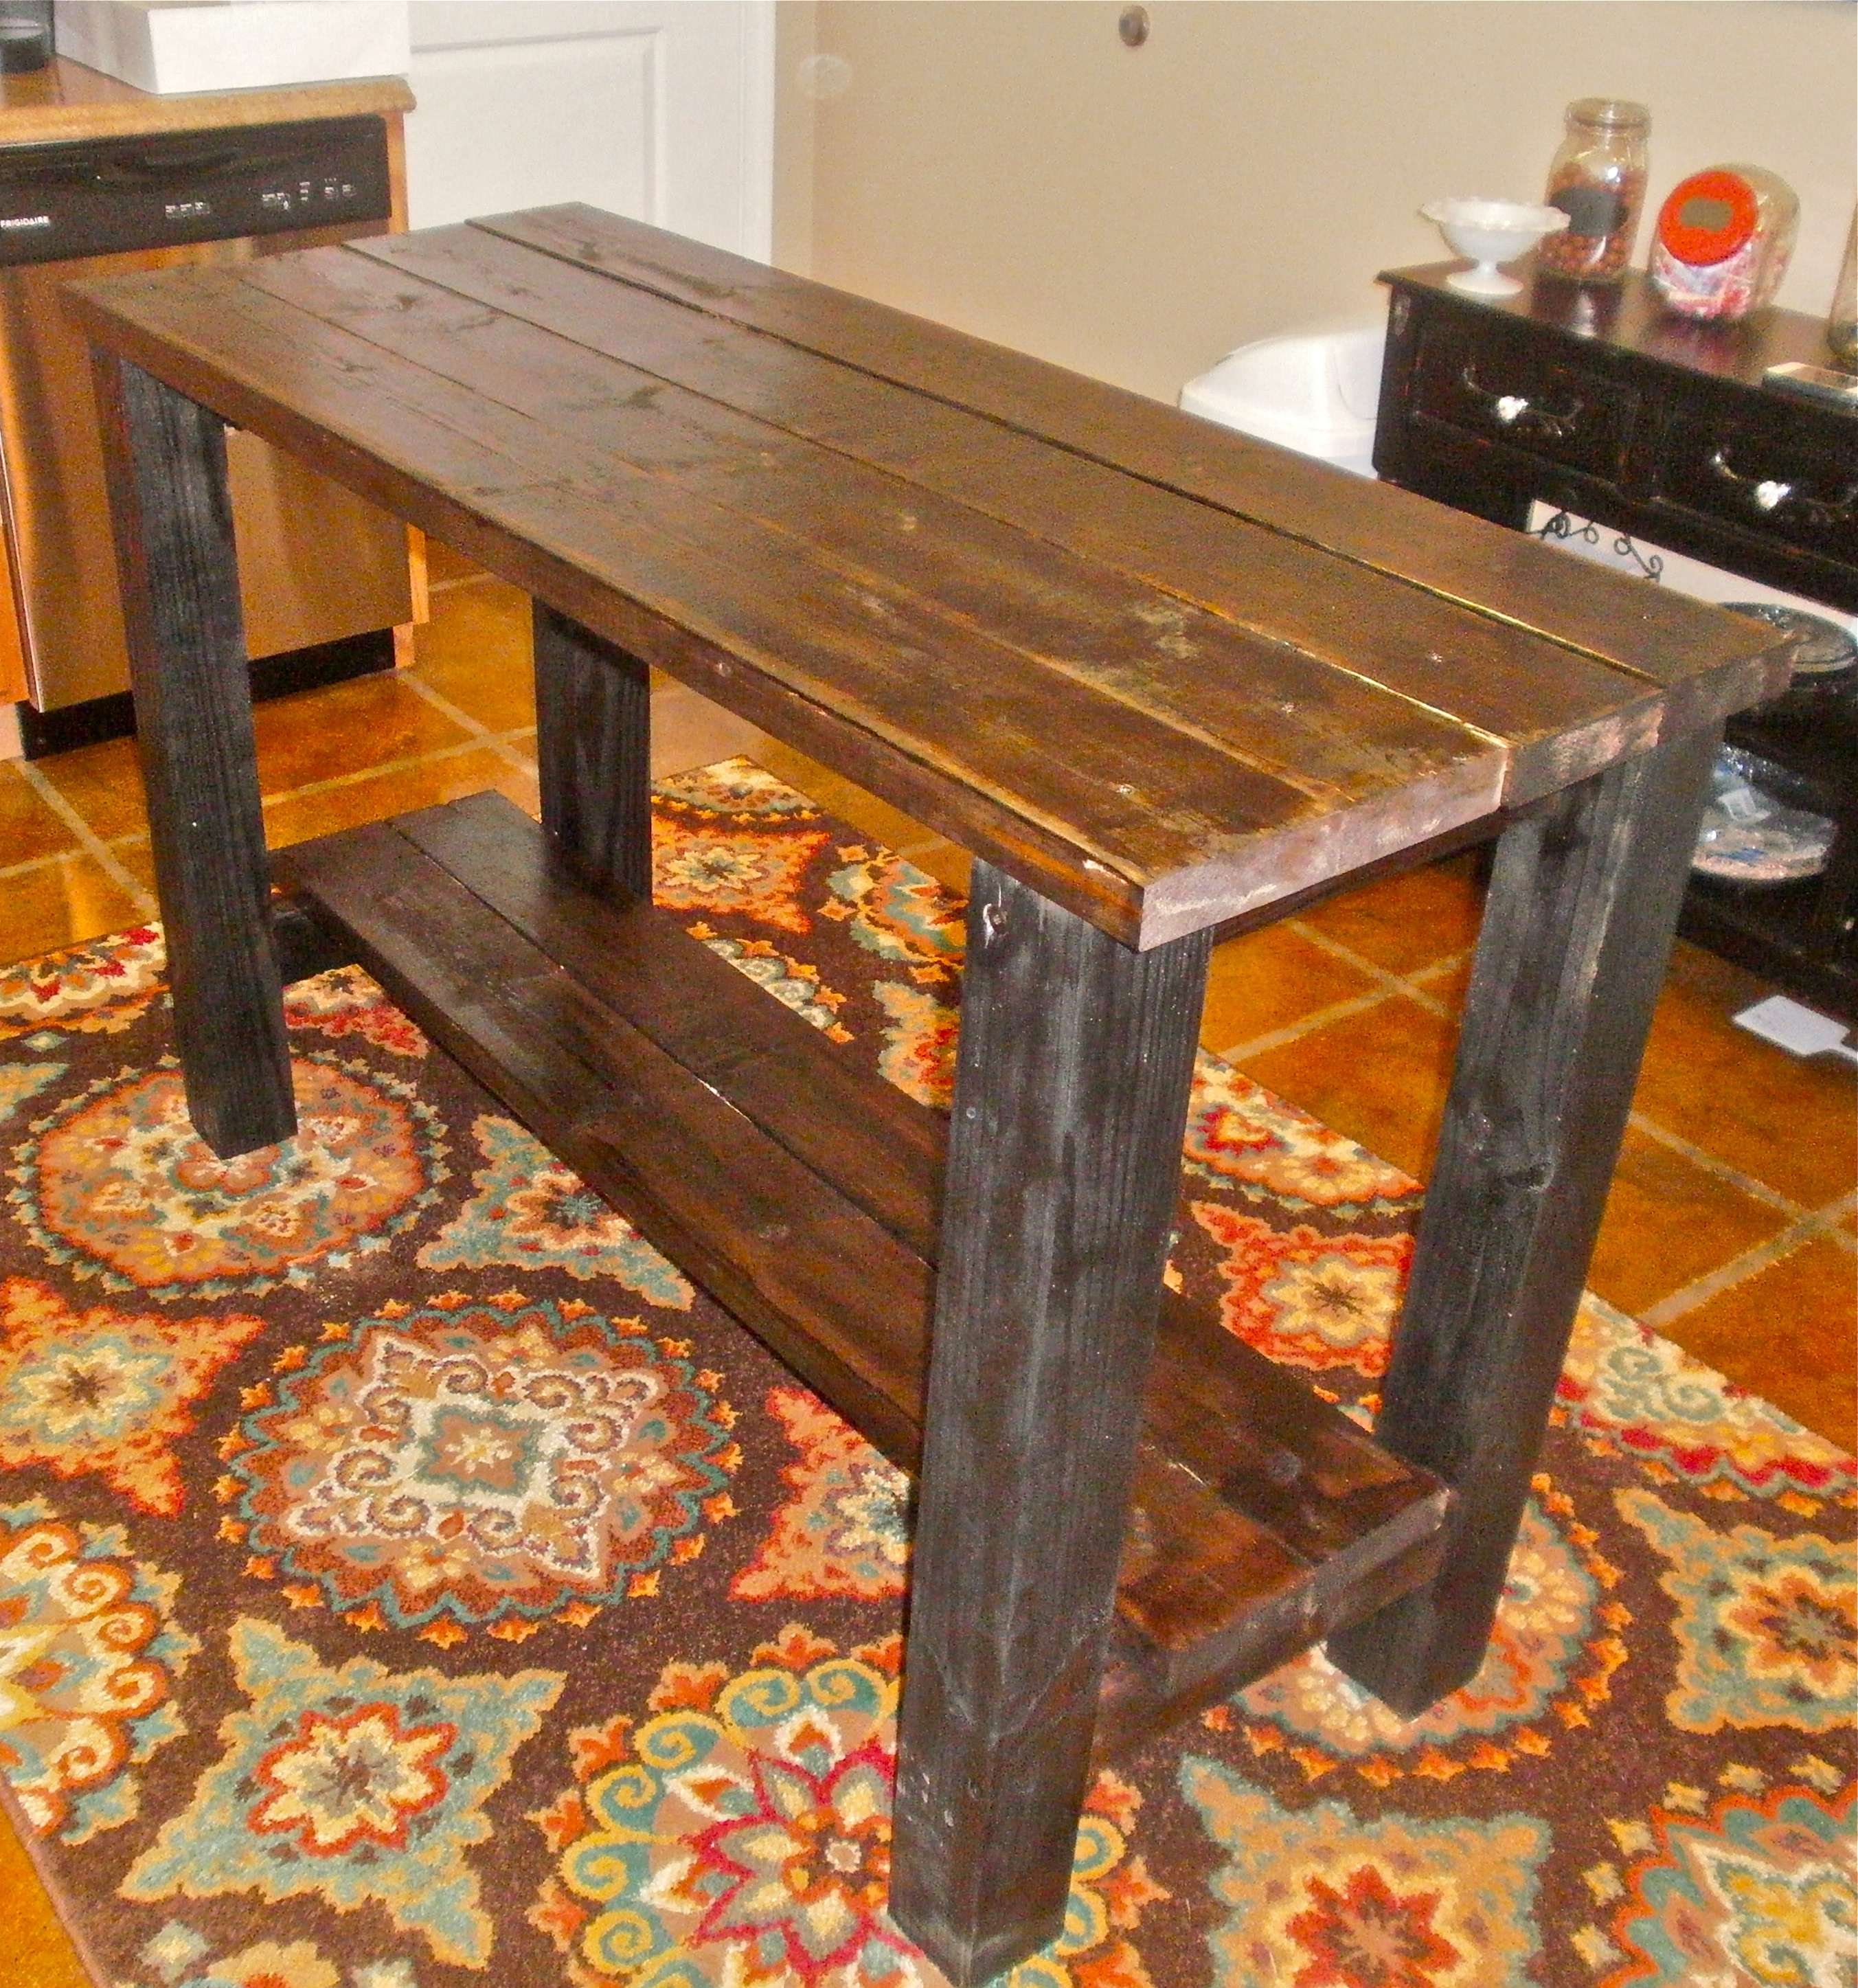
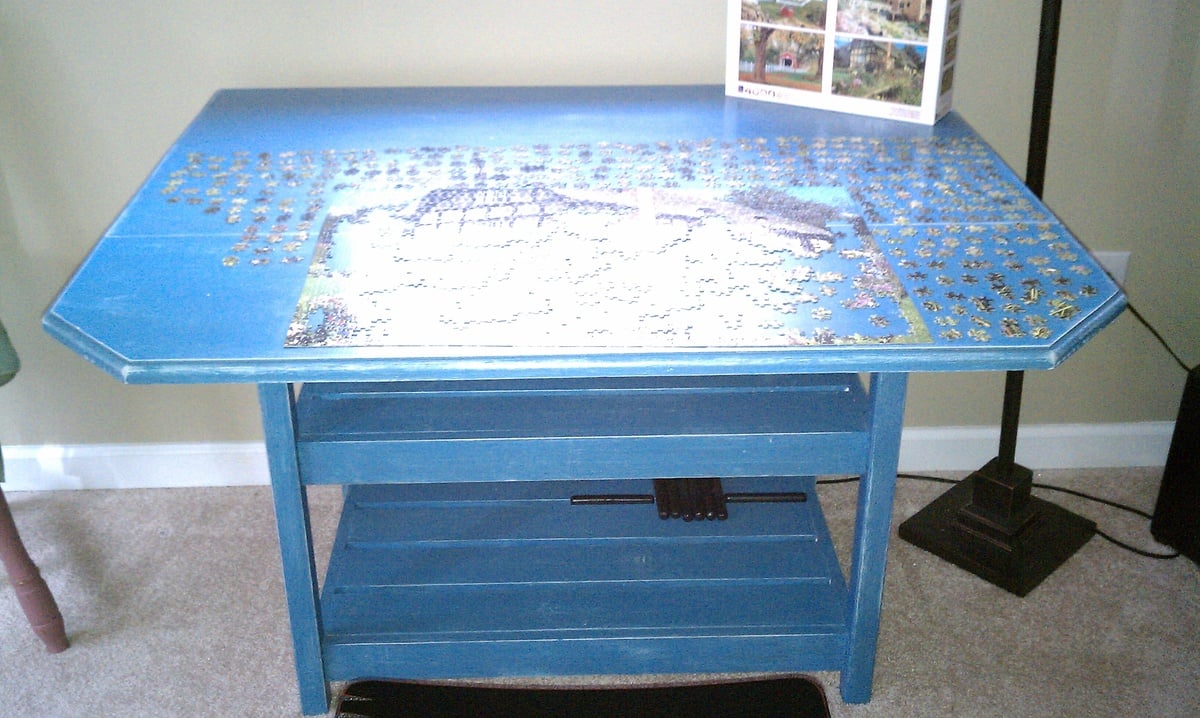
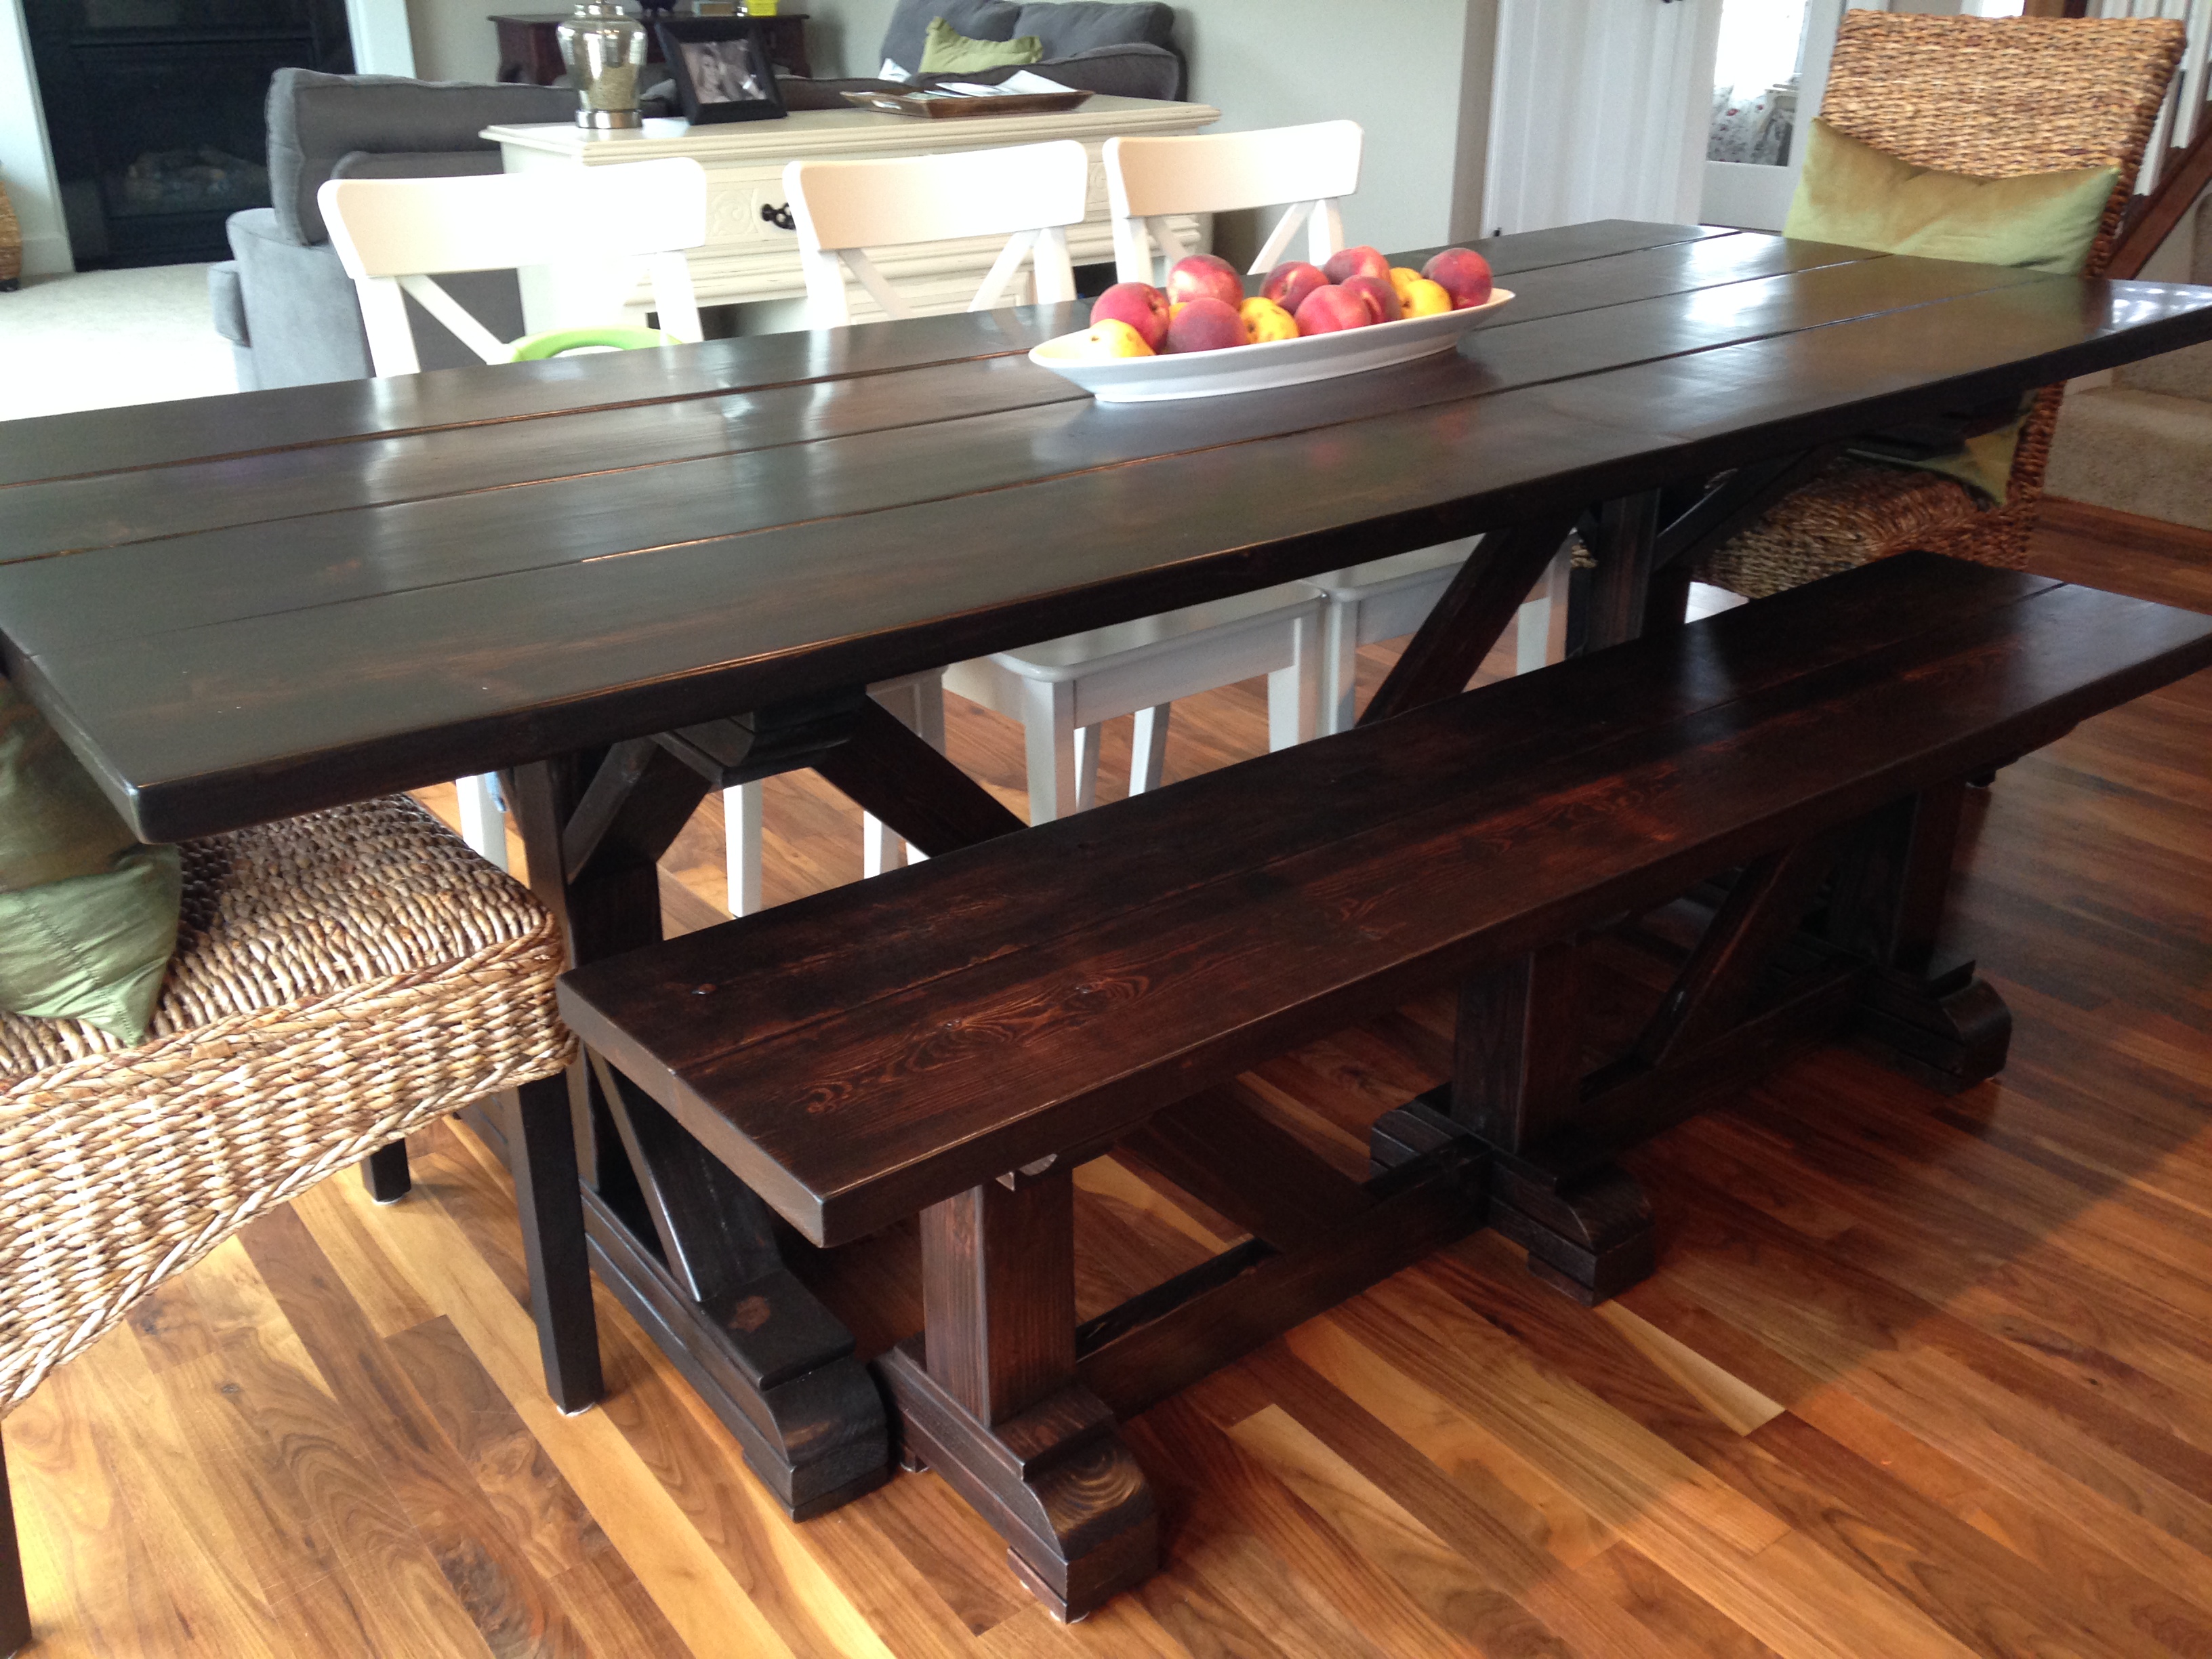
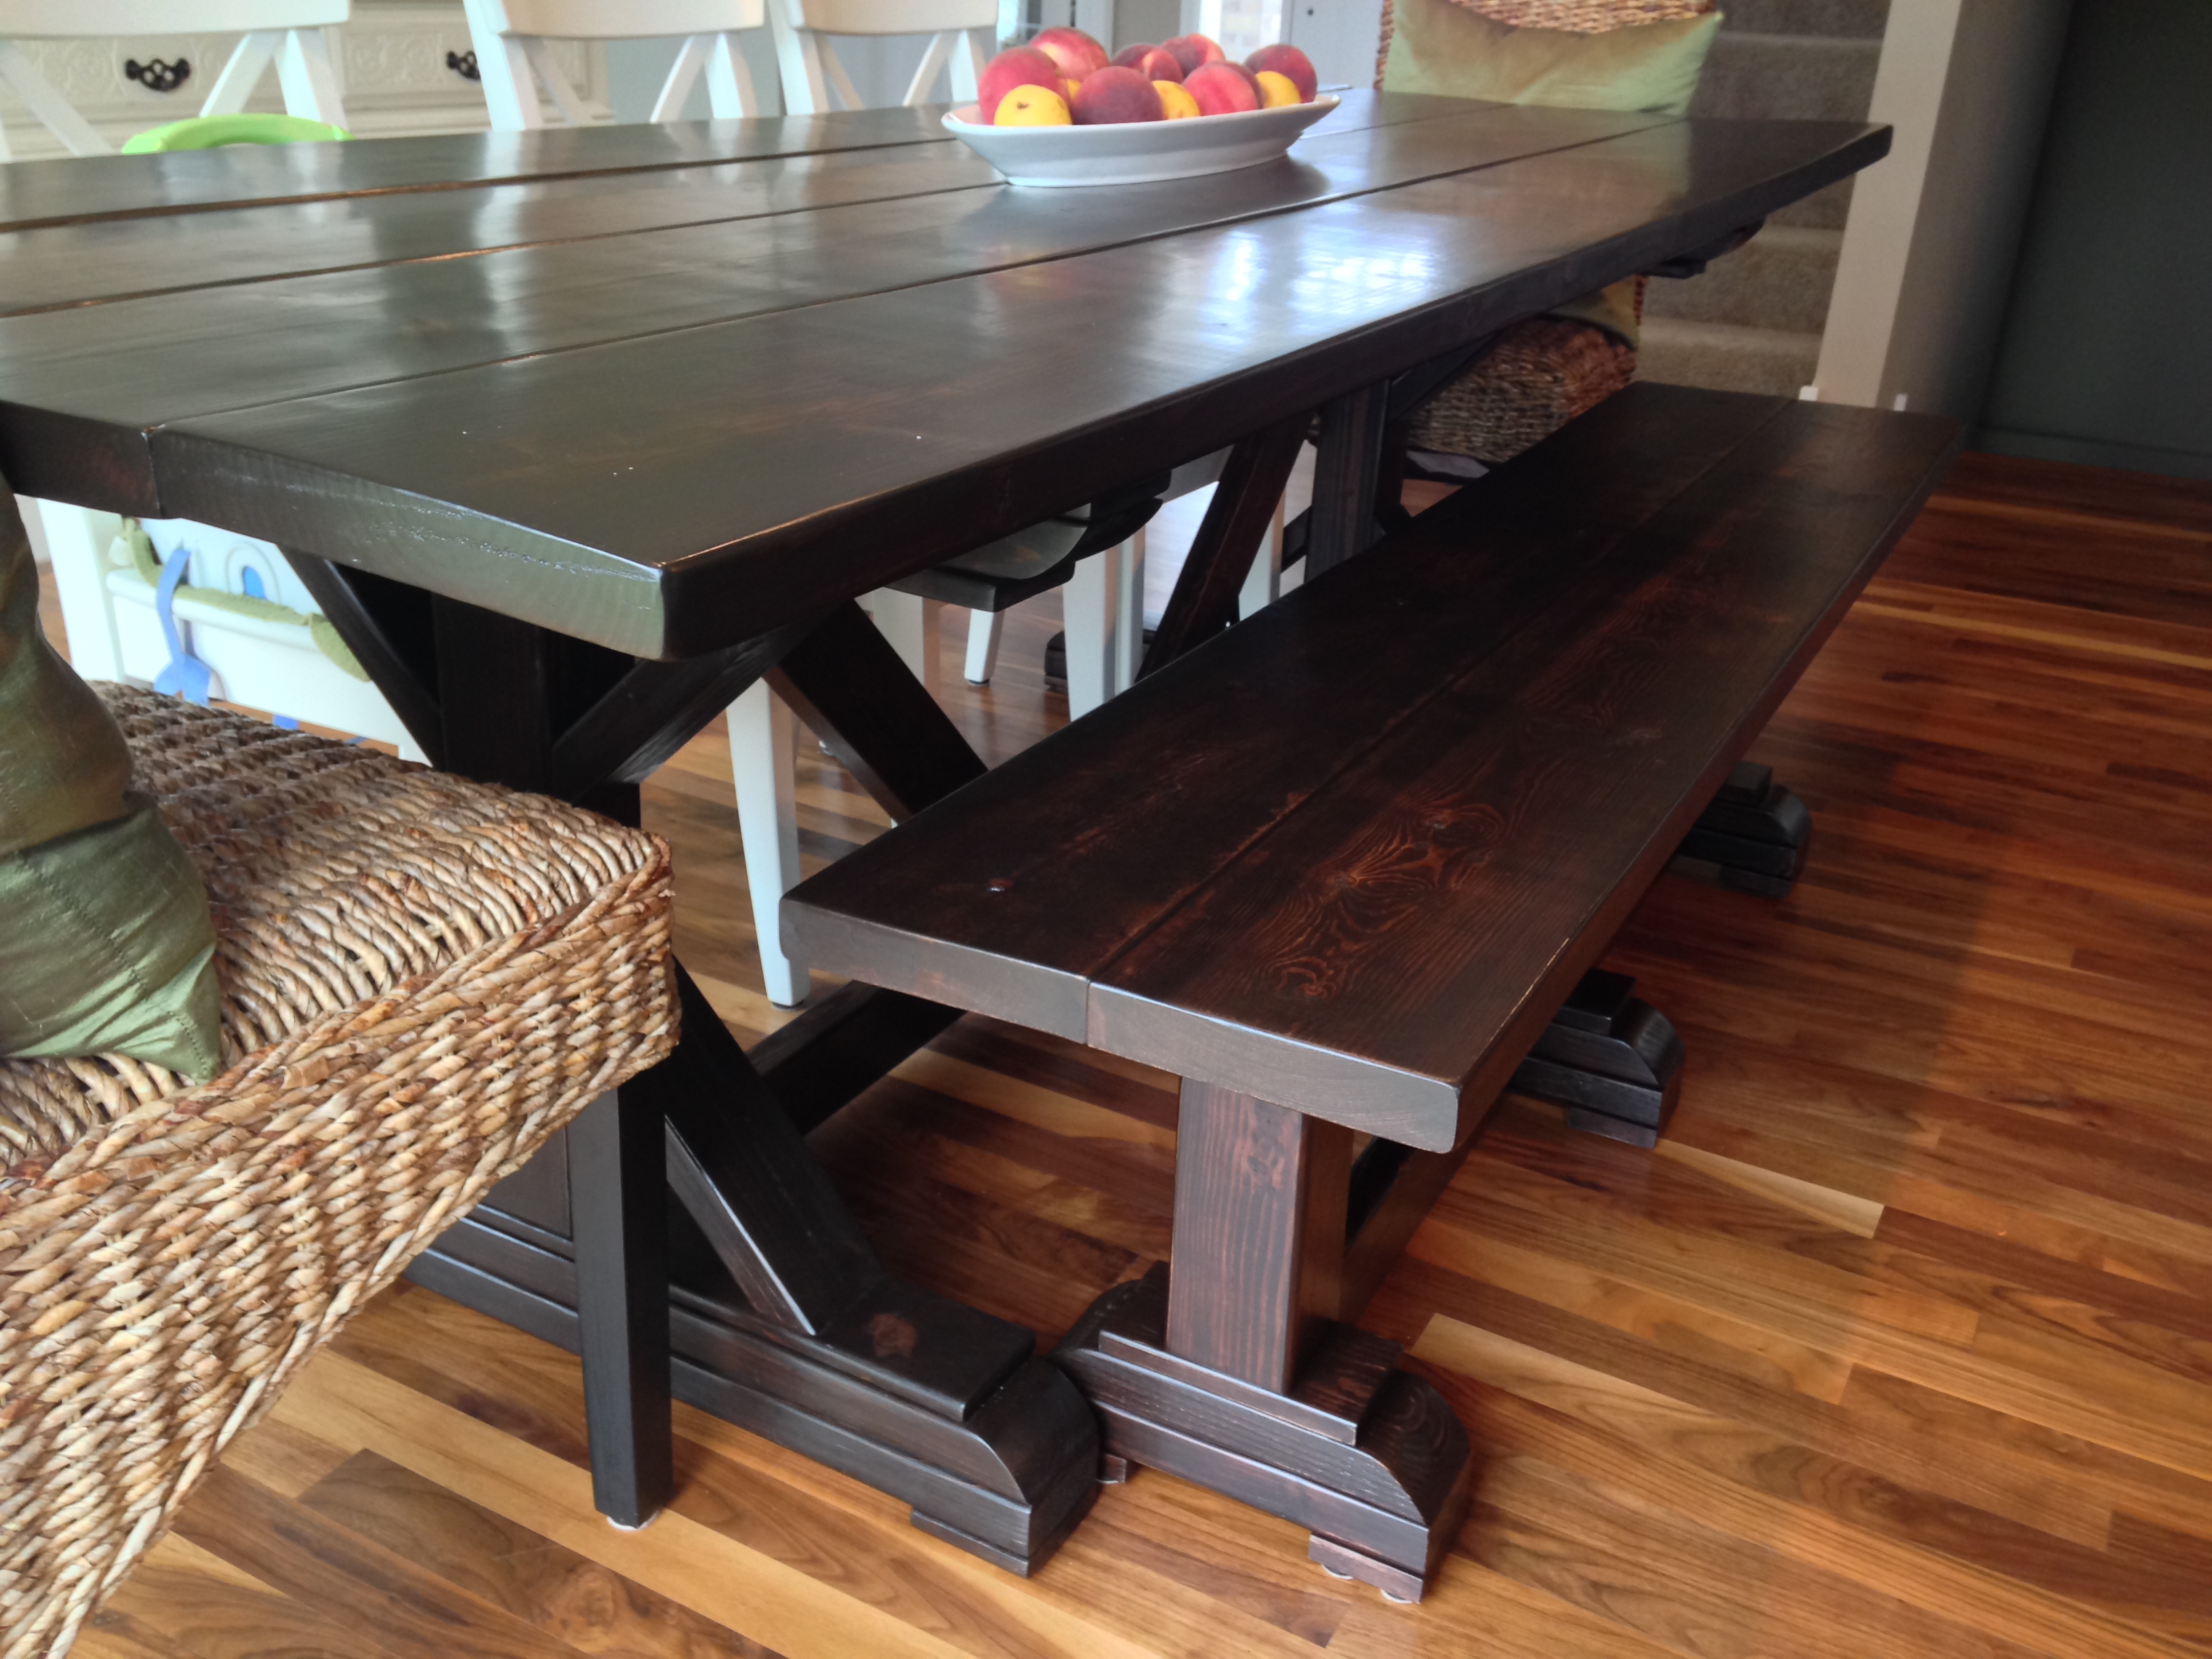
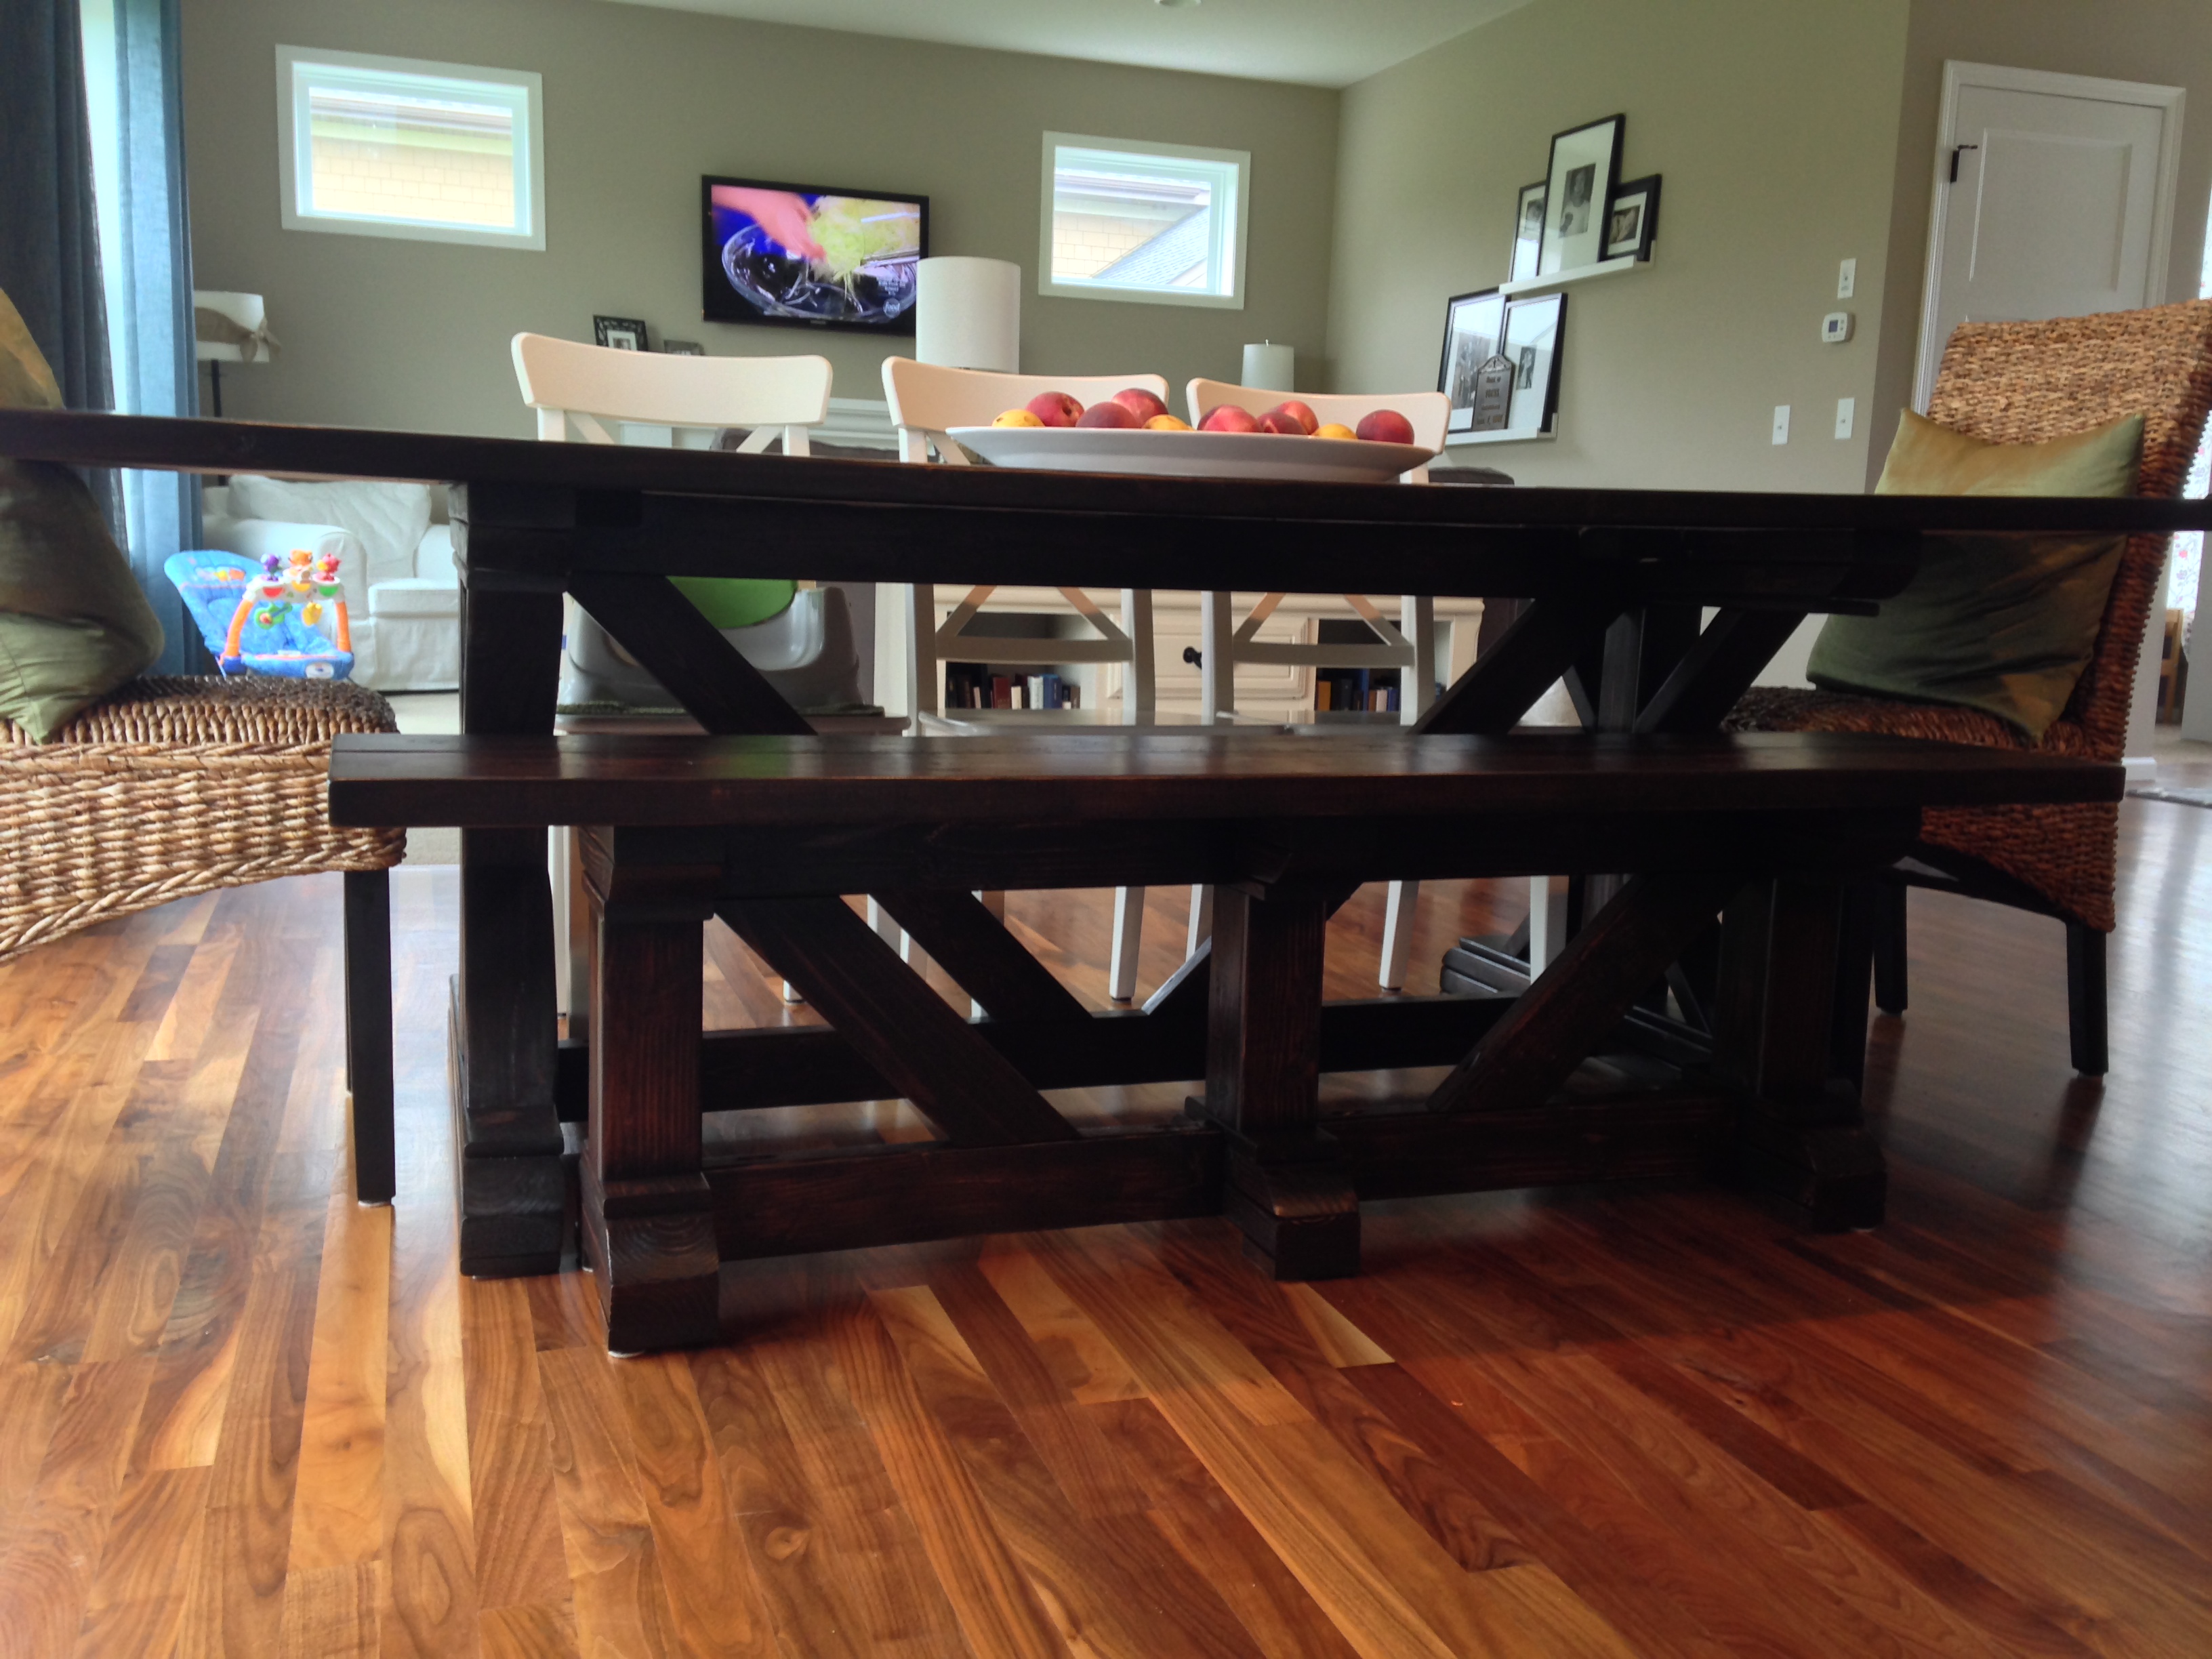
Wife's Farmhouse Table
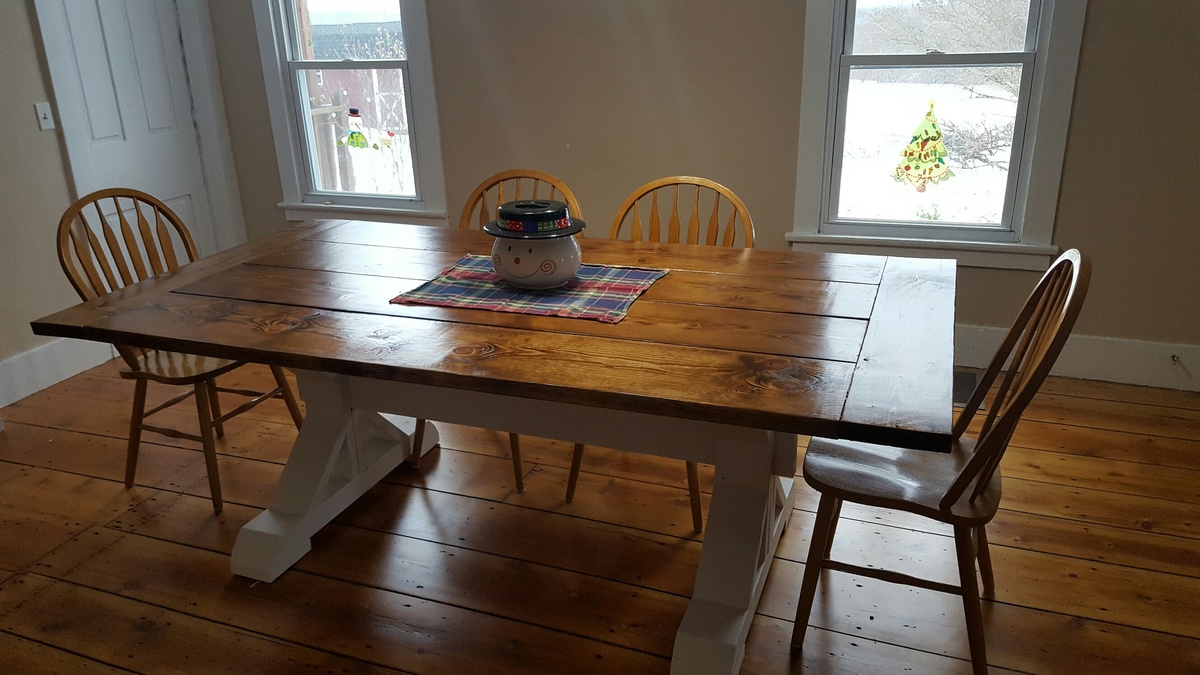
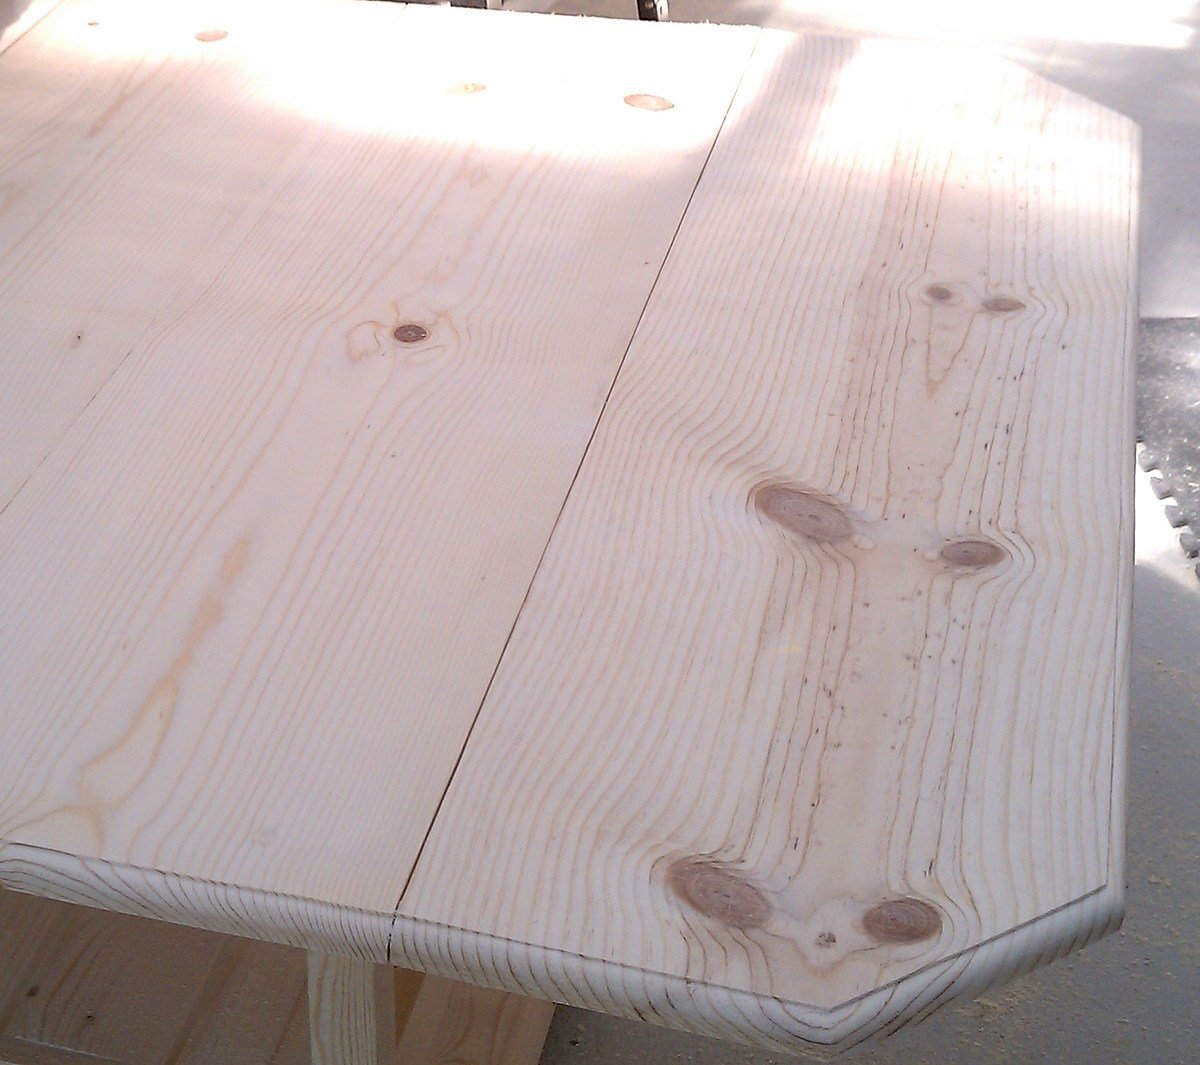
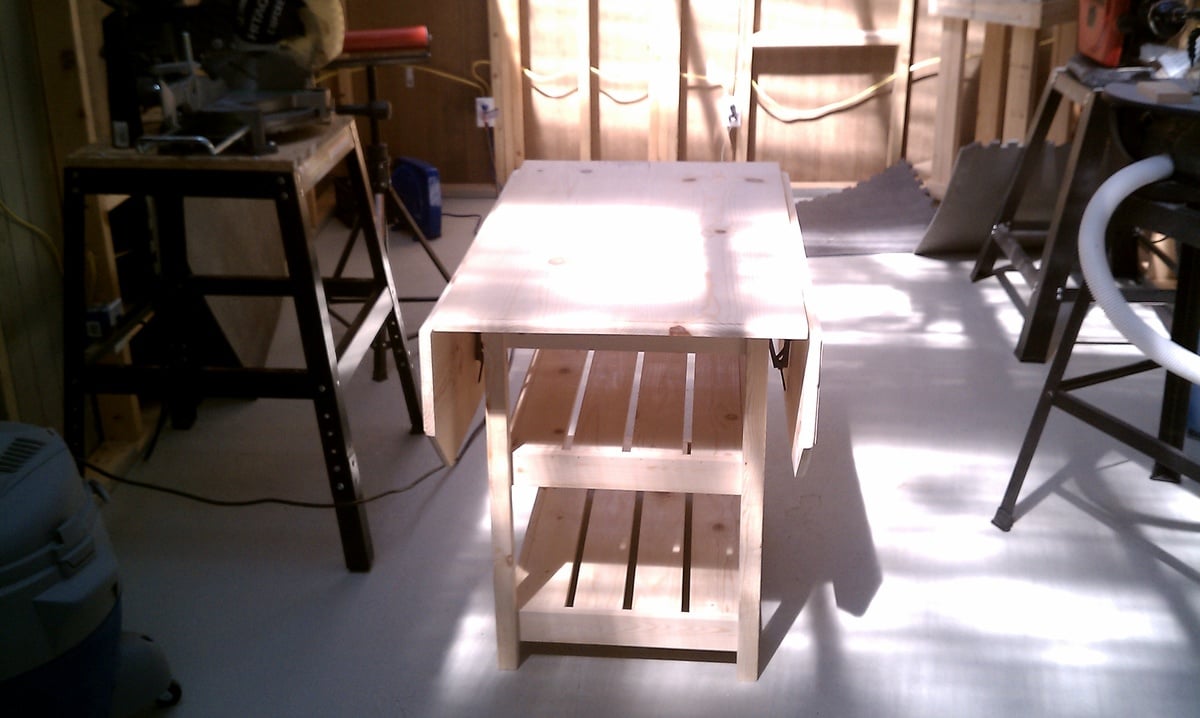
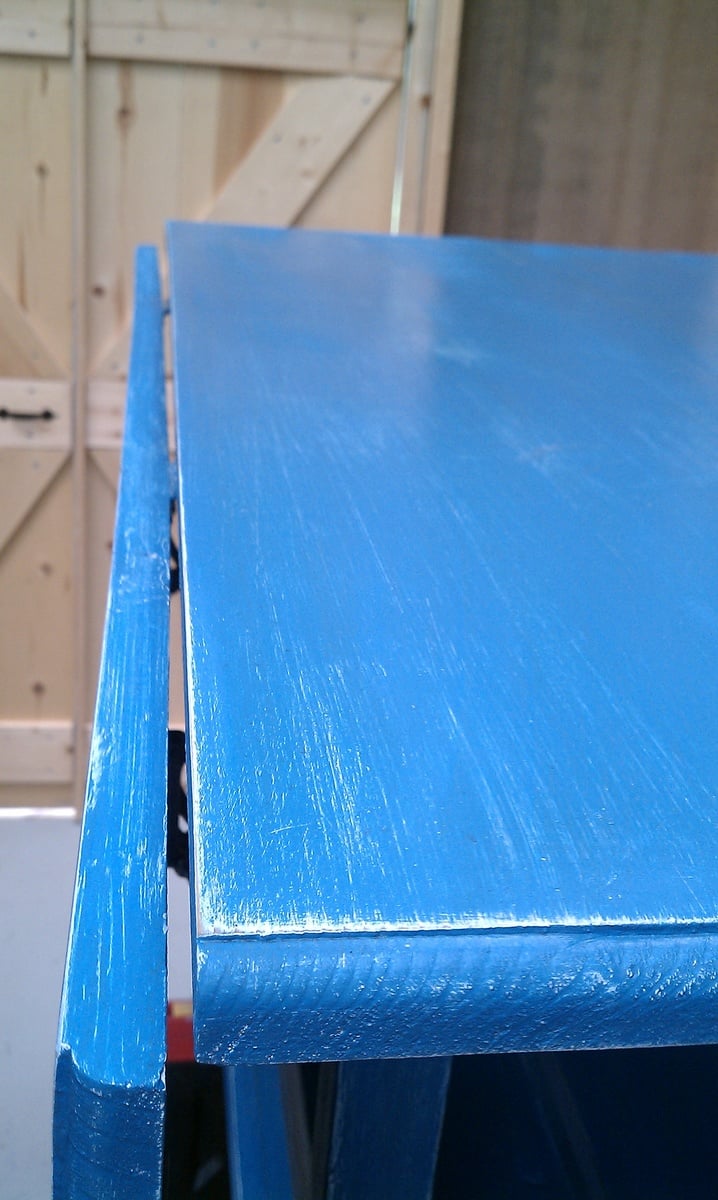
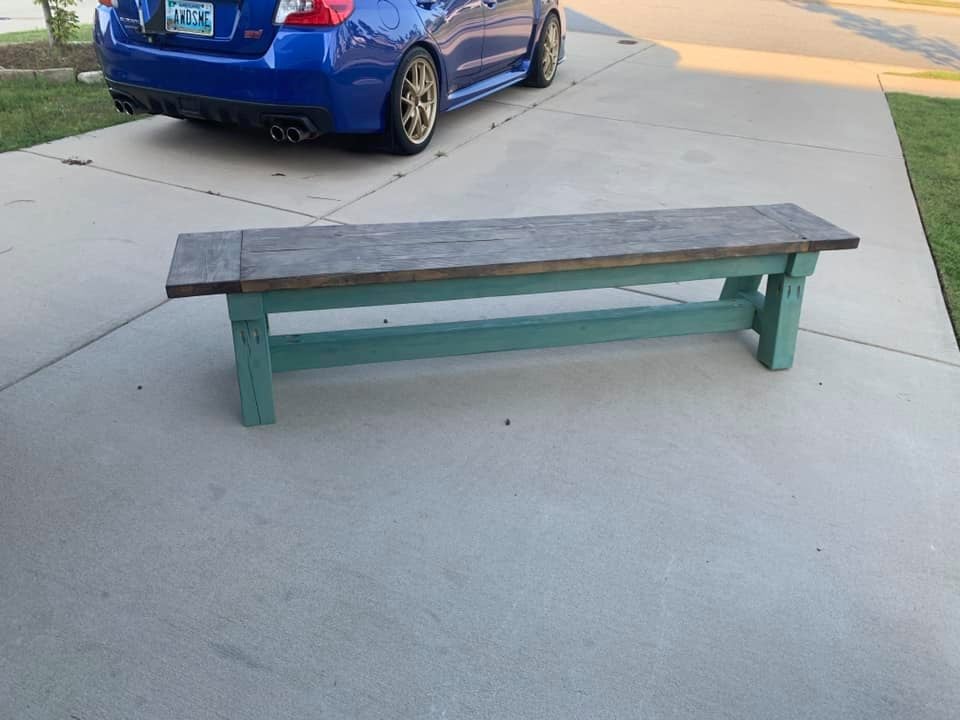
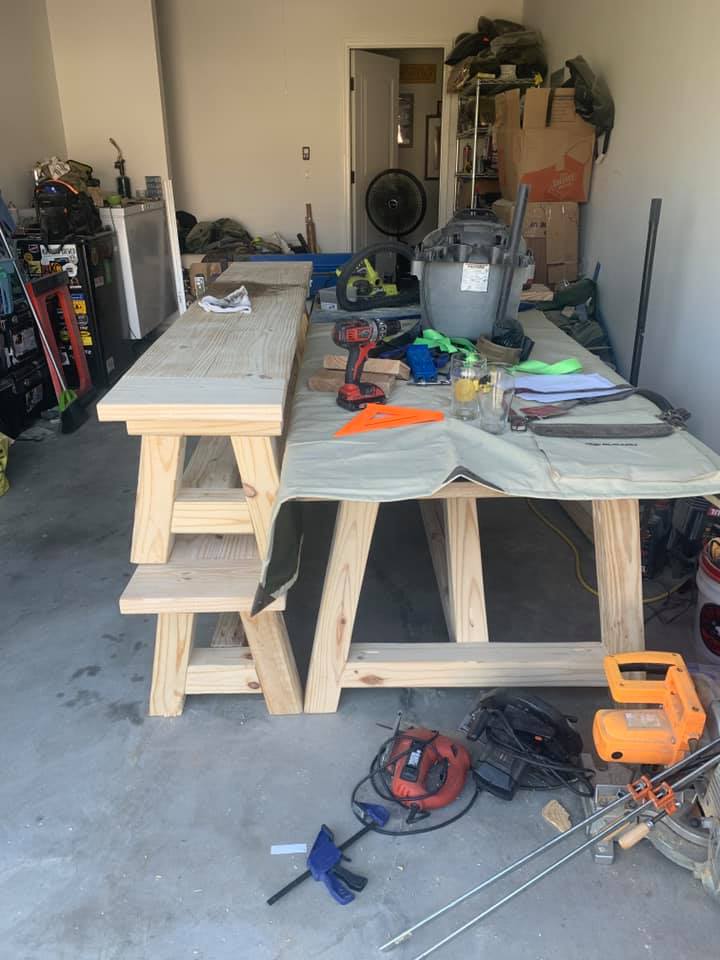
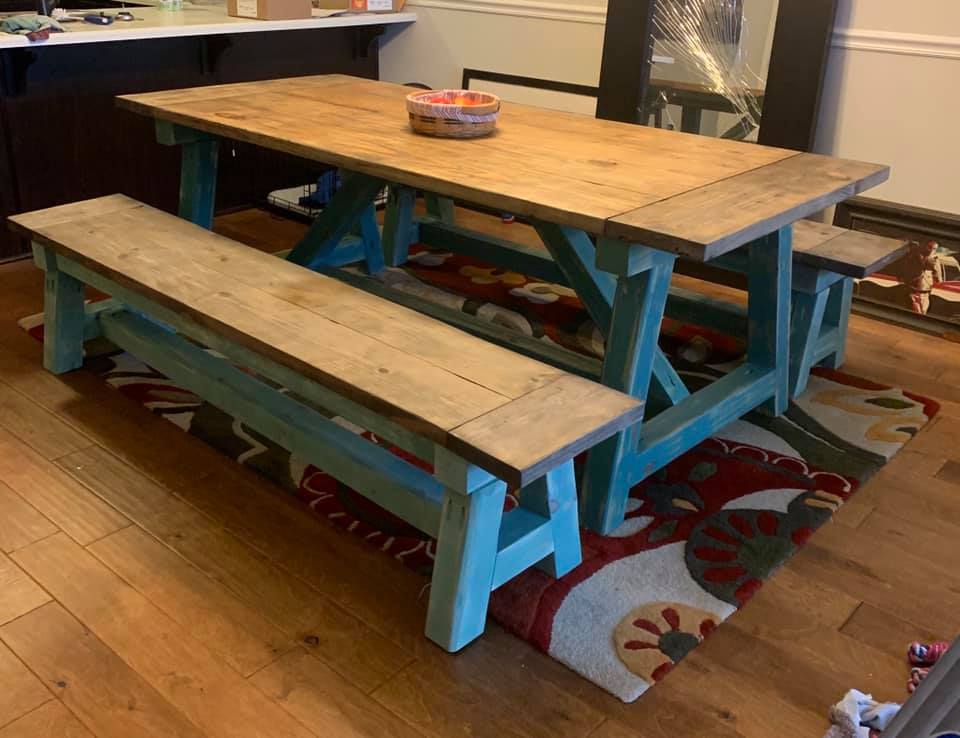
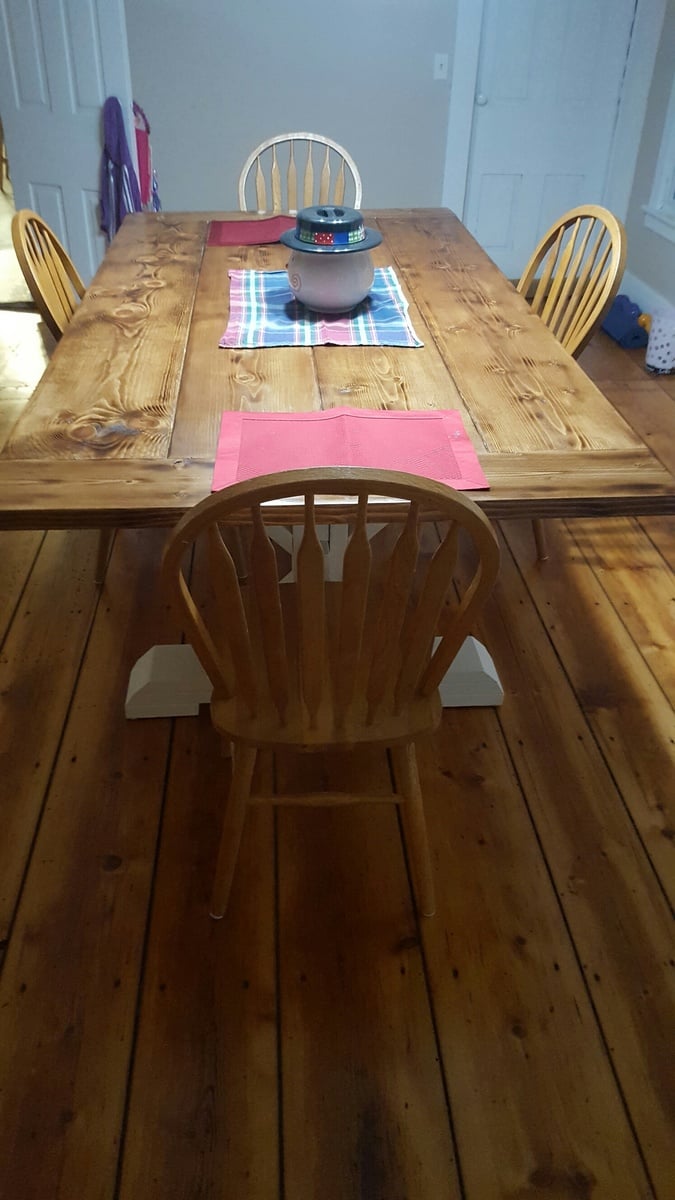
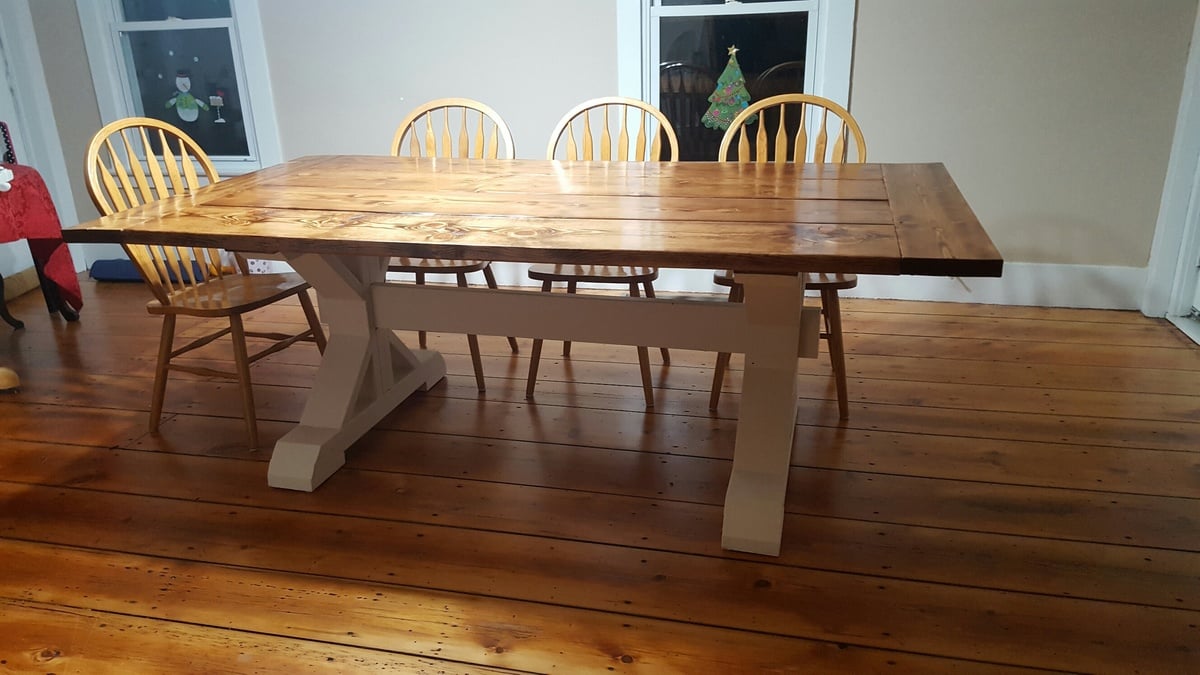
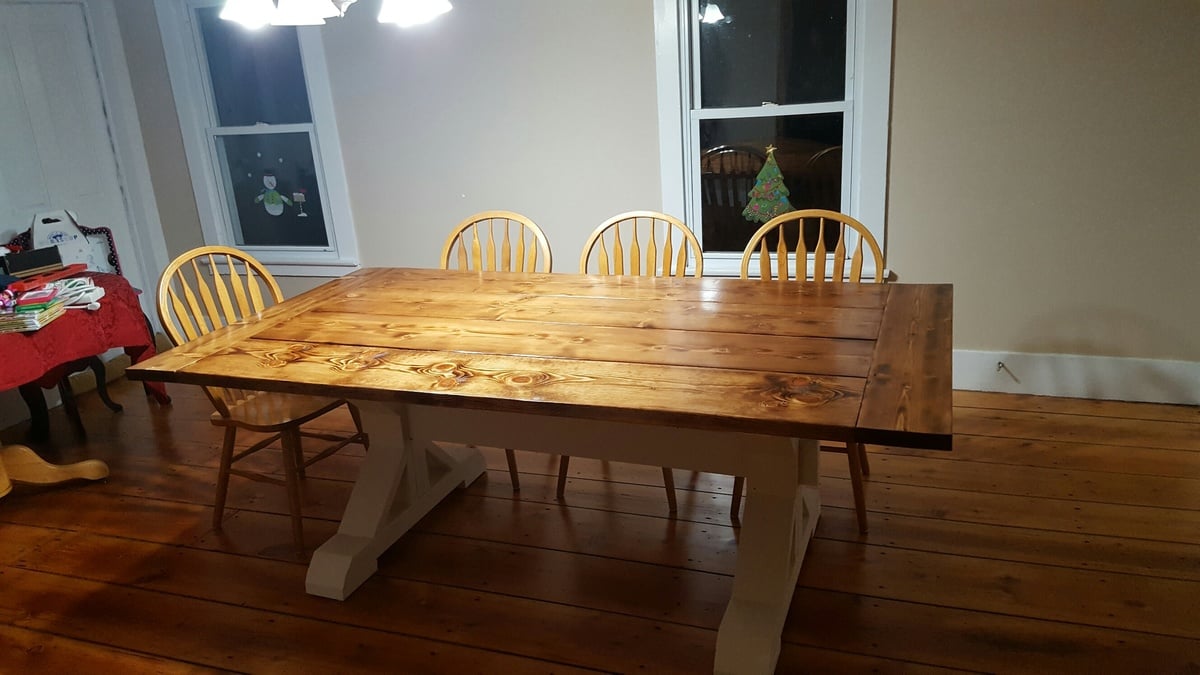
Built my wife a farmhouse table. We kind of took 3 different plans and made 1 table. We used the table top from one set of plans, the legs from another, and the X design from a 3rd. We built it on our week off for Christmas. Building wise it took 10-20 hours, but there was a lot of drying time with all the stain and poly. Two coats of Early American stain and 3 coats of poly on the table top. It's about 7' long, and the only problem now is we don't have enough chairs.
Built from Plan(s)
Estimated Cost
$150 in lumber and screws. Quart of stain, poly and paint. Which we had on hand.
Estimated Time Investment
Weekend Project (10-20 Hours)
Finish Used
Minwax Early American
Recommended Skill Level
Beginner