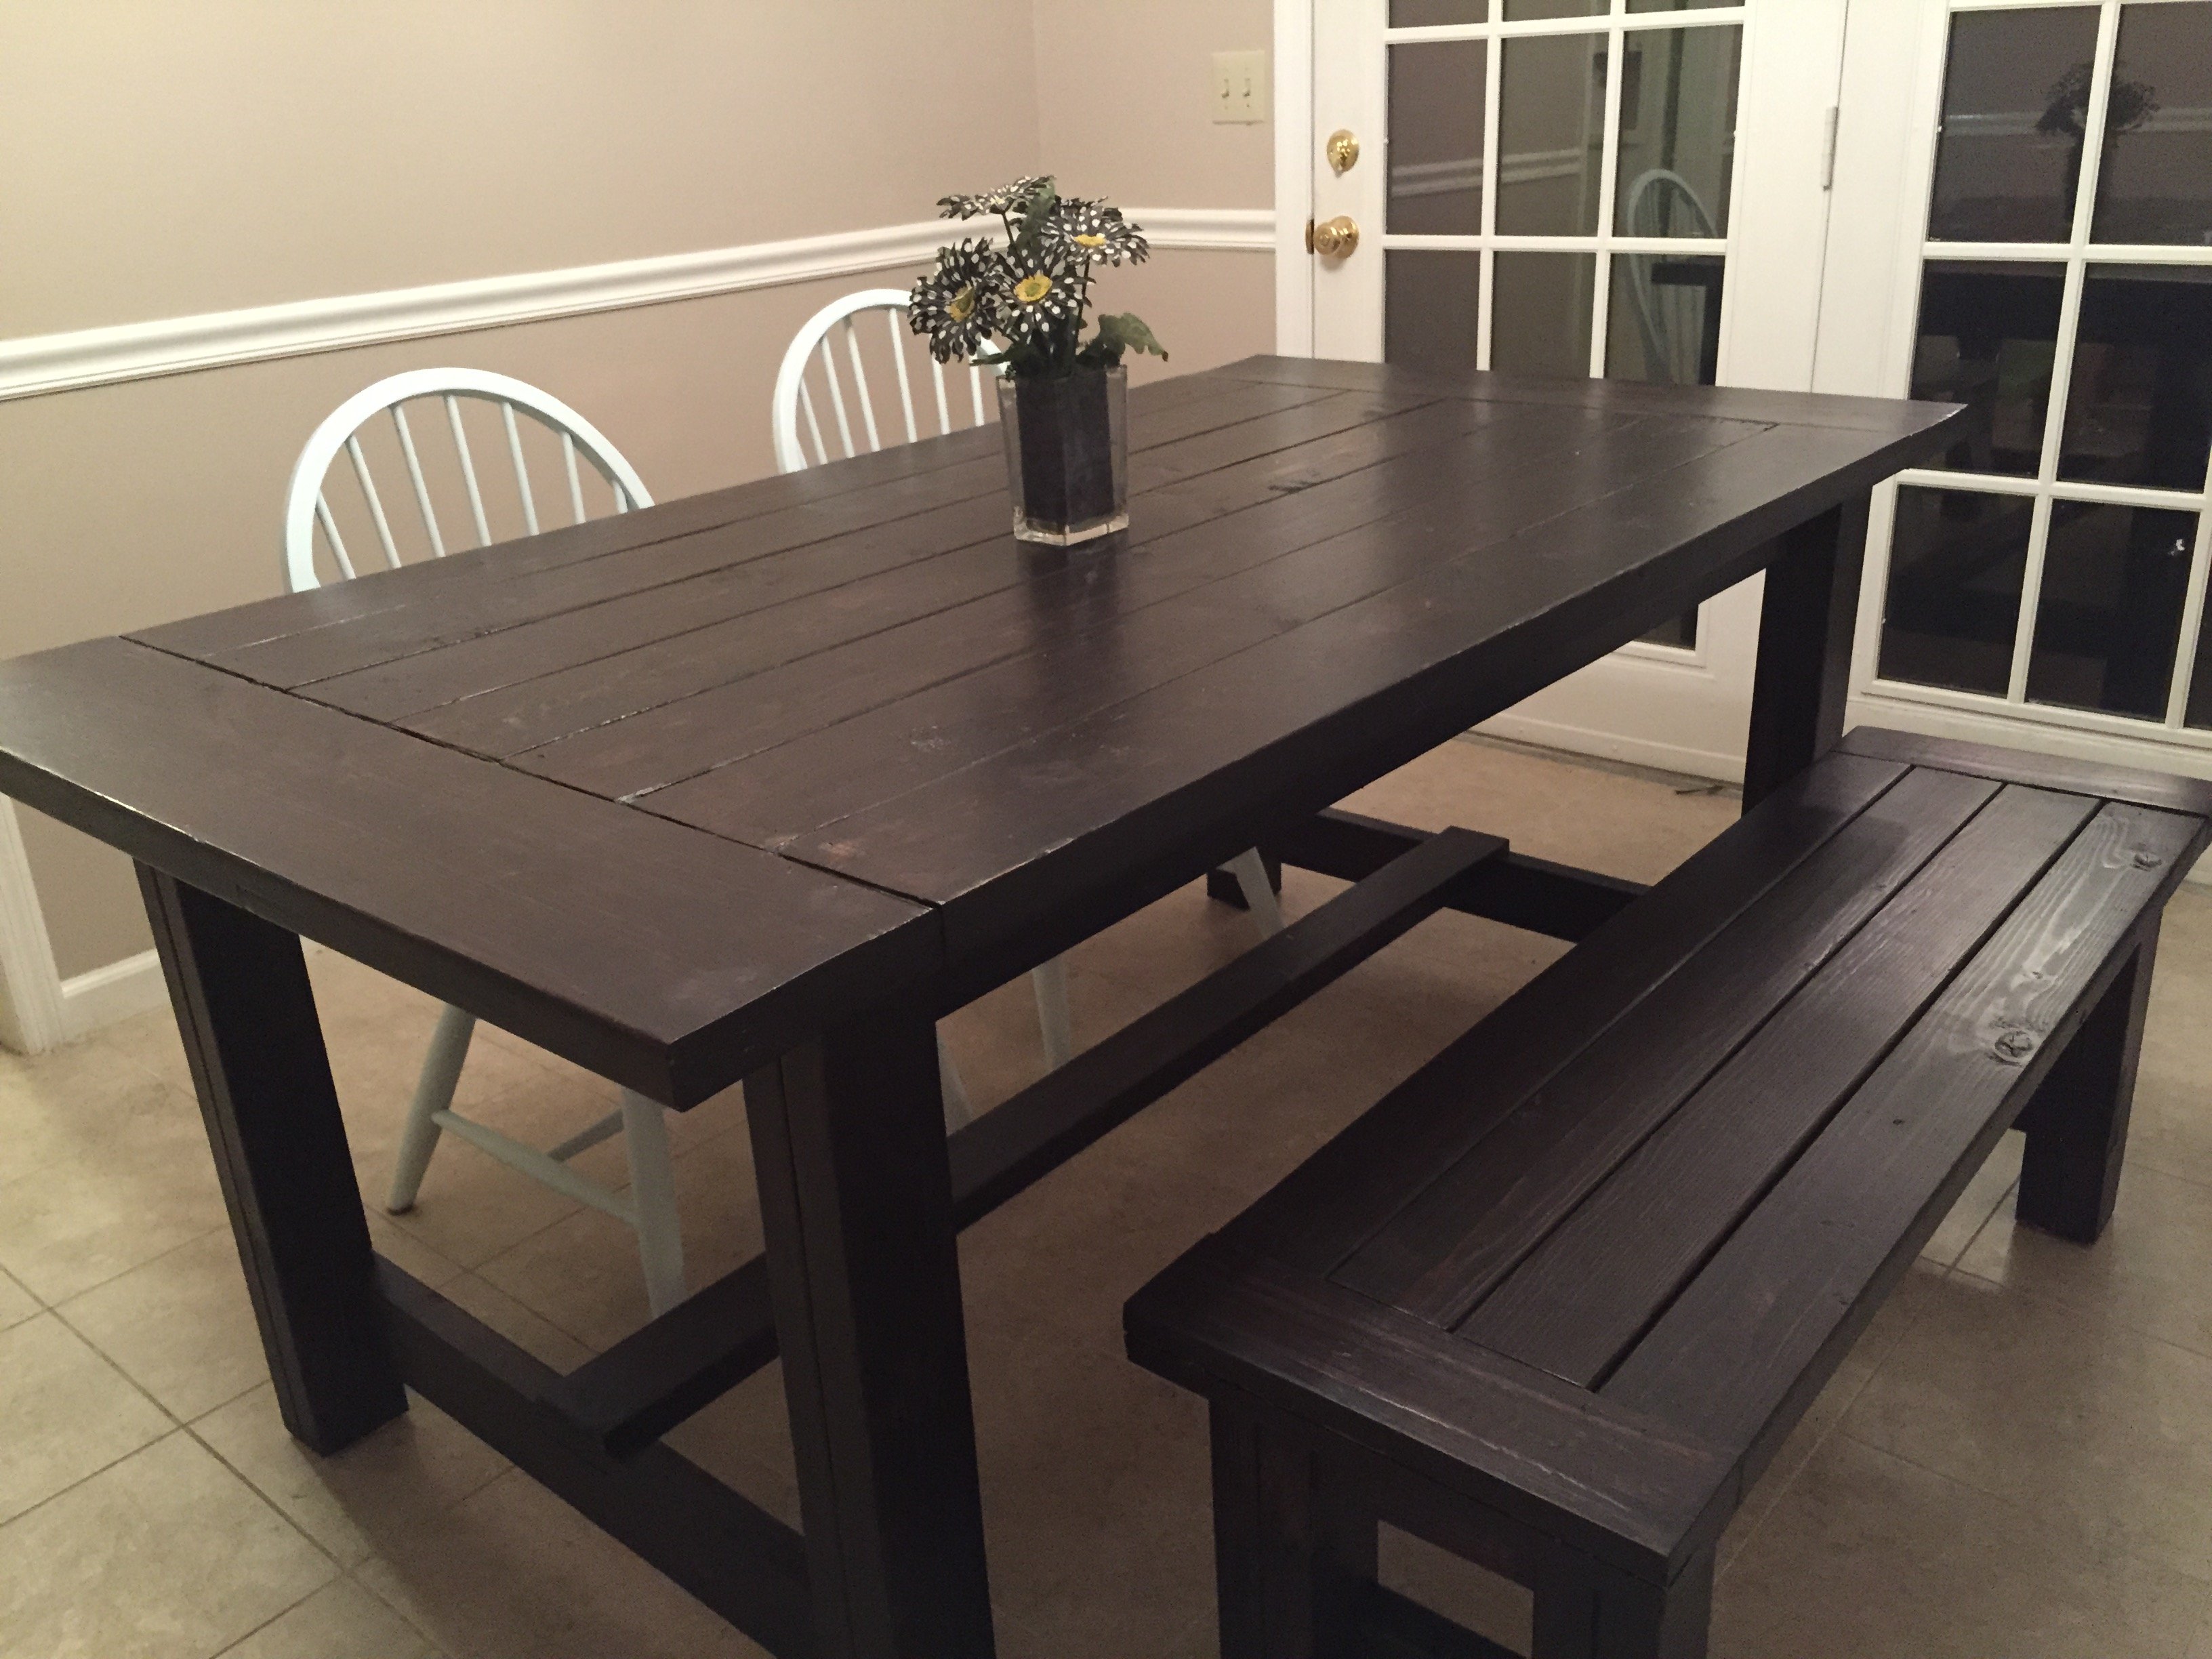
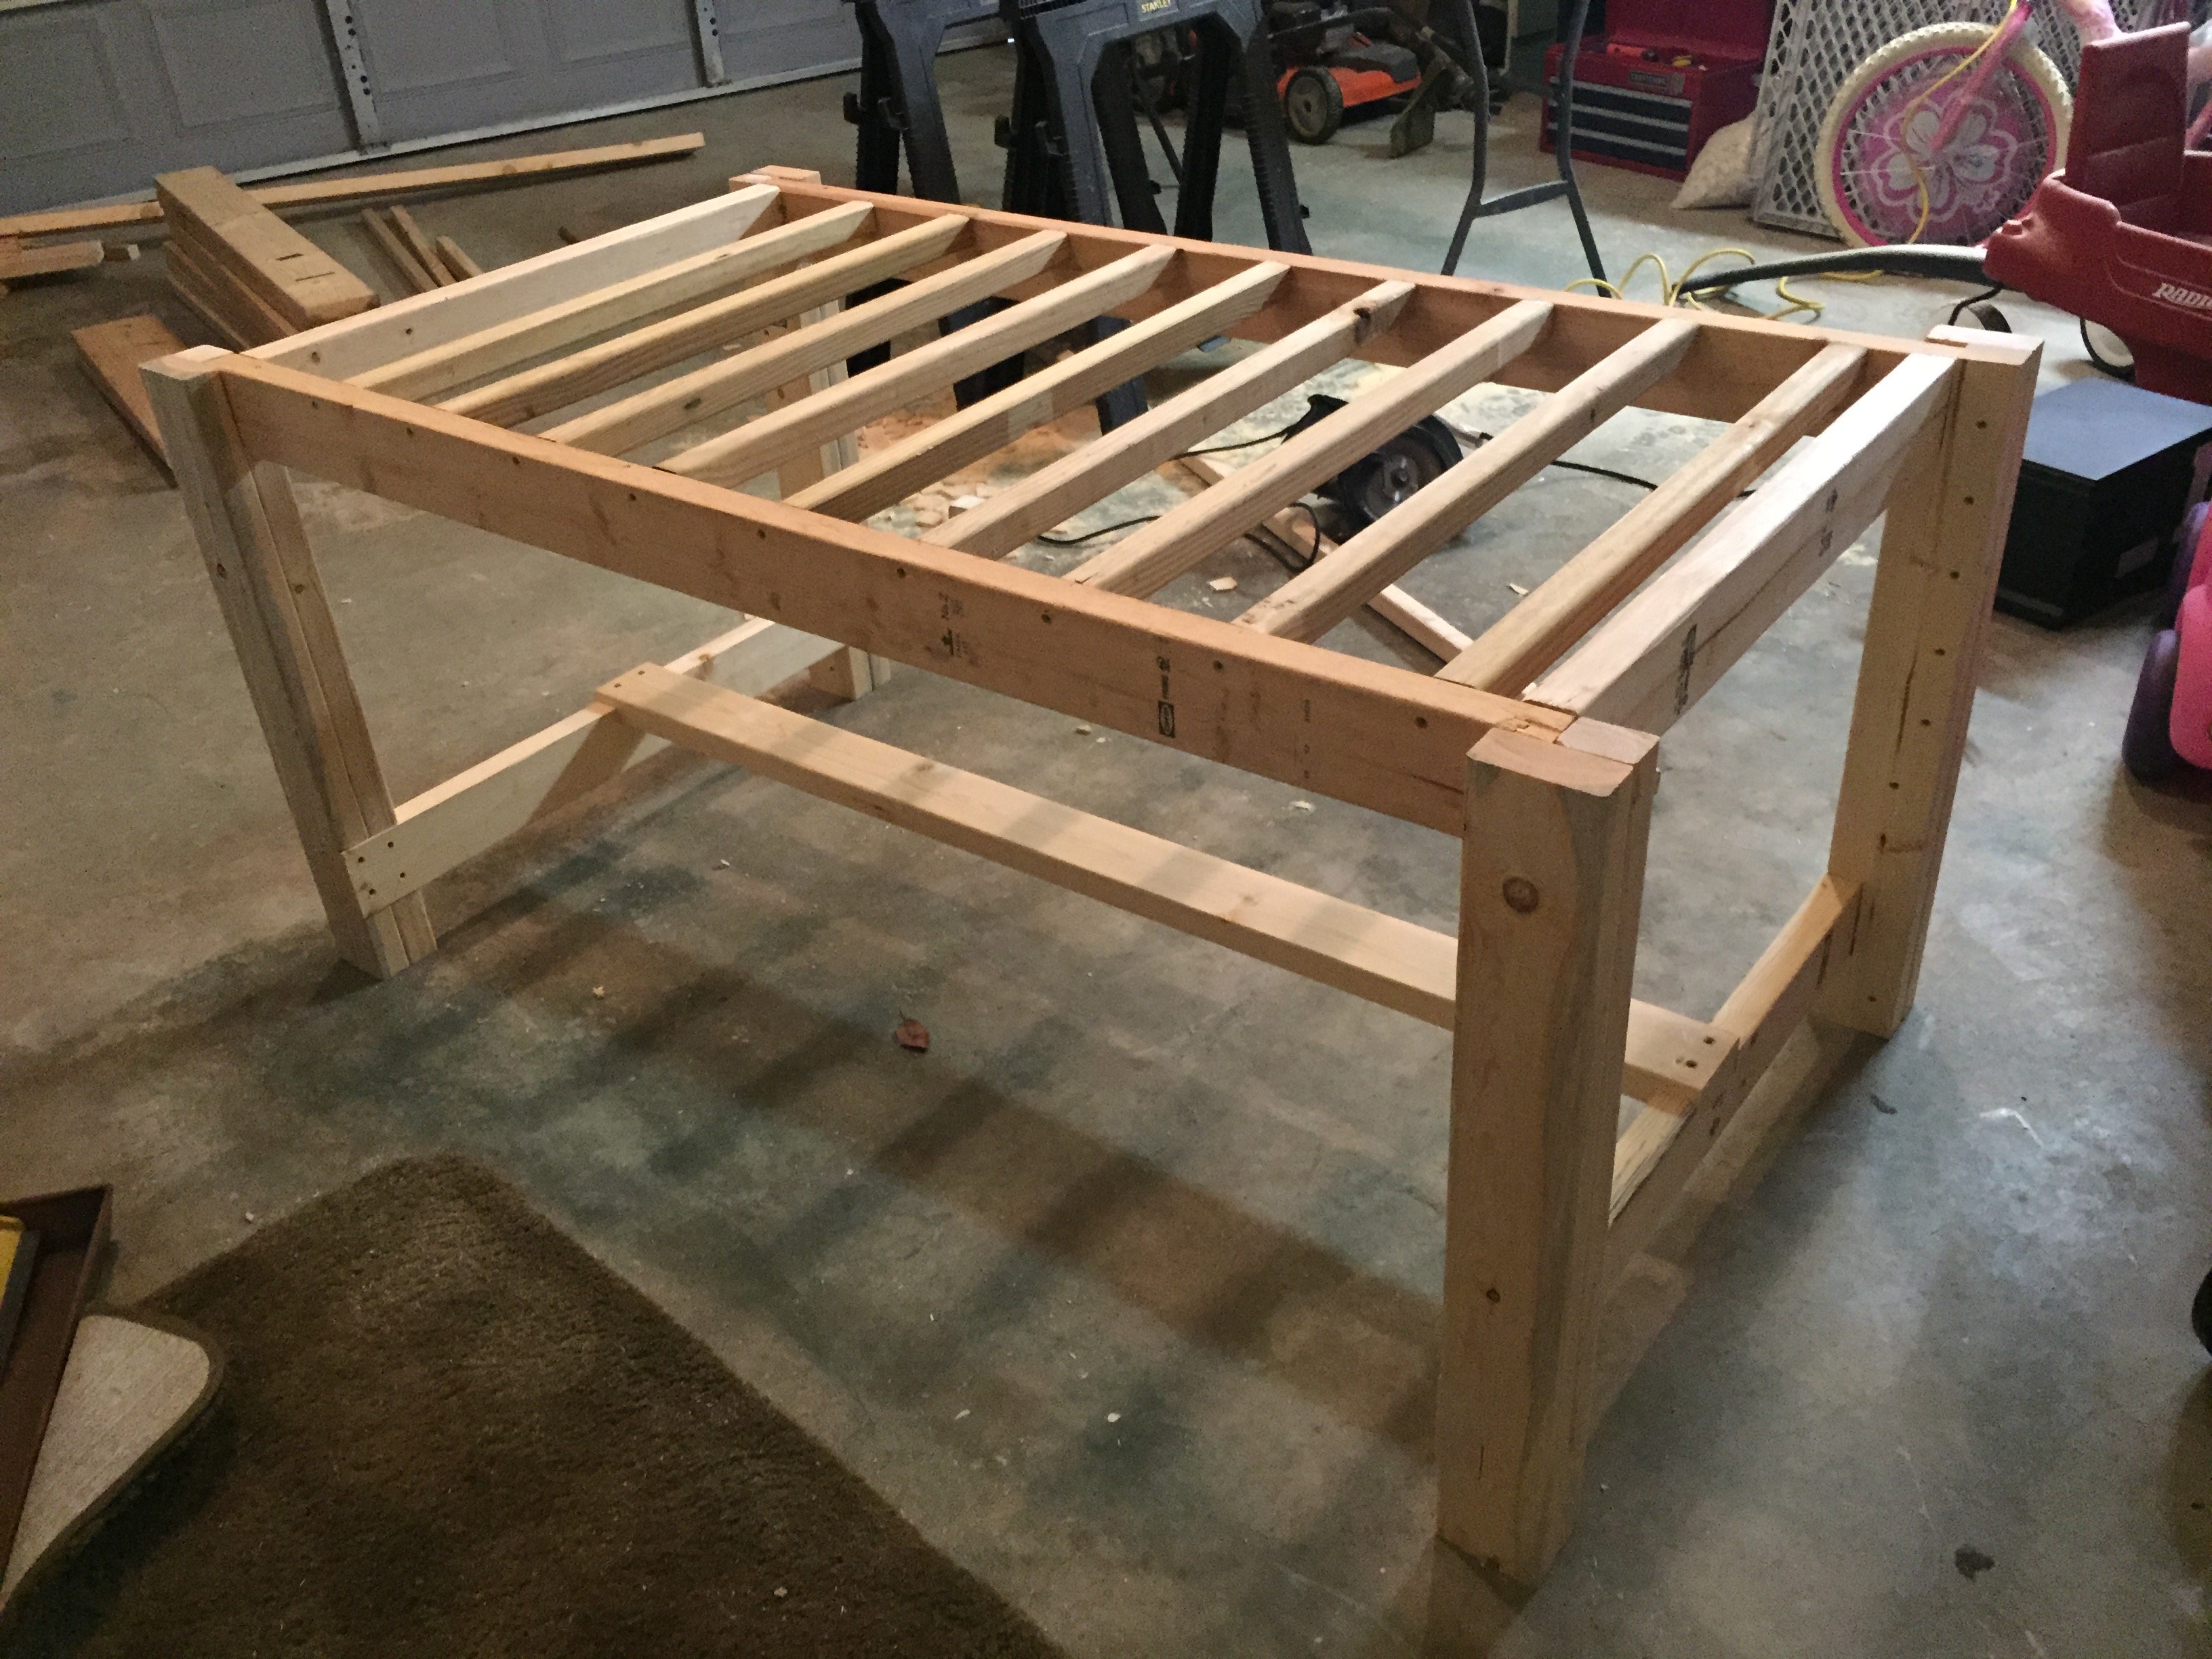
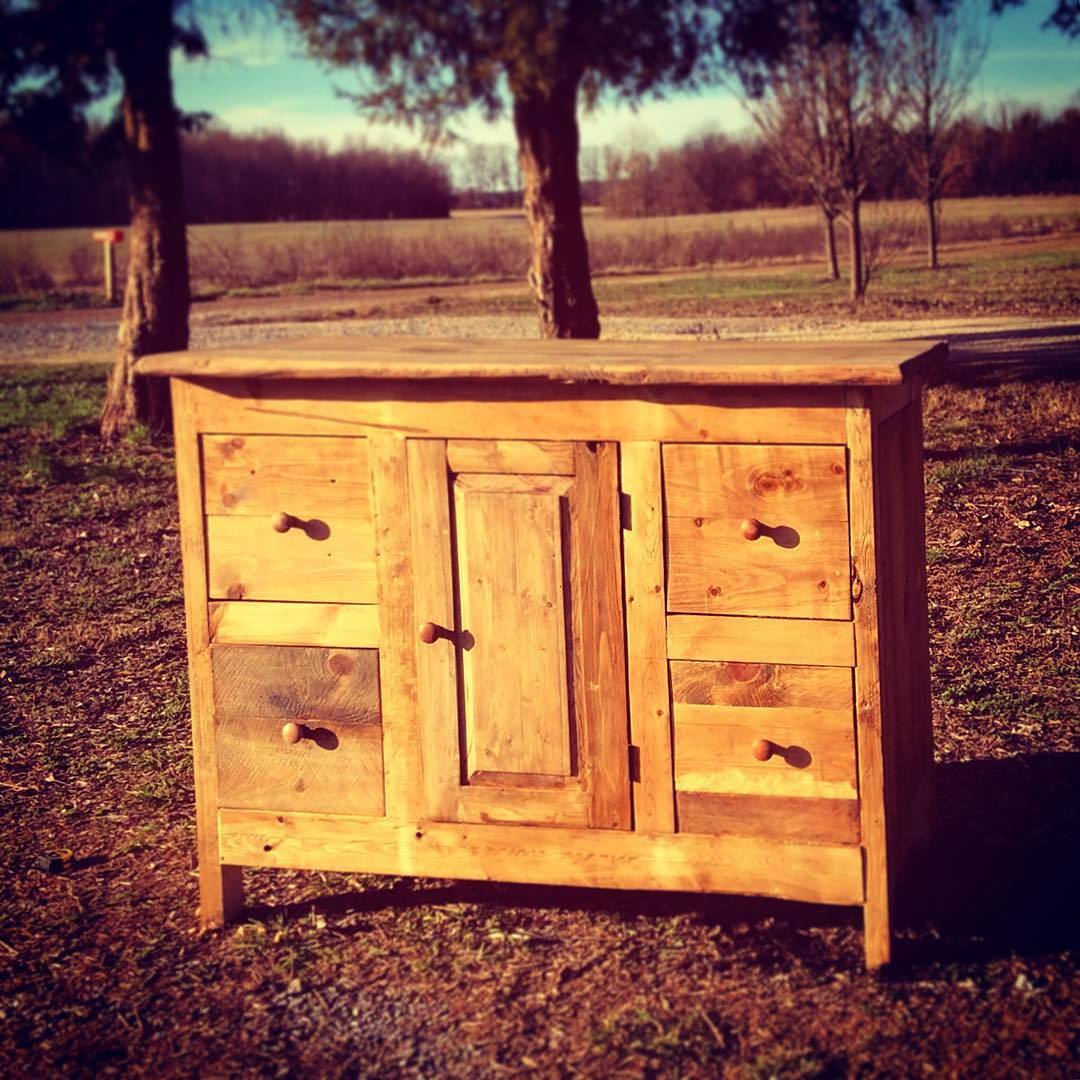
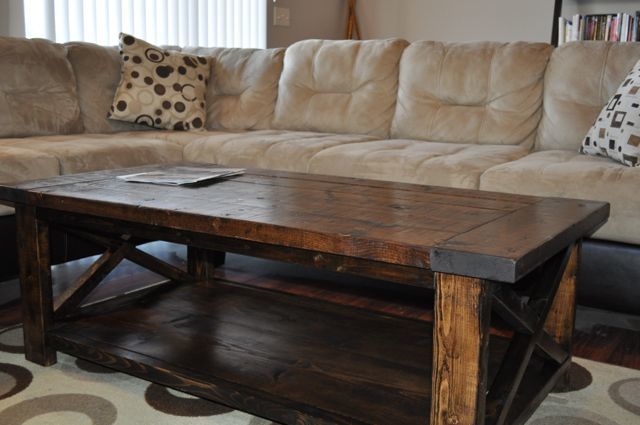
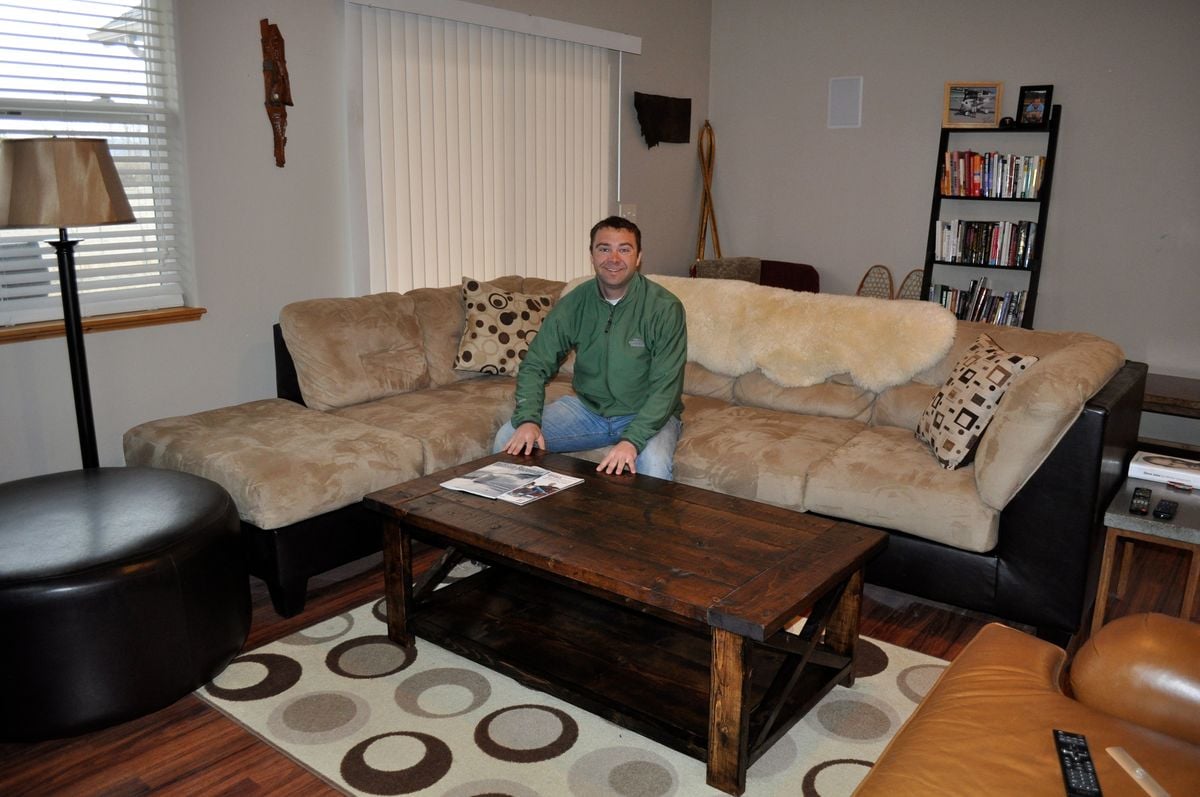
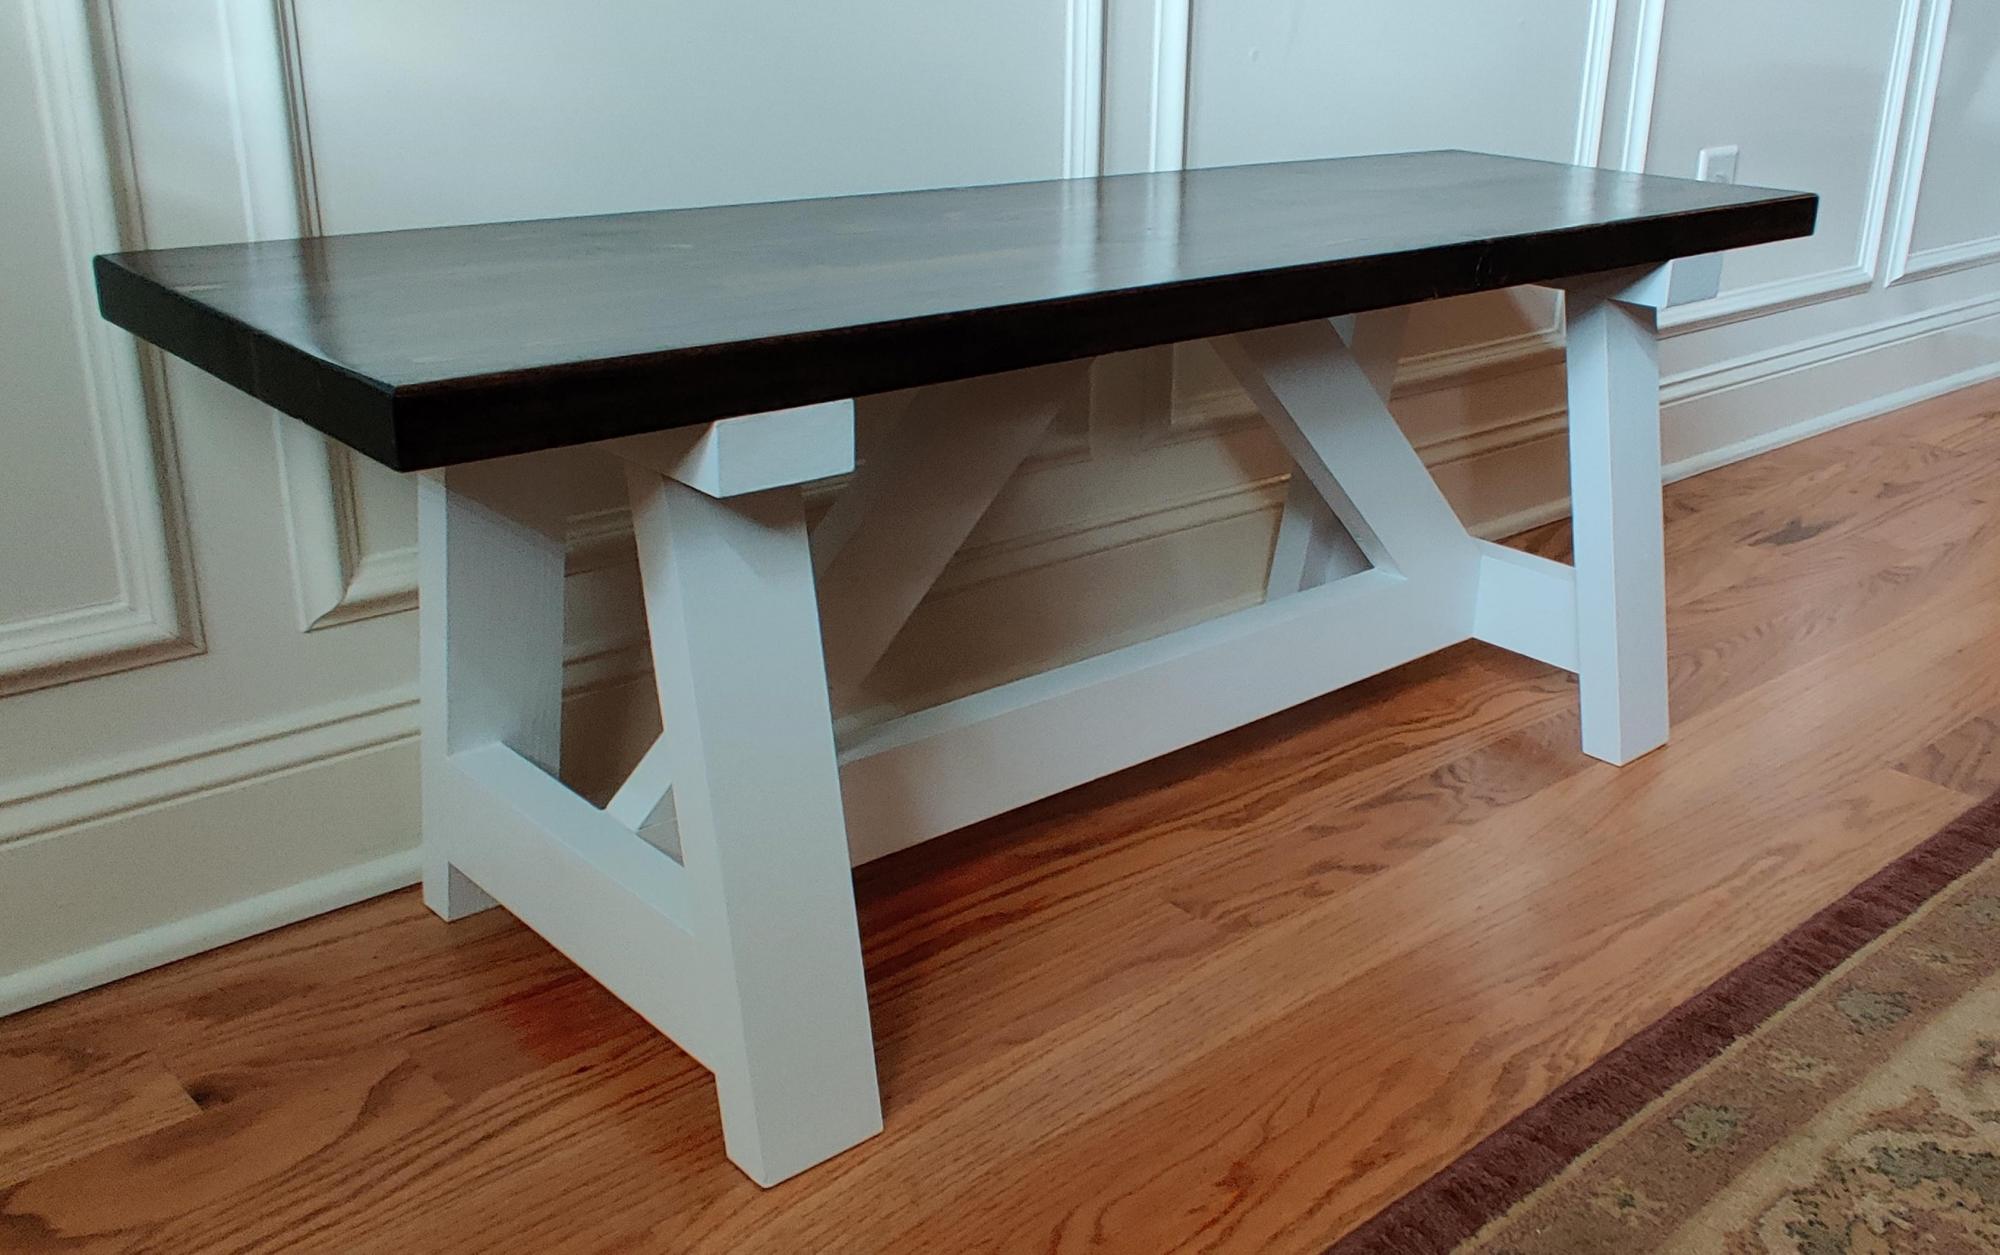
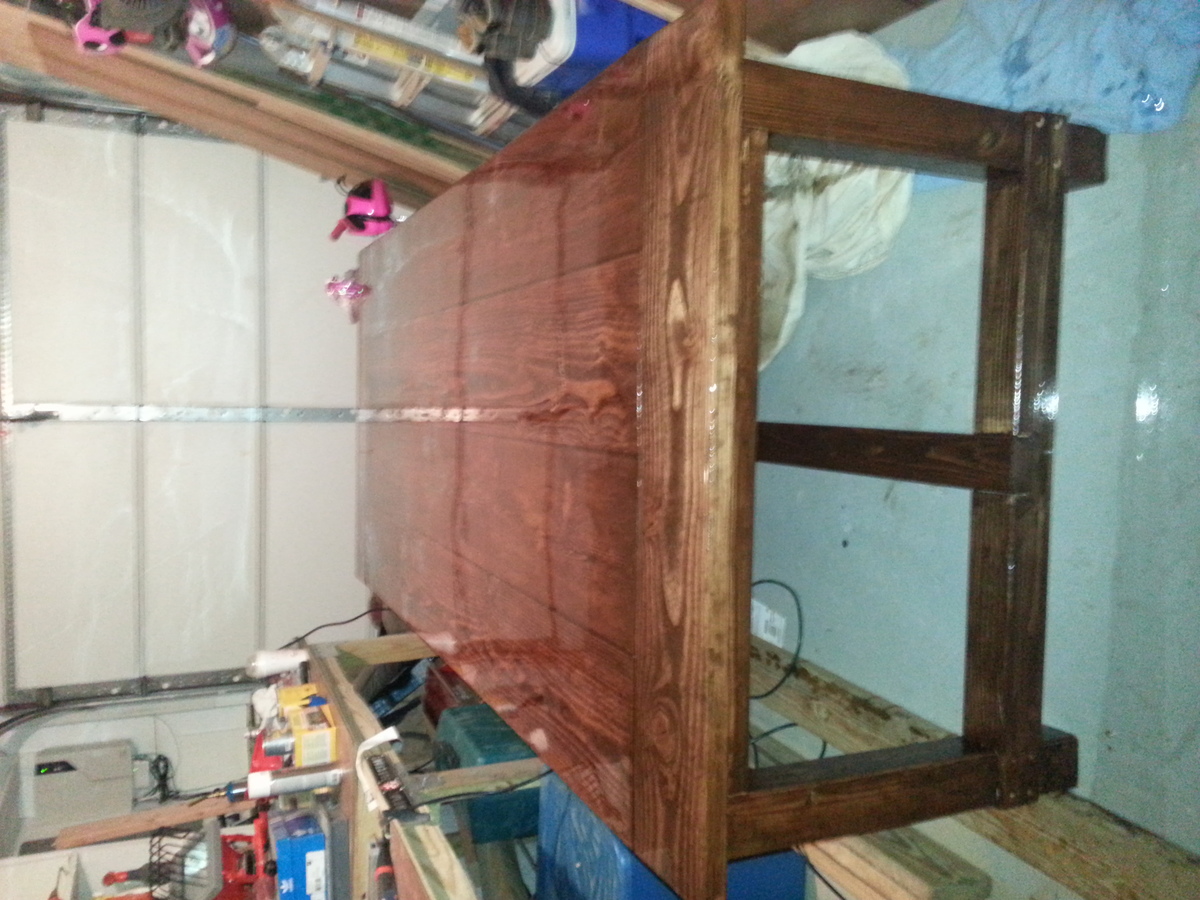
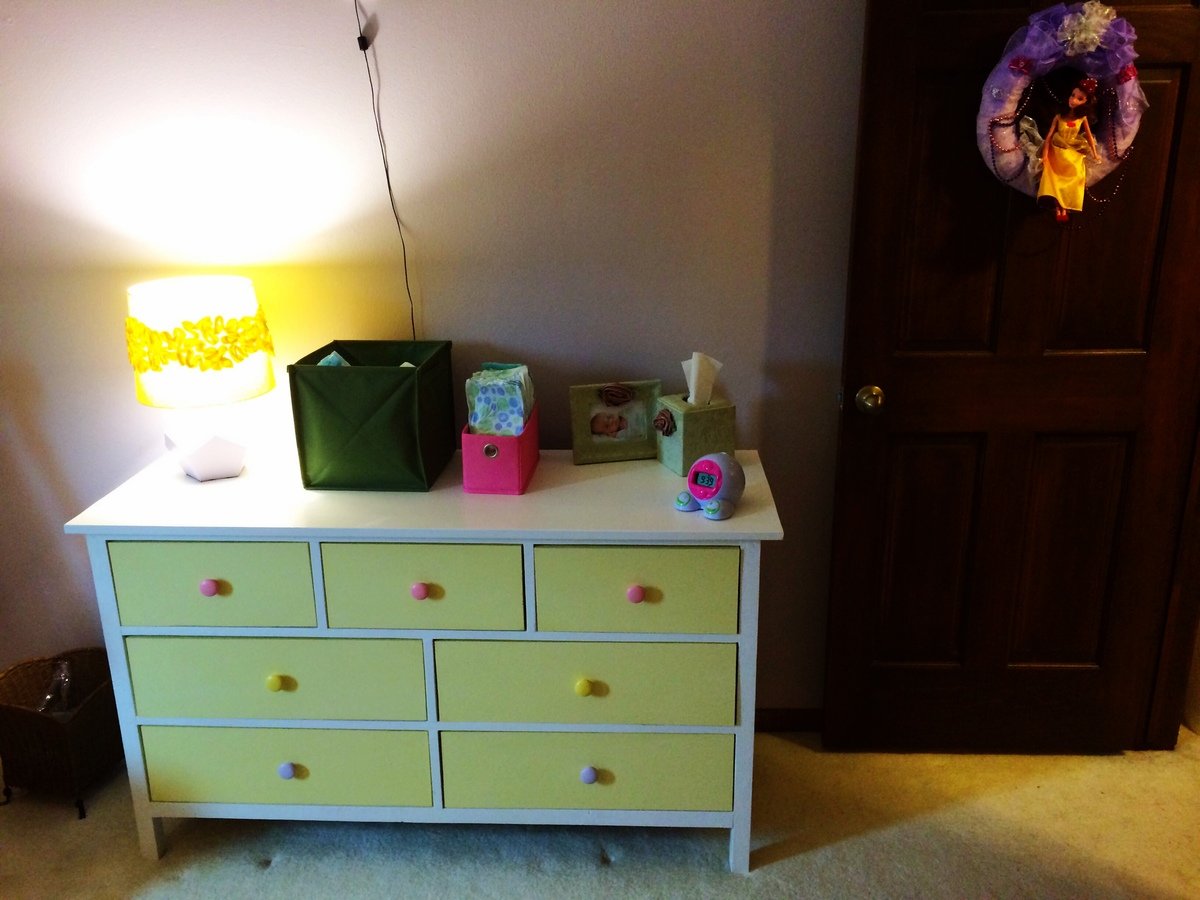
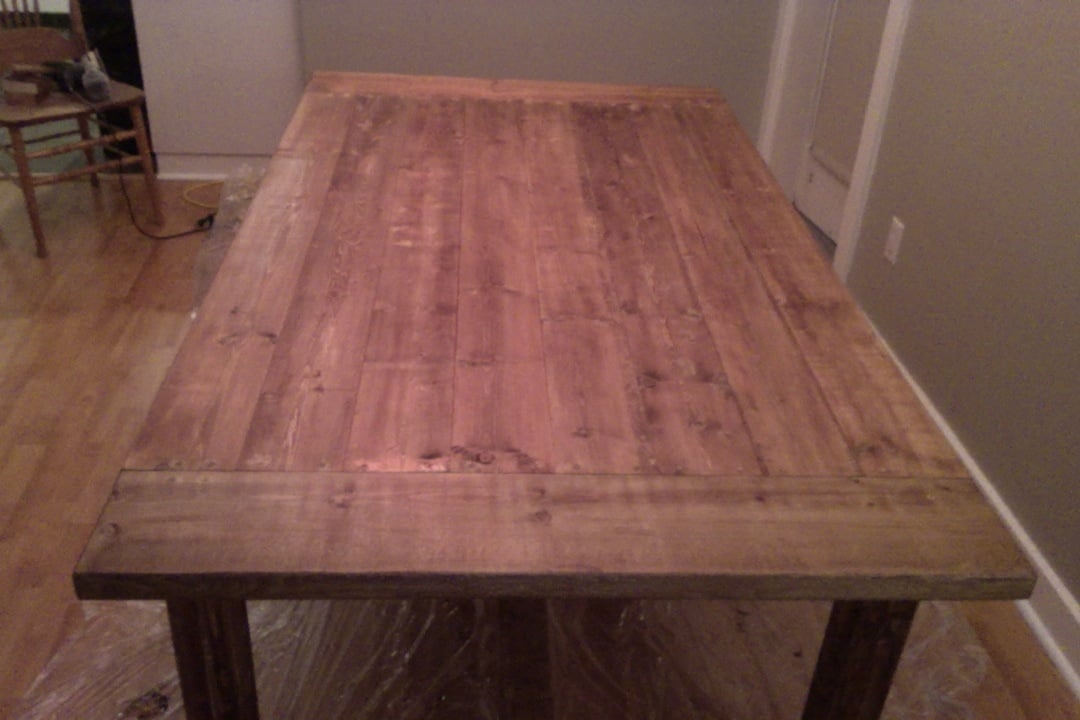
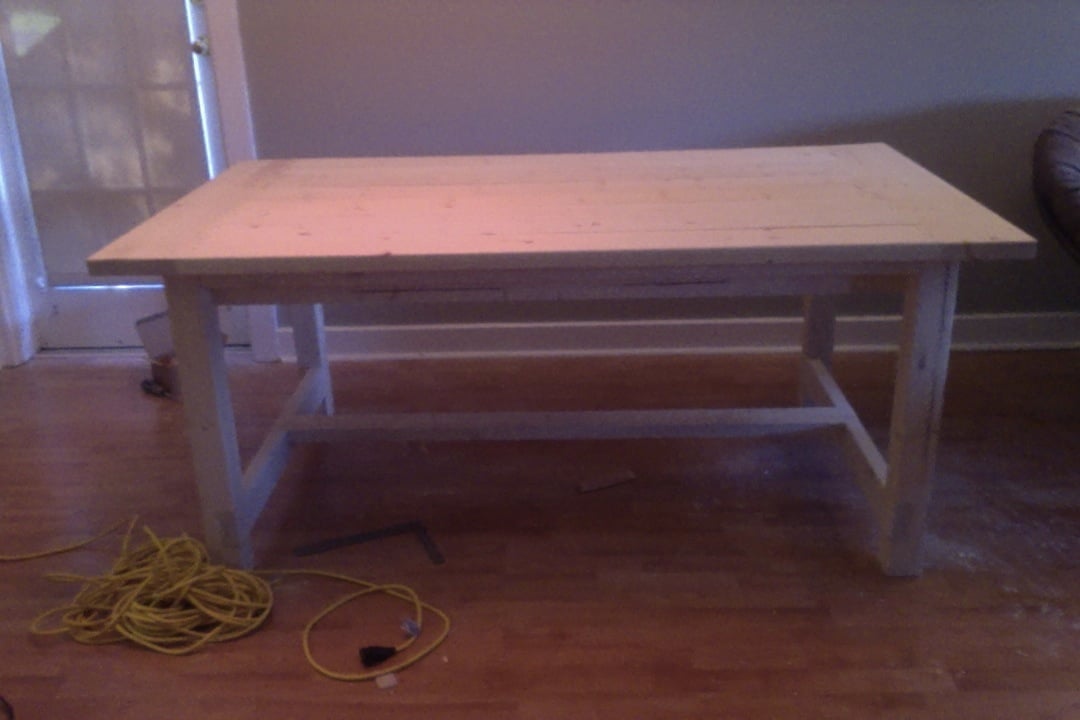
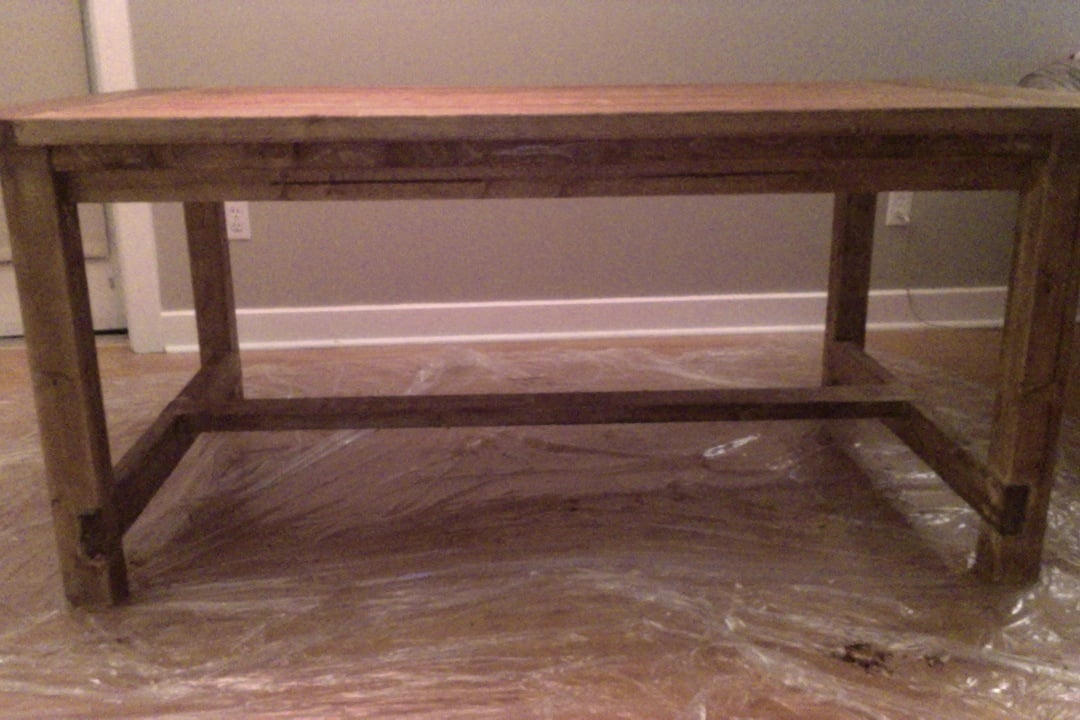
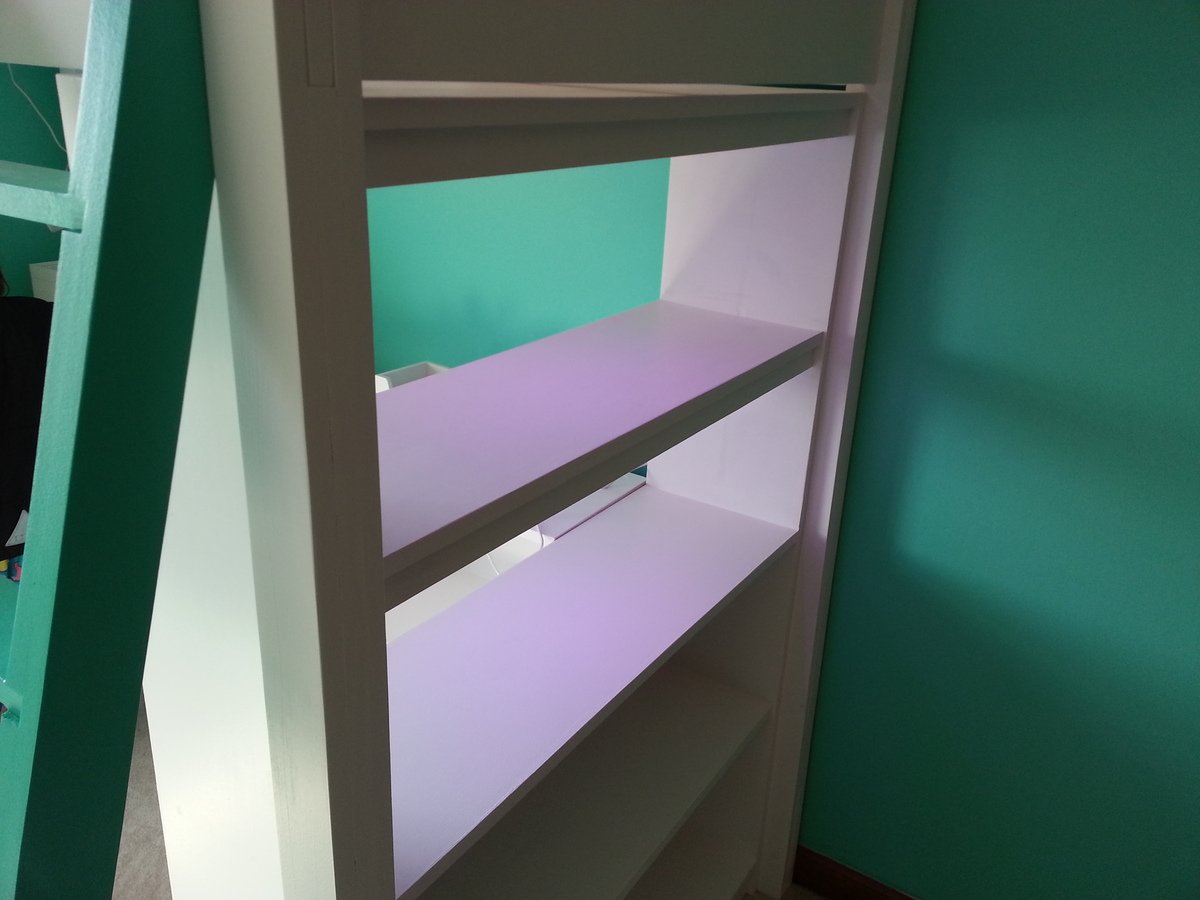
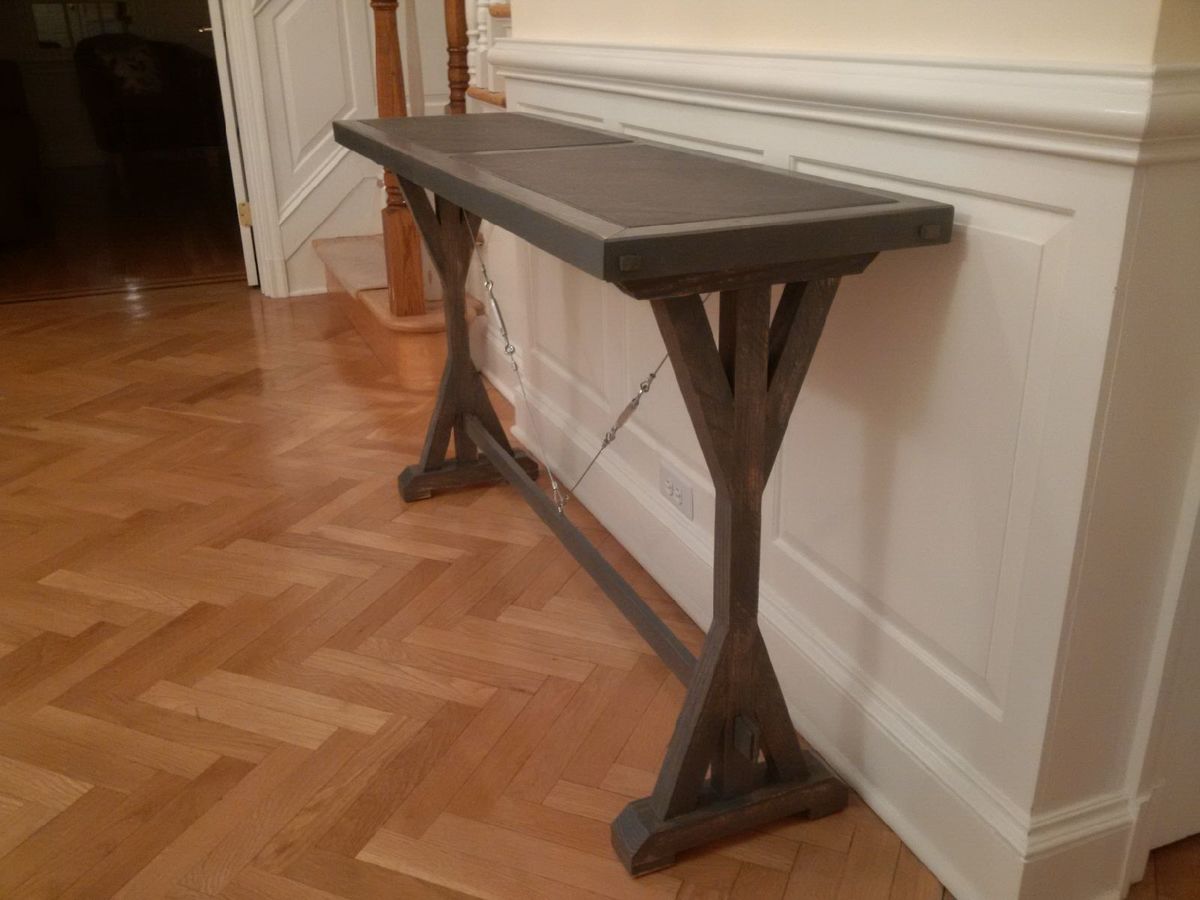
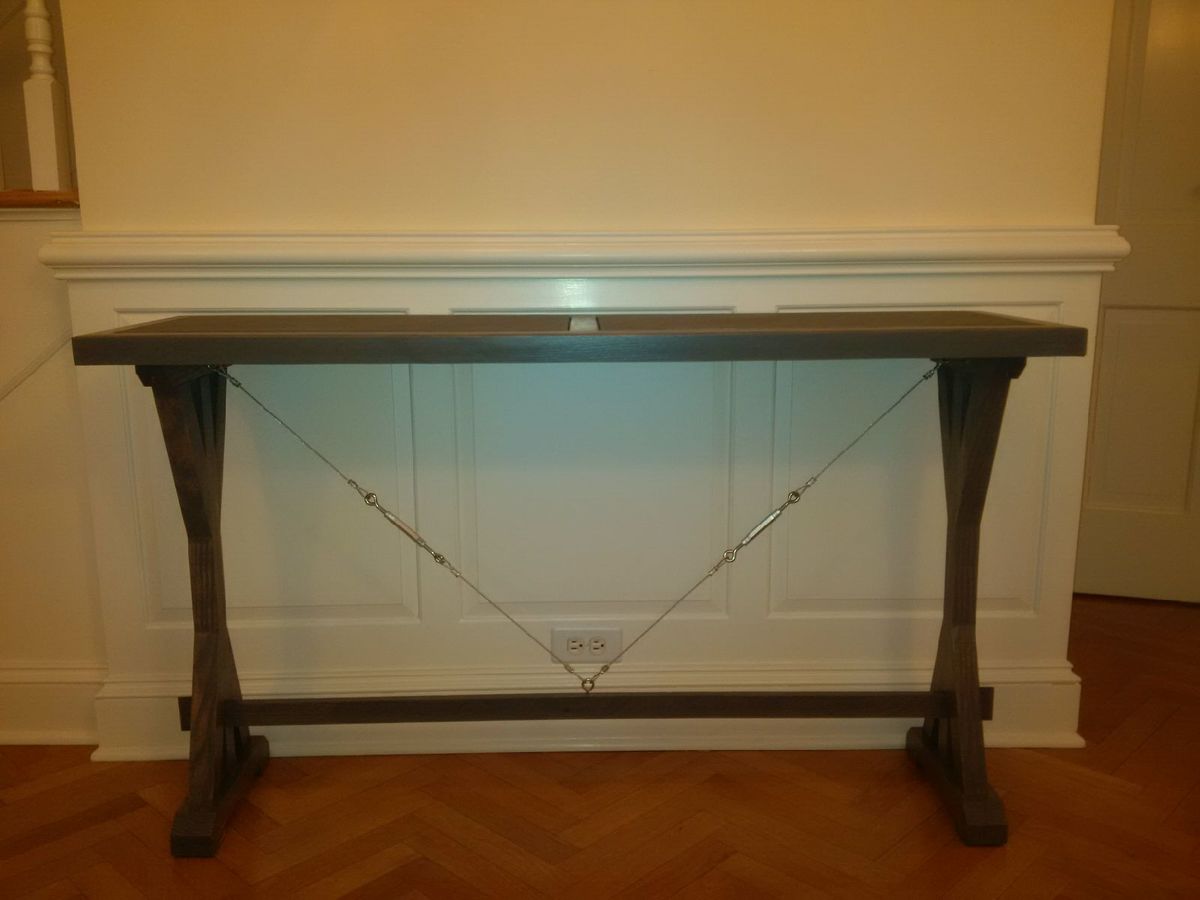
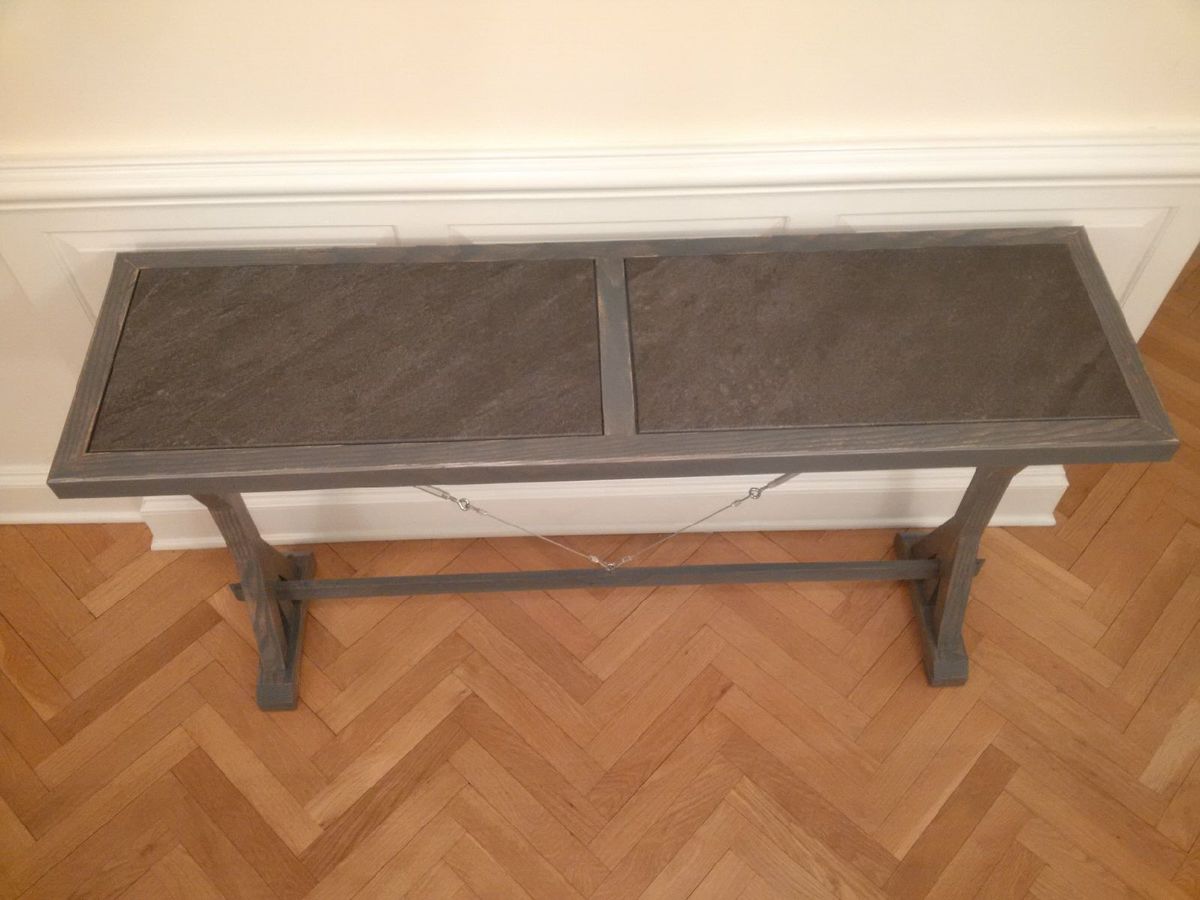
Workbench Console

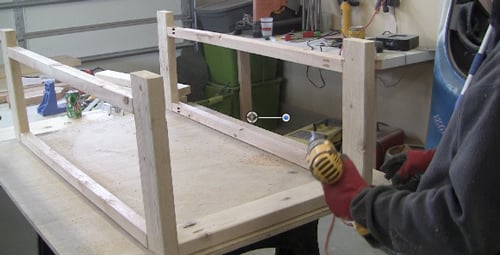
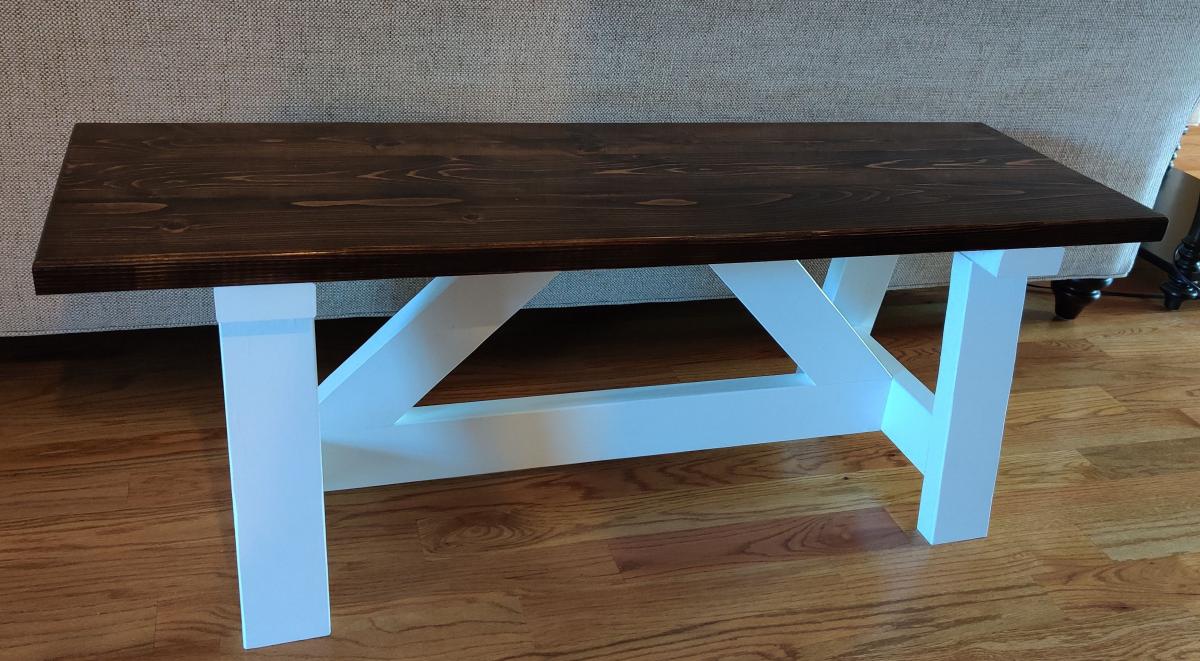
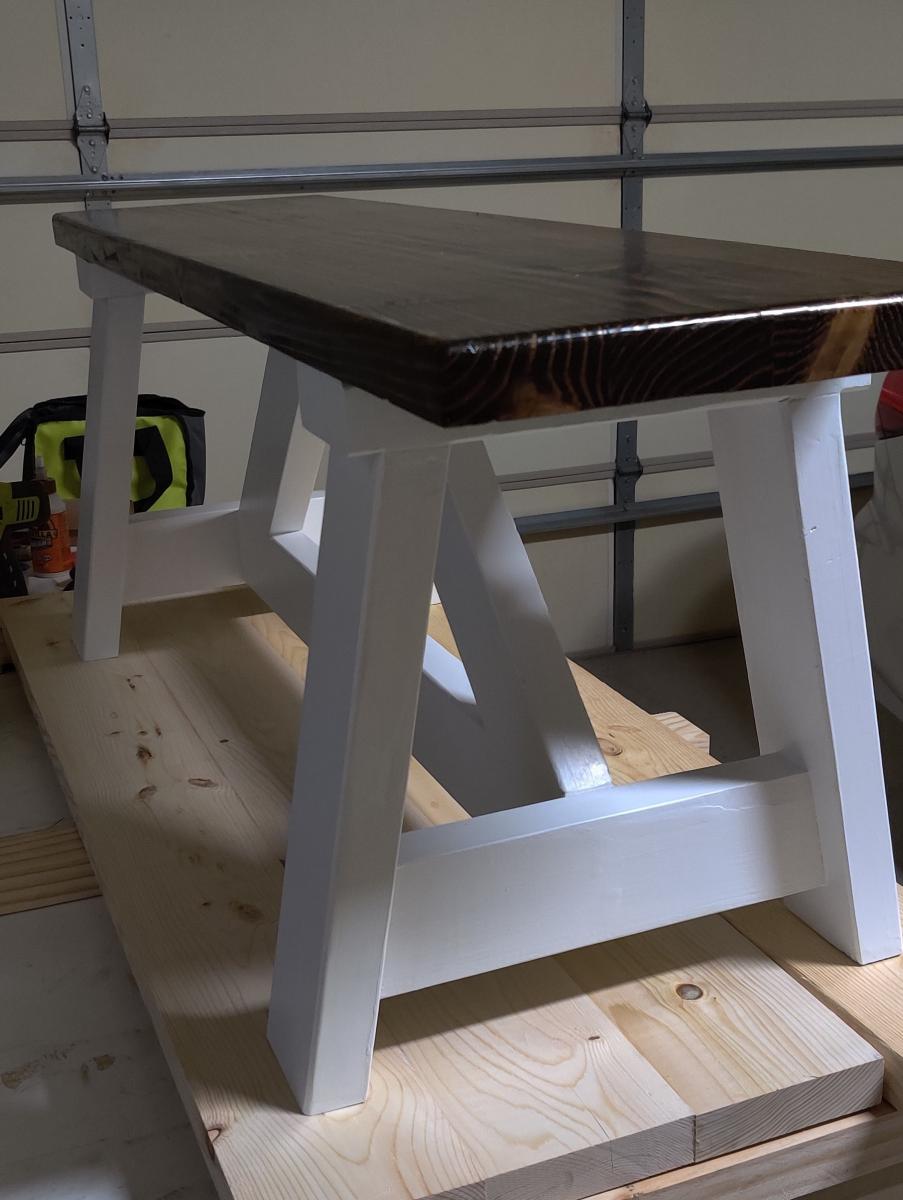
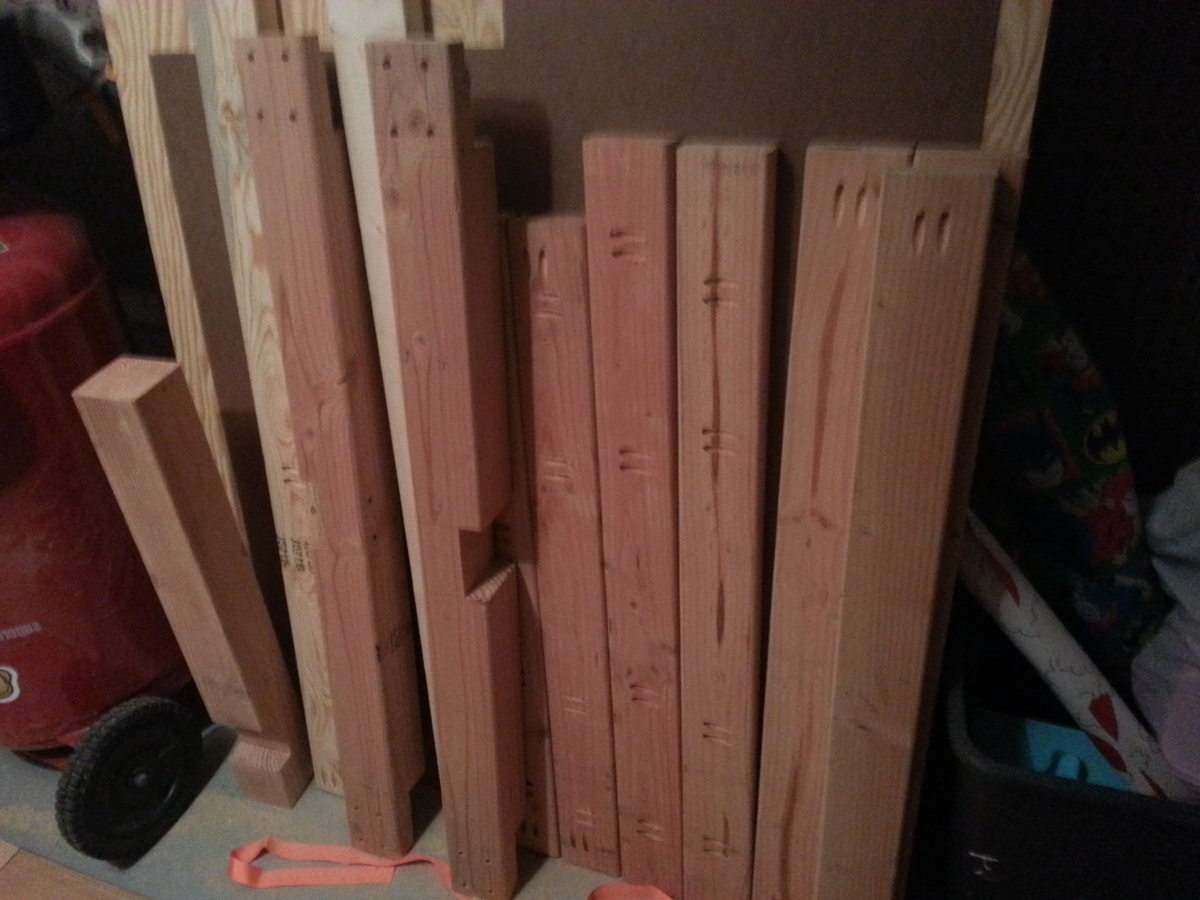
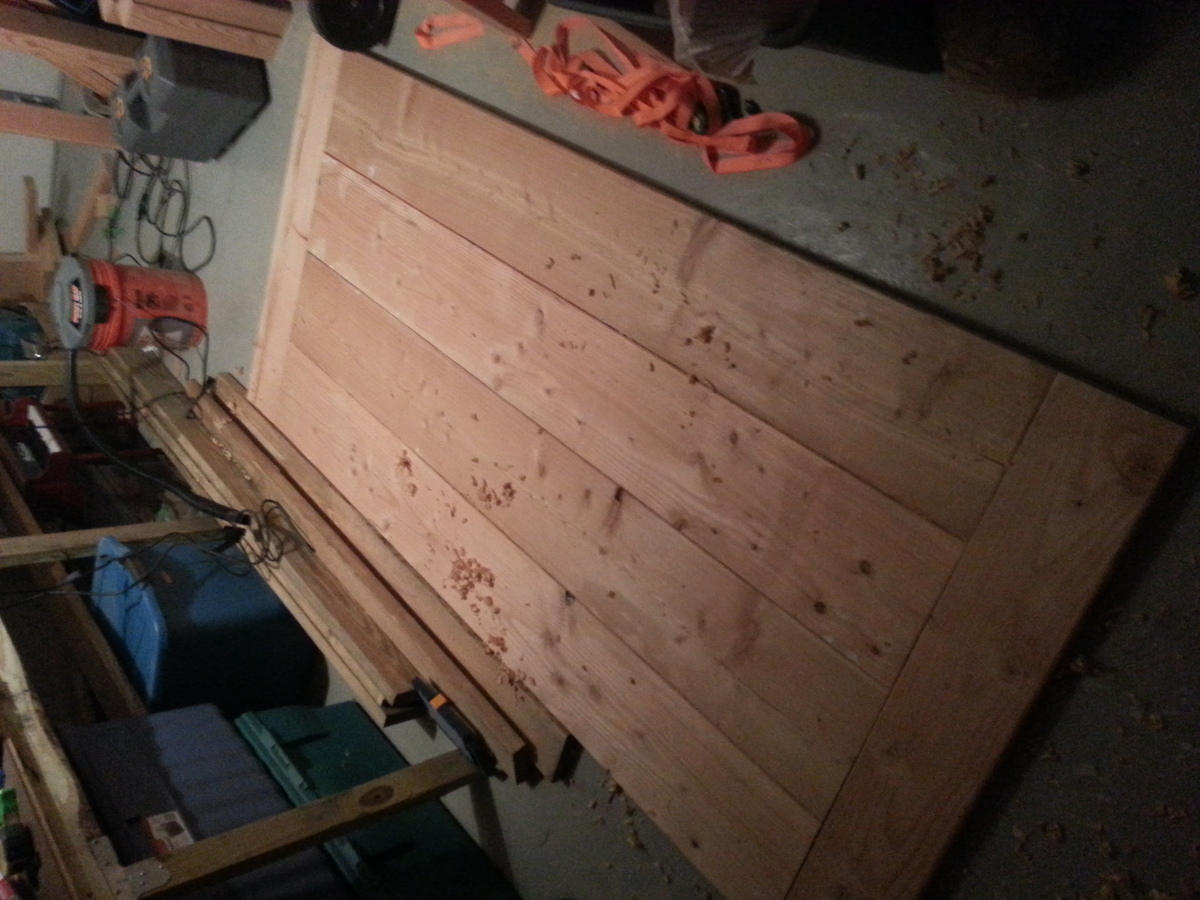
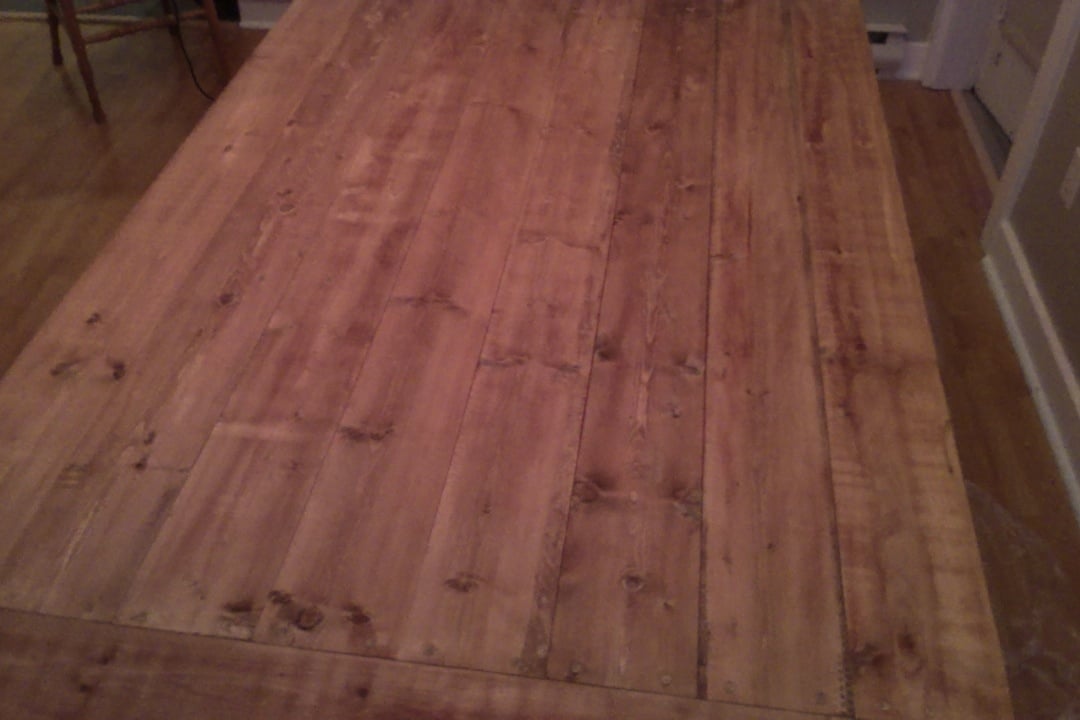
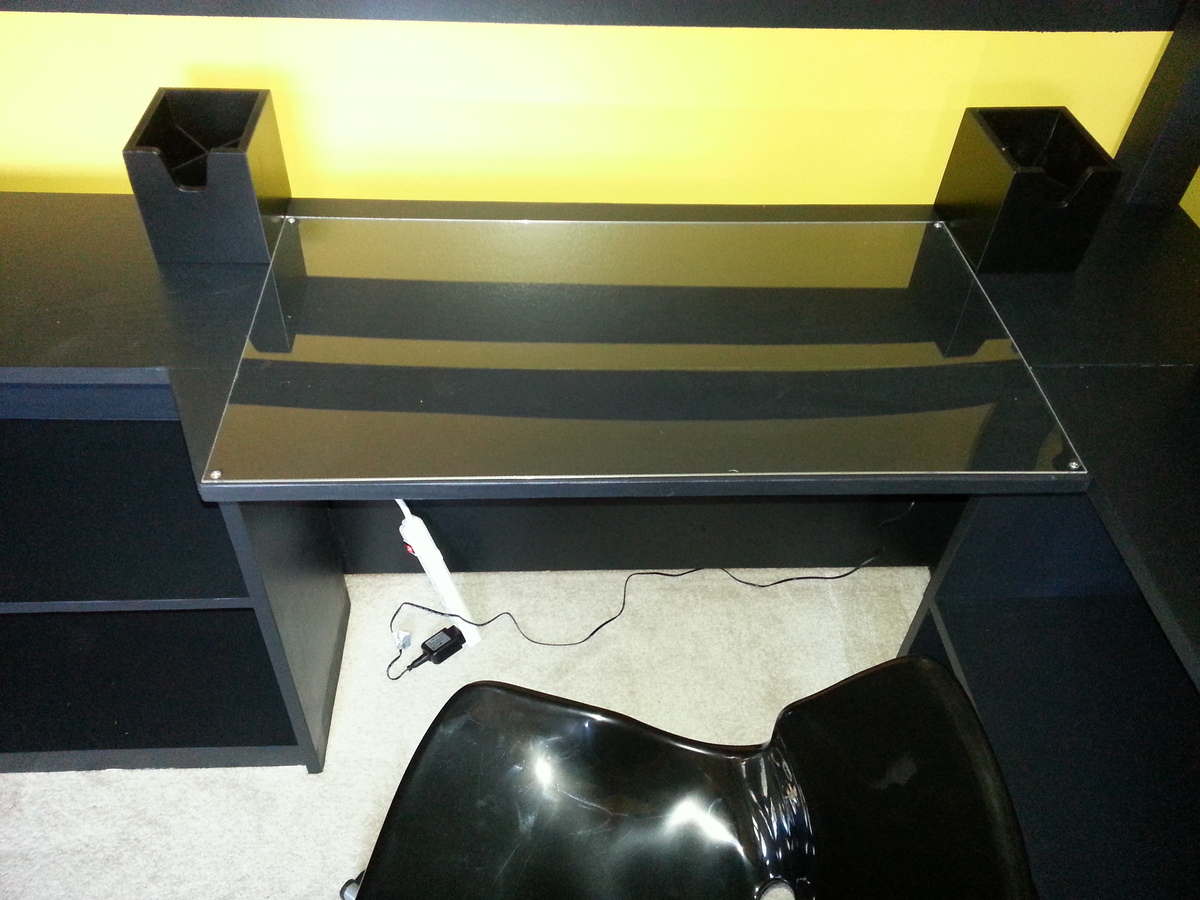
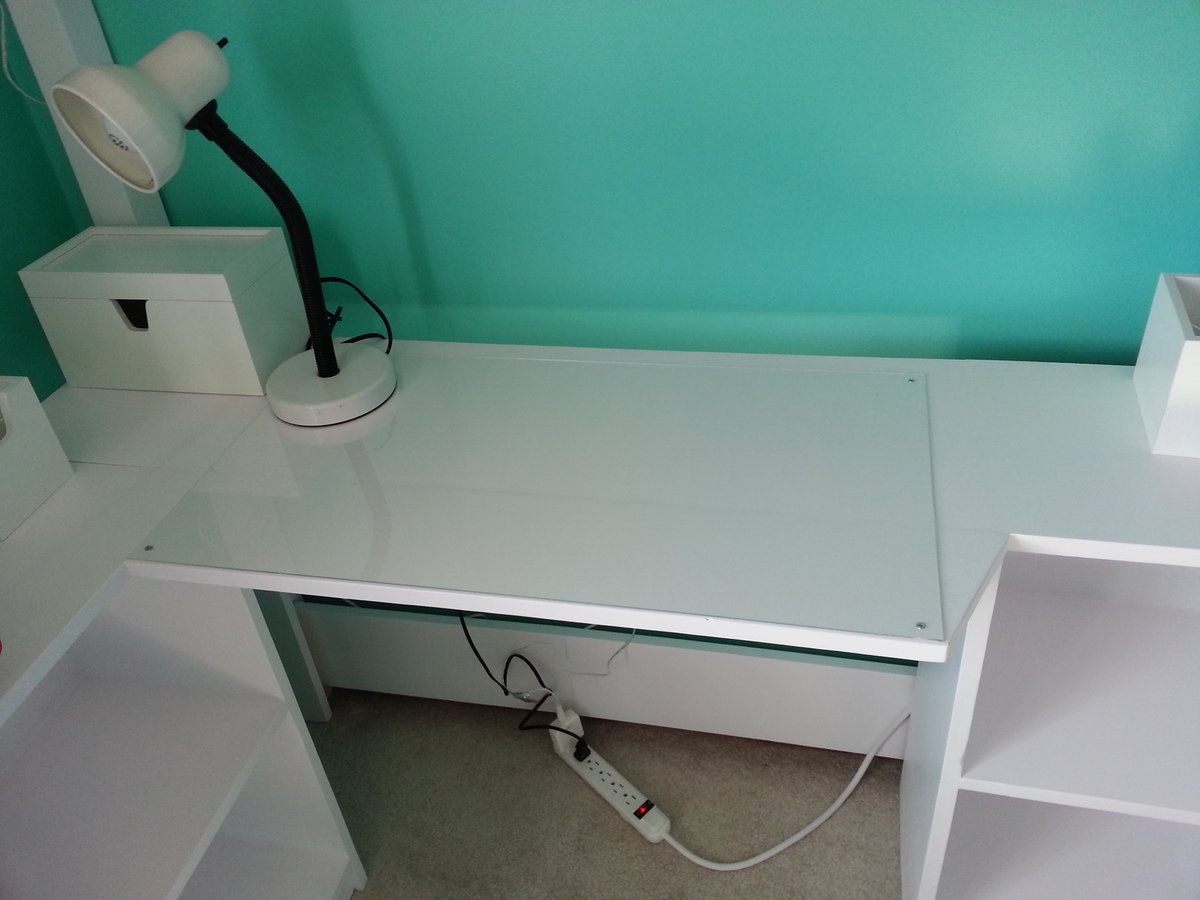
When I first saw this and showed it to my wife it became number one on my Honey Dew list. I did not like the open space between the bottom shelf and top, saw on this site where someone put a wine rack of shorts as a second shelf. So I did the same I used 1x4 instead of the 1x10 used on bottom shelf. I also used 1x4 for the top to help eliminate the gaps between the boards that the 2x4’s would cause. To help give something for the 2x4’s and the 2x6’s to attach to I screwed 2x2’s to the 1x4’s around the edge. Gives the illusion of 2x4’s and makes for a very smooth and flat surface for the top.


Built from Plan(s)
Estimated Time Investment
Weekend Project (10-20 Hours)
Finish Used
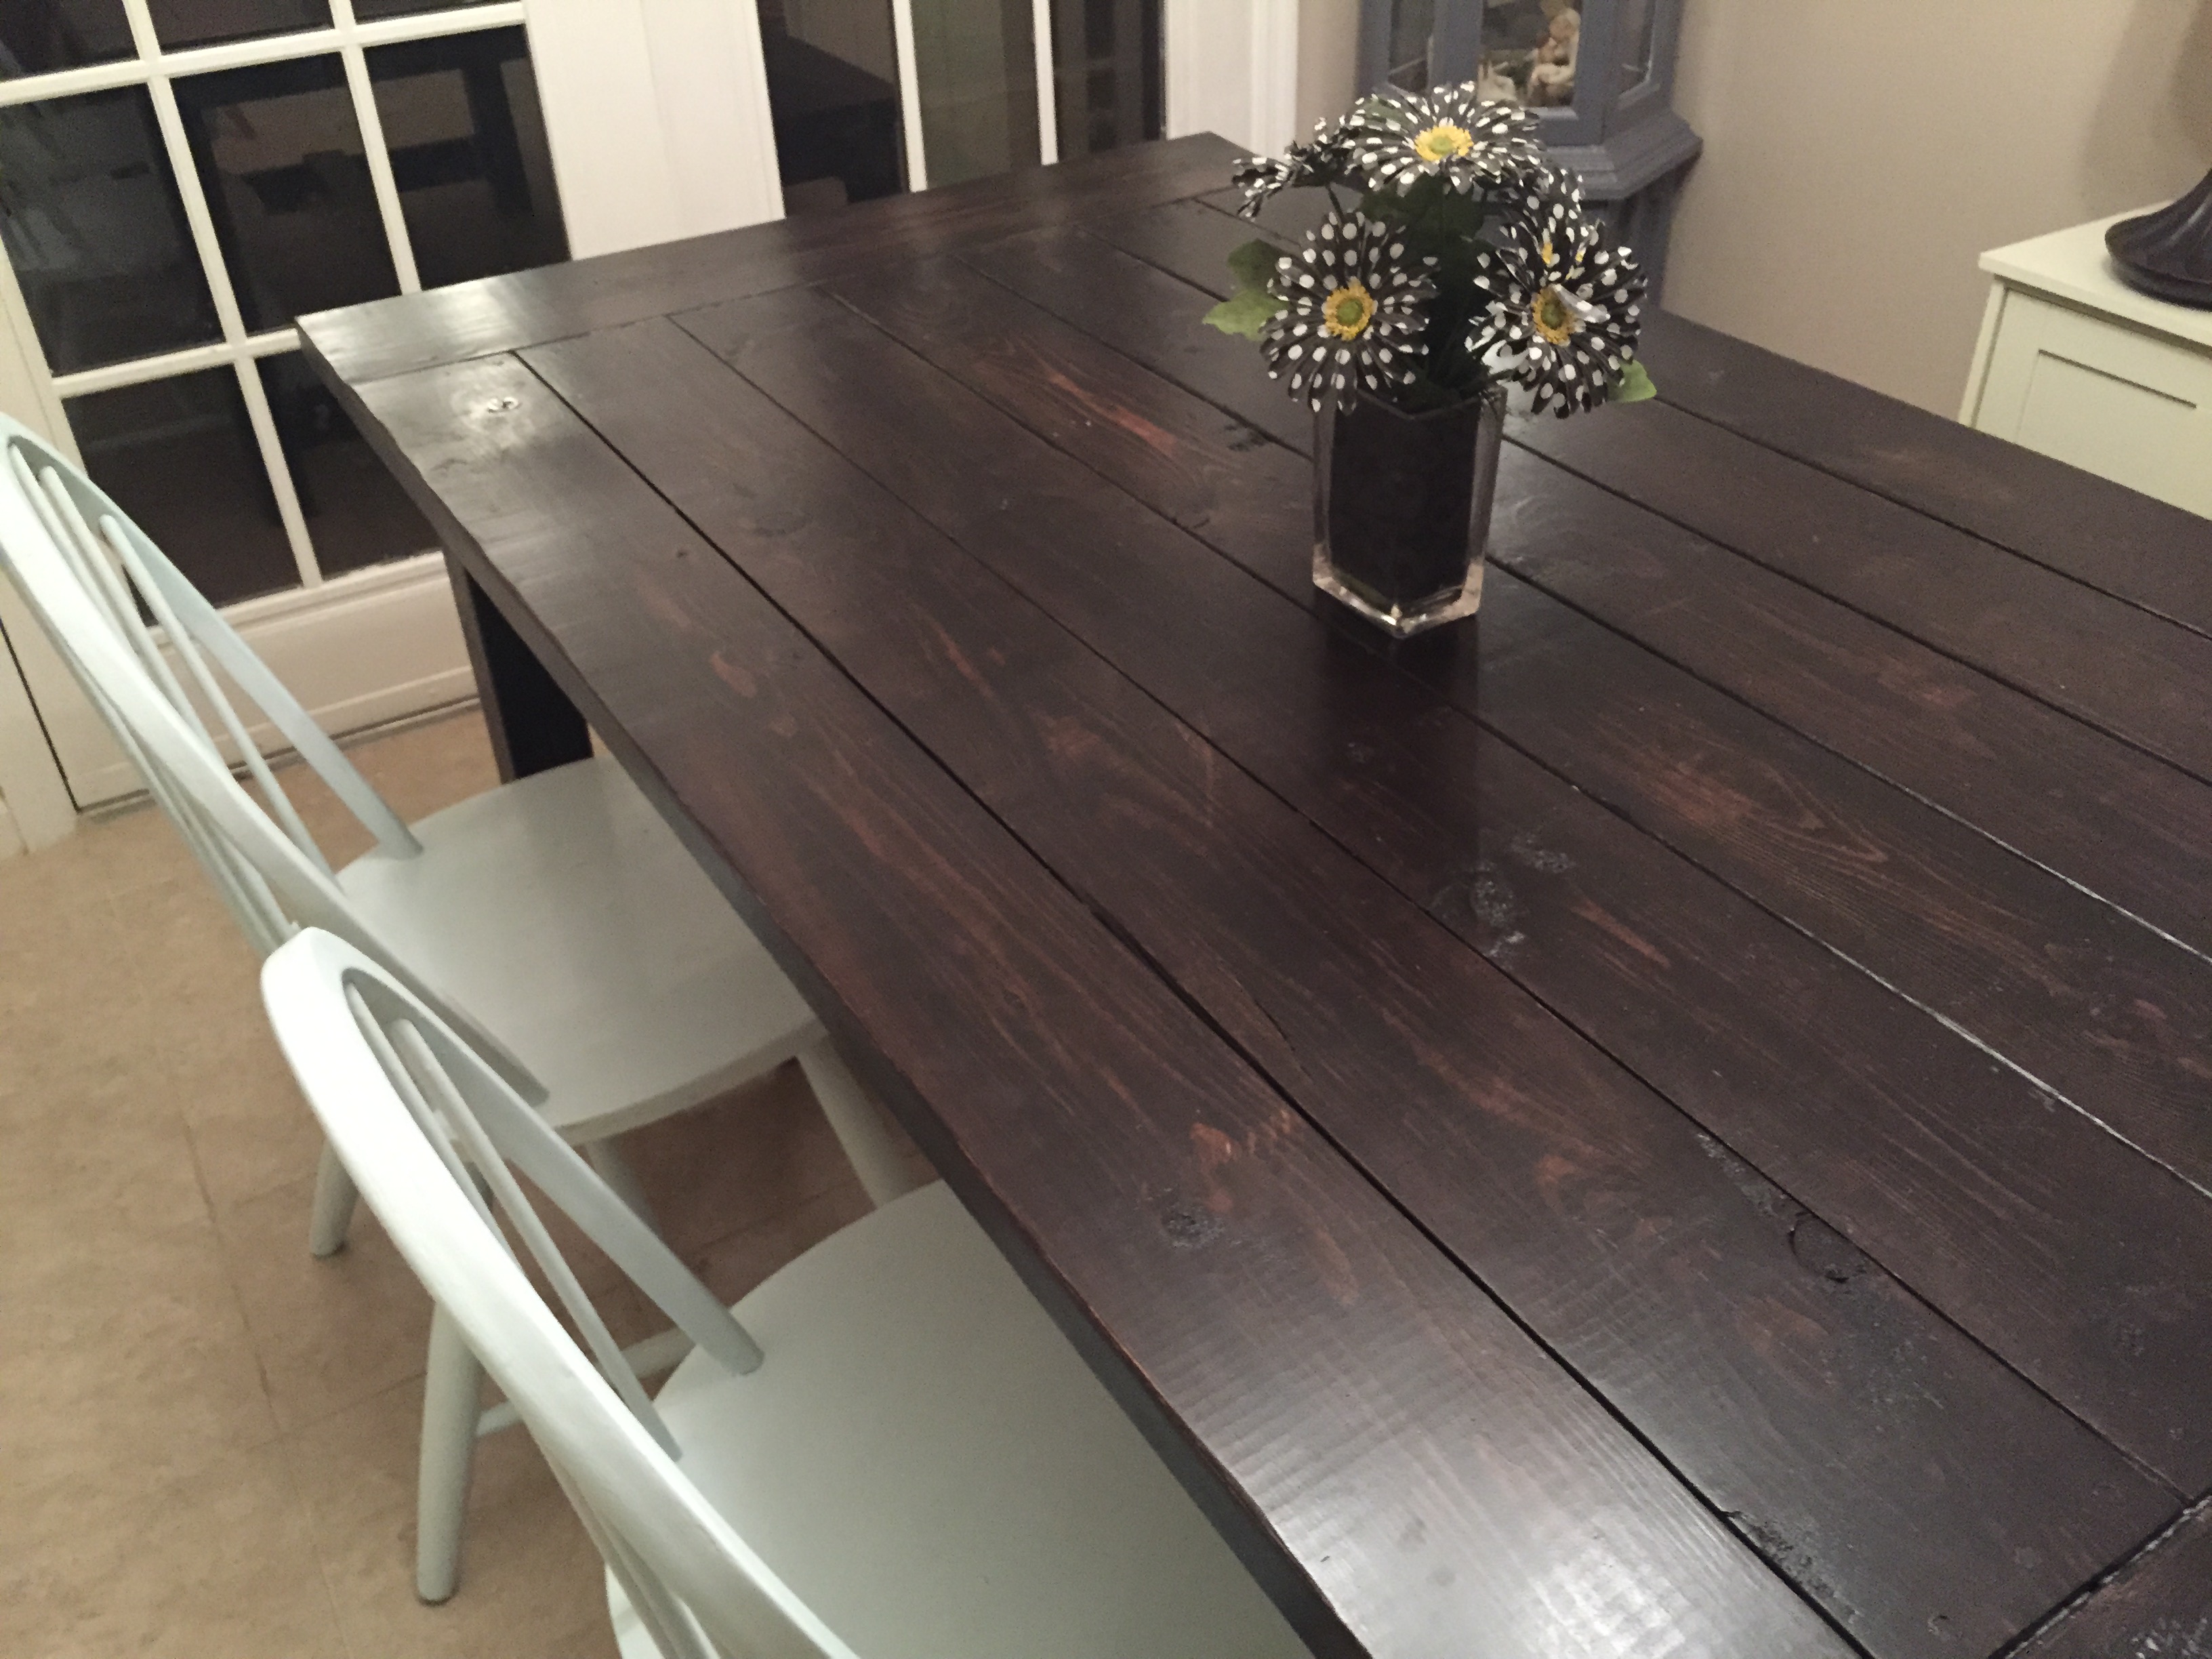
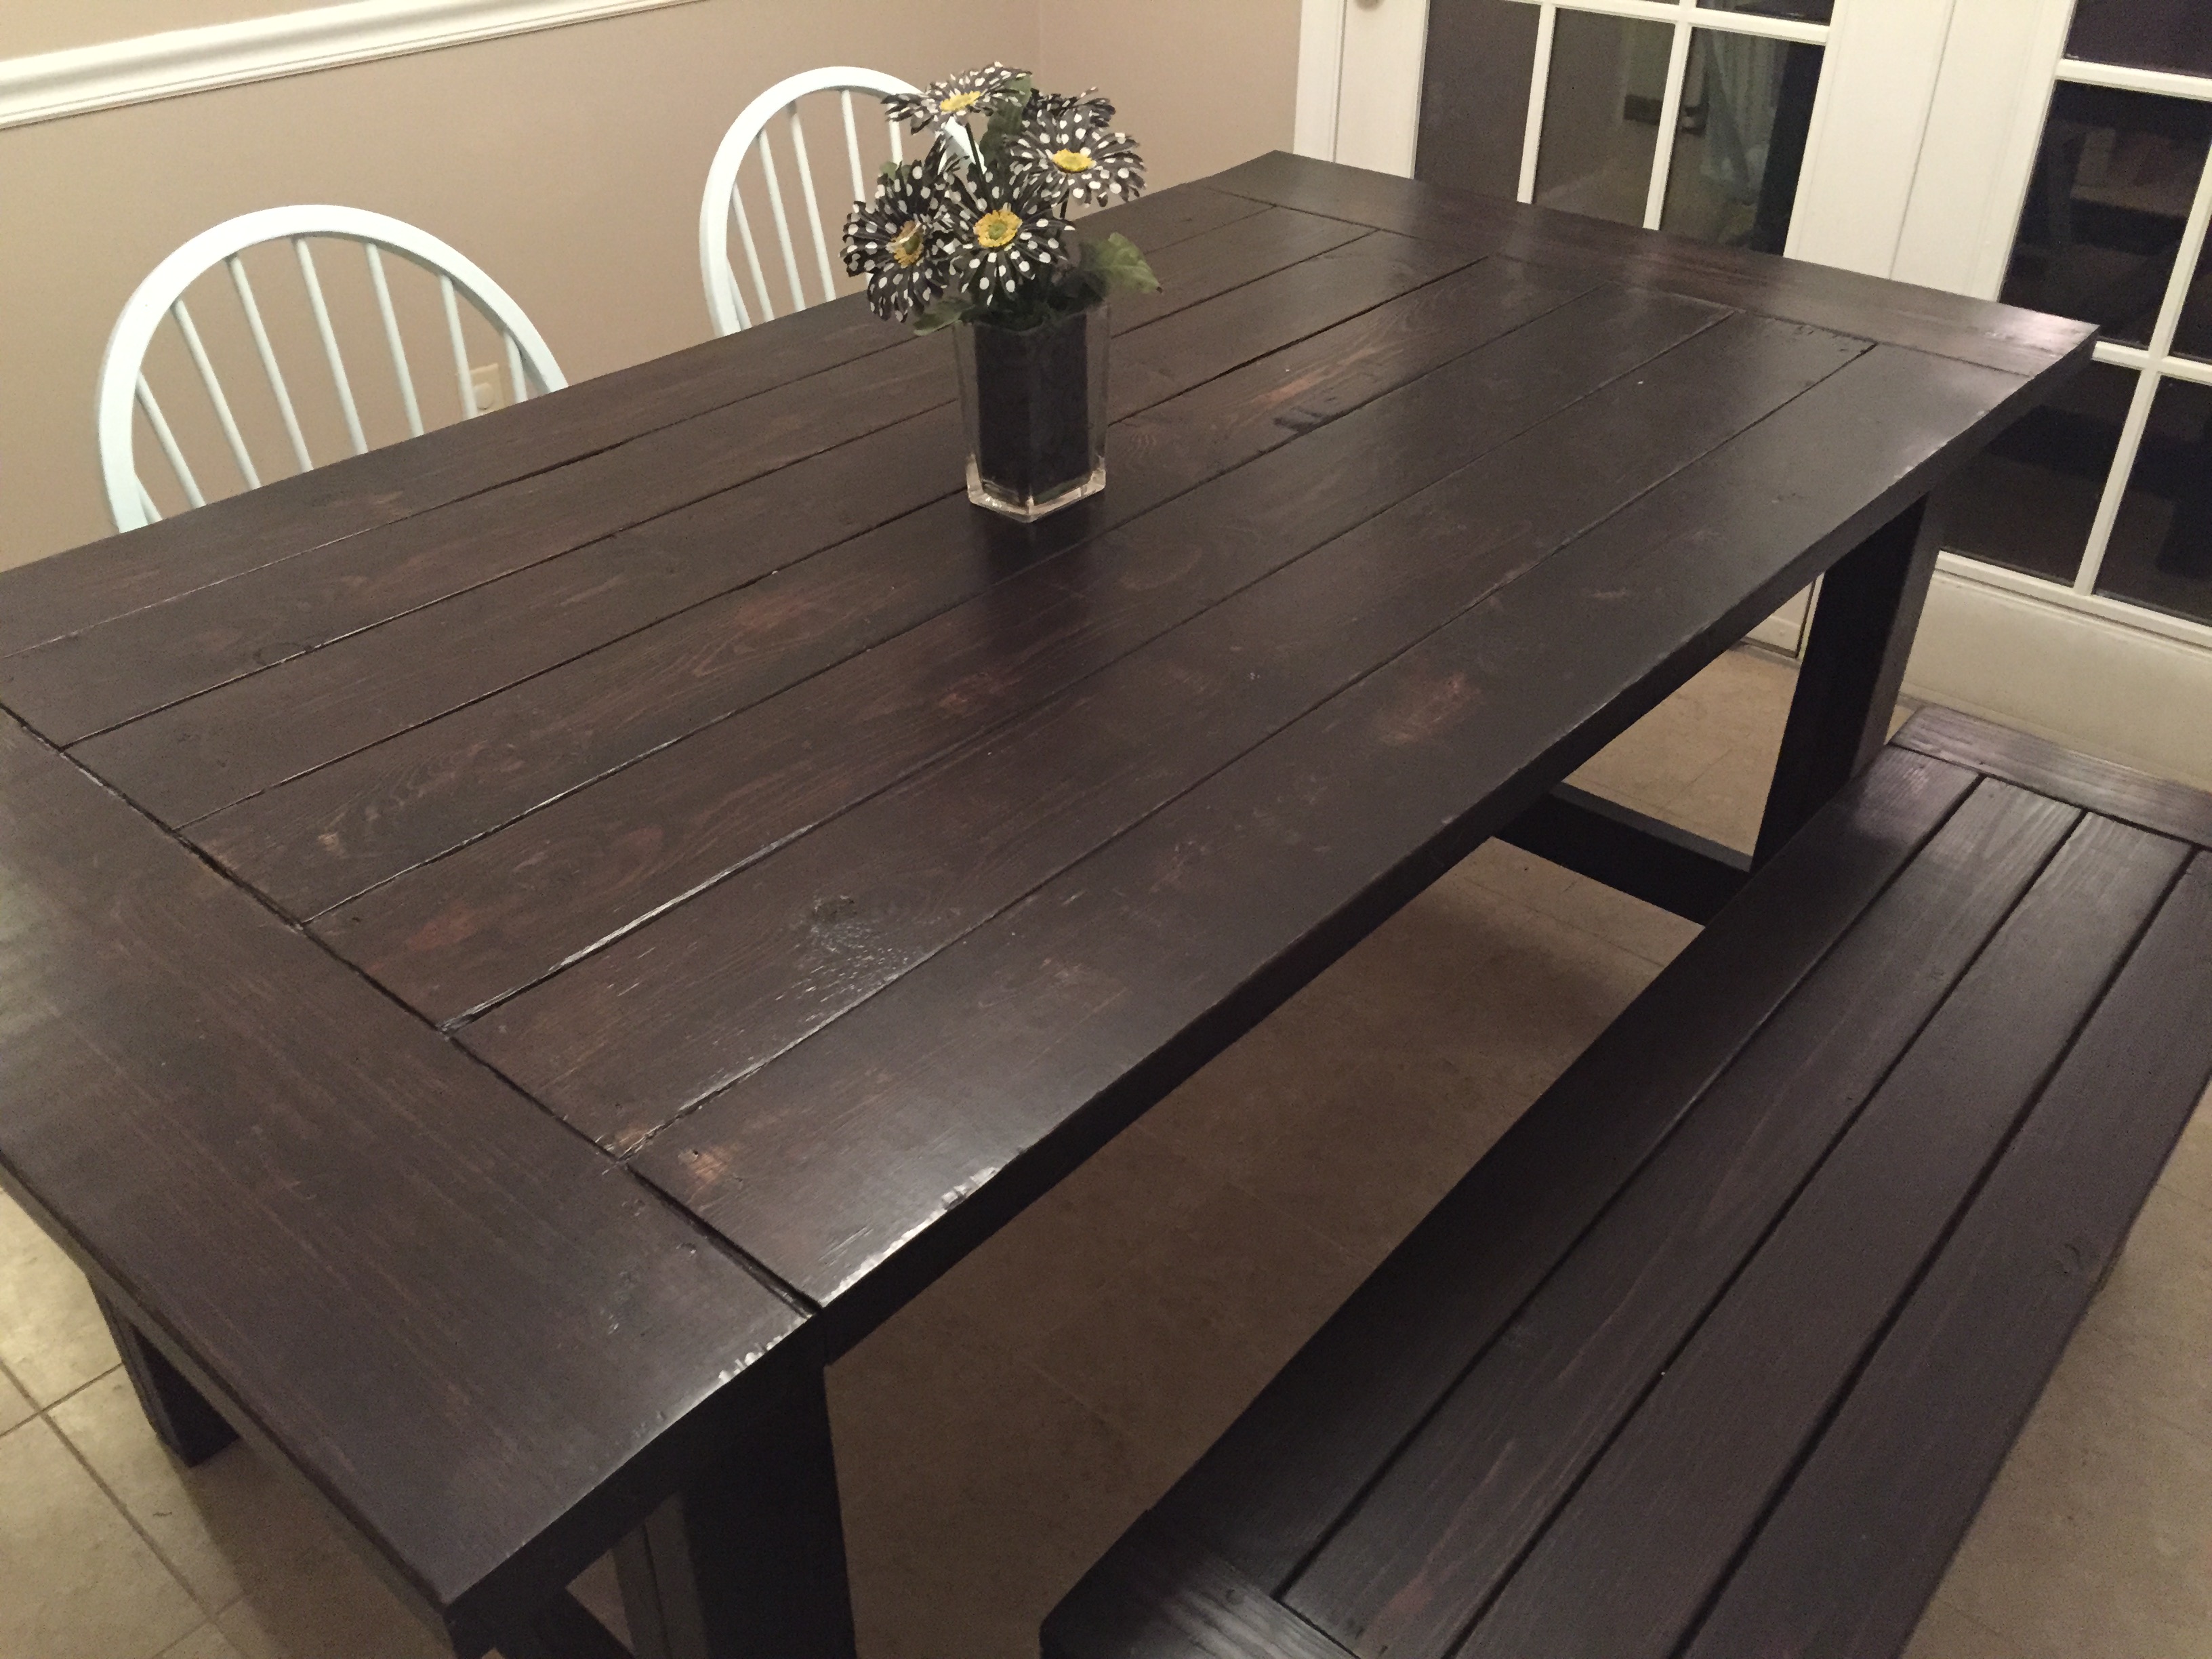
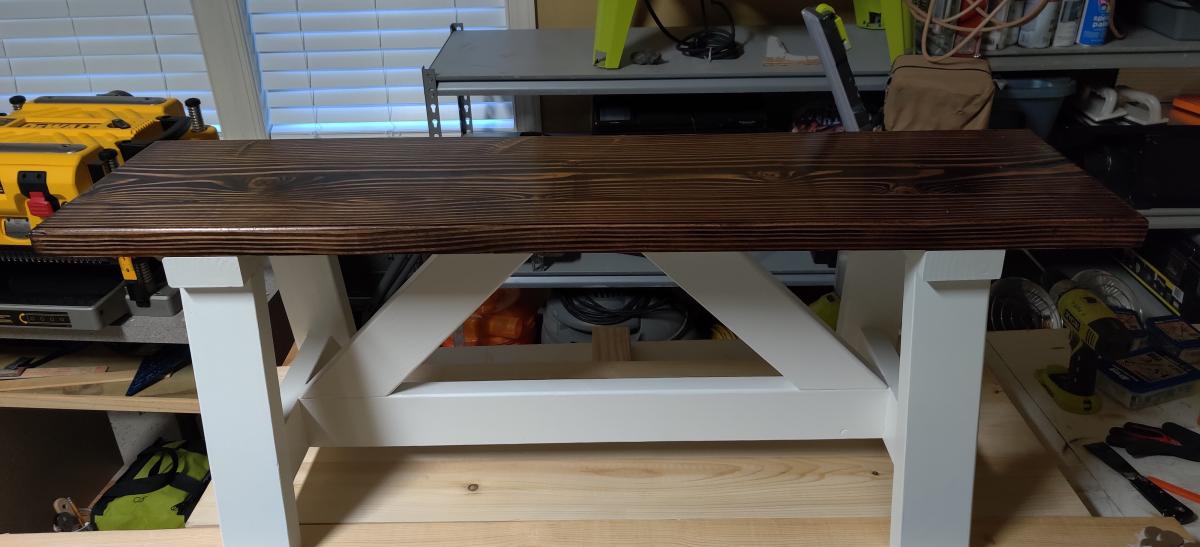
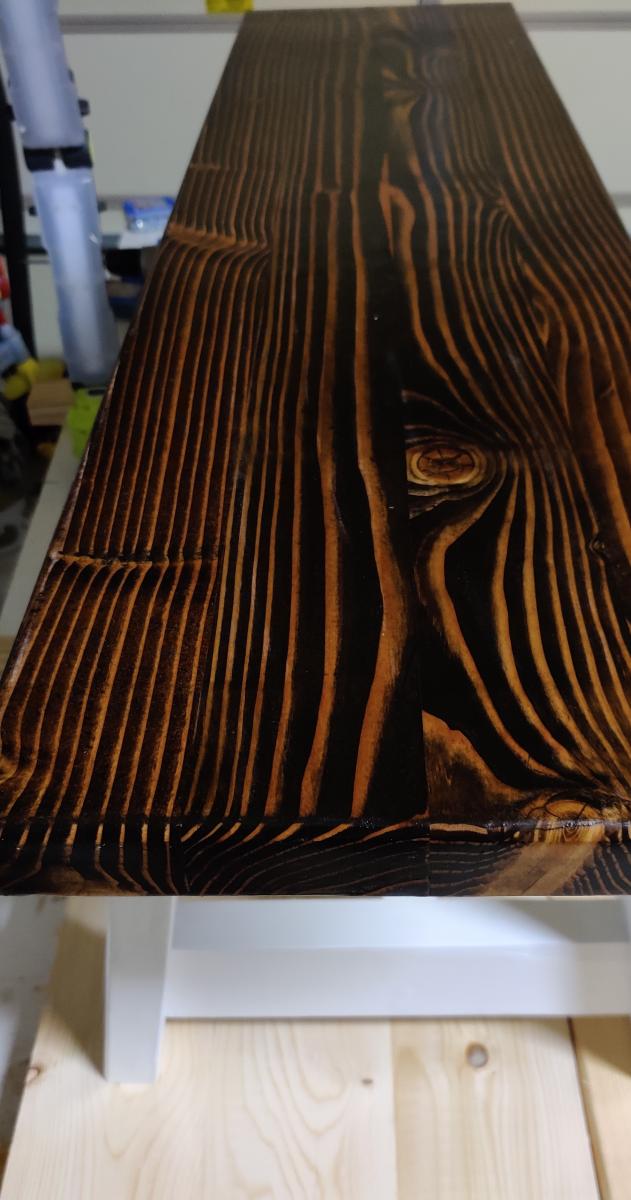
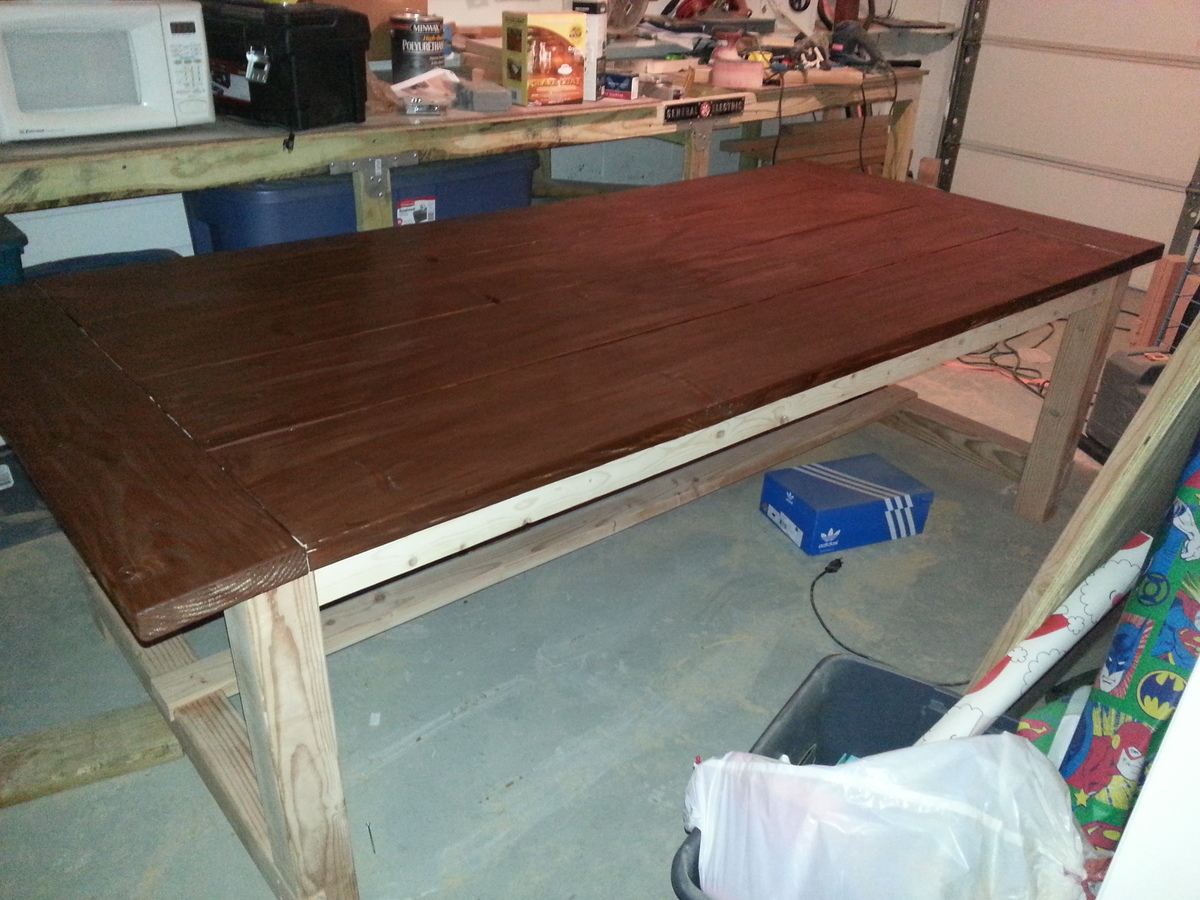
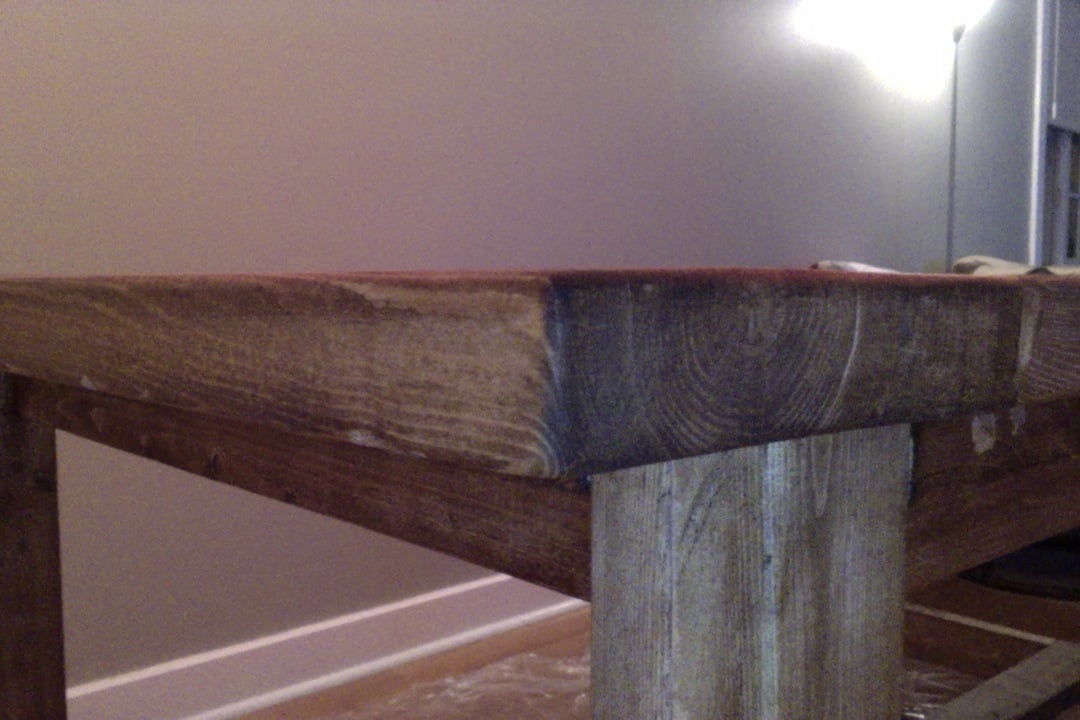
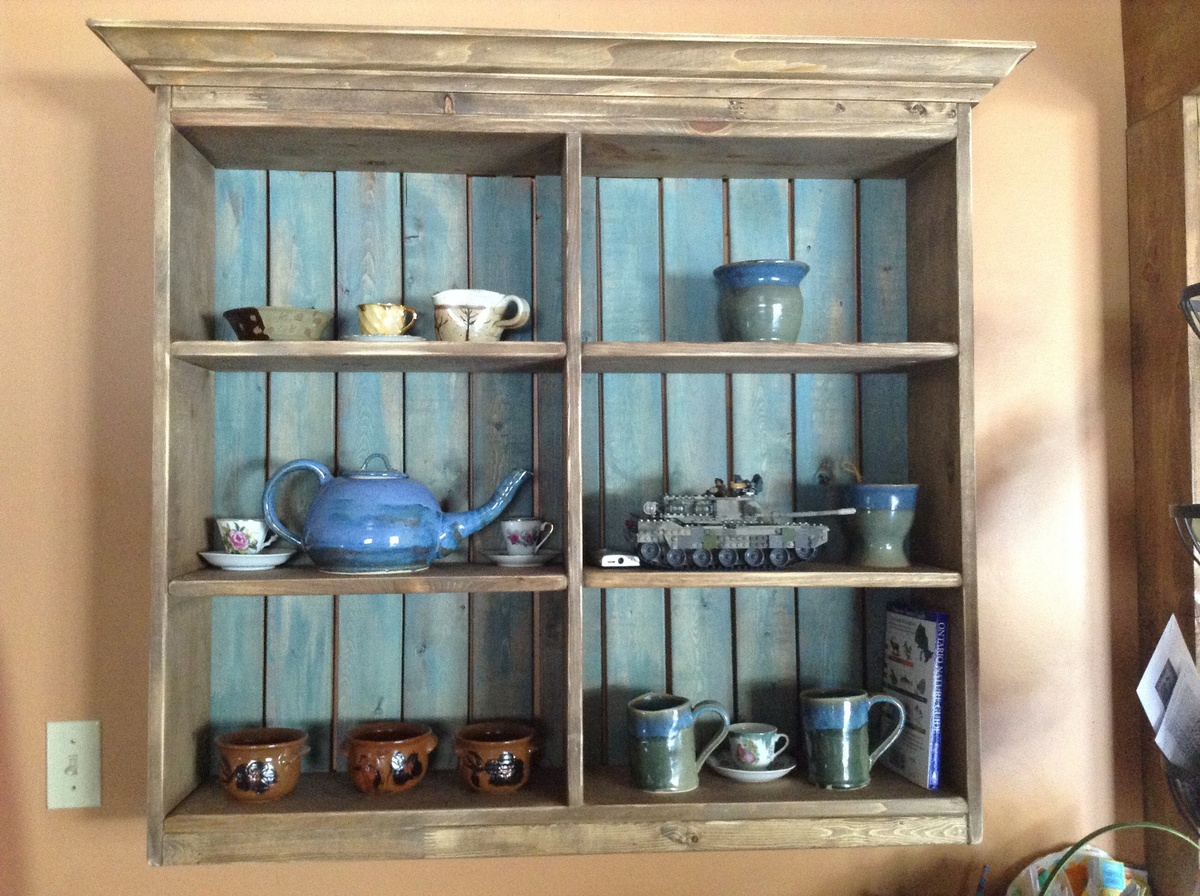
Sanded and Sanded started with number 60 grit and worked to 220 grit then used 320 grit by hand. I used one coat of Miniwax English Chestnut hand rubbed
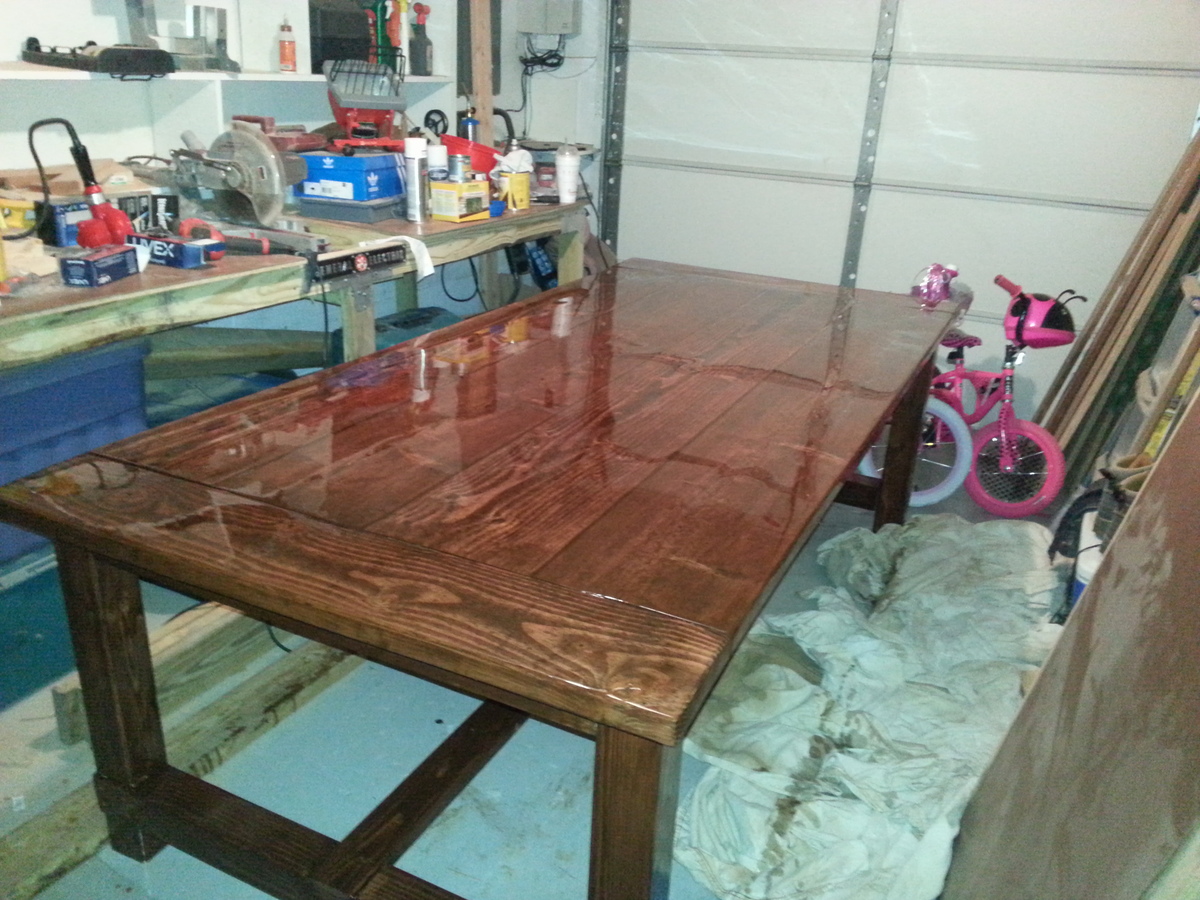
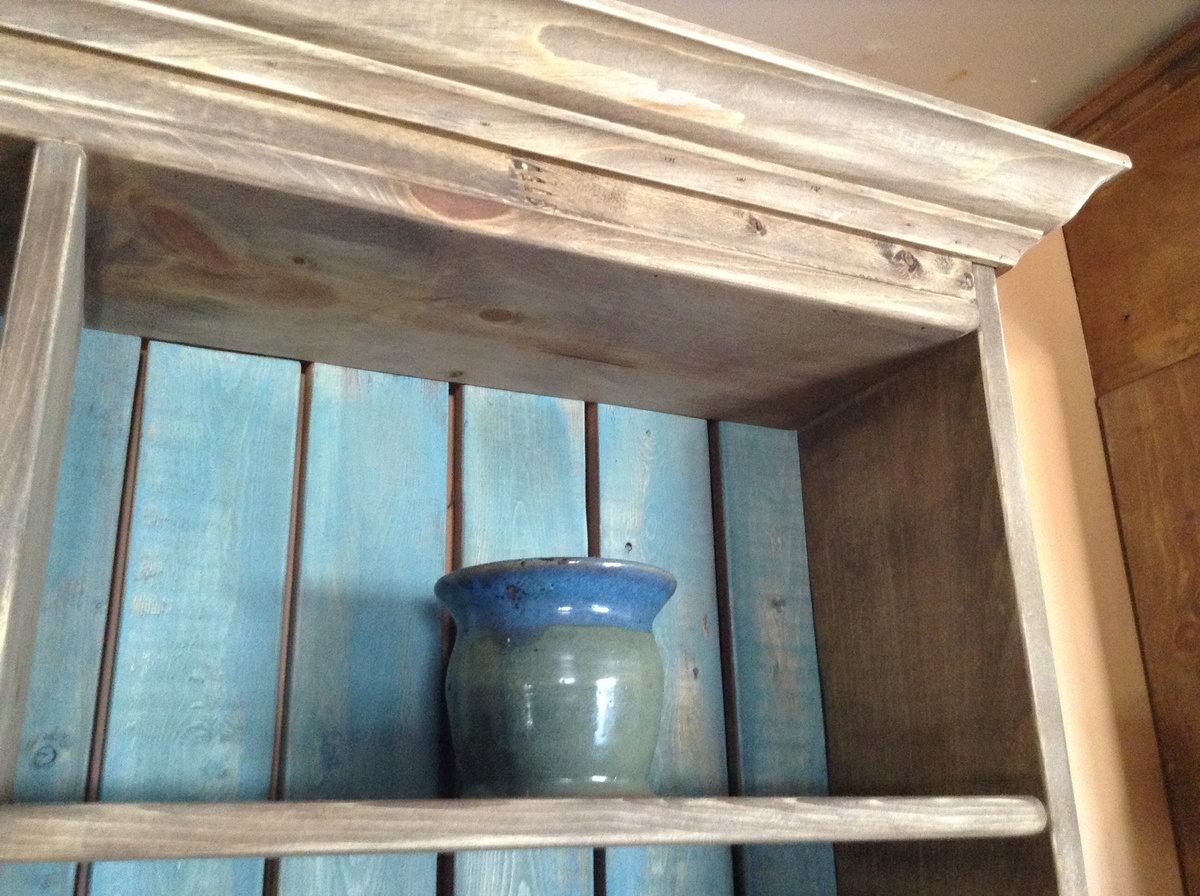
I haven’t put on the Polyurethane yet due to Cold temps but will as soon as it warms up if that is ever going to happen
I haven’t put on the Polyurethane yet due to Cold temps but will as soon as it warms up if that is ever going to happen
Recommended Skill Level
Intermediate


Comments
Jake
Fri, 03/29/2013 - 17:52
You Fooled Me!
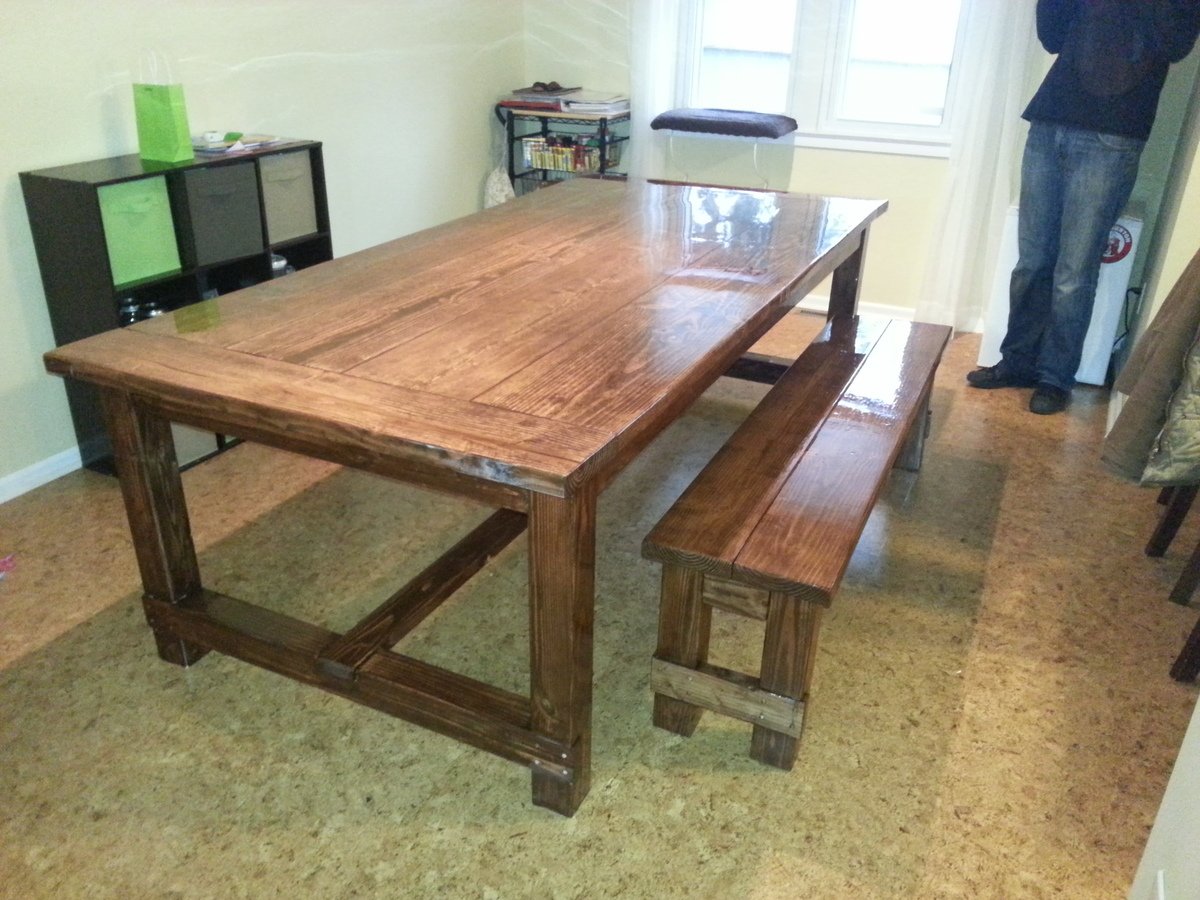
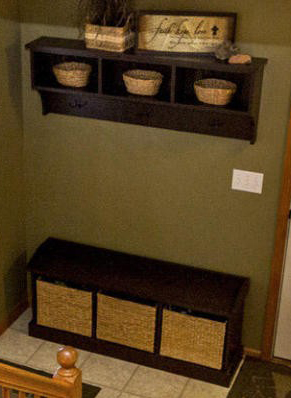
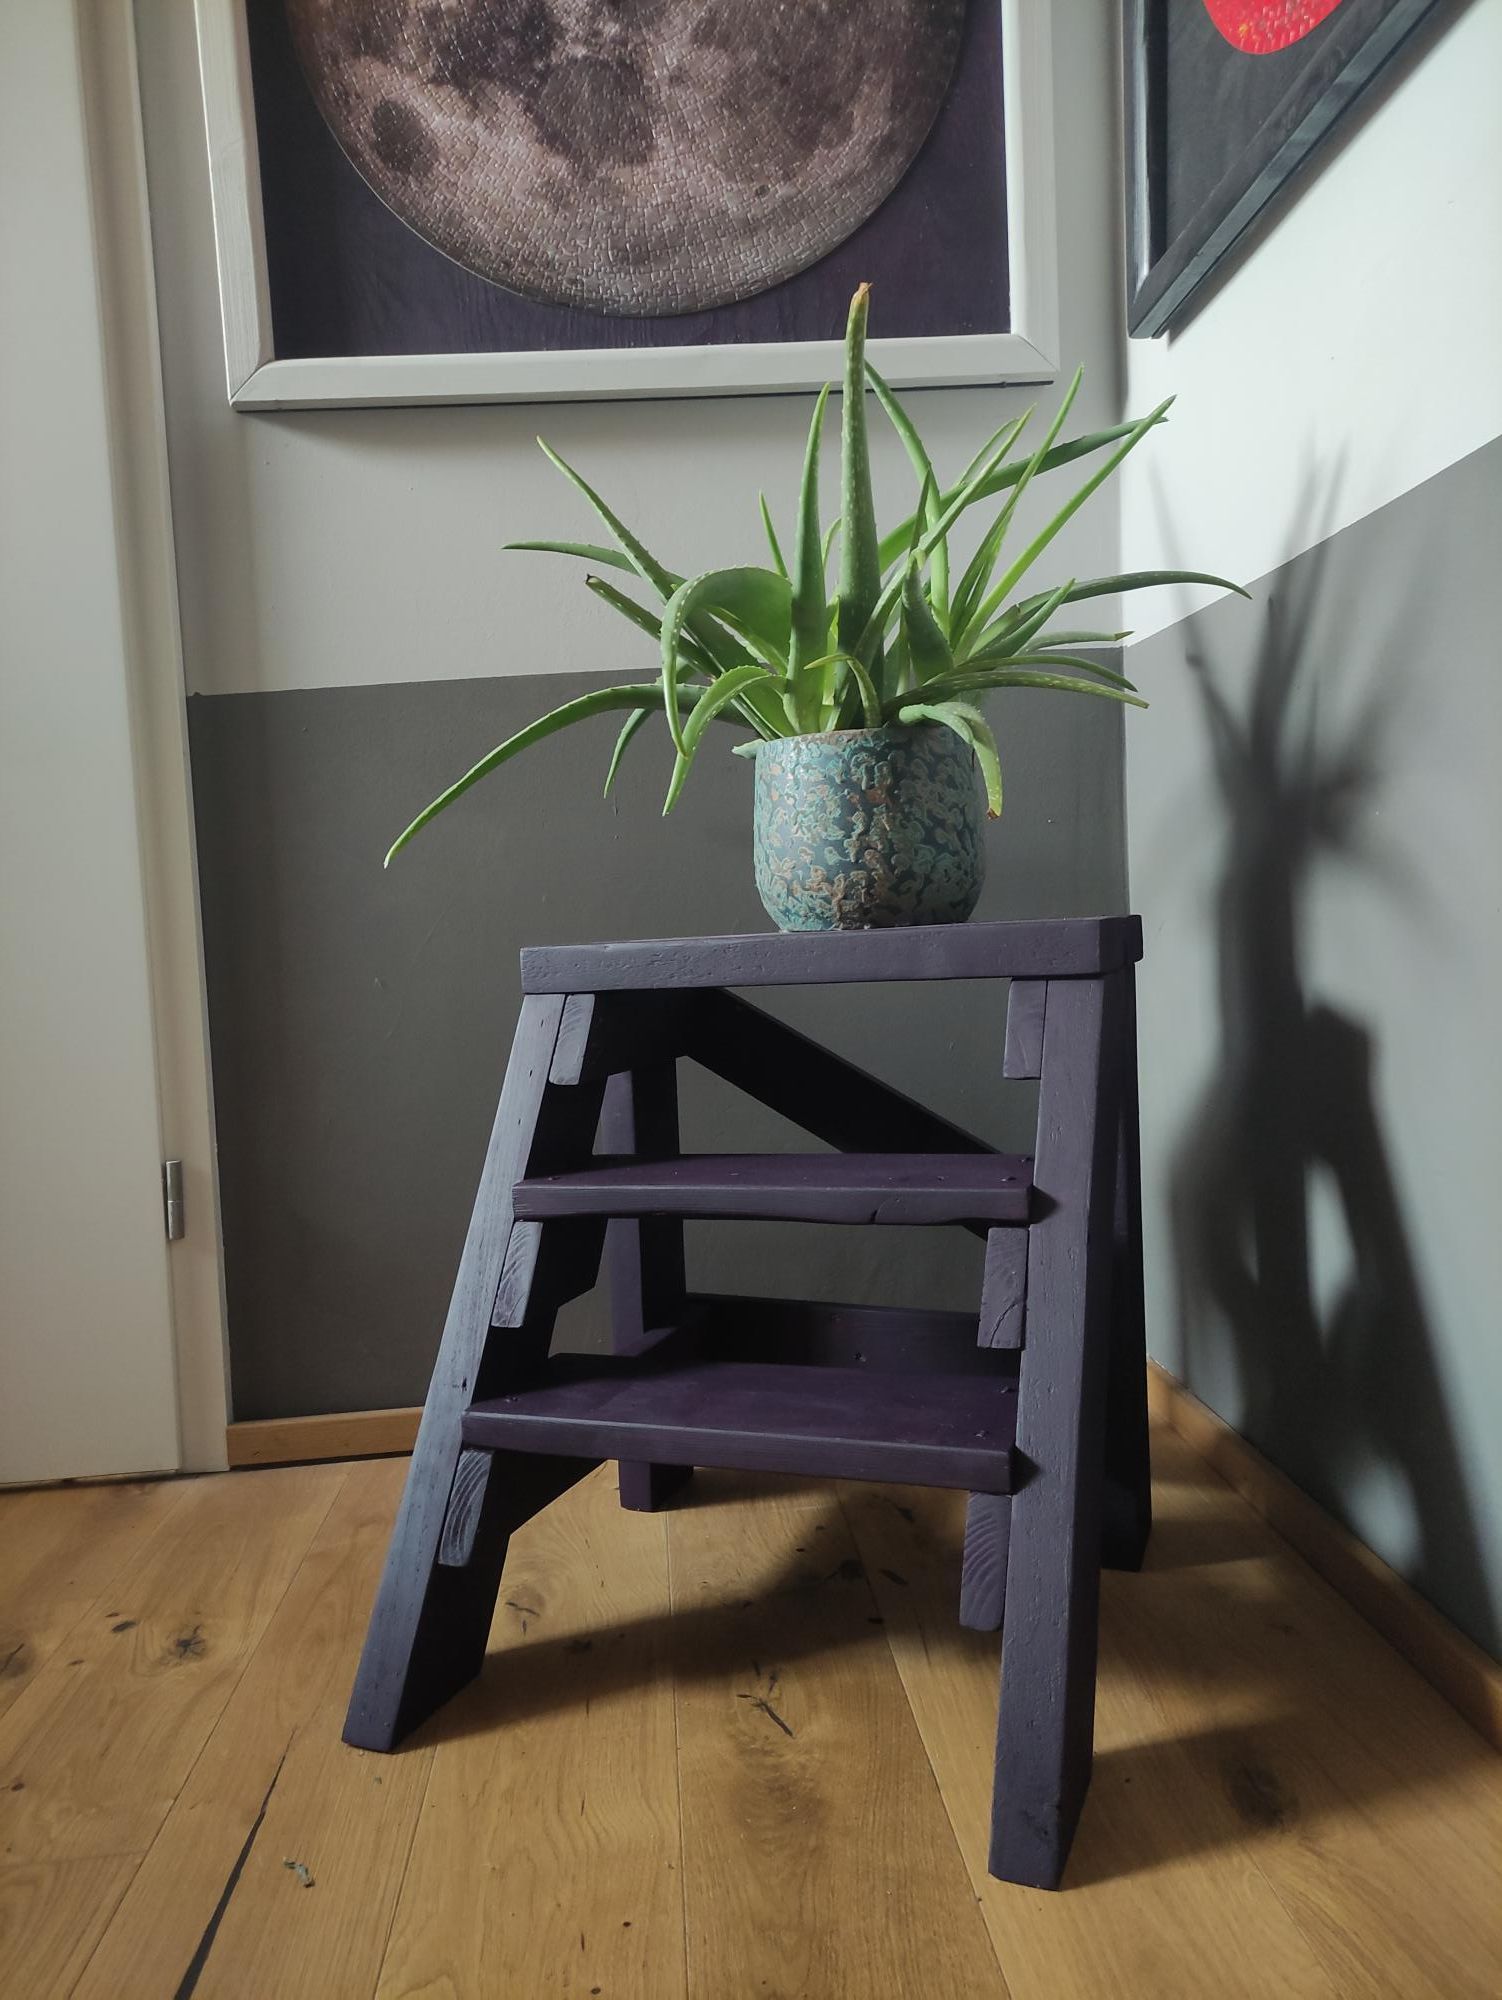
When I first saw your build I thought what a nice small workbench. You even put in places to store clamps!! Then I noticed the girly stuff on the top and realized that it was really inside the house. Really good work. When you can put the poly or antique oil on it the piece will really shine.
Jamaunzie
Sat, 03/30/2013 - 13:11
Thank You Jake yes my wife
Thank You Jake yes my wife loves it I am finishing up on the hutch for the top now and soon I will get the poly on this and then if I can keep the wife from looking on here I might be able to build a work bench for the shop LOL