Farmhouse L Desk
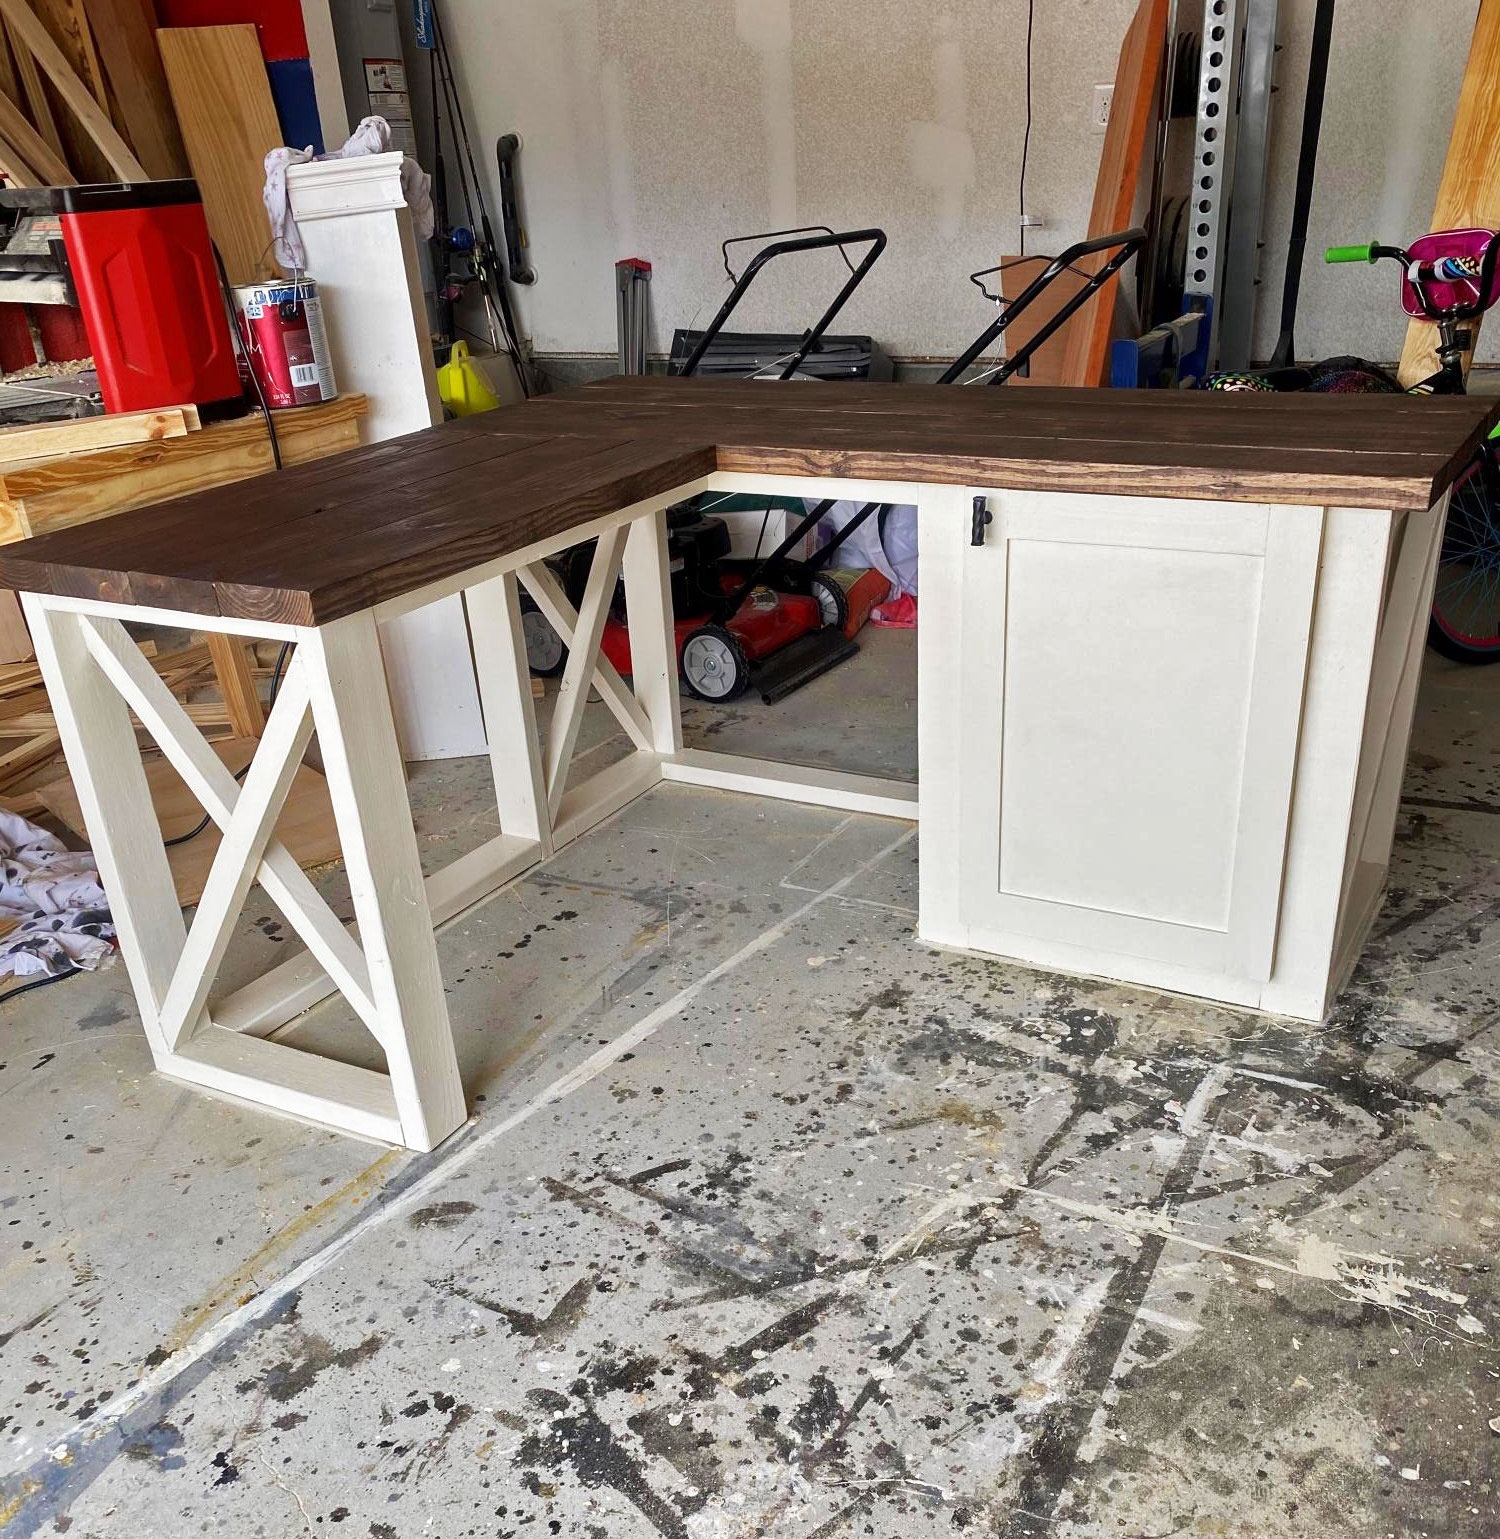
Put a twist on the farmhouse desk plans

Put a twist on the farmhouse desk plans
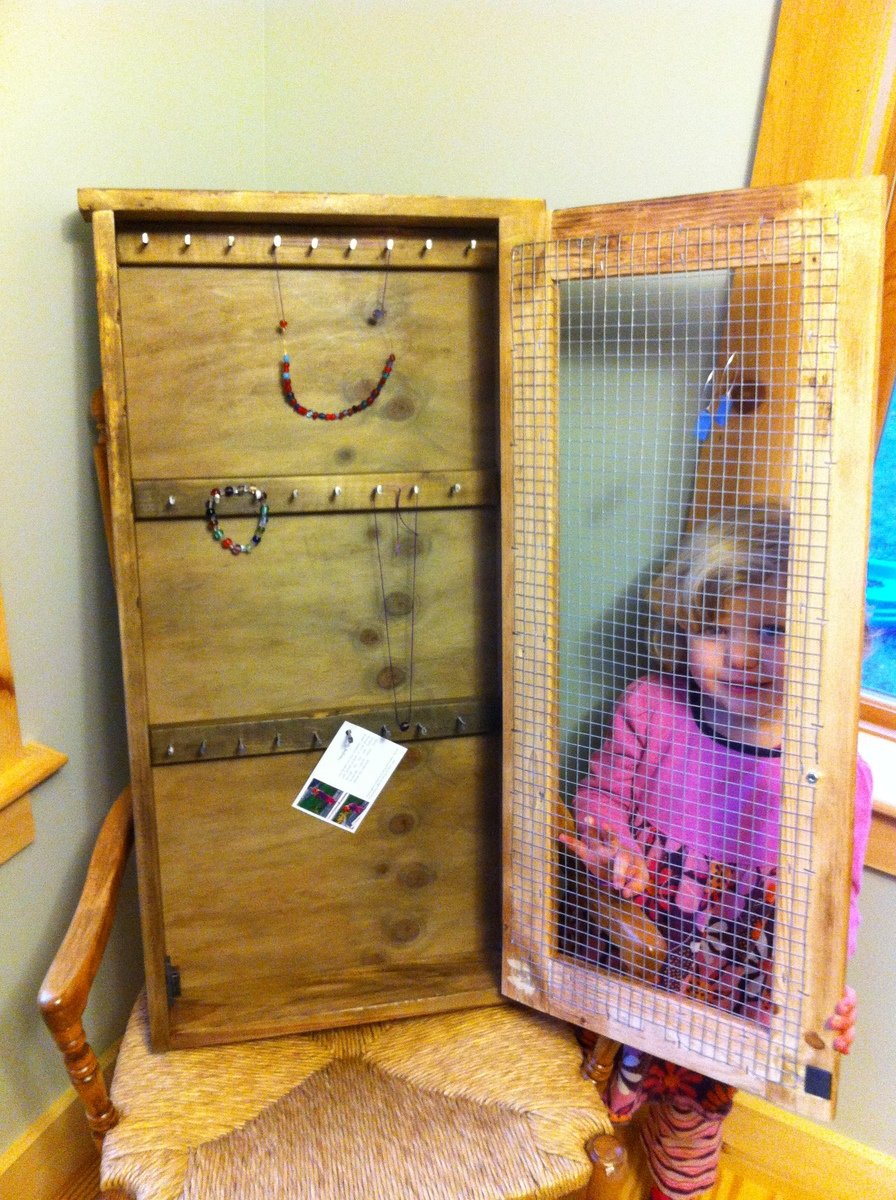
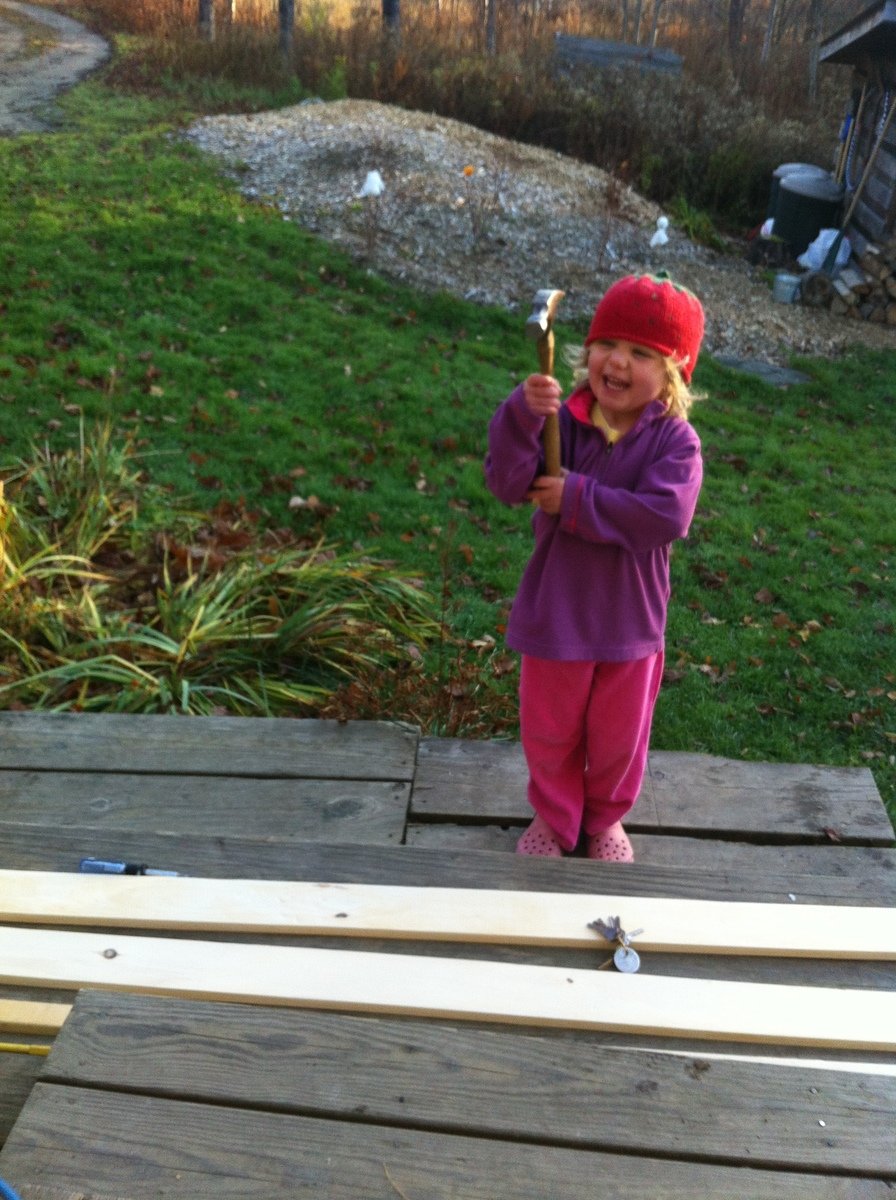
Another huge THANK YOU to Ana for her amazingly timely posts! My daughters attend a pre-school that hosts an auction fund raiser every year. Last year I made Ana’s kids storage bench and filled it with fun craft items. This year I saw Ana’s jewelry wall cabinet and knew it had to be done! We have some amazing local artists so I purchased a beautiful pair of glass drop earrings to hang on the front of the cabinet. I think it turned out great (if I do say so myself!) Thanks again Ana! And by the way, distressing wood is an awesome project for little helping hands!!
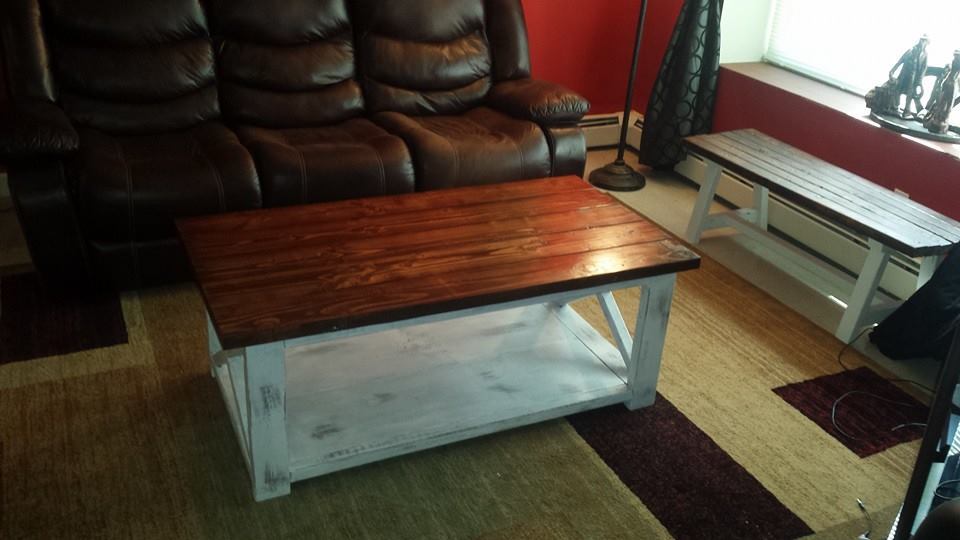
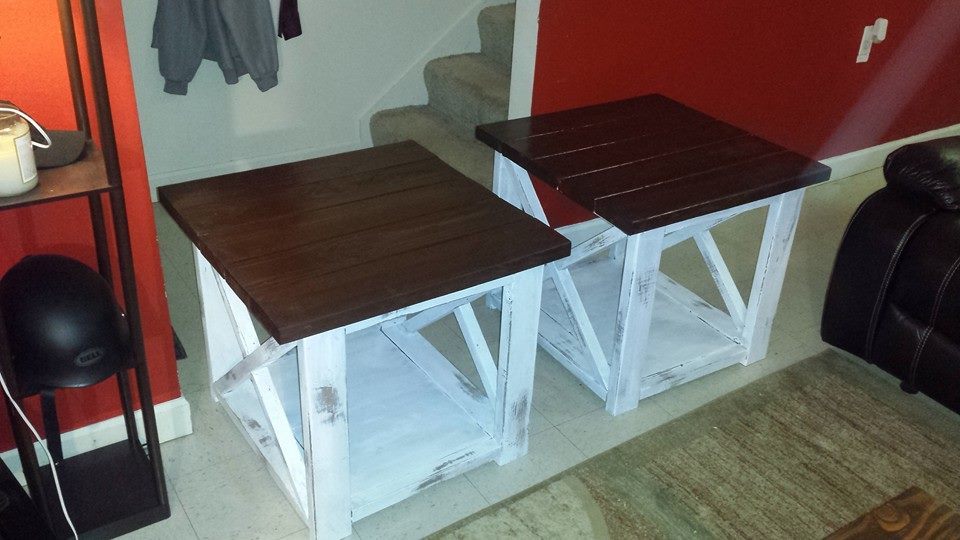
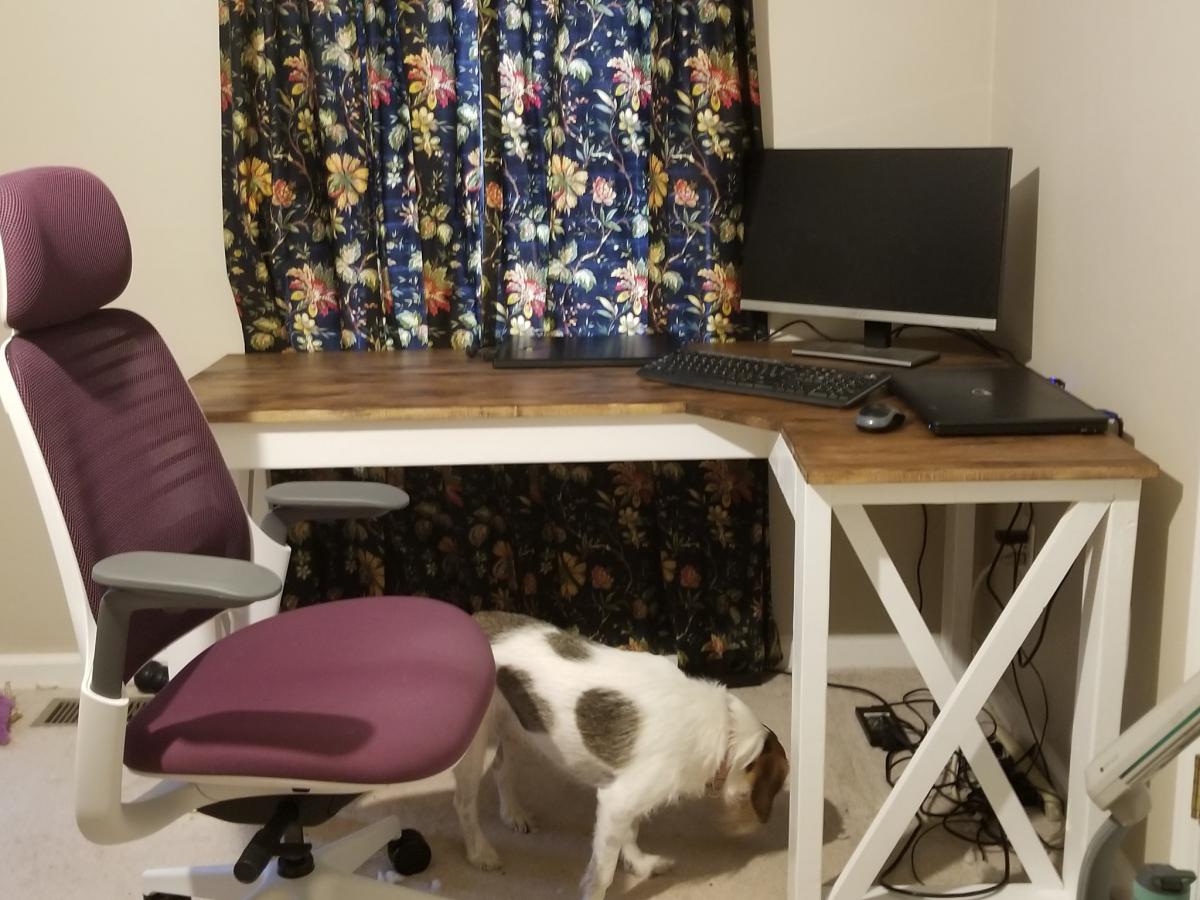
I stained the top with american walnut and used chalk paint on the bottoms.
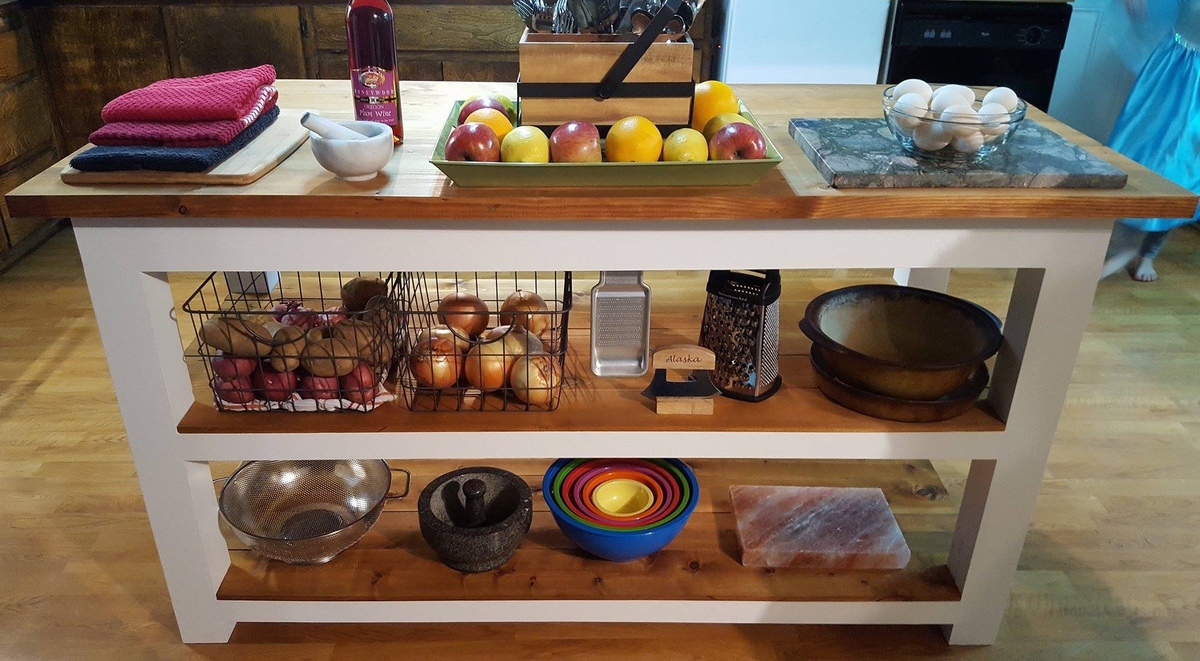
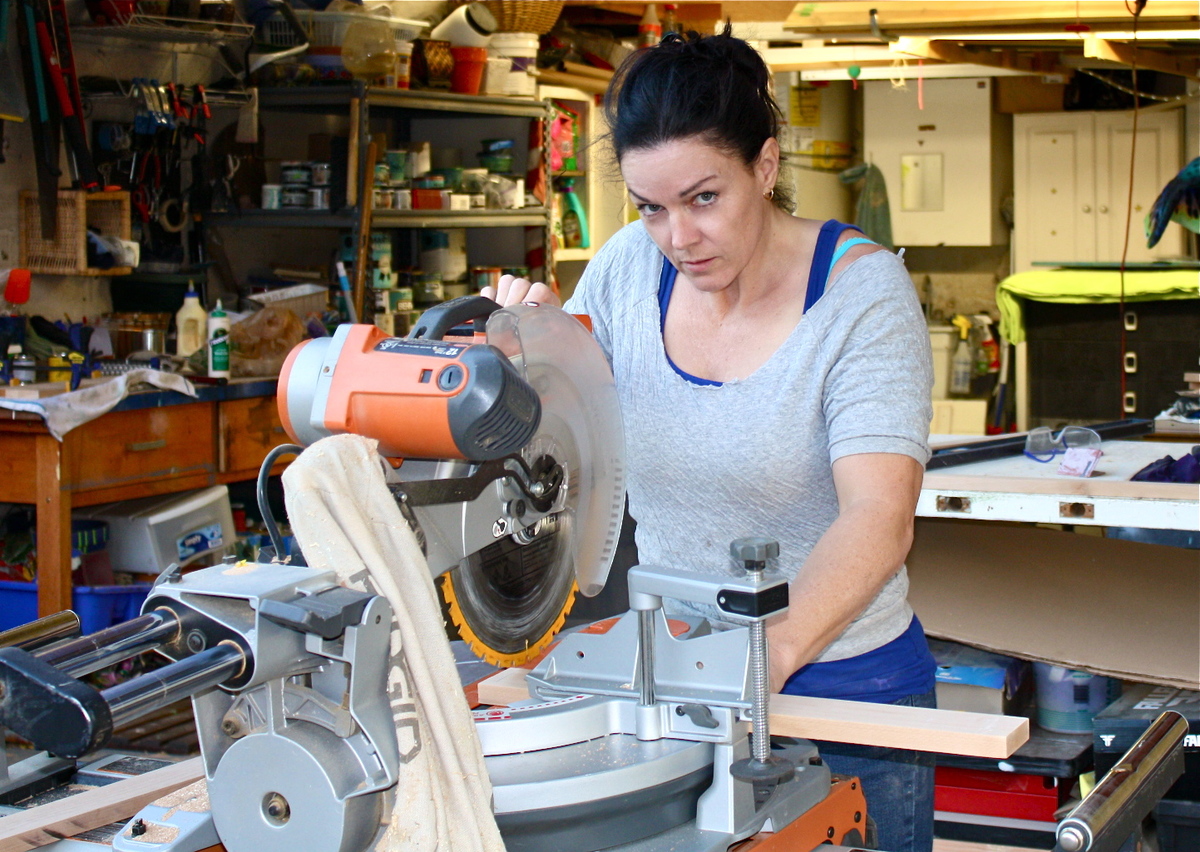
Built from discount 70% off lumber from Home Depot. I planed and cut down to size with a Ridged planer and table saw, then screwed together with kreg pocket screws. Since I will be kneading bread on it, I used a natural coffee stain and then butcher block finish..
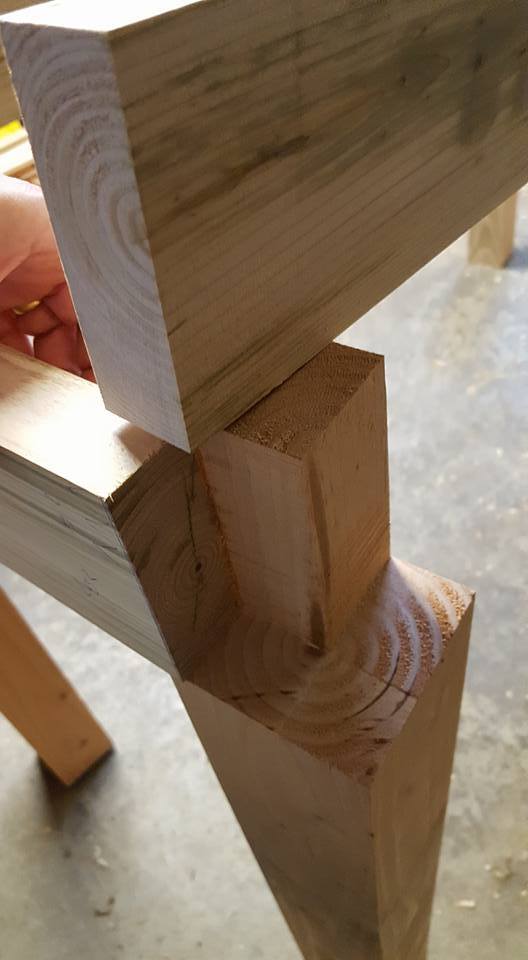
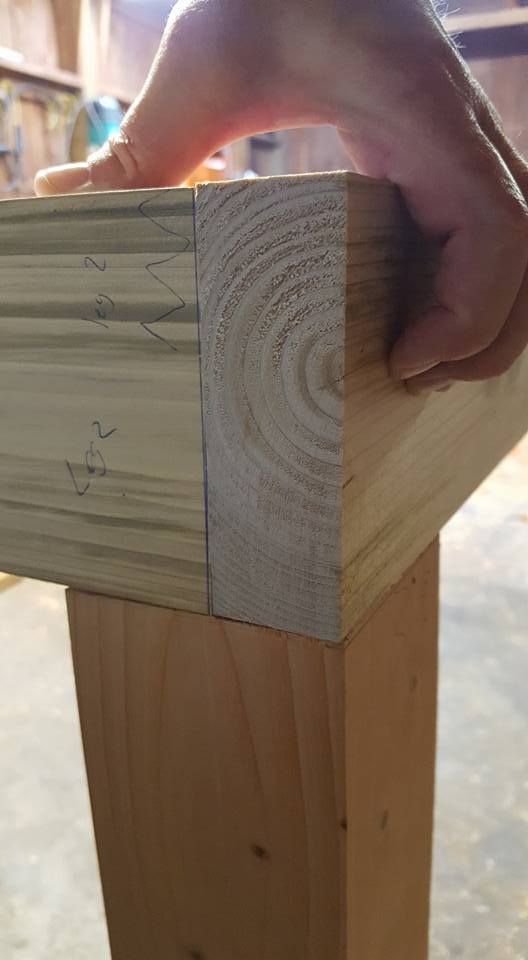
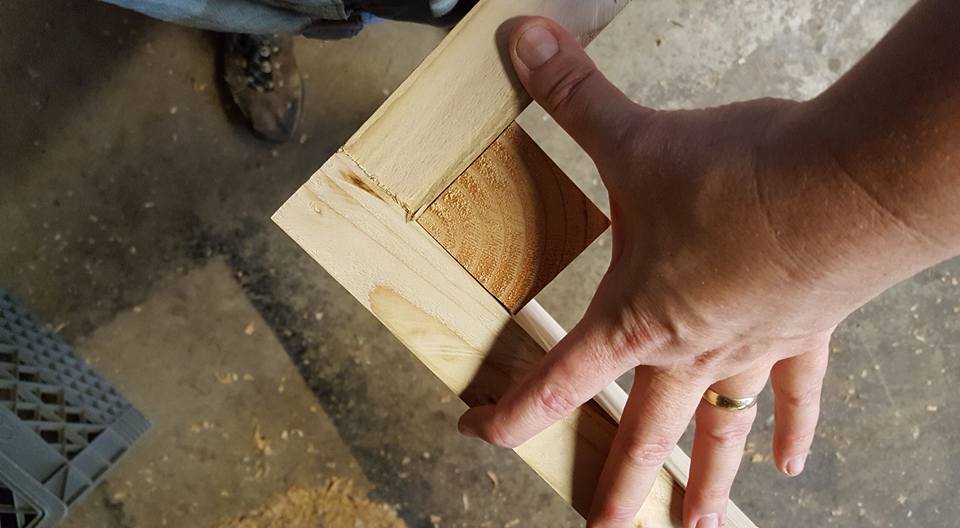
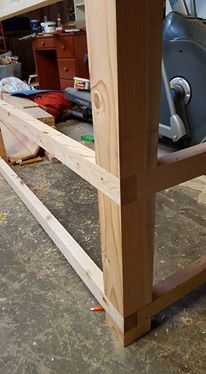
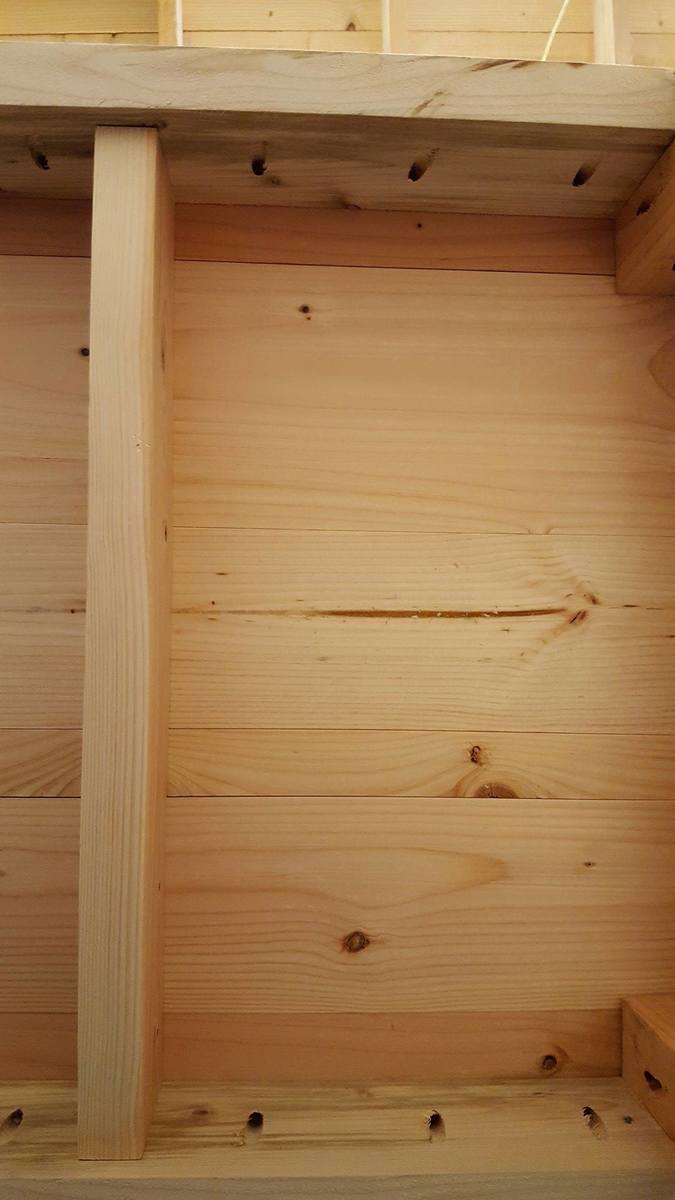
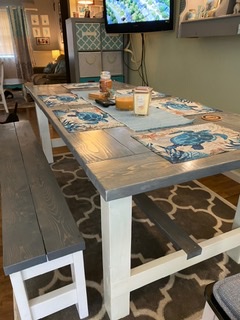
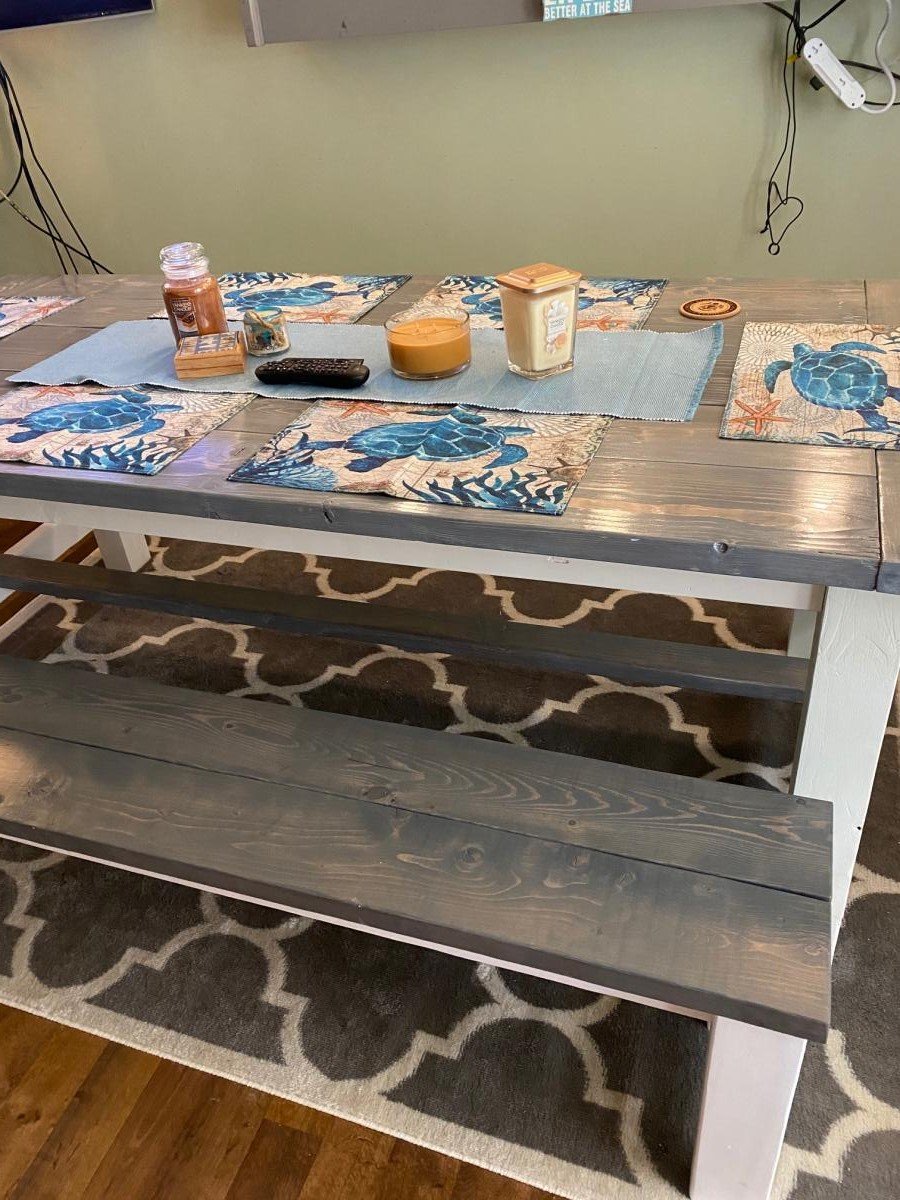
Once I made the farmhouse table, I had to make the bench to go with it! It compliments the table very well. Easy to build only took a couple hours from start to finish. I also used the kreg pocket hole jig on this project as well so no screw holes could been seen. Thank you Ana for the plans!
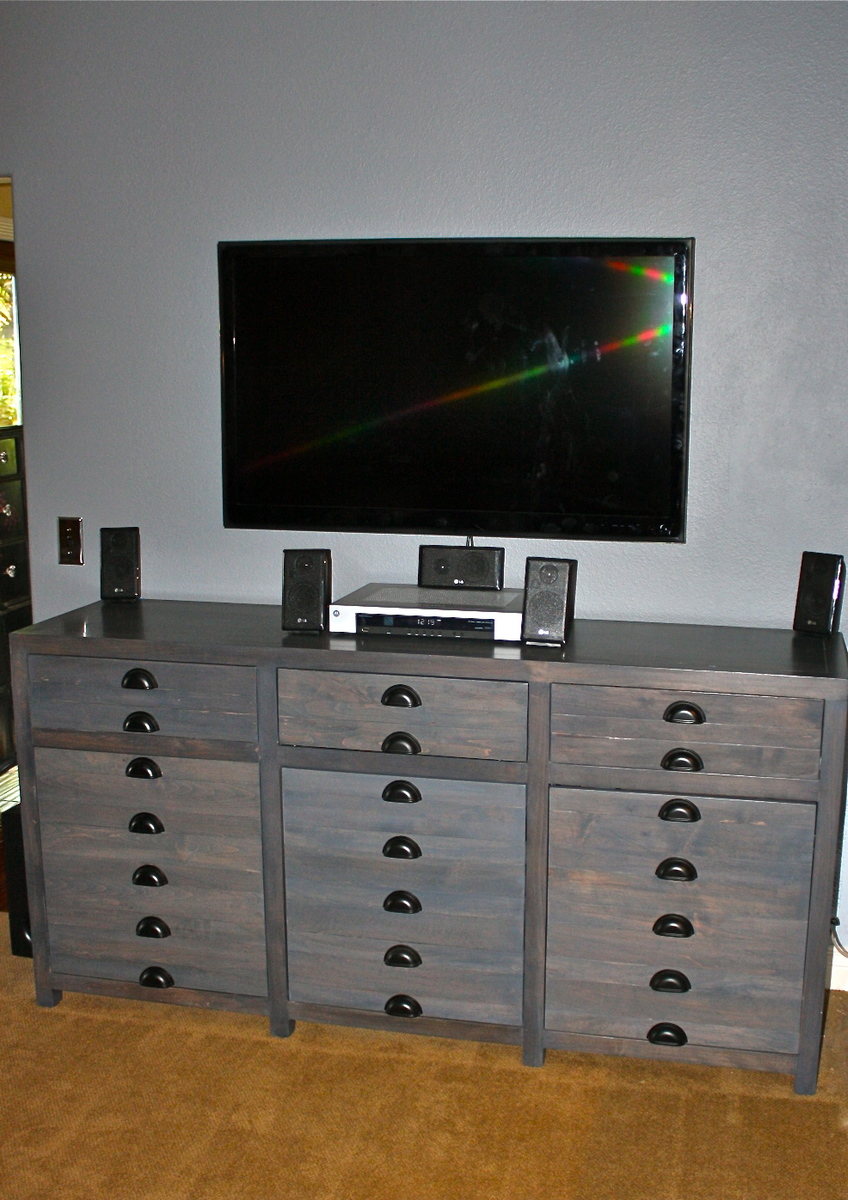
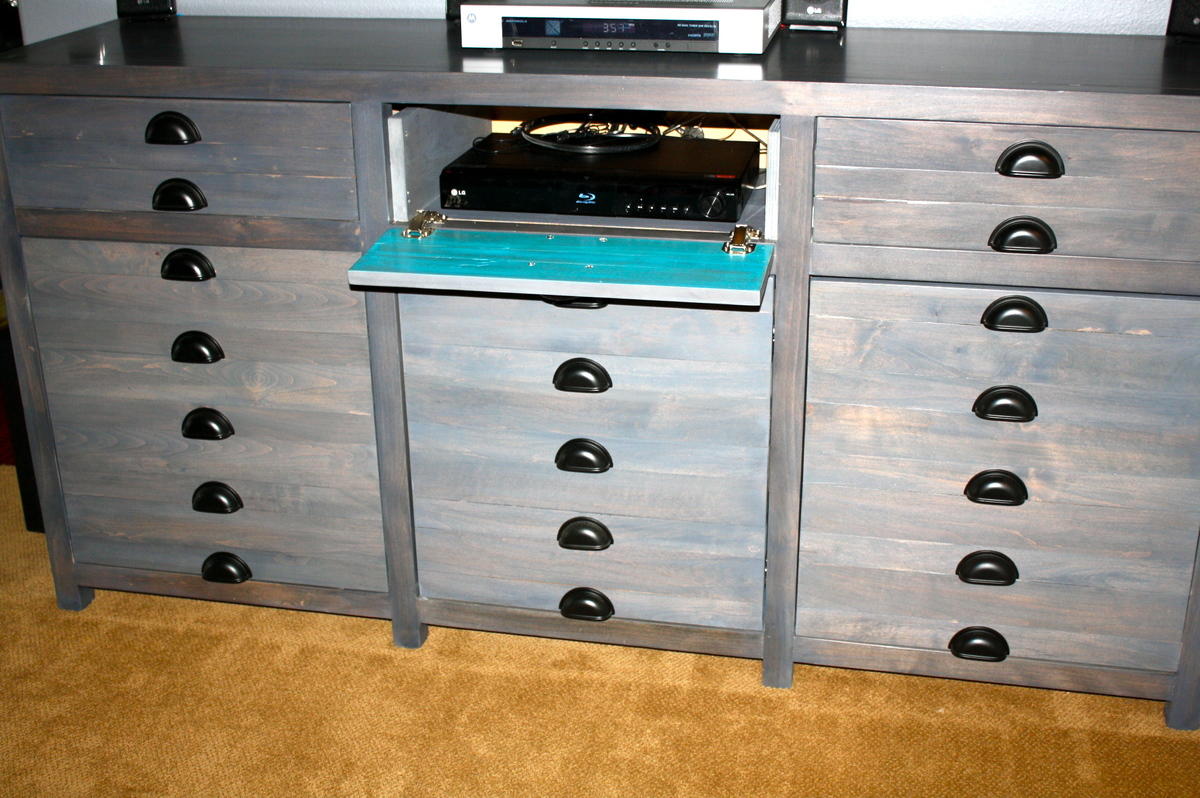
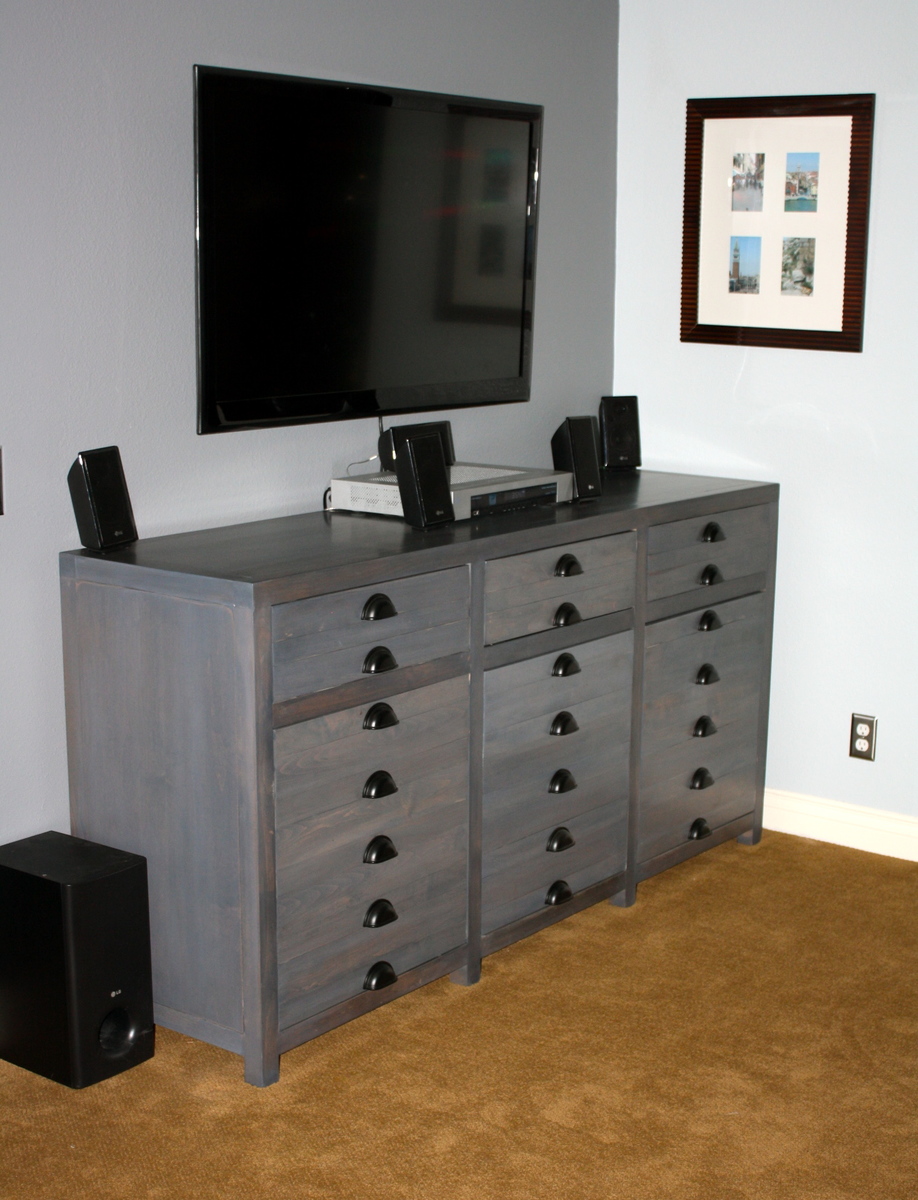
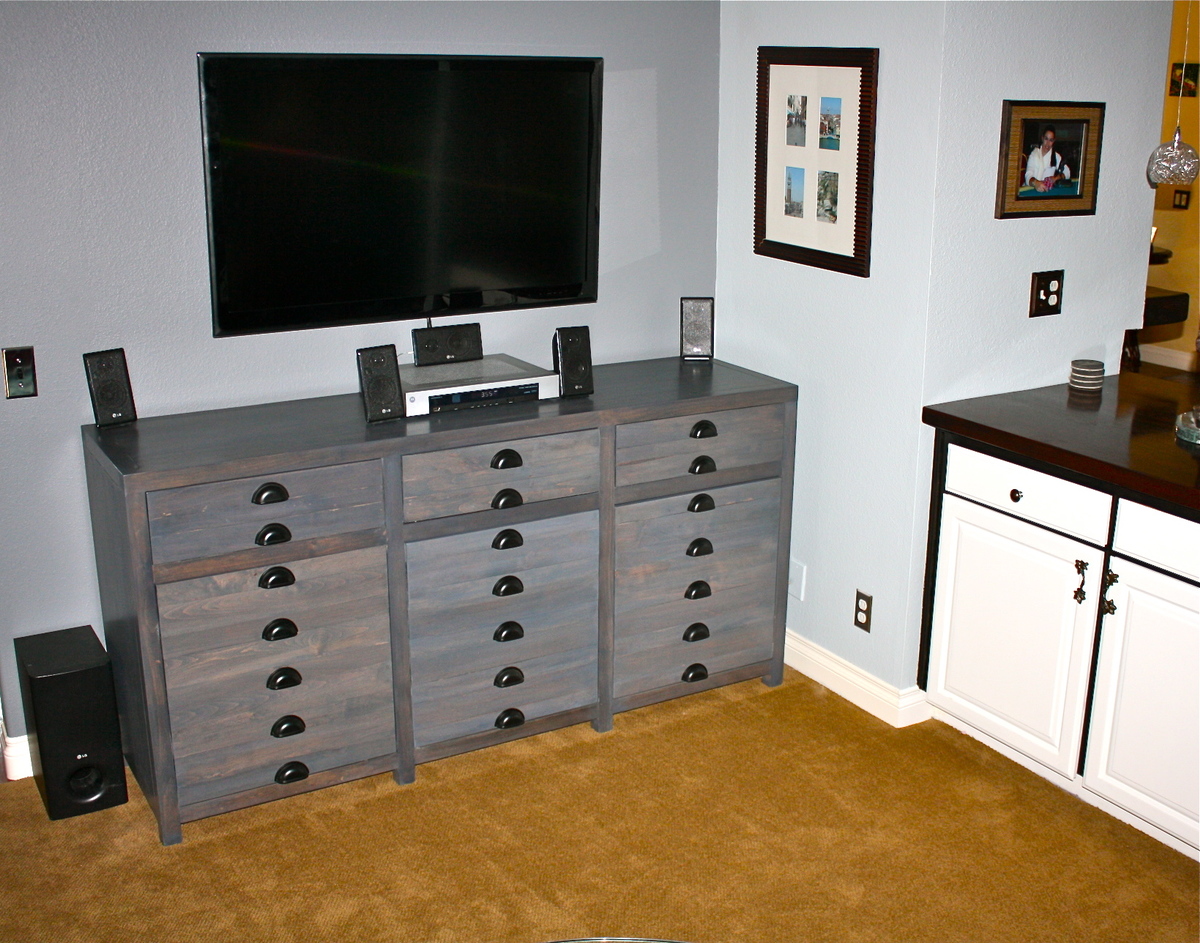
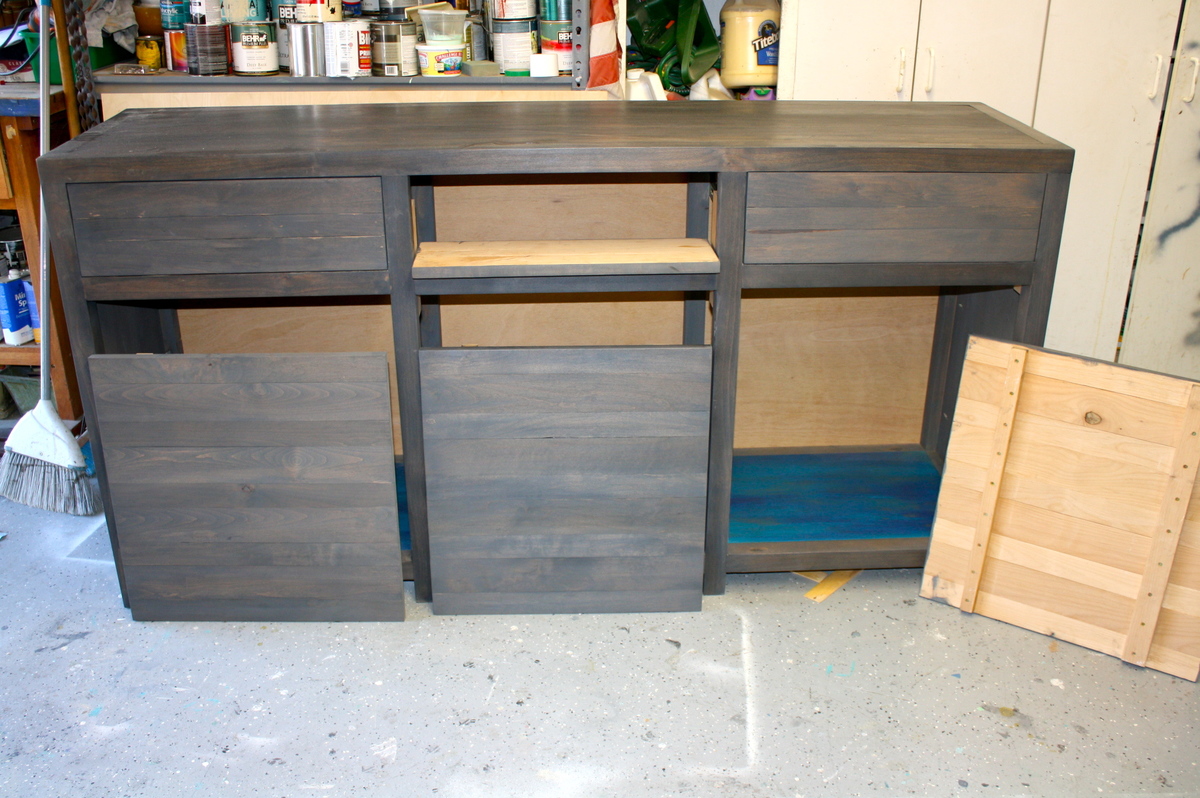
After seeing Ana's plans and how Jen Woodhouse at "House of Wood" finished it, I wanted one too! Ana's plan are very thorough and Jen's blog showed a very detailed version of how she completed it. I made a few changes, such as the pull down drawer front to conceal the DVR player and I inset the top rather than have an overhang.
It was quite a bit of work but totally worth it! The piece turned out beautiful.
Thanks Ana!!!! Beth.
Makemeprettyagain.blogspot.com for complete details
Sun, 11/04/2012 - 05:28
Love this. Looks like a lot of work, but what a nice functional piece of furniture! I have always loved that style of drawer pull.
-Ann
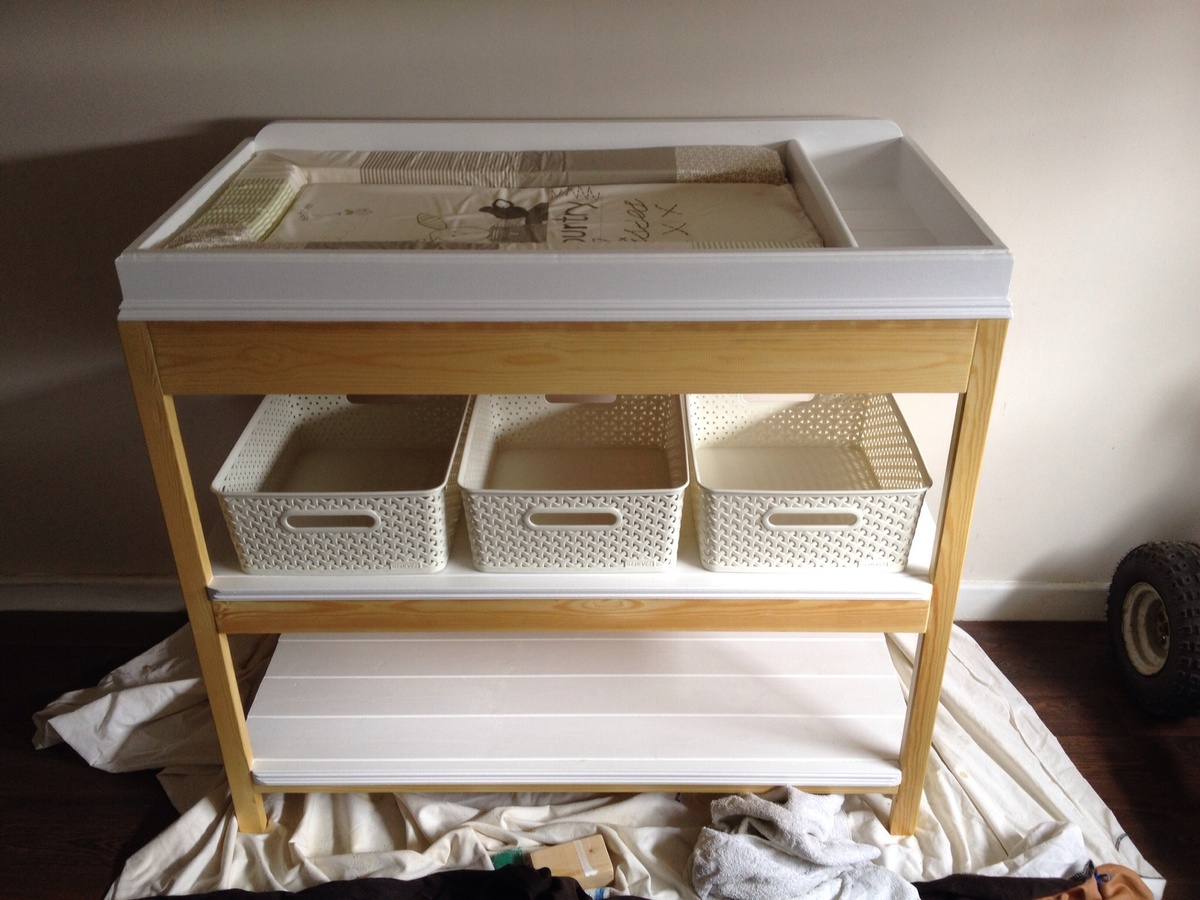
My first build.using these plans I had to convert to u.k. Sizes and alter slightly but it turned out really well
Built for upcoming event.
Thu, 08/21/2014 - 07:33
This looks beautiful! Thank you for sharing. And congratulations on the new baby in your life, whether it's a child, grandchild, niece/nephew, friend... :)
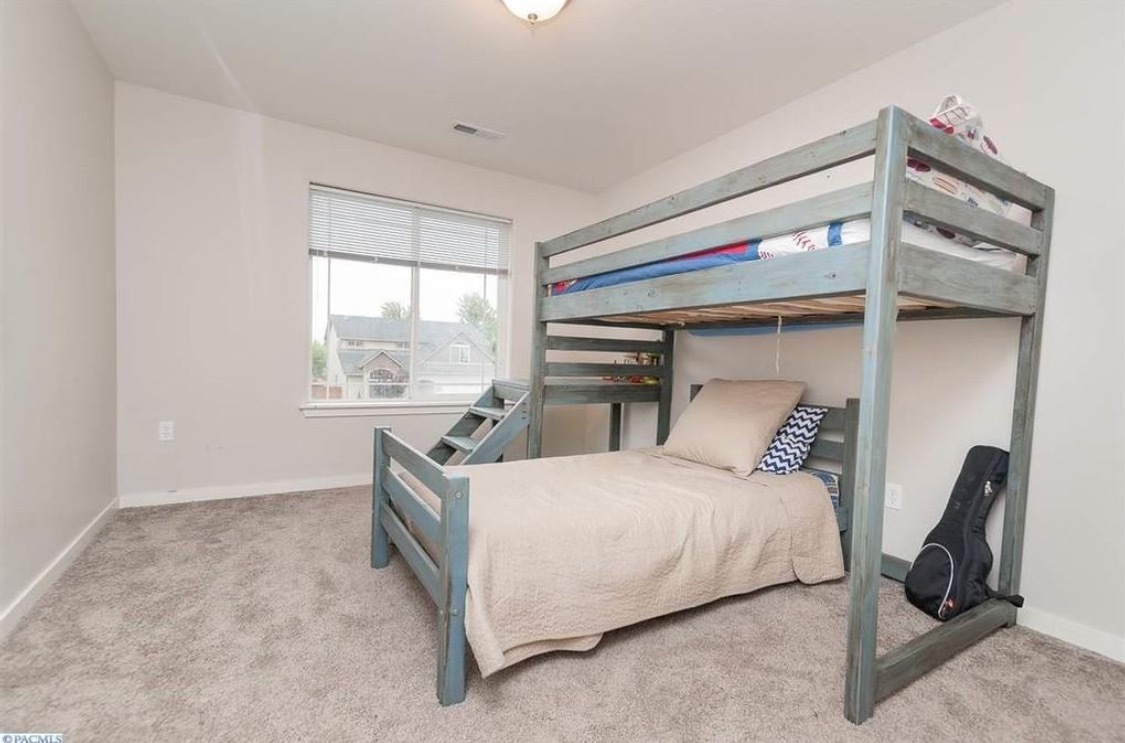
This project was so fun to make. When we have a bigger room, we will put a slide on the other end. My son loves his bed!!
Mon, 12/14/2020 - 11:28
Did you use larger boards for the posts in your build? I noticed the connecting boards seem to be centered. Looks fantastic and would love if you could share your modifications!
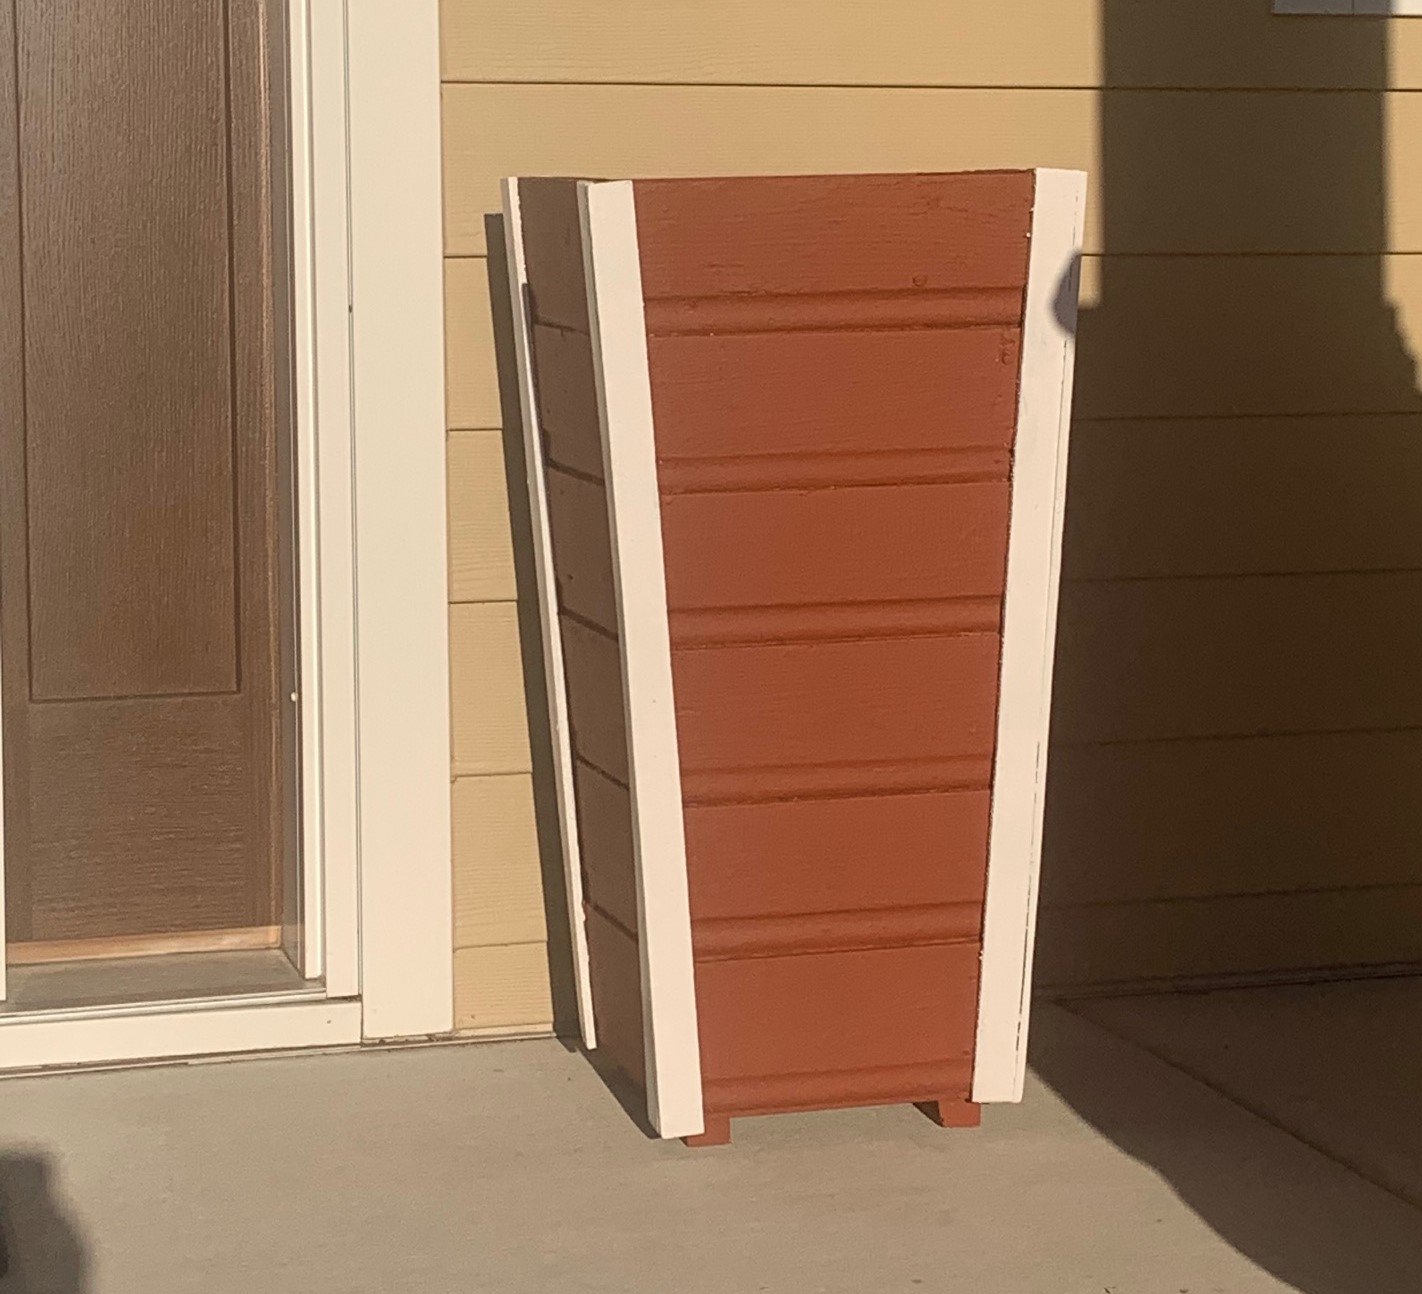
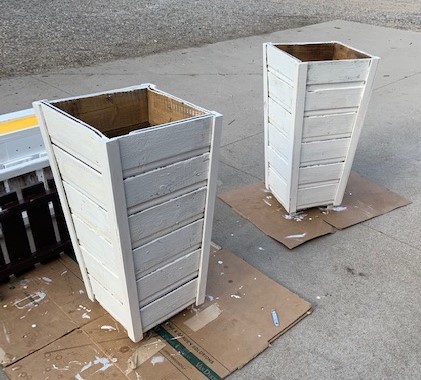
I did this this spring in preparation for my summer garden flowers
My neighbor found this>50 year old barn wood and thought I could use it.
Furring strips were from a garage pile
used stock of nails
paints extra
cost almost nothing
enjoyed my time with this
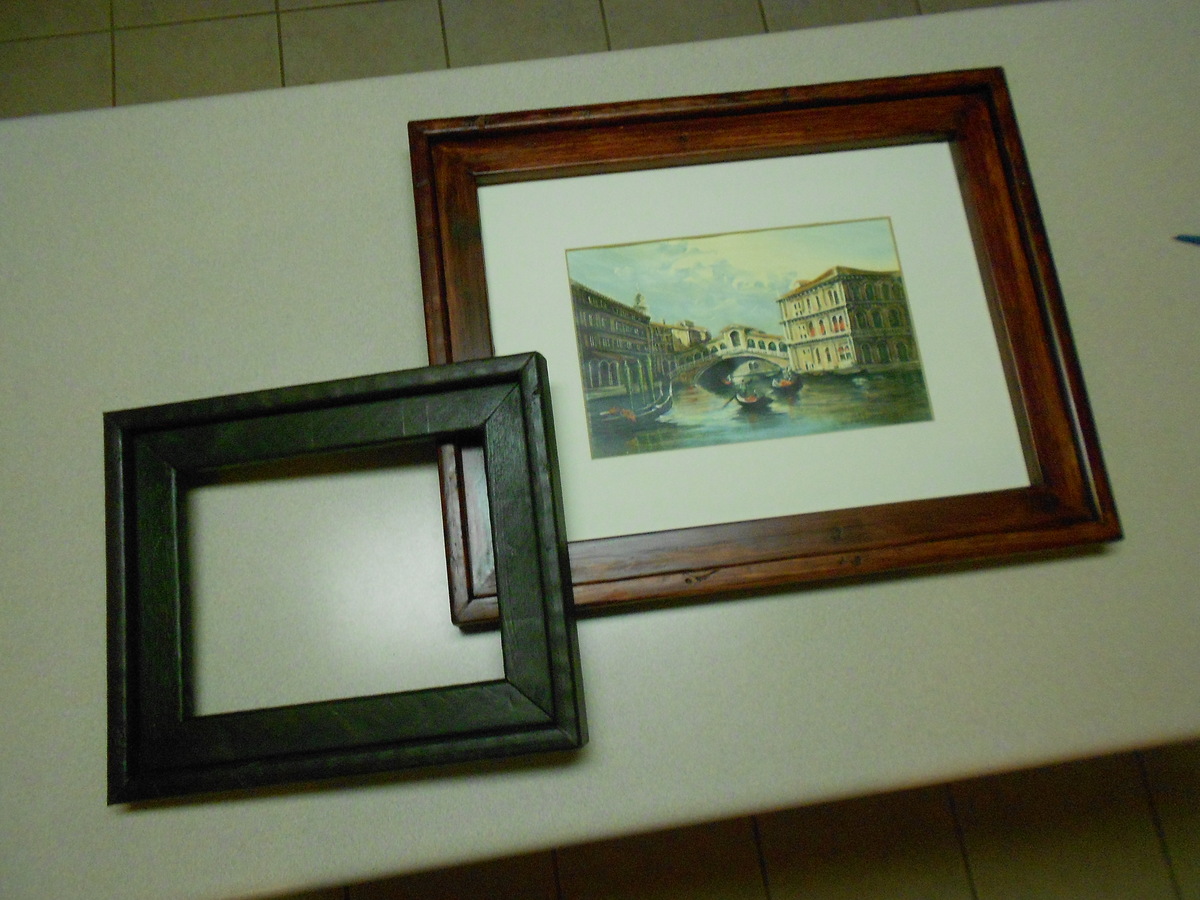
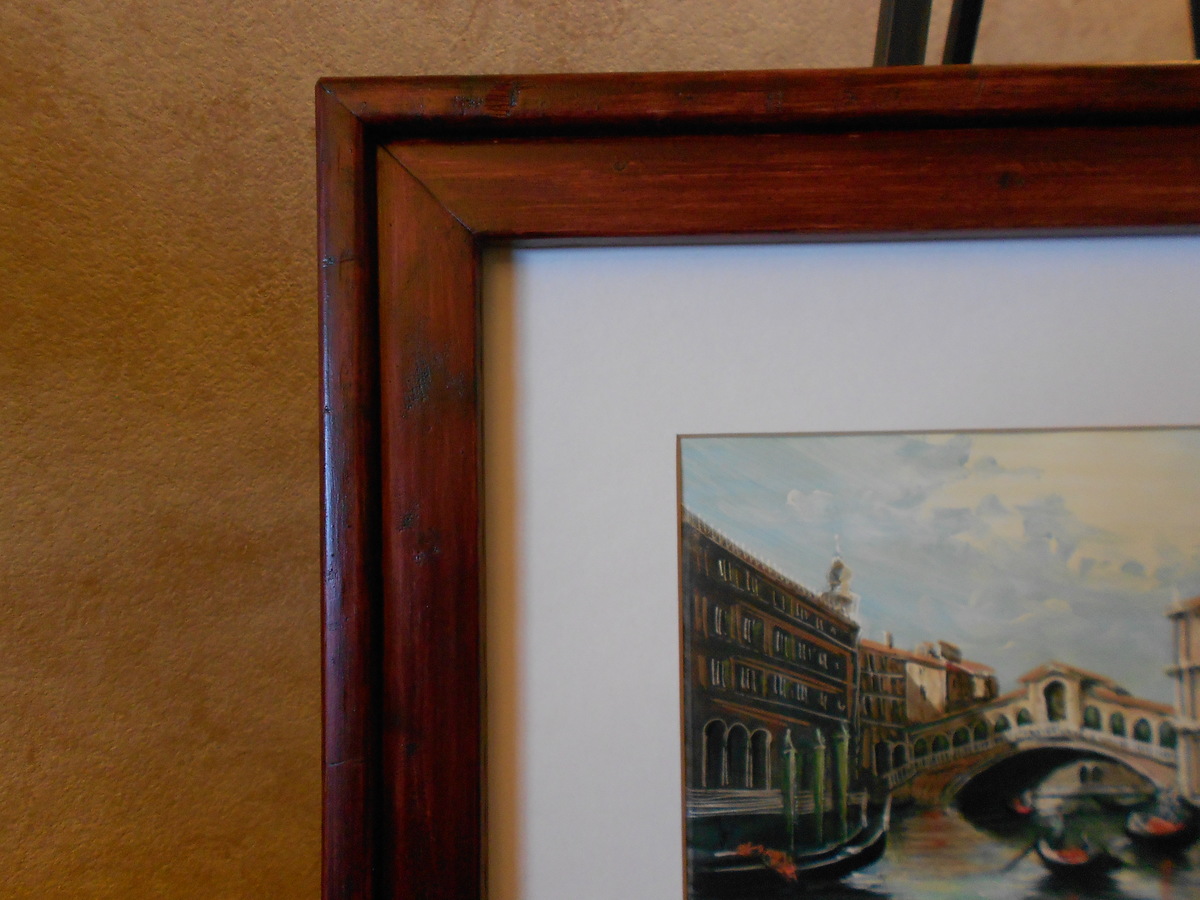
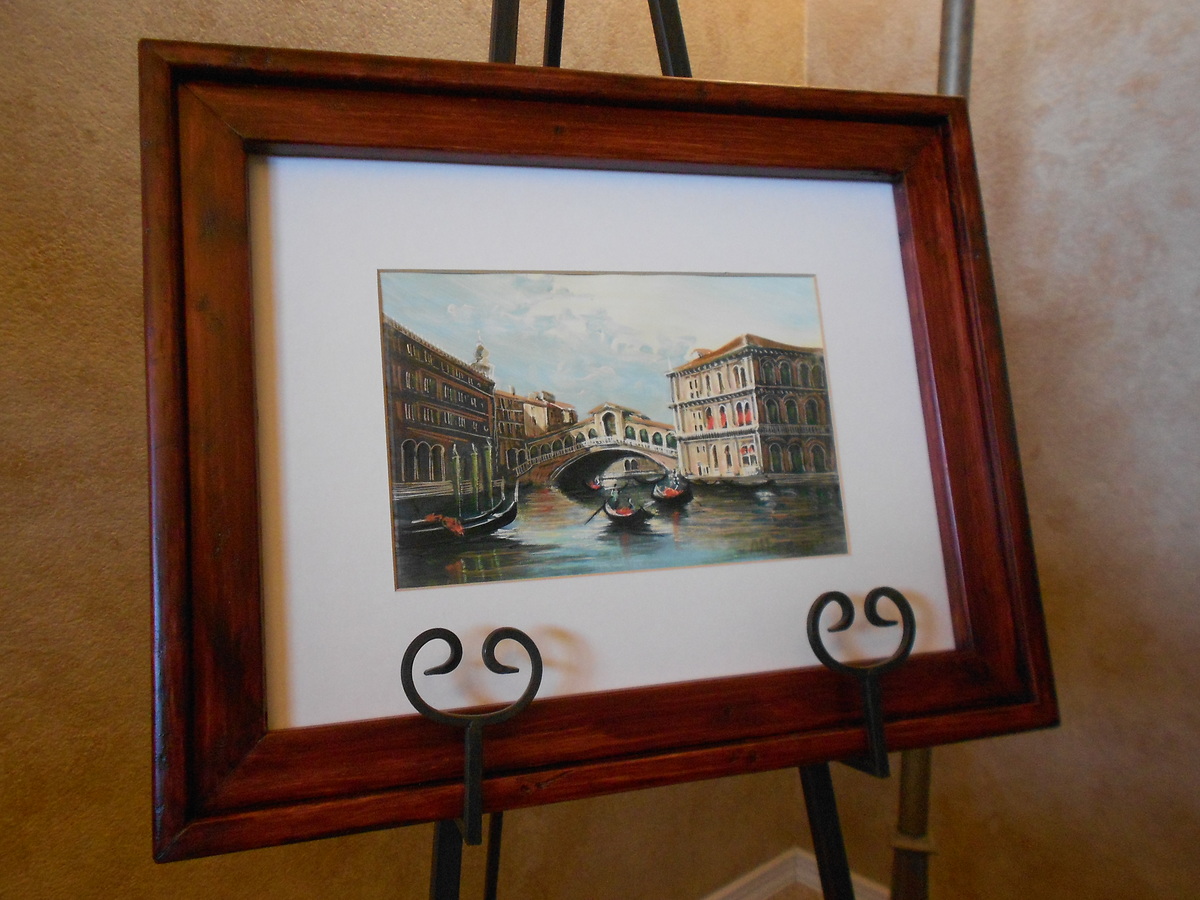
I can't believe I made these two picture frames thanks to wonderfully simple plans! We bought a painting in Italy 16 years ago and I was never able to find a ready-made frame beause of the unusual dimensions and I didn't want to pay for a large custom frame. Now I have one! The smaller frame accommodates an 8x10. Both frames are made out of the $0.89 furring strips at Home Depot.
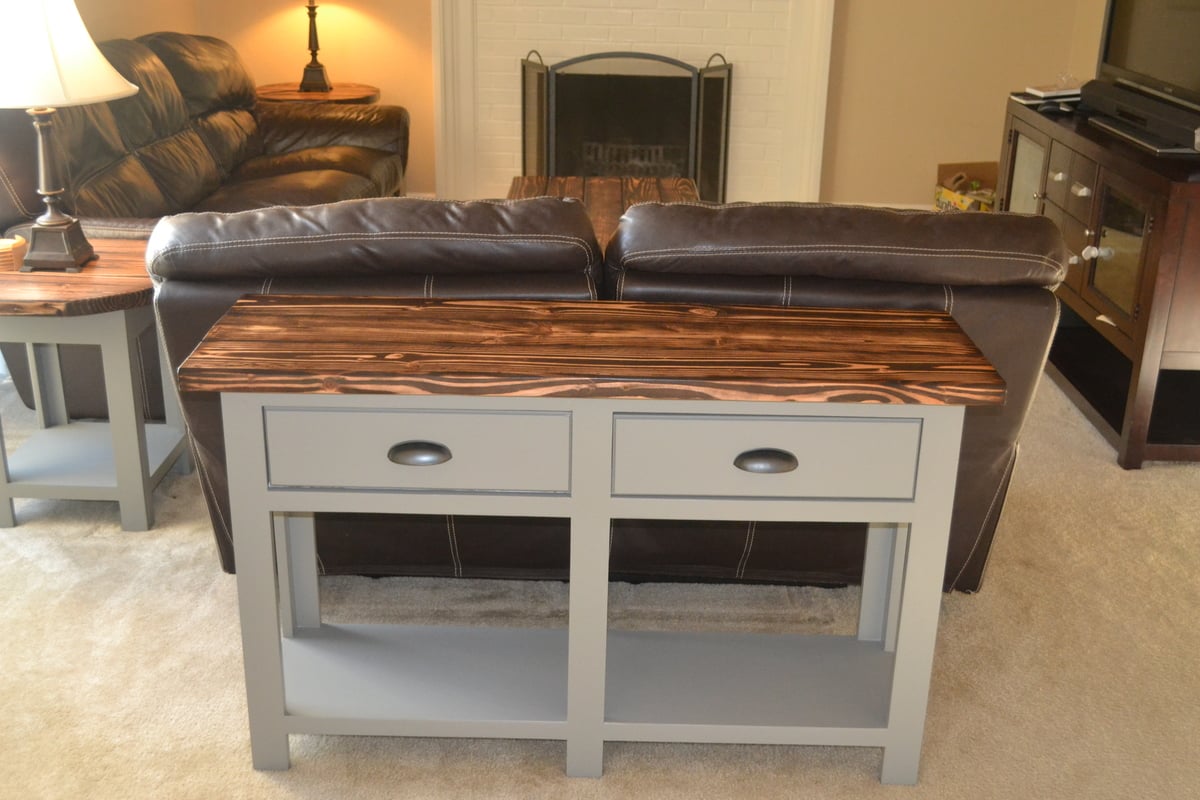
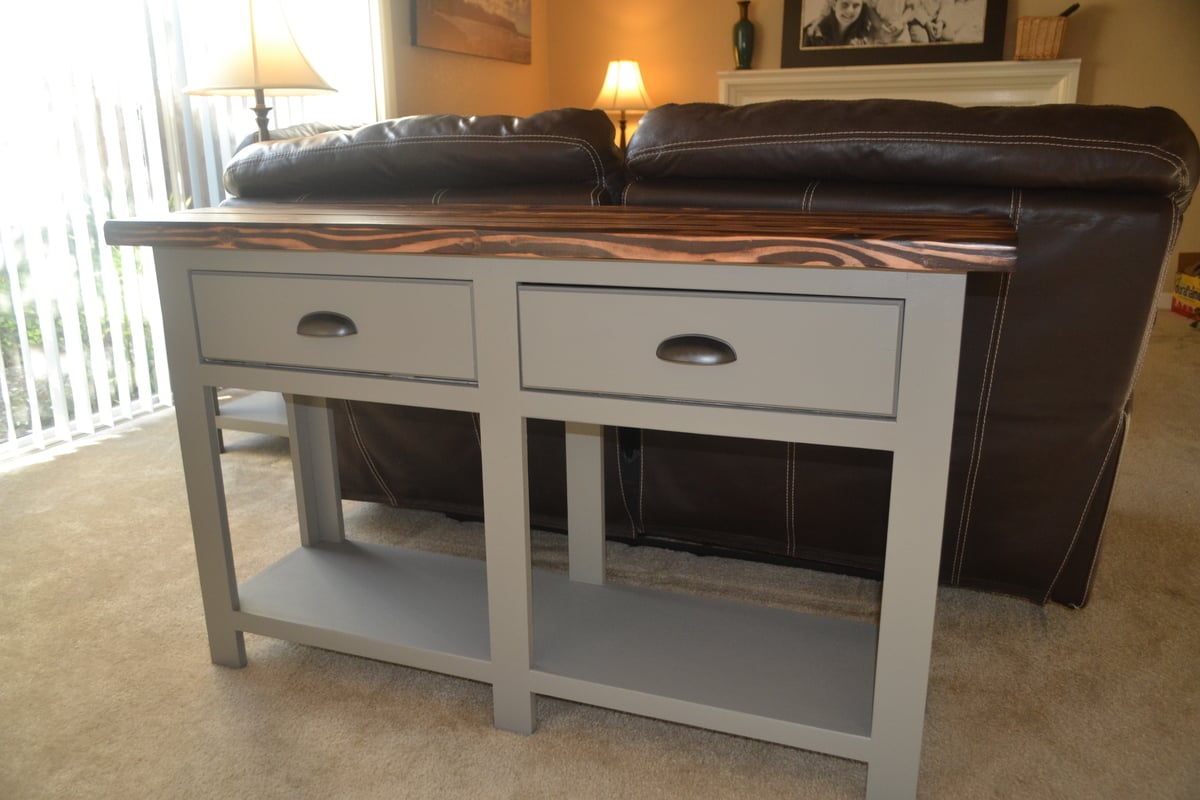
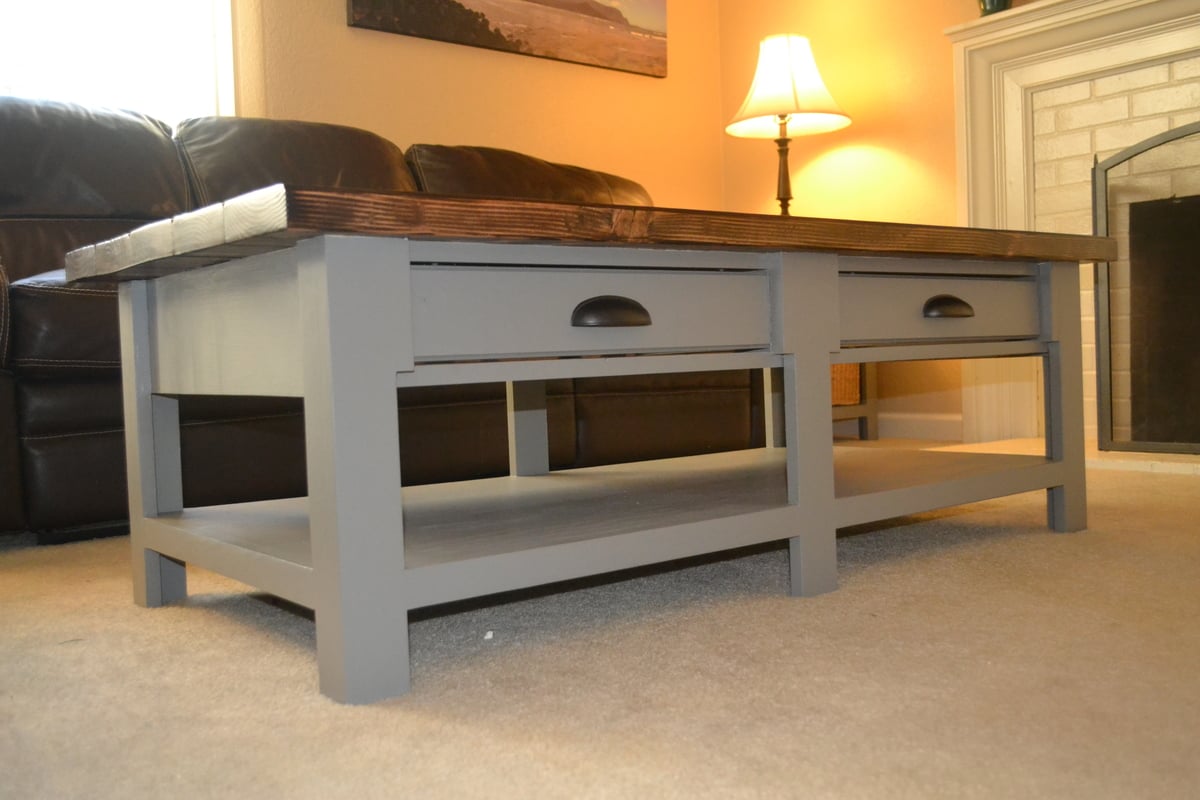
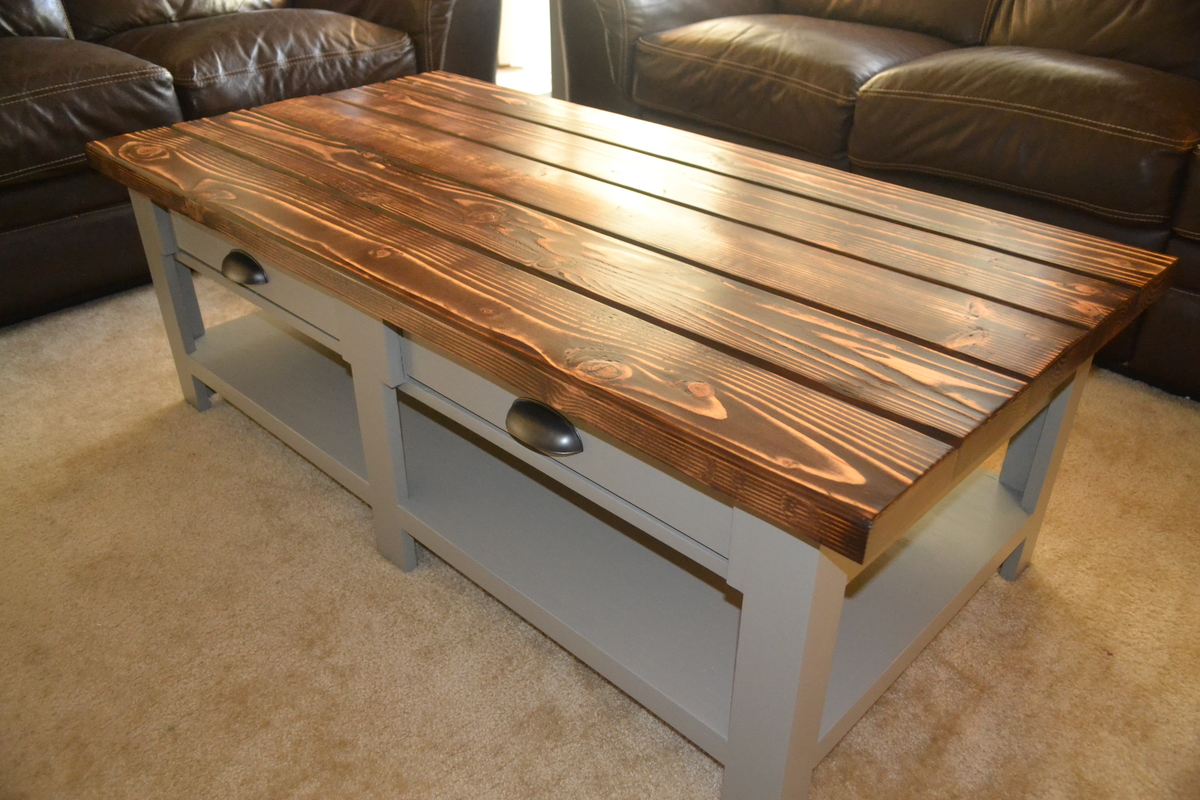
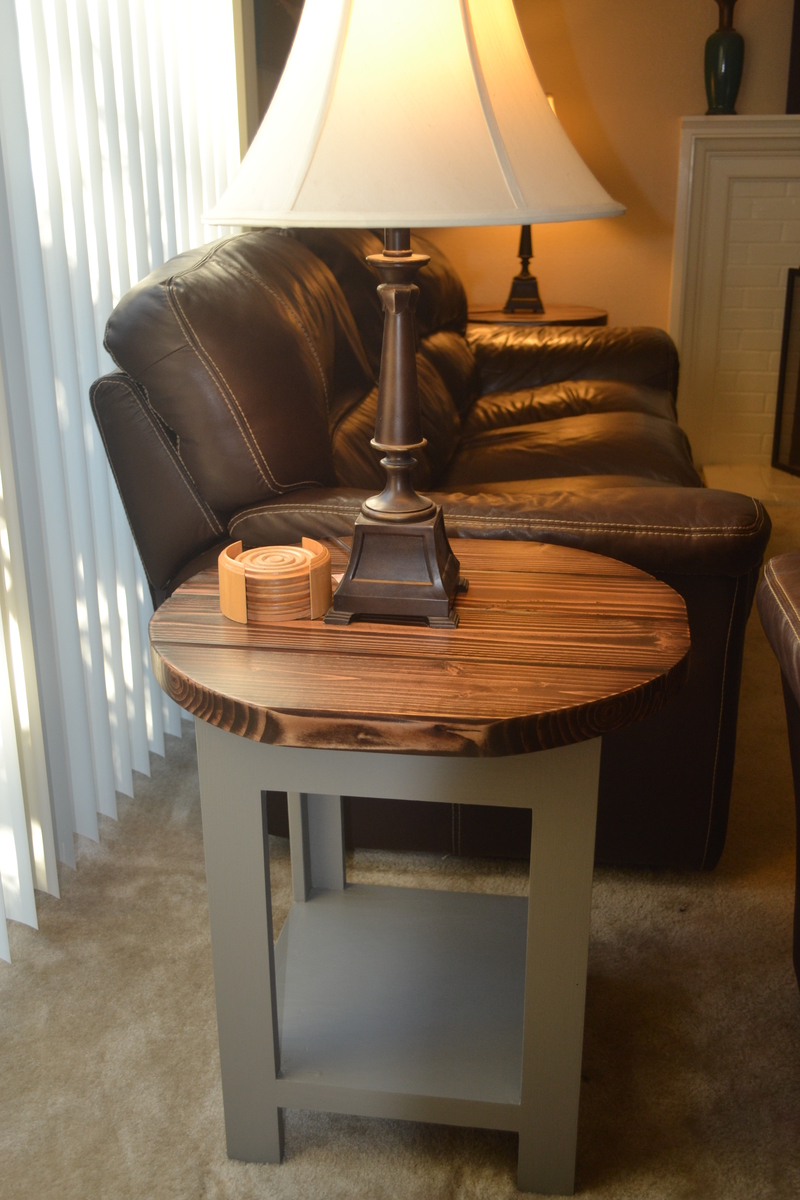
We liked the look of the PB Benchwright living room collection but wanted to make a few modifications. The side table tops were cut a little larger and not perfectly round as we wanted to have a small flat surface on each side. We also wanted to have the same look among all pieces so rather than angle the legs on the side tables, we cornered it so it matched the other pieces. Table tops are 2x6 Douglas Fir boards that we added a 'V' groove in each of the seams and sides.
Wed, 08/27/2014 - 14:21
What a marvelous build! Absolutely love your finish colors and the coordinated details on each piece. You did an awesome job!
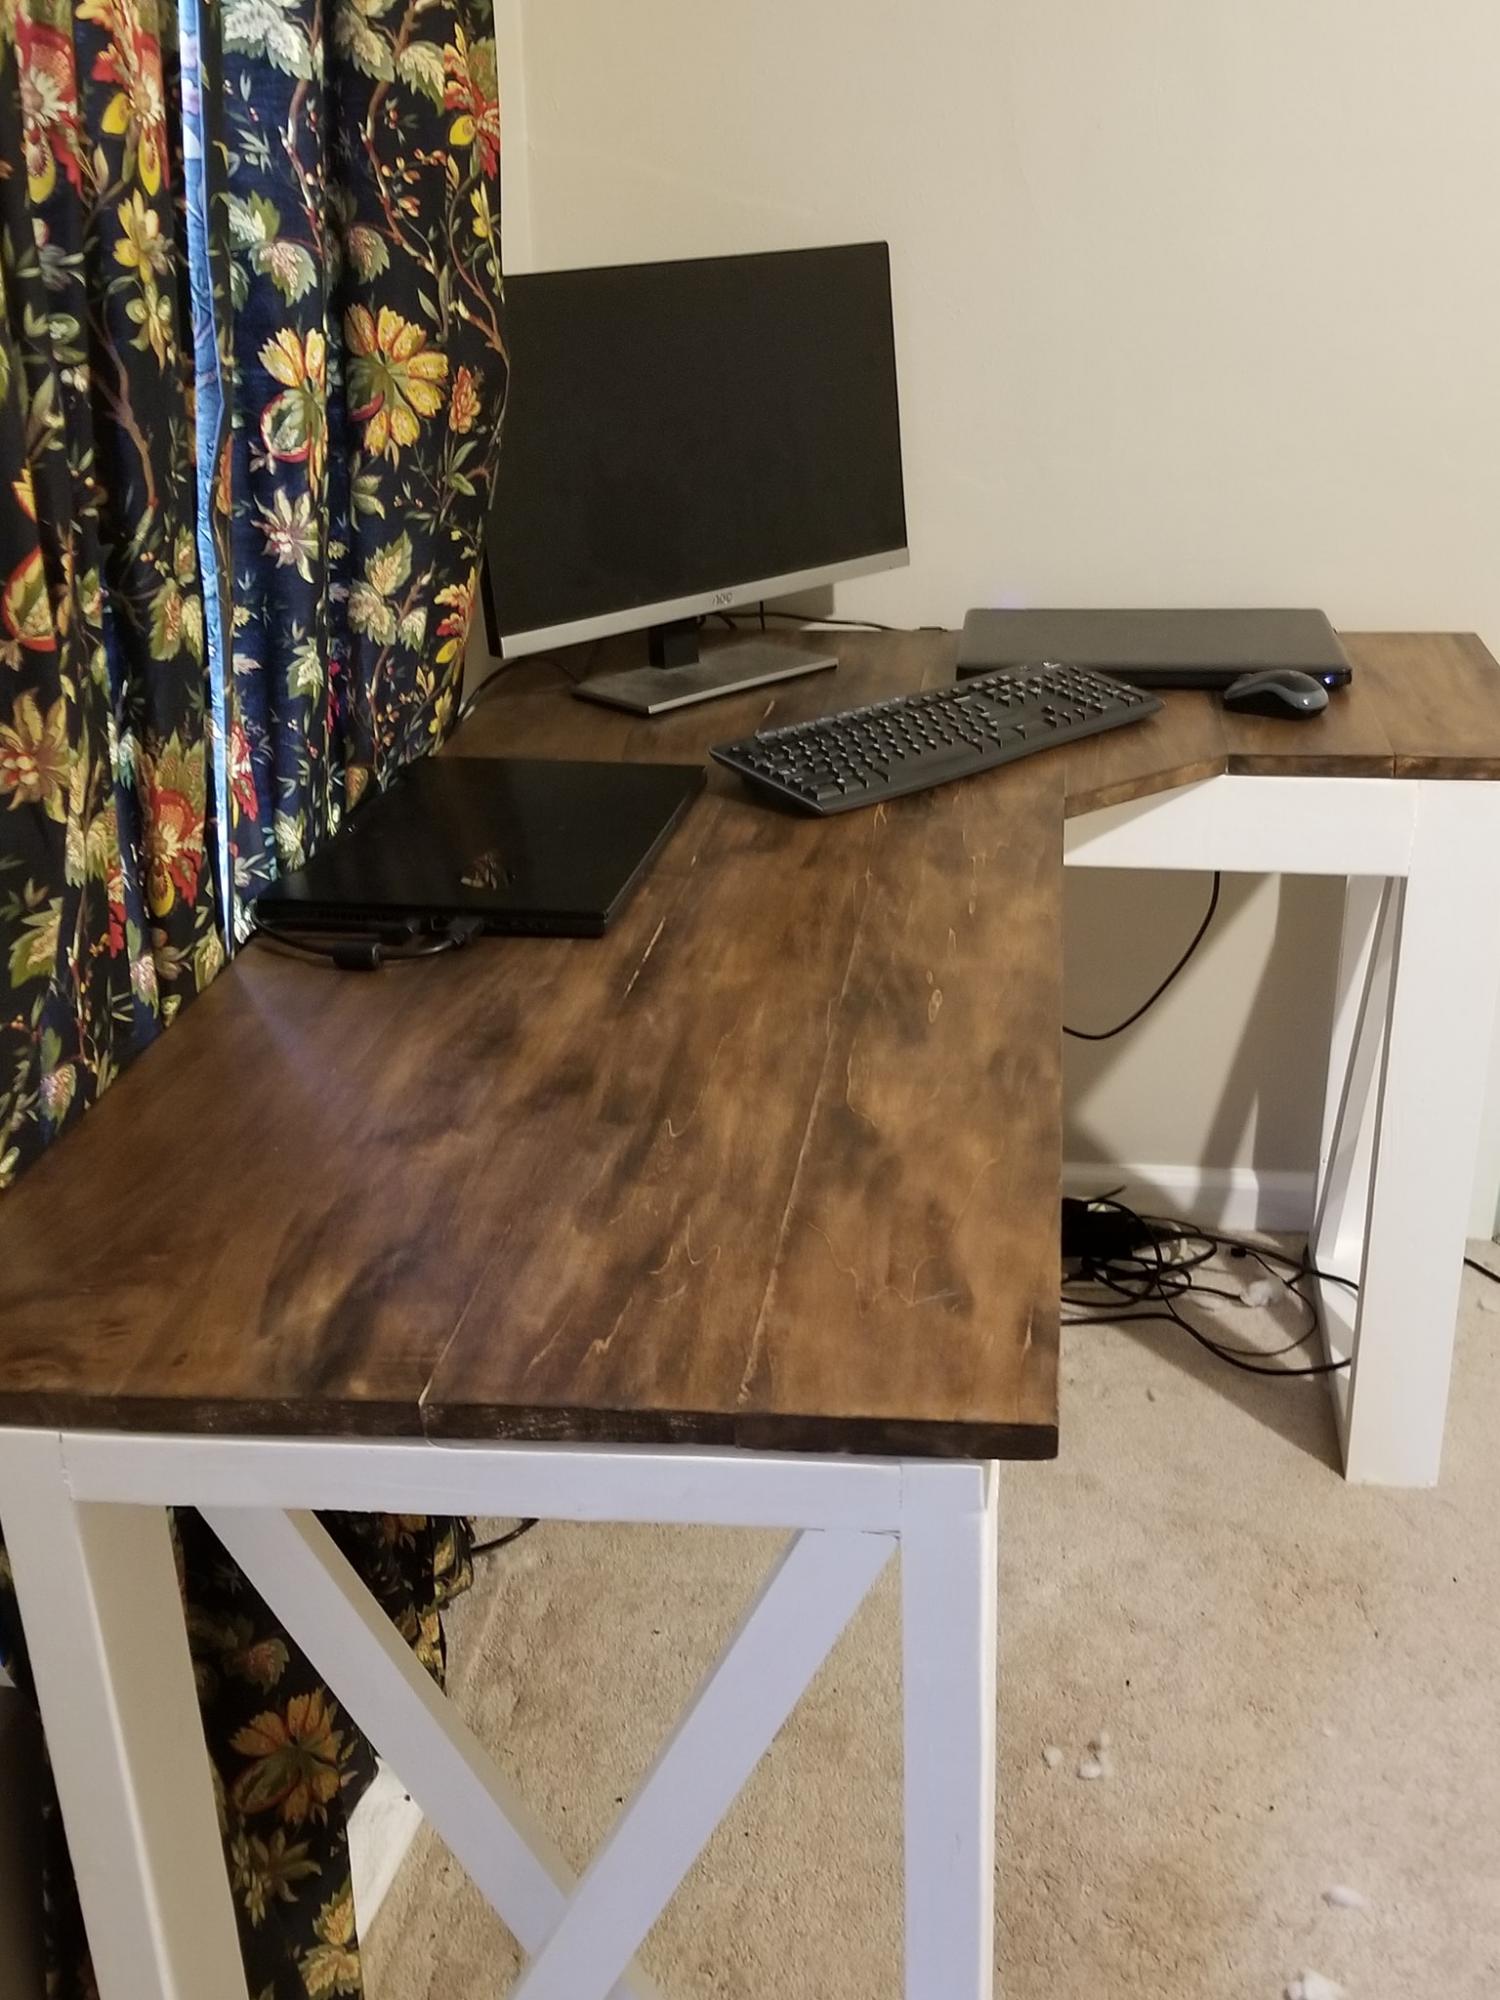
I modified this plan for the short leg to only be 37.5" and the long leg is 60" to fit my space. The bottom is painted white pine, and the top is poplar stained with Minwax Honey and 2 light coats of poly. I also cut a 45* angle in the top to make sitting in the corner a bit more comfortable.
Project was completed in one week (including finish drying time) for about $100.
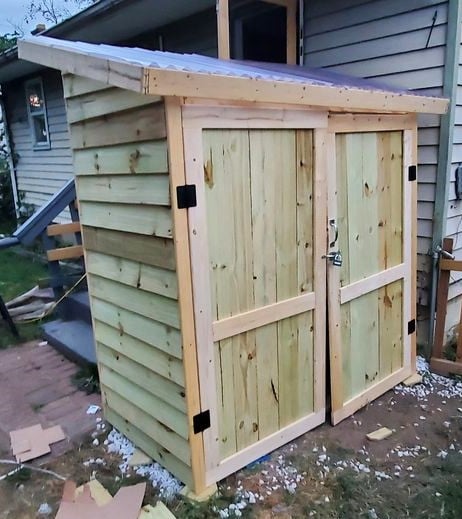
Took me a week to build but not bad for a one-legged man and no help. Instead of shingles I opted for corrugated pvc. Setting up shelves inside and going to build a bin for scrap lumber with scraps in the corner. I think I made some cutting errors on the doors there is a 1" gap between them. I put white marble stone down to keep it from setting directly on the dirt. - Edd
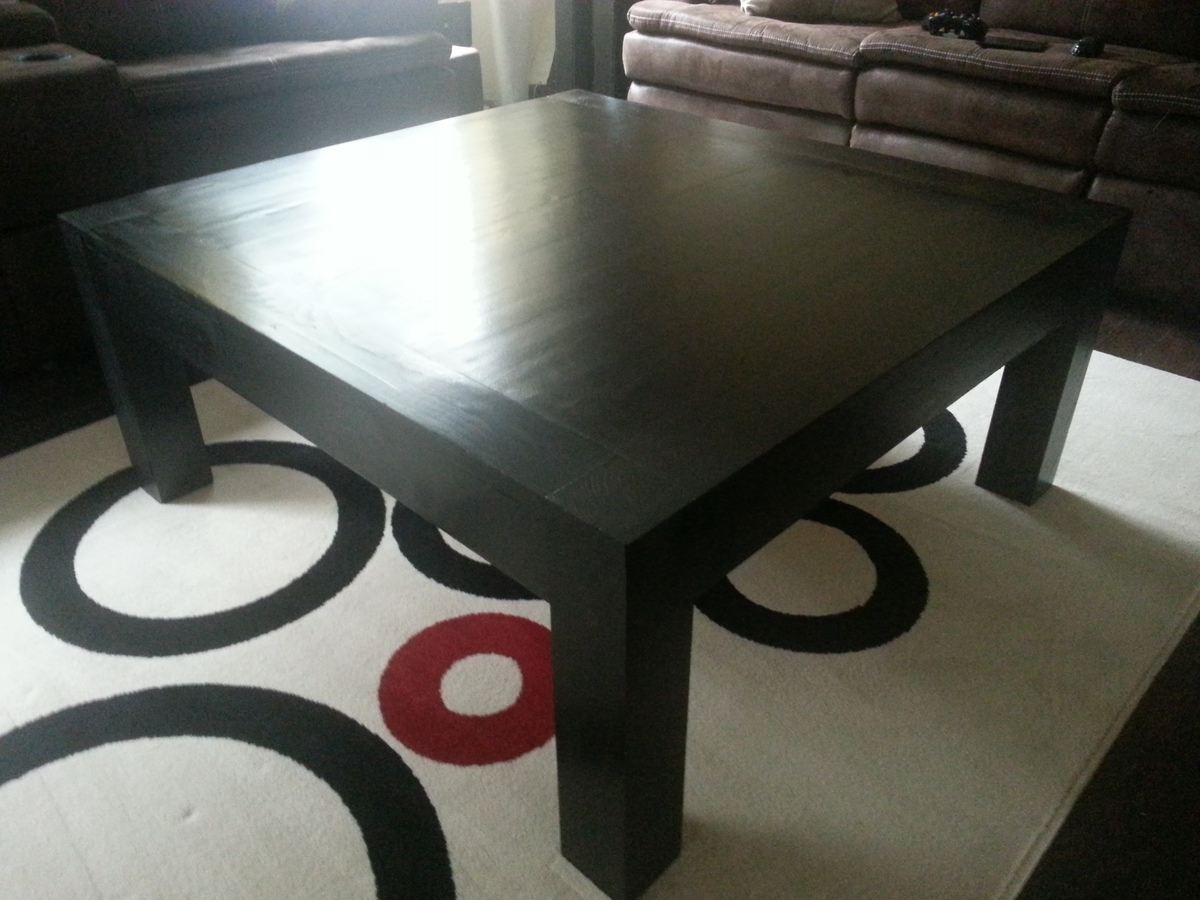
Followed the plan perfectly. A little too perfectly, as the table turned out so well that I have To go back and rebuilt the iSideTables ;)
Same as the plan, used Kona stain, but I left it on for 2 coats.
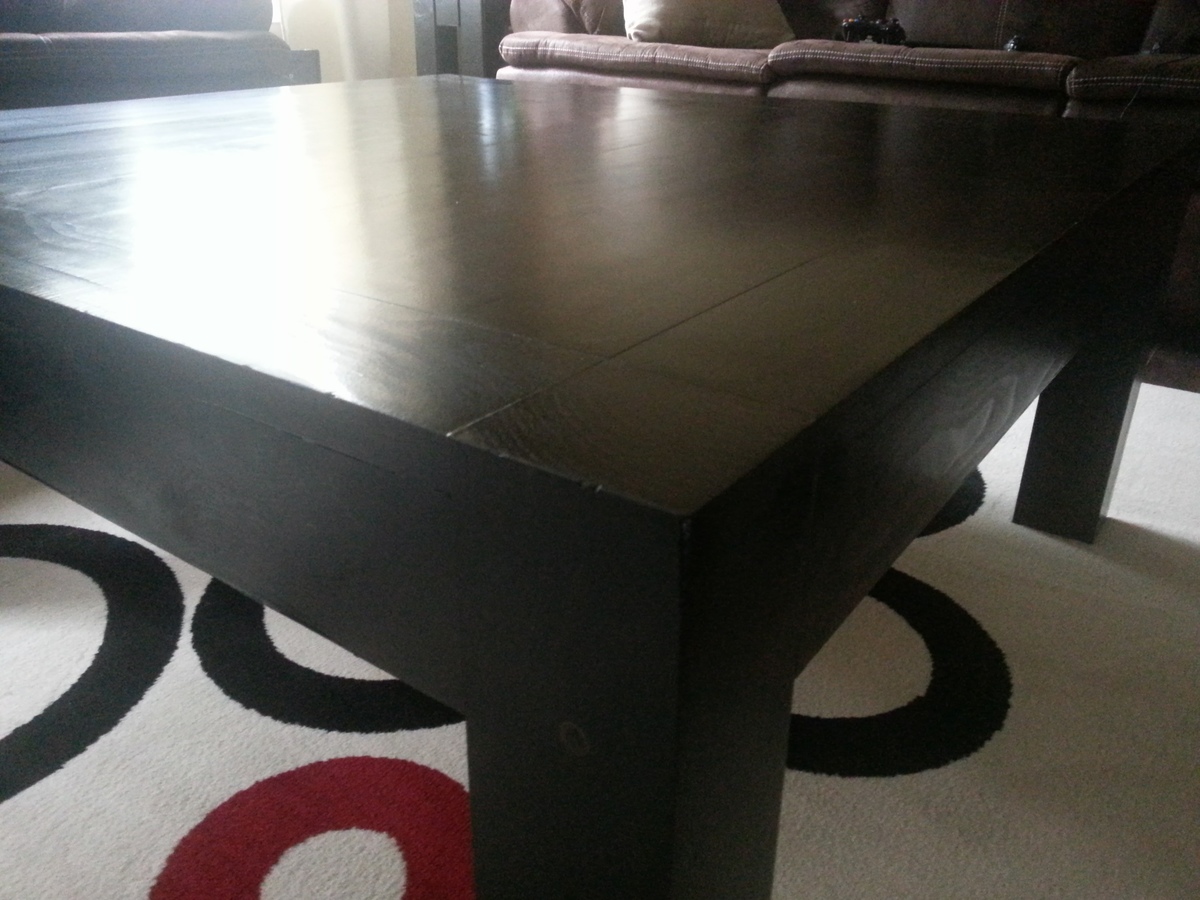
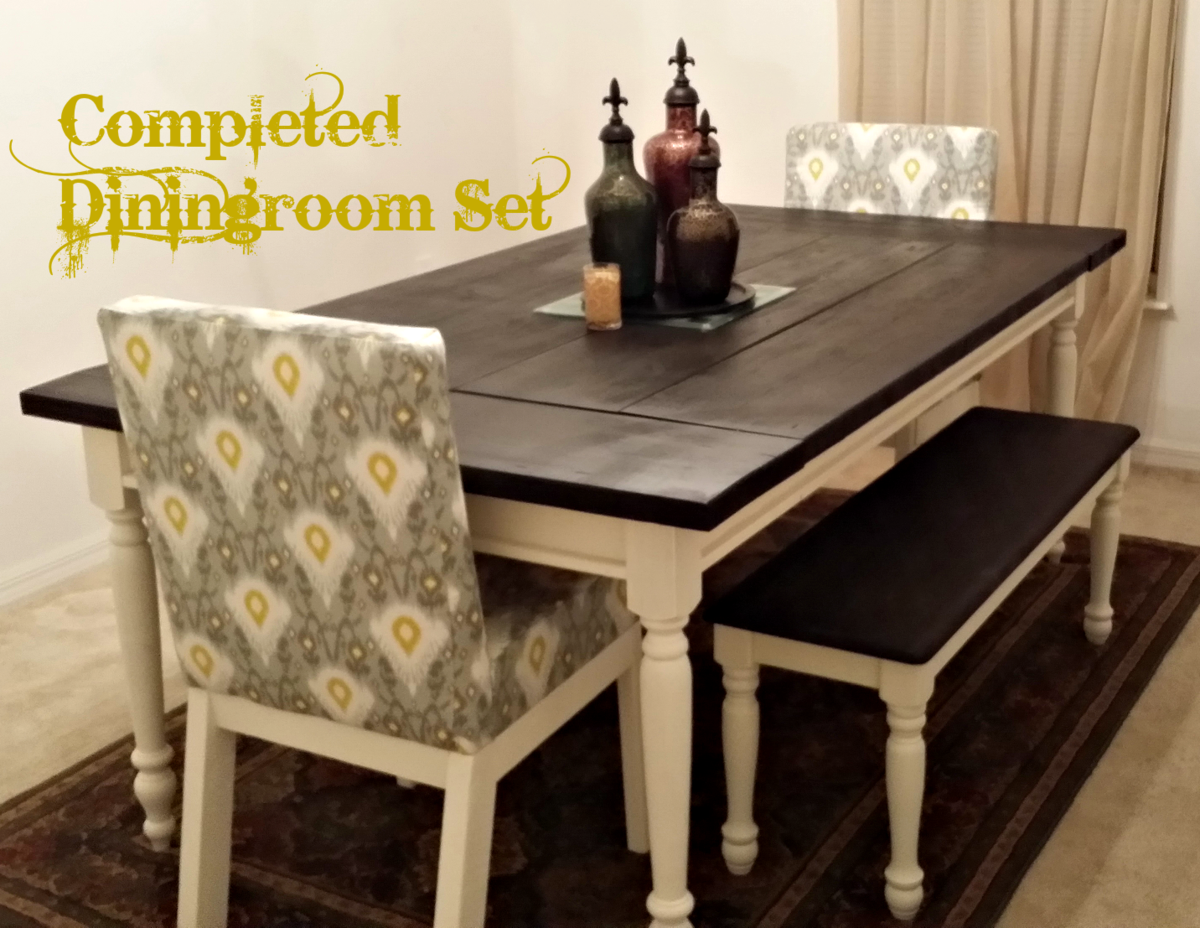
I have lived in my house for over 9 years and have never done anything to it until recently. I have made the commitment to move away from plain white walls and boring "plug-n-play" furniture. I discovered Ana's site a few months ago and have been a daily visitor. I made this dining room set with the confidence Ana's instructions gave me and I am forever grateful.
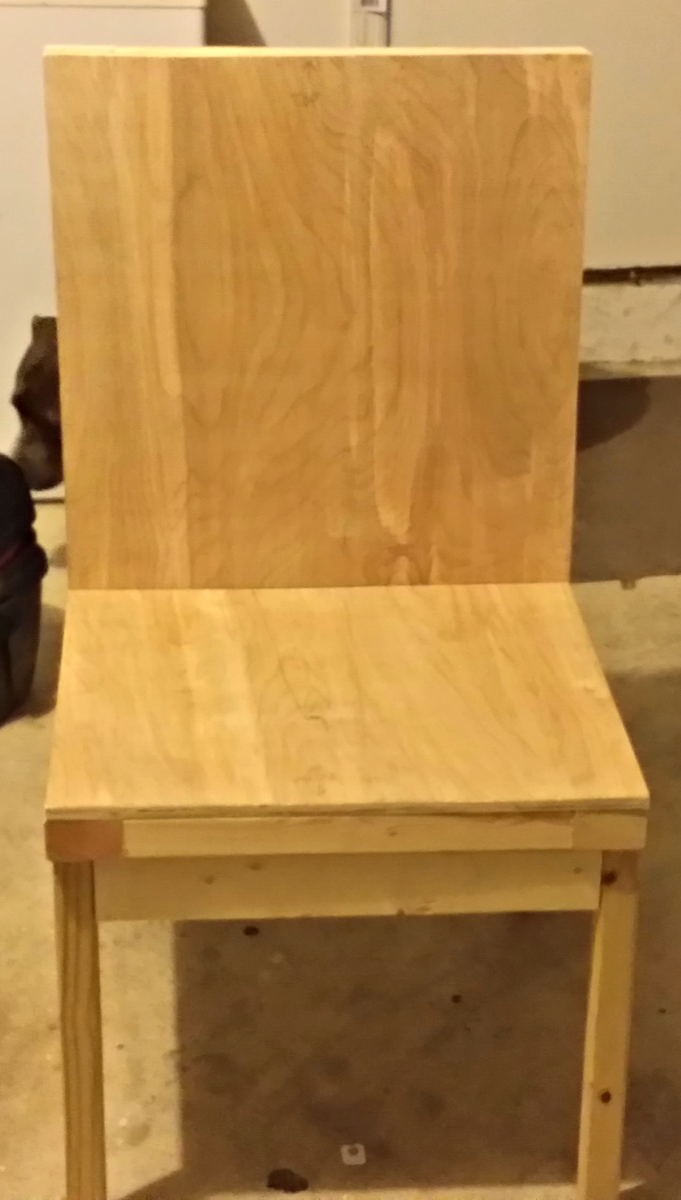
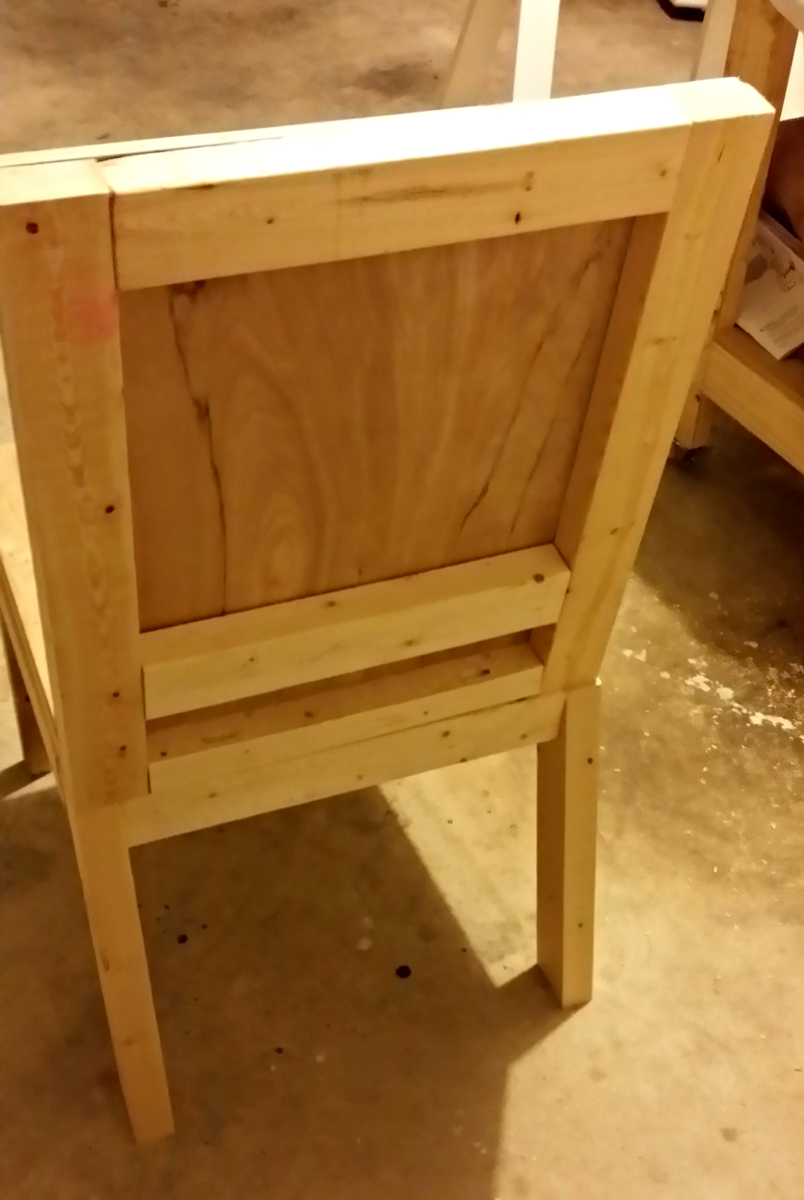
I made a few adjustments to the Parson Chair, making it longer in the back and used 5 degree angle instead of 15 and made the seat wider for our hefty hips and I used all 2x3s for the "chair bones".

Fri, 08/29/2014 - 10:42
You did such a beautiful job on these! The chairs, bench, table, and finish all look spectacular!
Sun, 04/03/2016 - 17:33
I really like the matching bench. I am going to make this table for my daughter and she wants a bench with it. I am wondering where you found matching legs short enough for the bench? I have been looking but what I find are legs for end tables but they are too long. Seems the bench-top height should be a standard 18 inches. Thanks for any help.
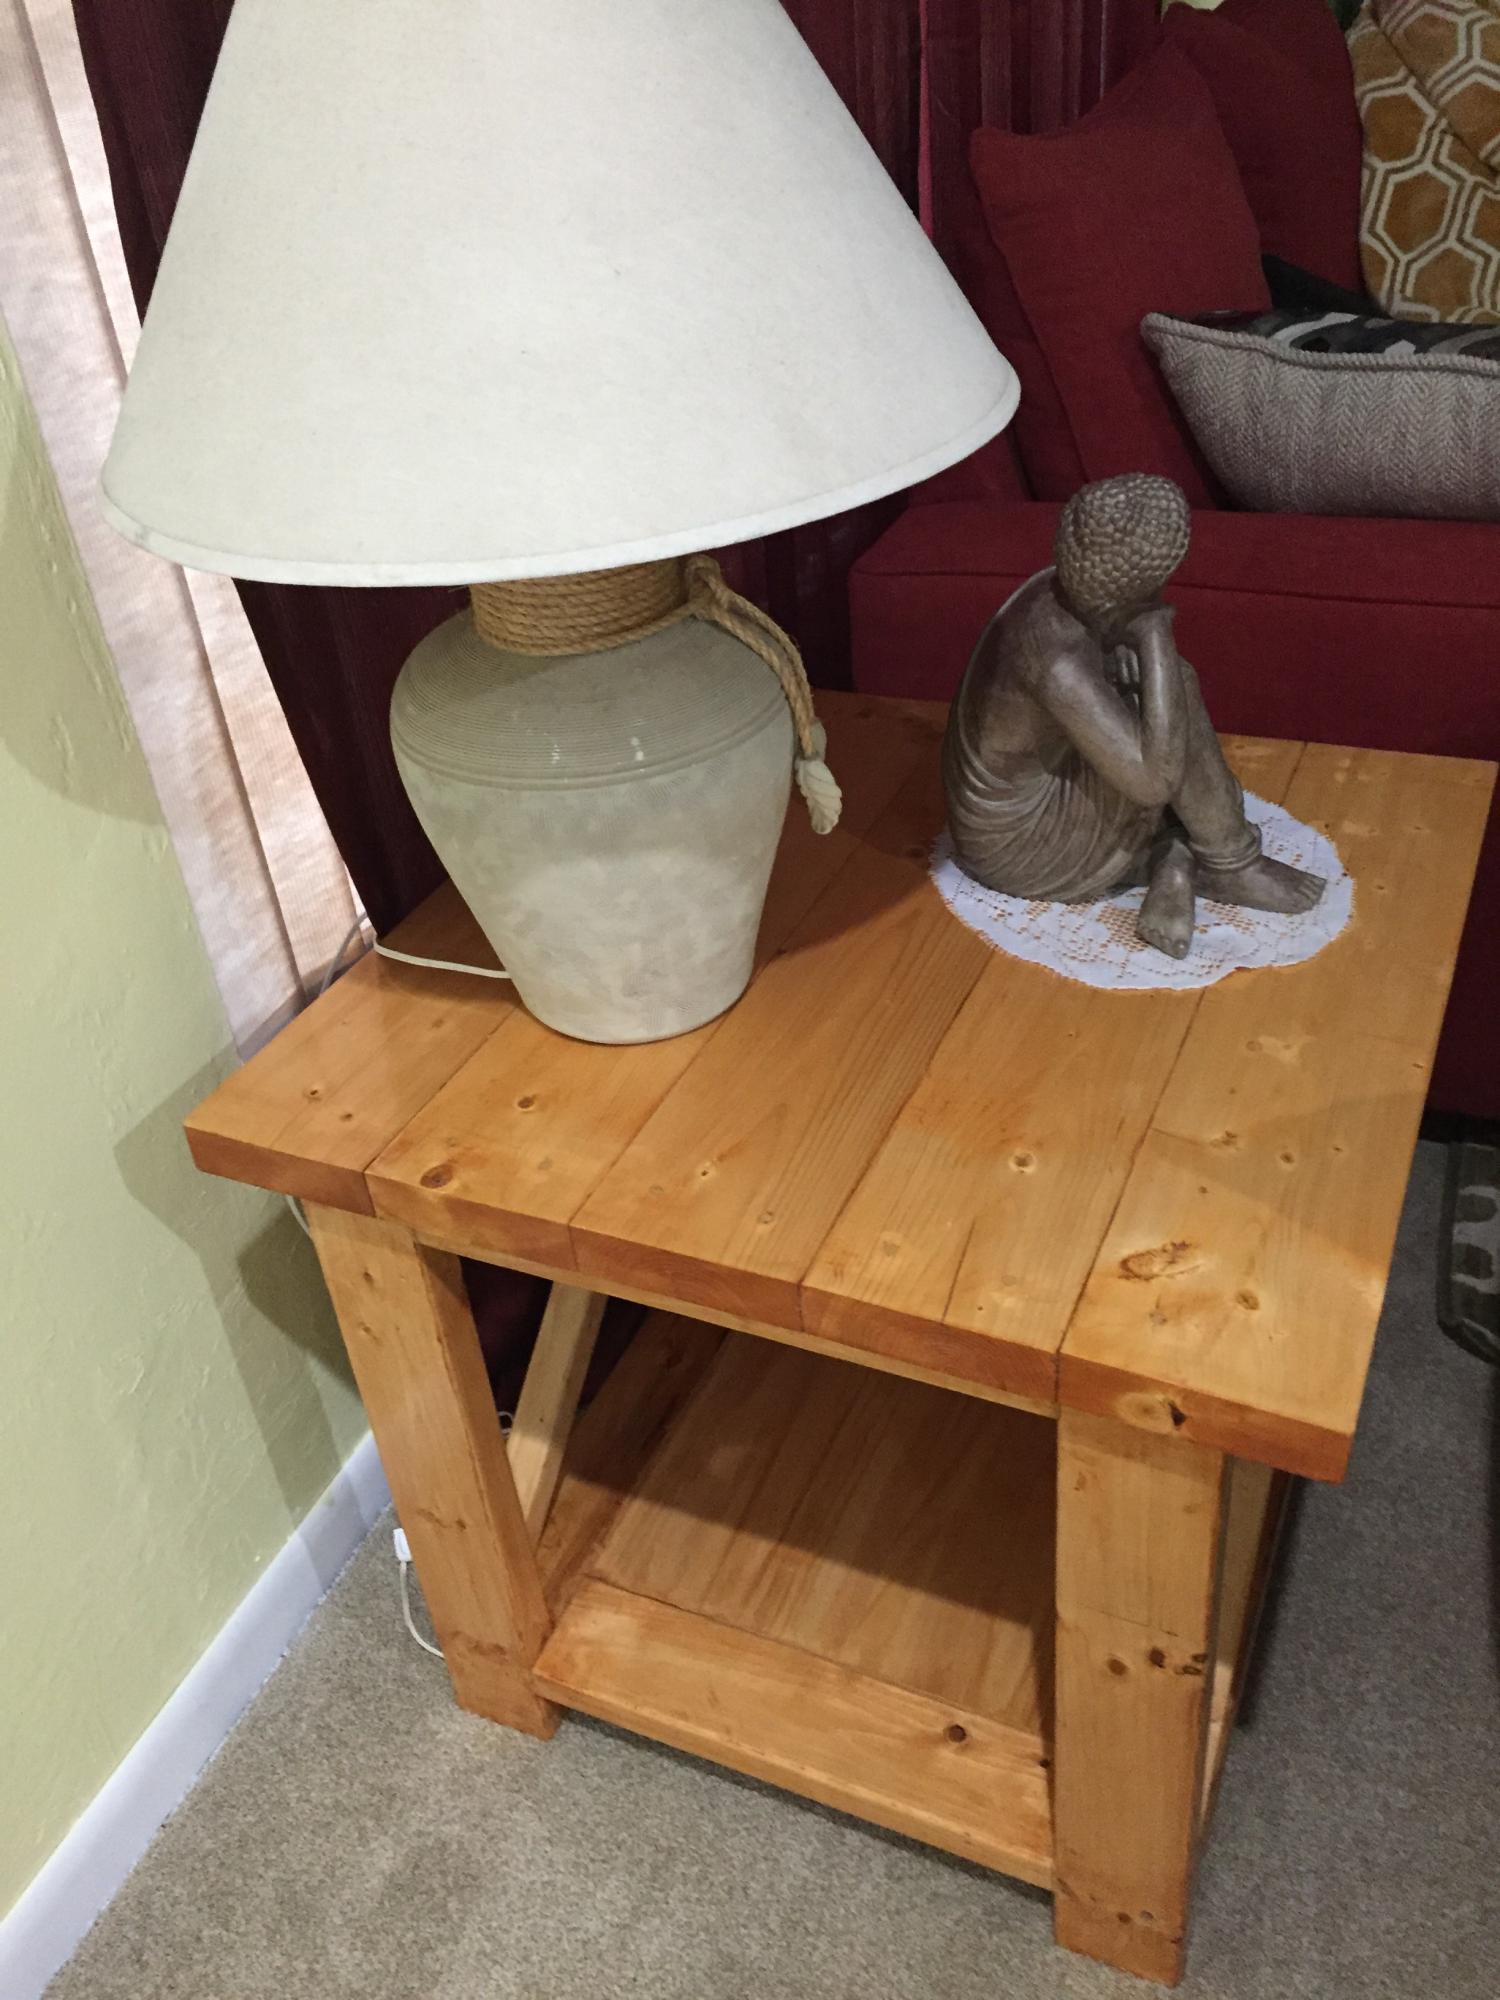
Followed exact steps but messed up on the alignment of top piece. Still came out great!
Thanks Ana!
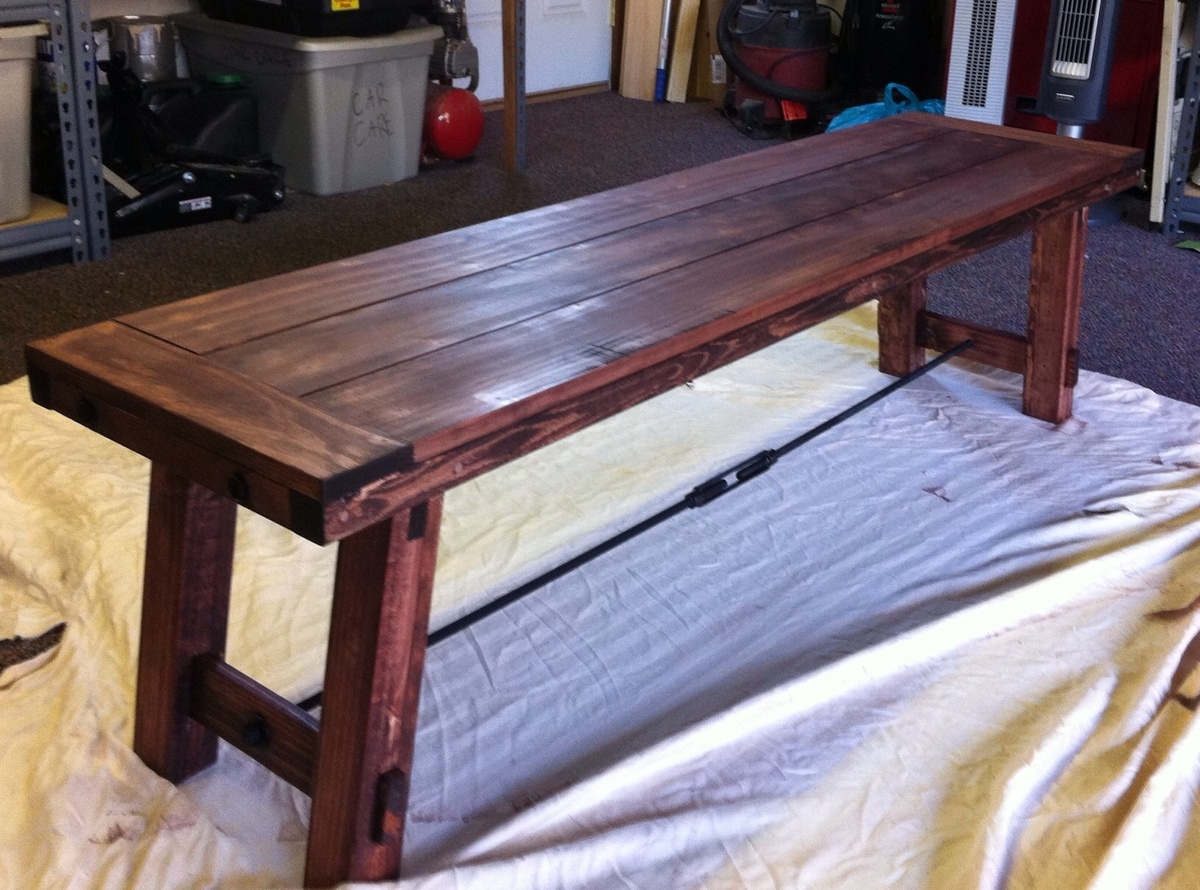
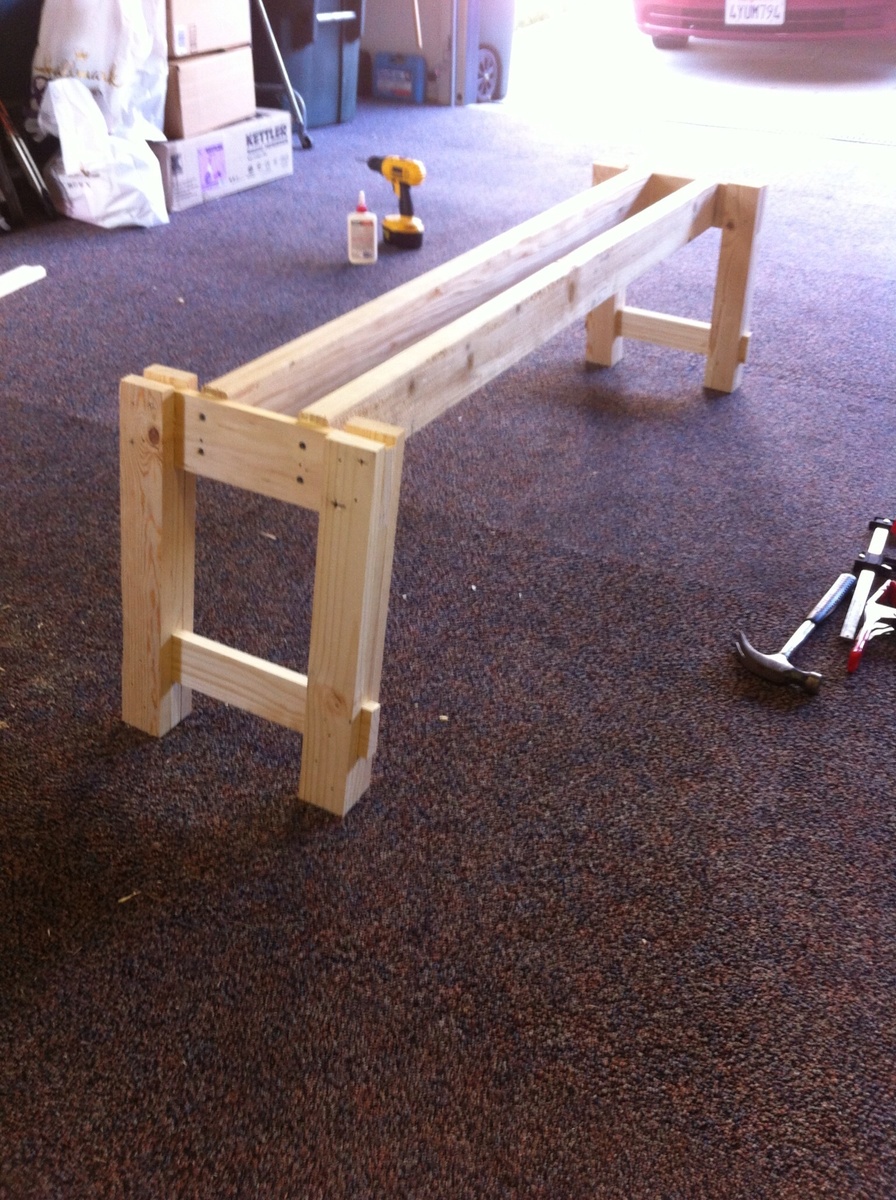
Piece of cake compared to building the table. Added hardware and stain, just have to put on the finish.
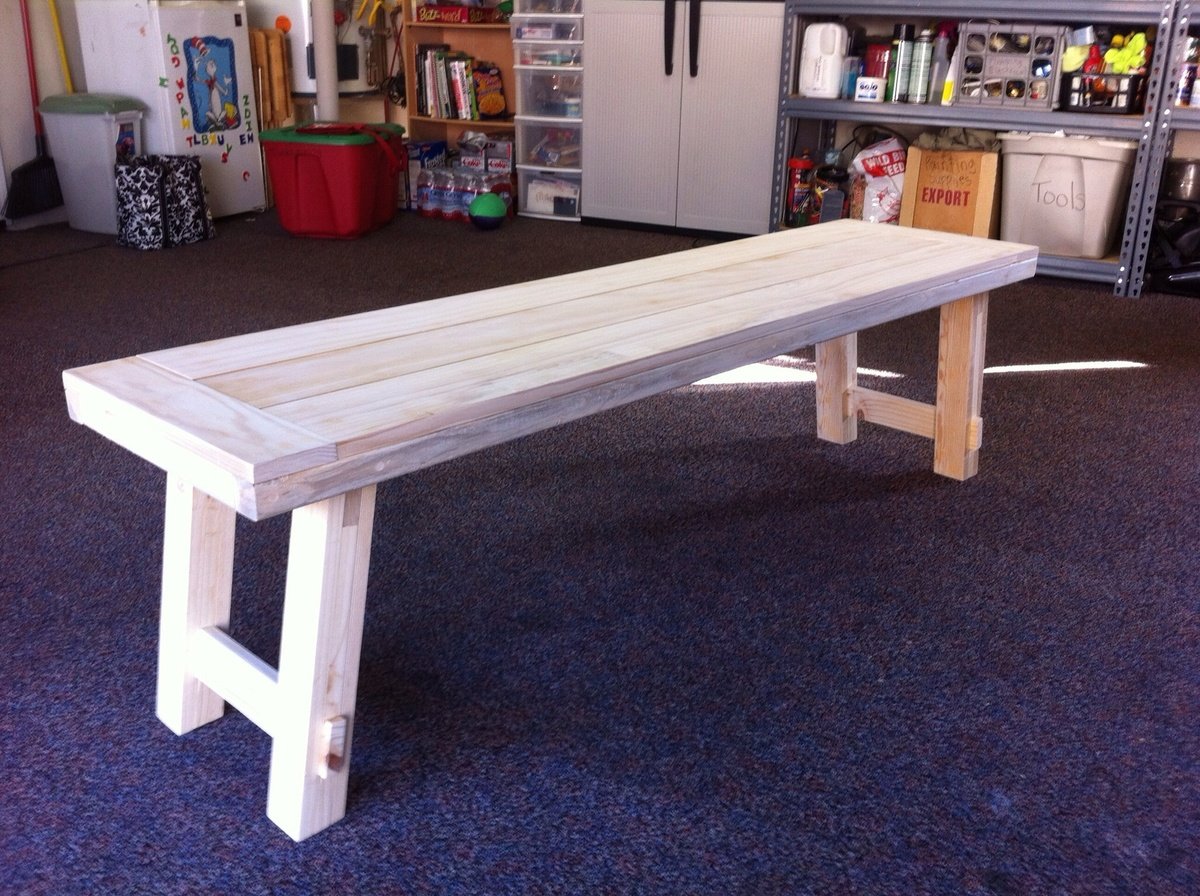
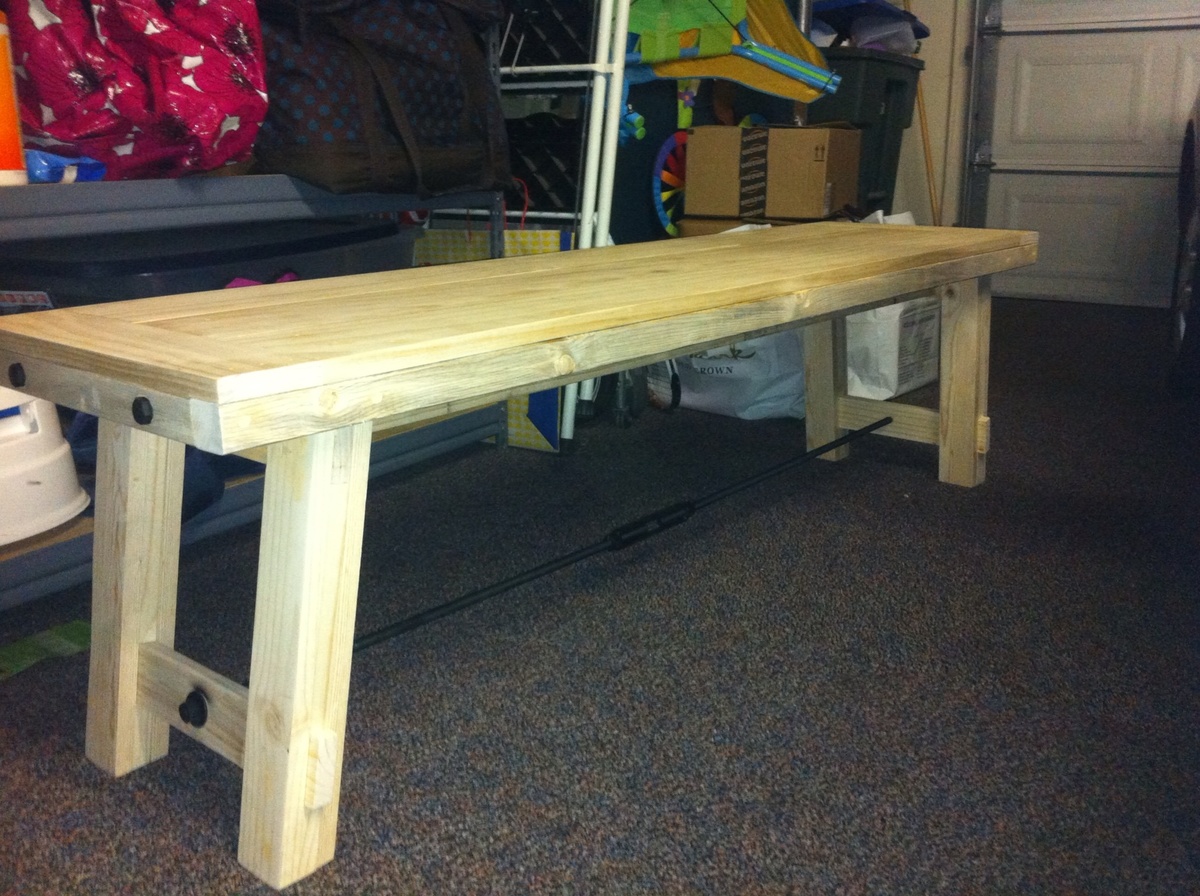
Sun, 12/30/2012 - 06:51
That looks great! I want to make this bench very soon then also make the matching table... where did you get the hardware for it? Thanks!
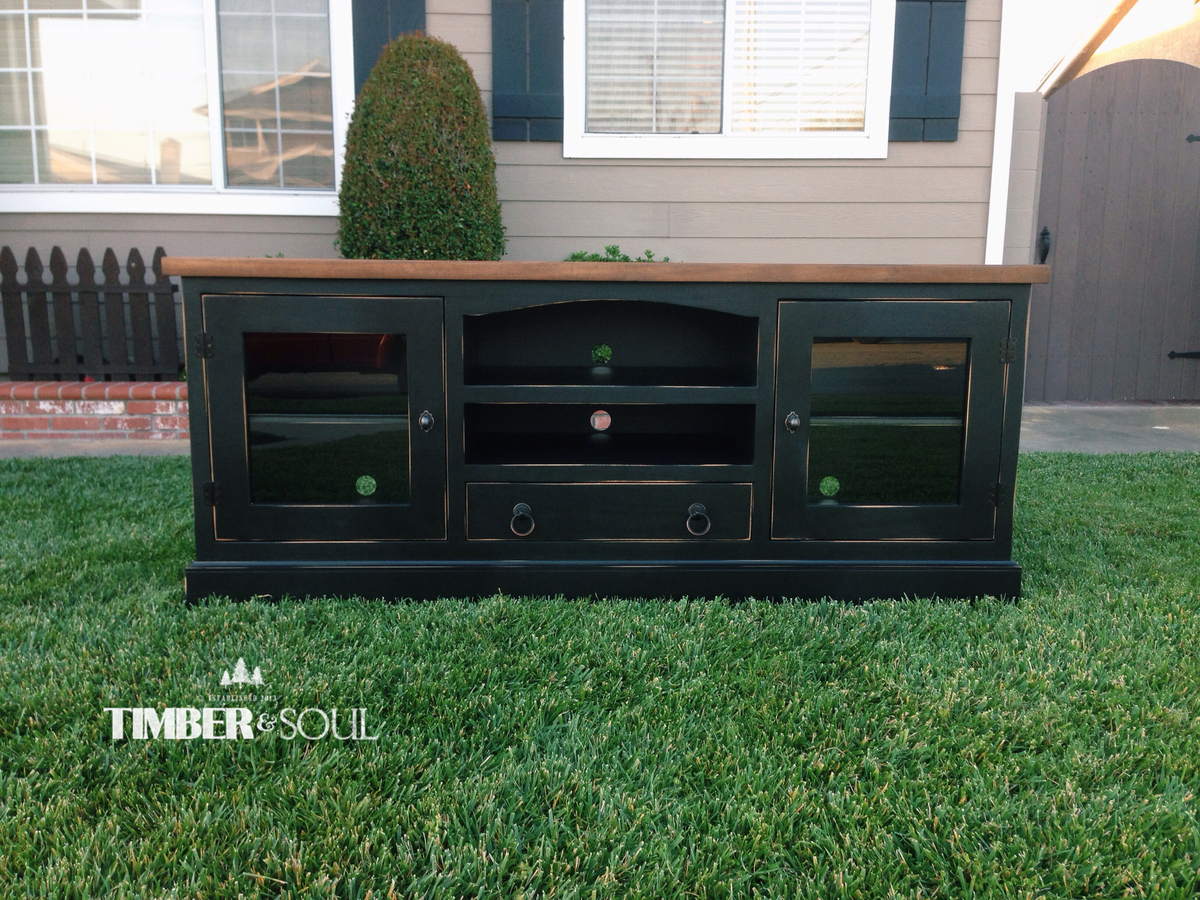
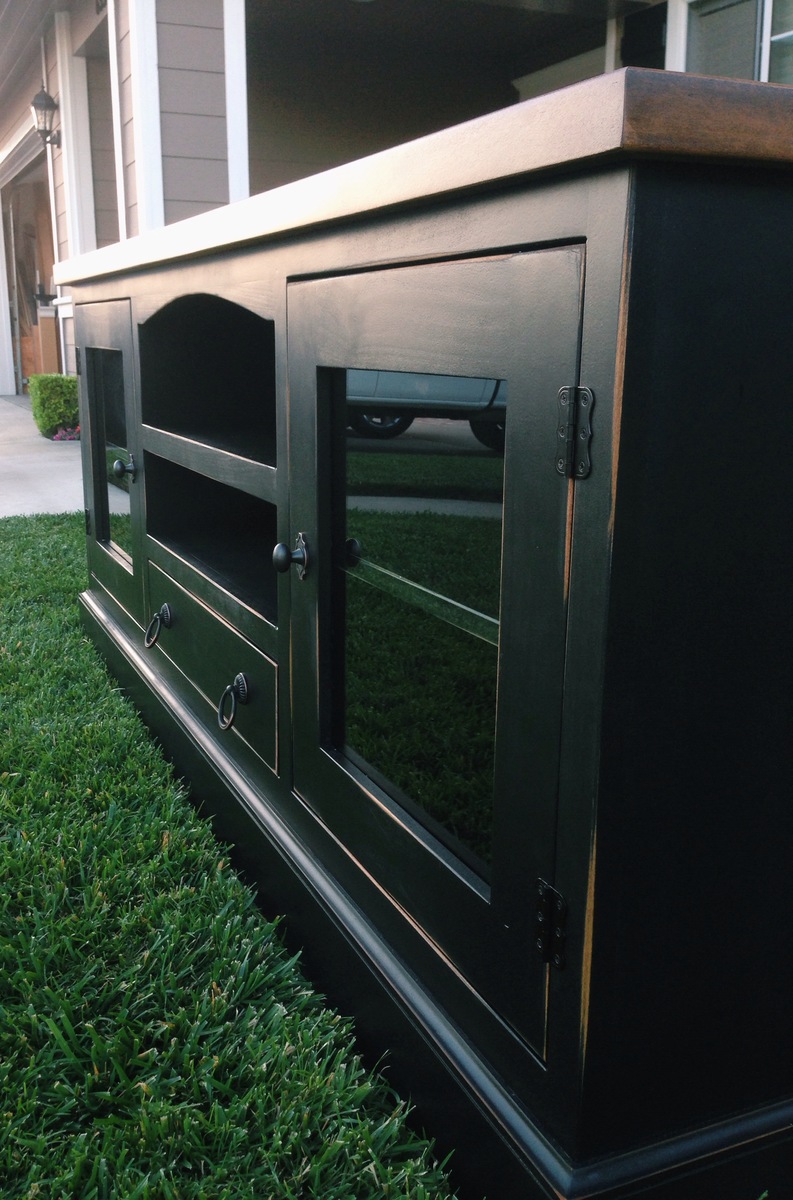
Custom built media console with distressed black finished and chestnut stained top. features adjustable shelves and full-extension drawer. This is not a build from one of ana white's plans. I built it from scratch but just wanted to share.
- Brad
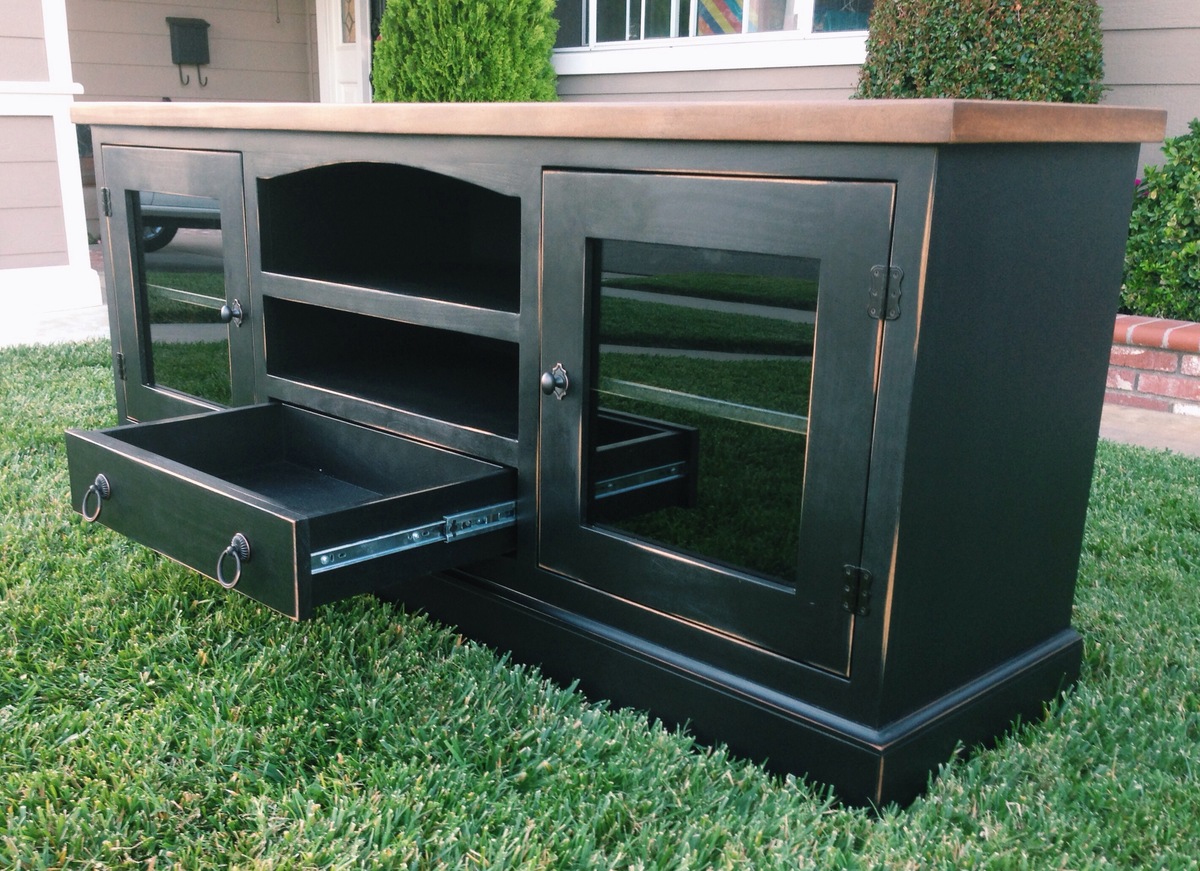

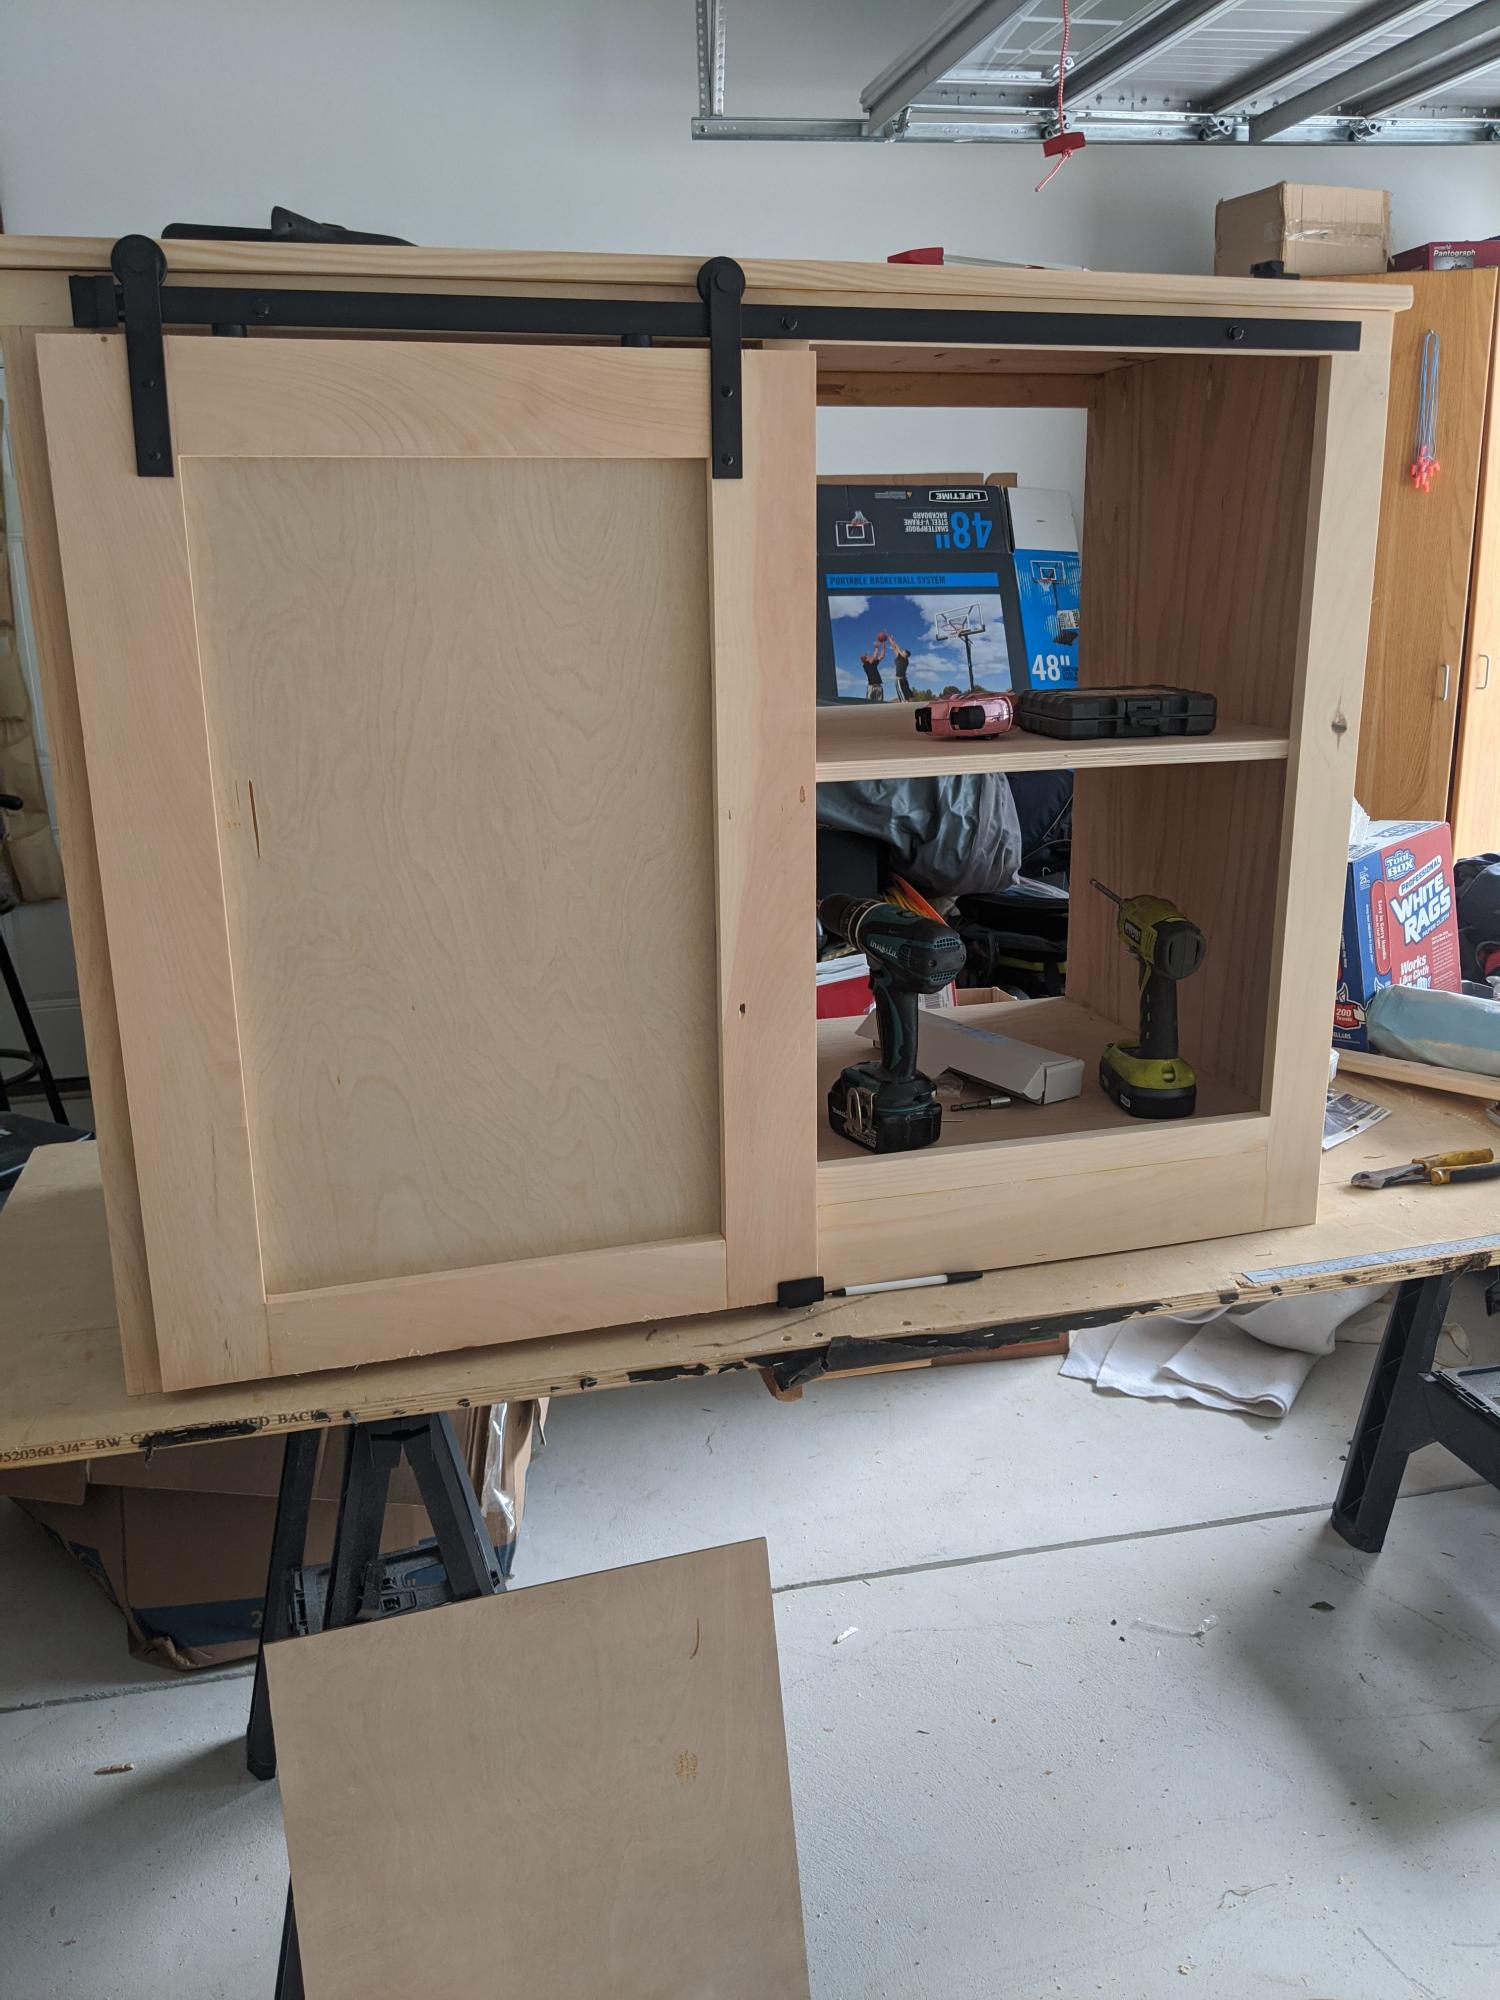
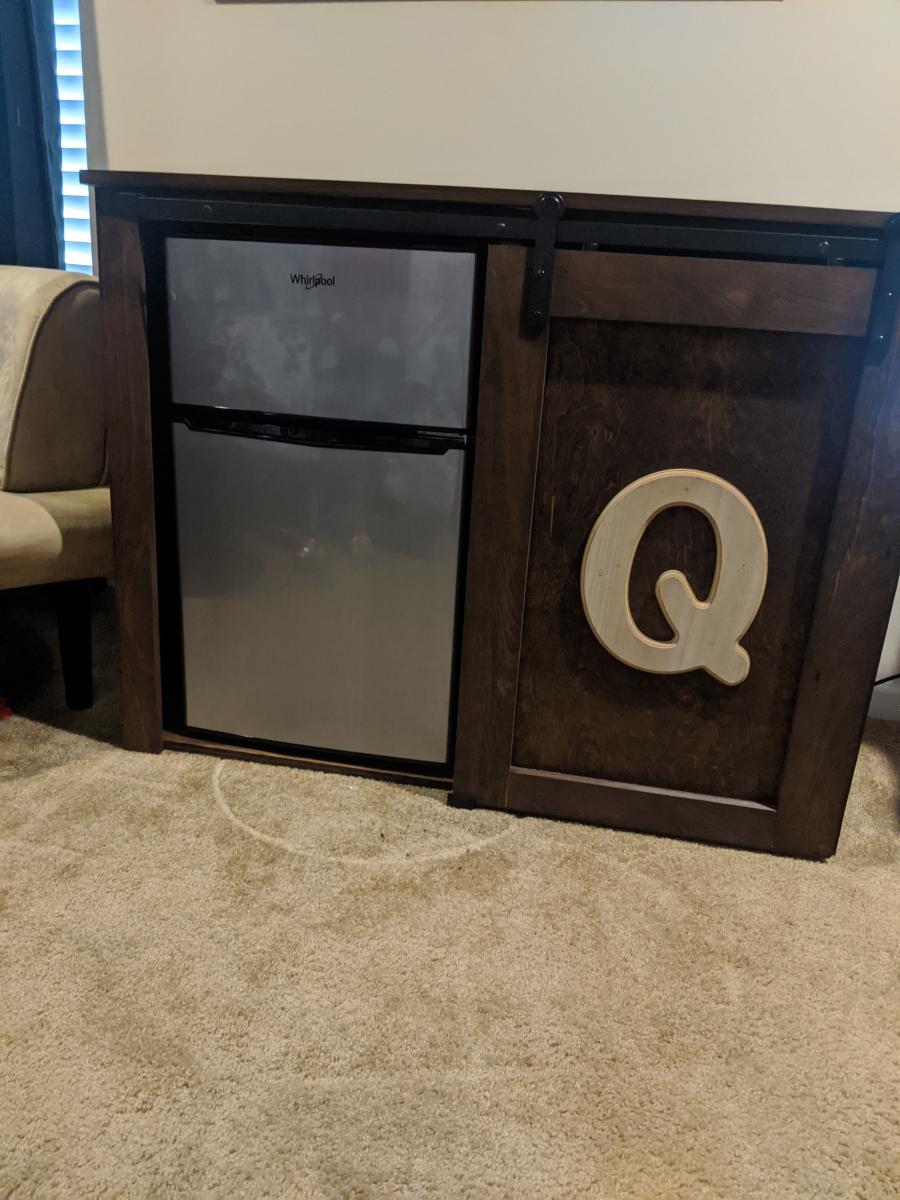
I was able to make this cabinet using your plans and it went absolutely flawless! Thank for all that you do!
Comments
Ana White Admin
Wed, 12/09/2020 - 11:03
Love your twist!
This is beautiful, love the finish! I would love to see it in it's space!:)