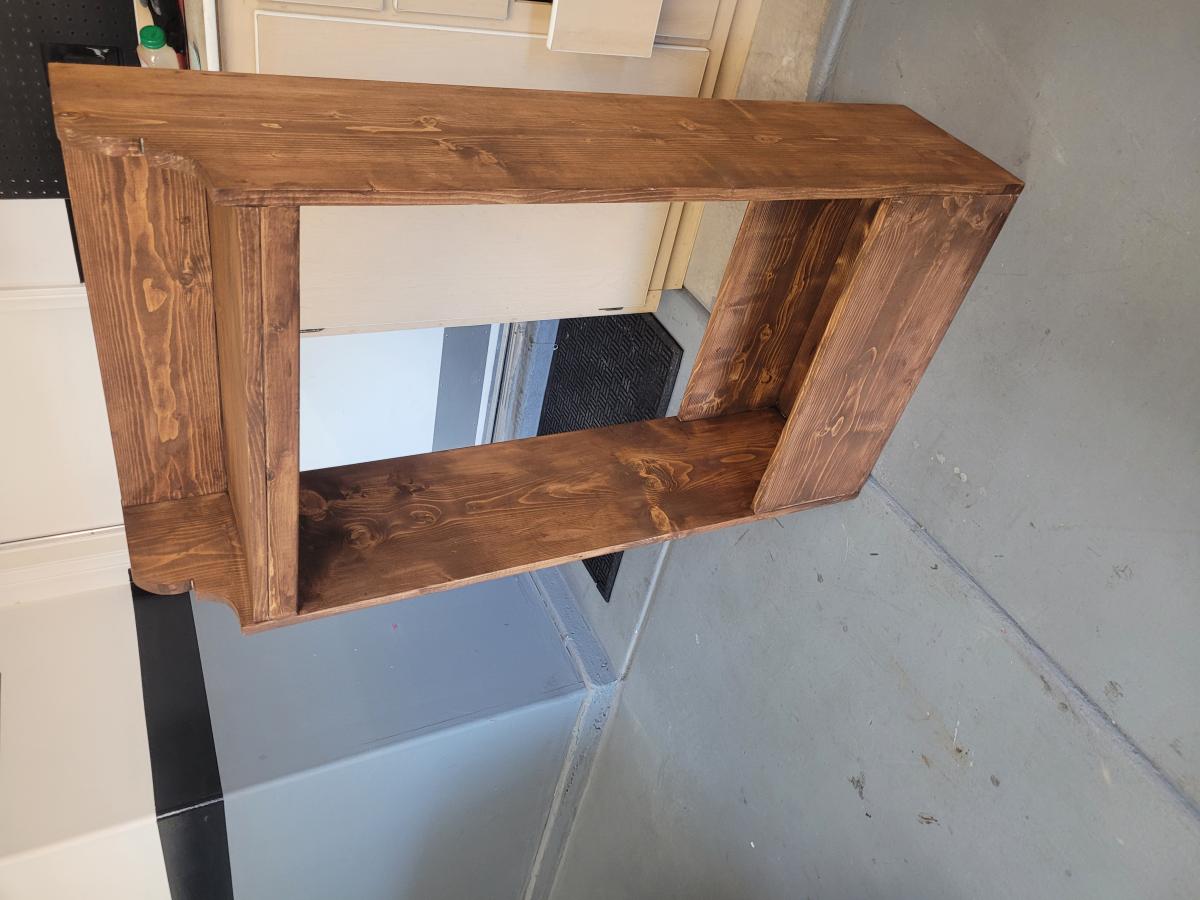
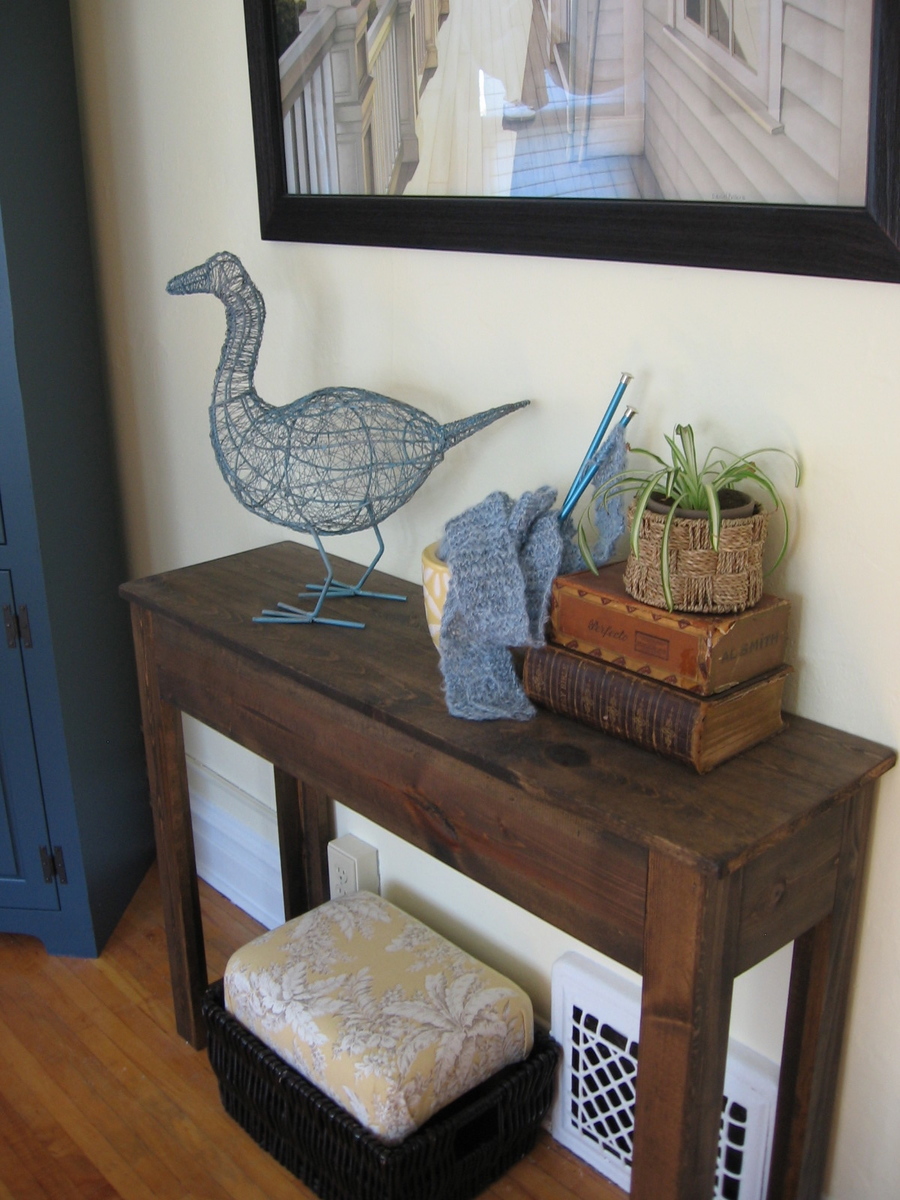
Pallet Inspired Coat Rack
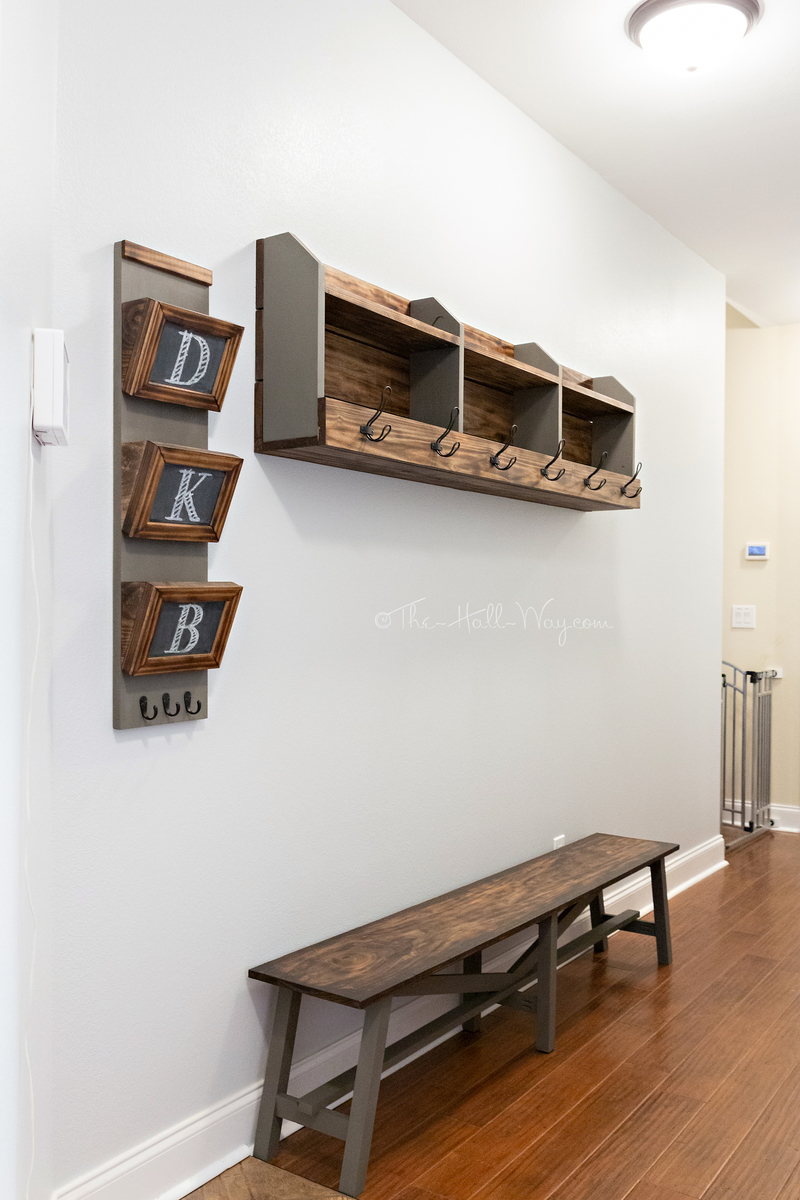
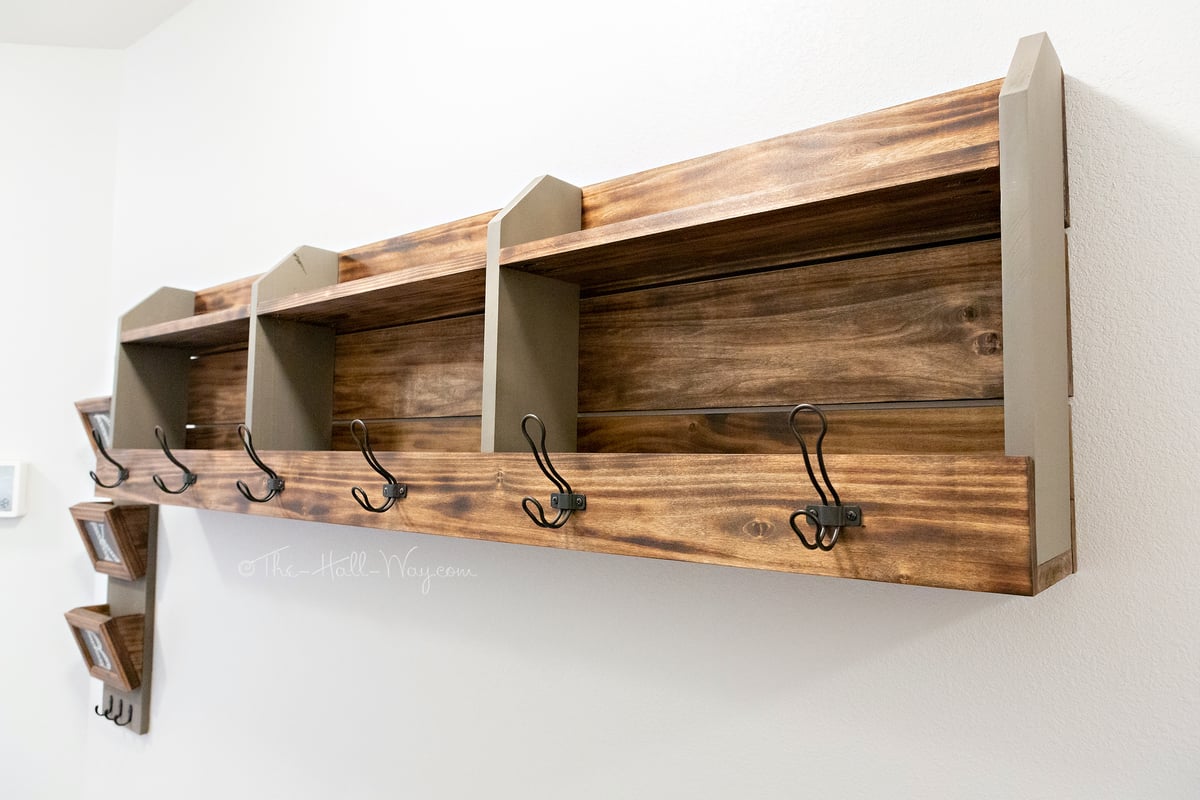
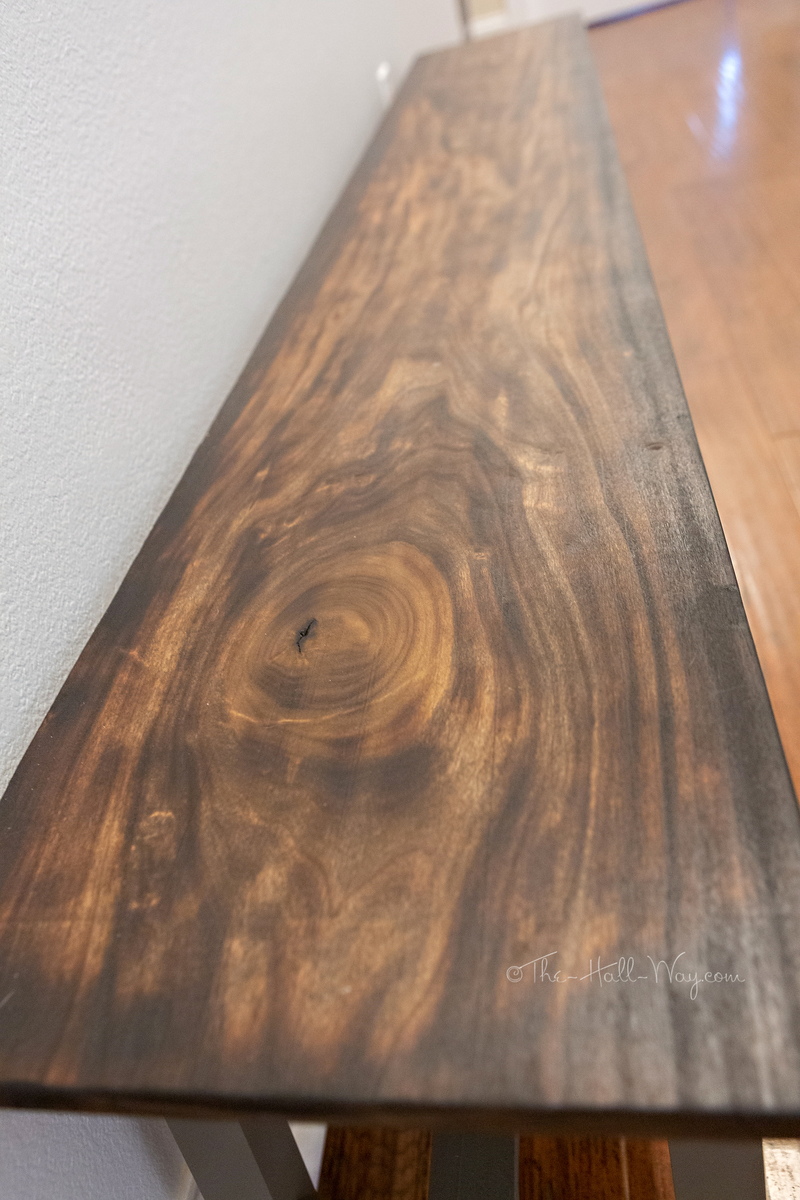
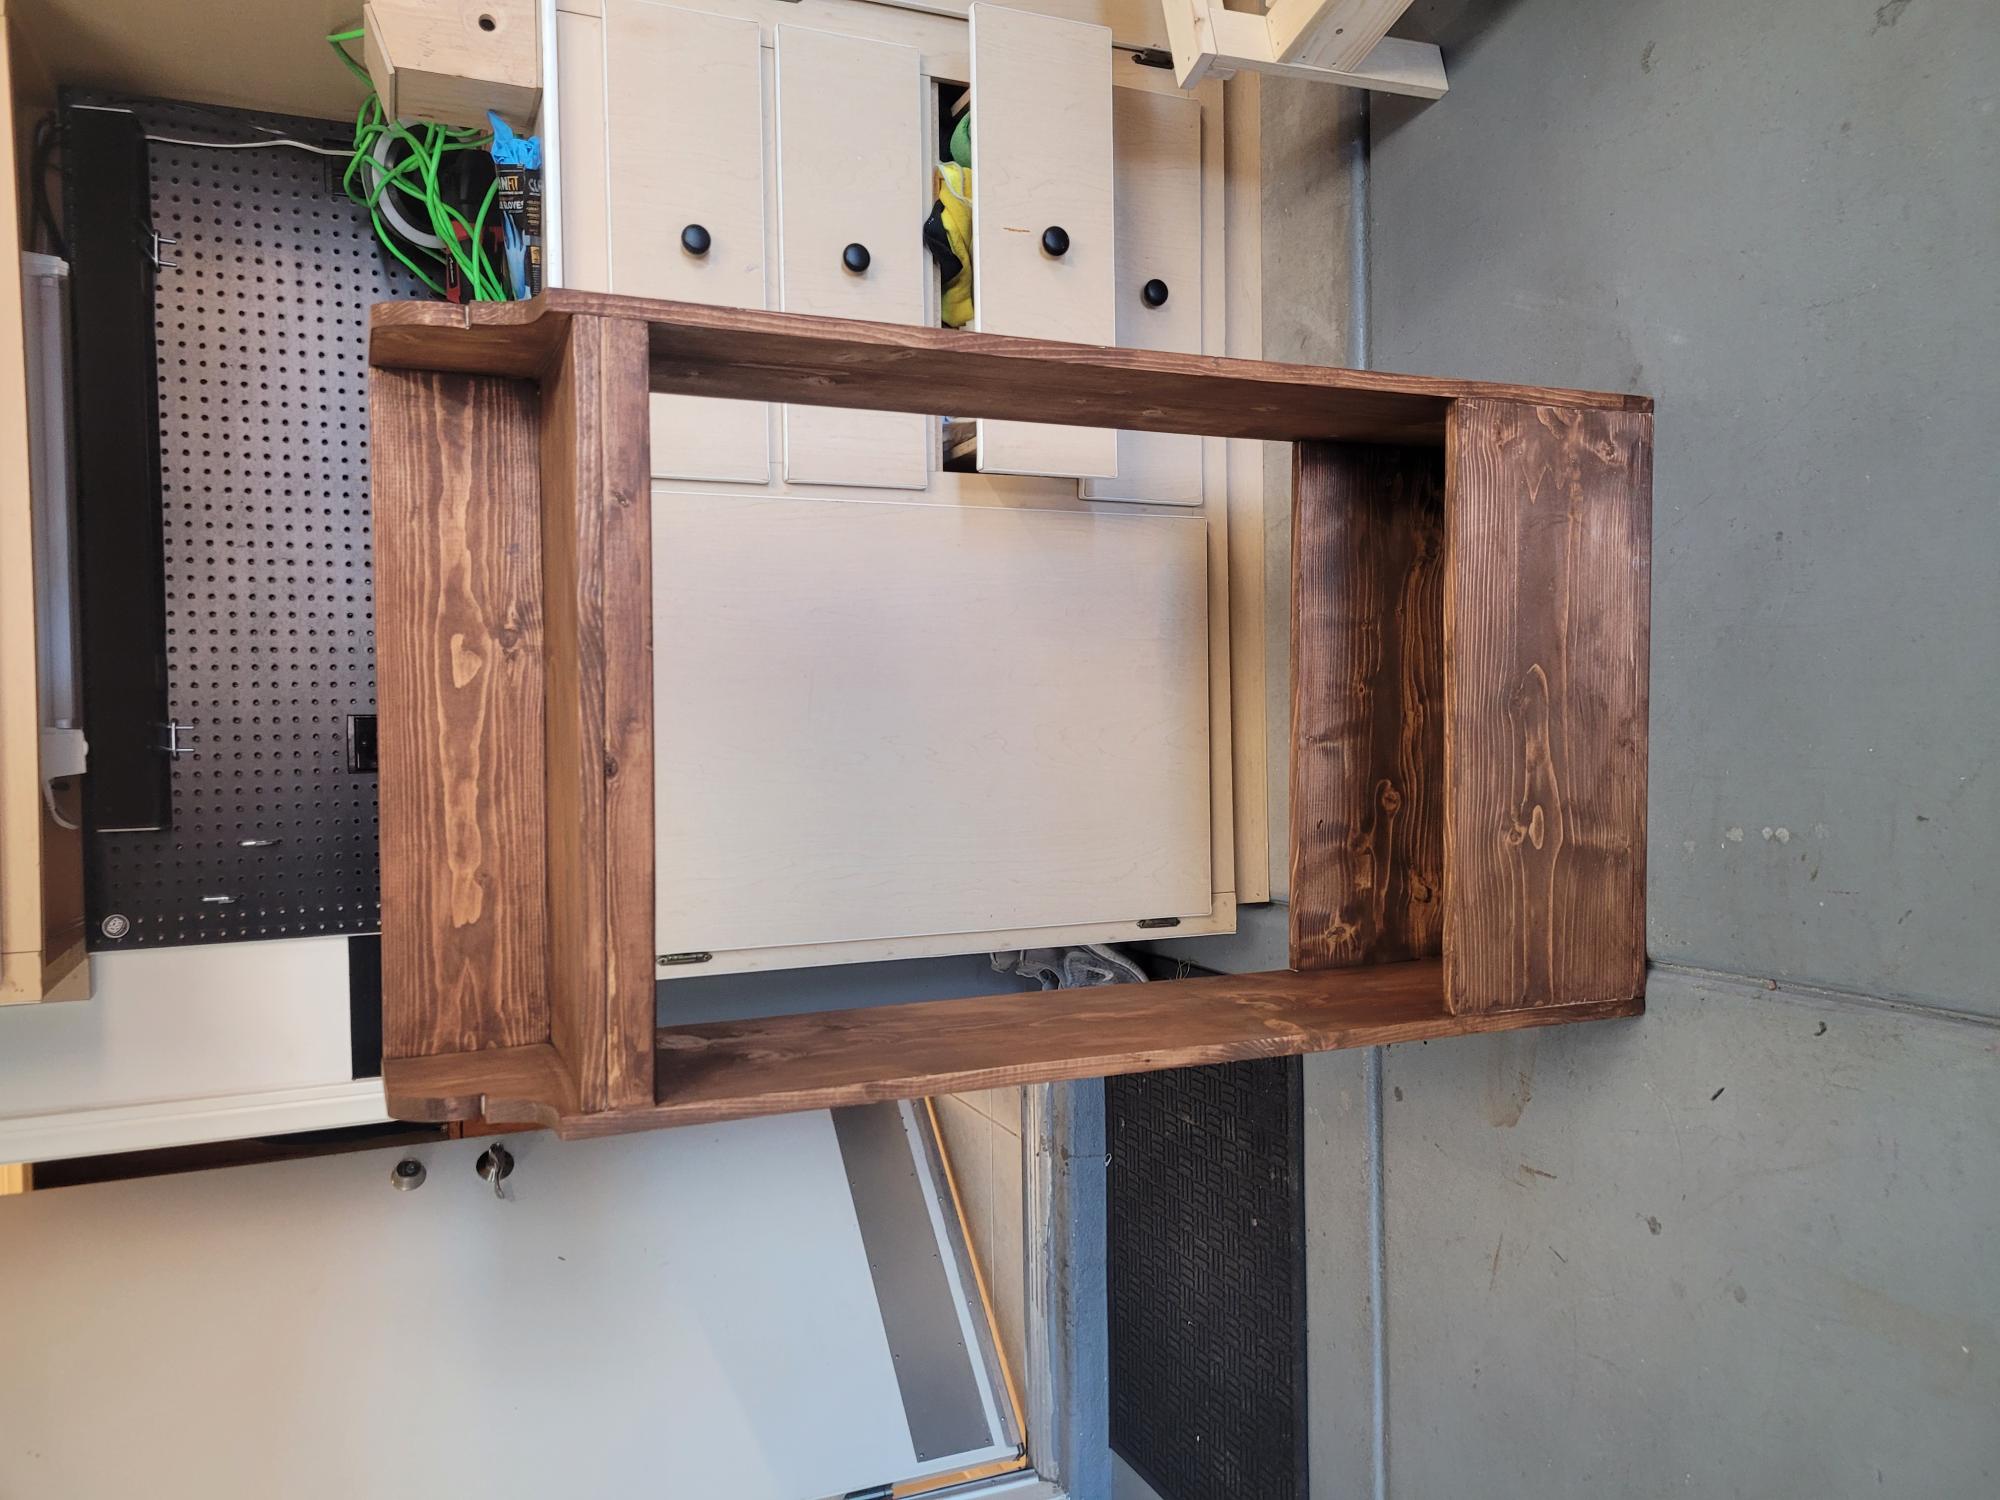
I built the coat rack along with the mail sorter and rustic bench for the long hallway to the garage since our new house doesn't have a mud room. I modified it to a length of 6'. All but a couple pieces are made from poplar. I burnt the stained pieces with a torch, then put a quick coat of Special Walnut on them. The painted pieces are Rustoleum Weathered Wood. Hooks are from Home Depot.


Built from Plan(s)
Estimated Cost
<$100 due to already have wood on hand
Estimated Time Investment
Weekend Project (10-20 Hours)
Finish Used
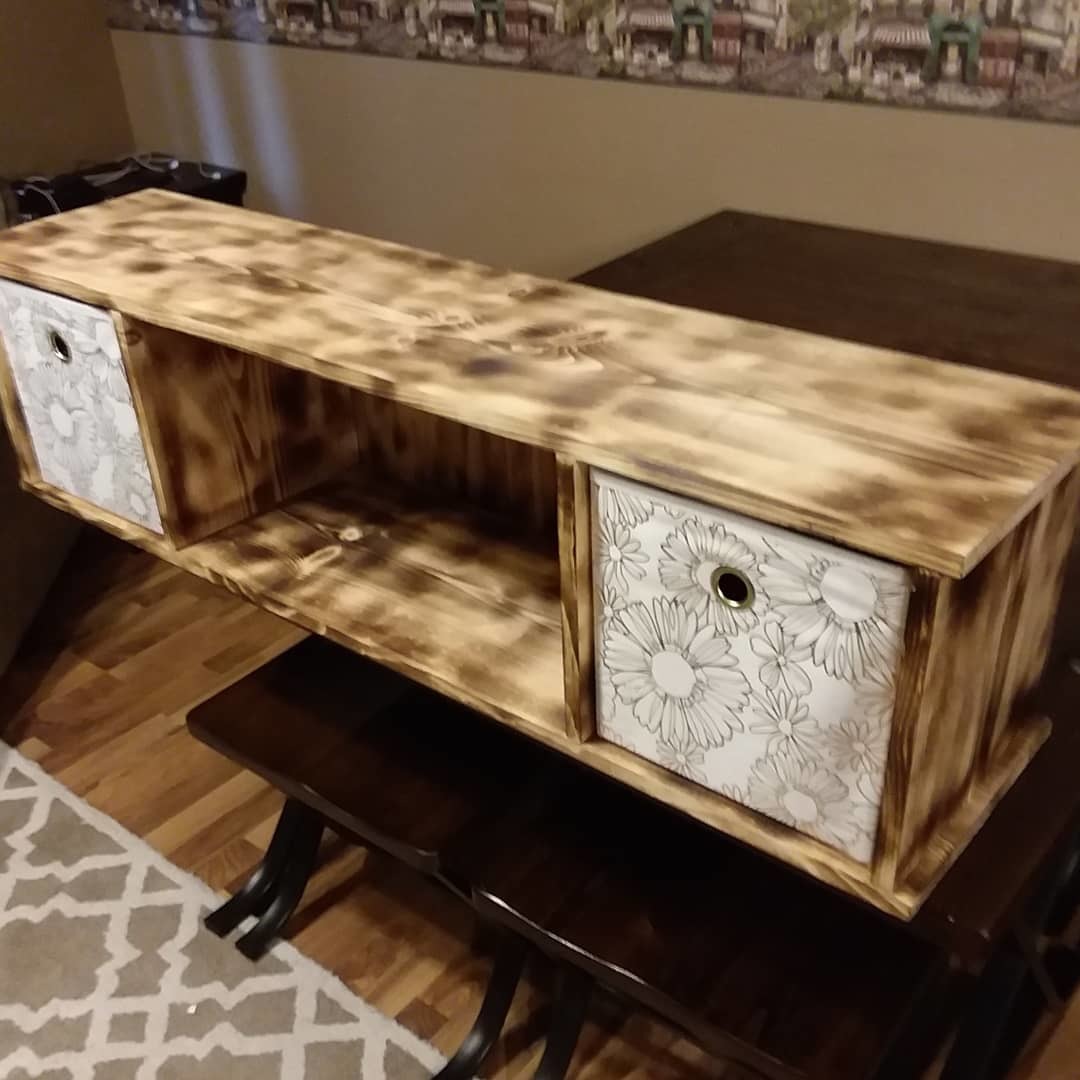
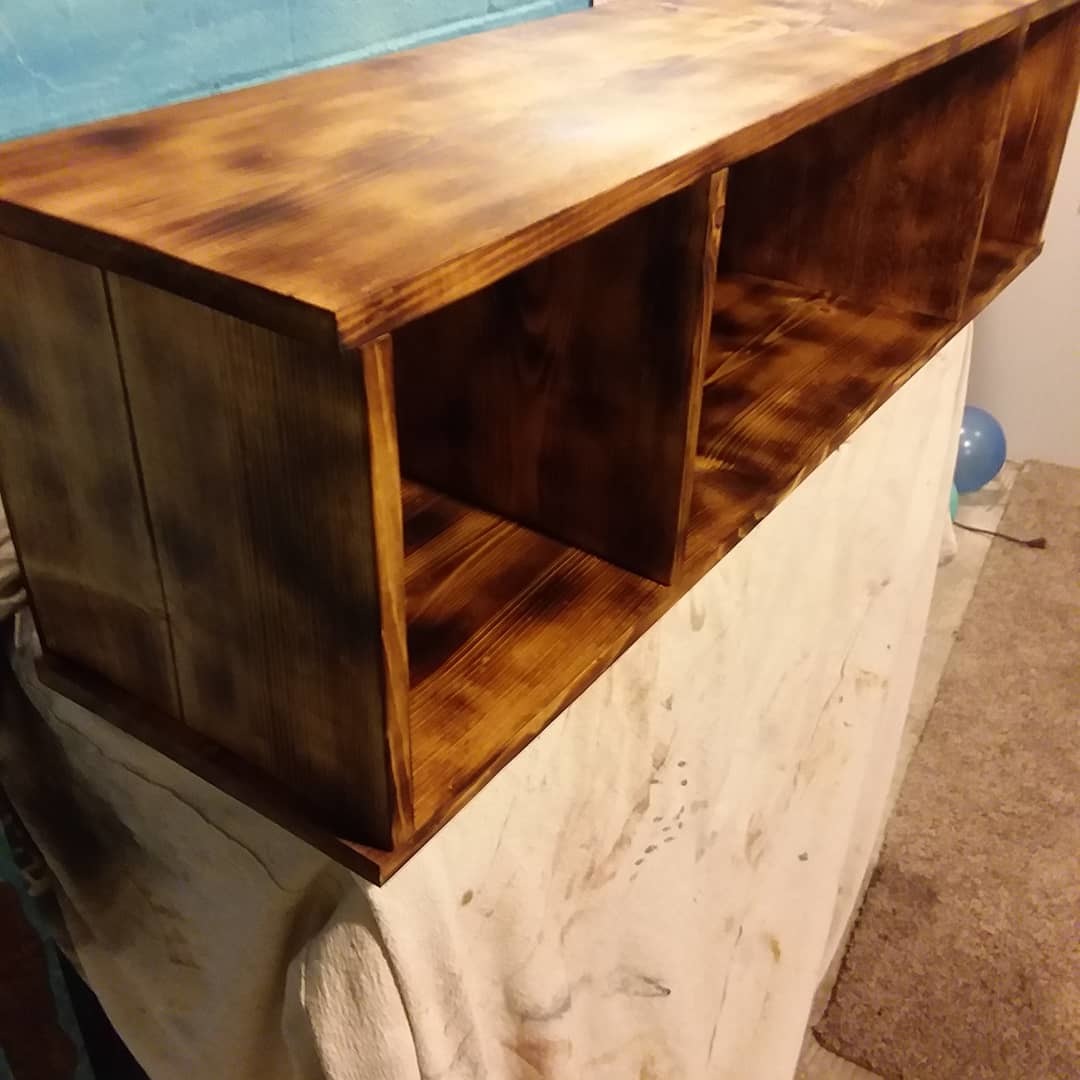
I burnt the stained pieces with a propane torch, then put a quick coat of Special Walnut on them. The painted pieces are Rustoleum Weathered Wood. The mail sorter has Chalkboard Paint on the front pieces.
Recommended Skill Level
Beginner


Comments
Ana White Admin
Sun, 02/10/2019 - 20:27
Absolutely Love This!!!
Thank you for sharing on the site!