Community Brag Posts
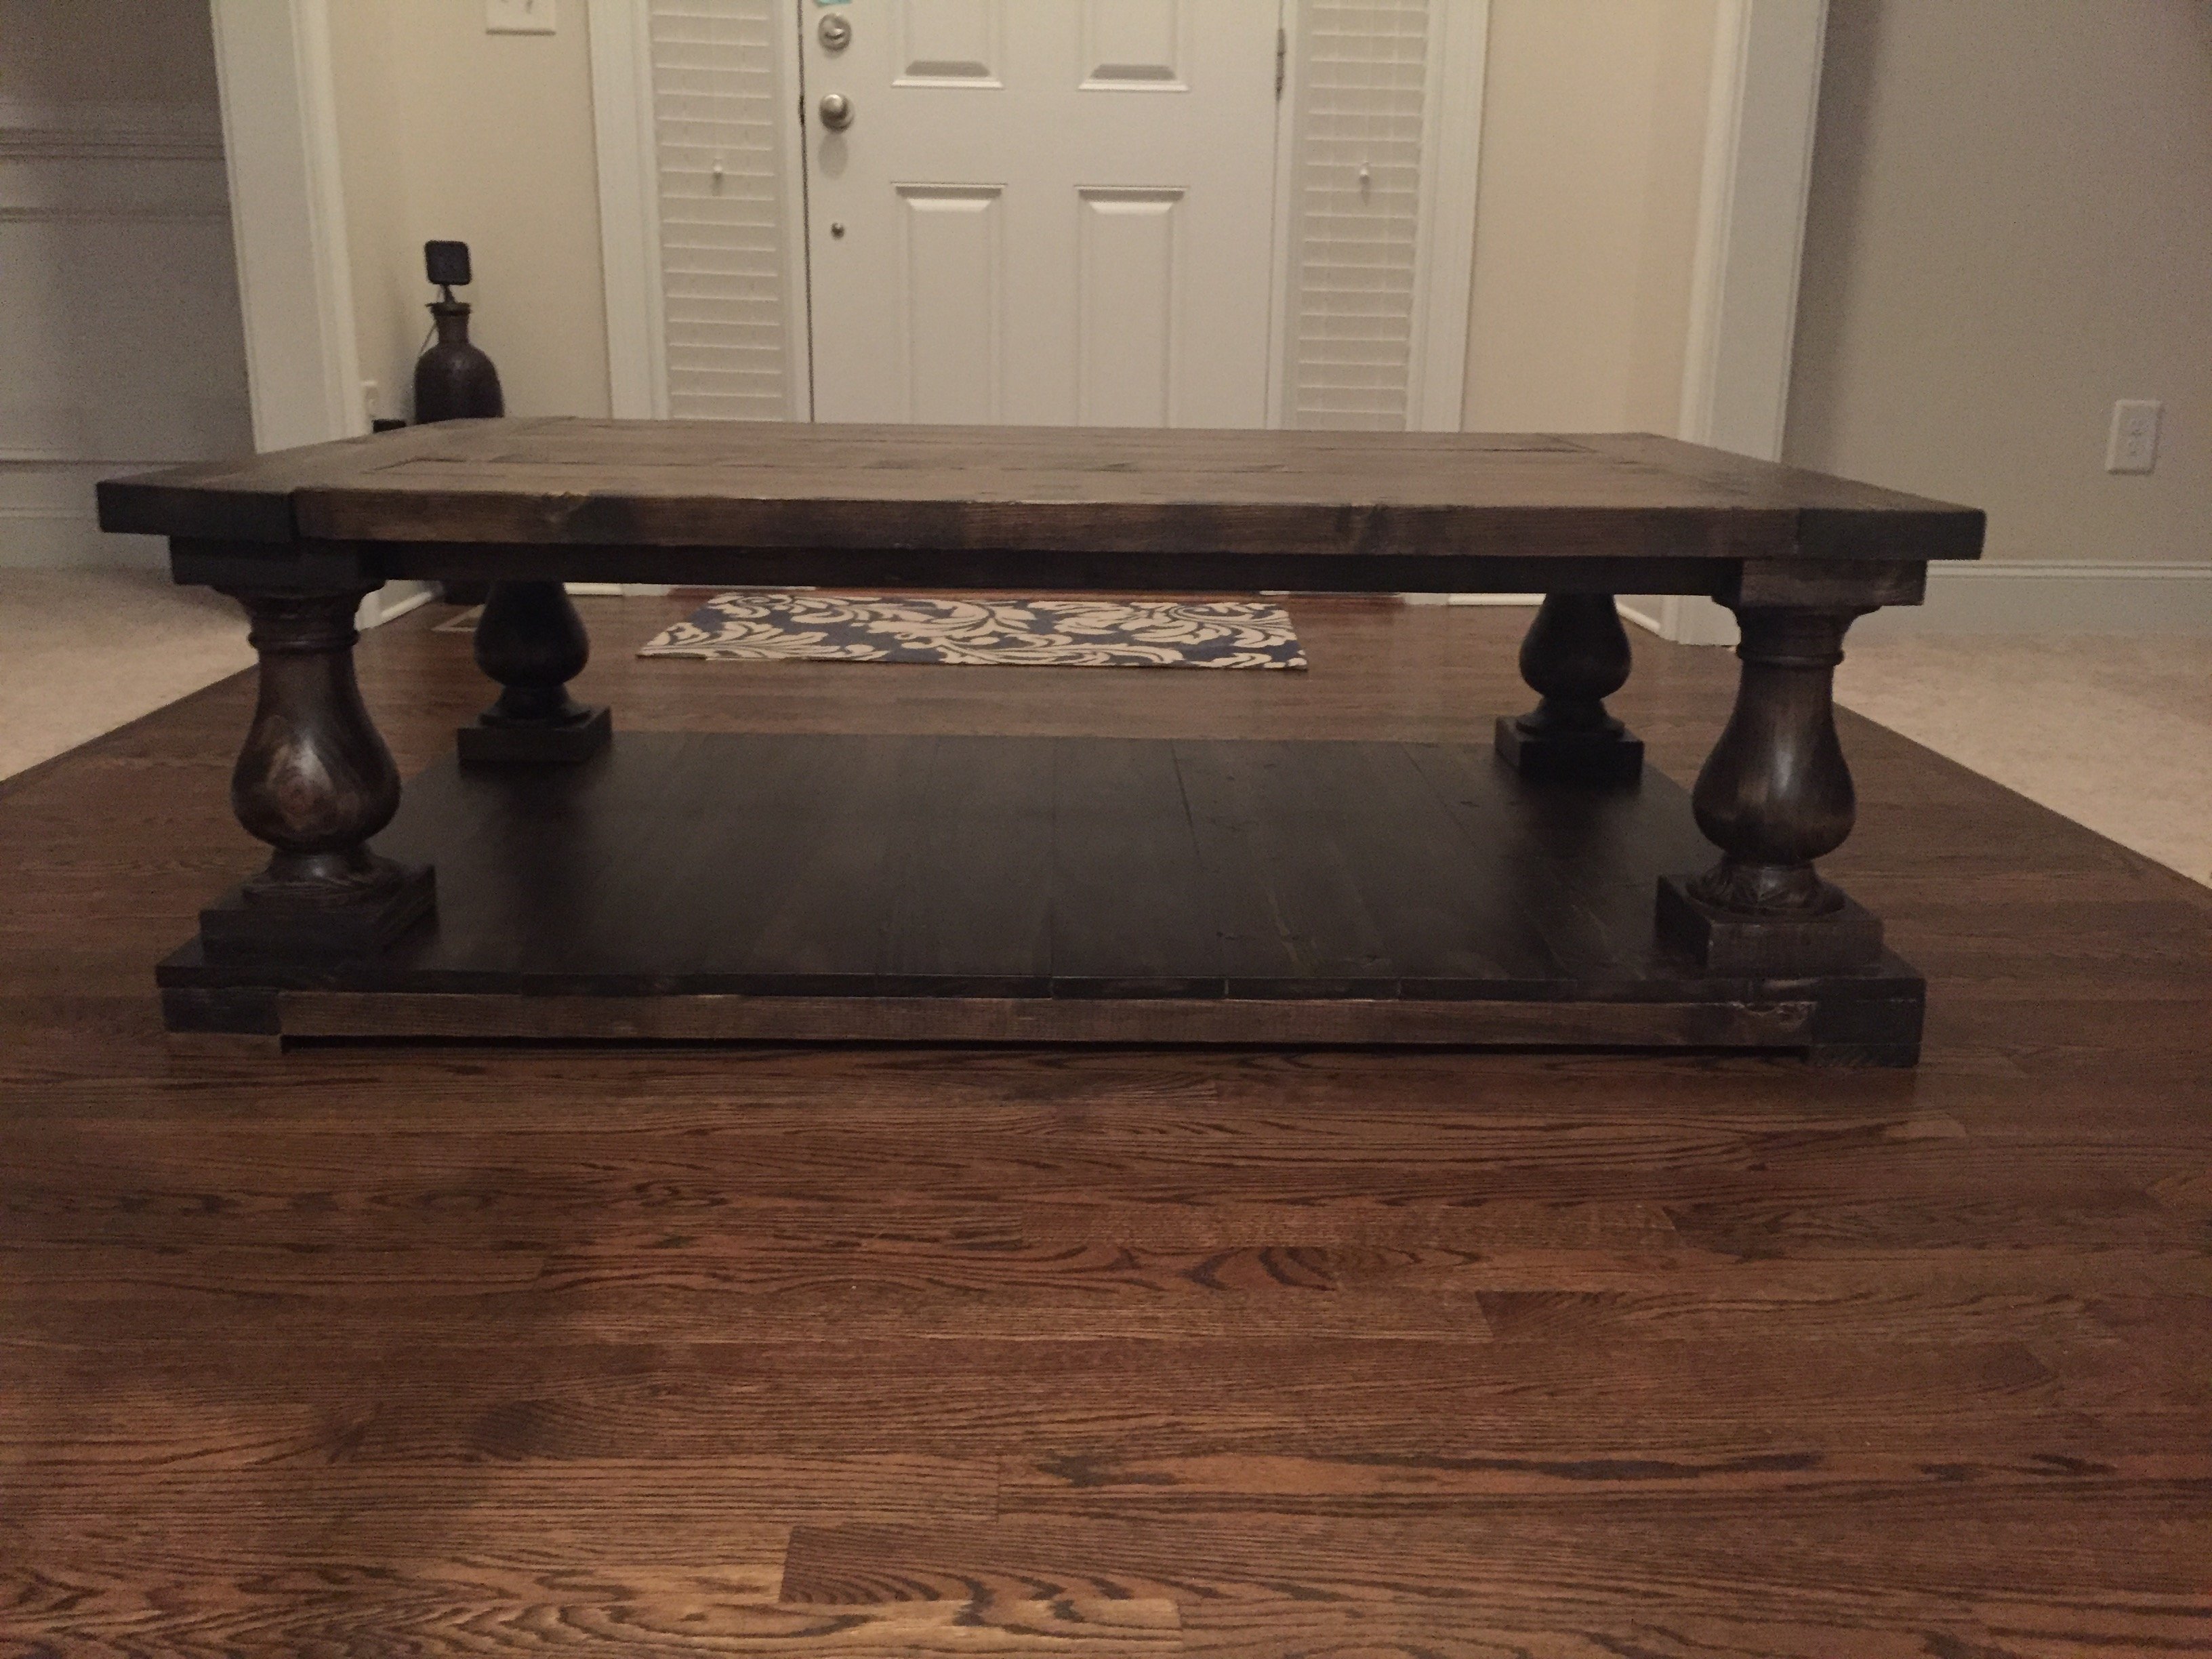
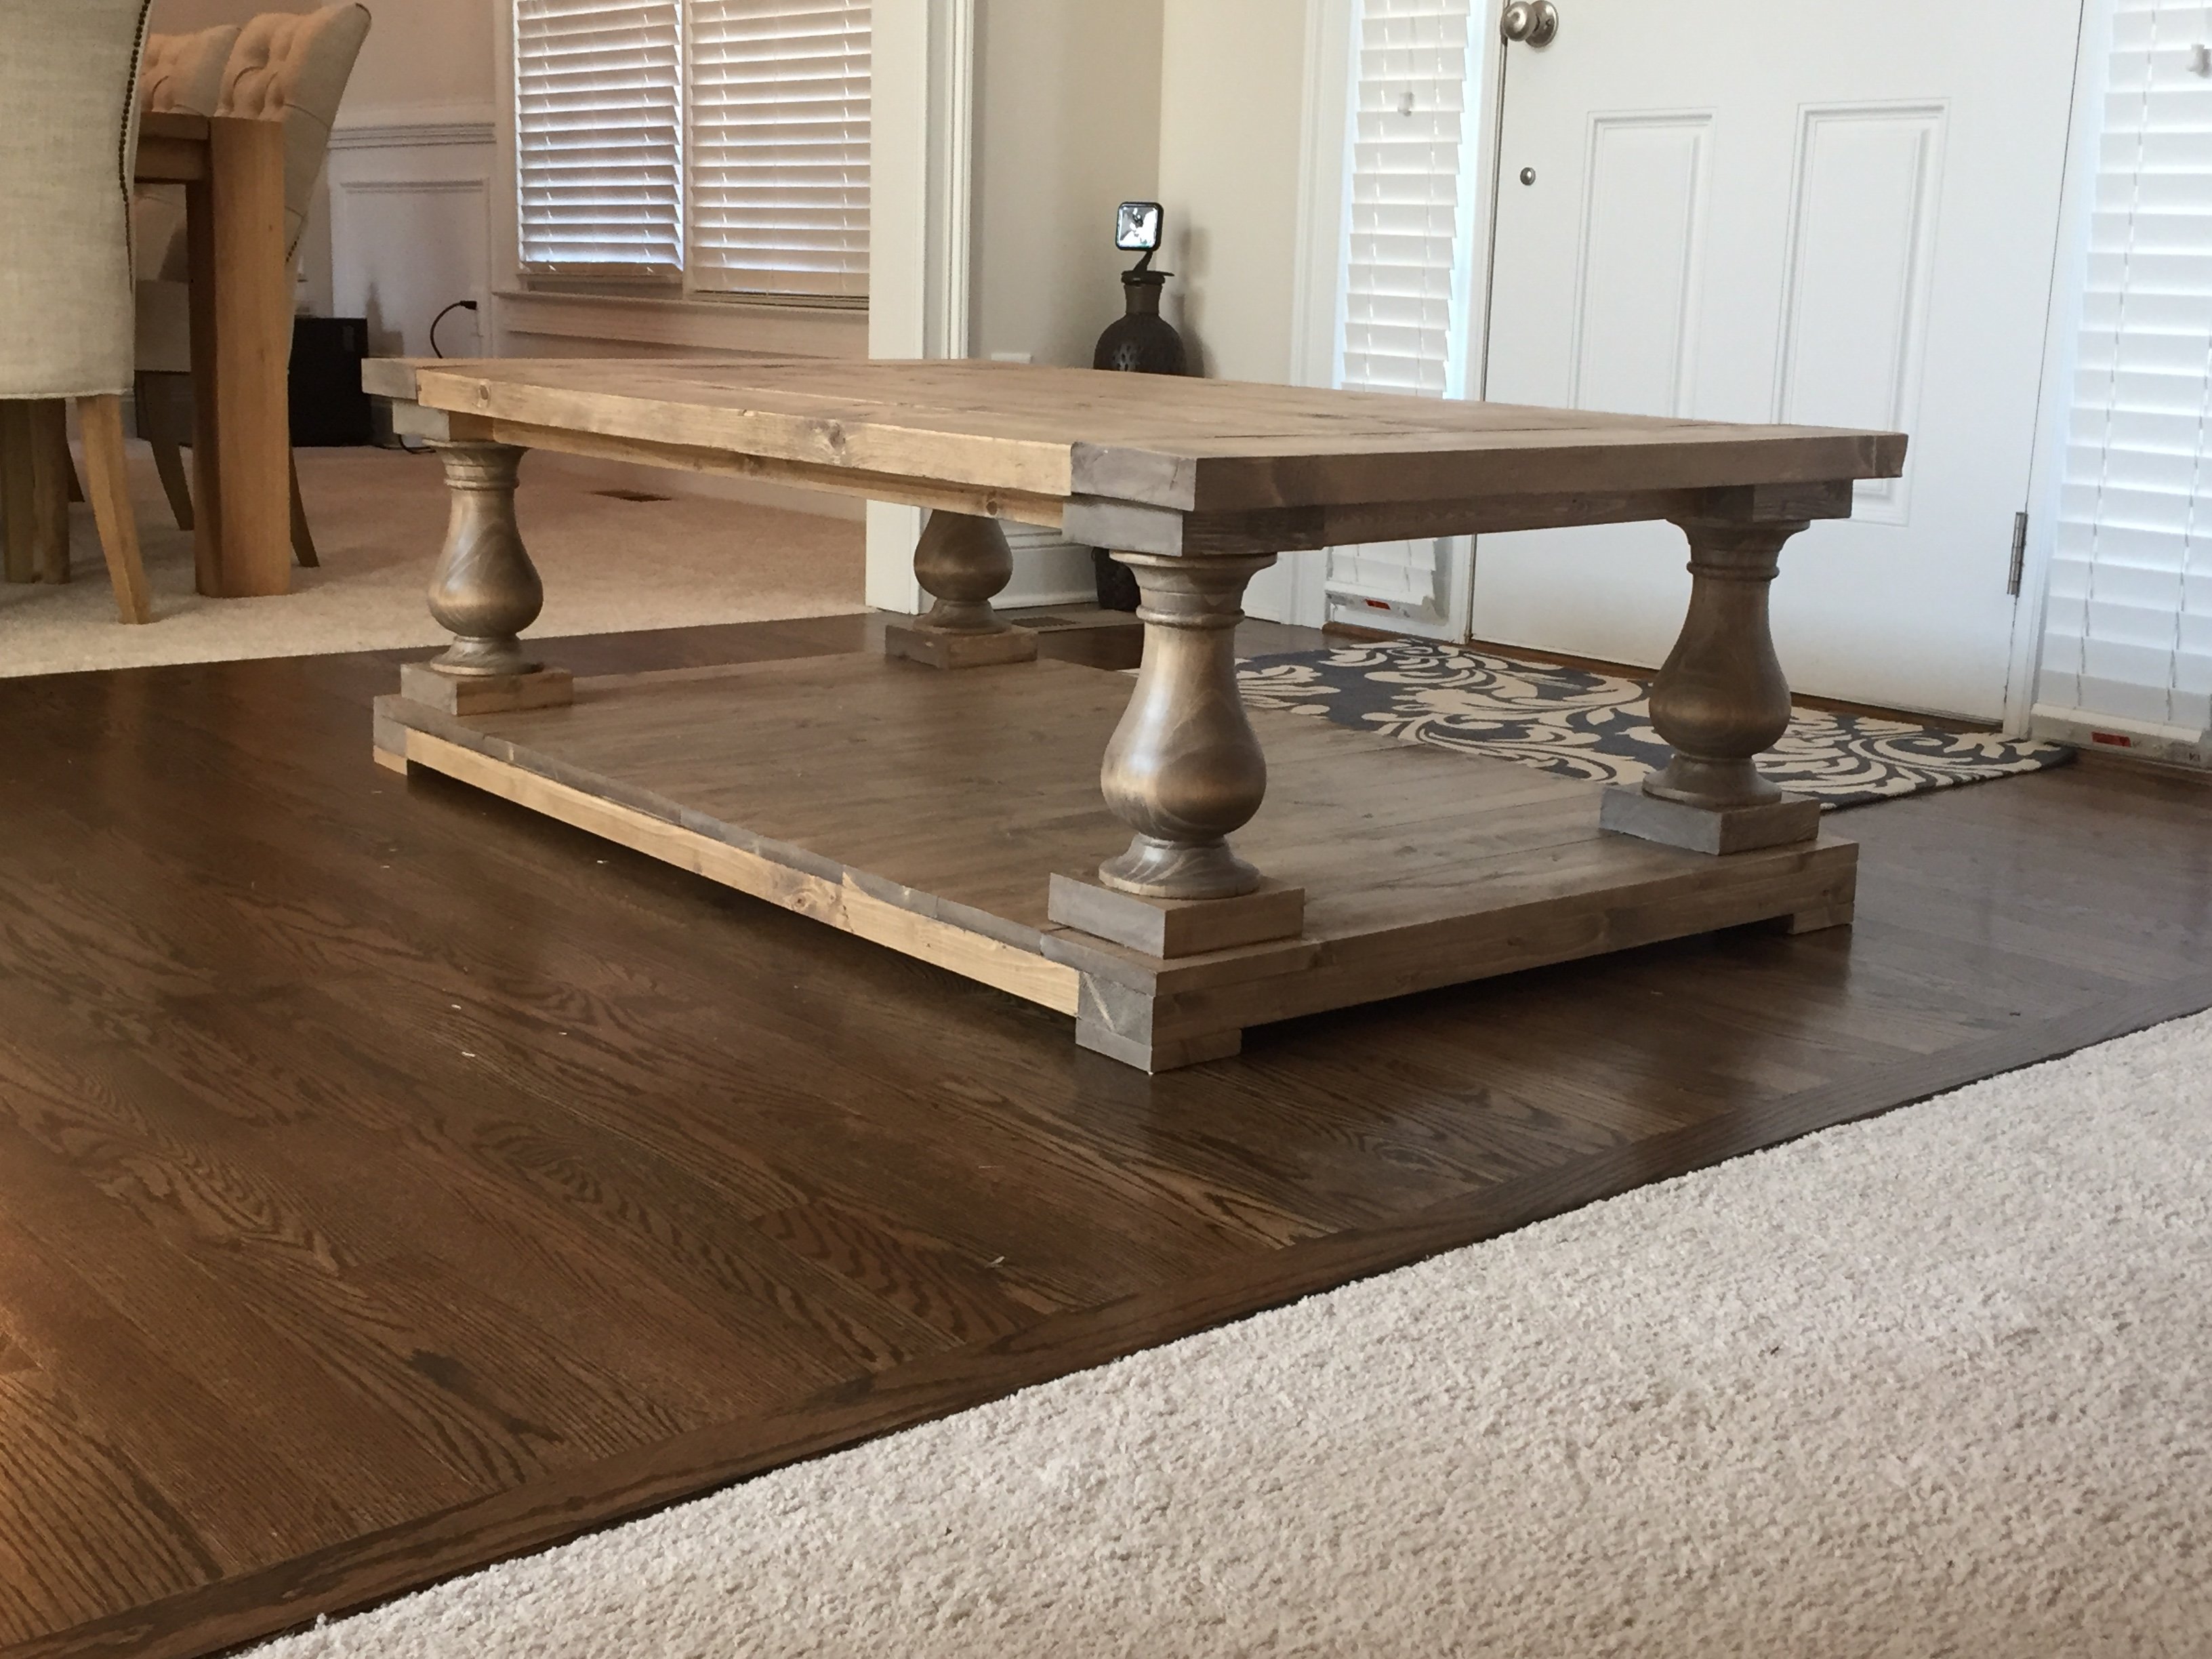
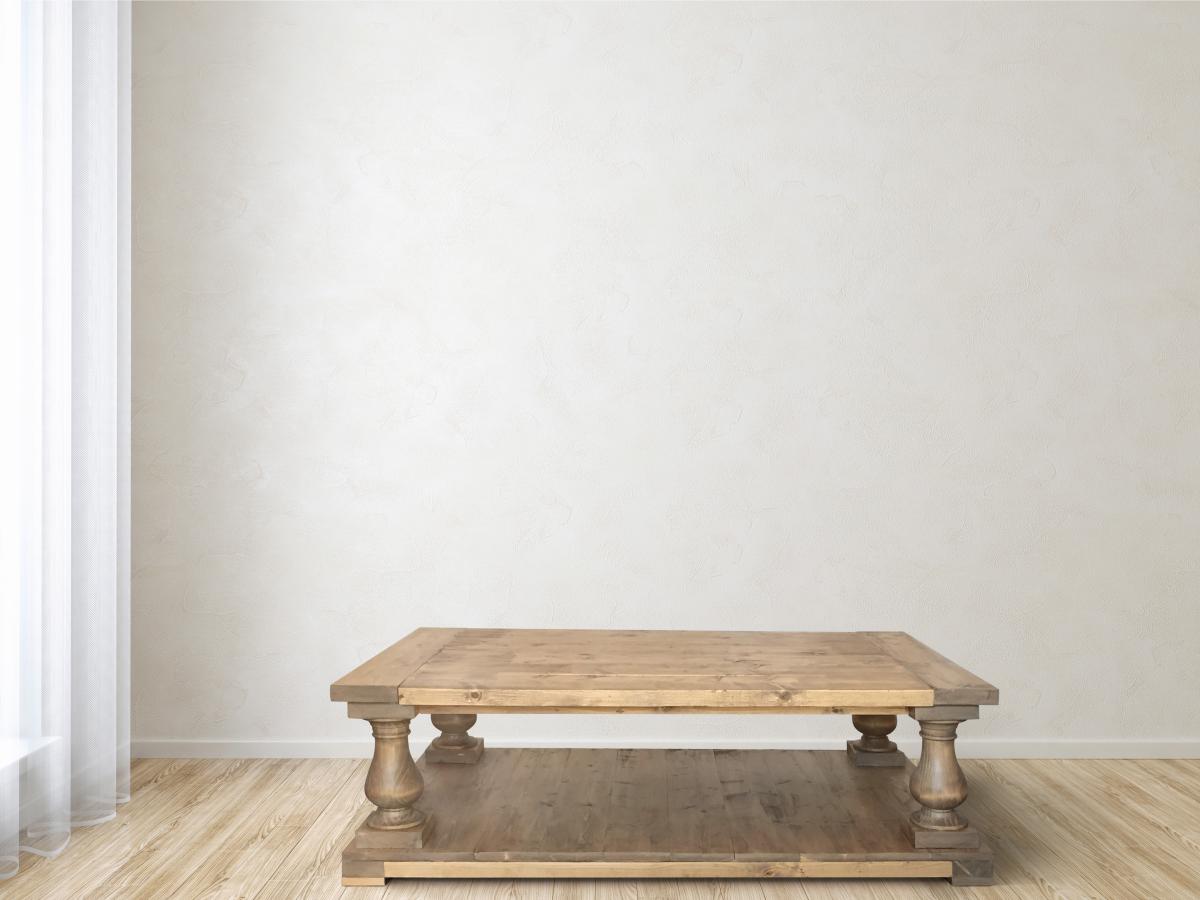
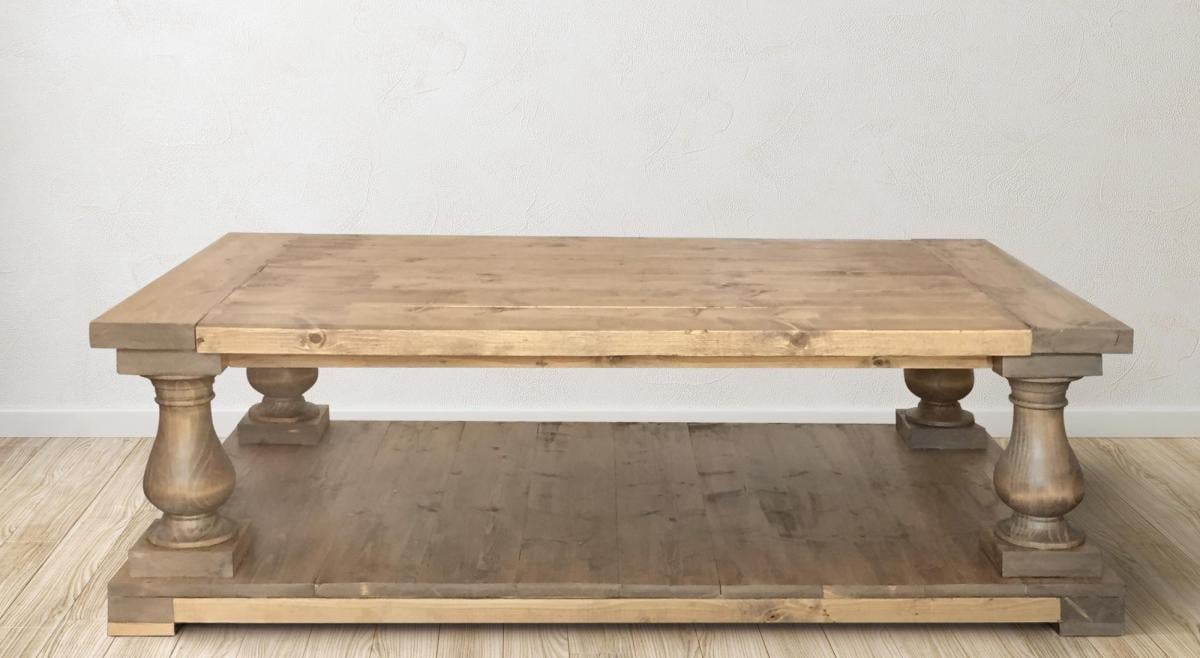
Balustrade coffee table
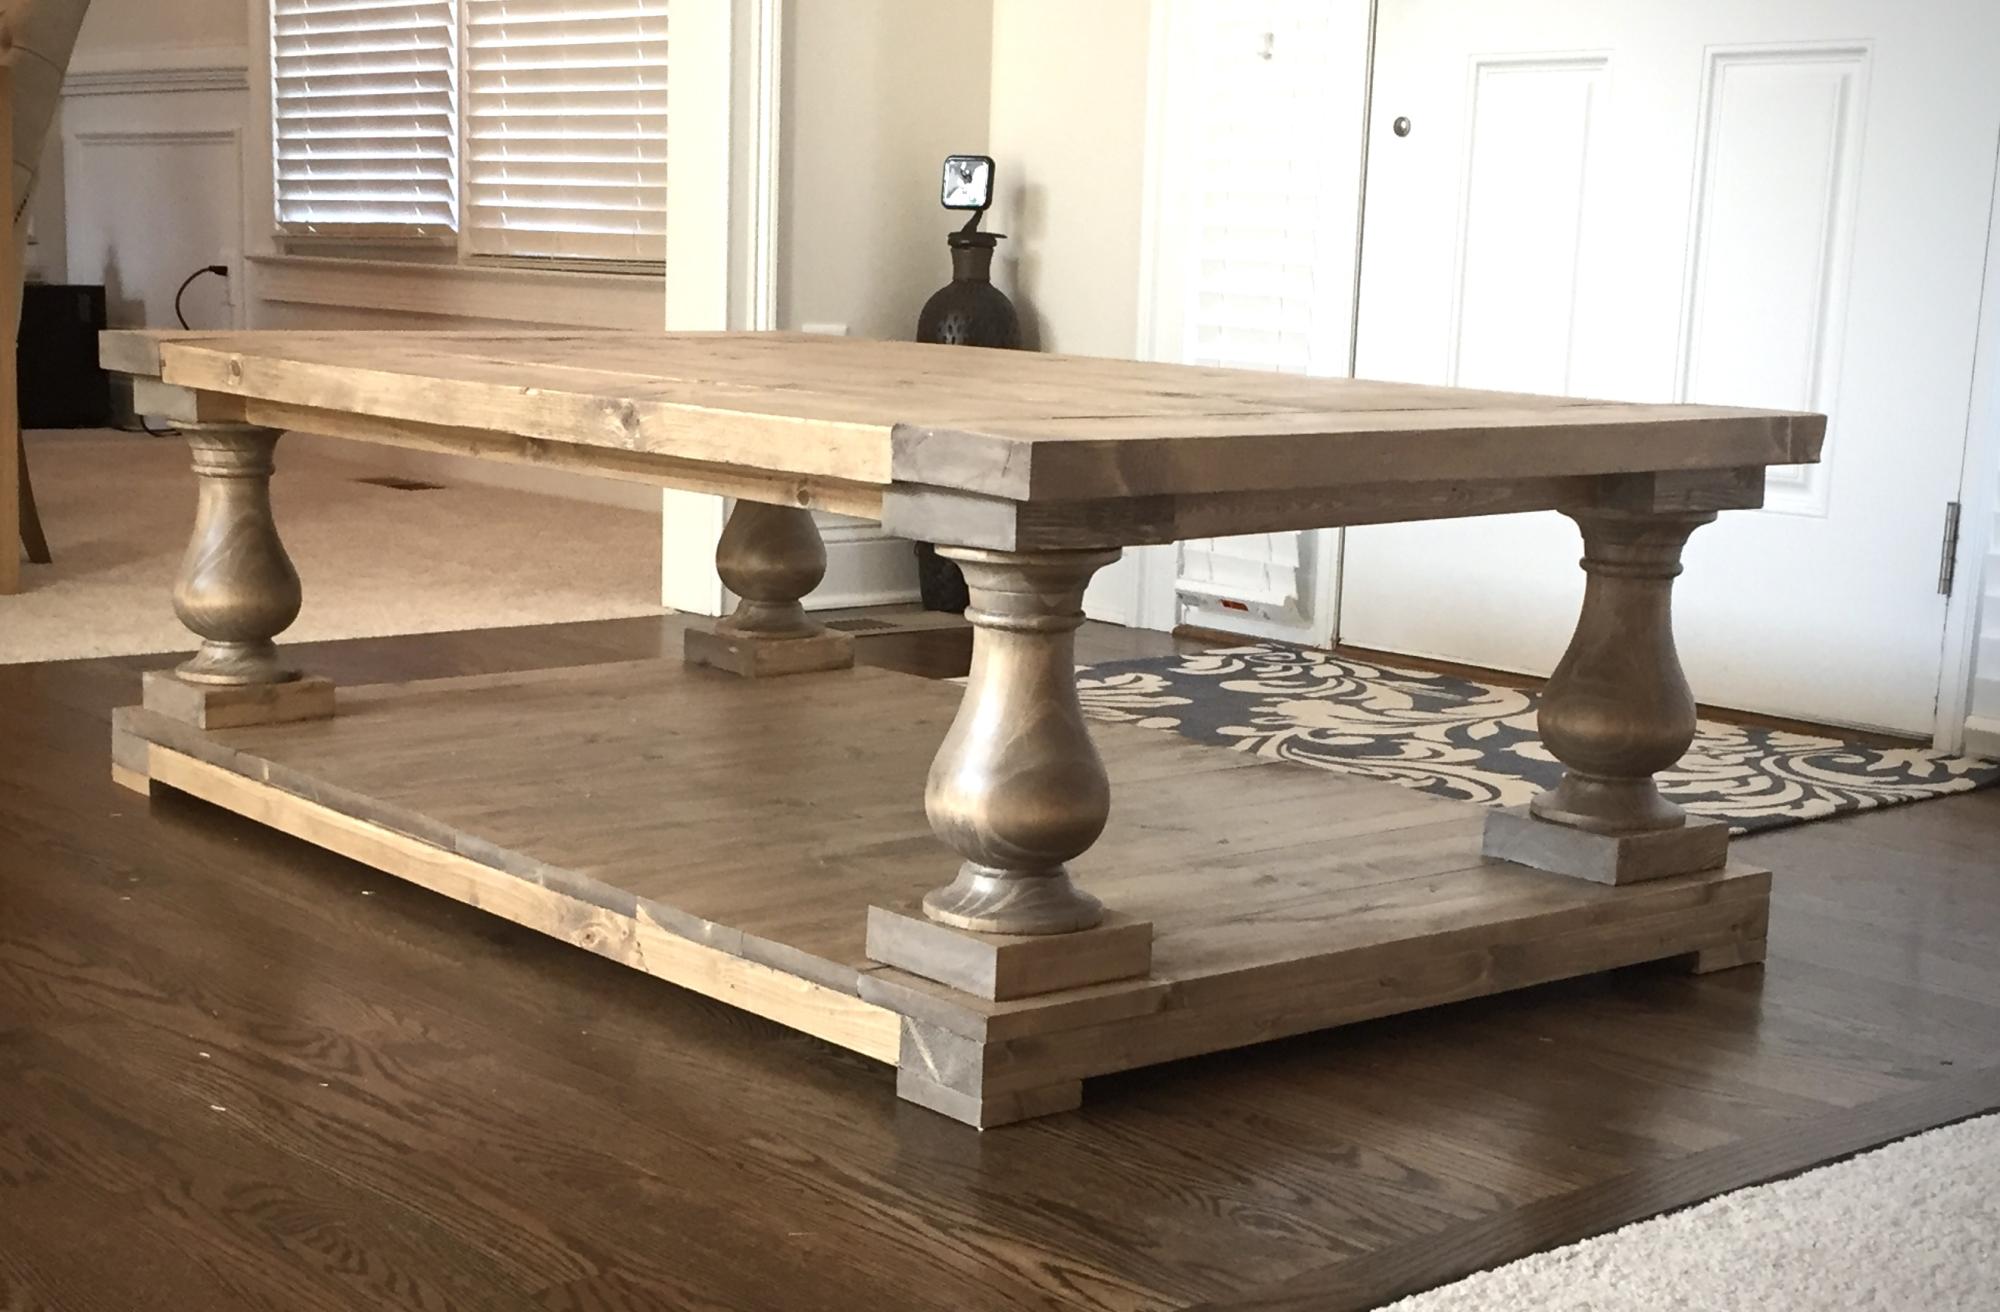
Made from plans, no modifications. I've made it twice, once in a weathered natural look and once with a darker stain.
Built from Plan(s)
Estimated Cost
$300
Estimated Time Investment
Day Project (6-9 Hours)
Recommended Skill Level
Beginner
Comments
Tue, 05/14/2019 - 08:16
Stain/Finish for Weathered Natural Table
They turned out beautifully! What stain/finish did you use for the weathered natural balustrade table?
6 Cube Bookshelf

Hubby and I were tired of seeing our shoes lined up on the wall when we walked in the house. We also wanted something that we could store our snuggies in when we aren't using them.
This was a GREAT weekend project for us to do together!!!
Estimated Cost
$50
Estimated Time Investment
Afternoon Project (3-6 Hours)
Finish Used
I used the Red Elm Gel Stain from an earlier blog post on your site. LOVE the color!!!!
Recommended Skill Level
Beginner
Comments
Fri, 05/24/2013 - 05:09
Want to do this
I was wondering where did you get this piece or the step by step to build it thanks.
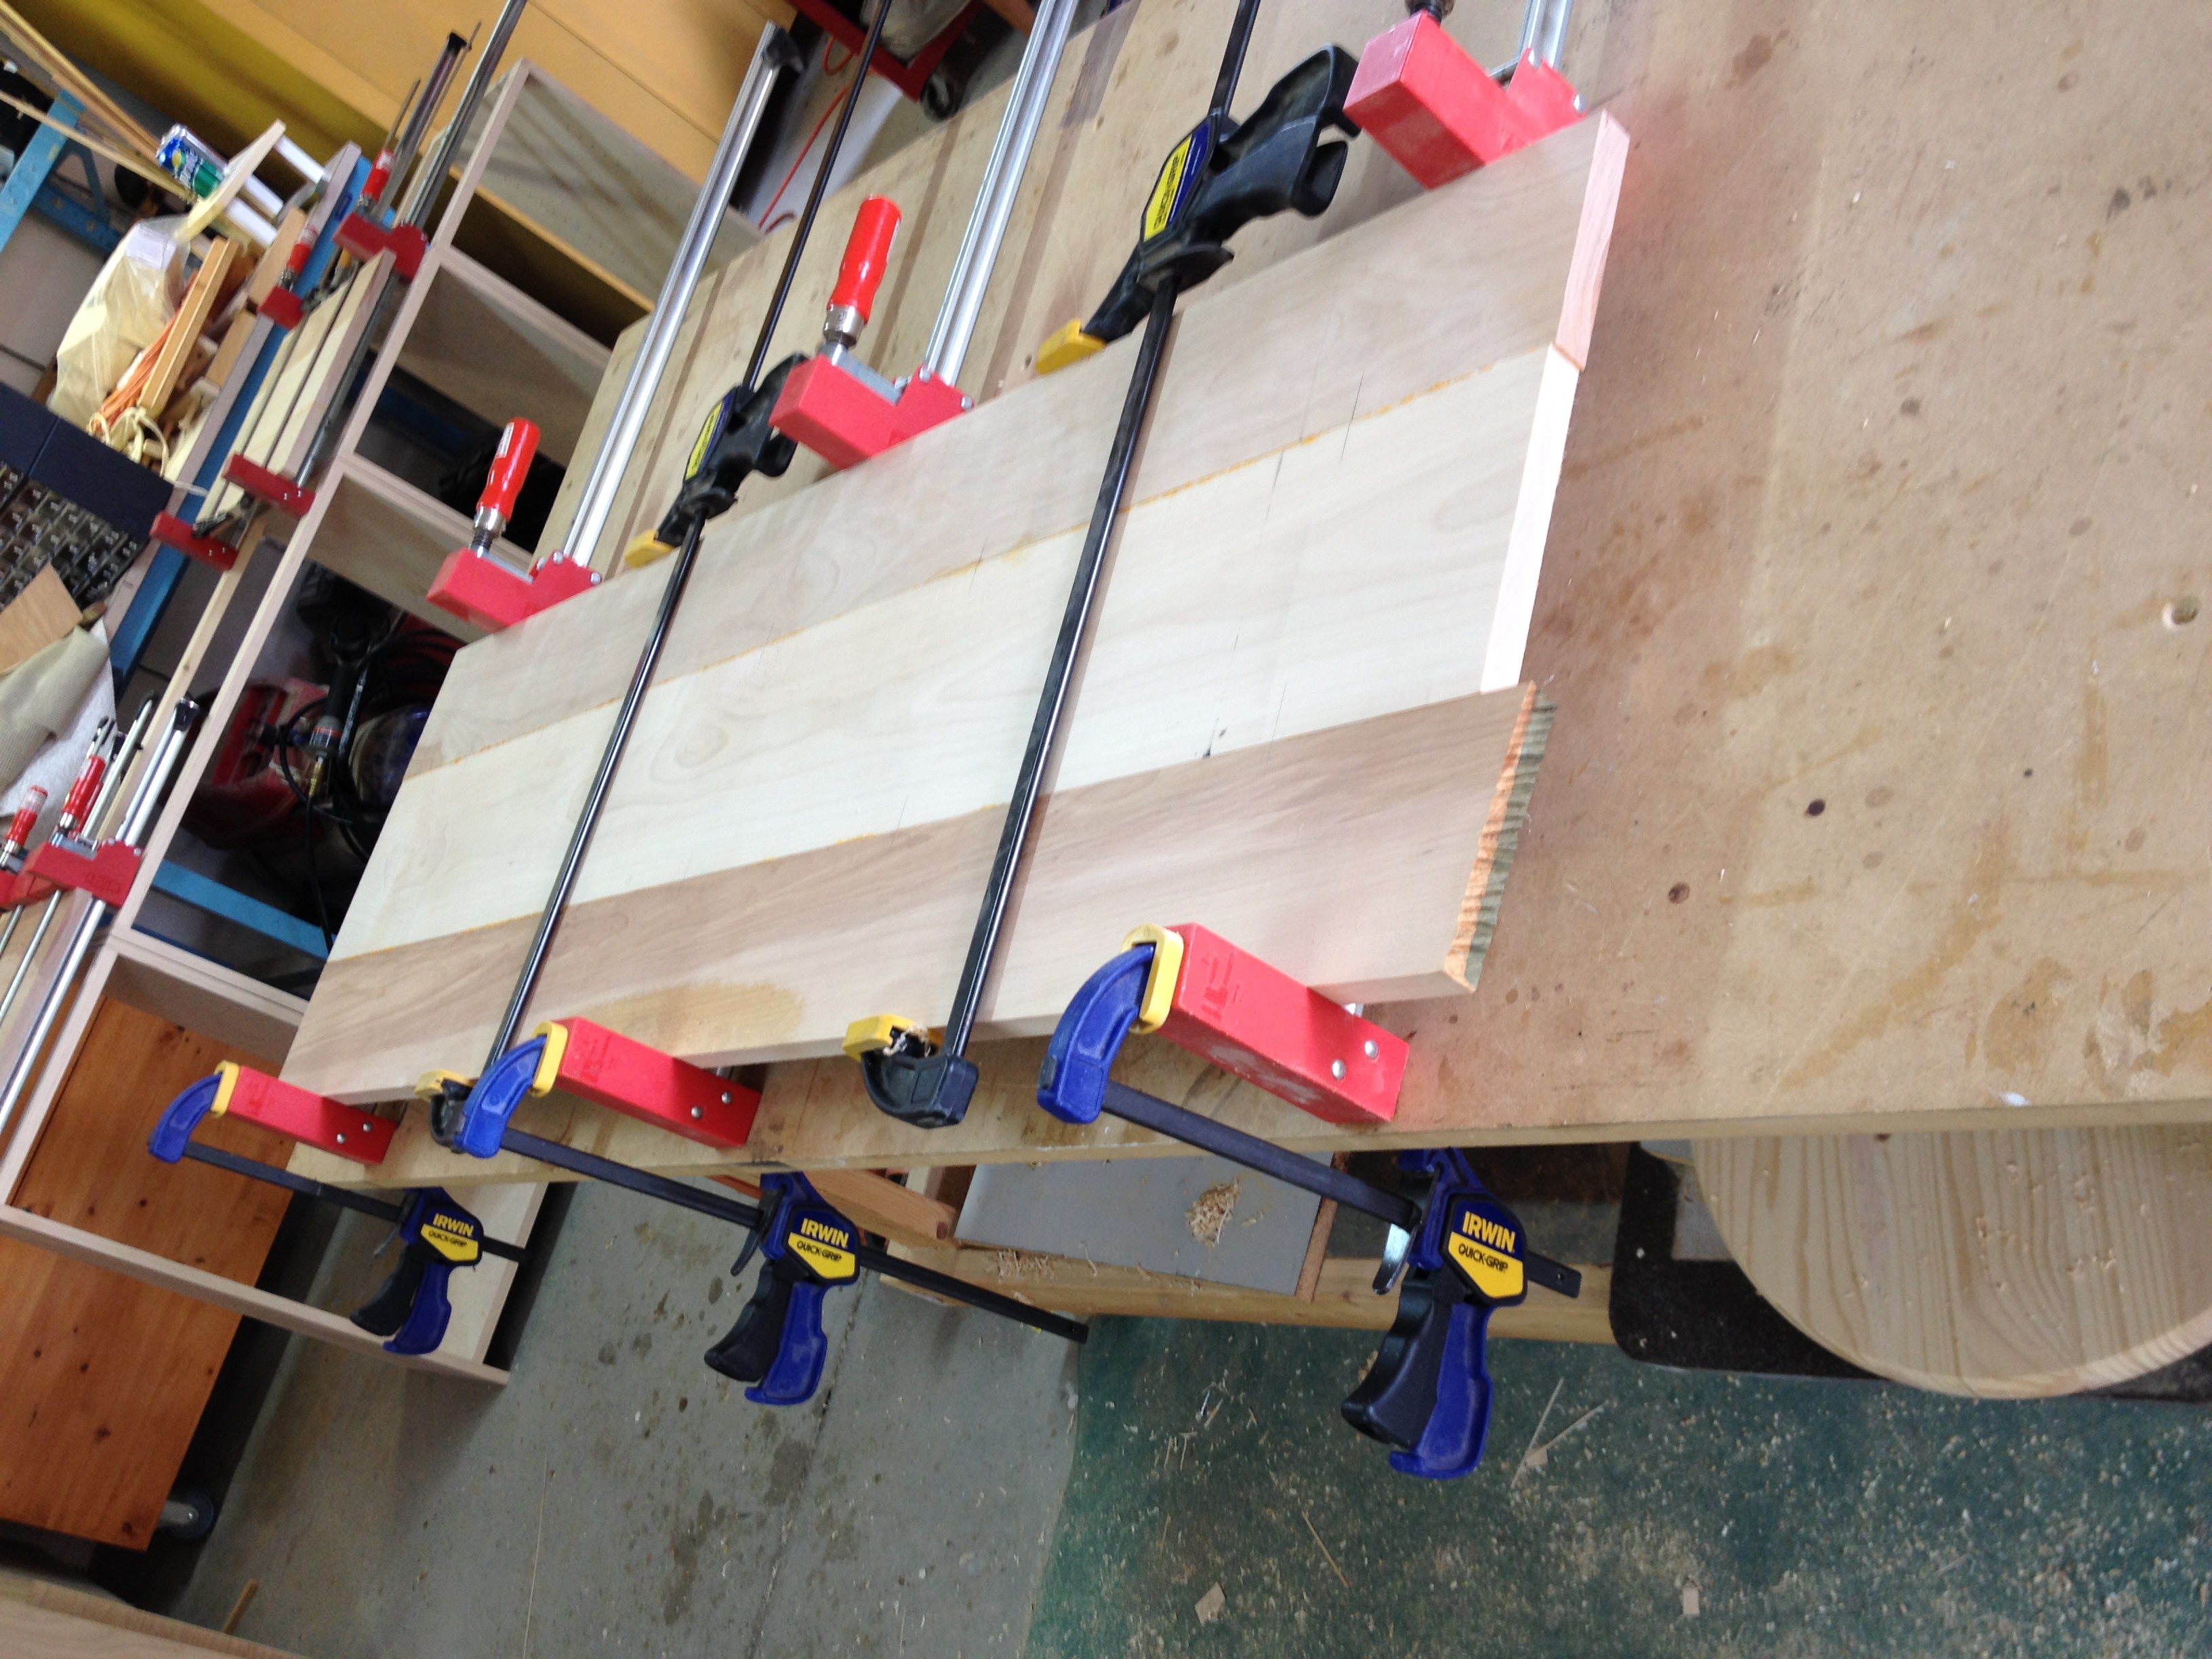
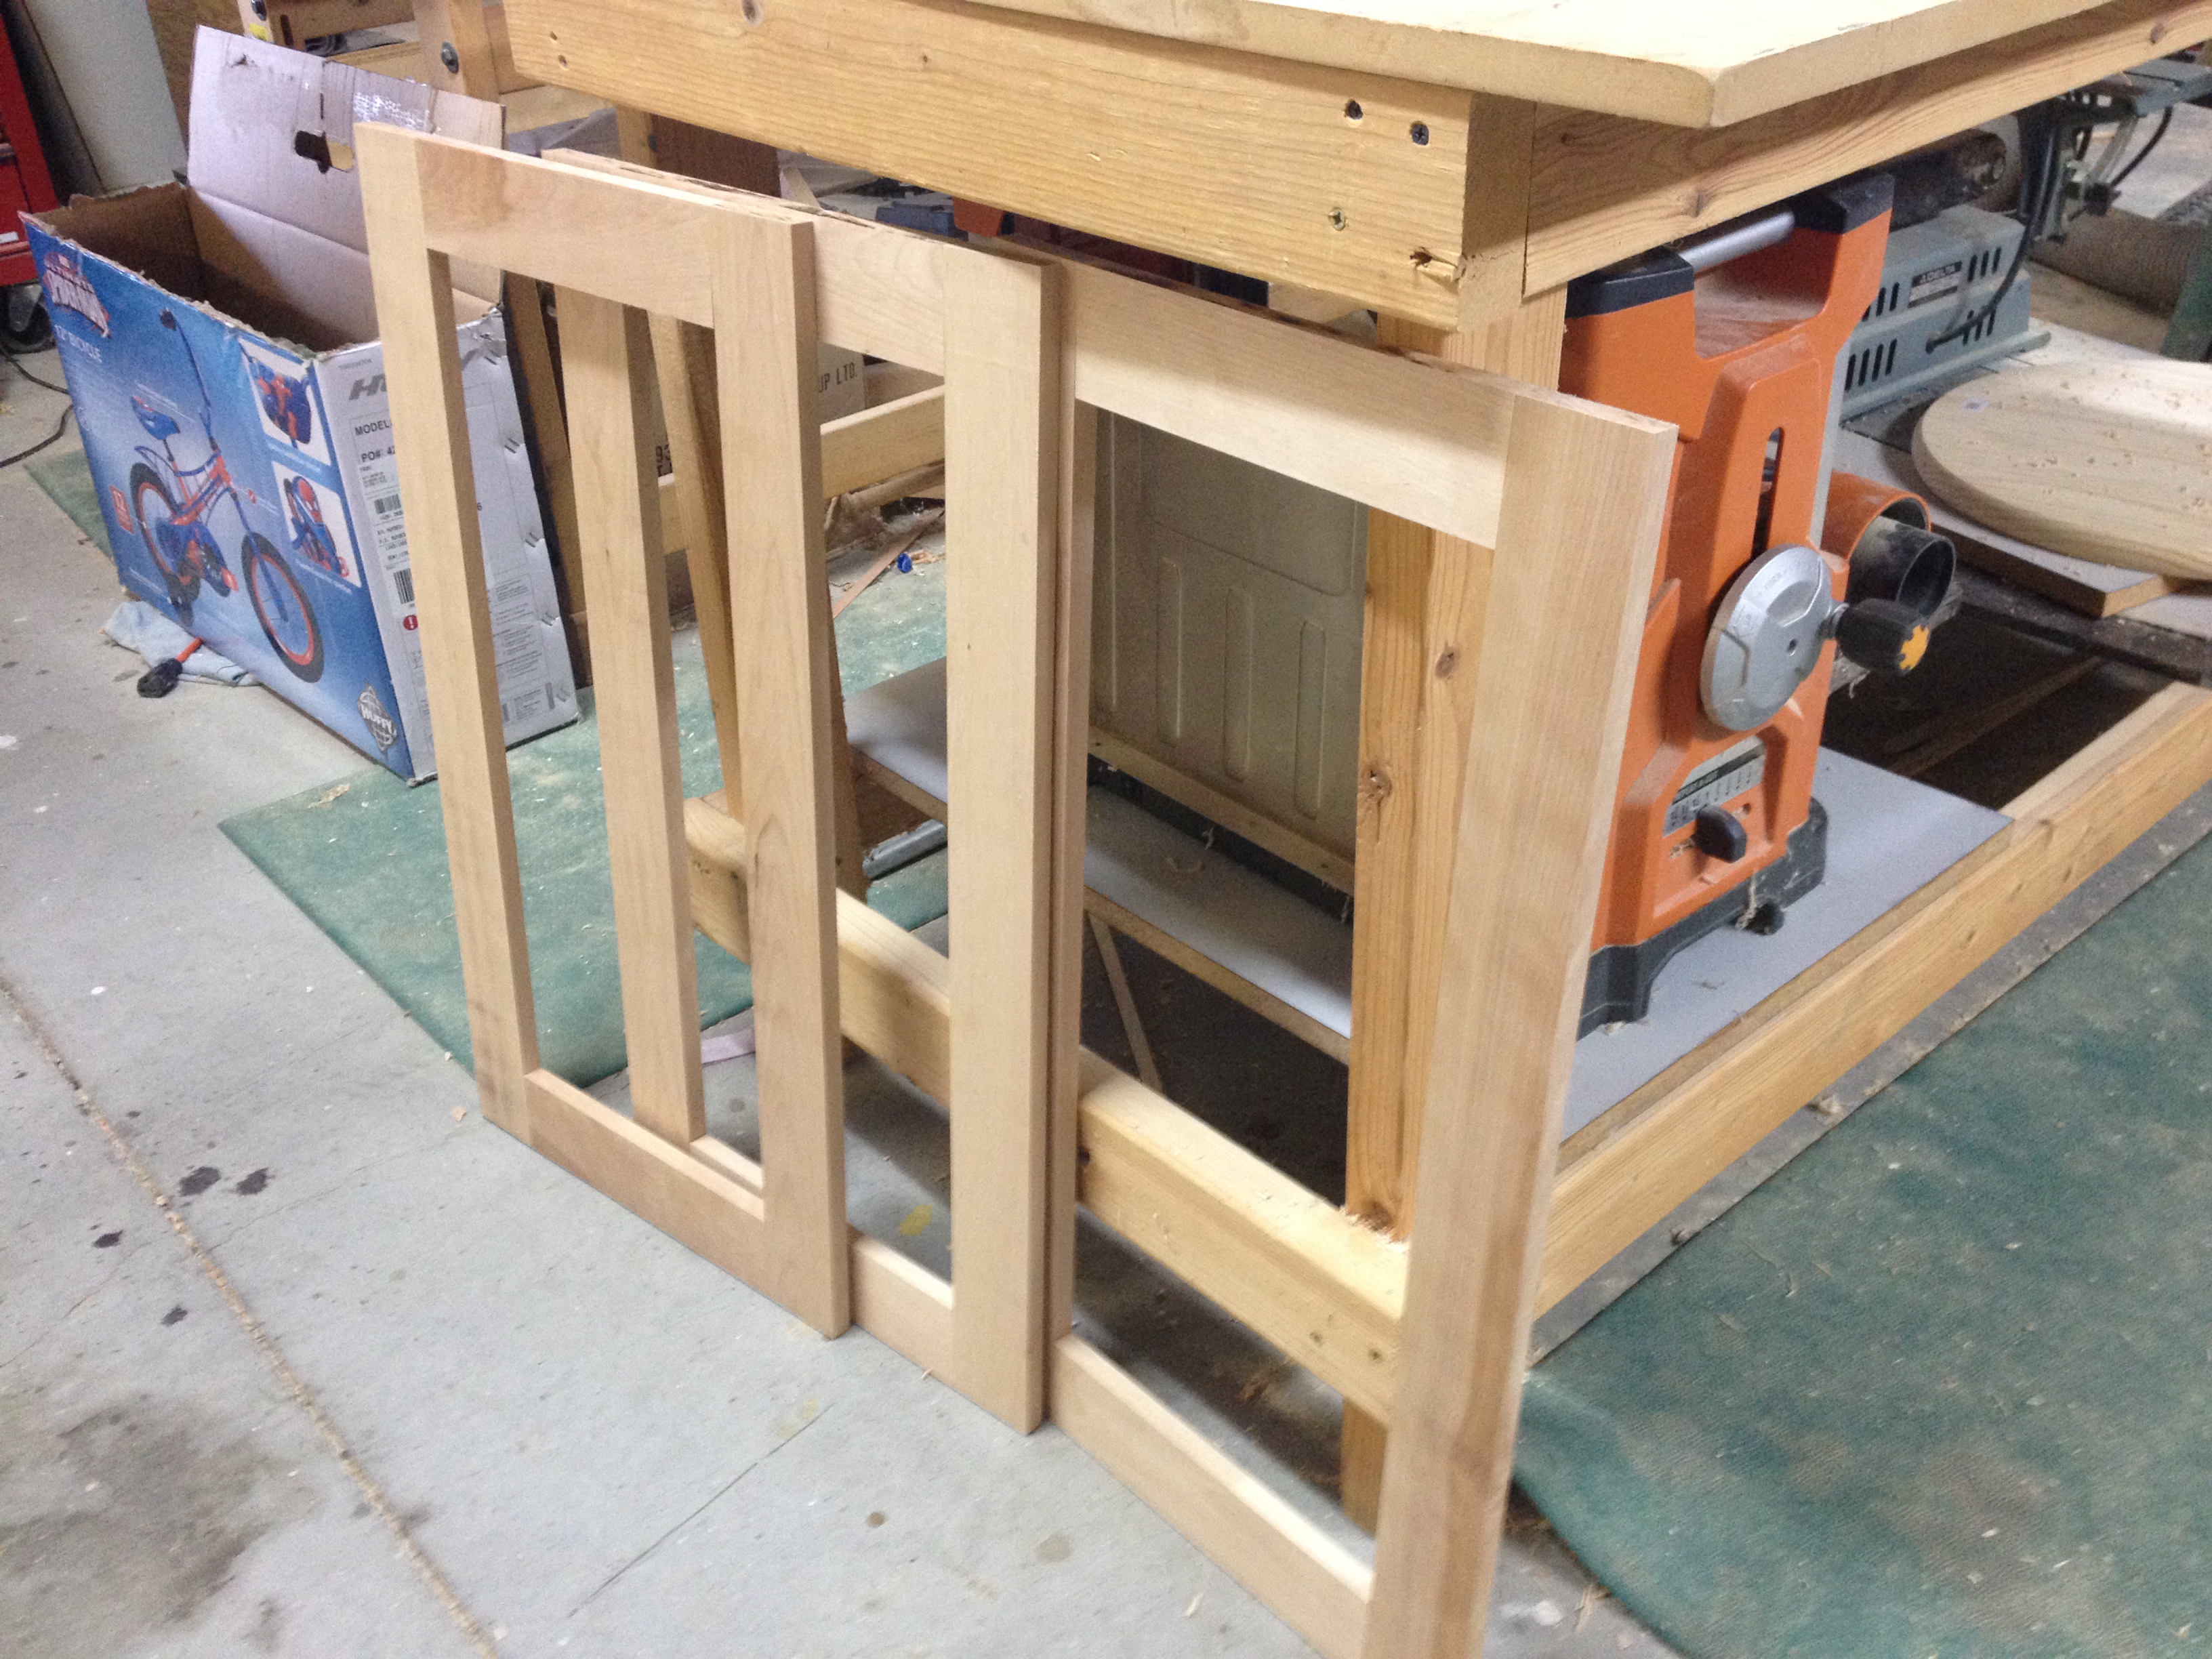
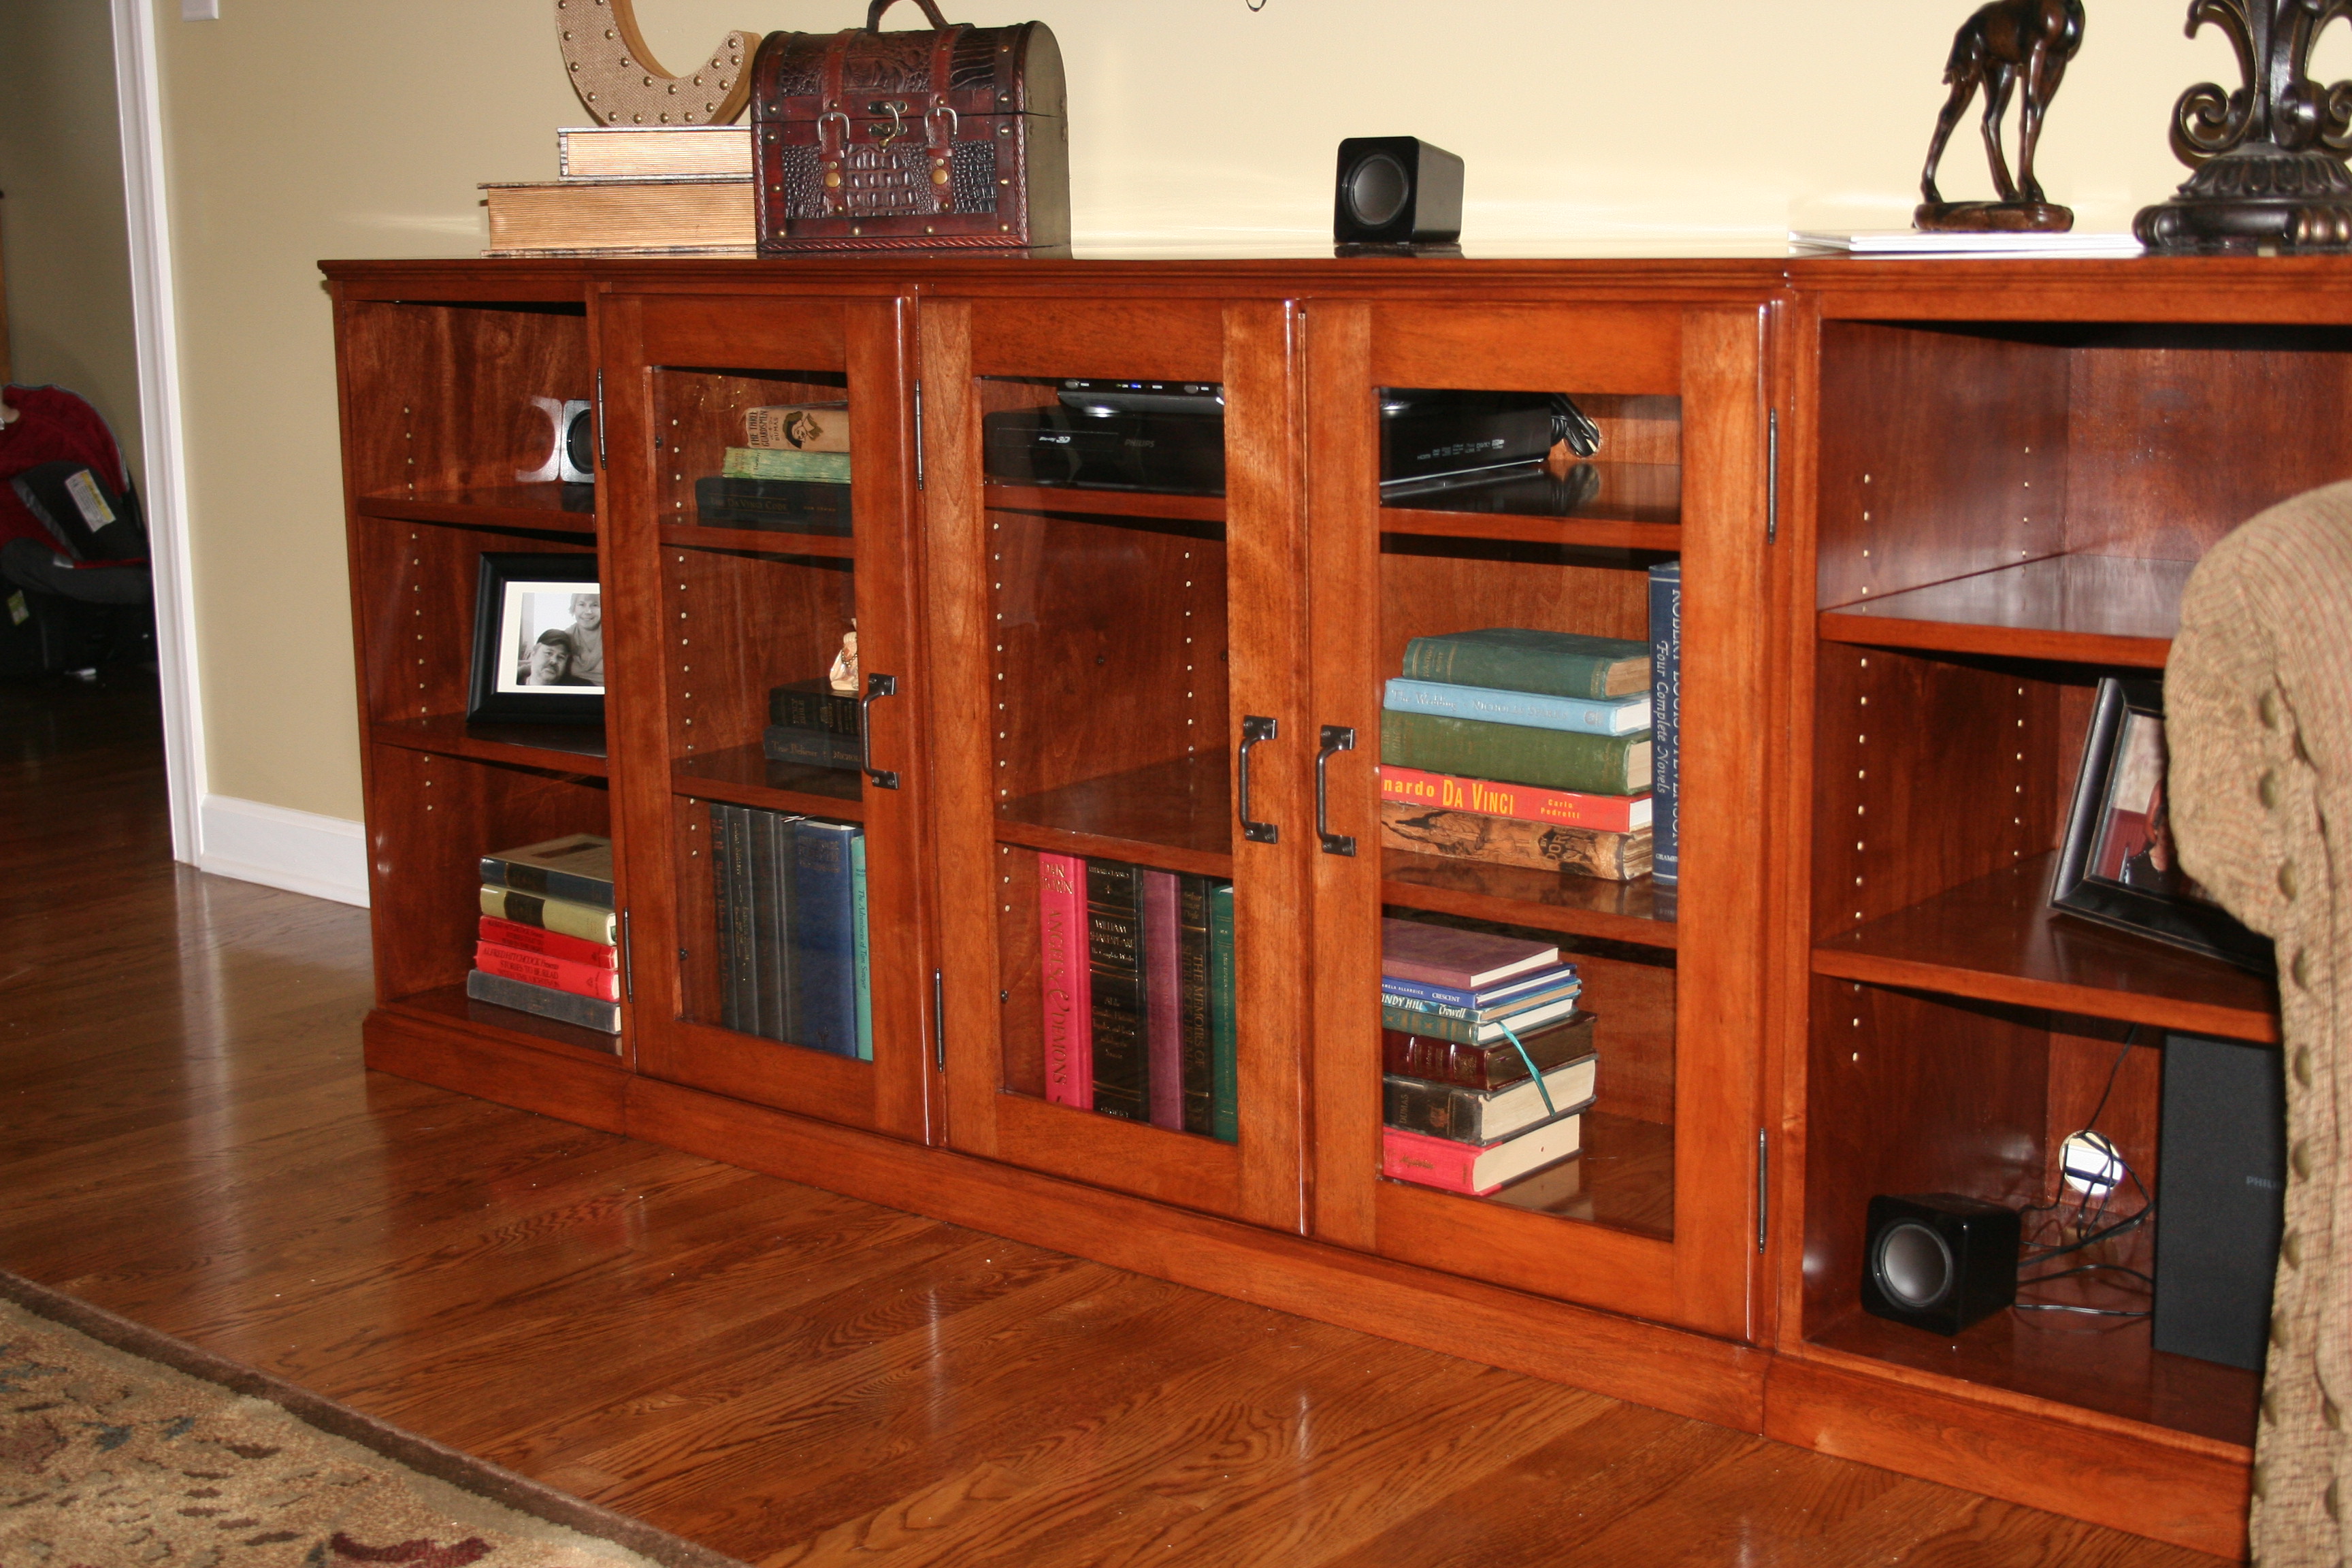
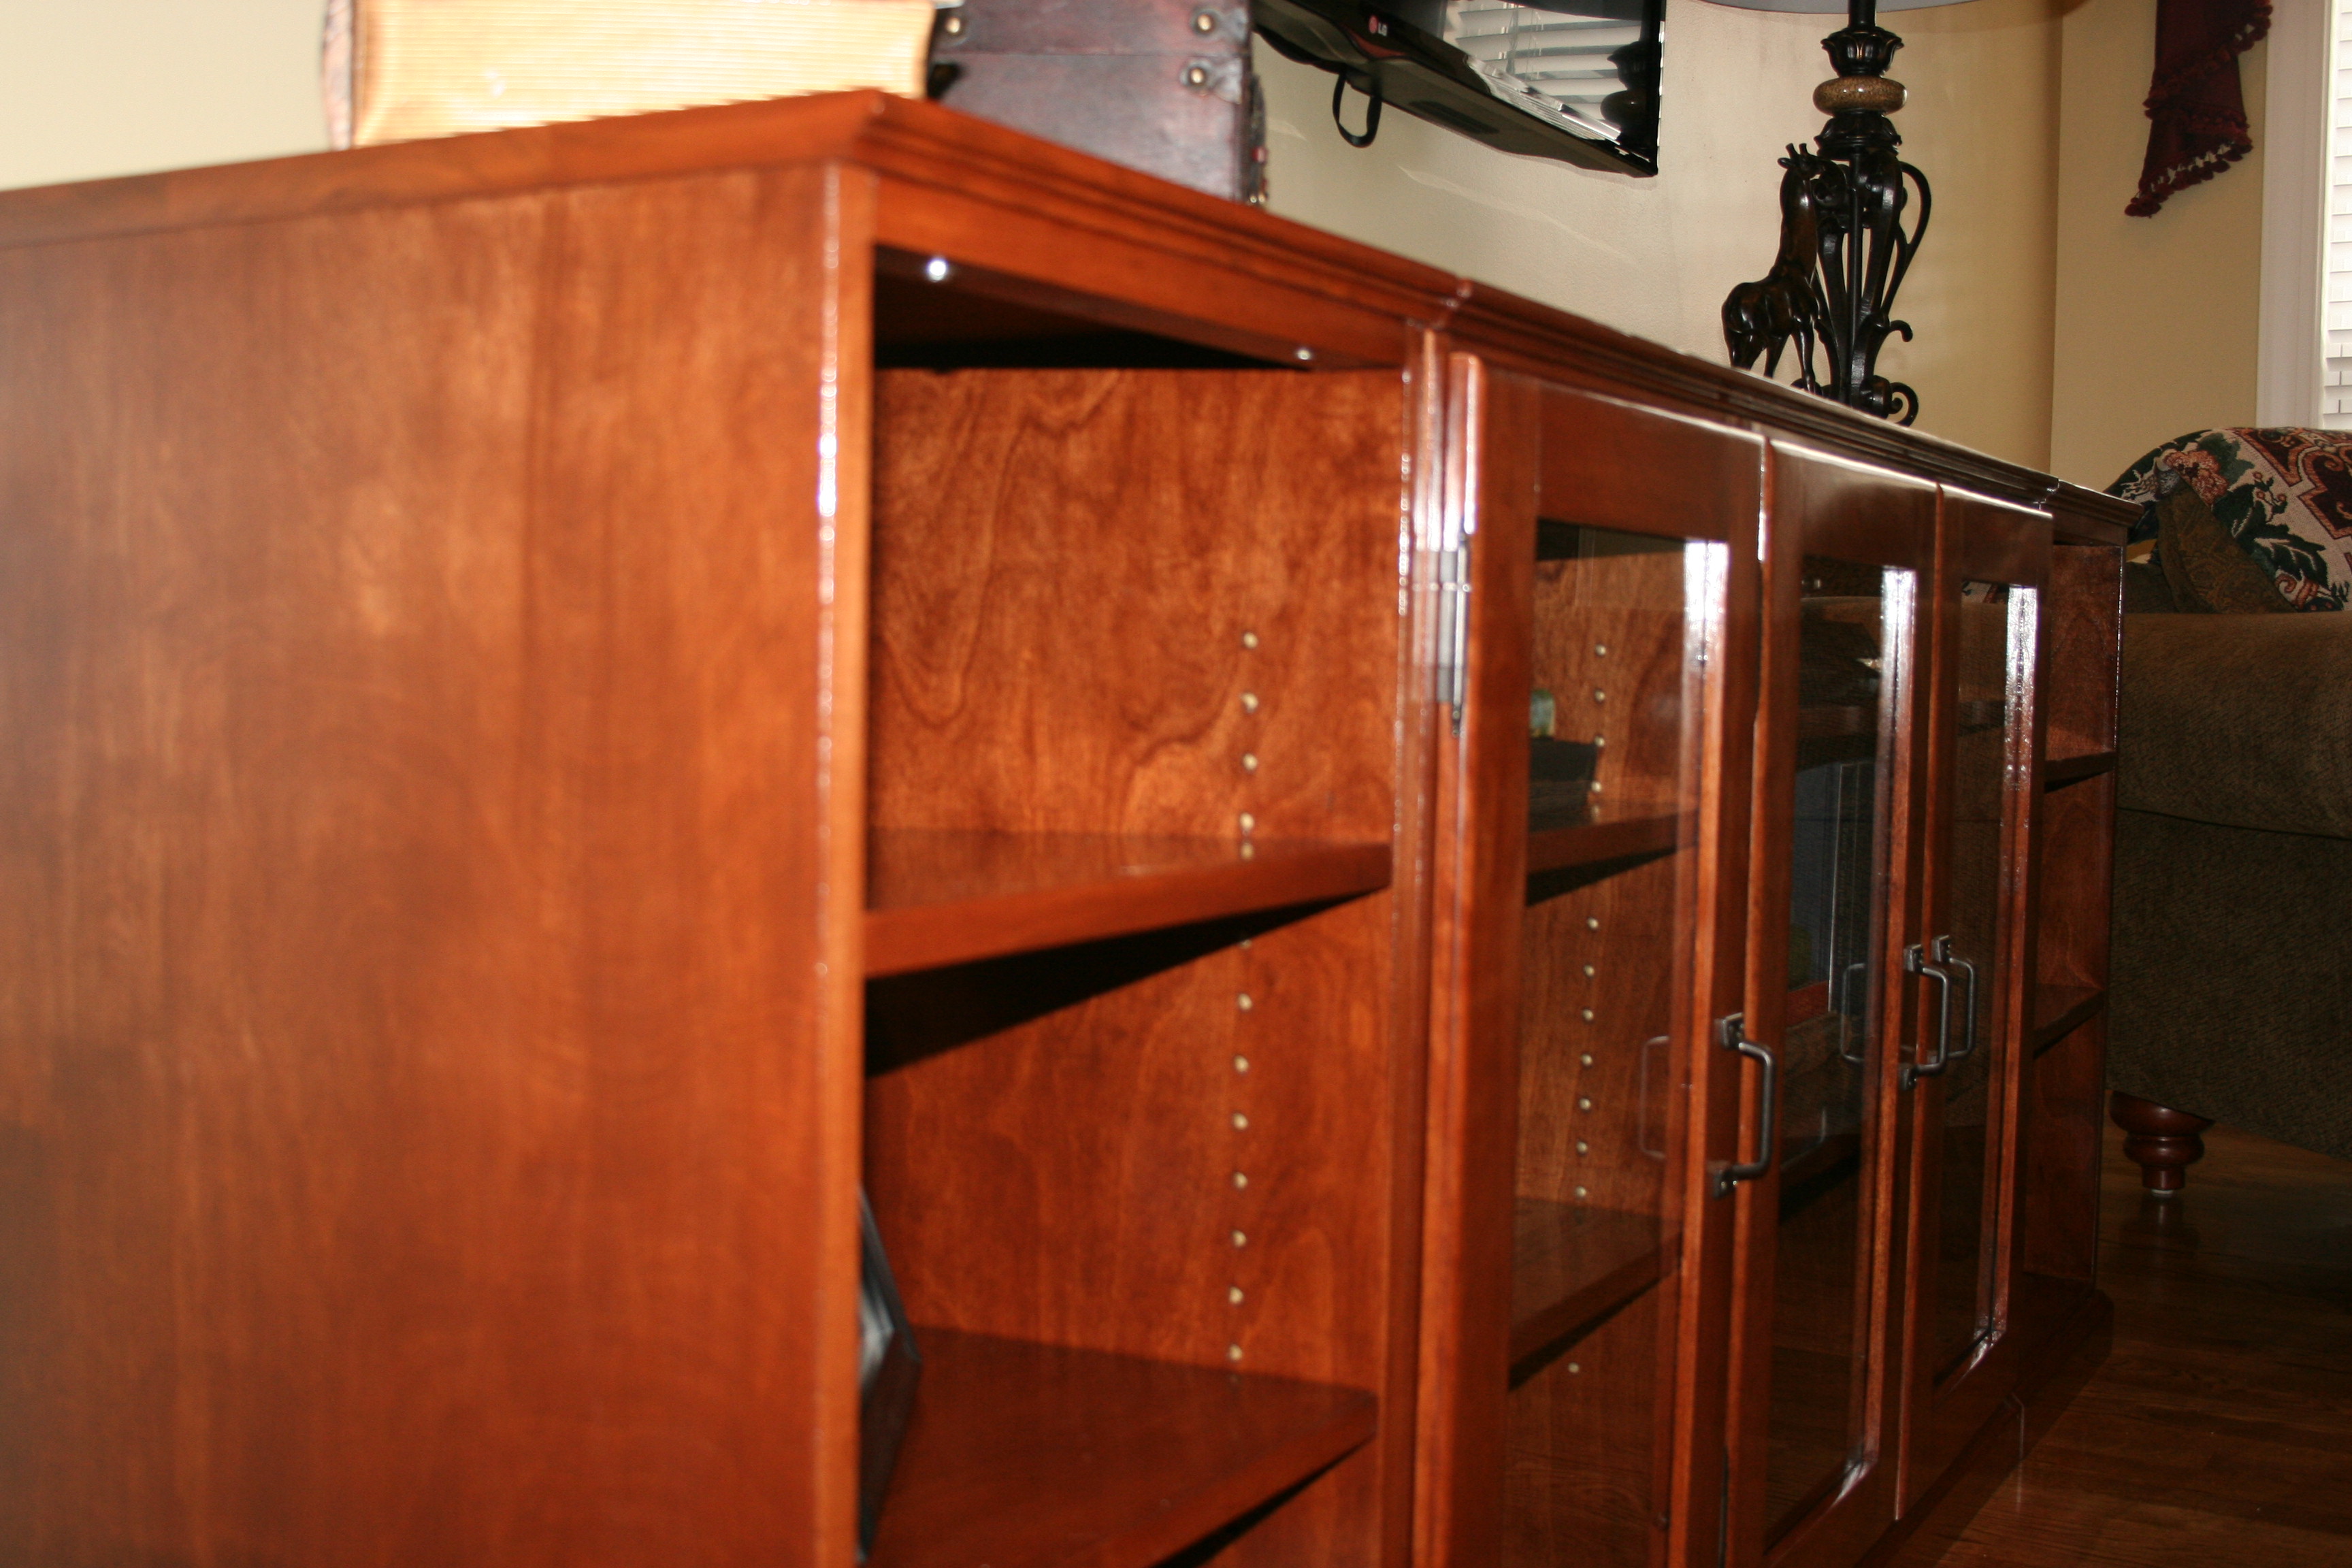
Media Cabinet
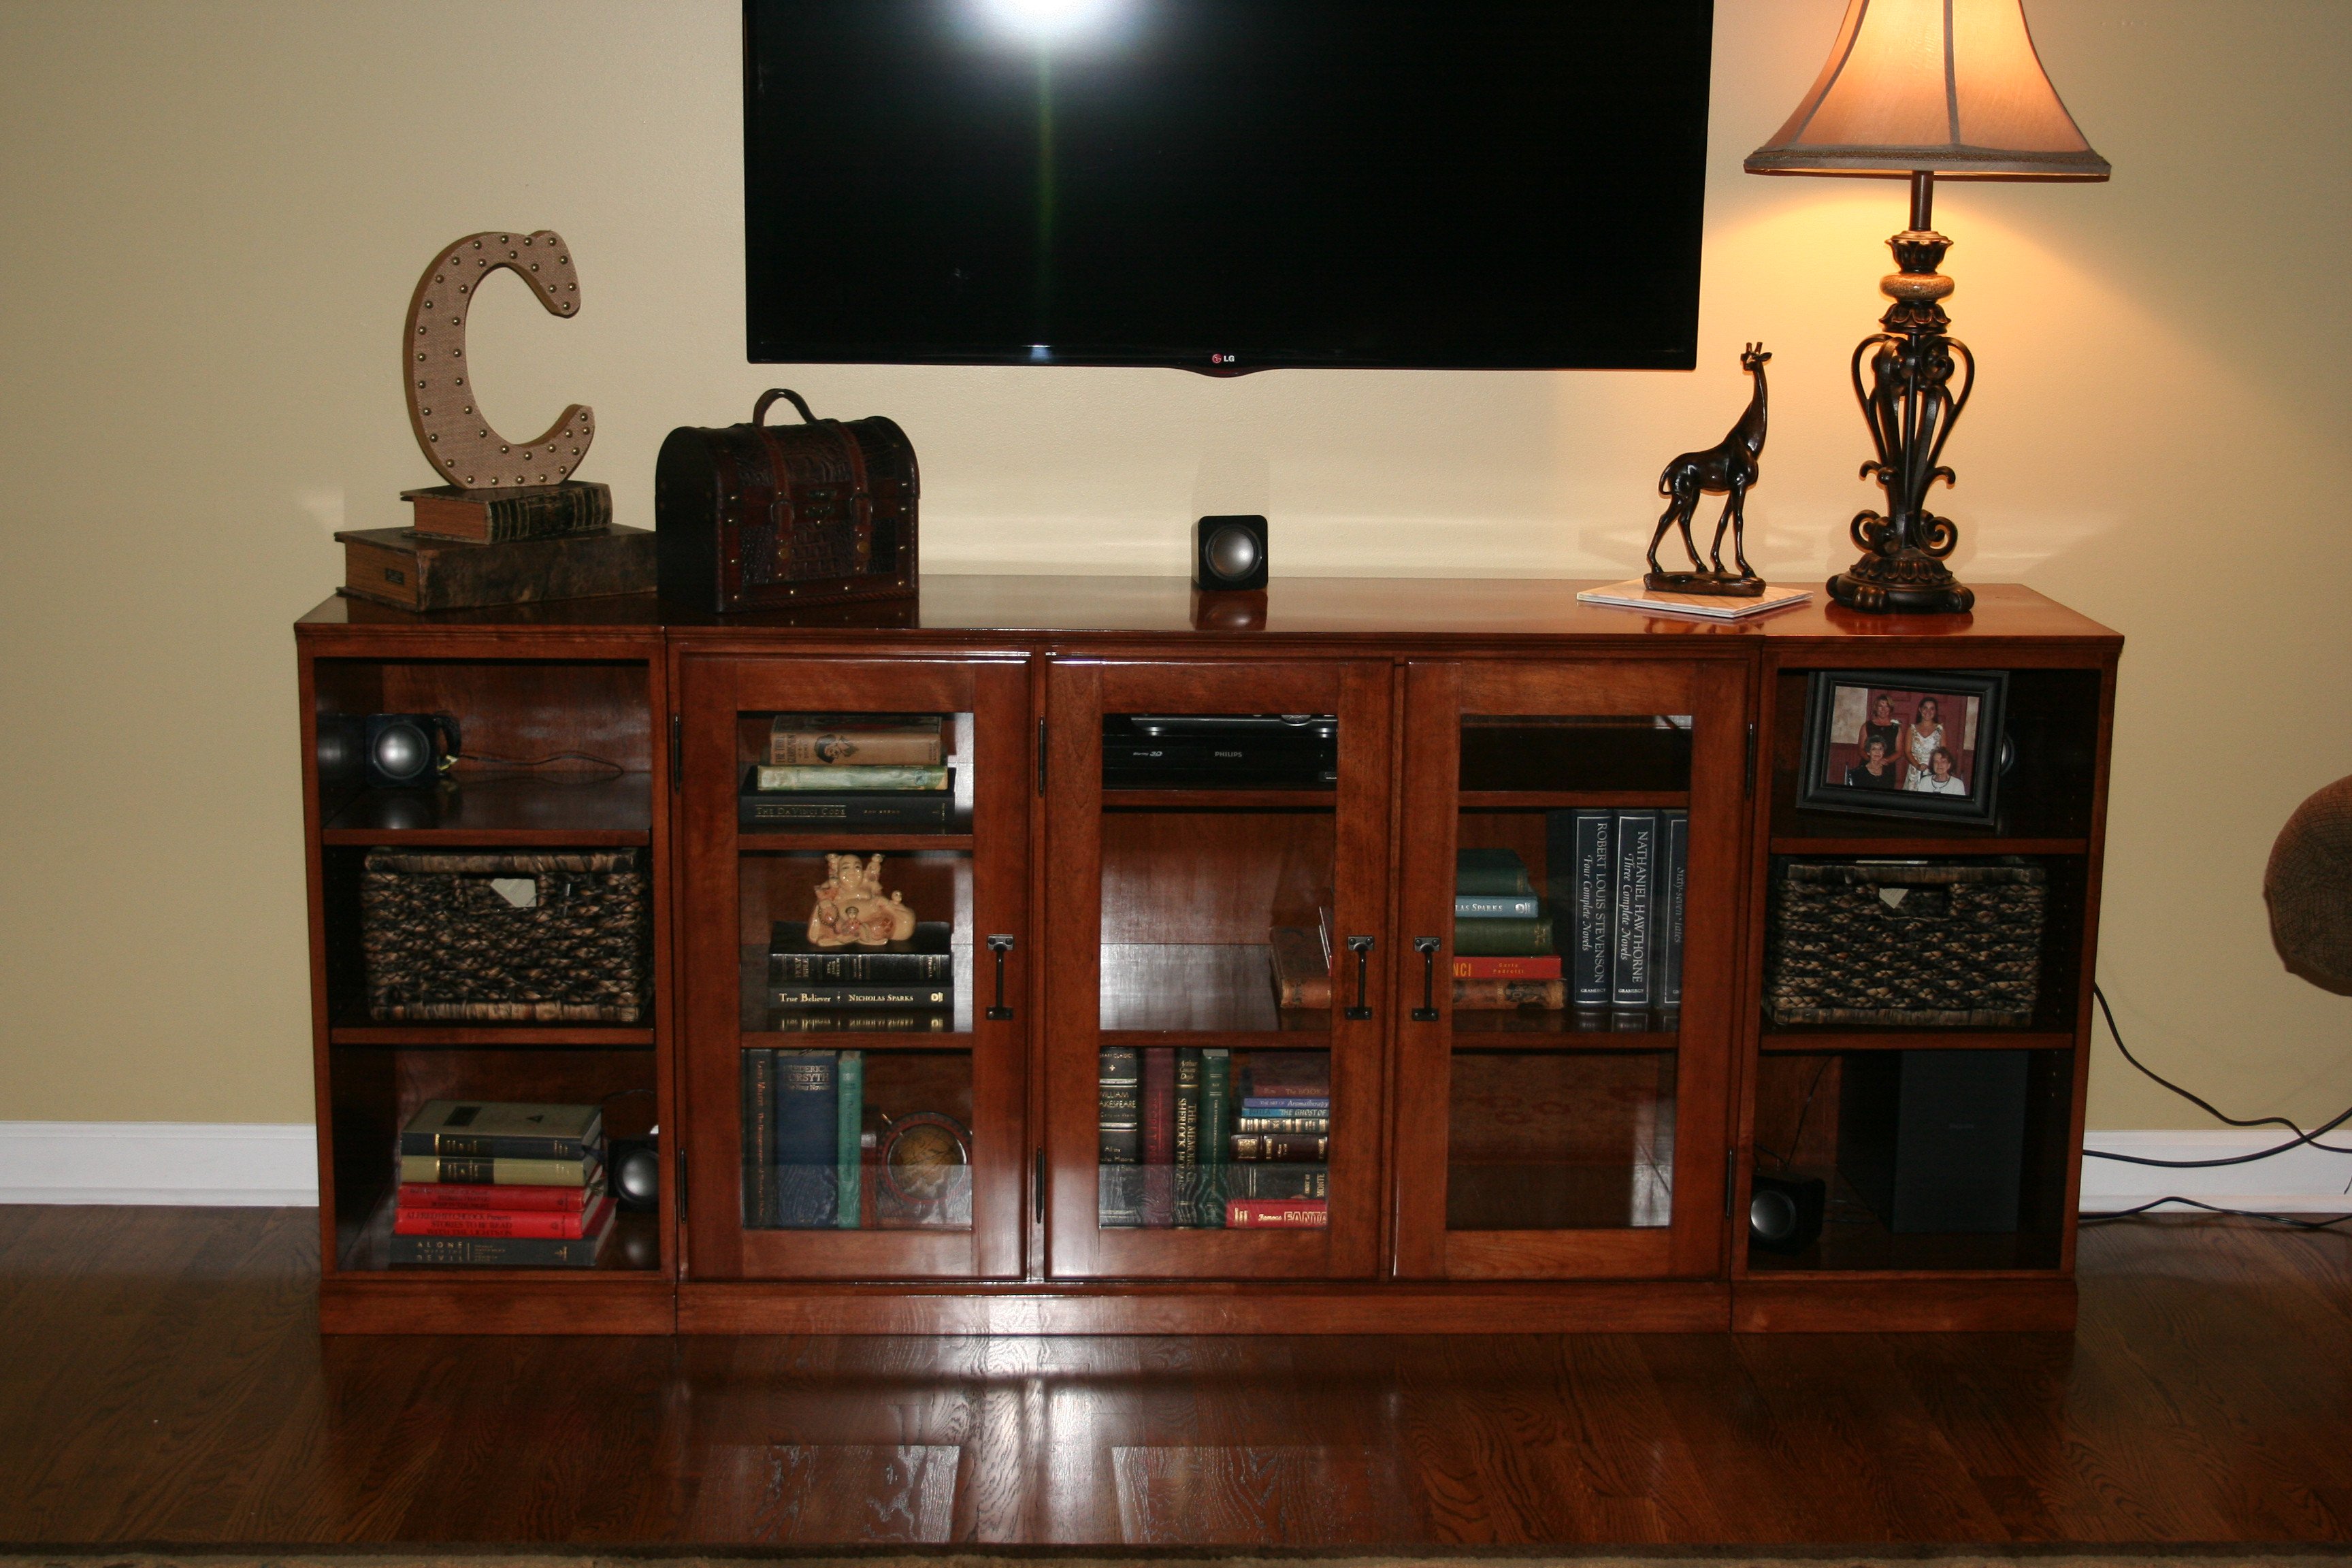
I fell in love with a Printer's Collection media cabinet at the Pottery Barn, but I couldn't afford the $$$ price tag. So I decided to build it myself. Theirs was made out of pine but I made mine out of birch. It wasn't very hard to build, it just had a lot of pieces. I made 3 pieces, the center being 3 sections, and 2 shelf sections on the ends. I thought it turned out great and fits our space perfectly.

Built from Plan(s)
Estimated Time Investment
Week Long Project (20 Hours or More)
Finish Used
3 coats of Minwax English Chestnut, sanding sealer, Minwax Gel Stain Hickory (as a glaze), Minwax polyurethane in satin.
Recommended Skill Level
Intermediate
Comments
Sun, 12/07/2014 - 17:07
Truly Professional
Charae22, this is verympressive work! Your build looks like a piece one would find in a fine furniture store for a few thousand dollars. You have built something that will surely be a family heirloom.
Fri, 01/16/2015 - 16:53
Love this!!!!
Hi Charae22,
I love this version!! I am trying to find all the plans to make the media cabinet, but I am wondering if you wouldn't mind sharing your plans for your media cabinet?
Mimi's Faux Mantle
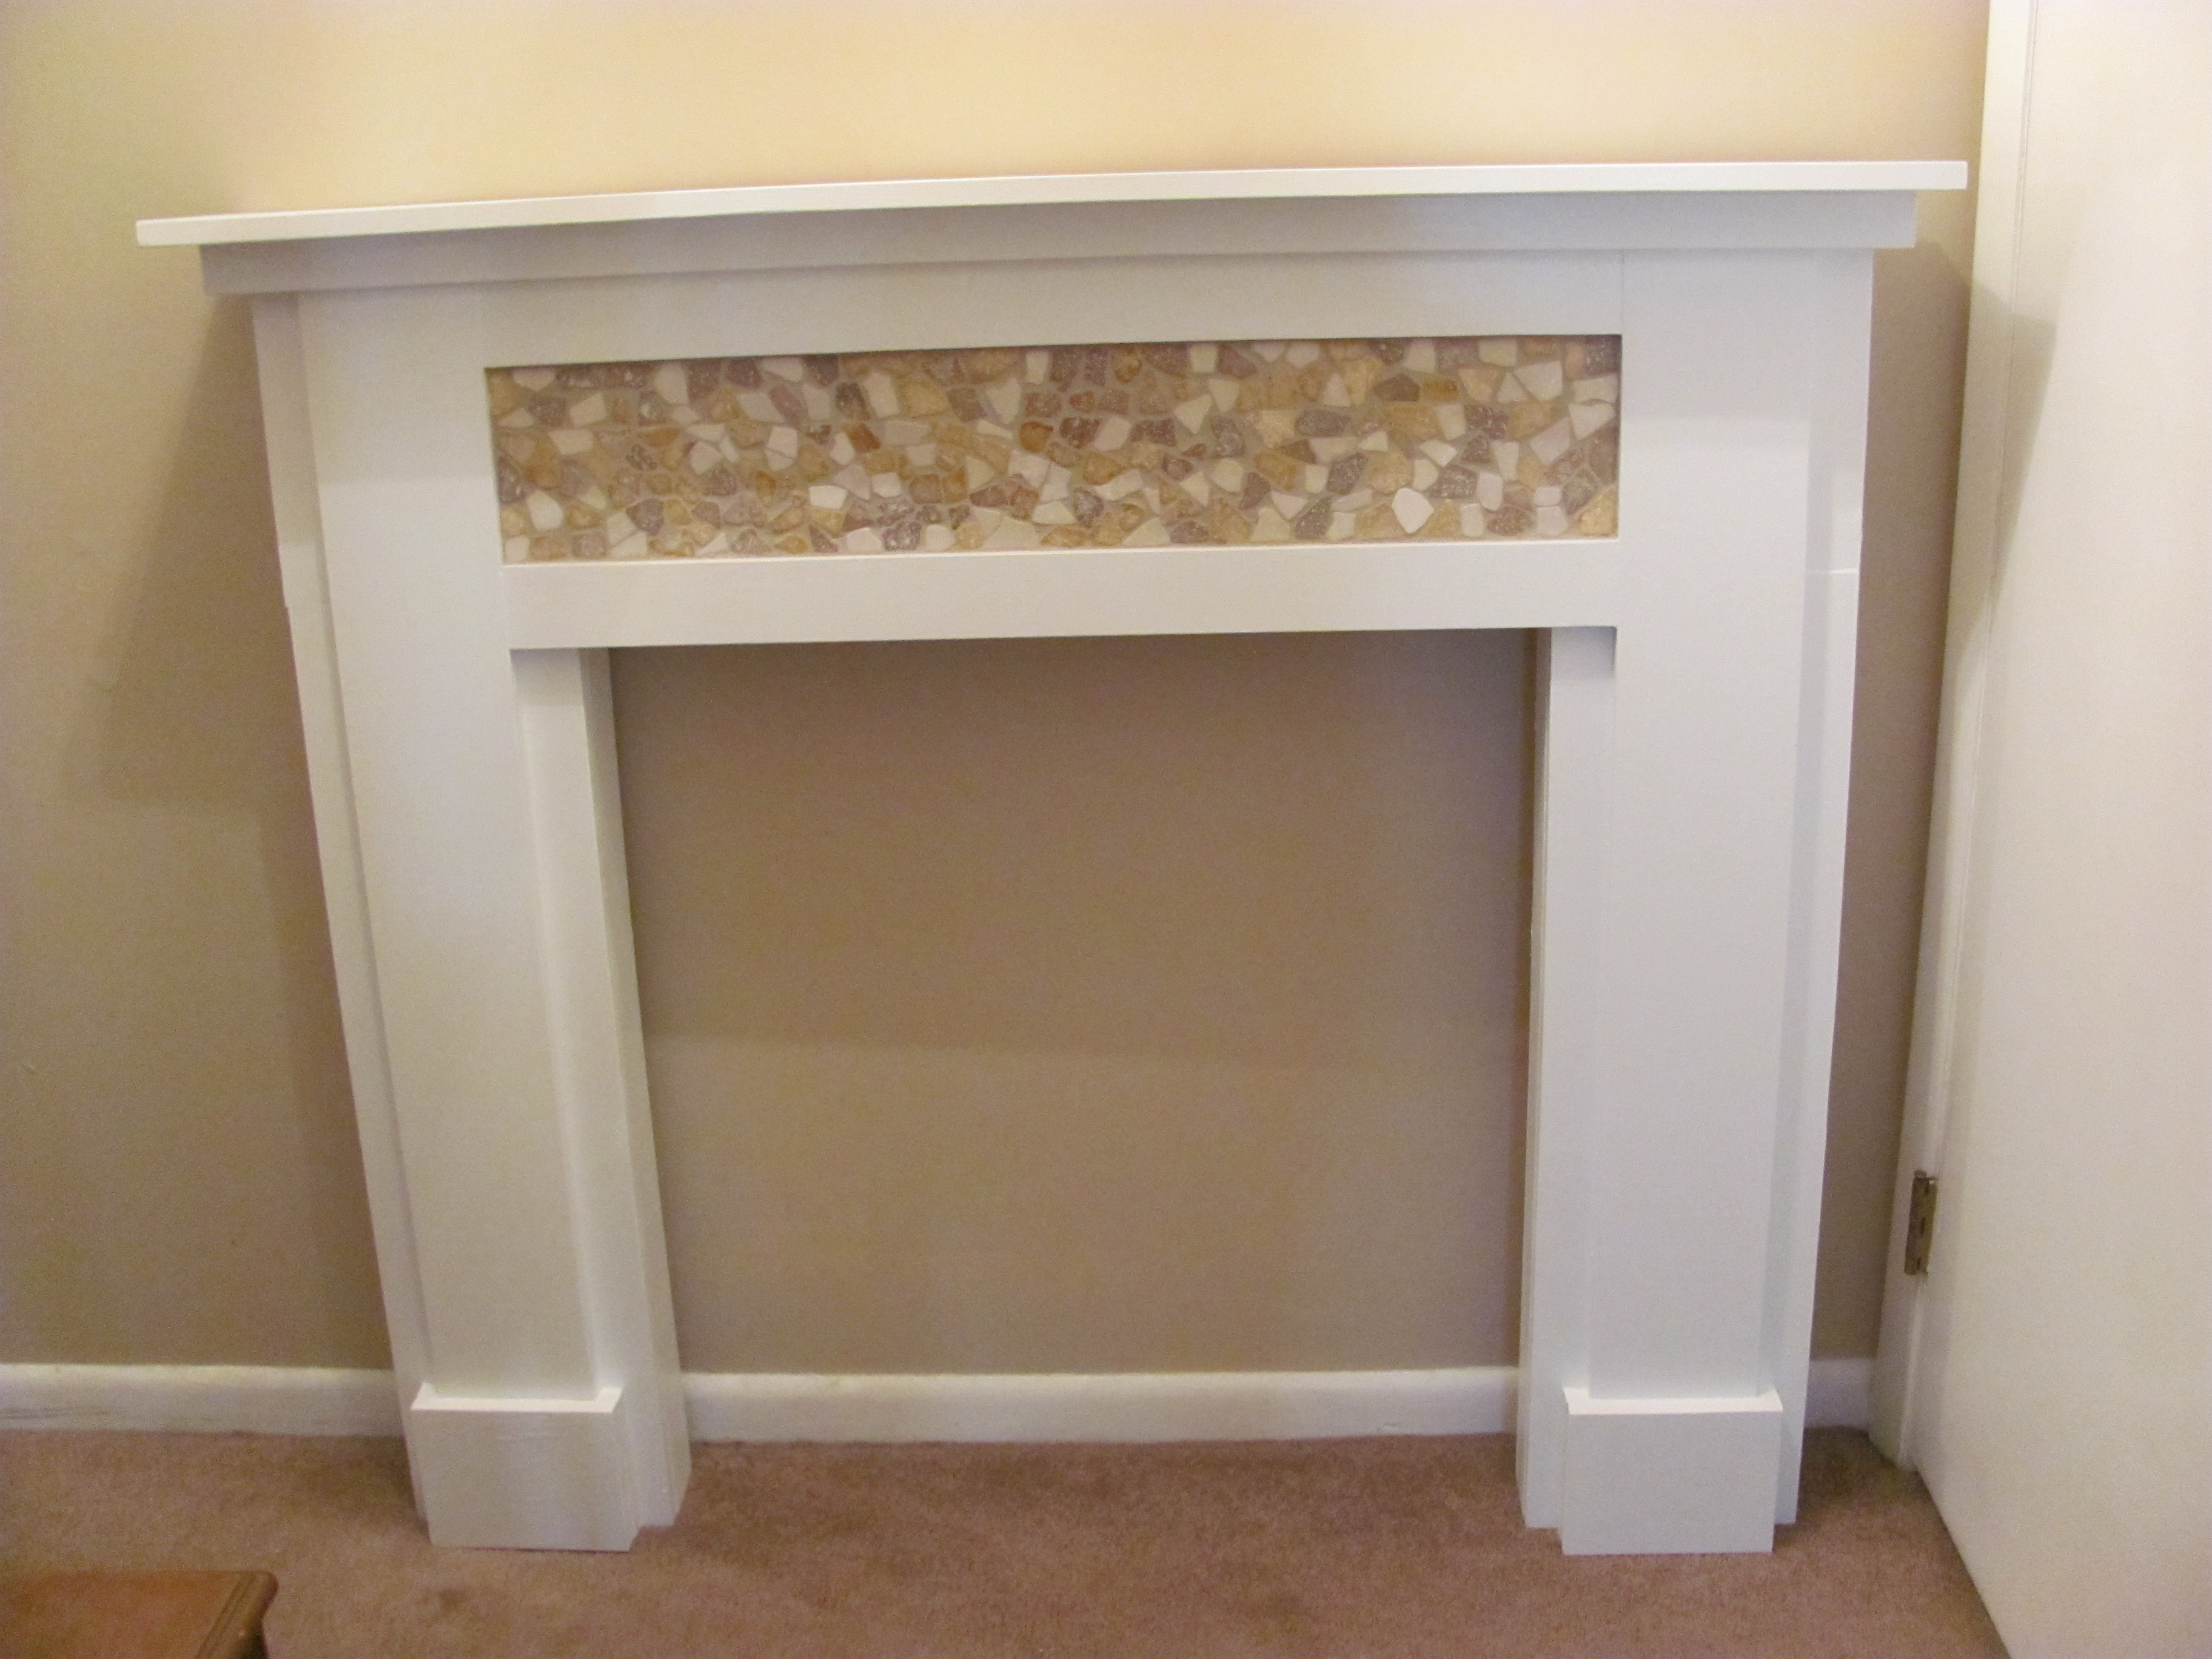
Built this using Anna White's "MIMI'S FAUX MANTLE" but instead of using crown molding I elected to use STONE TILES in neutral tones and finished the surround and mantle in white giving the piece a nice soft appeal. The building plans were easy to follow and took about 2 days to complete the whole process (because of drying times) not to mention how reasonable the cost was. I already had the tiles, adhesive, and paint from left over projects.
Built from Plan(s)
Estimated Cost
Cost was more than reasonable. I already had the tiles ,adhesive, and paint. Total cost was approximately $66.00.
Estimated Time Investment
Day Project (6-9 Hours)
Finish Used
I used Behr White Semi-Gloss Enamel paint purchased from Home Depot (I had the paint from a previous project). Use any tile of your choice since these were left over tiles I had on hand. When tiling use an appropriate tile for the space and glue with tile adhesive. I let mine sit overnight and grouted it the next day using a sanded grout in Bone (purchased from Home Depot) #832.
Recommended Skill Level
Intermediate
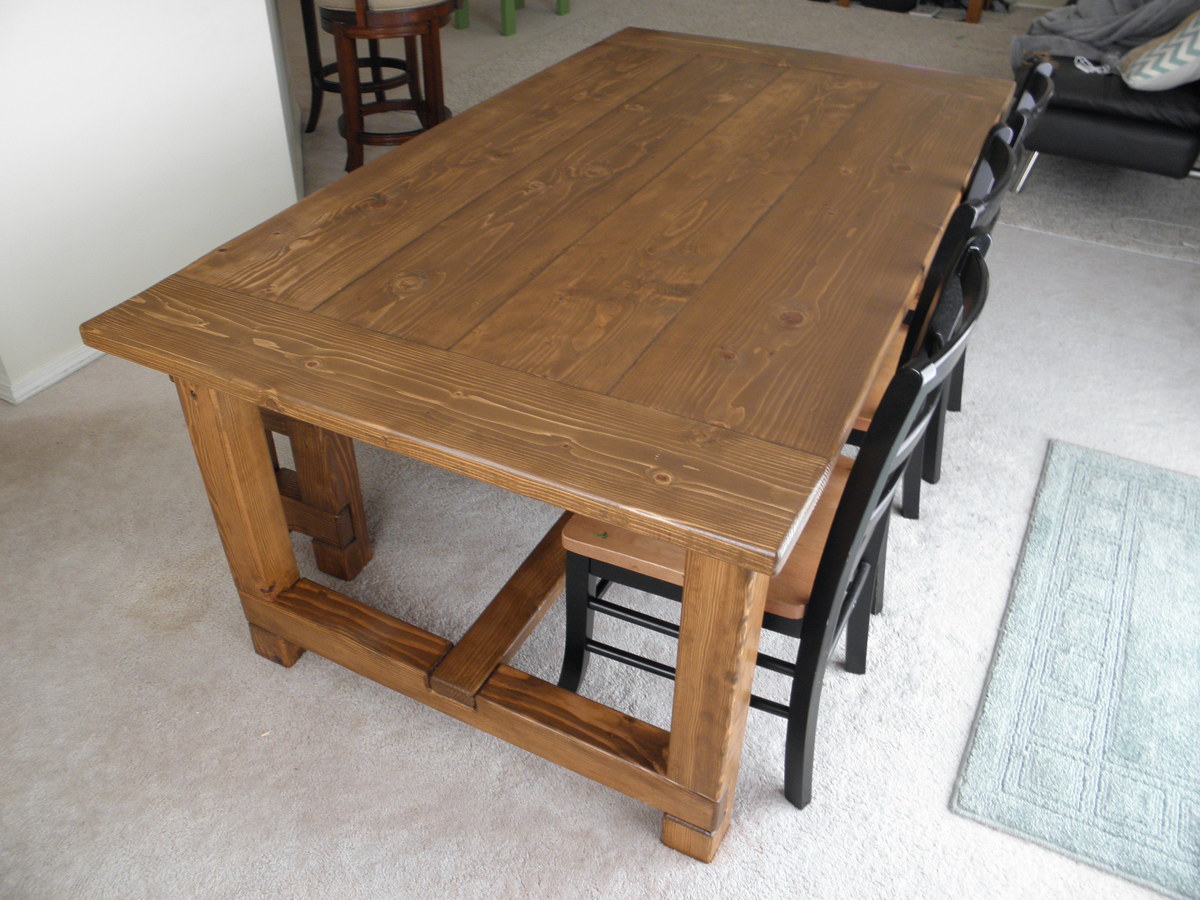
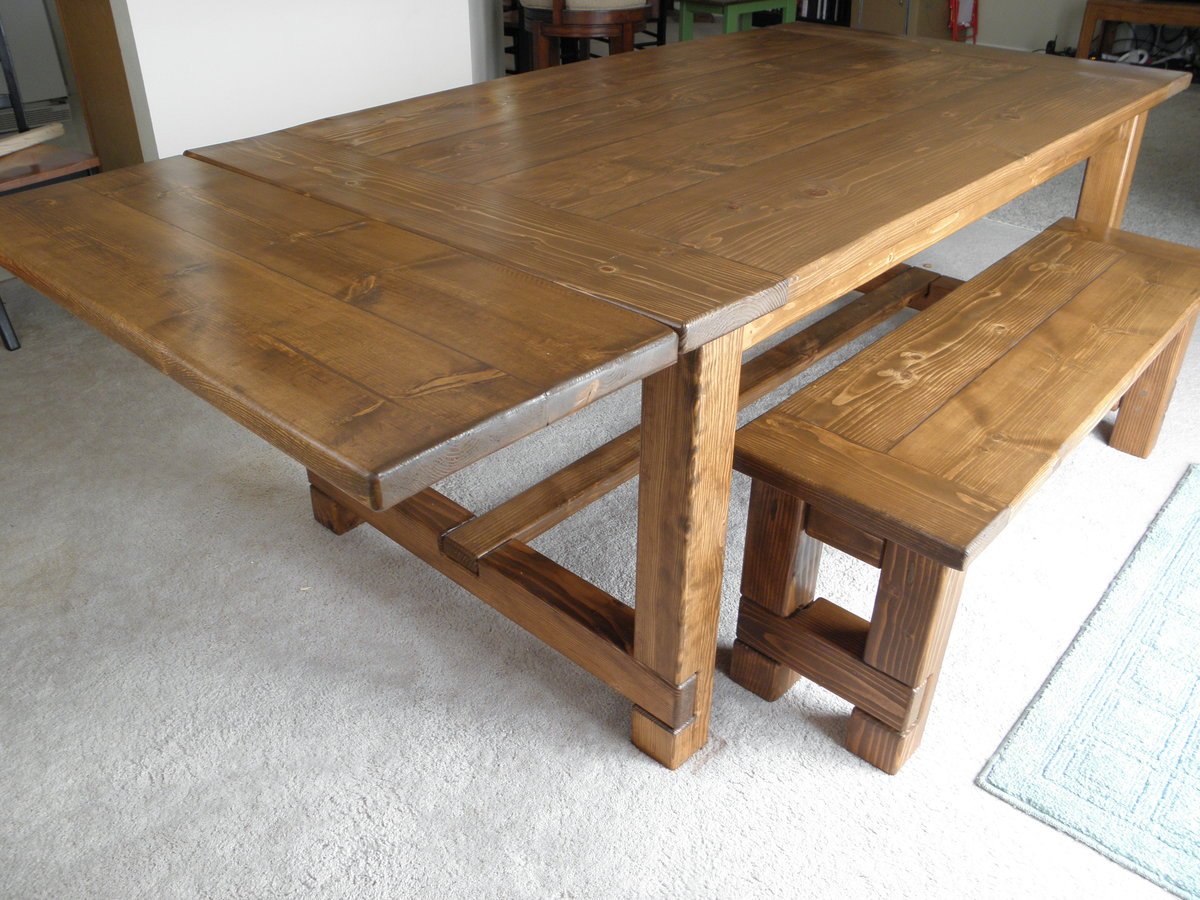
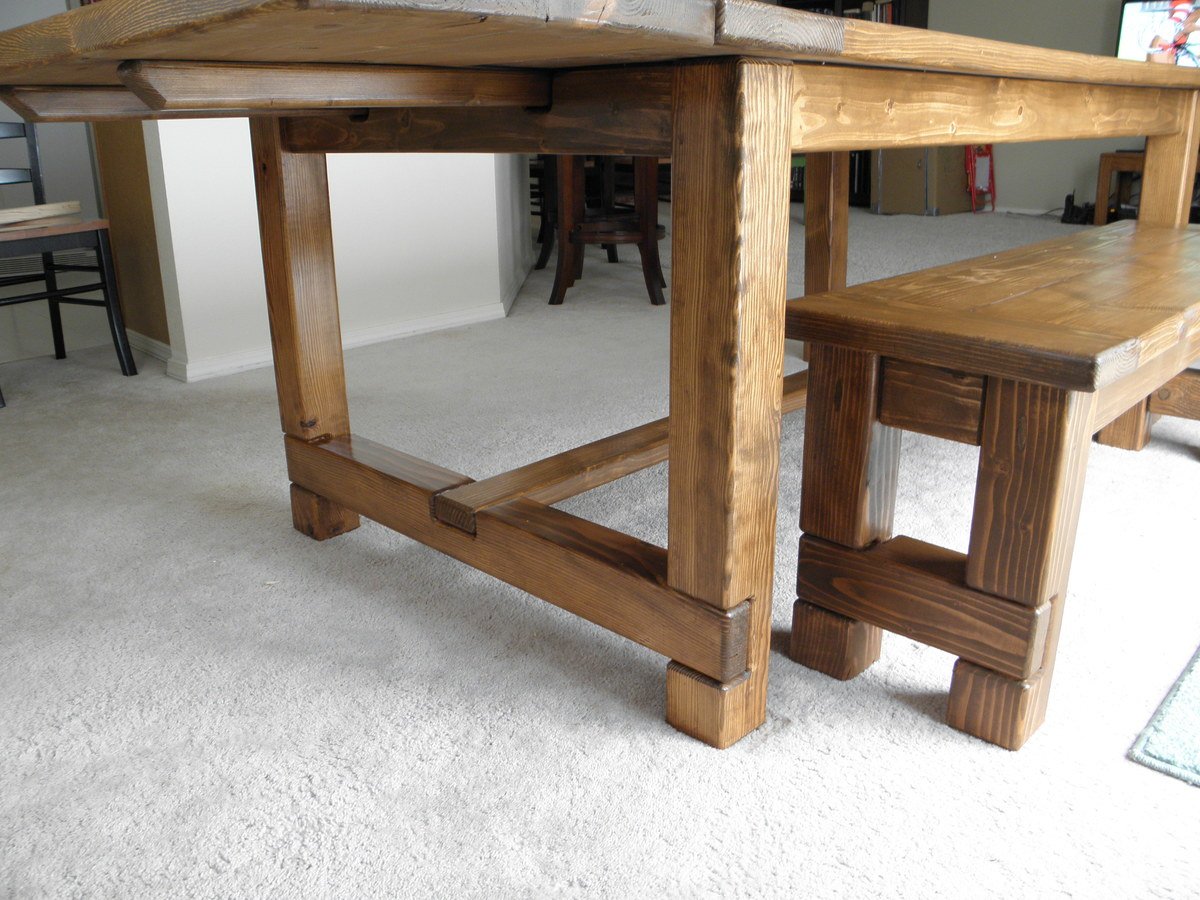
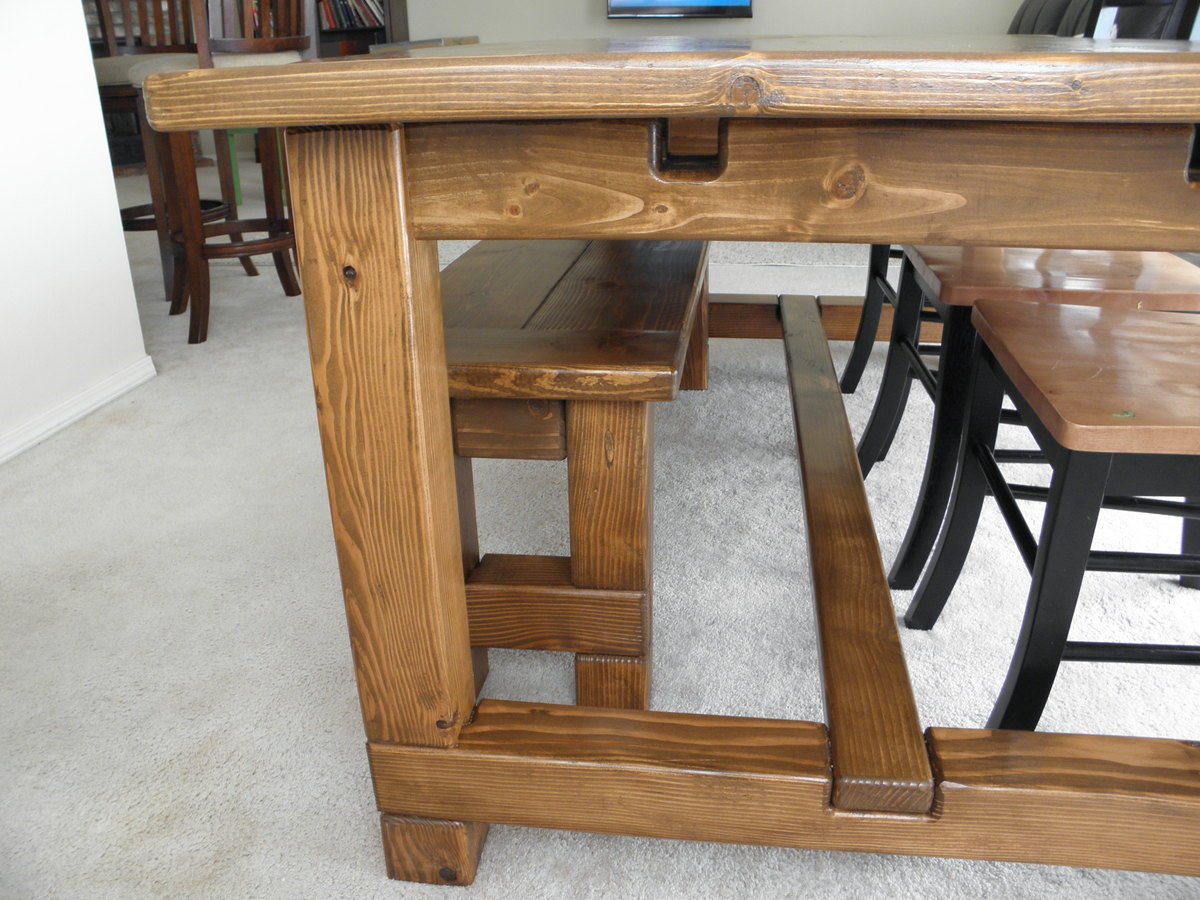
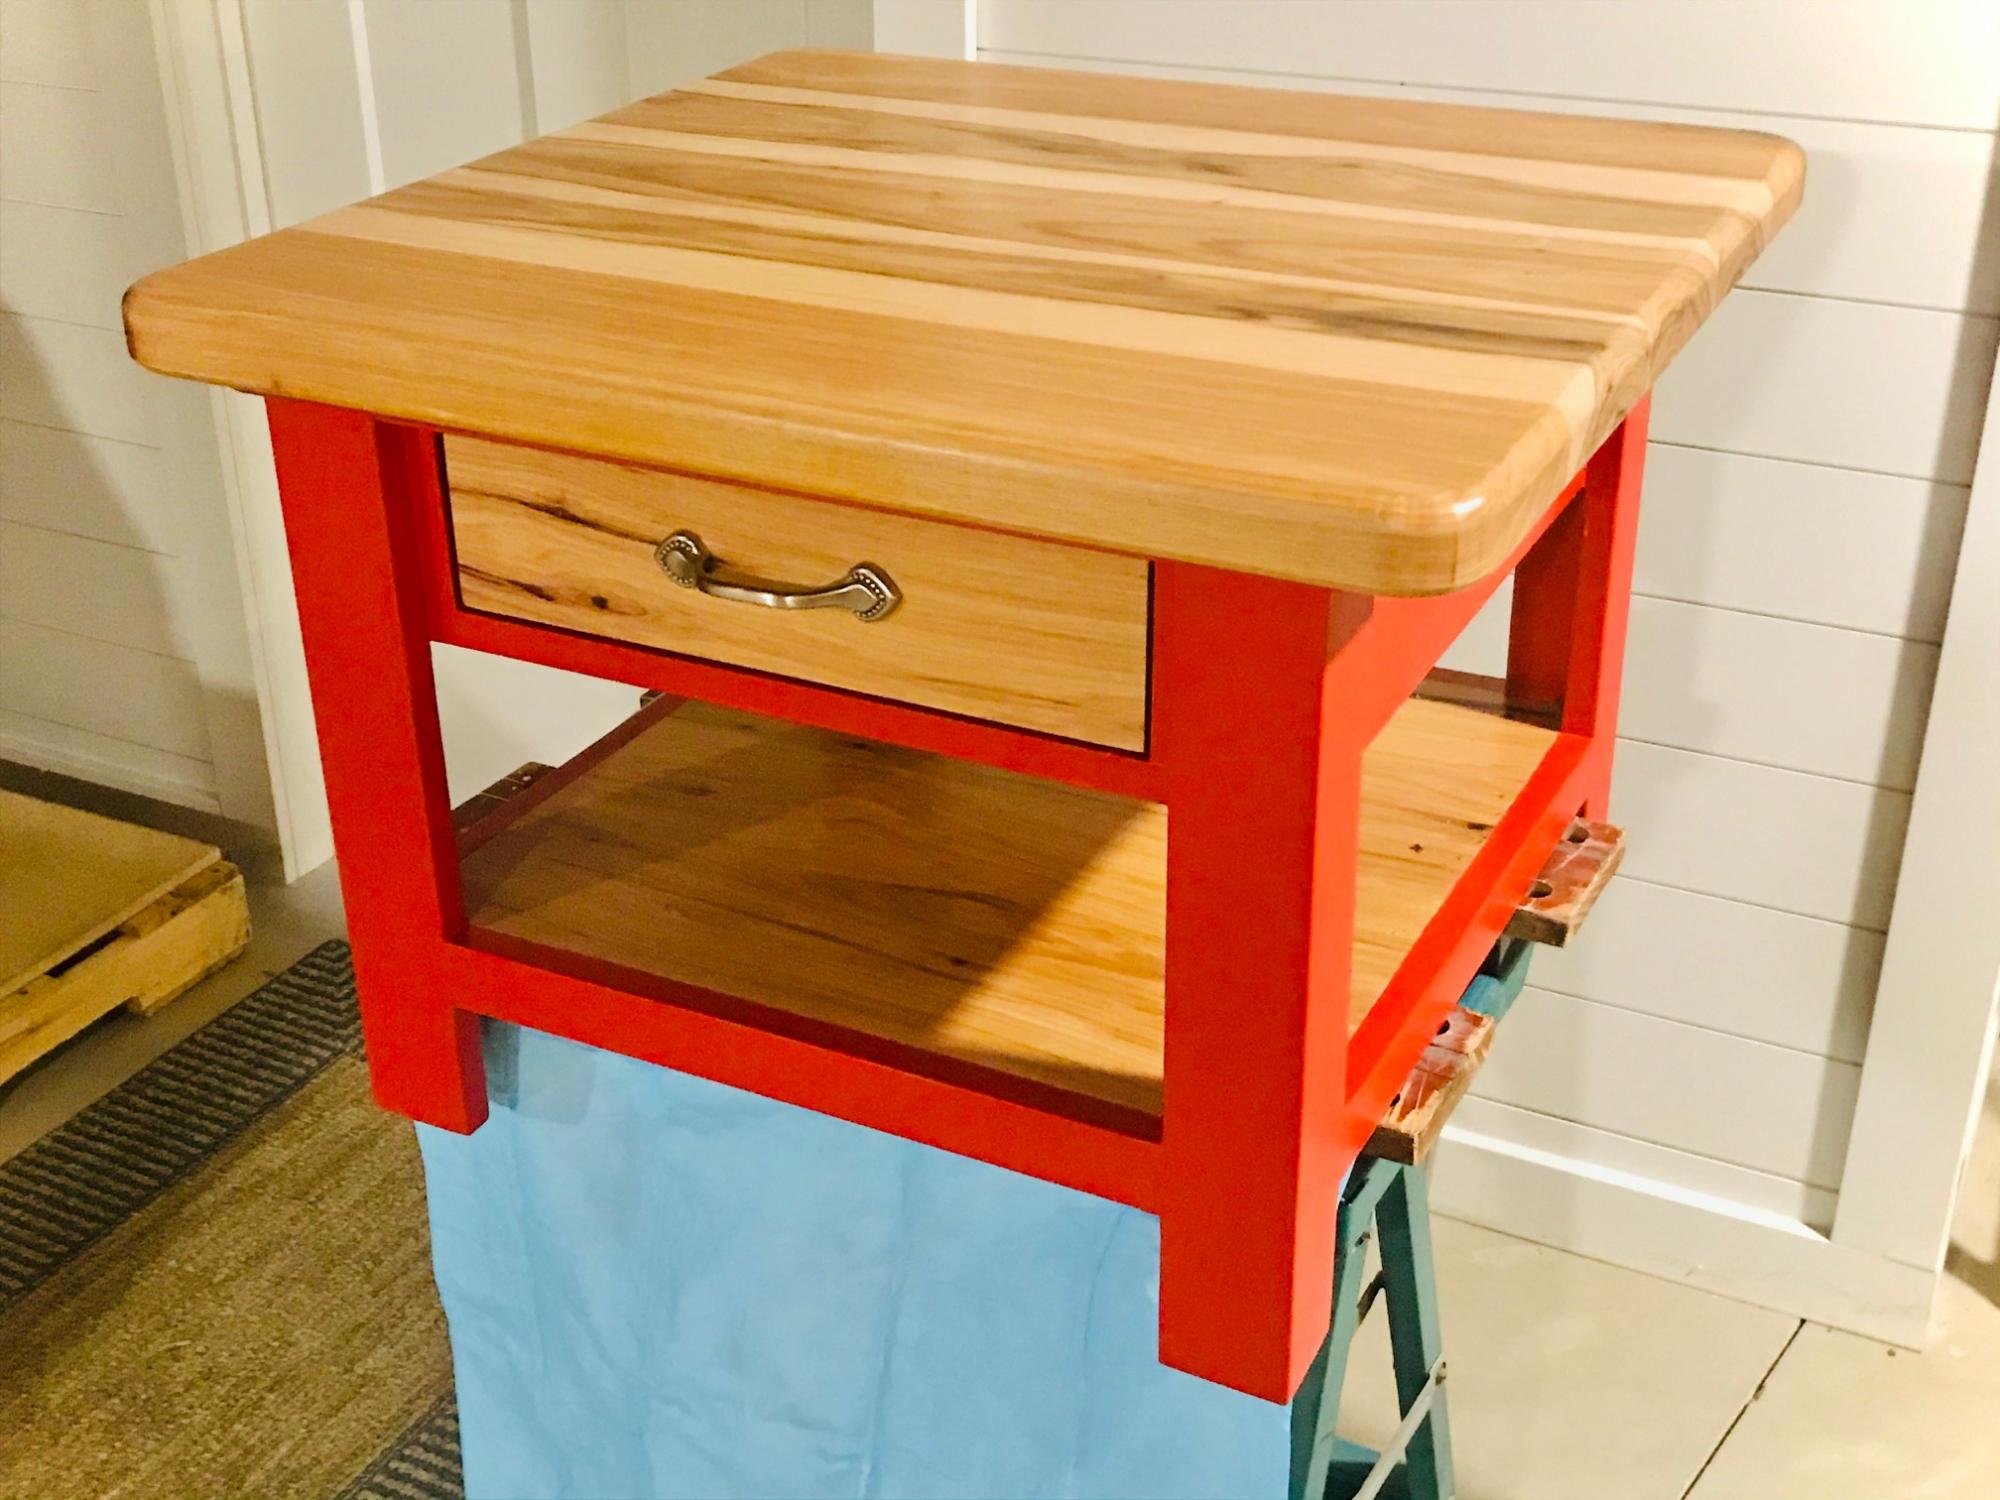
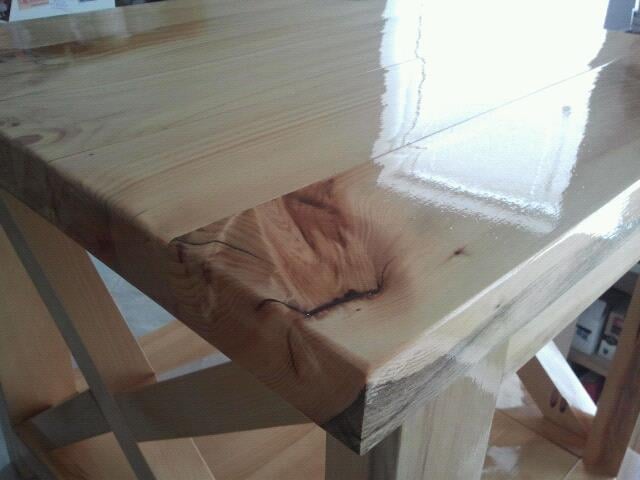
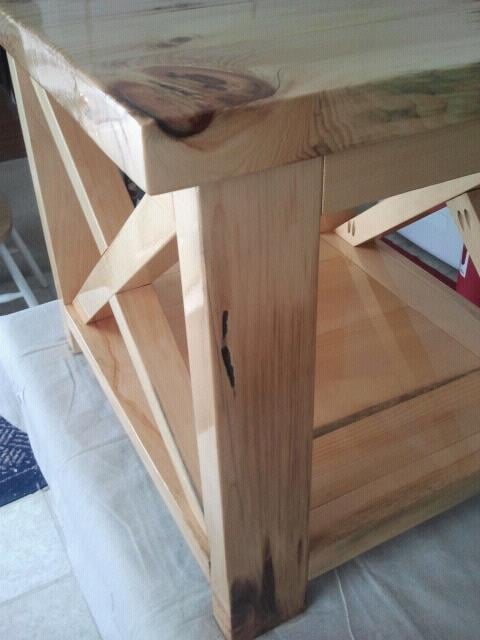
Farmhouse Table, Bench, and Extensions
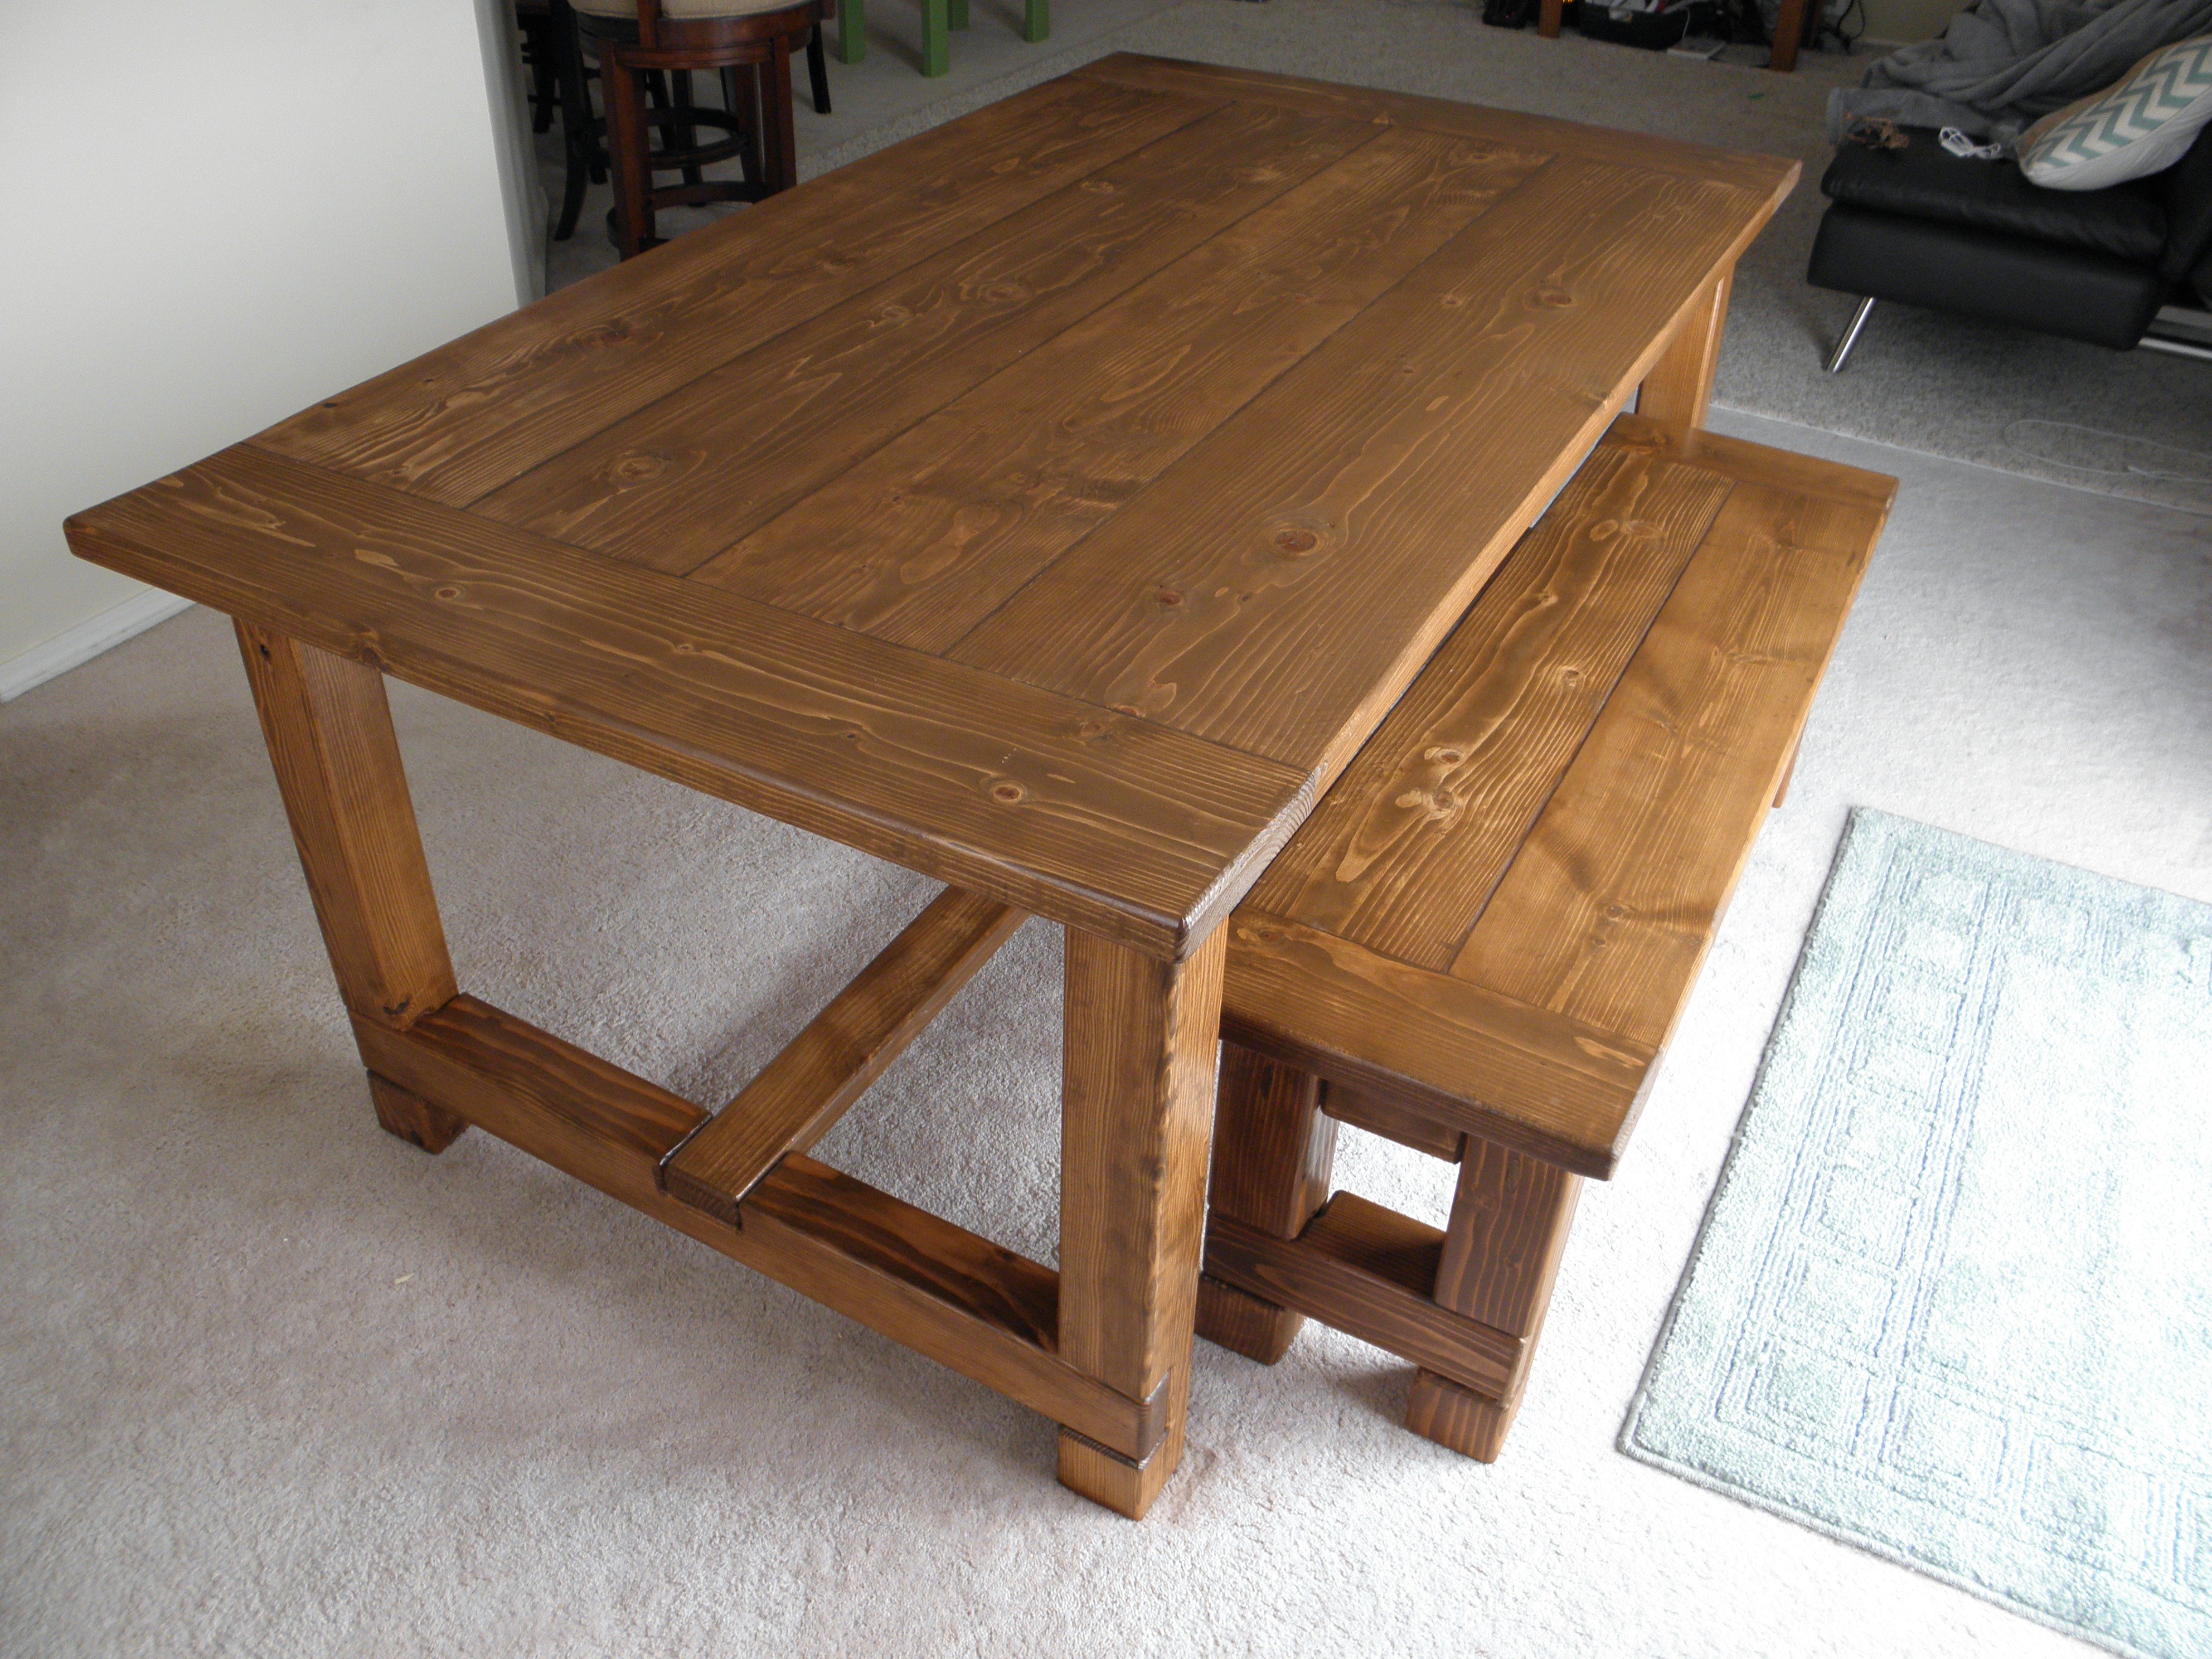
My second farmhouse table, and much easier this time around! Like the first one I built, this one was modified from Tommy's plans (see link below) which was modified from Ana's plans on this site.
Before I put everything together, I used a 1/2" round-over bit on a trim router to round the edges of each piece individually, then sanded each piece individually. After everything was routed and sanded, I joined it all together--it kind of reminds me of Lincoln Logs now!
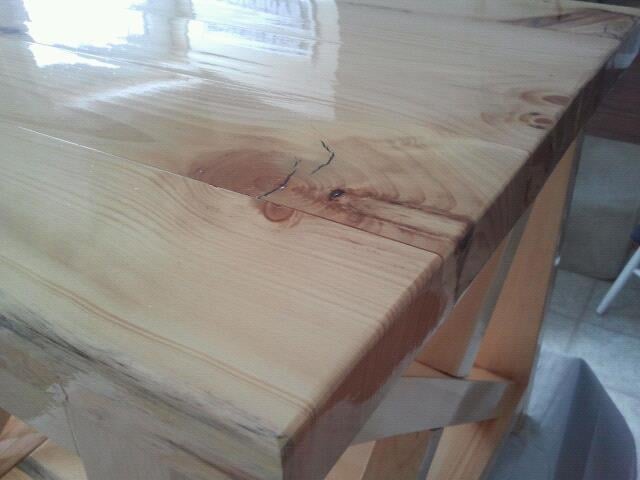
One other thing I did differently with this table, is I filled in the cracks with a darker wood putty. I love that it has the plank lines without the crevice for crumbs, etc. to fall into.
I finished with Rust-oleum Early American stain and Rust-oleum poly in semi-gloss.
I'm having trouble linking the plans, so again--these are modified from the Farmhouse Table Update Pocket Hole plans on this site, and also from this site: http://tommyandellie.com/?p=2582
Estimated Cost
$150
Estimated Time Investment
Weekend Project (10-20 Hours)
Finish Used
Rust-oleum Early American and Rust-oleum semi-gloss poly
Recommended Skill Level
Beginner
Economical Basement Shelving
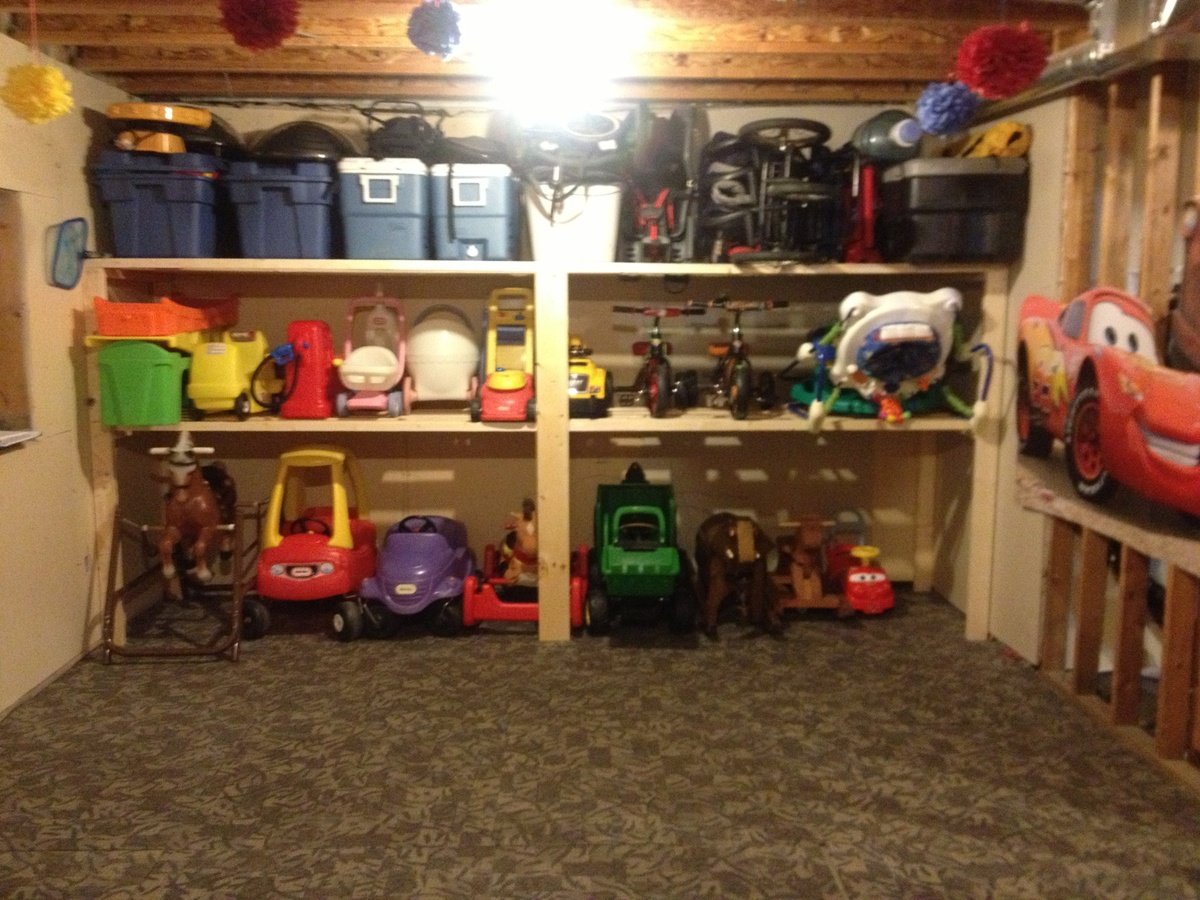
I needed something to get the camping stuff, toys, strollers and everything else organized and up off the floor of our unfinished basement so my boys can ride their trikes inside over the winter. This was perfect! Just changed it slightly (made it deeper) to accommodate some larger items. Thanks again Ana!
Built from Plan(s)
Estimated Cost
$100
Estimated Time Investment
An Hour or Two (0-2 Hours)
Finish Used
None
Recommended Skill Level
Starter Project
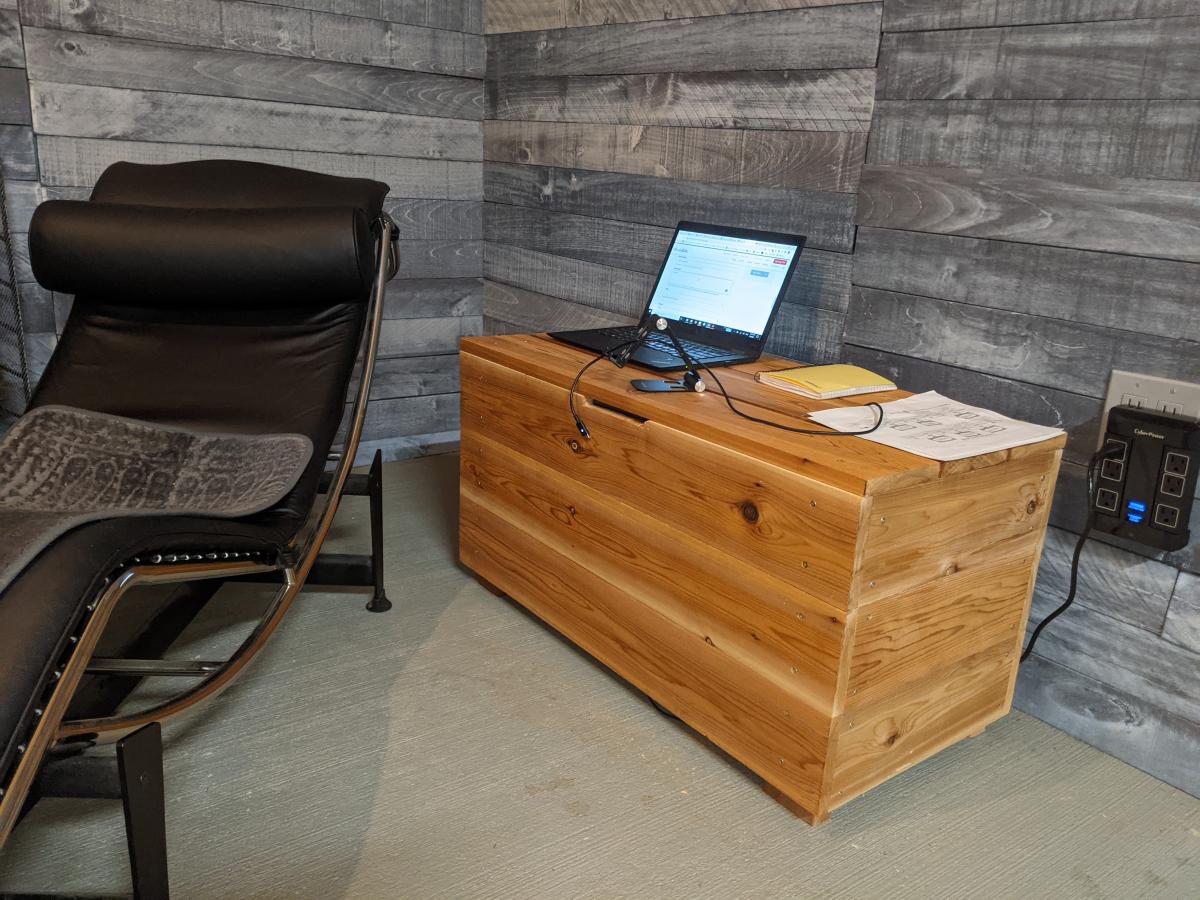
Cedar side table

I decided it would make a nice simple side table for my home office and show off the beauty of cedar by using oil.
Built from Plan(s)
Estimated Cost
180.00
Estimated Time Investment
An Hour or Two (0-2 Hours)
Finish Used
Tung oil
Recommended Skill Level
Beginner
Comments
Rustic Table and Bench

I basically stuck to the plans, but I shortened the length of the table just a touch, and lengthened the bench to fit just inside the legs. I also used 2x4s for the legs, tapered them for aesthetics (similar to some other posters), and reinforced them with "L" brackets to reduce the wobble. We finished it with Semigloss white paint, Minwax Honey stain, and Minwax Gloss Polyurethane.
If I can make this table, just about anyone can.

Built from Plan(s)
Estimated Cost
150.00 for lumber,
Estimated Time Investment
Afternoon Project (3-6 Hours)
Finish Used
Minwax Honey Stain, Minwax Gloss Polyurethane, and Semigloss White Paint
Recommended Skill Level
Beginner
Comments

Mon, 11/07/2016 - 11:29
Tapered Legs
Your table is beautiful!
Do you remember how you tapered your legs? I'm trying to figure out if I can do it without a table saw.
Thank you!
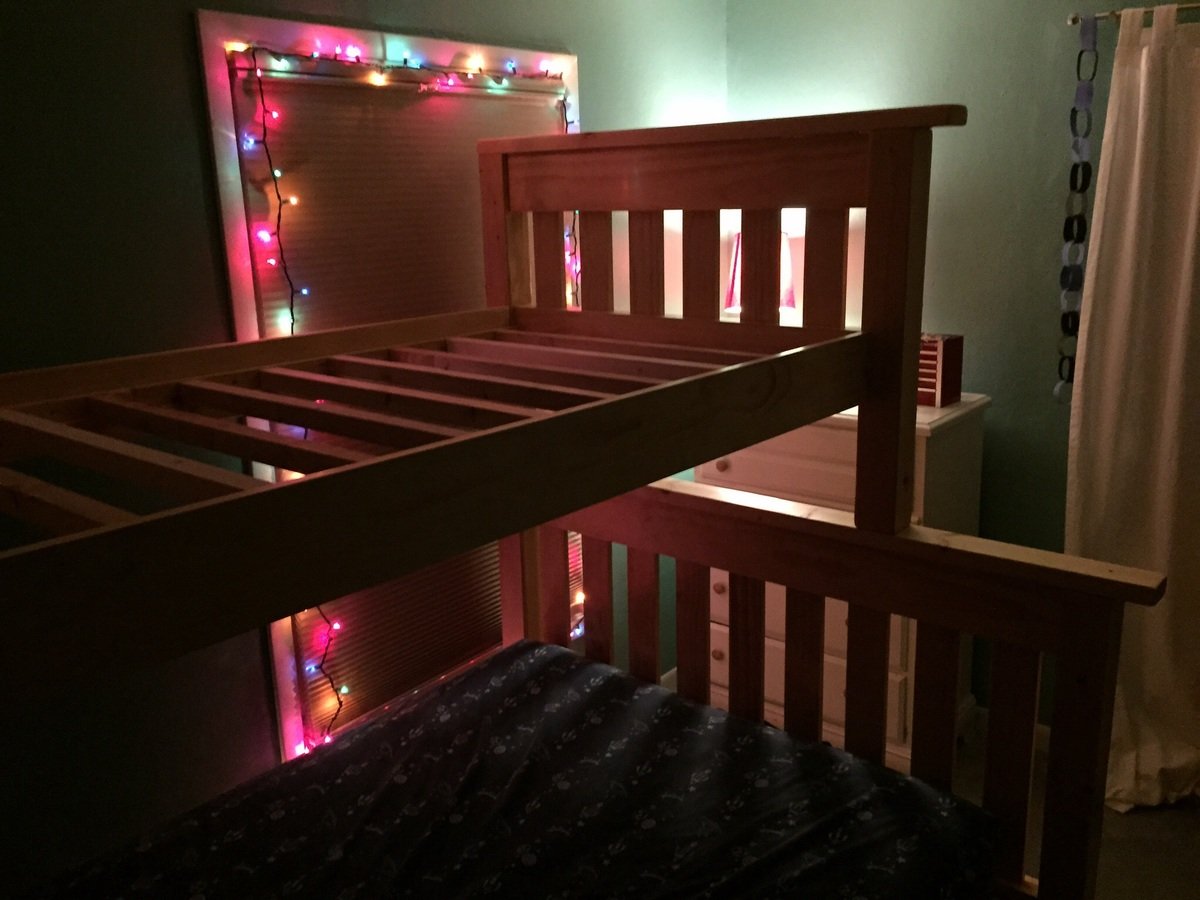
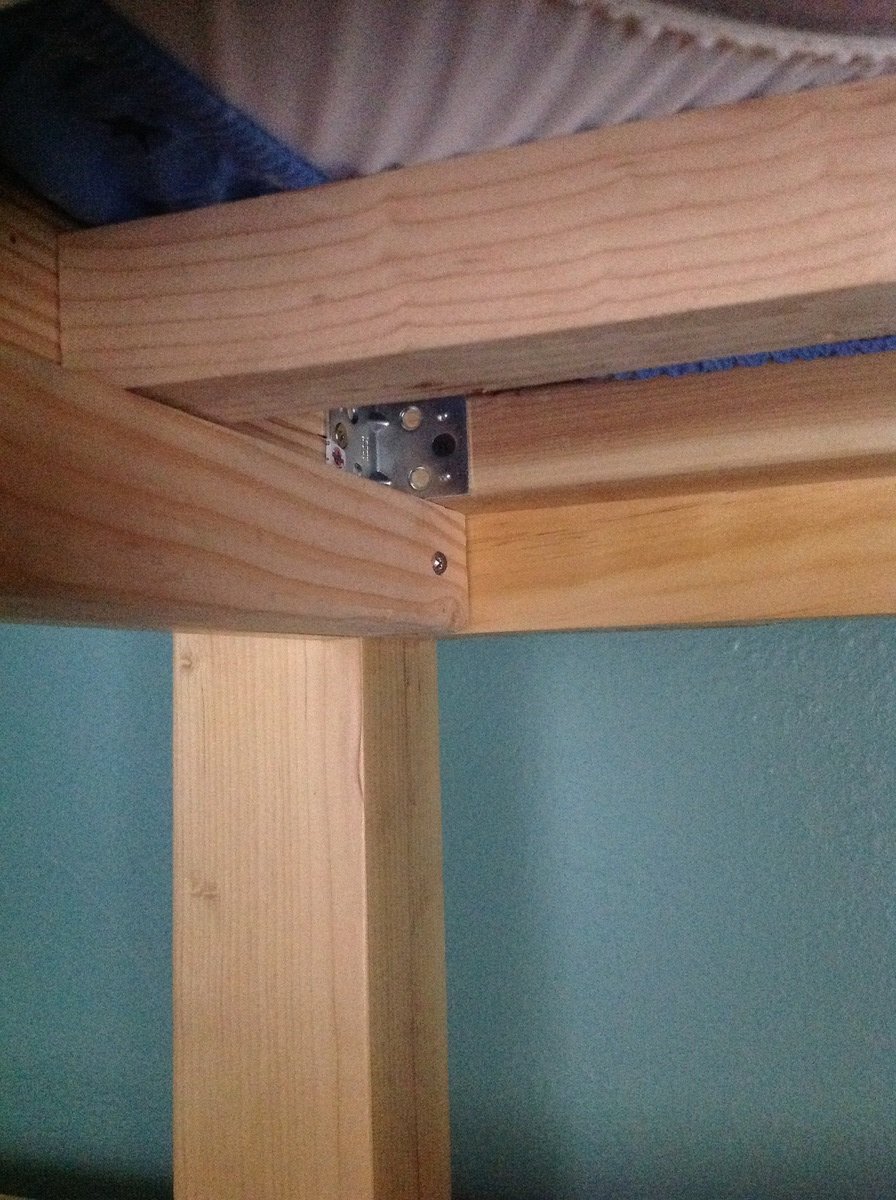
Clear pine bunk bed
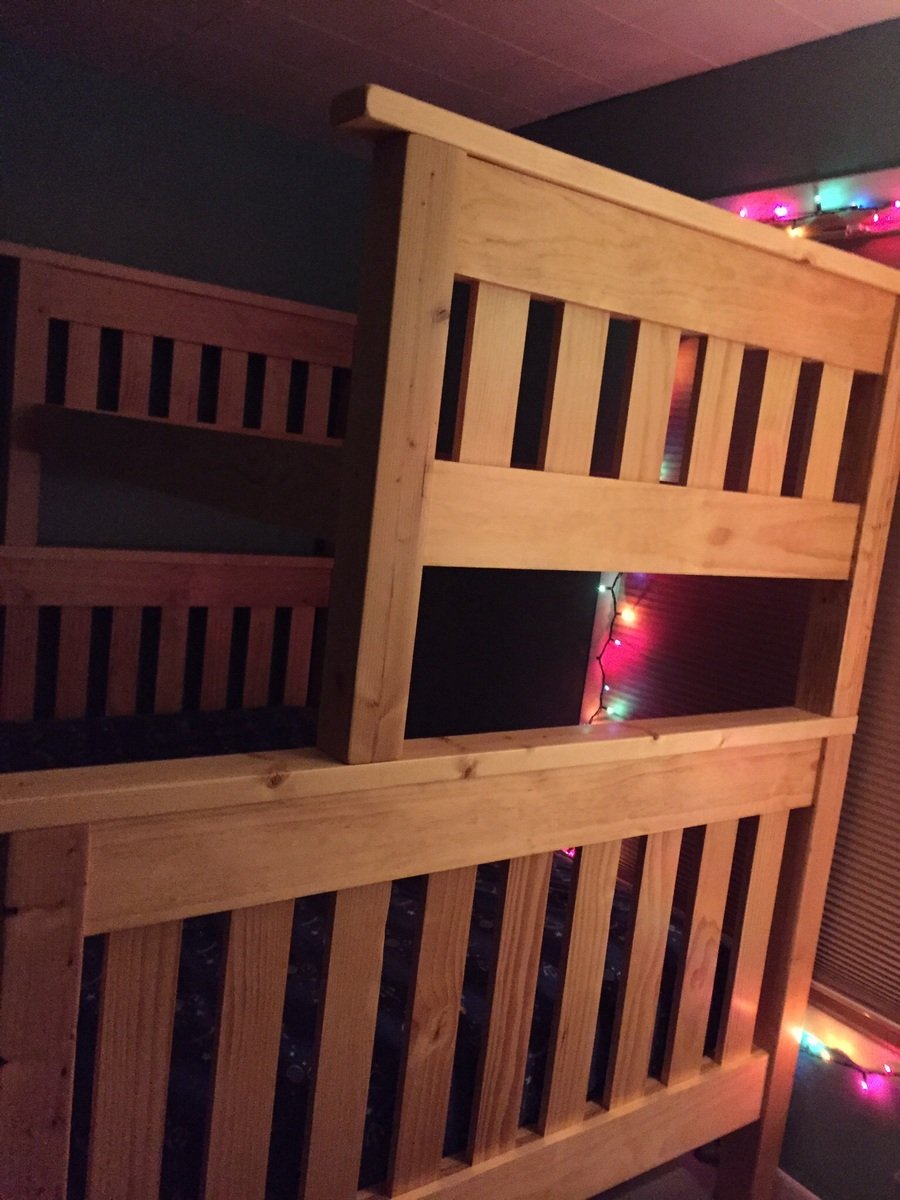
We started this late 2013 and finished it June 2014. We used an old IKEA bed hardware for the middle support for the full mattress. We had to use Hemlock Fir "white wood" for the 4x4's (found at Menards in Wisconsin). We used Satin polyurathane from Minwax and allowed a month for the fumes to die down. My boys and guests seem to enjoy the bed.

Built from Plan(s)
Estimated Cost
$700 or so
Estimated Time Investment
Week Long Project (20 Hours or More)
Finish Used
Minwax Satin Polyurathane
Recommended Skill Level
Intermediate
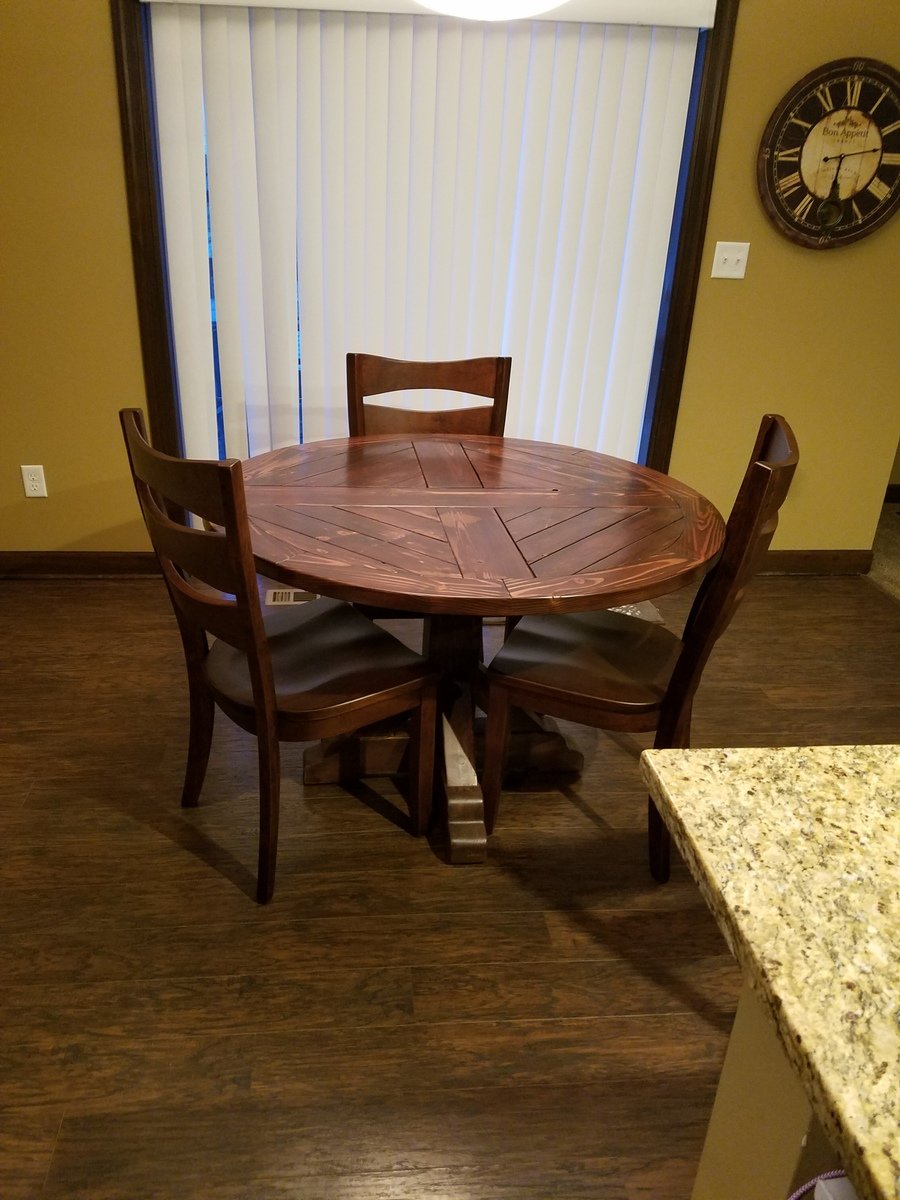
Round Table
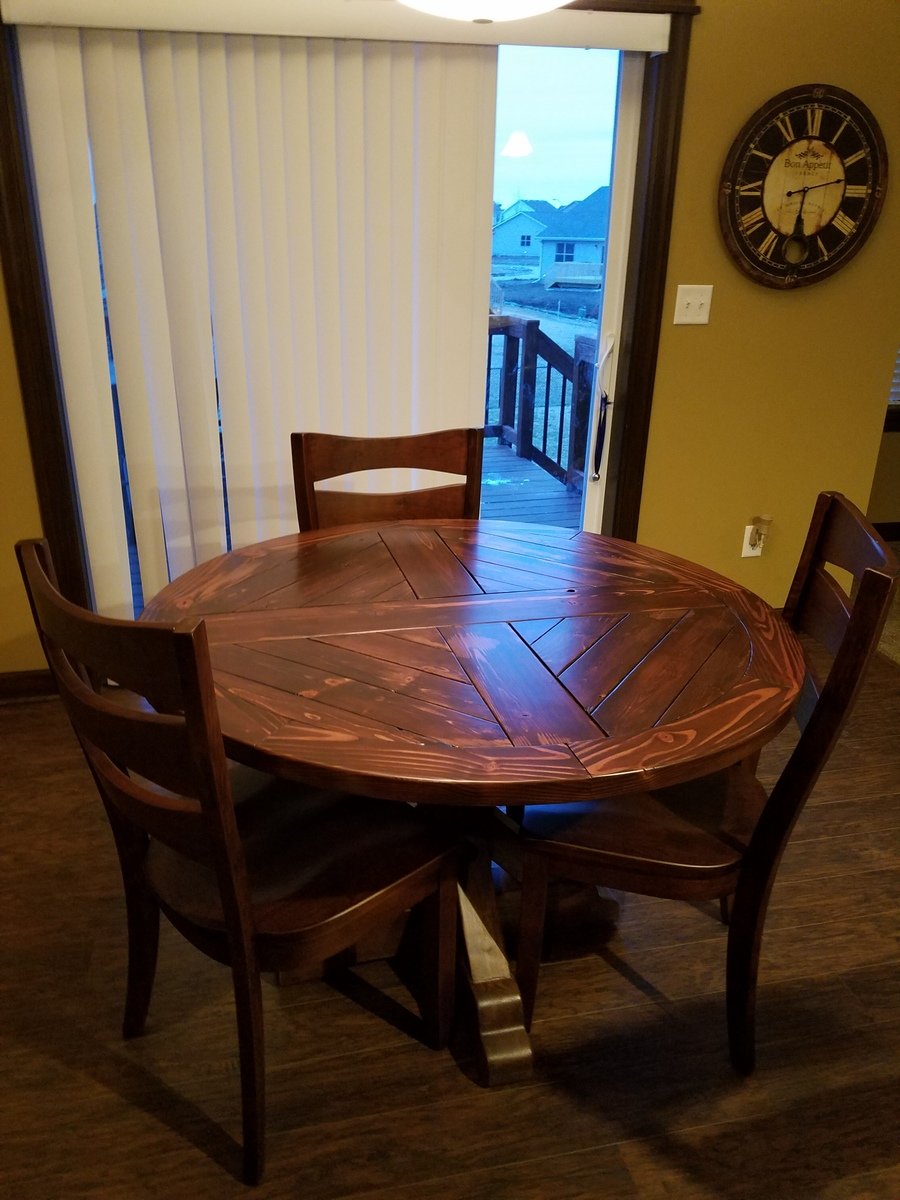
I moved to a new house and the table I had was way to big. I decided to make one. I found a picture on here of one I liked. I made some changes to the design and built it myself!
Built from Plan(s)
Estimated Cost
300
Estimated Time Investment
Week Long Project (20 Hours or More)
Finish Used
Dark mahogany, with satin polyurethane.
Recommended Skill Level
Intermediate
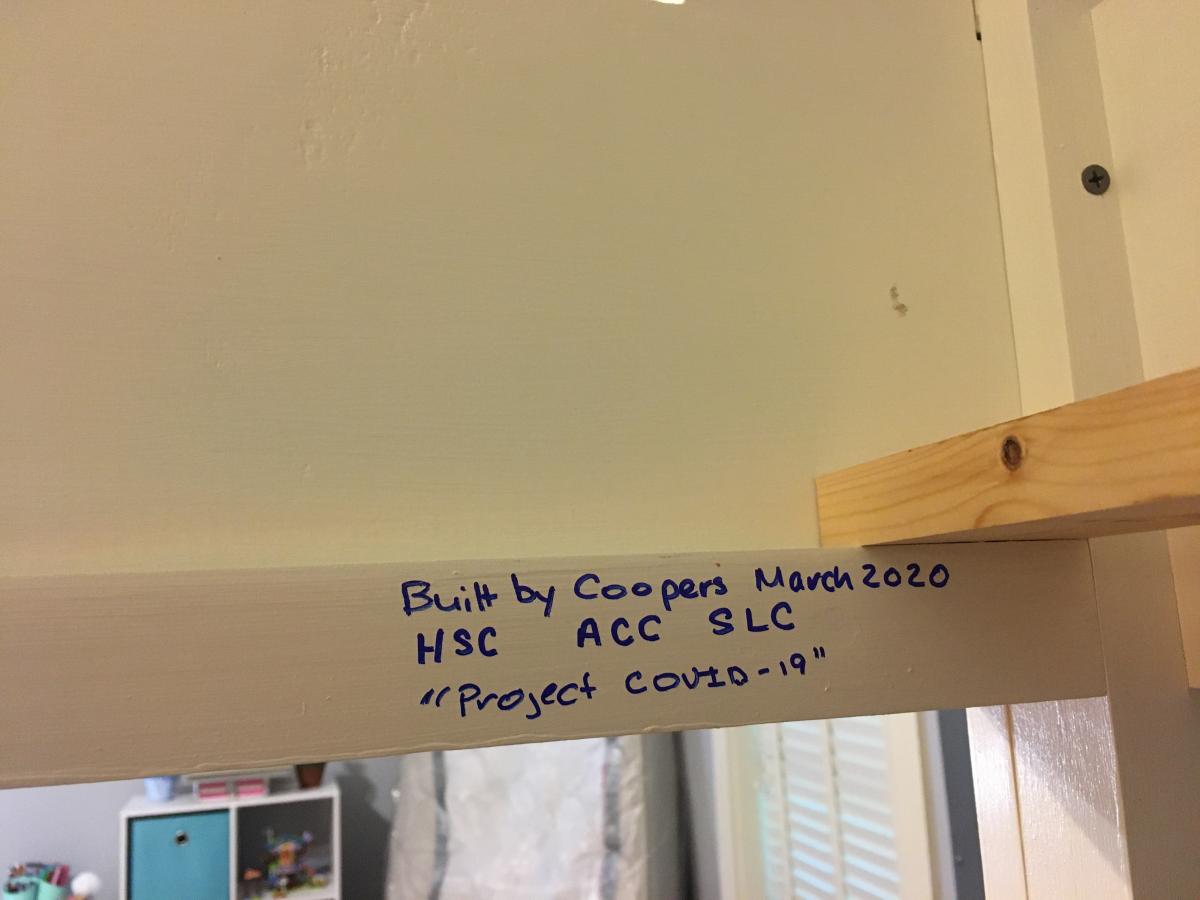
Loft bed
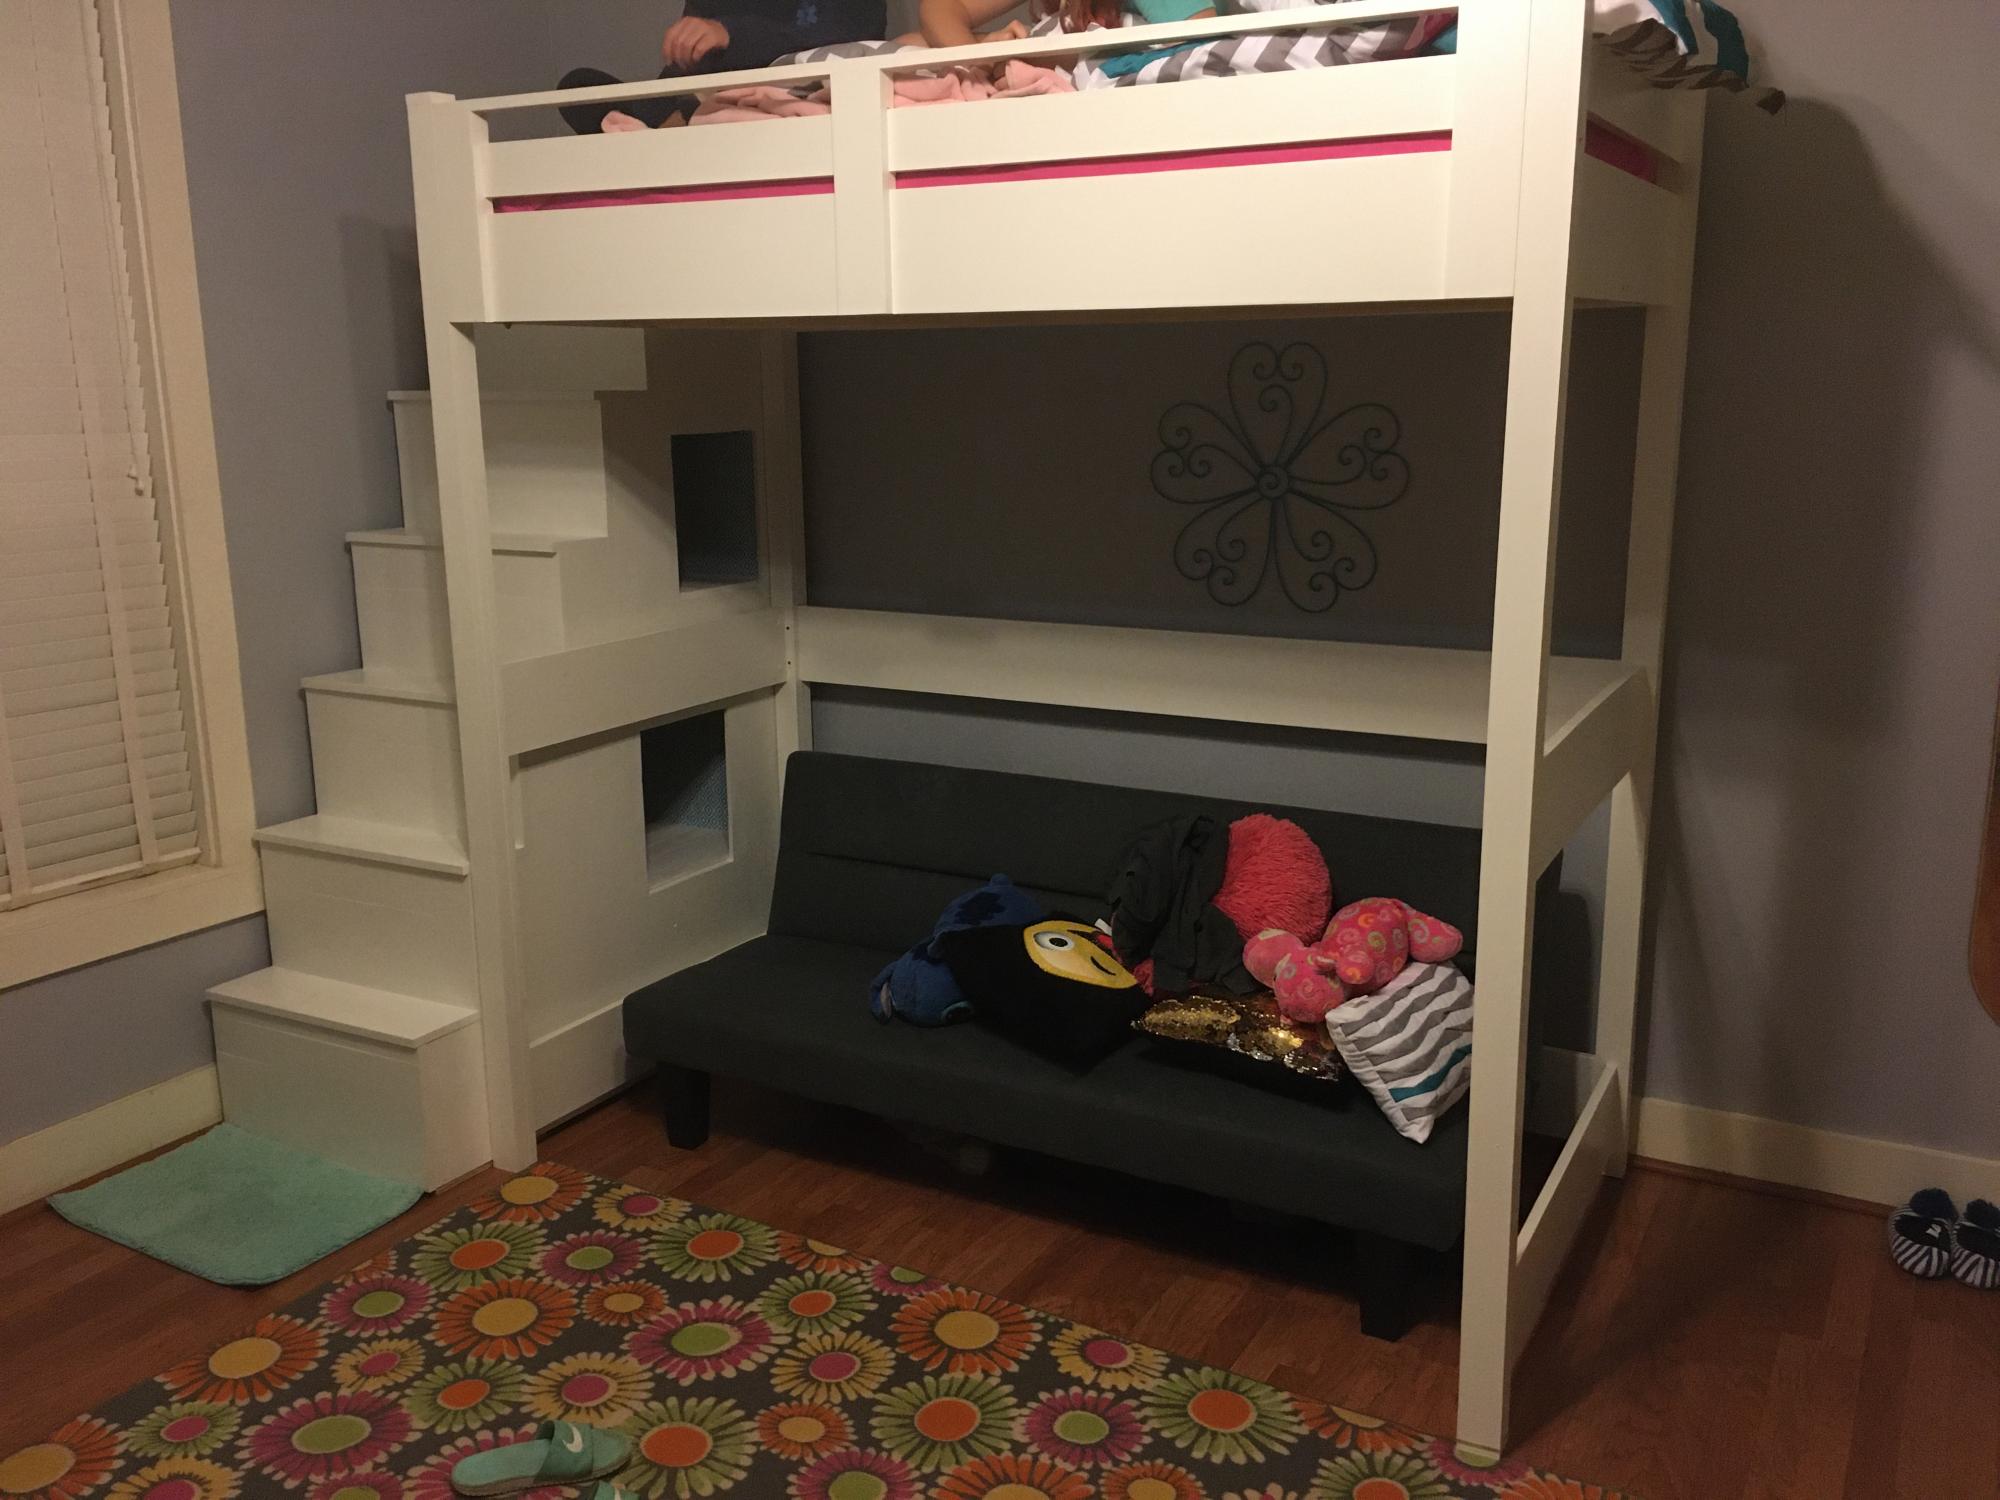
My daughter had been asking for a loft bed that she could place a futon under. This plan was exactly what I needed! I made the bed taller so she would be able to stand under it (we have 10’ ceilings - old house). And, I replaced the ladder with a staircase with built-in cubbies.
This was our first project of 2020 and we started it during the first part of the quarantine, so it got named “Project COVID-19.”
Built from Plan(s)
Estimated Cost
$200
Estimated Time Investment
Week Long Project (20 Hours or More)
Finish Used
White latex paint
Recommended Skill Level
Intermediate
Comments
Sat, 01/09/2021 - 09:49
Great job!
Great mods making it higher and the stairs look great too! Thanks for sharing:)
Firewood shed
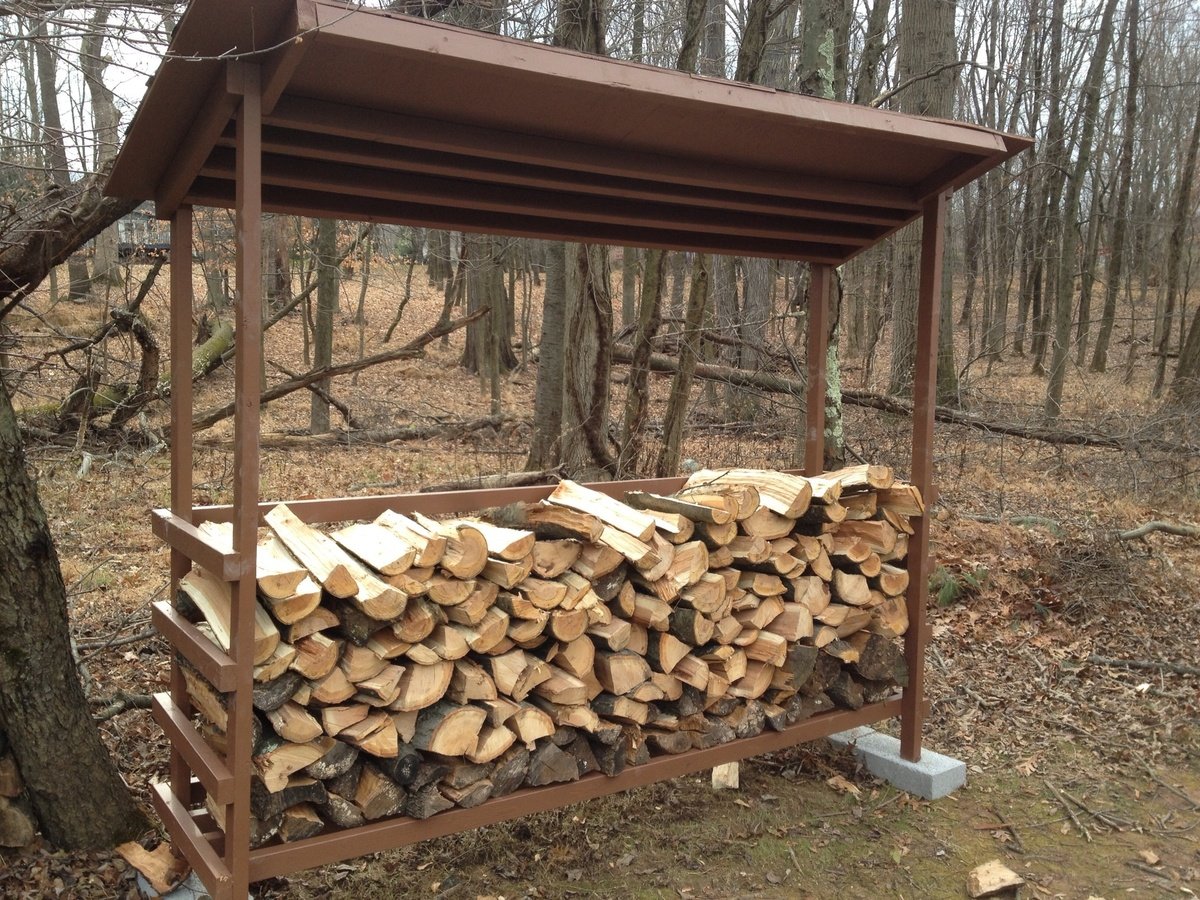
Build this firewood shed over one weekend and stained it the following weekend. This was my first project and I only received a little help from my boyfriend. Can't wait to start my next project.
Built from Plan(s)
Estimated Time Investment
Weekend Project (10-20 Hours)
Recommended Skill Level
Beginner
Pressure treated pine and transparent cedar stain

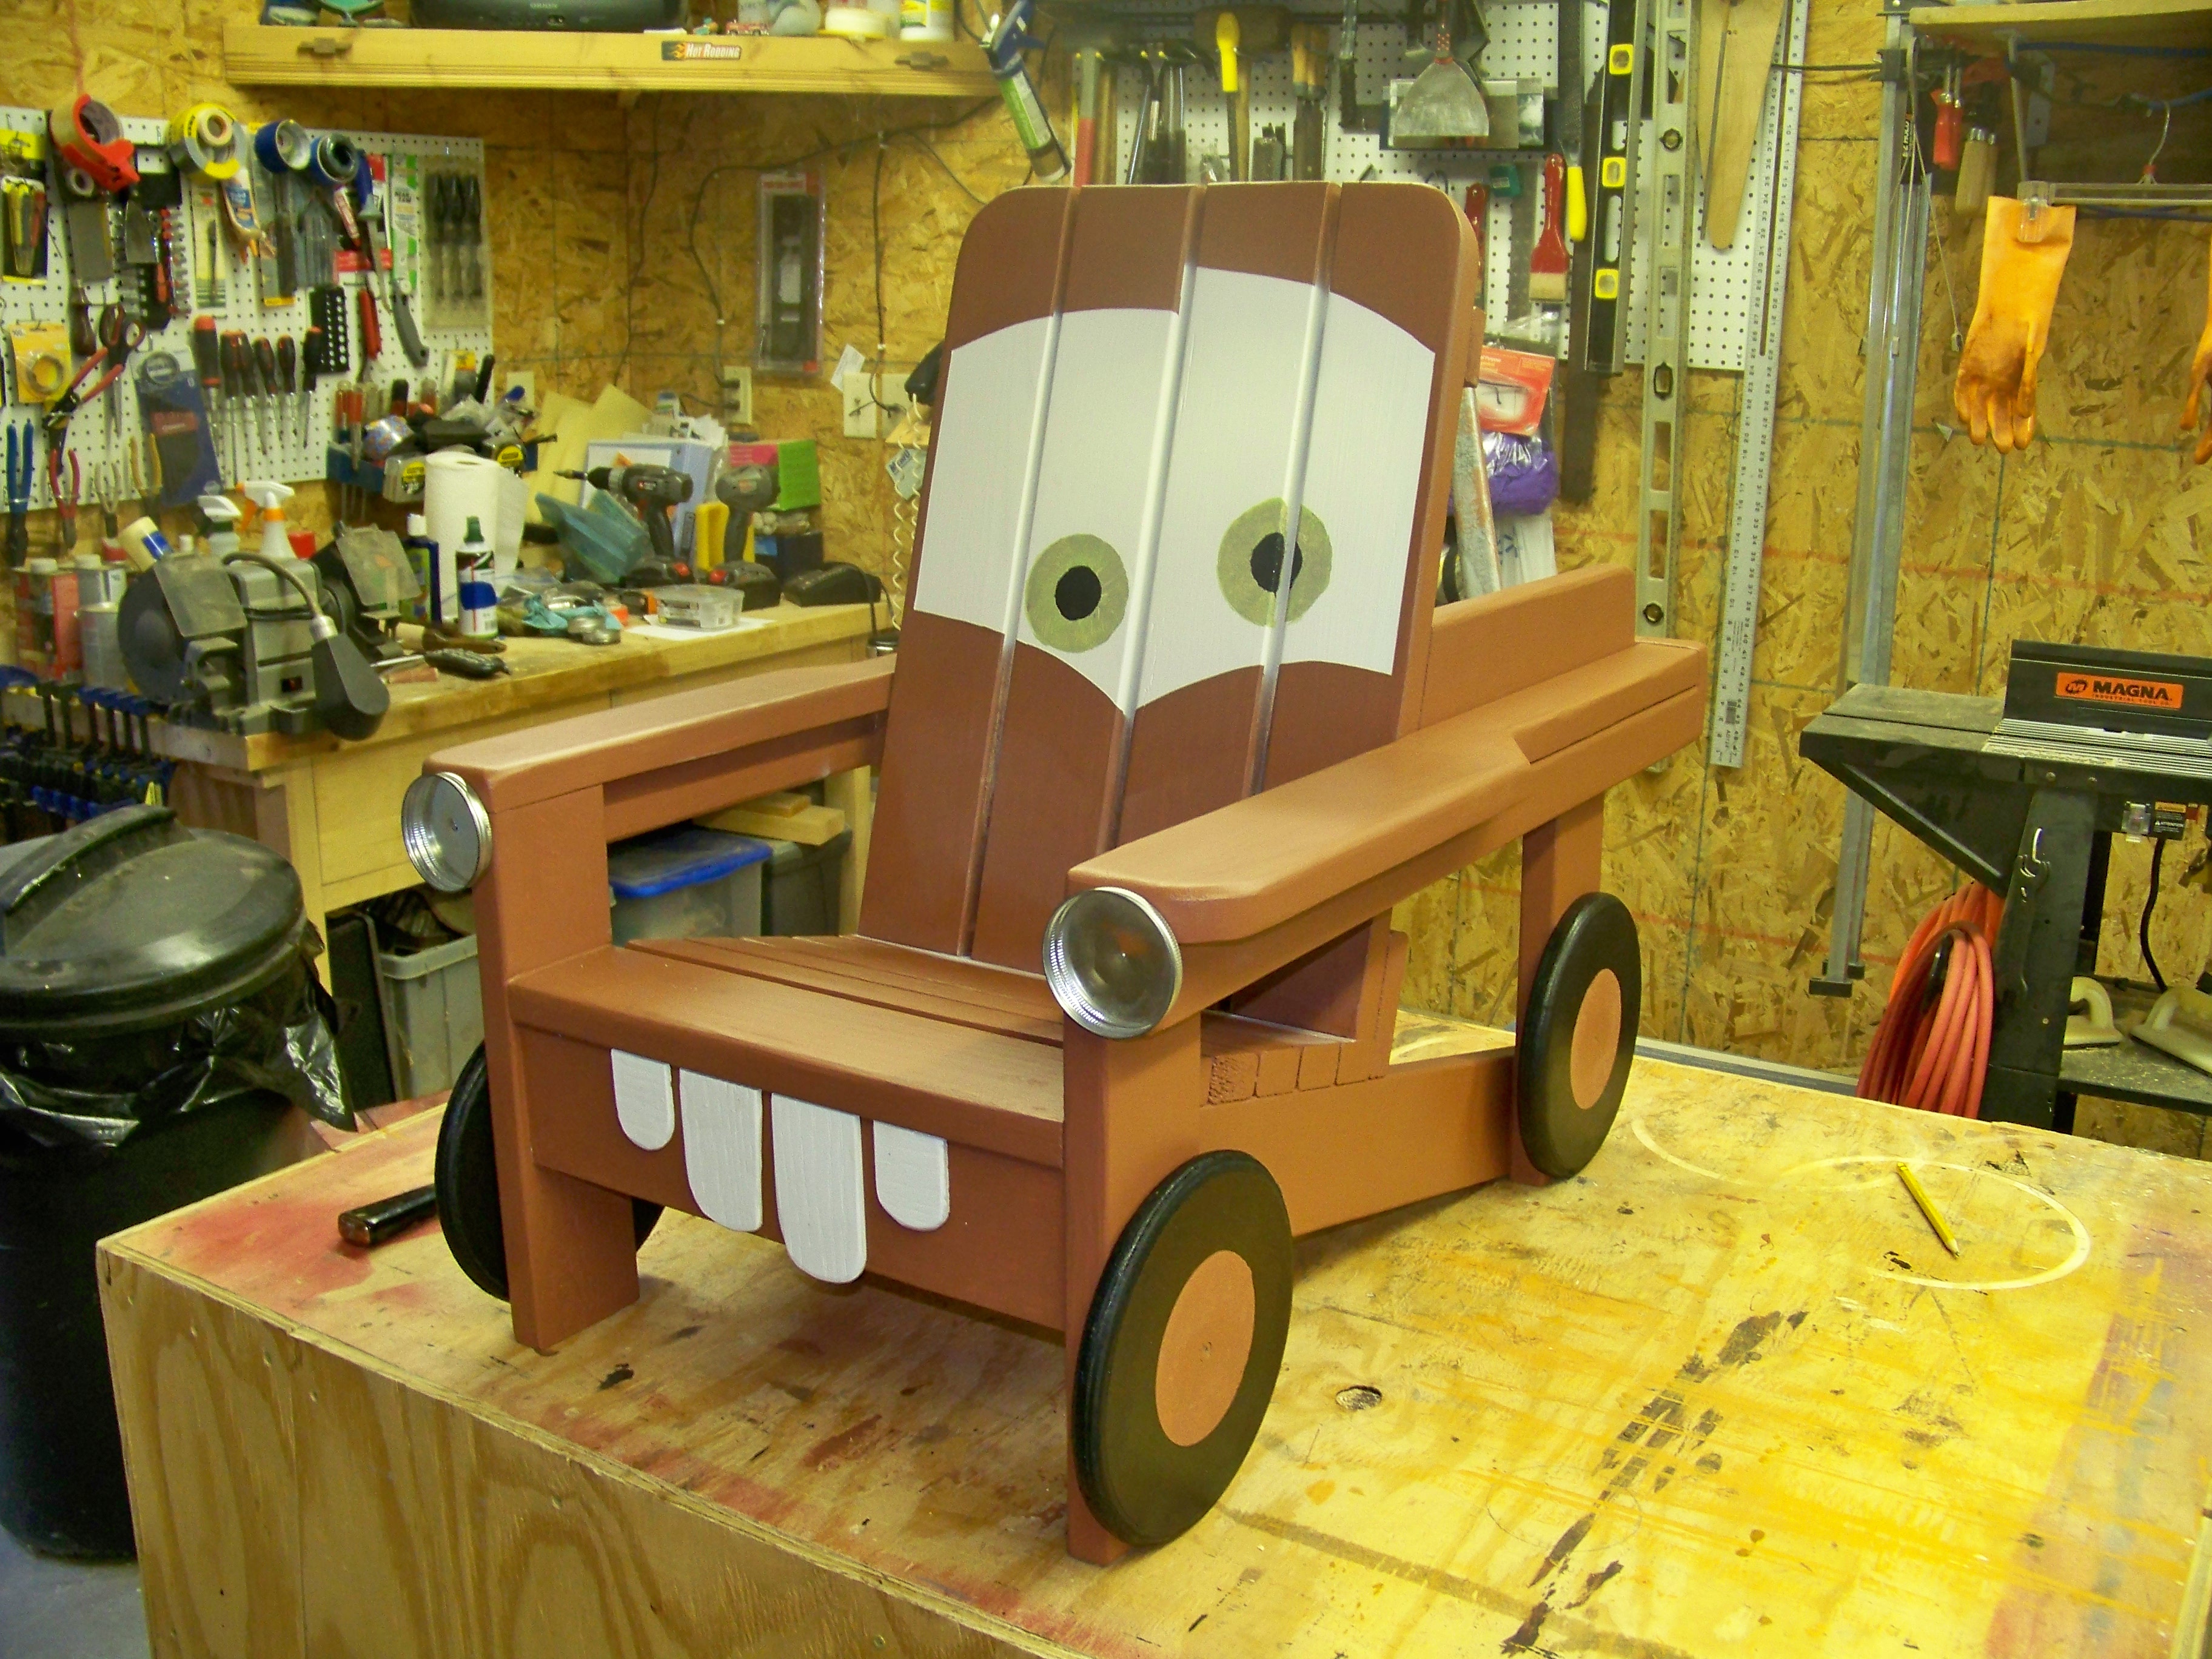
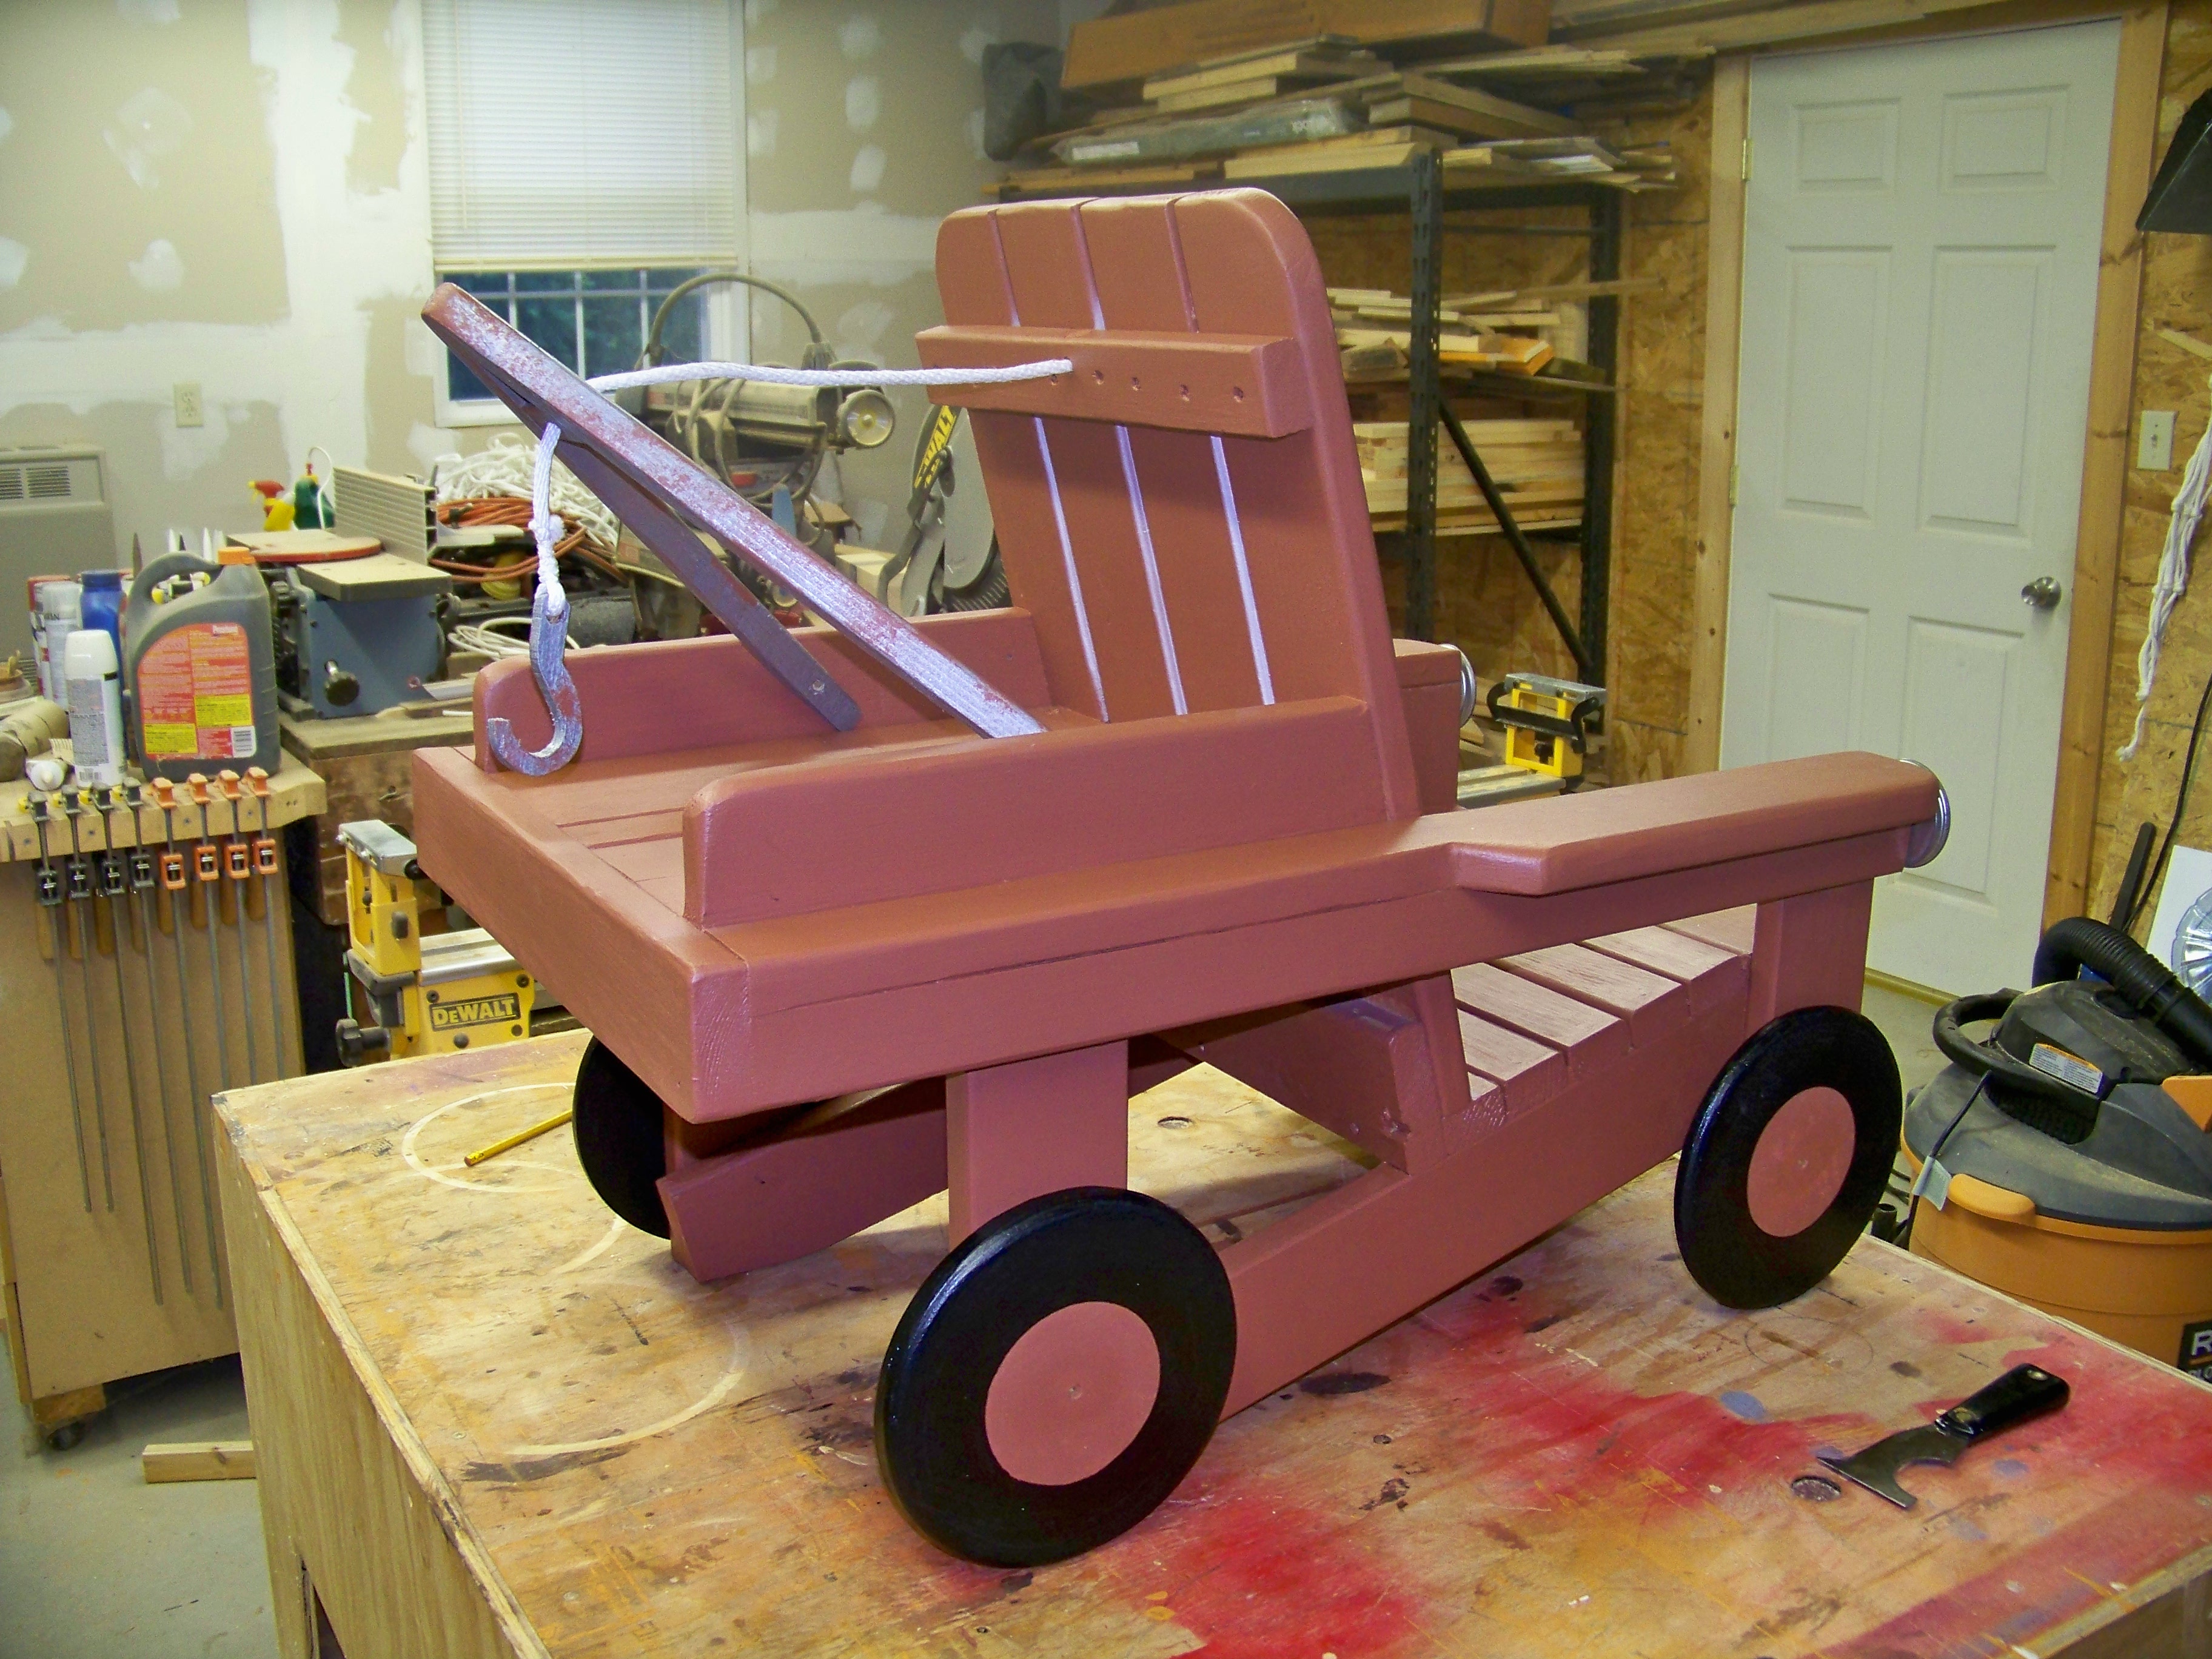
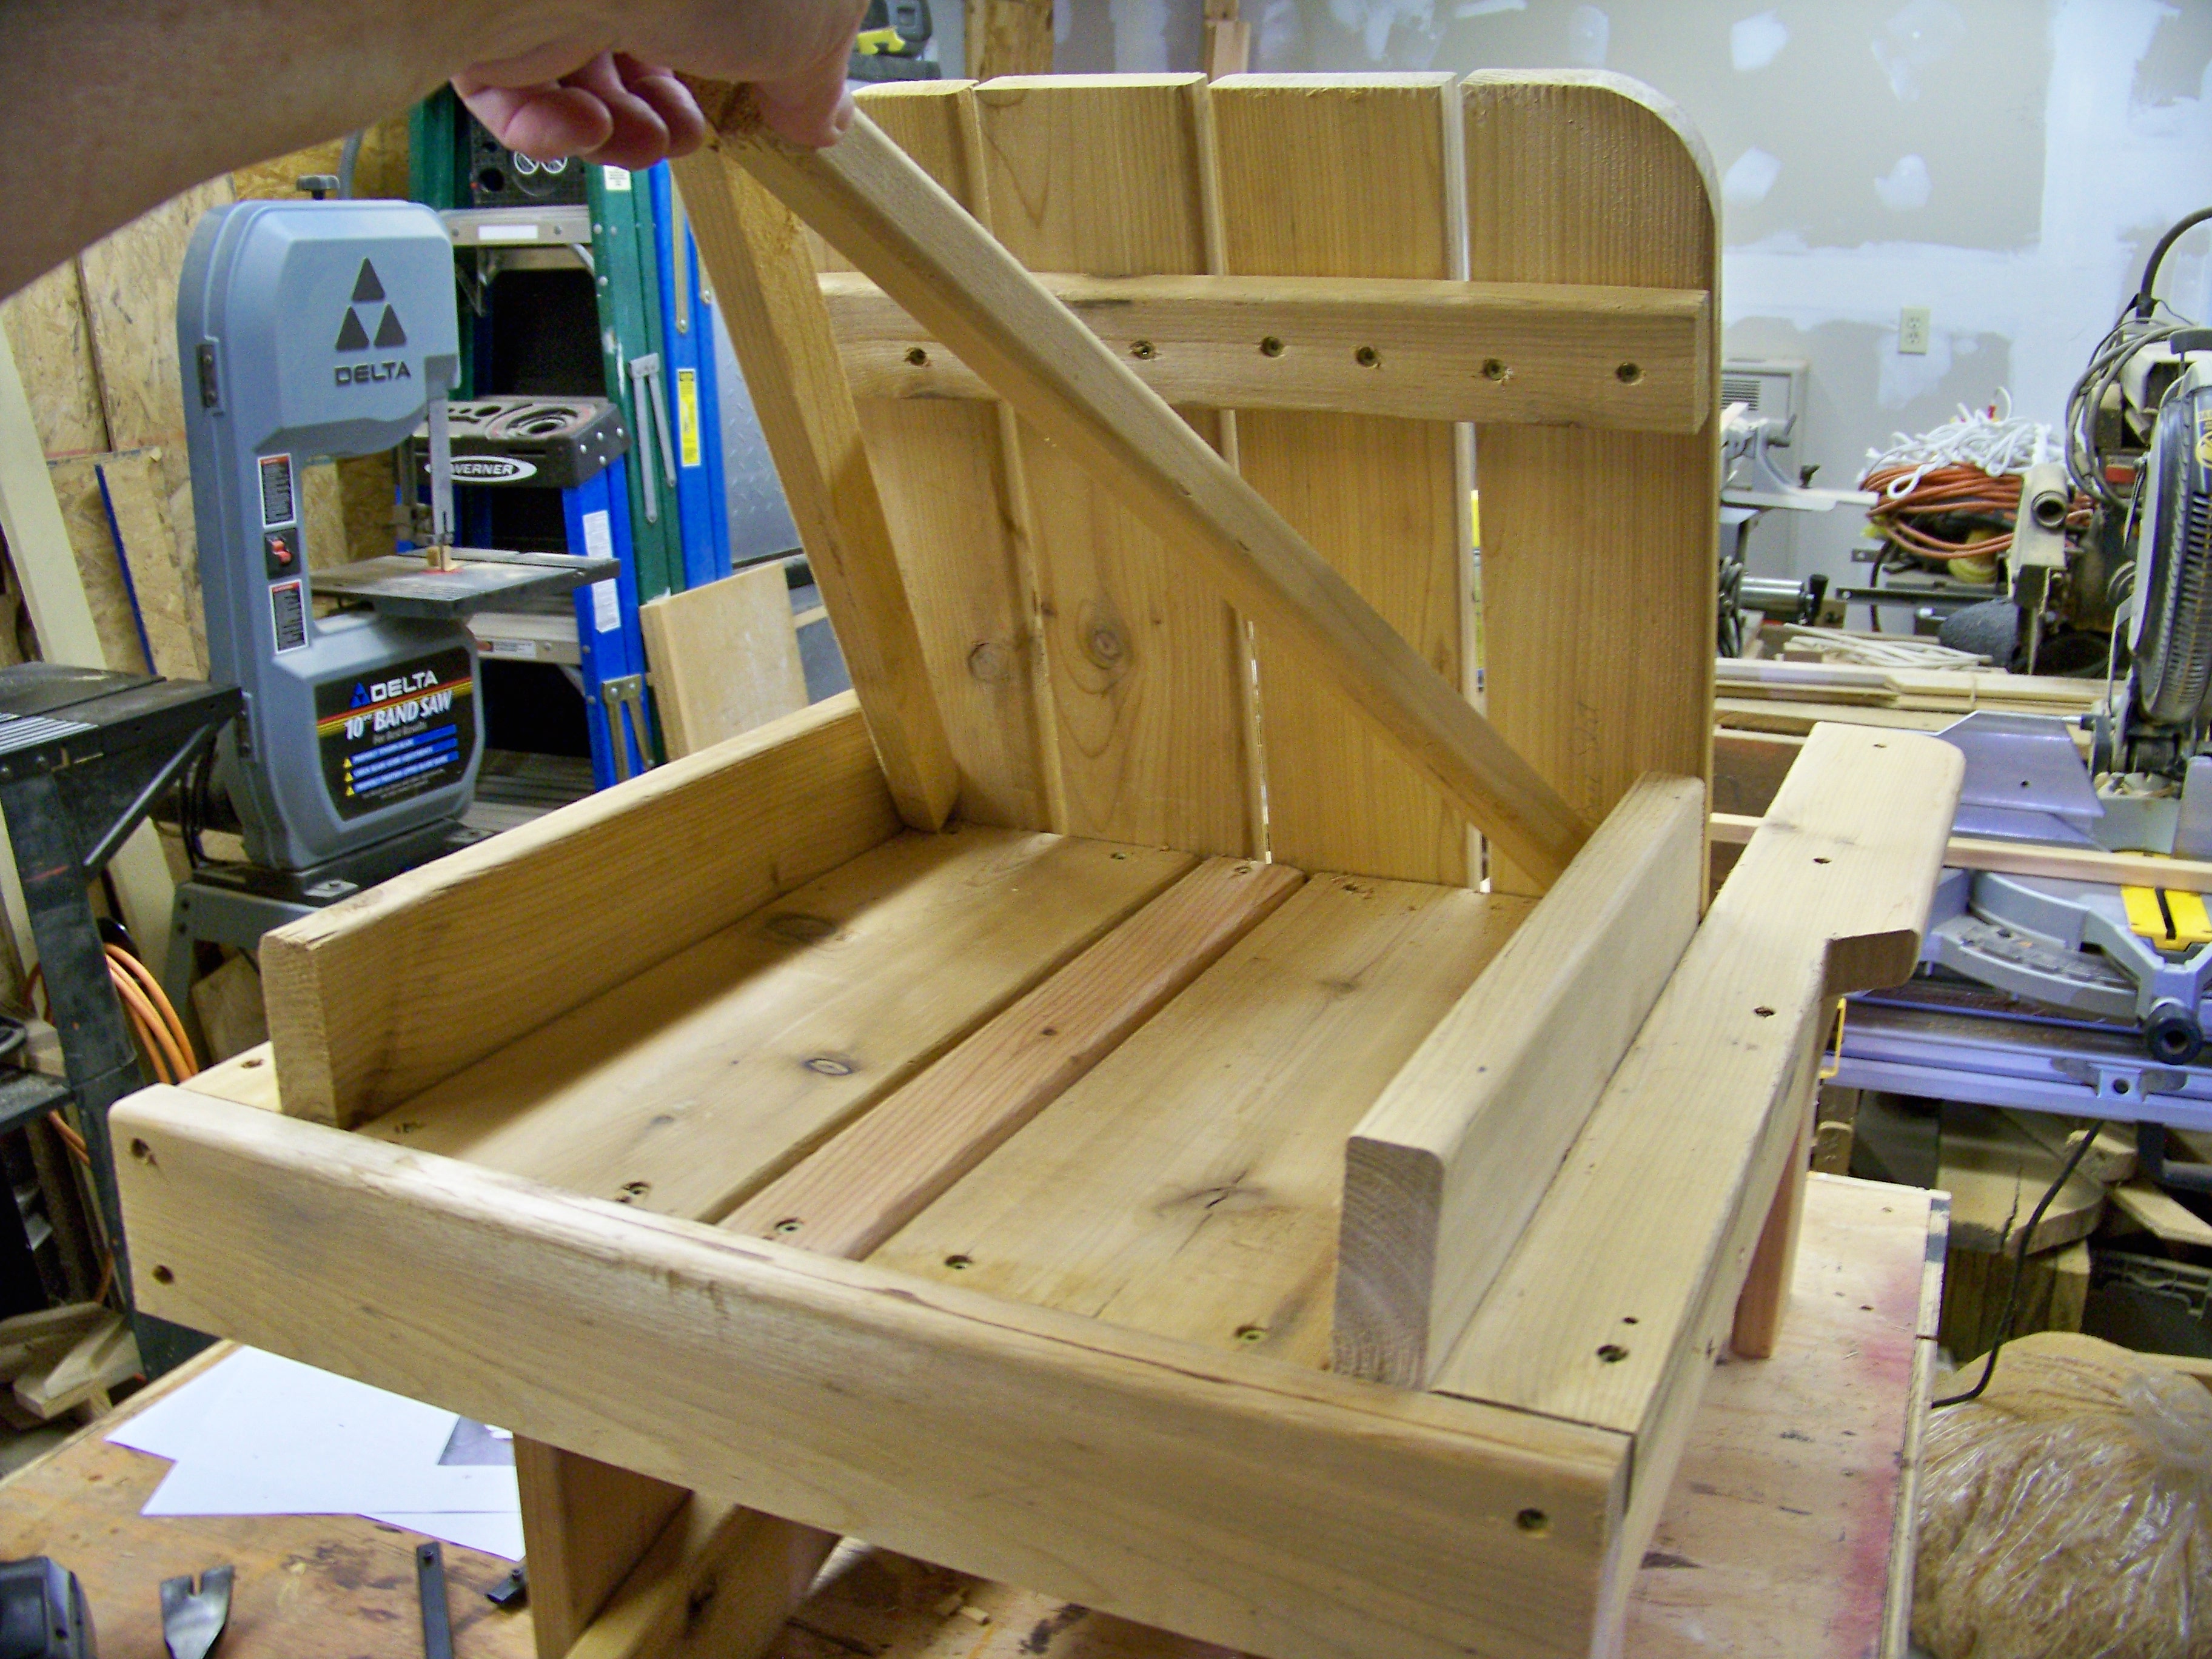
13 hours First wood project Learned a lot! I surprised my boyfriend with them and he loved them!
Built from Plan(s)
Estimated Cost
$100
Estimated Time Investment
Weekend Project (10-20 Hours)
Finish Used
Transparent cedar outdoor stain
Recommended Skill Level
Starter Project
Comments

Tue, 12/16/2014 - 15:40
Love this. The chairs are on
Love this. The chairs are on my to build list! Great job!
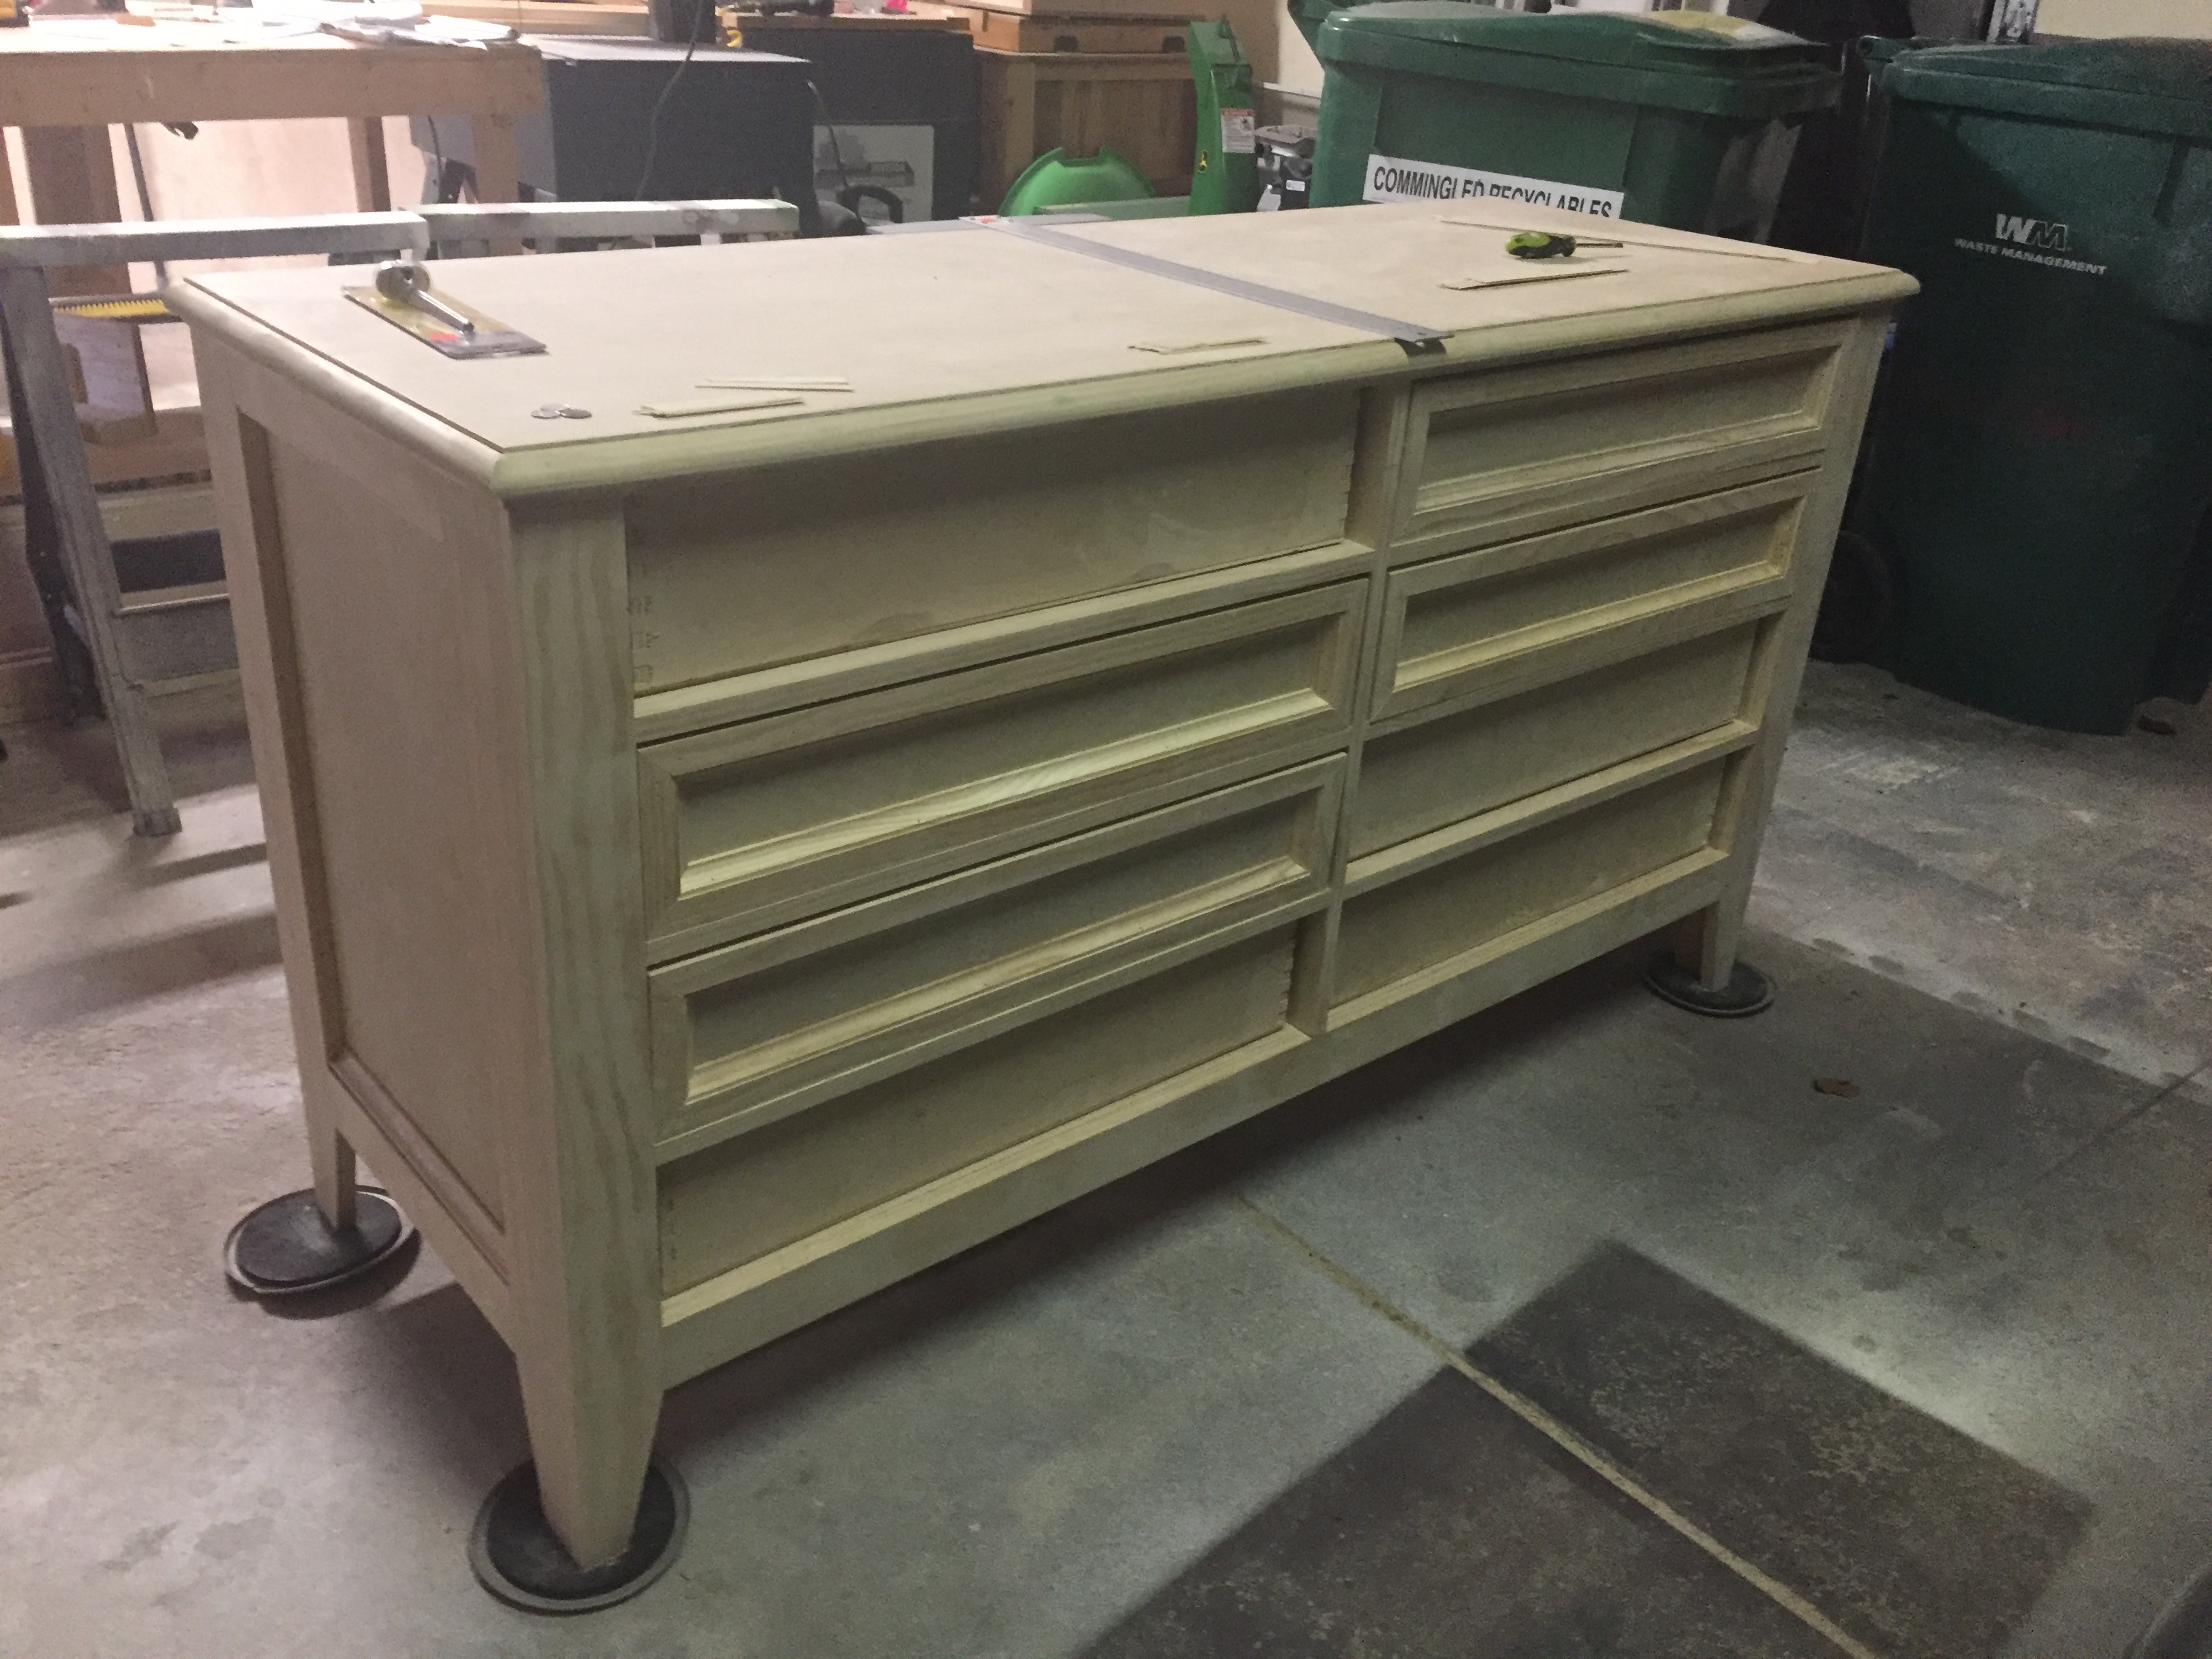
Dresser
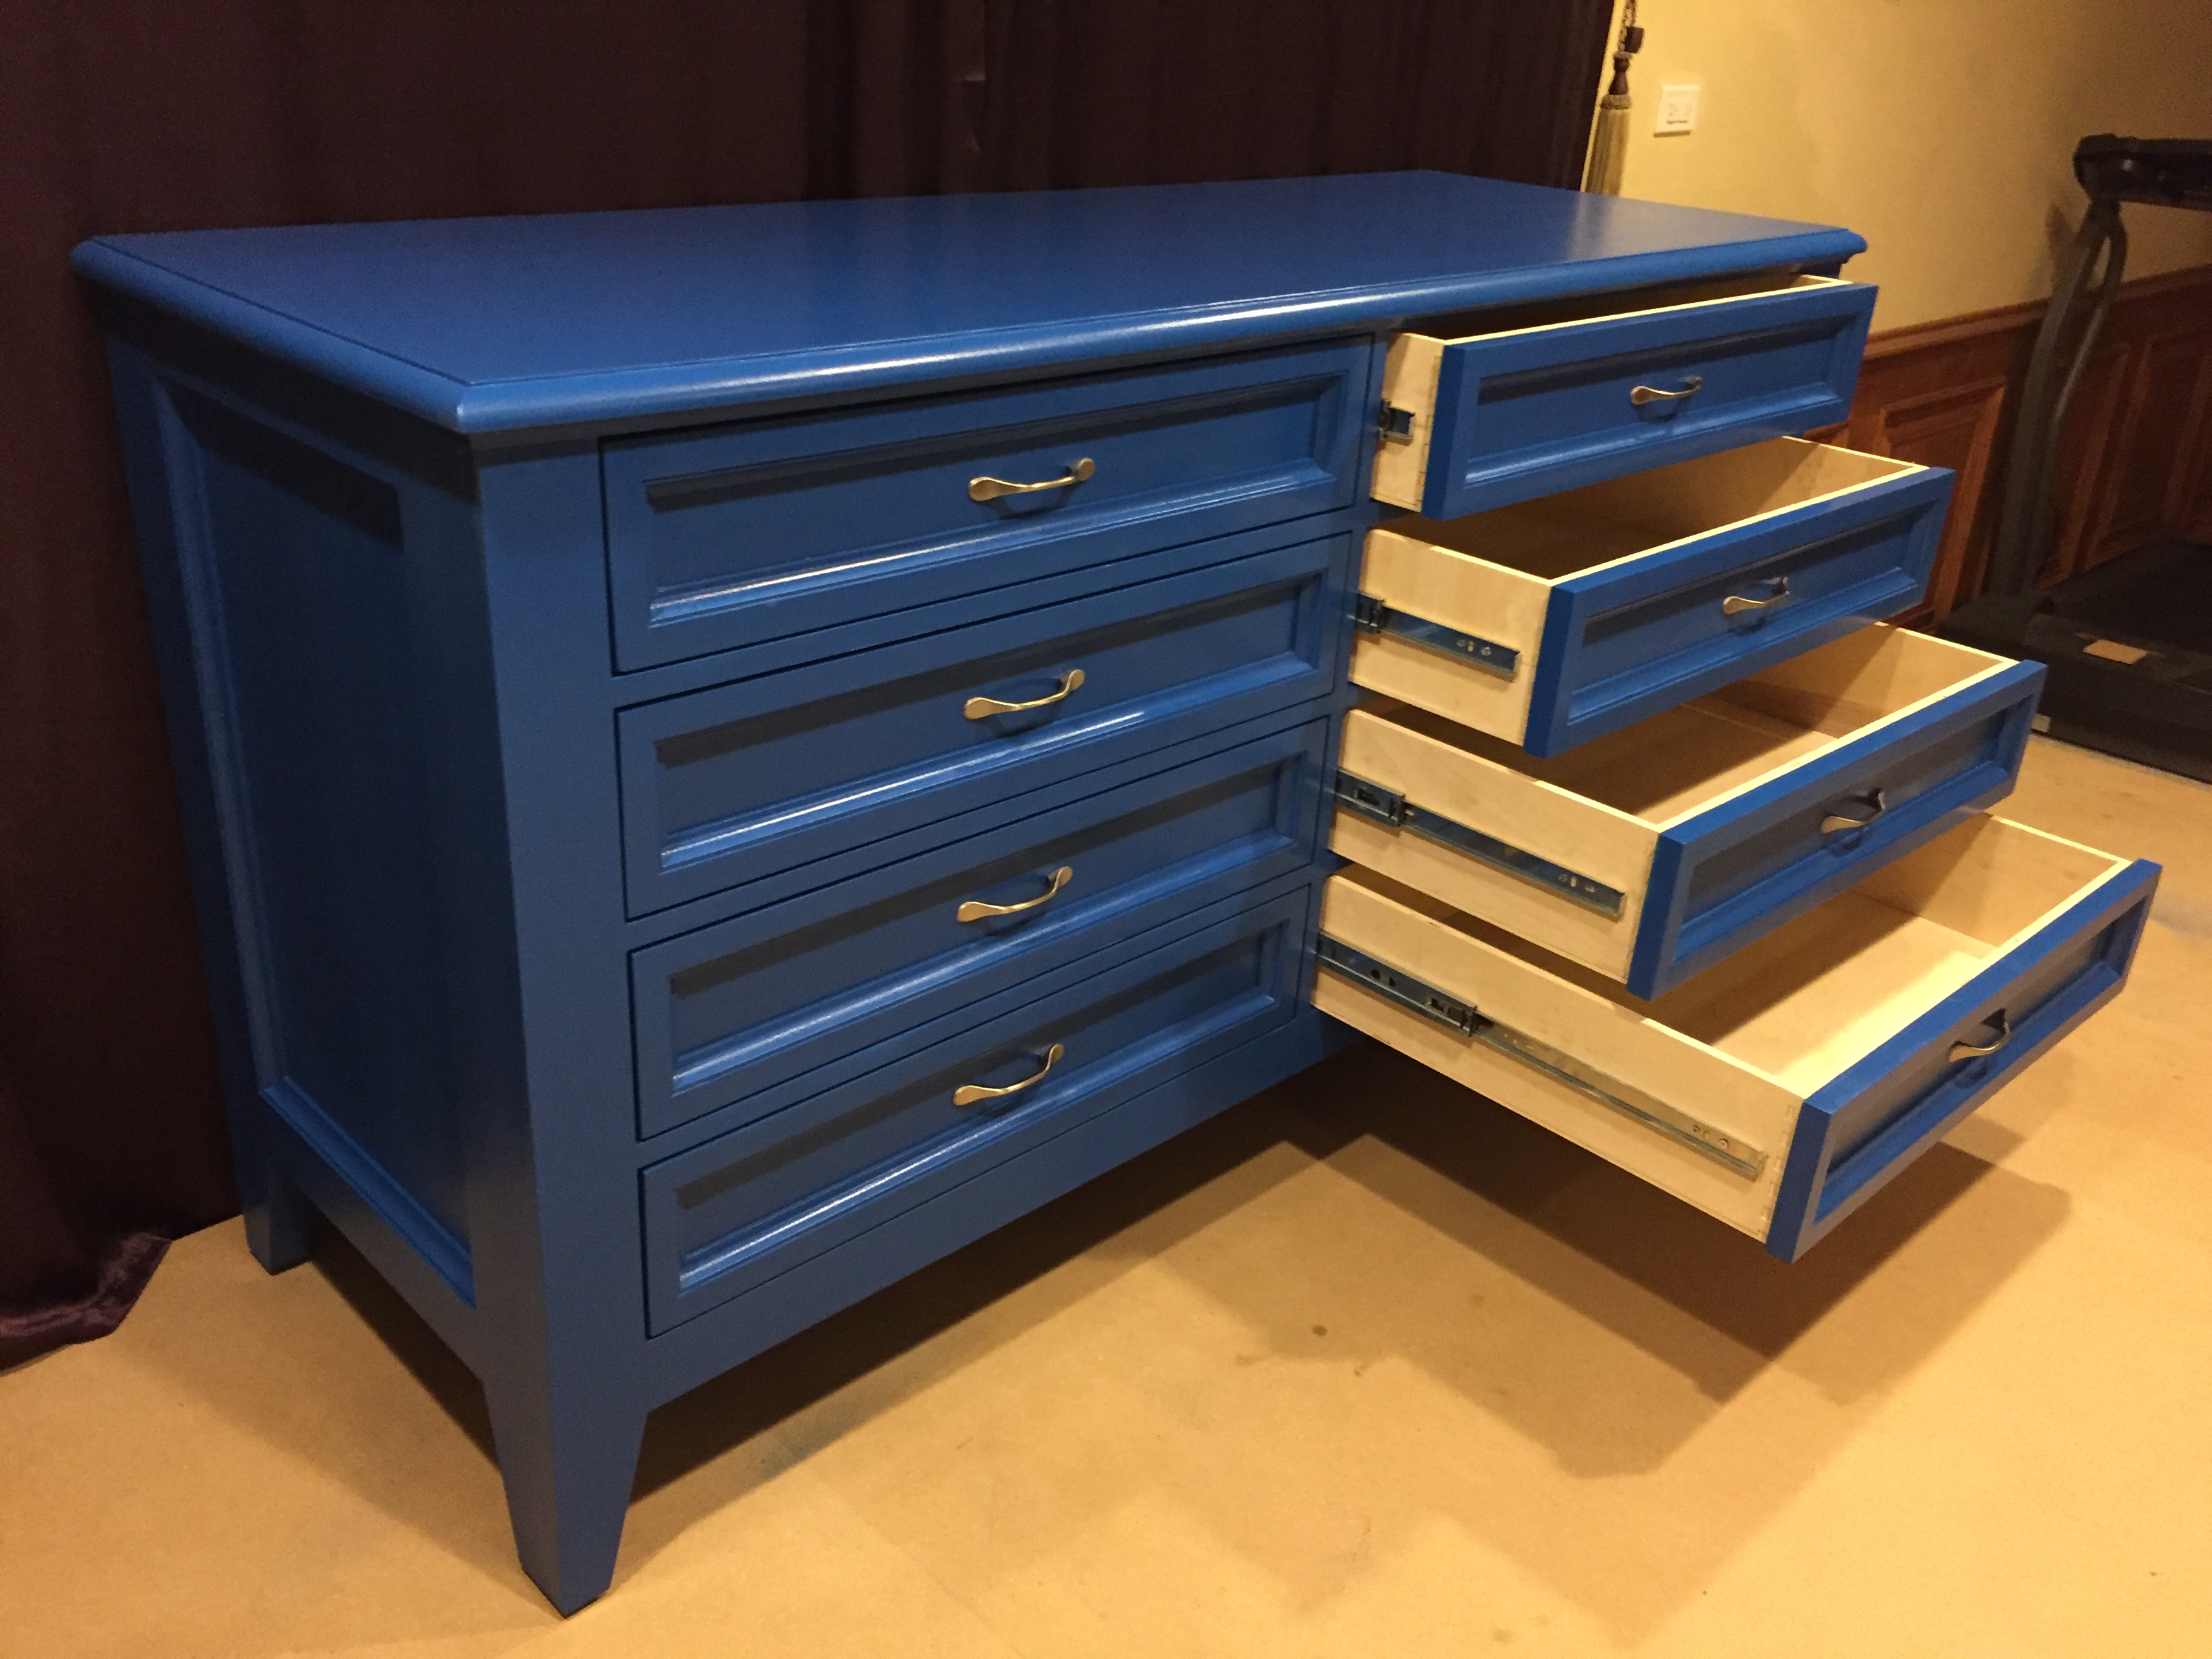
Made this dresser for a friend. She has 2 boys and wanted a sturdy dresser. The Hudson plans are clearly written and the illustrations are great. I used 100 pound full extension drawer glides and reinforced the areas where the glides mount with 2x2's to ensure the glides would not rip loose. I modified the drawer construction using finger joints for increased strength.
The flush mount drawers offer a challenge to get the spacing right and that the drawers are flush.
Built from Plan(s)
Estimated Cost
$550
Estimated Time Investment
Week Long Project (20 Hours or More)
Finish Used
High gloss Latex paint
Recommended Skill Level
Intermediate
1/2 sized Benchwright Coffee Table
Redrew plans to accommodate an approx 1/2 sized Benchwright Coffee Table. Decided to make it slightly less farmhousey in style. Used poplar for the carcass and hickory for the shelf - 3/4 inch -and table top -1 1/2 inch. 1 1/2 inch was really too thick for the top, it looked too chunky so had to deceive the eye by making a 1/2 inch roundover on the top and a 45 degree bevel on the under edge. I do not recommend using hickory, it’s a heavy, difficult wood to work unless you are an experienced woodworker (I am not!) with good sharp tools and not to mention expensive! The table top caused me all sorts of grief.
Estimated Cost
$200+
Estimated Time Investment
Week Long Project (20 Hours or More)
Finish Used
Pittsburgh Trim & Woodwork Rum Punch satin paint + Minwax water based clear satin poly over a mild Minwax pecan stain.
Recommended Skill Level
Intermediate
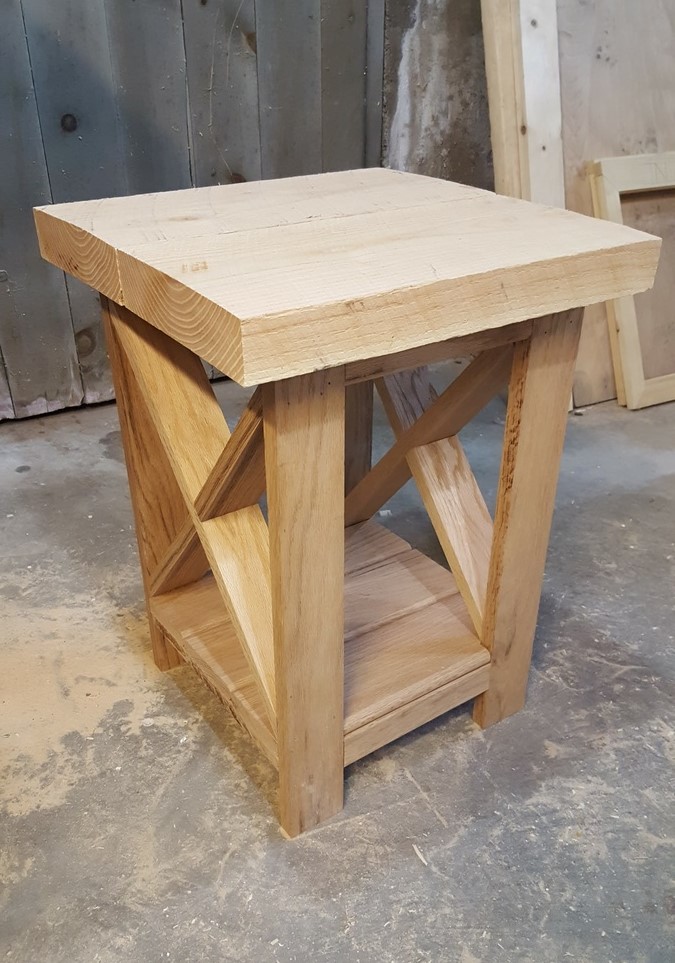
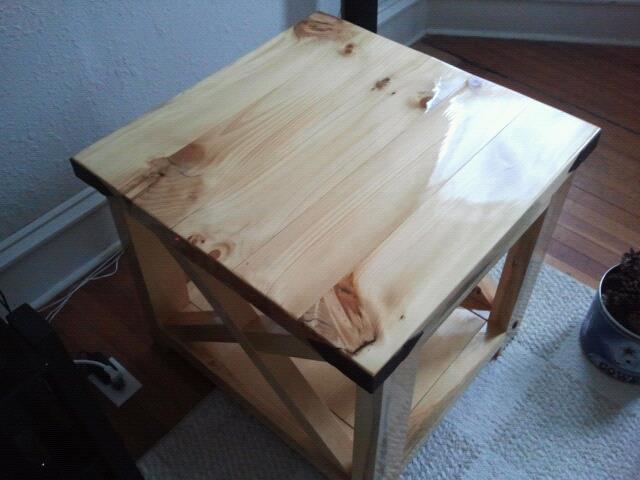
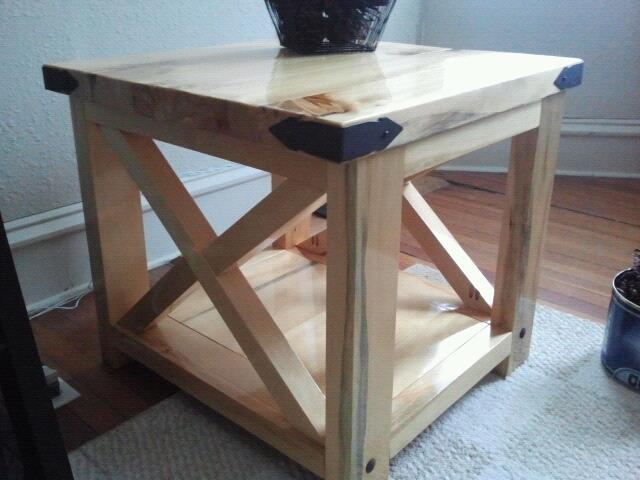
Natural Rustic X End Table
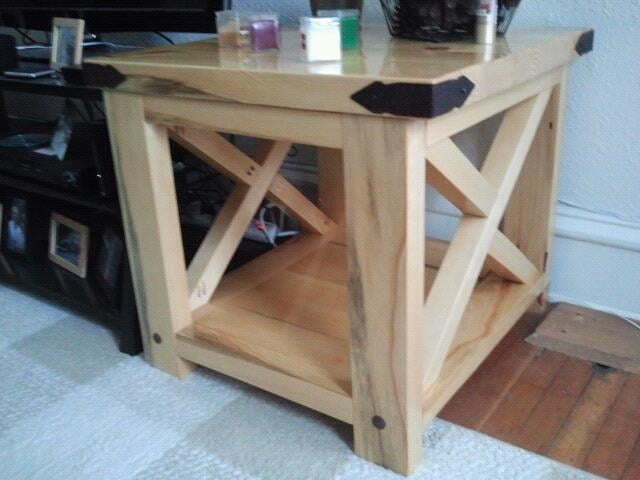
This project was taken from the Rustic X End Table plan. This is my second big project that I have attempted and I am still learning from my mistakes made from making the Rustic X Coffee Table. Hope you enjoy!
Built from Plan(s)
Estimated Time Investment
Week Long Project (20 Hours or More)
Finish Used
I used an ebony wood filler to fill any cracks around the knots. Then I used Cabots "natural" wood stain just like I did on my Rustic X Coffee Table. Followed by 3-5 coats of Cabots glossy poly. Make sure you use a finishing sponge or sandpaper between each coat! Once it set for a day I added the wrought iron corner pieces and hammered iron clavos.
Recommended Skill Level
Intermediate
Comments
Mon, 02/11/2013 - 22:25
Finally Finished!
Working around my work schedule and dry times of the poly these 2 end tables took me quite sometime! But I am super happy with the result! They go so perfect with my Rustic X Coffee Table!
Tue, 02/12/2013 - 07:01
Friendly Tip
Table looks good. I like the natural wood color with the black add ons. I noticed the one "X" is a little off. You might want to check the squareness of your chop saw. If the fence is perfectly square to your blade when set at 90 degrees it will throw everything off. You are off to a good start though.
Sat, 02/16/2013 - 14:01
Love the natural stain and
Love the natural stain and the shine of the poly!
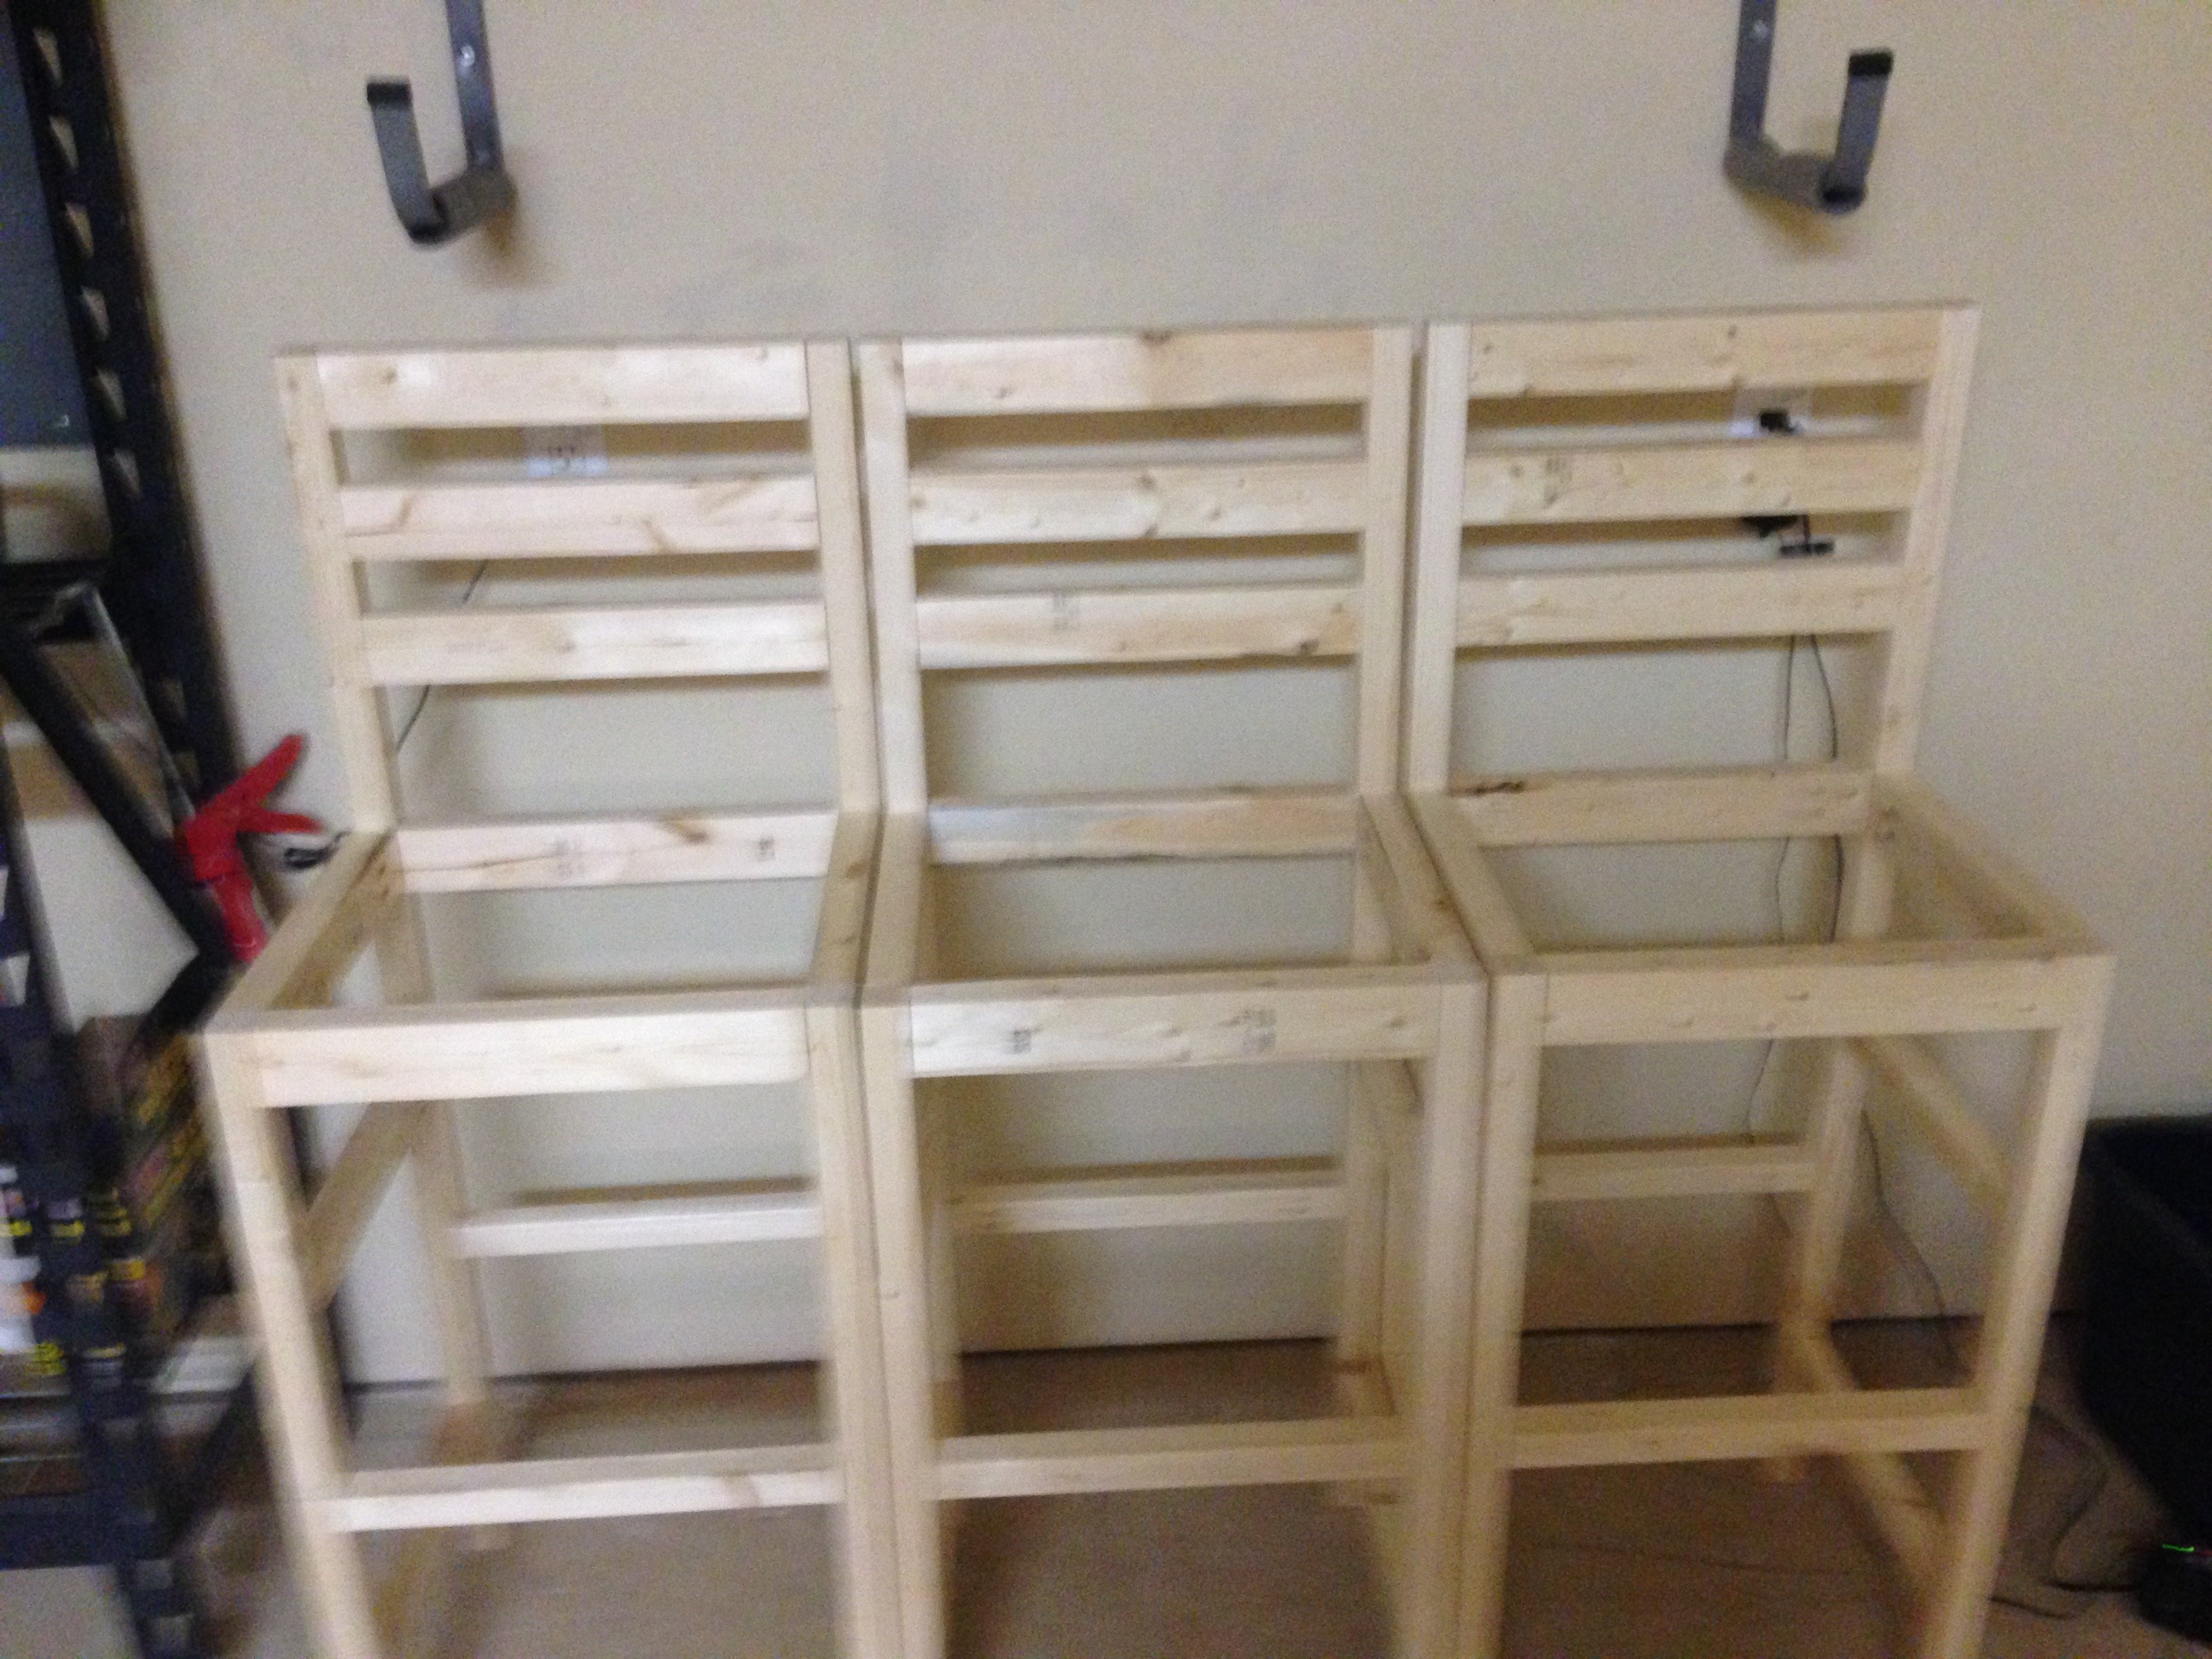
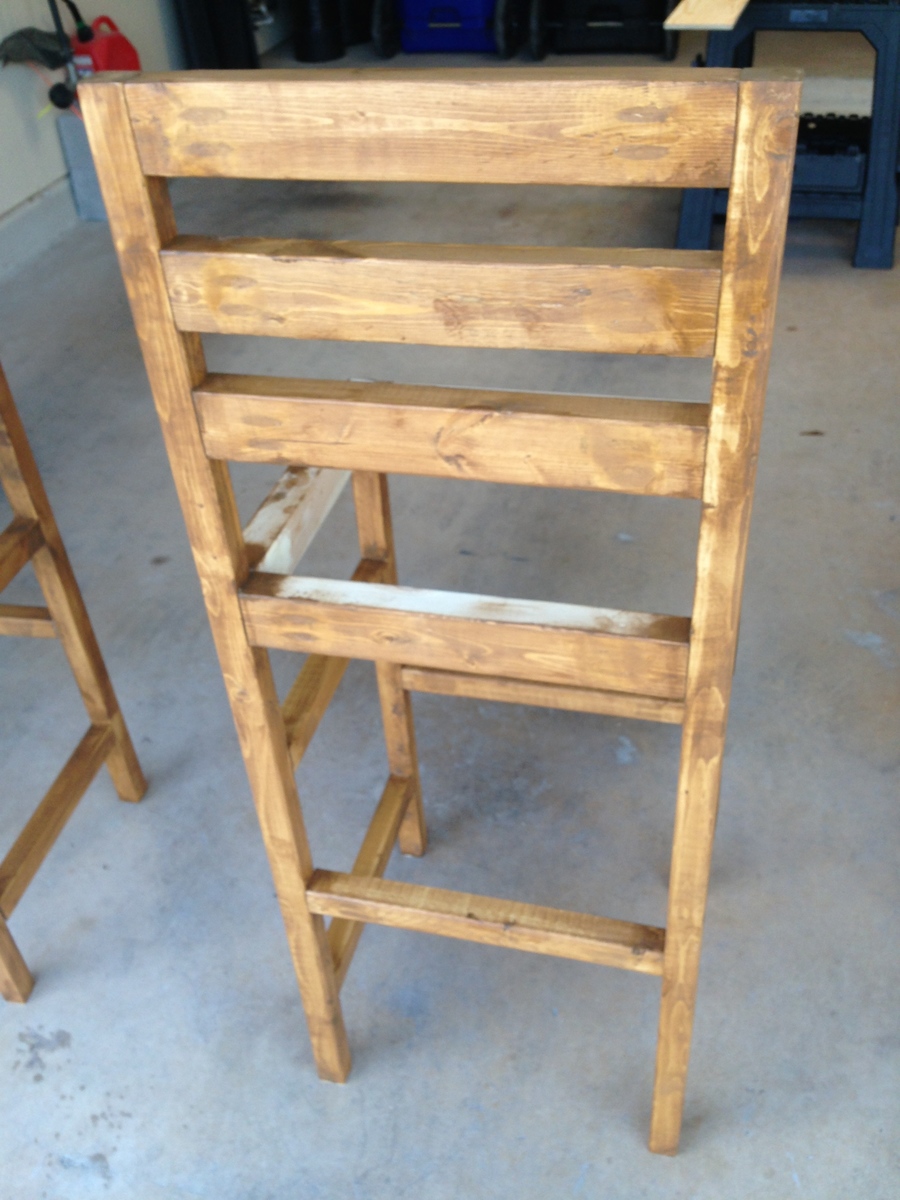
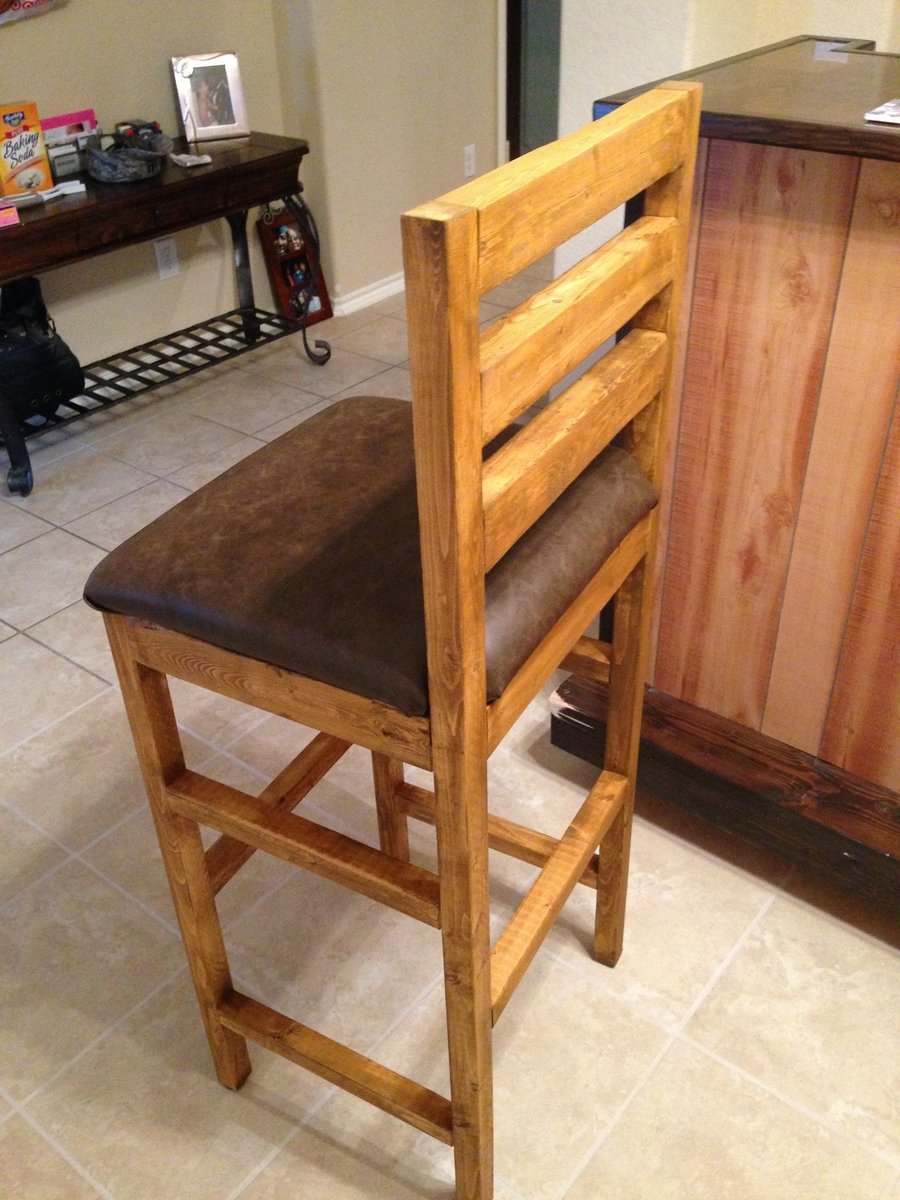
Extra Tall Bar Stools
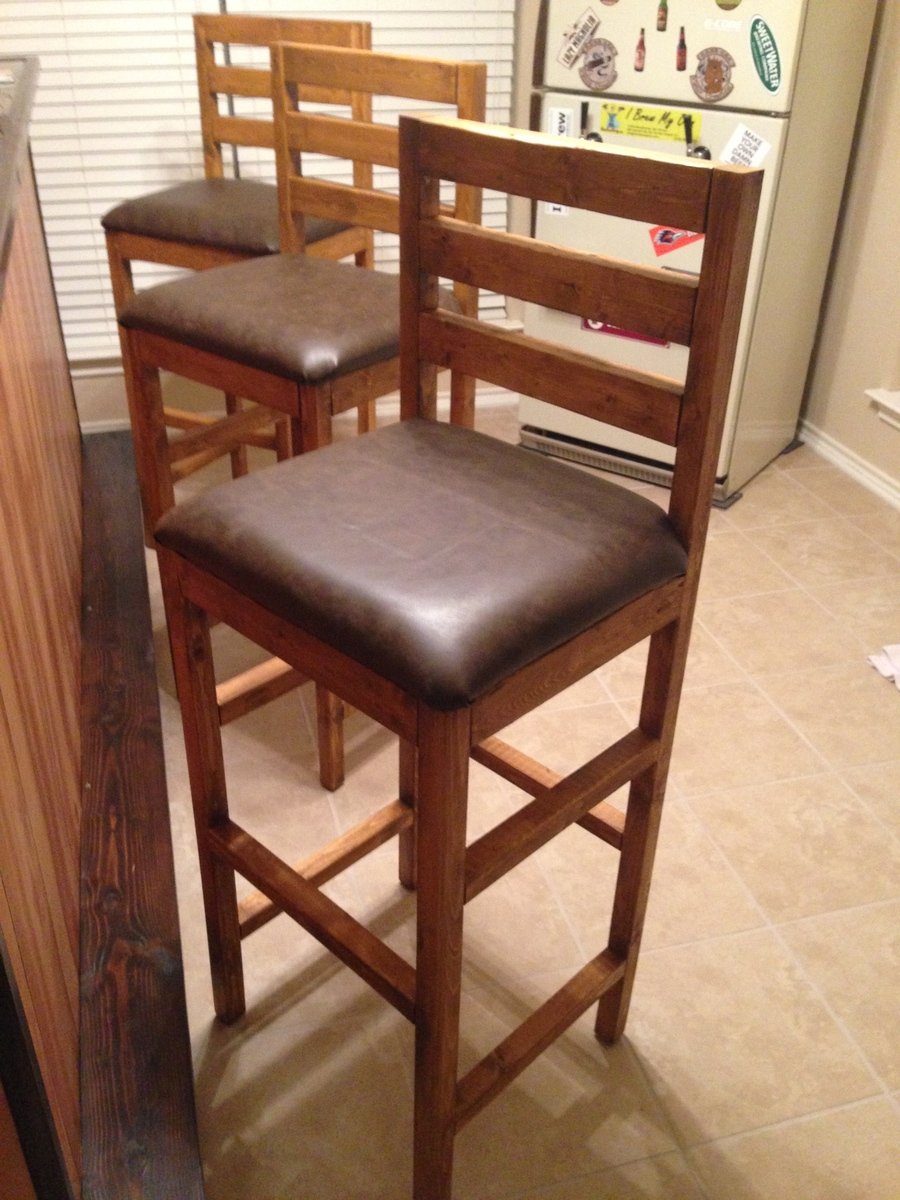
My wife and I built our whole bar, from the shelves, bar, and the kegerator! We needed stools to round out our endeavor but we werent willing to shell out the kind of money required. My wife found this plan and we morphed it a bit to meet our needs. The KREG JIG saved us big time! The seat upholstry took us a bit of time, but we figured it out thanks to YouTube. Great project for a weekend, took us a tad bit longer due to the arrival of our daughter but, we still got it done!
Built from Plan(s)
Estimated Cost
~$150, this got us three stools. We had bigger measurements than the plan called for, so you could definitely squeeze another chair if you stick to the plan.
Estimated Time Investment
Week Long Project (20 Hours or More)
Finish Used
Wheat color stain, and spray on Satin polyurethane.
Recommended Skill Level
Beginner
Julie's benchmark media console

My wife used the benchmark media console plans with her own idea for the doors
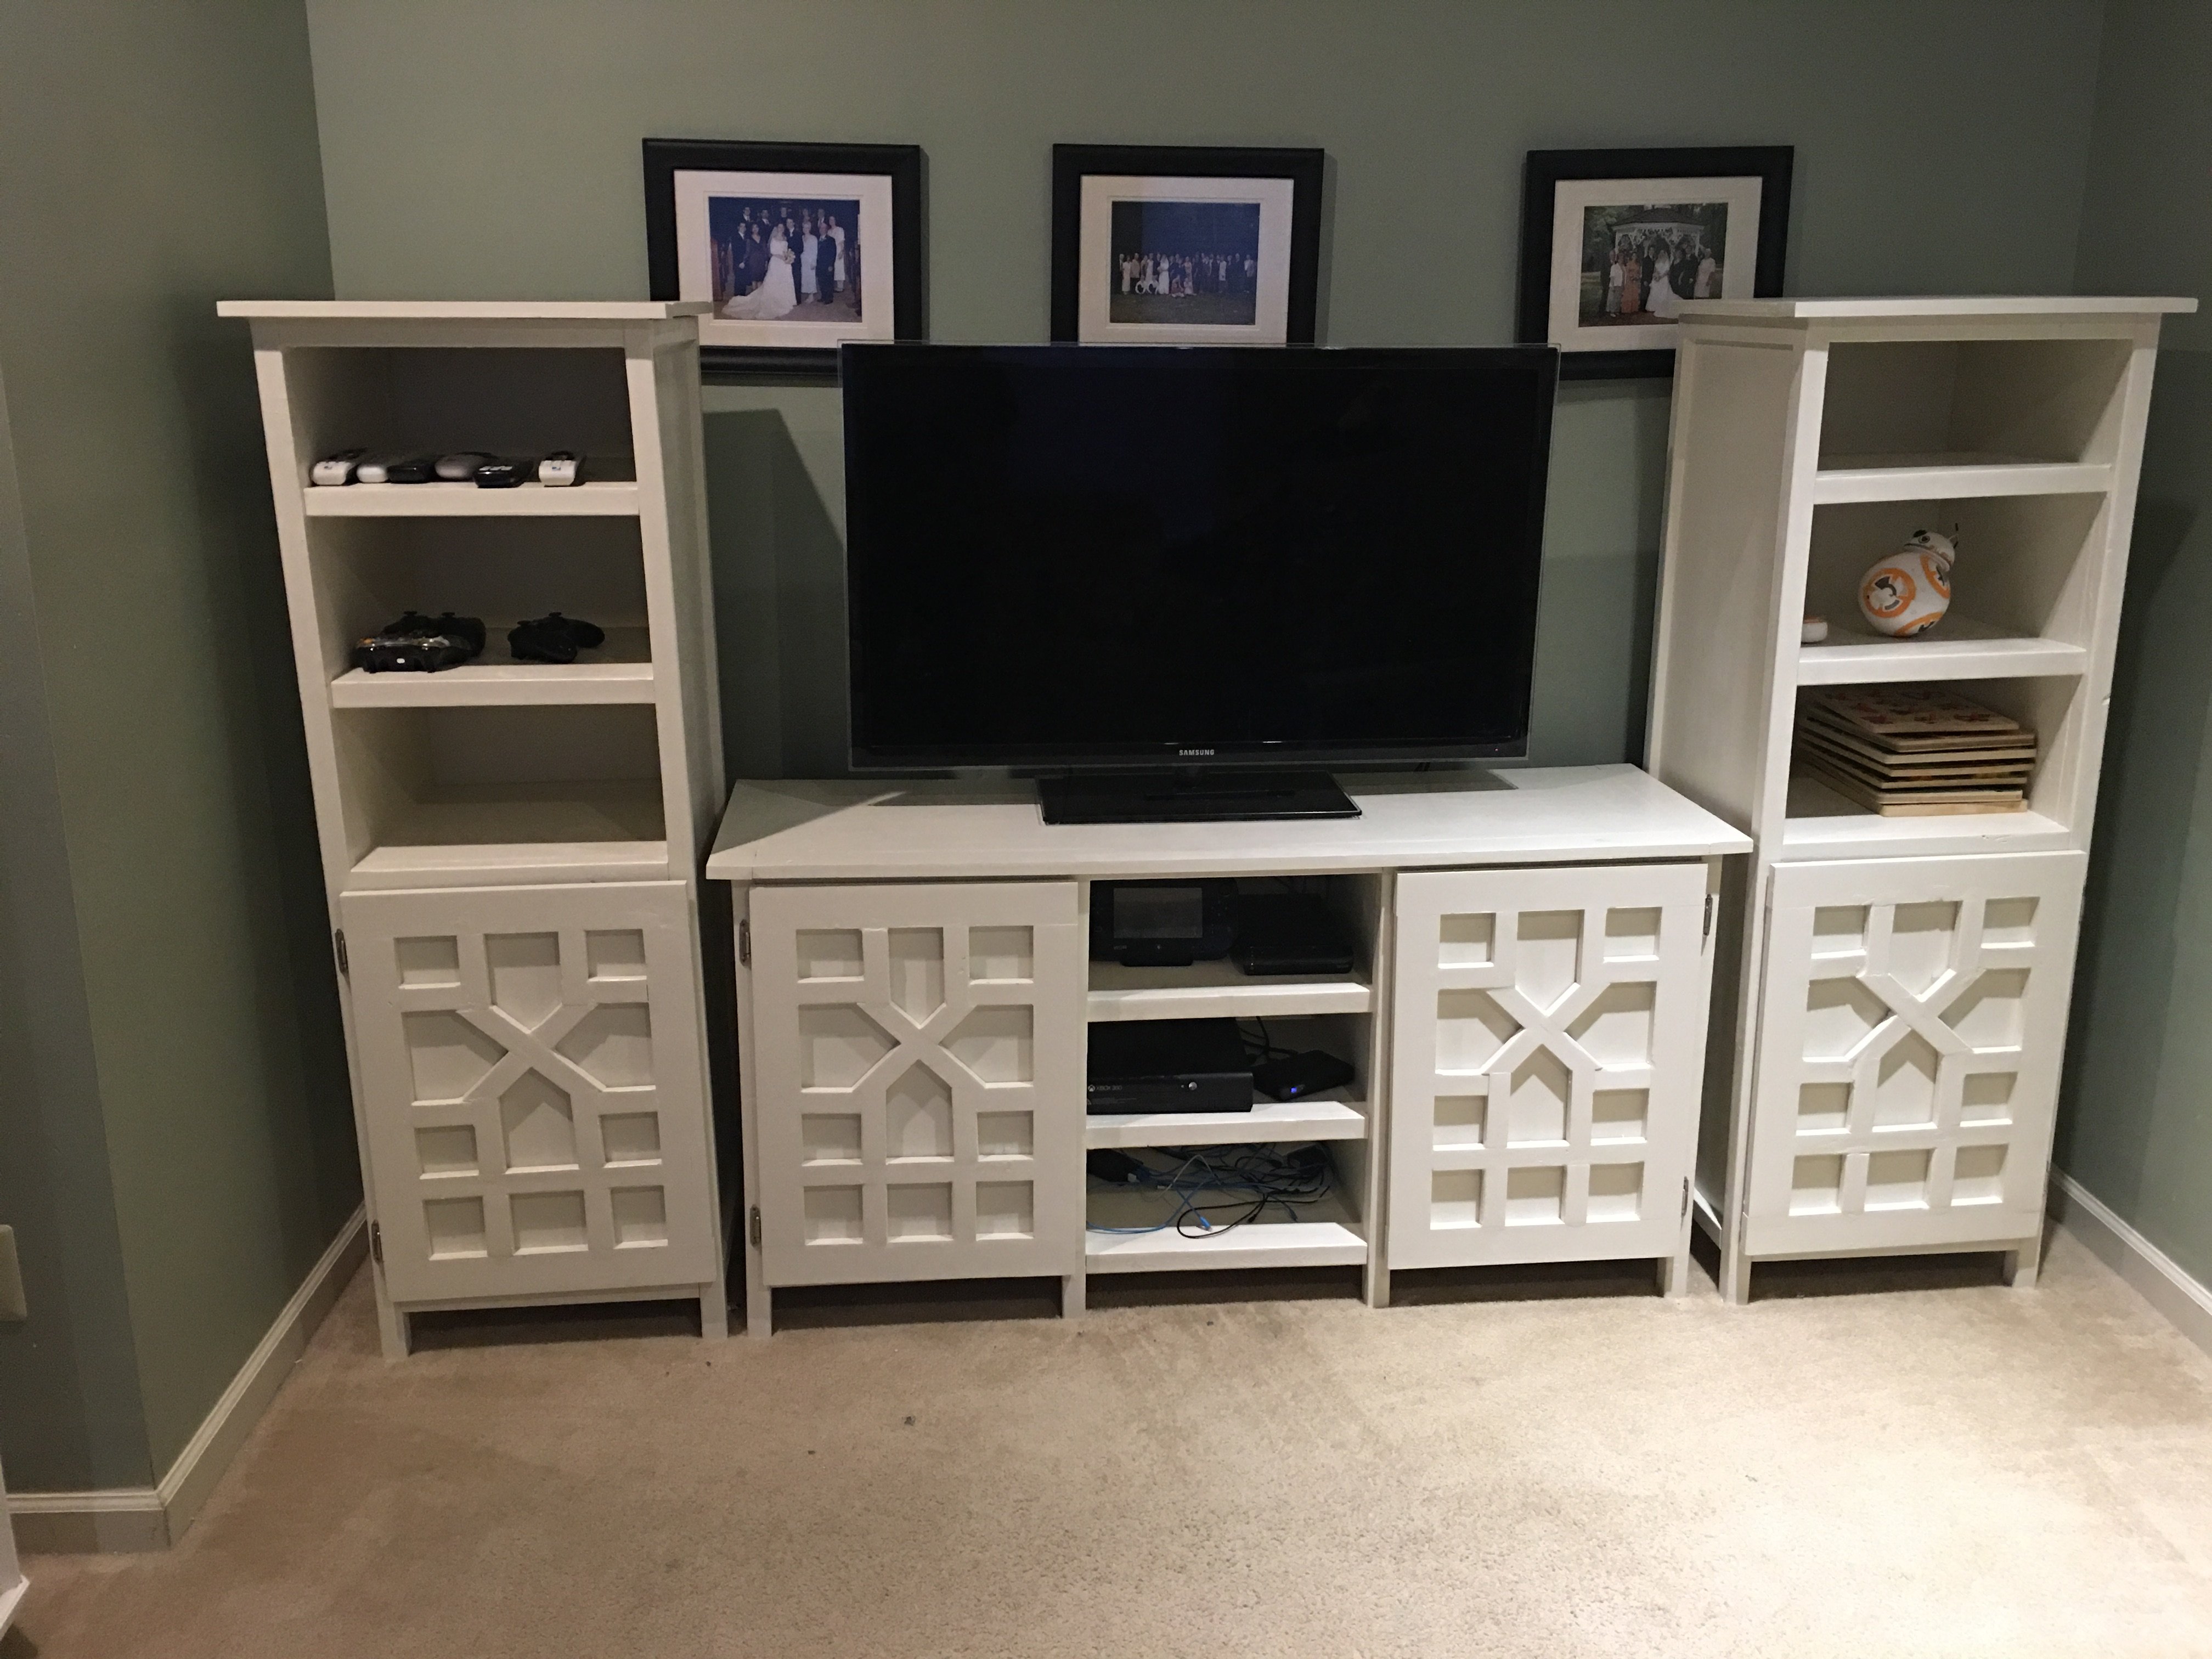
Built from Plan(s)
Estimated Cost
$200
Estimated Time Investment
Week Long Project (20 Hours or More)
Finish Used
Sherman Williams pro classic
Recommended Skill Level
Intermediate
Pub table
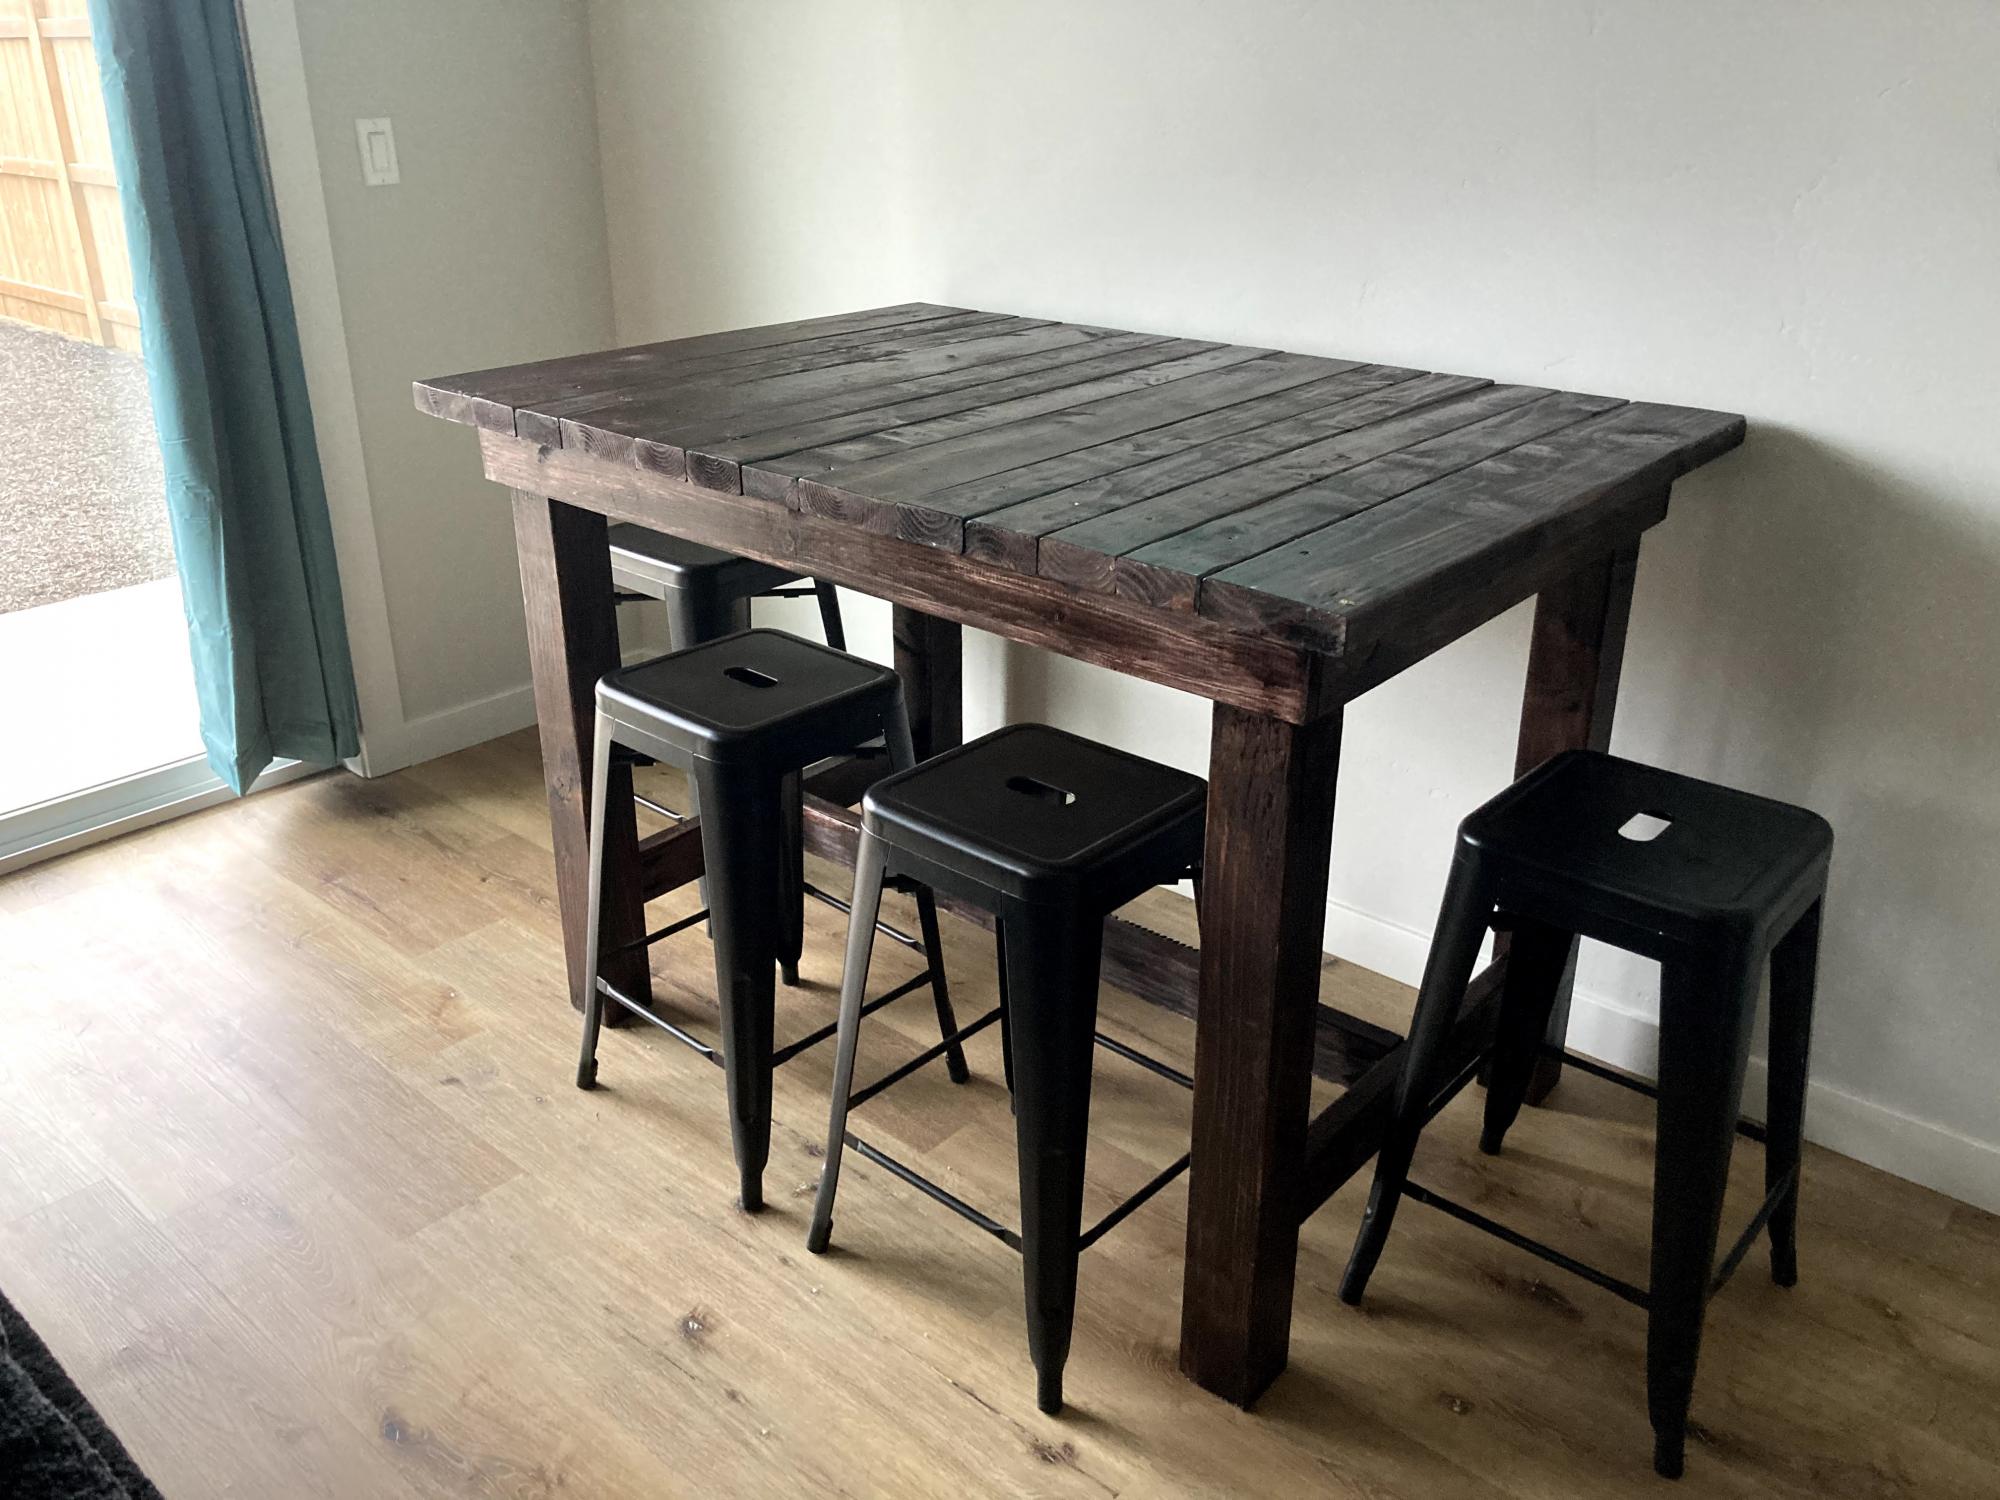
Easy weekend build. Turned out great. Needed a small table for my small space. Stain turned out fine, but I tried the poly/stain combo and don't like how it applies. Will go back to stain then poly in the future.
Estimated Cost
$60
Estimated Time Investment
Day Project (6-9 Hours)
Finish Used
Kona stain/poly combo.
Recommended Skill Level
Beginner
Comments
JoanneS
Mon, 12/01/2014 - 13:49
SUPER Cute!!
I just love this! Cutest chair EVER!! :)
spiceylg
Tue, 12/02/2014 - 11:38
Love it!
This is so creative and adorable!
Linda7
Fri, 12/05/2014 - 18:01
Little adirondack chair
This has to be T H E cutest chair I've ever seen! Keep up the great work.
Ana White
Mon, 12/08/2014 - 12:43
This is so creative!! Thanks
This is so creative!! Thanks for sharing!