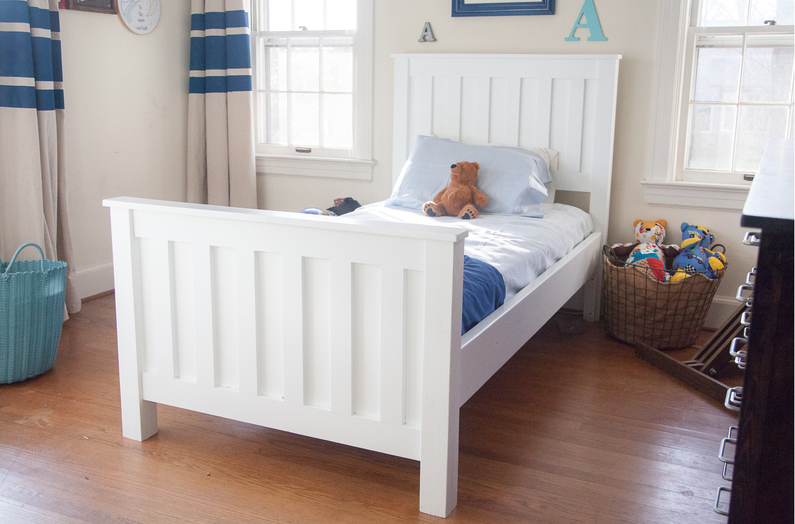
Kentwood Bed
Kentwood bed
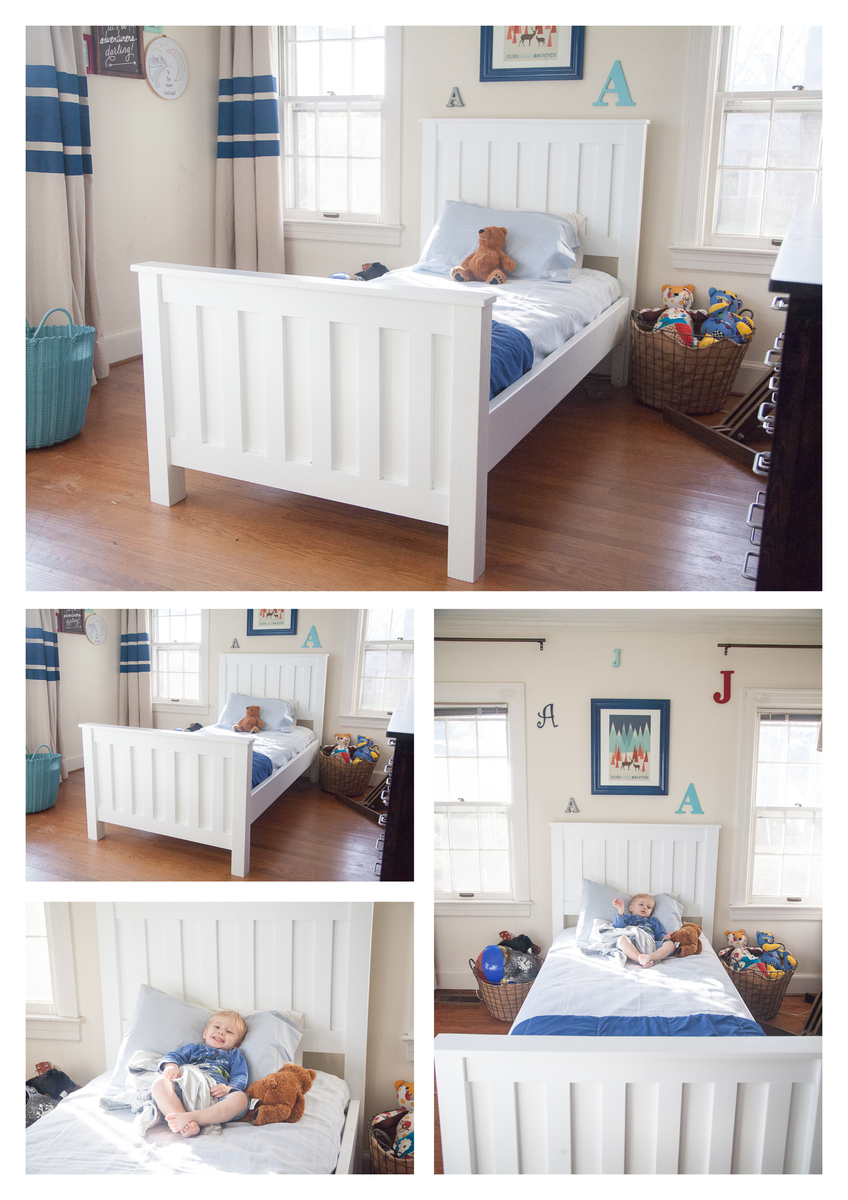

Kentwood bed

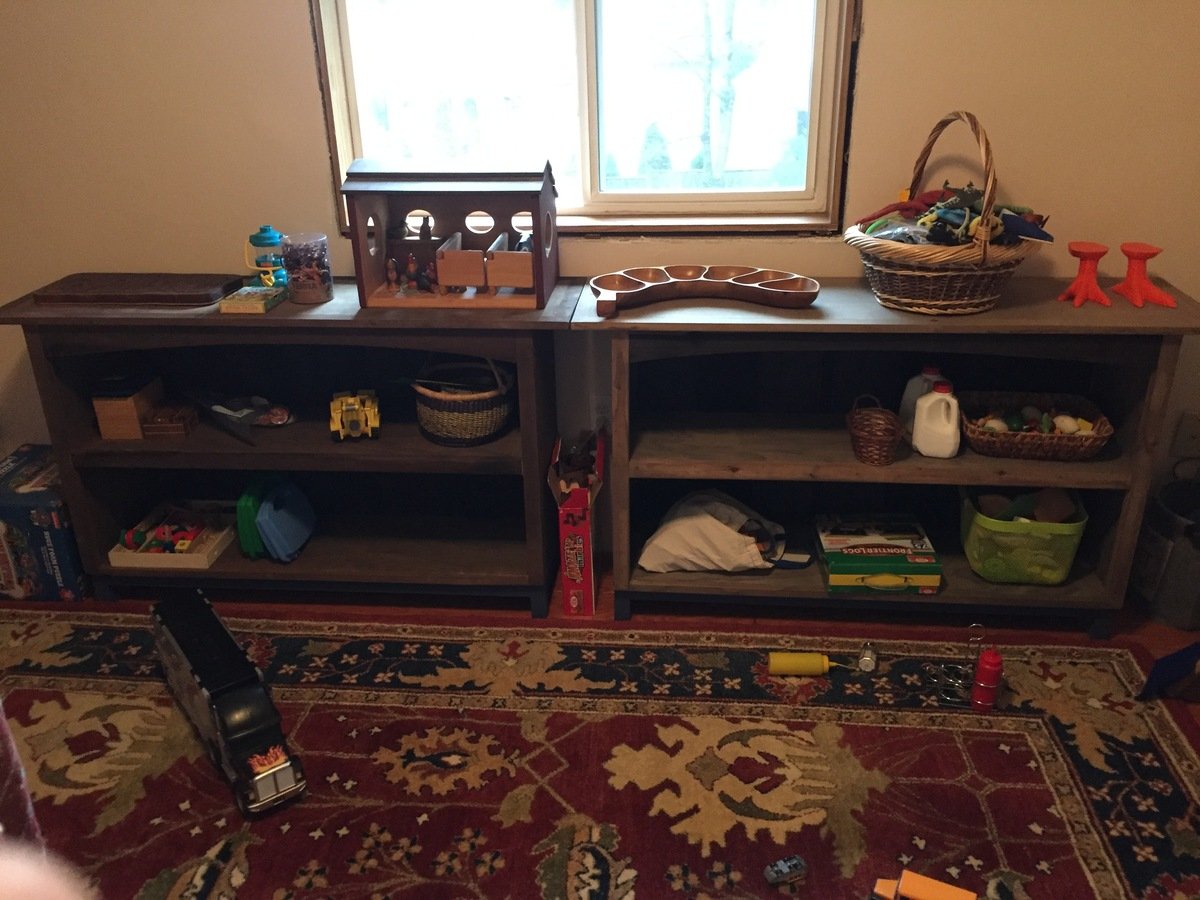
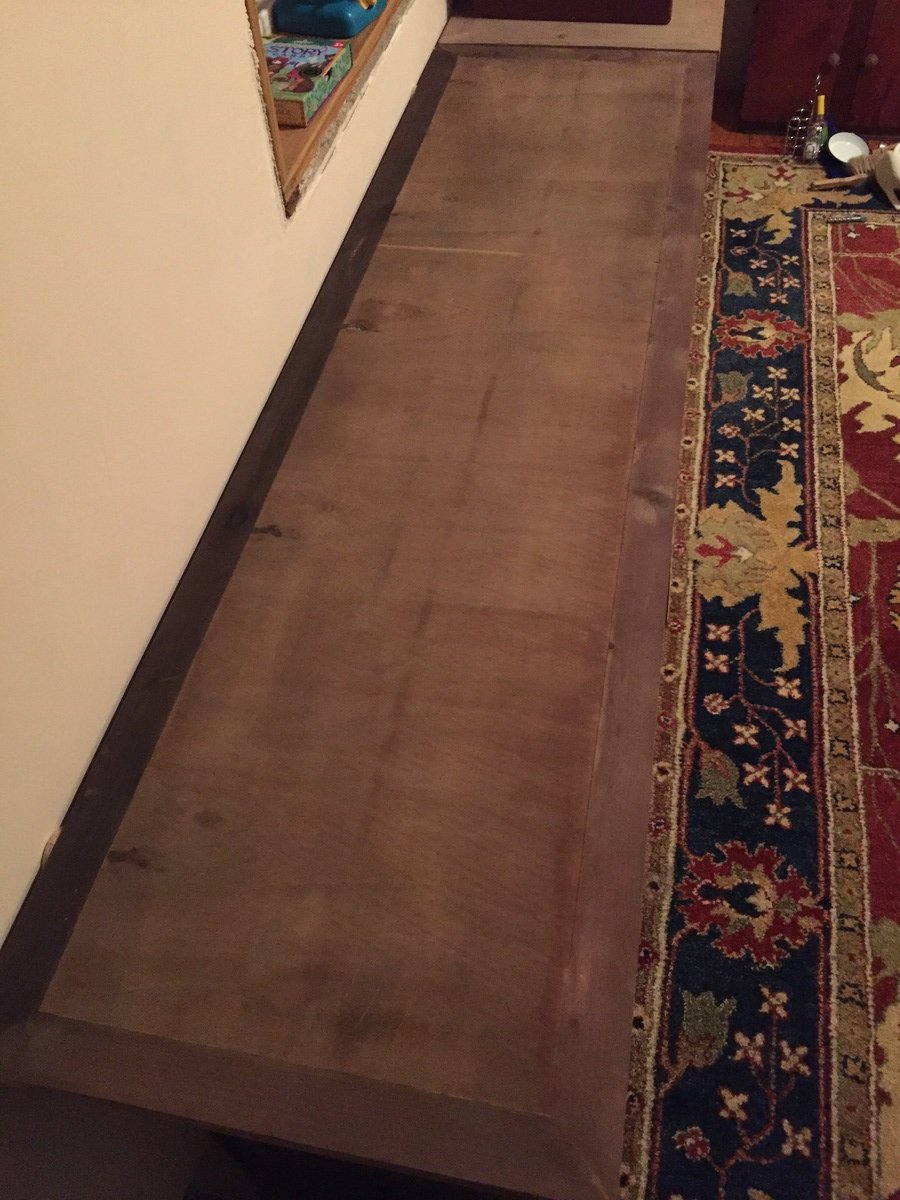
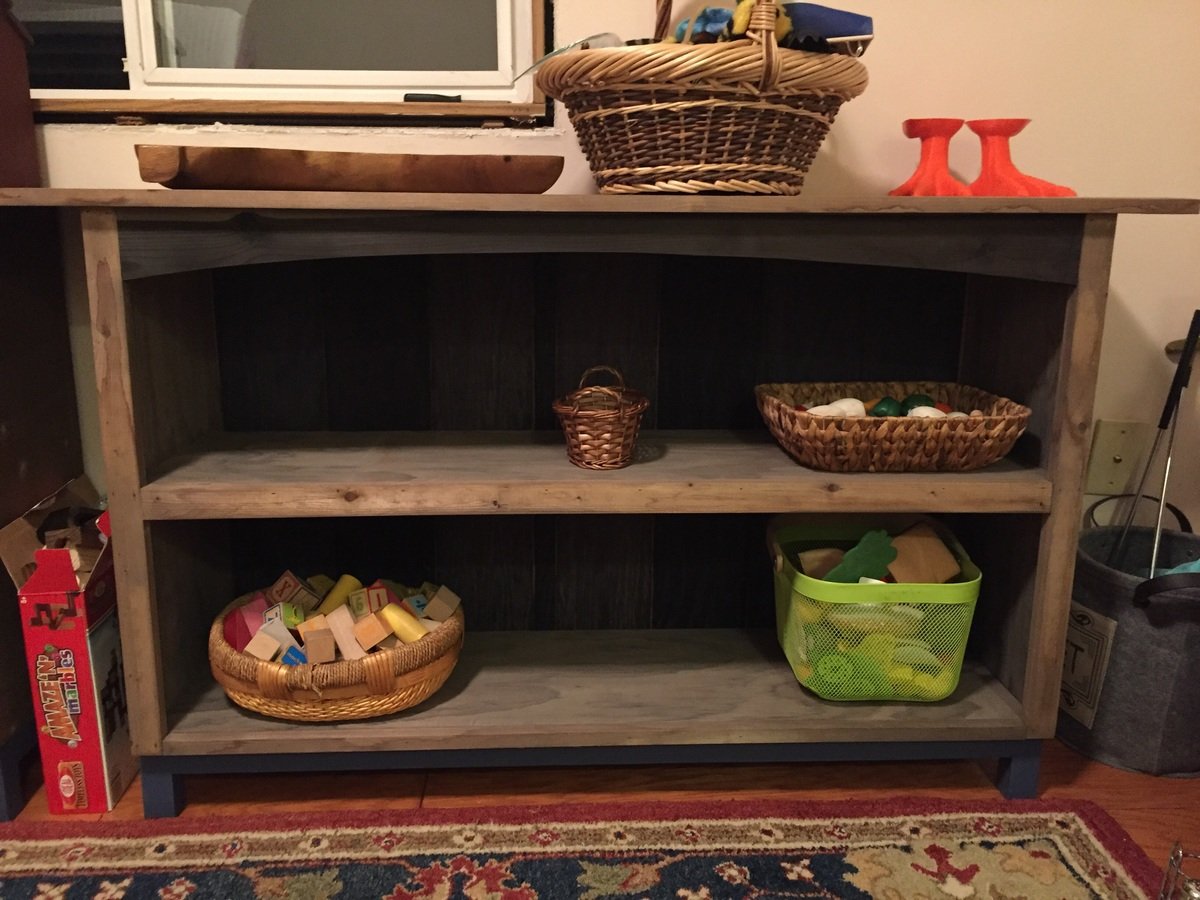
These were such a gratifying project to build! Used a 1x4” for the top front frame and cut a curve in it to give a Craftsman vibe. I really like the look of the retired IKEA Norna bookcase and that inspired the 2x2” framed base painted in a contrasting color. I also finished the top with a full 1x2” frame with mitered corners to make it look more “finished.” If I were to do it again, I’d cut the top plywood shorter to create less overhang on the sides. Eventually I’d like to paint a design in white paint on the top!
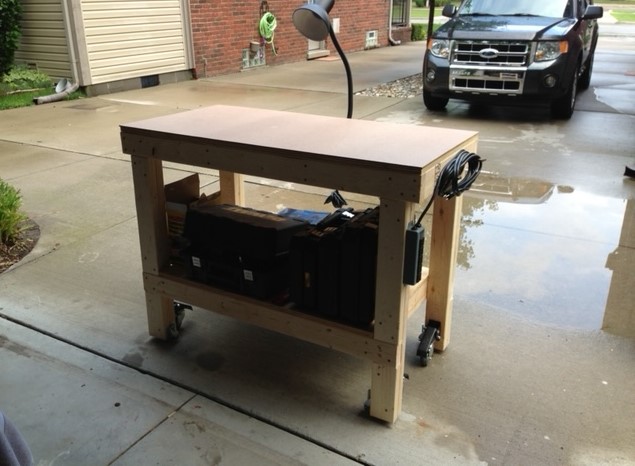
Built this workbench and added some casters from Rockler Woodworking. Also added a power strip for convenience and a handle made from black pipe parts that I had in the garage. I also added a sheet of masonite to the top that I can replace if needed.
Thu, 12/29/2022 - 11:16
Love the additions, everything you need in a workbench! Thanks for sharing.
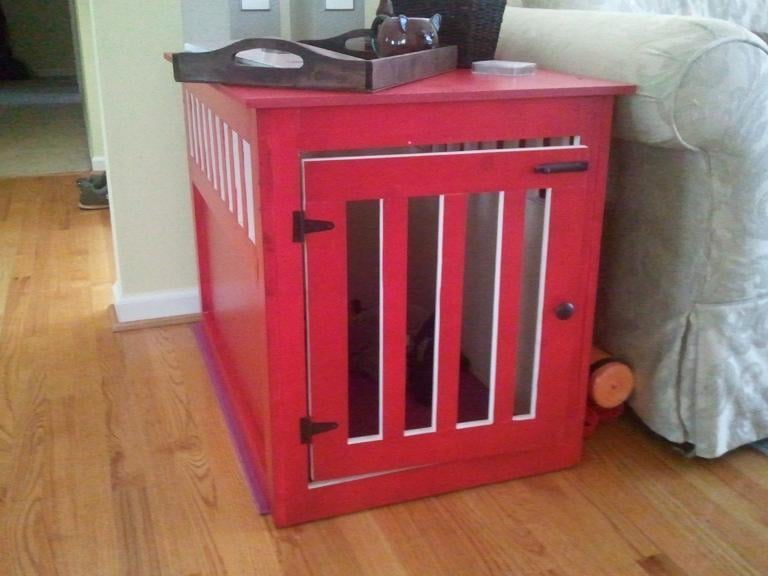
My dog is very scared of thunderstorms and was always trying to find the a place that she could hide, which was usually under my desk. I decided to build her the pet kennel so that she could have her own hiding spot.
This was my first project and I definitely learned a lot in the process. I learned how to use my kreg jig and that I much prefer using a hand saw over a power saw. I also learned about accent bases. This project probably took longer than it should have but it was my first! The husband and I are very pleased with it (and he can't believe that I enjoyed the hand saw so much!)
Sorry for the poor picture qualities, we have not finished unpacking yet...
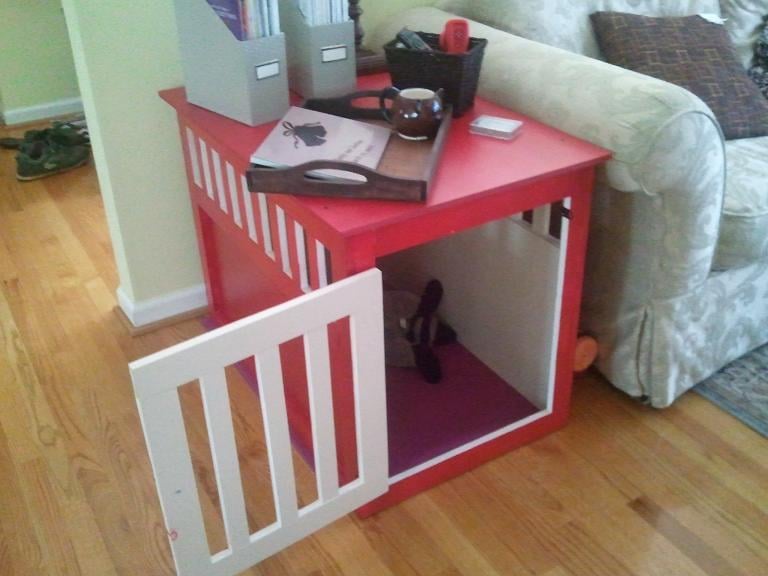
Tue, 09/20/2011 - 11:27
Thank you for the compliments!
What I learned in making this was when suing the kreg jig, not too much pressure or it will split the wood. I also learned about the importance of predrilling. Make sure you check for square and remember (because i didn't) that the plans don't include a bottom! I had previously made my dog a bed that I had stuffed with two old standard sized pillows and it fit perfectly in the bottom!
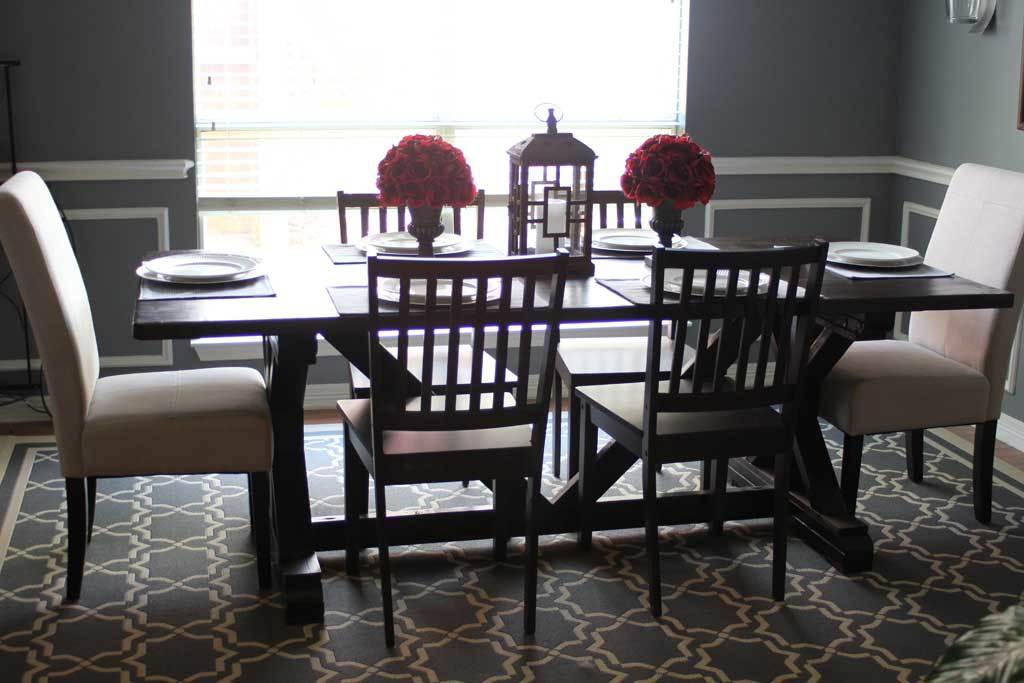
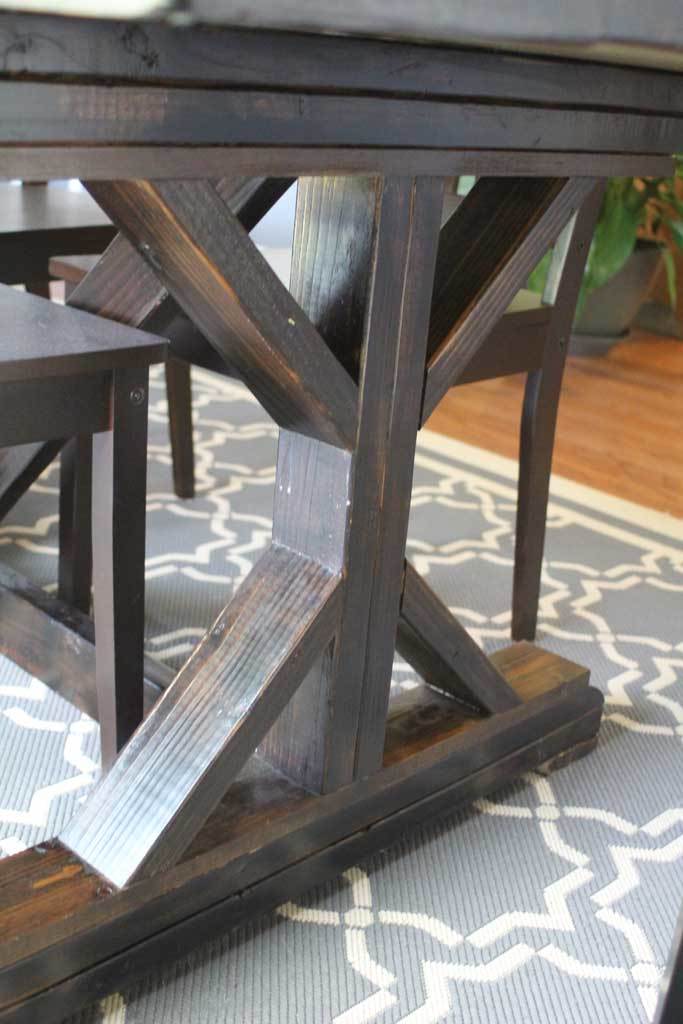
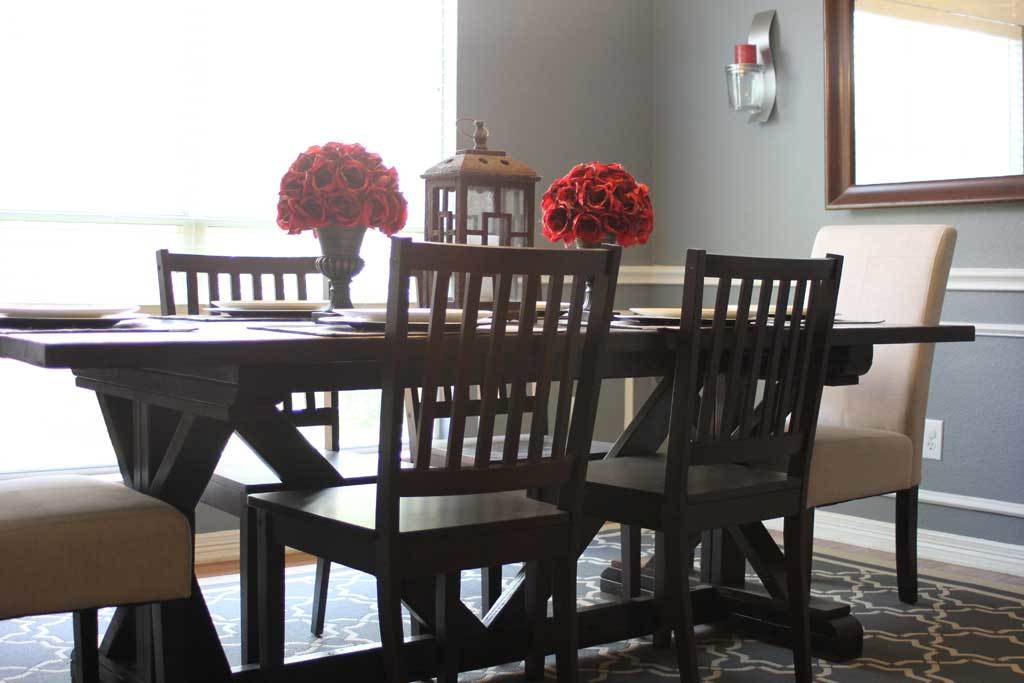
We built a dining room table for some of my best friends. It was our first table build and a year later it is still beautiful! If you want to see a few 'in progress' pictures check out my blogpost on it at www.amusingmj.com/dining-room-table
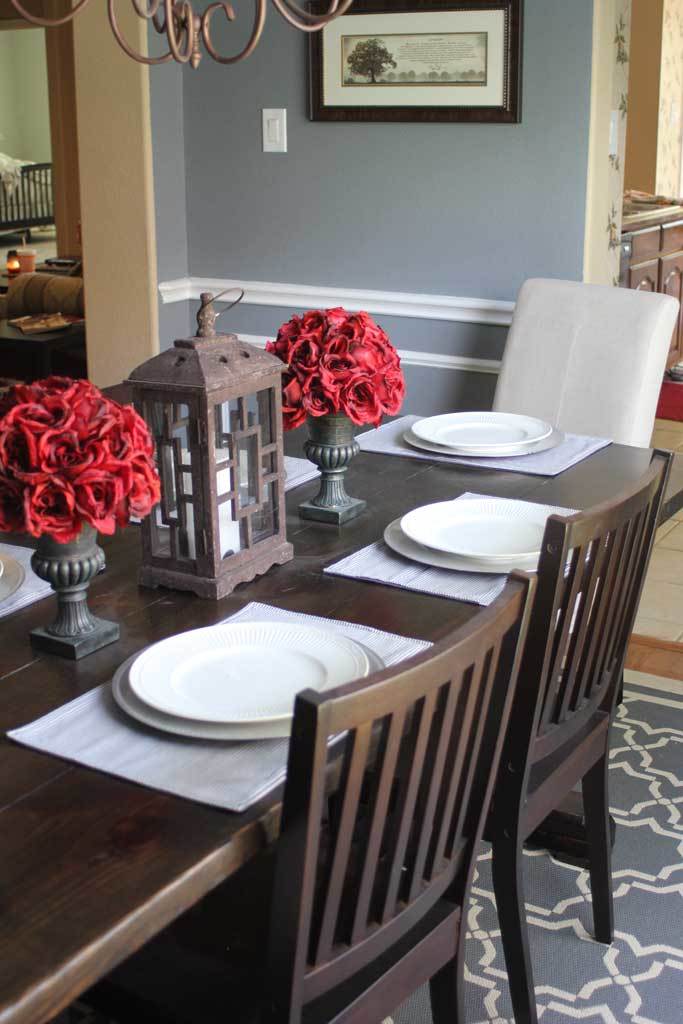
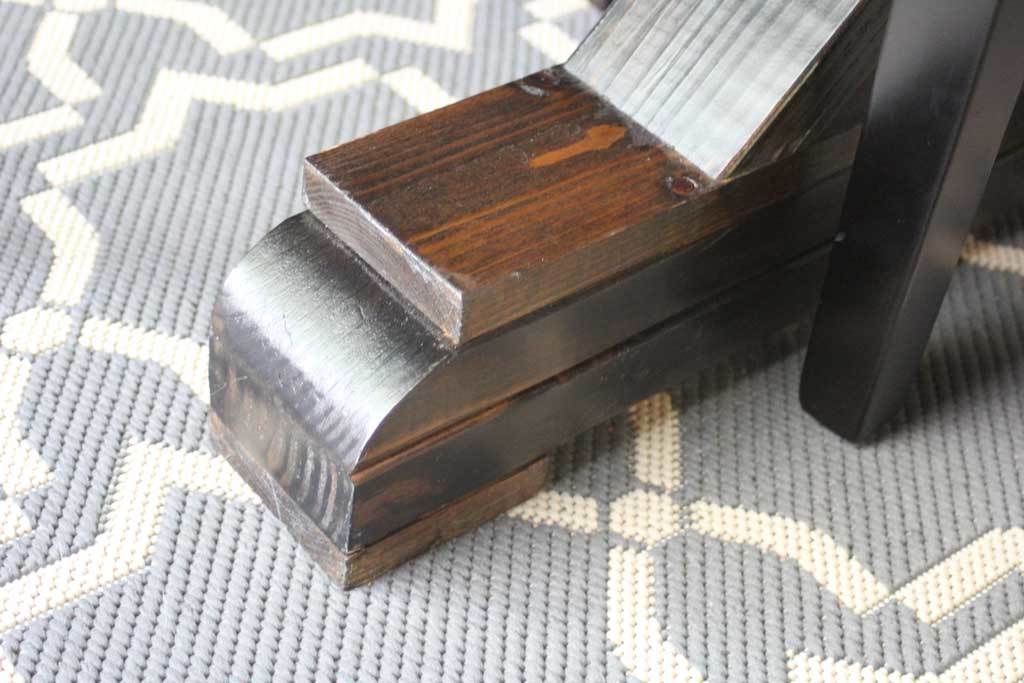
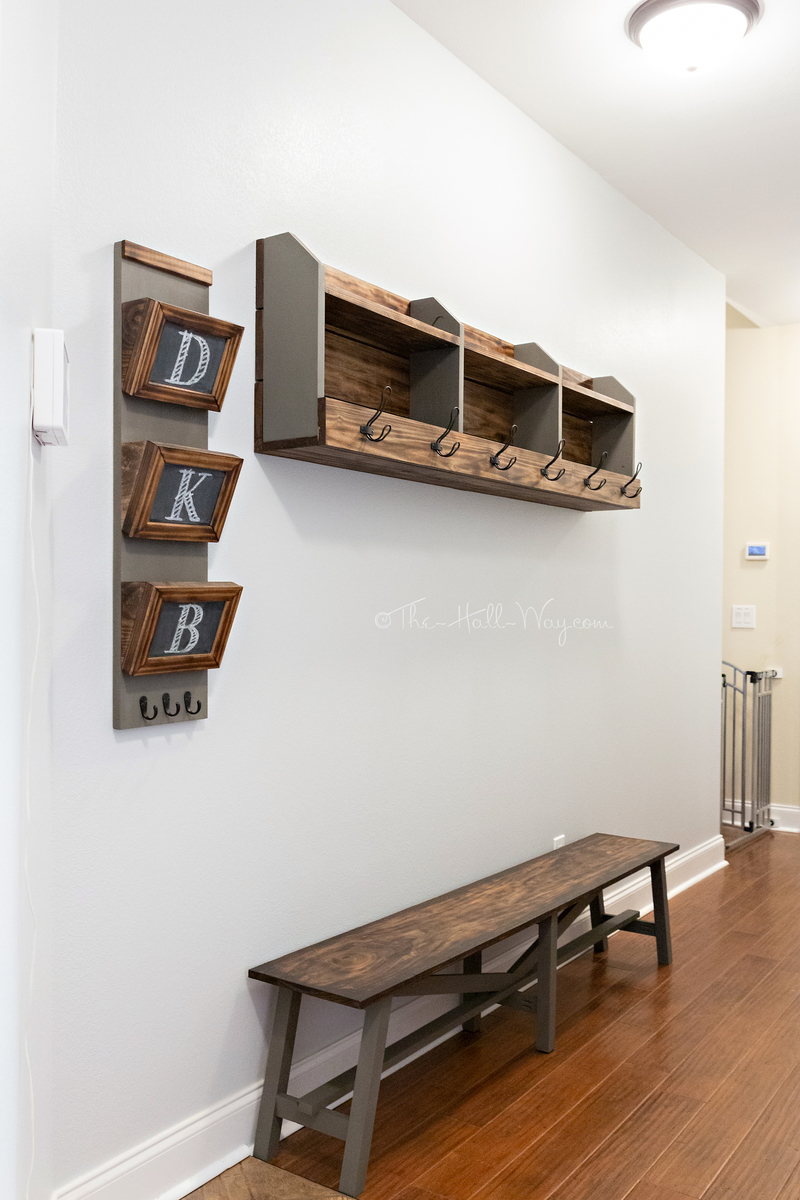
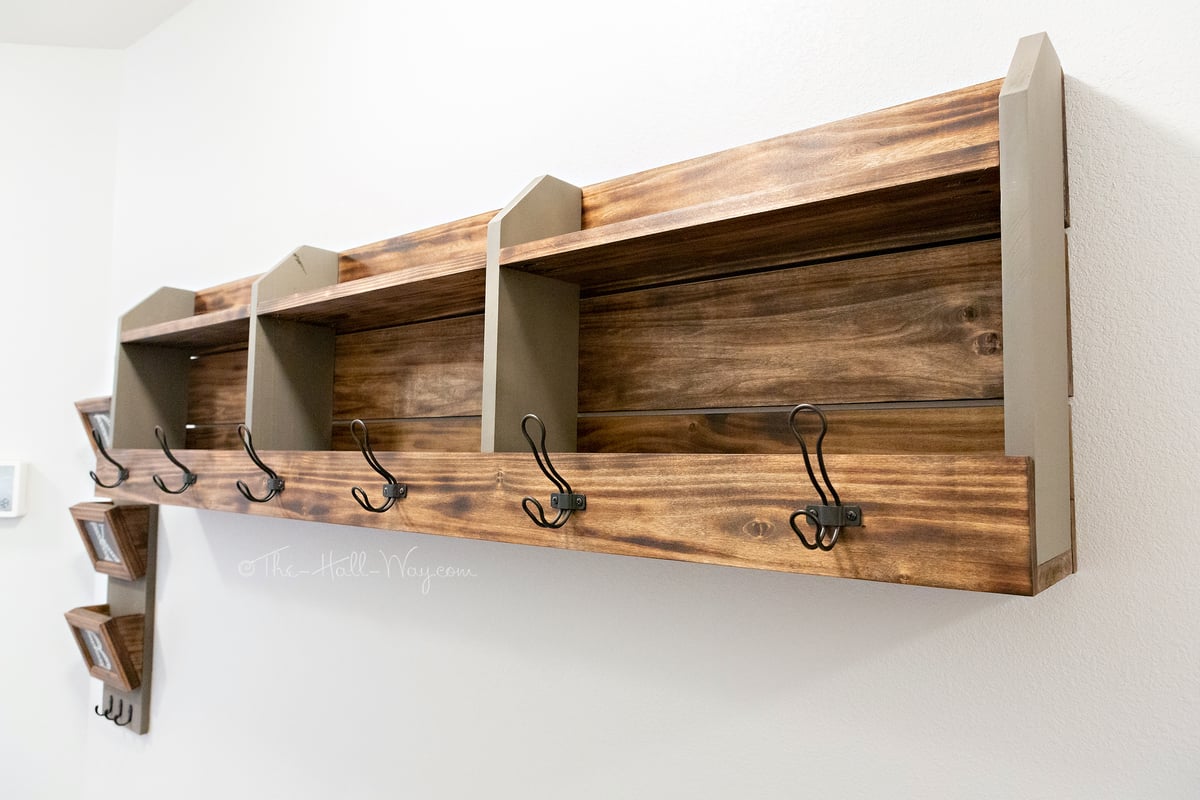
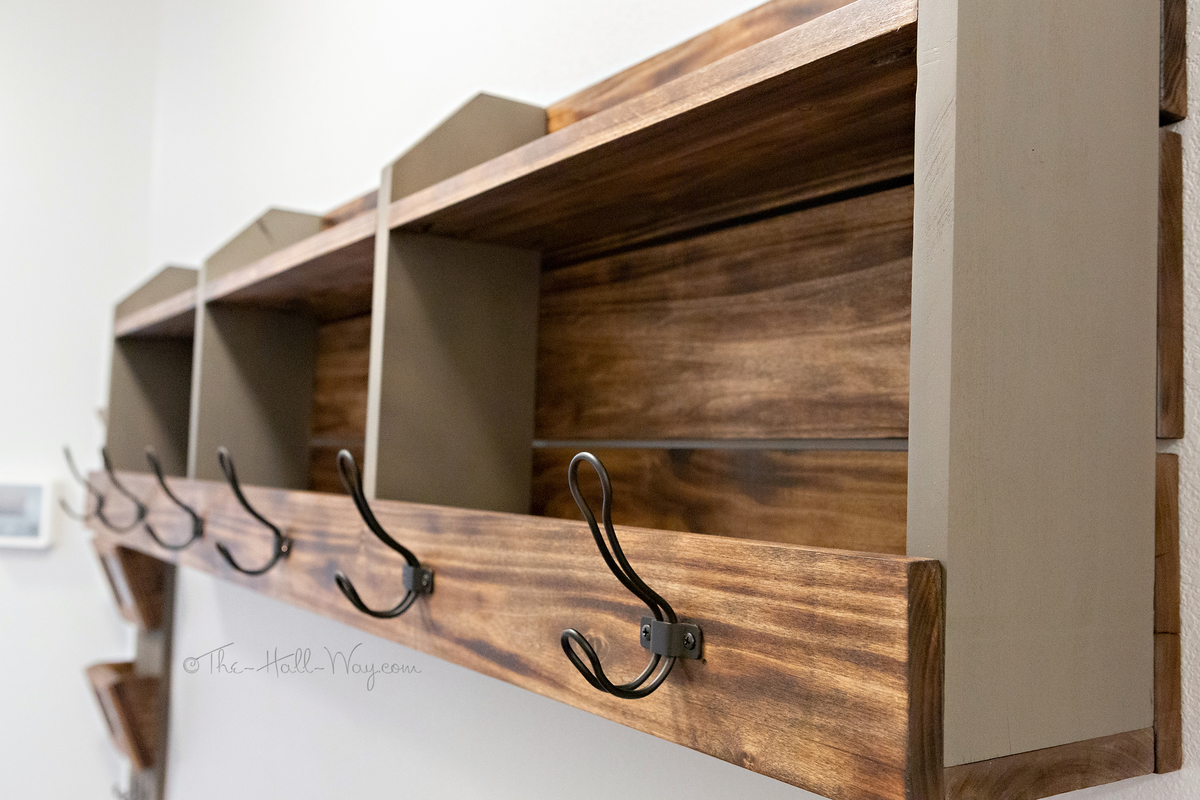
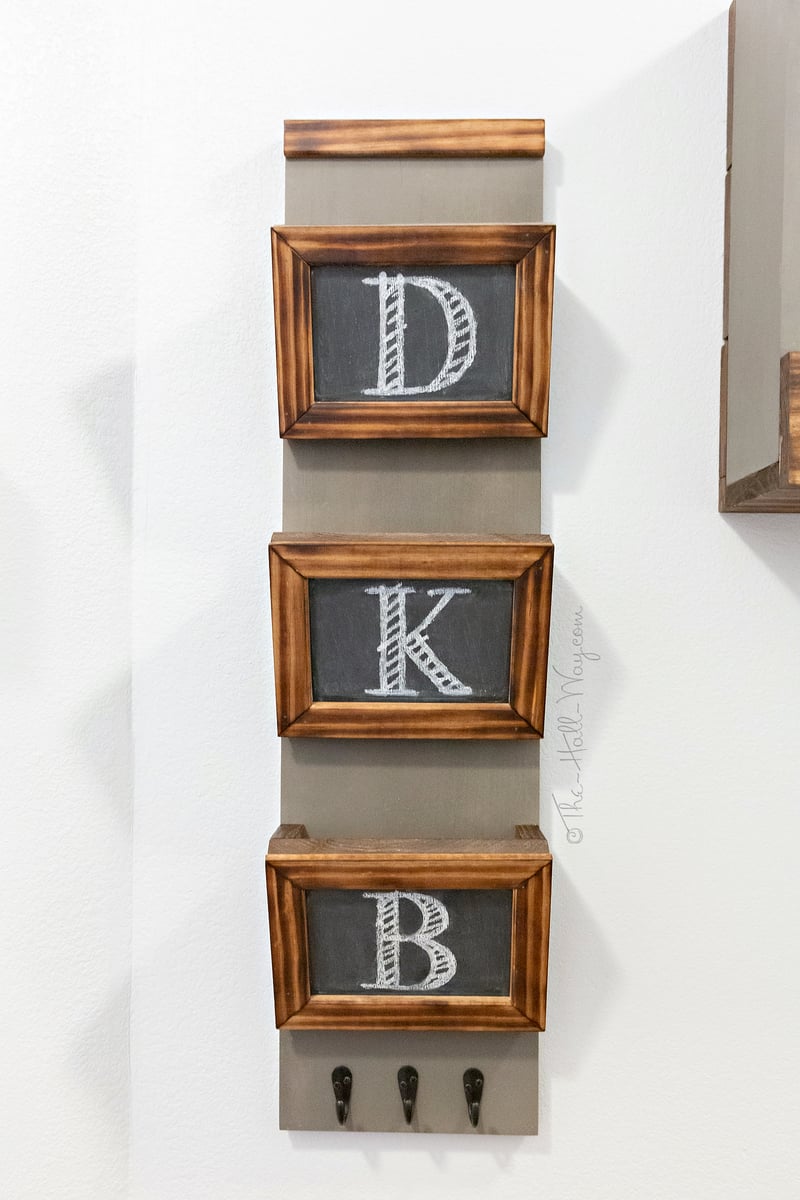
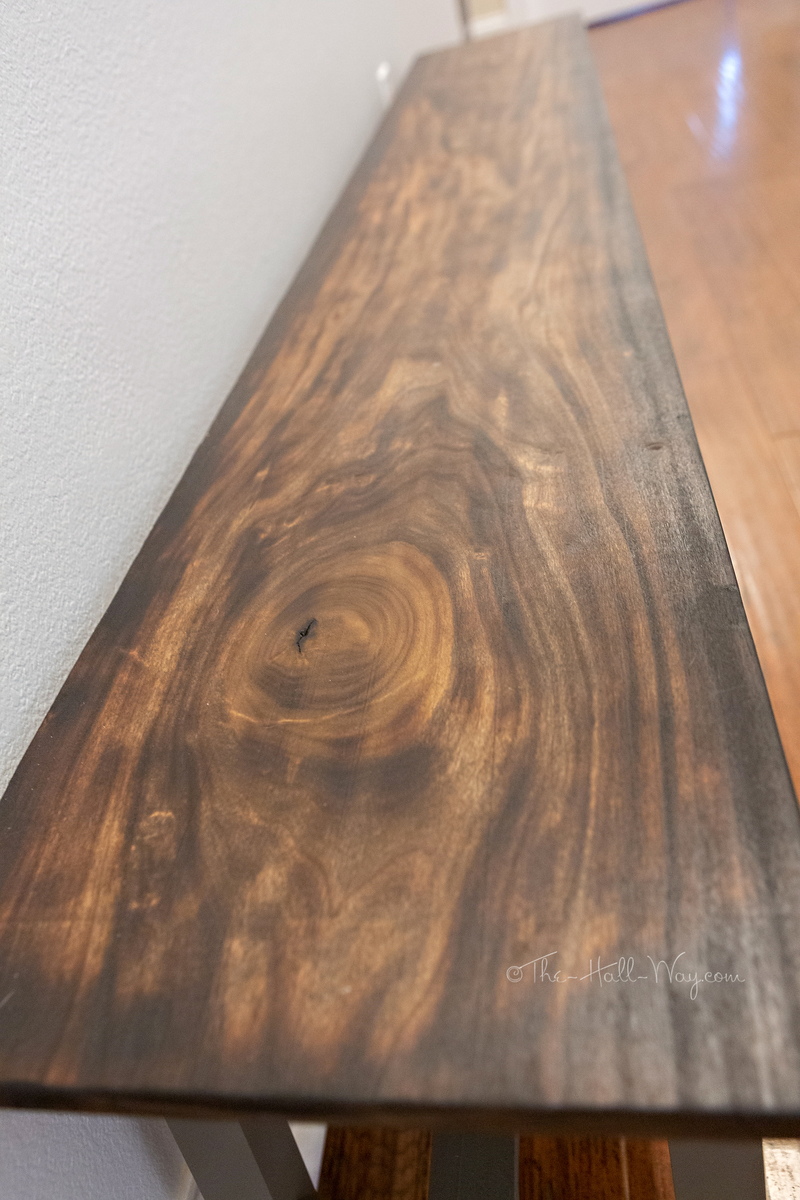
I built the coat rack along with the mail sorter and rustic bench for the long hallway to the garage since our new house doesn't have a mud room. I modified it to a length of 6'. All but a couple pieces are made from poplar. I burnt the stained pieces with a torch, then put a quick coat of Special Walnut on them. The painted pieces are Rustoleum Weathered Wood. Hooks are from Home Depot.
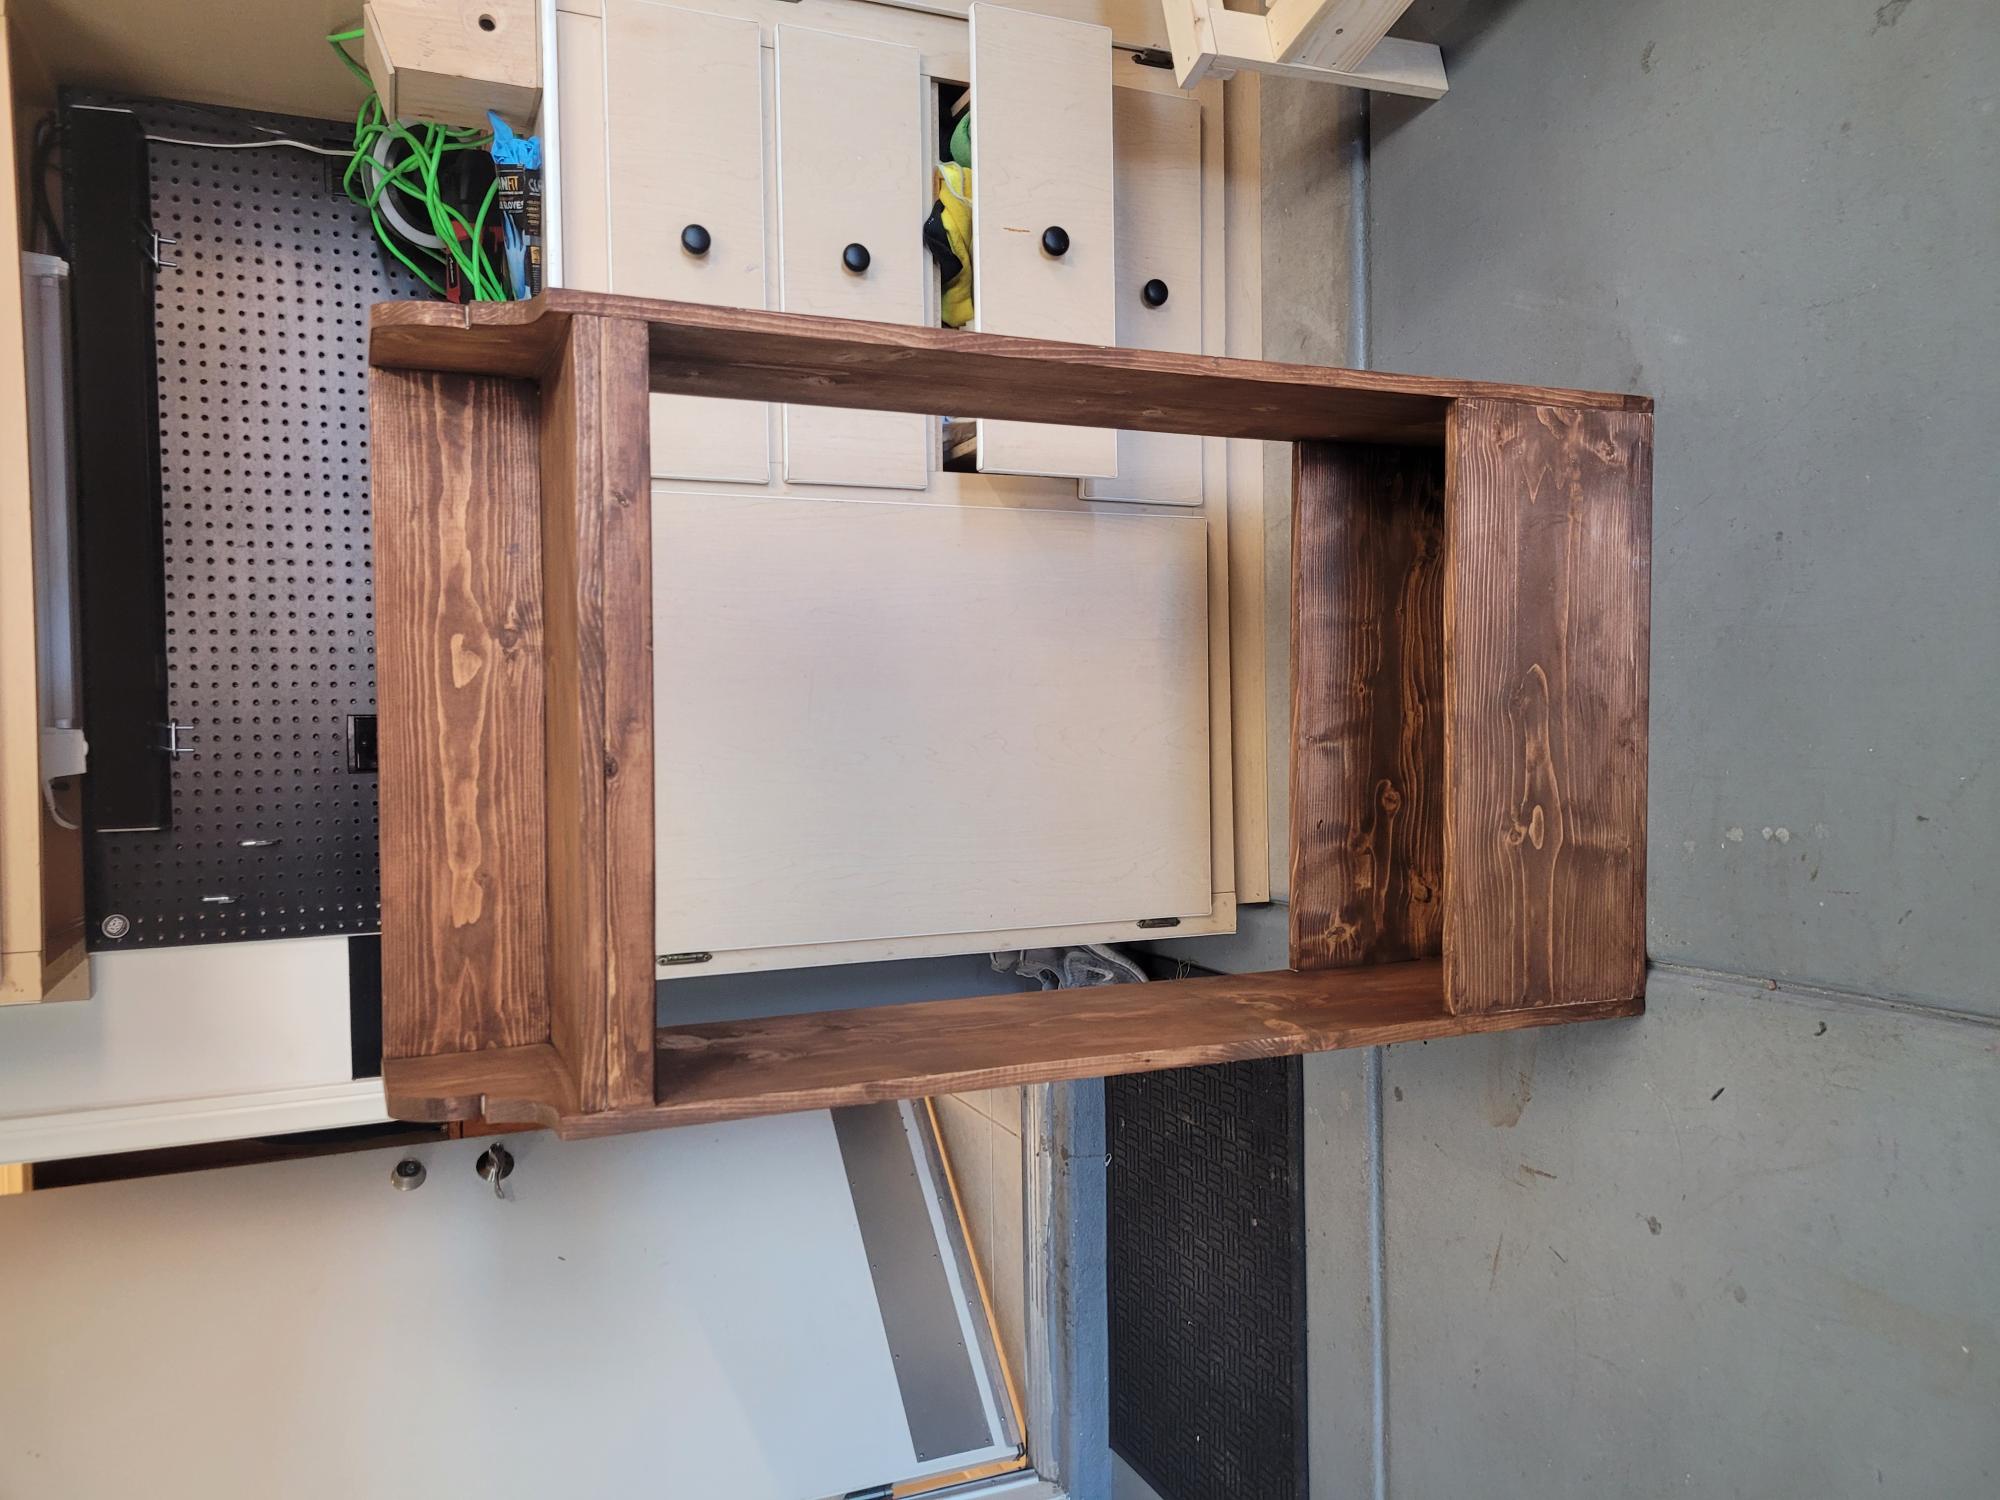
Made it smaller to better fit my daughter's room.
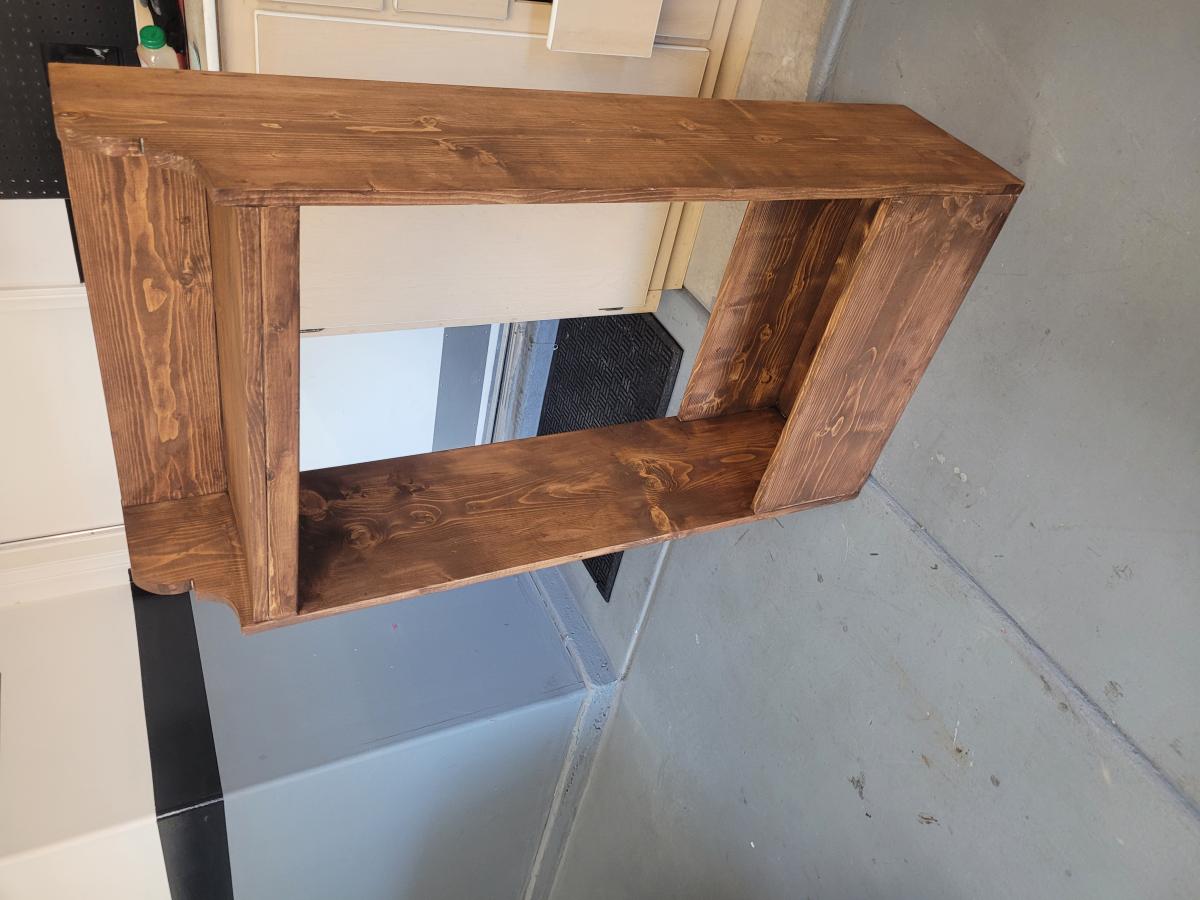

After looking at this for way too long, I finally bit the bullet and built this table. It really wasn't difficult and it's so awesome having a side table on wheels! The stenciling made it a little extra work, but I love the added details.
Sat, 09/24/2011 - 12:06
I love the paint job/stencil! I've admired this table for a long time, but have nowhere in my house to put one, so I haven't built it. Seeing your take on it makes me want one even more.
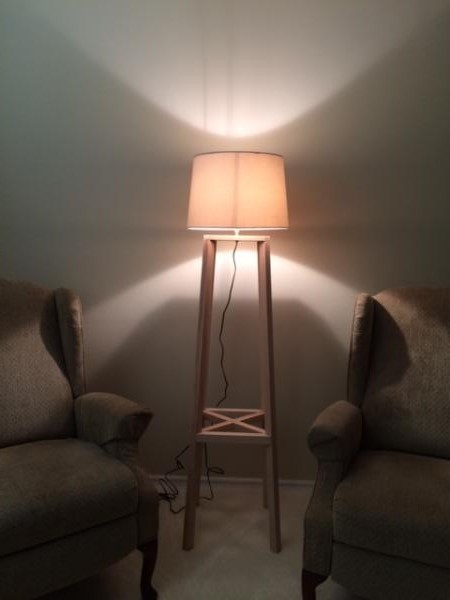
I made this 4' tall reading lamp by modifying the adjustable height bolt bar stool plans. I had to modify most of the measurements on the fly but I think it turned out well! It's a bit too cold here to stain it, so I'll do that (and tuck the cord away nicely) in the springtime. Love this site! So many great ideas and plans to be found. I recommend it to friends all of the time!
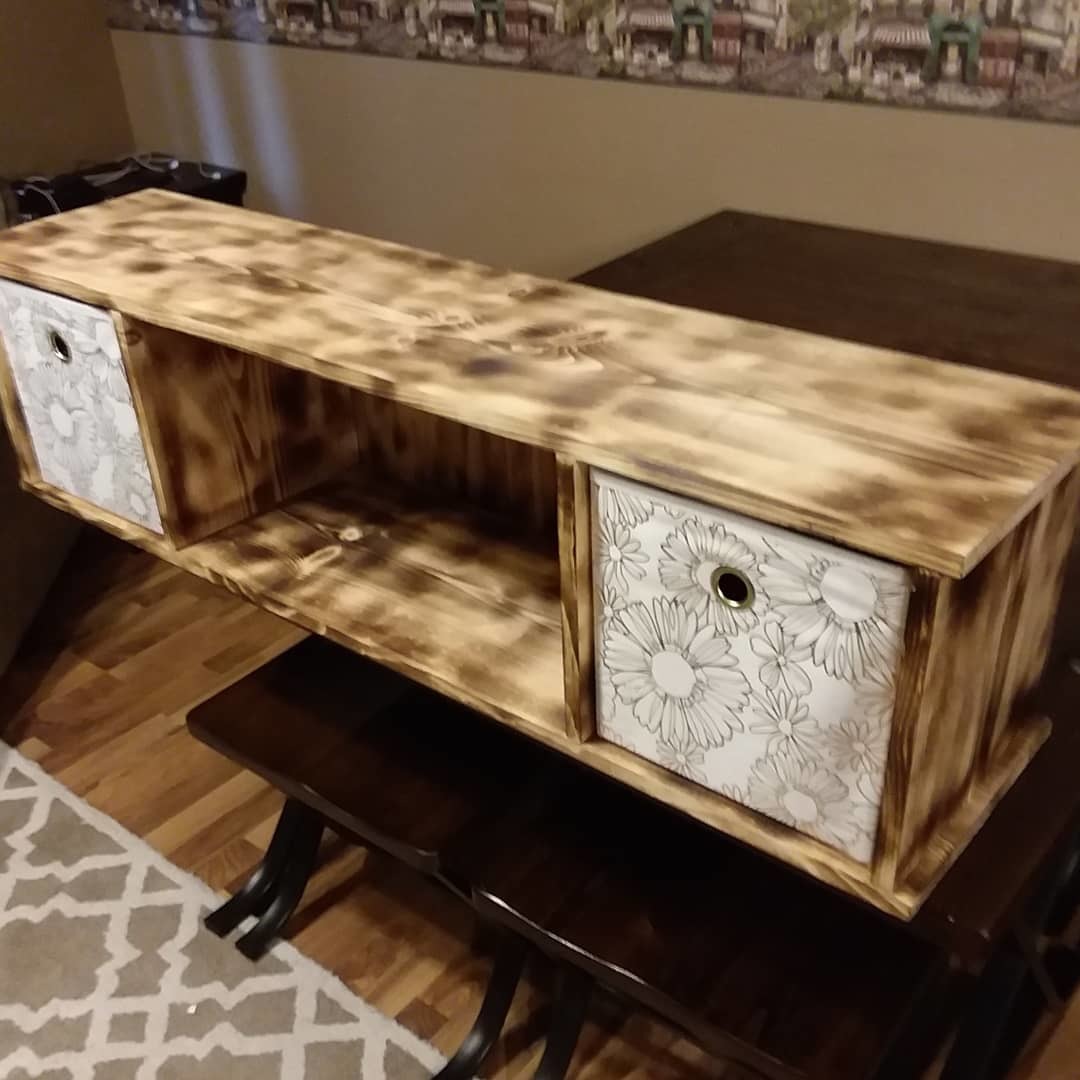
My wife, Krafty Kimmy Paperkrafts, needed a shelf to place in her booth at a local store. Obviously made out of pine, I burned and stained it for her. This weekend I'm making a ladder shelf to match.
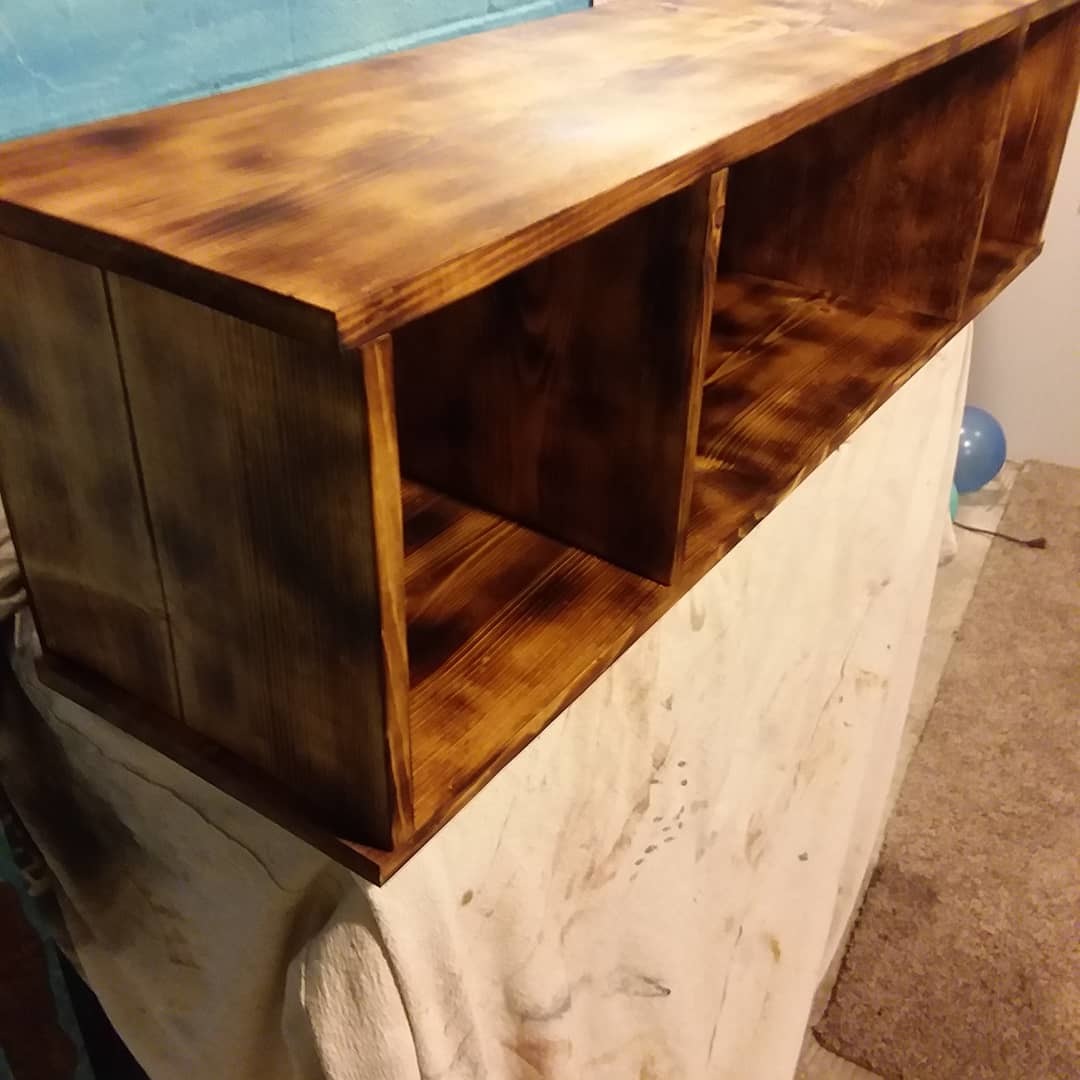
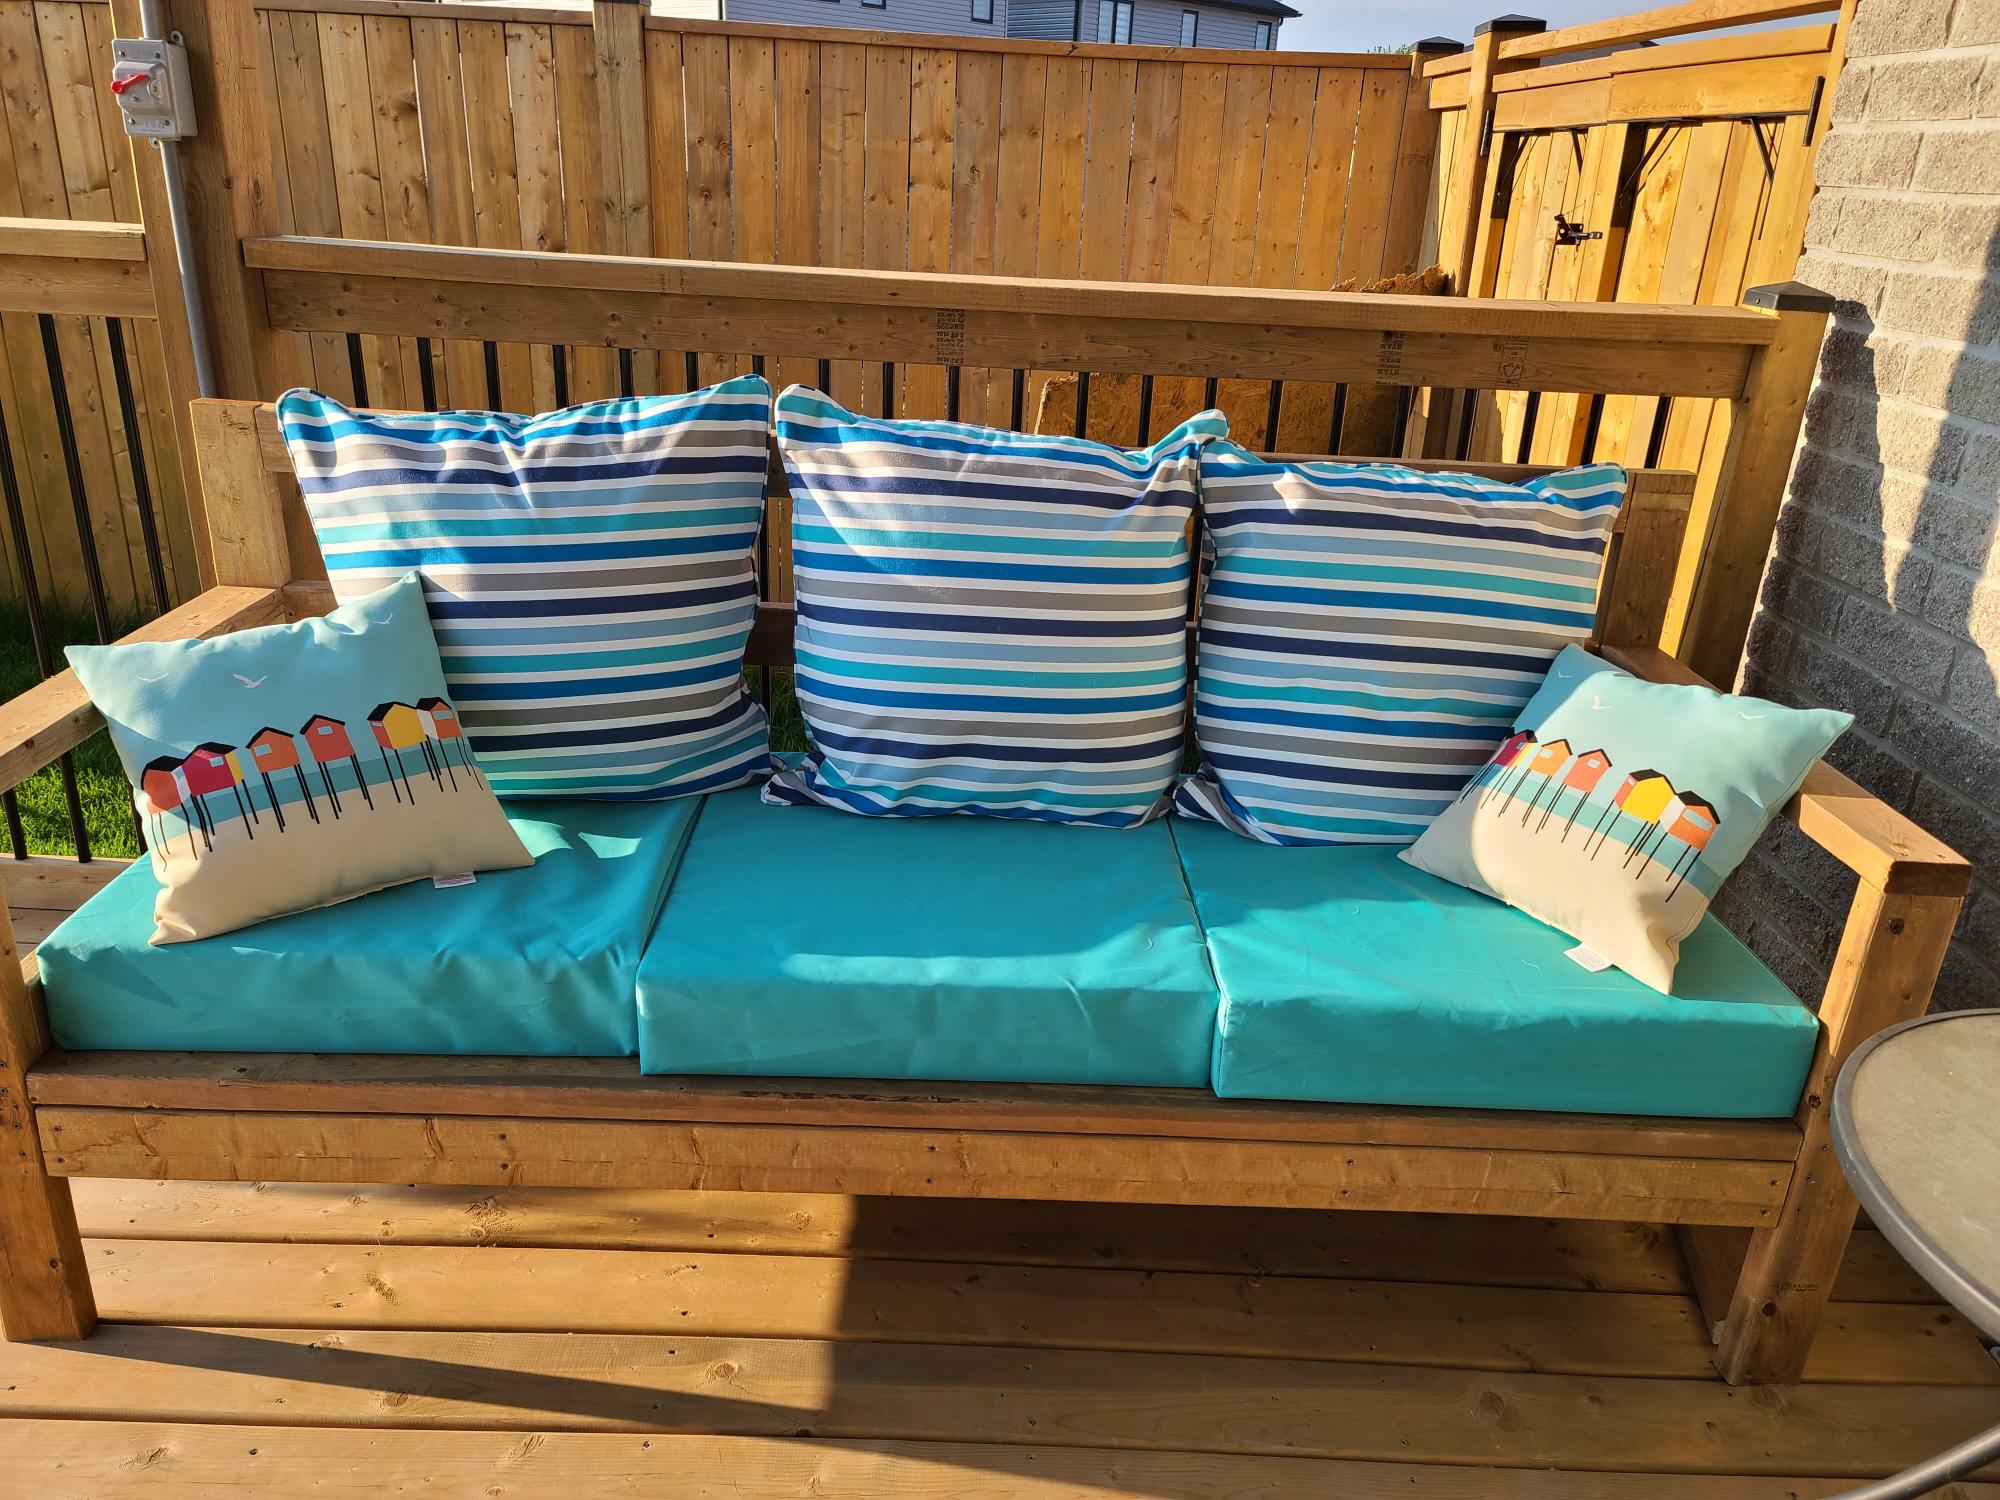
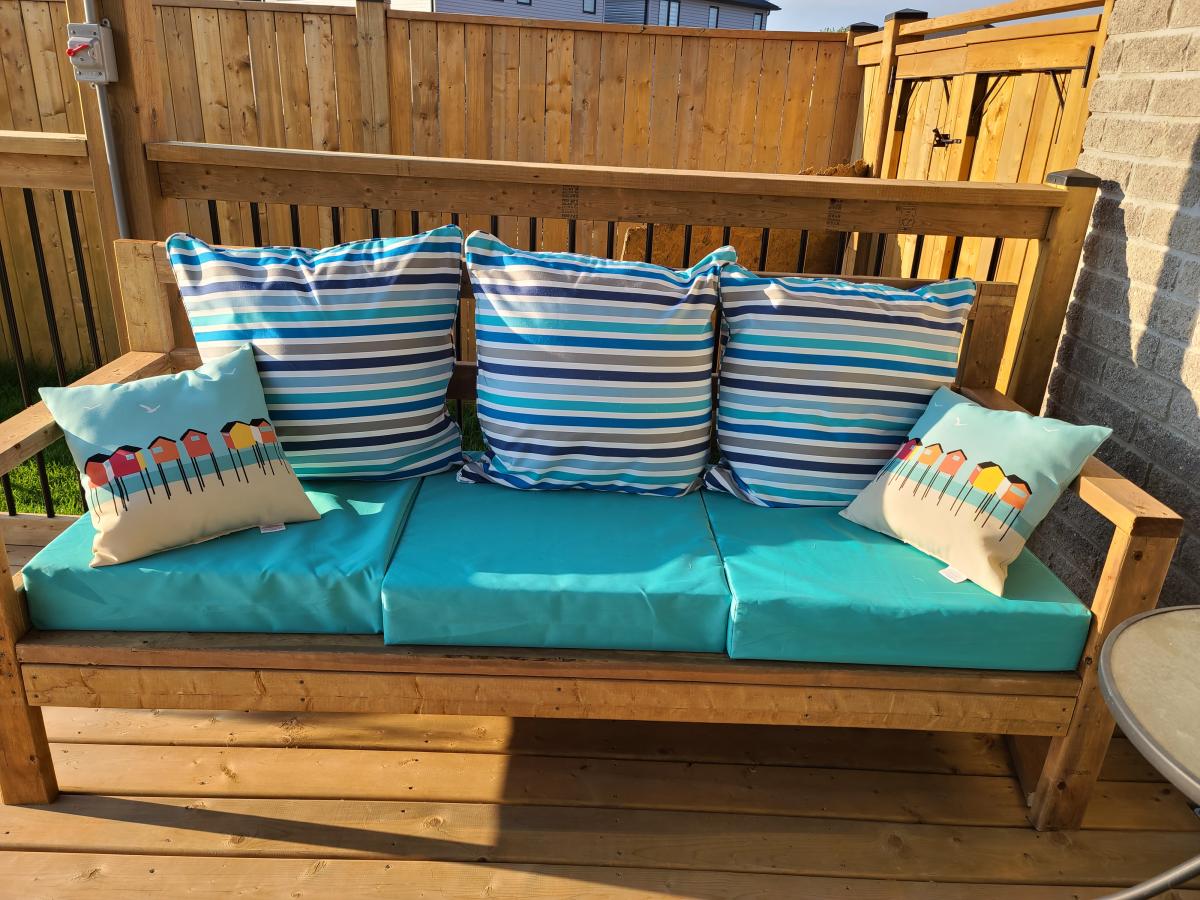
This was the first time I made a piece of furniture since I was in grade 8 shop class and it won't be the last. It was so kuch fun. I modified the plans slightly to have the back a bit higher. Love it!
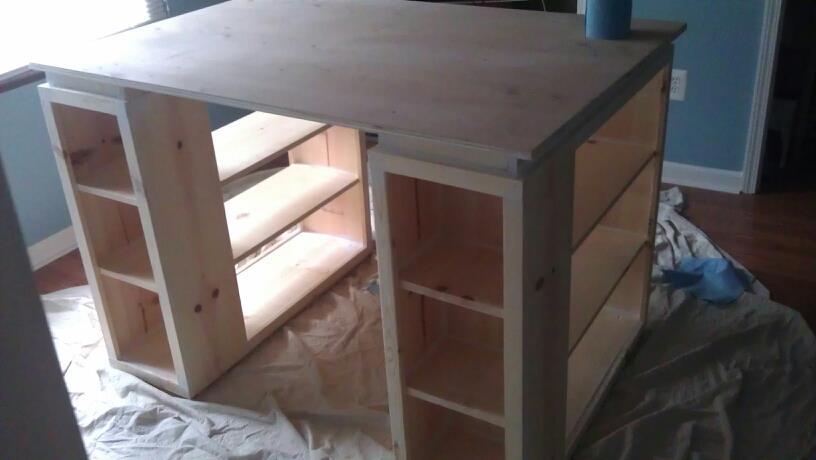
I loved this project the minute I saw it. I was using a cheap'o little computer desk that had metal legs and a prefab top for my craft table, I knew how much better my craft room would look with this as well as how much more functional it would be!
The desk went together rather quickly after all the wood was cut, Assembly time was maybe 1-2 hours.
I love it! Now how to finish it....

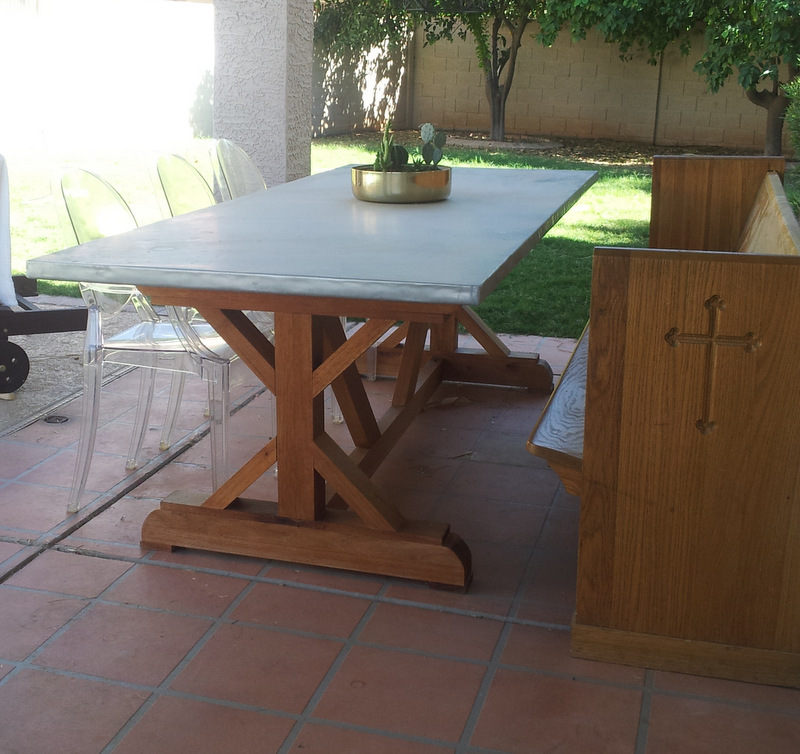
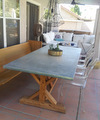
After craving a zinc-topped X base farmhouse table for our new house's large outdoor space for a while, but not wanting to spend upwards of $1k on one, I asked my husband (T) to build me one as my Christmas present last year. It took us a couple of months to get it done (very spread out over weekends) but I love the result.
I found the plans here for an X base table exactly like the one I had been lusting after, and googling around found several sets of instructions on how to fabricate metal countertops. We ordered the zinc from rotometals.com, and visited our local Woodworkers Source to find a suitable wood. I didn't want to use cheap lumber for a number of reasons.
1. I want the table to be around a very long time, and didn't want to have to stain it over and over
2. I was looking for a high end result that would only look better with wear and tear, which I knew couldn't be achieved with stained cheap framing wood
3. I had heard bad things about how wood wear outside in AZ, and though this is on a covered porch, we didn't want to spend hours making something only for it to fall apart.
We chose a Spanish Cedar, which the helpful guy at WWS suggested as one of a couple of good options. They squared the wood for us and cut it to the exact widths we needed, so T only had to cut to the lengths needed.
Once we were done with the frame, We used a sheet of MDF on a frame of pine to thicken the edges of the top, and wrapped the zinc around this.
We aren't DIY novices but this is the first piece of 'furniture' we have ever built.
We haven't sealed the zinc yet - I want it to patina more before I consider that. I have given the table one coat of oil (no colour) and it's performing wonderfully several months in.
Thanks Ana!

Tue, 10/15/2013 - 20:58
I love your table! I live in AZ as well and I would love to build an outdoor table, so thanks for the suggestion of Spanish cedar. I will keep that in mind when we finally are ready to build one.
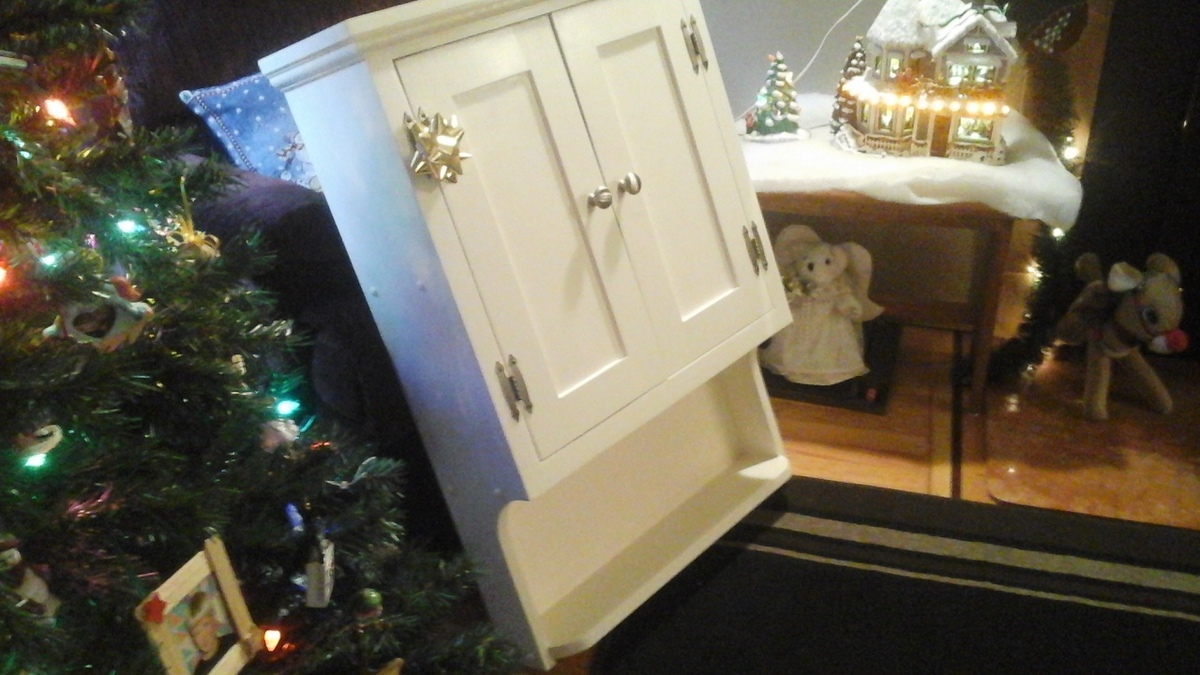
I built this above toilet cabinet for my son and his wife for Christmas. They moved into a new house and wanted this additional storage space. Turned out pretty good!

Used 4x4's for the legs to make it more "beefy" and therefore had to add an extra 2x6 on top. Also used a 2x4 for the upper side trip instead of 2x2. Used a dark walnut stain and several coats of clear gloss polyurethane.
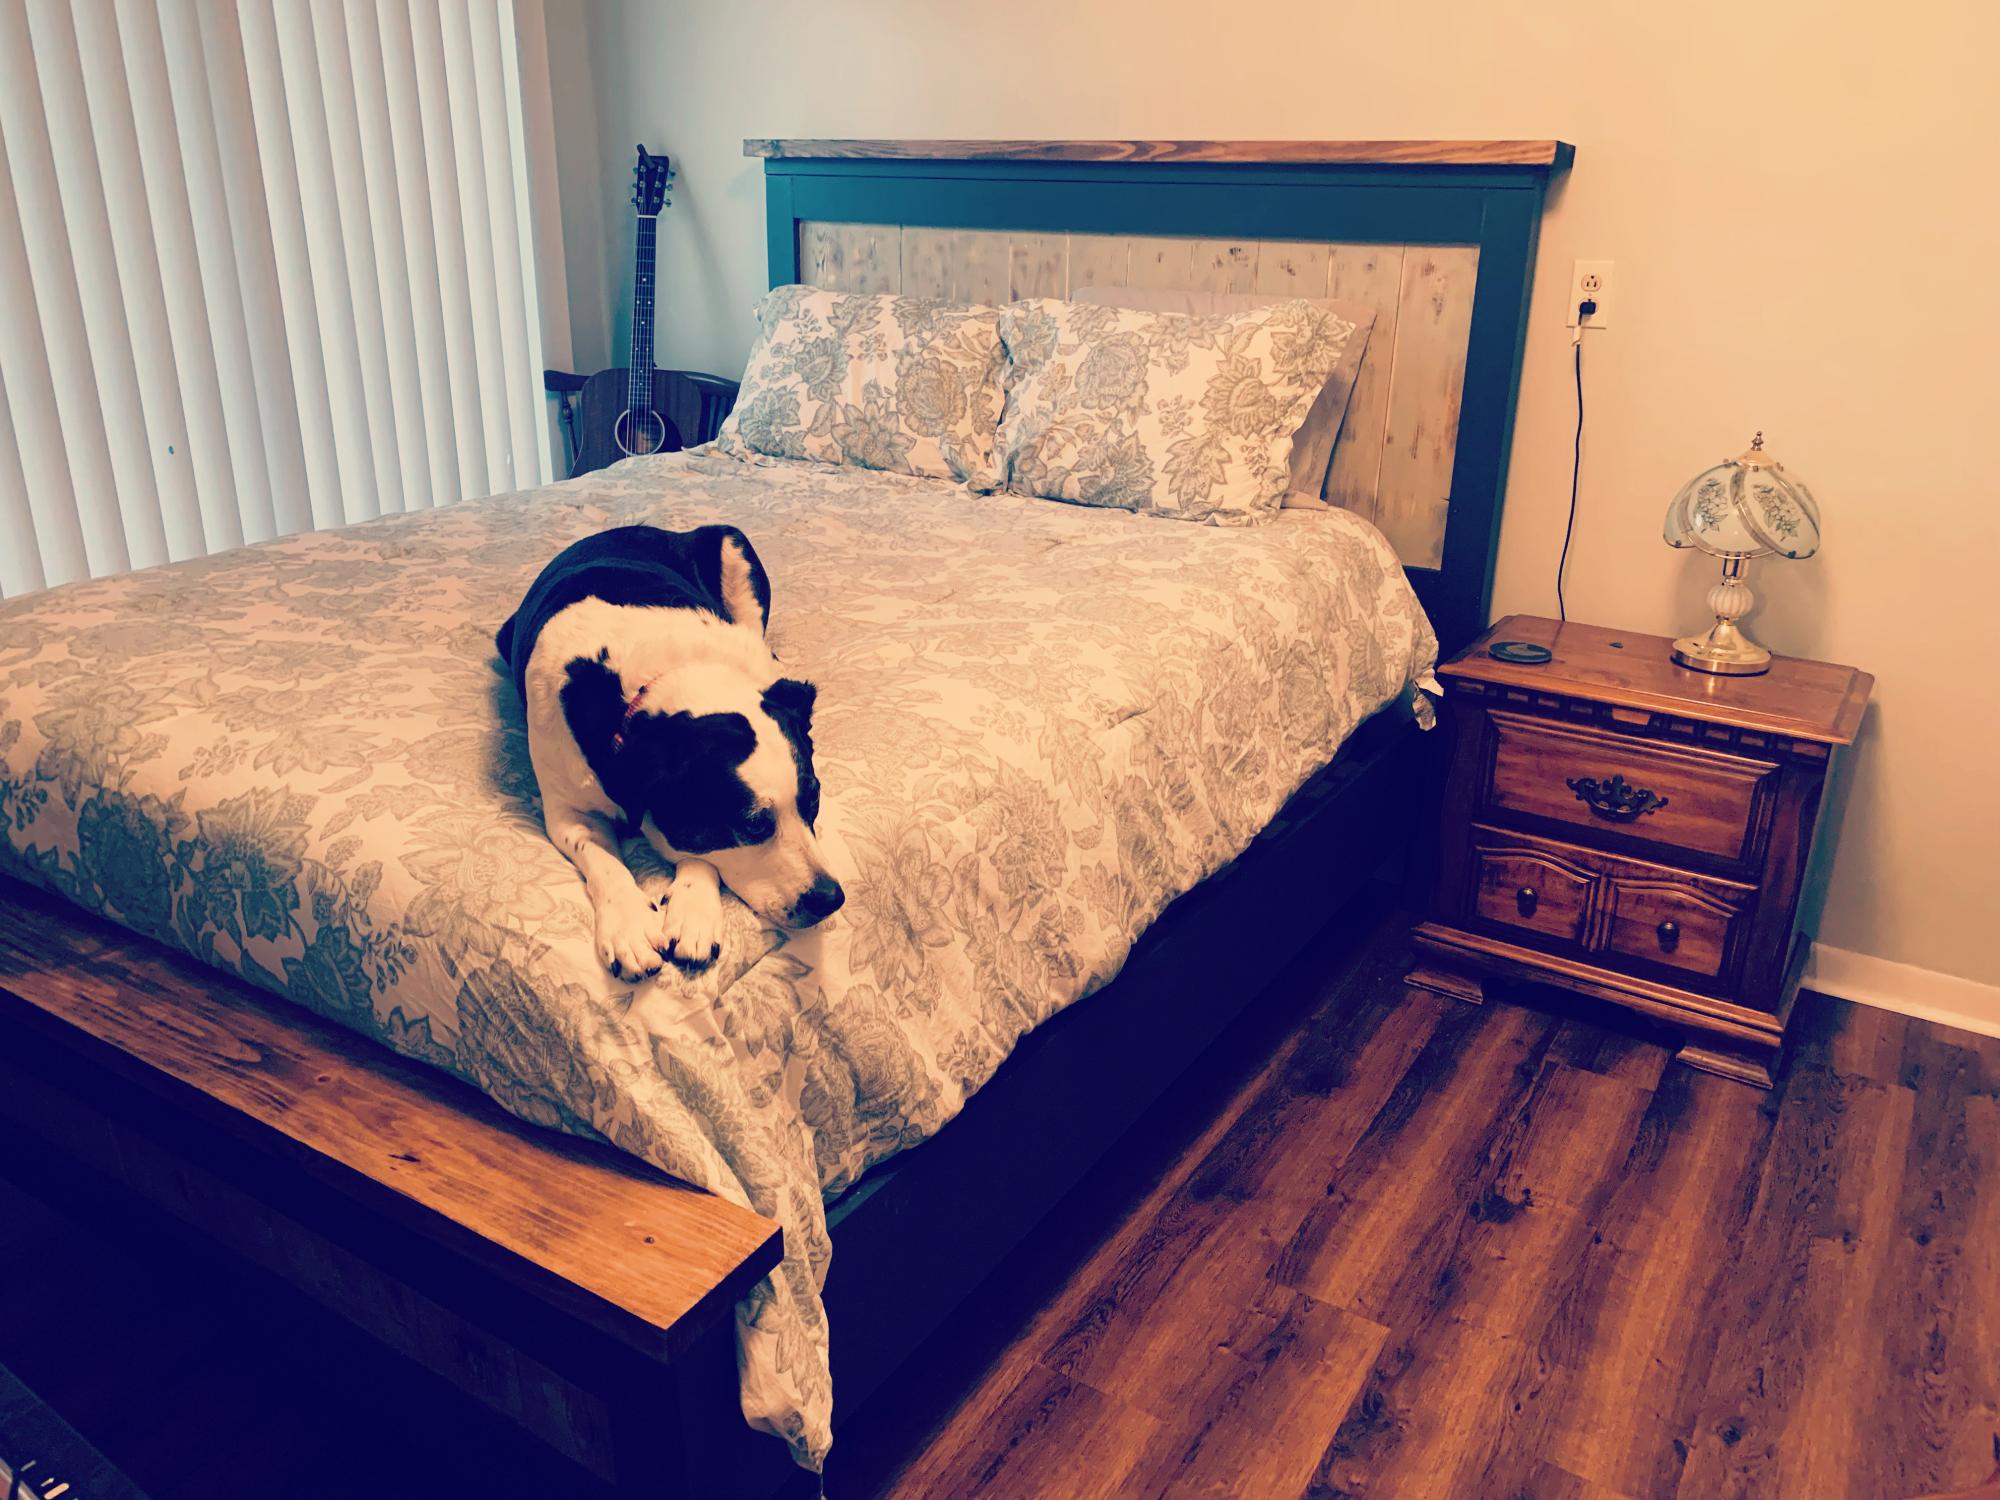
This was so much fun to build. I couldn’t decide on a finish, so I used three different ones.
Thanks for the plans!
I had finally had it with the generic drawer organizer that we had. I decided that I would spend a few dollars and make it custom made! I took me aboout an hour and $5. It is amazing how little effort can make your kitchen look like it was a custom created space! I love it!
Tue, 10/04/2011 - 09:31
I was just thinking about doing this with my drawers! Thank you for sharing!
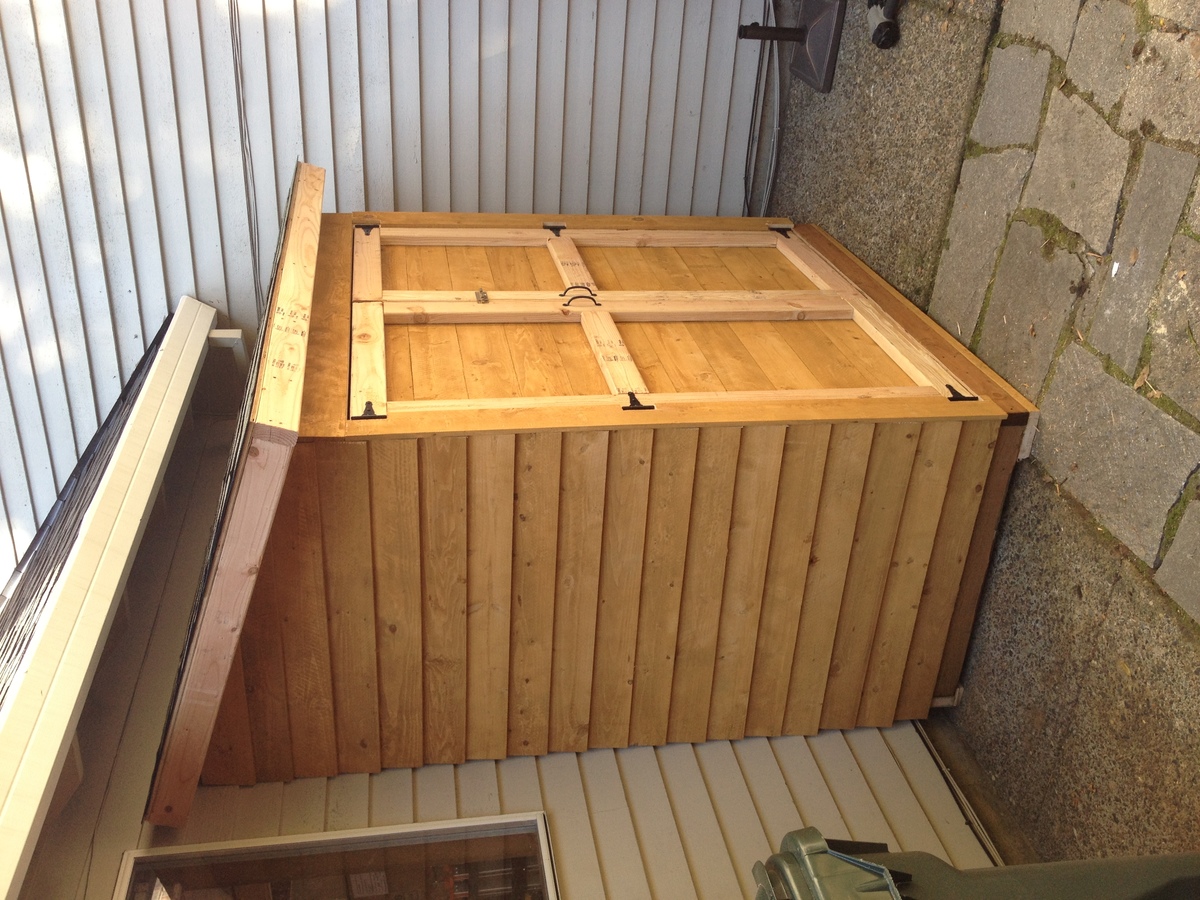
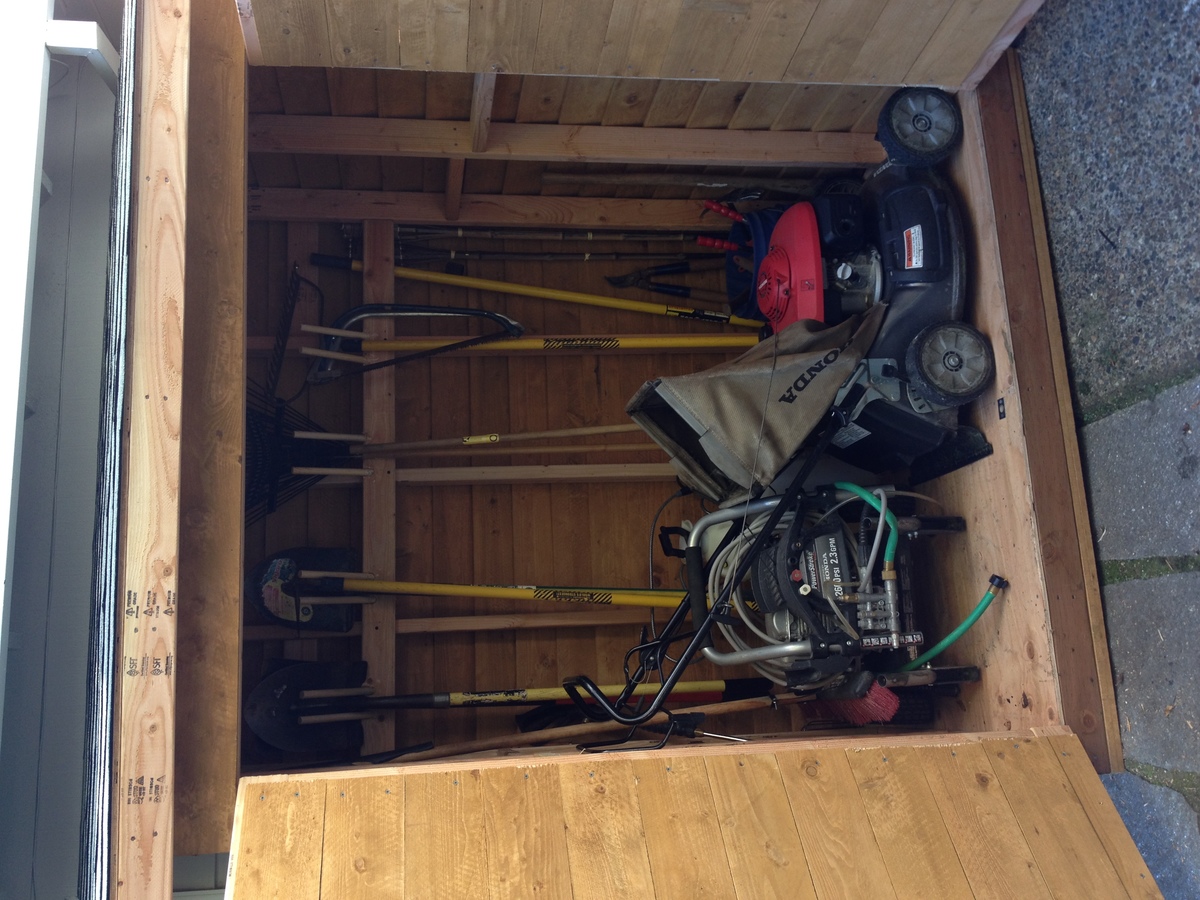
Built this in a weekend, took about 1.5 days. I ended us using 2x4's instead of 2x2's, I think it resulted in a much stronger frame. I also built a base for it to sit on. I got pre-stained cedar fence boards, and overlapped them 1" instead of a 1/2". Pretty easy project, I ended up siding the back on the ground, installing it, and then adding the side walls without the siding (just the framing), and then sided them in place. The doors work perfectly. I took my total inside dimension between walls, made sure the opening was square, and then divided that by two to get the width of each door. I then took another 1/4" off that, so each door had an additional 1/8" gap, it worked perfectly. When I set the doors, I put them on a piece of roofing closed as I screwed in the hinges, and then opened them and removed the roofing. I opted to run the door siding horizontal to use up a bunch of waste wood. I'm happy with the outcome. I also found some 6" self starting lag bolts and lagged through the back of the shed into studs (through the siding) into the garage behind it.
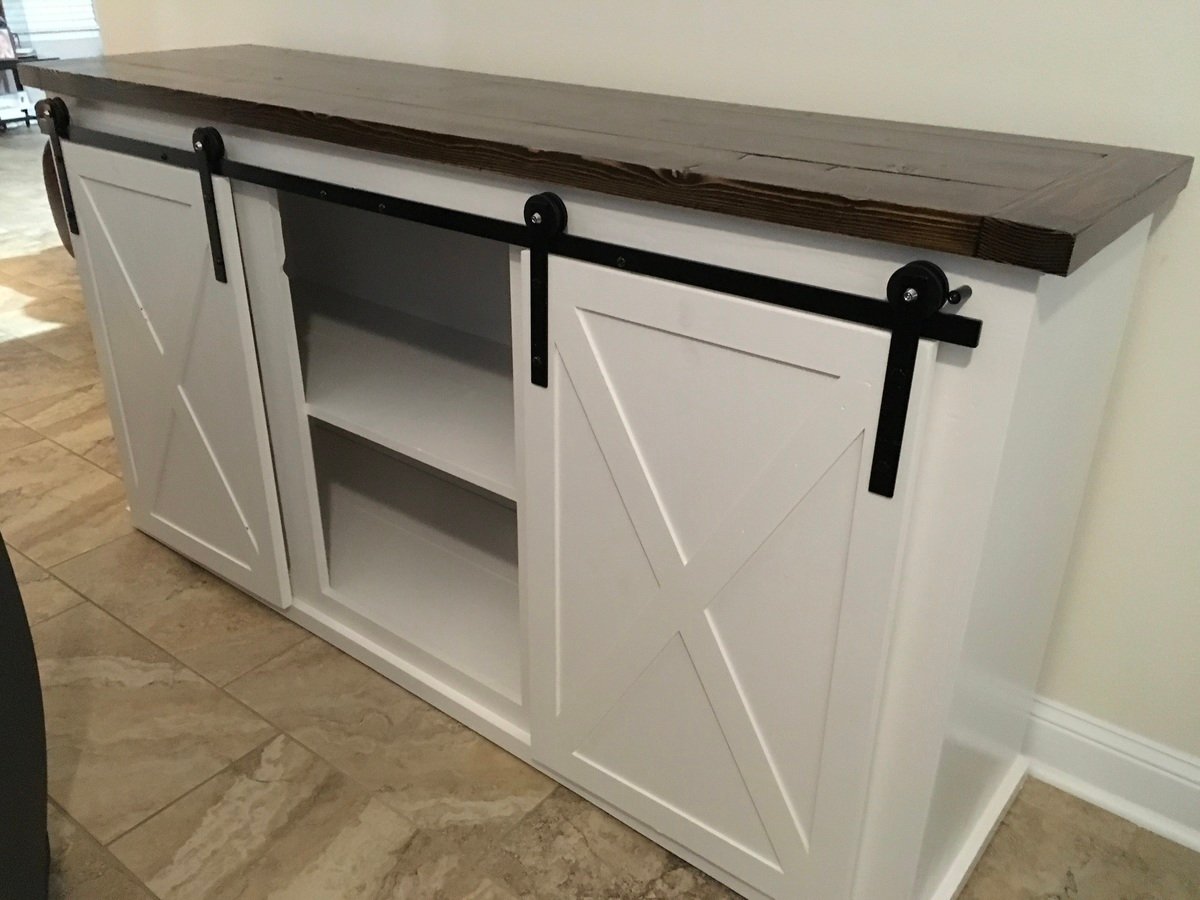
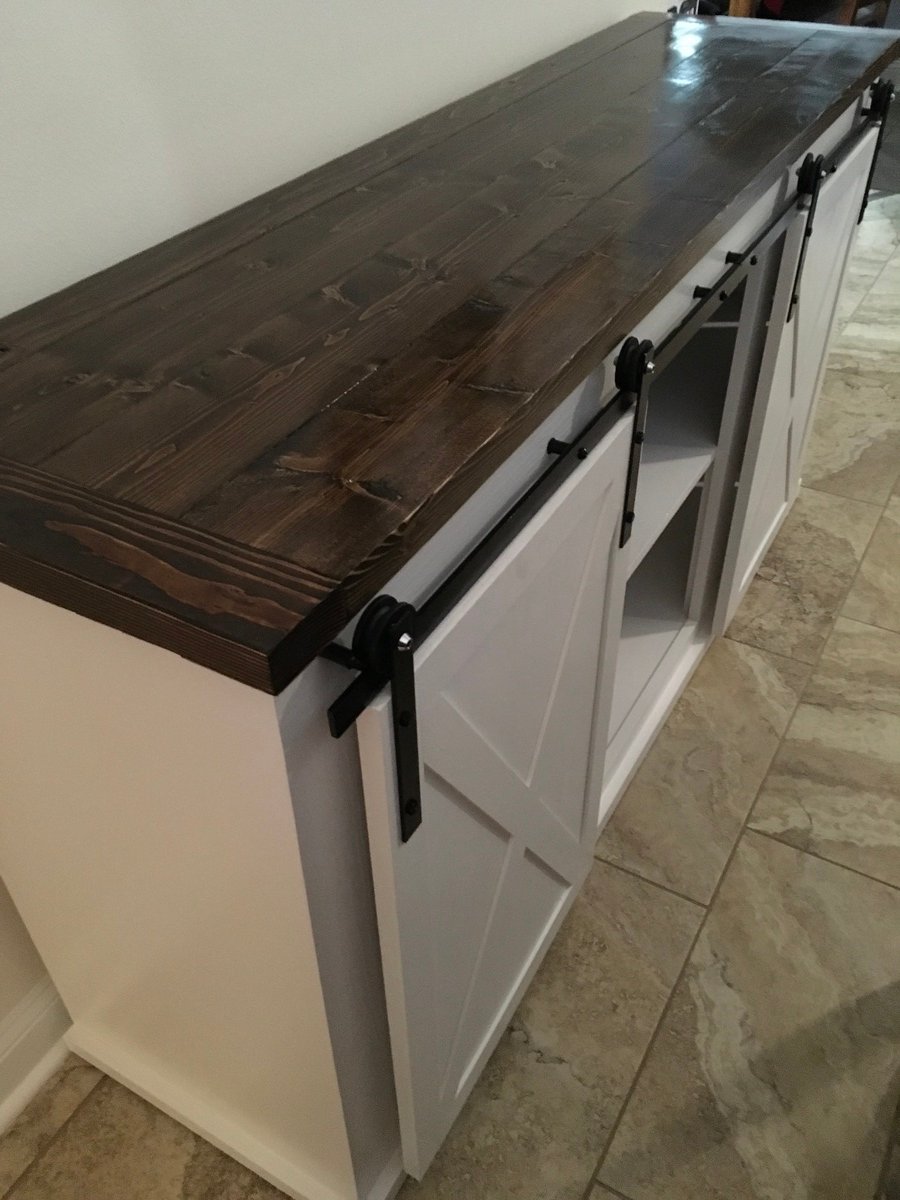
I had to rescale the Ana White plan to an overall length of 72 inches. All joints are Kreg pocket holes.
The most difficult component was engineering the barn door slides. I used:
1/8” aluminum flat bar for the door mounts
1/4” aluminum flat bar for the fixed bar
Polyurethane spacers from Lowe’s
Lind Kitchen Mute Pulley block from Amazon.com 4 each
The pulley blocks were disassembled and only the wheels and axles were used. Thin poly washers from Lowe’s were used as shims to take up play after being mounted to the flat bar.
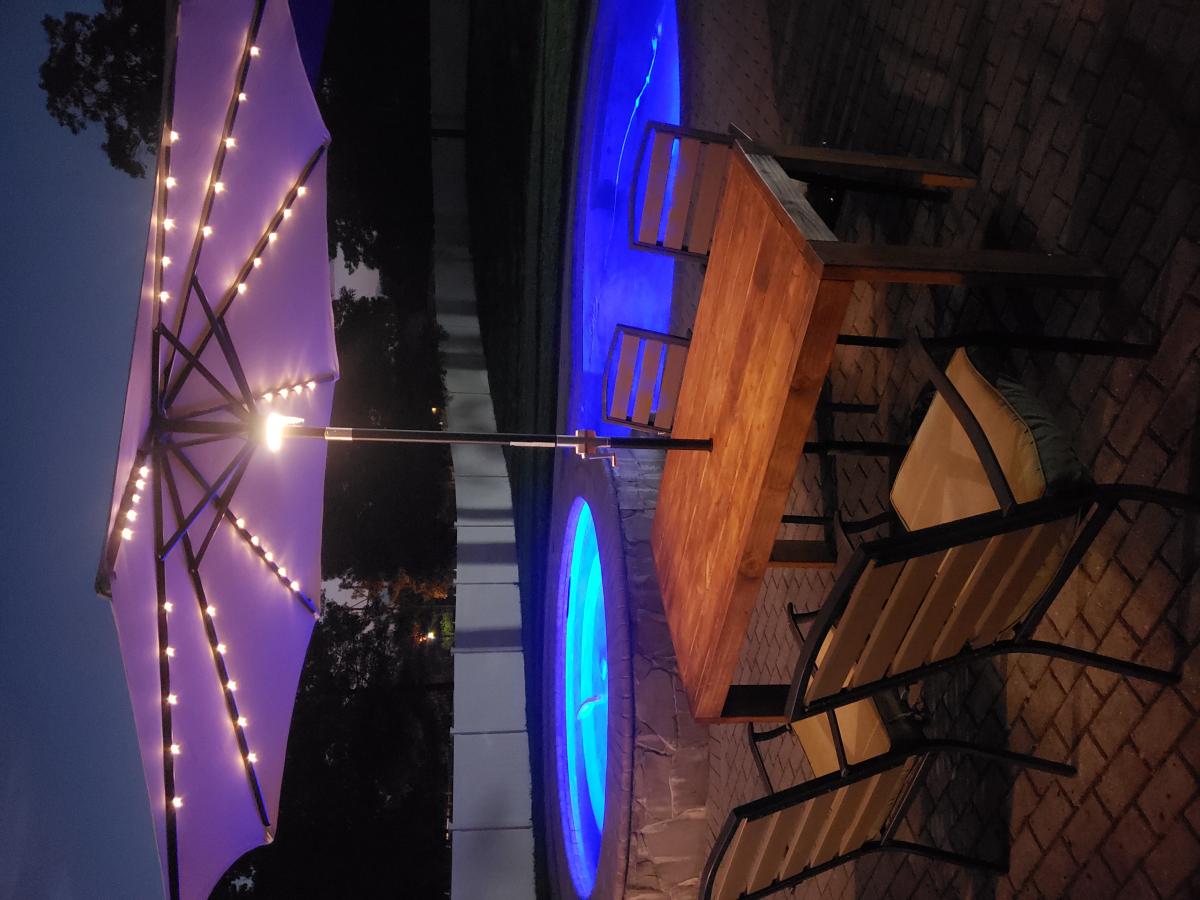
Inspired from outdoor sofa and farmhouse table
