Agape Custom Furniture- Gaby Island
Modified the Gaby Kitchen Island plans to fit our own needs! LOVE THIS PIECE!
Modified the Gaby Kitchen Island plans to fit our own needs! LOVE THIS PIECE!
We wanted to make our daughter a play kitchen for her birthday. We have a farmhouse sink so we wanted her to have one just like ours. My husband built it out of wood. We wanted the cabinets to look like Shaker cabinets so we added trim to them & the Fridge. We bought the handles from Home Depot. If you have any questions I will be happy to answer them.
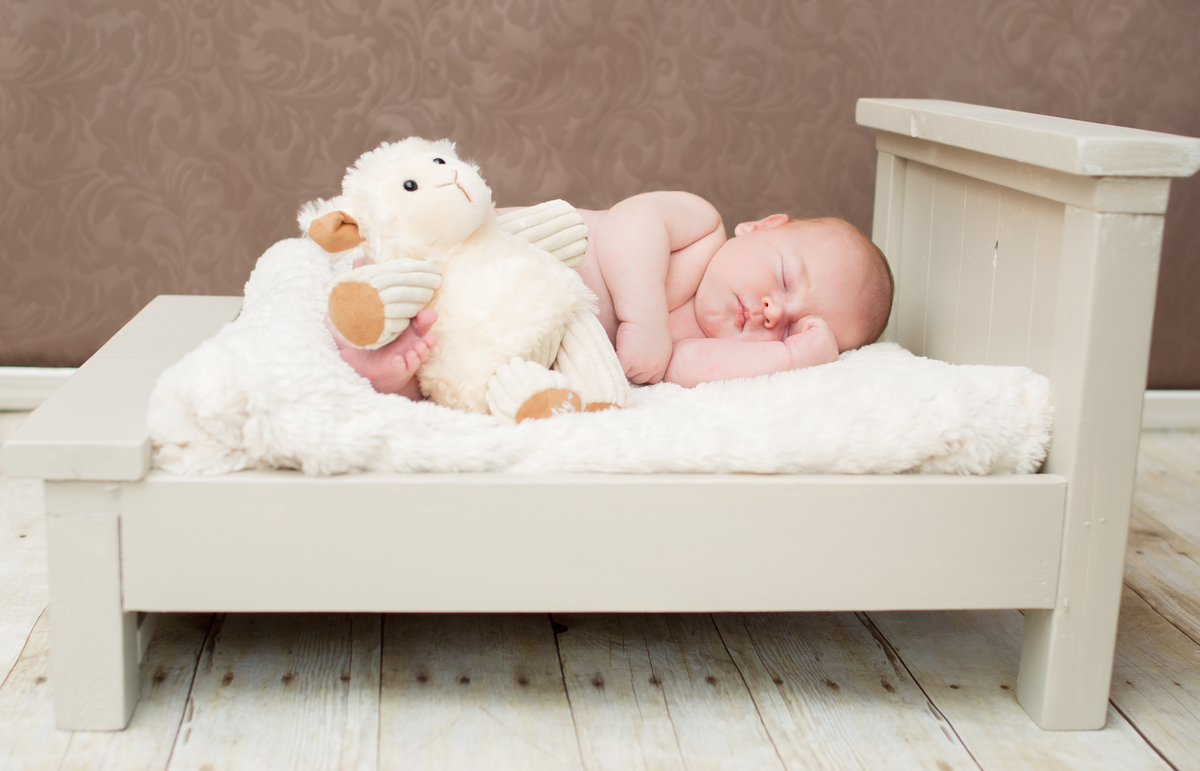
My handy husband whipped this little bed up from the leftover wood of the rustic "X" end table! I love it so much, a great toy / newborn prop!! I wanted to finish it with the steel wool/vinegar method, but it was too late, he already painted it. I love it just the way it is! Thank you for the awesome plan!!
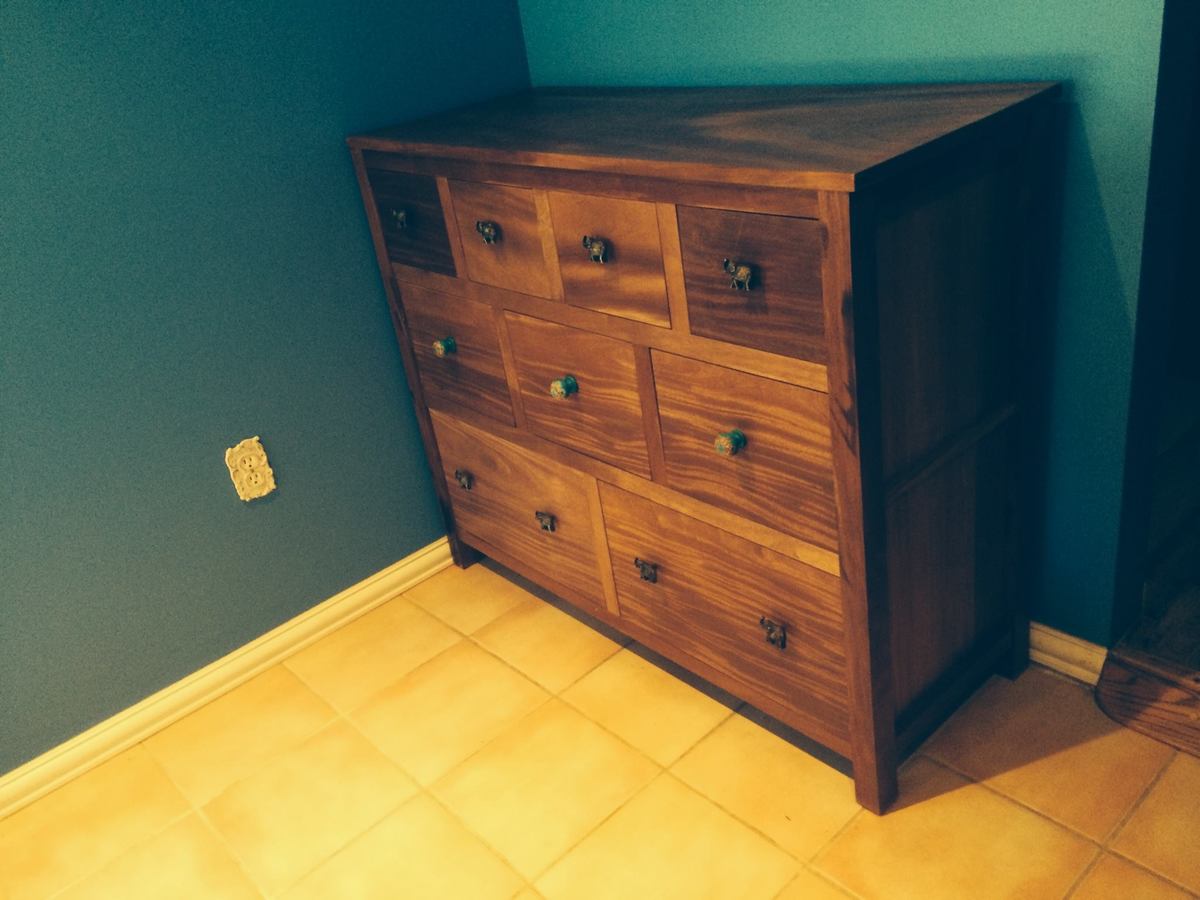
9 drawer dresser made out of African mahogany wood.
Wed, 09/24/2014 - 15:45
Wow, this is gorgeous! Beautiful build, that mahogany is amazing!
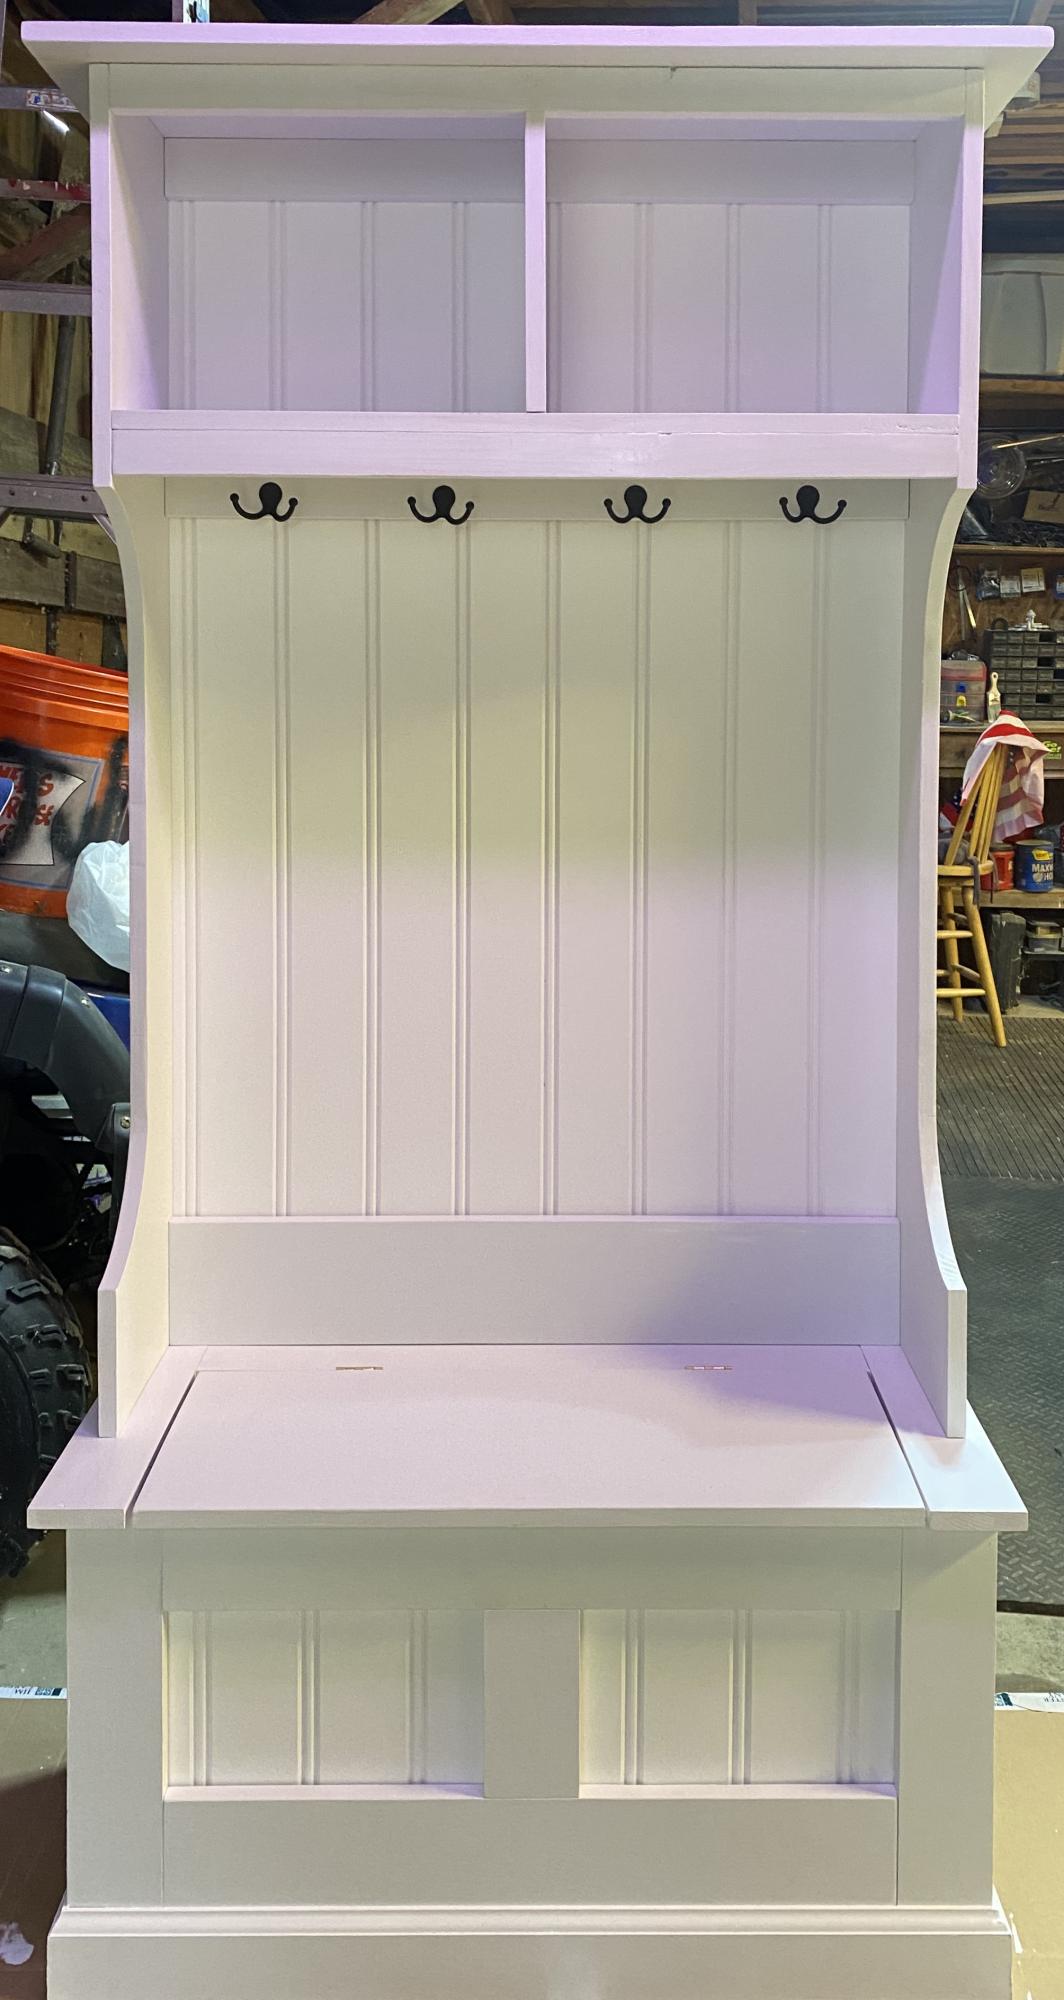
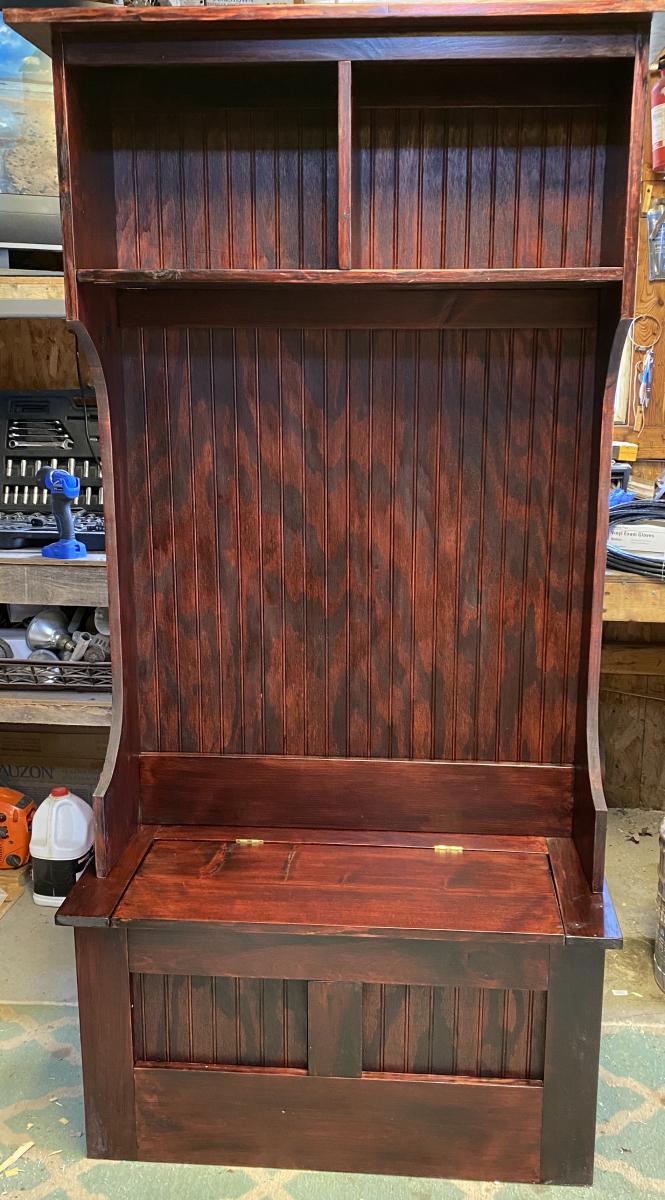
This is the third hall tree I made from this site. Love how easy the plans are to follow!
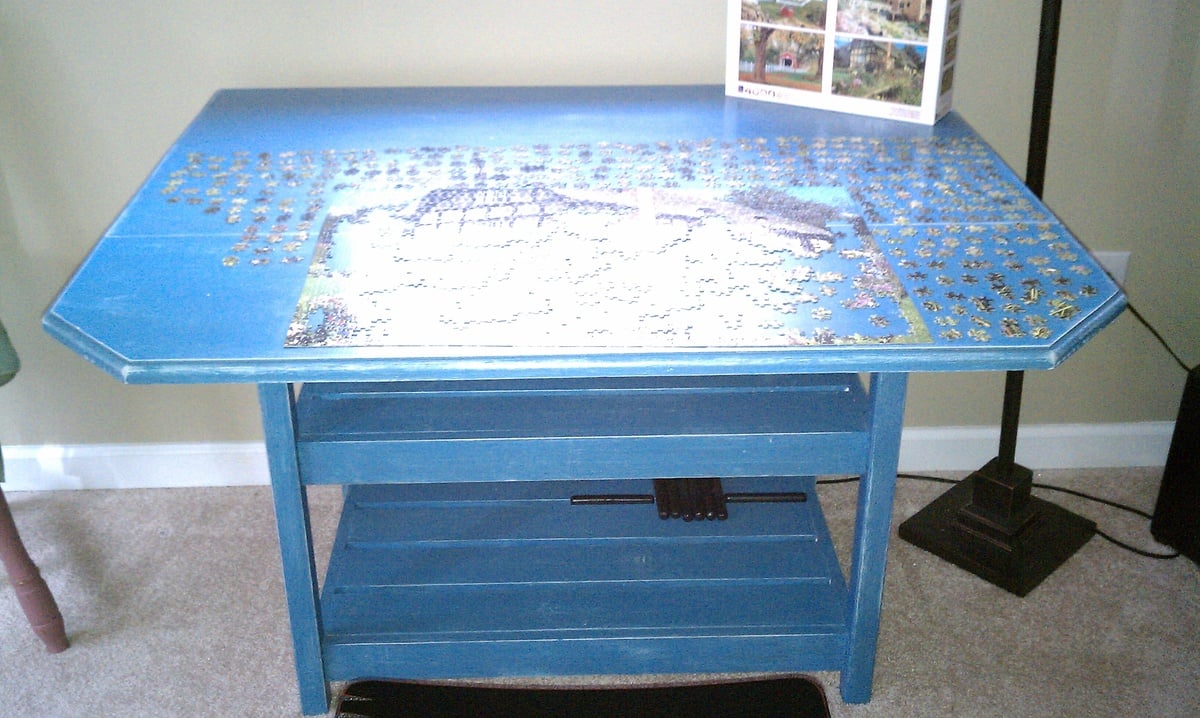
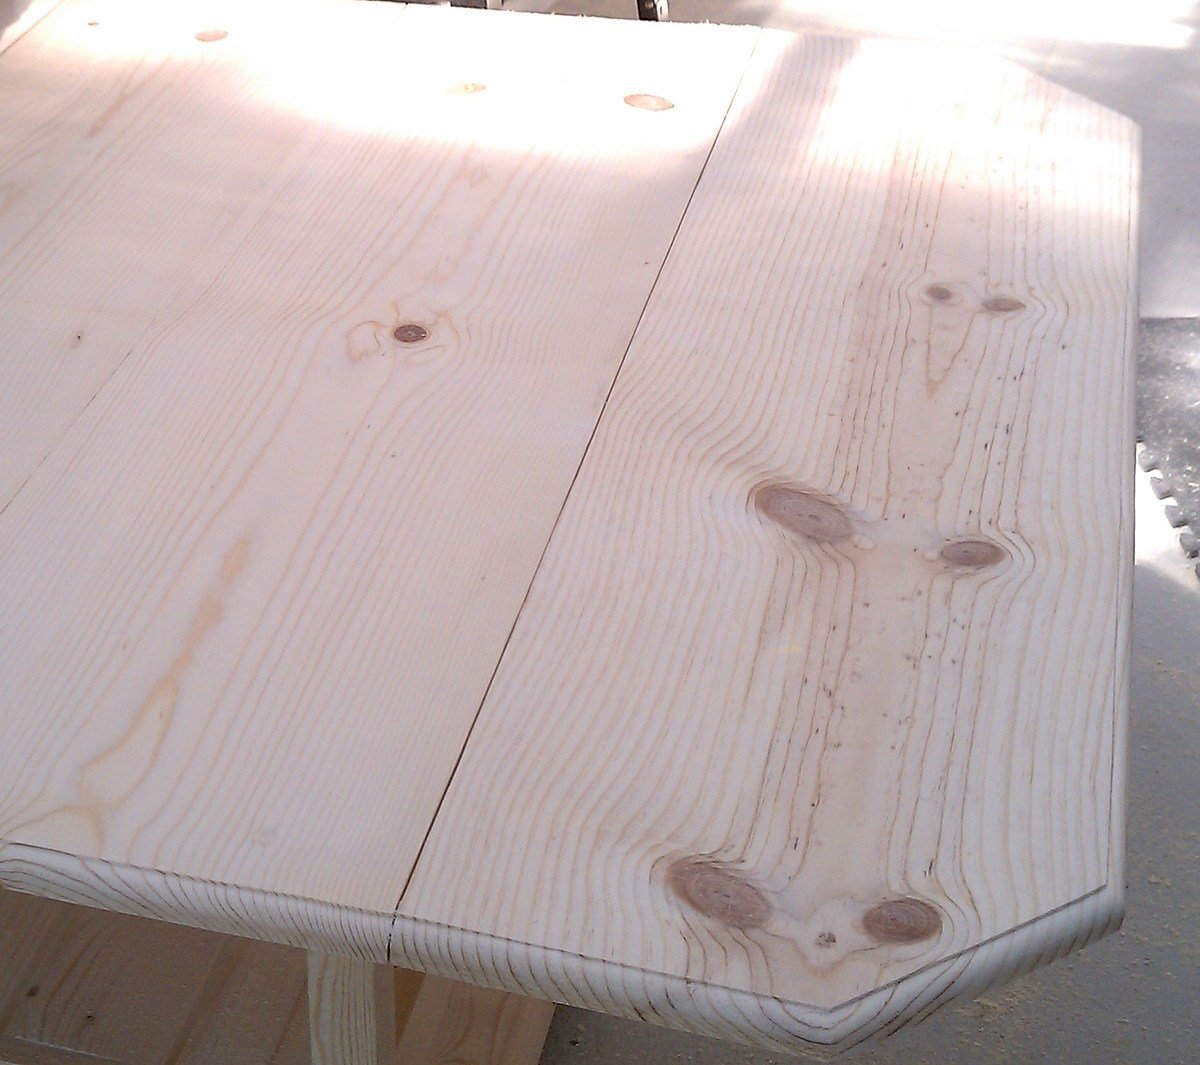
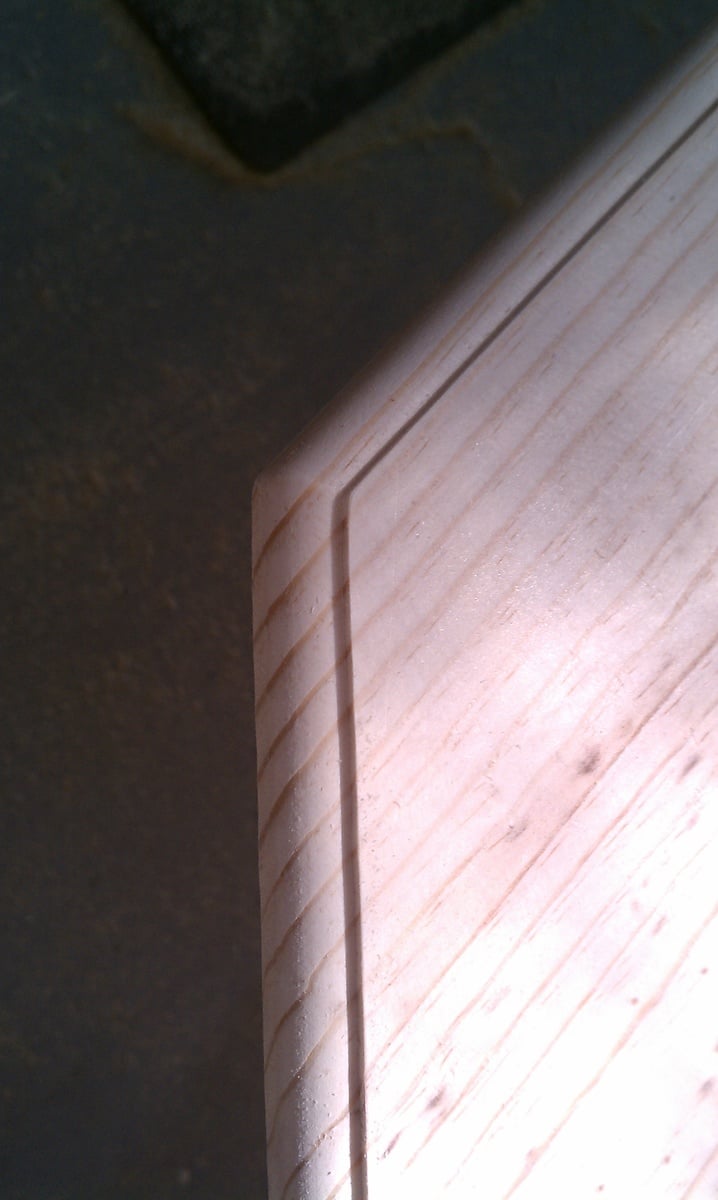
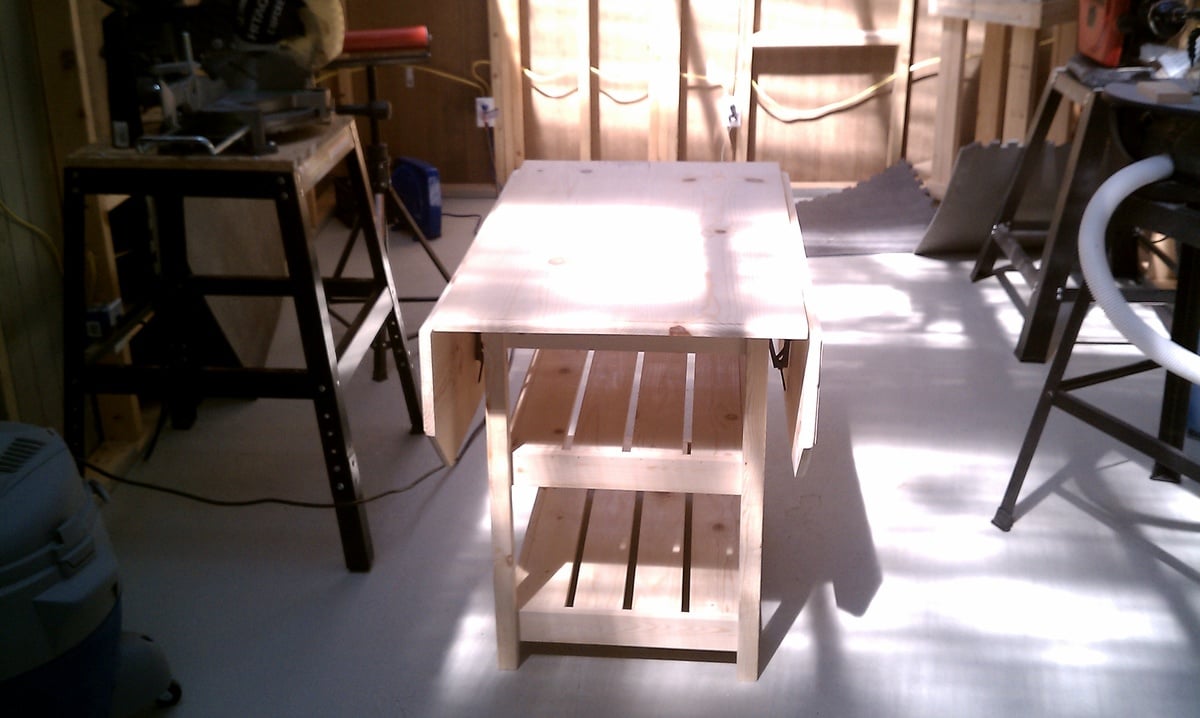
Didn't use the wheels, so I lengthened the legs to compensate. Also I didn't make it round but instead cut the corners off and used a router on the edge. We use it mostly for puzzles.
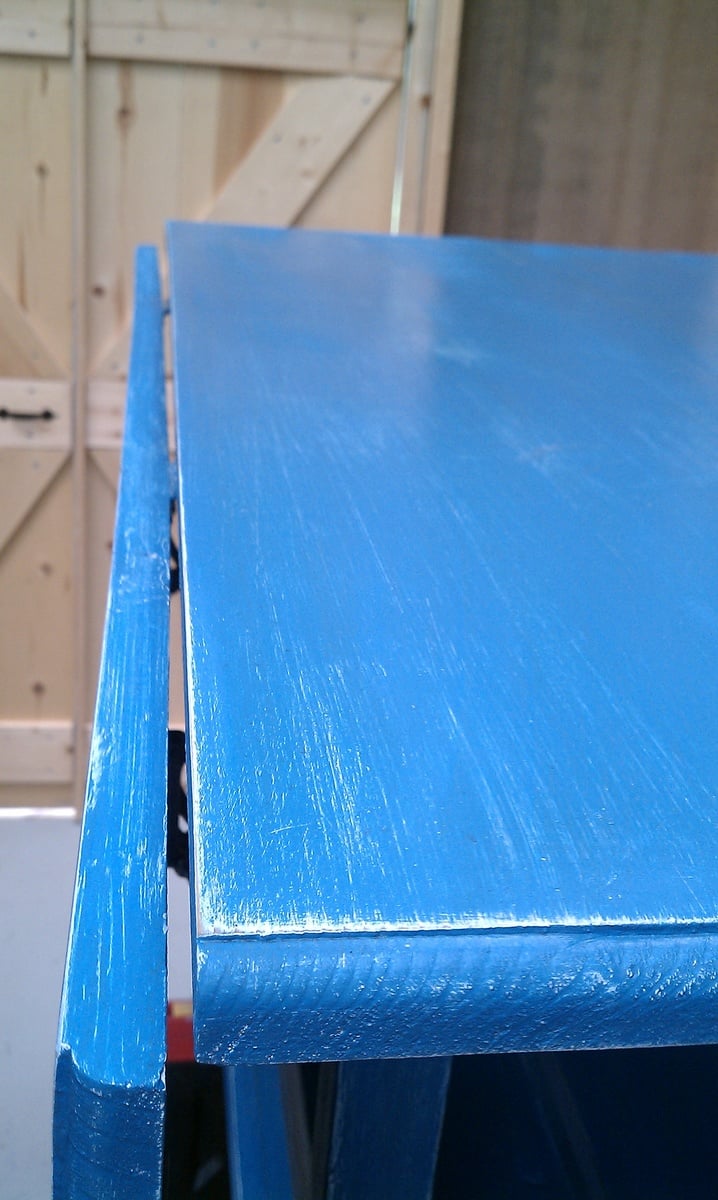
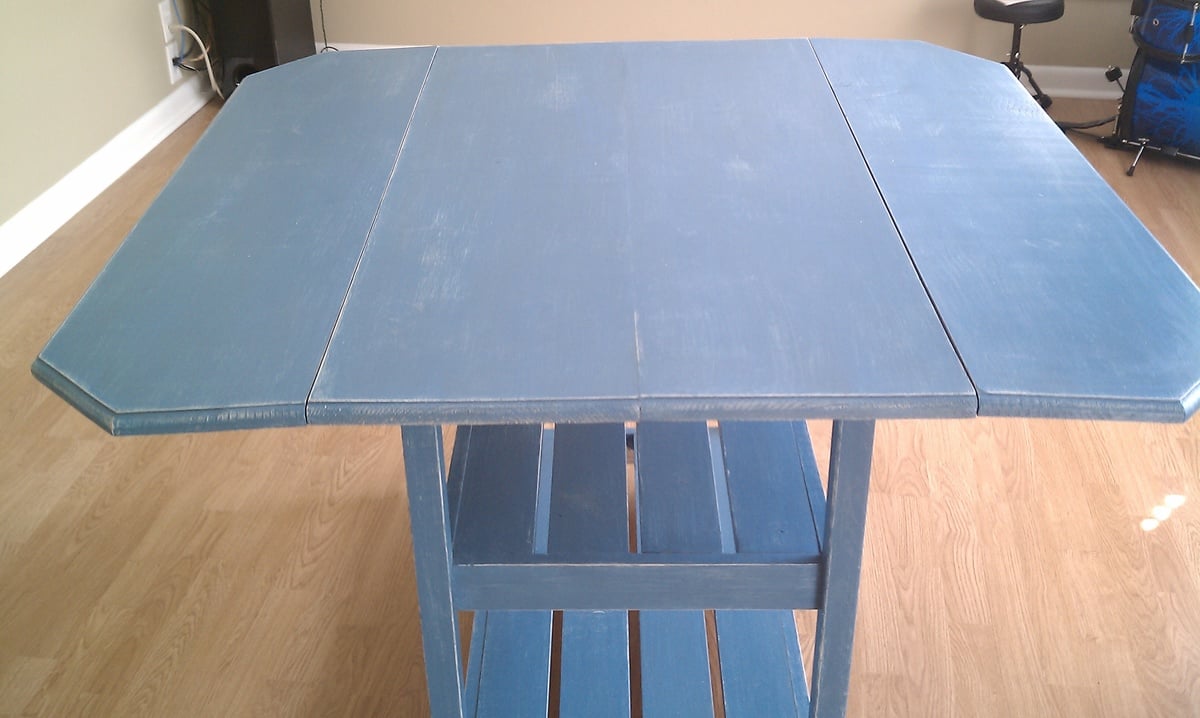
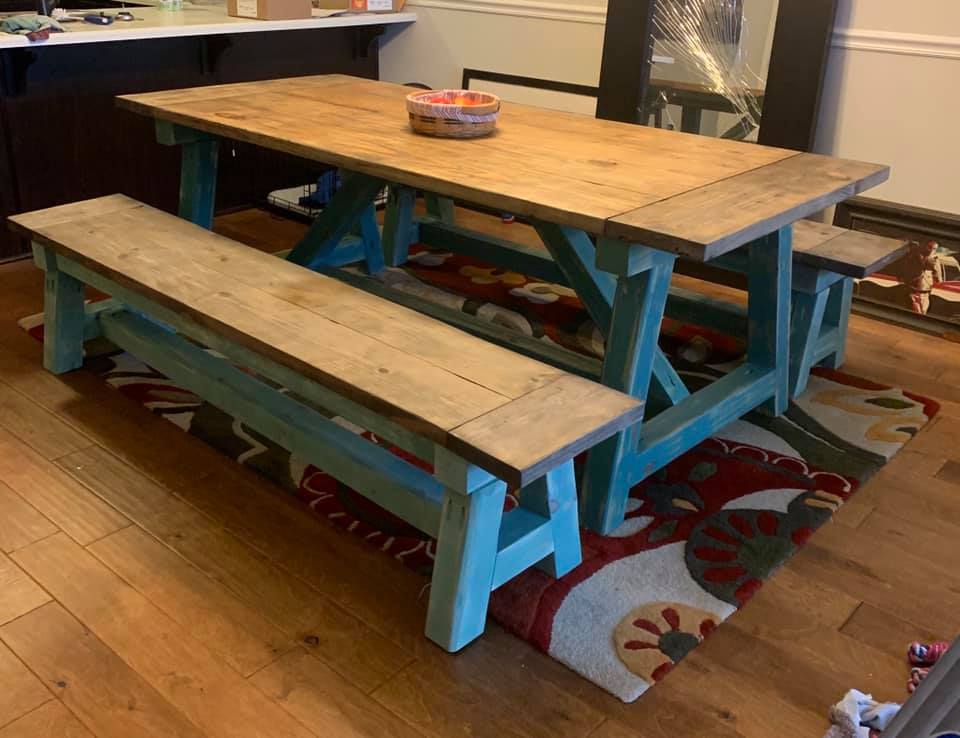
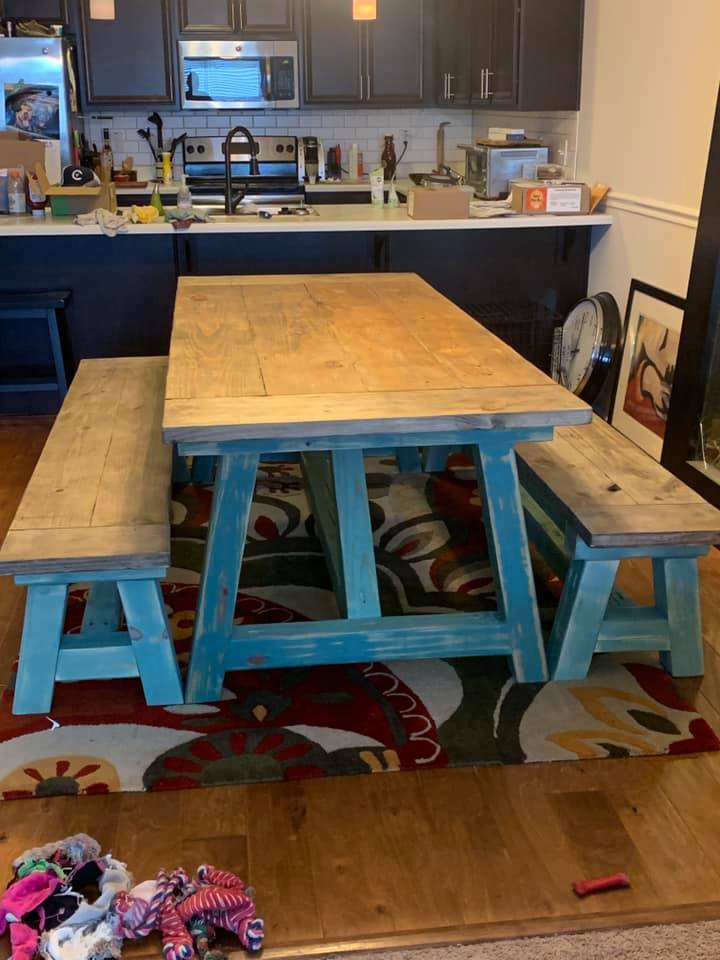
I used the plans for the Fancy X Farmhouse table, but customized the lengths of both the bench and table to fit our room and to the sizes we wanted. Thanks Ana!
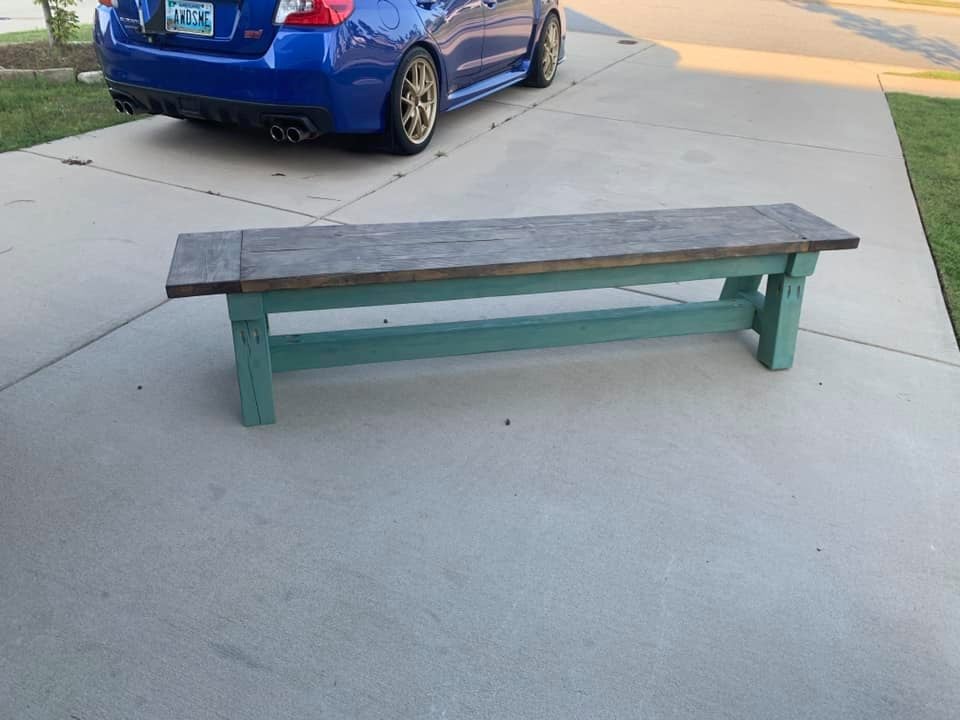
Made these to match my truss table. I am very happy with the end result.
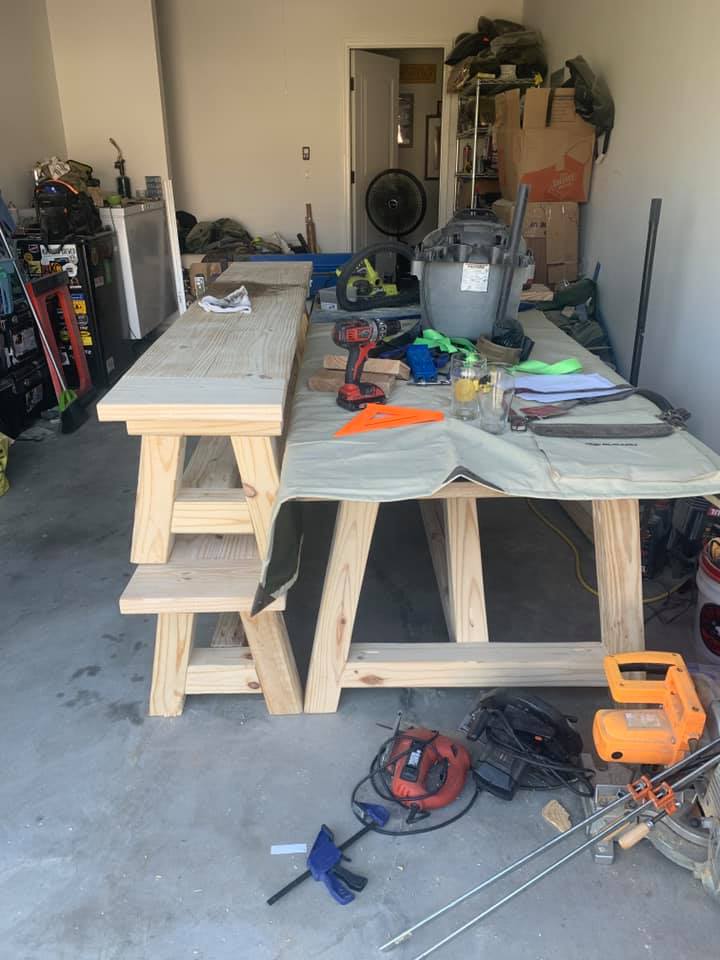

I wanted to build some cabinets to his our computer, stereo, game consoles, and seeing machines. I needed something that would allow a remote control to work through, so I used decorative metal sheeting found at the orange hardware store. They're built to be nearly flush with the fireplace. The left cabinet is made of 1x8s and measures 36"x36". There are 2 interior shelves. The shelves are slightly shorter cuts, measuring 34 1/2. The right cabinet is the same as the left, but with a 18"x36" unit kreg jigged to the front. That was to accommodate the larger media units while keeping the cabinet flush with the fireplace.
The fronts are just 2" trim frames with metal sheeting screwed to the inside. I used metal corner braces to hold the corners in place. They're mitered corners. The hinges are cheap $2 hinges and magnetic closures hold the doors closed.
I also made the mantle. It's a piece of 1x12 on top with a flat foam piece of molding and 2 corner pieces.
A little warmer than I had planned but very happy with my completed first project. Thanks Ana!
I used the Sliding Door Console and modified it for a 36" Electric Fireplace insert. Behind the doors are the shelves as per the original design.
I did purchase the door track - and used reclaimed wood for the doors. These pieces are about 1/4 - 3/4" wide and vary in color.
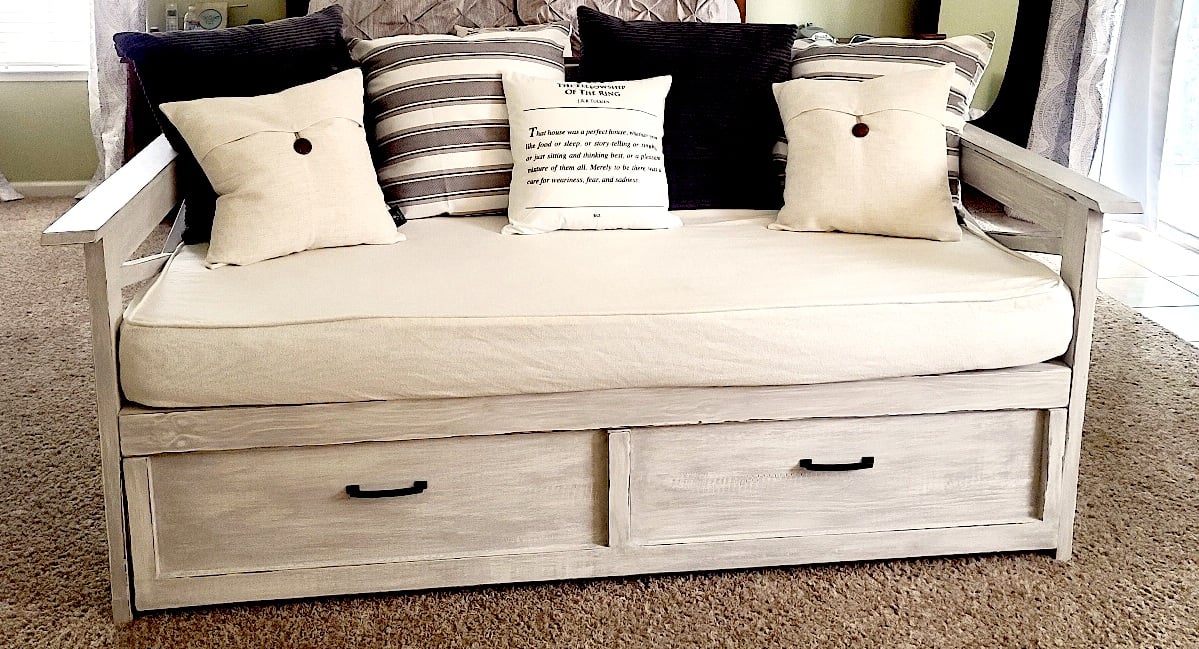
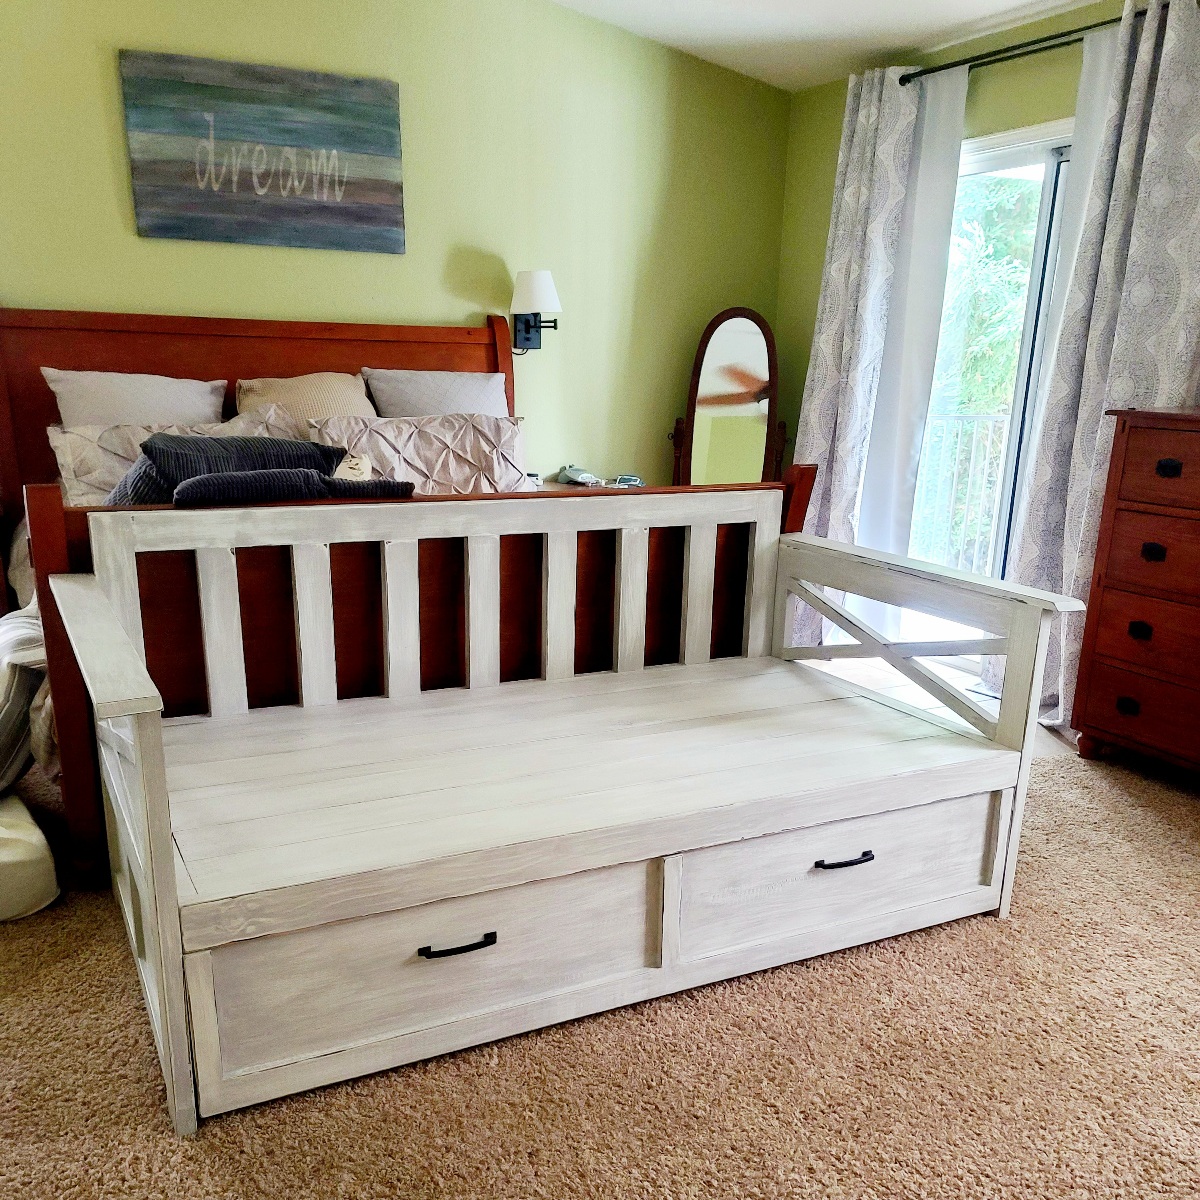
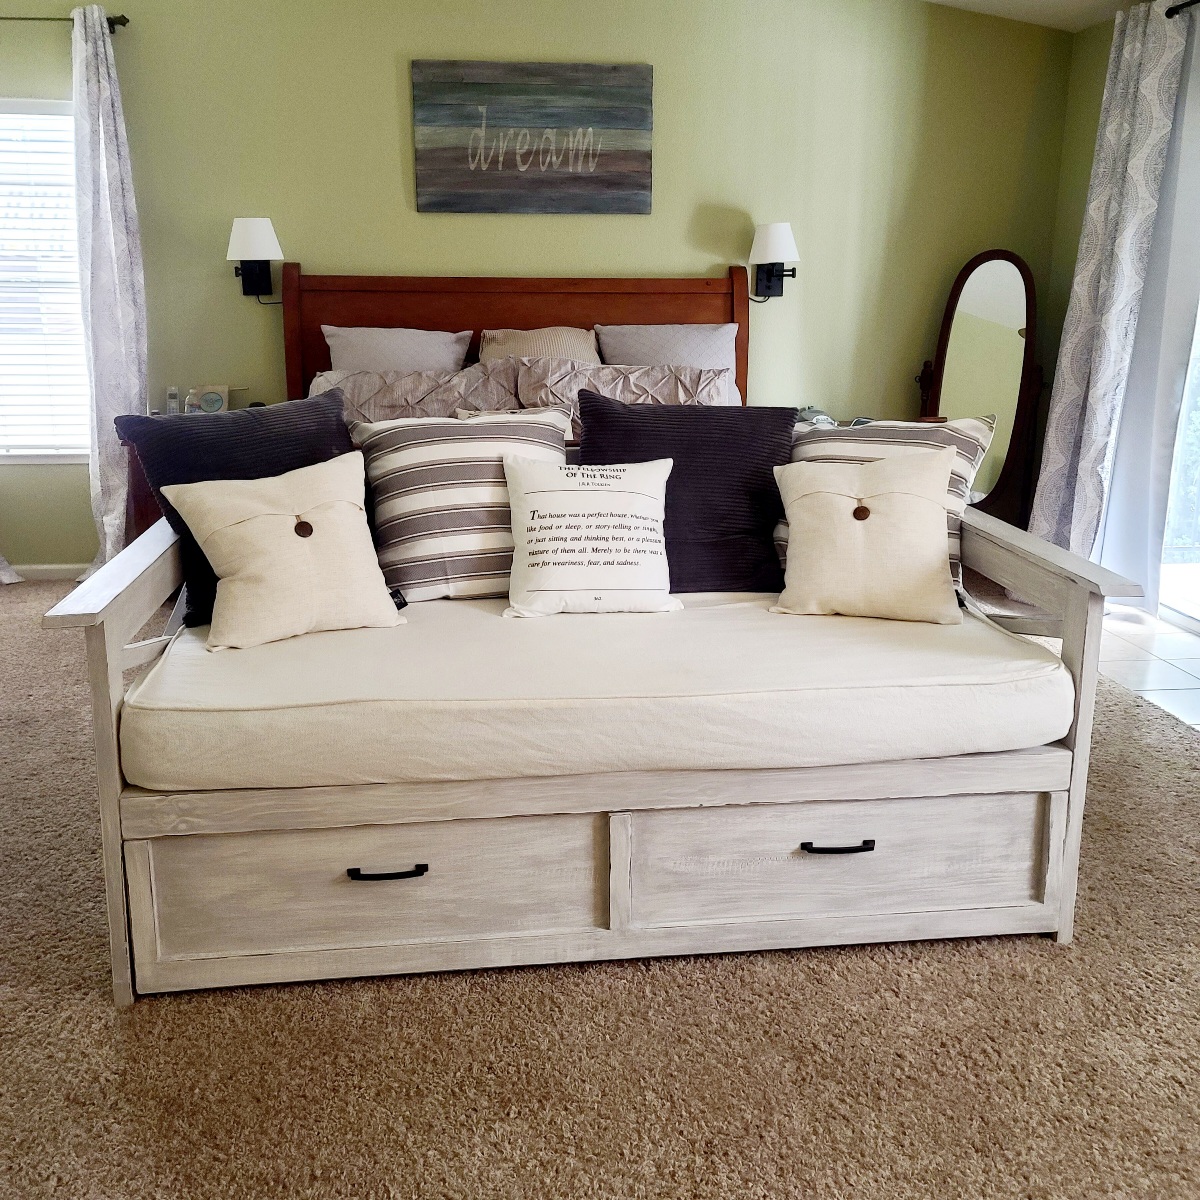
Great plans for a really useful storage daybed! I modified the plans to include a slat back and rustic x sides, as well as changing the Trundle drawers to a single drawer to fit my exercise equipment. I finished the daybed with stain and chalk paint in old white and Paris Grey distressed for the perfect shabby chic look!
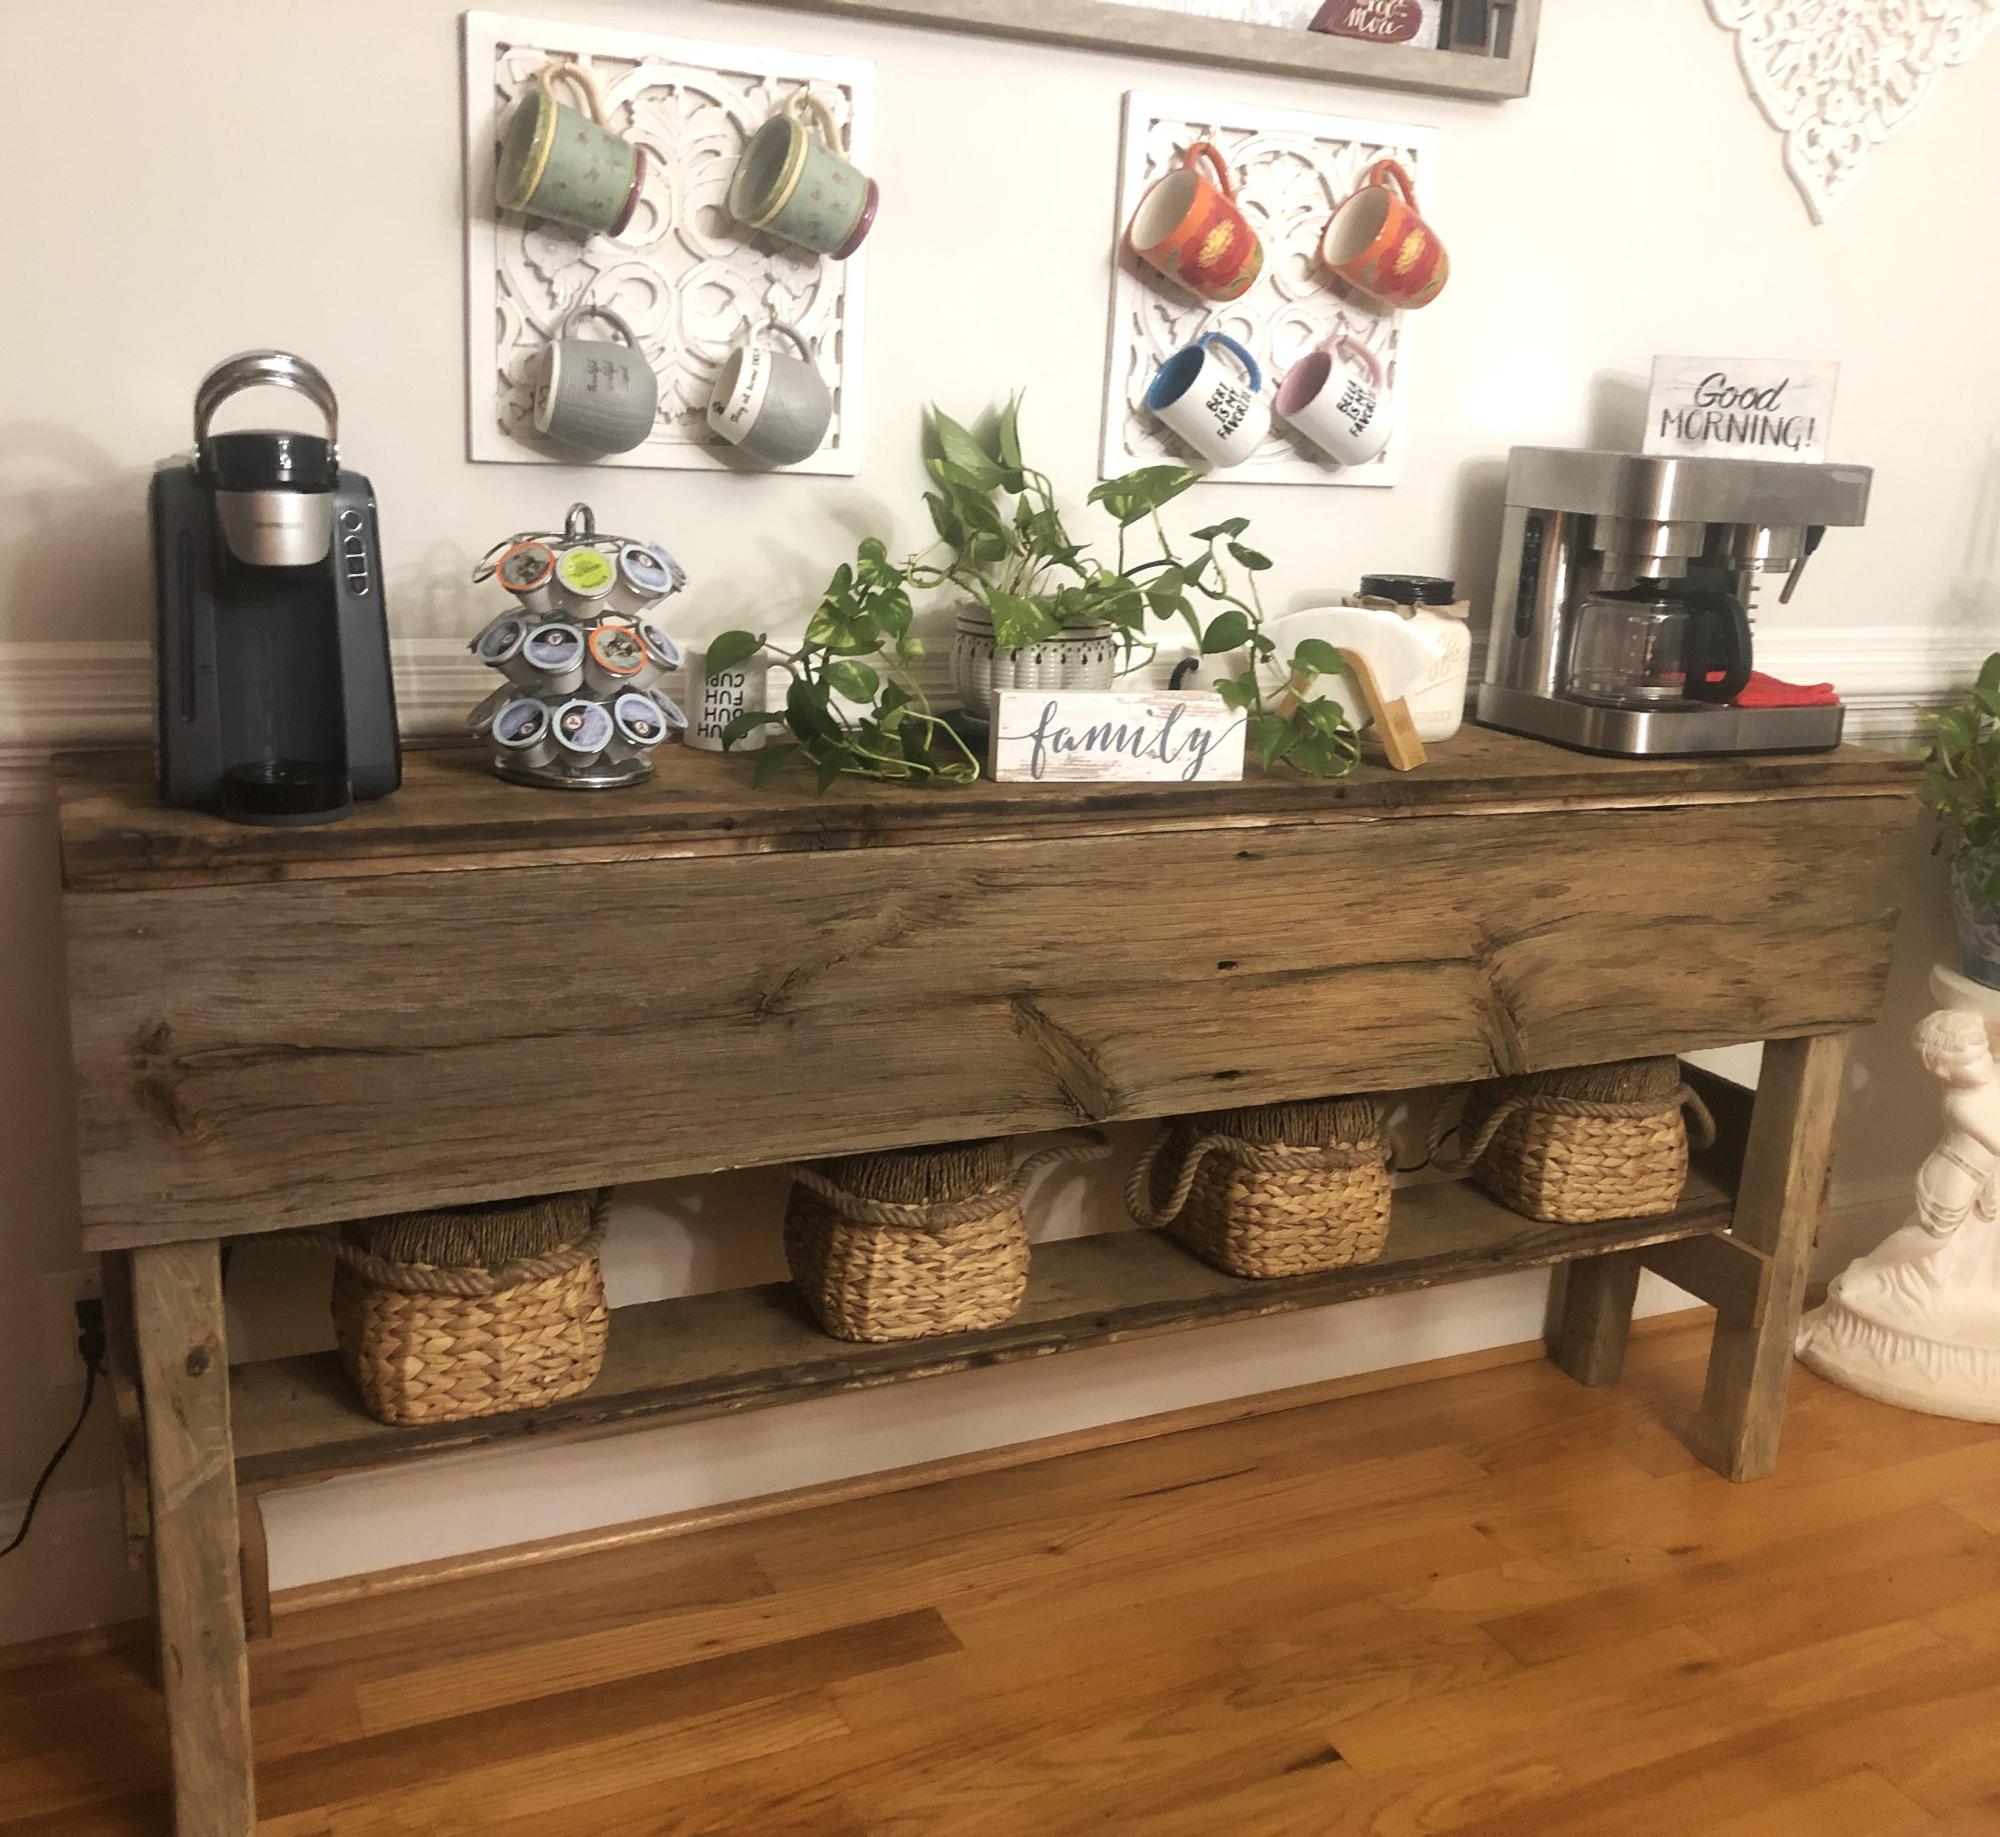
This coffee bar is build with three different kinds of wood. The top and bottom shelf are floor boards from a 150 yr old barn. The front and side panels are siding from a 200 yr old barn. The legs were cut from a tree on my property. I used an Alaskan chainsaw mill to get them to thickness and a table saw to square them up. Assembled with nails, where visible for the antique look and a screws where not visible. Natural finish for natural appearance. - David Girard - (G-rod Enterprises)
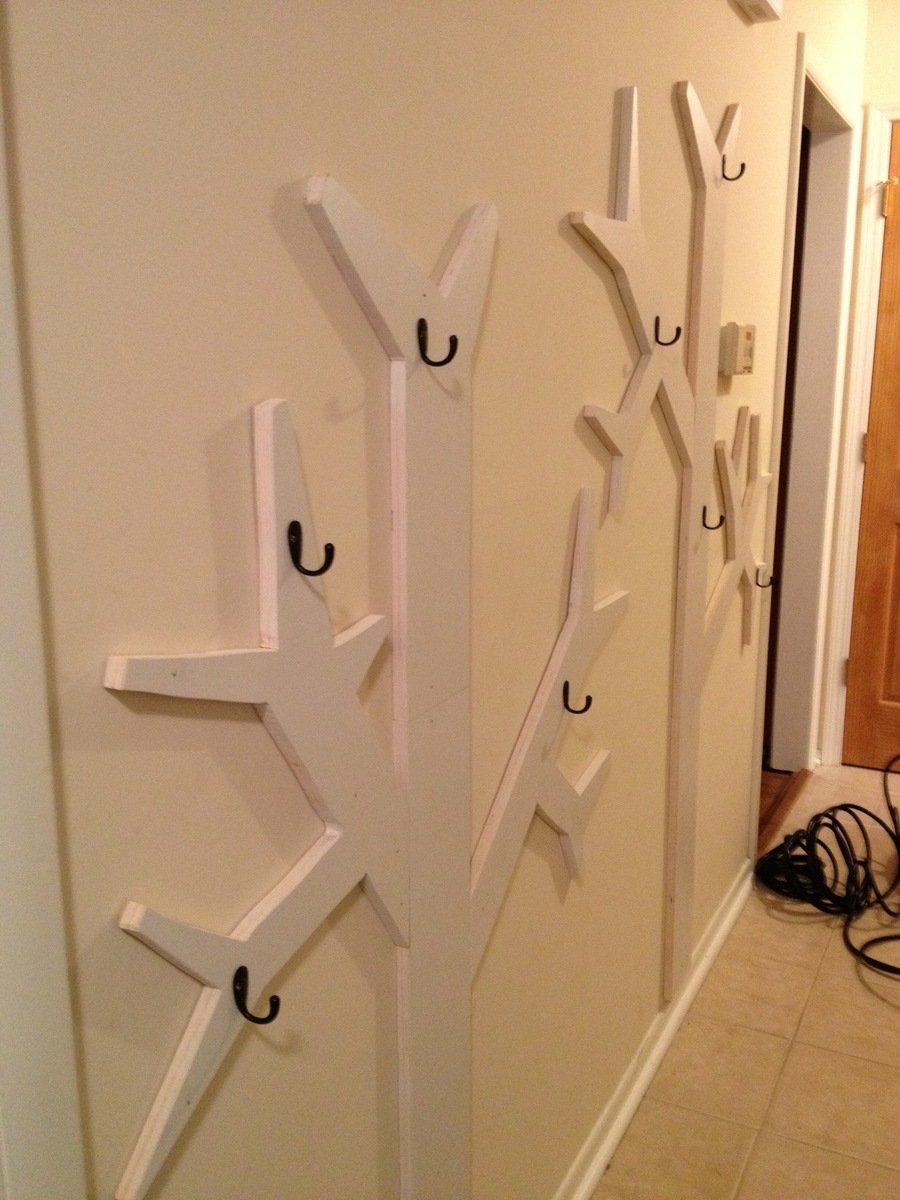
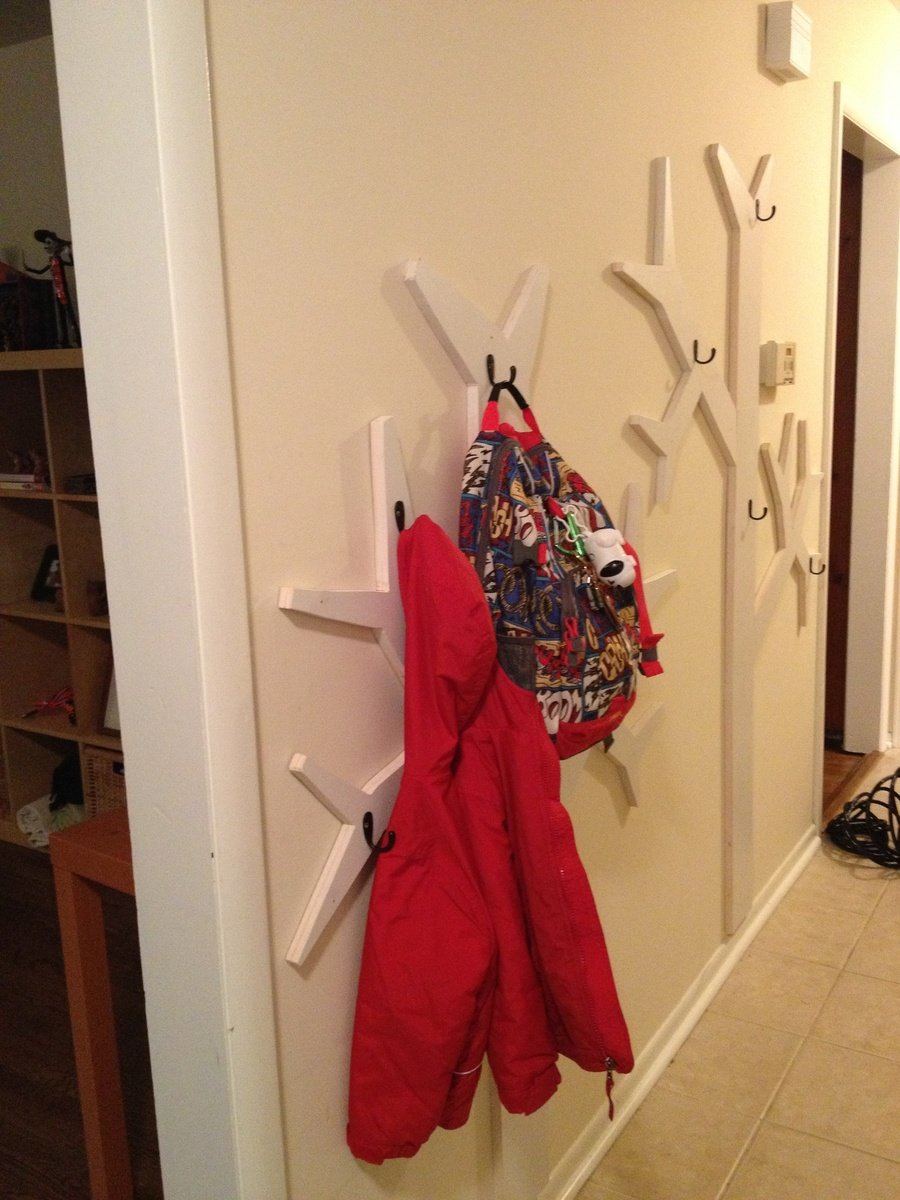
This is a coat rack that I recently built for a friend of mine who was struggling with a way to organize her kiddos' coats and packs. She doesn't have a coat closet off of the entry way, so we installed this wall-mount tree design on an interior hallway as you enter the home. This would also be cute in a kid's room or a mudroom. I posted step-by-step instructions with pictures on my blog at www.momthebuilder.net. Let me know what you think!
Tue, 12/08/2020 - 20:51
It looks like your blog is down. Is it posted anywhere else, or could you send the plans to me?
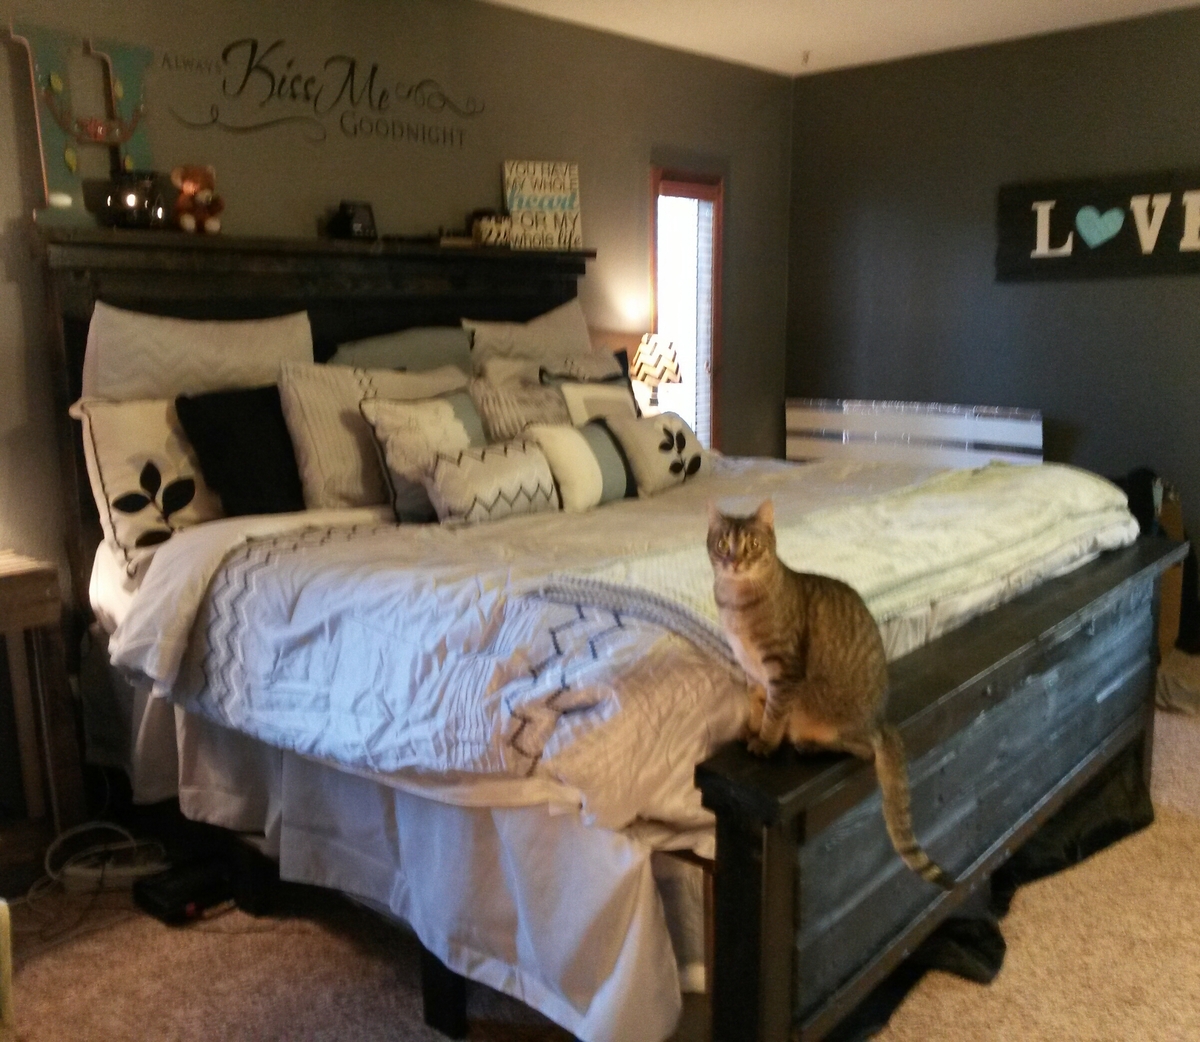
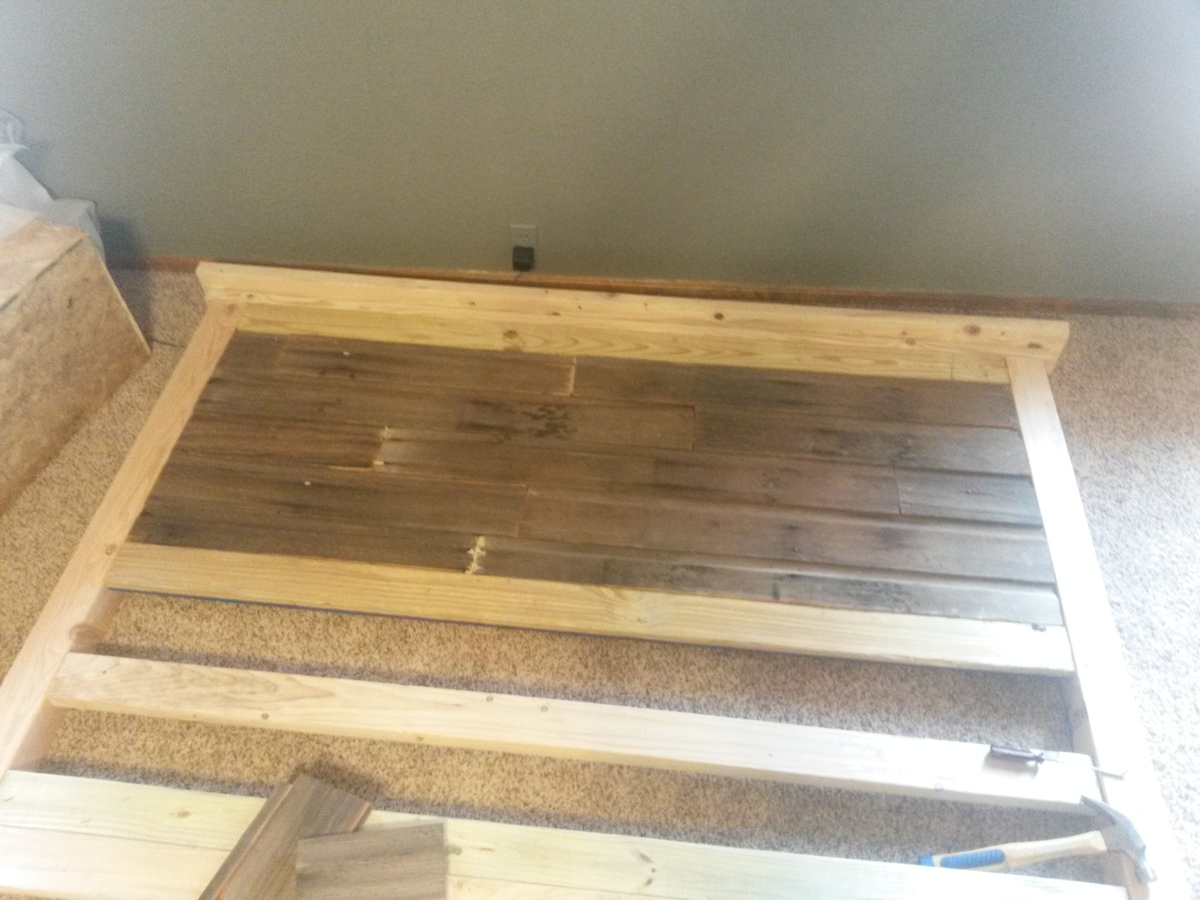
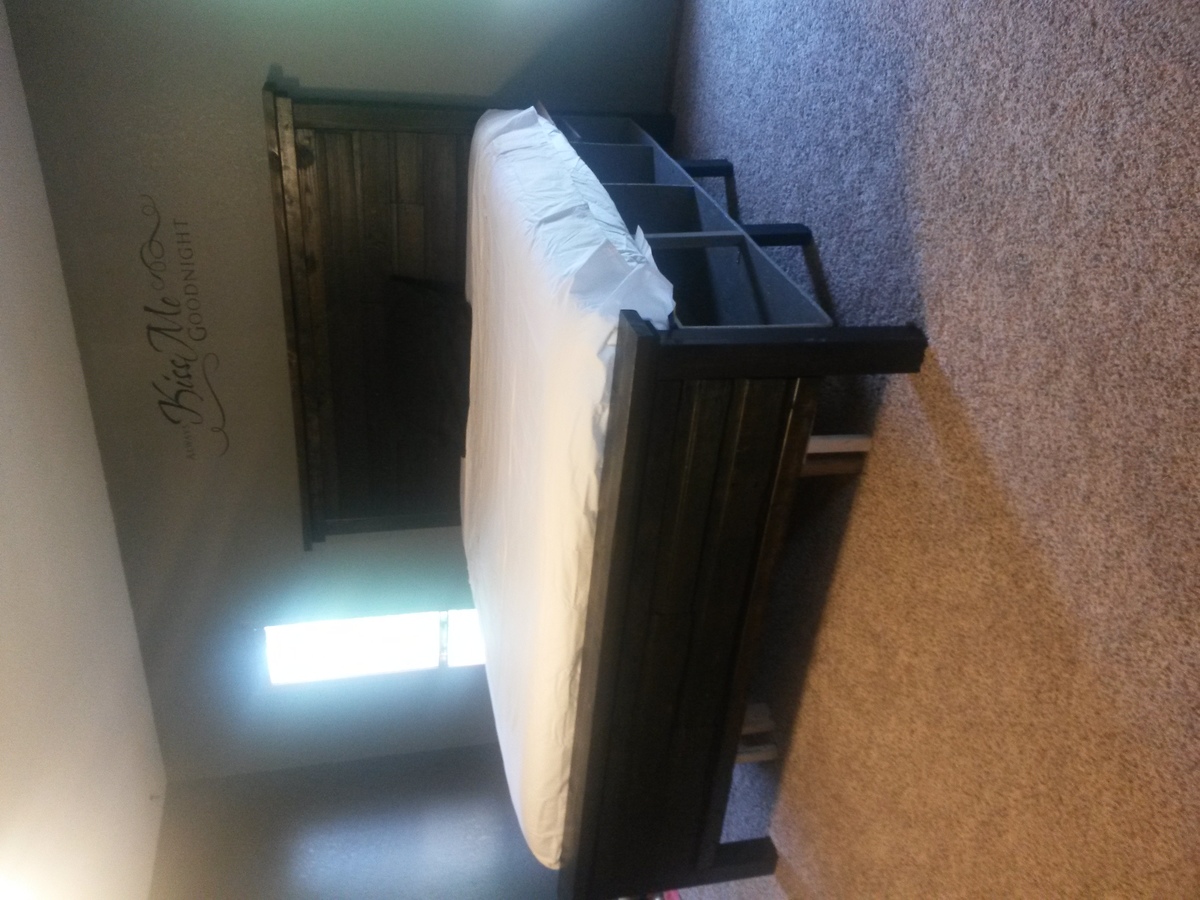
First project from dad tearing down his barn. Used ana's plans for queen bed and added to fit king dimensions. Husband also requested a tall bed so I added 6 inches to her measurements.
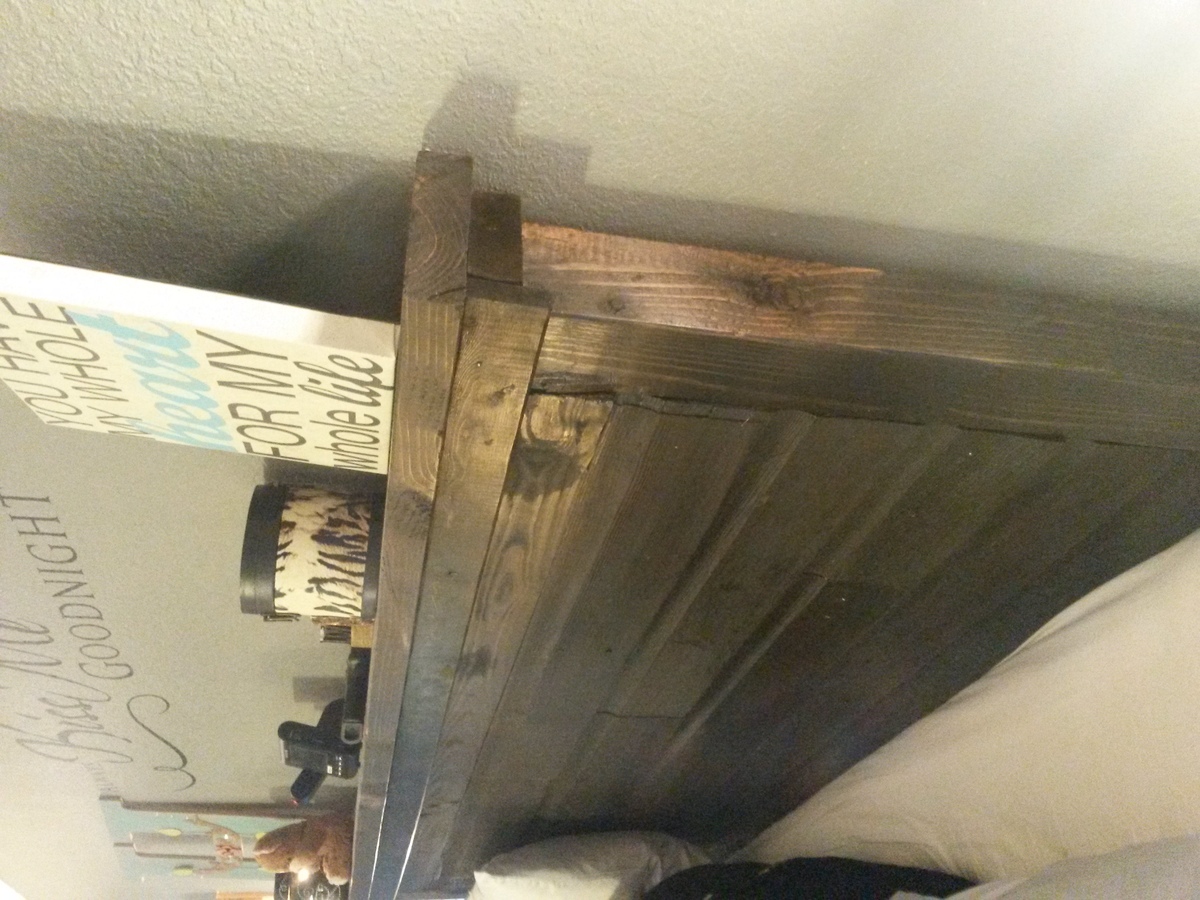
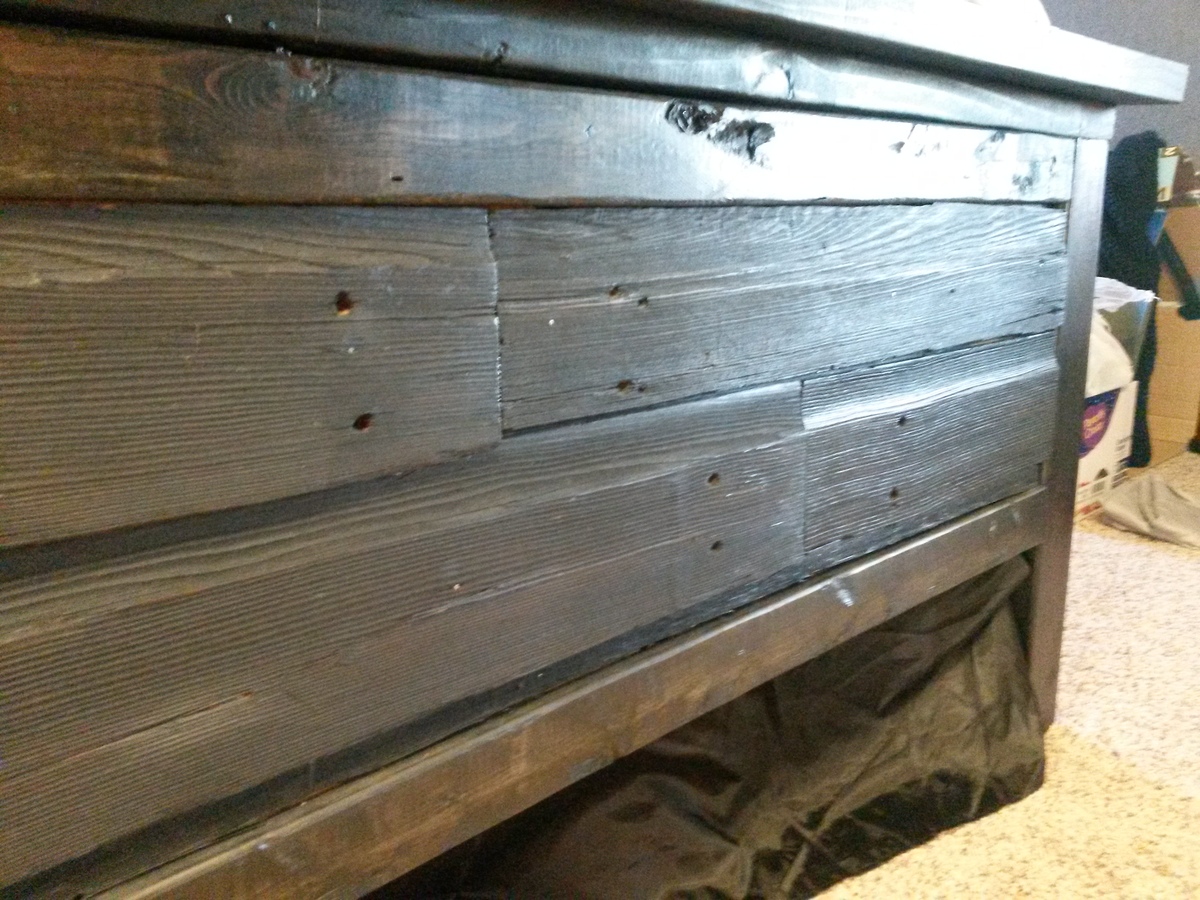
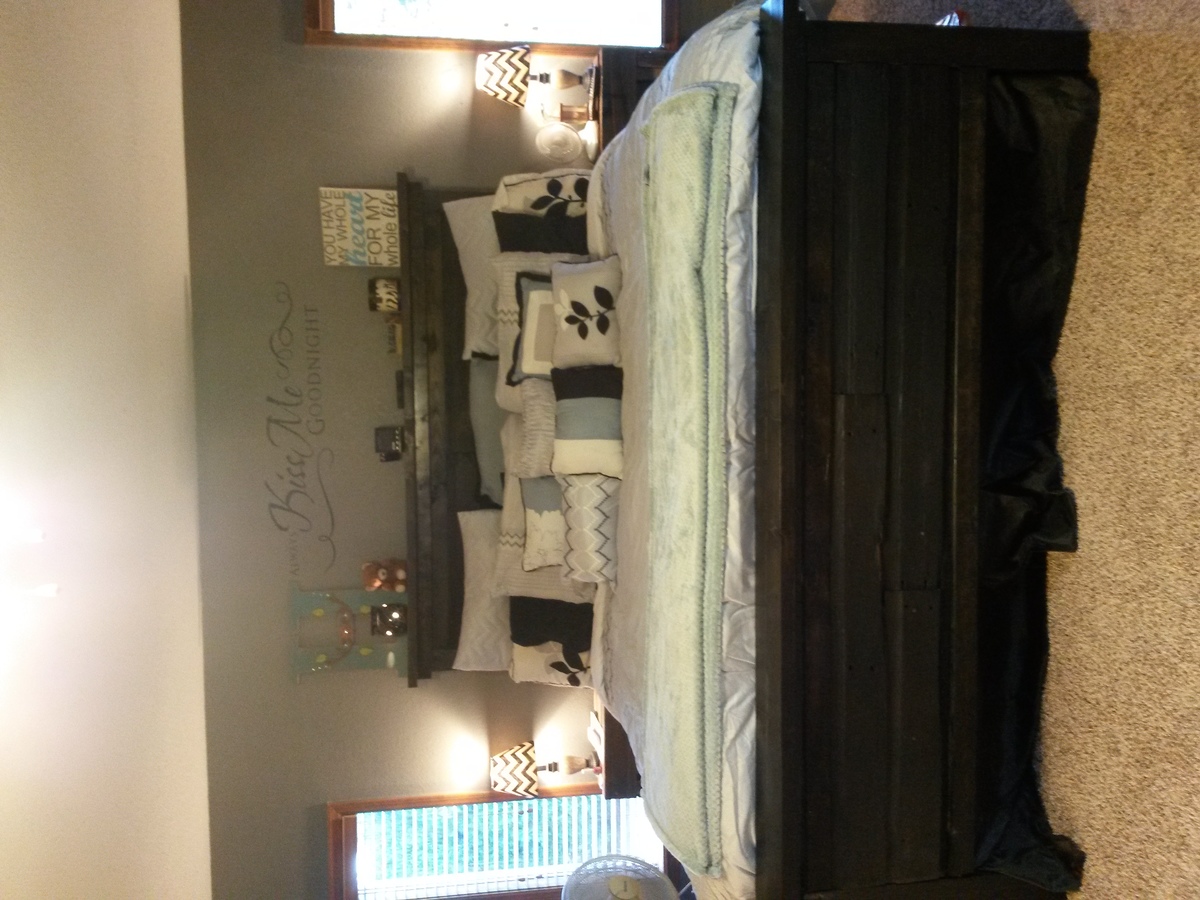
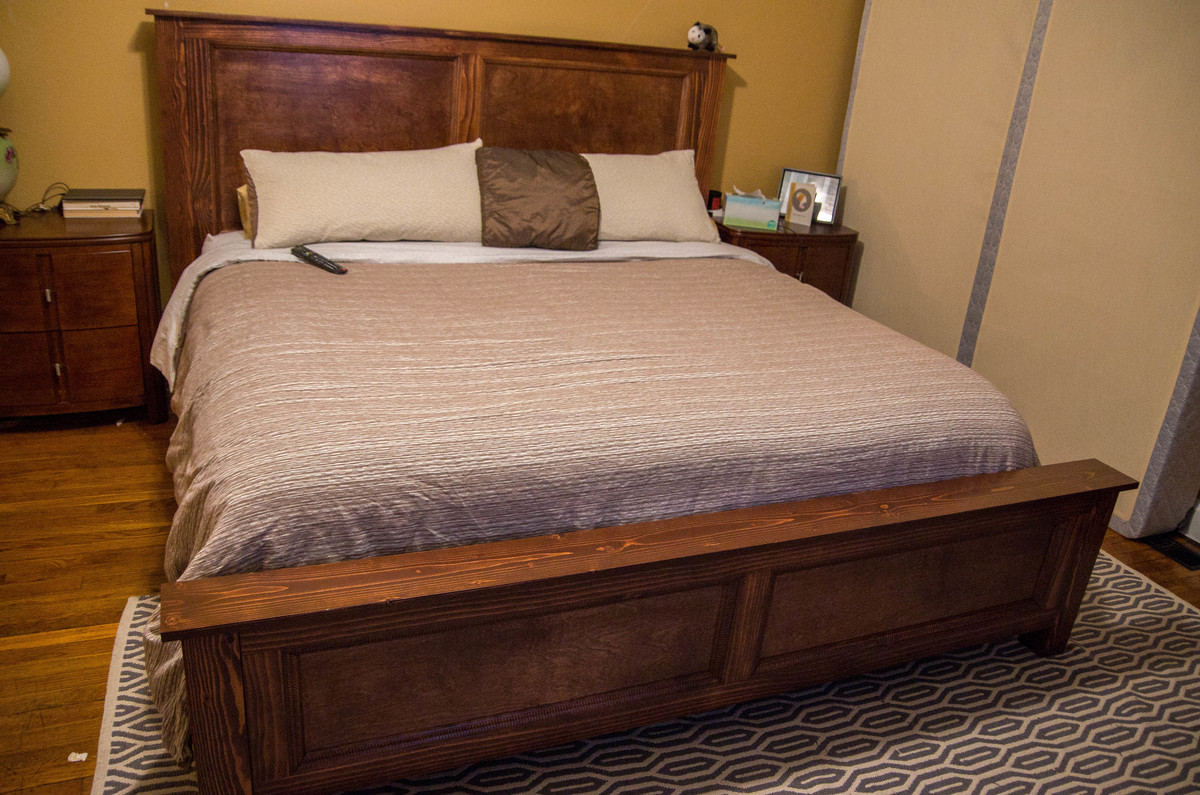
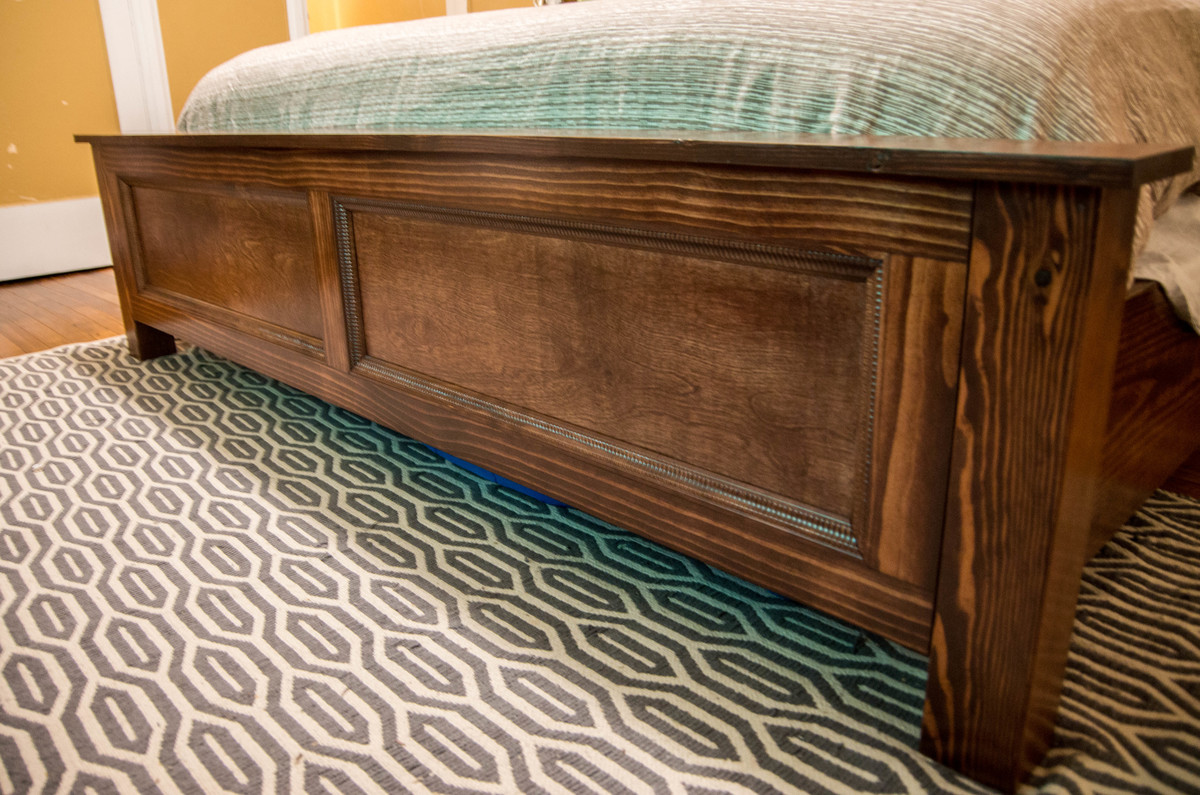
We executed the Cassidy King bed plan to the letter apart from the shims decoration on the head and footboard. We opted for trimming both the head and footboard with some simple trim to keep the design clean. We also used 2x12s for the side rails and added extra frame supports to ensure the bed was extra sturdy, and it is rock solid! As you can see from some of the pictures after putting the bed together using our box springs we felt it made the mattress look too high. We then decided to put down ¾ inch plywood and take out the box springs (our mattress is really thick, nearly 18’’). All in all, we are very pleased with how this plan turned out. Thank you, Anna, for your awesome plans! This is the third project we have made from your site and all of them have turned out true to the plans and looking really nice.
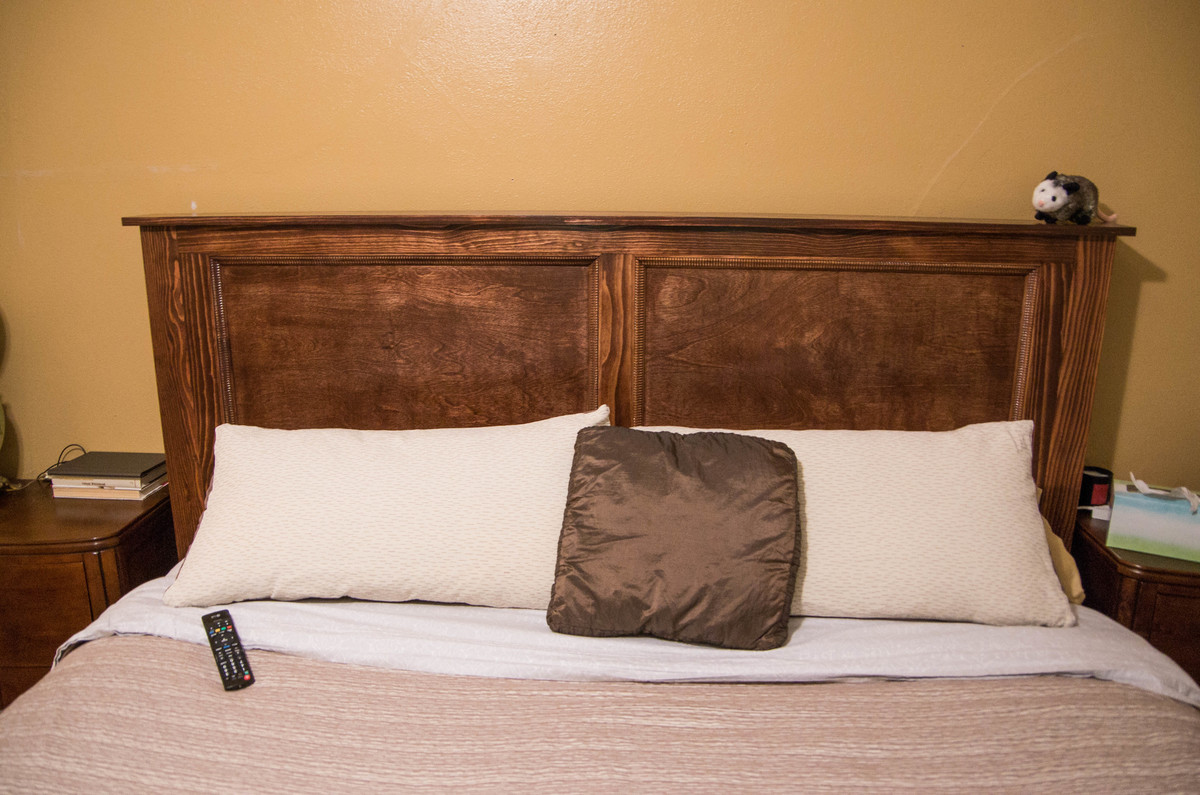
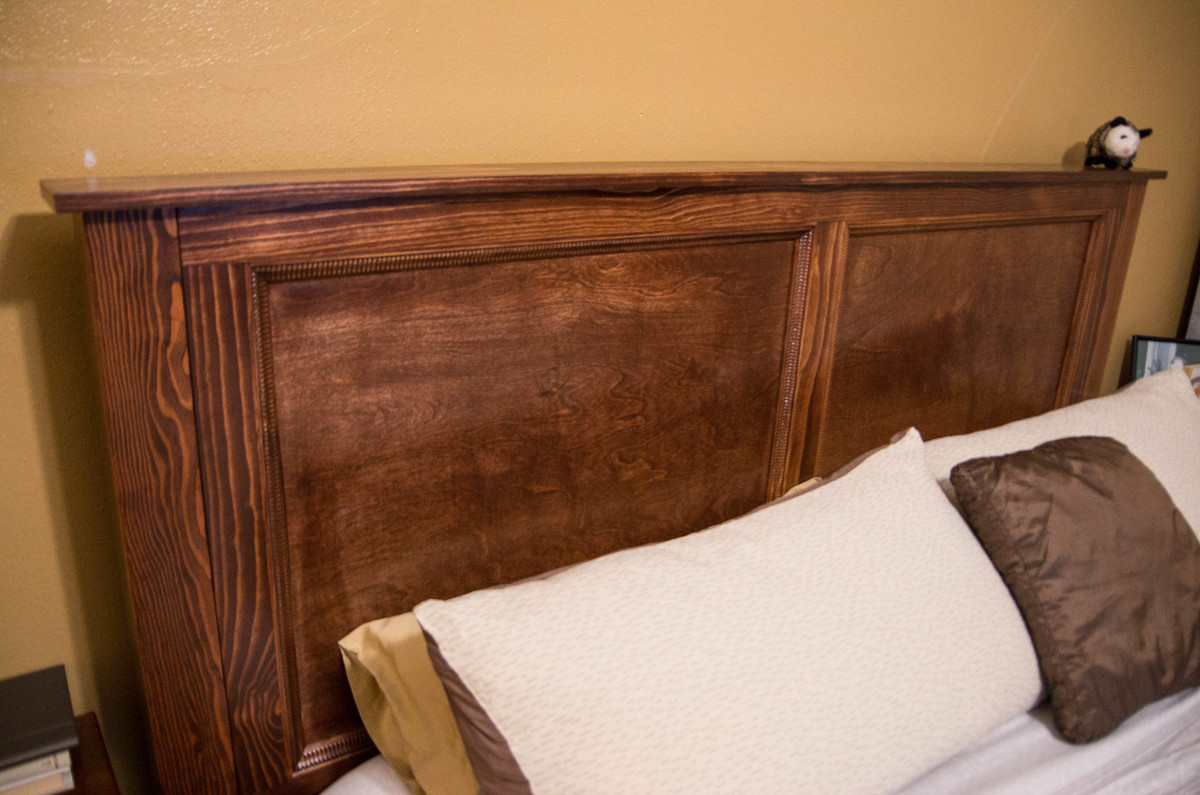
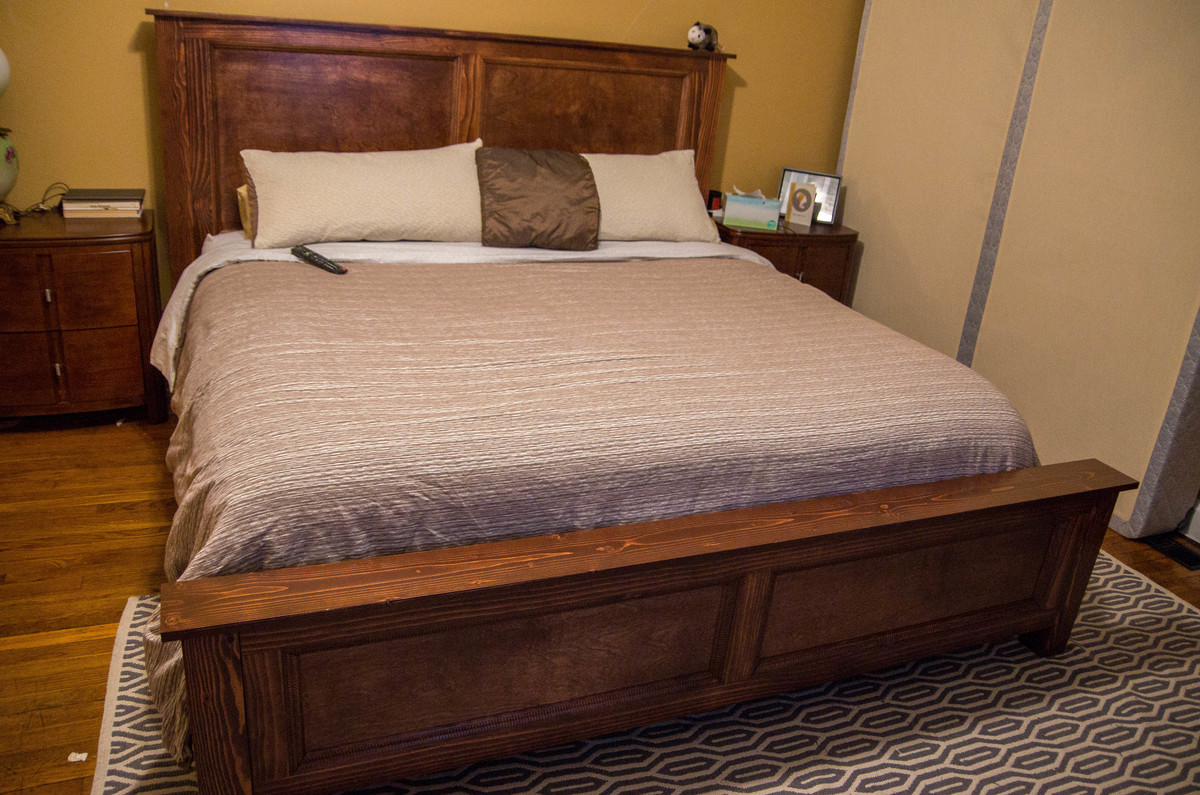
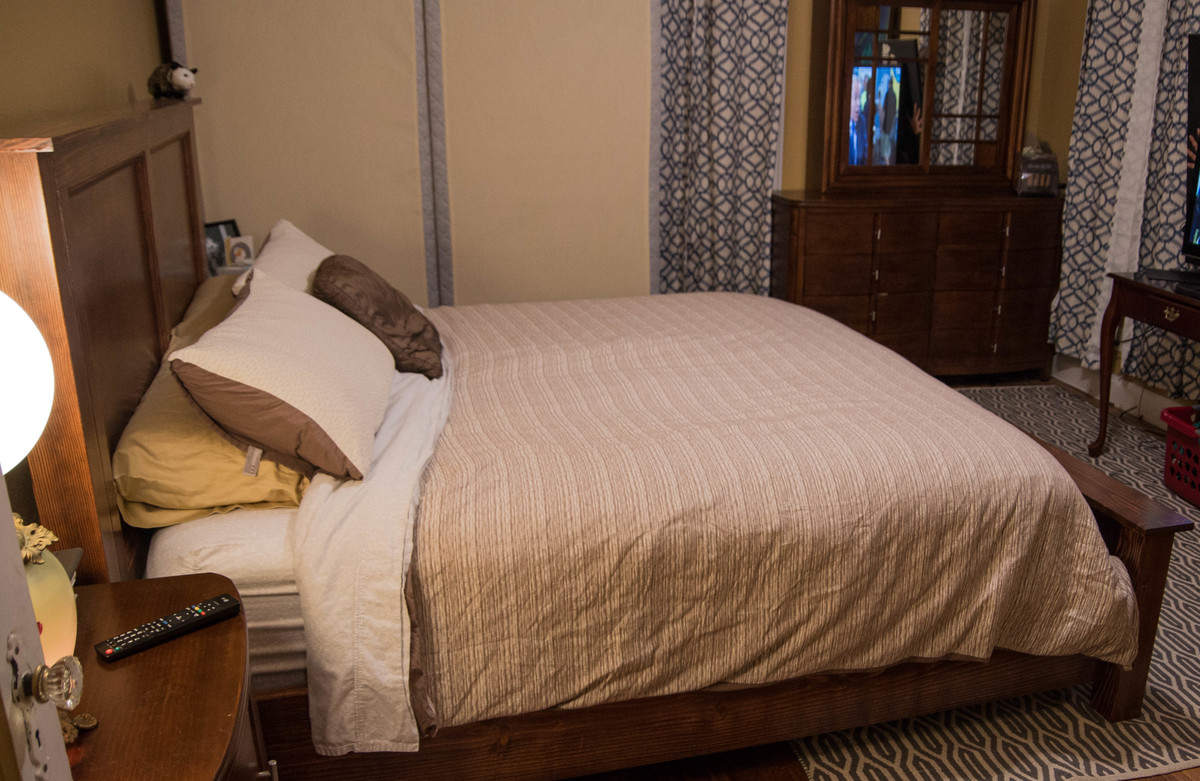
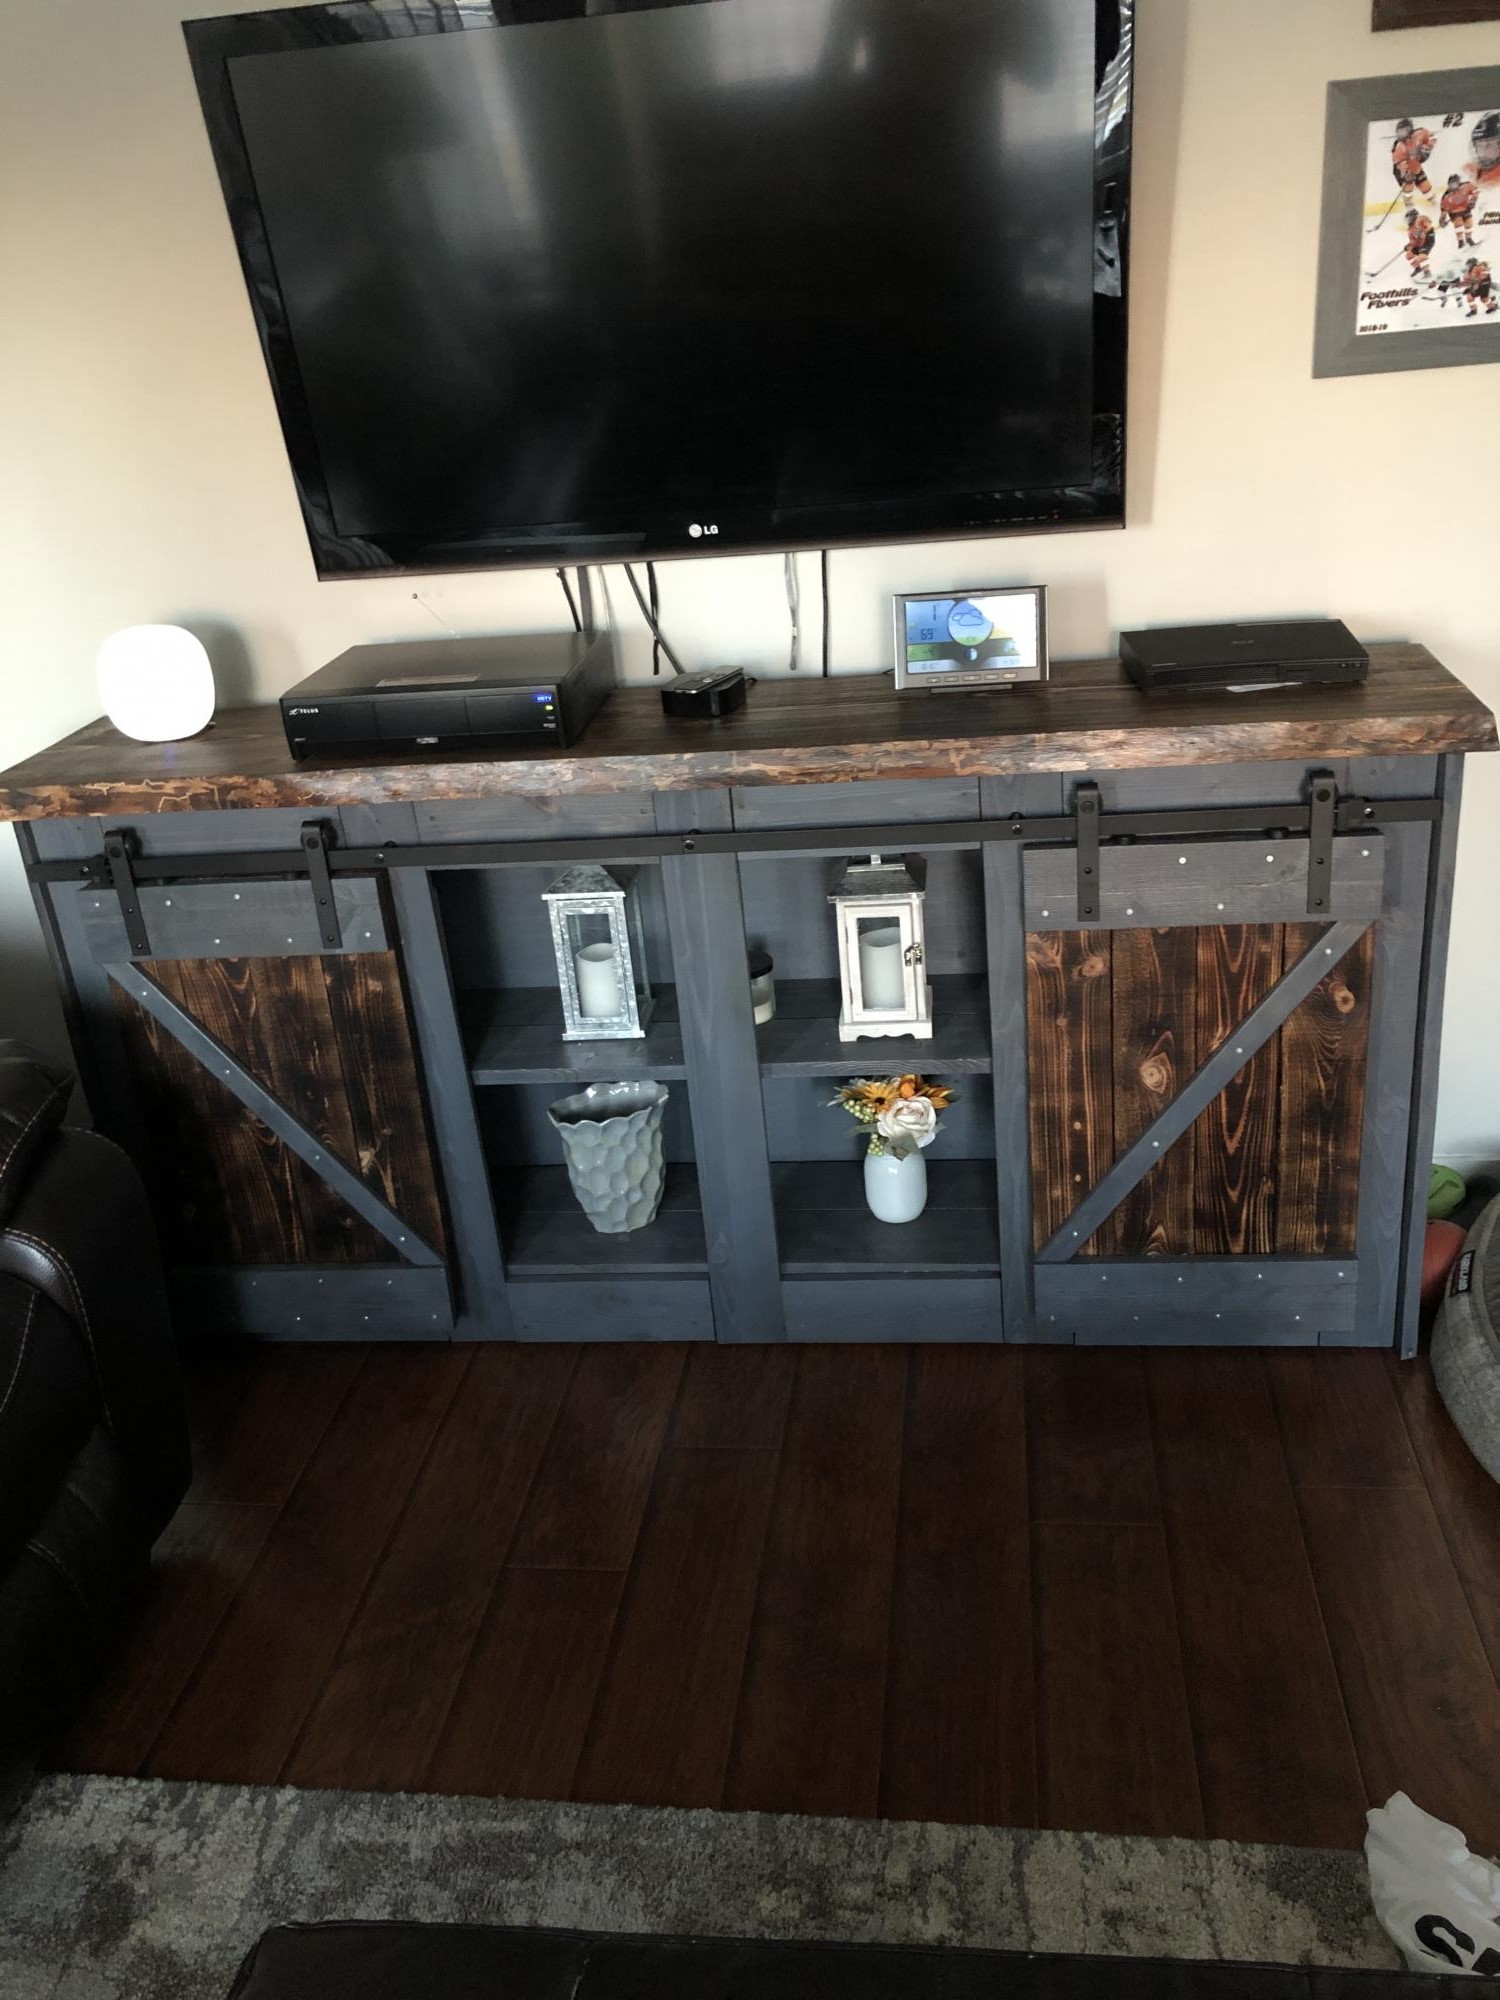
My first project, I built it out of rough cut lumber that I cut on my parents portable sawmill. Took me three weekends to build, turned out pretty good, but I would change how I did a few things.
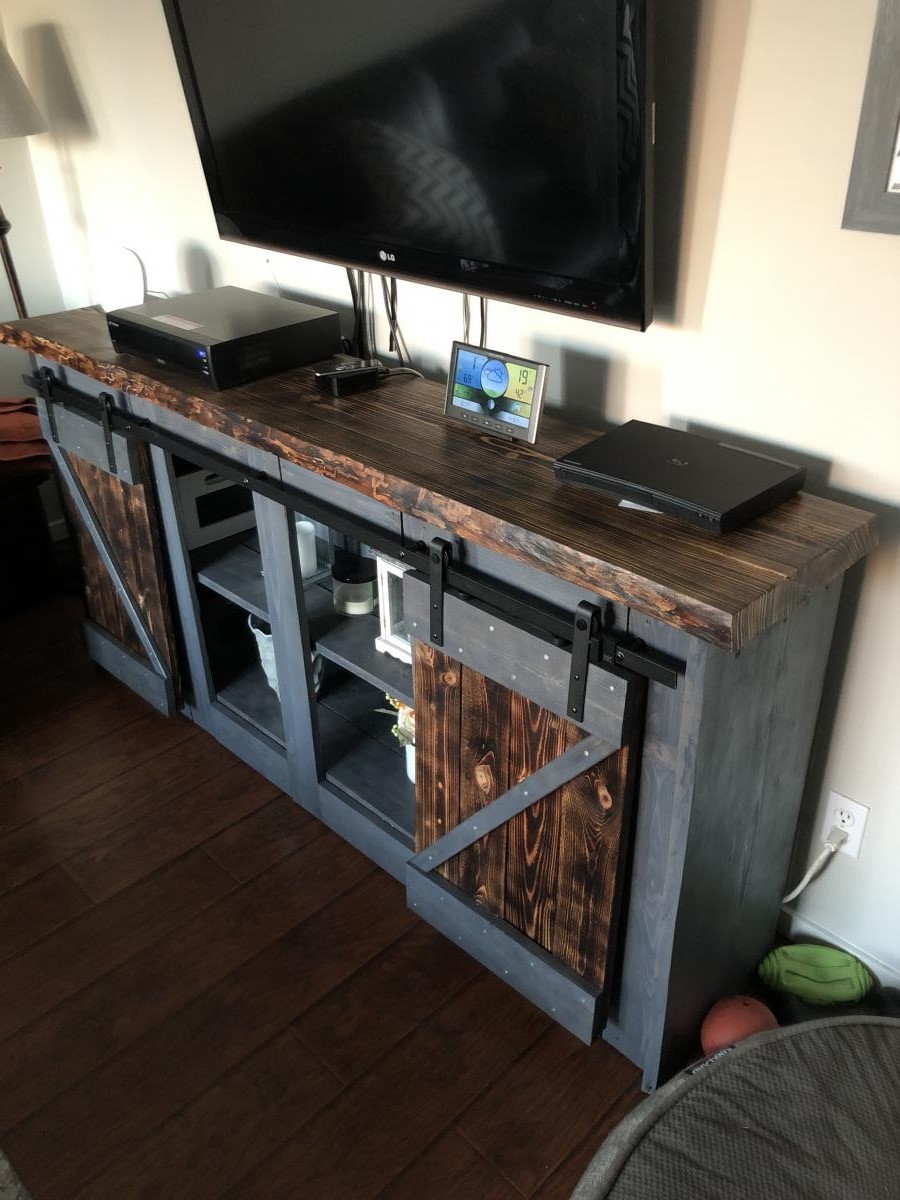
Armoire for 18 inch doll. Constructed using Ana White guide, with small alterations to doors. Stars were not cut, instead small wooden knobs were used. Two stars were painted pink and attached to the doors, to give the American Girl feel. The doors were difficult to keep shut, and an attachment was installed at the bottome of the doors to aid in keeping them closed. For any future builds, we will scale down the size of the armoire. It is quite large for an 18 inch doll.