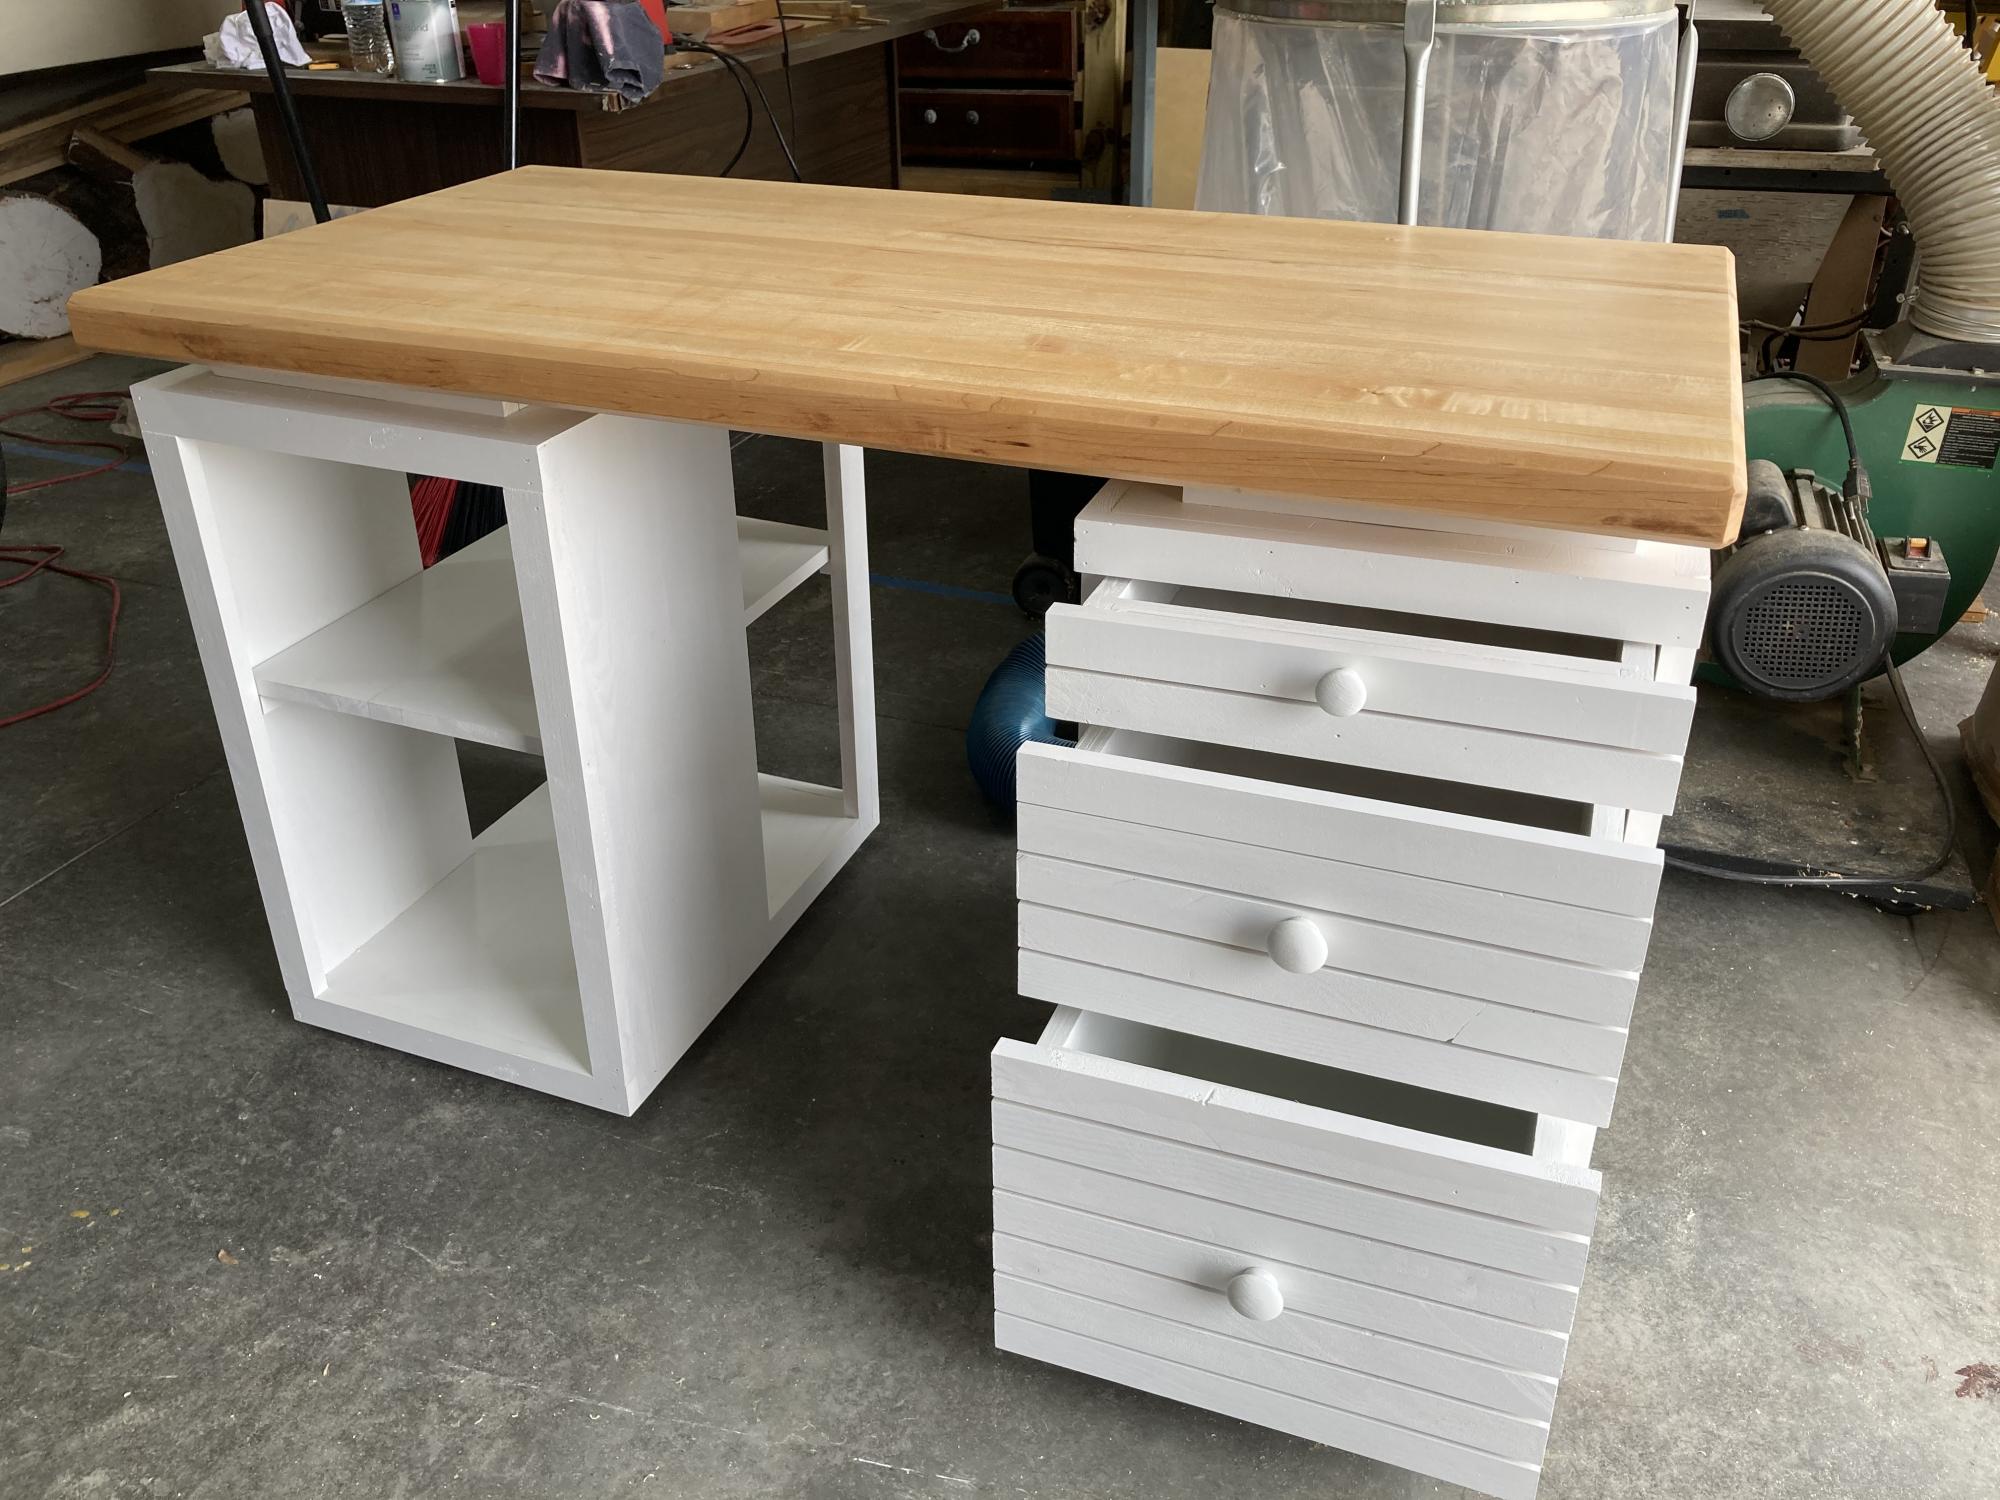
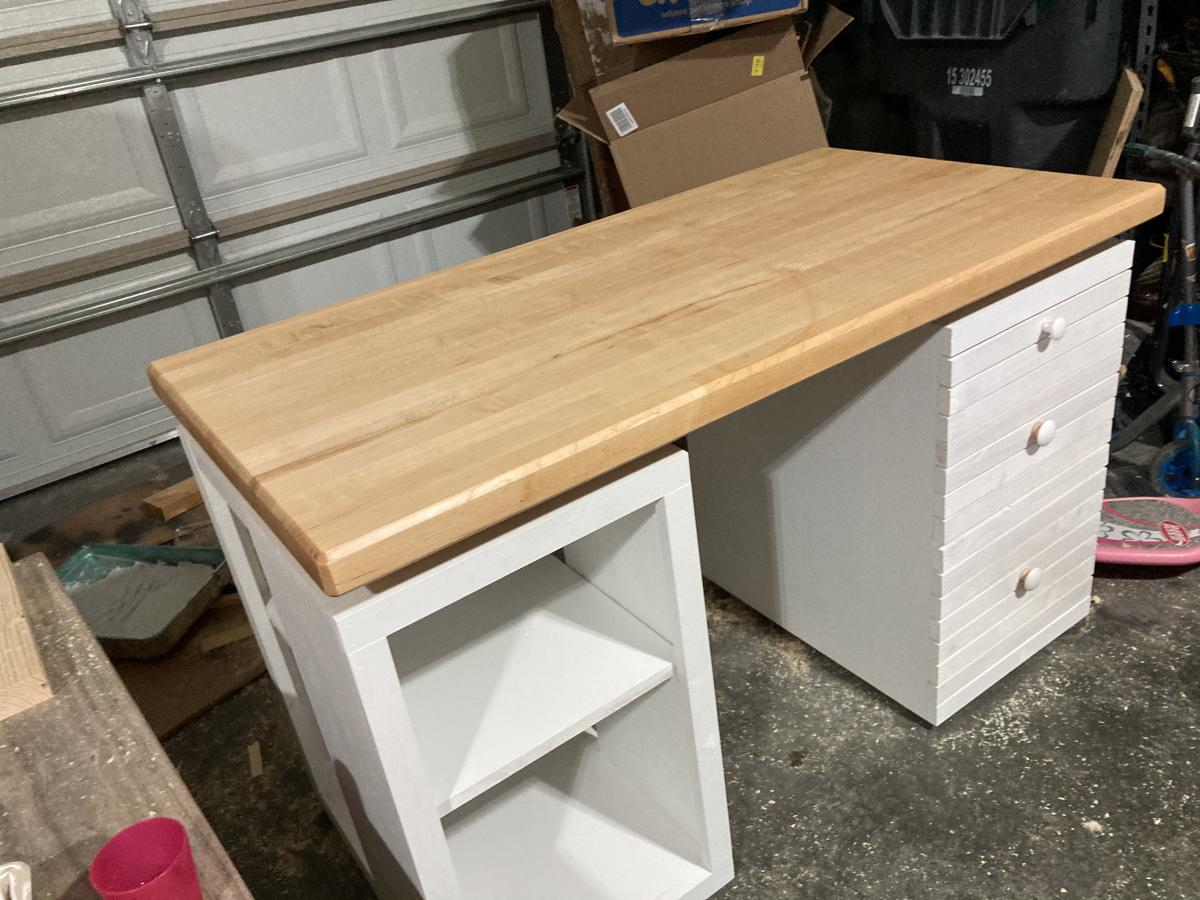
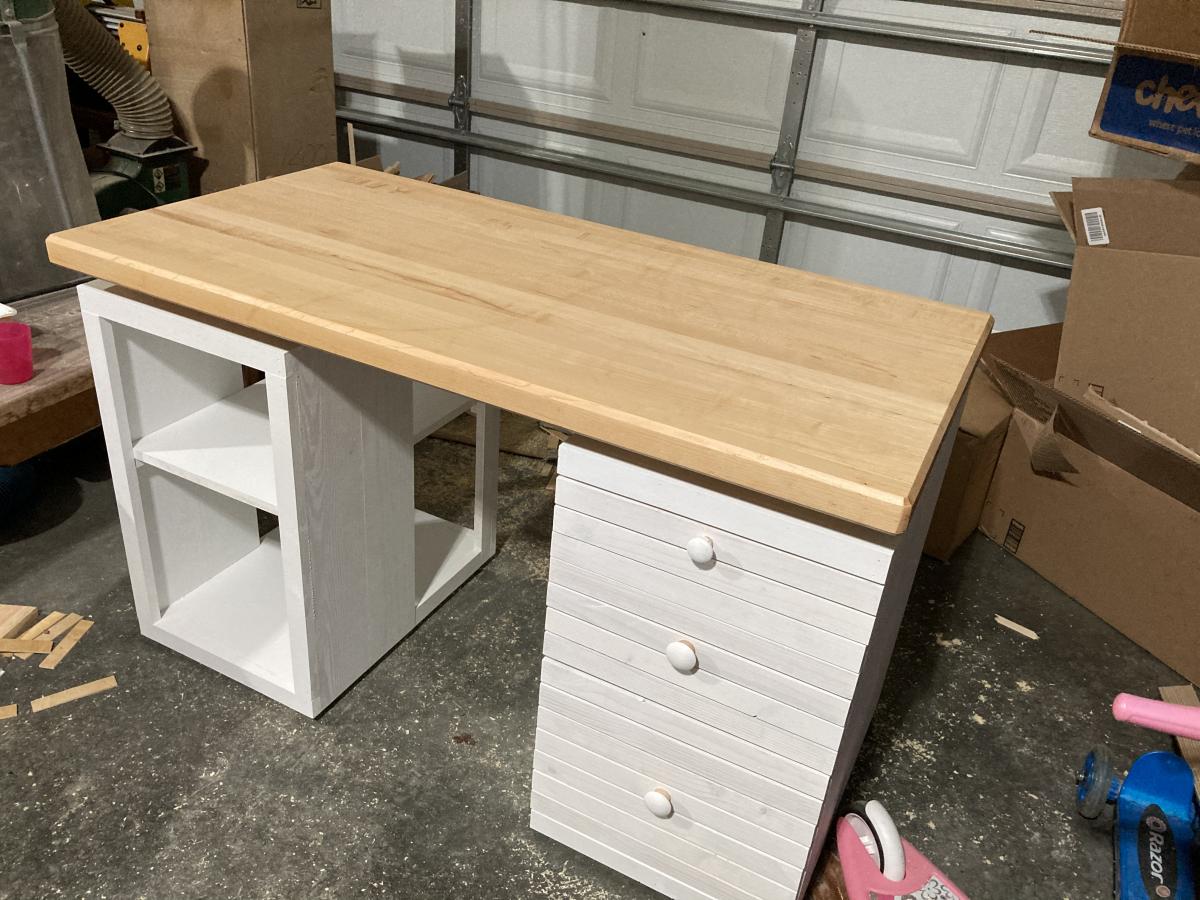
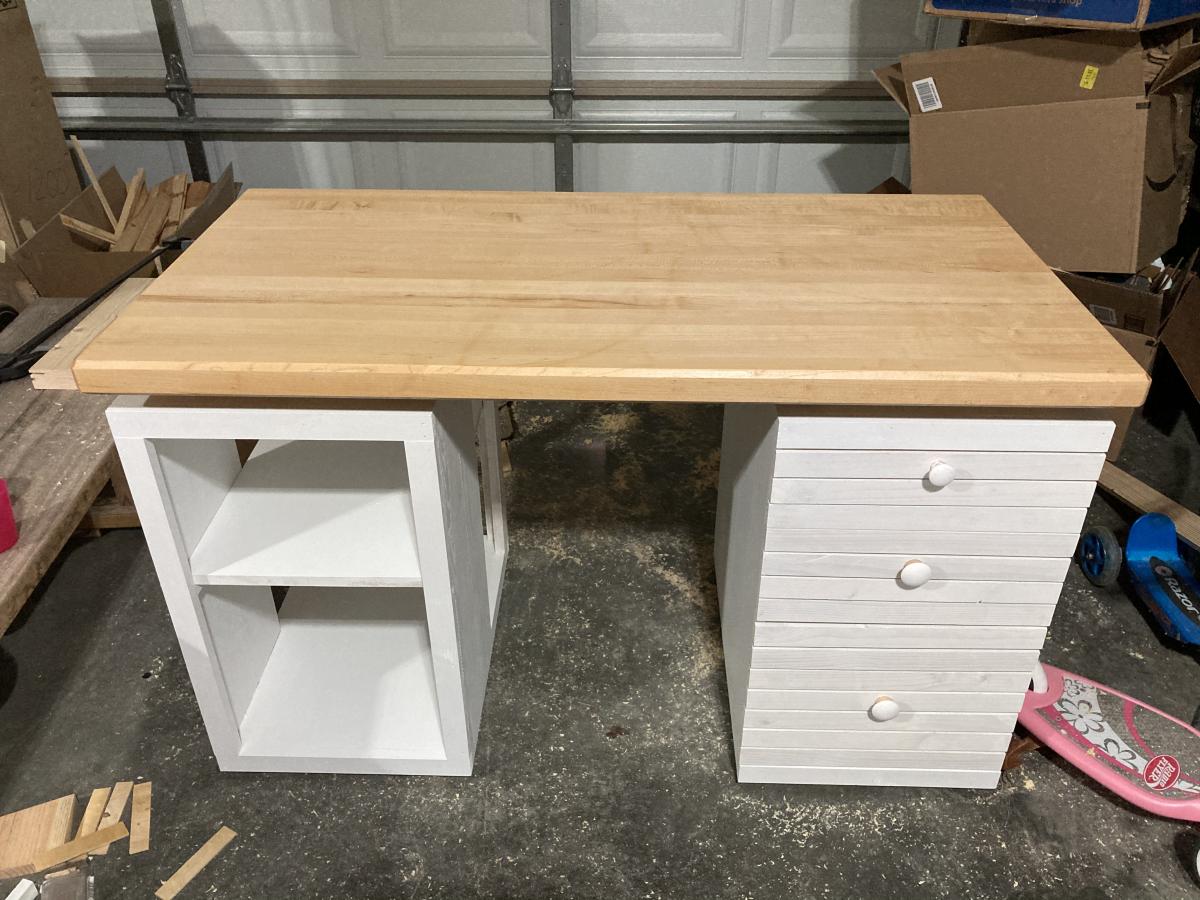
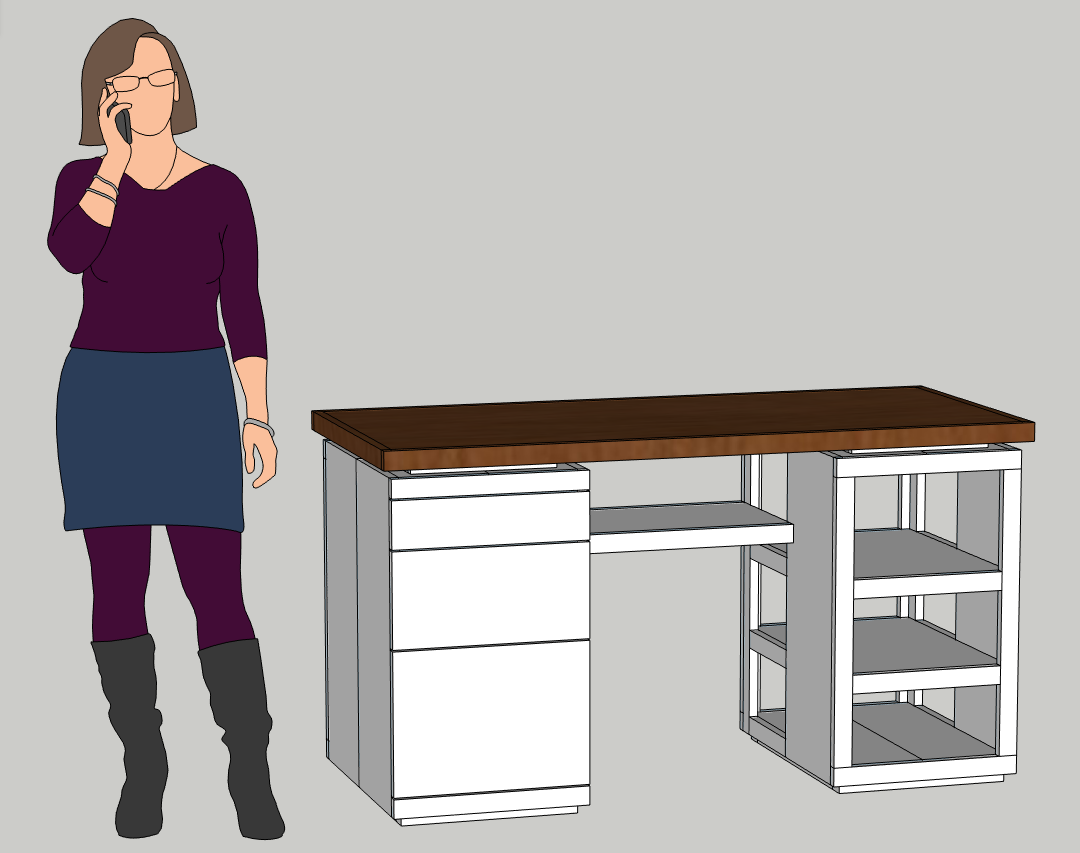
Rustic Rolling Wooden Dresser Variation

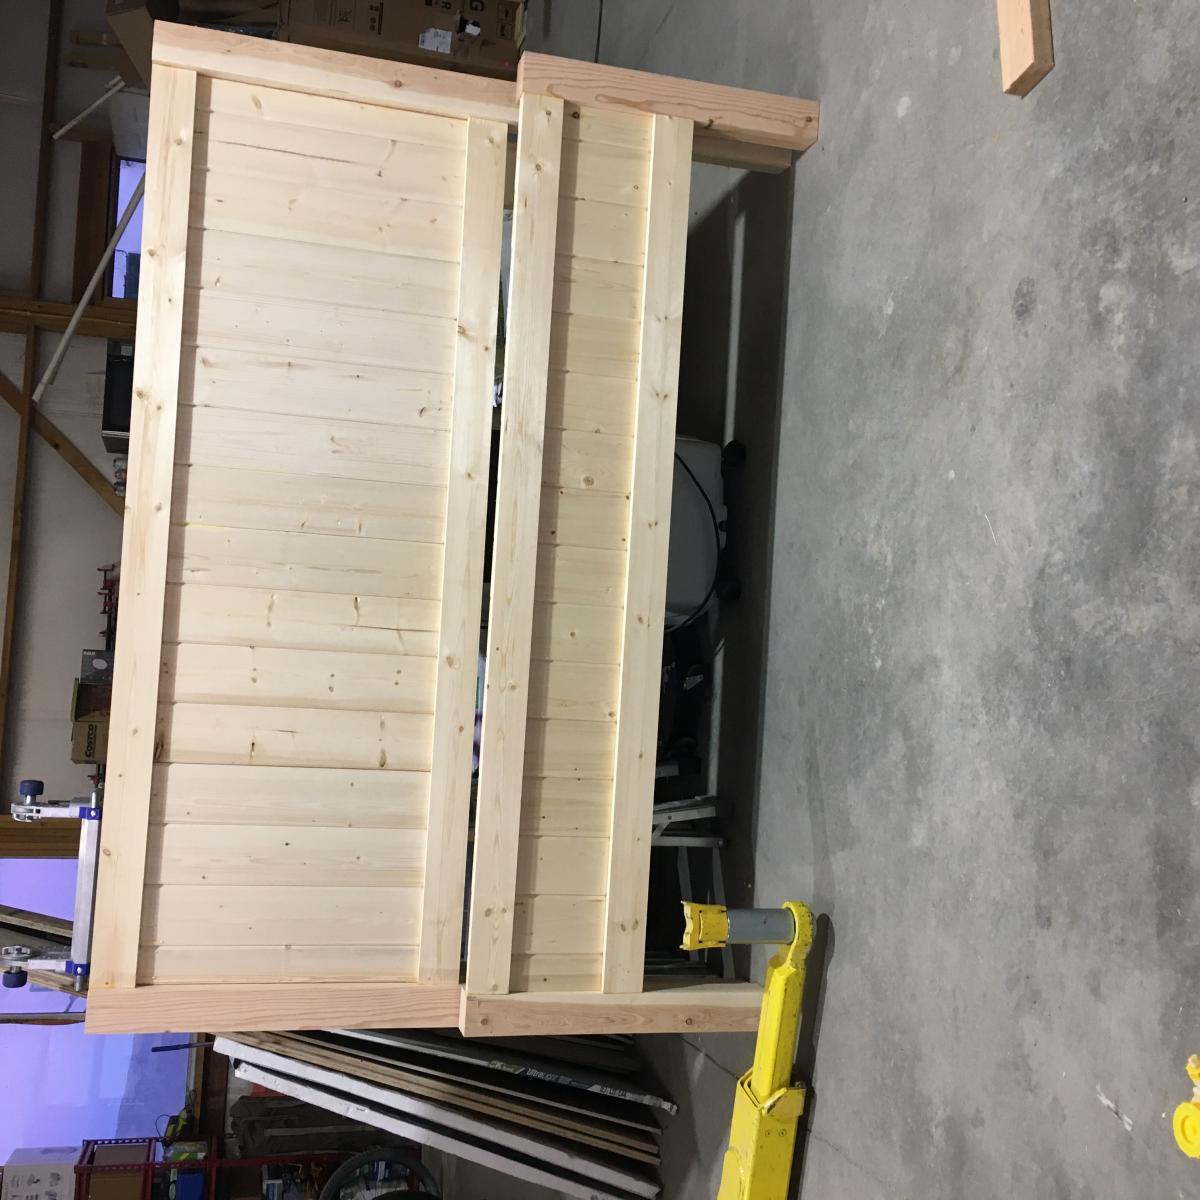
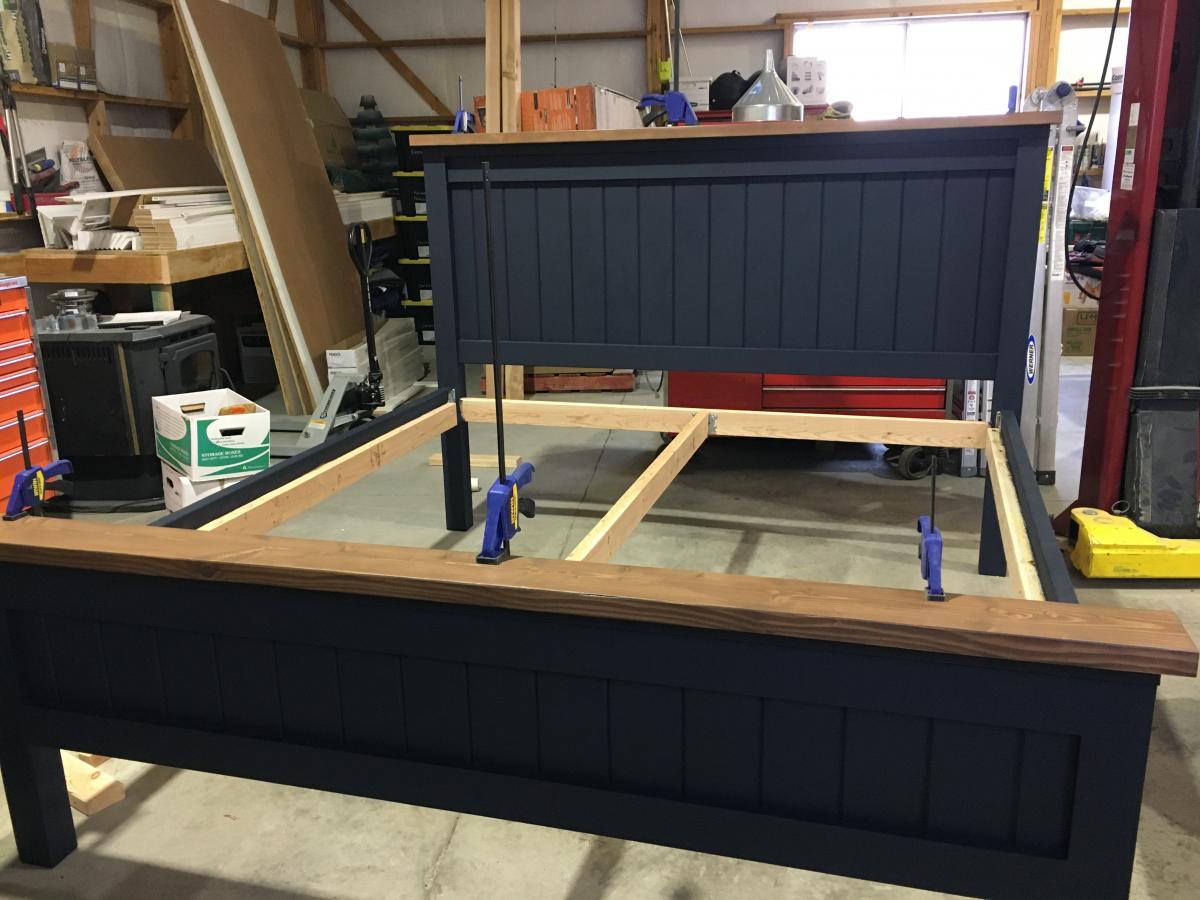
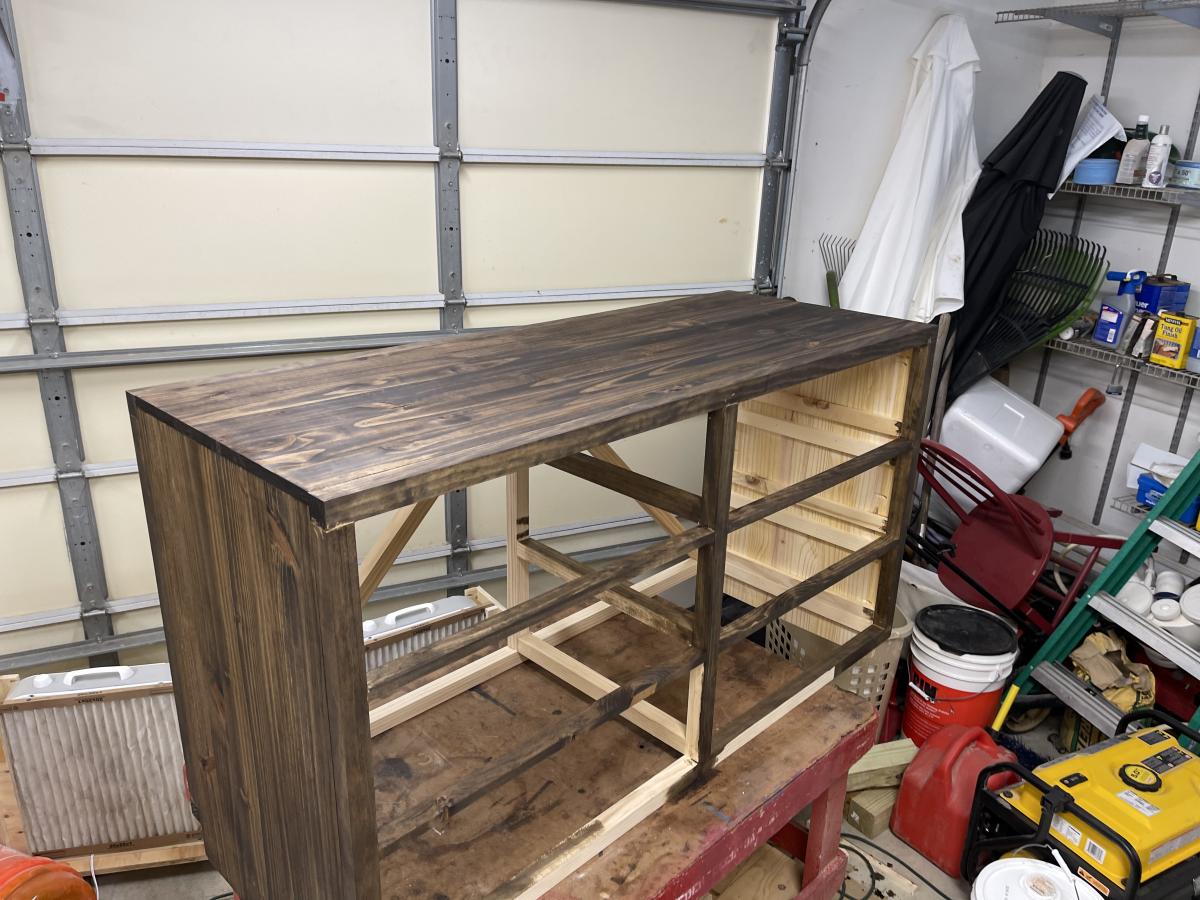
This is my take on the Rolling Rustic Wooden Dresser. I did not use the wheel and extended the sides to increase the height.
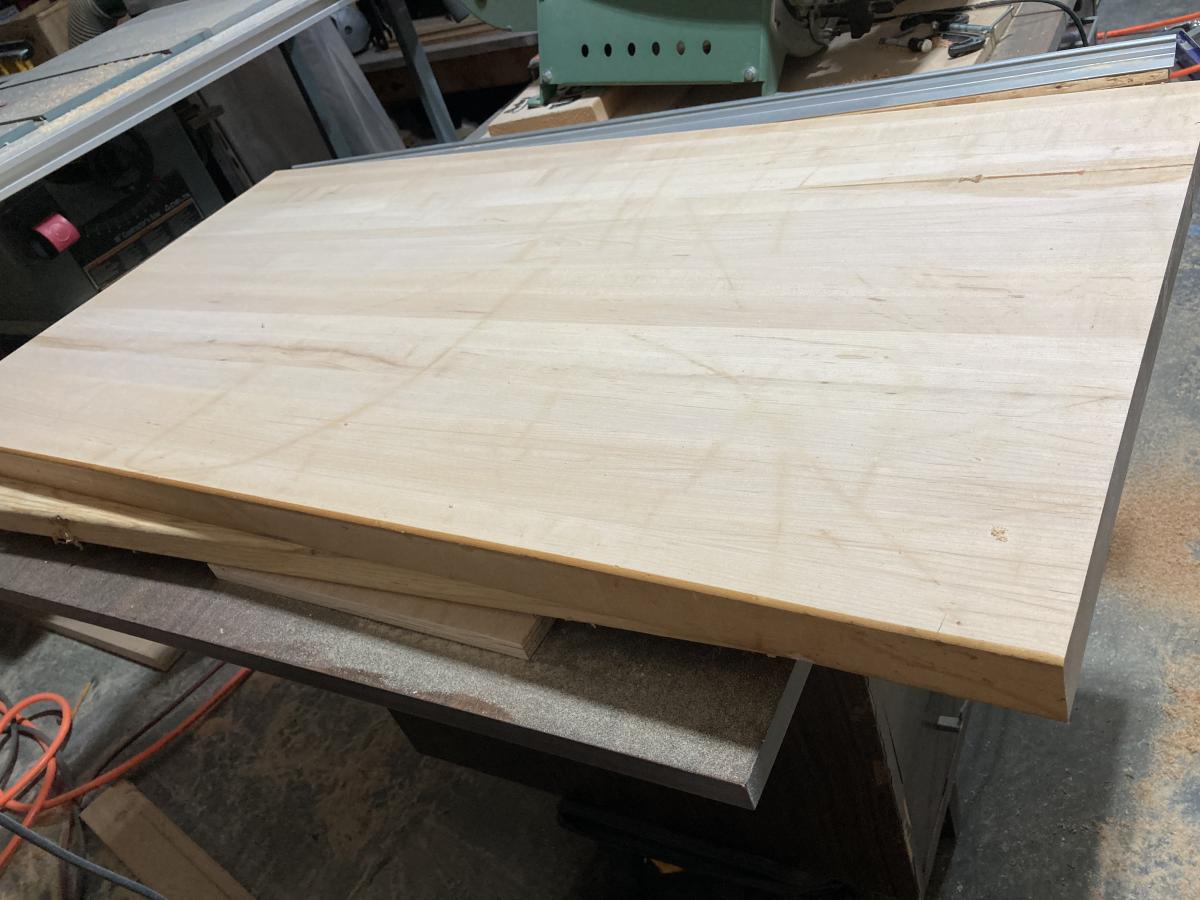
Used the edge glued project panels from Lowe’s for the Top, Side and Drawer Faces.
Biggest cost increase is the inclusion of the much more expensive drawer hardware. My wife likes the self closing under drawer mounts that run $25-$30 a pop.


Built from Plan(s)
Estimated Cost
$350
Estimated Time Investment
Week Long Project (20 Hours or More)