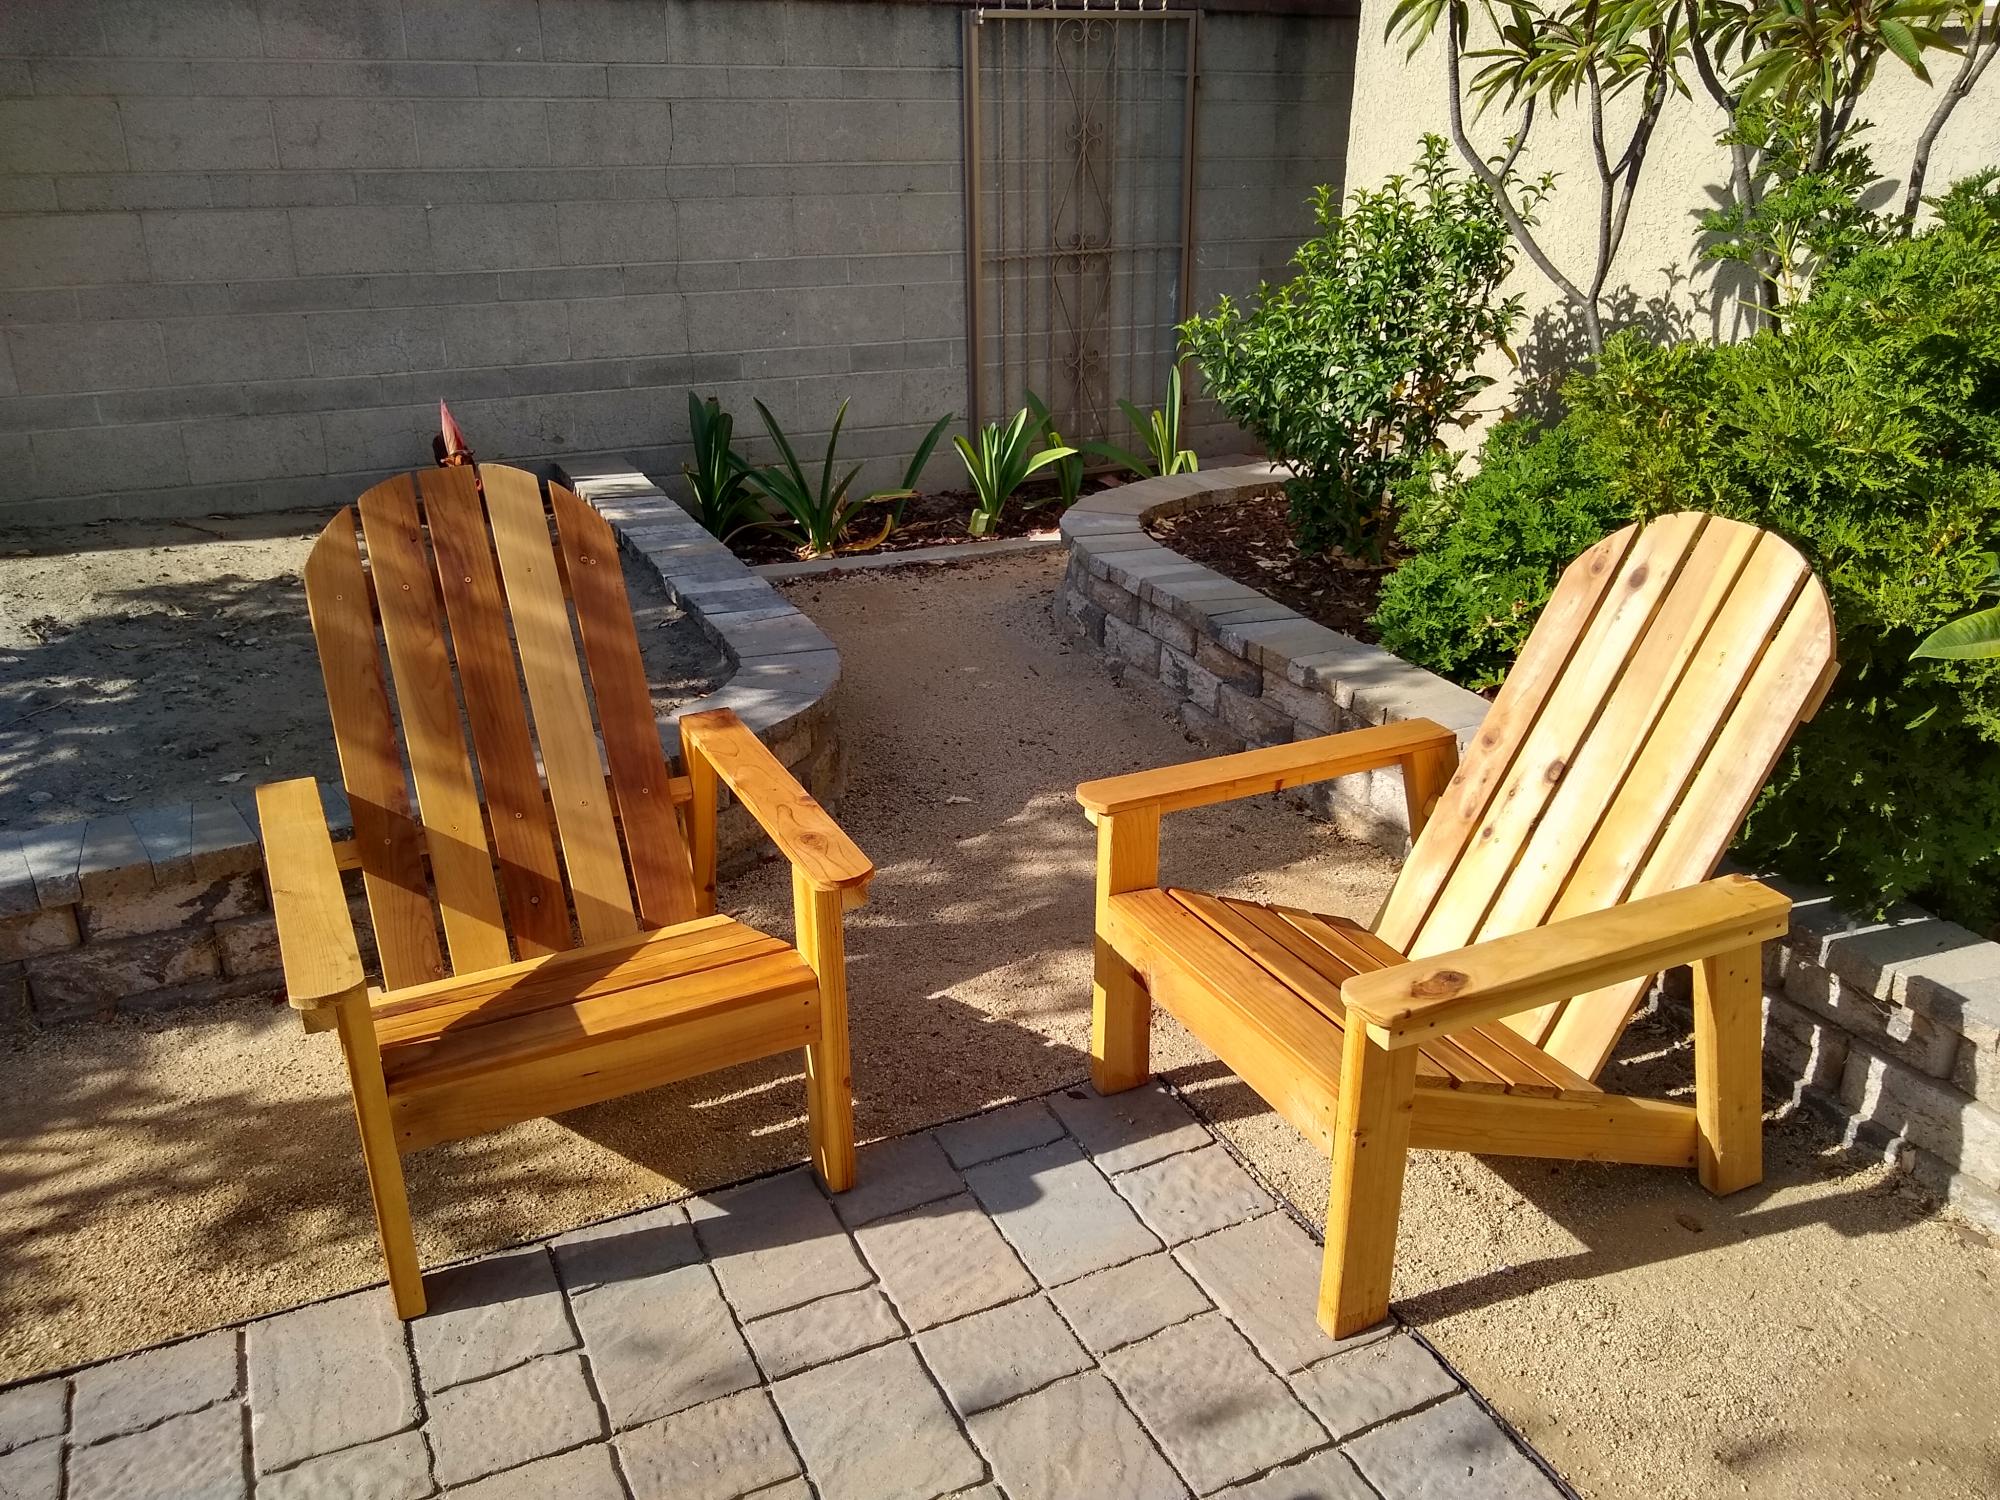
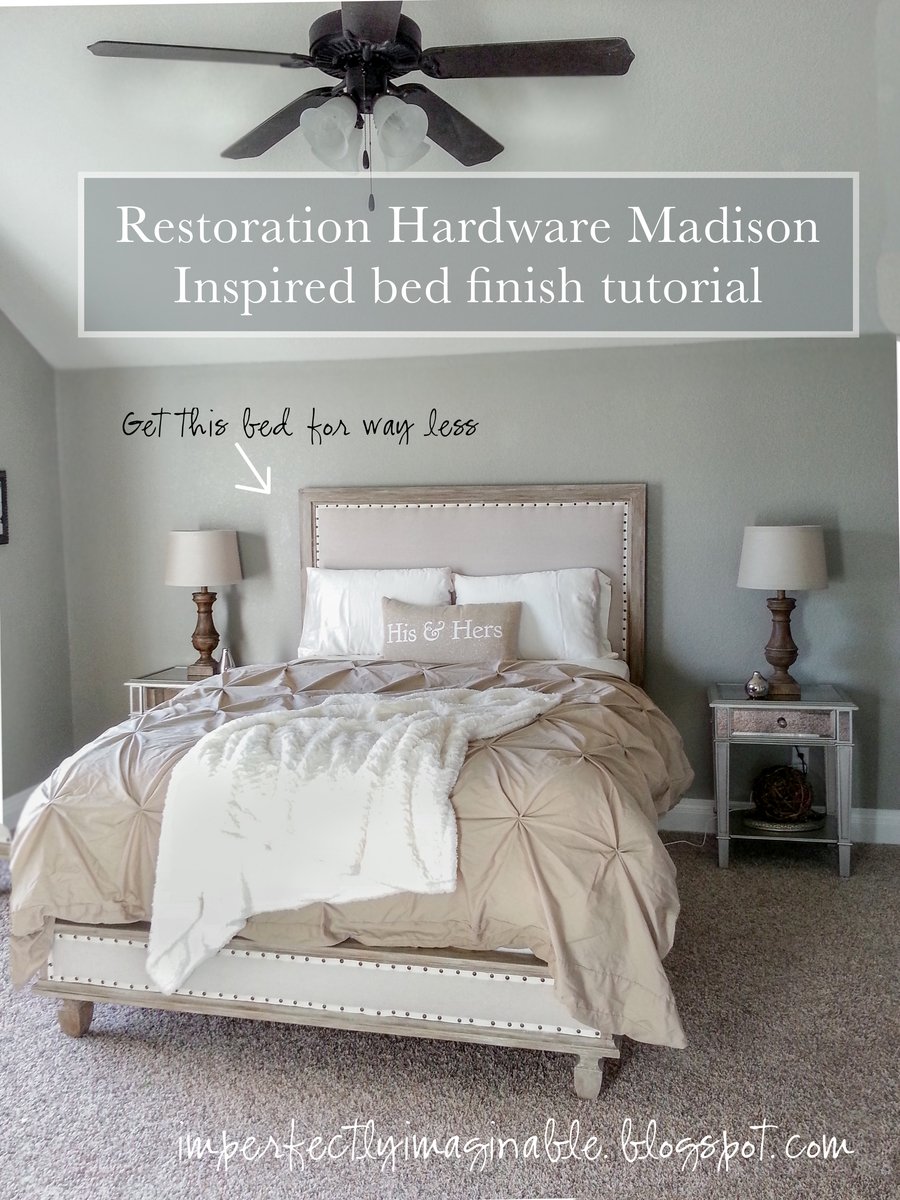
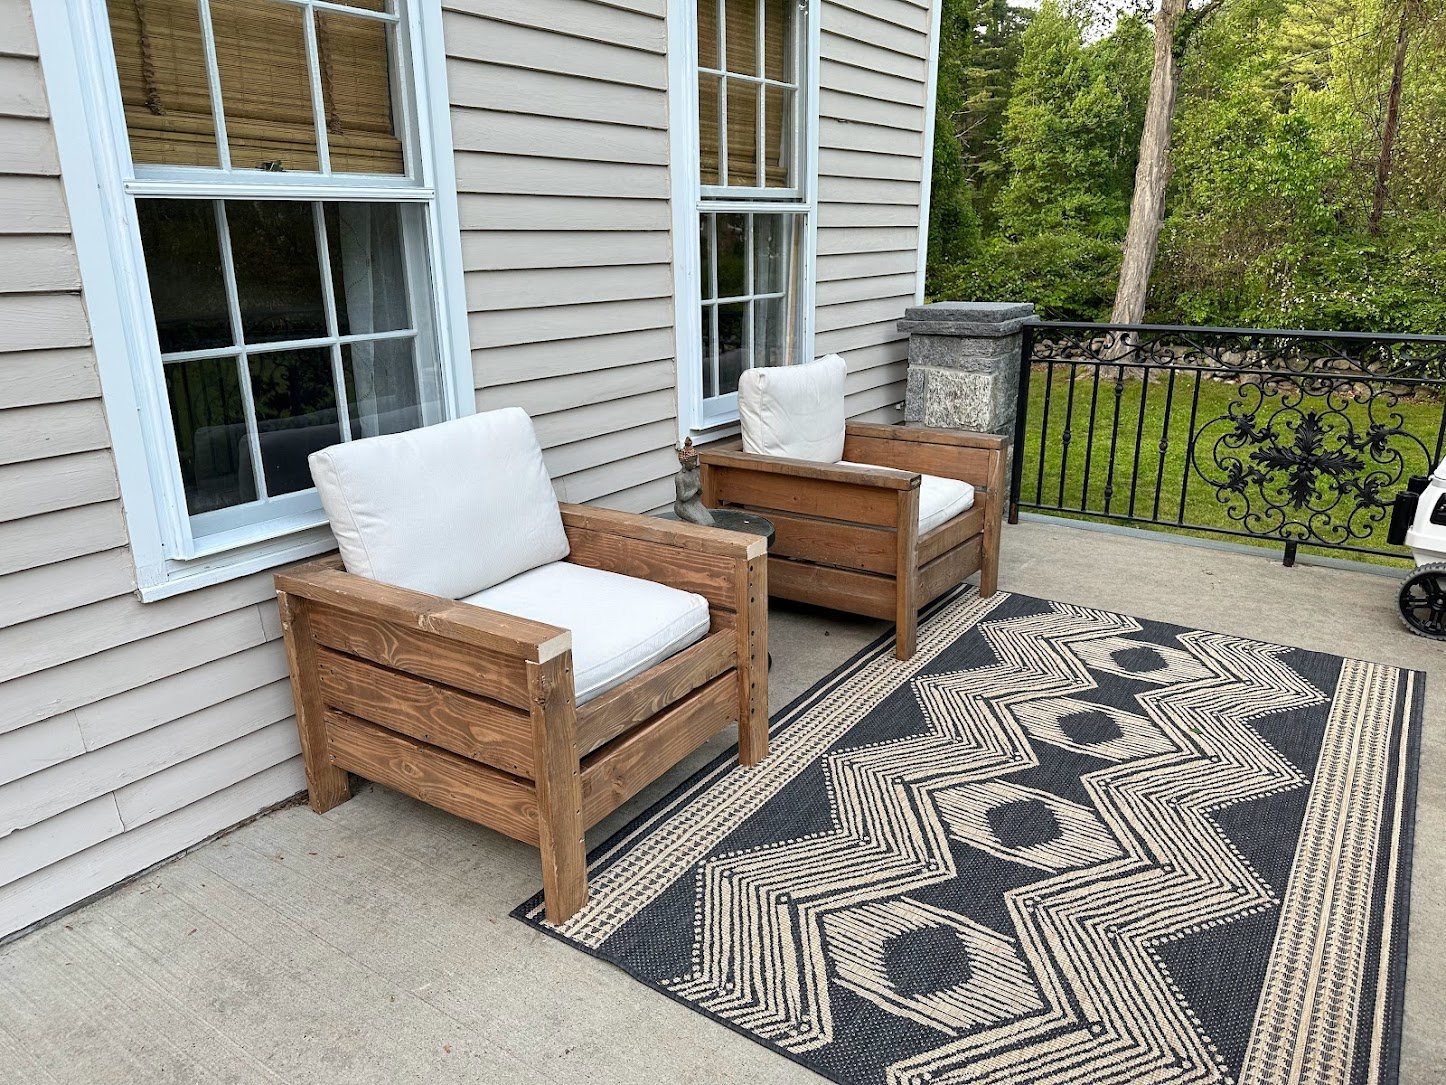
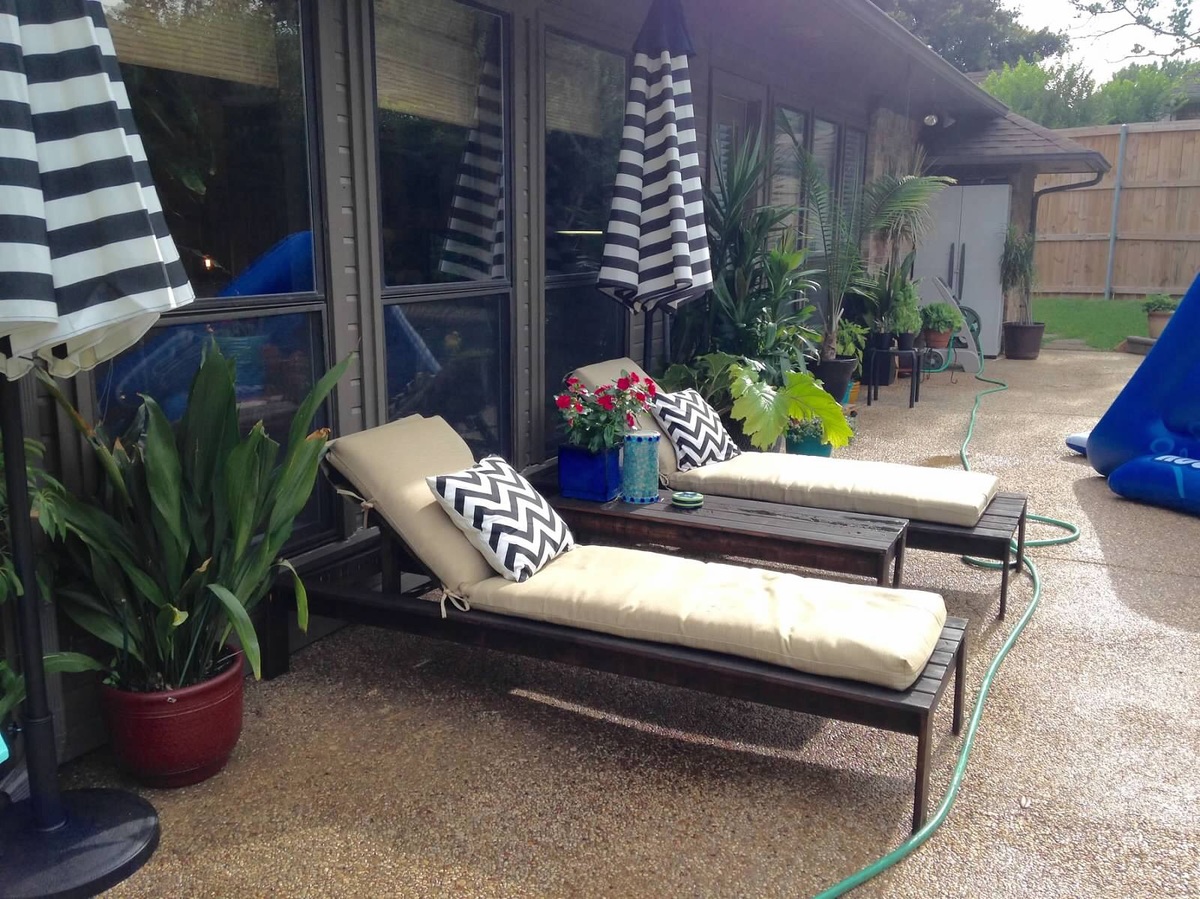
I loved the simple look and have admired similar loungers at Pottery Barn. Even if I had the money I feel it's a waste to pay for what they charge. I knew there were plans somewhere to make something similar for a fraction of the cost. So happy I found this site!
I have many tools at home so I needed to purchase the lumber, hardware (screws, hinges, etc.), stain, and sealer. I would say it was about roughly $100/chair (rounding up) - not including the cushions. Those I found at Lowe's for about $60/each.
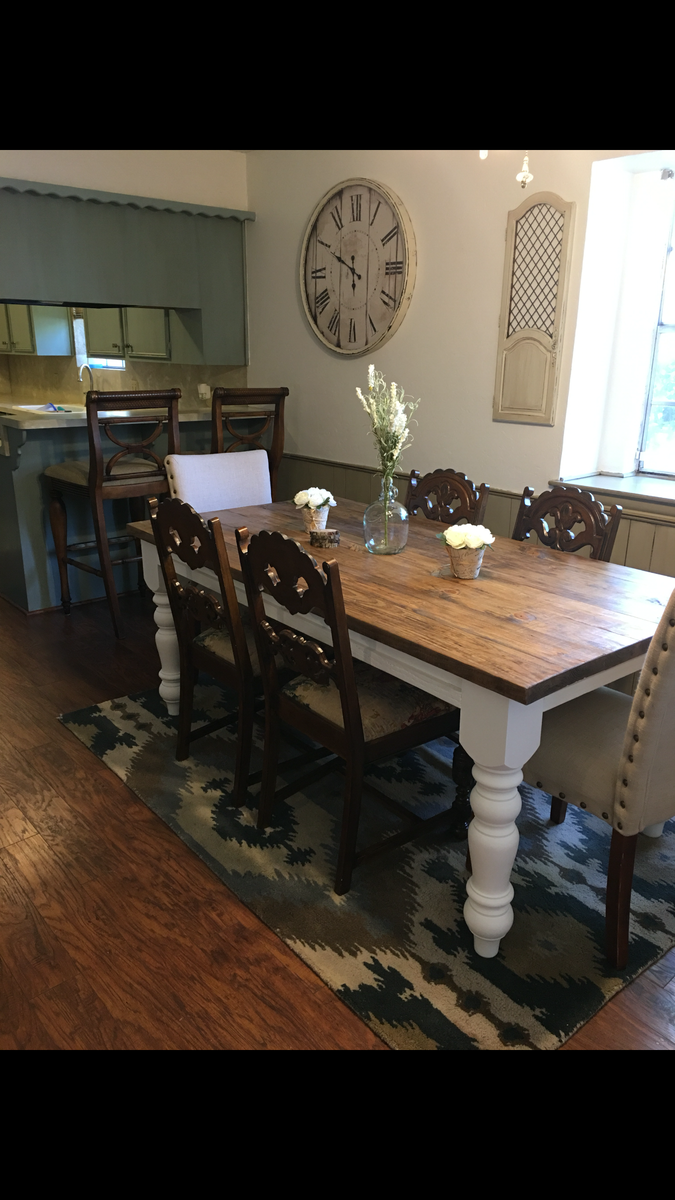
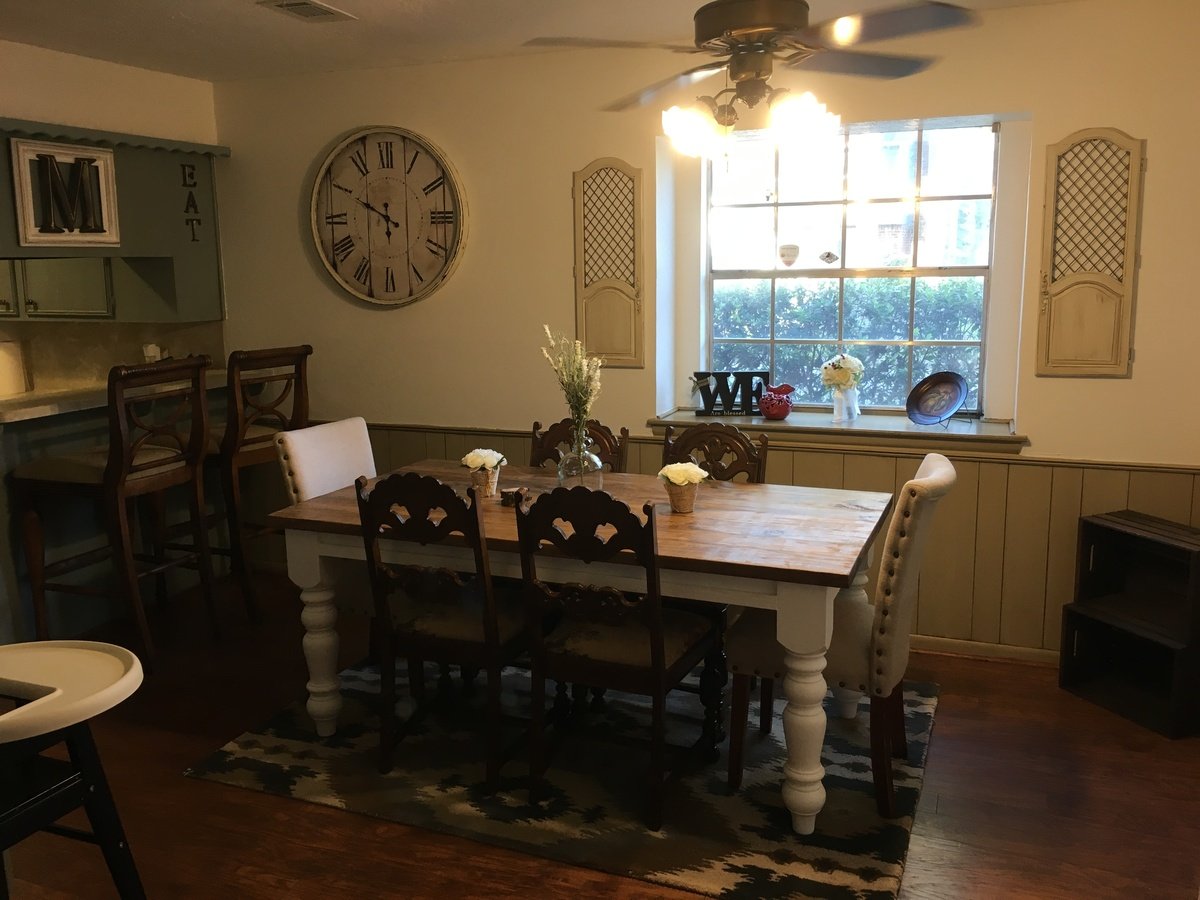
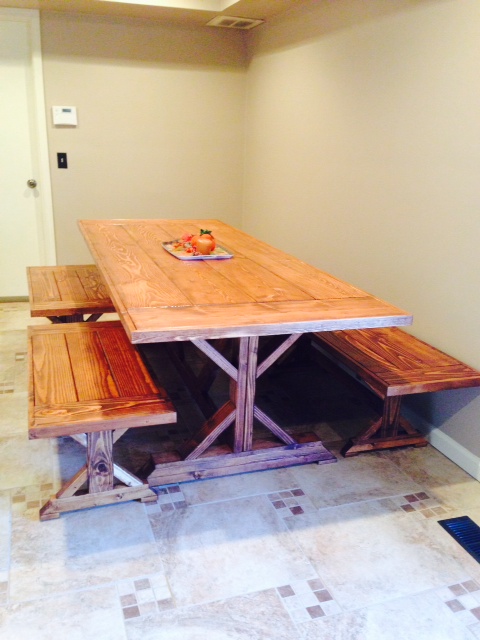
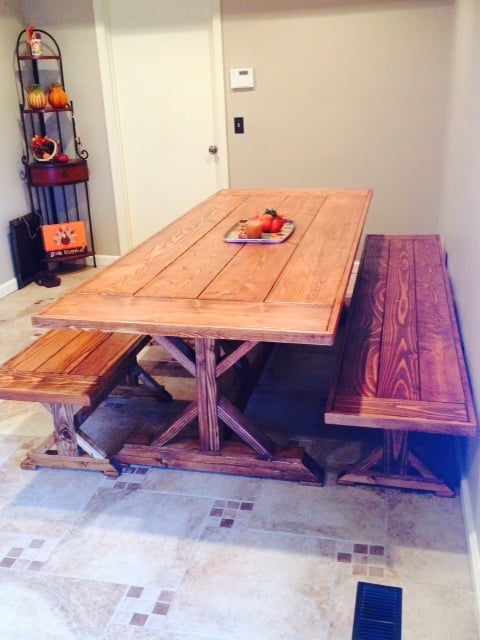
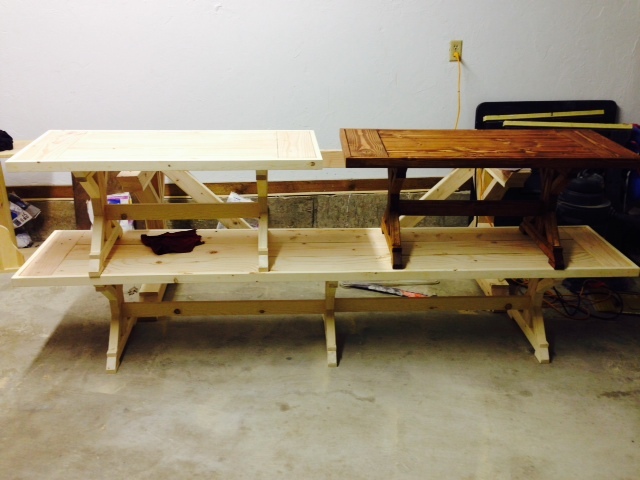
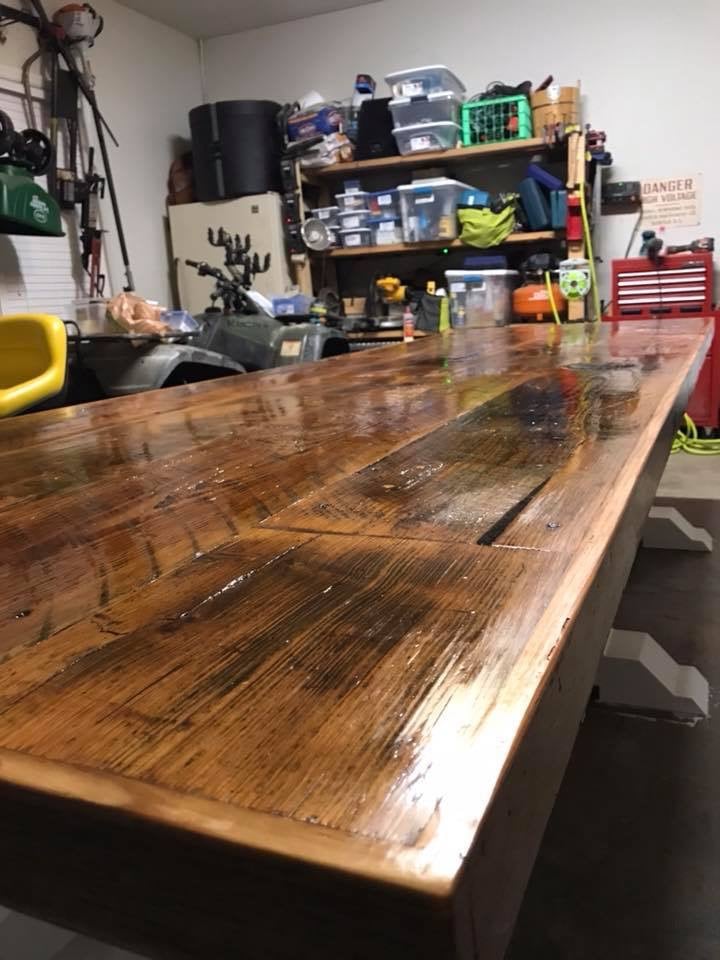
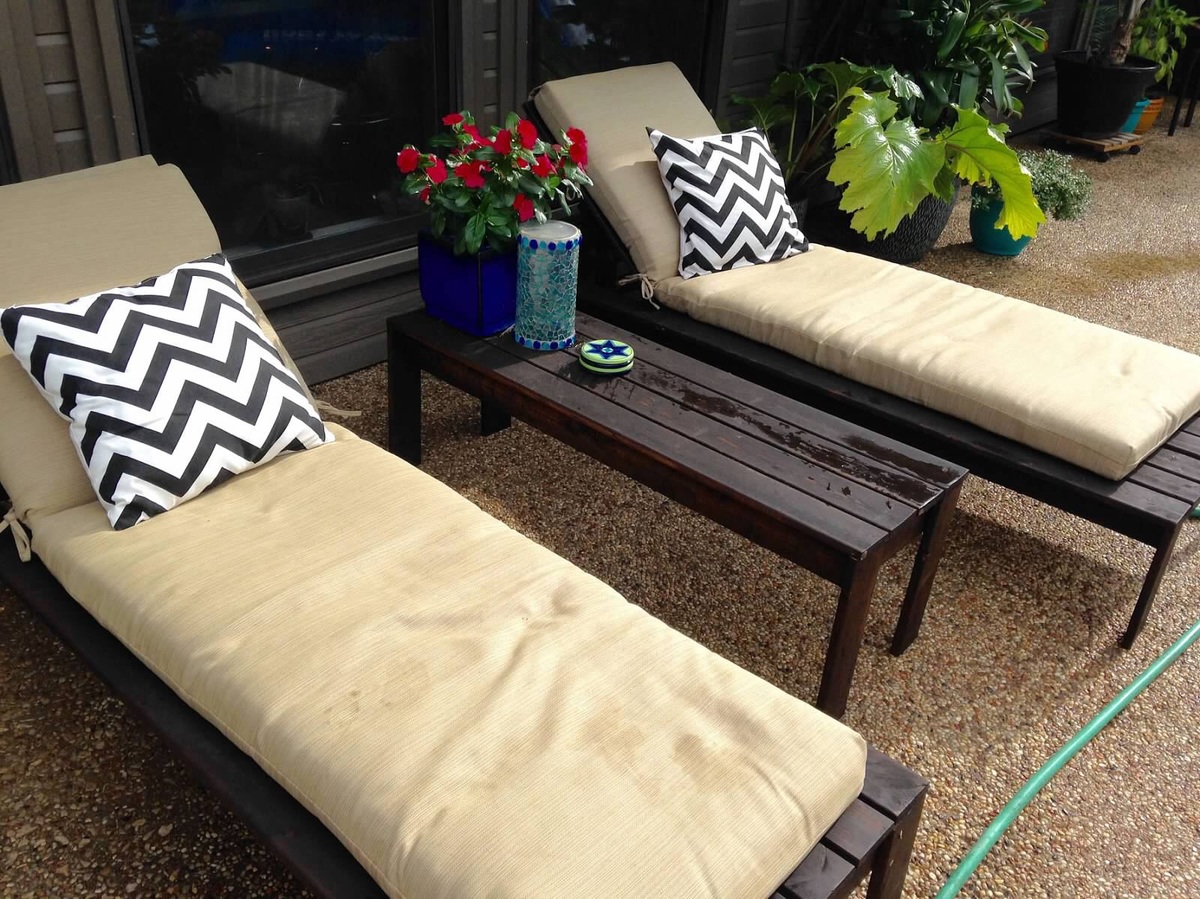
I haven't made anything like this before so I made the first one and took my time. I really enjoyed the process and thought the instructions were simple to follow. I have some skills and basic knowledge so I didn't feel like this was too difficult. I love the way they turned out! I did the 2nd chair the following Saturday. It took most of the day including the finishing. I only took a few hours to put one together. If I had help, would have been less, no doubt. I plan to make a double lounger to match these soon.
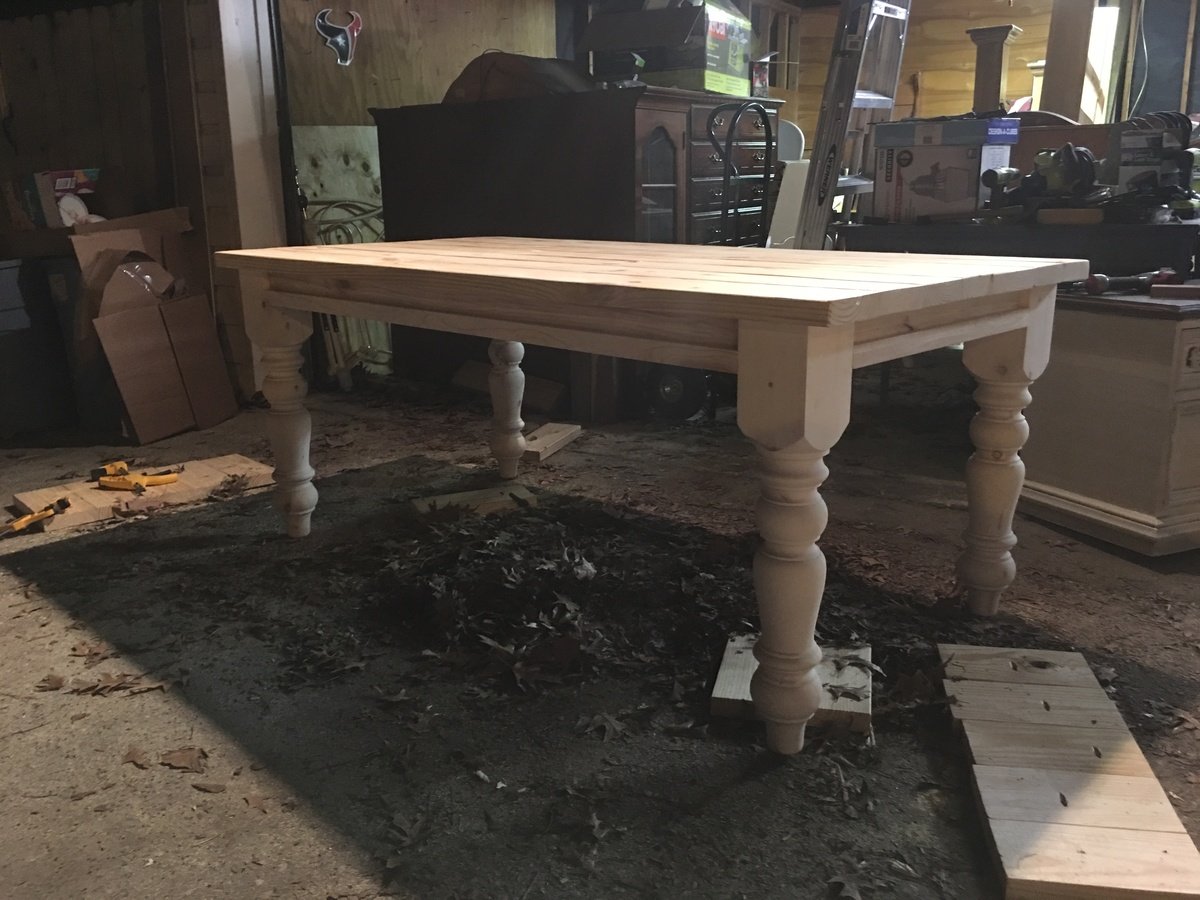
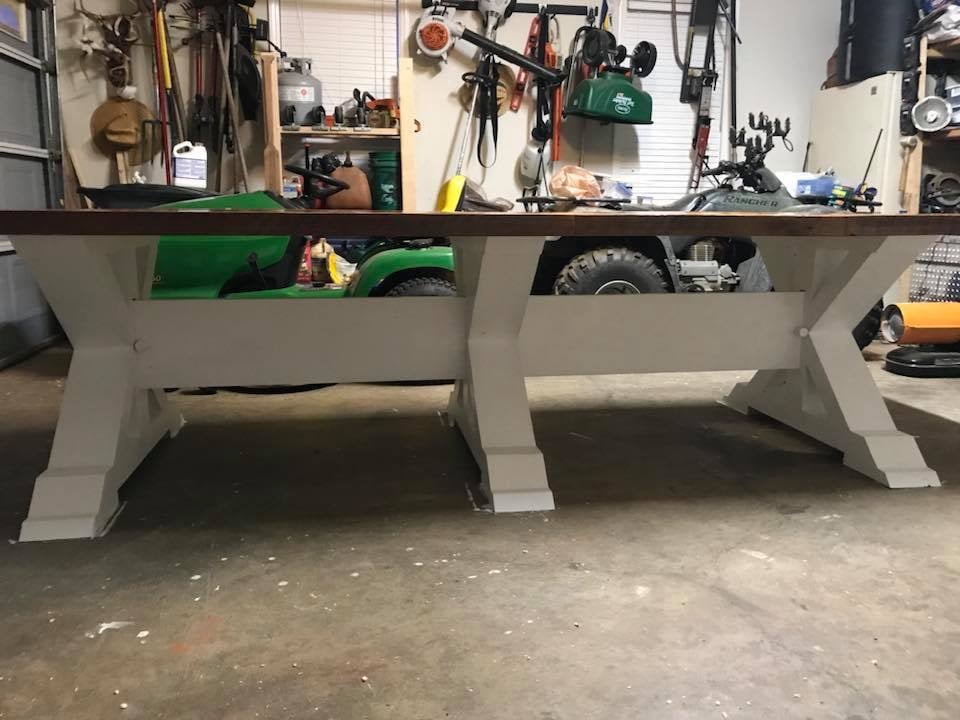
I will agree with some of the other posts that the legs seem a little "flimsy." I went ahead with the orginal plan and they've held up with no problem for a year in the Texas summer heat with lots of activity and use - including our dogs! So, I guess it's just fine. I may use something sturdier for the double lounger since it would hold more weight.
I highly recommend these loungers to cut costs! Also, the plan is not too difficult for anyone with little experience.


Comments
Ana White
Mon, 09/09/2019 - 08:58
These are beautiful in the…
These are beautiful in the redwood!
feldkatc
Tue, 09/10/2019 - 07:38
I noticed that your stingers…
I noticed that your stingers and apron are different. Can you tell me how you modified?