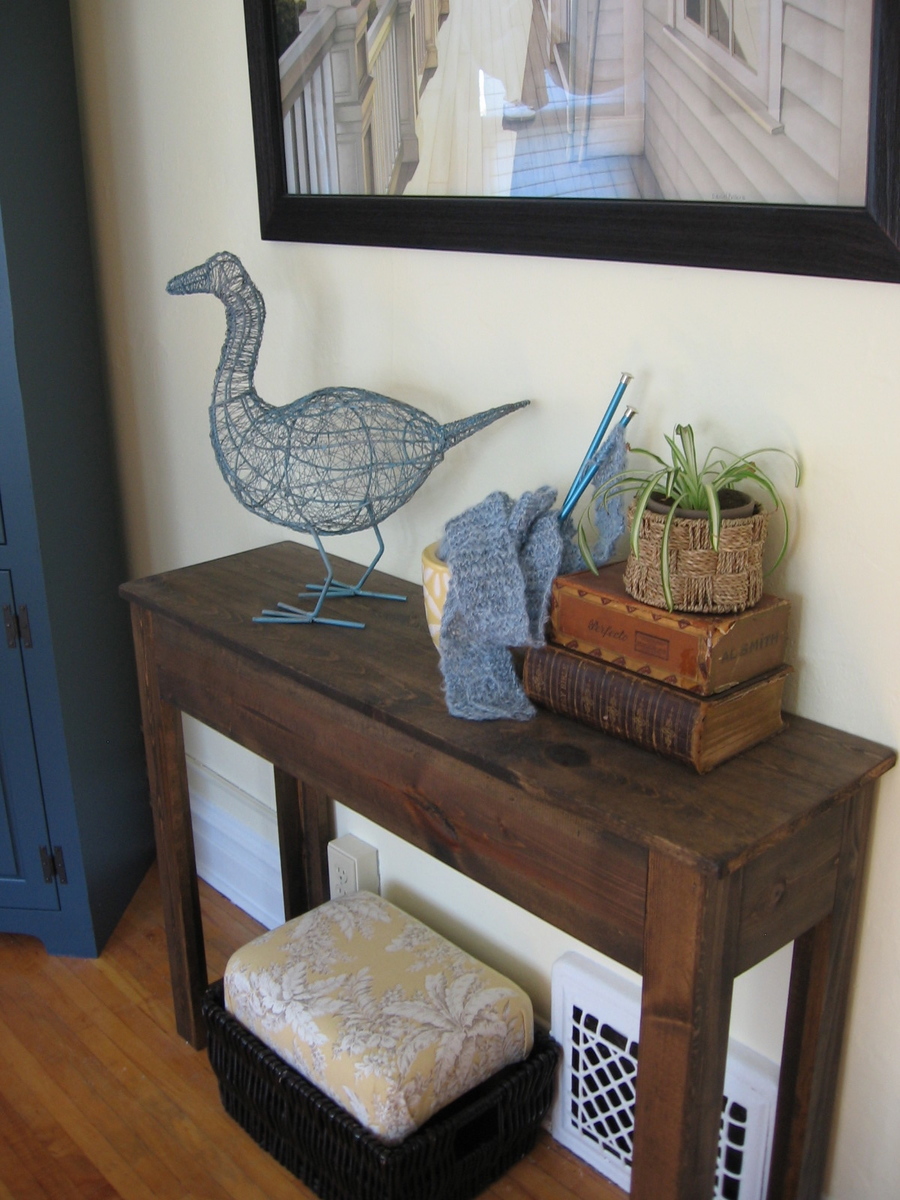
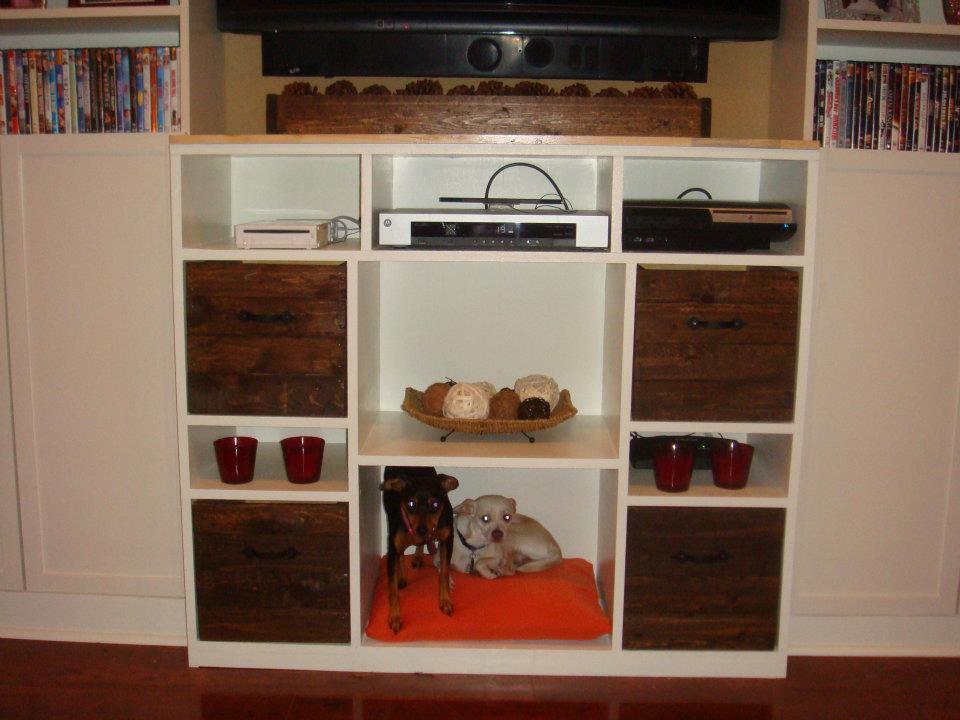
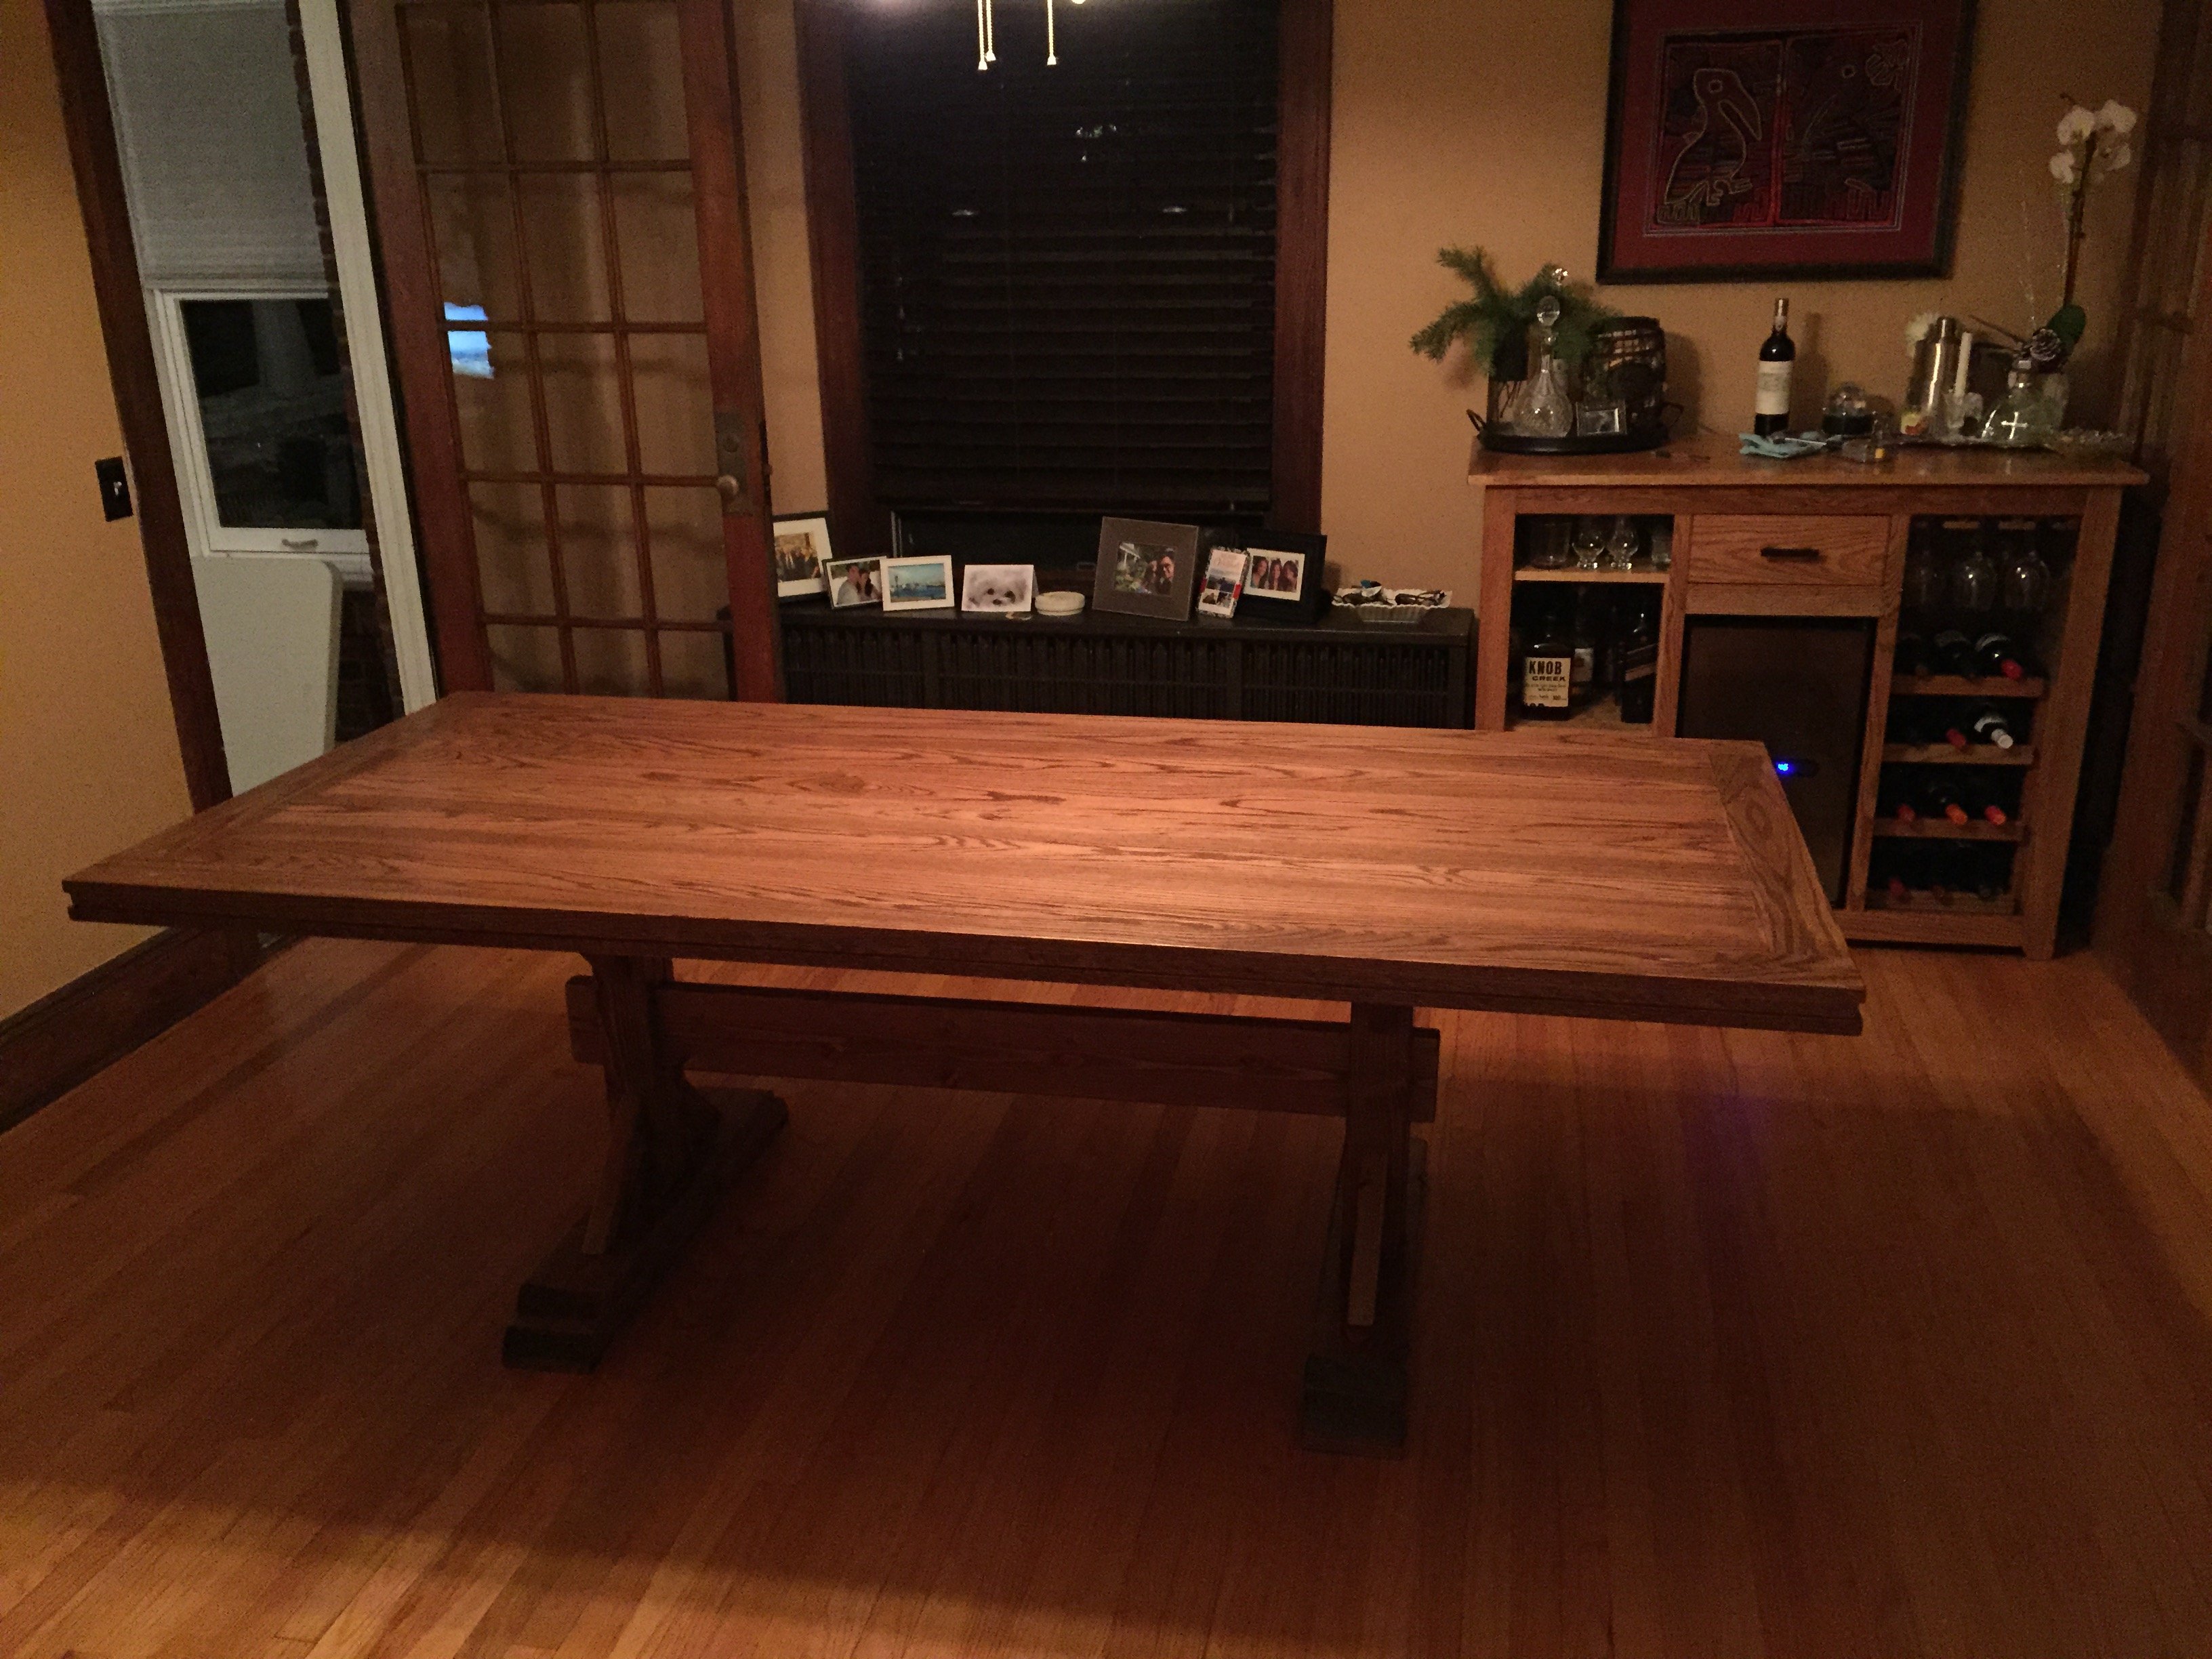
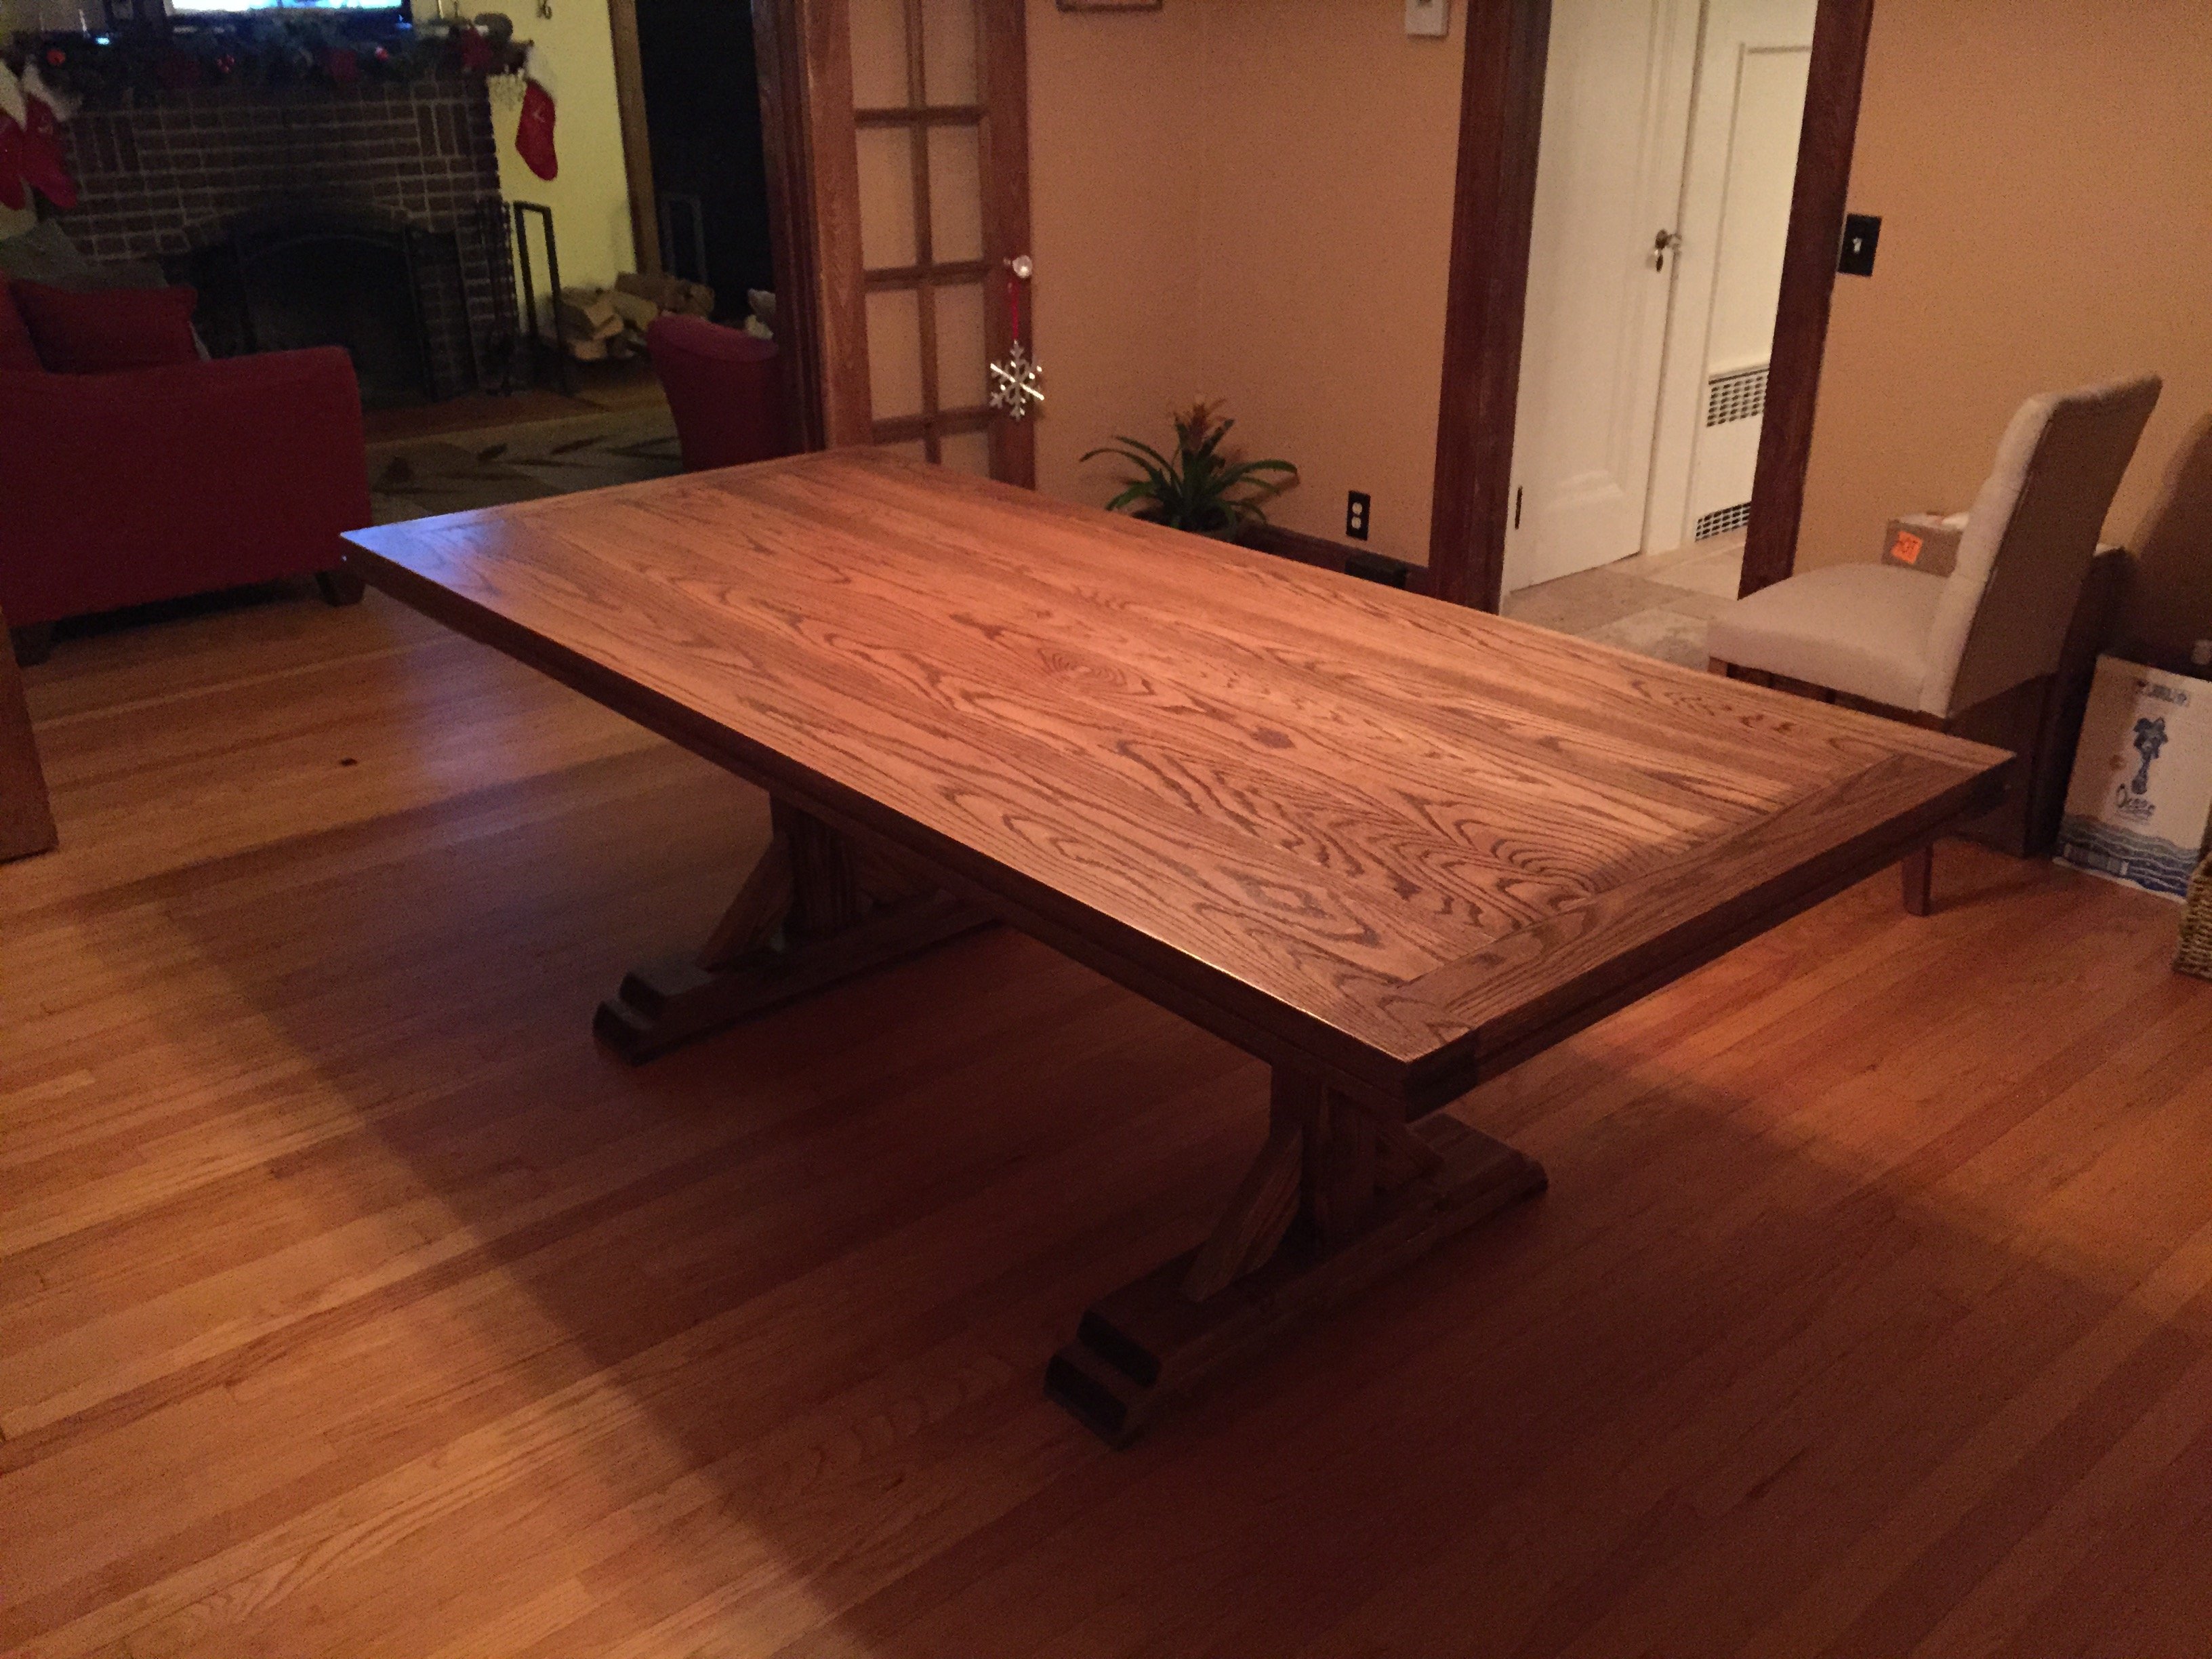
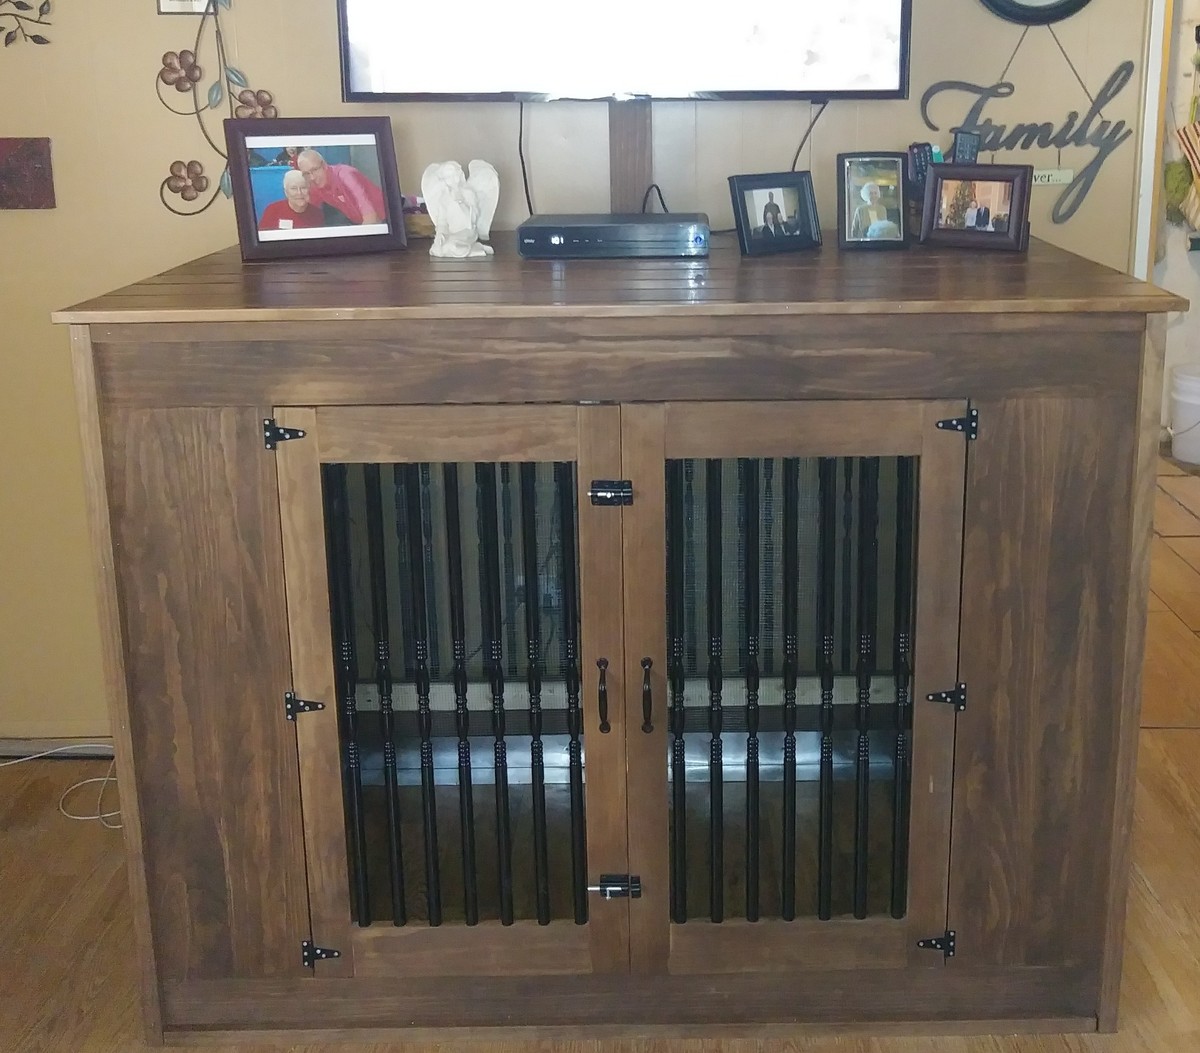
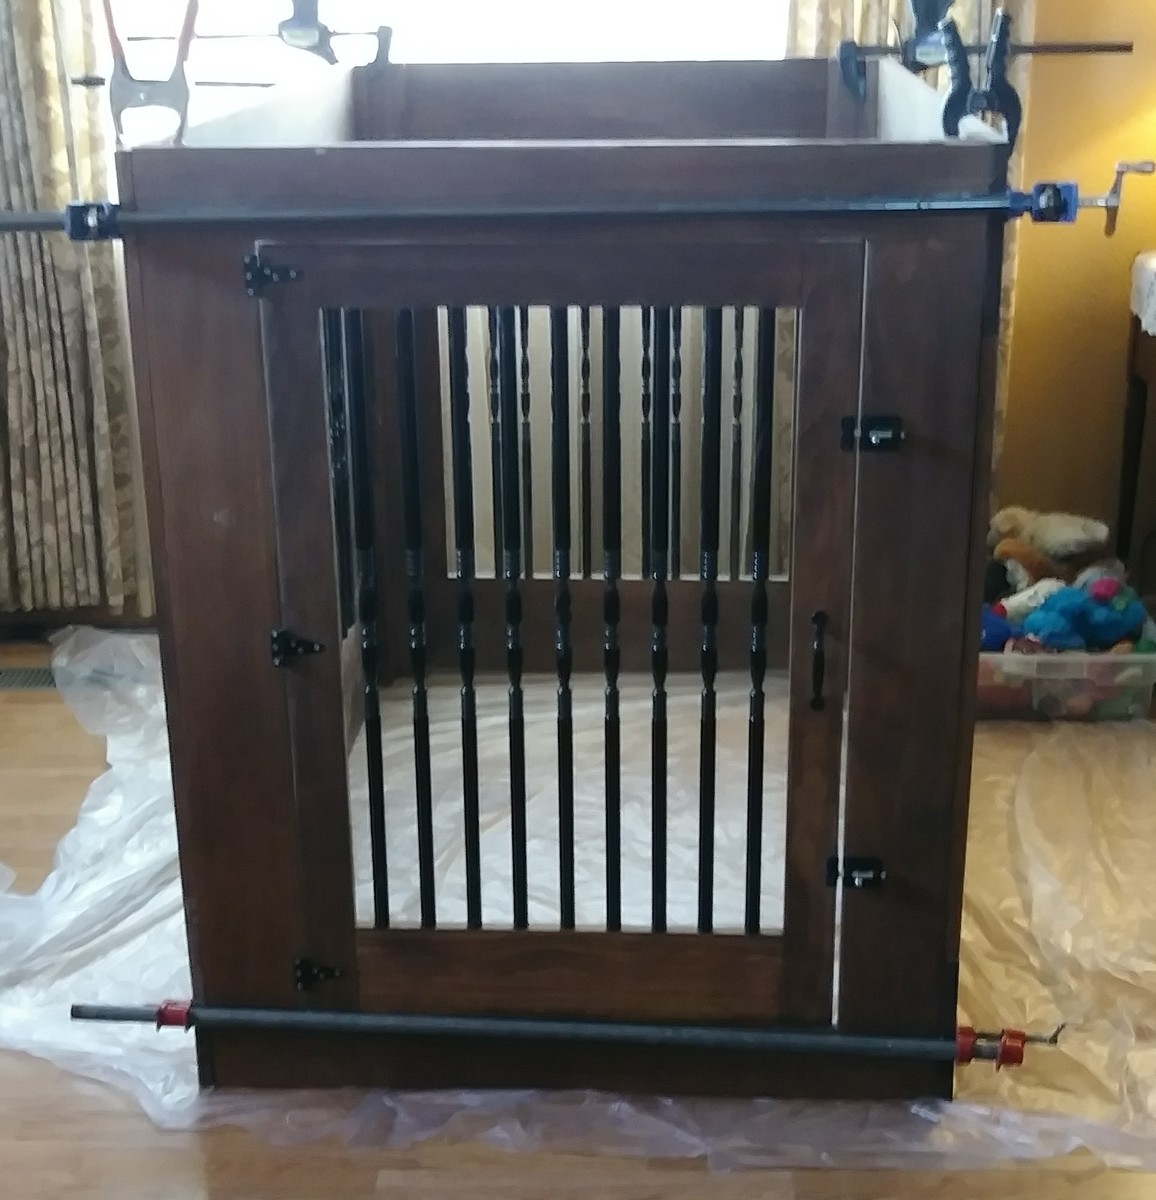
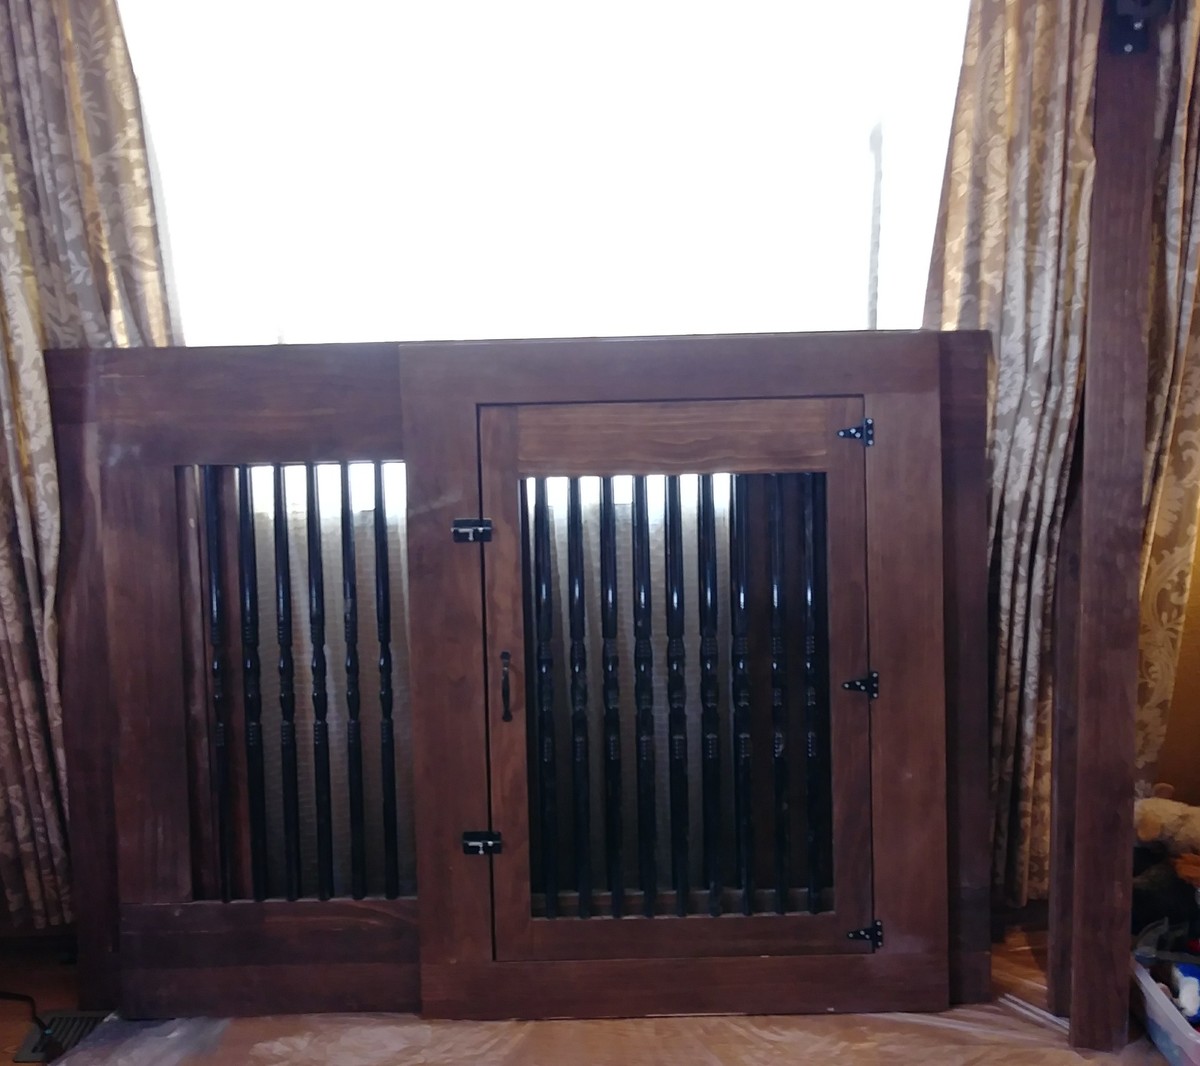
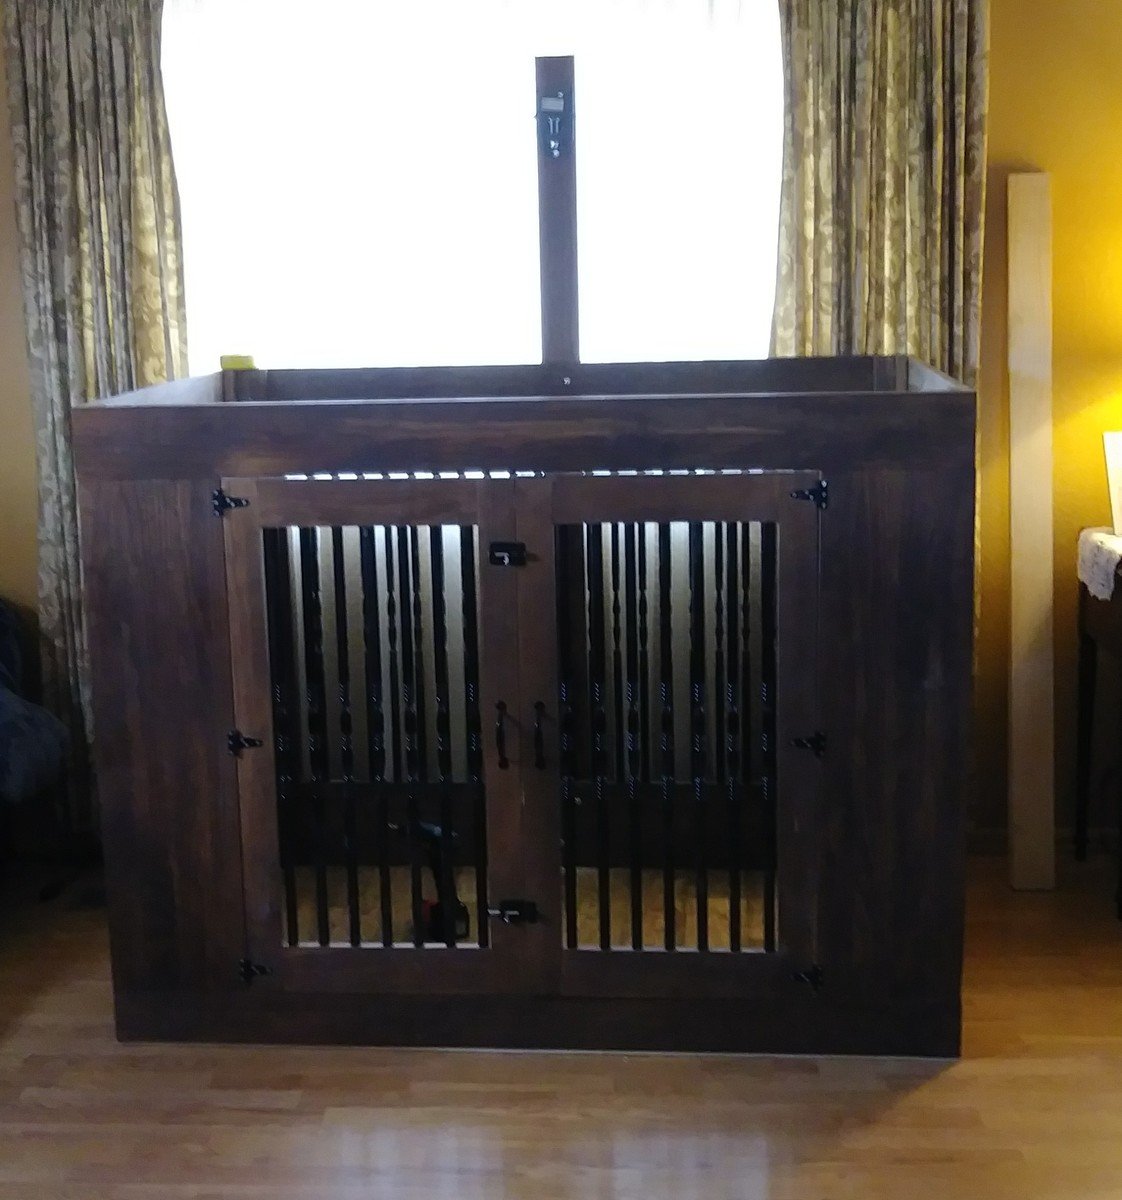
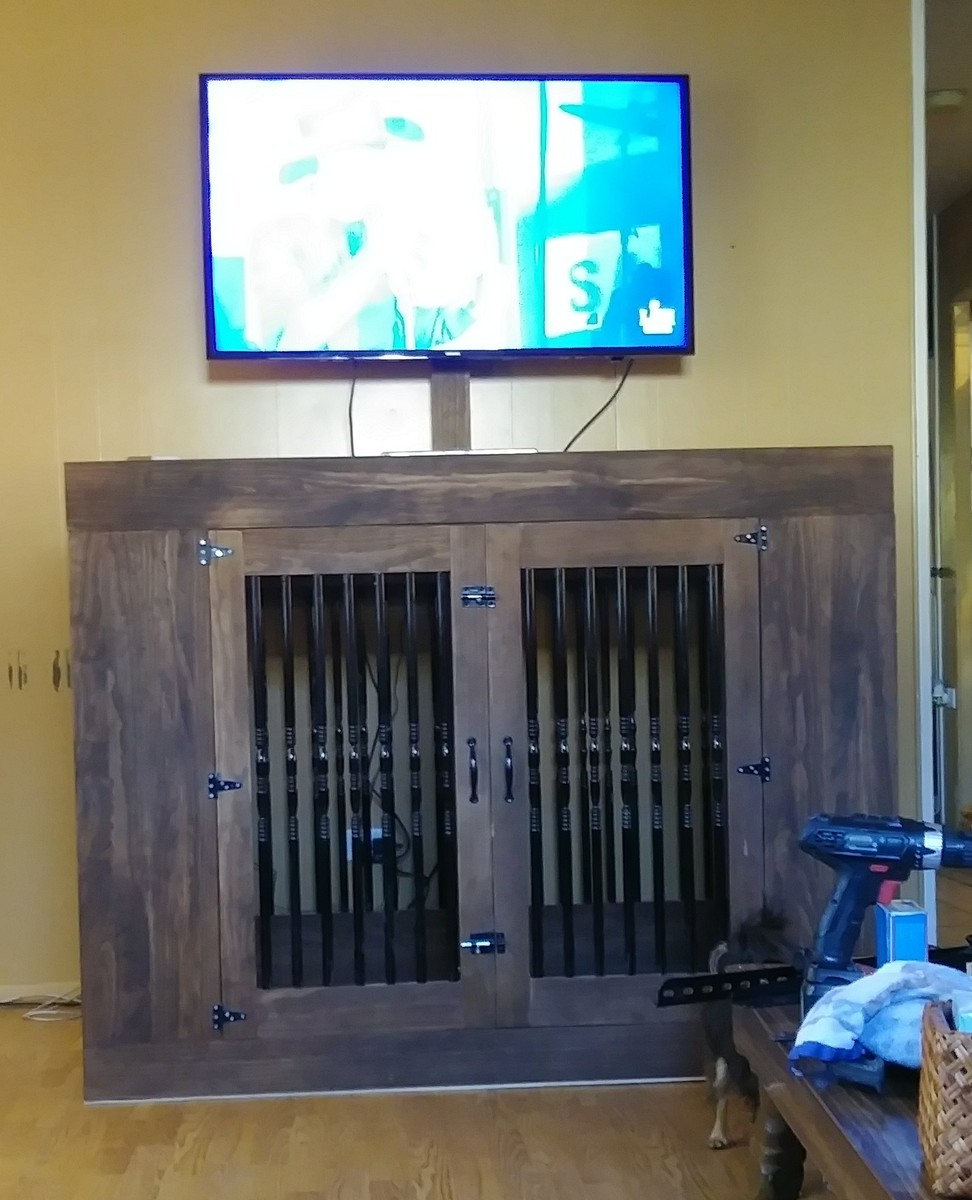
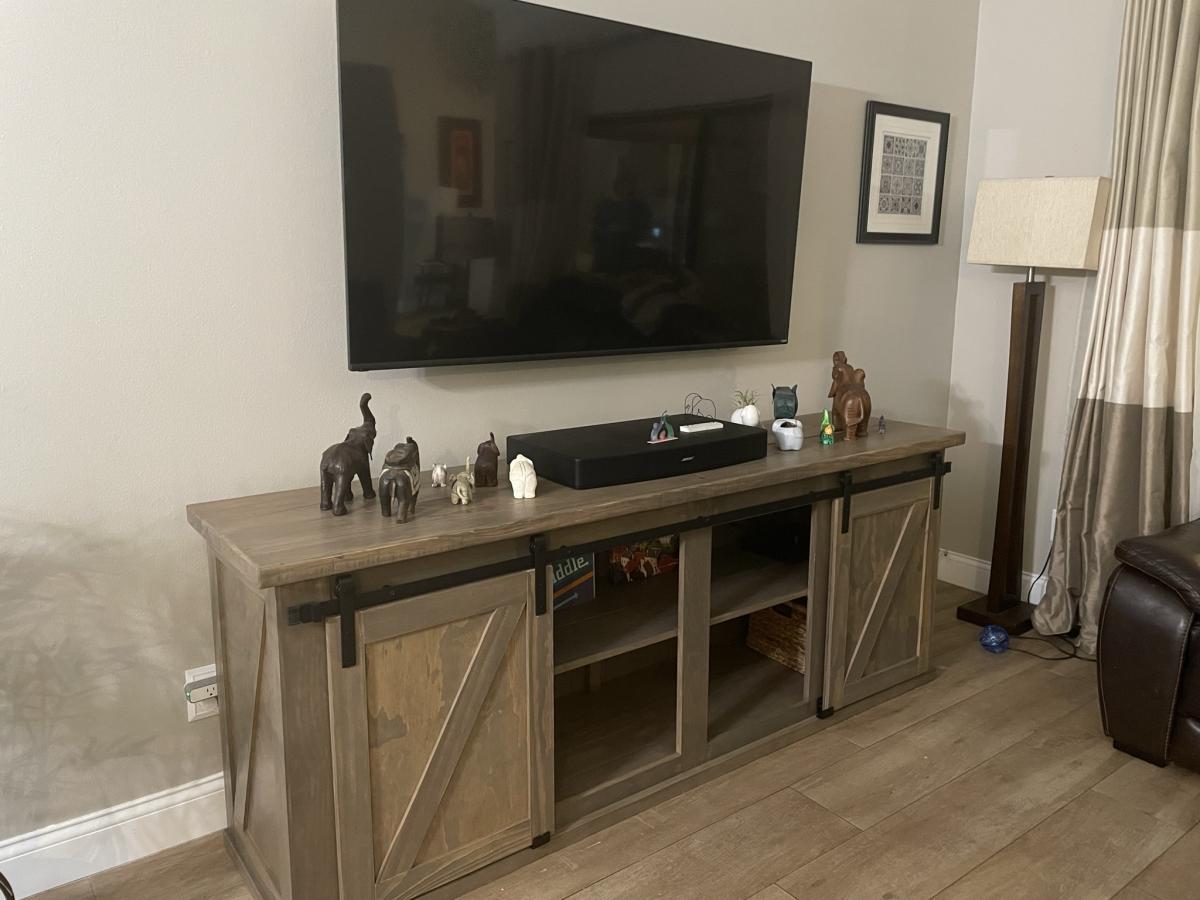
Modified Grandy Buffet
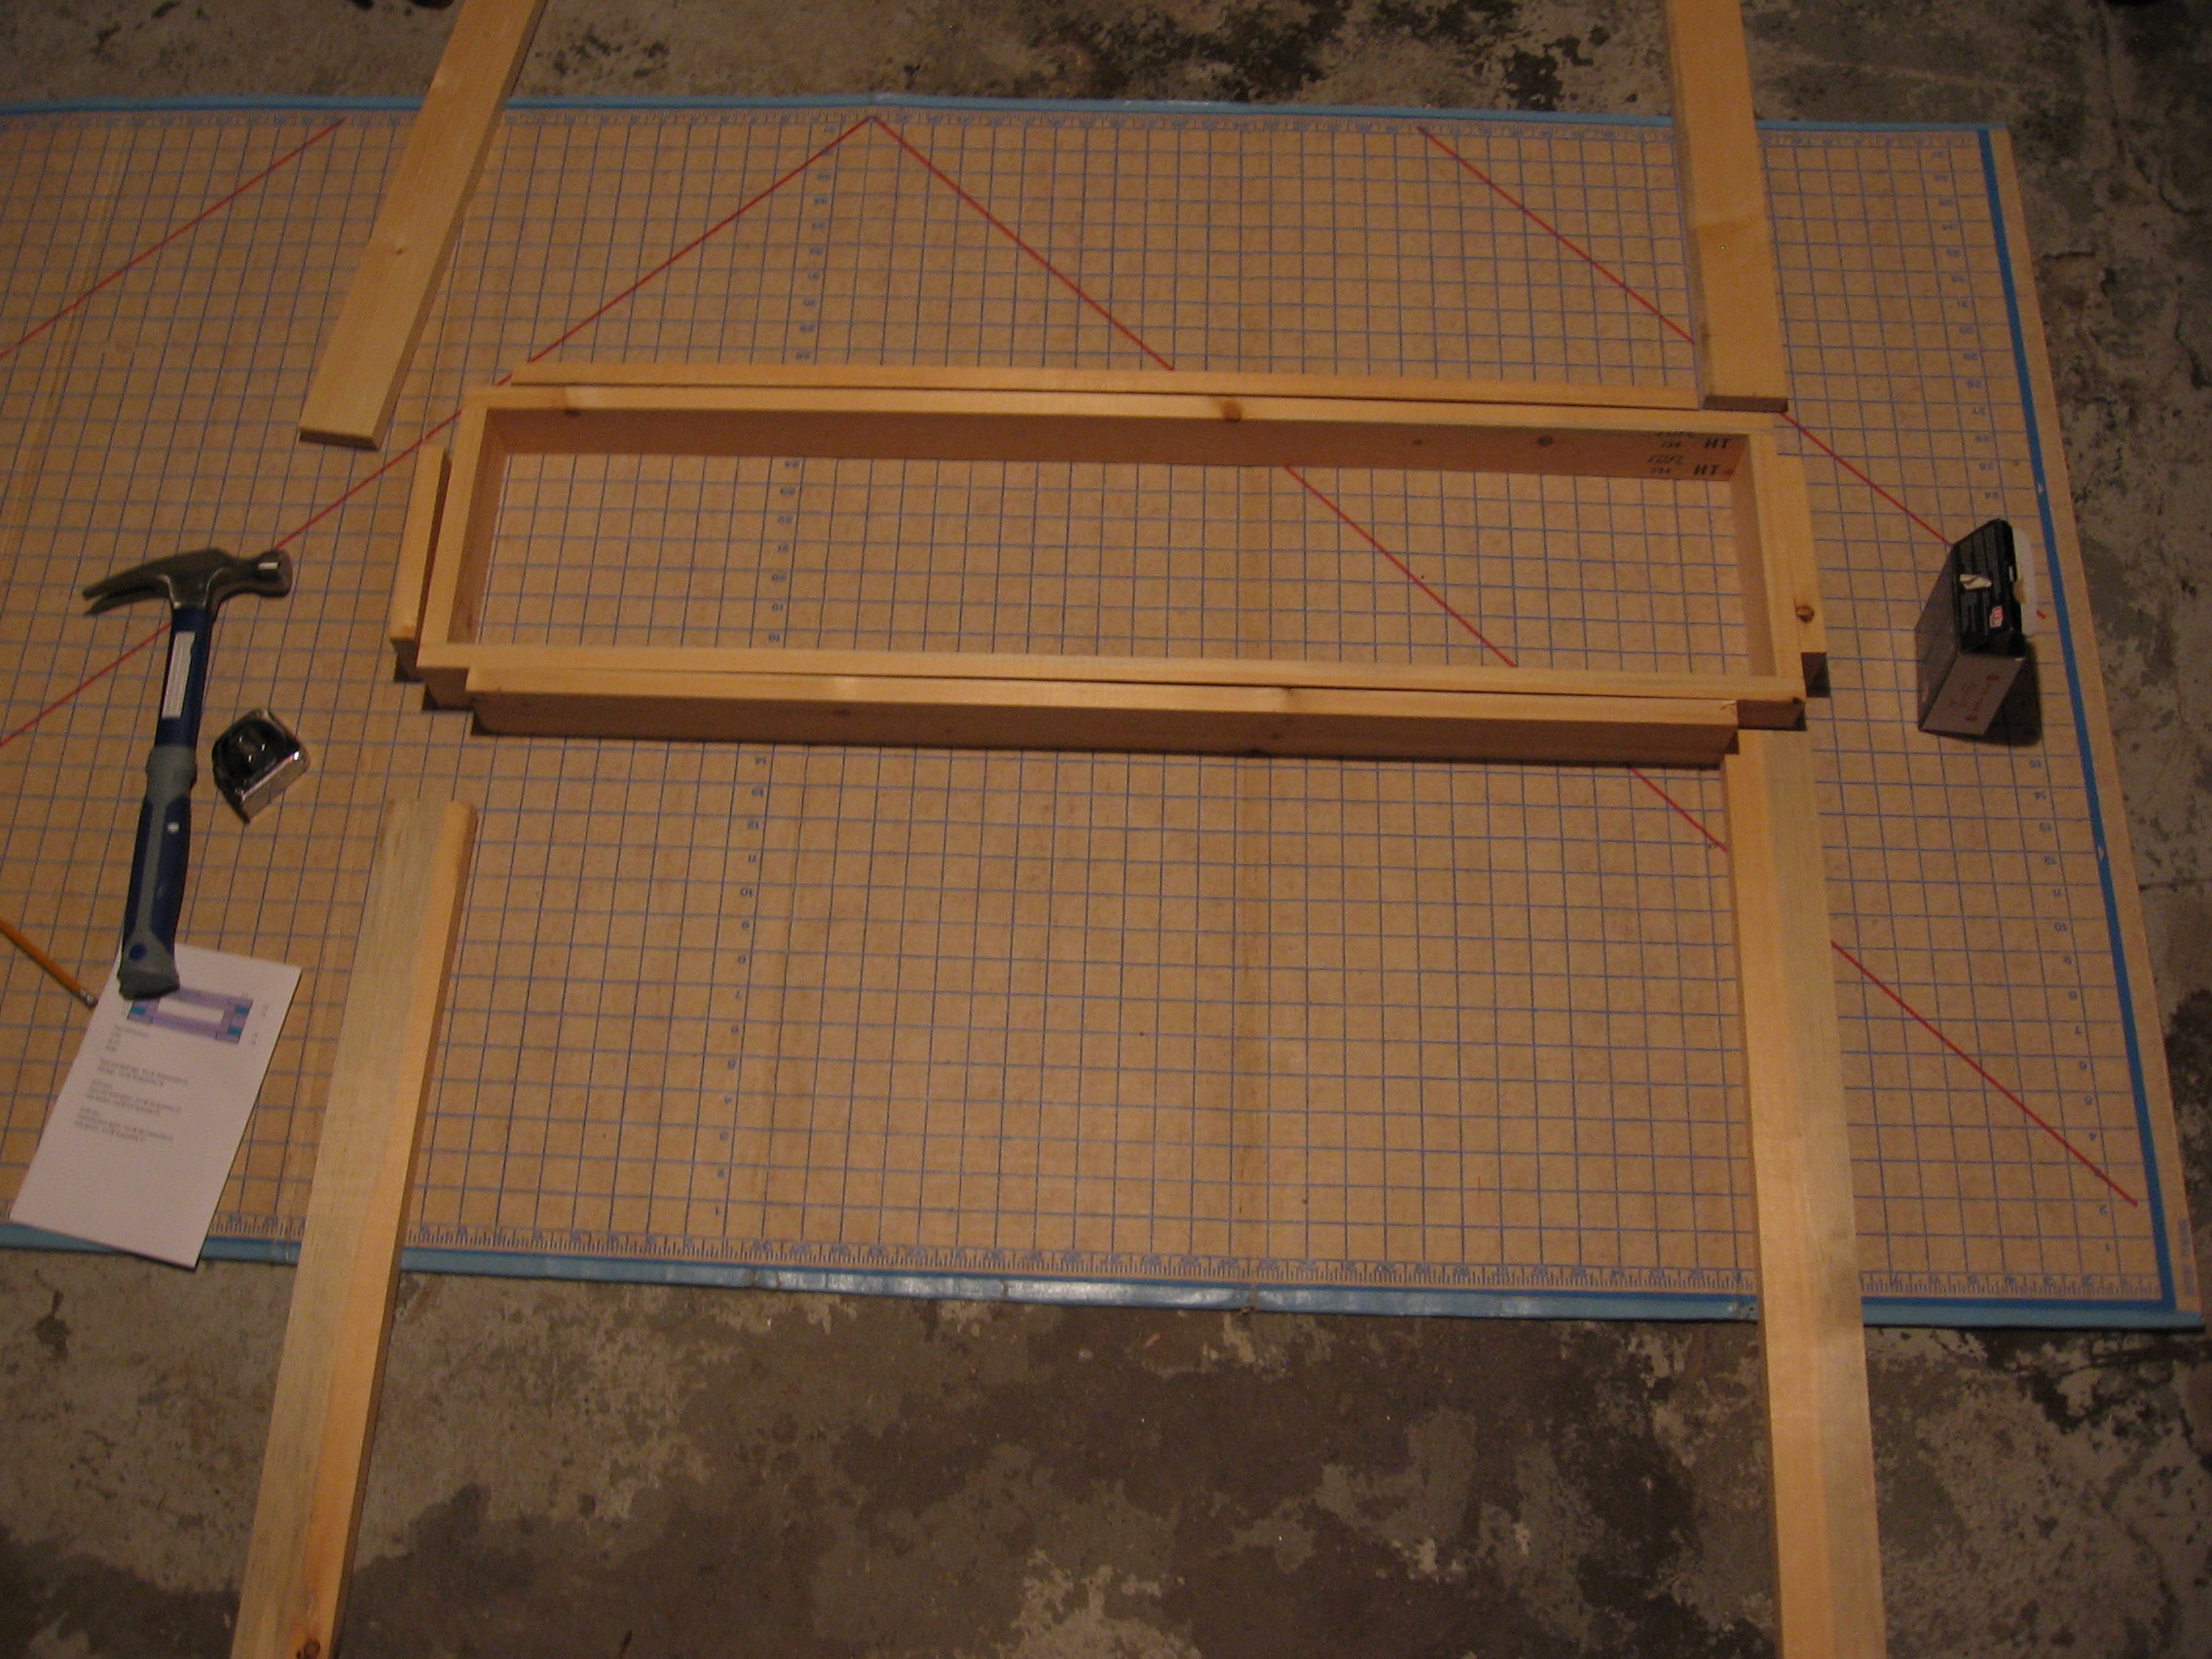
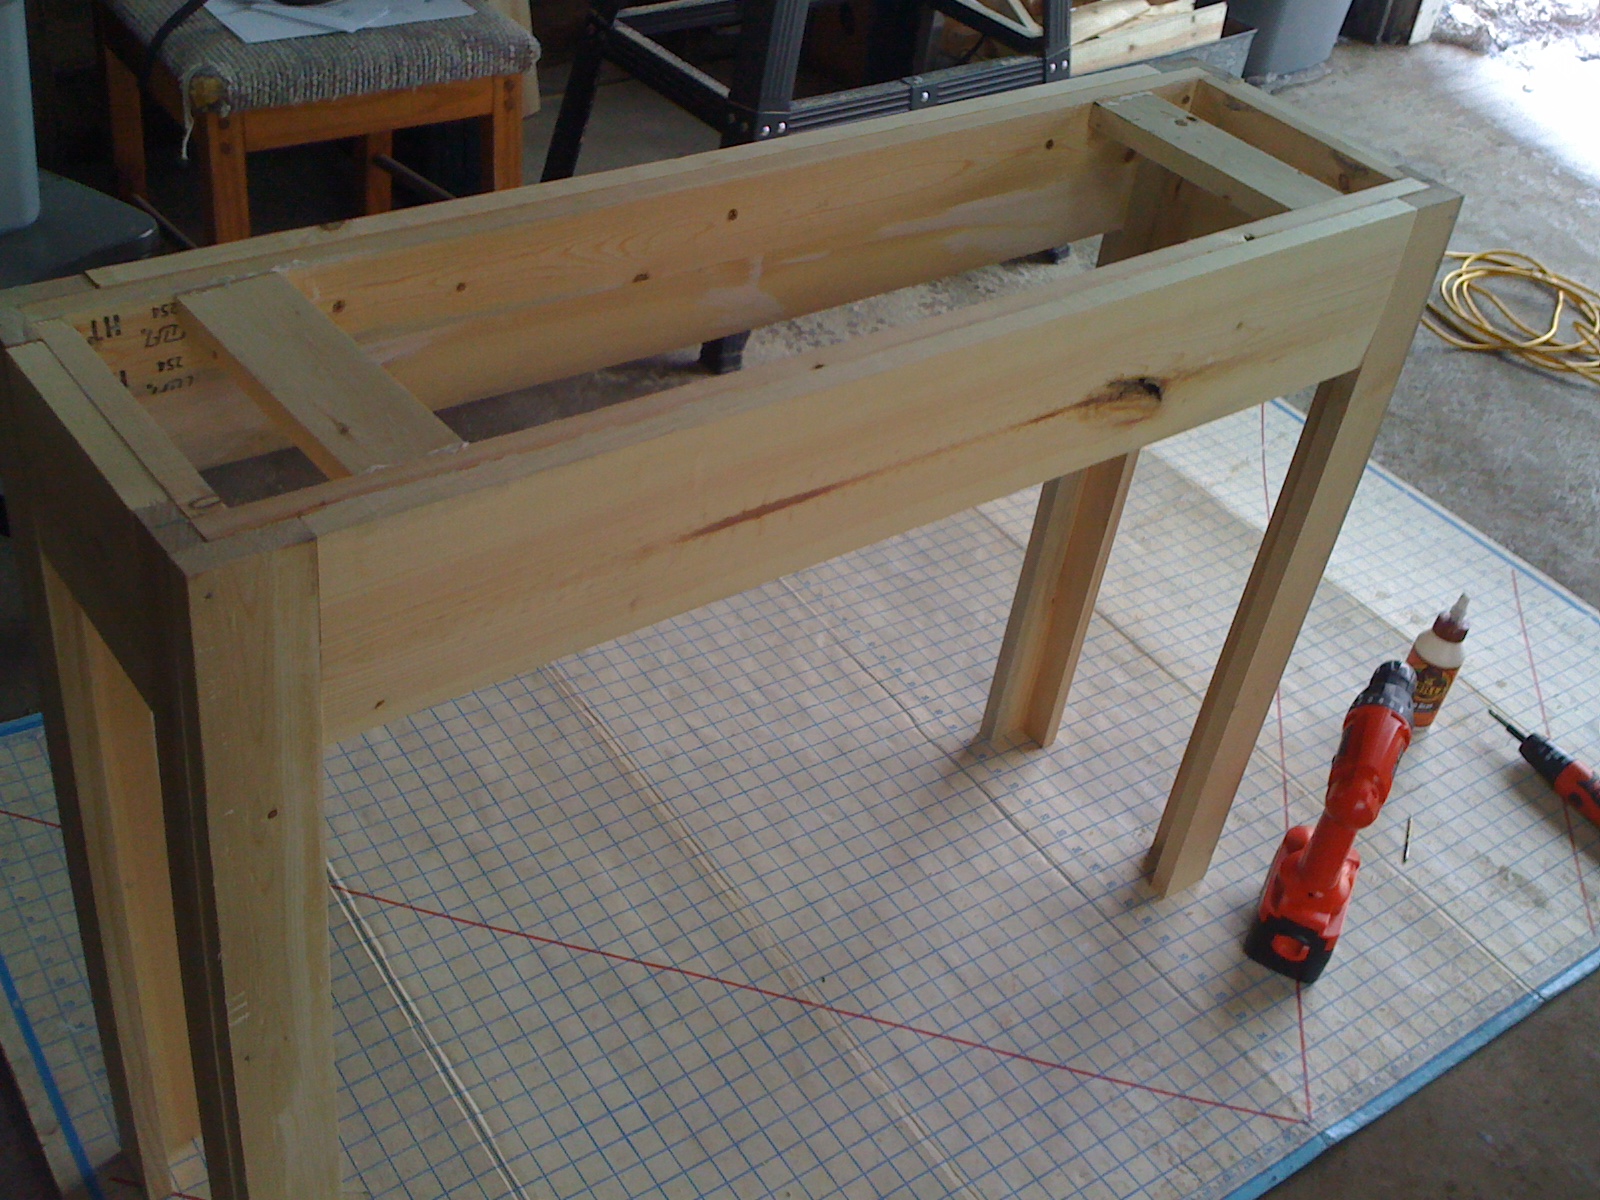
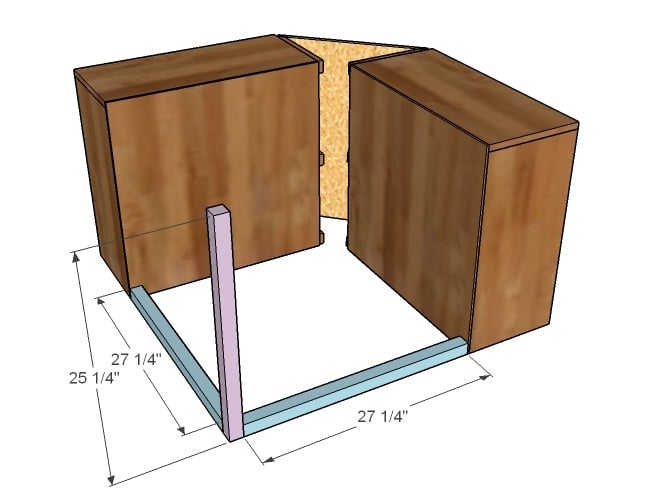
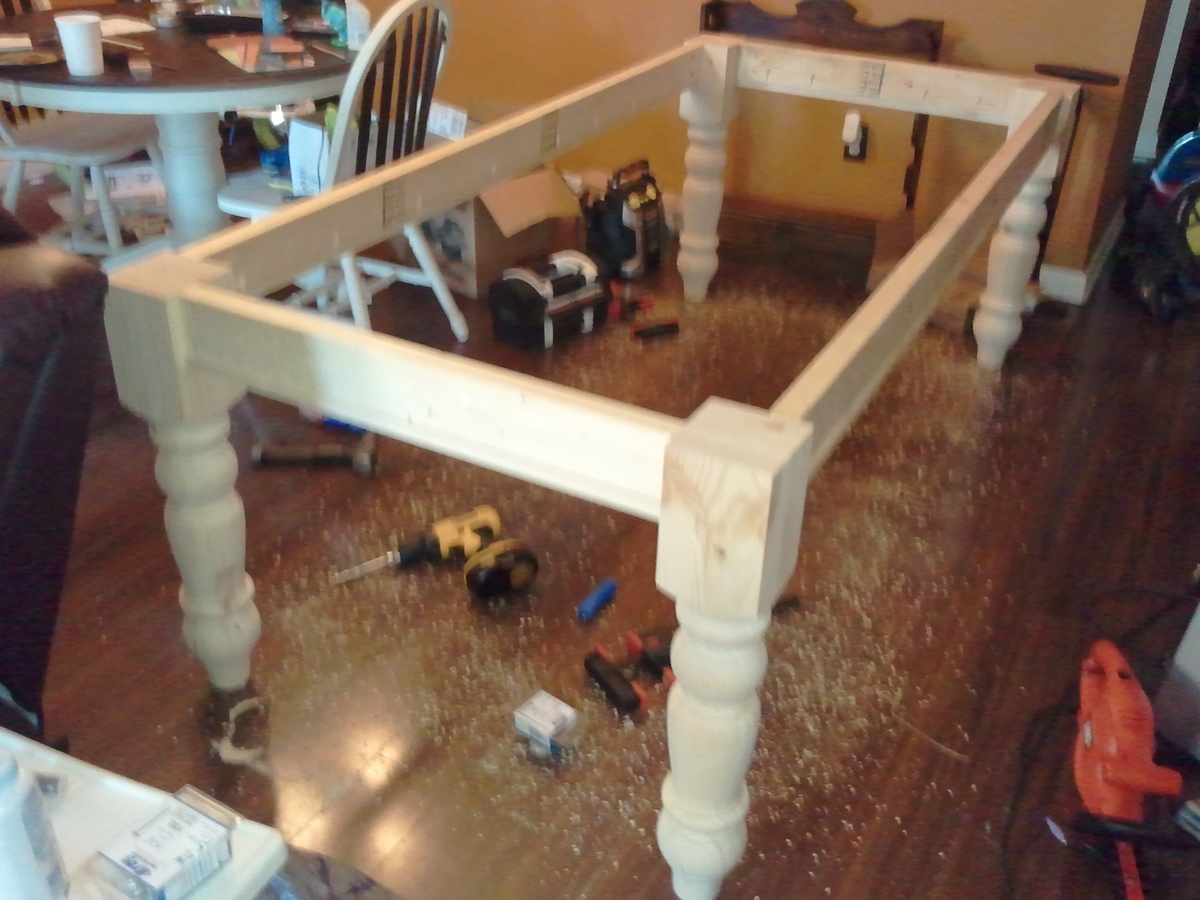
I had to rescale the Ana White plan to an overall length of 72 inches. All joints are Kreg pocket holes.
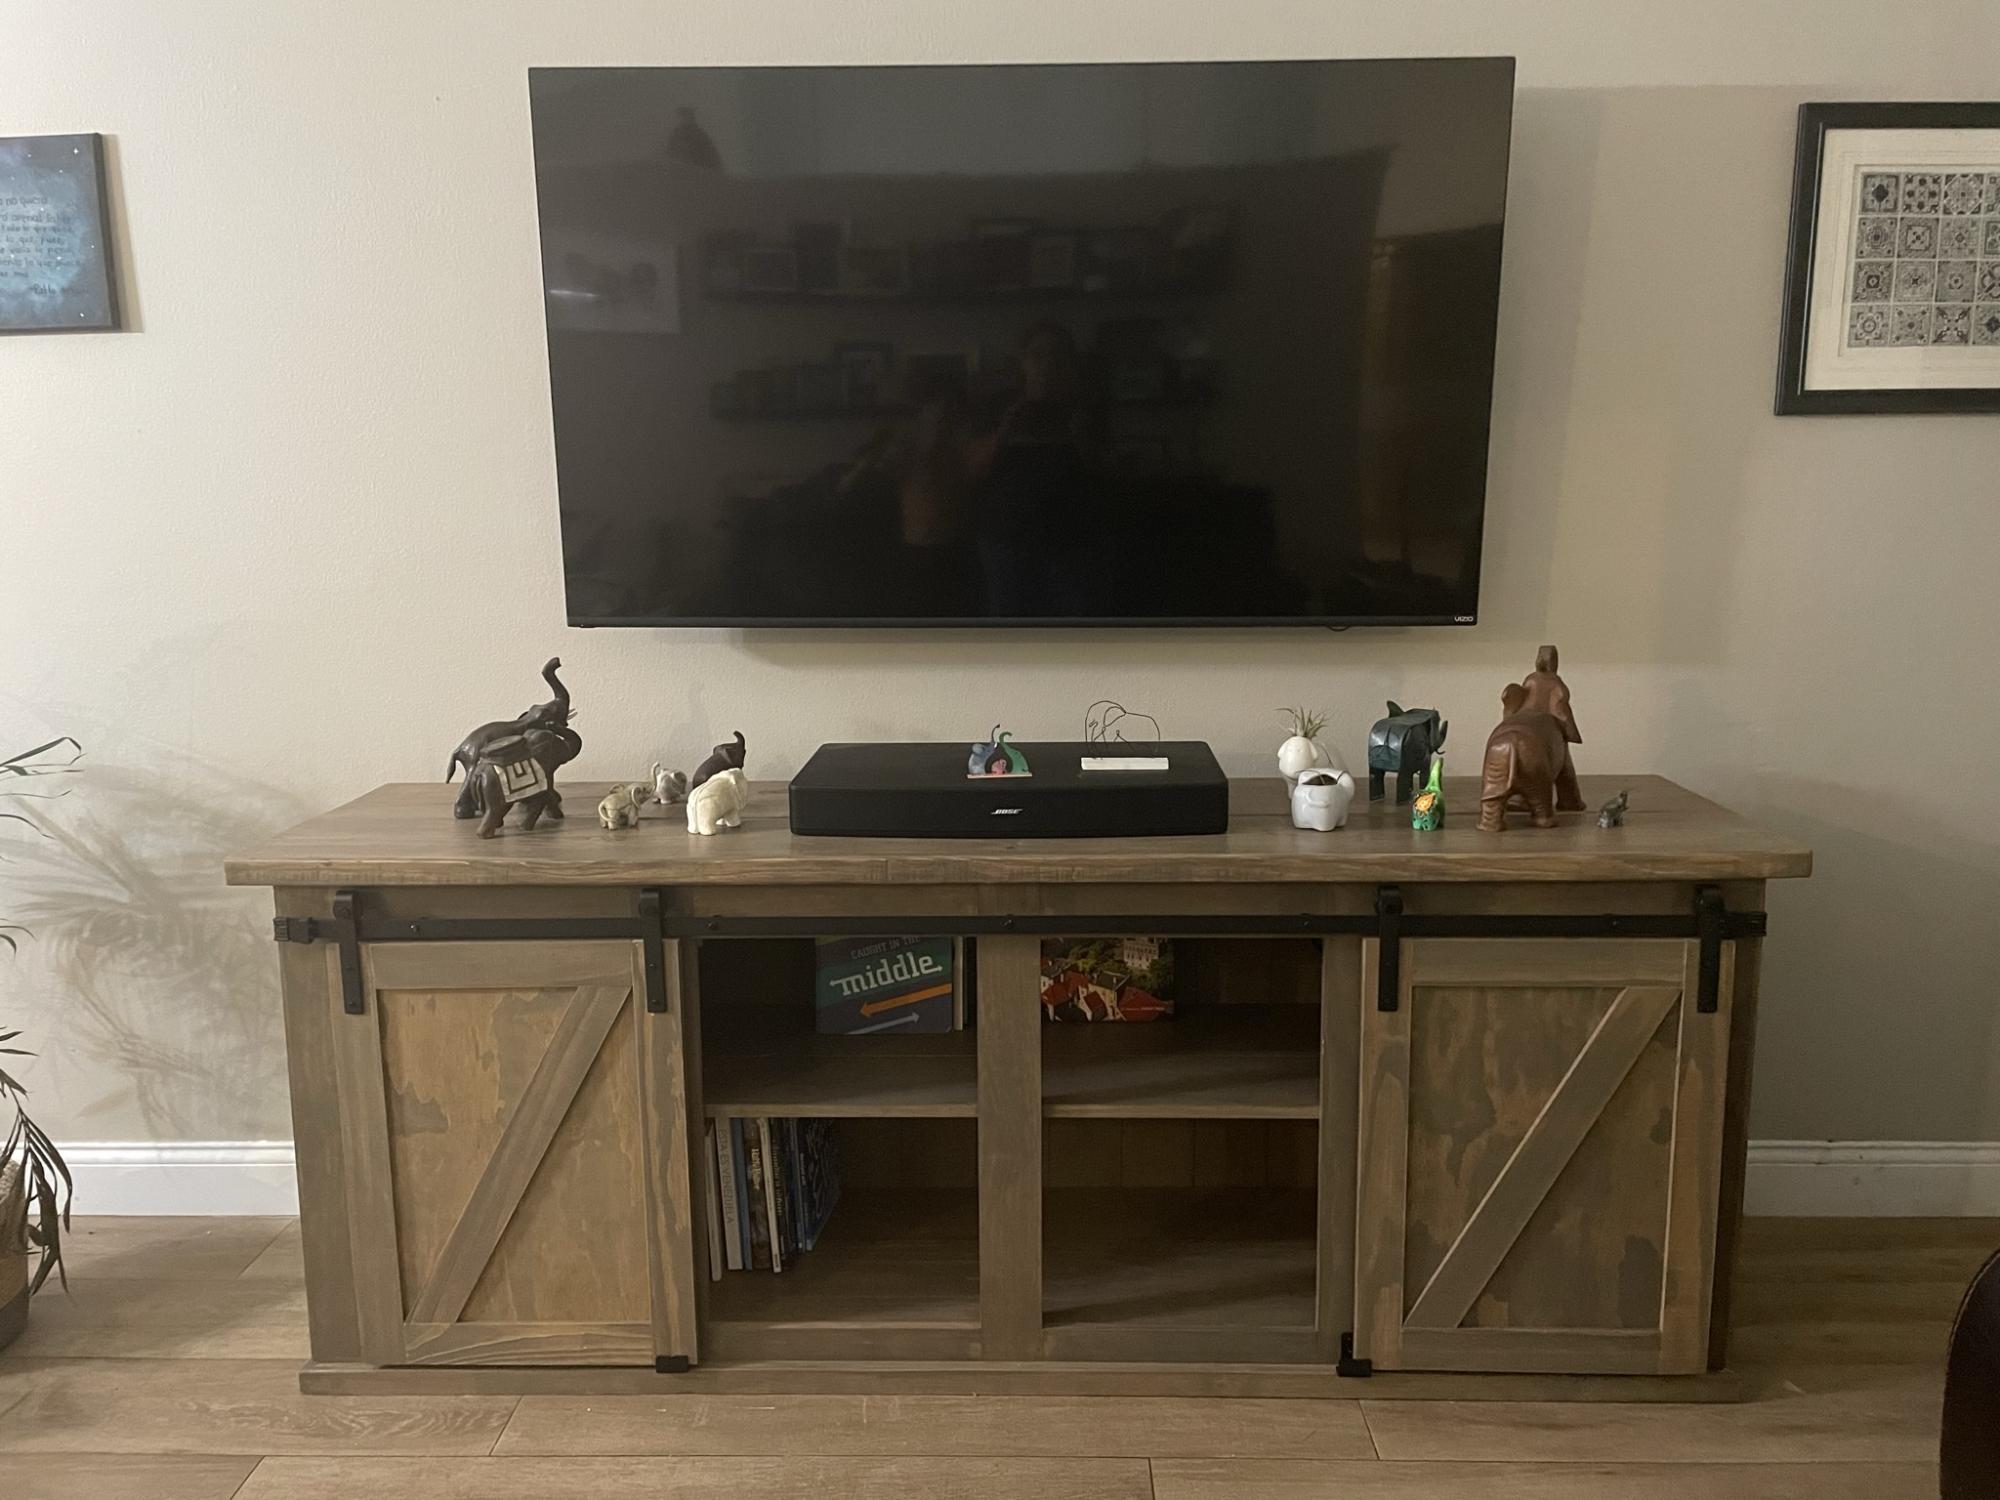
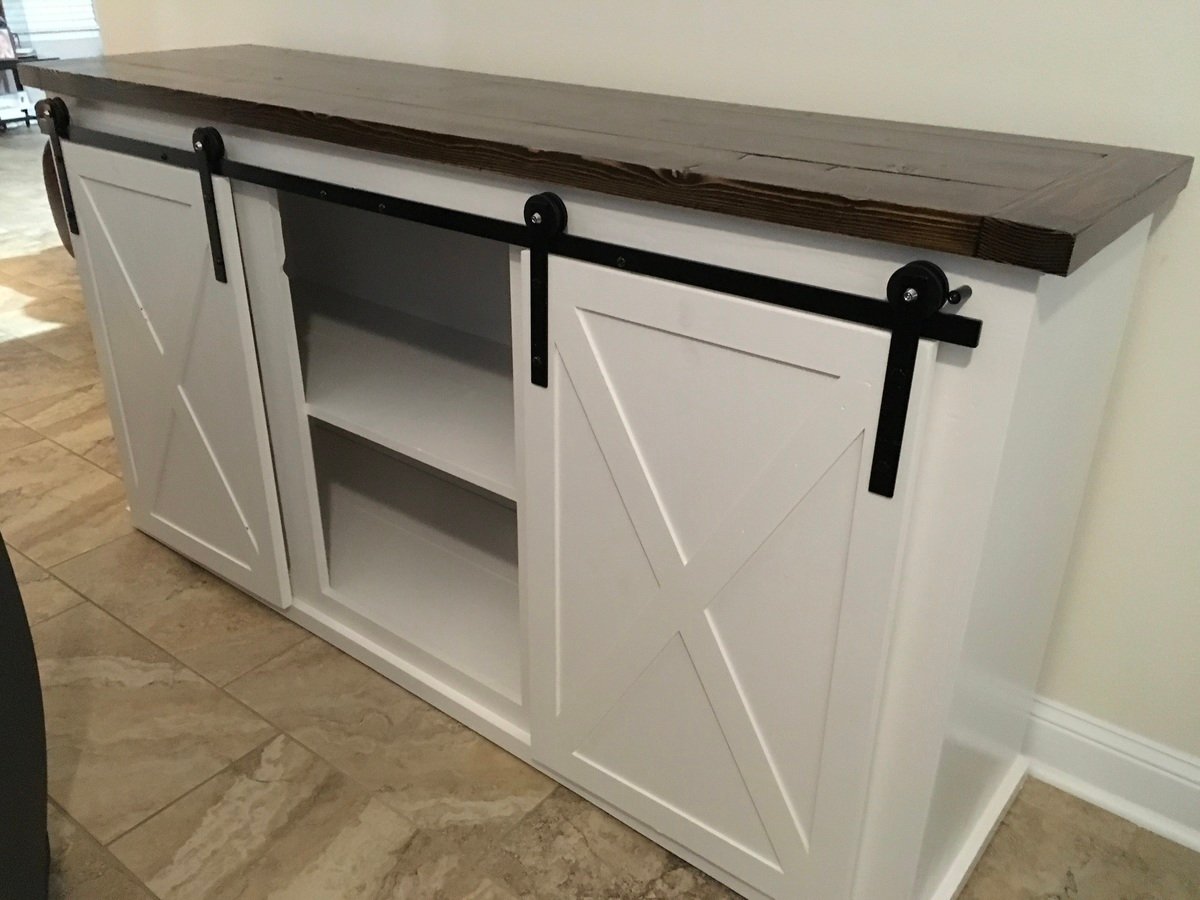
The most difficult component was engineering the barn door slides. I used:
1/8” aluminum flat bar for the door mounts
1/4” aluminum flat bar for the fixed bar
Polyurethane spacers from Lowe’s
Lind Kitchen Mute Pulley block from Amazon.com 4 each
The pulley blocks were disassembled and only the wheels and axles were used. Thin poly washers from Lowe’s were used as shims to take up play after being mounted to the flat bar.
Built from Plan(s)
Estimated Cost
$400
Estimated Time Investment
Week Long Project (20 Hours or More)
Finish Used
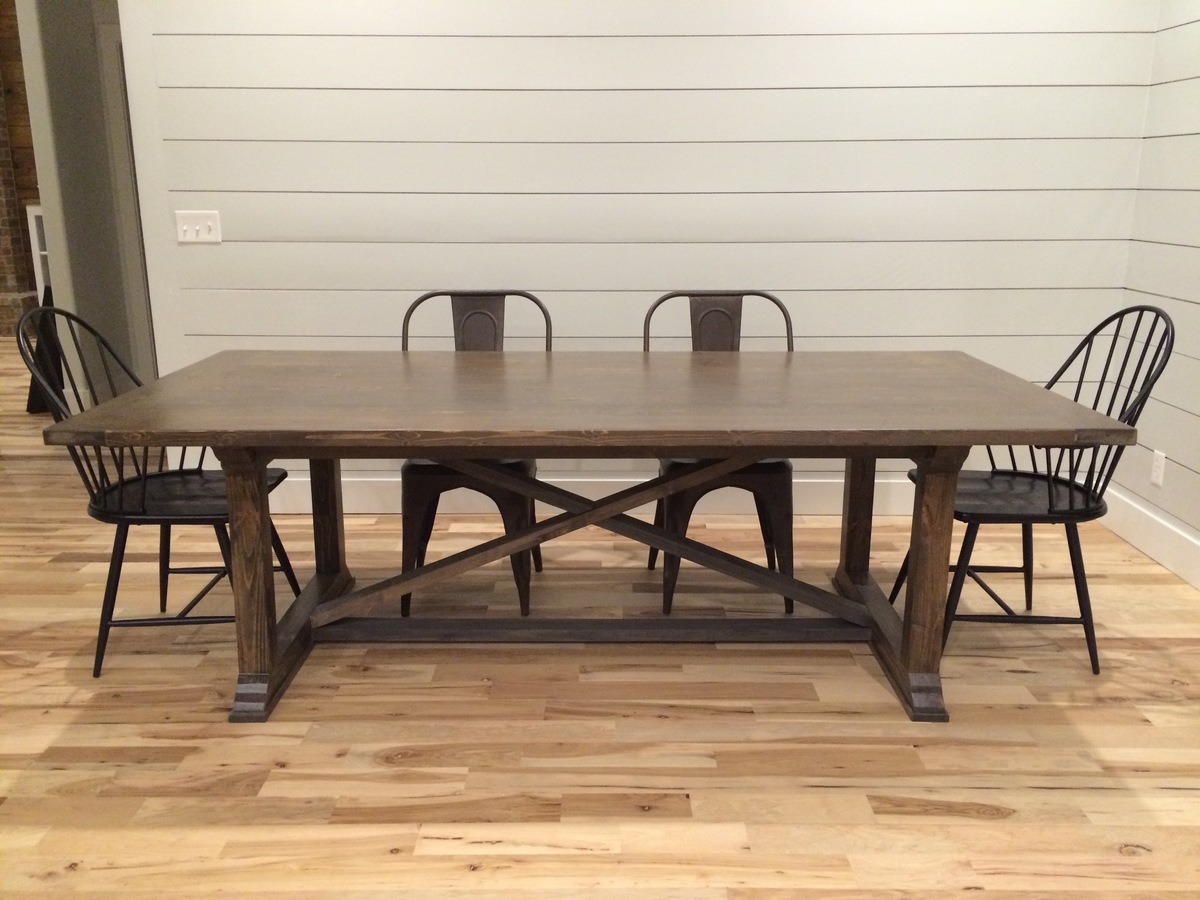
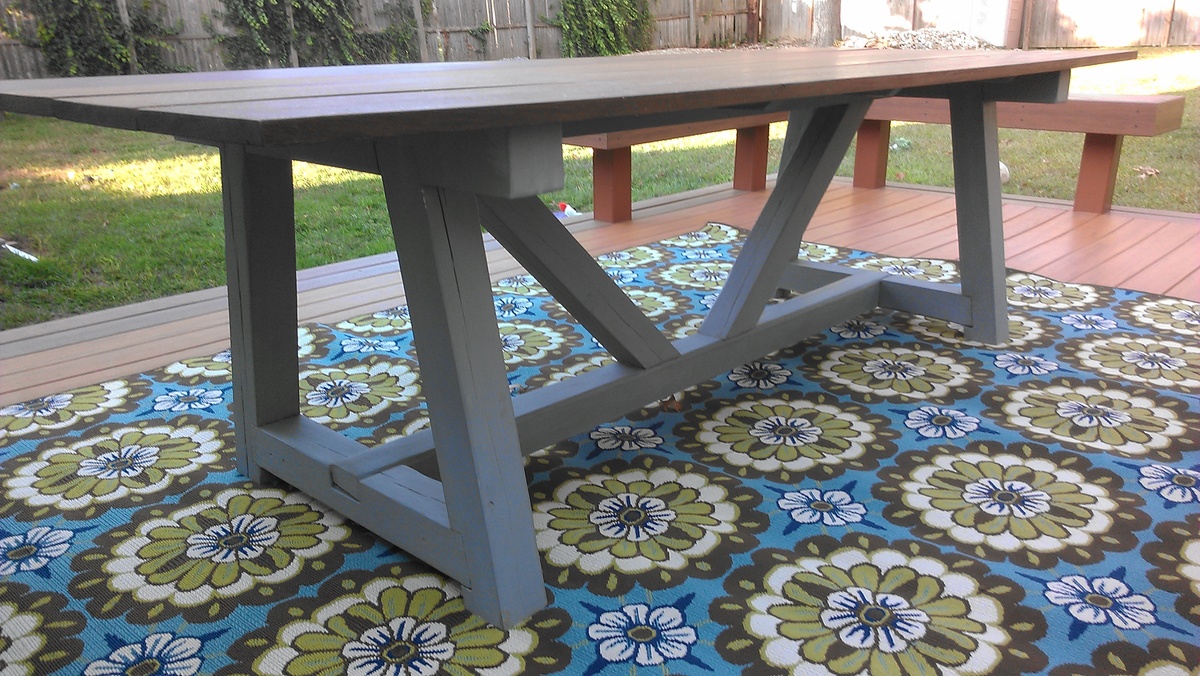
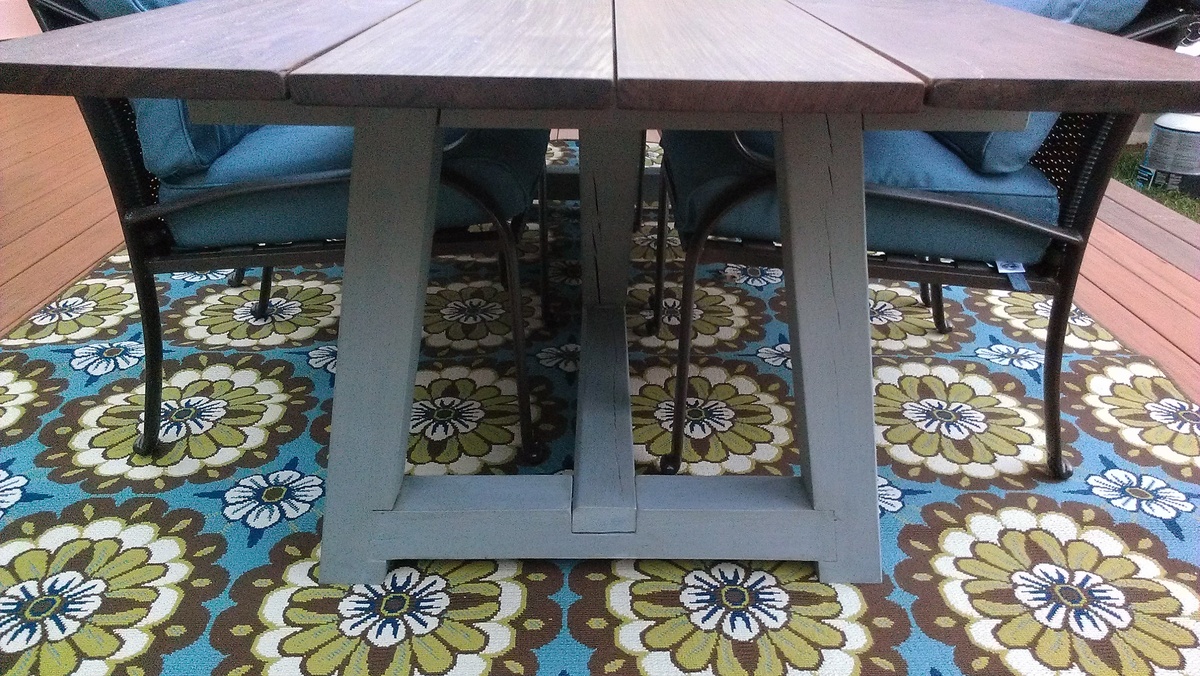
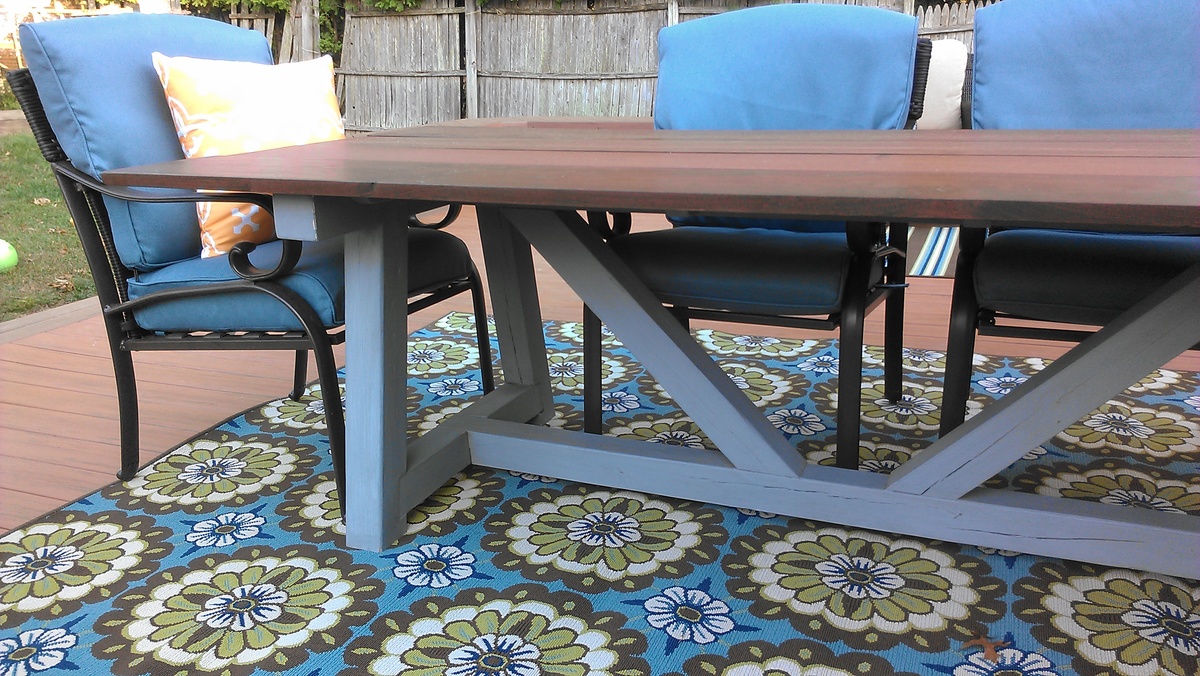
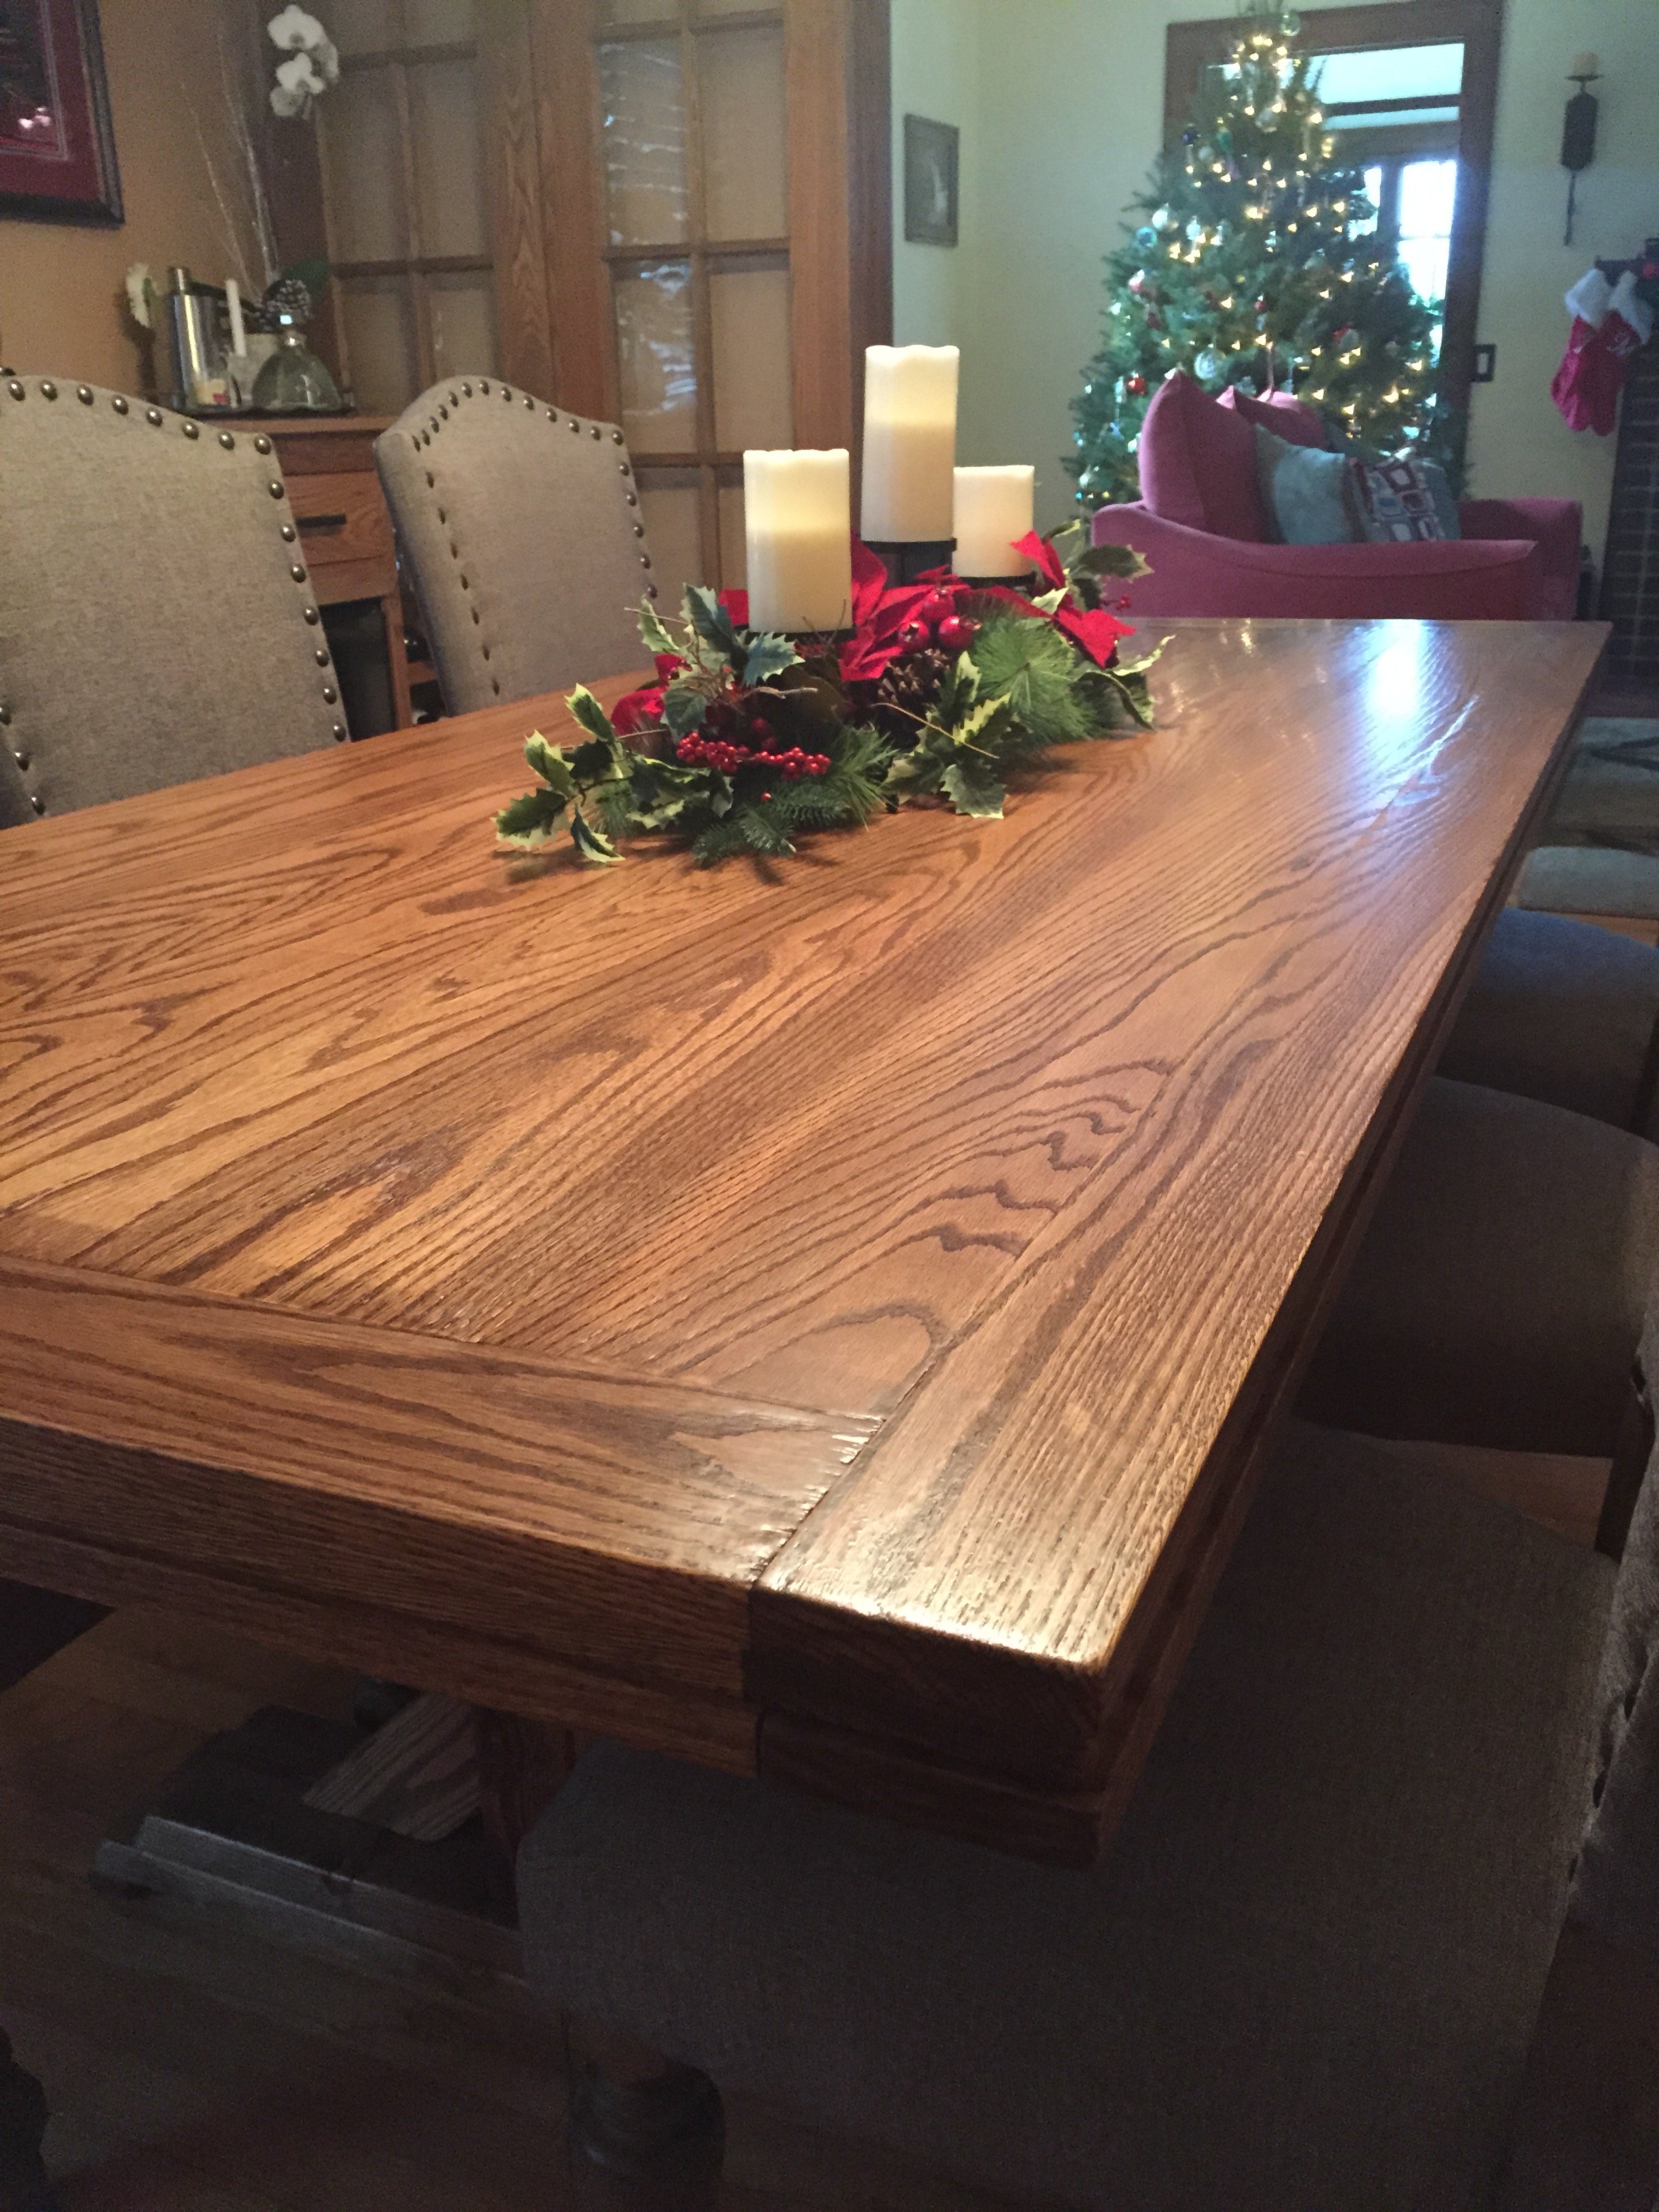
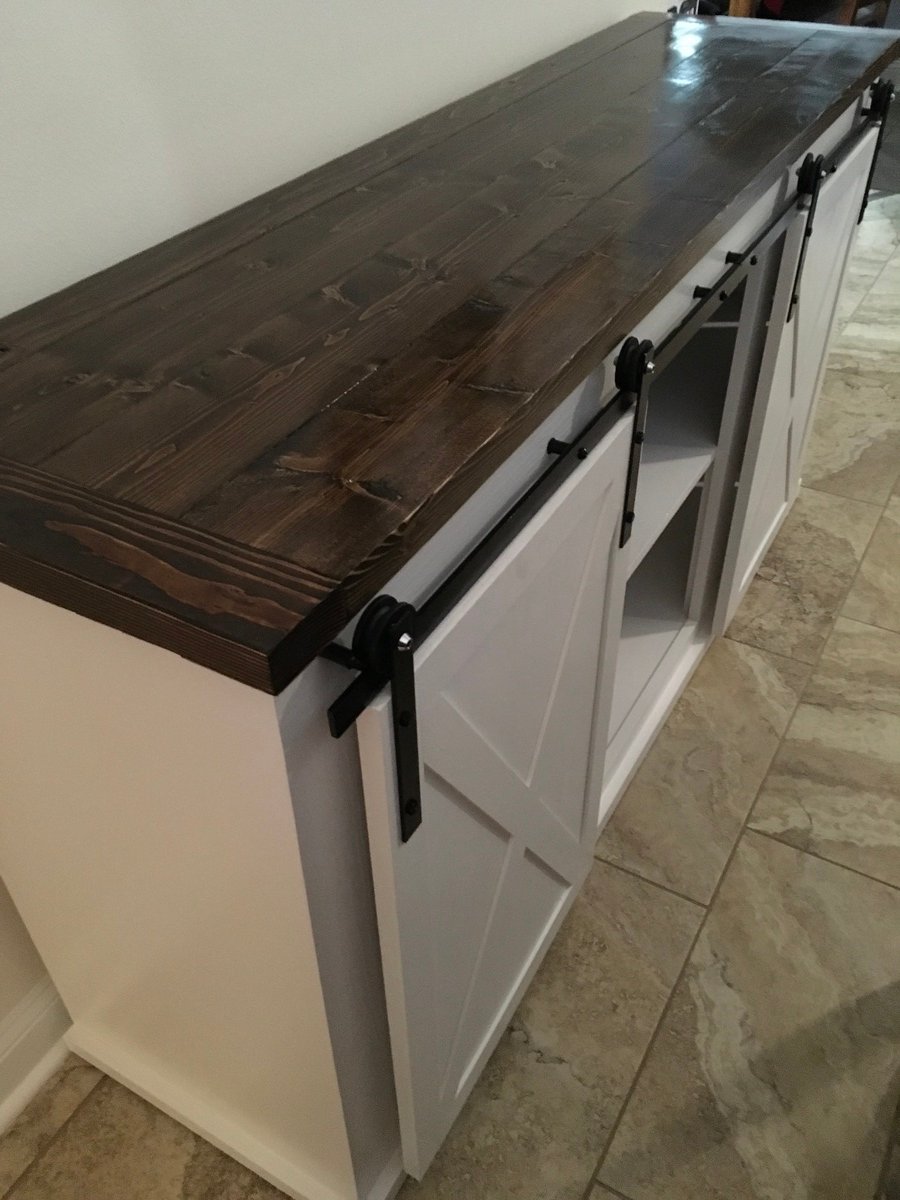
Top - Minwax dark walnut stain with 4 coats satin Varathane
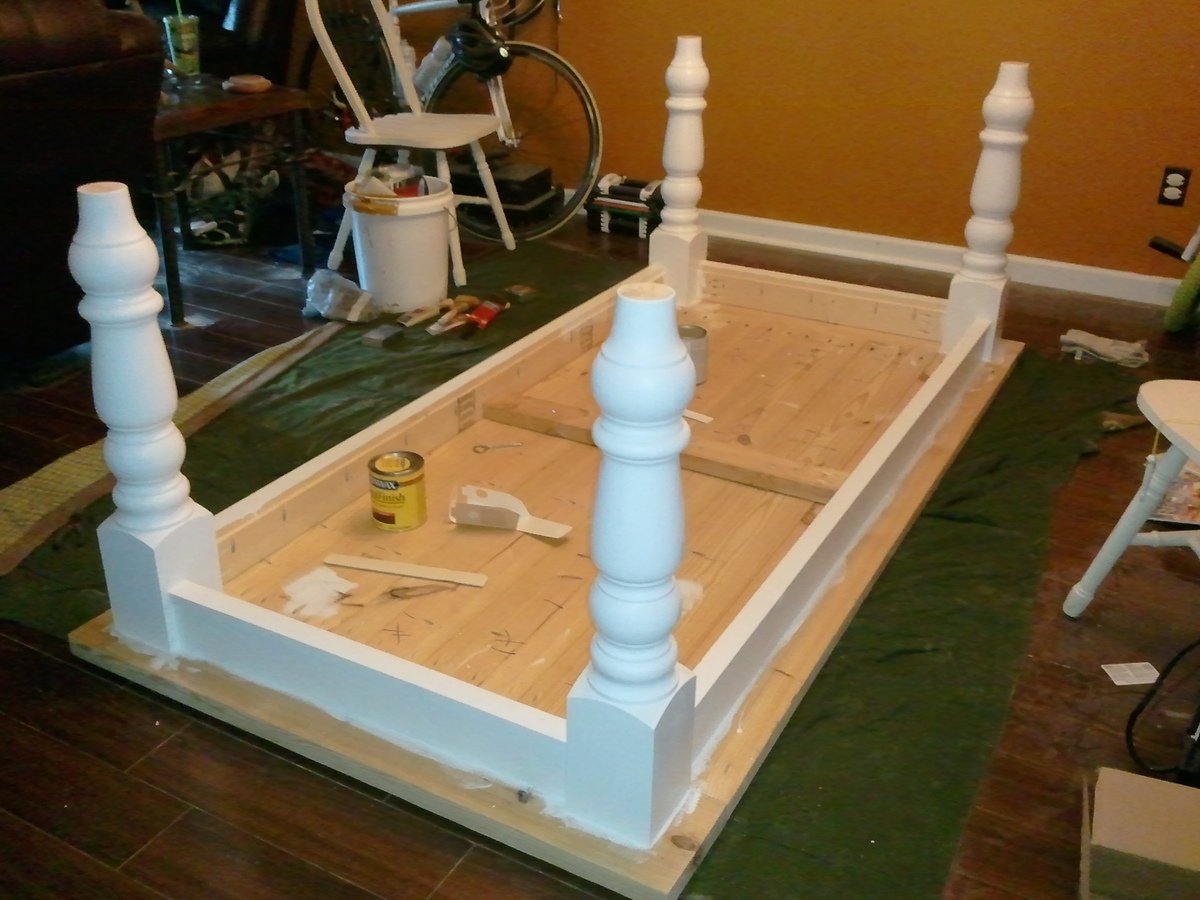
Base - indoor stain blocking primer then two coats of Antique White paint
Base - indoor stain blocking primer then two coats of Antique White paint
Recommended Skill Level
Intermediate