Community Brag Posts

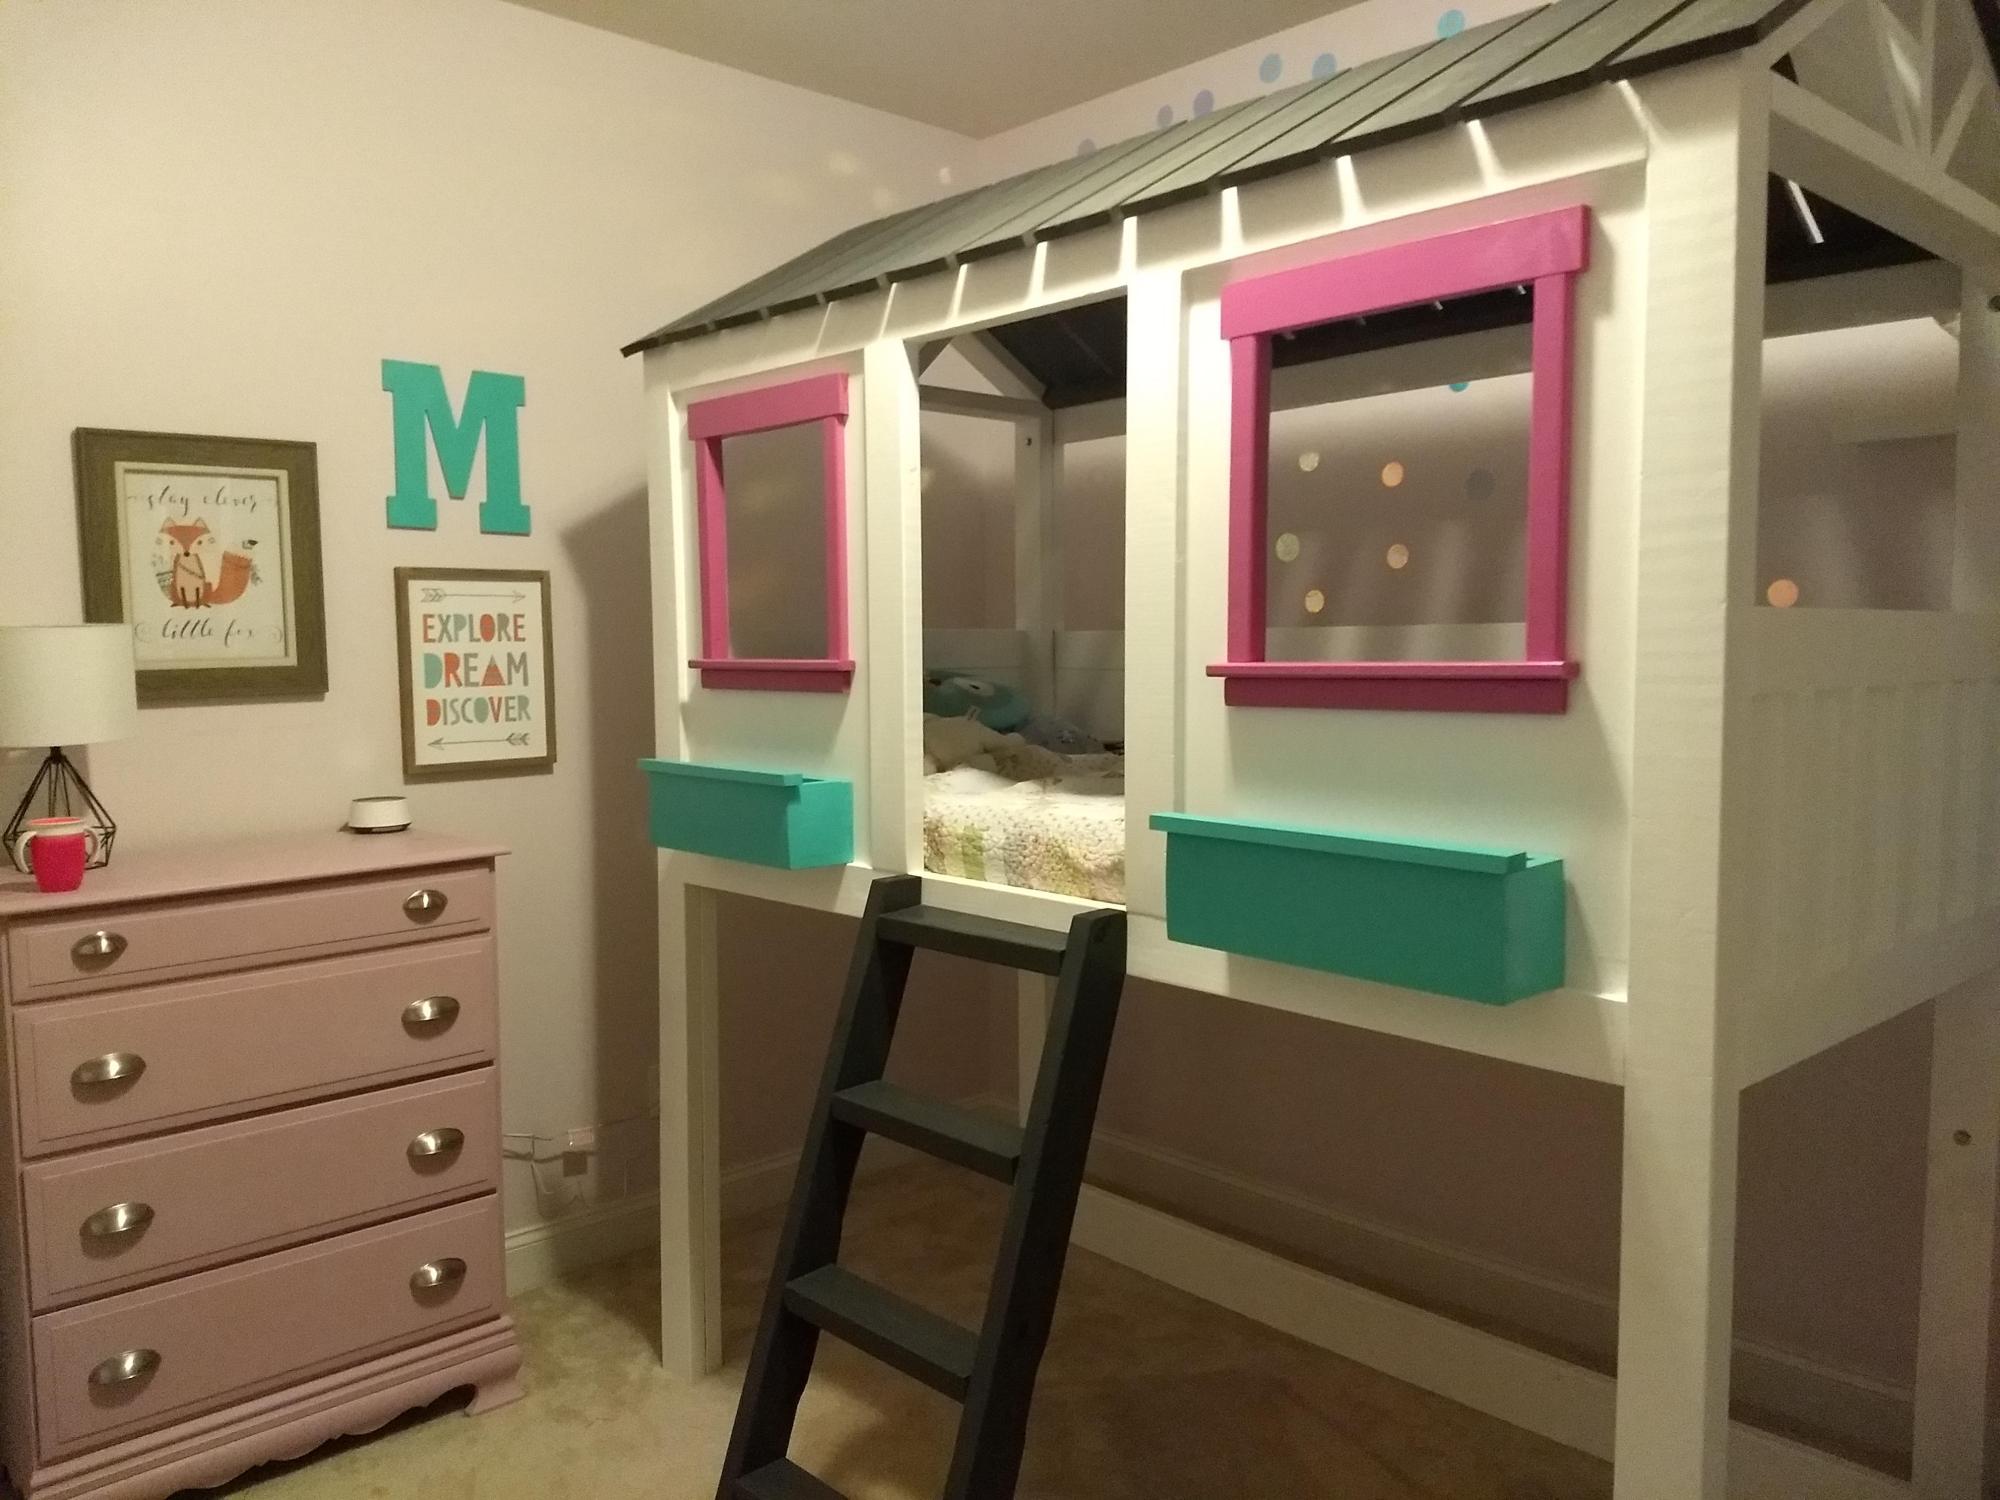
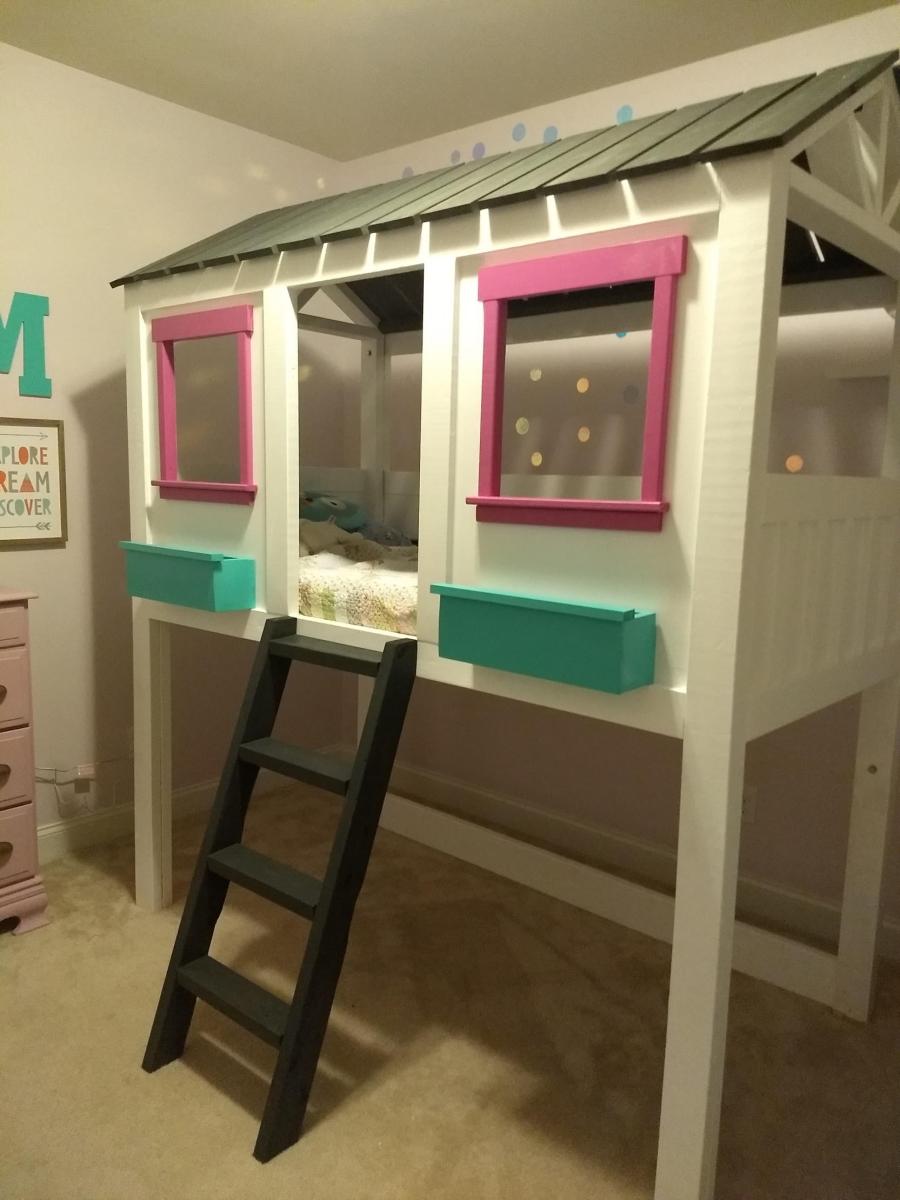
Shark Shack

I had my eye on this clubhouse bed from the Pottery Barn kids catalog and was so excited when I came across this plan and my hubby offered to build it for my 4-year-old. I think it actually turned out cuter than the Pottery Barn version! Thanks so much, Ana!

Estimated Cost
$350
Estimated Time Investment
Week Long Project (20 Hours or More)
Finish Used
Eggshell Paint
Recommended Skill Level
Intermediate

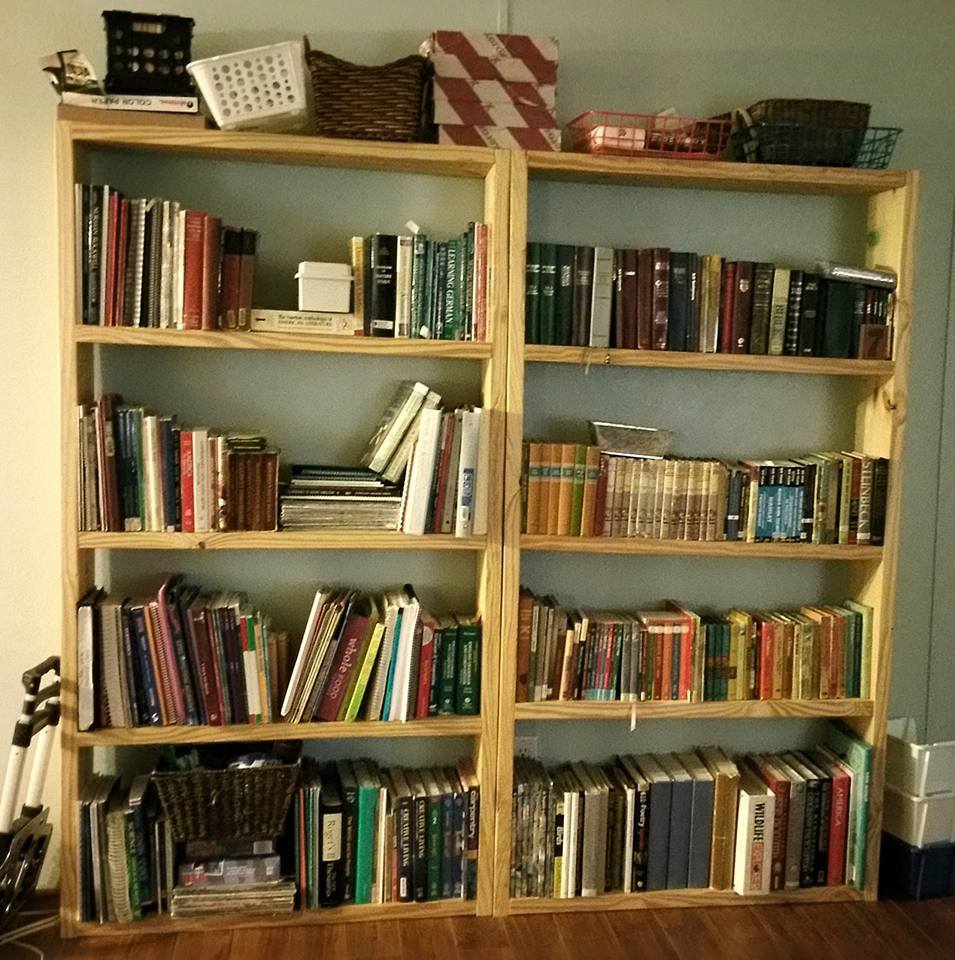
Our Homeschool Shelves

Submitted by bayoujac on Fri, 08/21/2015 - 13:44

These were my first two Ana-powered pieces. They're not perfect, but I love them! We altered the size a bit since the 10" lumber was a bit more affordable than the 12"

I was too tired after building them to paint them, so "rustic" it is!

Built from Plan(s)
Estimated Cost
$50 each
Estimated Time Investment
Afternoon Project (3-6 Hours)
Recommended Skill Level
Starter Project

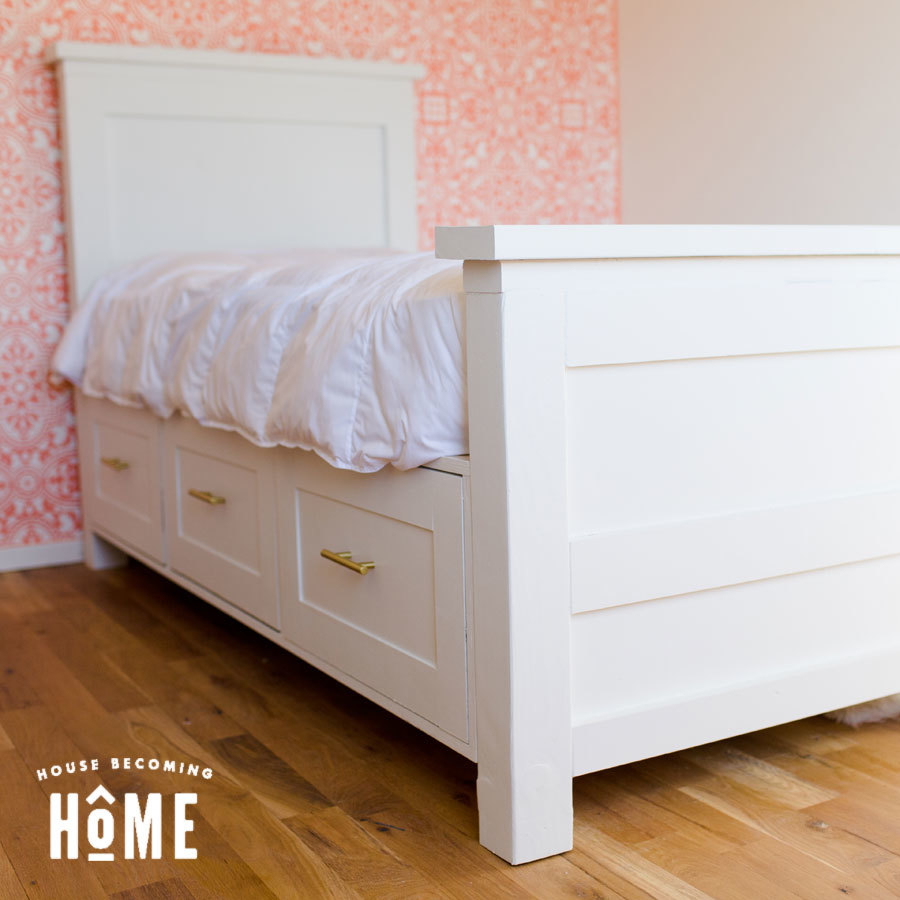
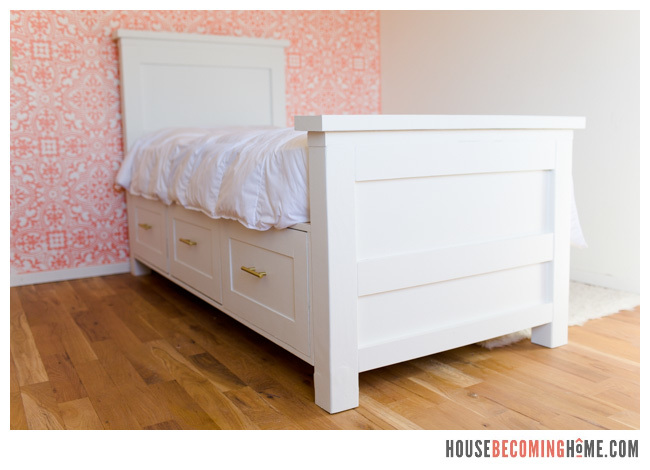
Twin Bed With Drawers

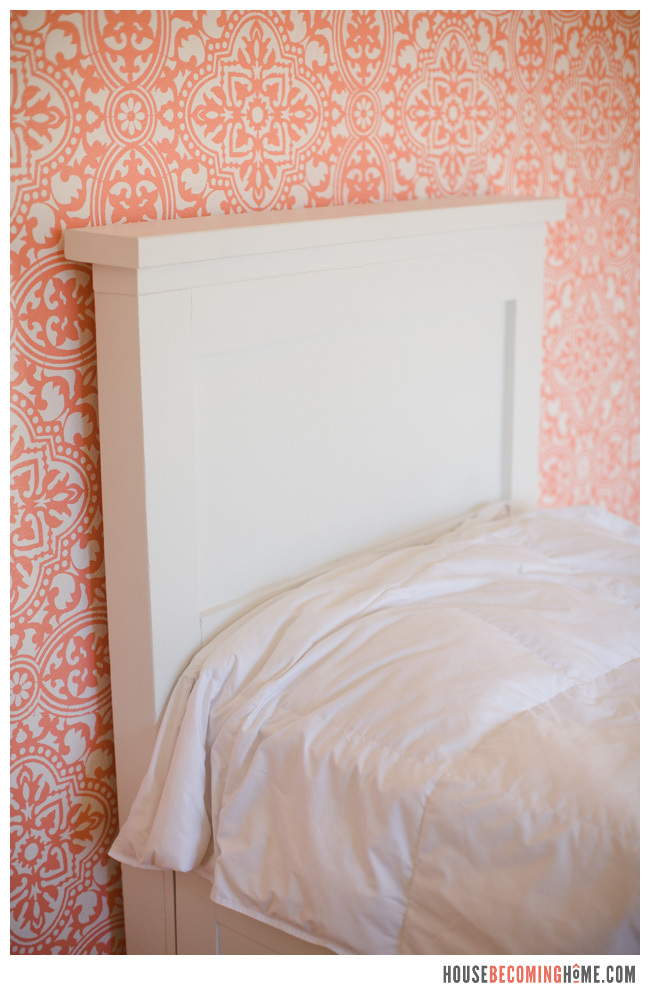
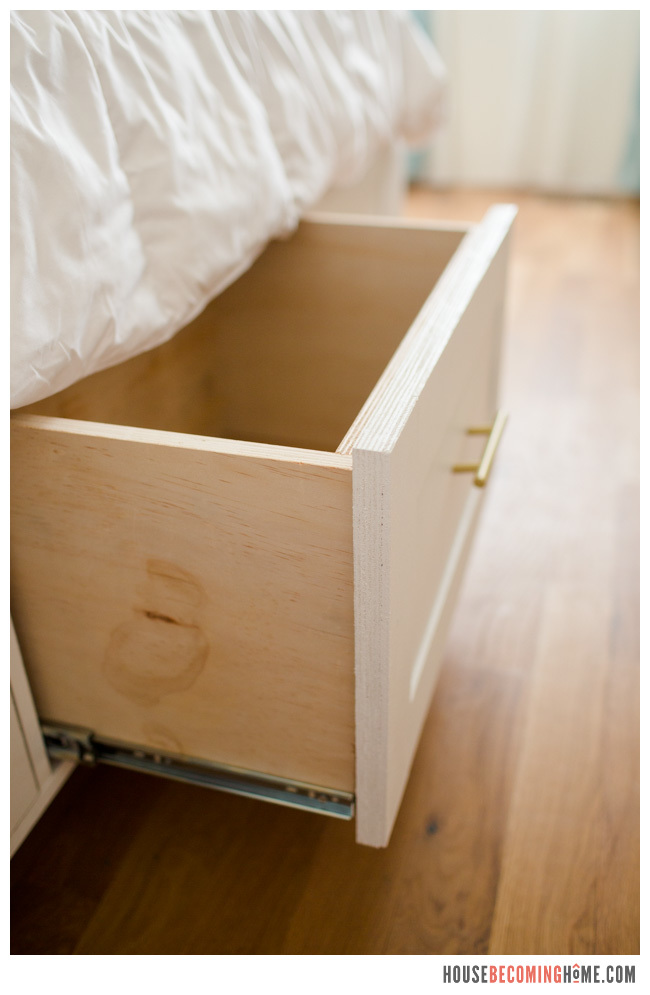
I built this twin bed with drawers for my daughter and I LOVE all the storage the drawers provide.  I slightly modified the plans it was based off of--you can find more info and see details from the build on my blog House Becoming Home.

Finish Used
paint
Recommended Skill Level
Intermediate

Comments

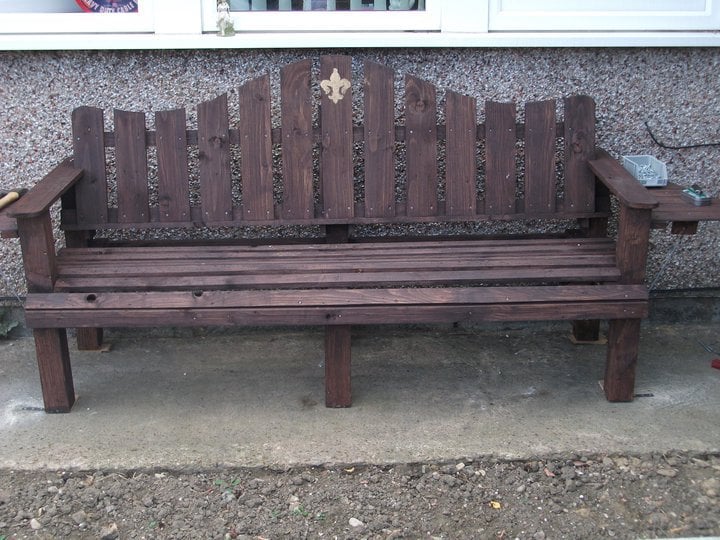
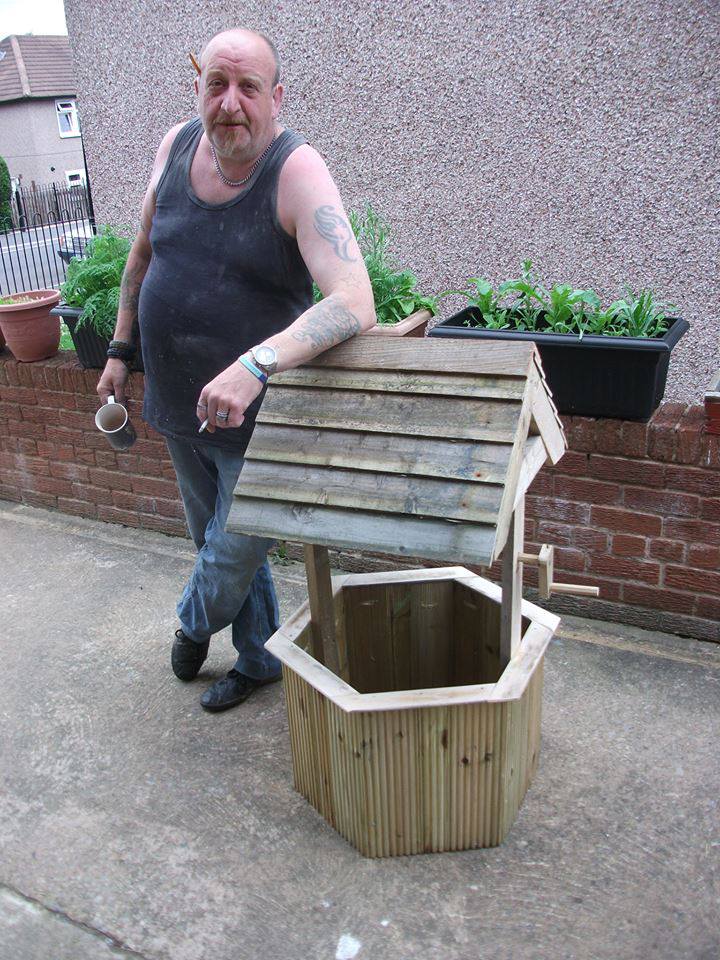
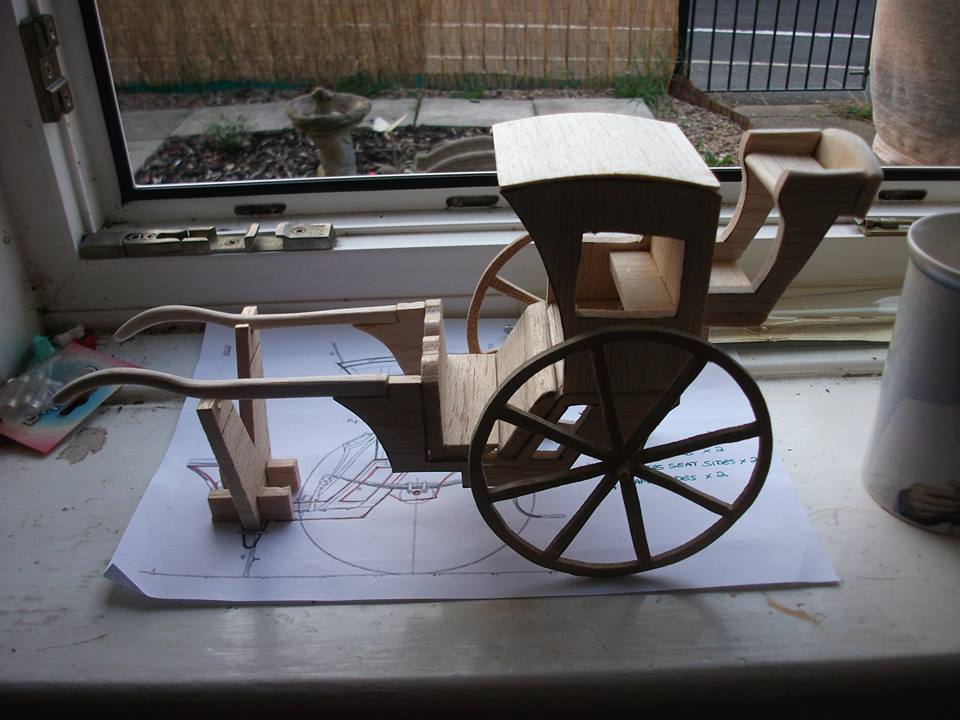
Repurposed wood projects

Submitted by tig2k2000 on Sat, 04/23/2022 - 21:01

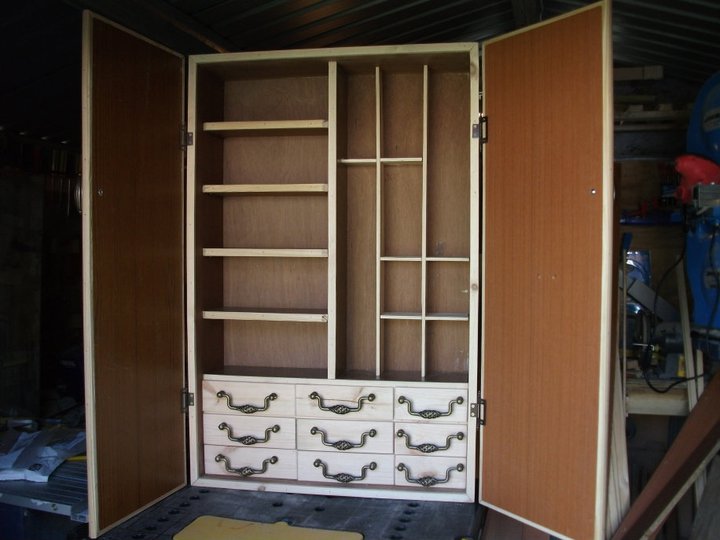
The bench and 2 chairs were made from old pallets (hate throwing wood in the skip) the medicine cabinet  was an old single bed frame and an old wardrobe the wishing well was a reqiest for a friend and was made from off cuts from other projects and last but not leased the handsome cab was more off cut in my shed.

Reclaimed wood headboard

Submitted by mom24boyz on Sat, 06/25/2011 - 09:18

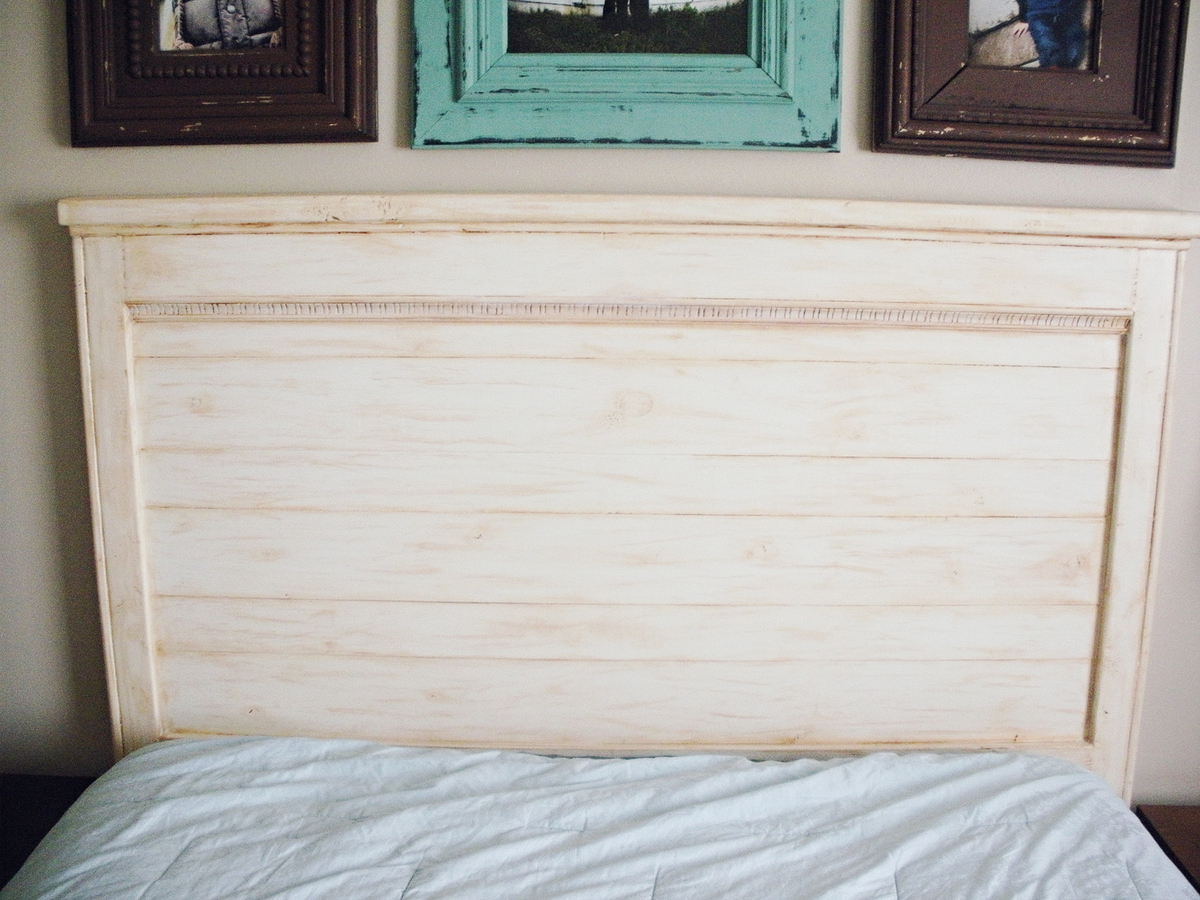
This was my first building project. It turned out better than I thought it would!
I used the reclaimed wood headboard plans. The only things that I did different was added a decorative trim piece to it & did some wood filler to areas to fill in. I painted it a cream color, then antiqued it. The stuff I used was folkart antiquing medium that I got at a local craft store.
A few things that I learned...
*Make sure the wood you buy it straight. Check it at the store that it lays flat on the ground.
*Don't take a 4 & 5 year old with you to the hardware store!
*For some areas screws work better than finishing nails. AKA the top pieces of the headboard (pre drill a hole a little so that the screw head will fit in. When done add wood filler after to fill in the hole)
*measure your bed frame rail to make sure that the headboard will fit where the holes in the frame are.

Estimated Cost
$50
Estimated Time Investment
Afternoon Project (3-6 Hours)
Finish Used
The paint I used was Martha Stewart Heavy Cream from home depot.
The antiquing was done with Folkart Antiquing Medium 811. You can get it at your local craft store that sells Folkart paint.
Recommended Skill Level
Beginner

Comments

Shanda McKeehan (not verified)

Fri, 09/07/2012 - 09:36

This looks great! I just finished my headboard and TOTALLY agree with the make sure your wood is straight thing. I didn't and it really screws things up!

Adirondack Chair

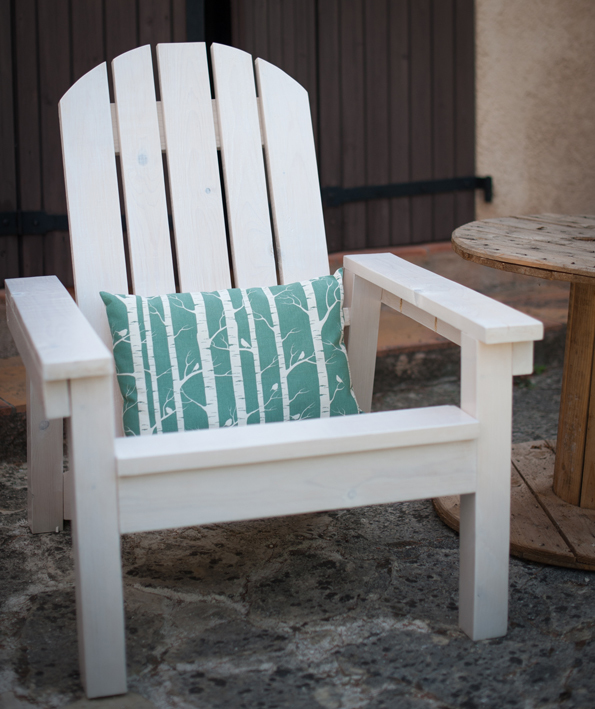
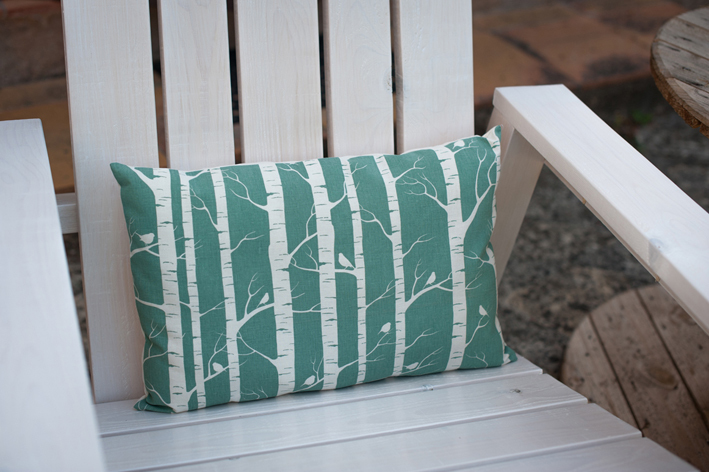
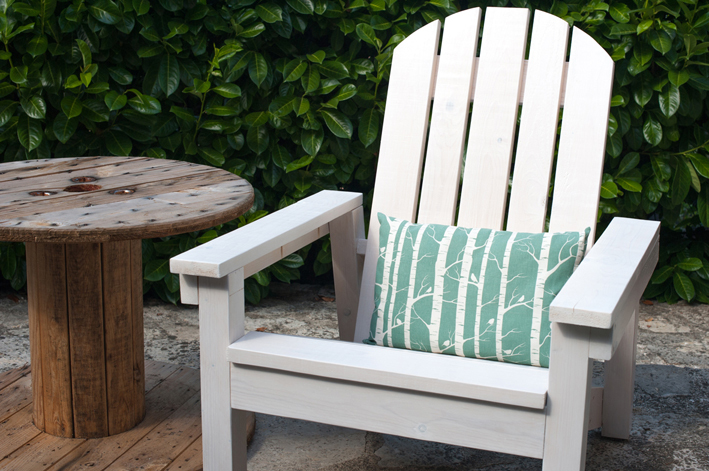
I'm a French woodworking. It was so easy to buid this adirondack chair. I'm using my lovely kreg jig. I want to redo two other chairs... Thank you so much Ana ;-). Sory for my bad english !!!

Estimated Cost
50€
Estimated Time Investment
Afternoon Project (3-6 Hours)
Finish Used
lasure
Recommended Skill Level
Intermediate

Kitchen Counter Height Table

Submitted by Sue Hill on Mon, 04/09/2018 - 15:53

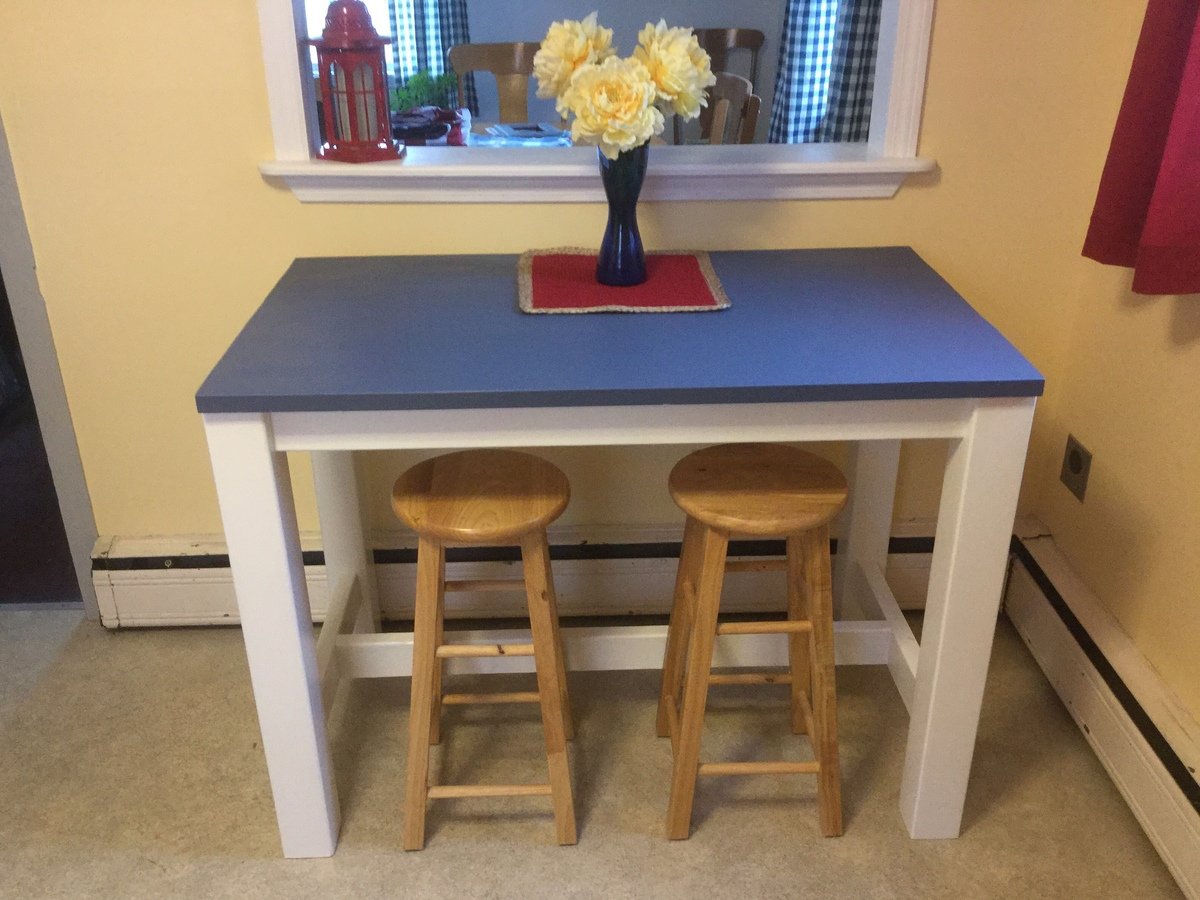
This counter height farmhouse table fit my space perfectly. I made it narrower than Ana's table but the same length, 48" x 27".  Instead of a 3/4" plywood top, I joined five 5/4" x 6 pine boards for the top. The stools fit exactly under the table when I want to use it as a workspace. I can also use both sides of the table if I pull it out. 

Estimated Cost
Hard to say since I had been saving the cedar posts for a few years, so I didn't have to purchase them.
Estimated Time Investment
Day Project (6-9 Hours)
Finish Used
I primed and painted the legs & table.
Recommended Skill Level
Beginner

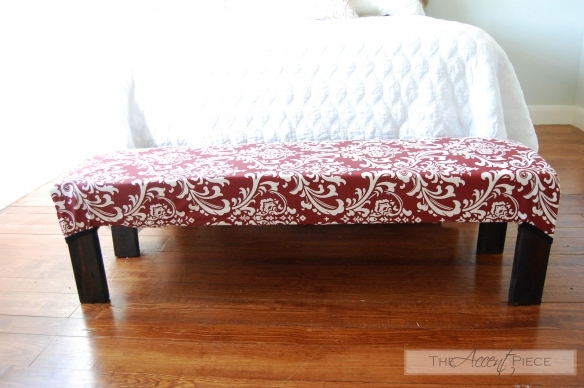
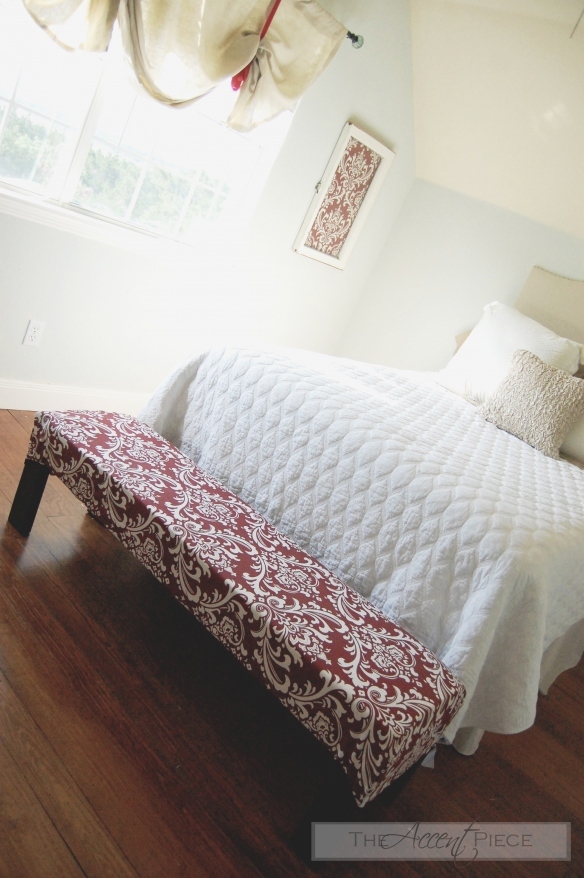
Upholstered Bench

Submitted by sooz122 on Tue, 06/28/2011 - 11:42

Used the easiest upholstered bench plans as a start. I modified it just a little so that I could use what I had on hand!

Built from Plan(s)
Estimated Time Investment
An Hour or Two (0-2 Hours)
Recommended Skill Level
Beginner

Comments

Pam the Goatherd

Wed, 06/29/2011 - 10:41

I love that fabric too! I've used that exact same stuff in my kitchen, and also framed a piece of it to cover the hole in the wall over the stove where my range hood vent is supposed to go if my husband ever gets it put up. I've also got the black version of the fabric to make baskets to go on my wire shelves.

Letter press rustic x coffee table

Submitted by kasiwalker on Tue, 08/06/2013 - 11:34

I used the Rustic x coffee table plan and modified the top. I used 2x2's to make a frame and a router to make notches for plywood under the letters and glass to fit inset on top. The letters are antique letterpress blocks that I obtained on ebay and at antique shops.

Estimated Time Investment
Day Project (6-9 Hours)
Finish Used
Minwax Aged Oak.
Recommended Skill Level
Starter Project

Comments

Storage Bed

Submitted by eralben on Fri, 08/28/2015 - 06:11

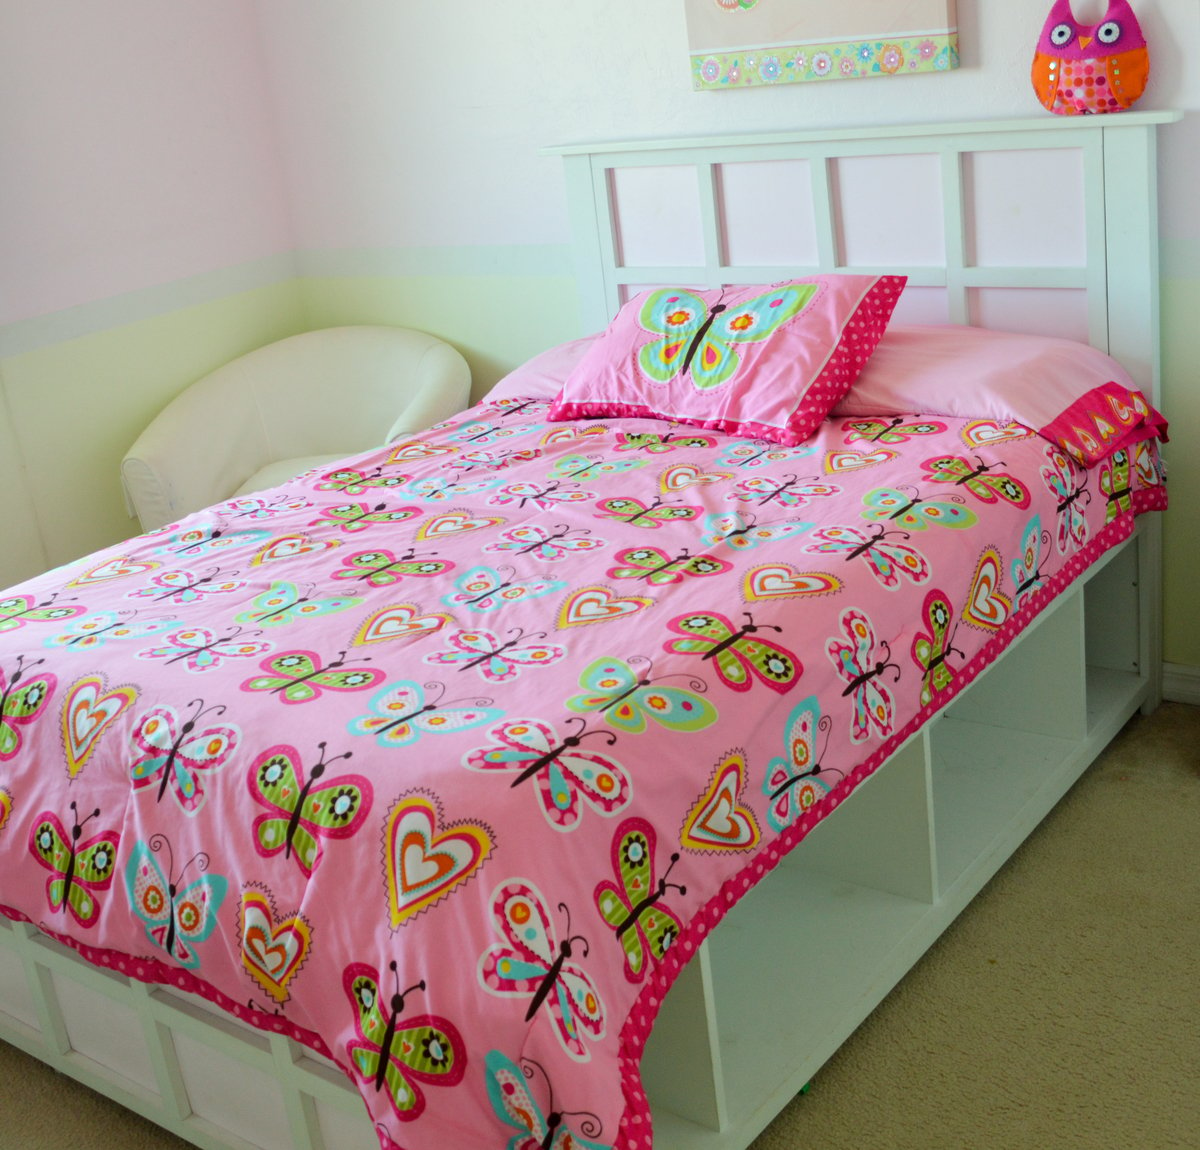
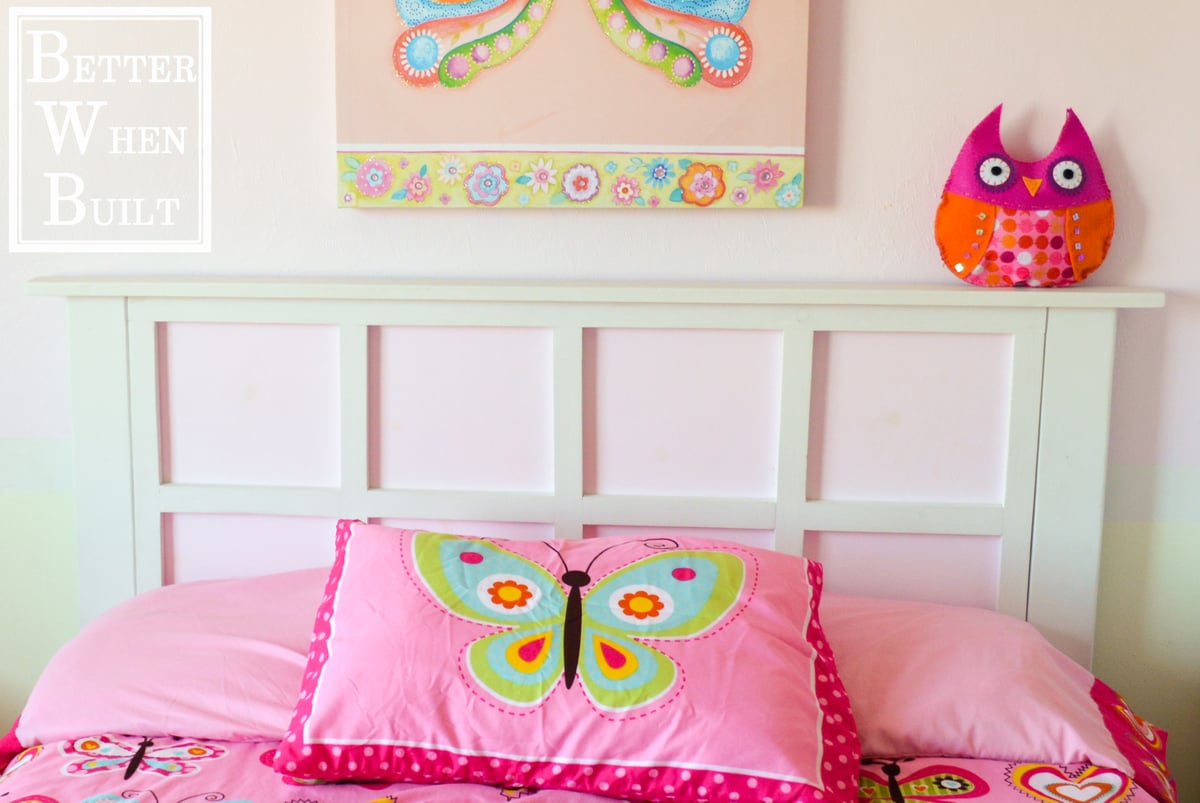
My daughter needed a new bed and I really liked Ana's Hailey Storage Bed plans.  I adjusted Ana's plans to fit a full size bed and I also made a different headboard and footboard.  To see how I made the headboard and footboard follow the links below:

Headboard:  http://www.betterwhenbuilt.com/diy-headboard/

Footboard:  http://www.betterwhenbuilt.com/diy-footboard/

Built from Plan(s)
Estimated Time Investment
Weekend Project (10-20 Hours)
Recommended Skill Level
Beginner

DIY Outdoor Storage Bench

Hi friends!


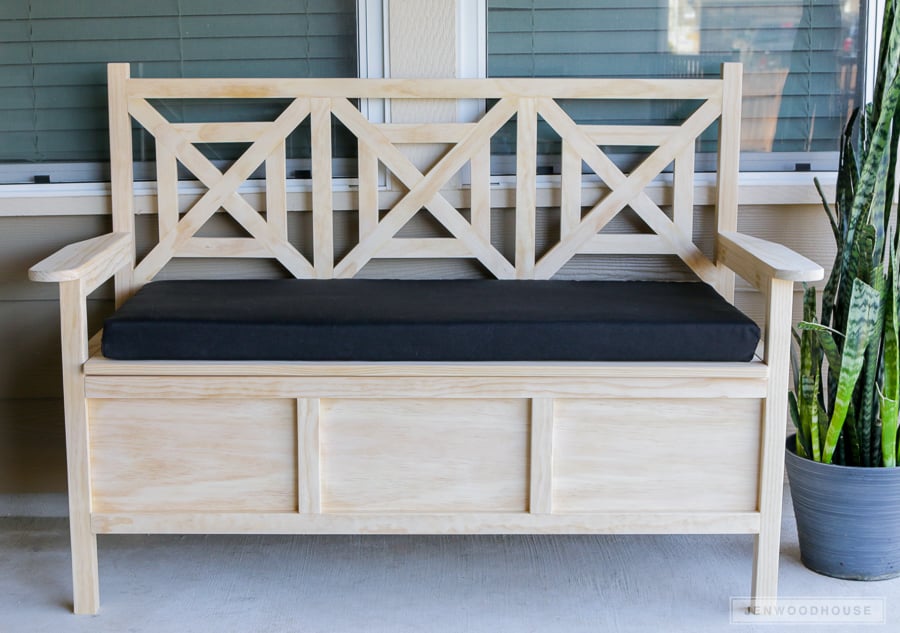
Jen Woodhouse here popping in to share with you an outdoor furniture option for you. This DIY Outdoor Storage Bench has served me so well. It's still in great condition after being outside, and has a huge added bonus of storage as well. The fretwork detail on the back makes it look extra fancy, but those angled cuts are all at 45 degrees, so this project is totally doable. Be sure to tag me @jenwoodhouse if you share photos of your build on social media!


You can get all details and the free plans on jenwoodhouse.com!


Estimated Time Investment
Day Project (6-9 Hours)
Finish Used
Clear exterior-grade polyurethane
Recommended Skill Level
Intermediate

Comments

Turquoise Headboard

Submitted by cynthiaw on Sat, 07/02/2011 - 18:06

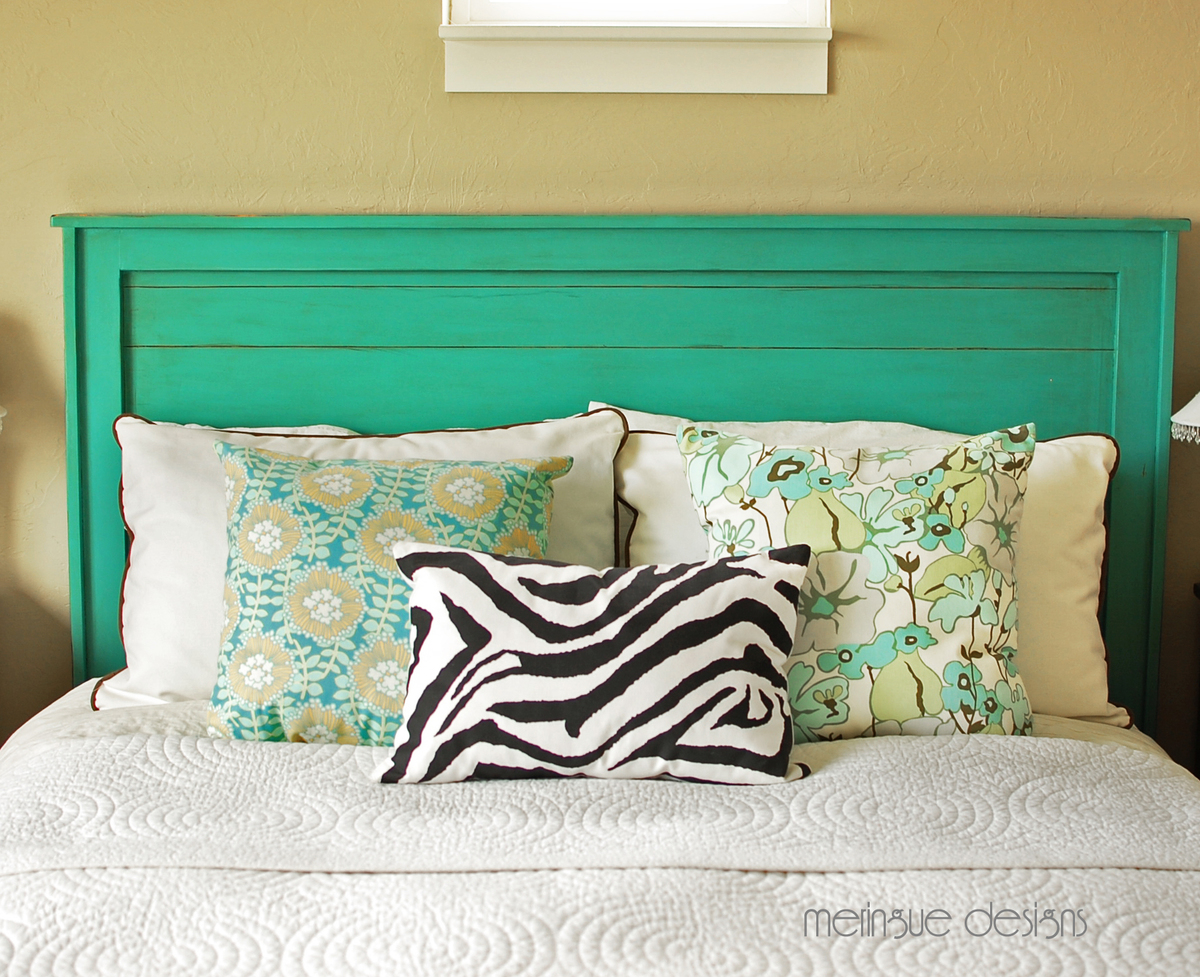
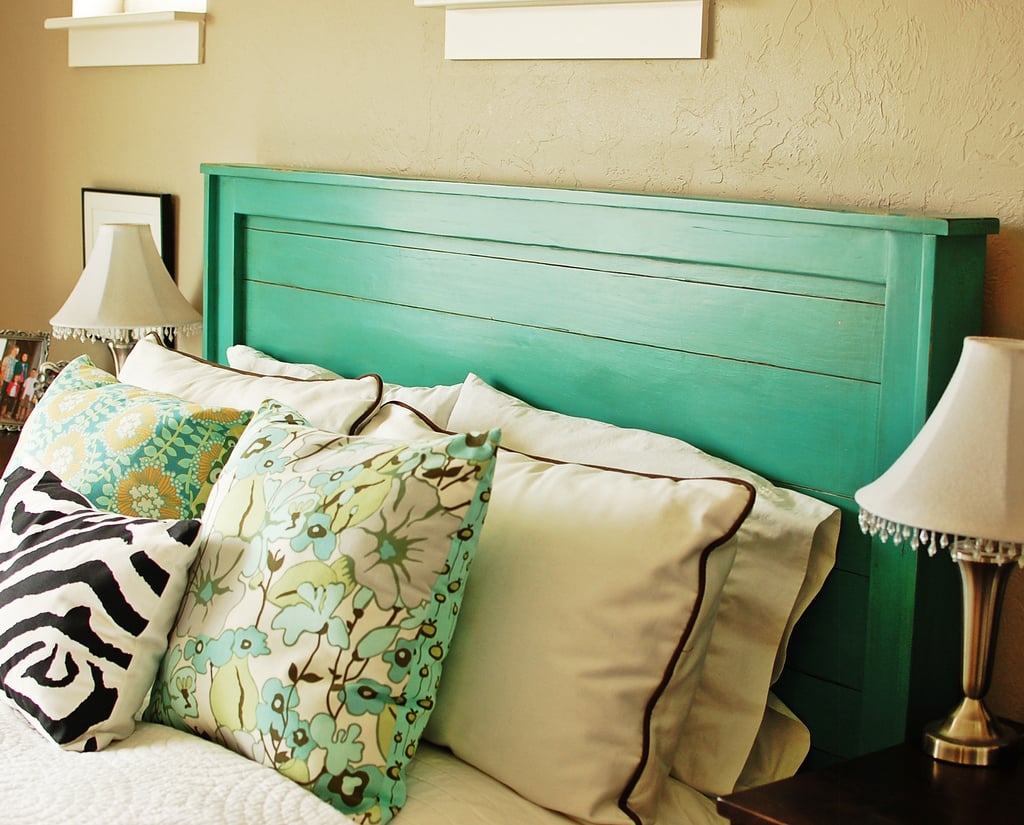
used Ana's plans for the Reclaimed Wood Headboard, queen size. Details can be found on my blog post about this project.

Estimated Time Investment
Afternoon Project (3-6 Hours)
Finish Used
see my blog
Recommended Skill Level
Beginner

Comments

cynthiaw

Sat, 07/02/2011 - 18:08

i made this last year and although ana has it featured here for the plans, i never did officially add it to the 'brag blog'

amikolajczyk (not verified)

Thu, 03/01/2012 - 11:36

I see you mentioned that you have the details about the finish work in your blog, but I don't know where to find that. I'm making one of these now and I'm really impressed with what you've done. I'd like to know more!

Thanks,
Adam

Craft Paper Holder

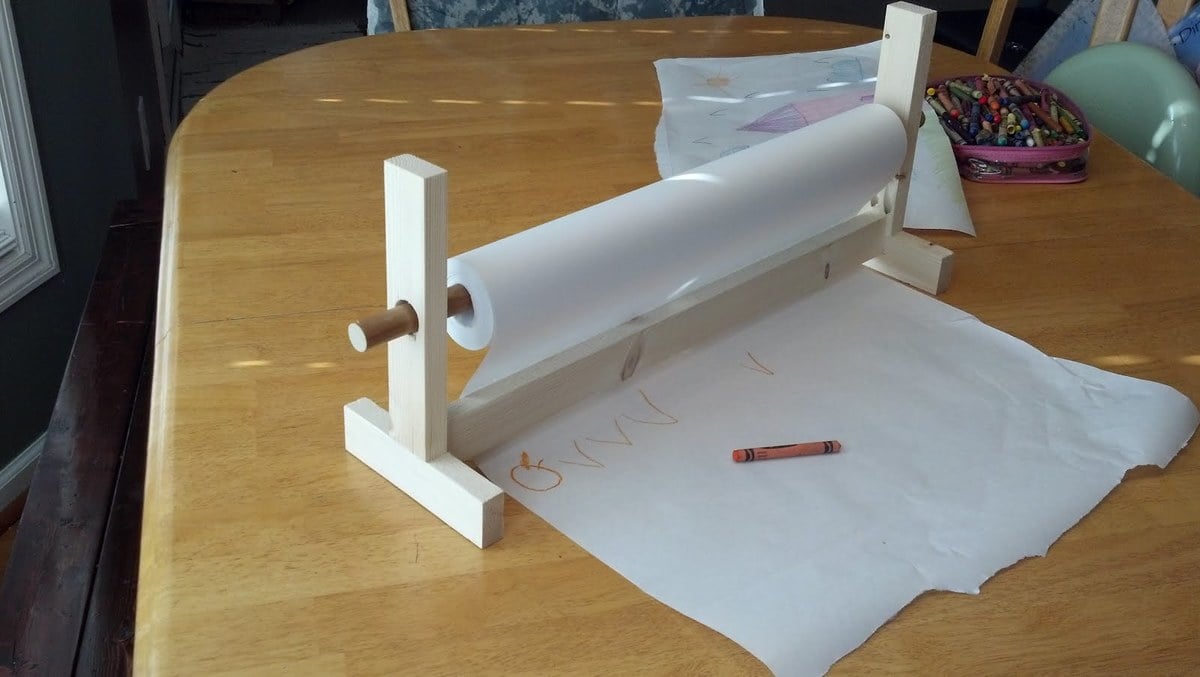
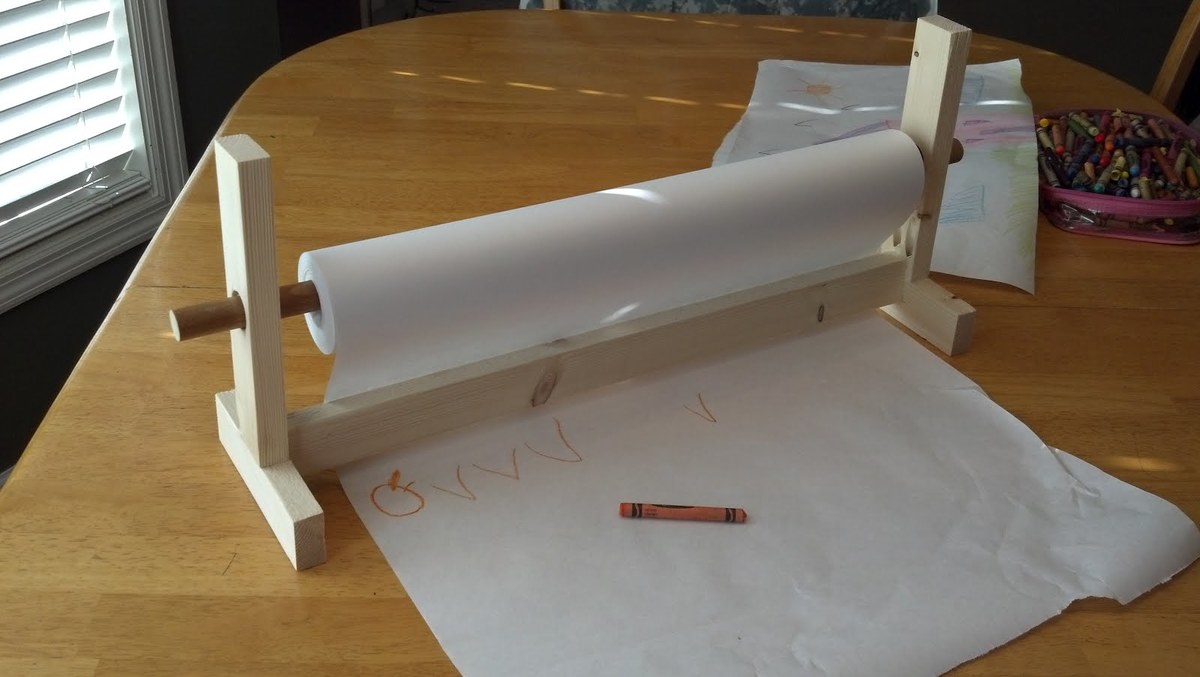
I made this in a few minutes. The kids were too excited to try it out; they didn't want me to fill and paint it. I made it out of scrap wood.

Built from Plan(s)
Estimated Cost
$1.00
Estimated Time Investment
An Hour or Two (0-2 Hours)
Finish Used
The kids grabbed it before I could finish it :)
Recommended Skill Level
Starter Project

Book Ledges

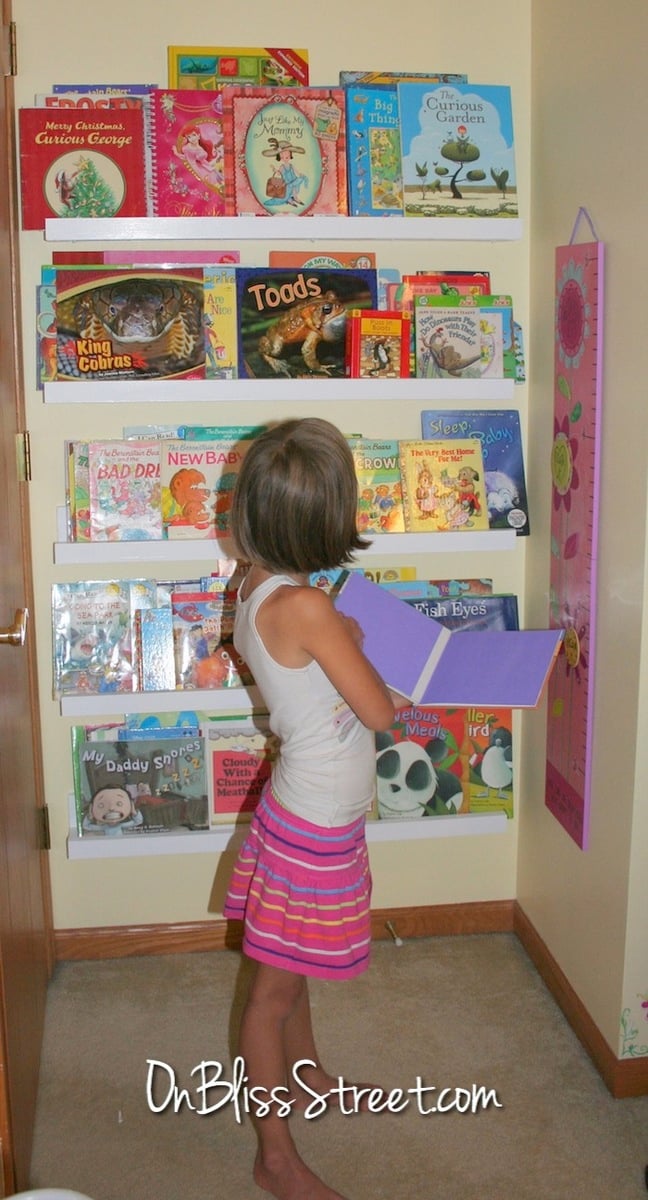
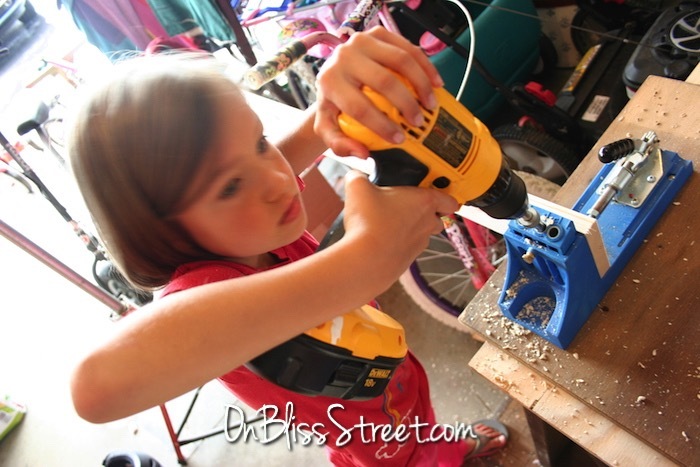
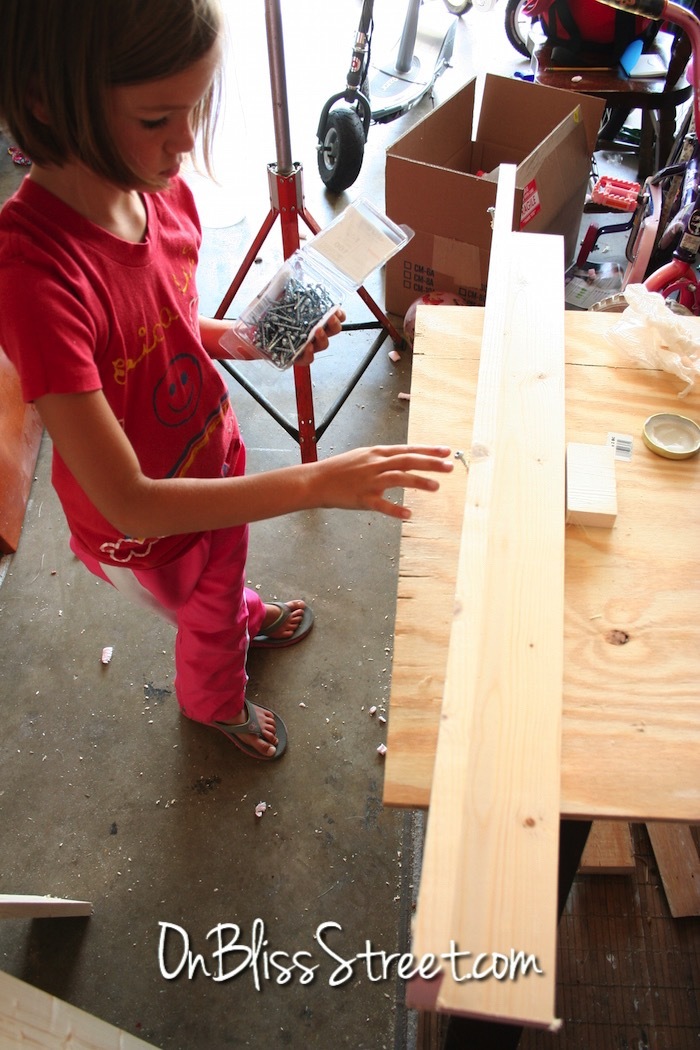
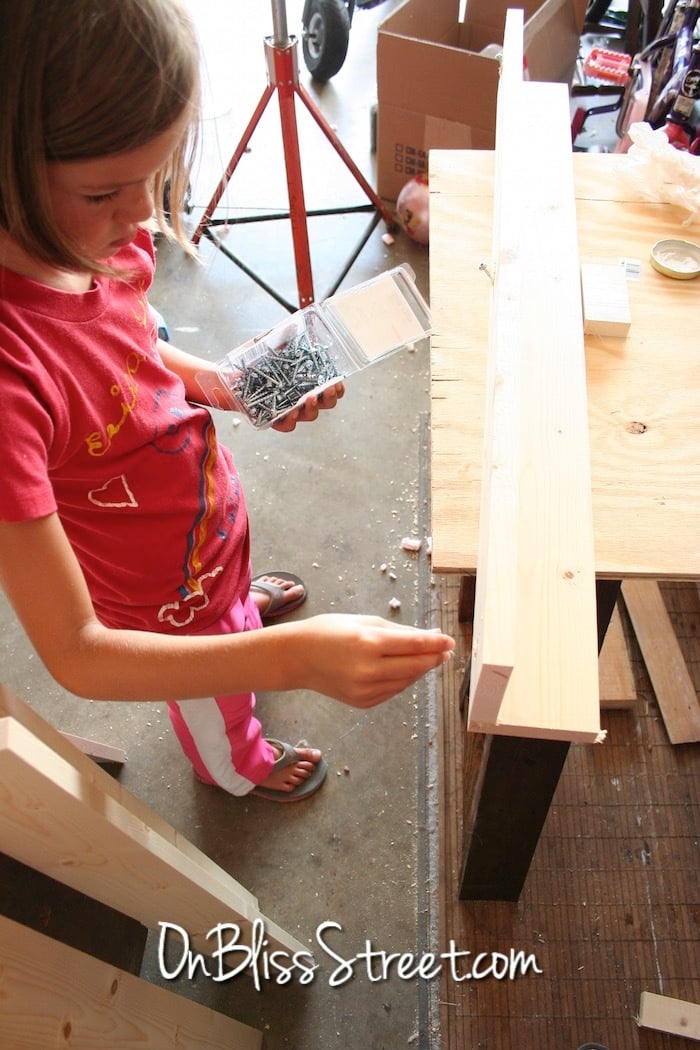
These ledges are incredibly versatile and will easily grow with any child.  Books for the younger ones and then a gallery wall for when they grow.  They are so easy to build that literally, a child can do it, as you can see.  This was her first build that she completed by herself.  After the boards were cut of course.  Thanks Ana, this is a great plan and it was an AWESOME  day for the girls!

Built from Plan(s)
Estimated Cost
$25
Estimated Time Investment
An Hour or Two (0-2 Hours)
Finish Used
sanded and painted white.
Recommended Skill Level
Starter Project

Small table and benches

Submitted by sylvialh on Fri, 05/25/2018 - 11:28

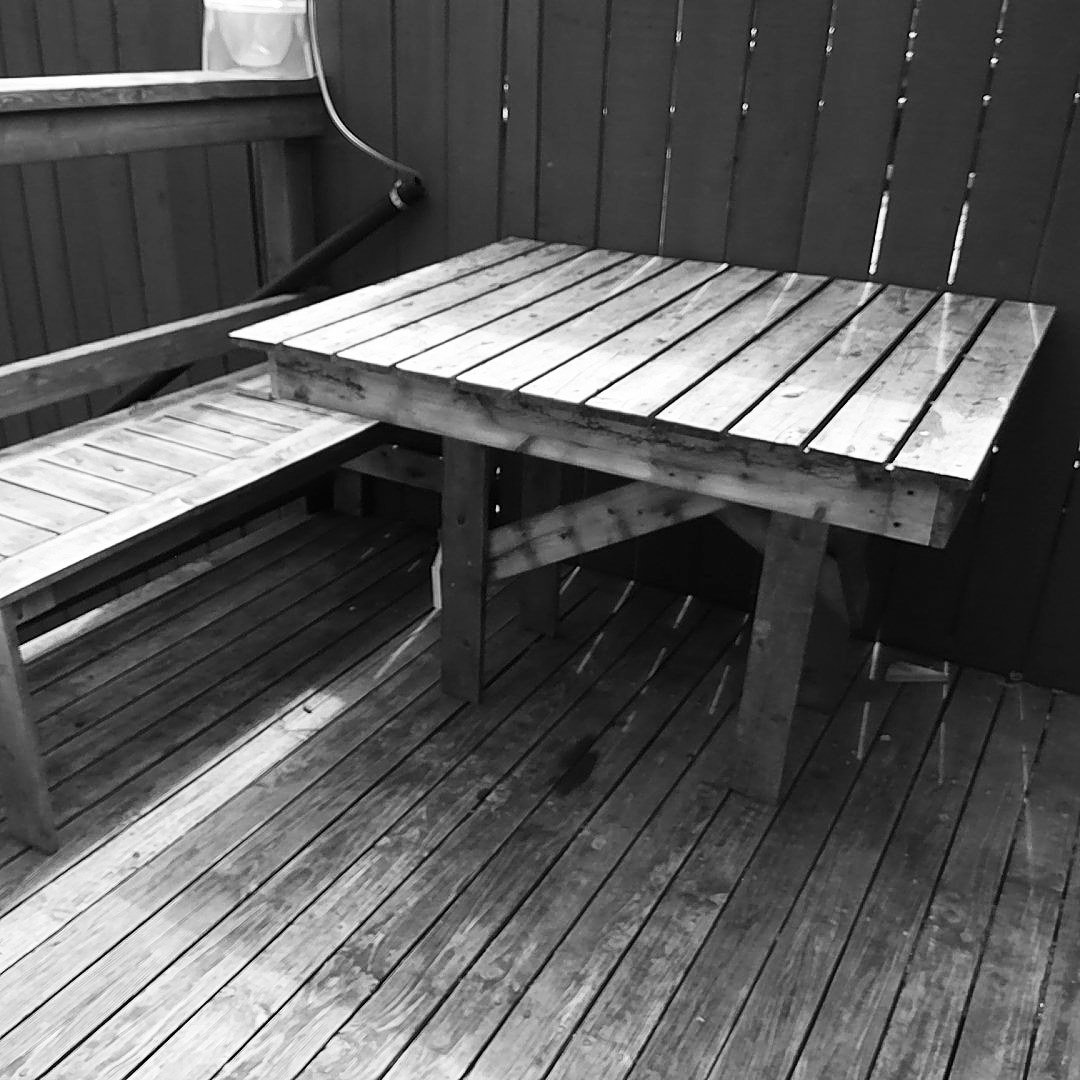
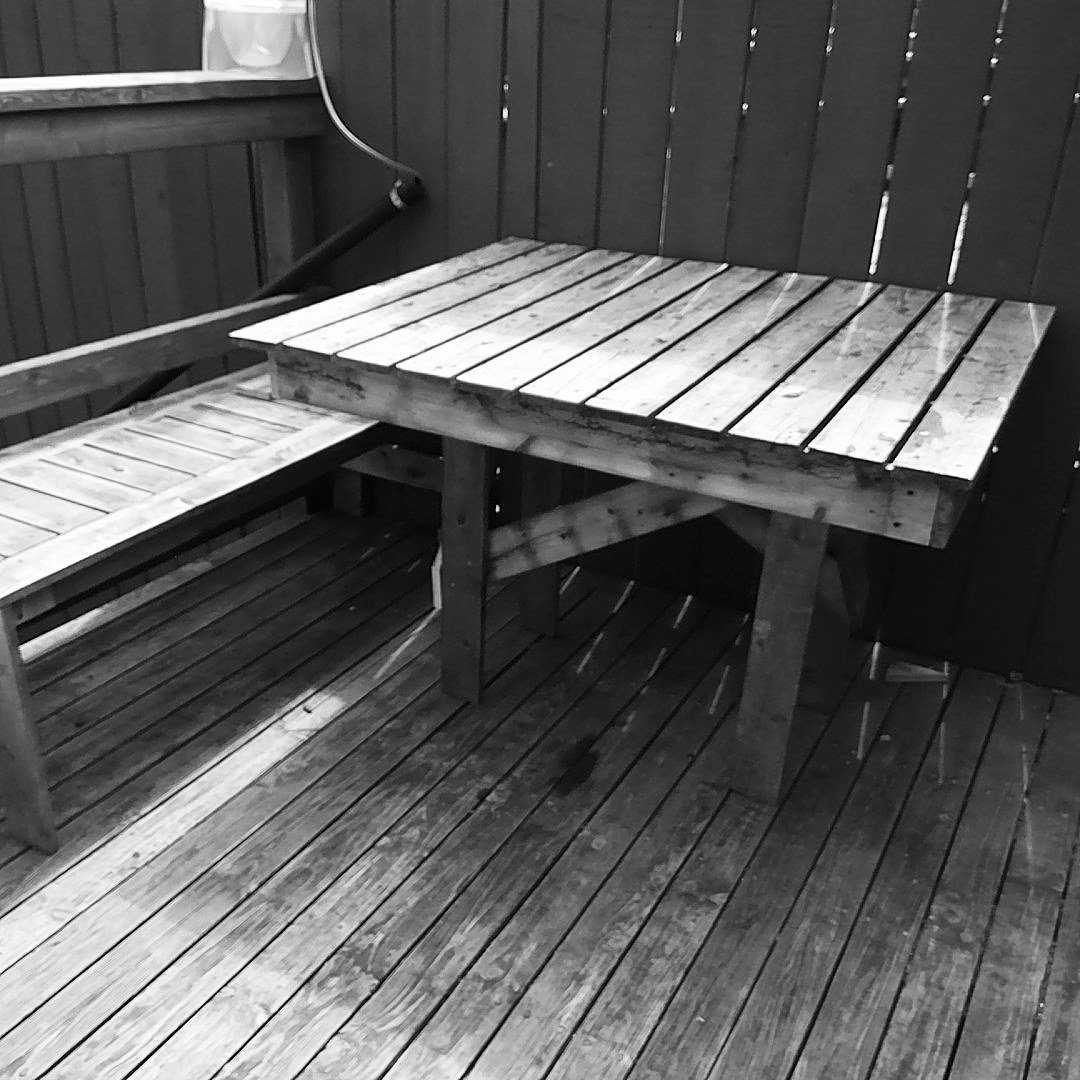
I found the table to be pretty wobbly so I reinforced it with some triangulation and I moved all the legs into the centre so the triangulation wouldn't get in the way of people sitting on all sides. 

Recommended Skill Level
Beginner

Comments

sylvialh

Fri, 08/27/2021 - 05:25

I found that when the benches flexed a bit it would pinch my skin so I don't recommend this design! but none the less this set lasted me ten years and I learned a lot from it. Yesterday I took it all apart (easy enough since I didn't use glue - one of the reasons it was wobbly), and turned it into four stools and a planter. This project was an ana white gateway drug, one of my first projects!

New Outdoor Kitchen!

Submitted by ColleenM on Wed, 07/06/2011 - 06:48

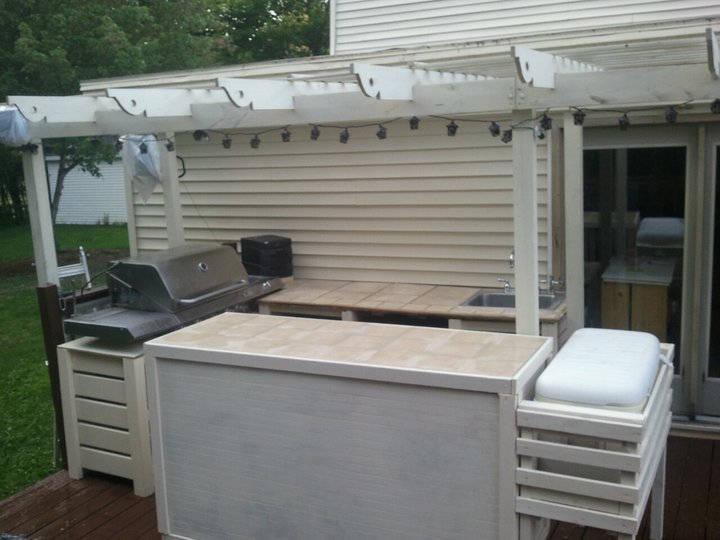
This is the new outdoor kitchen I had been working on - finally finished! It was inspired from the kitchen island plans - I like the slats, and thought they would work well outdoors for air flow and water drainage. I worked around the existing grill, and it is all modular, so it can be moved if necessary (such as painting or treating the deck). It includes cupboards underneath the bar, dorm fridge and sink with storage under the countertop. The cooler stand raises the cooler up to 'user' level (no more bending!). Because I'm an avid recycler - most of the products used were recycled items. All told (not including the already purchased grill) - this kitchen cost me a total of approximately $95.00 (I had a lot of the materials already). This project took me approximately 5 weeks working on it part-time after hours. I built one cabinet at a time, then the countertops.

Built from Plan(s)
Estimated Cost
$95.00
Estimated Time Investment
Week Long Project (20 Hours or More)
Finish Used
I used the same paint I used on the house - an exterior Behr latex stain.
Recommended Skill Level
Intermediate

Comments

kmatt55

Wed, 07/06/2011 - 17:29

This looks really awesome Colleen! I was thinking about putting a sink like that on my deck. What kind of finish did you use for the countertops? Would you please post more pictures of it? Great job!

ColleenM

Thu, 07/07/2011 - 04:42

Thanks Kmatt & Viola...I'll try and get some more pictures up asap. For the bar top and countertop I used tile, and treated the grout lines many times with a waterproofer. Both tile and grout were purchased at our local ReStore - a total of 20 cents a piece for the tile, grout was $3. Not bad for a countertop!

mamafiona

Wed, 07/20/2011 - 11:48

Wow, this is really amazing! This is just what we need for our new deck - something modular and not too expensive to build. Do you have any more pics? I'd love to see what the area in front of the grill looks like. Very, very nice work.

Guest (not verified)

Mon, 03/05/2012 - 10:54

Hi, I was wondering if you have the plans for the kitchen around the bbq grill, i would love to make this for my husband for his birthday.

Guest (not verified)

Mon, 04/09/2012 - 18:38

Hi, this is great. Is there anyway you can post pics of the front of the bar where the sink is and especially the bbq, I want to build around my existing bbq grill but dont know how. thank you so much.

BENCHRIGHT FARMHOUSE TABLE

Submitted by lotusguy on Thu, 08/08/2013 - 20:12

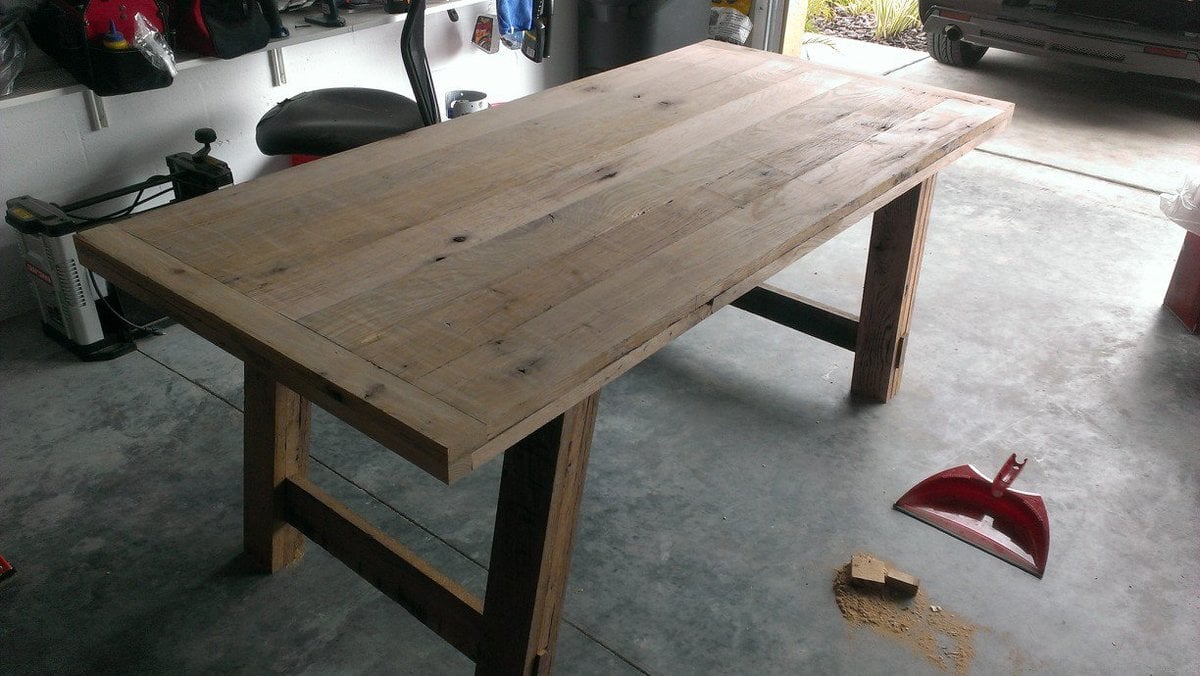
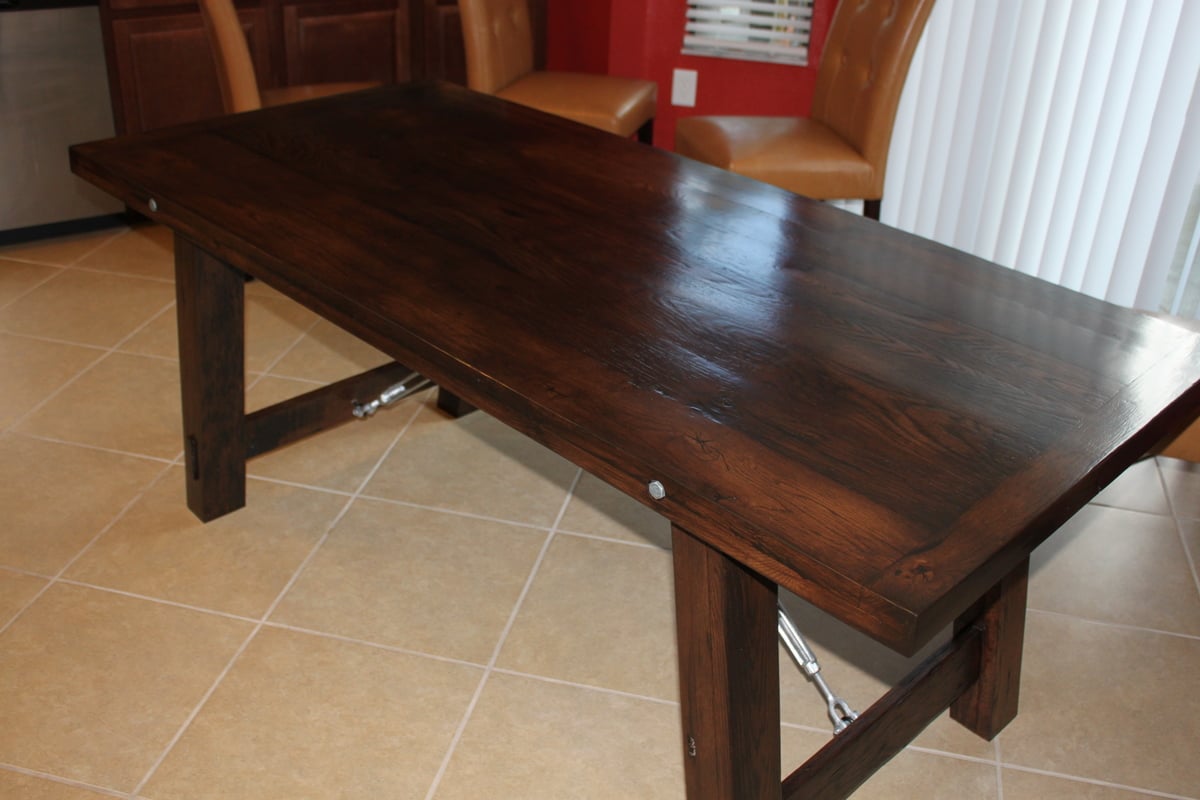
This is my take on a few of these I have seen. It started out seeing the retail version of this table at a large furniture store with a $2k price tag on it. I really like the look of it so I decided to build one and searched for additional pictures and found these plans.

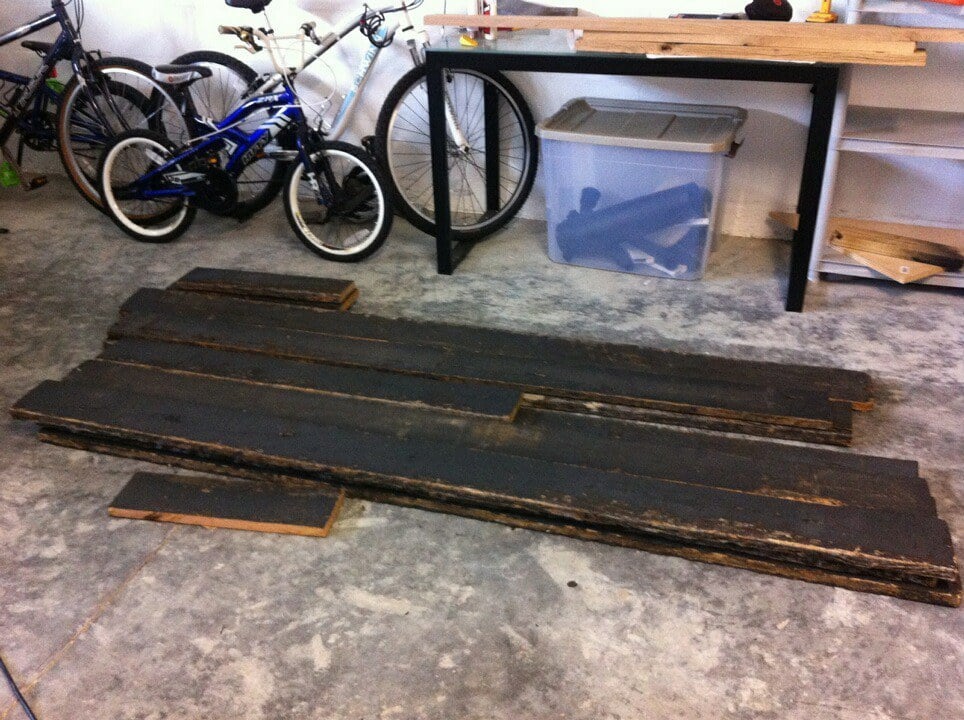
I used the plans as a guideline for overall dimensions for the table. I was using reclaimed oak fencing from an old Kentucky horse farm (who uses oak for fencing!!). This stock came in 5/4" x 6" x 7' boards so I had to get creative with the dimensions, etc. It was a mixture of red and white oak and this stuff was HARD!

The boards also came painted black with years and years of build-up and weathering. On a side note, if you ever work with reclaimed wood that has been painted or stained, please test it for lead. Lead based paint was banned around 1973 and you don't want to be planing or sanding on this stuff unless it is safe. Fortunately, I had this tested using a kit from the local big box. Most of my time was spent planing the boards down enough to show the oak but also leave some character as you will see in the pictures.

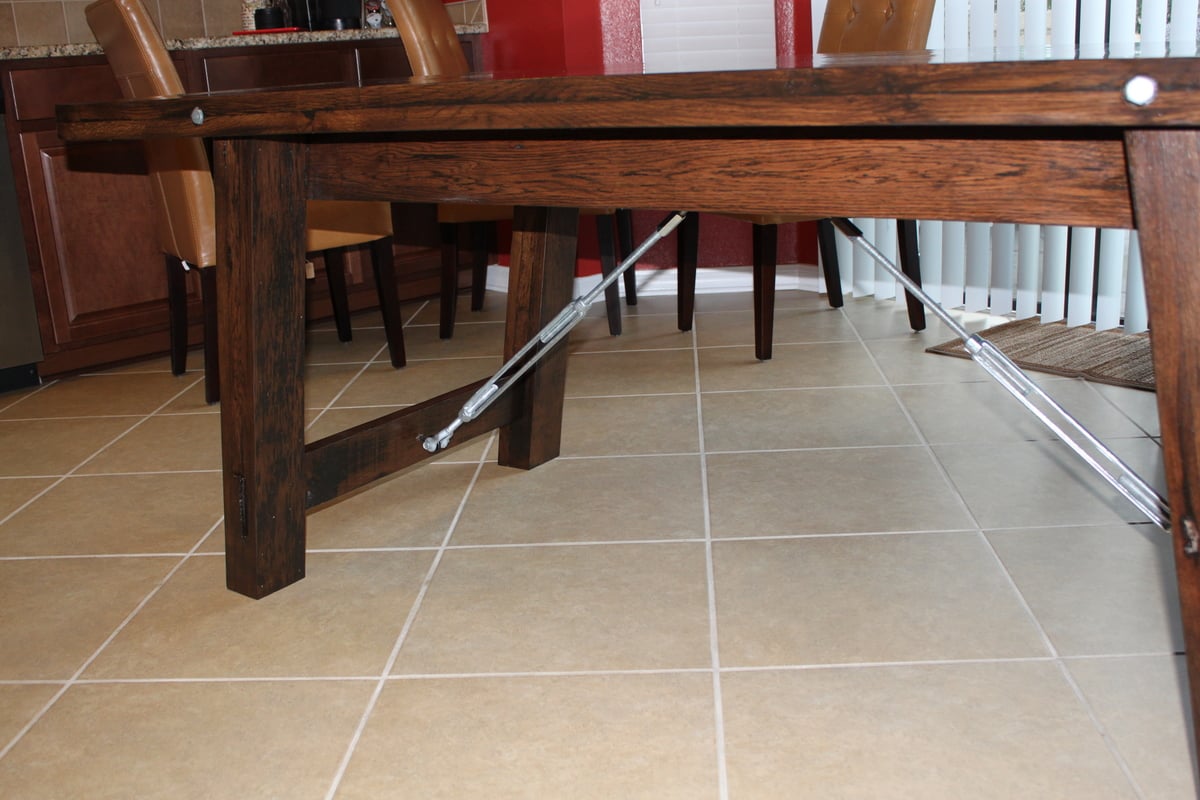
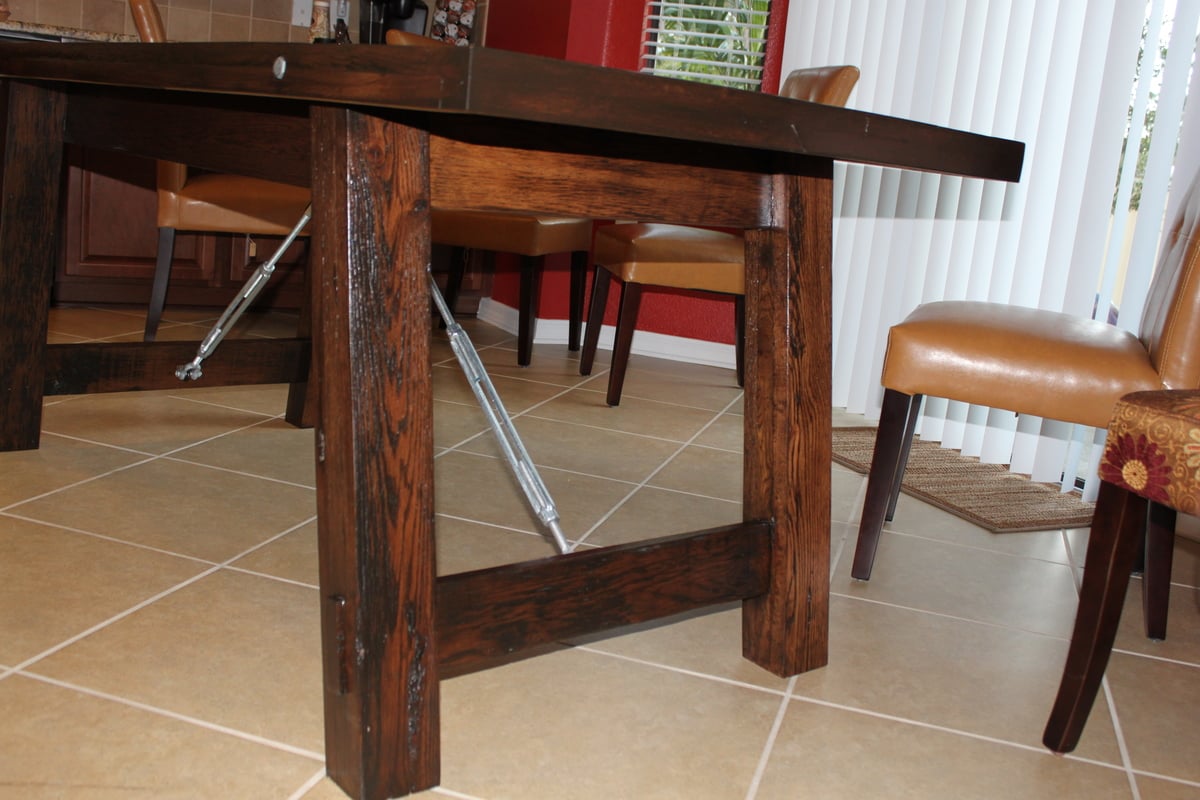
I like the look of knots and this wood had a few of them so i left the knots exposed on the support frame, however, on the top, I used a clear epoxy to fill the knots. This allowed the top to be smooth but you could still see the depth and character of the knot on the surface of the table. I did some mild distressing on the table top but nothing too dramatic as the wood really was cool. I also added the bolts near the tops of the legs and used threaded rod and turnbuckles for an industrial look.

The stain is a dark brown, almost ebony color. This went will with the black paint that was left in the saw marks after planing. I finished the table with 2 coats of satin polyurethane and and additional 3rd coat on the table top.

I have built furniture in the past but this has to be my favorite for both the history of the wood and the character.

Estimated Cost
$500
Estimated Time Investment
Week Long Project (20 Hours or More)
Finish Used
Minwax Polyurethane and Rustoleum Stain
Recommended Skill Level
Intermediate

Comments

Joni

Fri, 08/09/2013 - 20:21

One look at those painted boards, and I would have run screaming. What you did with that wood is unbelievable. This is such a one-of-a-kind piece now. The finish is awesome. Would you mind posting the color of stain that you used?