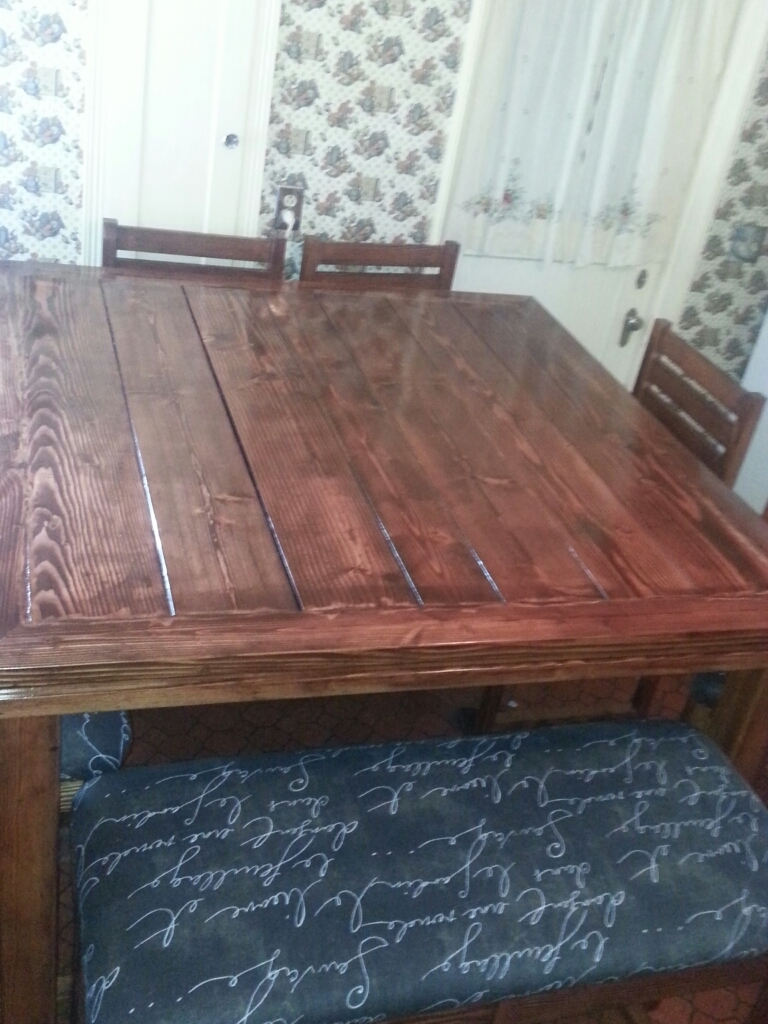
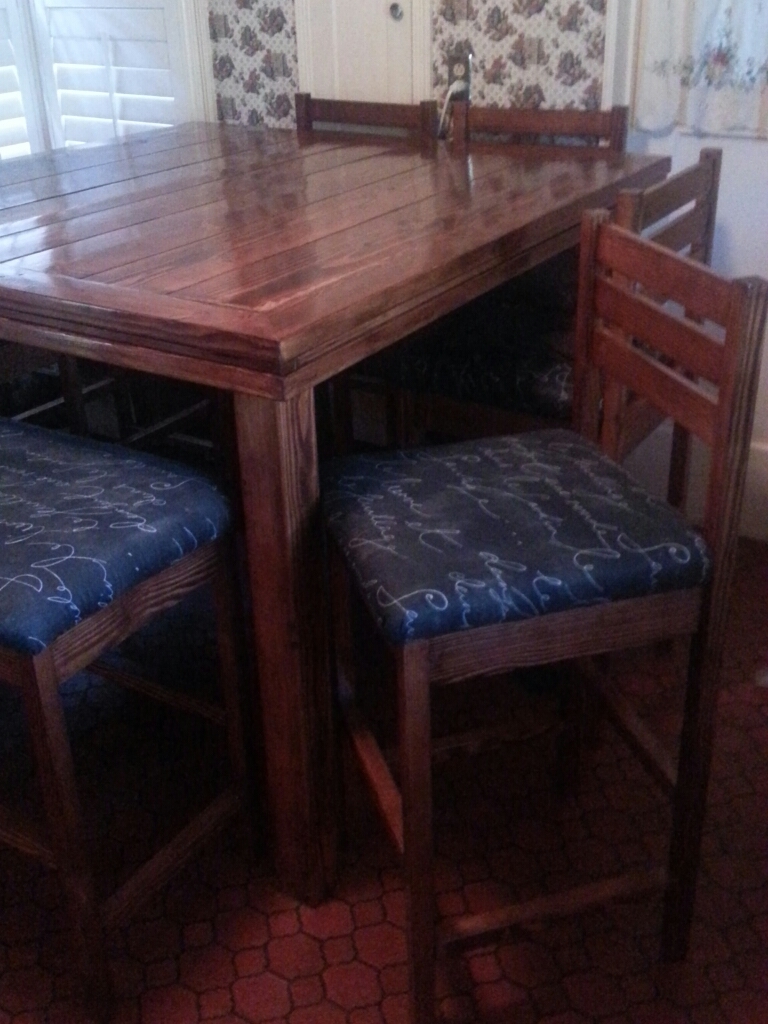
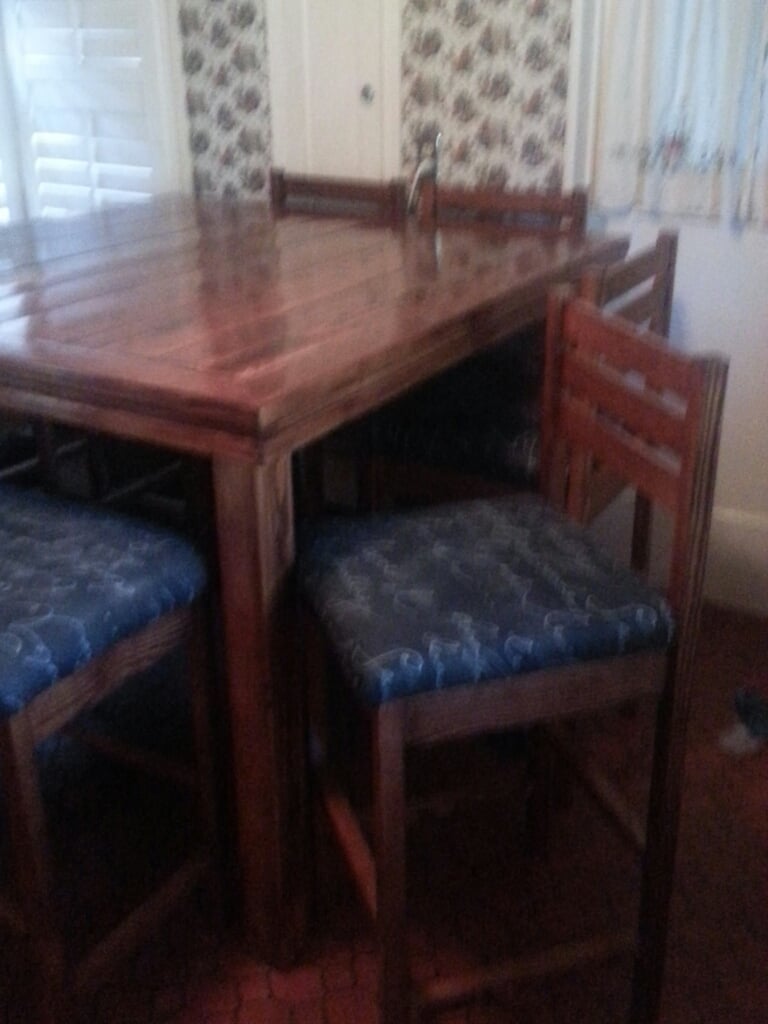
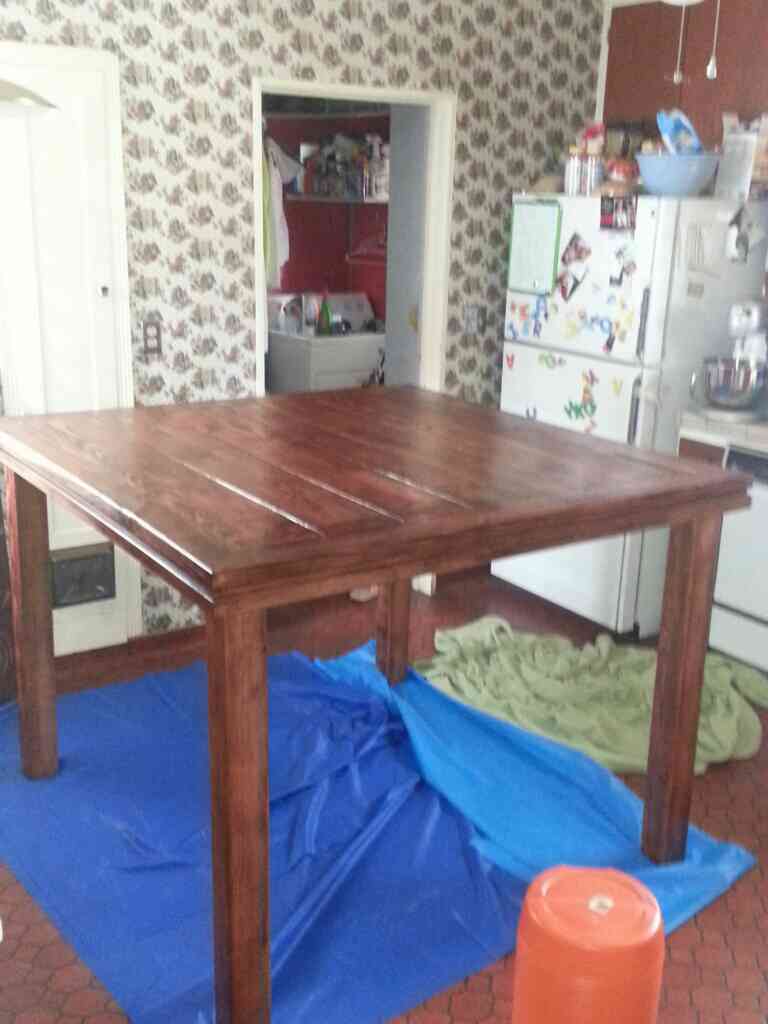
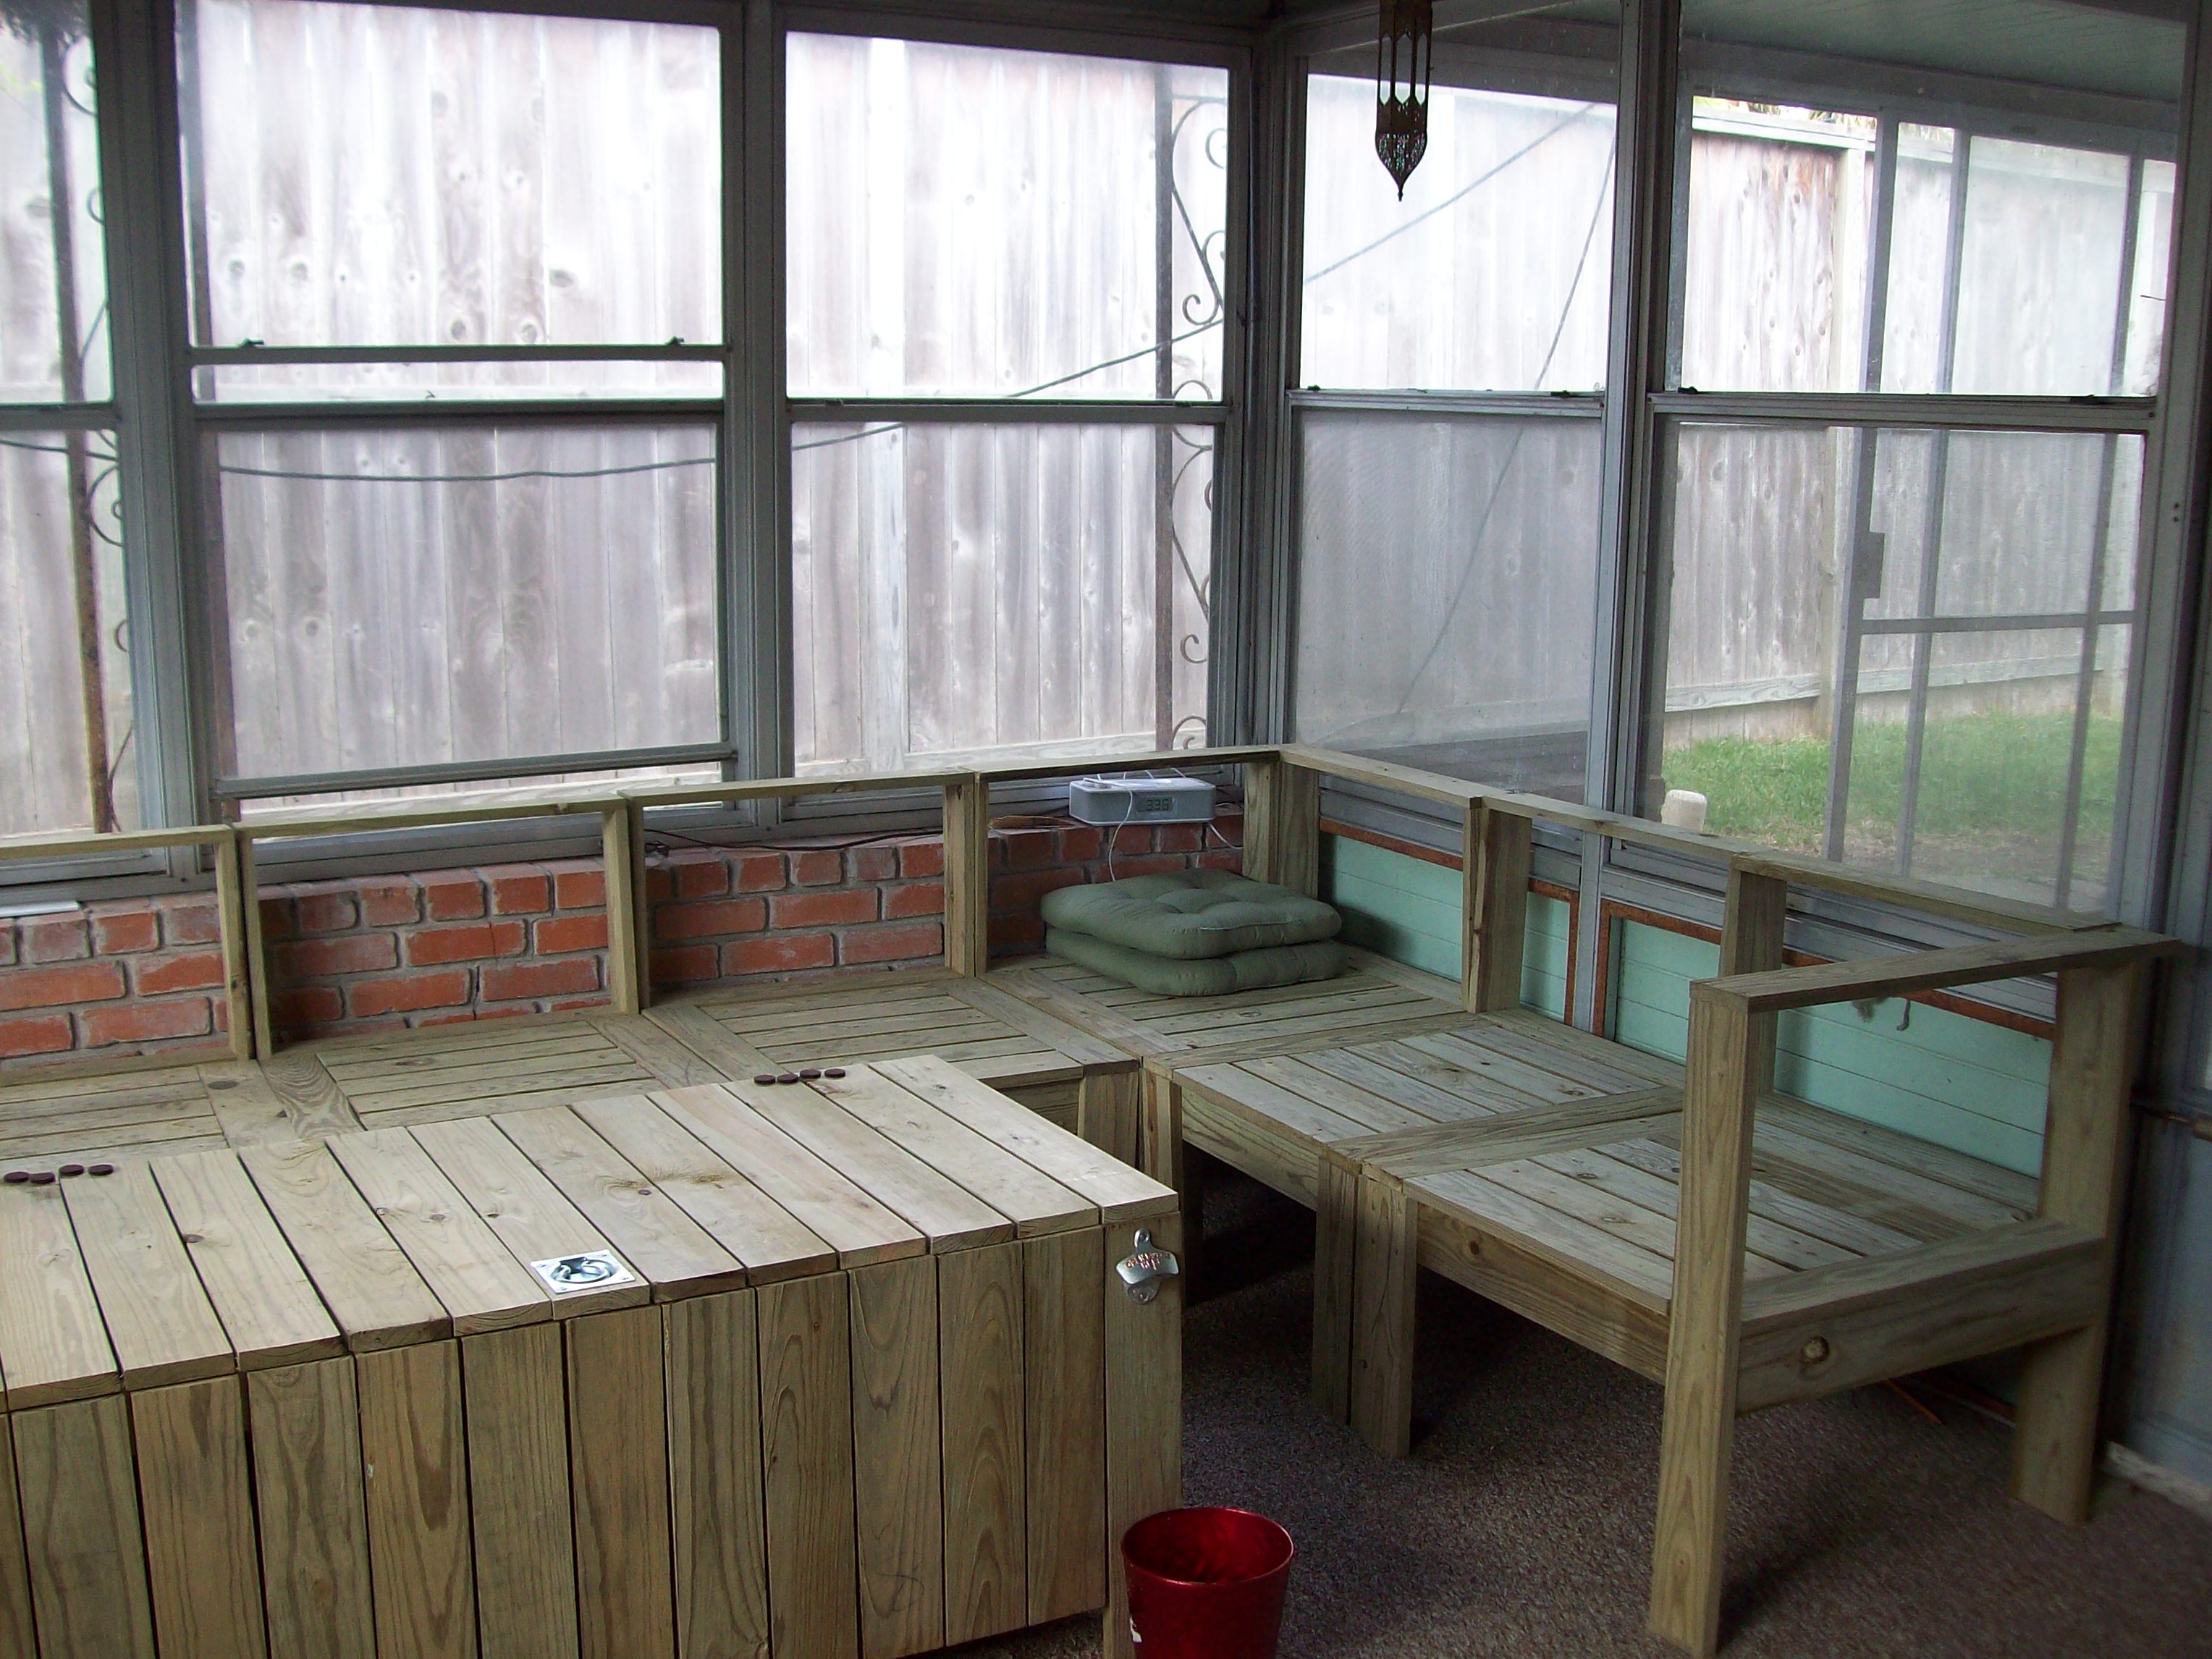
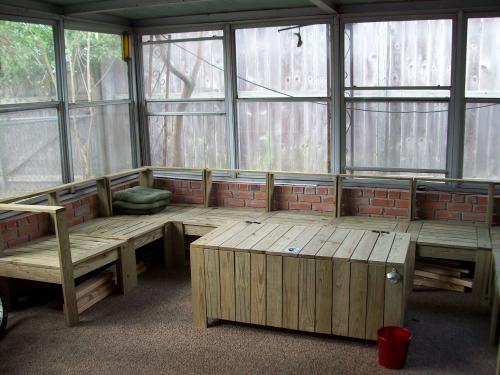
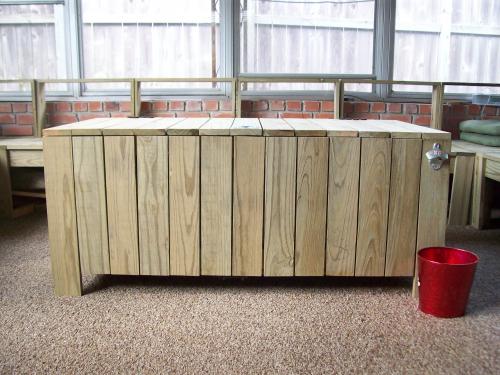
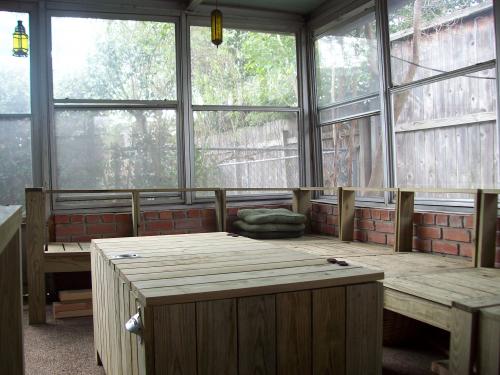
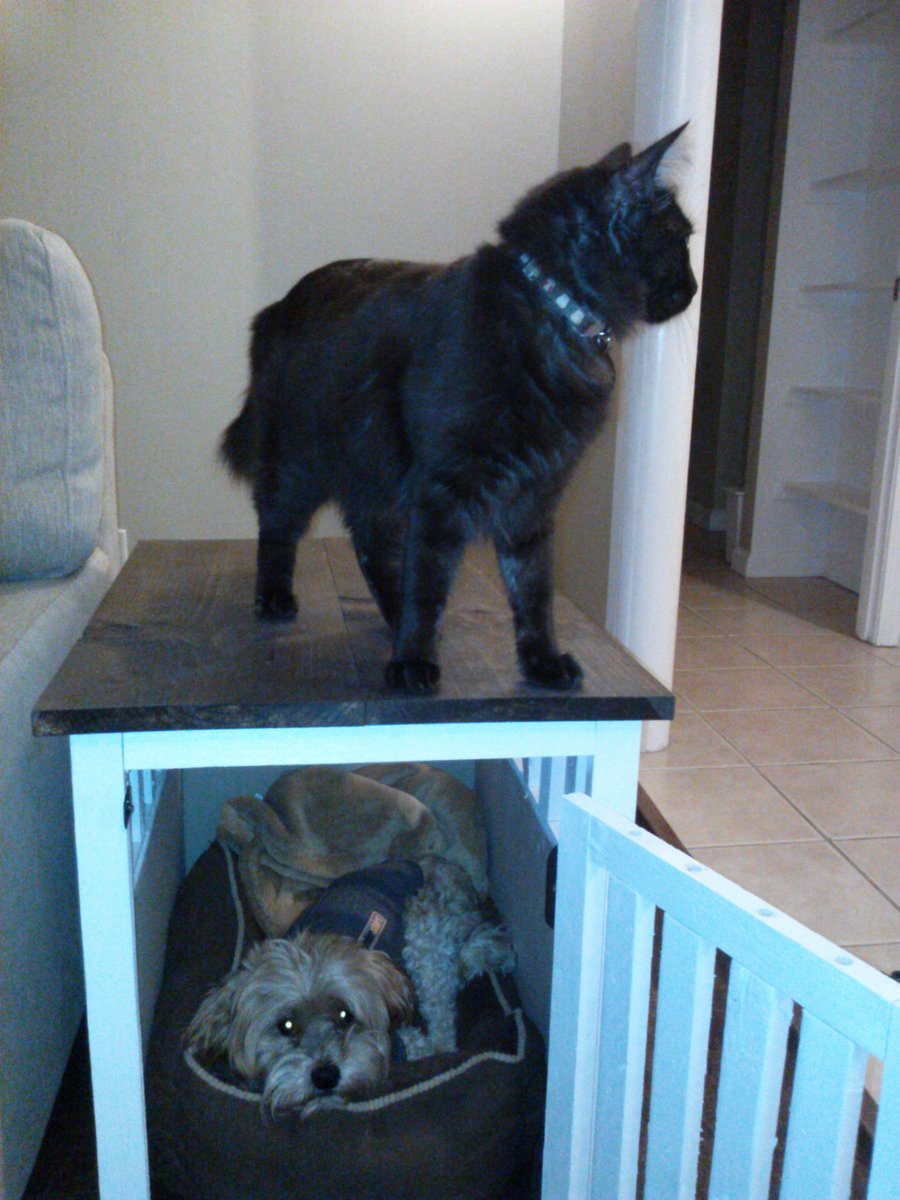
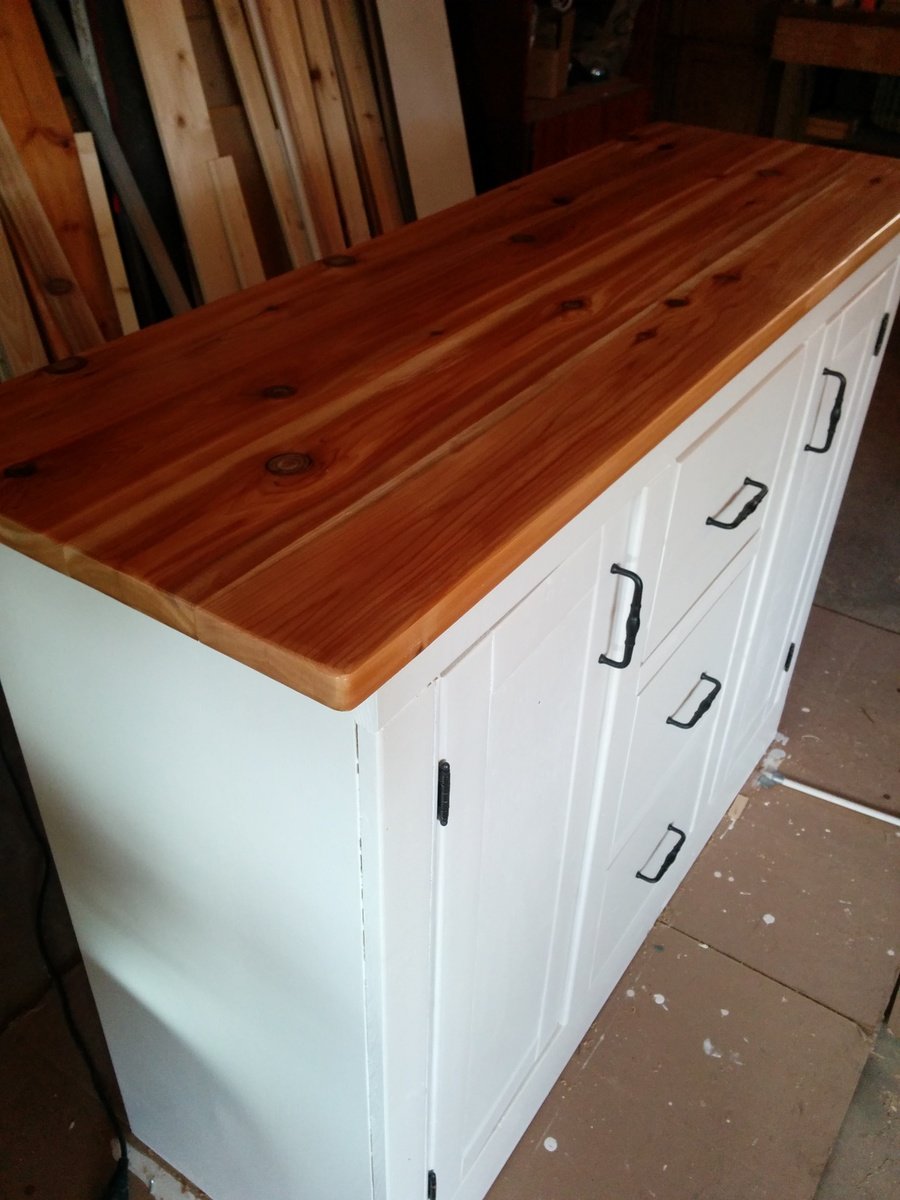
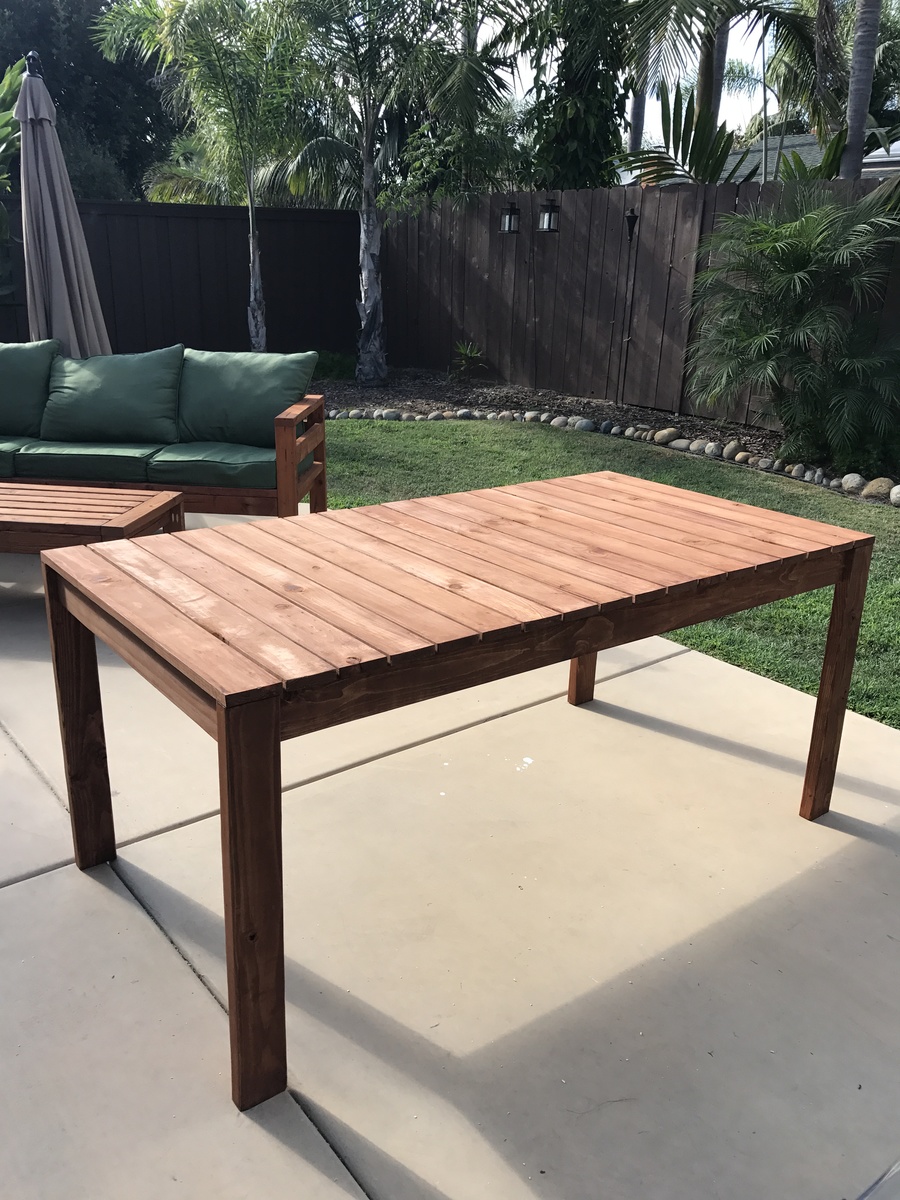
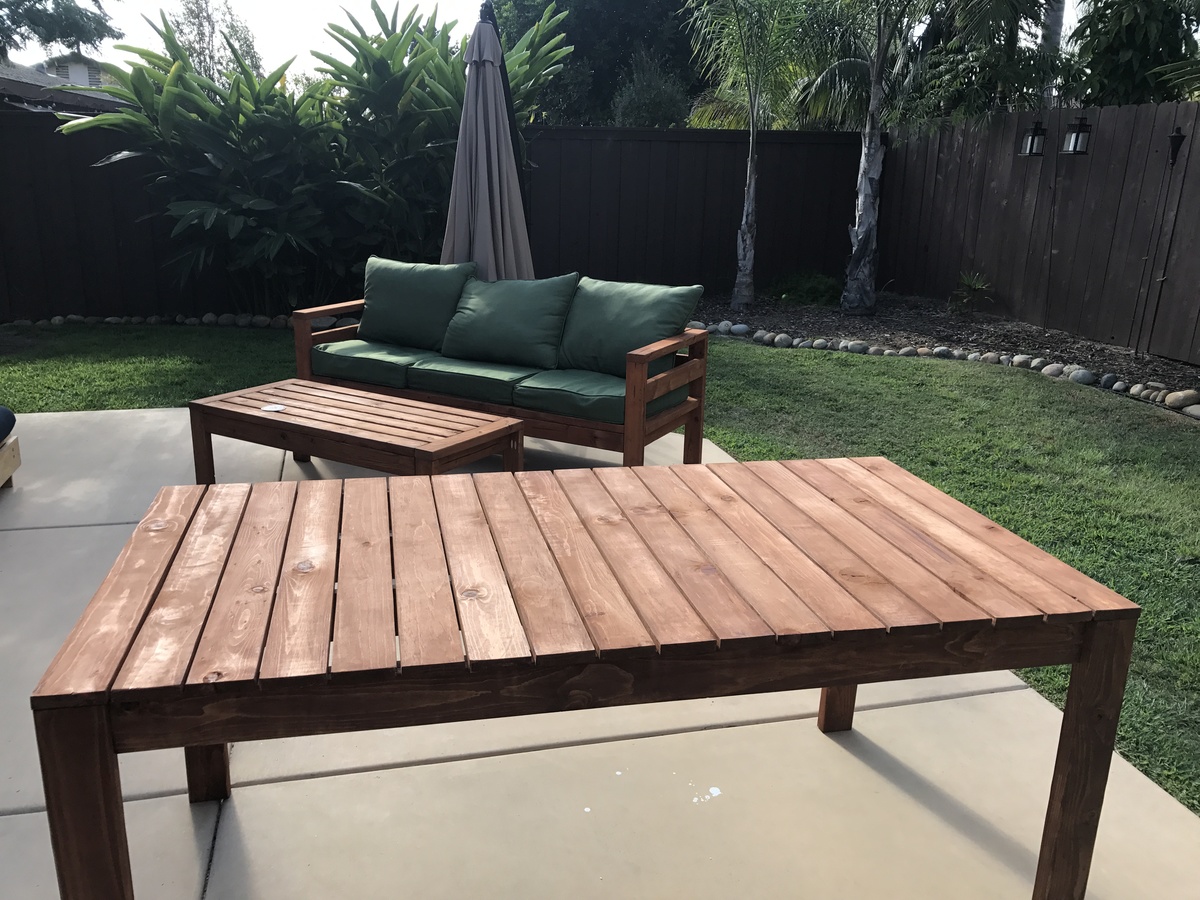
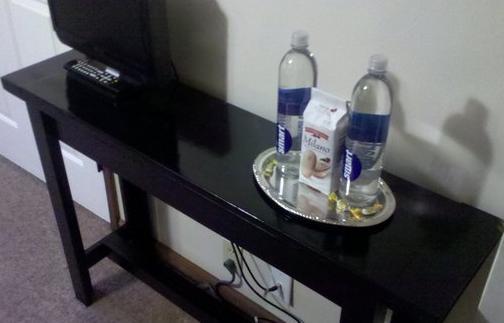
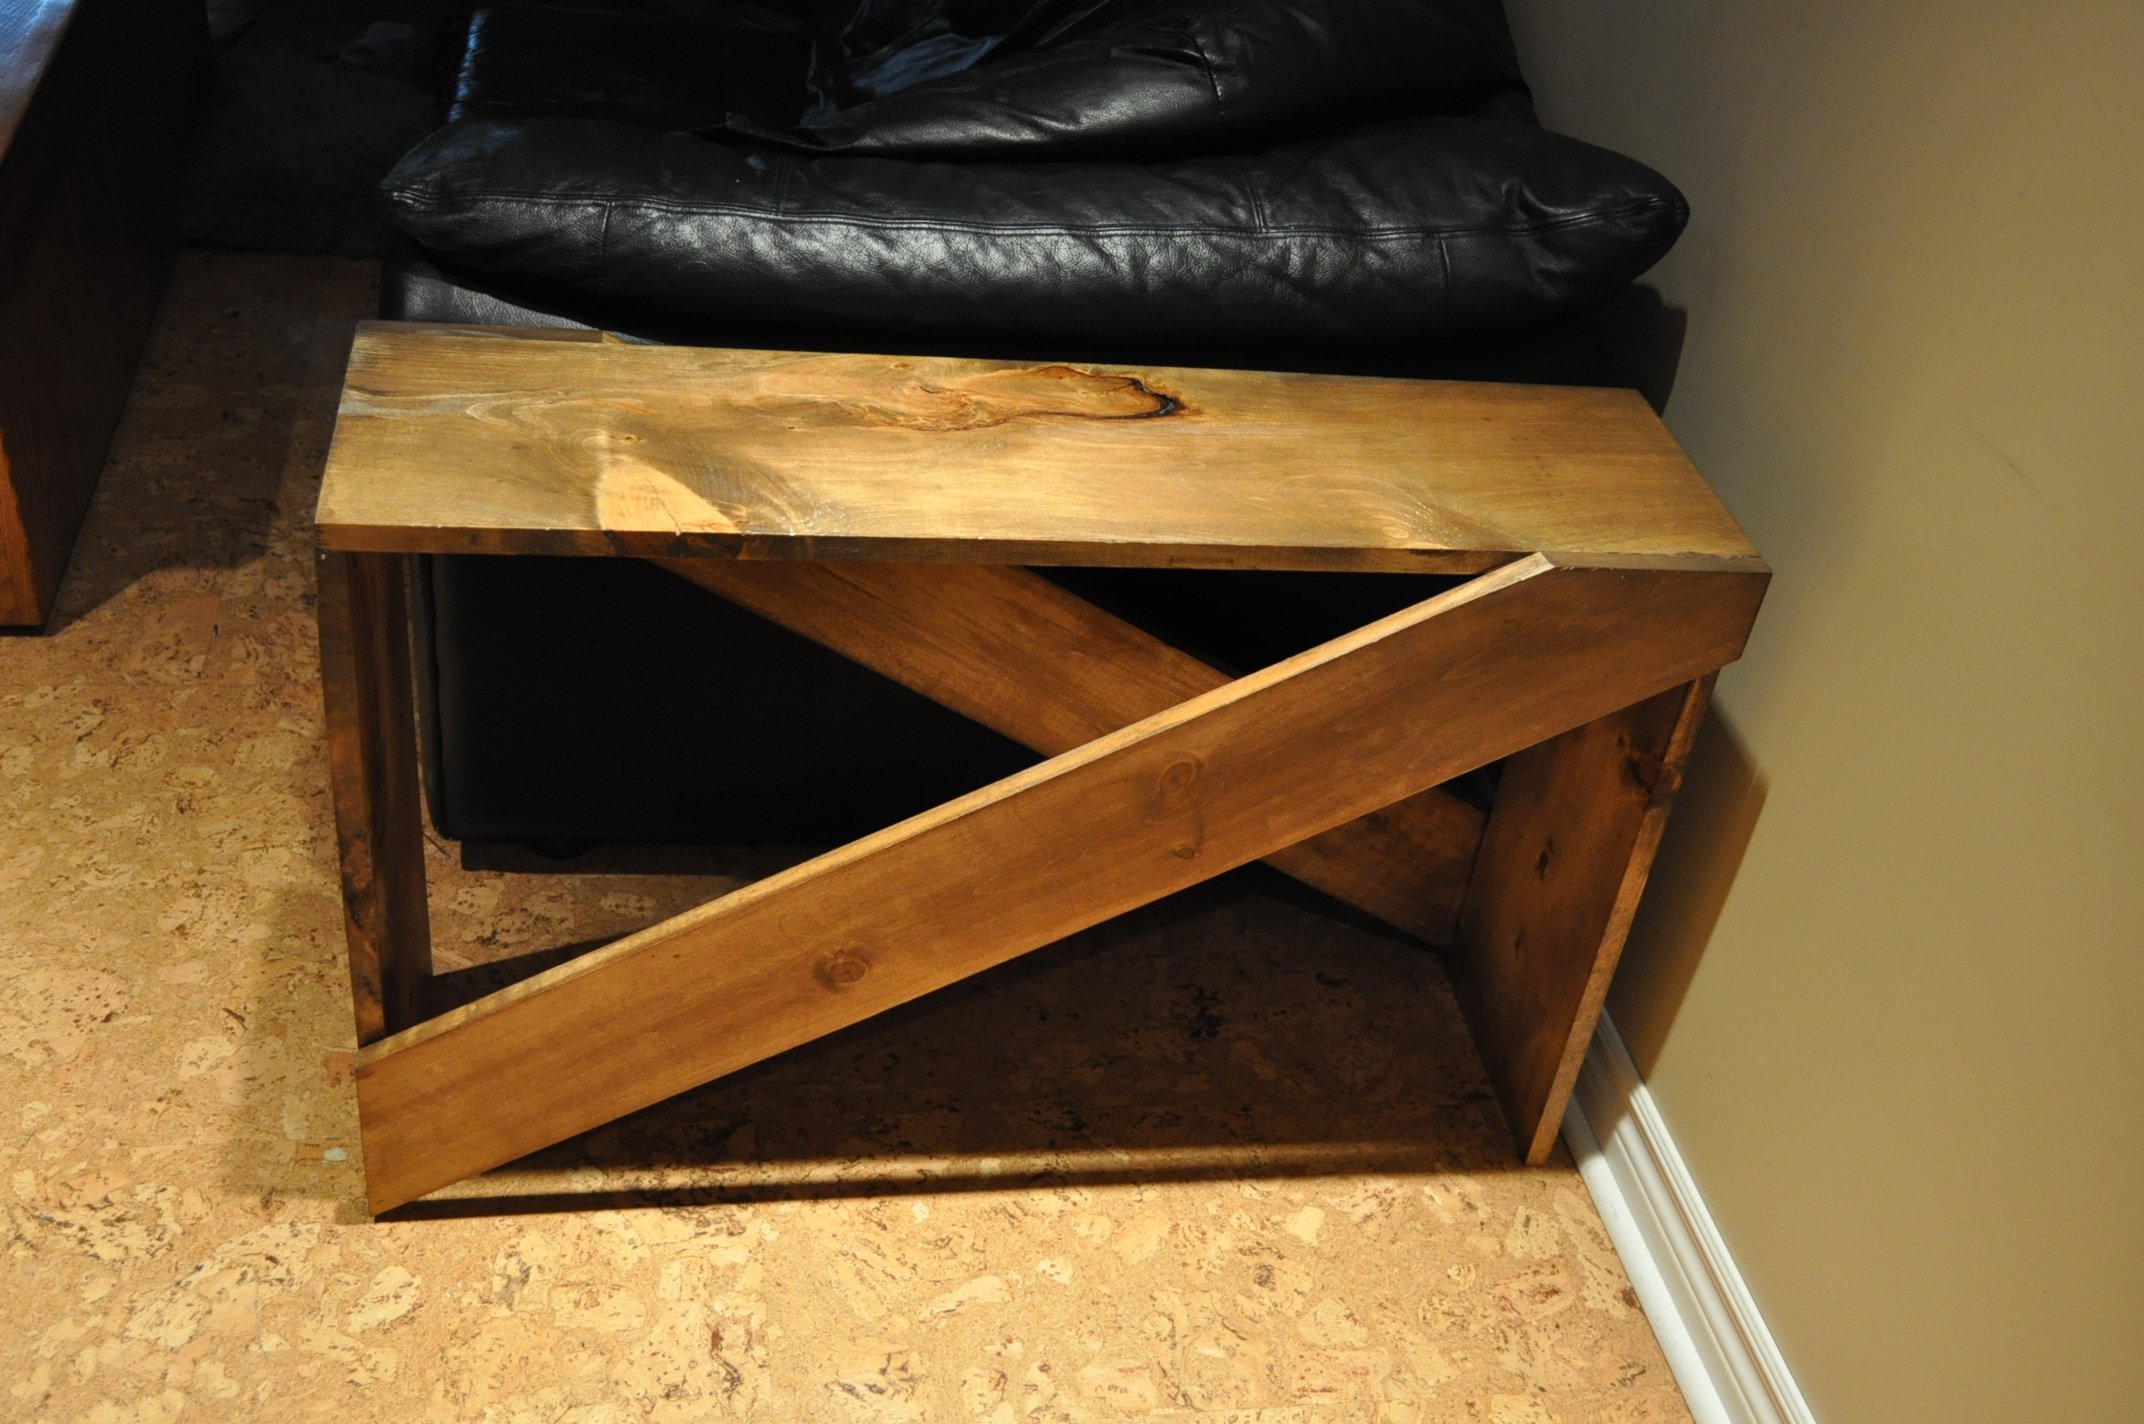
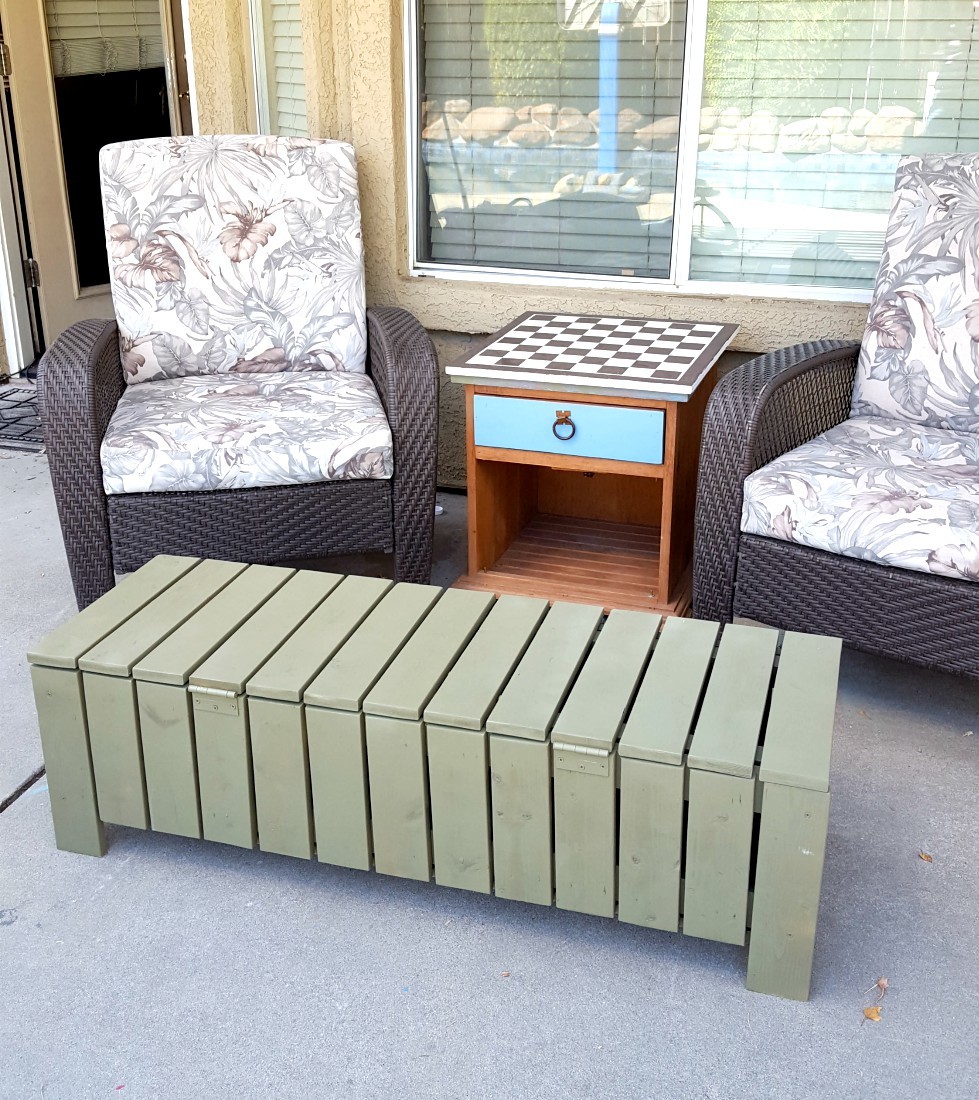
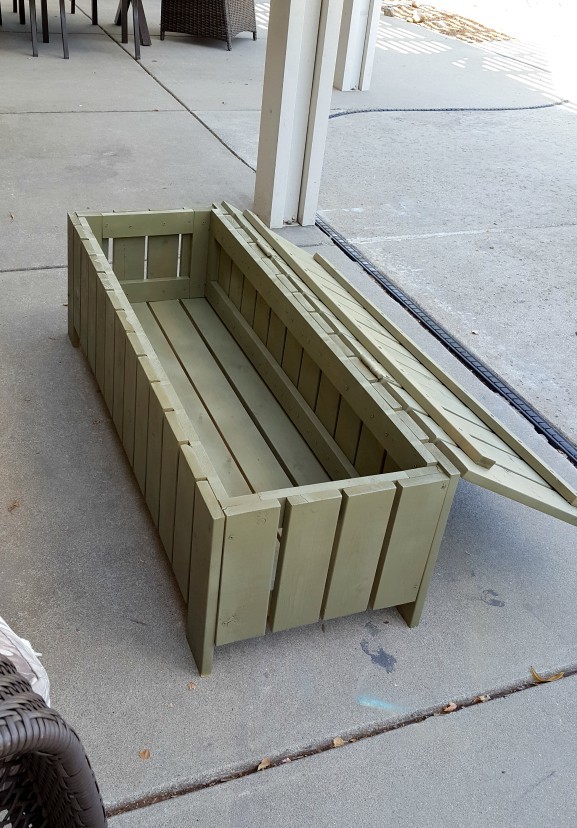
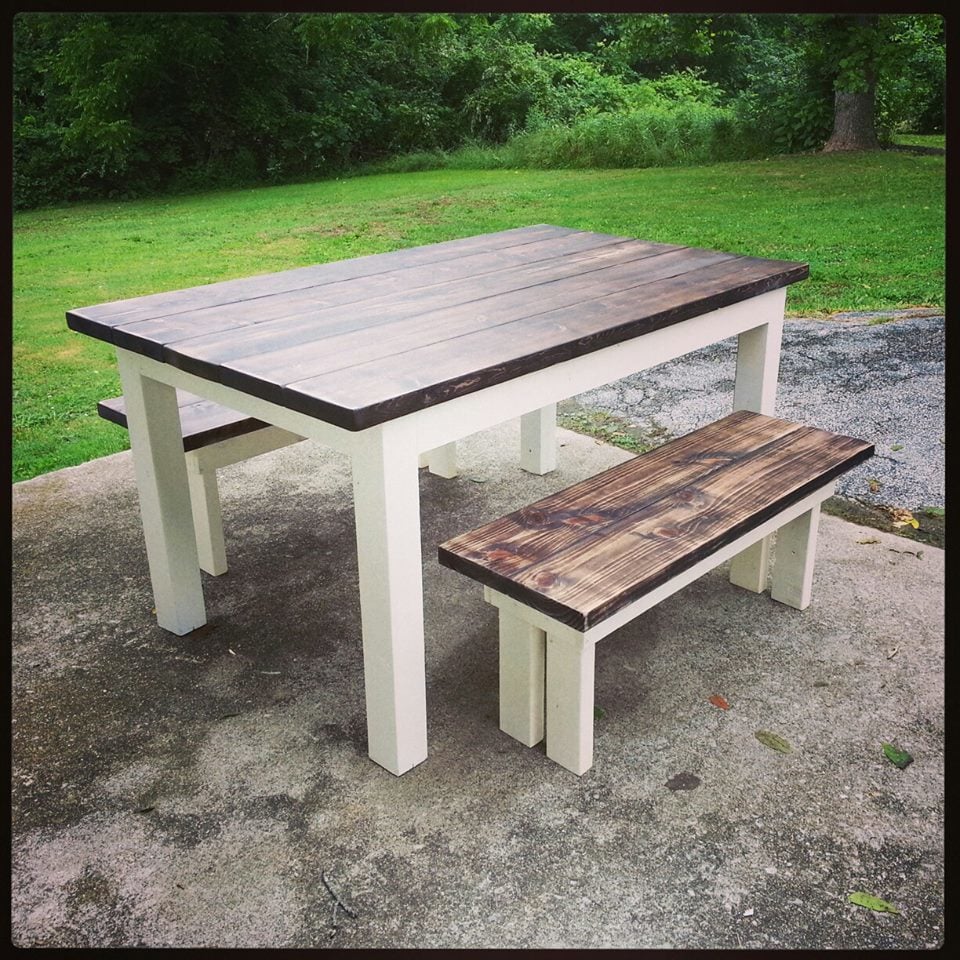
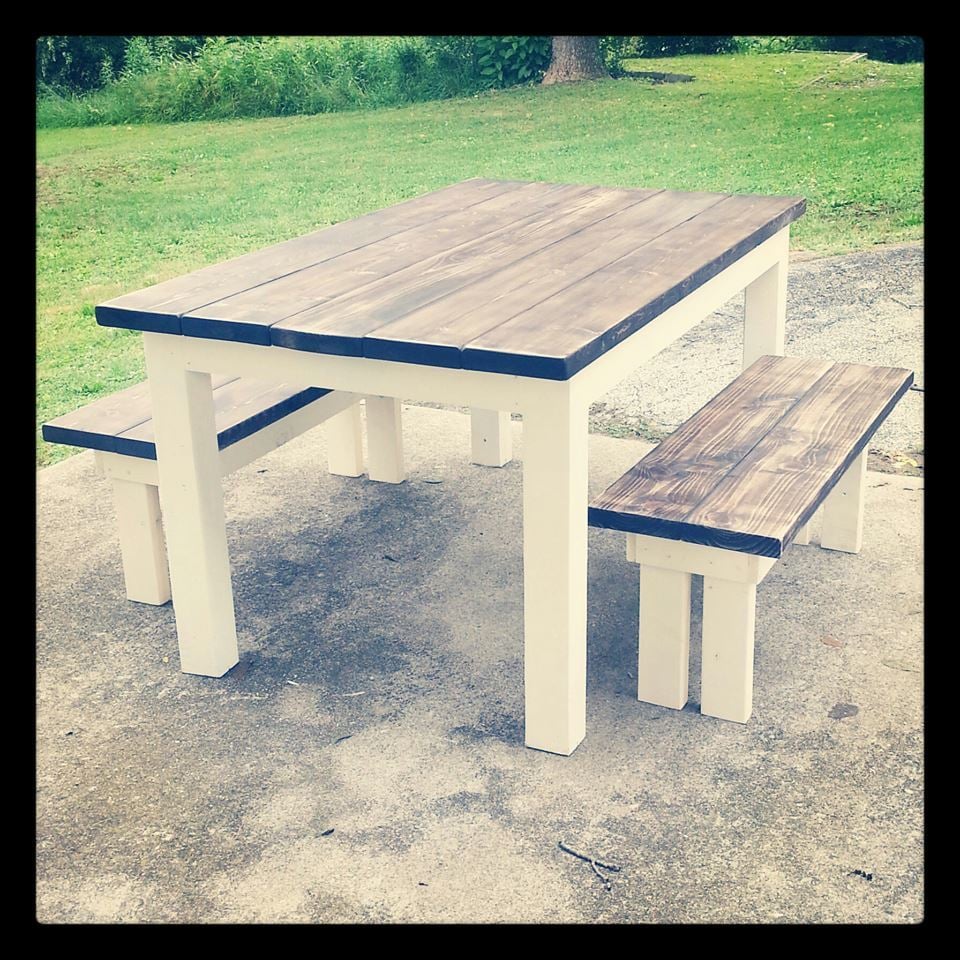
Coffee Table
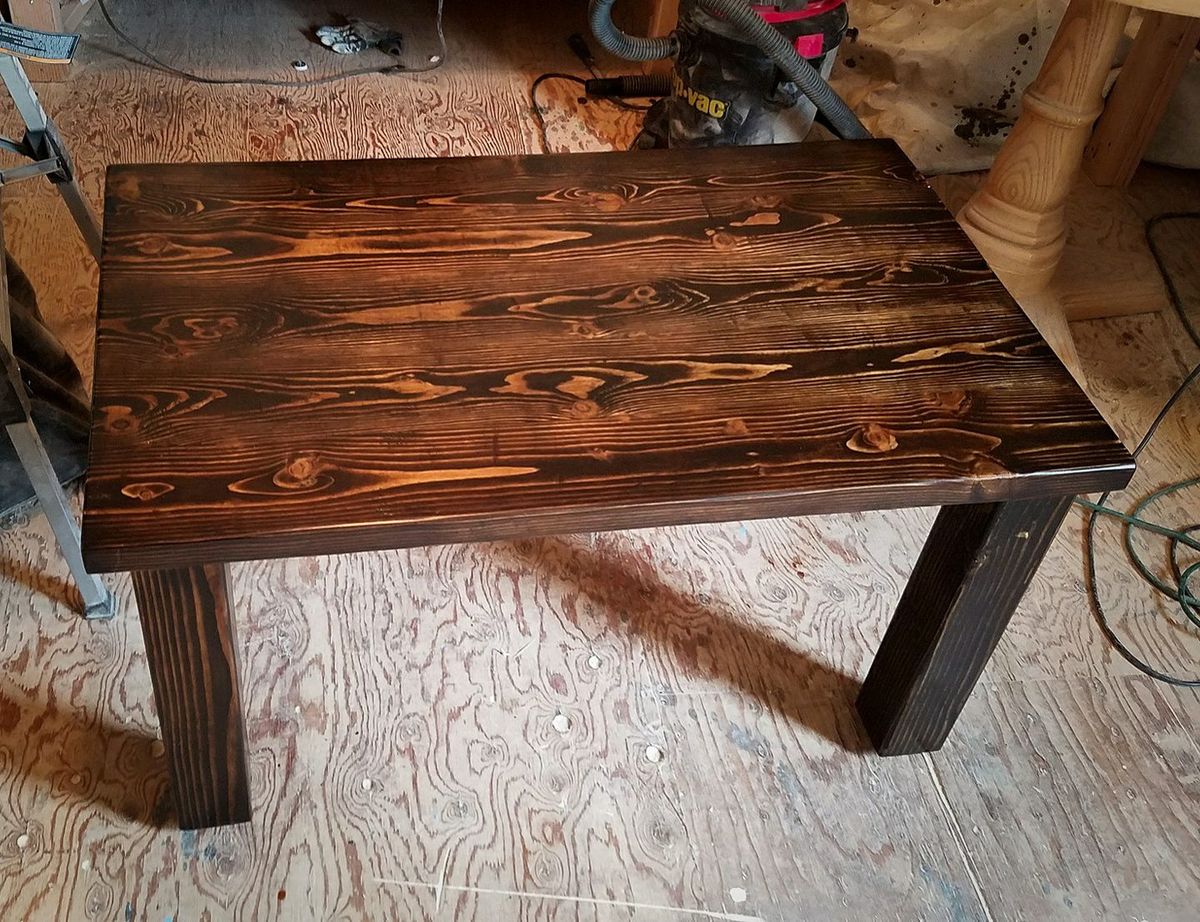
Coffee table stained in Jacobean, and finished with Minwax satin Poly.
Built from Plan(s)
Estimated Cost
$80
Estimated Time Investment
Weekend Project (10-20 Hours)
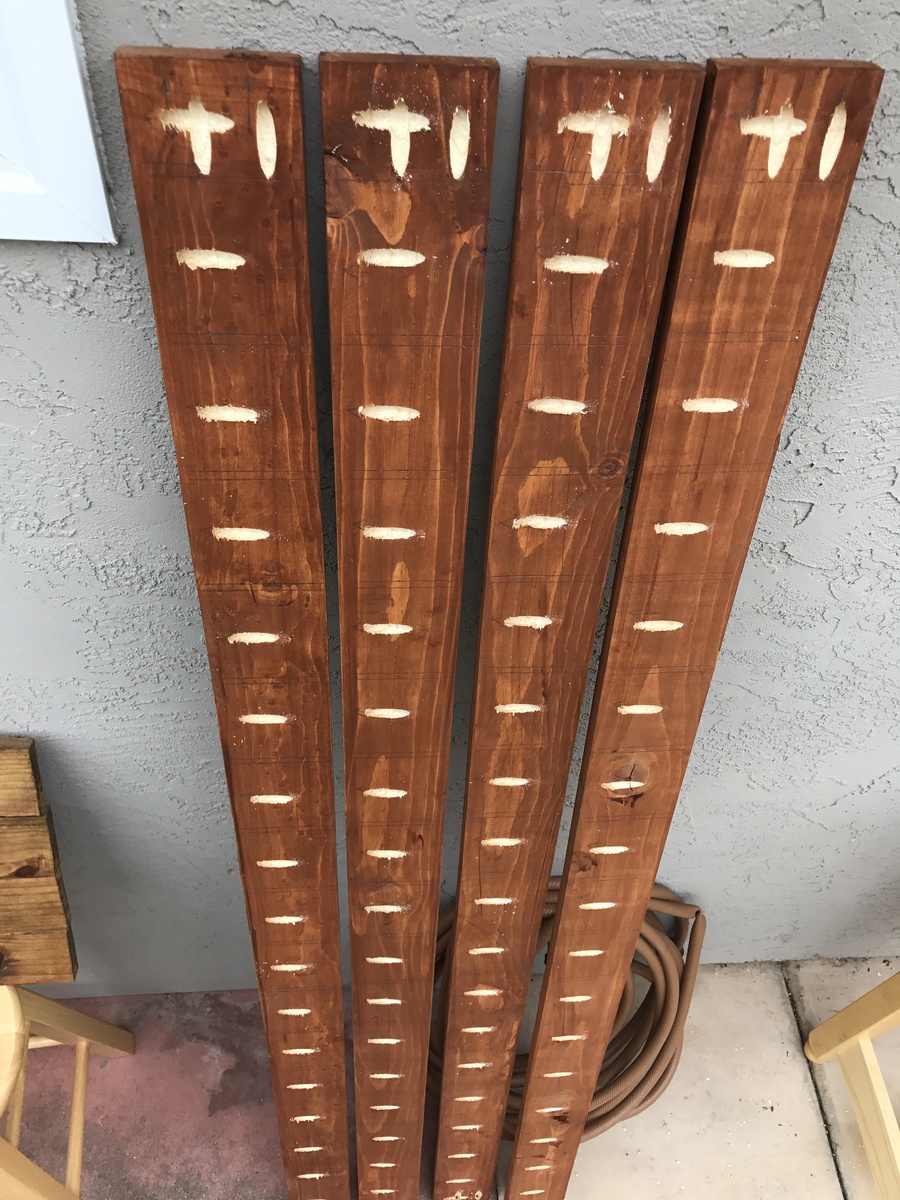
Finish Used
Minwax Jacobean Stain and Satin Poly
Recommended Skill Level
Beginner