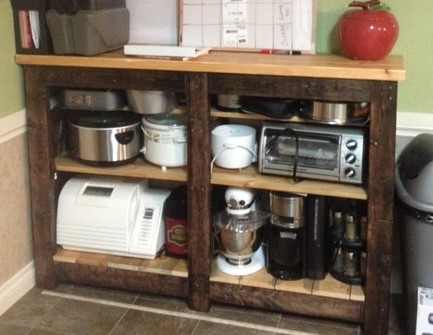
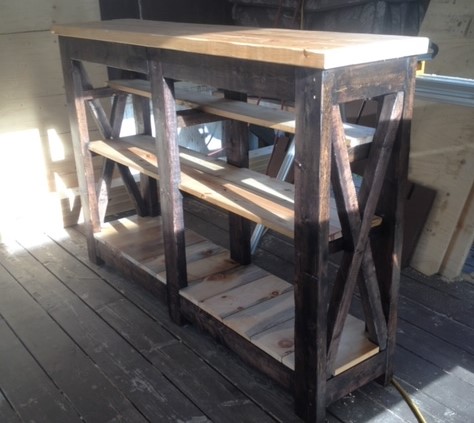
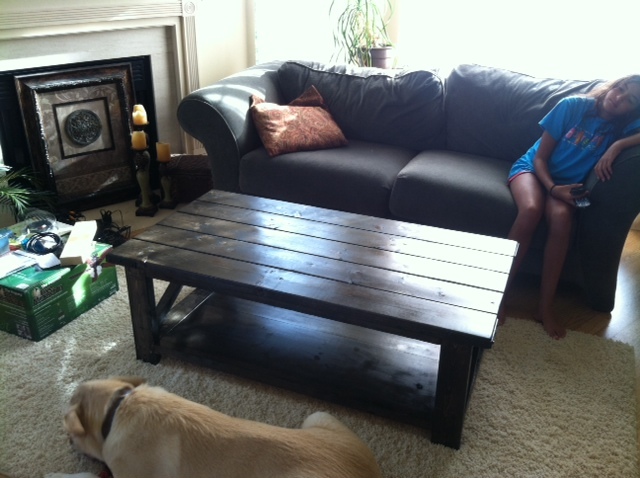
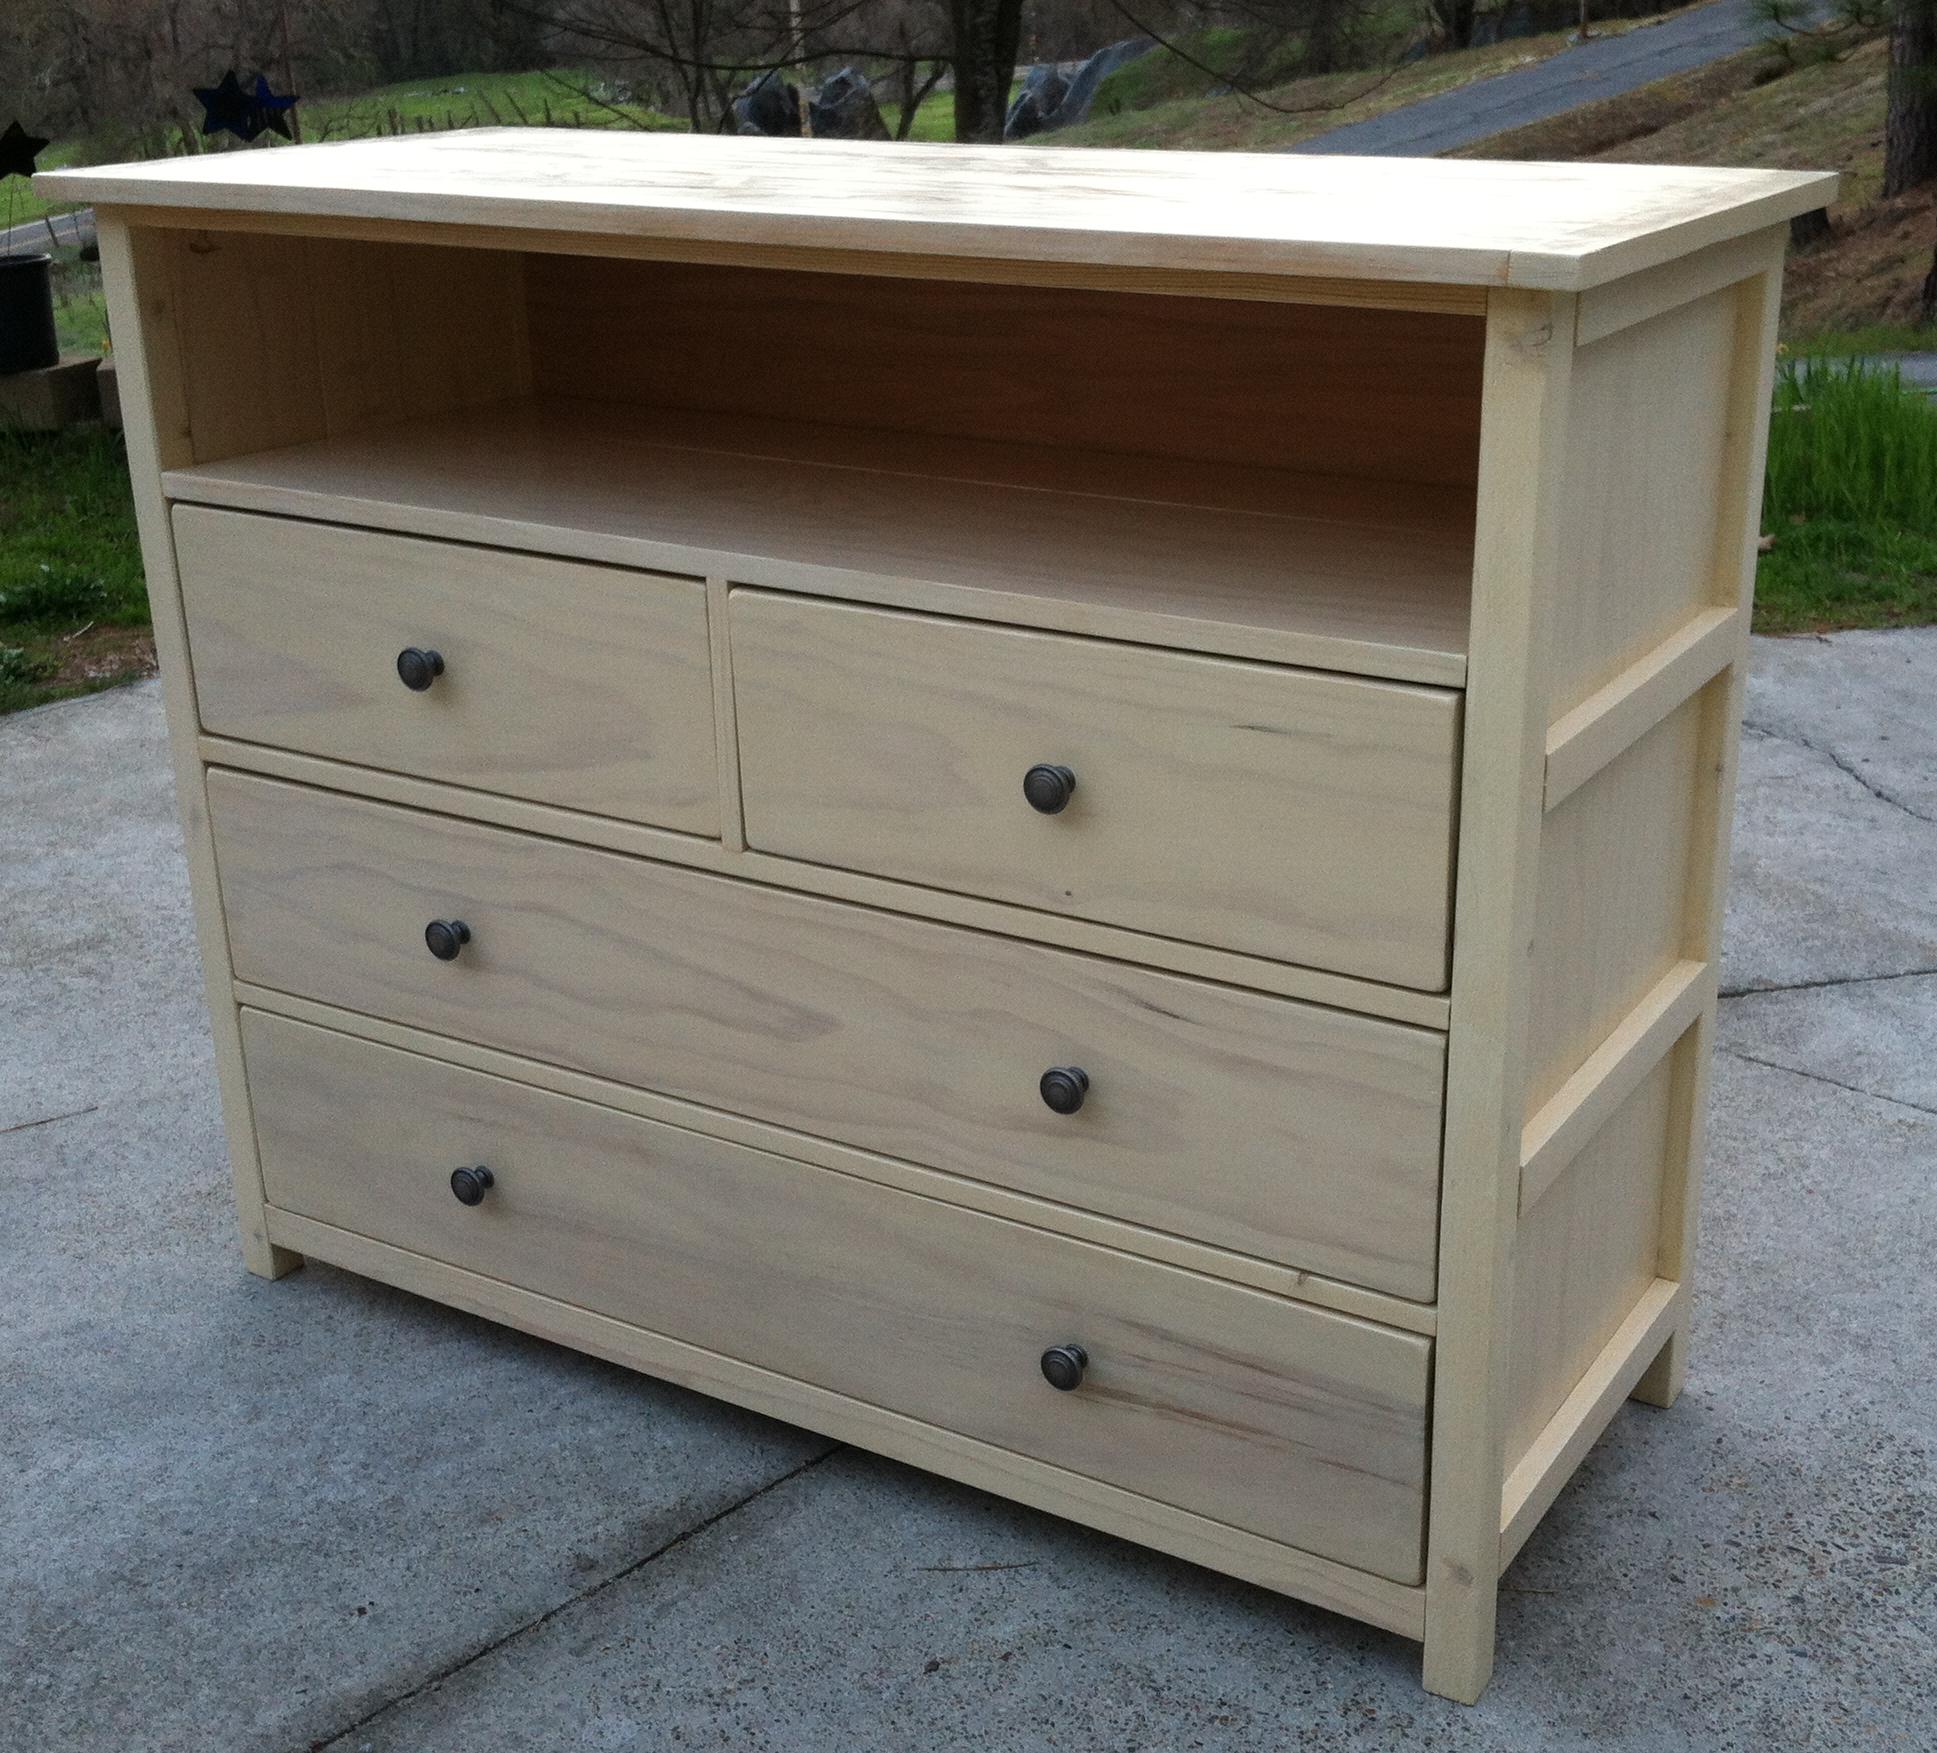
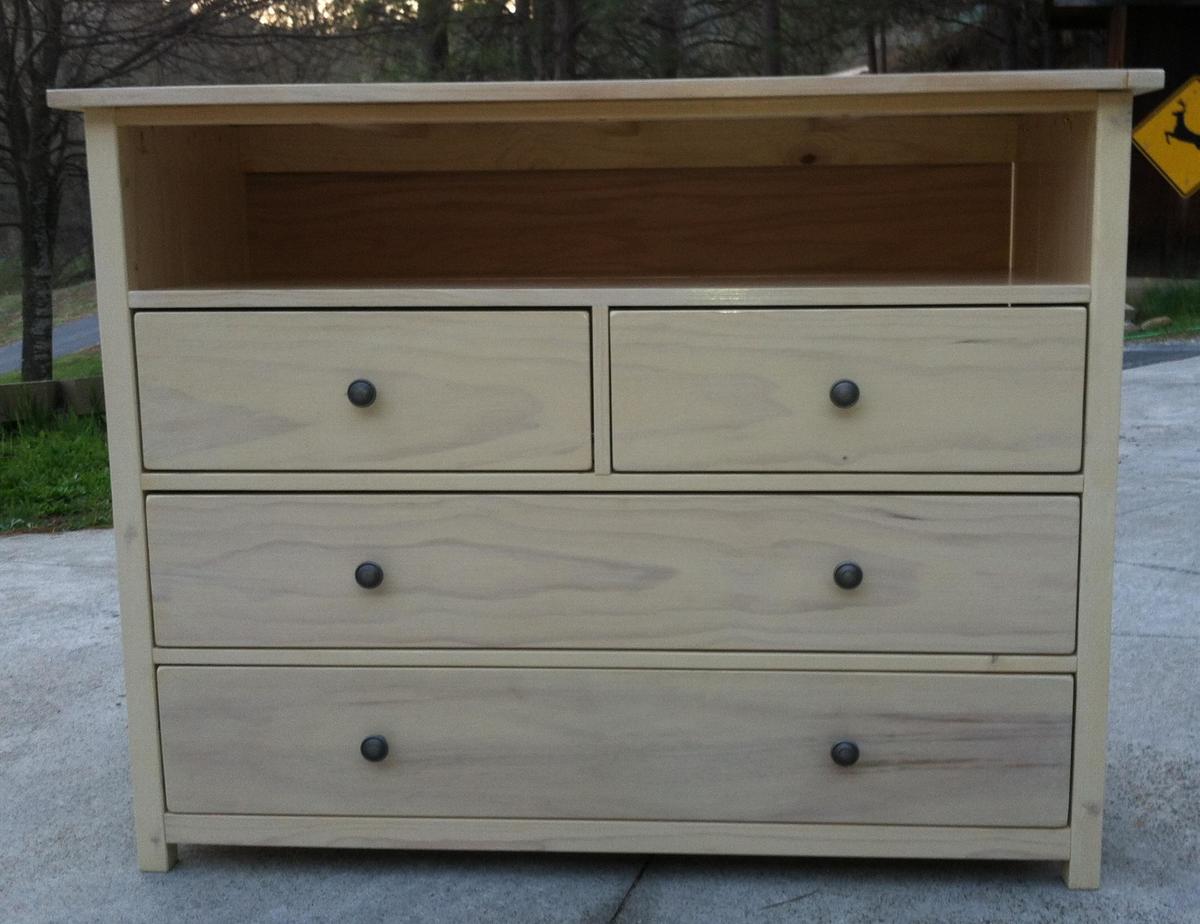
Pottery Barn Printer's Long Low Media Suite
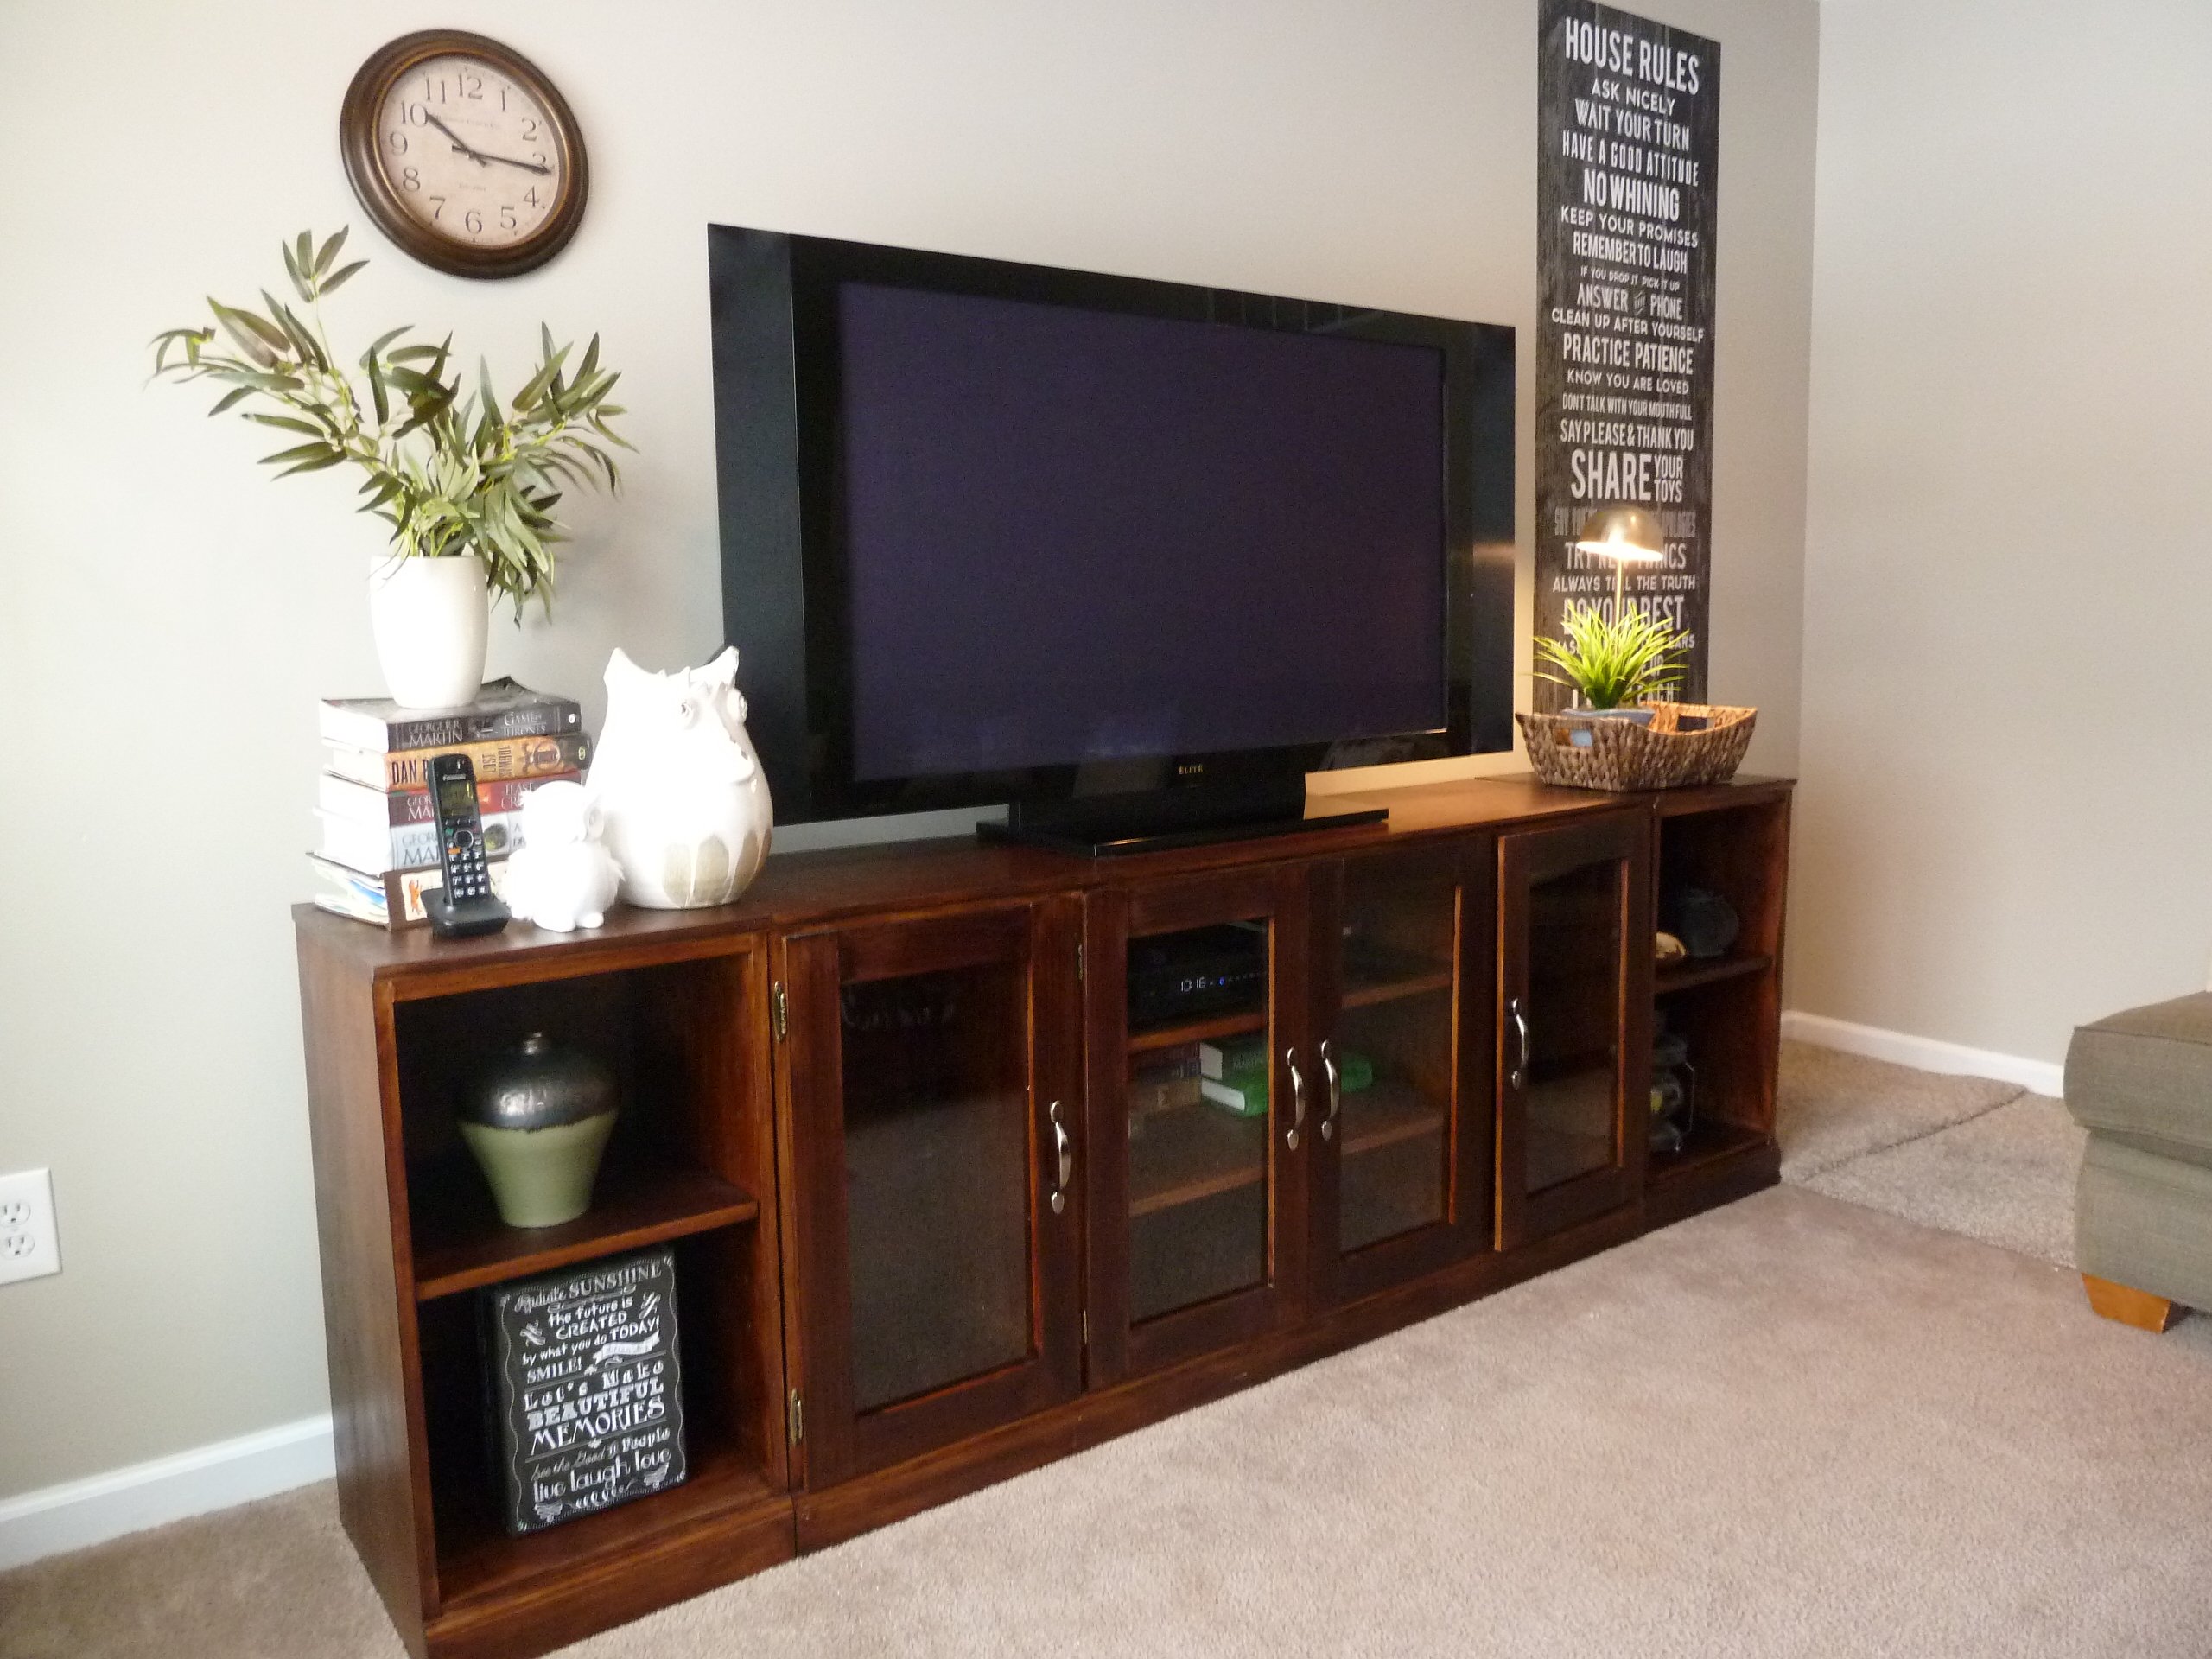
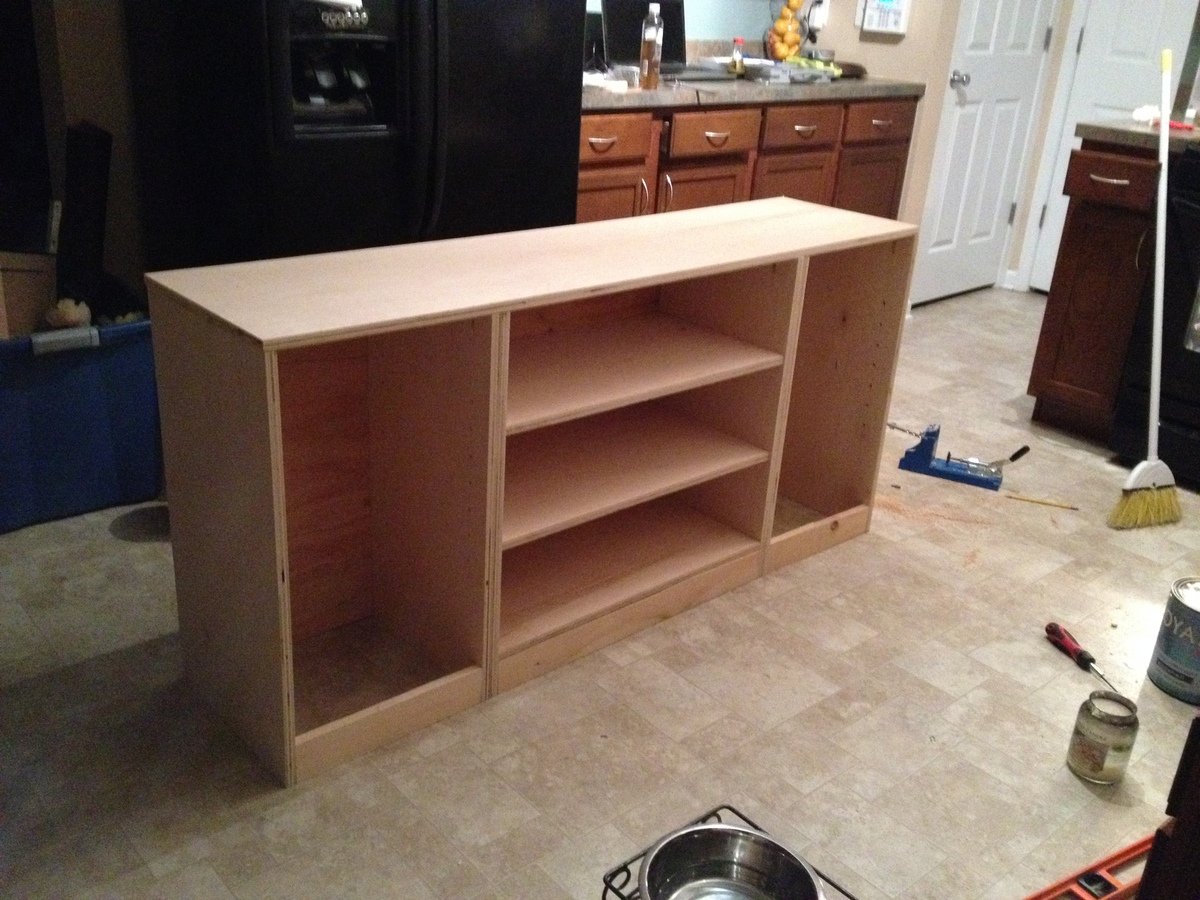
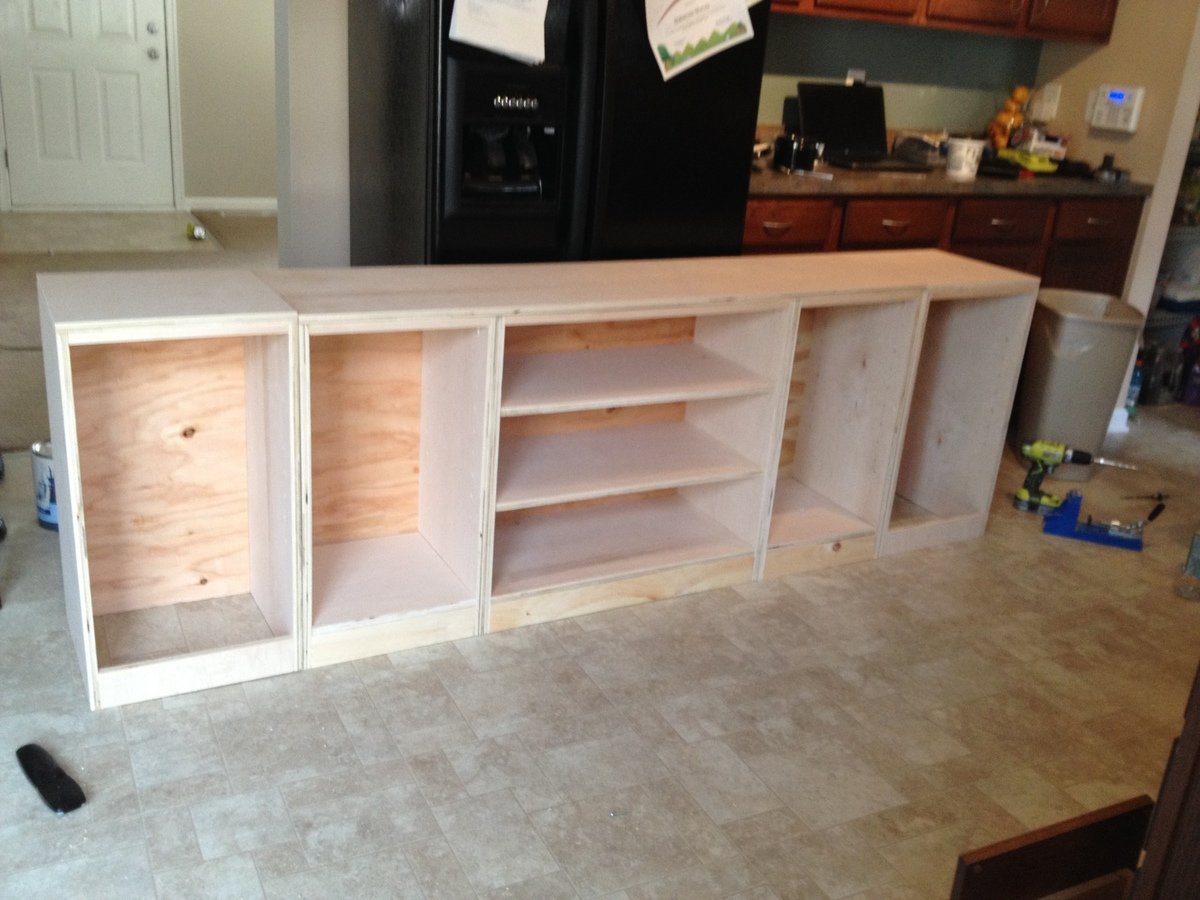
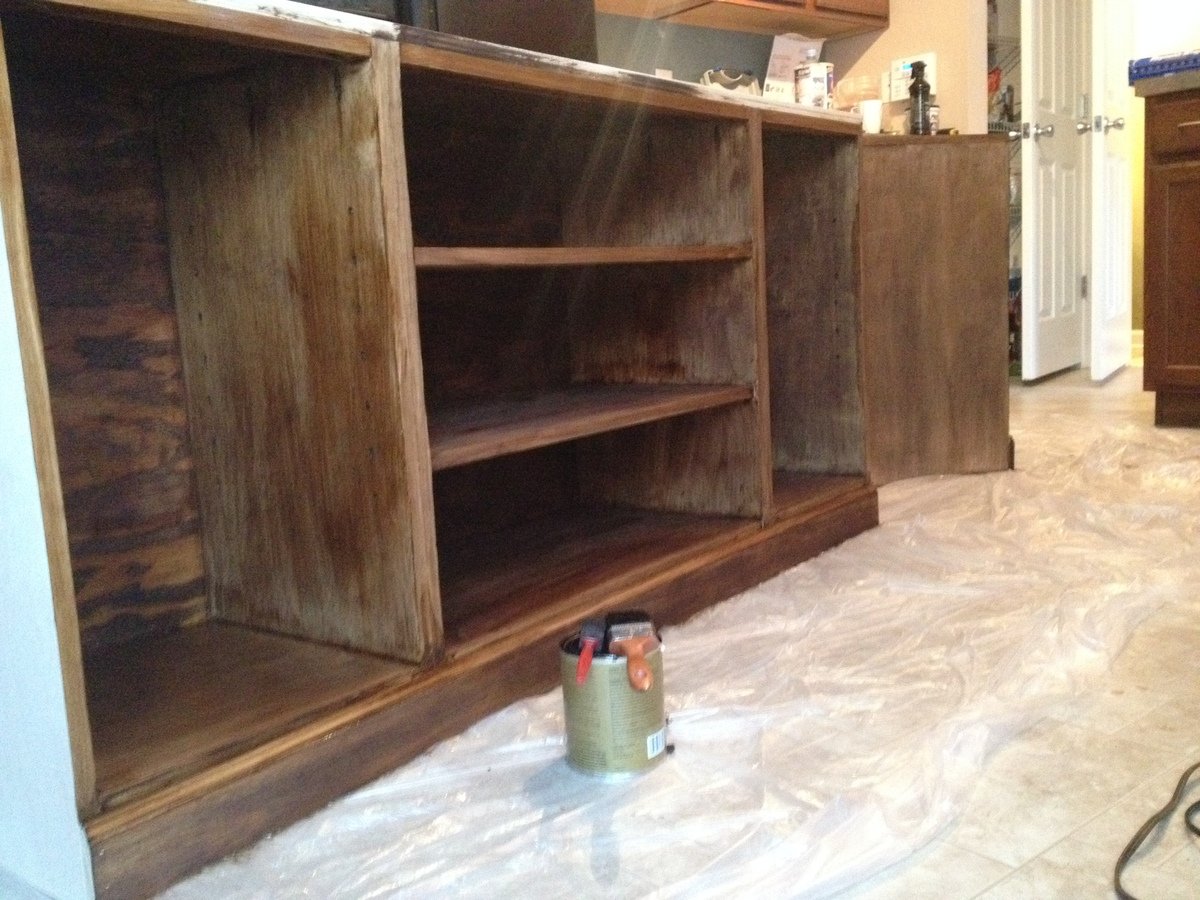
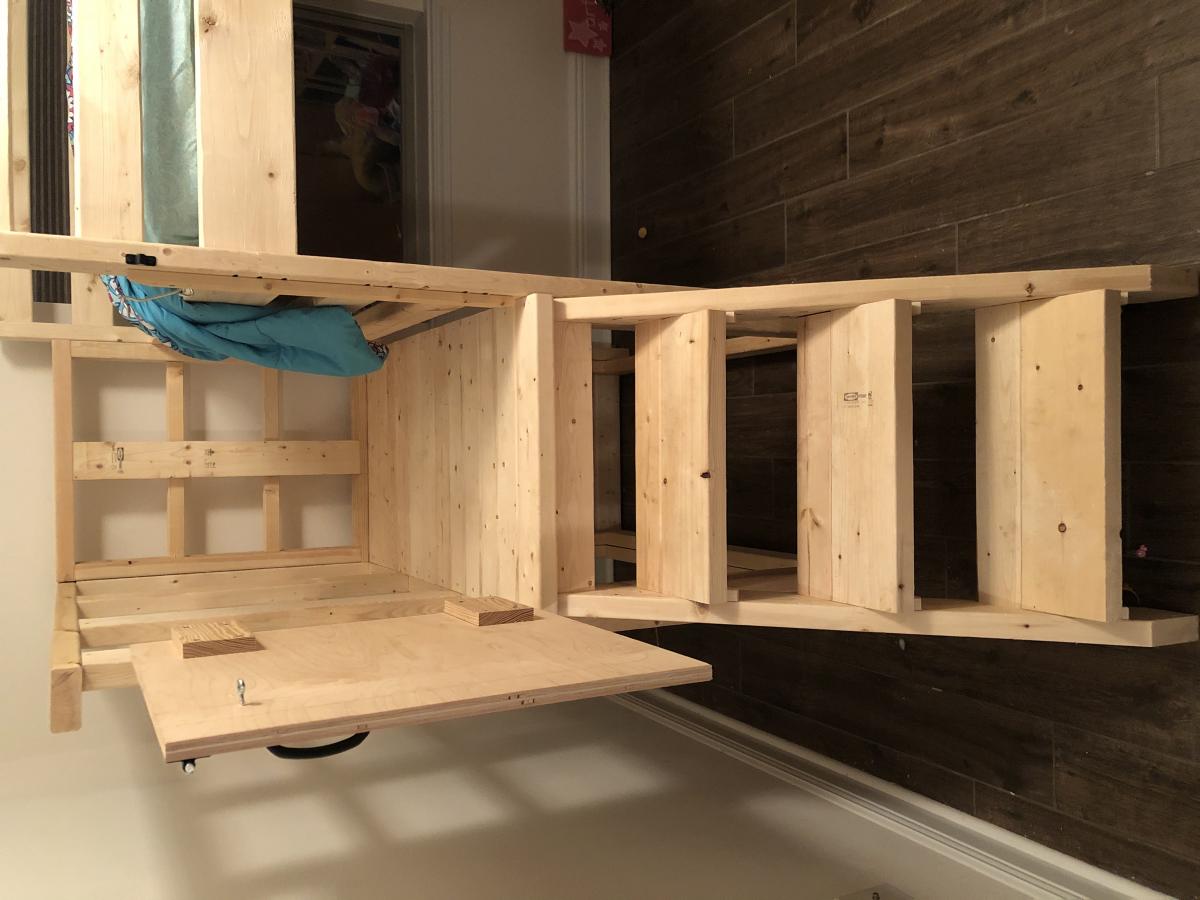
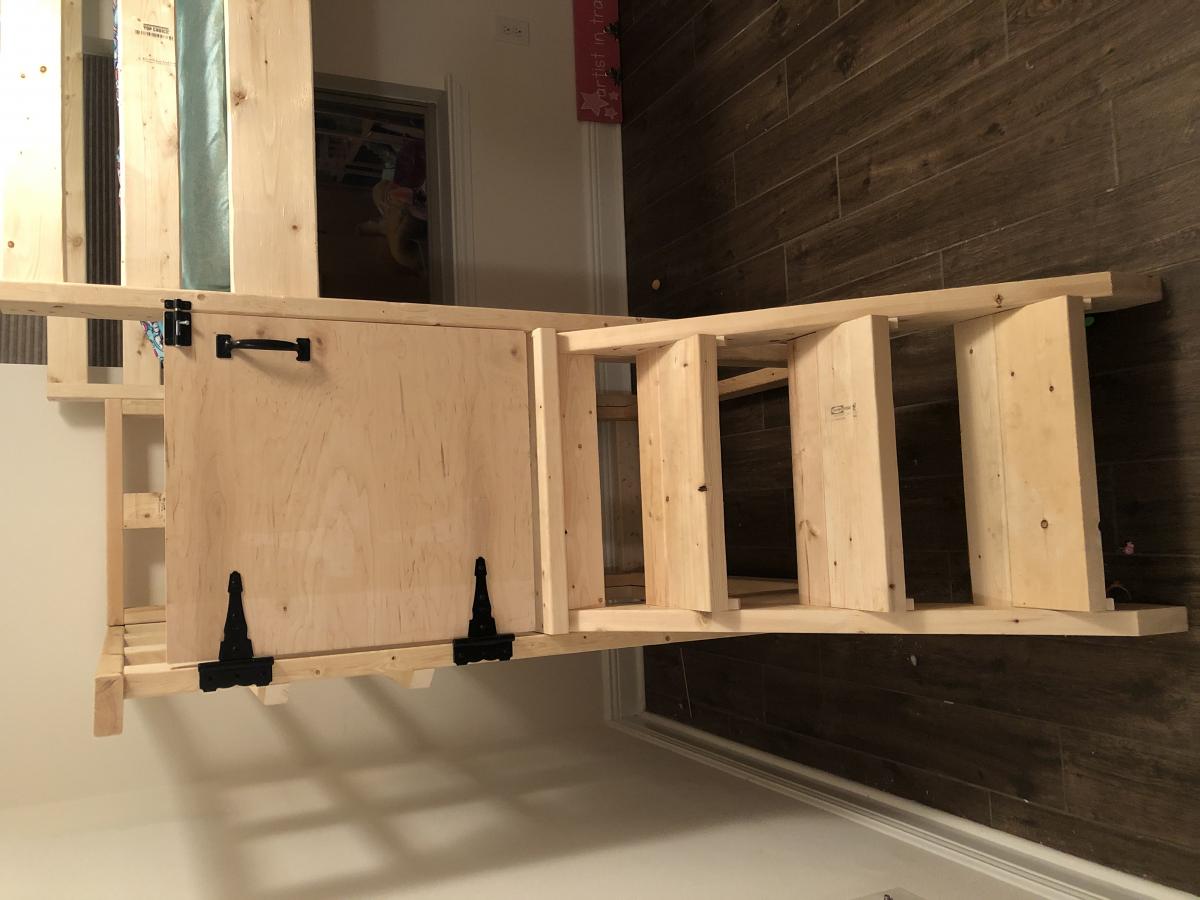
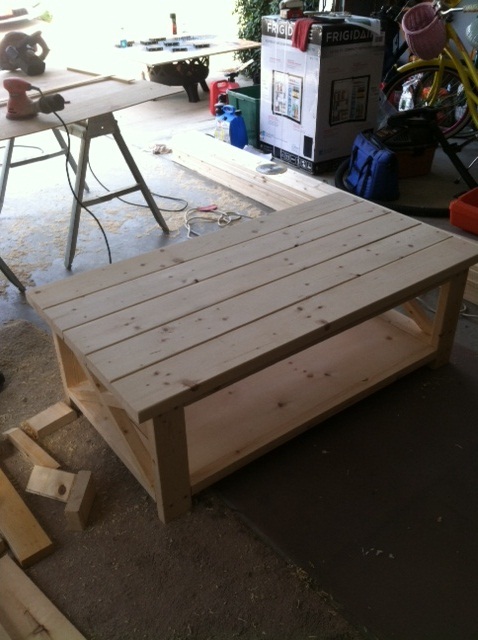
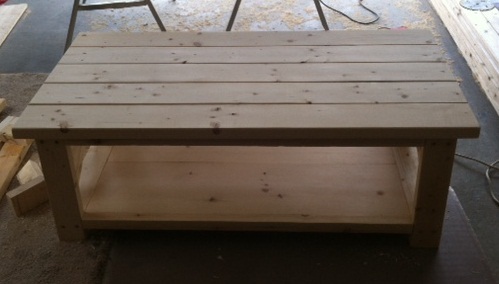
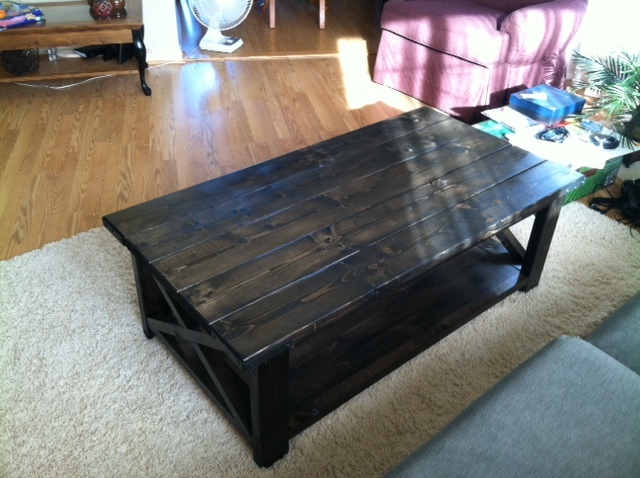
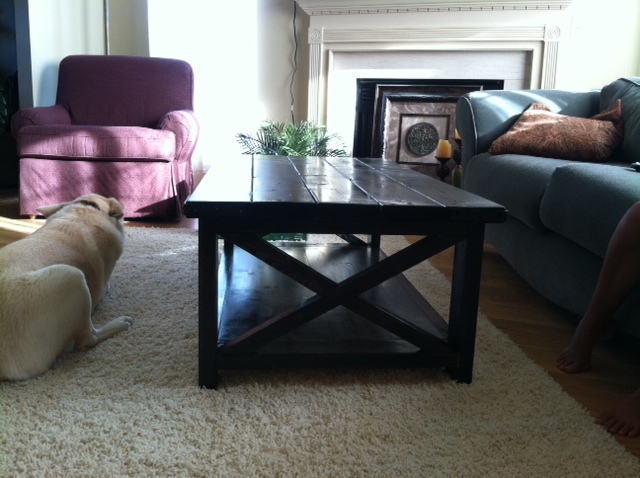
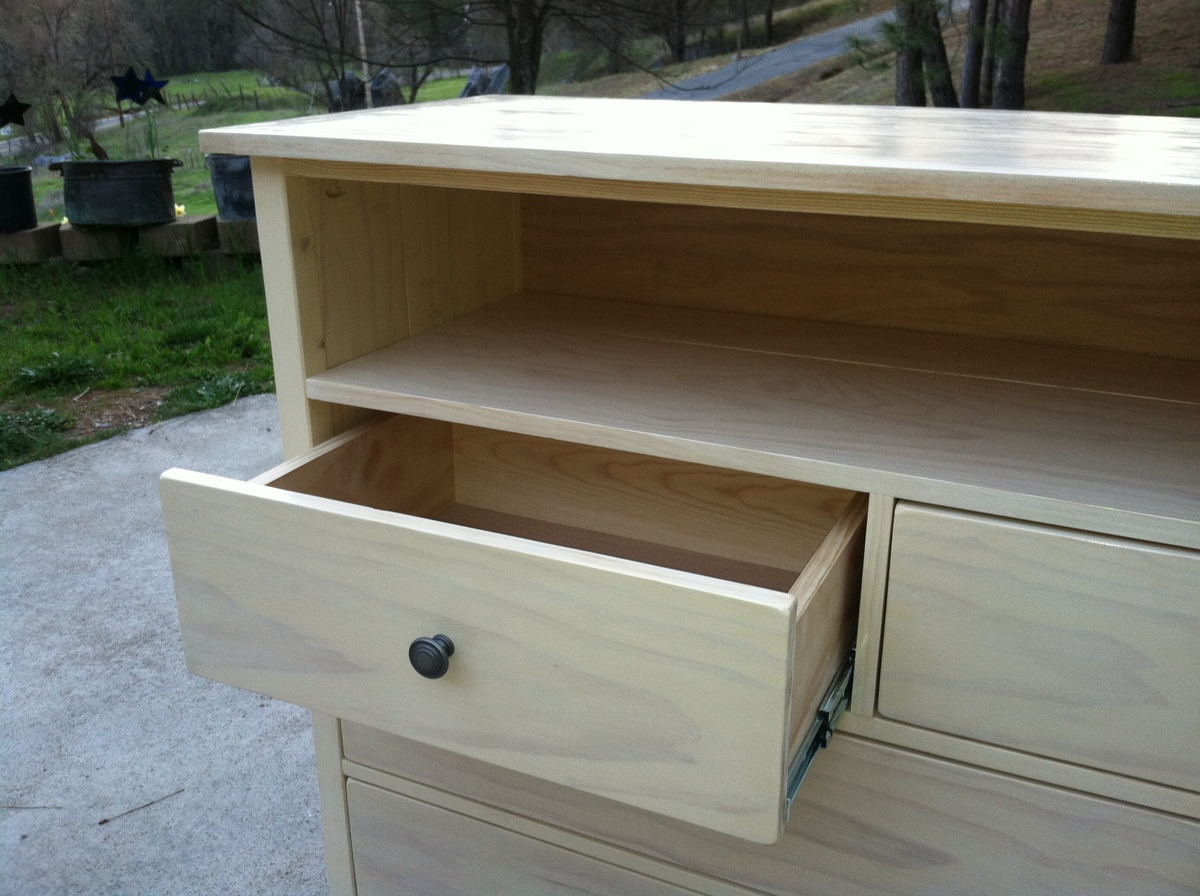
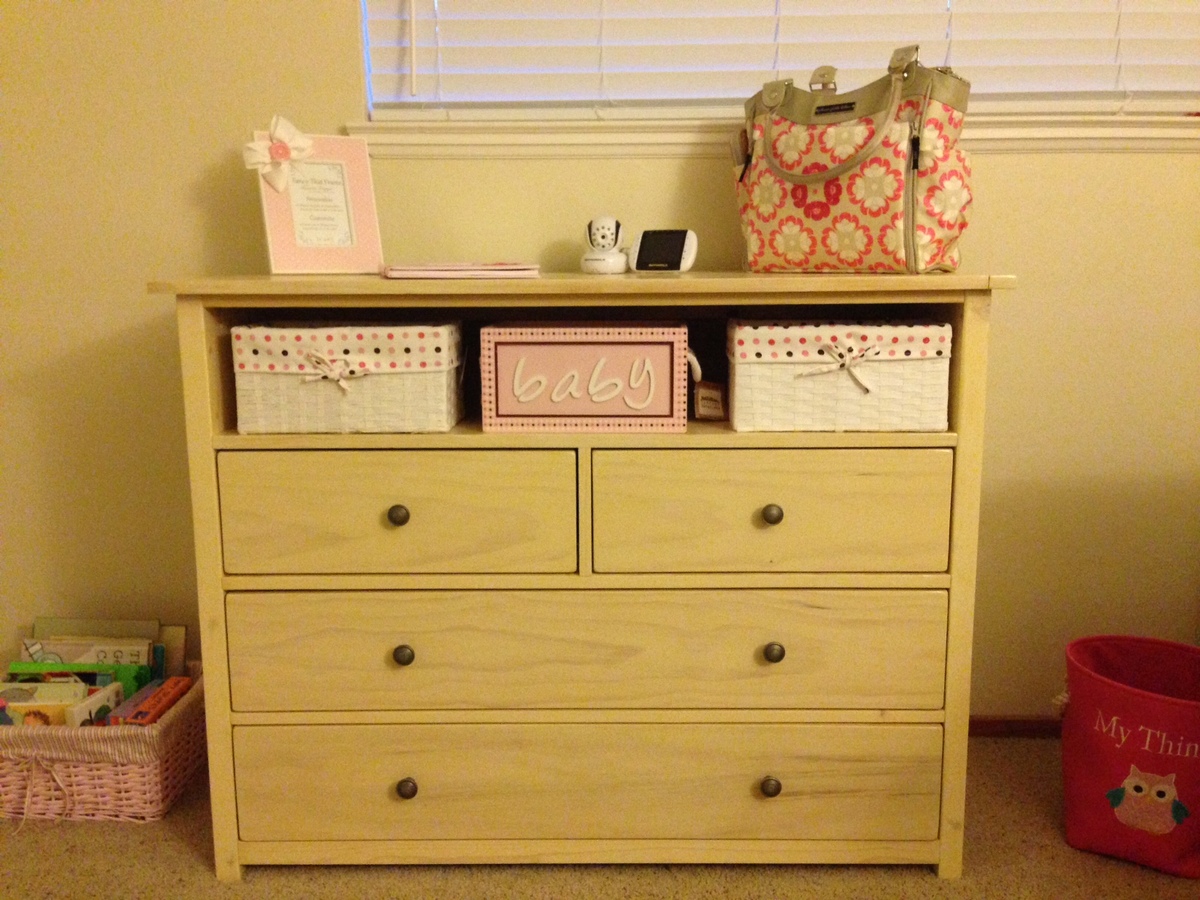
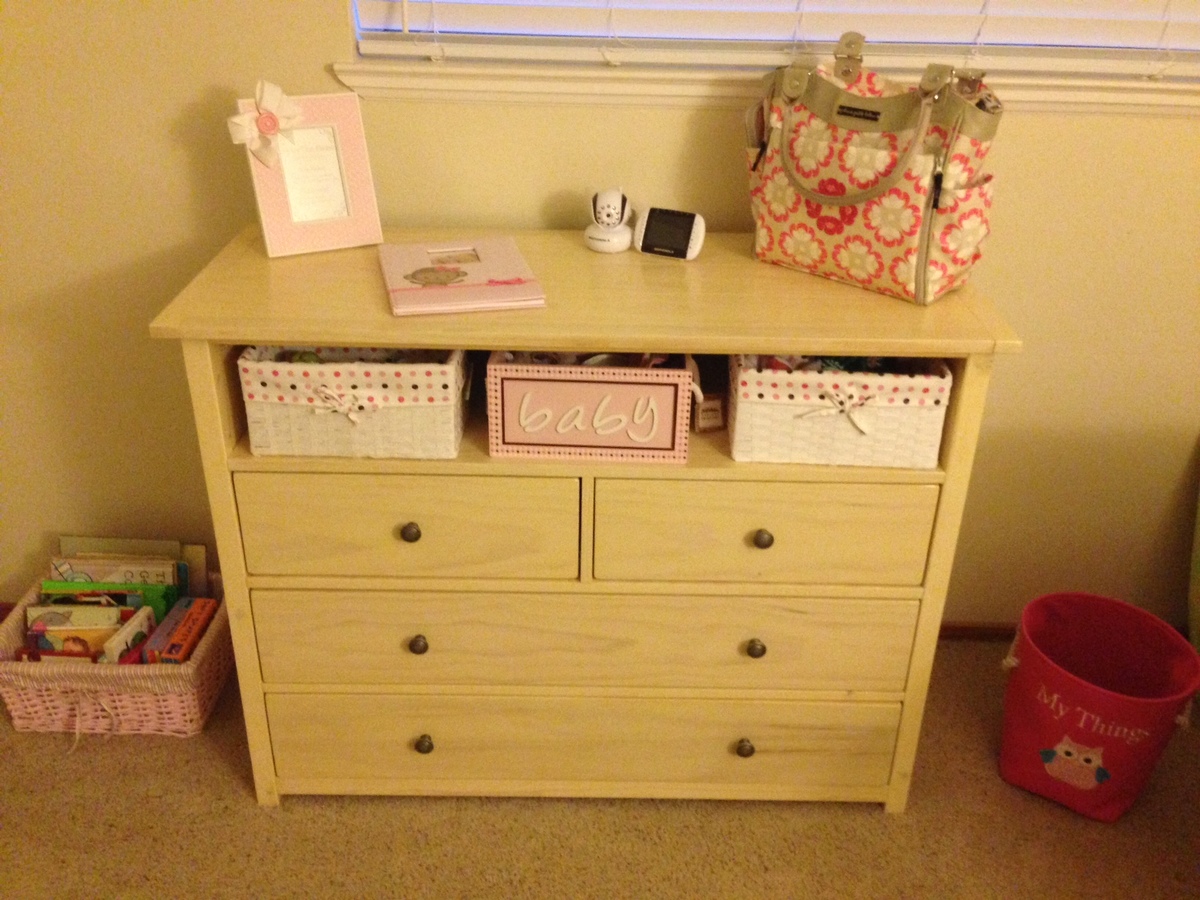
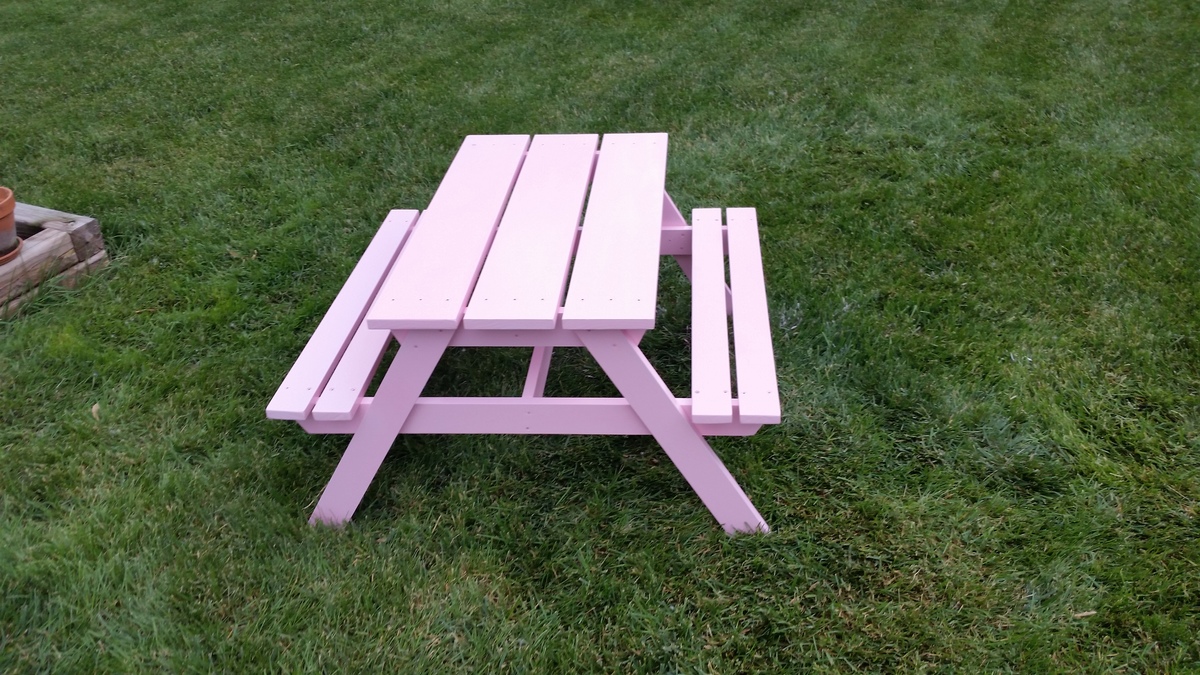
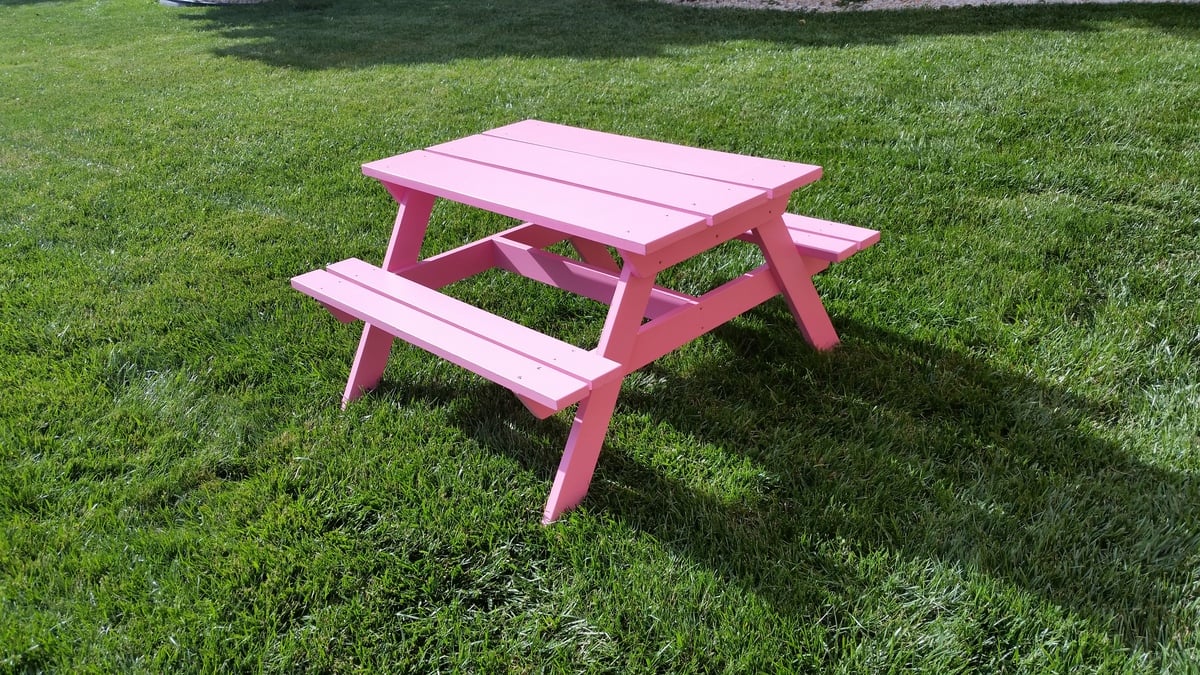
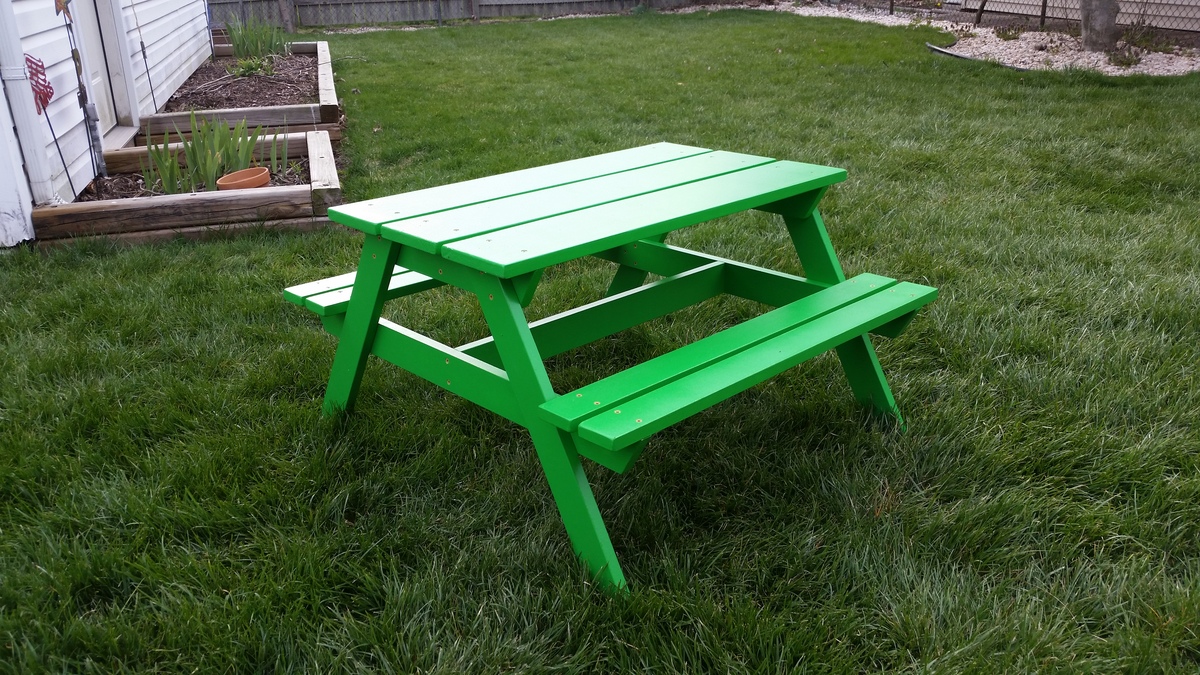
I feel in love with the Pottery Barn Media Suite and new immediately I wanted to build it. I couldn't justify paying close to $2,000 on an entertainment center. I knew Ana would have the plans to help me out. I modified the plans a little bit and instead of building 6 cabinets, I decided to make the inner 4 cabinets one piece, and the 2 outer cabinets removable. This will give me options for when I have to place the Christmas Tree or if we move and cannot fit this huge piece. I also wanted to have as much strength in the middle for our plasma TV. It's about 4 years old and isn't as light at the new TV's are. I loved every minute of building this project and couldn't be more happier! Feel free to search PB website to compare their media suite to my version (savings of $1,700). Feel free to ask any questions!


Comments
ctufano
Wed, 07/08/2015 - 08:35
Few questions
Love how you did yours Christina
I too would like to make one larger unit rather than say 6 of the individual cabinets. Looking at your pictures, it looks like you still made them individually but I'm assuming you attached them (screwed) together? Is that the case? Did you have any issues with the main piece and two ends being different heights when finished?
Am wanting to make a total length of around 104". Means I'll have to tweak some measurements.. In addition, I would like to have one side be a lift top so we can put in a record player and simply lift the top face to access. That wont be too big of a deal.
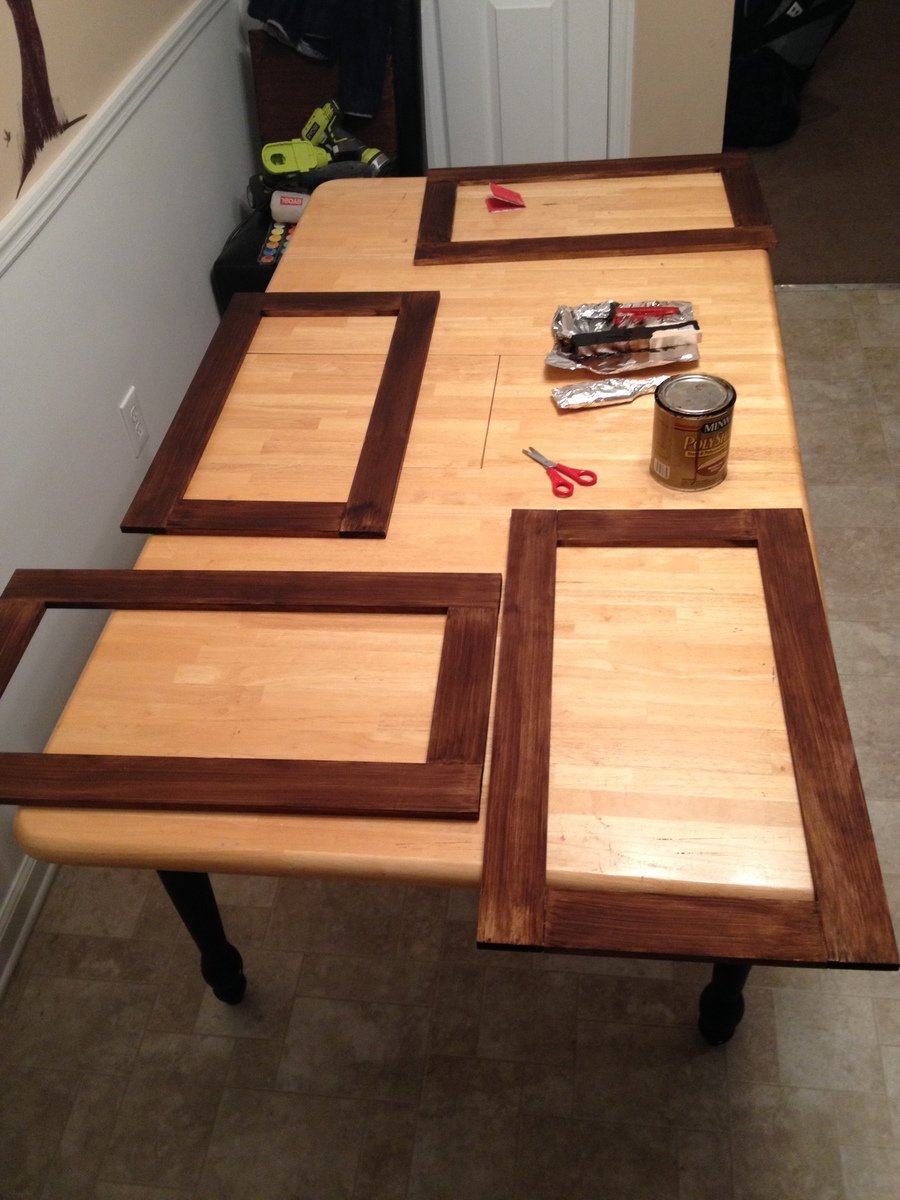
How did you find the doors were to make? No big deal? i've been curious how the dimensions all play out with the hinges and doors opening etc.
LBlakesley87
Sat, 01/30/2016 - 13:58
Instructions
I cannot find these instructions anywhere! The PDF does not include the instructions :(
In reply to Instructions by LBlakesley87
Lady Goats
Sat, 01/30/2016 - 14:42
This is a brag post (a
This is a brag post (a beautiful one, might I add!!). The links to the instructions are included above. Here's to the main base http://www.ana-white.com/2010/08/plans/open-base-basic-collection