Modified Farmhouse Dining Table
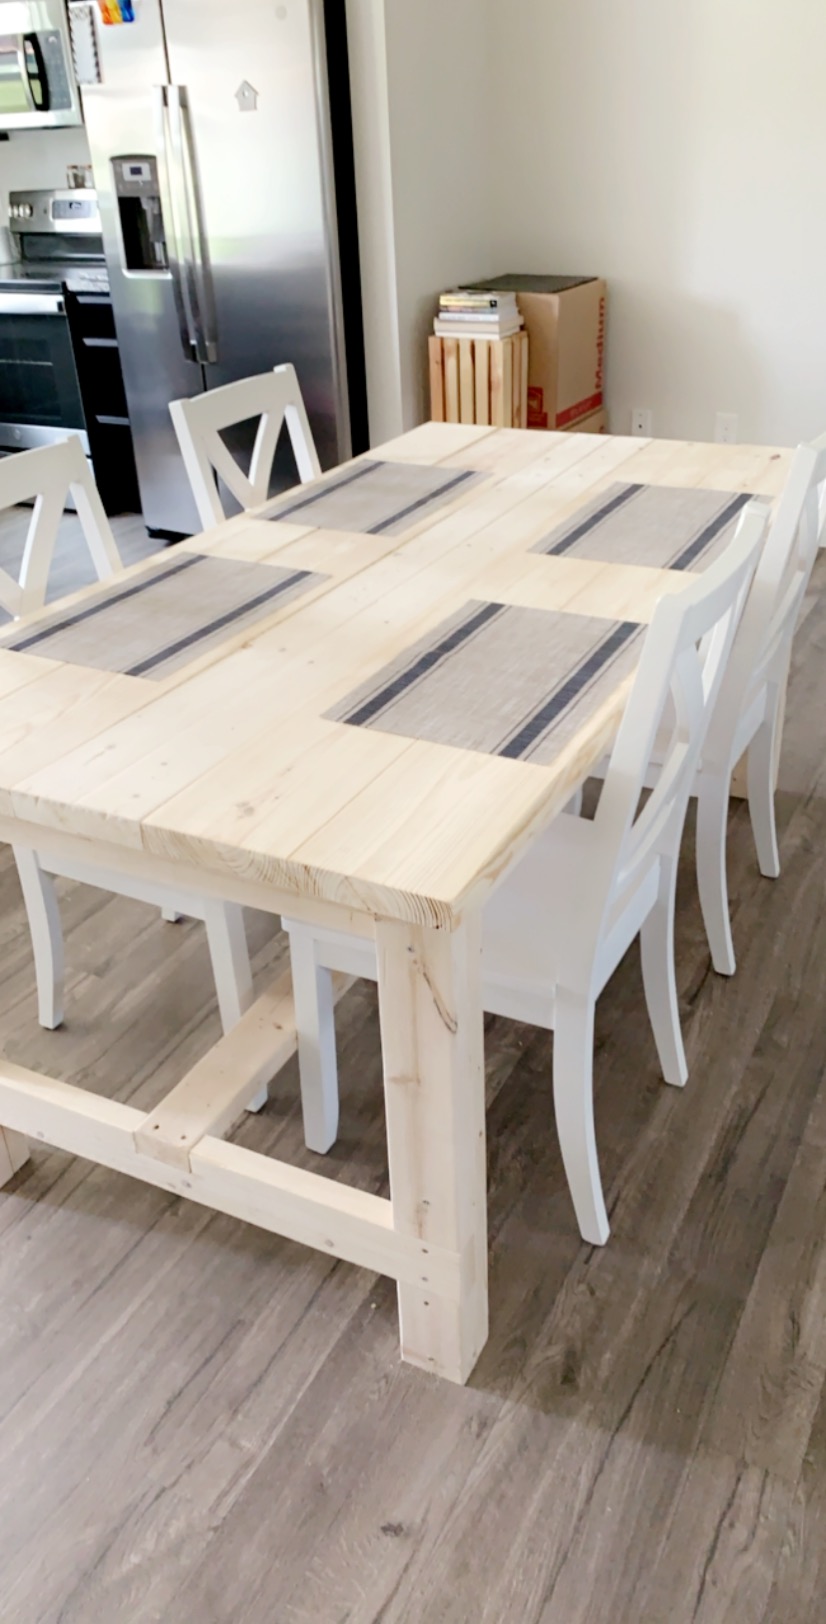
Had to make modifications for size, errors, and personal preference, but we love this table! Still deciding on all white paint or a 2-tone finish. Also- first time using a Kreg jig. What an amazing tool.

Had to make modifications for size, errors, and personal preference, but we love this table! Still deciding on all white paint or a 2-tone finish. Also- first time using a Kreg jig. What an amazing tool.
My first carpentry effort; thanks Ana for the great plans!
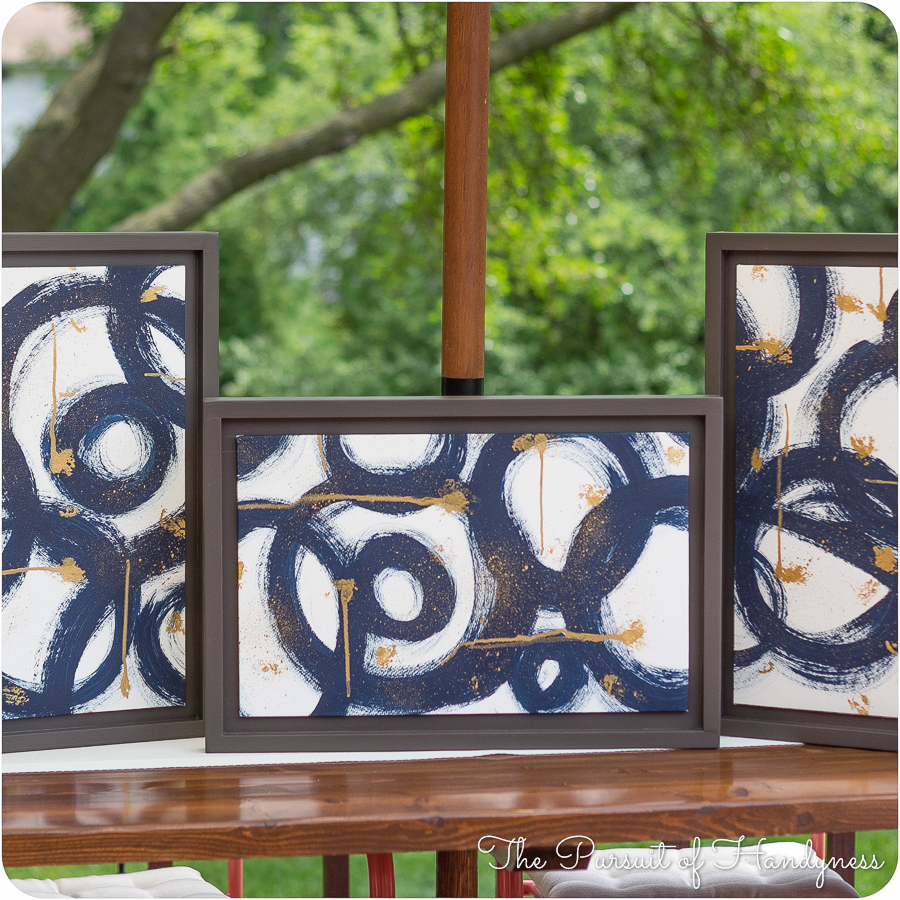
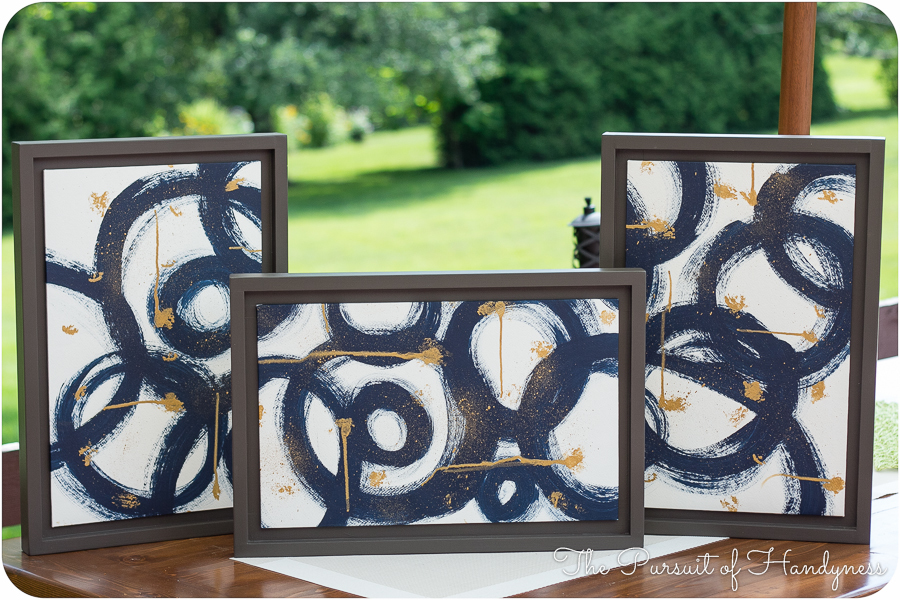
I modified Ana's plans to fit the triptych art I created. I used a combination of this plan and her Wall Frames plan from her book. She wan't kidding when she said these frames were versatile. I plan on applying the same concept to a leaning wall mirror.
For a step by step tutorial on the modifications to this plan as well as how to create the triptych art, visit the blog http://thepursuitofhandyness.com/diy-triptych-art-custom-frames/
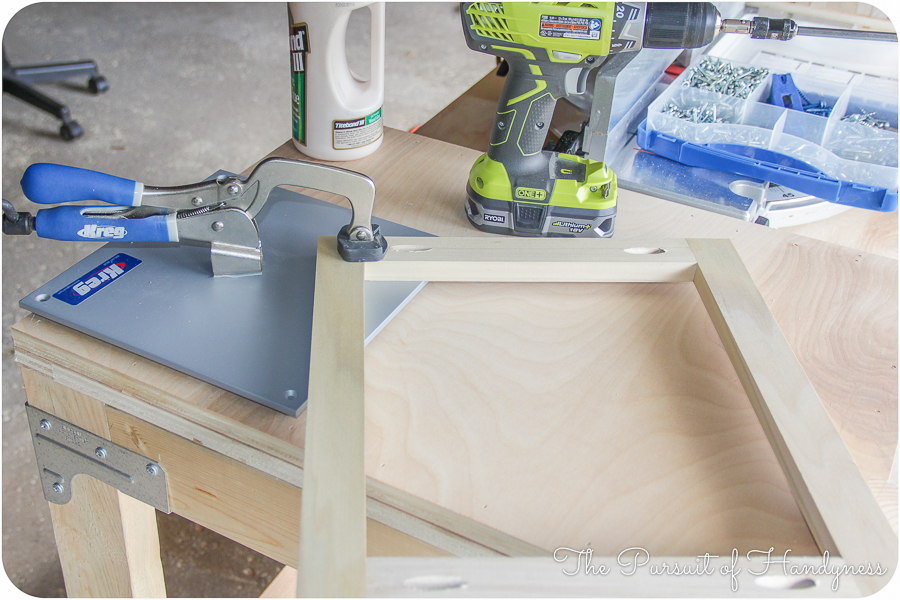
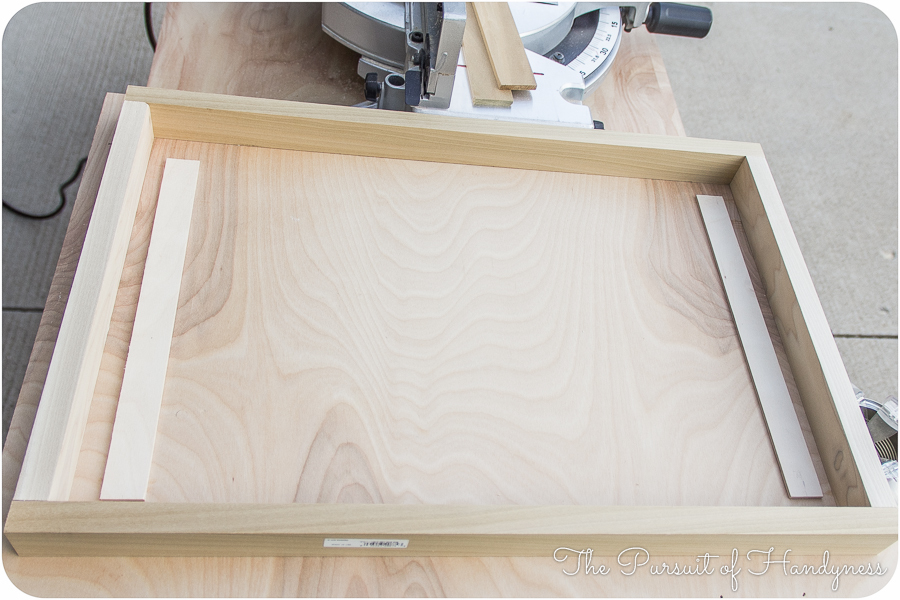
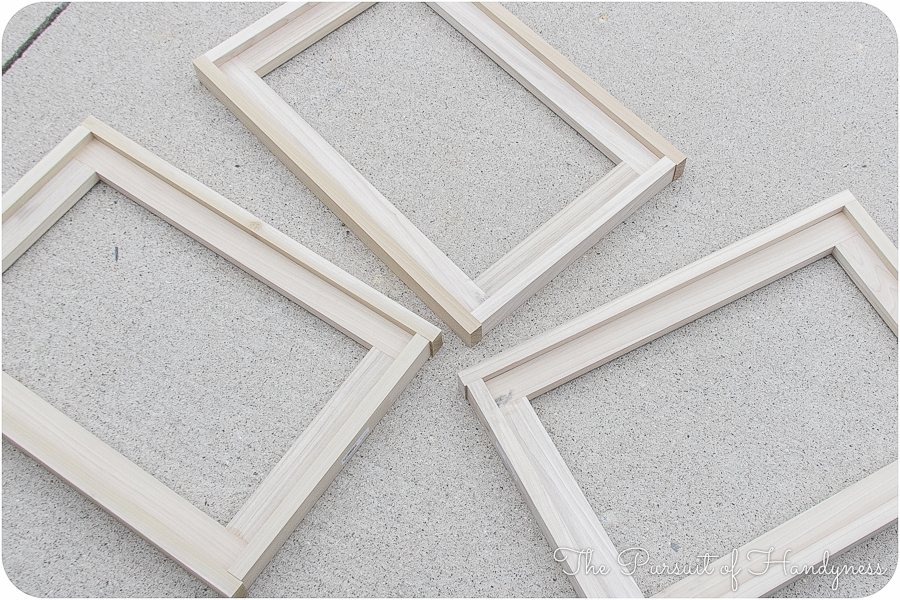
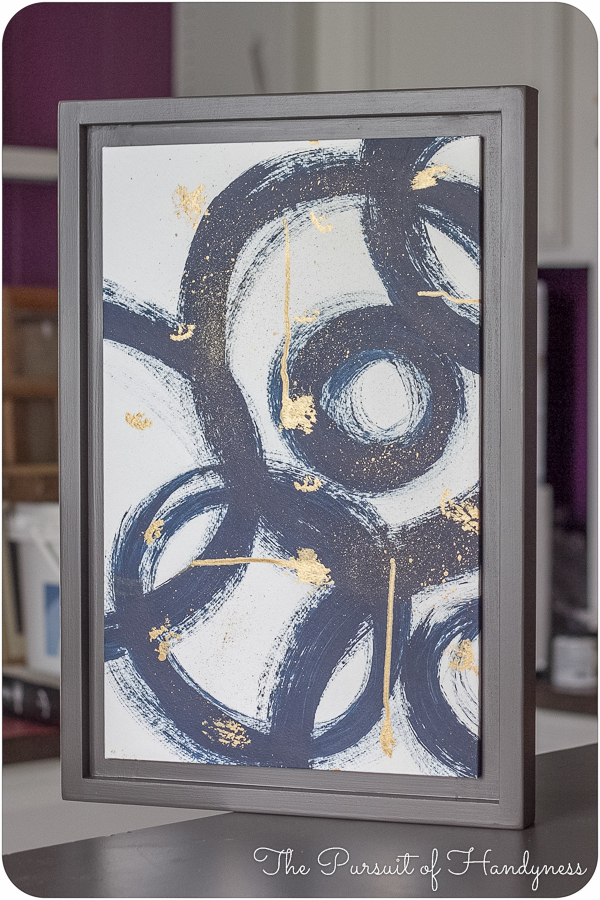
Super easy to build. I did this 7 months pregnant! I'm a beginner and I'm so happy with the results
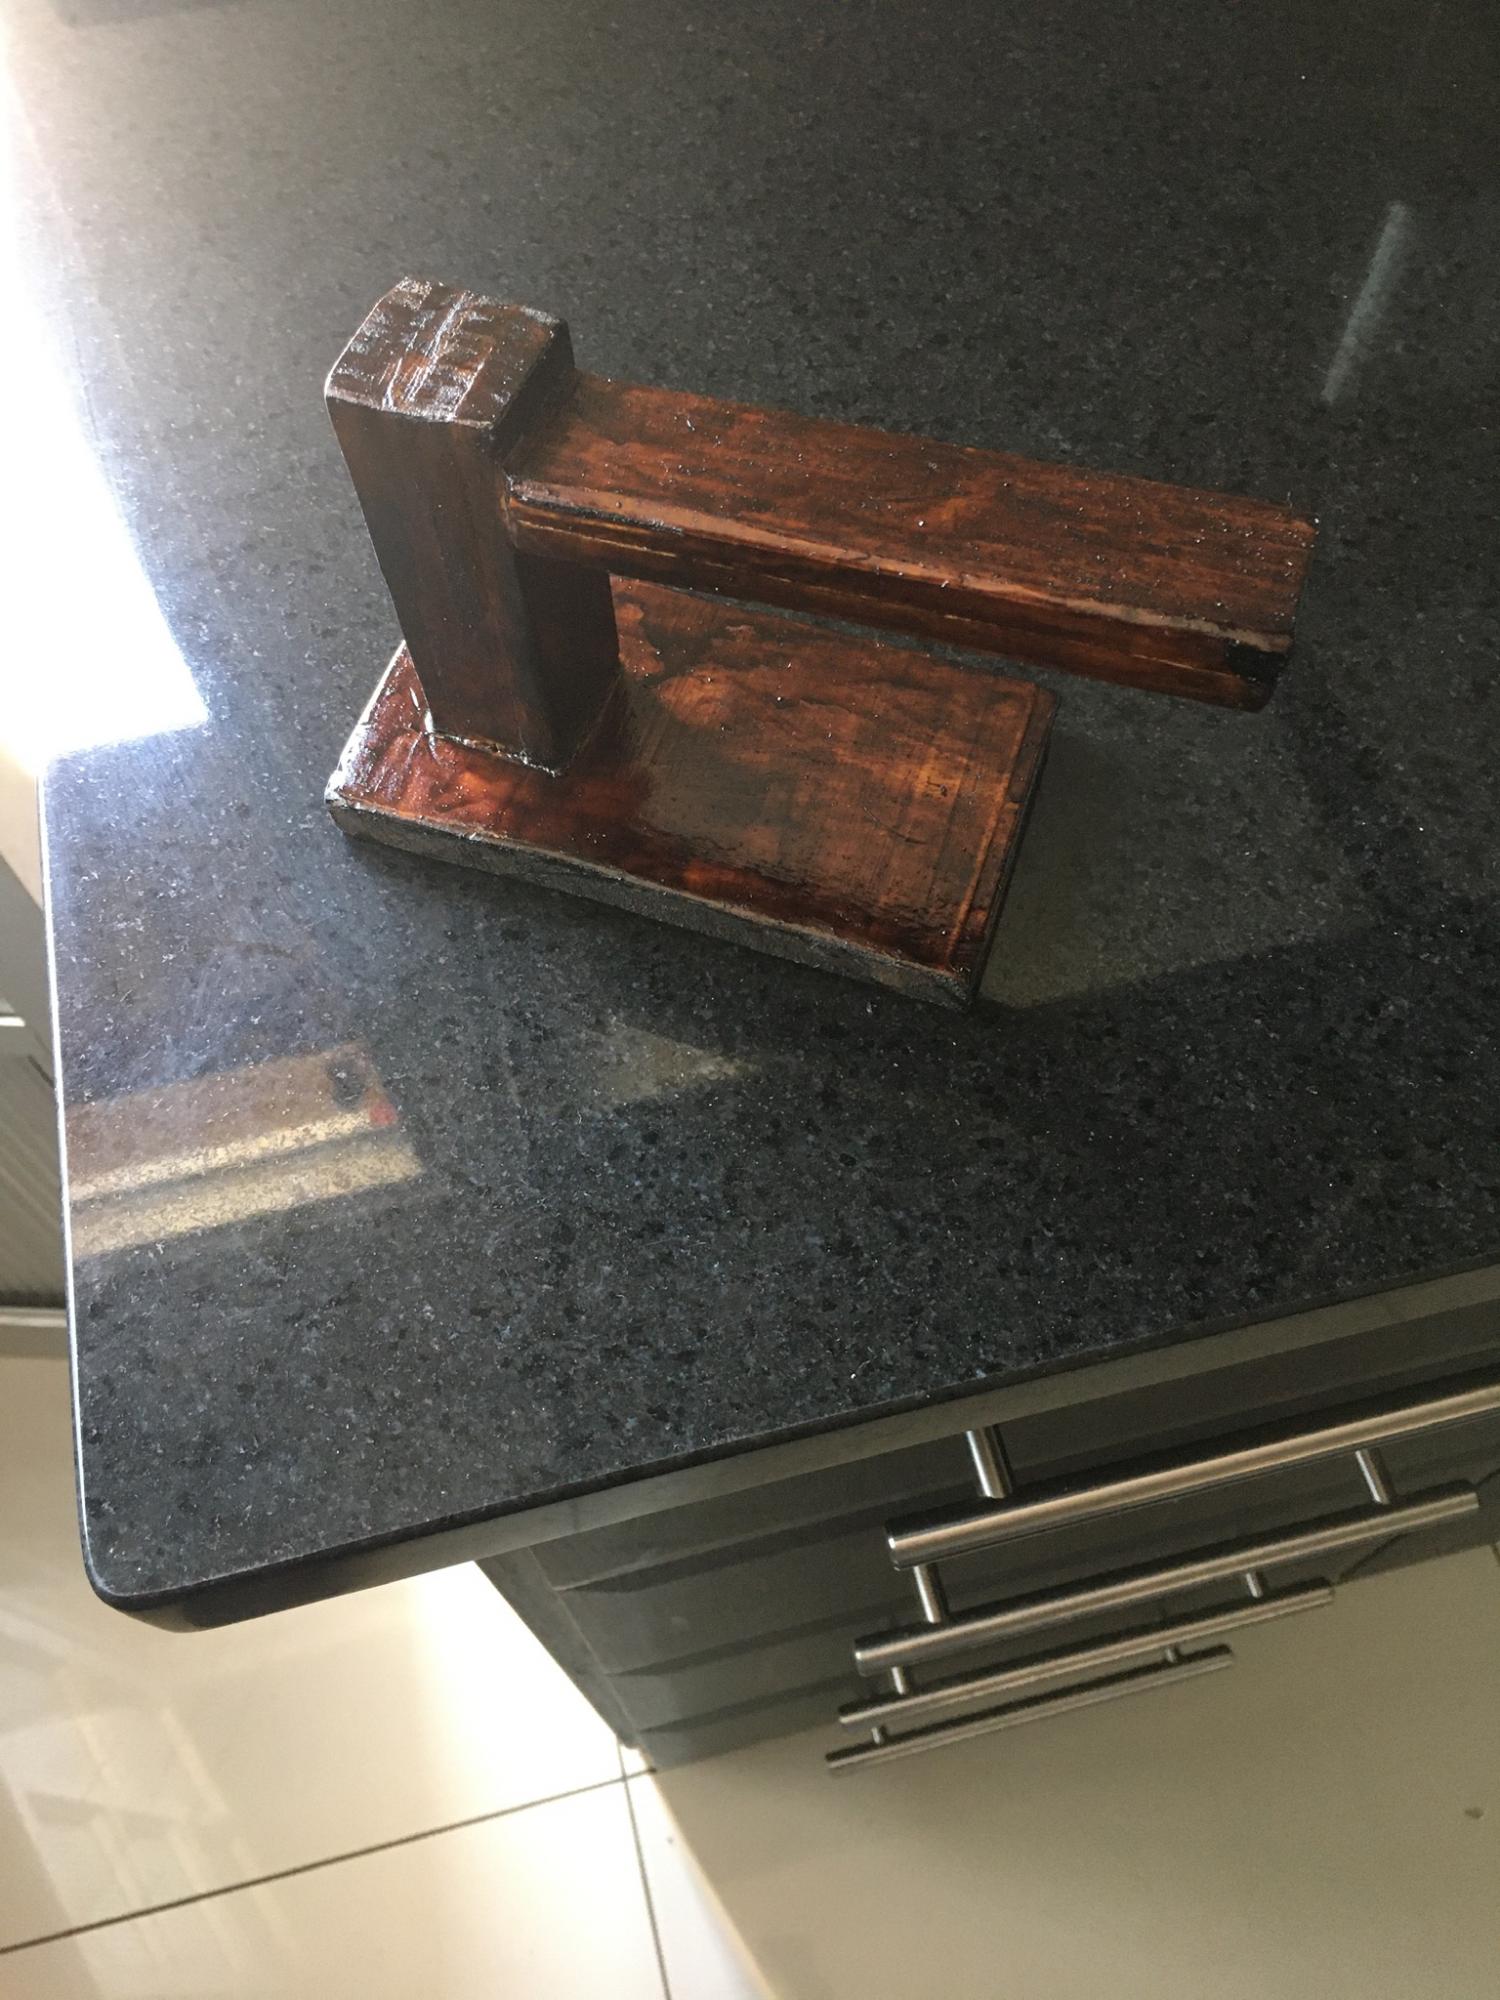
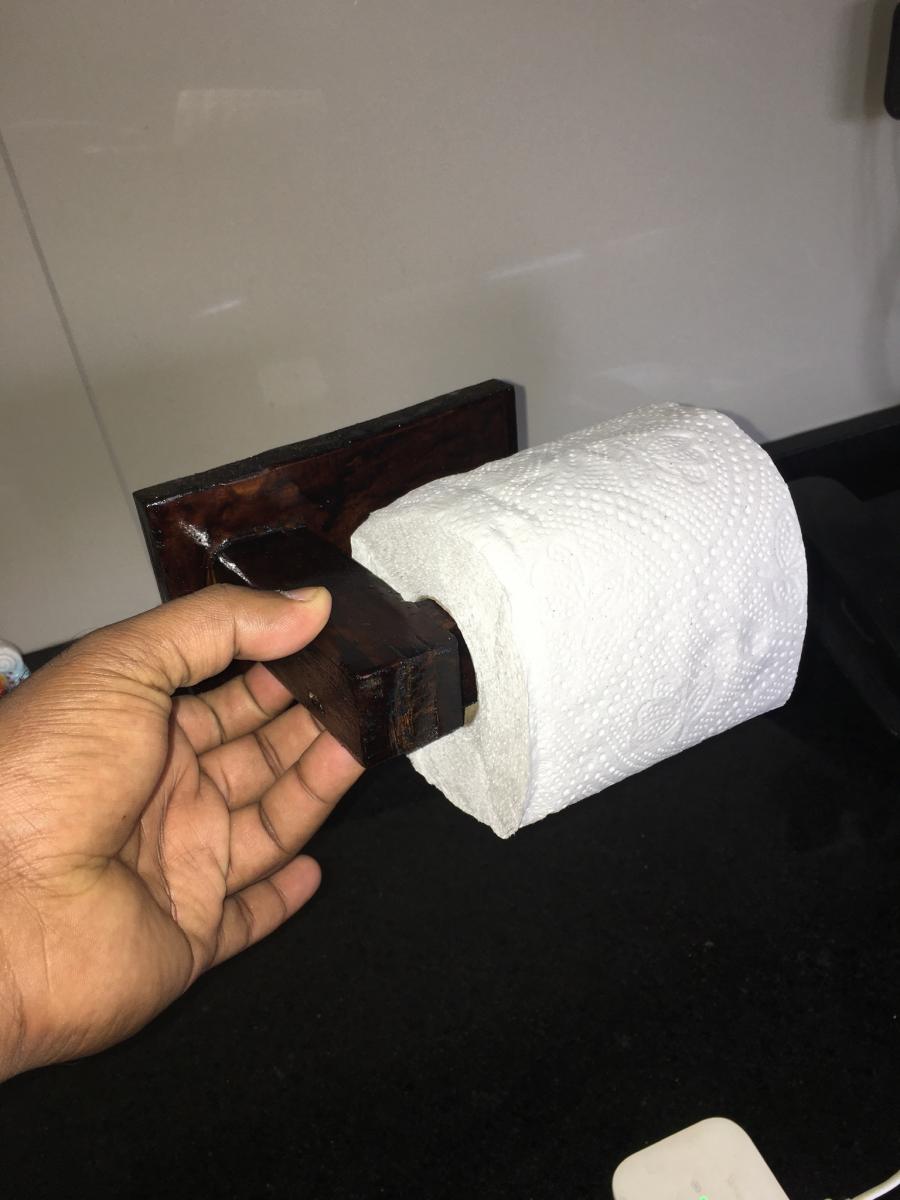
Toil paper holder
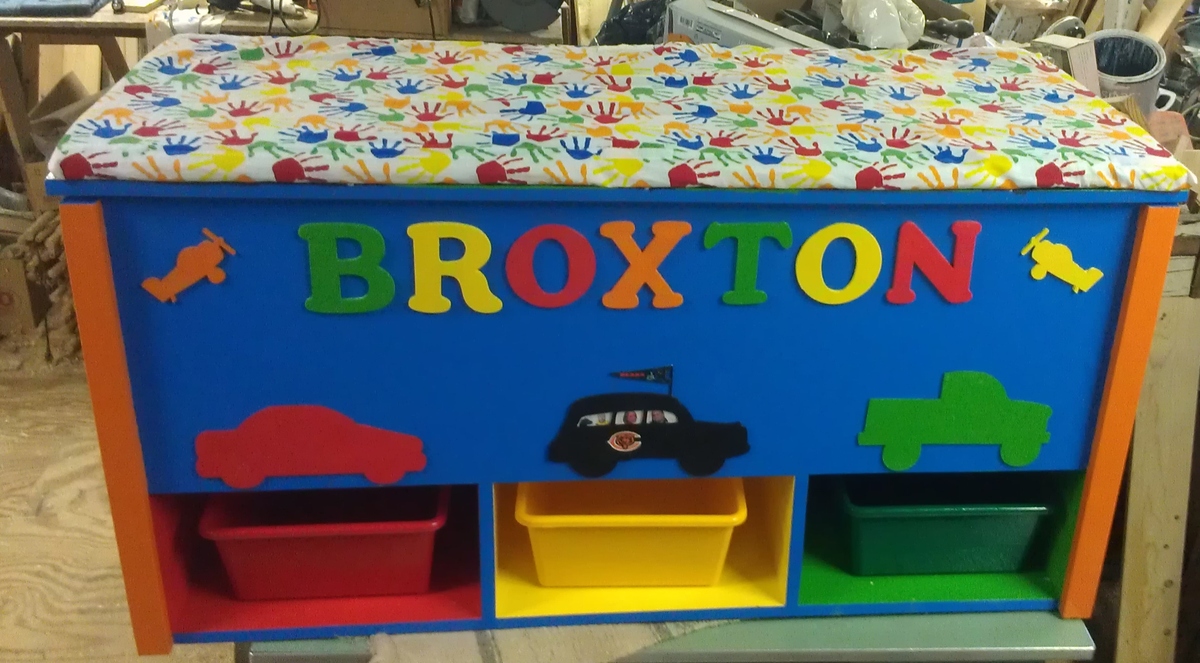
My grandson needed a toy box and we really liked this plan. We changed the dimensions a little, made it taller and a bit wider. My husband built the box and did the basic painting. I made the cushion for the top. When the cushion is removed (it Velcros to the top) there is a hand painted matchbox car town and roads. I painted places my grandson knows, like his house, grandparents houses, mom's and dad's work, McDonalds, wal-mart and general places like airport, gas station, fire house, etc. We used stay tension support hinges to make sure it was safe for our little one, yes they are expensive, but they are my grandson's fingers. Everyone loves it. The vehicle in the center(black) matches their car. I put pictures of my son-in-law, daughter, Broxton, and their dog, Briggs in the windows. And decorated it with my son-in-law's favorite team "the bears".
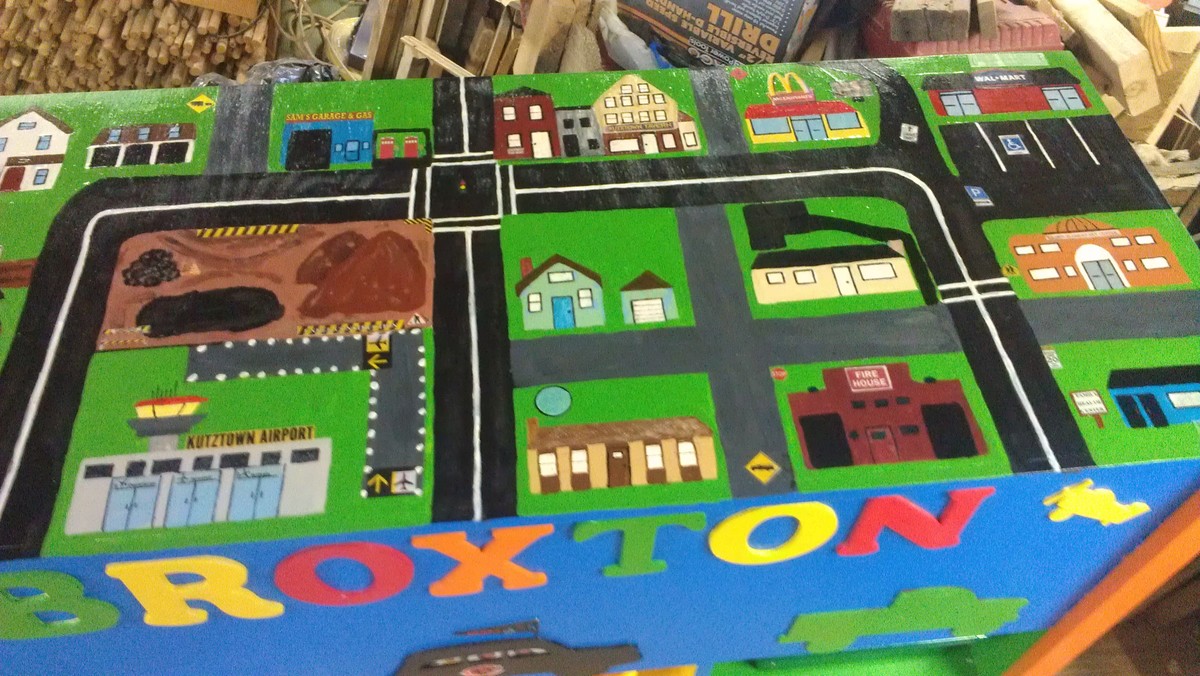
Tue, 09/25/2012 - 11:49
That's cool! Makes me wish I was a kid again, or had a kid at that age.
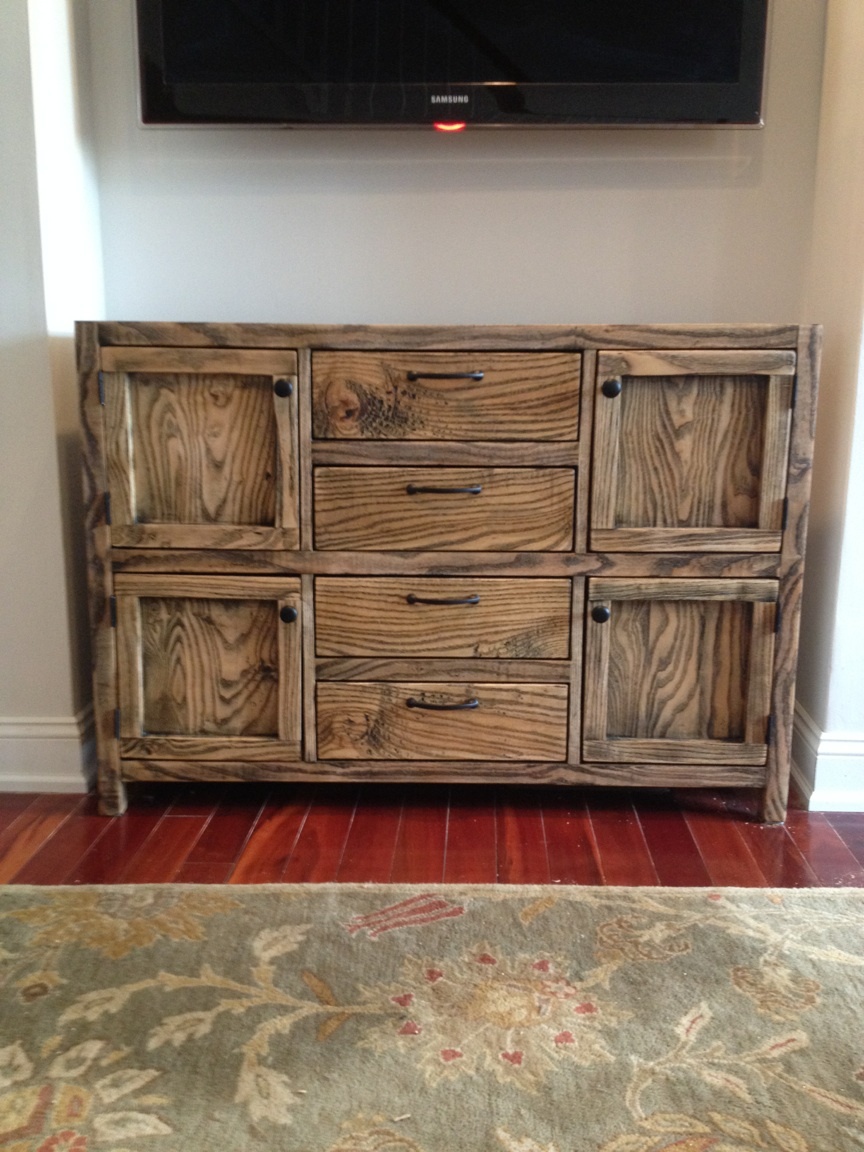
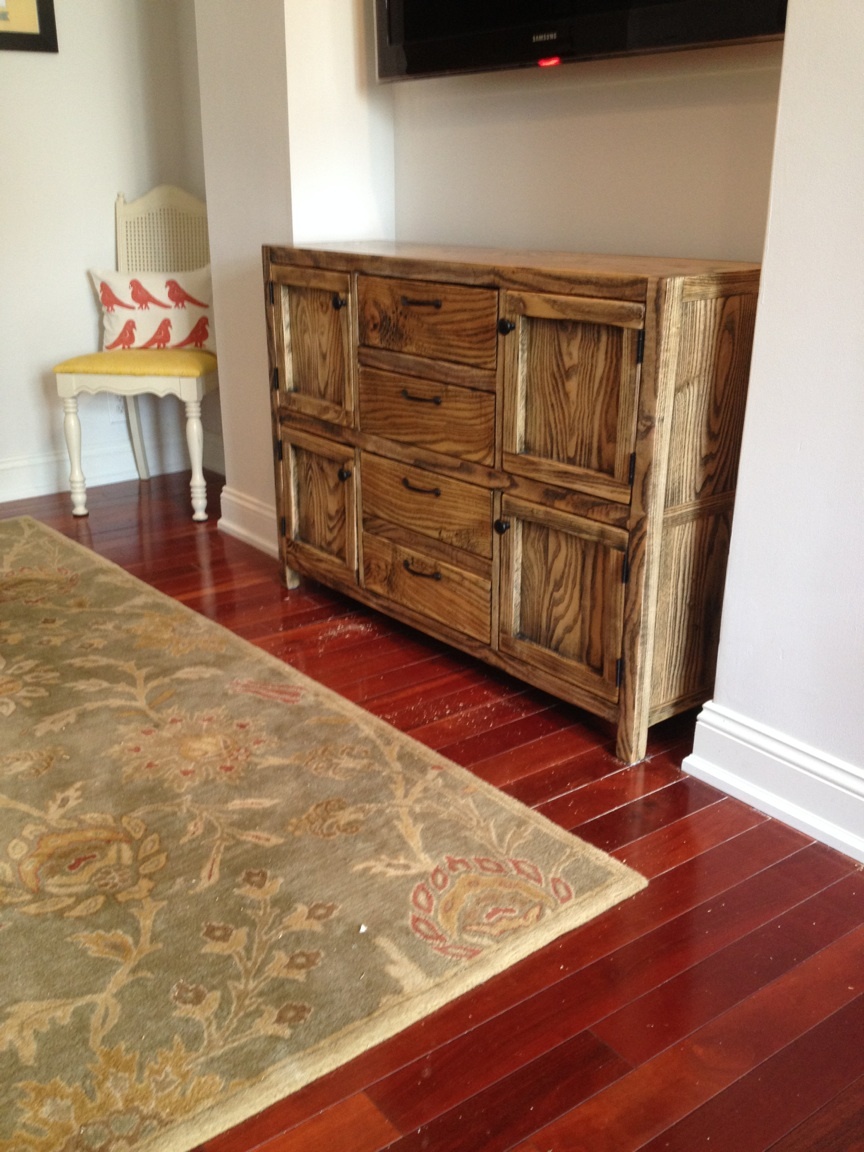
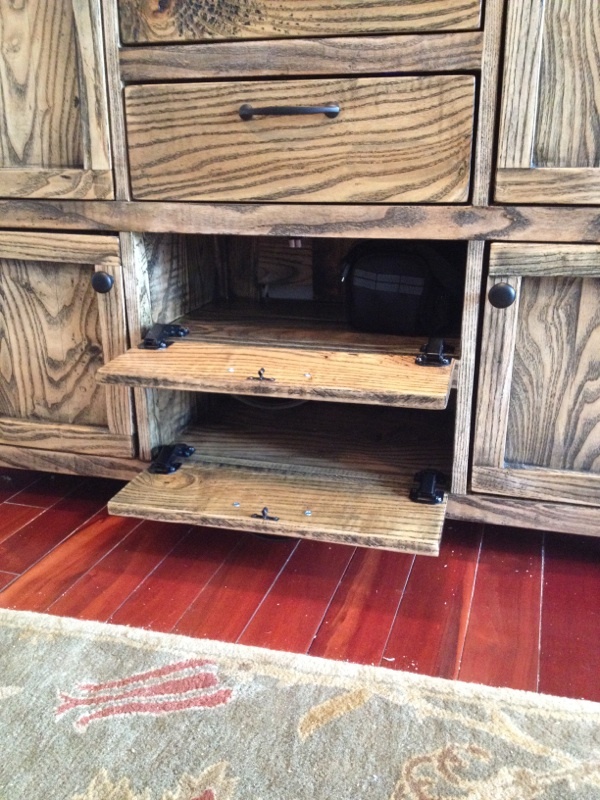
I took plans from the Rhyan console table and just added a couple extra cabinets. This was a tough project but it came out great. I bought the wood at a local mill and all the hardware is from Home Depot
I really loved the modern farm table, but we wanted something to fit our square-ish dining room space and still fit 8-12 people to fit our famiy of 8+ company. What we ended up with was a unique statement piece that we absolutely adore. We made some minor changes to the plans to accomodate the changes in size, primarily by using 4x4 posts for the legs and attaching them differently. The table is very sturdy with no wobble. It is very heavy, though! Please see our blog post for details on size, cut list and our building modifications!
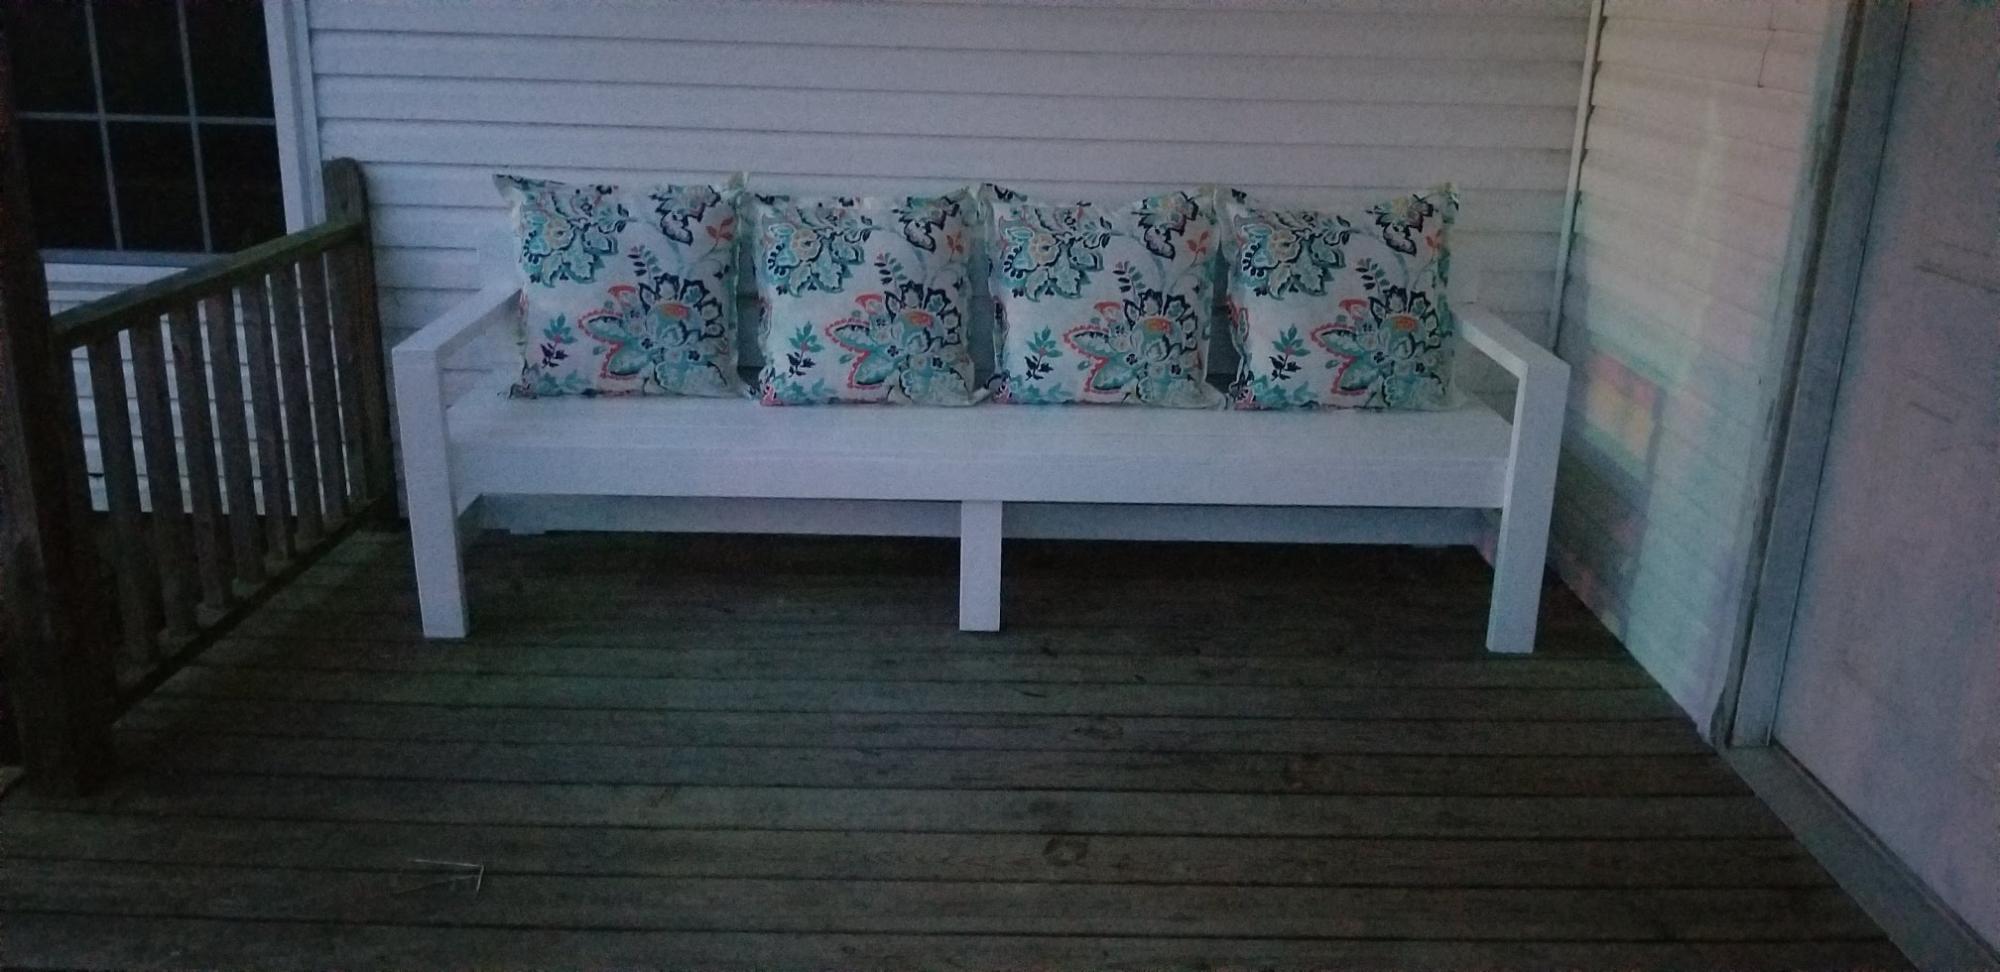
I built this bench for a church. They wanted it 8' long so I had to add extra support in the middle
I was looking for a neat bookshelf for my craft room. I found this plan and loved it! I like that I can always add smaller shelves for more eclectic-ness when I'm ready. I'll readily admit that this is pretty basic in comparison to the author's creation, but it works in the room and it works with the other furniture that I already have.
I really like that this is a huge bookcase..that's exactly what I was looking for to house fabric (I'm a quilter) and all my books. Looking forward to filling it!
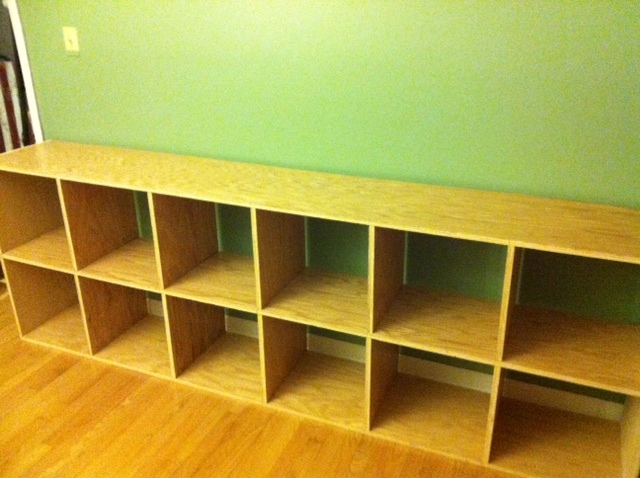

I made hits for my daughters classroom. Very easy build. The pictures aren't the best, they are cell phone pictures. We were in a hurry to get it done for open house.

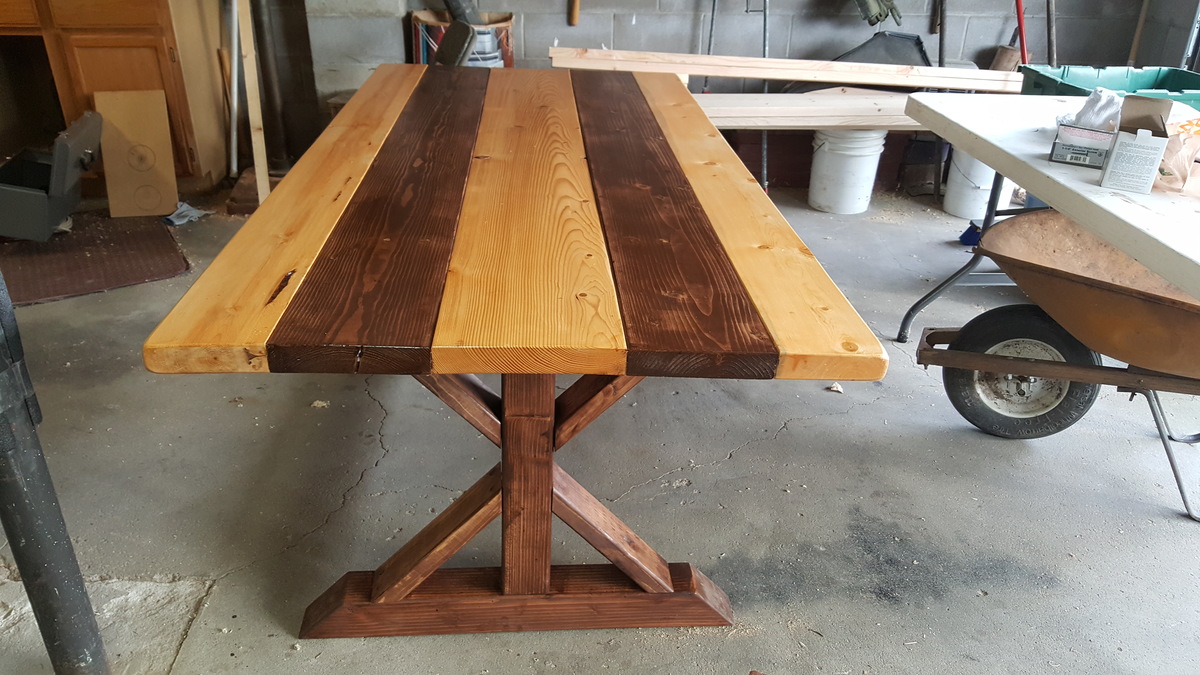
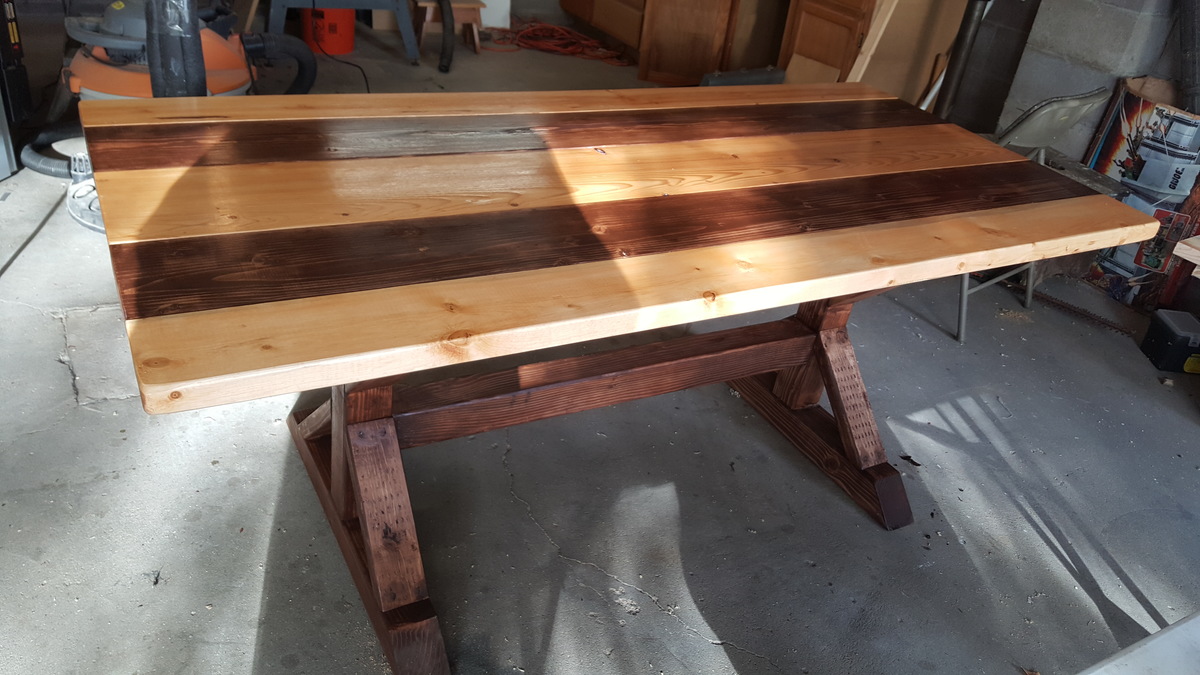
Made a farmhouse table for some friends after looking at several posts on here. Calling this the Zebra table.
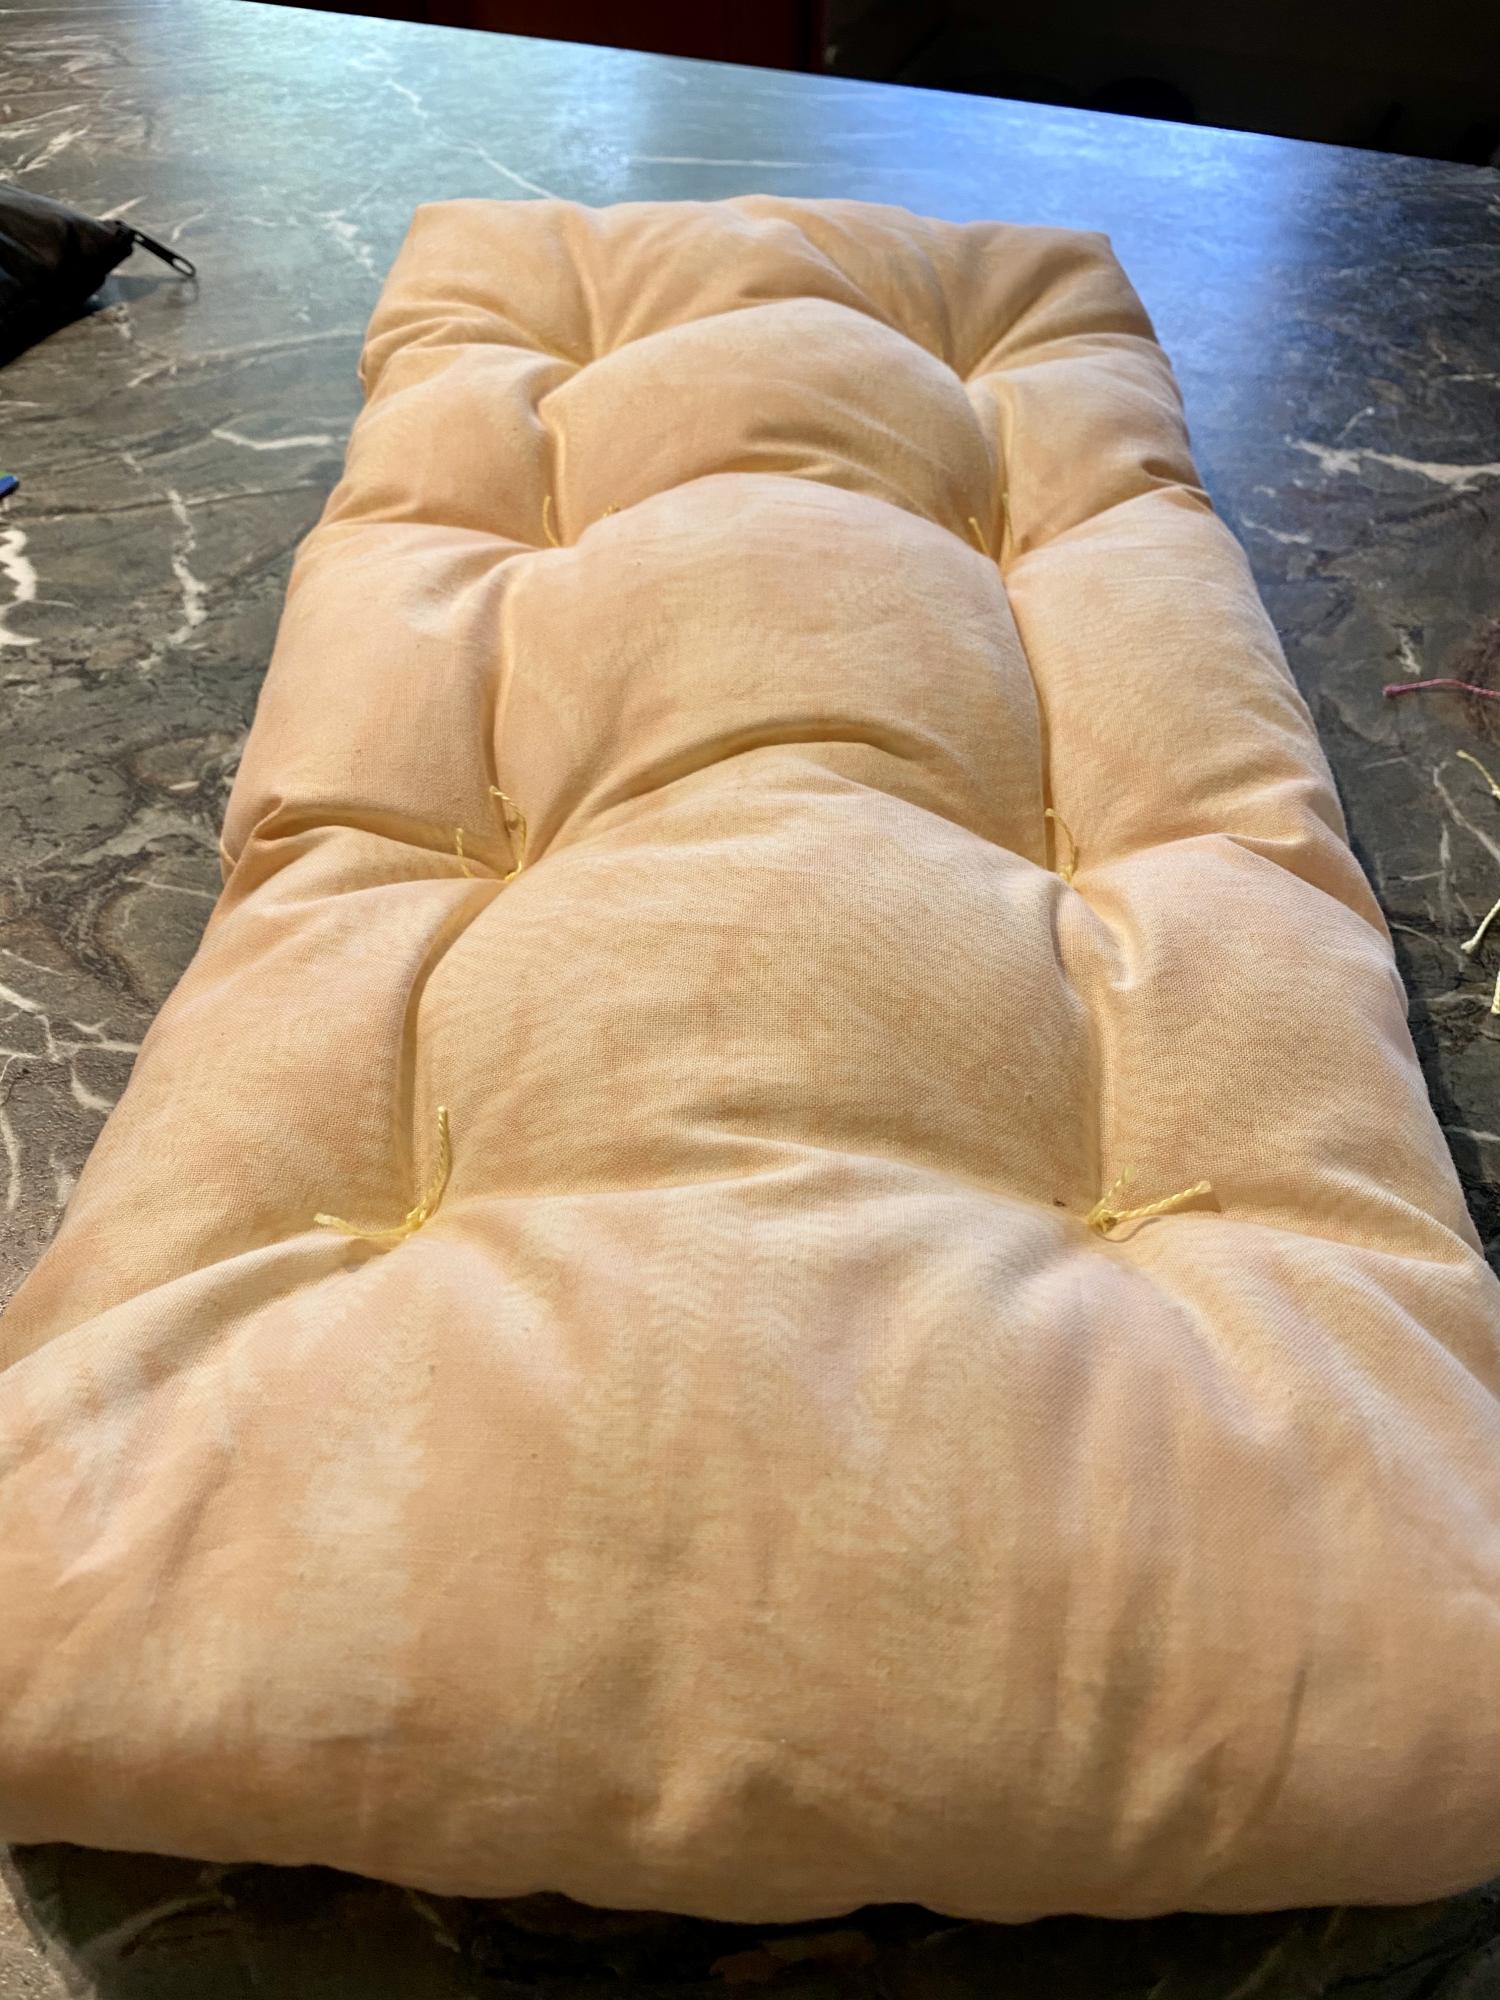
Not a great pic. Made two to go on Bunkbed. Plans were perfect. I did not use buttons as there is a 13 month old eating machine in the house, but instead used heavy craft thread and sewed an X in eight spots, leaving a small tuft of cut thread. Worked just fine.
Hi,
My name is Bas and I am presenting my first project to you.
I am new to this website and after I saw all the beautiful handmade furniture I could not wait to get started. It started a few weeks ago, when I bought a single tablesaw for five dollars at a garage sale. Never having done anything with wood before I was pretty curious how I would be able to do this.
I started off a few nights ago by buying materials that are described on the shop list.
I had to work at night in a dark garage as I work during the day which made it a bit more challenging than expected.
I just made sure to take my time and to do it step by step which in the end worked out great. I am very happy with the results and it's definitely a great addition to our home.
I've had a friend ask me to build her one as well, which I can't wait to start building.
Please let me know if you have any questions or feedback. Thanks to Ana White and all those others that have inspired me so far.
Bas


Mon, 10/01/2012 - 20:35
That looks really good! I would never have guessed this is your first project.
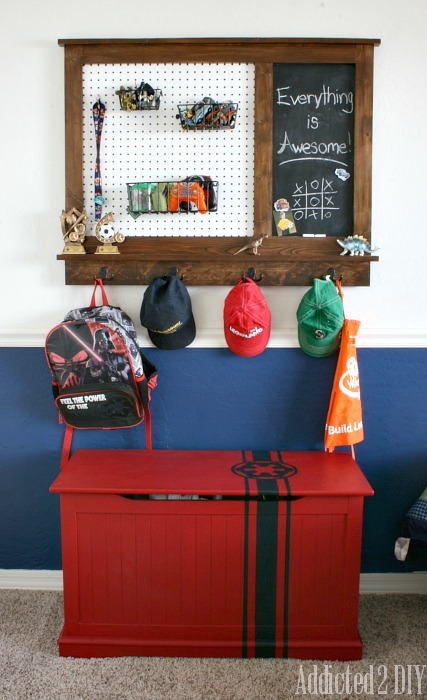
I built two of these pegboard organizers for my boys to hang in their rooms. The magnetic chalkboard allows them to write fun messages or doodle, plus they can hang pictures on it with magnets. The pegboard helps keep their smaller toys organized and the hooks keep their hats from being scattered all over the house.
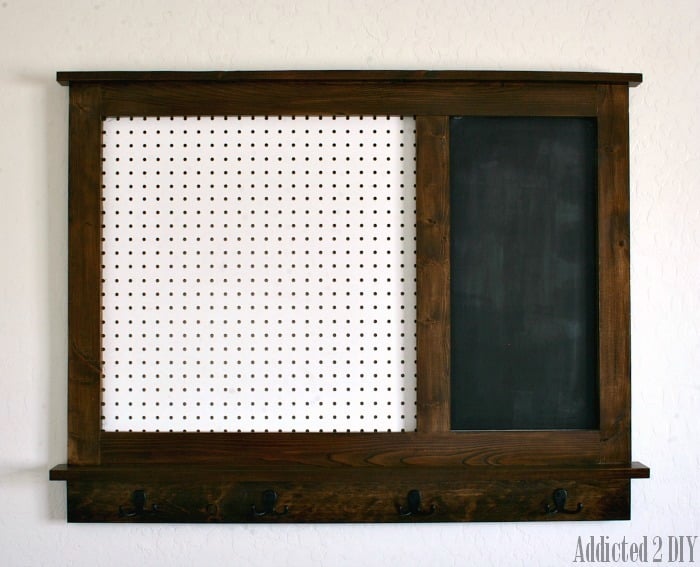
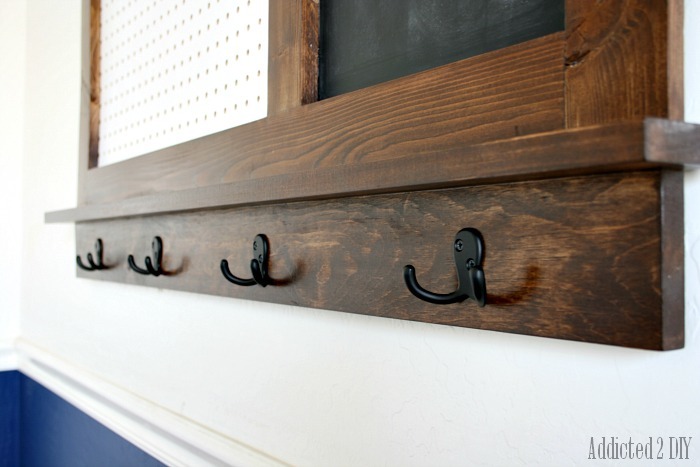
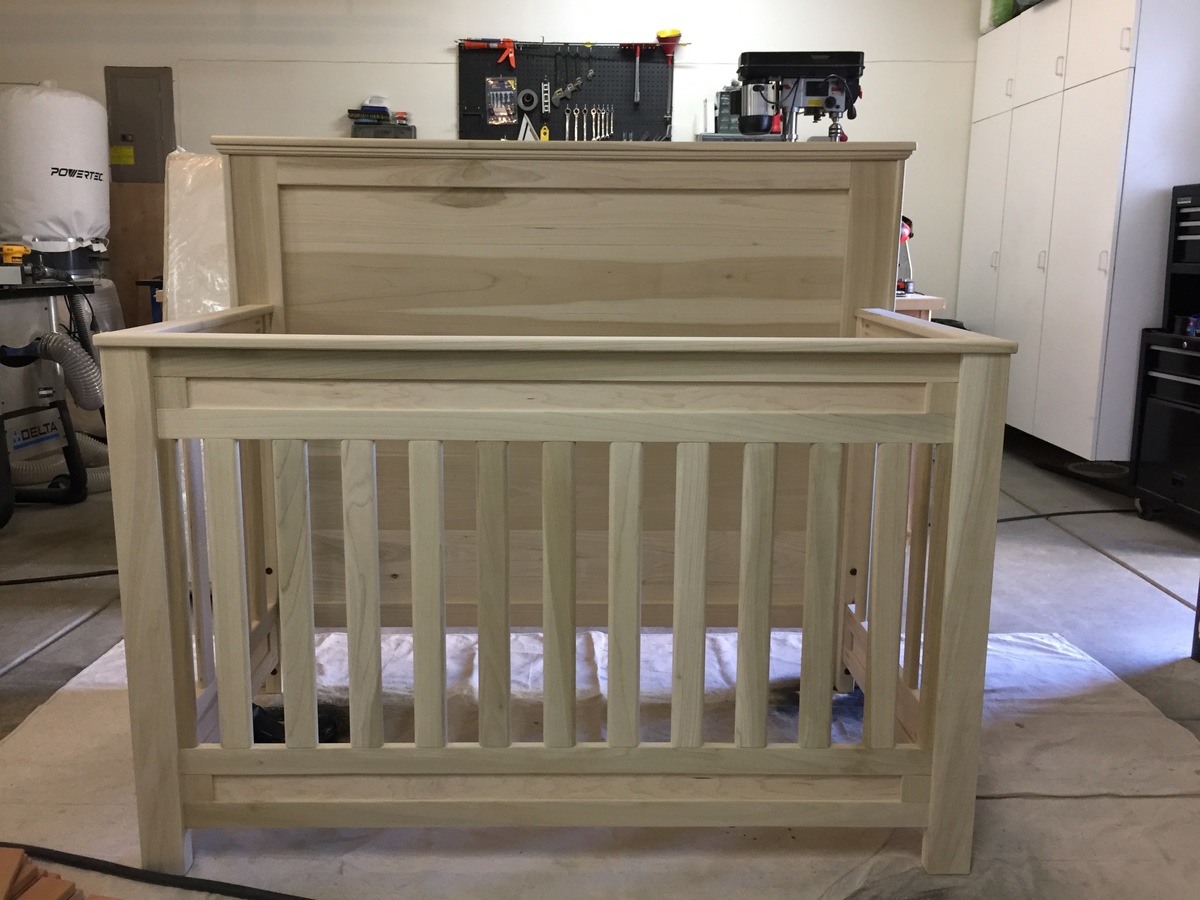
So this is my first post of one of my projects, and super excited to share! I have to say this is one of the most rewarding projects I have ever done. First time Dad and so excited to meet her! My wife is now 35 weeks. I have built many furniture projects in the past but I will admit this one intimidated me more than anything. There are so many safety regulations on cribs and so many stories and blogs online about child safety it made my head spin. I almost let the fear get the best of me and just bought a crib.....but the DIY in me said NO, and here it is! After it is all said and done I couldn't be more happy and a proud Father at the same time! I am still working on finishing this project, so I will add more pics as they come along. We will be painting it a light gray color and top coating with a water based polycrylic. This is made to be convertable, and will also become a Full size bed. Thank you Ana White and other users for inspring us all!
Tue, 12/26/2017 - 18:34
Do you have any more pictures of the constrction? How did you join the sides?
Sun, 12/31/2017 - 09:26
I would love to make something similar for my first grandson, Clayton. Can you share more pictures with me? Thanks.
my email is [email protected]
Tue, 02/27/2018 - 12:02
This crib is terrific and just what I am looking to build for my son and daughter in law. Do you have any dimensions or even rough plans you could share? I will certainly work ast sketching m own but if you have something you are willing to share it would serve as a great starting point.
Thanks so much,
Mark
Sun, 06/23/2019 - 08:46
Did you happen to get any plans or dimensions for this project?
Wed, 02/28/2018 - 06:37
My wife and I are going to be first time grandparents in the spring and have been asked by our son and daughter-in-law to build a crib - one just like the one you built. I think it wil be a fun project. Could you share any dimensions, drawings or other pictures rom your build? You can reach me at my email address: [email protected].
Thanks,
Mark
Sun, 06/23/2019 - 08:47
Where you able to get any plans or list of supplies for this project?
Fri, 07/03/2020 - 08:08
Did anyone ever get additional details or photos? Would really appreciate anything! Have our first coming in about 20 weeks and want to make something awesome like this for him!
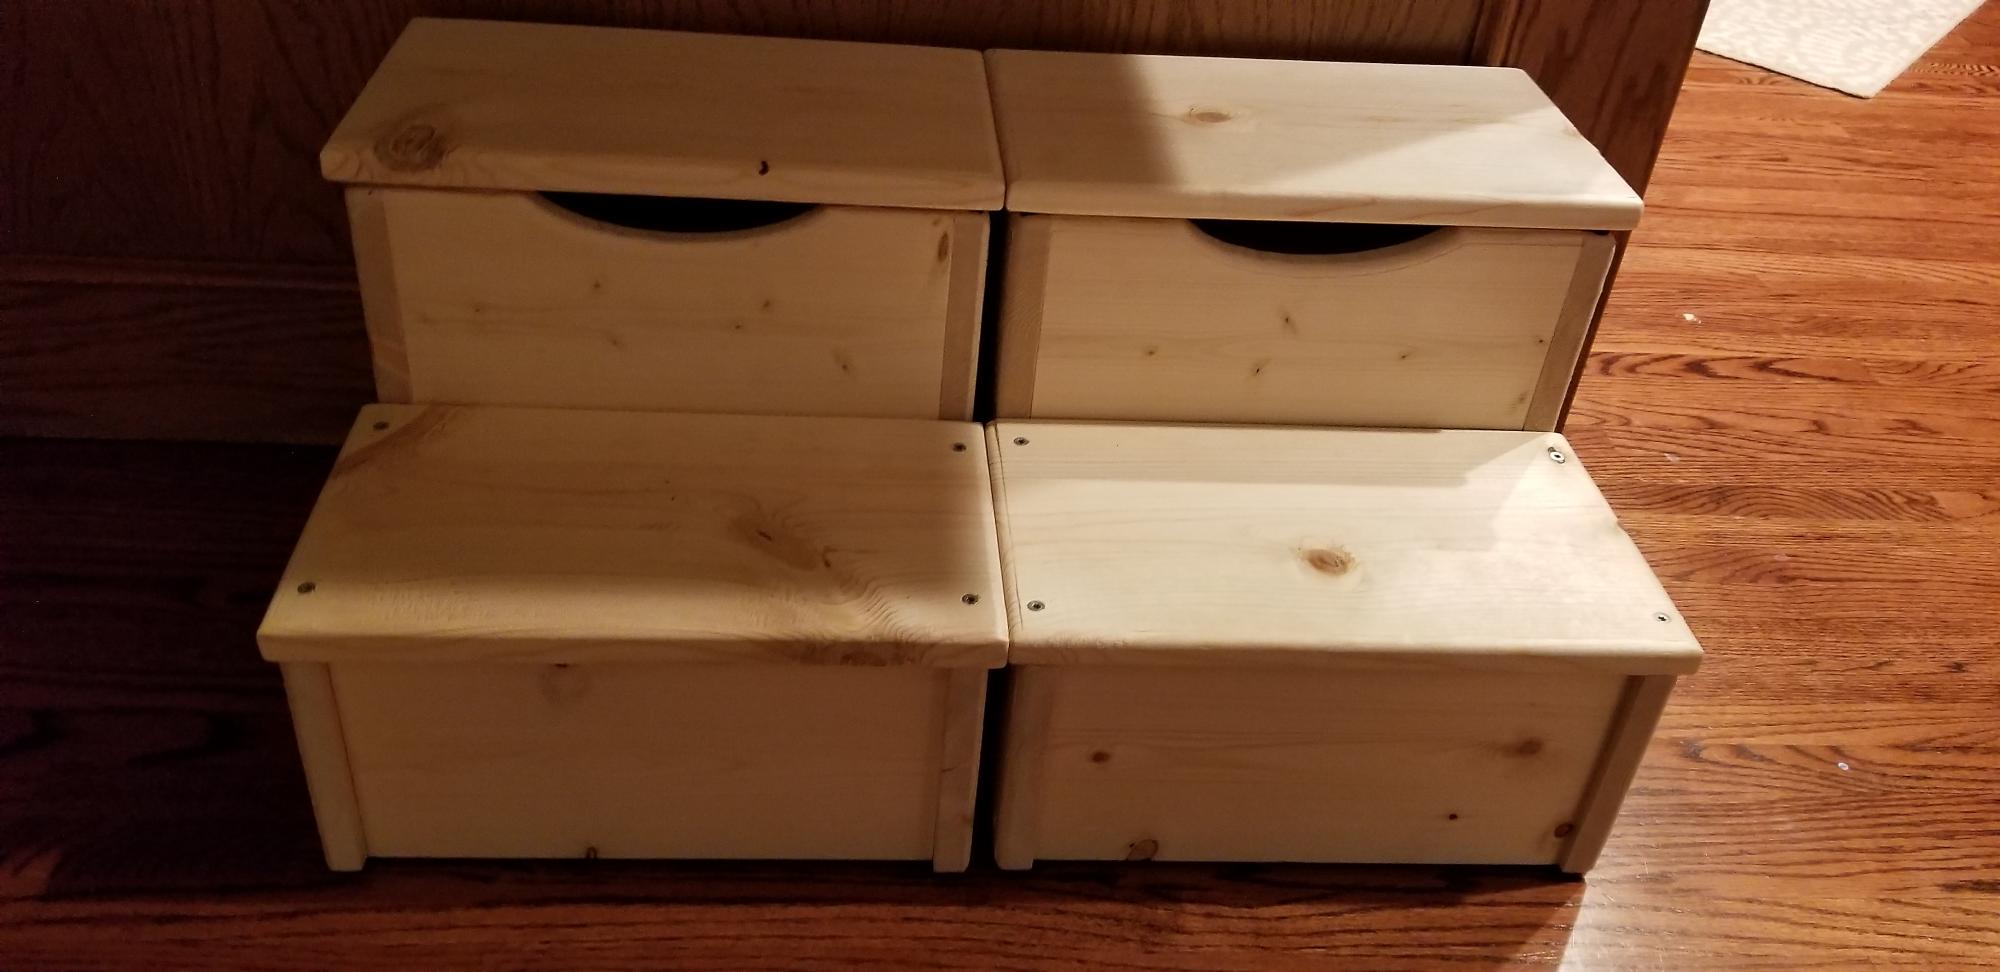
I'm a beginning wood worker enthusiast. I've been slowly collecting plans, tools, supplies and I'm certainly not efficient when it comes to projects- even "beginner" projects like this.
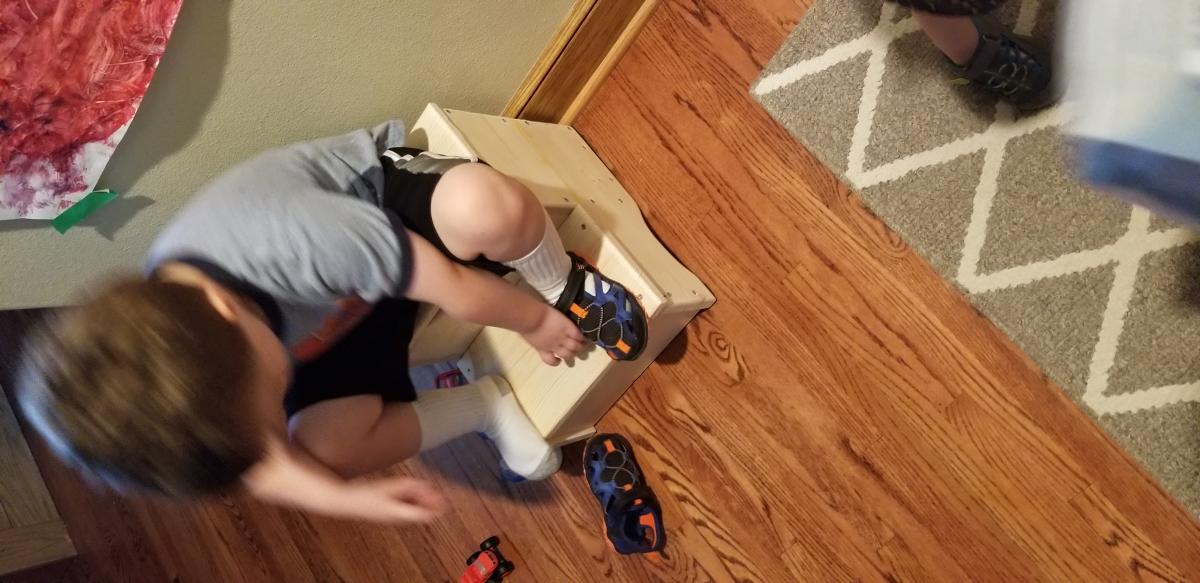
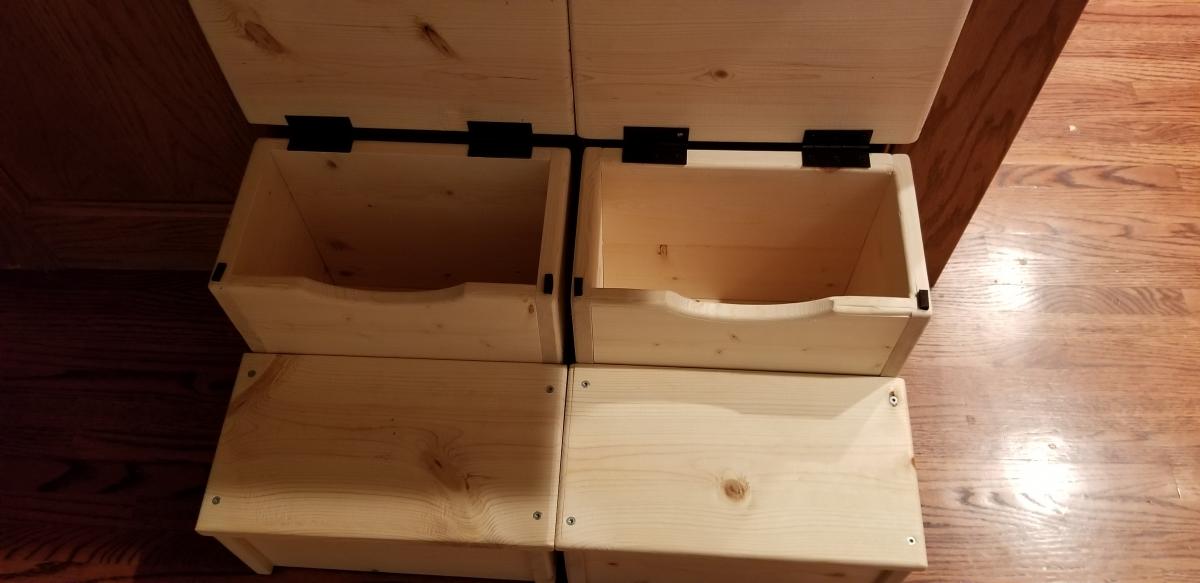
While there's still more finishing to do, I cranked these out over the weekend with a myriad of interruptions - so it's hard to say how long these would really take. I didn't have 12" boards, so glued 1 x 6" pieces together into the shape I needed. Then assembled each with 1 1/4" screws, routed the sides, sanded and cleaned them. The kids will paint them their favorite colors and then I'll put a clear coat on top to finish them up. Once painted and ready, I'll add hands to each side as well as rubber runners to the bottom for stability. These are really nice for toddlers to use while they put on or take off their shoes and put into the storage bin.
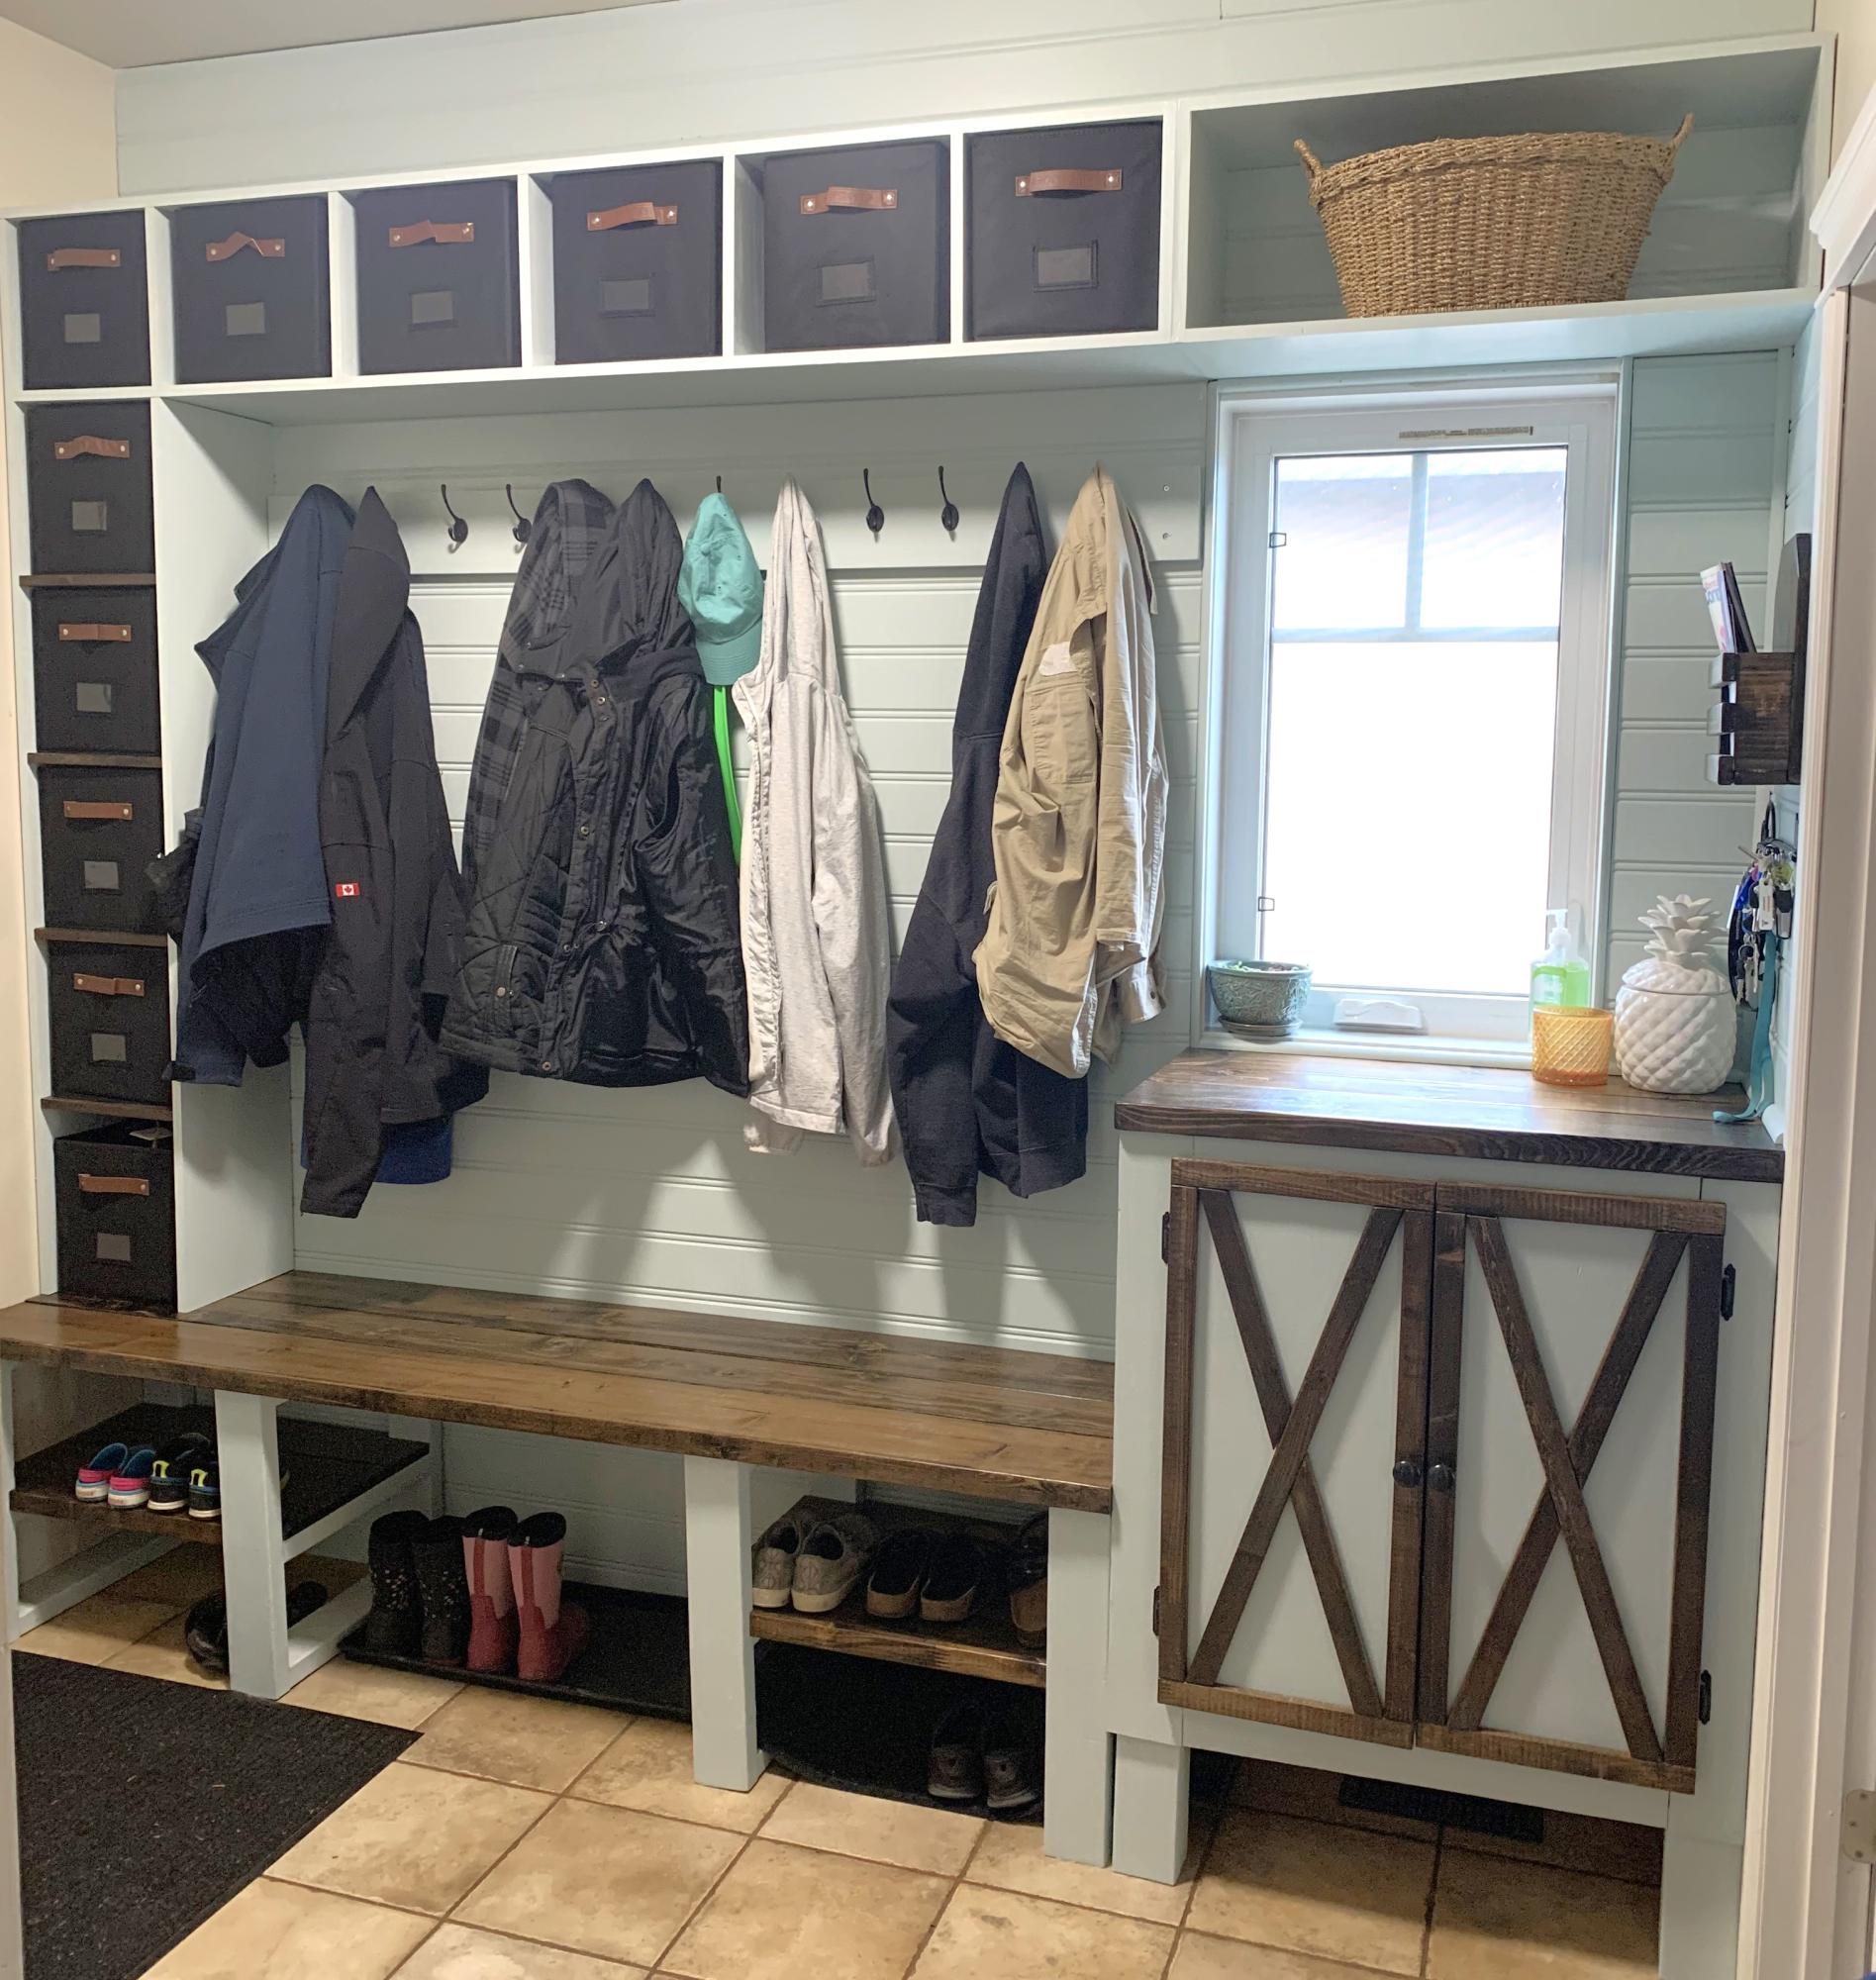
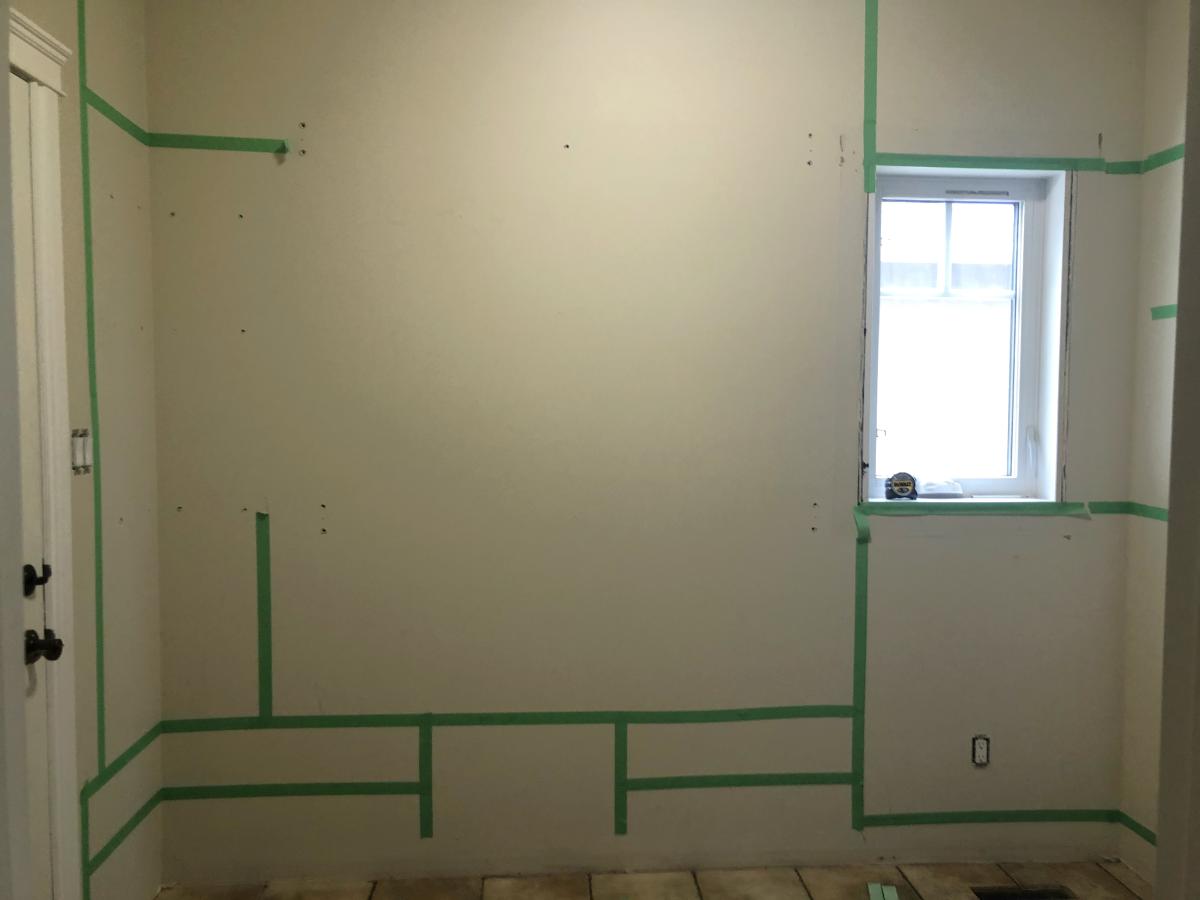
Before and after. Ana White inspired built ins for my daughter-in-law!
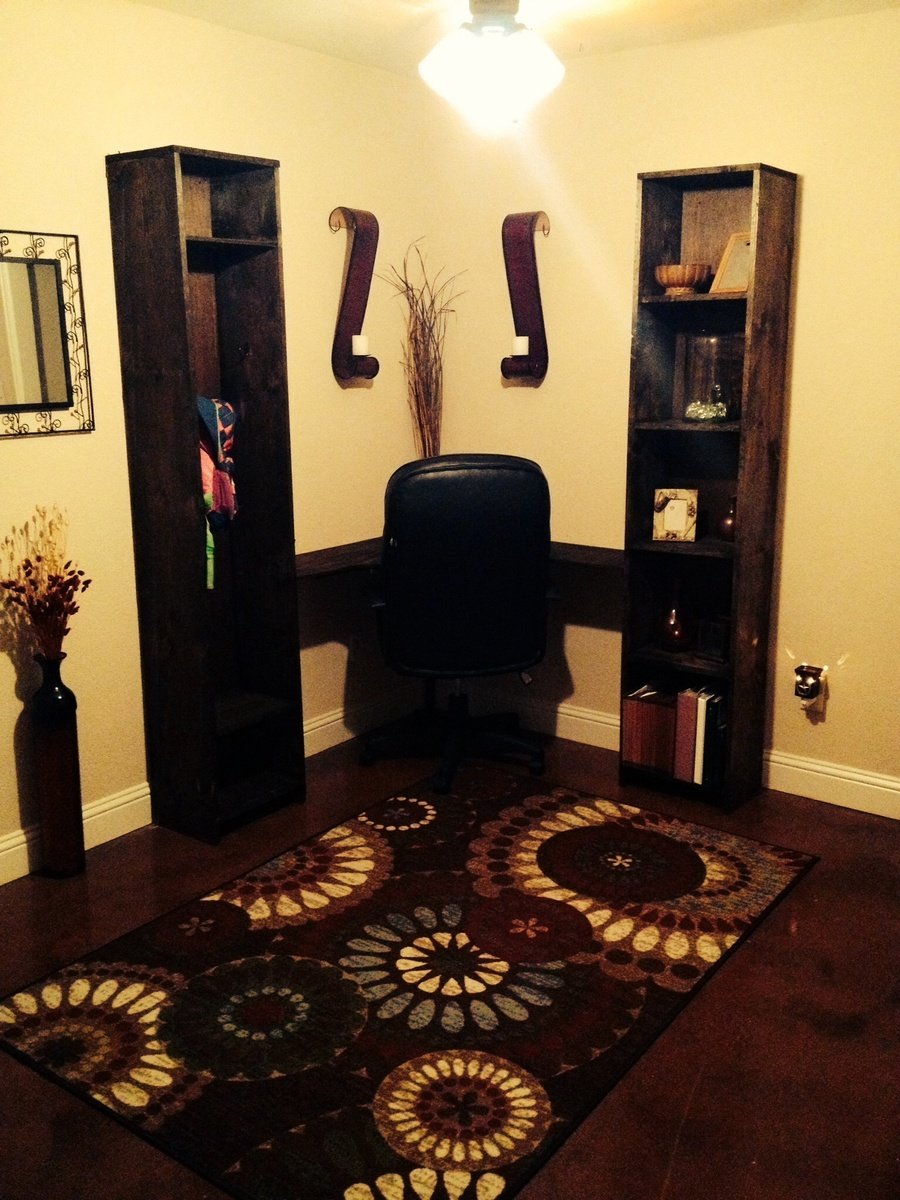
This was my first ever project! I built the skyscraper bookcase and then built a second one, only modifying it to make a locker style cabinet for backpacks!
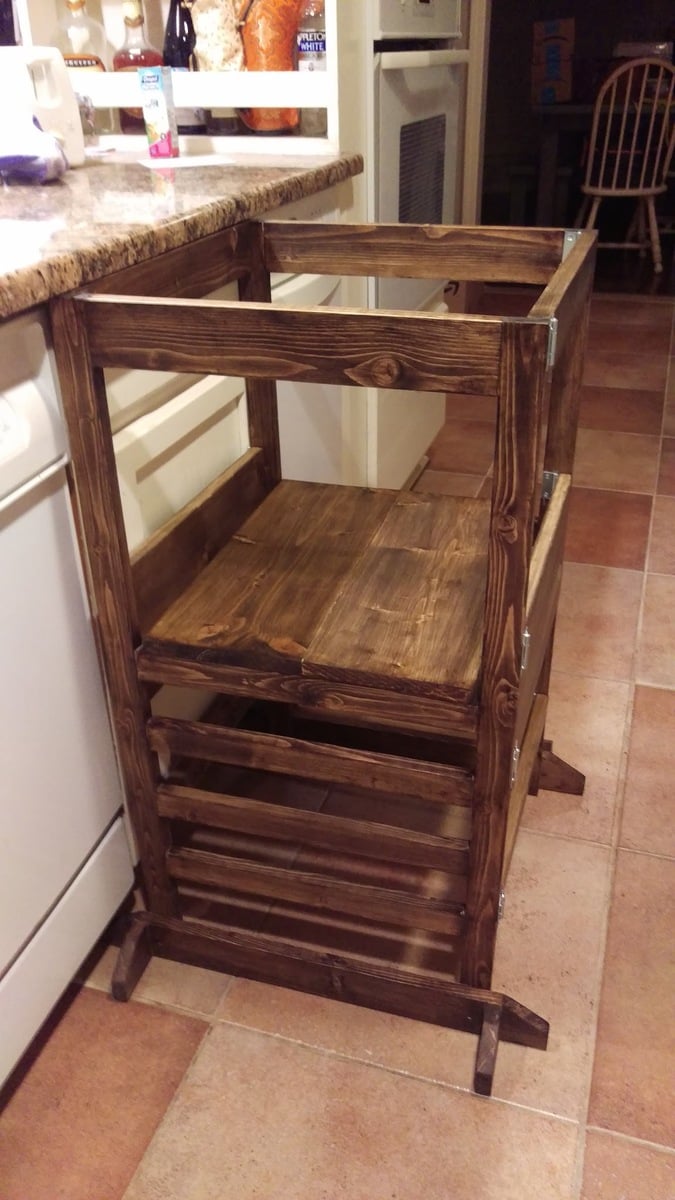
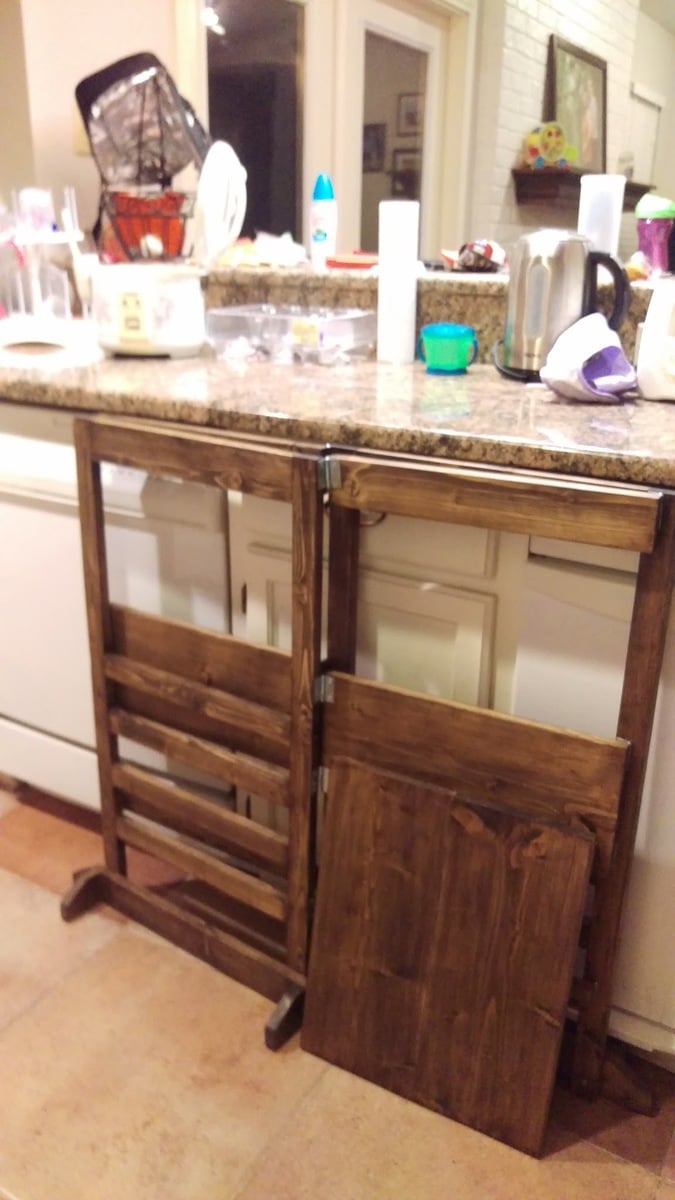
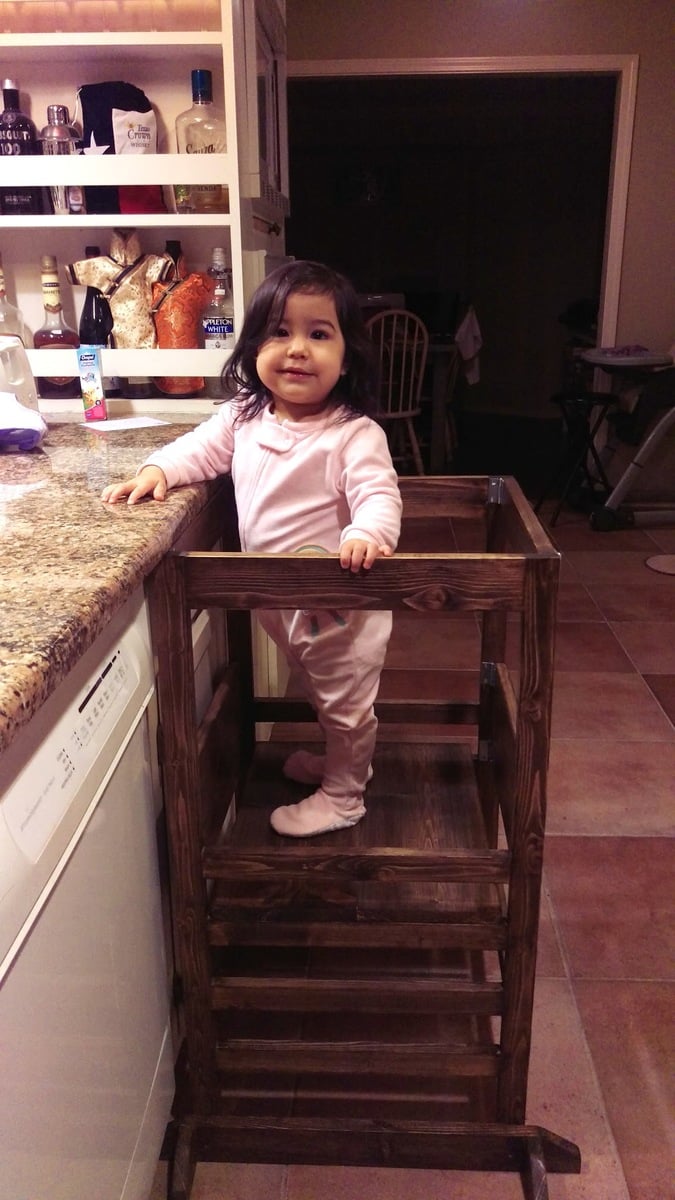
So glad I found these plans! I couldn't bring myself to spend $200 on the commercial ones. I built this for my 17-month old daughter since she always wants to be in the kitchen with me but always ends up under-foot. This gives her a safe place to be contained and up high so she can see what I'm doing. I don't have a jigsaw so no curved top or anti-tip feet for us but I wanted it straight anyway so that it would slide neatly under the counter over-hang. I did round off the ends of the anti-tip with the sander. I also shortened the height to 34 inches; all other measurements are as instructed.
I had to do my cutting in the garage during naptime since she always has to be where I am. Same with the drilling. So this project spanned several days but altogether did not take too long at all. I used 2-1/2'' screws instead of attempting pocket screws - I have a mini Kreg jig but after reading the comments and other people's pictures, I decided I didn't want to risk splitting the wood and having to make another trip to Lowe's with the toddler.
I assembled the ladder-rung sides & platform pieces then gave everything a once-over with my orbital sander before handing it over to my husband for staining (he enjoys it - it gives me a headache). After 3 coats, he did a final "sand" with fine steel wool which left a super smooth surface. I finished the assembly with the 1-1/2 narrow hinges - USE CLAMPS!
