Community Brag Posts

Workbench Console

Submitted by Jamaunzie on Tue, 03/19/2013 - 19:30

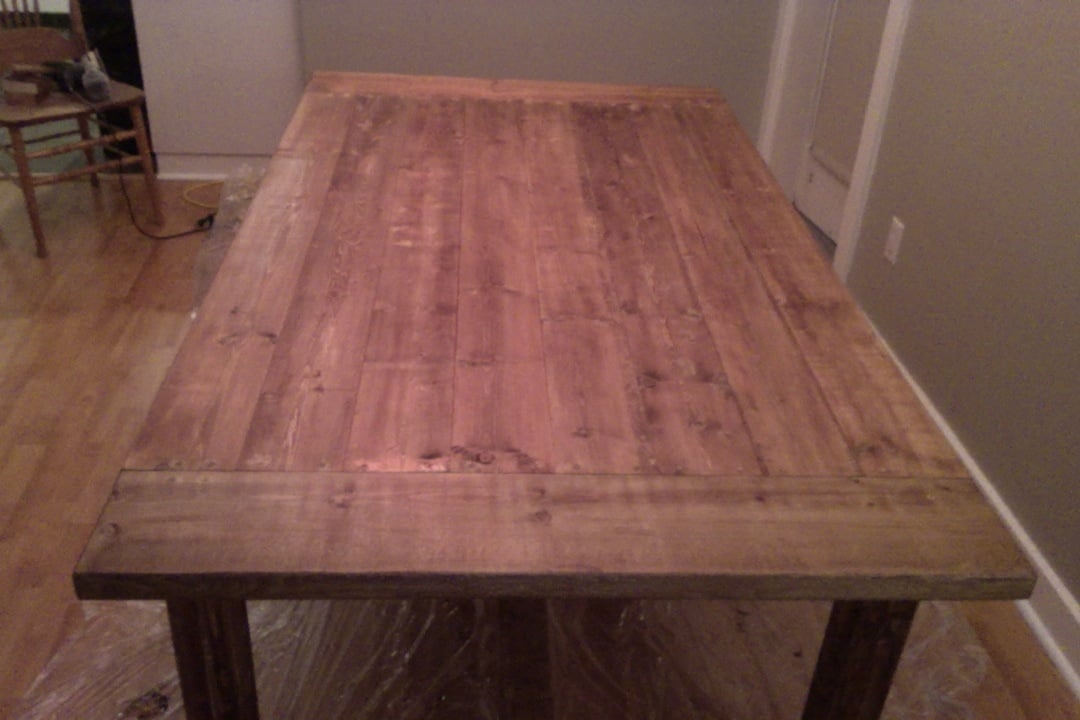
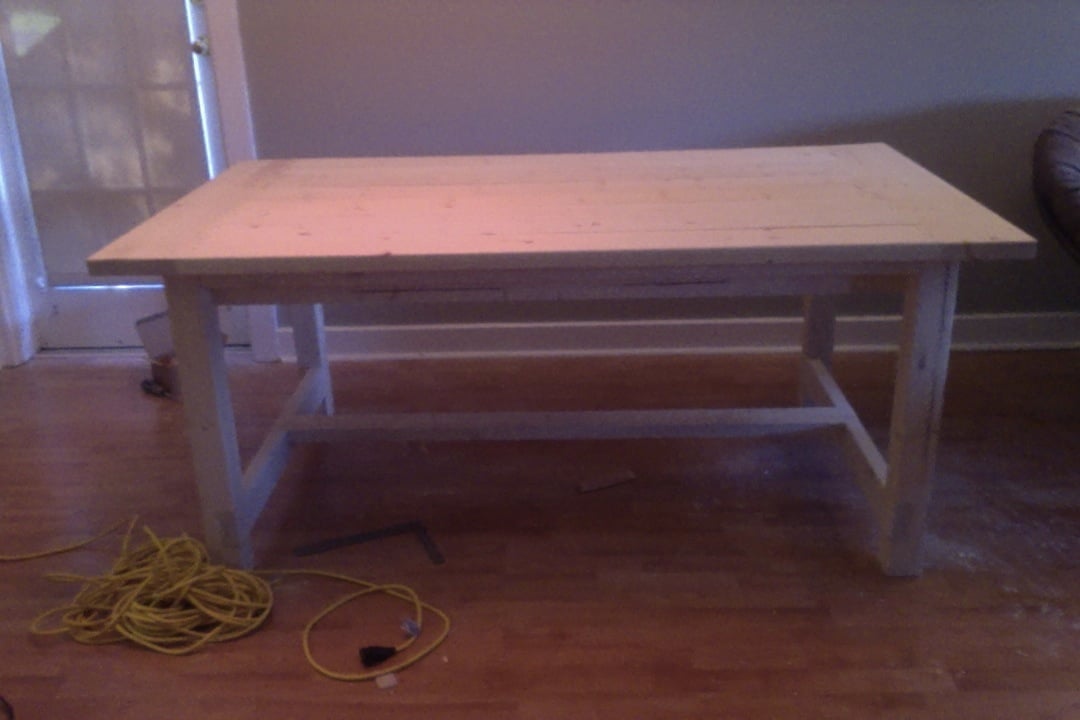
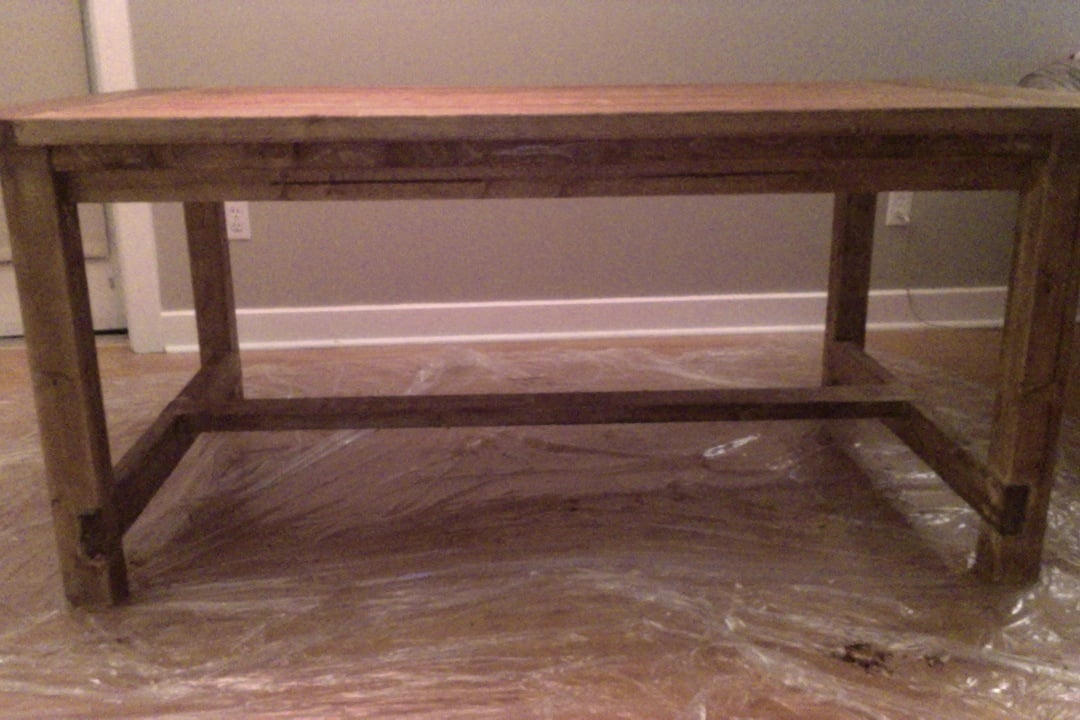
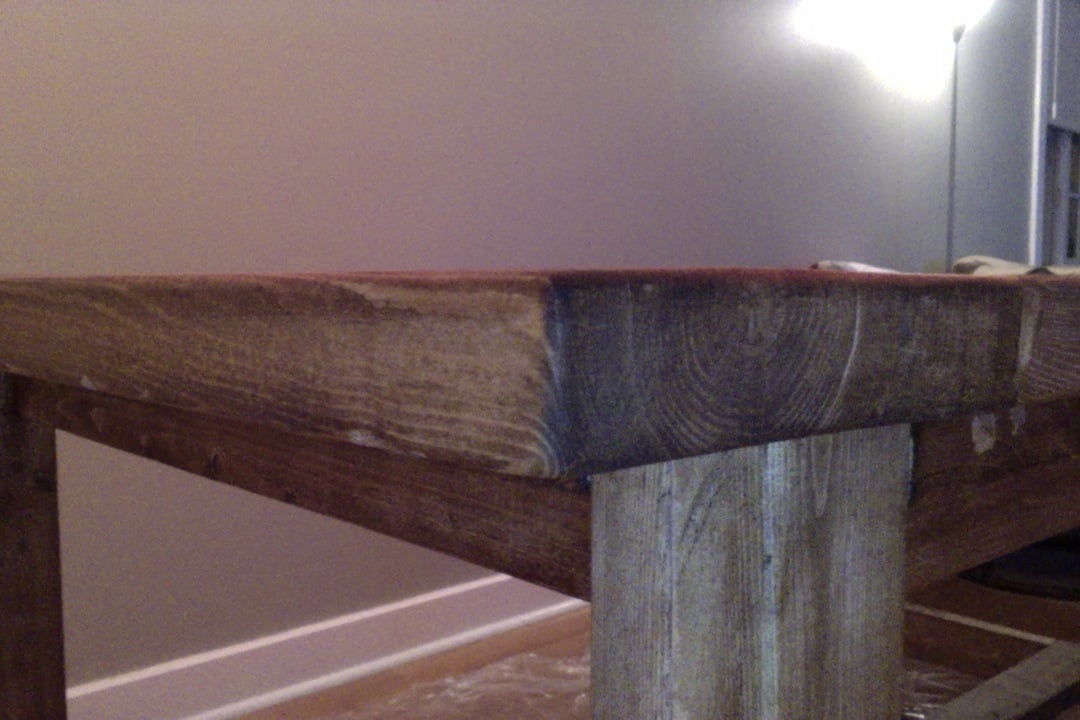
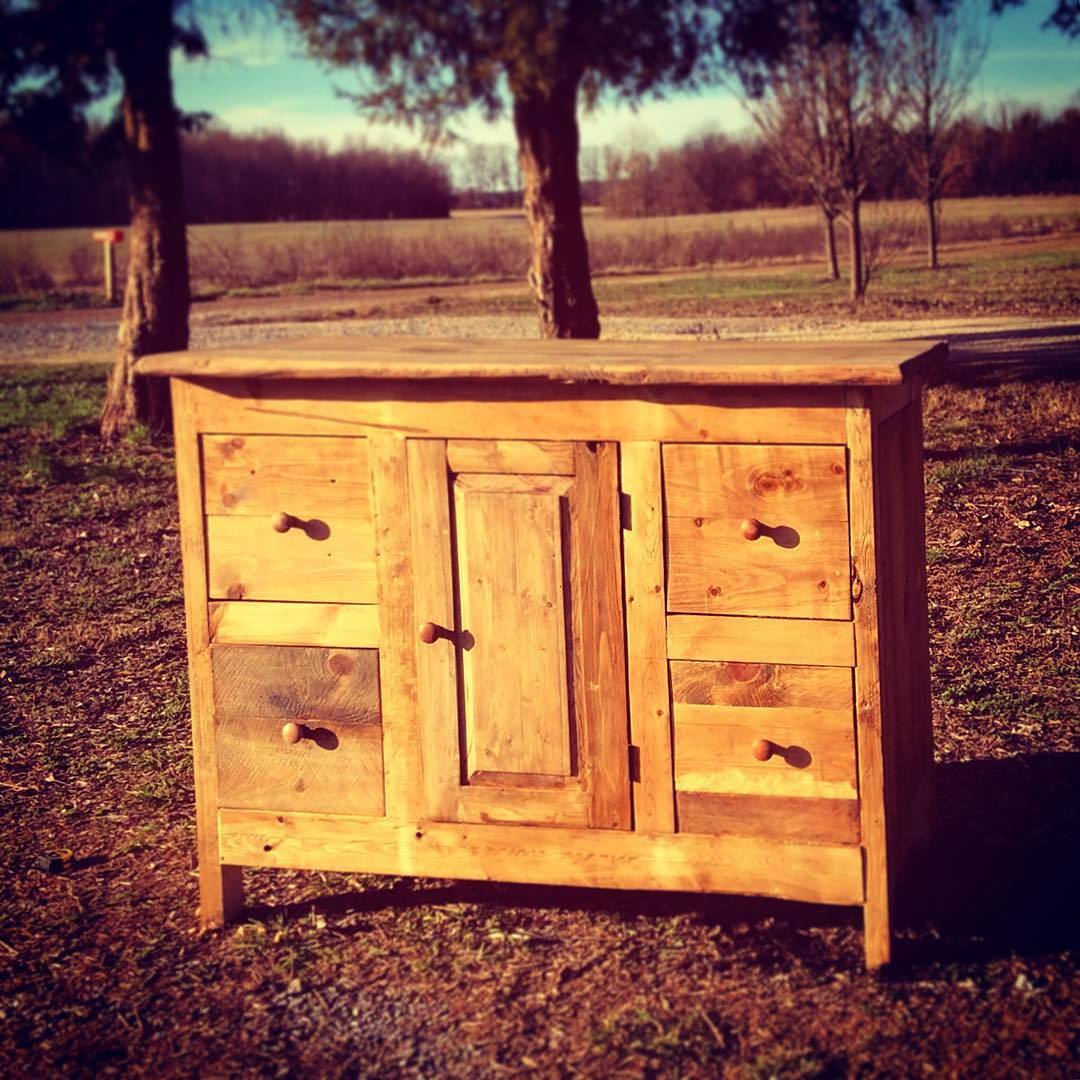
When I first saw this and showed it to my wife it became number one on my Honey Dew list. I did not like the open space between the bottom shelf and top, saw on this site where someone put a wine rack of shorts as a second shelf. So I did the same I used 1x4 instead of the 1x10 used on bottom shelf. I also used 1x4 for the top to help eliminate the gaps between the boards that the 2x4’s would cause. To help give something for the 2x4’s and the 2x6’s to attach to I screwed 2x2’s to the 1x4’s around the edge. Gives the illusion of 2x4’s and makes for a very smooth and flat surface for the top.

Built from Plan(s)
Estimated Time Investment
Weekend Project (10-20 Hours)
Finish Used
Sanded and Sanded started with number 60 grit and worked to 220 grit then used 320 grit by hand. I used one coat of Miniwax English Chestnut hand rubbed
I haven’t put on the Polyurethane yet due to Cold temps but will as soon as it warms up if that is ever going to happen
Recommended Skill Level
Intermediate

Comments

Jake

Fri, 03/29/2013 - 17:52

When I first saw your build I thought what a nice small workbench. You even put in places to store clamps!! Then I noticed the girly stuff on the top and realized that it was really inside the house. Really good work. When you can put the poly or antique oil on it the piece will really shine.
Jamaunzie

Sat, 03/30/2013 - 13:11

Thank You Jake yes my wife loves it I am finishing up on the hutch for the top now and soon I will get the poly on this and then if I can keep the wife from looking on here I might be able to build a work bench for the shop LOL

Successful First Project

Submitted by 505dannyp on Fri, 01/30/2015 - 19:27

My first real furniture DIY project.  My wife has been asking for a farmhouse table for a couple of years and I found Ana's site 3 weeks ago.  By reading the plans the project seemed simple enough to give it a try.  I modified the plans to shorten the table to 72" to fit in our dining room.  I bought lumber from Lowe's and lumber costs for the table was approx $65 and the bench was right around $20.  My wife loves it and I have had multiple requests to make more tables for other family members.  The project took a week to complete working a few hours each evening after work.  Stained with Rust-Oleum Ultimate in Kona and 4 coats of a Rust-Oleum Polyurethane in Satin finish. A big thanks to Ana for the free plans and for my new hobby of furniture making!    *EDIT*  The table and bench are not as dark as the pictures show. 

Estimated Cost
$100 - $120
Estimated Time Investment
Weekend Project (10-20 Hours)
Recommended Skill Level
Beginner

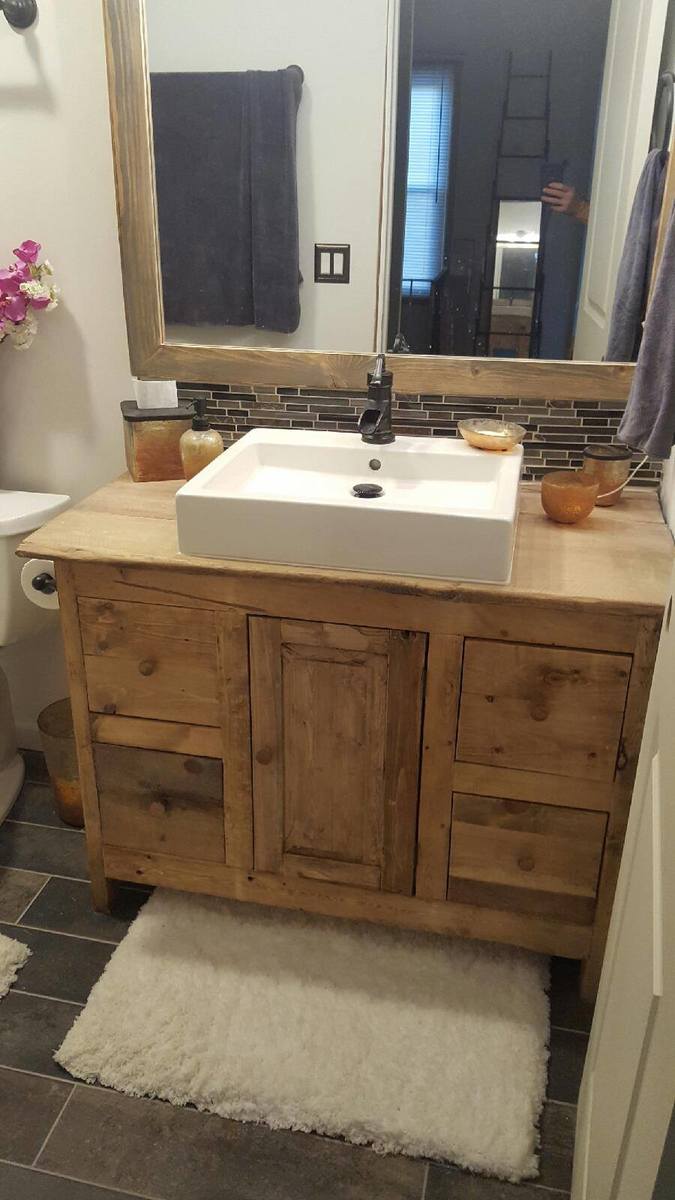
rustic vanity and mirror

Submitted by abbpim on Sat, 04/29/2017 - 11:21

I made this rustic vanity and mirror out of pine and stained it with a variety of different stains.

Recommended Skill Level
Intermediate

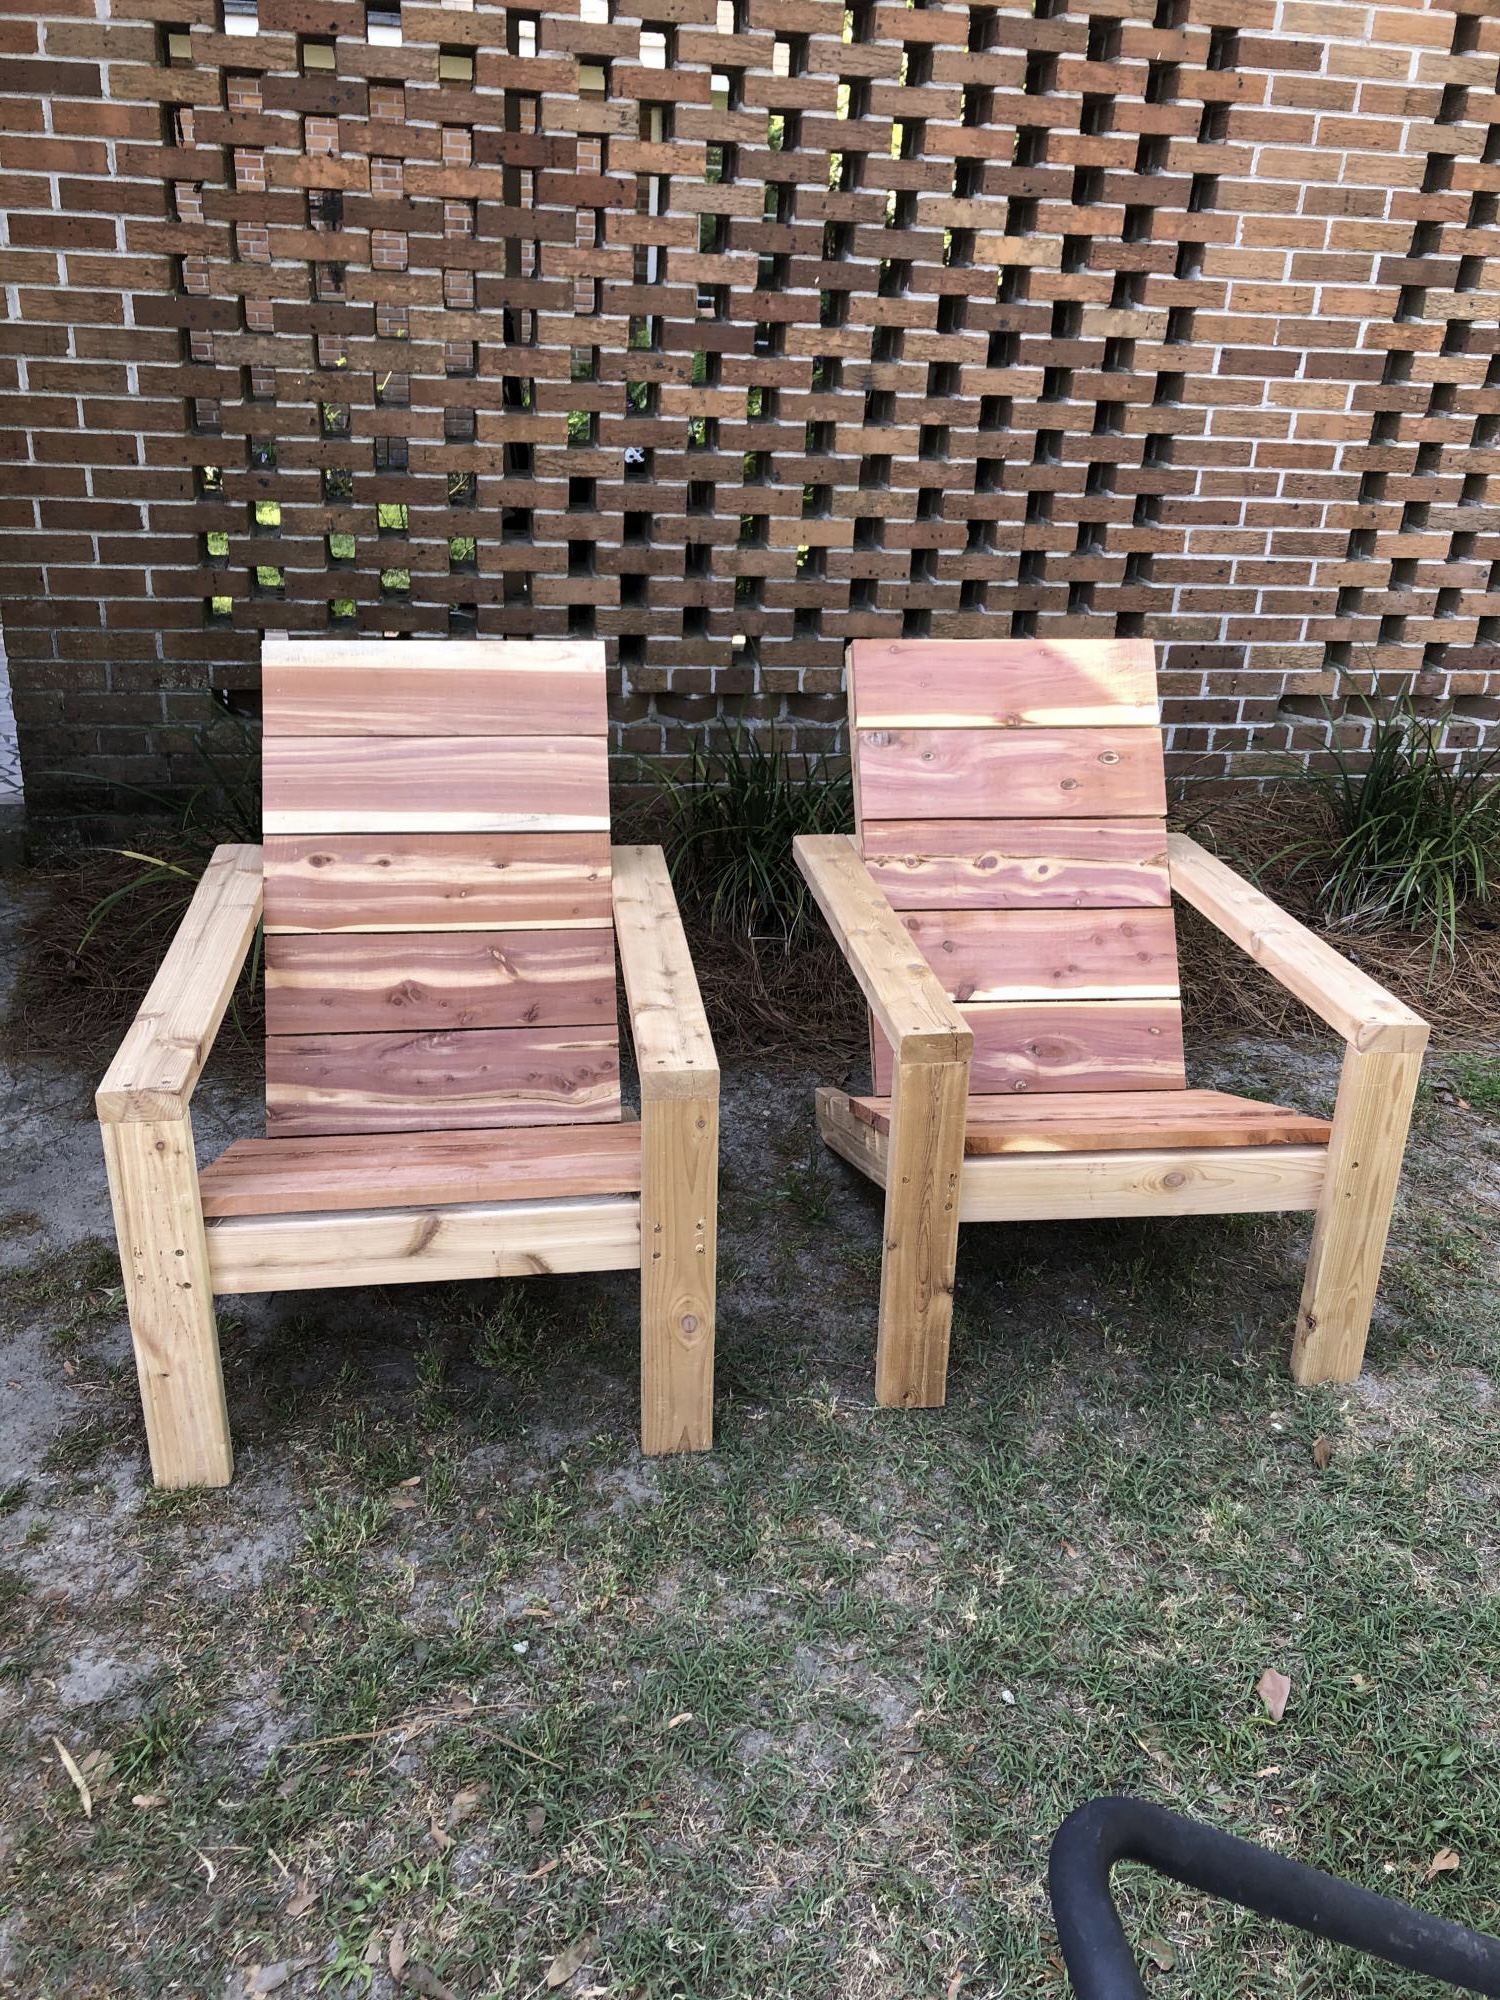
modern Adirondack chairs

Submitted by SmokeyT on Wed, 04/14/2021 - 04:09

After a cabin remodel I had some left over 1X6 red cedar that I wanted to use and these chairs looked like a great project. After buying some white cedar 2X4's , here's my first 2. Thanks for the plans.

Estimated Cost
about $50 a chair
Estimated Time Investment
An Hour or Two (0-2 Hours)

Comments

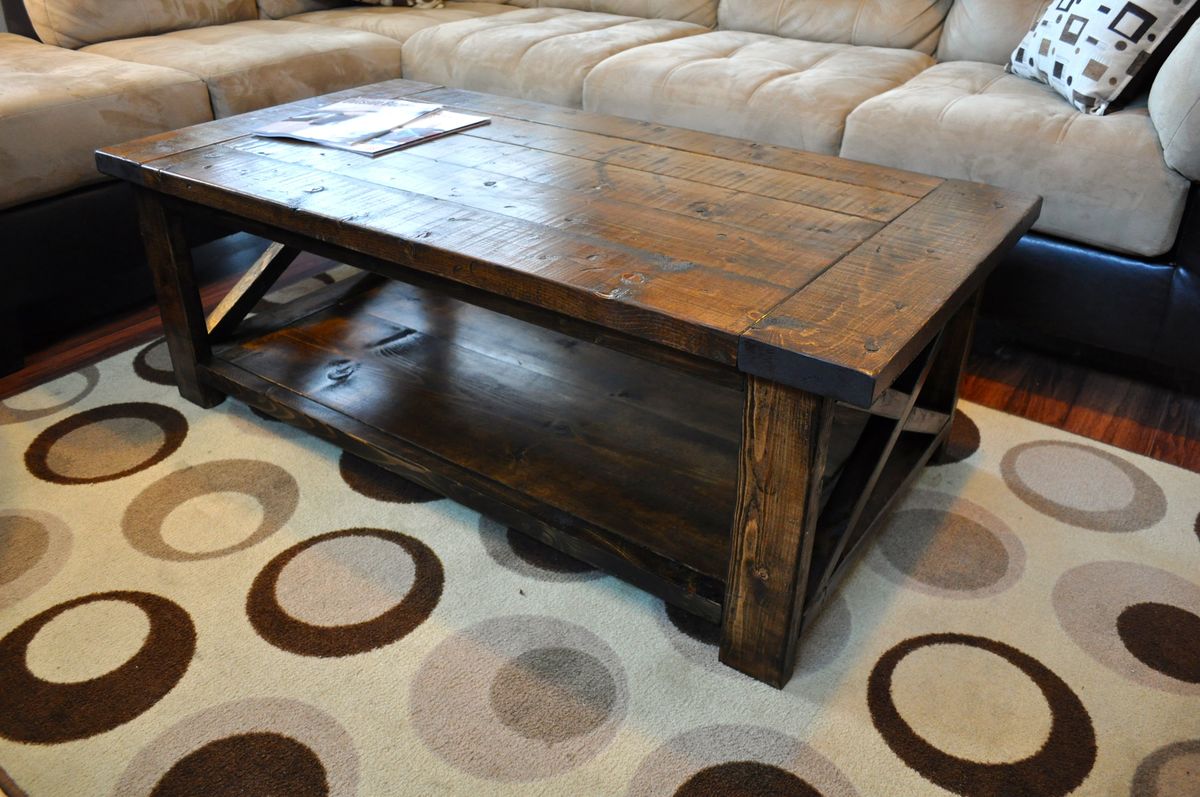
Farmhouse Style Rustic X Coffee Table

Submitted by petesveen on Fri, 03/22/2013 - 07:43

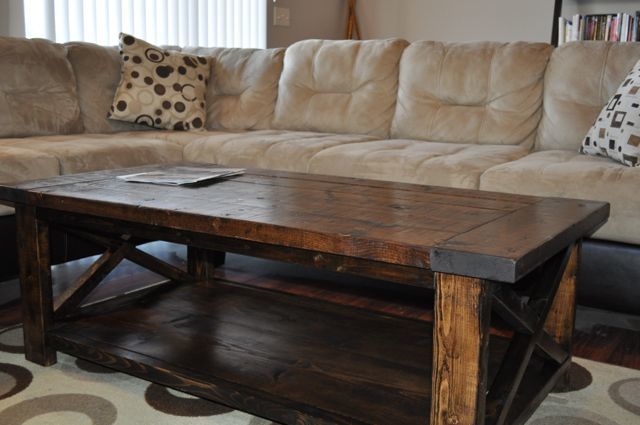
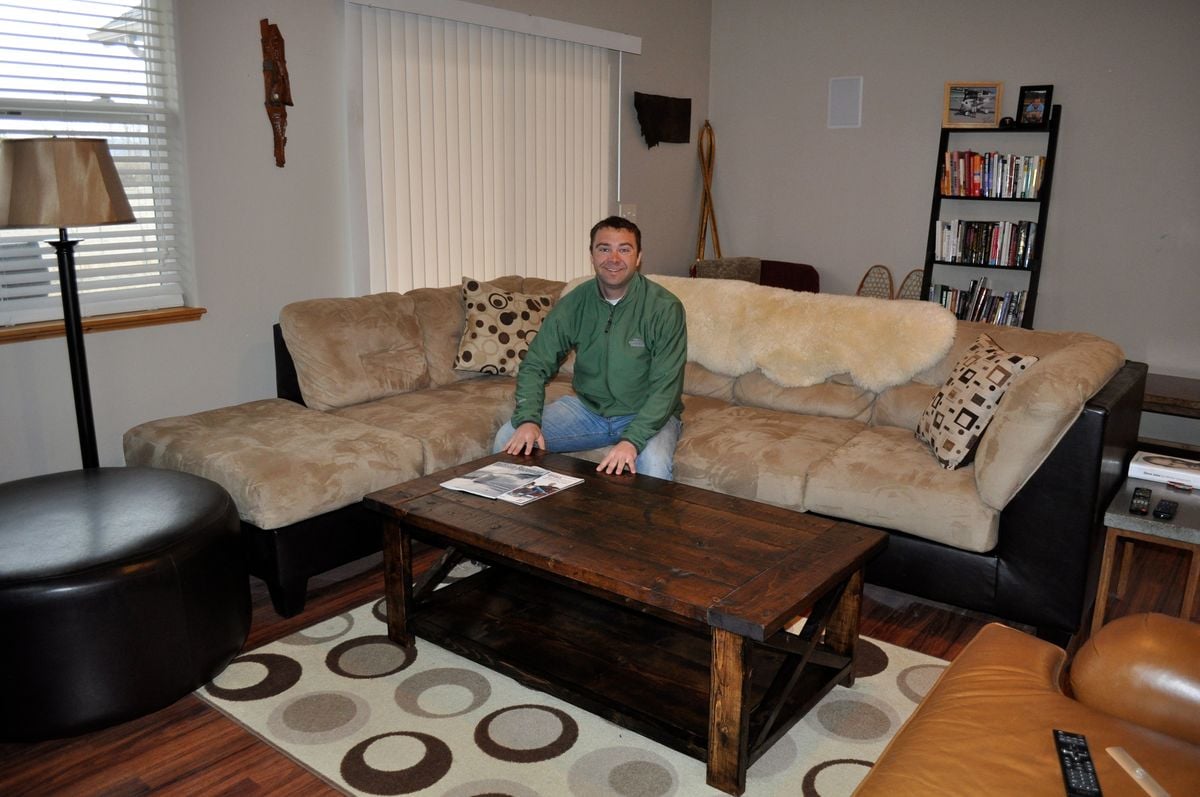
Ana's design caught my eye and I had to build one that was similar. I decided to modify the top because I really like the look of breadboard style tops. So the main difference is that I cut the top boards 41" long and added two 2x6 pieces for breadboards (about 27-27.5" long). So the total width still comes to 52". Turned out pretty cool!

Built from Plan(s)
Estimated Cost
$45 for wood - Stain/poly extra
Estimated Time Investment
Weekend Project (10-20 Hours)
Finish Used
I distressed it with nails, a hammer, some scratch marks, and a saw blade. I then used a vinegar/steel wool mixture to bring out the distressed areas a bit more. Then followed with 1 coat of dark walnut stain (applied with towel) and 3 coats of semi-gloss poly. I applied the first two coats with a brush and then lightly sanded between the second and last coat. The final coat was applied very thin using a towel.
Recommended Skill Level
Beginner

Comments

Courtlh

Sat, 03/30/2013 - 23:10

I have been looking through the brags to find one that had a color to go with our new couch...turns out you have the exact same couch as me!! It looks awesome! Now I have an awesome example to follow :)

Wood and Upholstered Bed - King

Submitted by carriesty on Tue, 02/03/2015 - 14:20

My dream bed is finally done. Blood, sweat and tears.....not really, but after making a few mistakes along the way, I can finally say it's done. I am happy to report that it only cost $300 -- a whooping $ 1895 savings from Restoration Hardware's Maison Bed Collection.  I am in love with my new chic bed. I will be posting my tutorial for the Chestwick Bed - King size - very soon. In the meantime, thanks for looking.

Estimated Cost
$300
Estimated Time Investment
Week Long Project (20 Hours or More)
Finish Used
Paint and wax combination
Recommended Skill Level
Intermediate

Comments

suschen

Wed, 02/04/2015 - 08:19

This looks amazing! I love it more than the RH Maison Bed. Great job. Tutorial please?

DIY Lego Table

Submitted by hstreat on Mon, 05/01/2017 - 19:39

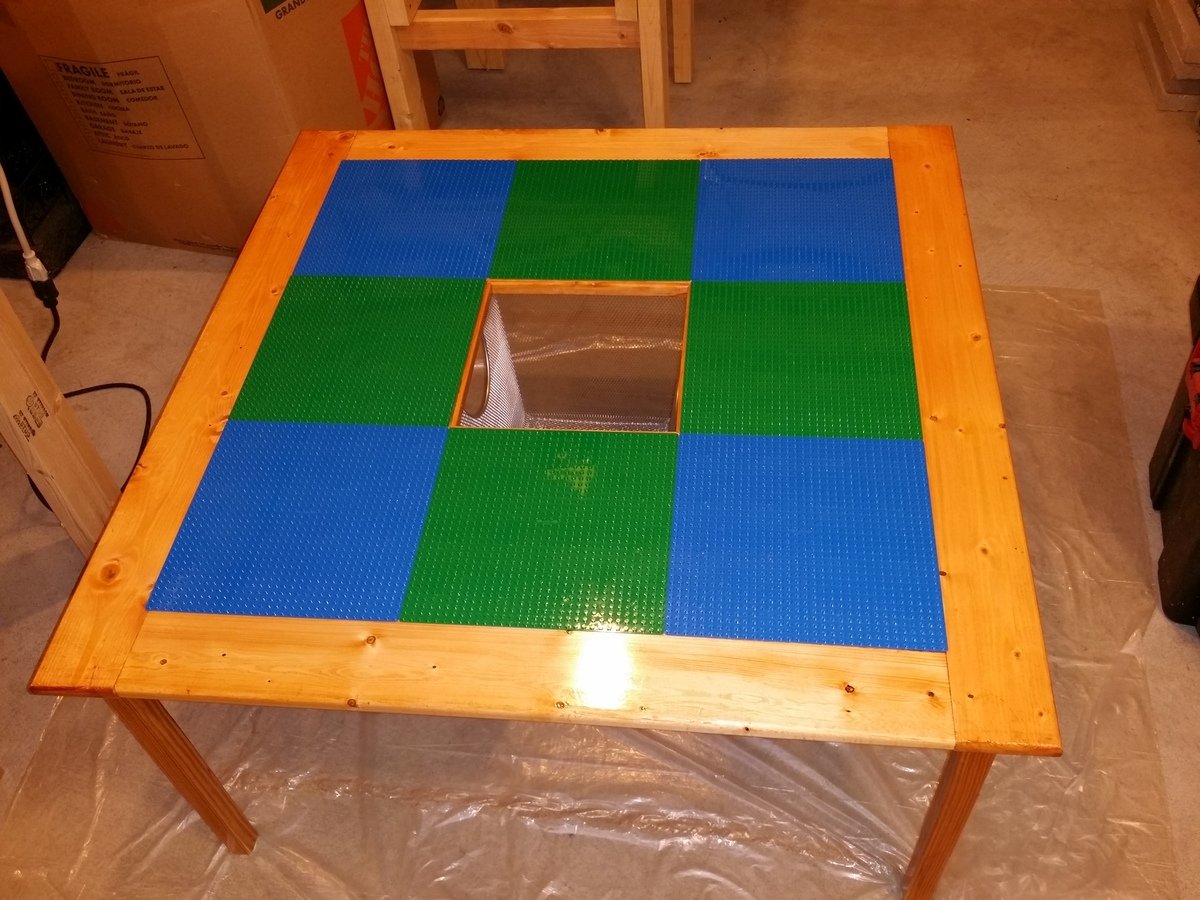
This is a Lego Table that I built my Grandson for his birthday.  I found the plans for it on Rogueengineer.com

https://rogueengineer.com/free-diy-lego-table-plans/


I switched things up a bit by routing all of the edges to soften them, and I added the little mover men casters under each of the legs.


It's one of the better projects that I done recently, and nothing beat the look on his face when he saw it...

Estimated Cost
Approximately $60.00, mostly cost of wood.
Estimated Time Investment
Weekend Project (10-20 Hours)
Finish Used
Minwax Golden Pecan & Winwax Clear Glossy Polyurethane
Recommended Skill Level
Intermediate

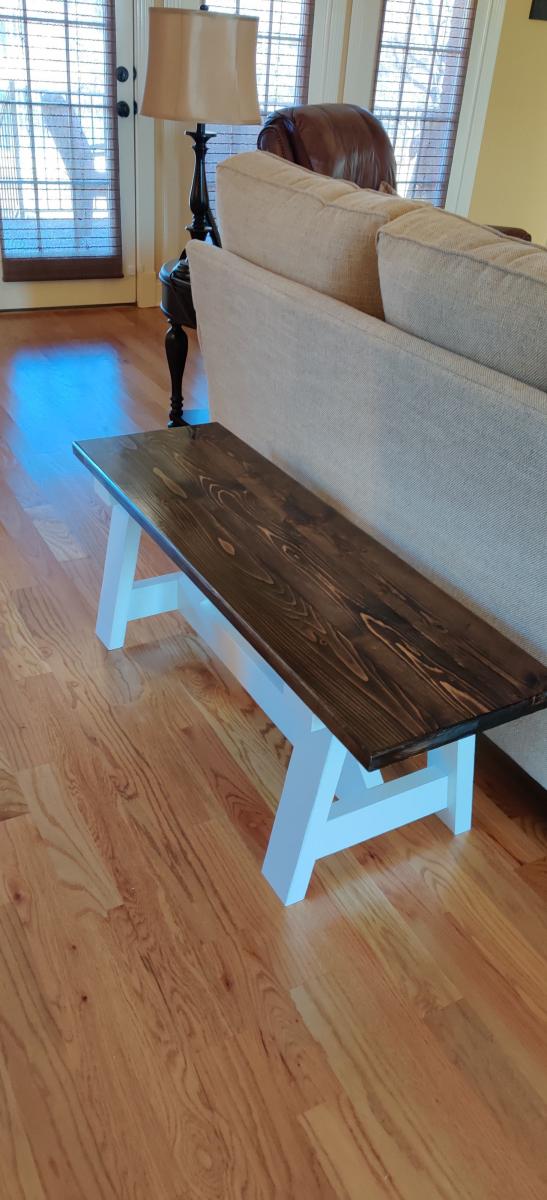
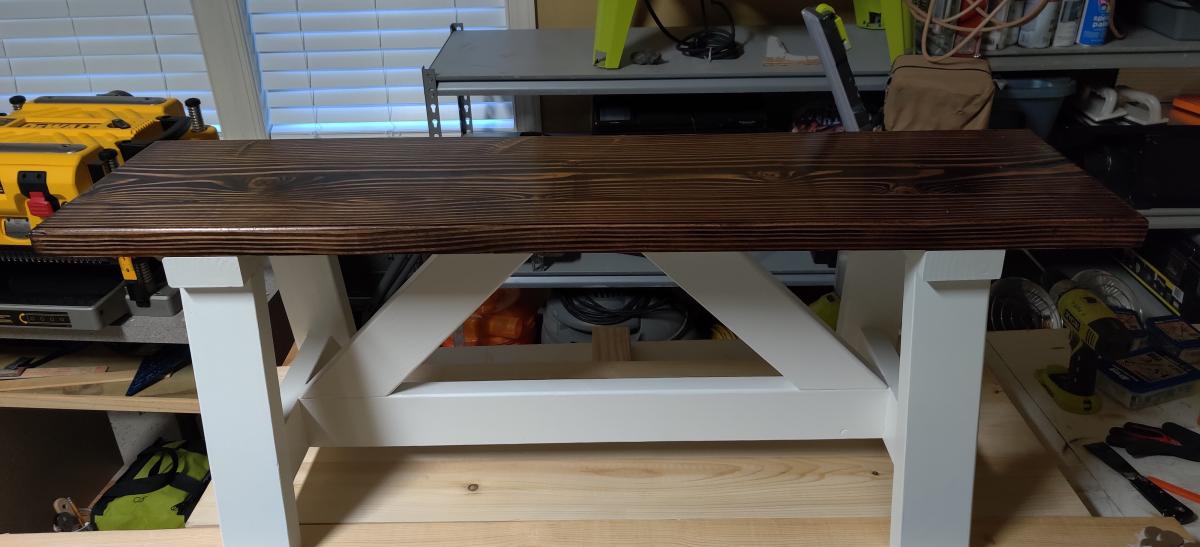
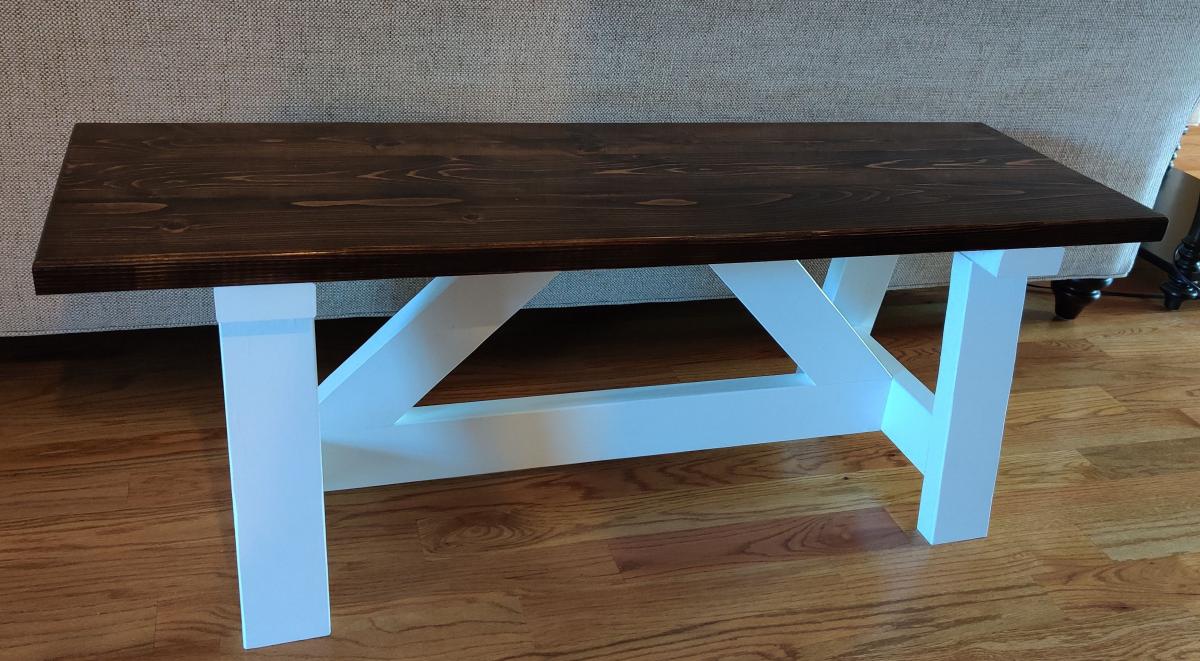
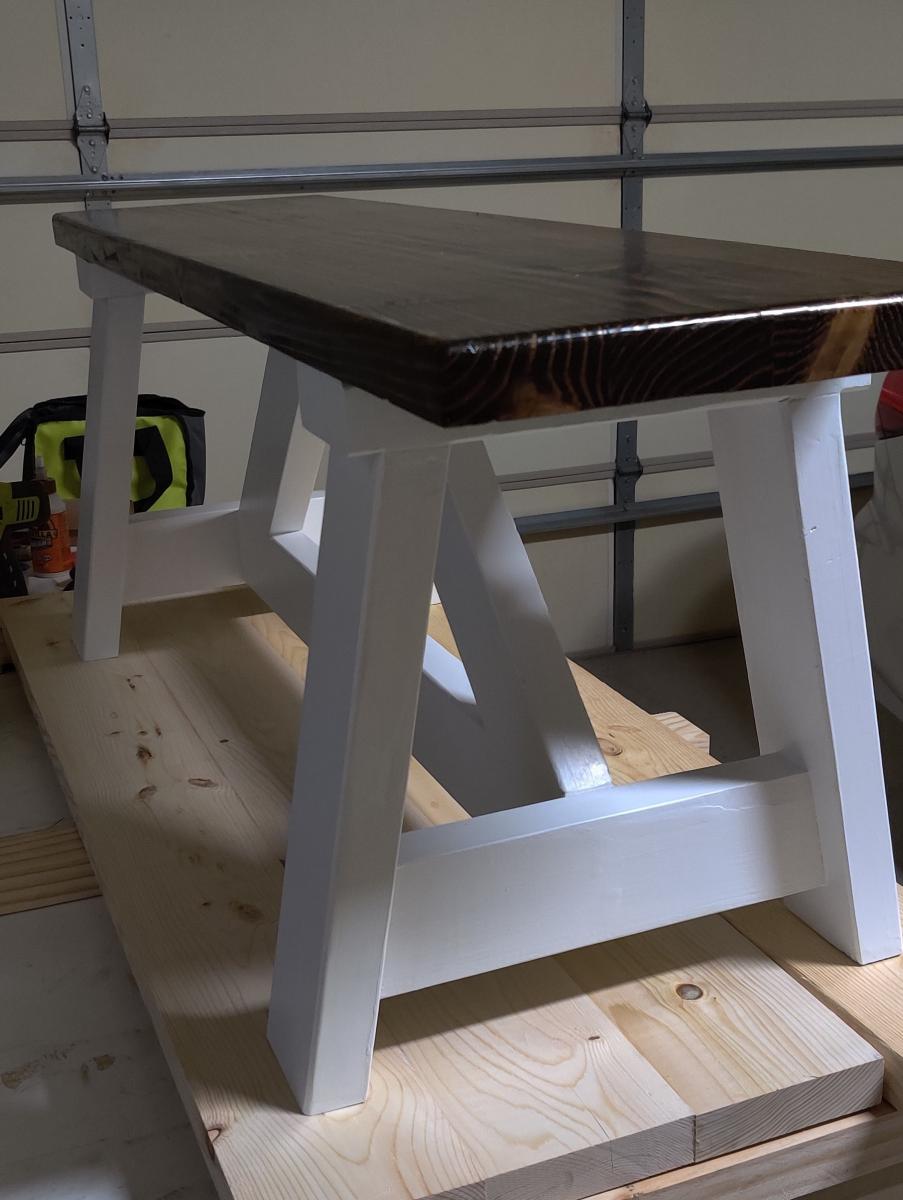
Truss Style Farm Bench

Submitted by Bigherd on Wed, 04/21/2021 - 04:50

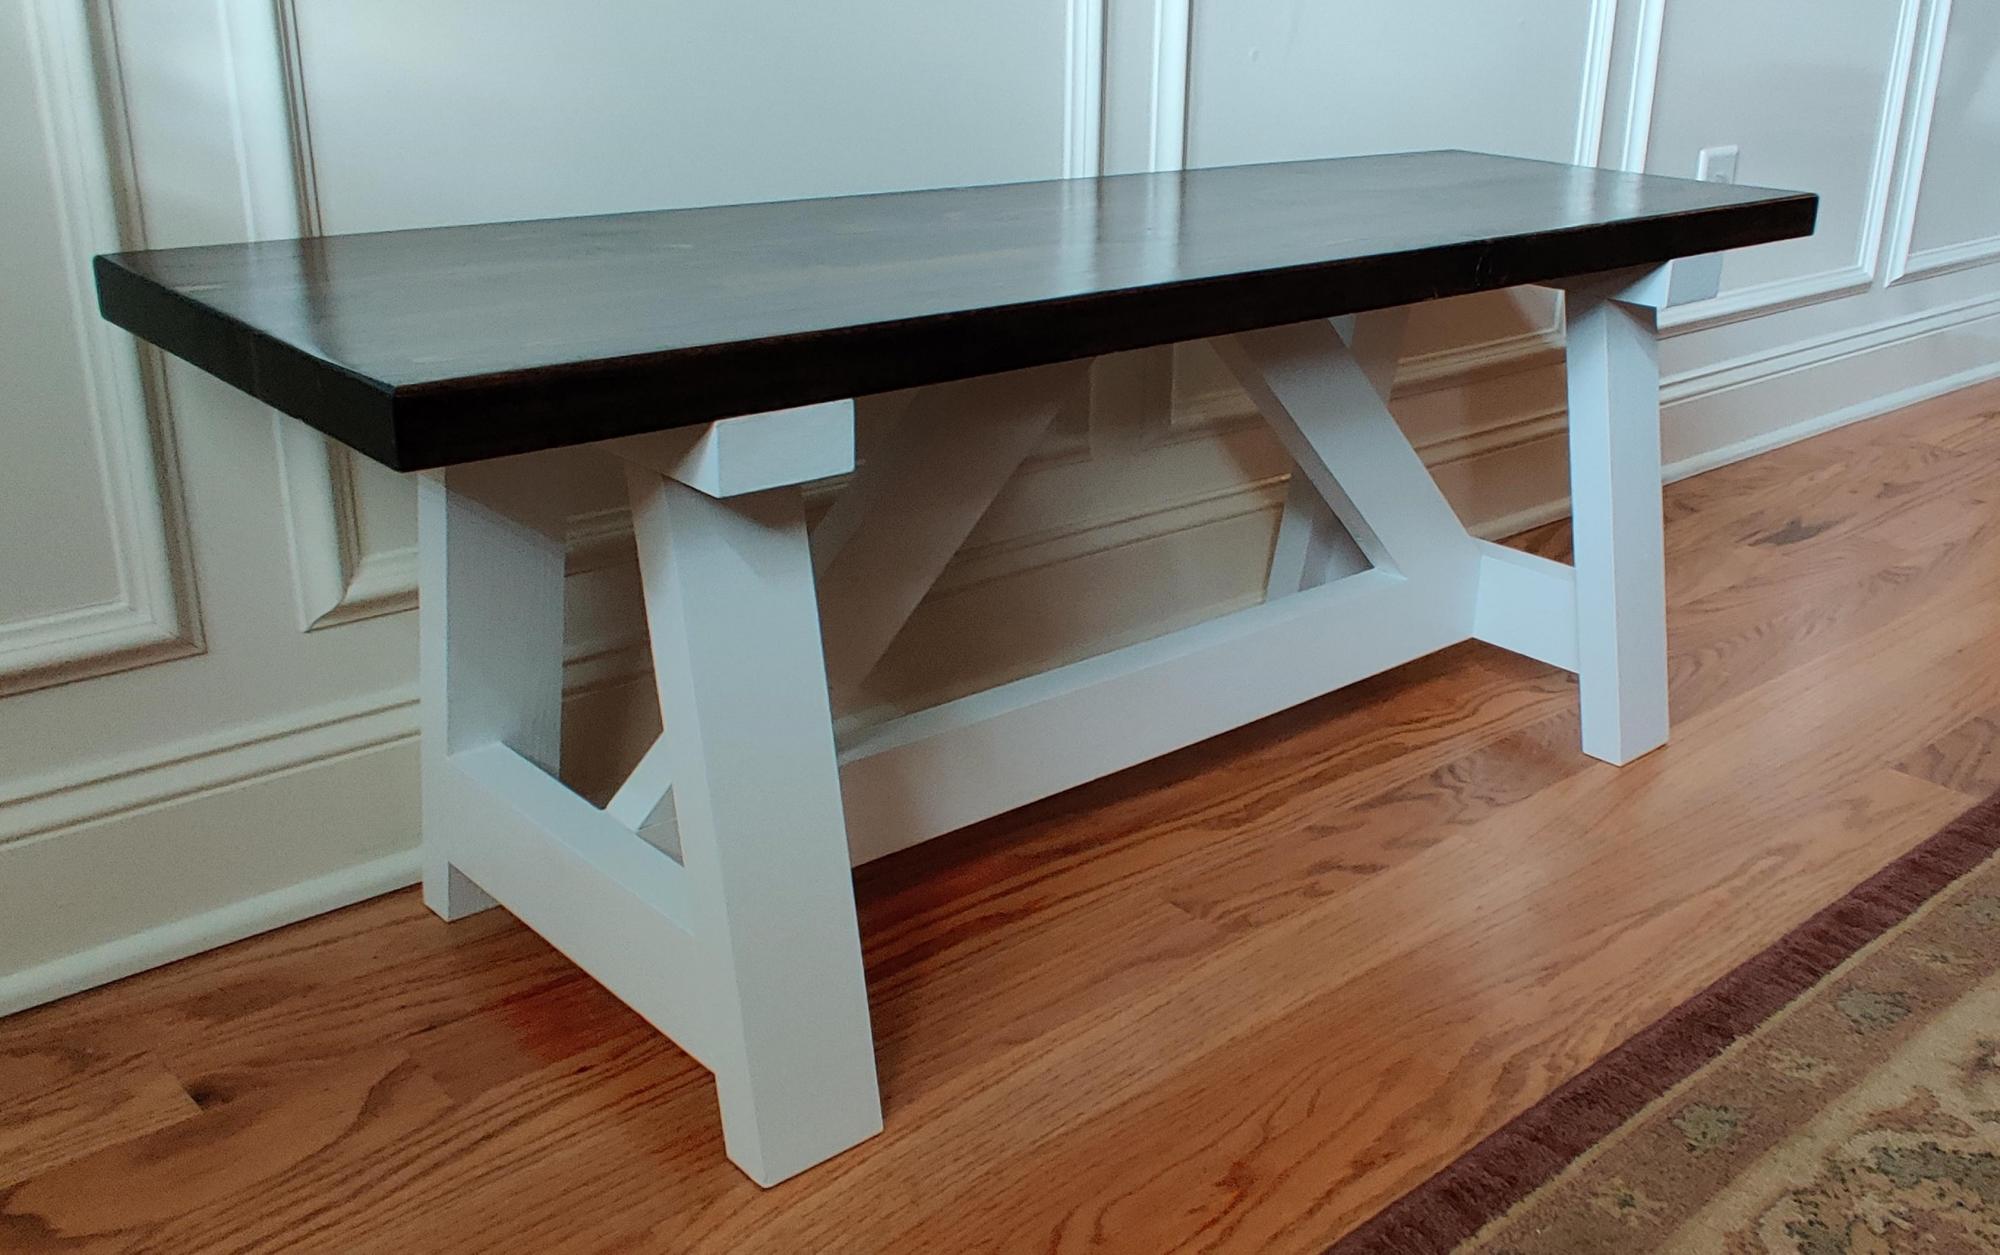
I call my bench, Modern Farm style bench. I joint the edges and plain the faces of each 2x4. this creates a bench seat that looks likes a solid piece. I use pocket hole screws and glue to make the bench seat. Typical stain the bench seat and paint the bench frame.

Built from Plan(s)
Estimated Cost
$40
Estimated Time Investment
Weekend Project (10-20 Hours)
Finish Used
paint, stain, polycrylic
Recommended Skill Level
Beginner

Farmhouse table with epoxy finish

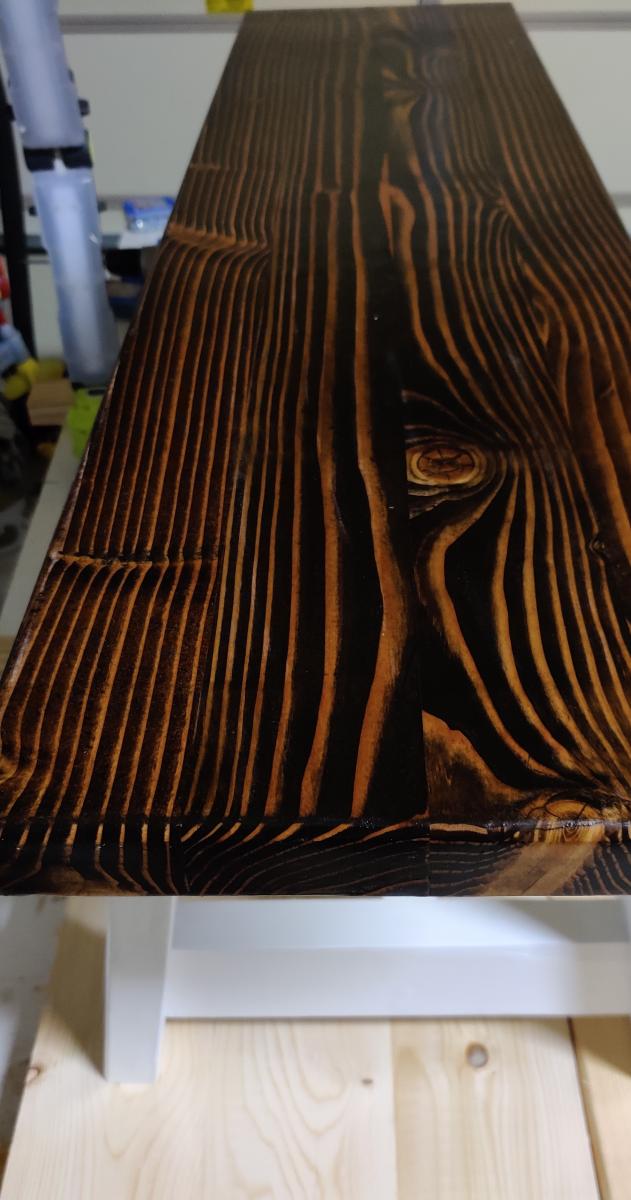
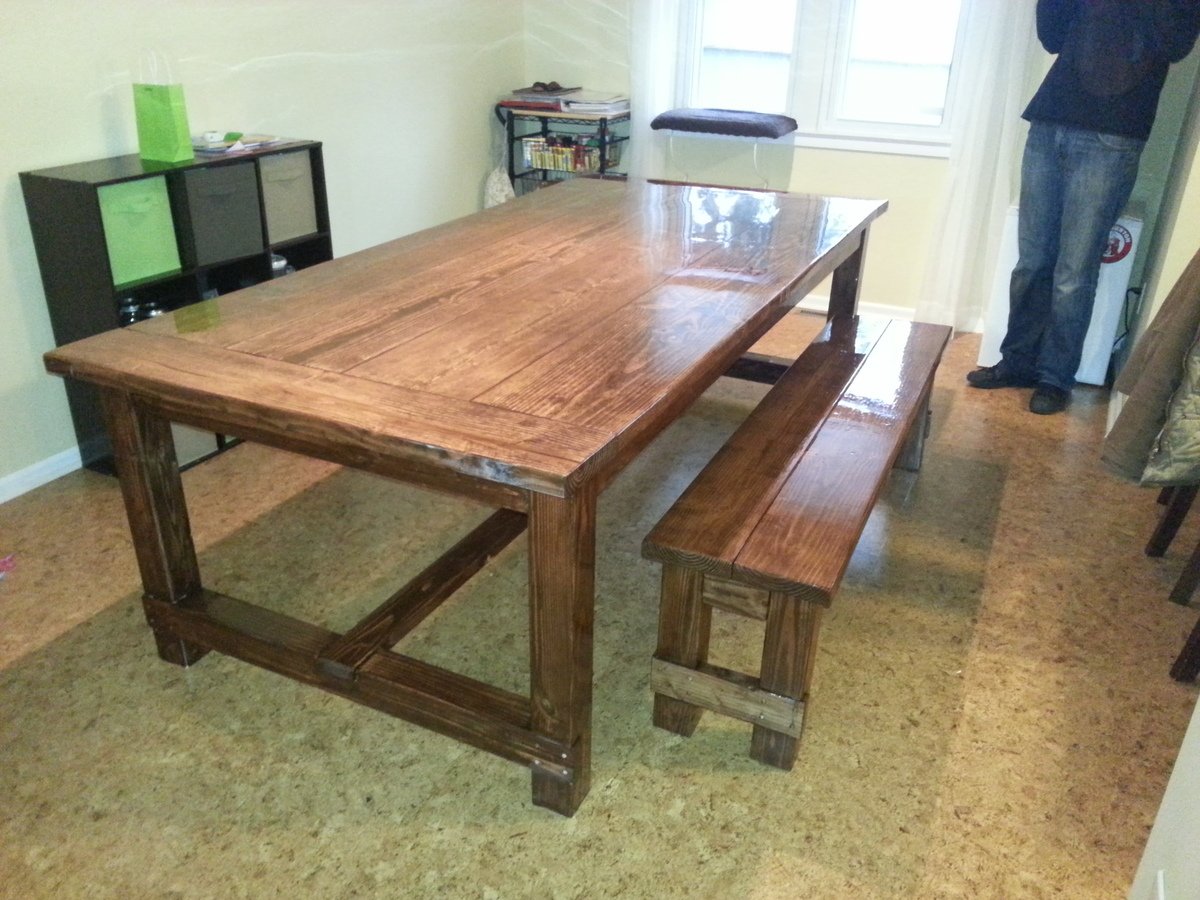
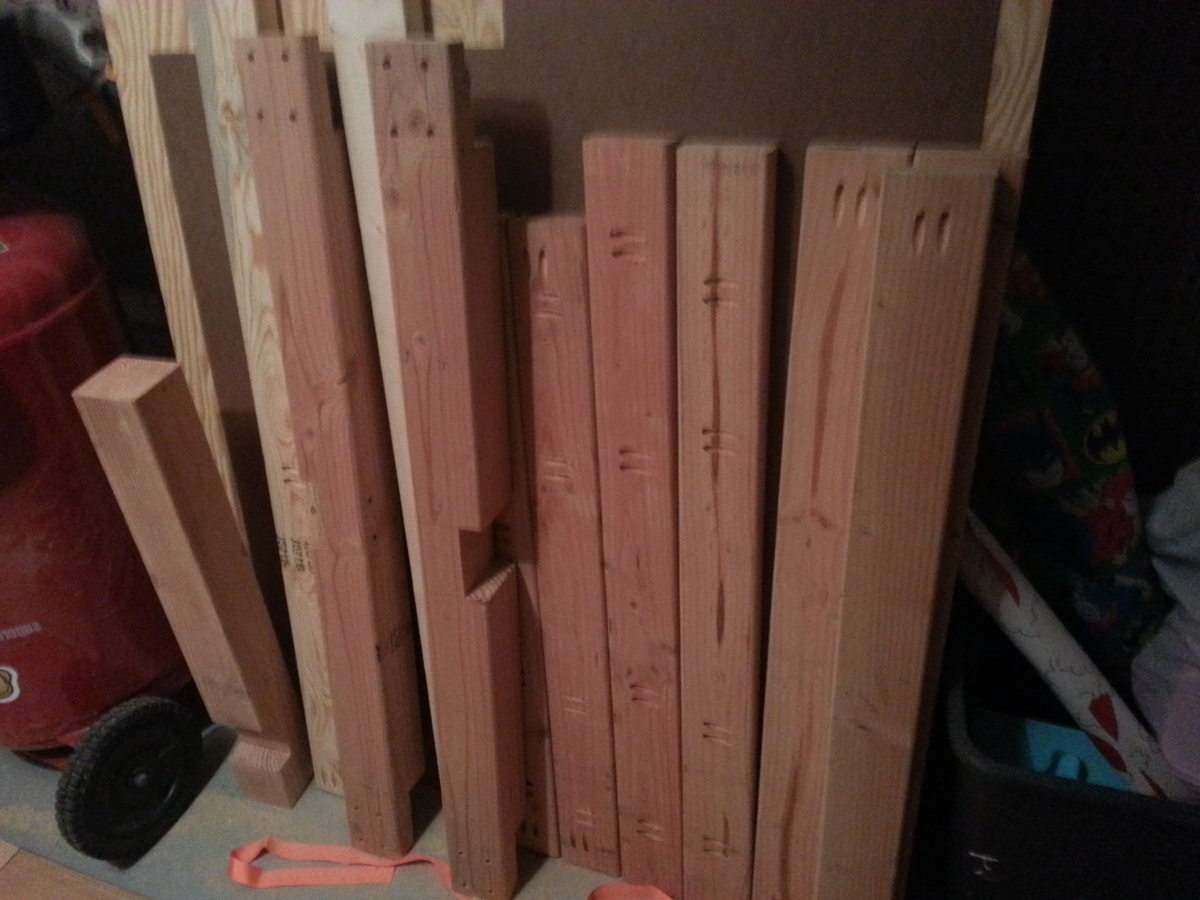
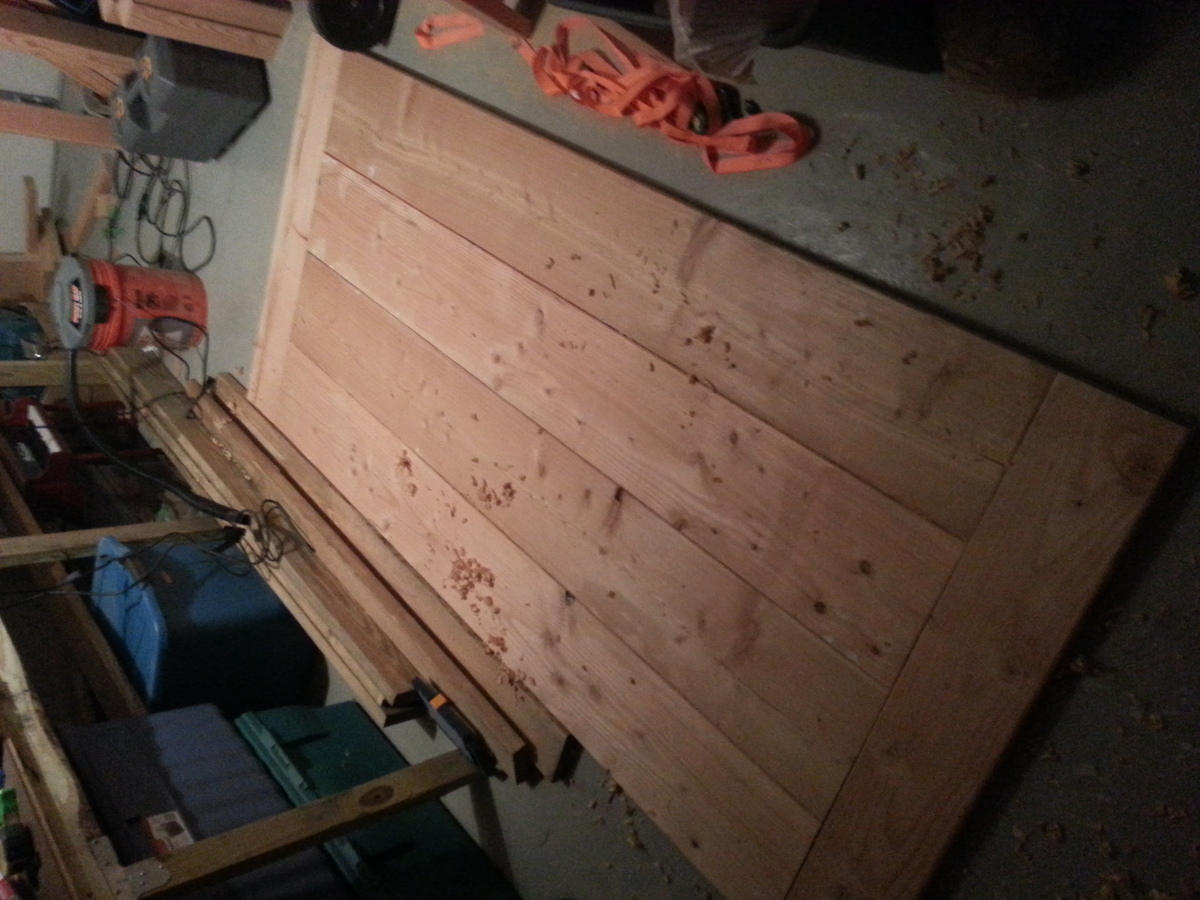
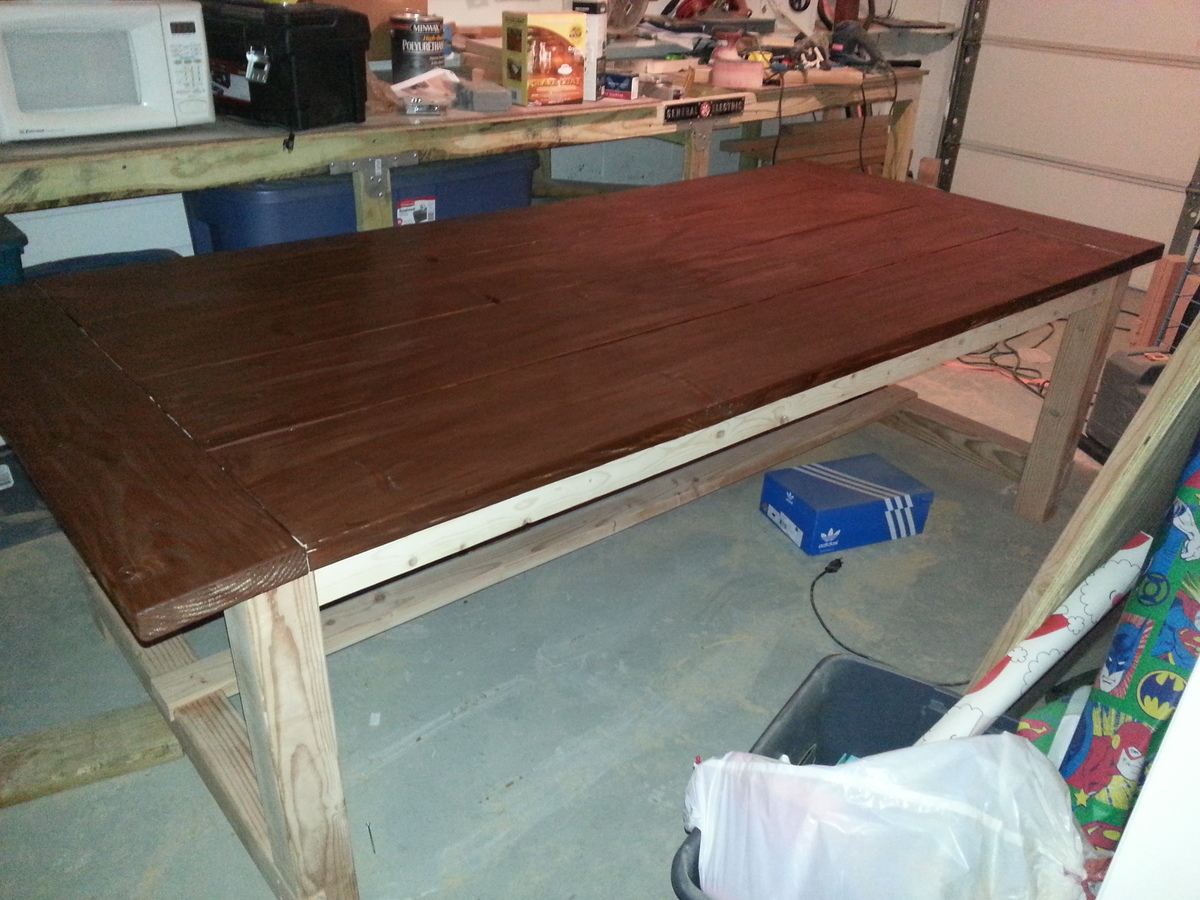
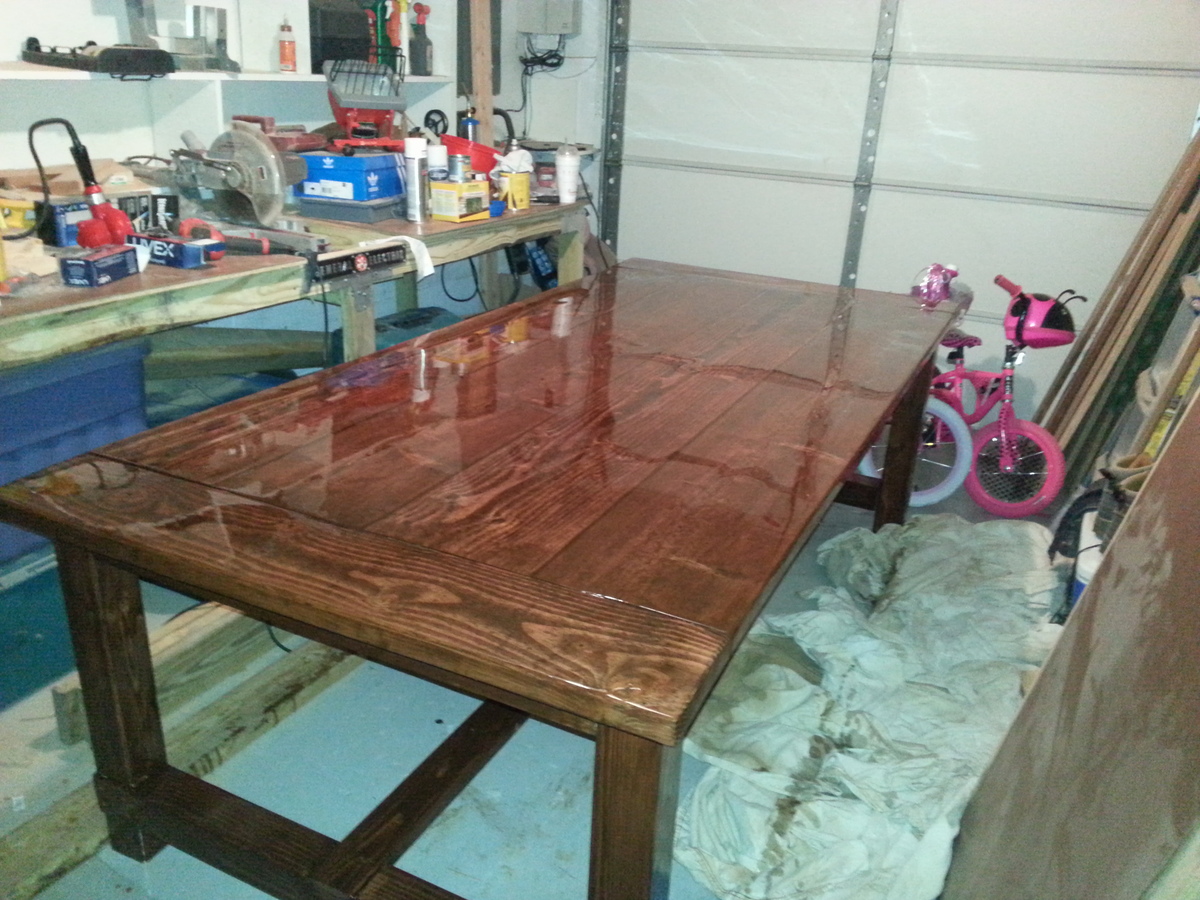
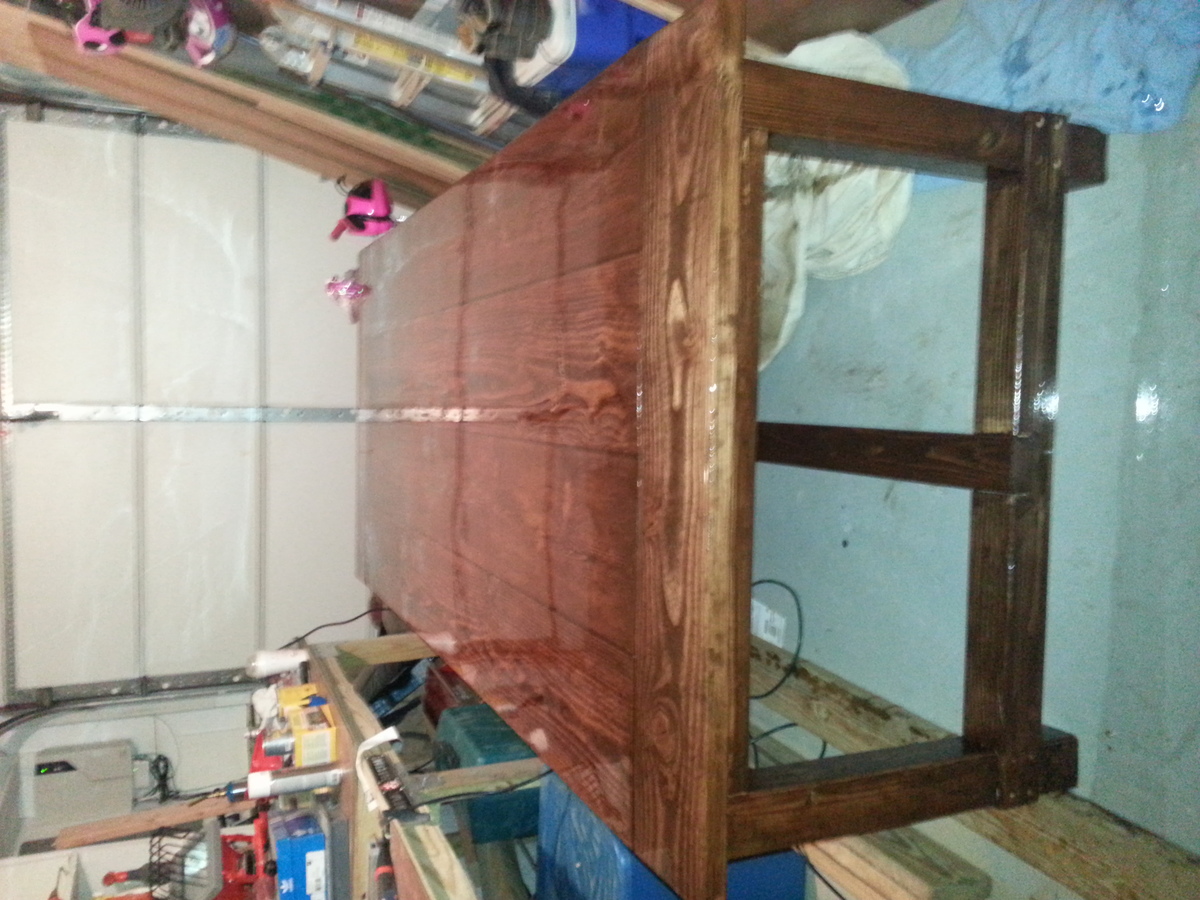
This is my first big woodworking project. That being said, there were a lot of mistakes that were made. In the pictures you can see the beginning stages when I was making the base cuts and assembling the table top. The picture with the dark top and natural legs was the beginning of one mistake. I bought gel stain because it was the color I liked but I had no idea how to use it correctly. Because of this I left the stain on and it was waaayyyyy too dark. I had to sand down the entire top and redo it. After fixing that I correctly stained the base, extensions, and bench. The extensions I made are not in the photos because I forgot to make the cuts to slide them in. I'm supposed to do that this weekend... After staining I polyurethaned the base, bench, and extensions to give them a nice shine. The table top I finished with Liquid Glass two part epoxy. That gave the top a super hard surface that shines and makes the normally soft pine top, rock hard. I figured this way when my daughters do homework on it they wouldn't leave their writing indented in my nice, new table. I hope you guys like it and I plan to do many more projects and post my results here. Thanks for taking the time to check this out.

Estimated Cost
$300-$325
Finish Used
Minwax hickory gel stain, polyurethane, and 2 part epoxy acrylic finish. The gel stain must be applied and then immediately wiped off. The polyurethane may need multiple coats in order to achieve an even finish. The epoxy must be poured on and spread evenly. Remember that if it drops on something and it is allowed to dry that it will usually rip up whatever material it is on our you will have to sand it off. USE DROP CLOTHS.
Recommended Skill Level
Starter Project

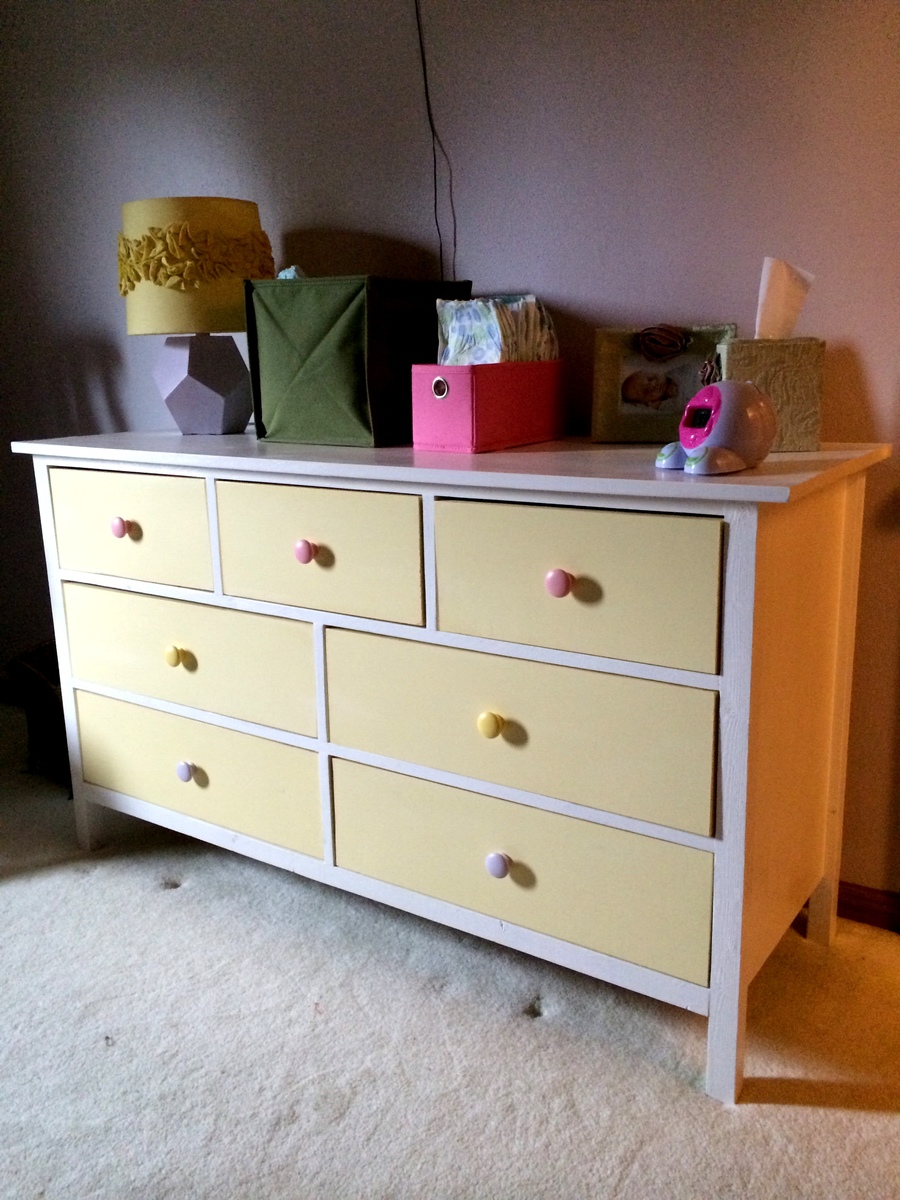
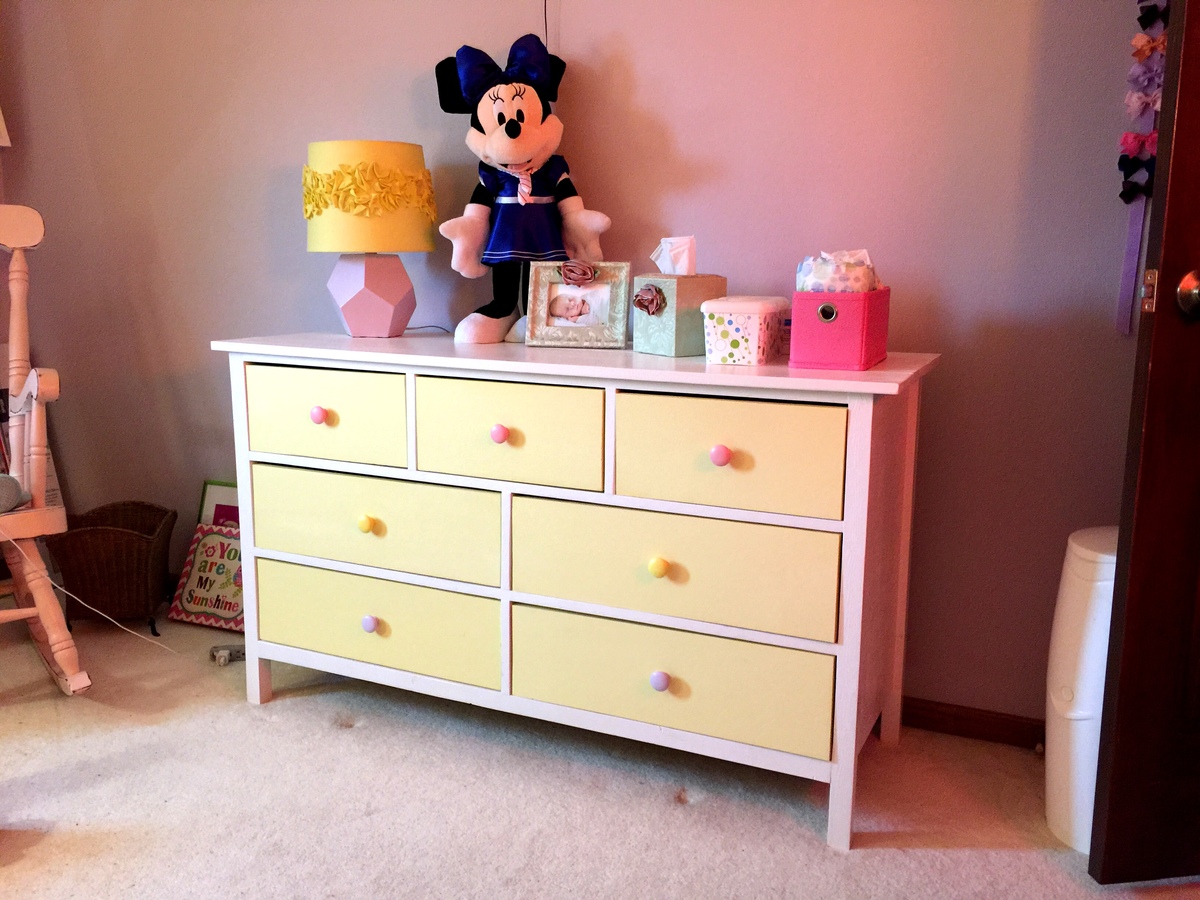
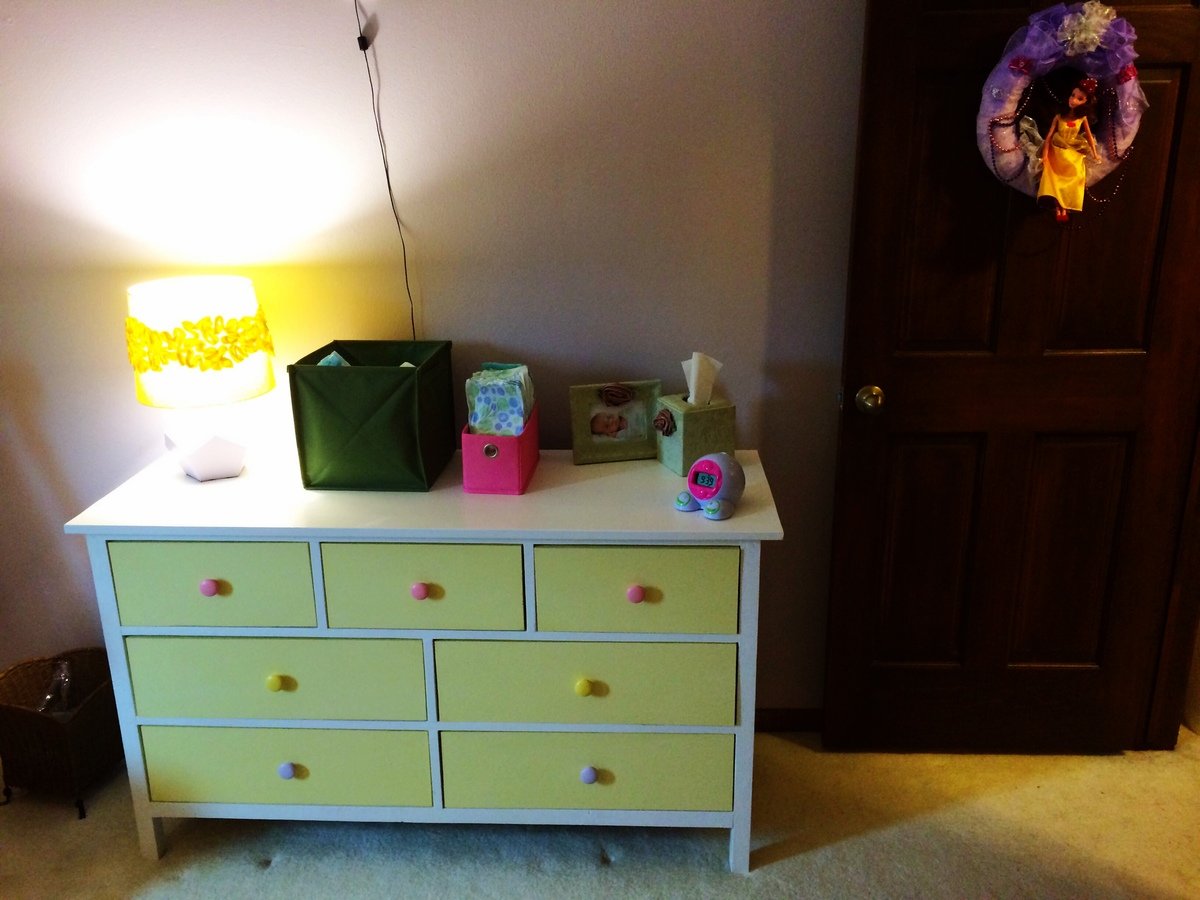
Kendal Extra Wide Dresser

Submitted by pde00311 on Fri, 02/06/2015 - 09:36

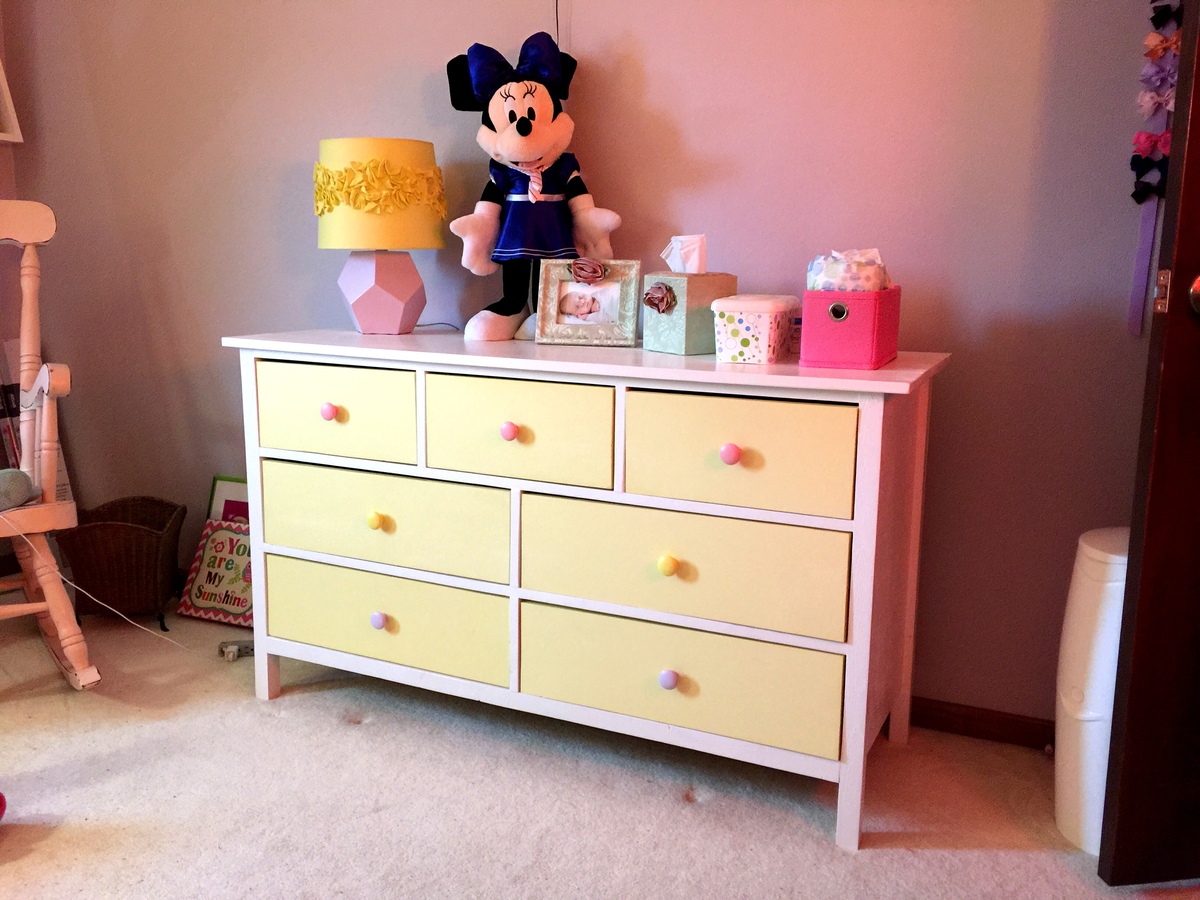
With another baby on the way in a few months, we decided to move our 2+ year old daughter across the hall into her first big girl room. I built big sister the Kendal Extra Wide Dresser, Traditional Wood Toddler Bed, Letter A Shelf and a Dollhouse Bookcase and matched the colors with her new comforter, lamps and princess canopy tent from the Land of Nod outlet.

While I have built drawers with other projects (with less than spectacular results), it took some time and trial and error, but this is the first project that I was able to install drawers with any sort of success in lining them up (kind of) and getting them to work properly. Of course, bookcase drawers in a child's room are succeptible to a lot of wear and tear, so hopefully, they will hold up on us. We definitely have been satisfied with the result and love how it turned out.

Built from Plan(s)
Estimated Cost
$75
Estimated Time Investment
Weekend Project (10-20 Hours)
Finish Used
Behr white fur (frame), wickerware (drawers), yellow corn (knobs), pink ballerina (knobs), lovely lavender (knobs) paints with Minwax Polycrylic
Recommended Skill Level
Advanced

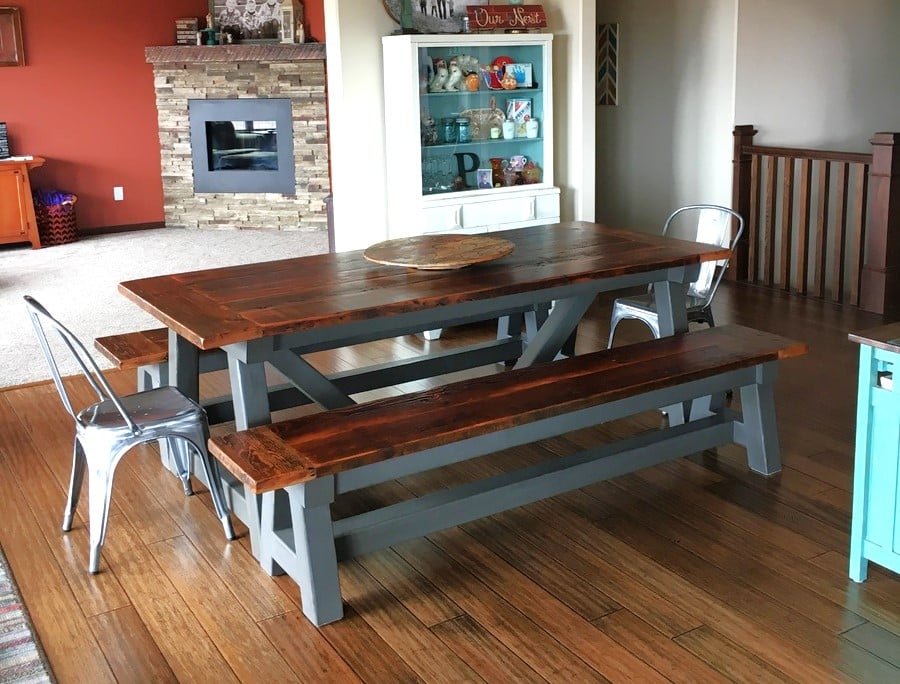
Dining Room Table and Benches

Submitted by Anonymous (not verified) on Fri, 05/05/2017 - 09:12

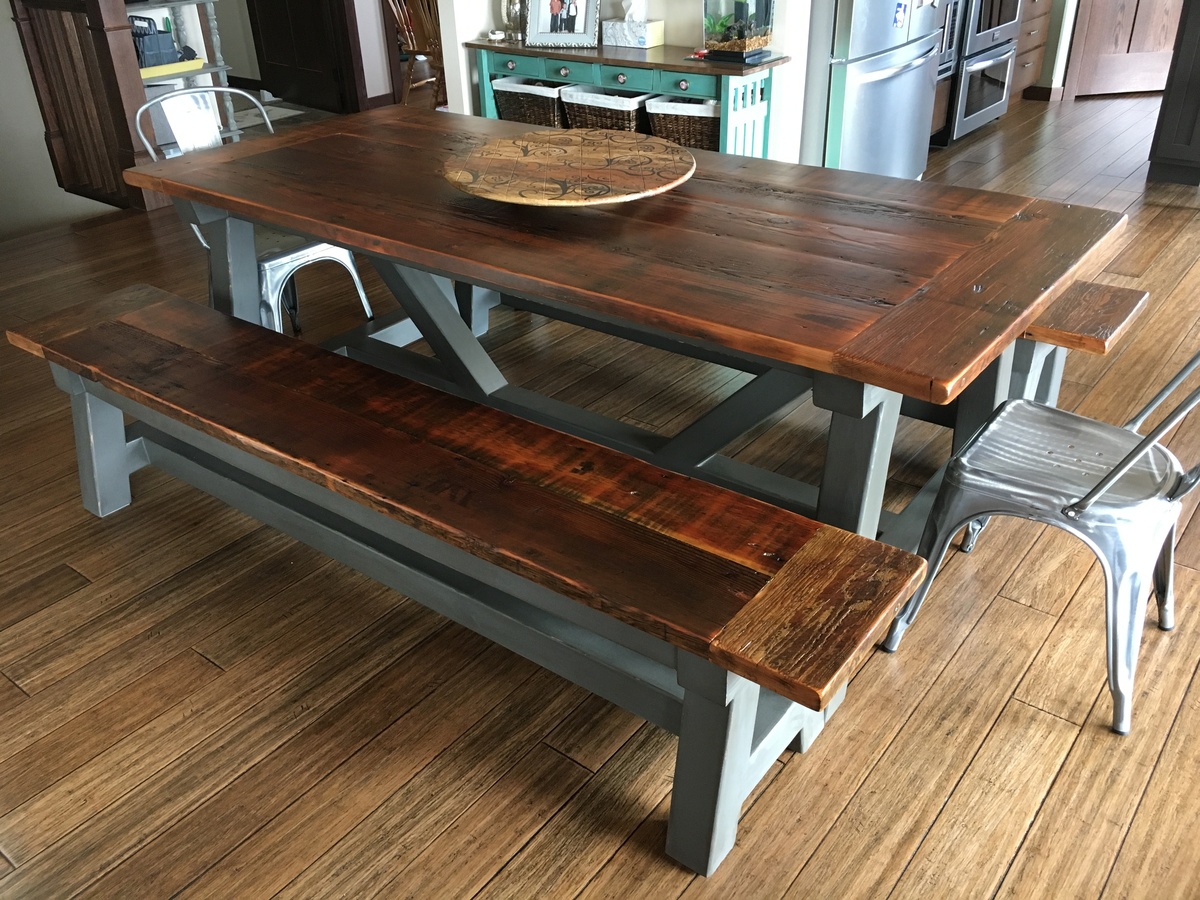
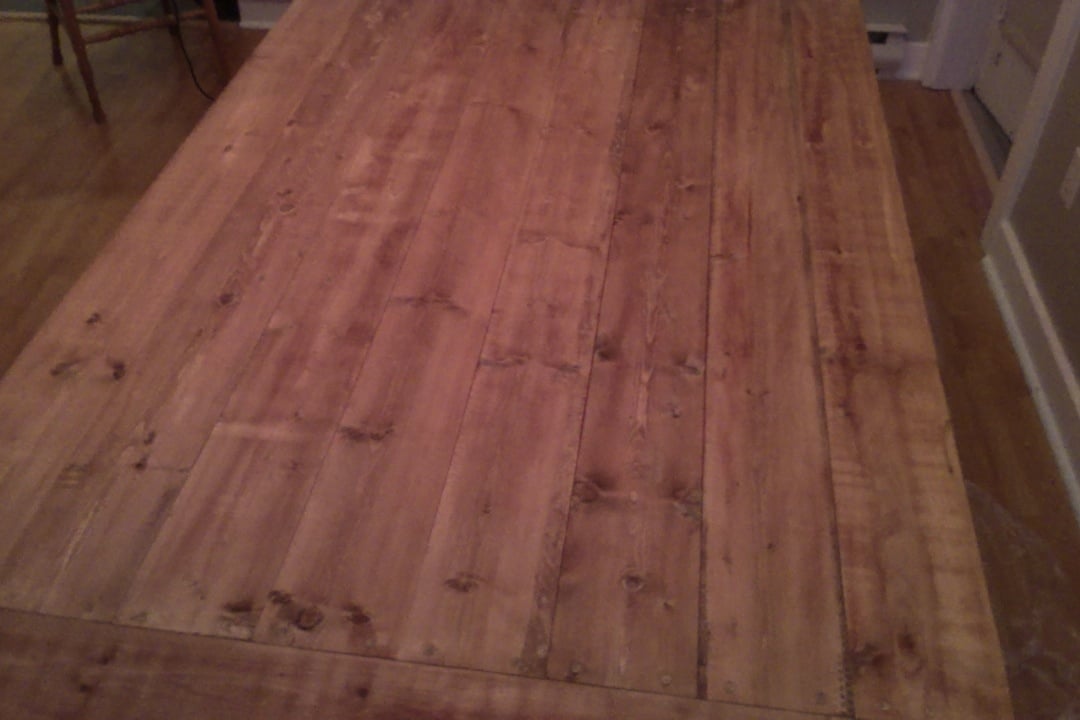
Dining Room table and benches tops built from reclaimed Douglas Fir and table and bench bases built from 4x4 posts.

Estimated Time Investment
Week Long Project (20 Hours or More)
Finish Used
General Finishes Arm-R-Seal for the table and bench tops, Sherwin Williams Black Fox on the truss bases.
Recommended Skill Level
Intermediate

Outhouse Plan for Camping Property

Submitted by UncleMike on Wed, 04/28/2021 - 10:50

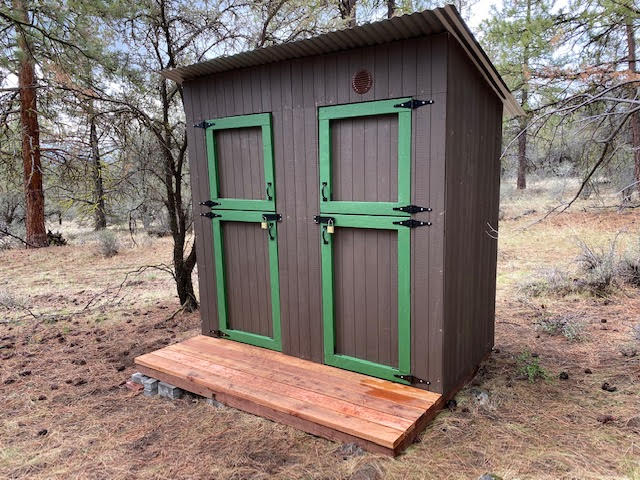
I built an an outhouse for my camping property in the PNW. The plans were great and easy to follow.

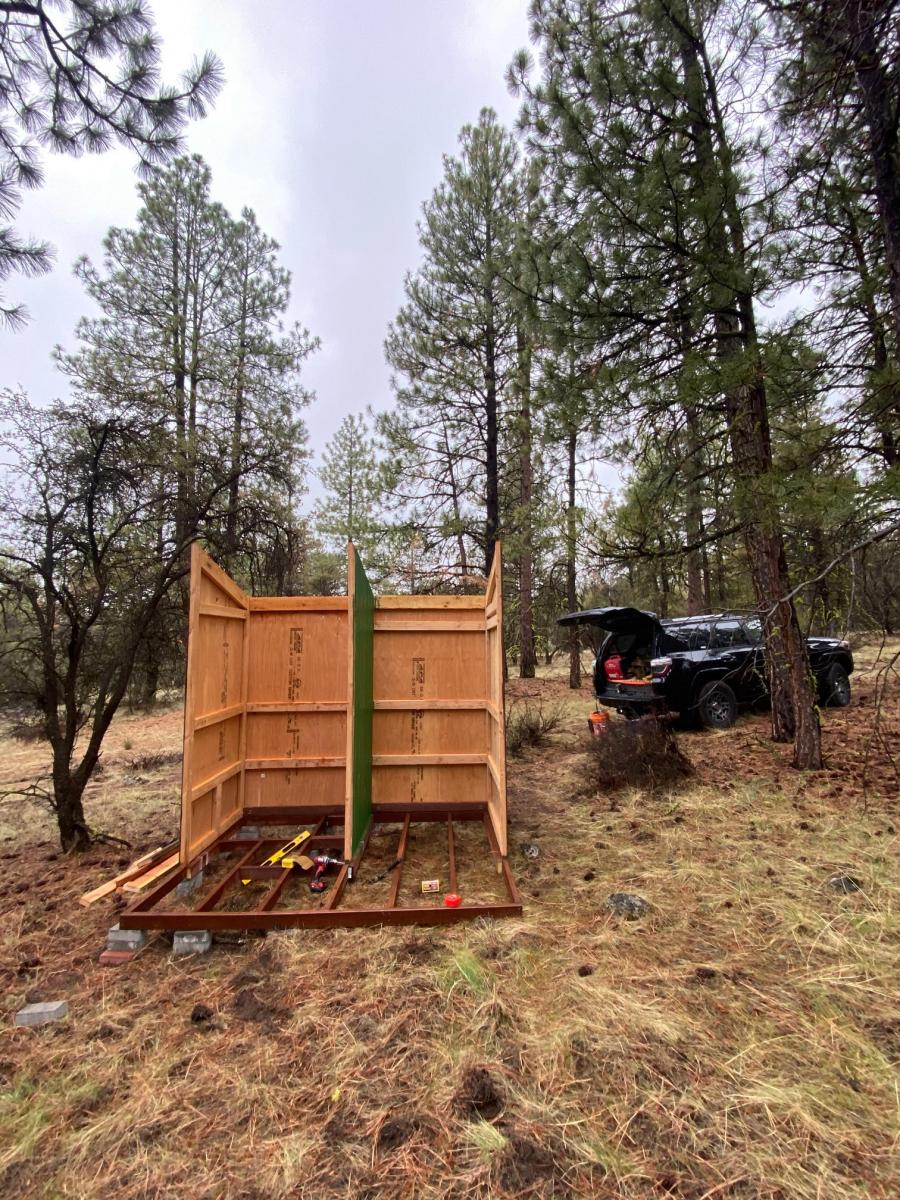
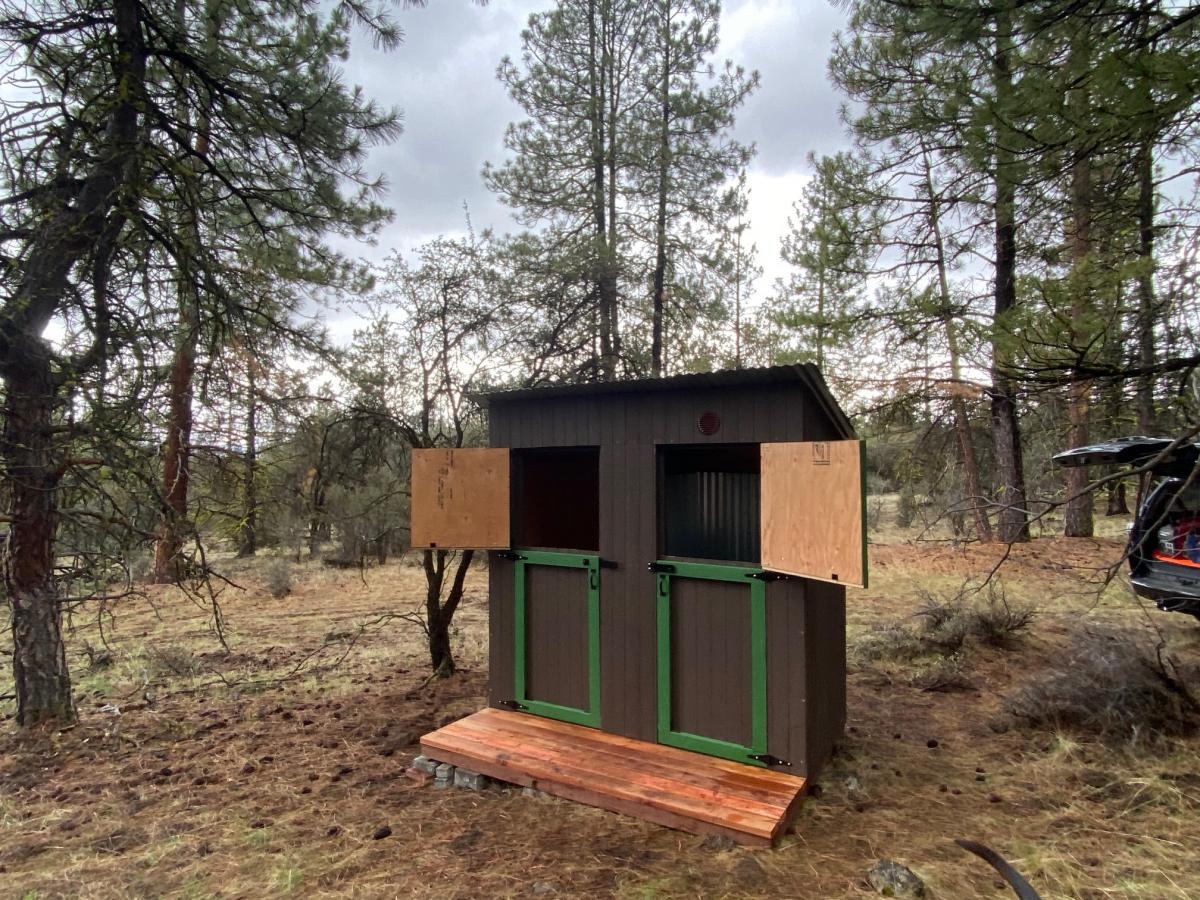
I did take the liberty of extending the the front wall to 8' still using the 15 degree roof line. I also wanted the option to shower during extending camping trips so I extended the floor and added one more back and side wall to create a shower house. With this design, I basically duplicated the side and back wall. Since I am in the middle of the woods, the Dutch doors were a last minute embellishment that I'm glad that I implemented in order to take advantage of the view!

For the shower, I used composite decking with 1/2" gaps for drainage and lined the inside with 6' lengths of corrugated metal roofing.

One additional note: I did build this on my back patio over a couple of weekends since my property is a fairly long drive from my home and about 2 hours round trip from the nearest hardware store. It broke down easily in about 30 minutes with 2 people and fit perfectly in the back of a full size pick up truck for the trip.

In summary, great plans and I love this site. Much appreciated and happy building!

Built from Plan(s)
Estimated Cost
1200.00
Estimated Time Investment
Week Long Project (20 Hours or More)
Finish Used
I used primed T-111 siding and finished with PPG "Cabin in the Woods" base (PPG1021-7) with "Mountain Forest" trim (PPG1130-7). For the redwood decking, I just used a Behr clear protectant and hit it with 2 coats.
Recommended Skill Level
Intermediate

Comments

Farmhouse Table

Submitted by rangers_31 on Wed, 03/27/2013 - 21:18

This is my first ever wood project. I helped my dad frame his basement a couple years ago and figured that a hand built table would be a nice piece of furniture to have as my wife and I begin to start a family. I've been gathering tools for a few months to begin making furniture and I chose to start with this piece.

I had read that a few people found that the 2x6's on the table top caught crumbs so I picked up a cheap, used table saw and squared off the edges so that the table top would be more consistently flat.

For the legs, I wanted to use 4x4 untreated posts but could not find them so I used the table saw to cut down the 2x4's so that, when screwed together, they formed 3x3 legs. I then used a 0.25 inch round router bit to sound off all the edges on both the legs and all exposed edges around the outside of the table.

I finished with two coats of early american stain and in between applied a distressing technique I picked up from one other blog post.

I am 95% happy with how the table has turned out. Structurally is it very sound. If I was to do it over I would have screwed the entire tabletop in with pocket hole screws to eliminate holes on the surface.

Estimated Time Investment
Week Long Project (20 Hours or More)
Finish Used
Early American (2 coats)
Vintage Photo Distressing Ink - rubbed on between coats to accentuate the grain
Recommended Skill Level
Beginner

Comments

Angle Frame Bunk Bed

This angle frame Twin over Full bunk bed with a trundle was made of yellow pine and stained with a dark minwax stain from Homedepot. 

Estimated Time Investment
Weekend Project (10-20 Hours)
Finish Used
Dark Minwax Stain from Homedepot
Recommended Skill Level
Intermediate

Entryway Bench and Storage Shelf with Hooks

Submitted by Anonymous (not verified) on Mon, 05/08/2017 - 11:02

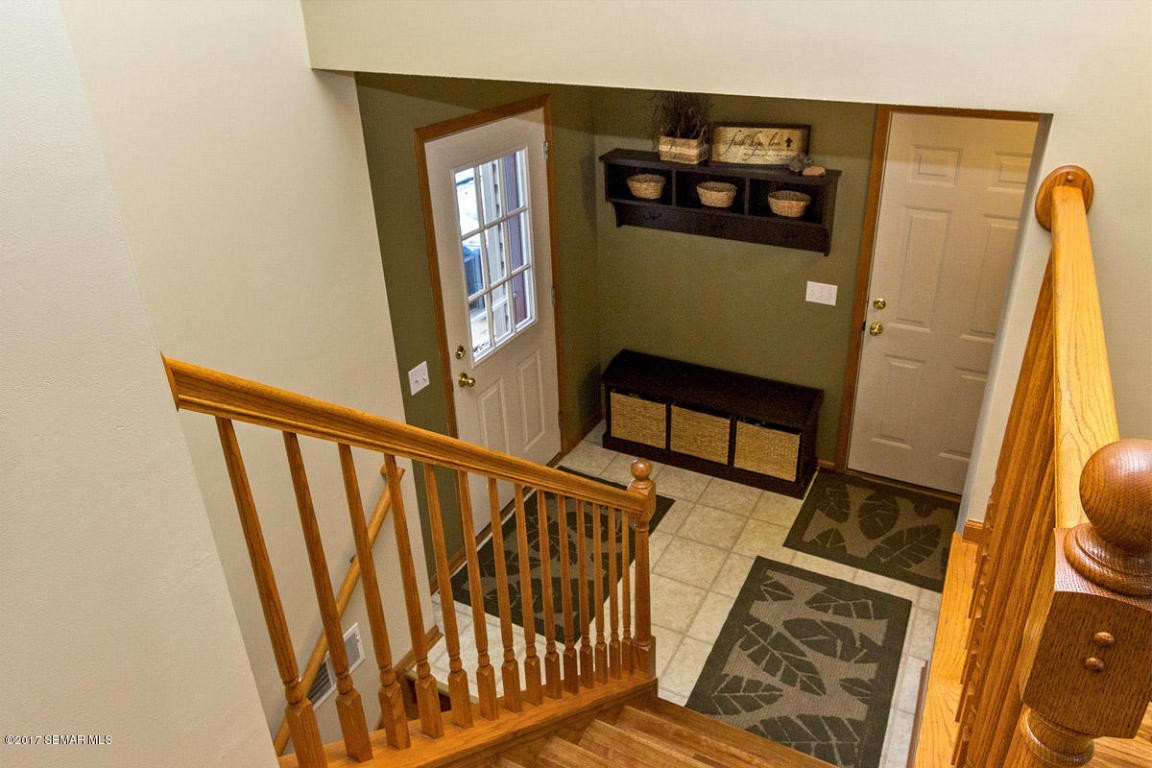
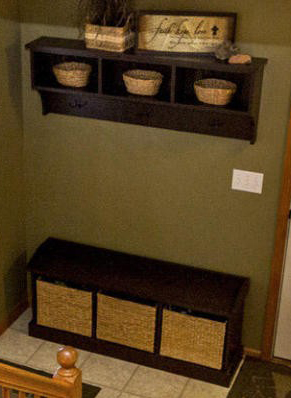
I believe I built this to spec from the original plans without much deviation using higher-grade pine boards (straight and not too many knots).  It took an afternoon to build.  I primed then painted with 3 coats of "Mocha" paint.  There are 3 antique bronze hooks which are hard to see, but go well. The biggest challenge was finding baskets to fit, after the fact.  I happened to get lucky with baskets for the bottom bench, but never did find anything to fit the top, at least in the way I envisioned.  I wish I'd have located a set of baskets first, then measured and built the bench and shelf to suit the baskets.  The bottom baskets actually stick out the back of the bench by about 3/4". Any rectangular baskets I found for the shelves seemed to stick out the front a couple inches.  I highly recommend getting your baskets FIRST, then adjusting your measurements to accomodate them.

Estimated Cost
Less than $100
Estimated Time Investment
Afternoon Project (3-6 Hours)
Finish Used
Indoor paint, mocha color.
Recommended Skill Level
Beginner

Cedar Tiered Flower Planter

Submitted by Anonymous (not verified) on Tue, 05/04/2021 - 14:30

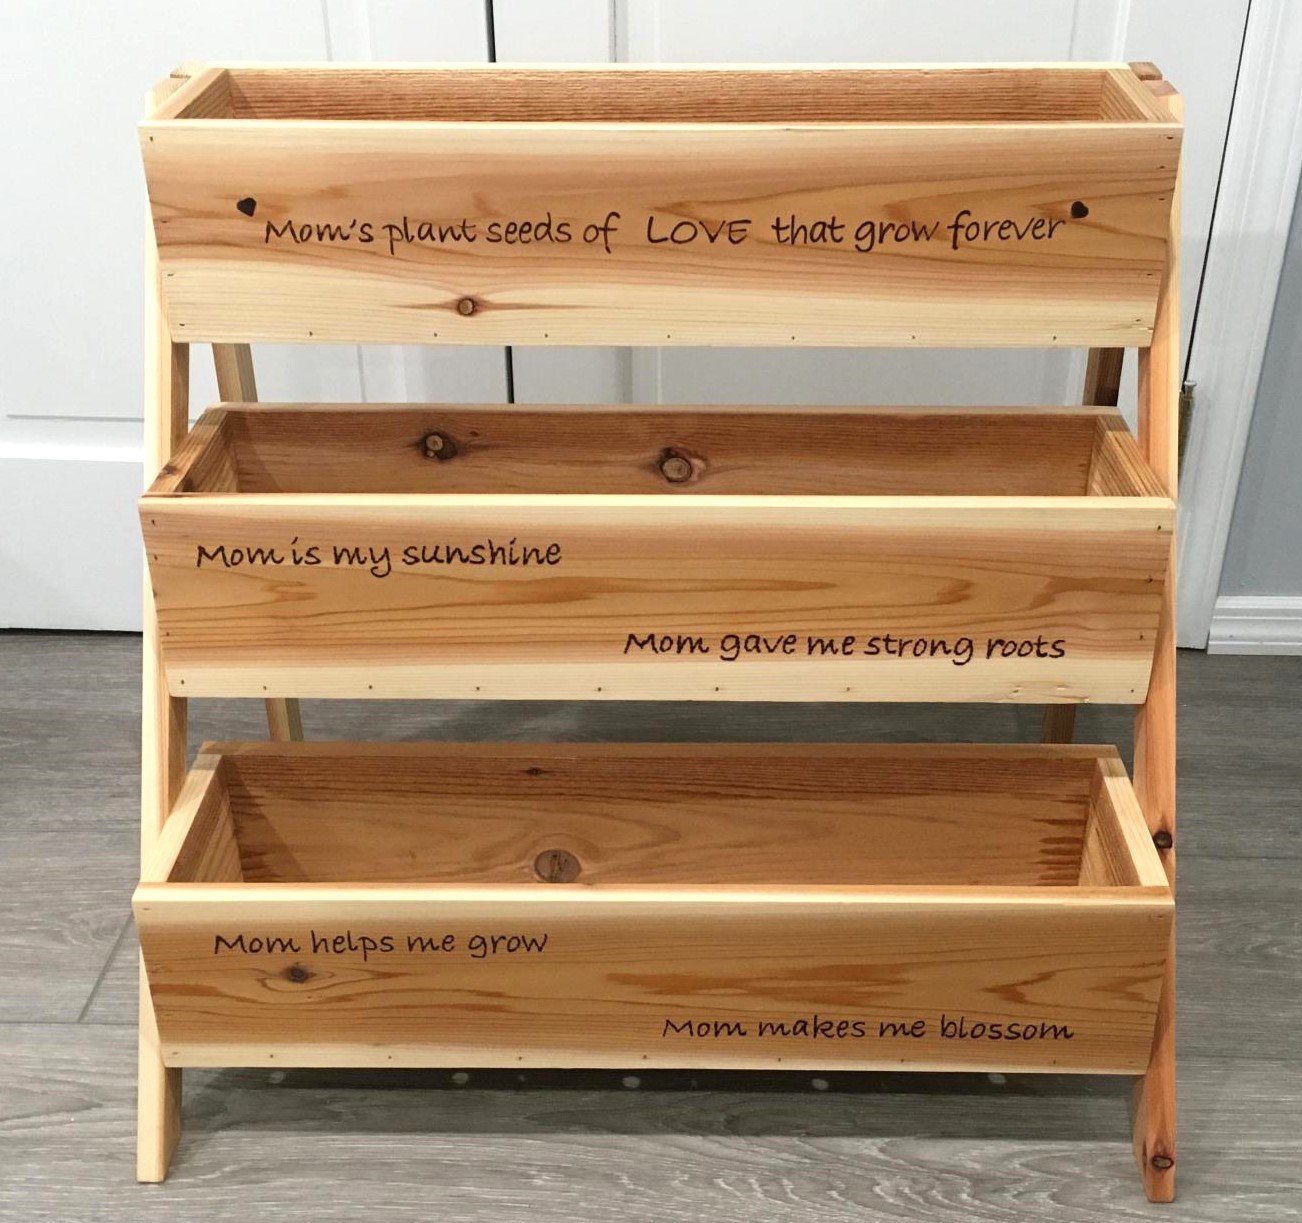
We made this tiered planter for a Mother's Day gift for my wife. It was a simple build and the plans are very easy to follow. I couldn't get any cedar fence pickets so I used standard 1x6x8 cedar boards that were available at the local big box store; that's why the cost is a little high. The planters were made 24" wide for more room instead of 16'" wide as per the plans. We personalized it by adding the quotes to the boards and burning them into the wood with a pyrography pen.

Estimated Cost
$50
Estimated Time Investment
Afternoon Project (3-6 Hours)
Finish Used
Varathane Classic Penetrating Wood Stain - Natural
Recommended Skill Level
Beginner

Comments

Loft beds

Submitted by marquez313 on Fri, 11/15/2019 - 10:55

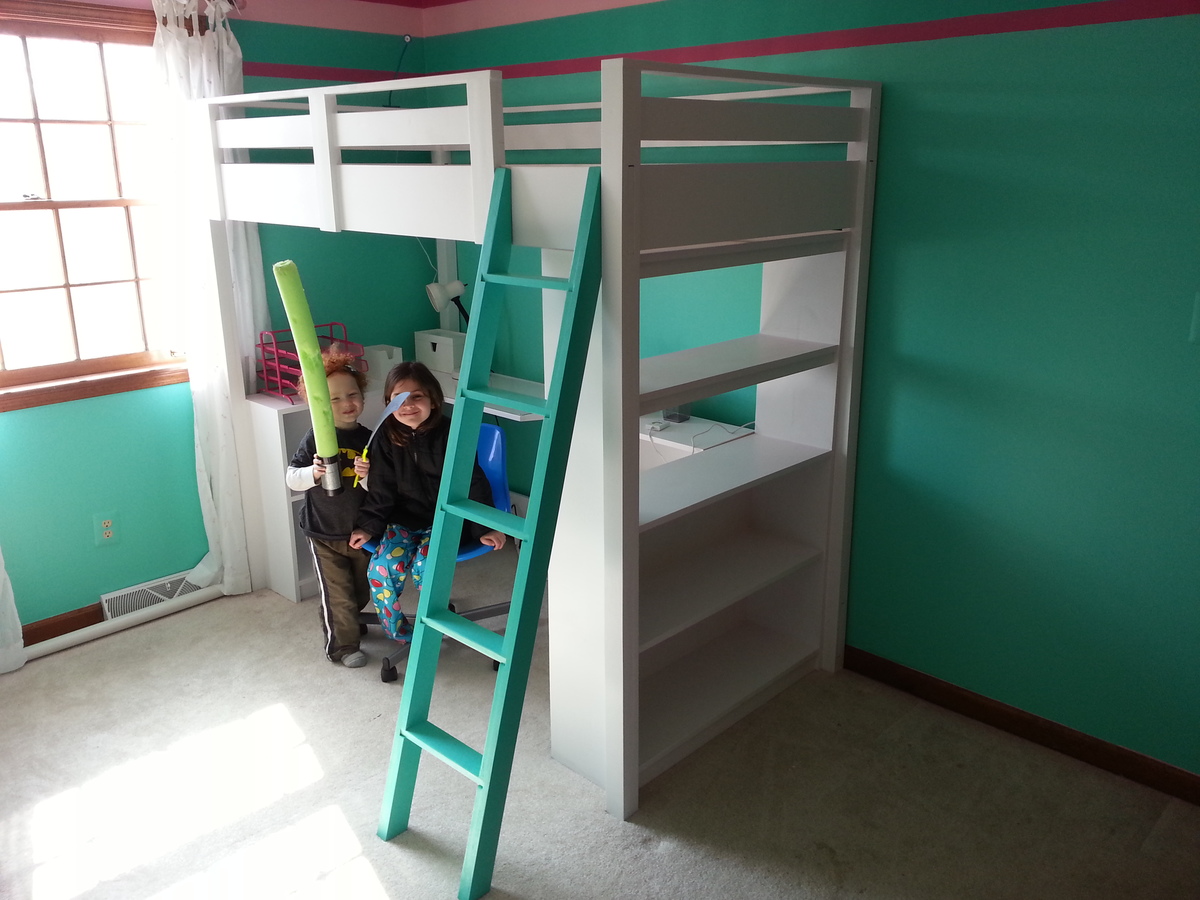
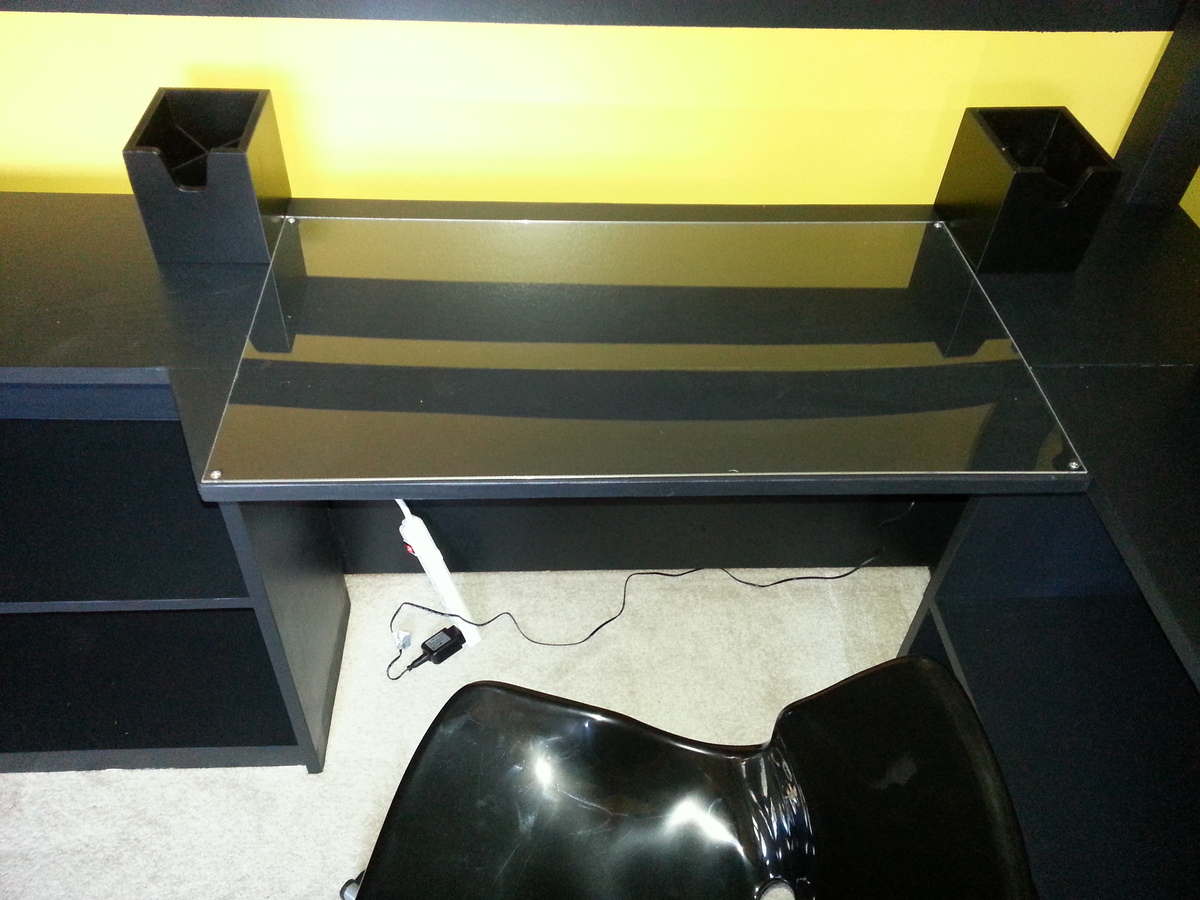
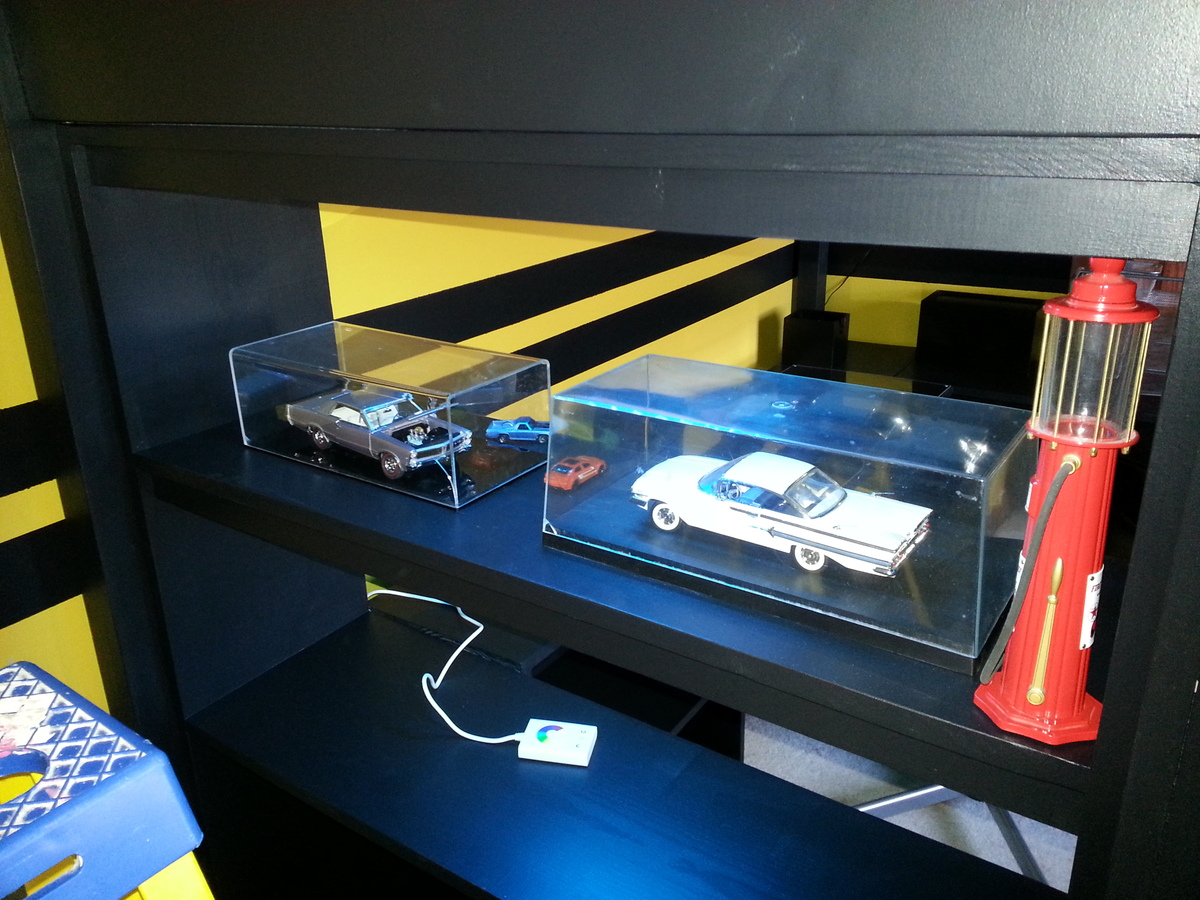
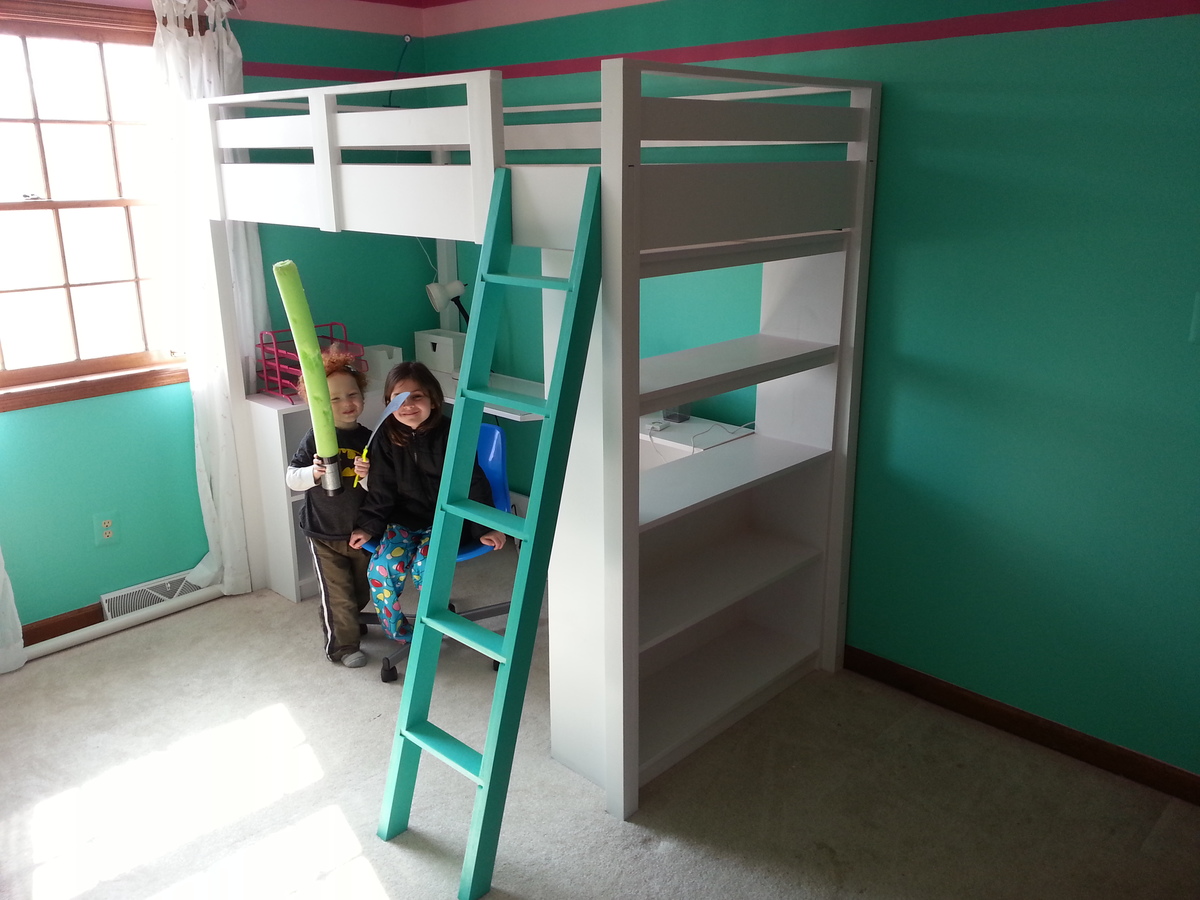
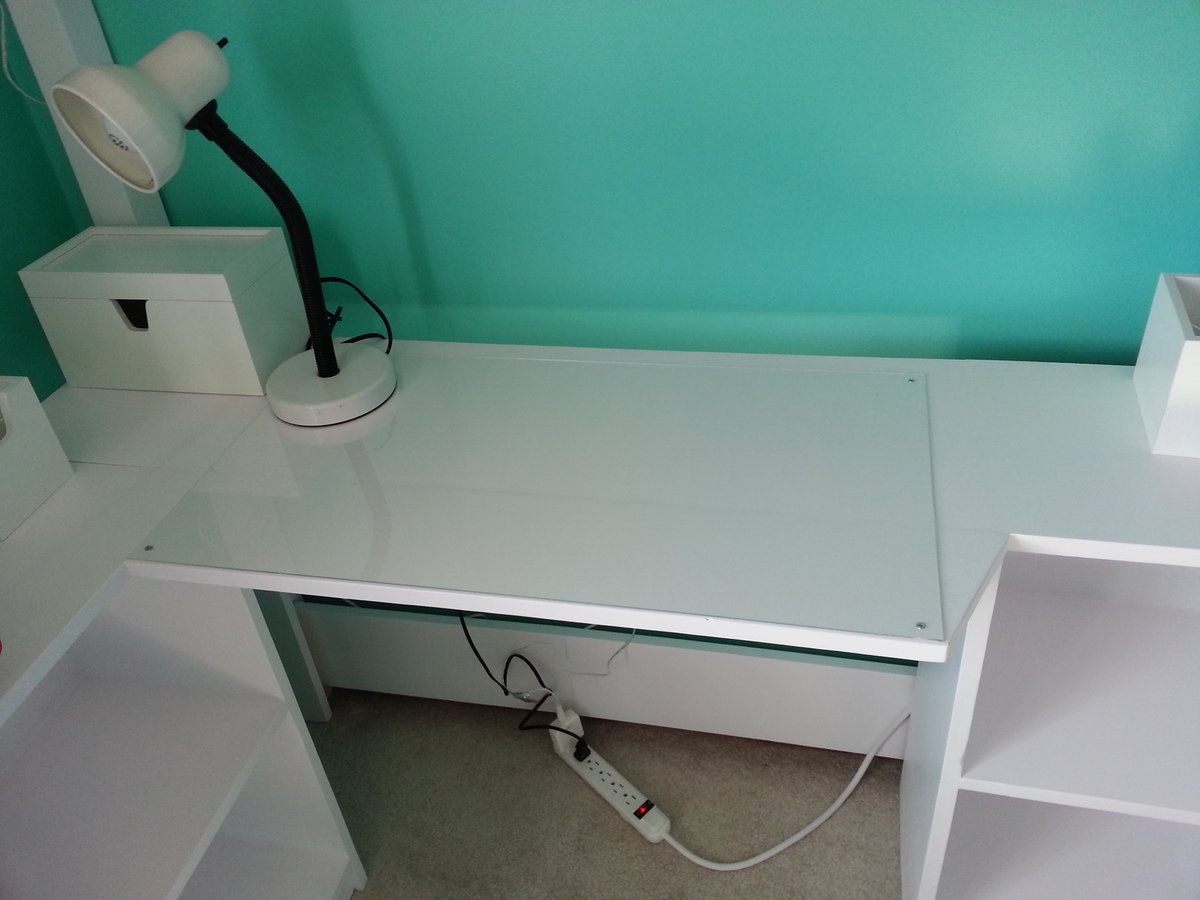
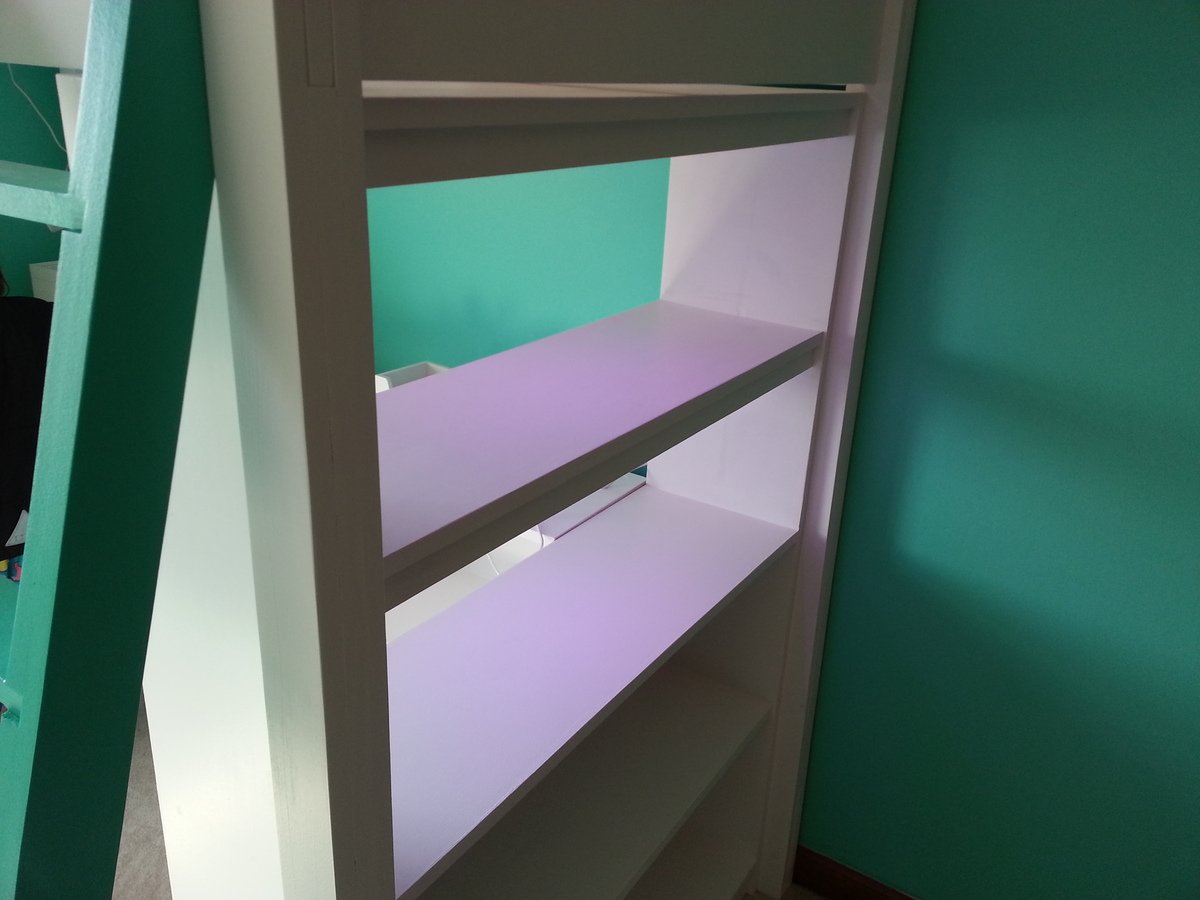
How I Spent My Spring Break Well, it was a long week but I finally finished. I made 2 complete sets of loft beds for my oldest son and my daughter. The plans were great and easy to follow. A few notes; the actual width of a 1 x 8 is 7.25 inches (not 7.5) and a 1 x 12 is actually 11.25 inches (not 11.5). I noticed this when constructing the legs and putting the optional shelf supports on the large bookcase. It's not a huge deal, it's only a quarter of an inch. Also, if you are going to assemble and paint in the room, paint the interior of the bed area BEFORE attaching the slats. That added a lot of extra painting time for me. I made a few modifications as well. For the desk, my wife suggested that the width of a 1 x12 was a bit narrow, so I cut a 1 x 6 and biscuit joined it to the desk front. I cut a 22.5 degree angle on the end that meets up with the small bookcase that is attached to the desk. The straight edge lines up with the face of the other small bookcase, like a puzzle piece. I then covered the desk top with a piece of plexiglass to make the surface smoother and to hold picture (slide under the plexiglass). In addition, I bought an LED light system (about $40 from IKEA) and installed under the 2 top shelves of the large bookcase. Really cool effect and the kids love it! Overall, I am very happy with the project results. Looks great, very solid and lumber on cost about $400 for 2 complete sets. Just need to put in some sweat...

Estimated Time Investment
Week Long Project (20 Hours or More)
Finish Used
Satin finish latex paint
Recommended Skill Level
Beginner

Rustic Display Wall Unit

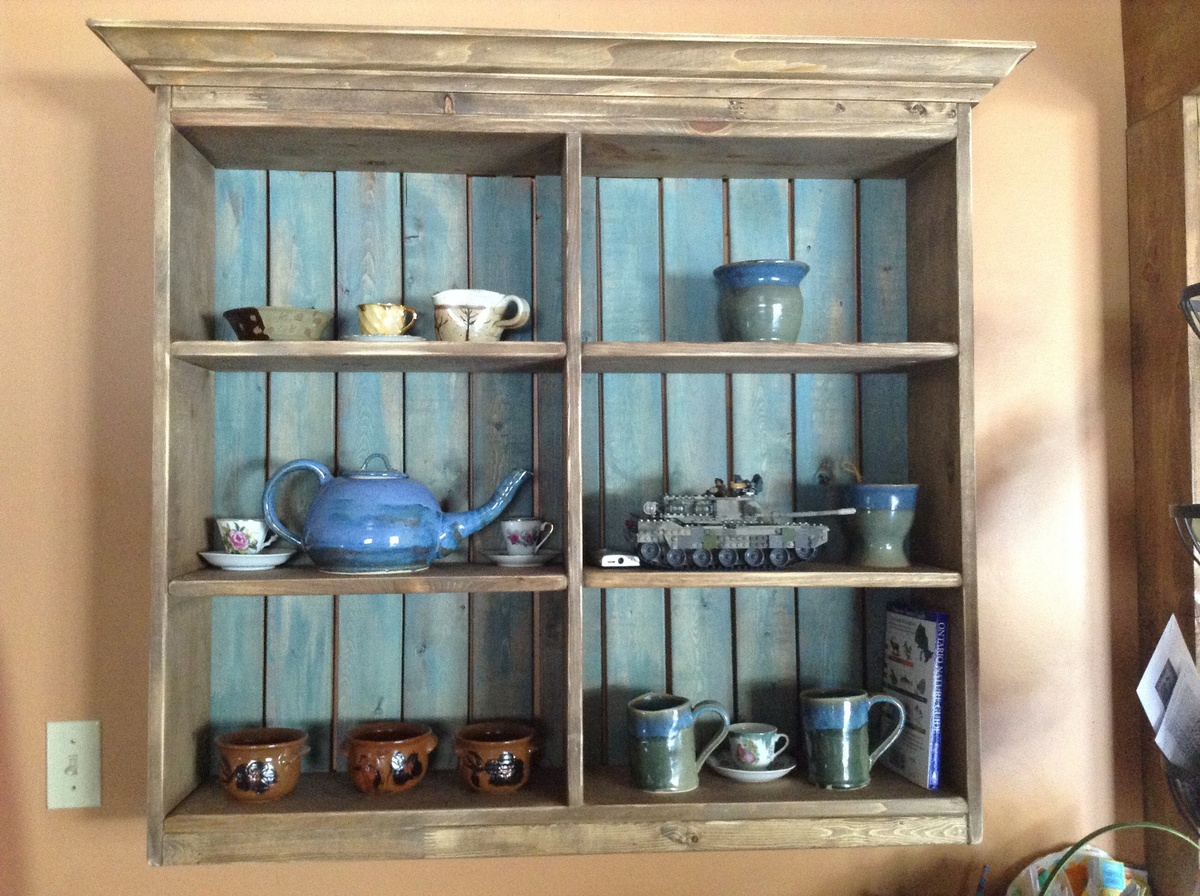
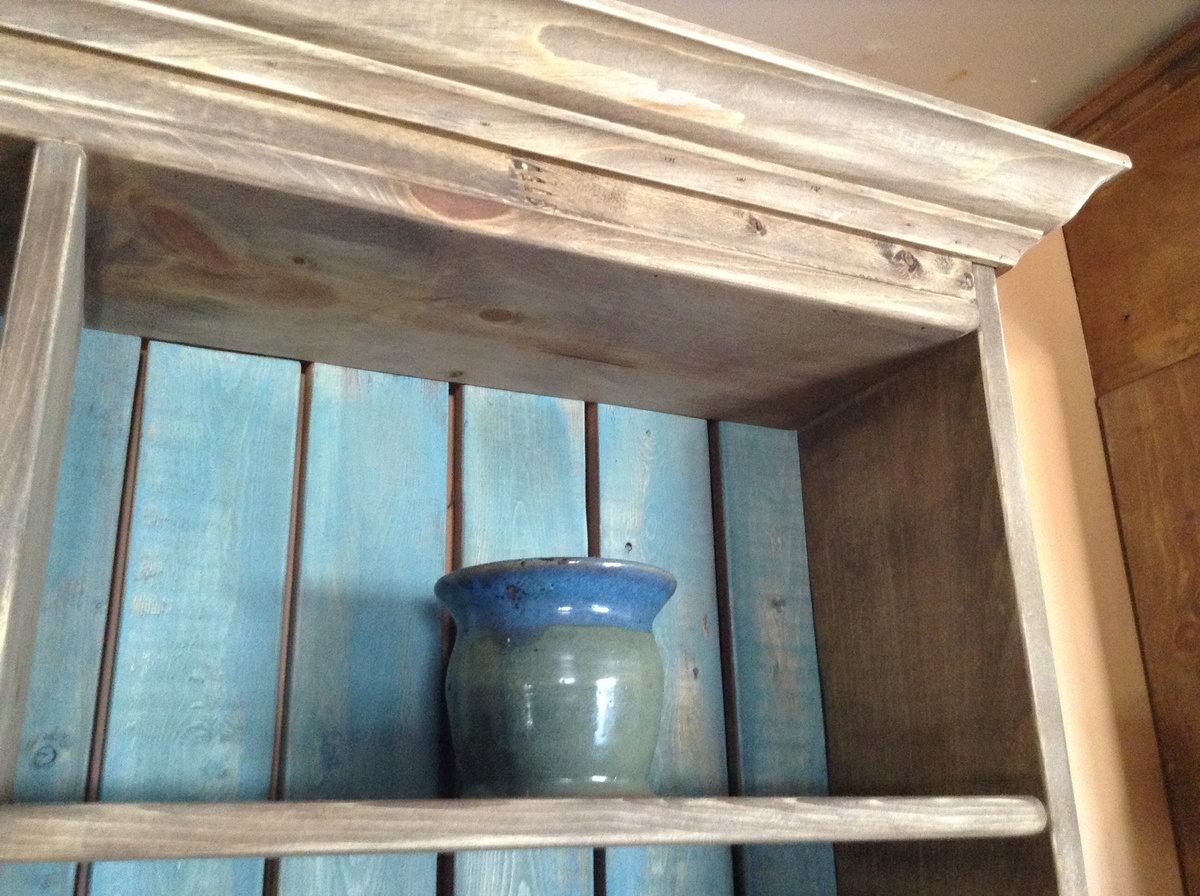
3x4foot wall unit for displaying pottery and your kid's Lego sets that took you 3 hours to put together.  Back boards have been washed with diluted blue green latex paint and then stained with Minwax Special Walnut.  The main frame is just stained, distressed and then waxed.

Estimated Cost
$70
Estimated Time Investment
Afternoon Project (3-6 Hours)
Finish Used
Minwax Special Walnut, Behrs Latex paint diluted, Minwax wax Paste
Recommended Skill Level
Beginner

Comments

Greenhouse

Submitted by Anonymous (not verified) on Fri, 05/12/2017 - 05:36

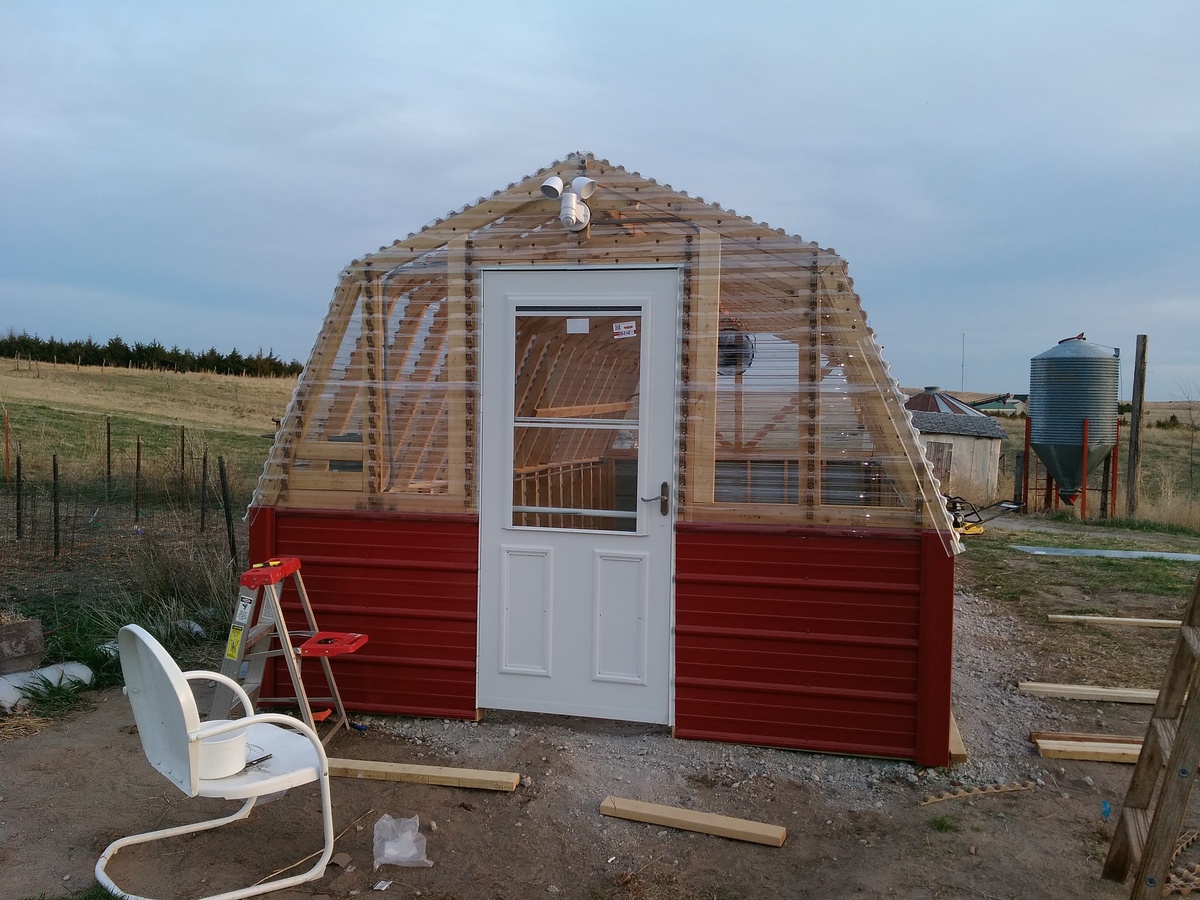
It was a Mother's day gift for my mom. My sister and I built it from the plan except we doubled the length and made the walls 38 inch total height no we didn't have to cut metal down and we made the door a 36 inch door.

Built from Plan(s)
Estimated Time Investment
Week Long Project (20 Hours or More)
Recommended Skill Level
Beginner

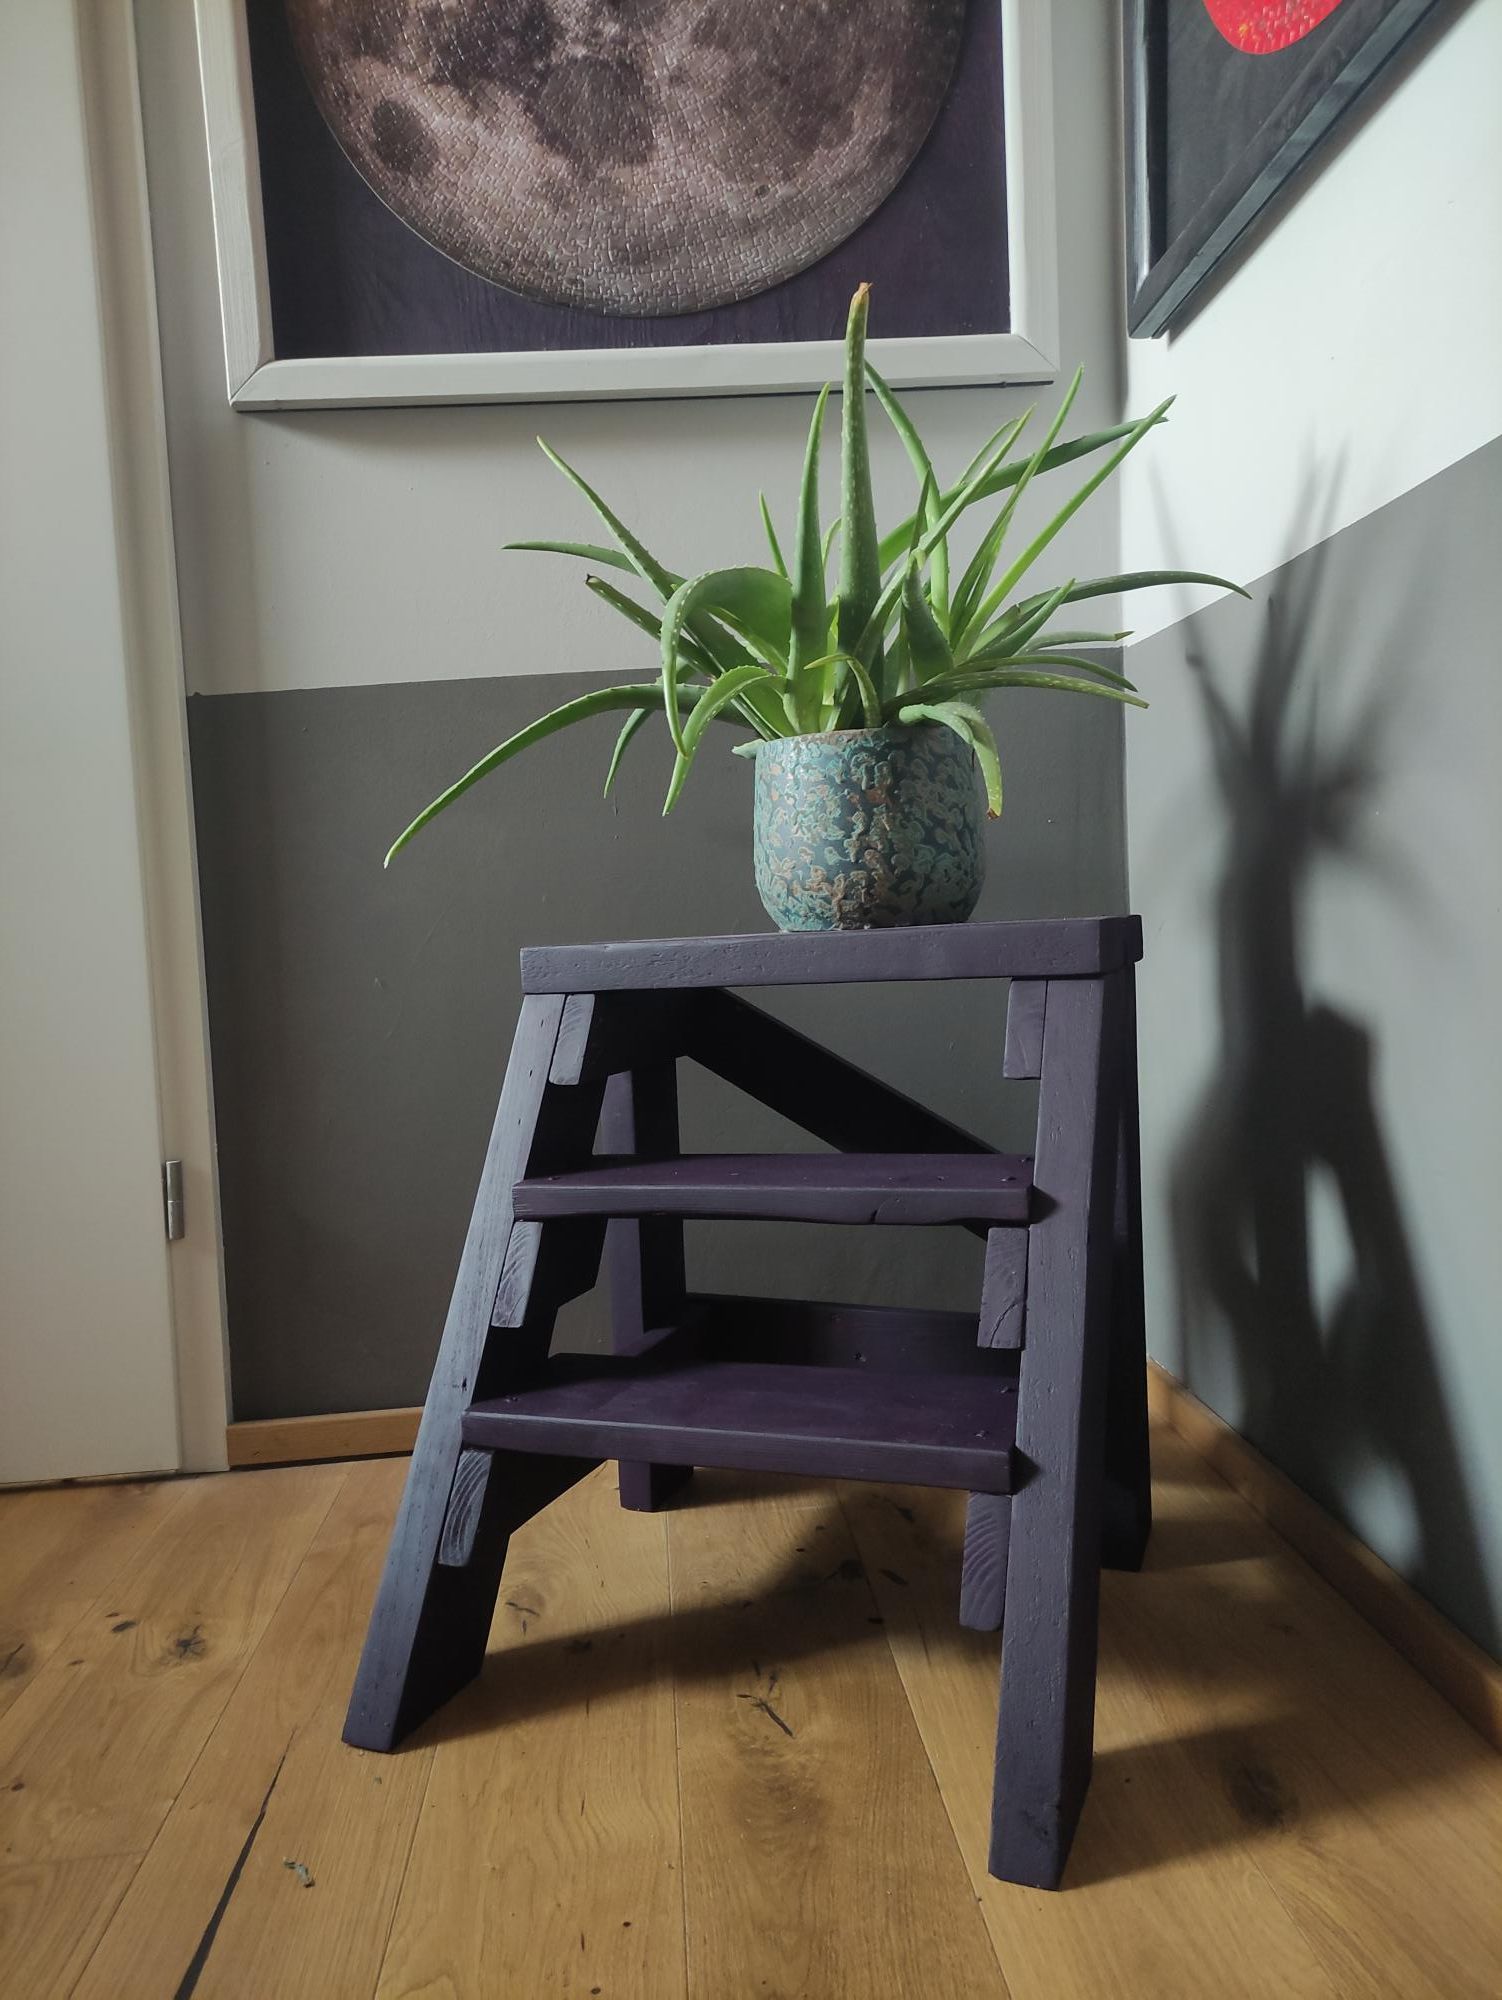
(Vintage X) Back Step Stool End Table

Submitted by diegaeb on Thu, 05/13/2021 - 23:38

I was looking for a plant table and fell in love with the vintage x plan. And it was perfect to get rid of some of my waste wood from other projects.

I love to work with Ana's plans :-)

Estimated Cost
just waste pieces from other projects
Estimated Time Investment
Afternoon Project (3-6 Hours)
Finish Used
Mylands Duke's House No. 44 Wood & Metall Eggshell

Comments

Pallet Shelf

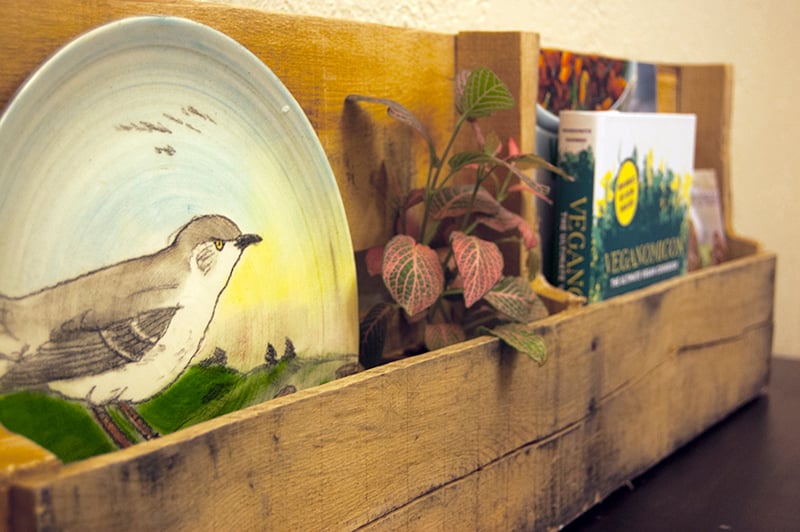
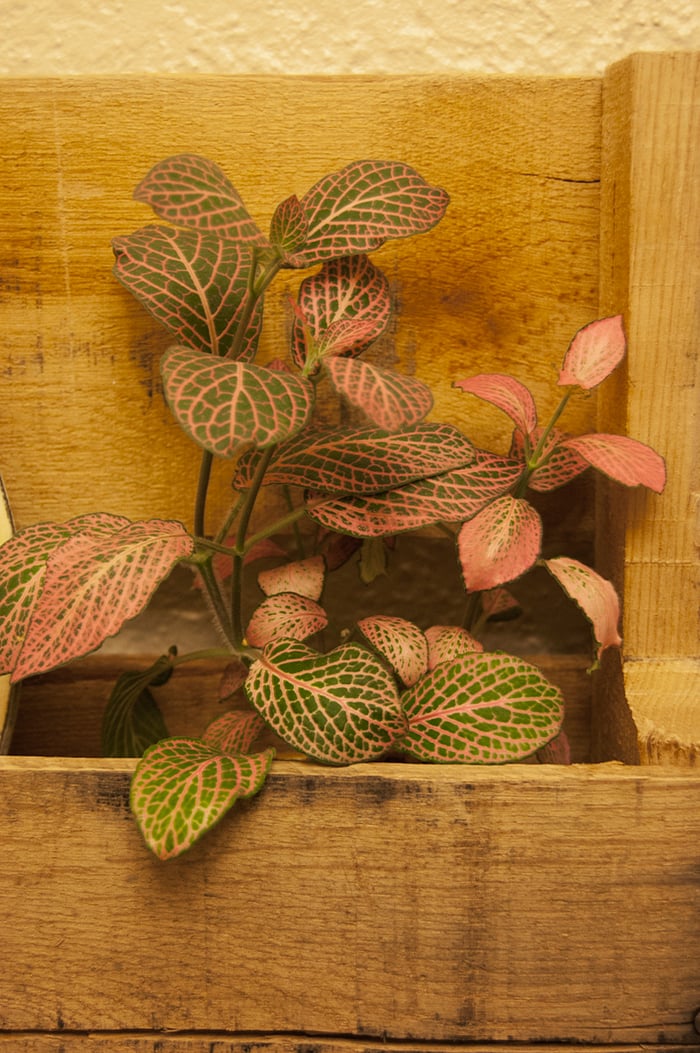
This was my first time using my jigsaw. Easiest project ever, and I love the result!

Estimated Time Investment
An Hour or Two (0-2 Hours)
Recommended Skill Level
Starter Project

Comments