Farm Dining Table
This project was much easier than it looks and turned out beautifully! I even impressed myself!
This project was much easier than it looks and turned out beautifully! I even impressed myself!
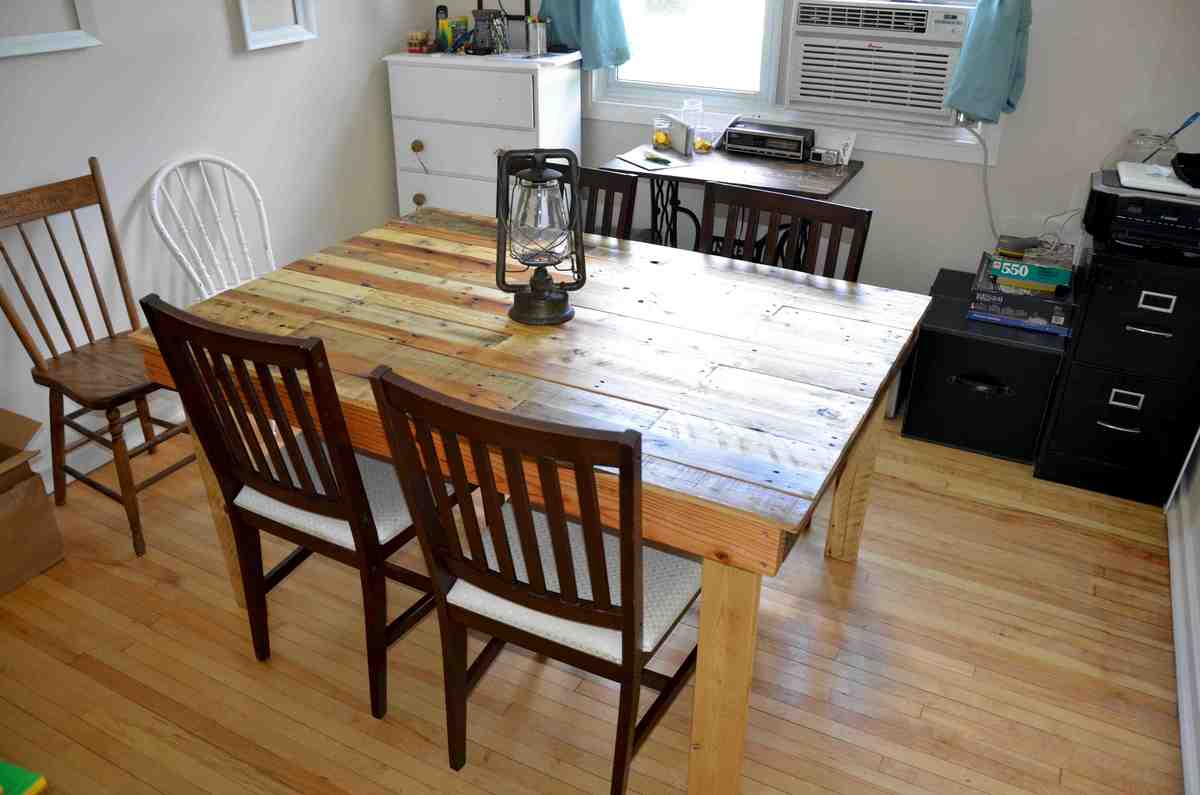
Table measures * 41" wide x 57 1/4" long x 30" tall.
We kept the measurement at 26" from floor to bottom of table.
Here is a list of what we used:
2 1/2" decking screws
2" finishing nails
8 pallets
Table Saw
Corded drill
Reciprocating saw
Bar clamps
1/2" plywood scraps
I wish I was thinking about taking some pictures along the way but here is a brief explanation.
We started with building the frame for the top.
2 - 2x4 @ 55"
2 - 2x4 @ 37 1/2"
3 - 2x3 @ 37 1/2" (we ripped the 2x3's on table saw from other lumber lying around)
Instructions are simple for the frame. Attach the 55" 2x4's to the 37 1/2" 2x4 and note the 37 1/2" ones go in between the long ones not on the end of them.
Next step is to run the 3 2x3 supports. 1 in the middle then the others go in the middle of the next gaps roughly.
*Note*
We did not do the pocket hole screws or try and hide the screws in any way. We screwed the entire frame together from the outside.
So now onto the more challenging step. So the top we have no guide for. We used
our reciprocating saw to get the boards off the skids. Then we had to de-nail the materials. Took approx 8 skids worth. Next was to run them all through the table saw to clean up the edges and remove any crowning or bowing? In a nutshell make all the board edges flush and straight.
After that long process we then started to do our dry fit so we would know which boards we wanted to use and how long we wanted each one to be. Then proceeded to cut them to the lengths and keep them in their respective groups as there were many varying widths as we wanted the top to be very different.
The next step was simple start laying them in place and attaching them to the frame.
During this process we had to bust out the clamps as we had a few troublesome boards that had to be pulled in flush. We used the 2" finishing nails to attach all the boards. After they are all attached this is the ideal time to sand the top.
*Note*
Decide what you want your overhang to be all around during the dry fit process. That will also be the time where you can play with ripping some thinner to make it unique.
So now we have all the boards attached it was time to counter sink ann the finishing nails. After we completed this we wanted to make secure everything just a bit more so we added 1/2" plywood to the bottom of the table in between the support sections.
After this was done it was simply time to cut the legs. We cut our legs @ 28"
We sanded these before attaching them.
*Note*
For the legs we had to assemble the legs in the room as the table is simply too large to bring through a door assembled. Keep this in mind if you decide to use a different design for the legs. We attached the legs with 4 - 2 1/2" screws which was perfect.
After that was done all that was left was to get it finished the way we like it. We used Minwax Antique Protective Oil Finish
If you used my notes to get by hopefully you have something beautiful in your dining room.
Thank you for visiting.
We would like to thank Ann from
http://littlepaths.wordpress.com/2012/08/26/the-shipping-pallet-dining-… for providing us with their design that inspired us.
Now that I've completed several projects from the Ana White website, I've started accumulating scrap wood at various lengths. I have been in need of new nightstands for quite some time (seeing as I was using a Rubbermaid bin on one side of my bed ![]() ). I modified the plans to use my scraps; on the tops and bottoms are 1X4 cut to 18", and on the sides I had extra 1X8 that I ripped down to 1X6 because I wanted a sleek profile and rectangular finish. I also found them a little plain and added decorative 2 1/2" corner braces for look that I painted in black gloss.
). I modified the plans to use my scraps; on the tops and bottoms are 1X4 cut to 18", and on the sides I had extra 1X8 that I ripped down to 1X6 because I wanted a sleek profile and rectangular finish. I also found them a little plain and added decorative 2 1/2" corner braces for look that I painted in black gloss.
Thank you as always for the awesome plans and the inspiration!!
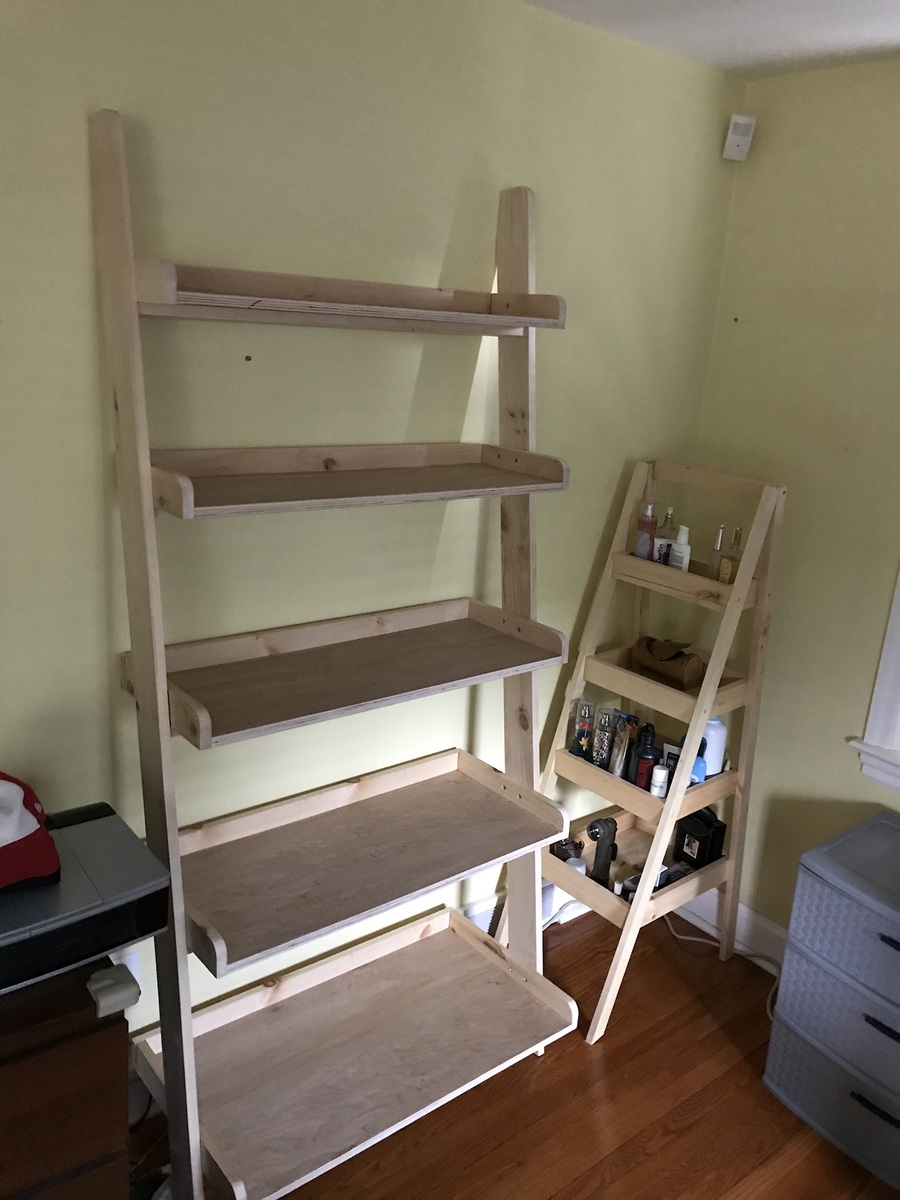
This is my version of the Leaning Wall Shelf by Anne White this project was fun. This shelf was to have a place to keep my Newborns son’s diapers wipes etc. I’m going to build another for my daughter in the near future. I learned a lot from this project, like how to find degrees with a framing square.
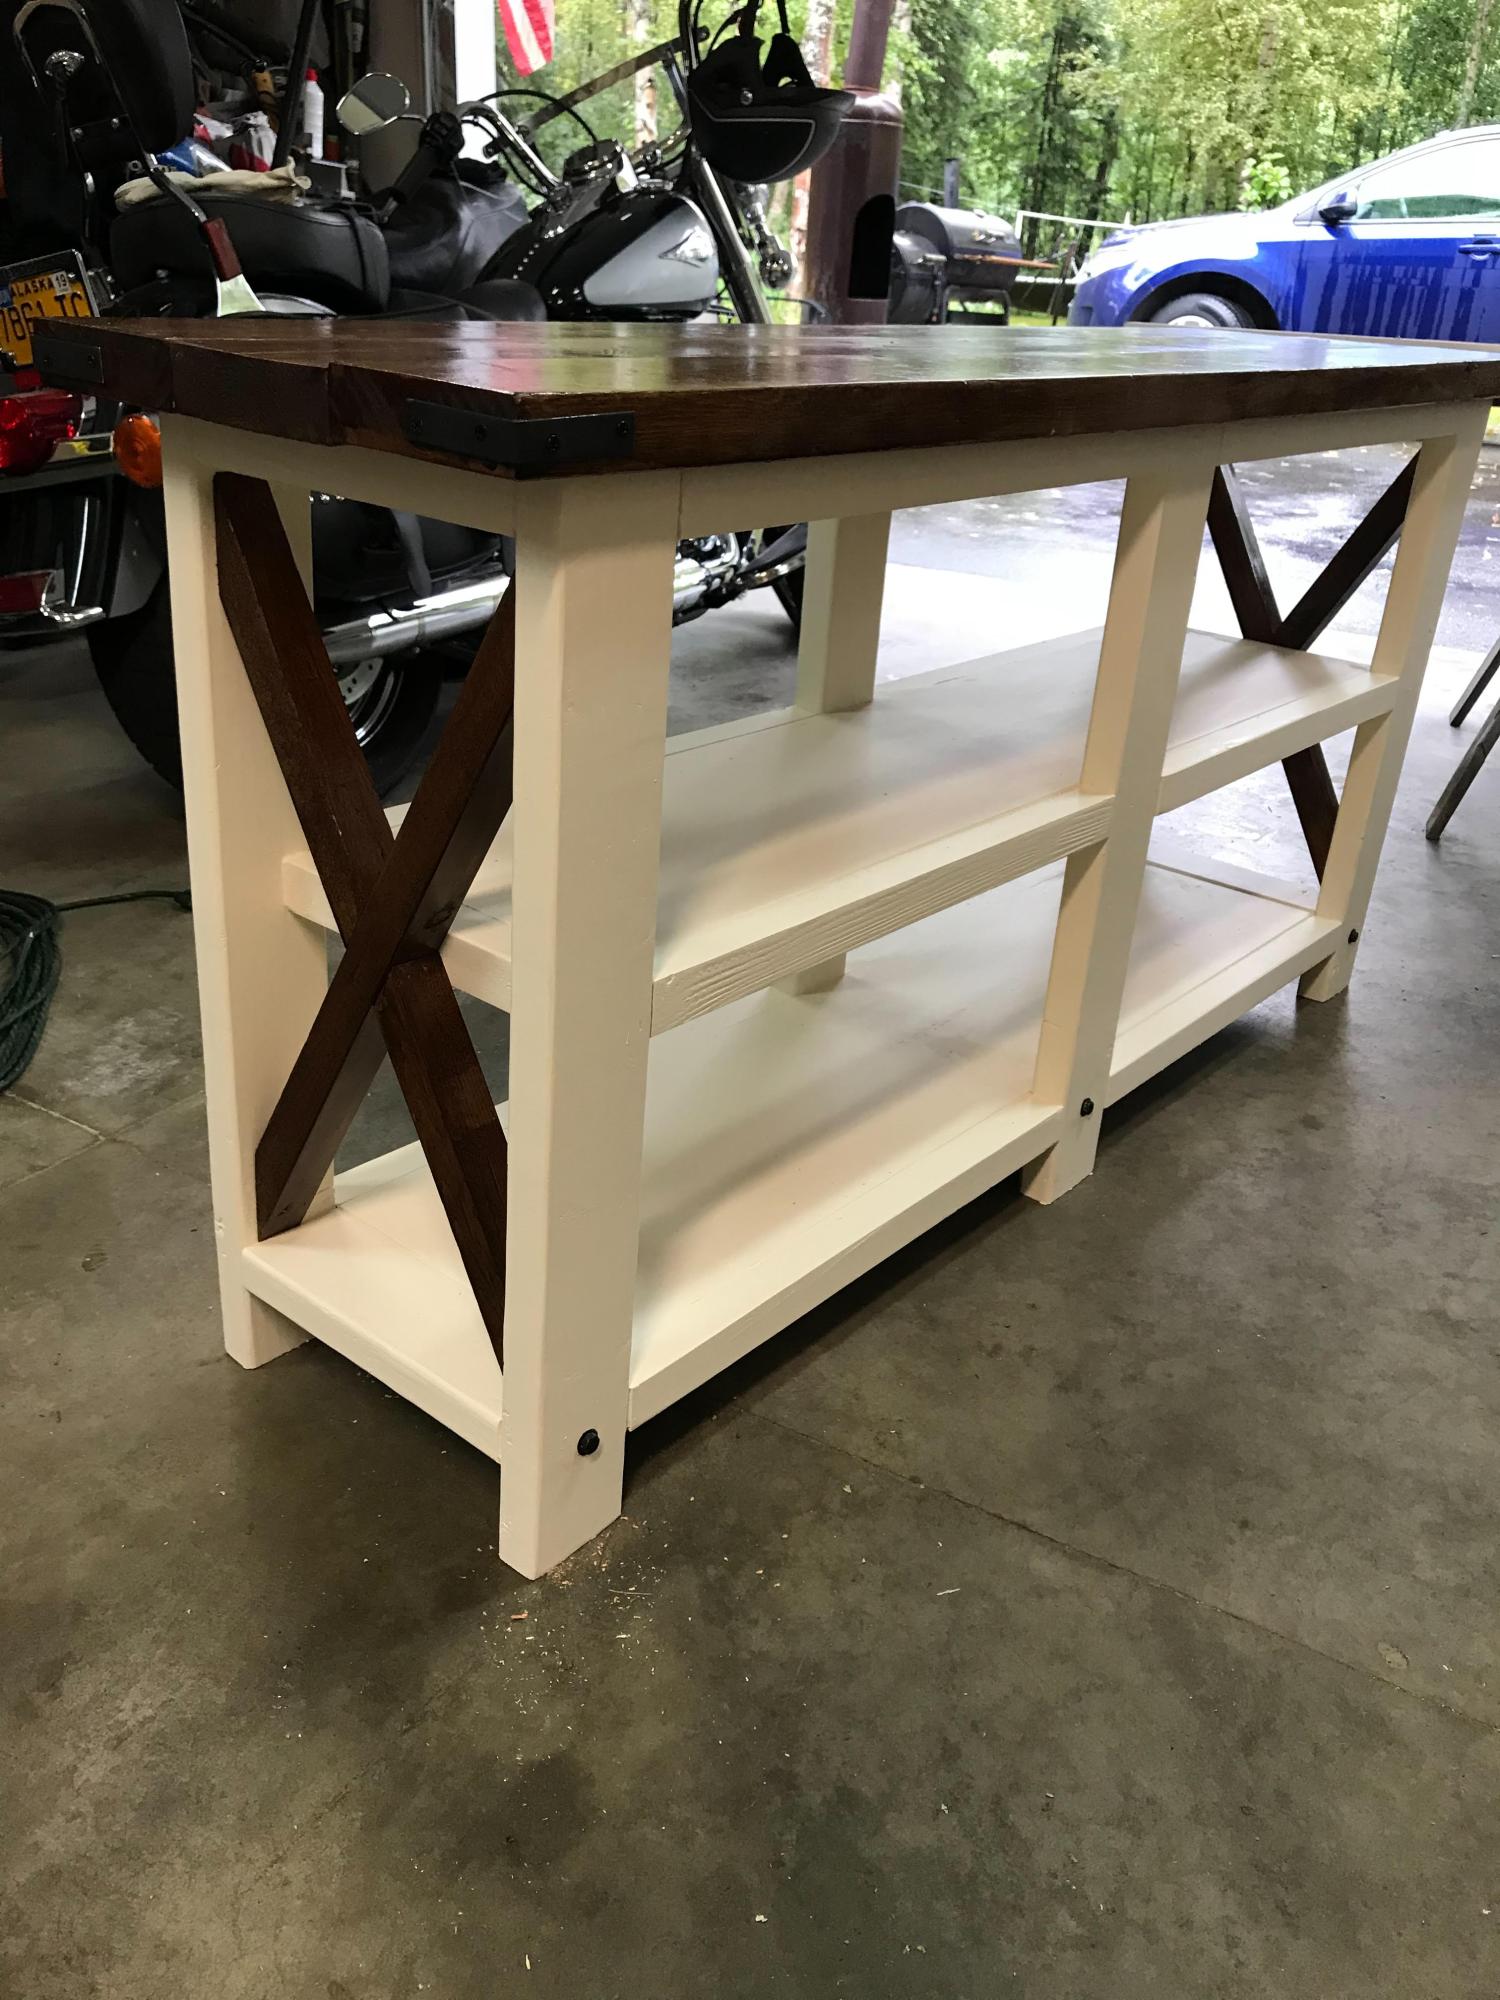
It’s been a couple years, but here a some projects that I made from your plans!
So much fun!
by Shawna
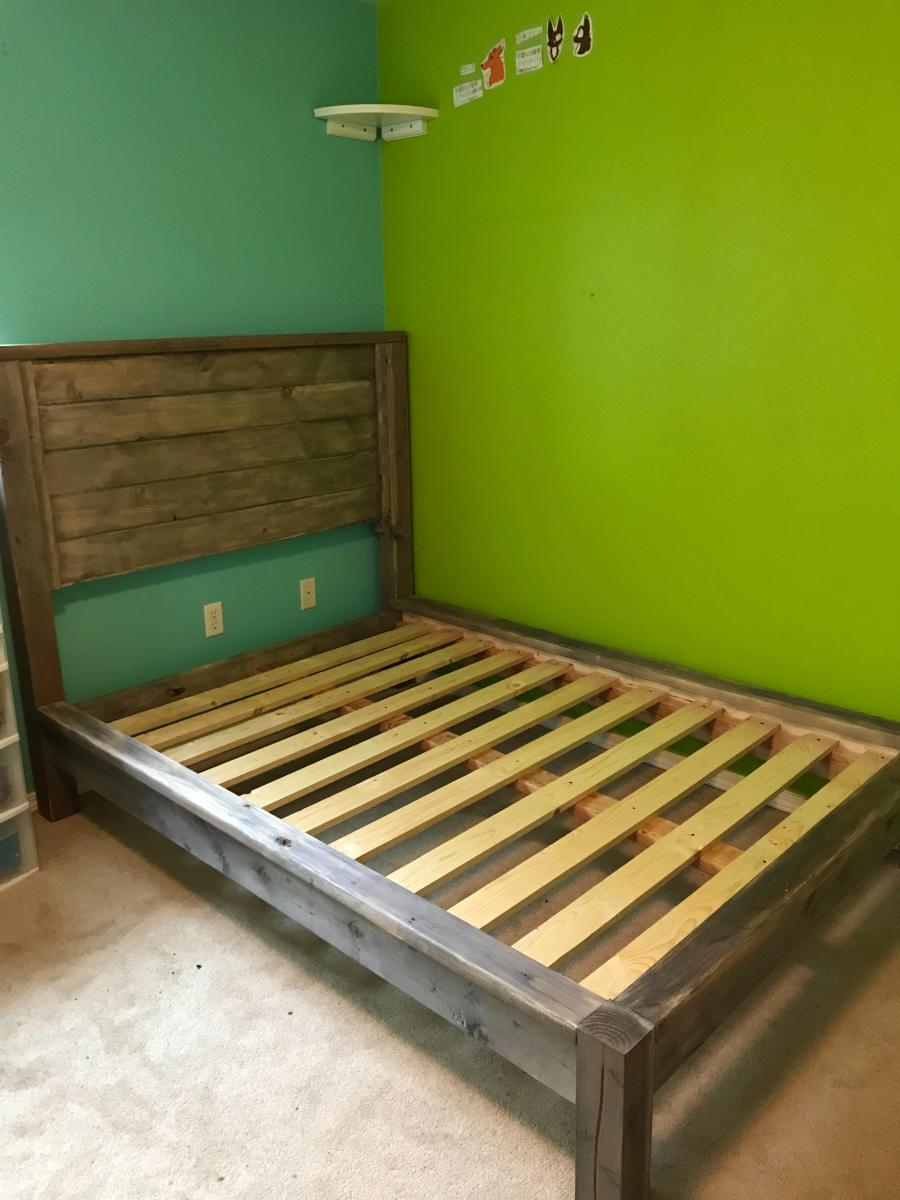
I have built a few beds from this site, but when I saw the chairs I knew this would be my next project! I don't have a nailer, so I used screws throughout. I found the outdoor fabric on the clearance rack at the fabric store. My boys helped me paint them with some extra white paint I had left over from a previous project (just Ultra bright white paint from Lowes). As you can see, my boys love to lounge in style! Thanks again Ana!!
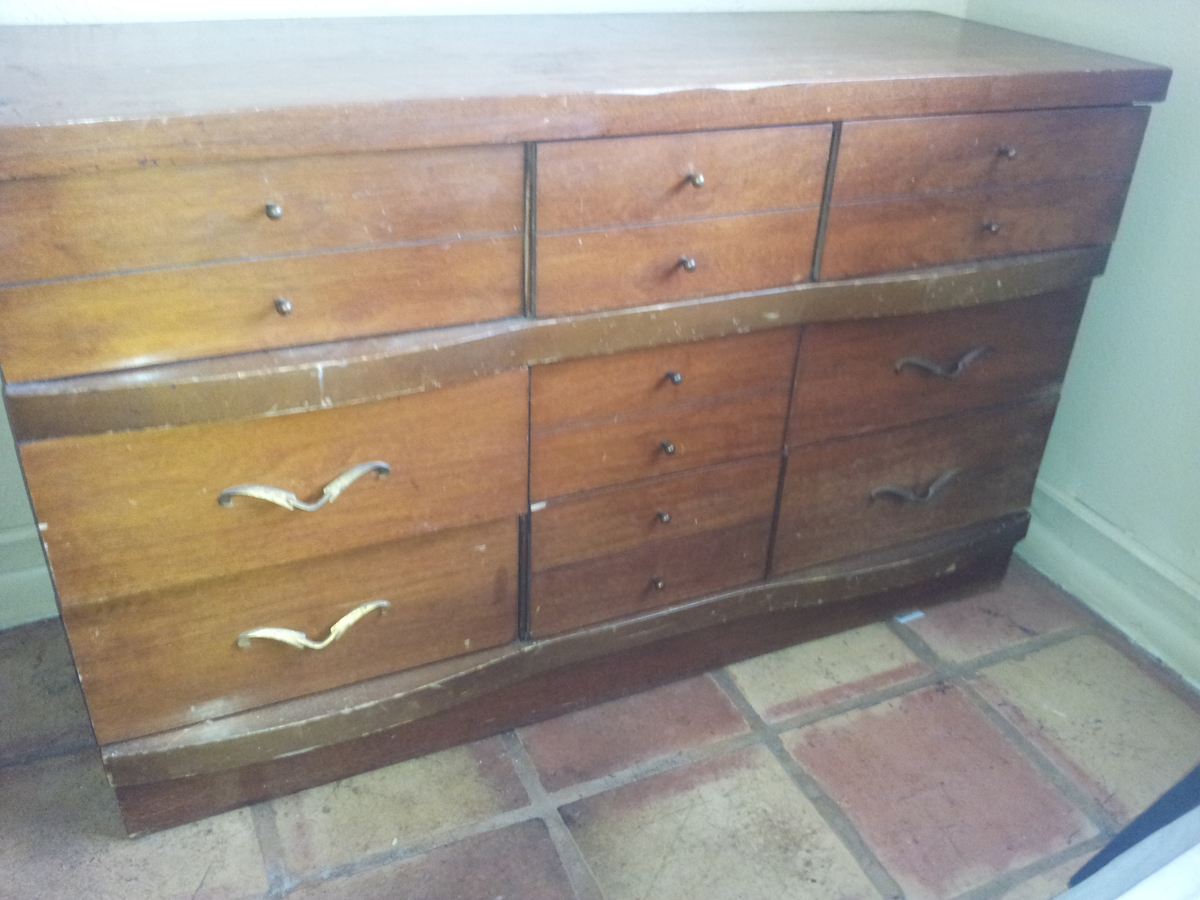
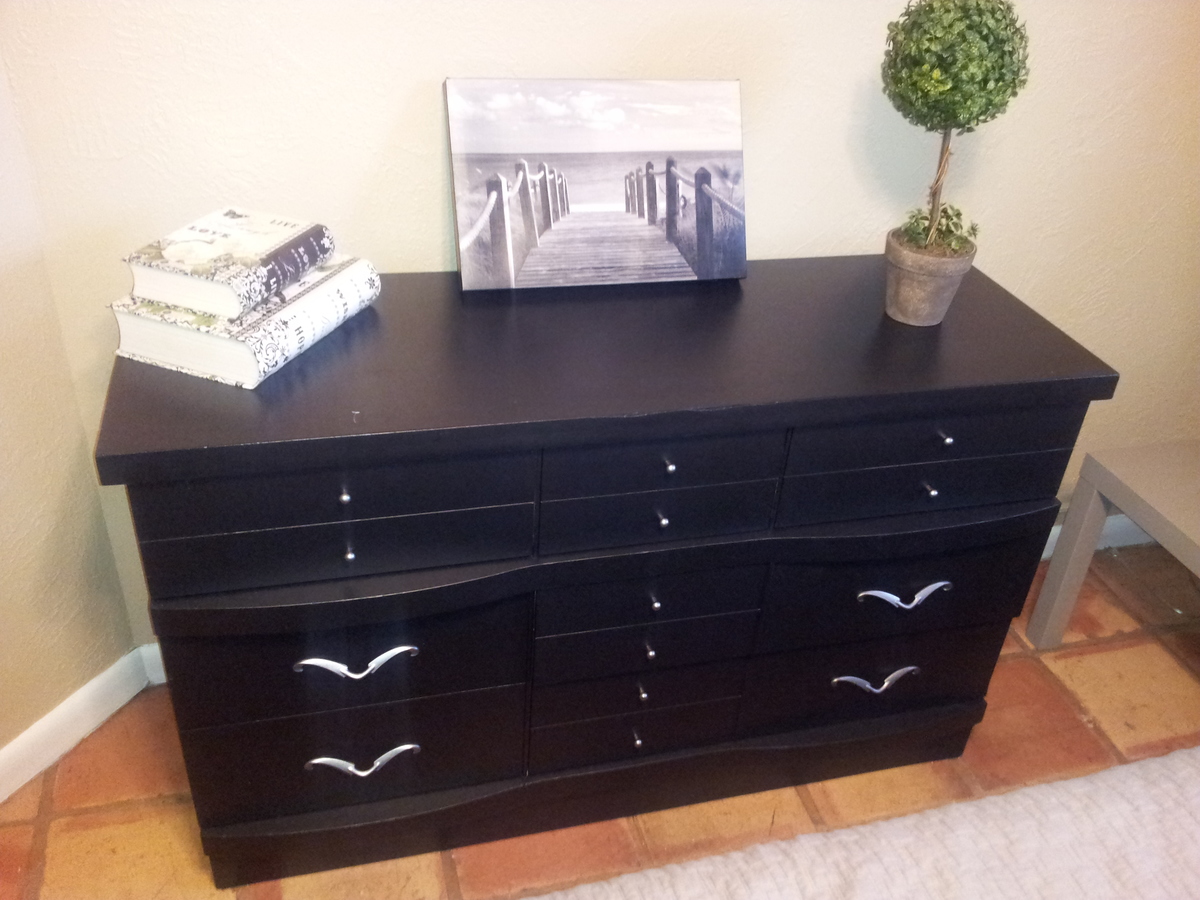
Bought a dresser for $10 from a garage sale by my house, and thought it would look great redone. As I was looking around for different methods online, I found a product called RECLAIM Beyond Paint while Googling DIY methods and products.
I picked up a small can from their Home Shopping Network page, and gave it a try.
The claims that there were no priming, sanding or prepping were pretty surprising. They do recommend cleaning, though.
The results pretty much speak for themselves. The project took a total of about an hour or so, including removing the hardware and spray painting it with a metal like paint I got from Home Depot, and then reattaching it.
I have to say the results were more than impressive. I had only used about an 1/8th of the can, so I'm going to try it on a few other items!
If you'd like to know more, I found it at www.reclaimbeyondpaint.com

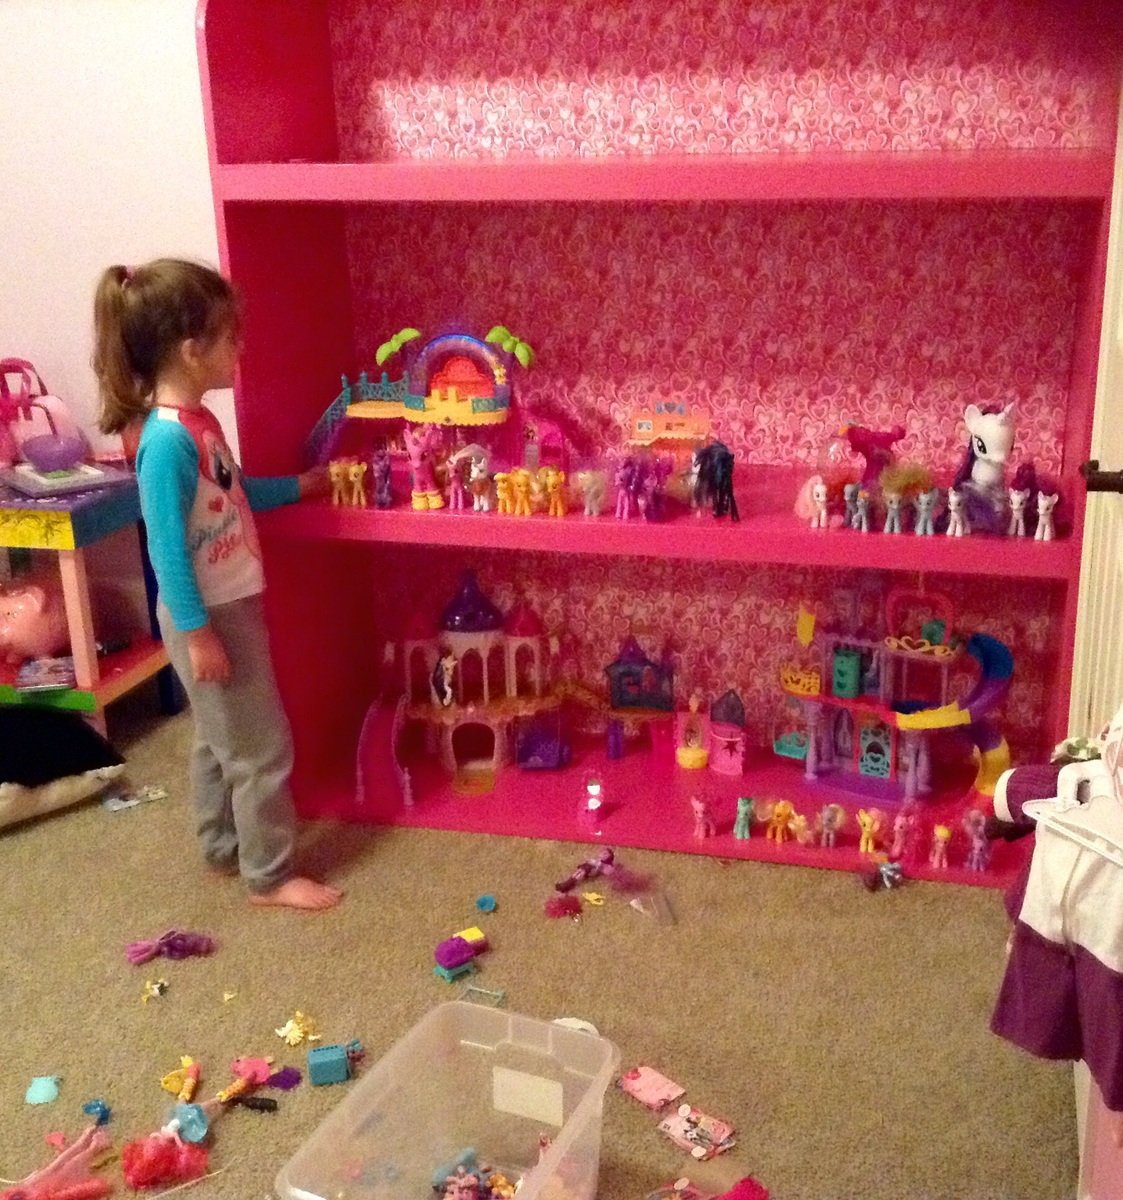
Last year I built a "Cara Storage Console" and matching bookcase for my 12 year old granddaughter. Her 5 year old sister decided she needed one too, but a little bigger so she could store all her "ponies" on it. She and her mother planned it all out over a period of a few weeks and what ended up being built was 5' wide and 7'3" tall. It is 20" deep. Anna's plan was scaled up a bit and then had to be broken down in to two sections, upper and lower, so it could be brought in to the house. The sides and shelves are all 1x12 pine boards put together with glue and Kreg screws. The back took most of 2 sheets of 1/4" plywood. 1x2's were added for support under the front and back of the shelves.
Fortunately her other grandmother is really good at painting, so it was given a couple coats of semigloss pink along with pink heart wall paper. The grandbaby and her little brother started loading it up before Granny could even finish the sides.
The good part is that all her toys will fit on these shelves. The bad part is she won't pick up all her toys and put them on these shelves.
$200 build and approximately a weekend to complete with finishing the wood.
Added a tongue/groove plank (6x total)

Love these chairs by my fire pit!

My son Jack, has Down syndrome. He's had the same preschool teacher for the last 3 years, and now it's time to move on to kindergarten. Not only does he have a dedicated teacher, but he has two paraprofessionals (teacher's aides) that take turns in helping him 1:1 all day long. I figured that it was time for all three of them to relax this summer. So, in appreciation, I made three of the adult sling chairs so they can enjoy their much deserved relaxation.


Tue, 06/21/2011 - 00:00
As an OT in the schools, I can understand your connection to the dedicated teacher and staff that work for your son. I'm sure that these gorgeous chairs will show your appreciation! What great choices in fabric, too!
Tue, 06/21/2011 - 15:18
Seriously so thoughtful! I love how they turned out!!!
Tue, 06/21/2011 - 18:20
I made this same chair for my husband and I got my fabric at JoAnn on sale! They have a great selection of outdoor fabric. :)
Fri, 09/23/2011 - 19:31
Would you mind sending the instructions for these chairs. I think this is something that I could do and would love to make a set for my husband for Christmas. We are all about homemade. That would be so great!
Wed, 09/28/2011 - 20:05
Hi Sherry. To find the page where I got the plans, just click on the words "Wood folding sling chair - adult" next to the bolded "From Plan" listed above. That will take you directly to Ana's plan.
Fri, 02/10/2012 - 03:45
would love to make could i get these instuction thanks

I had my eye on this clubhouse bed from the Pottery Barn kids catalog and was so excited when I came across this plan and my hubby offered to build it for my 4-year-old. I think it actually turned out cuter than the Pottery Barn version! Thanks so much, Ana!


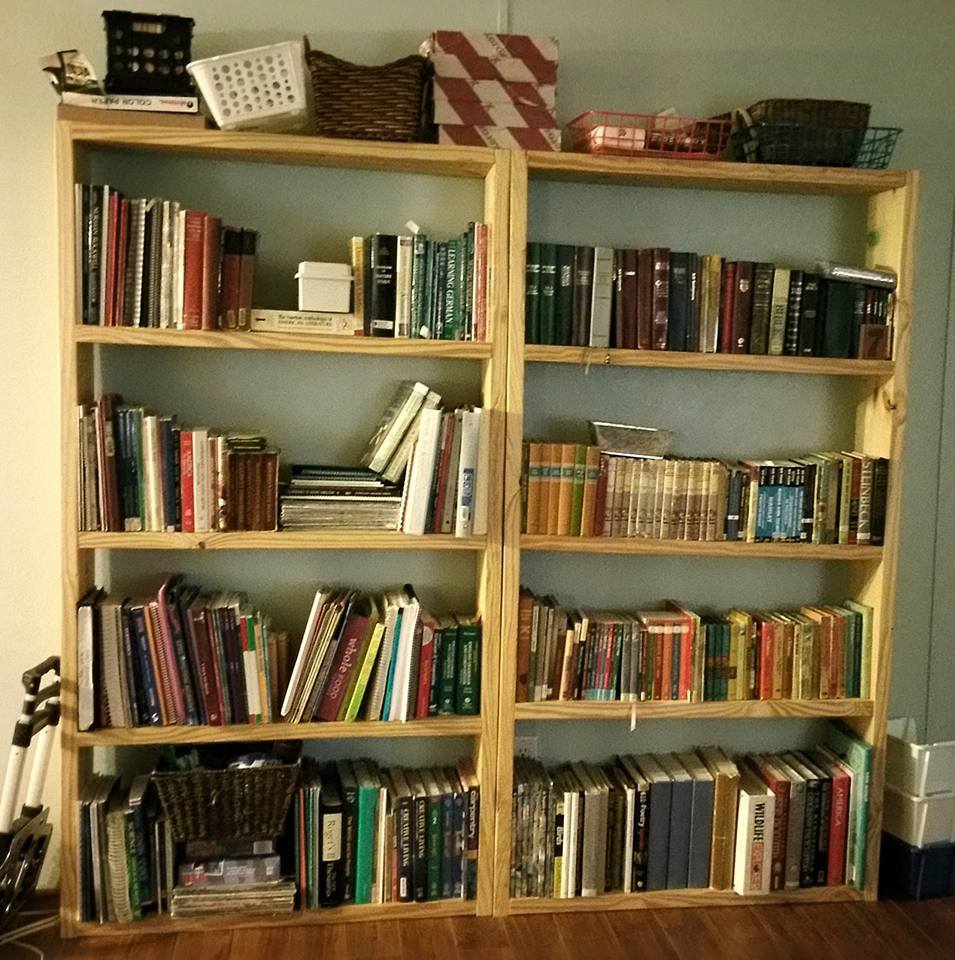
These were my first two Ana-powered pieces. They're not perfect, but I love them! We altered the size a bit since the 10" lumber was a bit more affordable than the 12"
I was too tired after building them to paint them, so "rustic" it is!
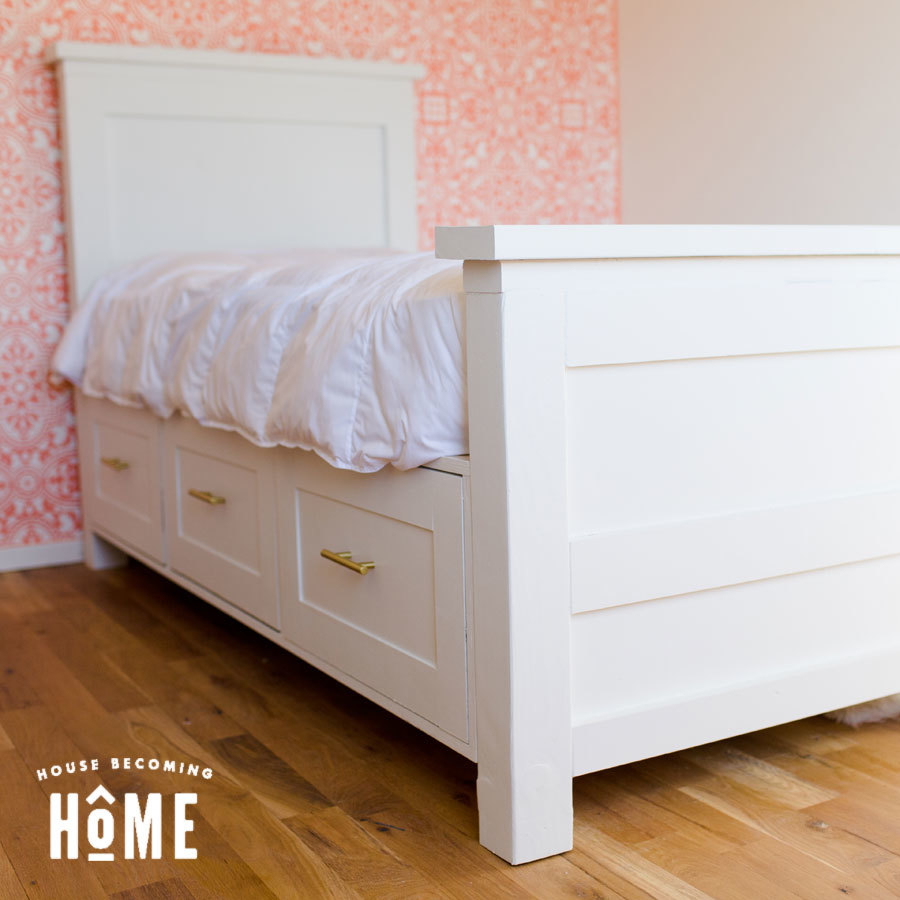
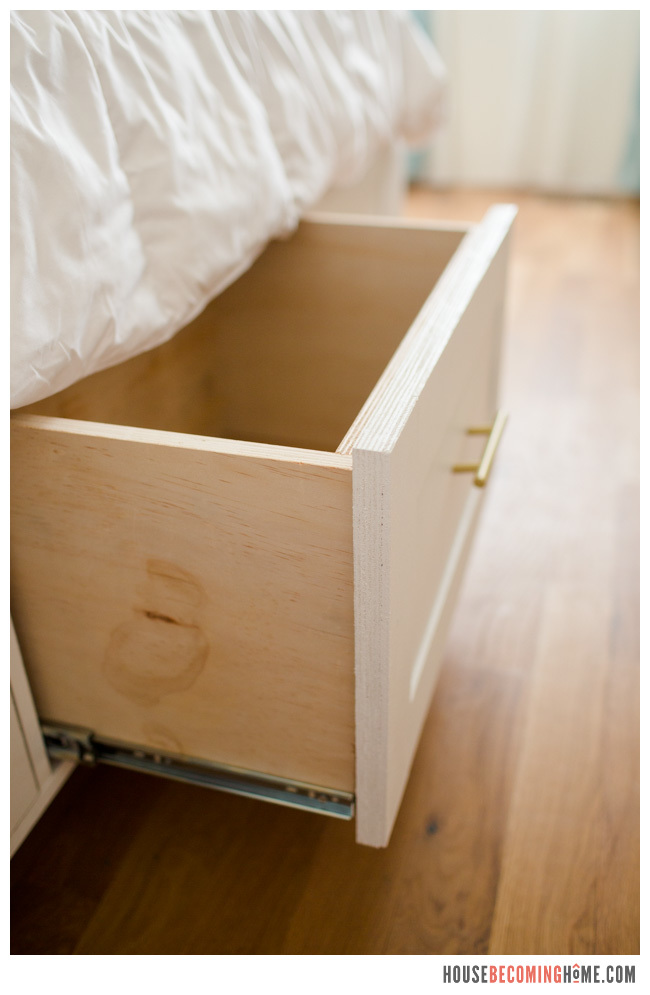
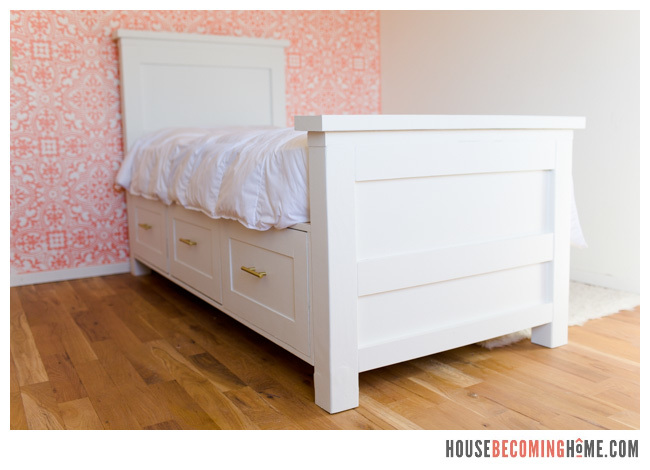
I built this twin bed with drawers for my daughter and I LOVE all the storage the drawers provide. I slightly modified the plans it was based off of--you can find more info and see details from the build on my blog House Becoming Home.
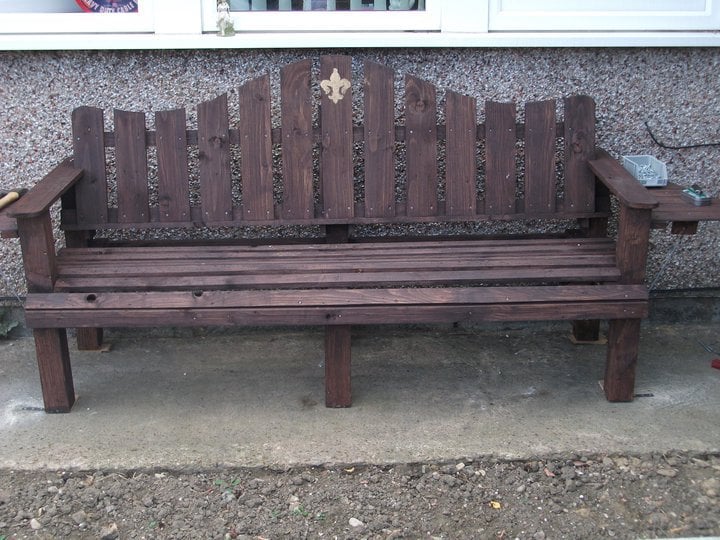
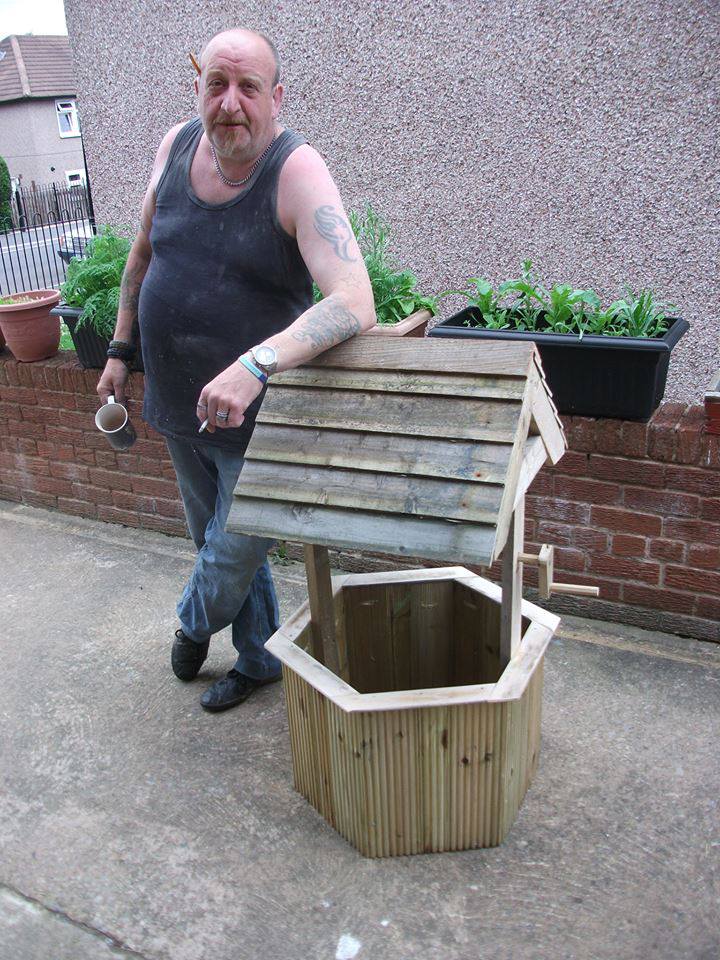
The bench and 2 chairs were made from old pallets (hate throwing wood in the skip) the medicine cabinet was an old single bed frame and an old wardrobe the wishing well was a reqiest for a friend and was made from off cuts from other projects and last but not leased the handsome cab was more off cut in my shed.
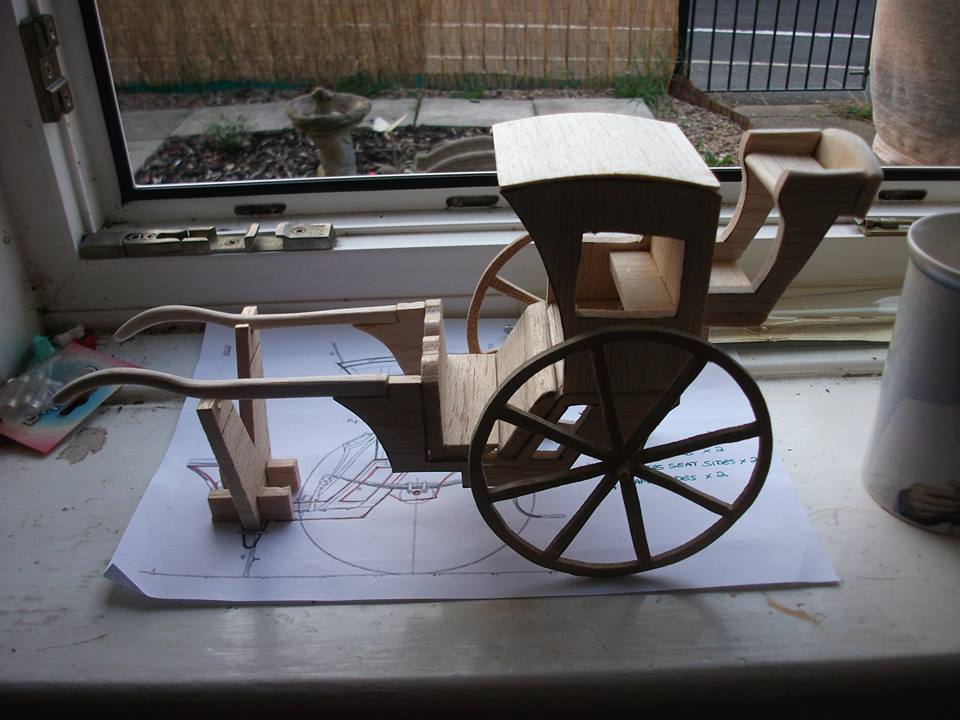
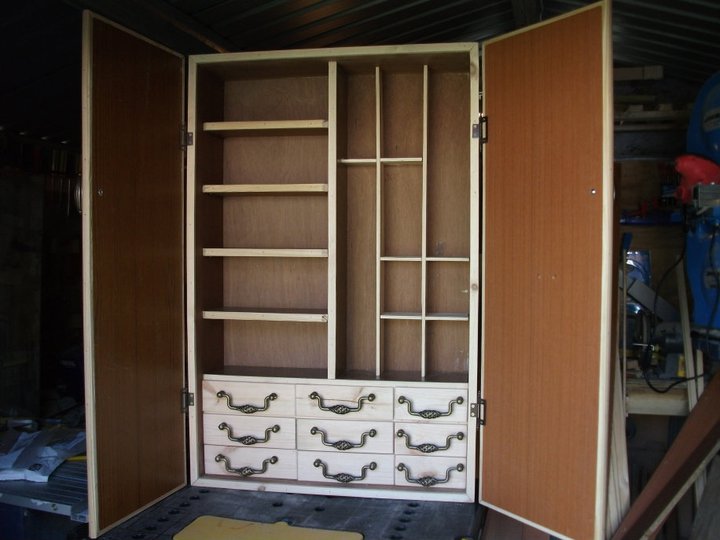
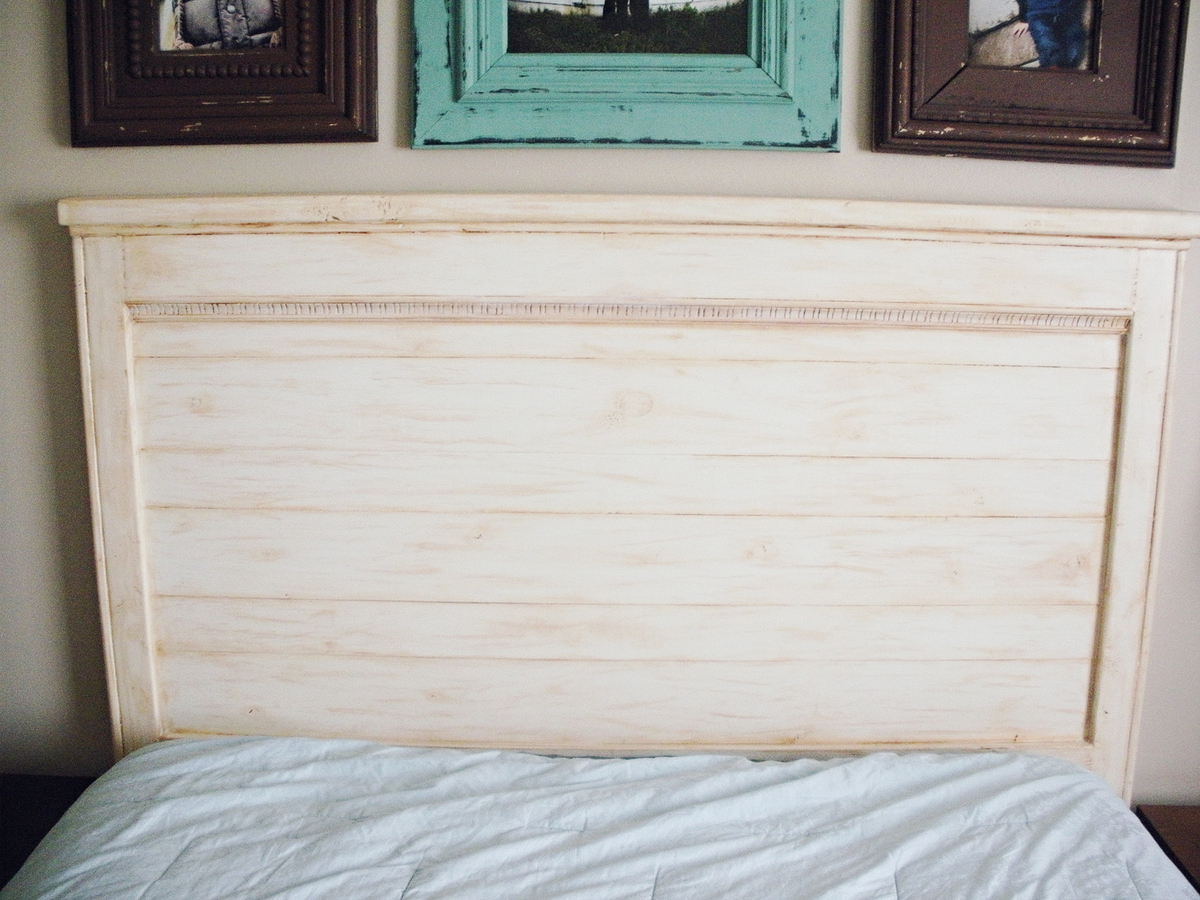
This was my first building project. It turned out better than I thought it would!
I used the reclaimed wood headboard plans. The only things that I did different was added a decorative trim piece to it & did some wood filler to areas to fill in. I painted it a cream color, then antiqued it. The stuff I used was folkart antiquing medium that I got at a local craft store.
A few things that I learned...
*Make sure the wood you buy it straight. Check it at the store that it lays flat on the ground.
*Don't take a 4 & 5 year old with you to the hardware store!
*For some areas screws work better than finishing nails. AKA the top pieces of the headboard (pre drill a hole a little so that the screw head will fit in. When done add wood filler after to fill in the hole)
*measure your bed frame rail to make sure that the headboard will fit where the holes in the frame are.
Fri, 09/07/2012 - 09:36
This looks great! I just finished my headboard and TOTALLY agree with the make sure your wood is straight thing. I didn't and it really screws things up!
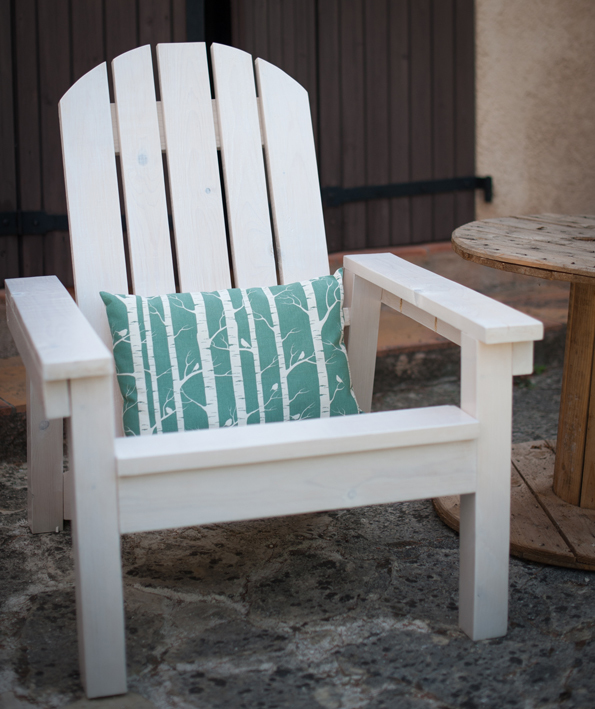
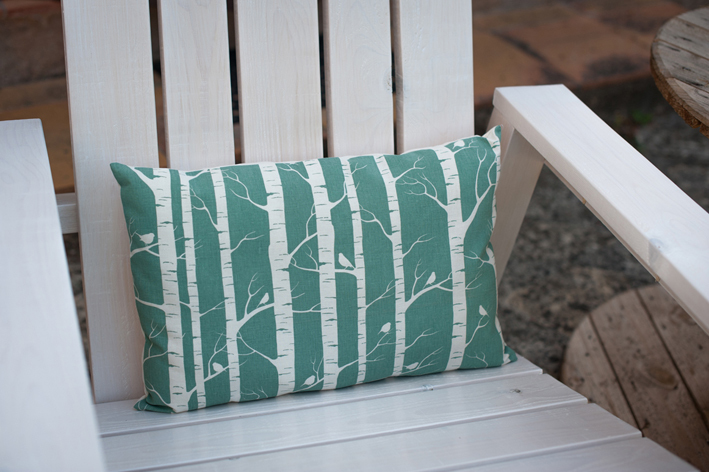
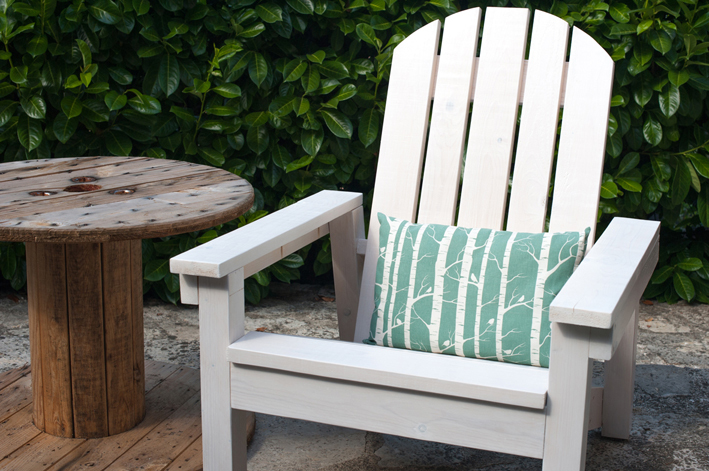
I'm a French woodworking. It was so easy to buid this adirondack chair. I'm using my lovely kreg jig. I want to redo two other chairs... Thank you so much Ana ;-). Sory for my bad english !!!
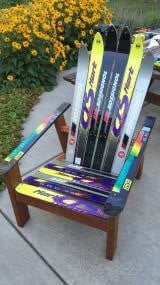
Had some old skis I've been wanting to make into a chair. The Home Depot plans worked perfectly for the base. Cut the back brace a bit longer to fit the skis
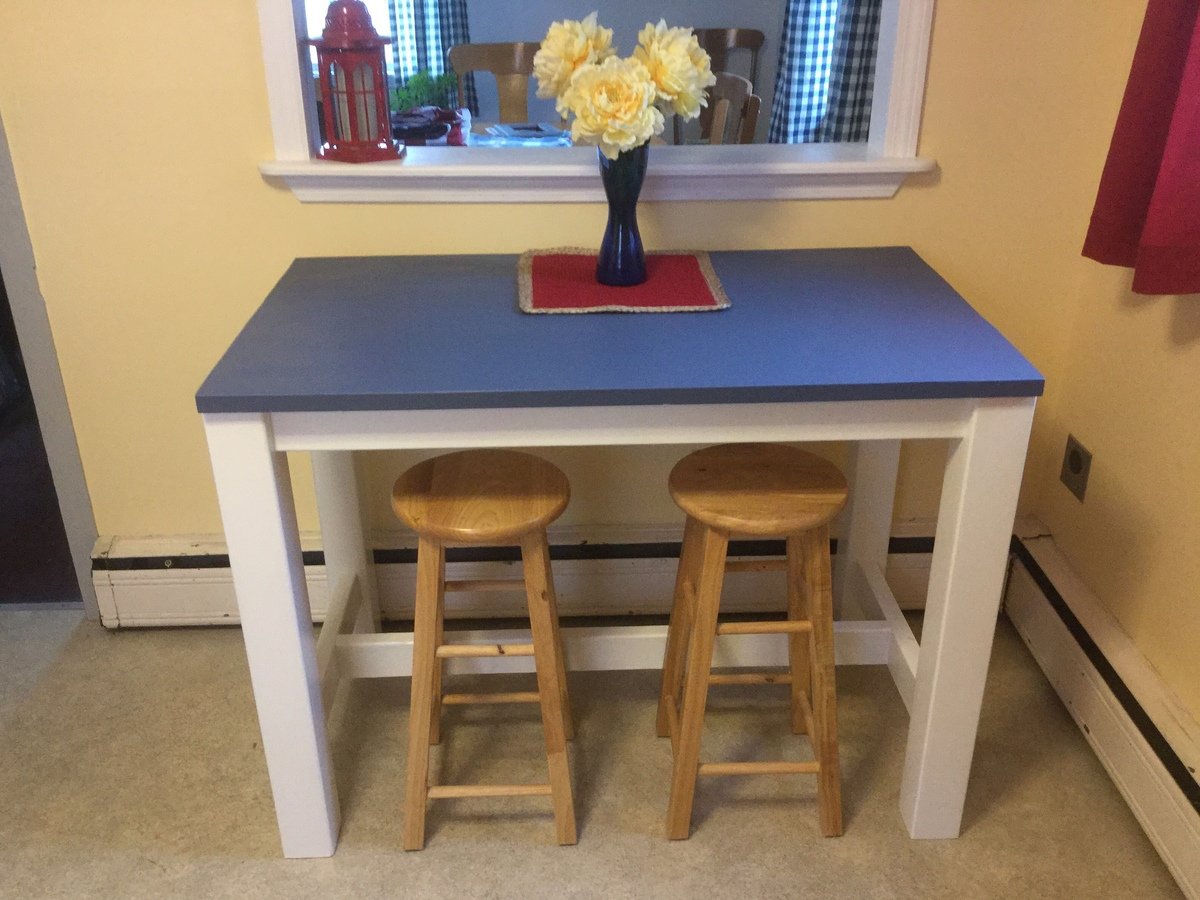
This counter height farmhouse table fit my space perfectly. I made it narrower than Ana's table but the same length, 48" x 27". Instead of a 3/4" plywood top, I joined five 5/4" x 6 pine boards for the top. The stools fit exactly under the table when I want to use it as a workspace. I can also use both sides of the table if I pull it out.
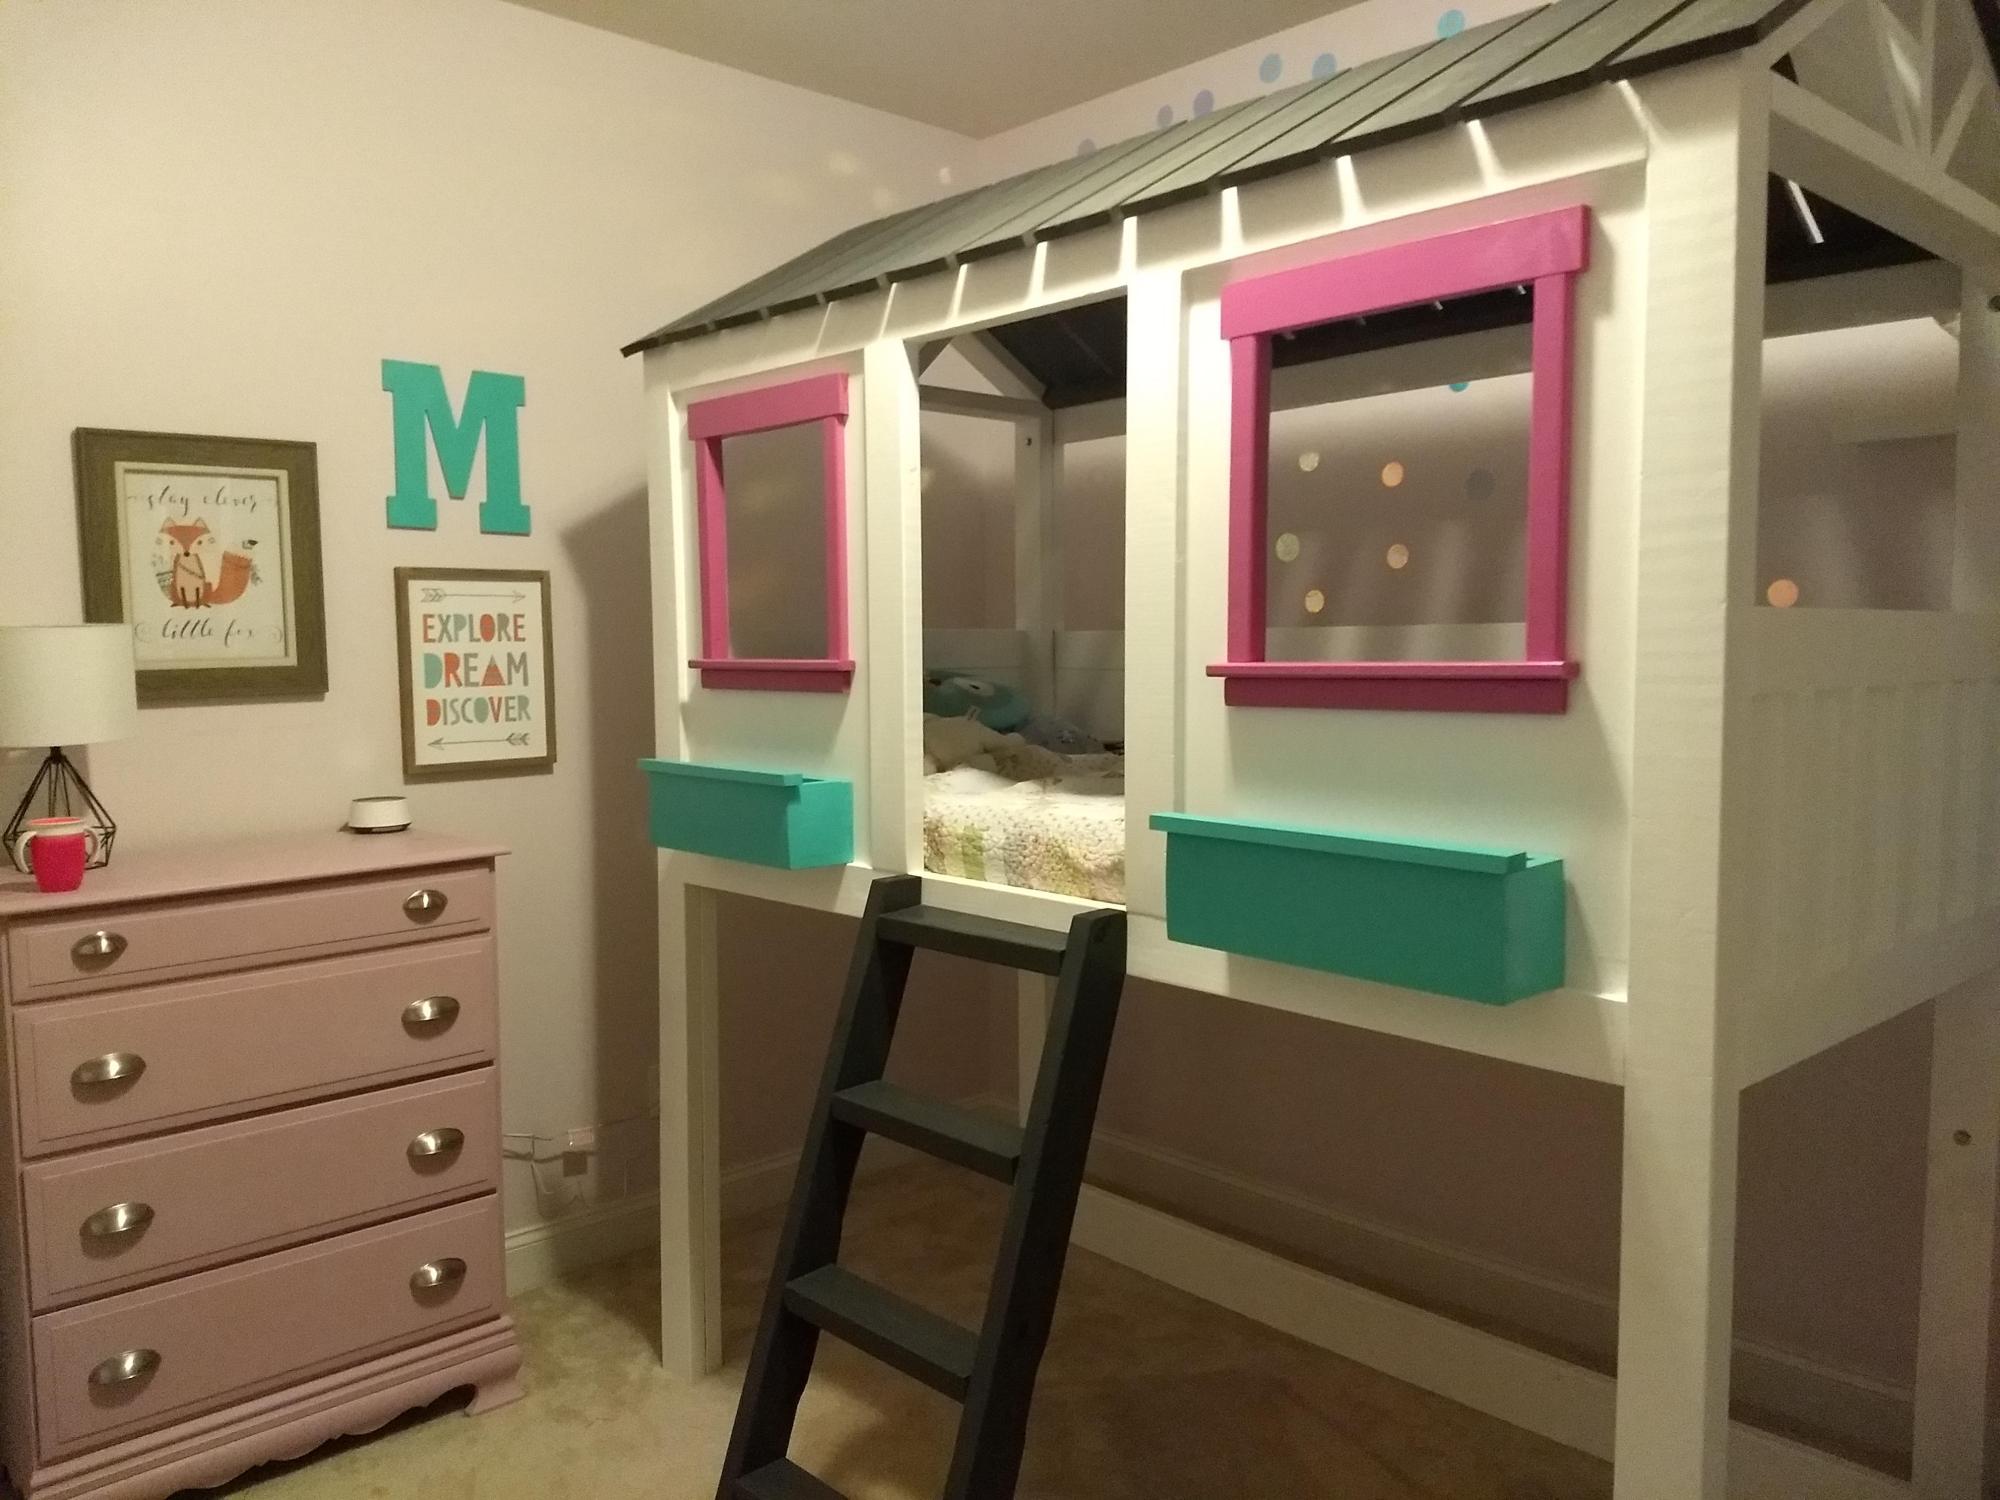
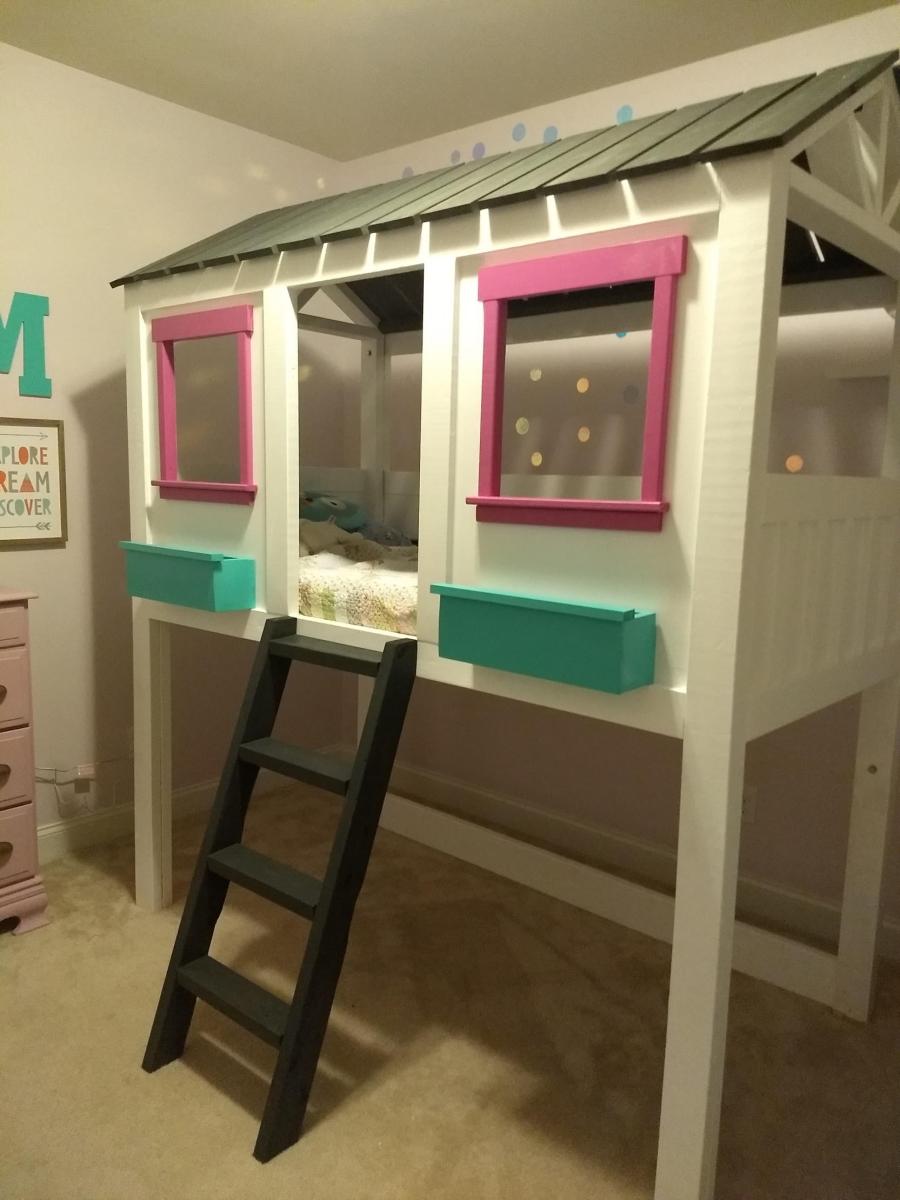
Cabin bunkbed for granddaughters room, built by her mom and grandma.
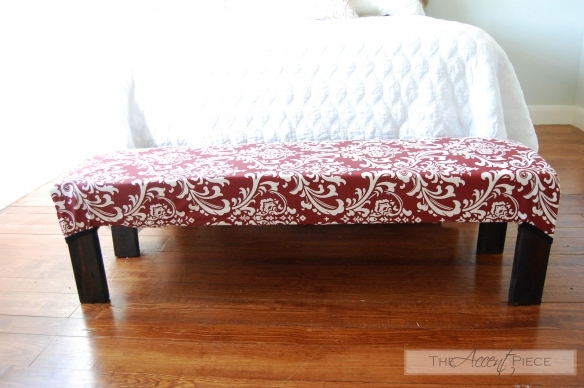
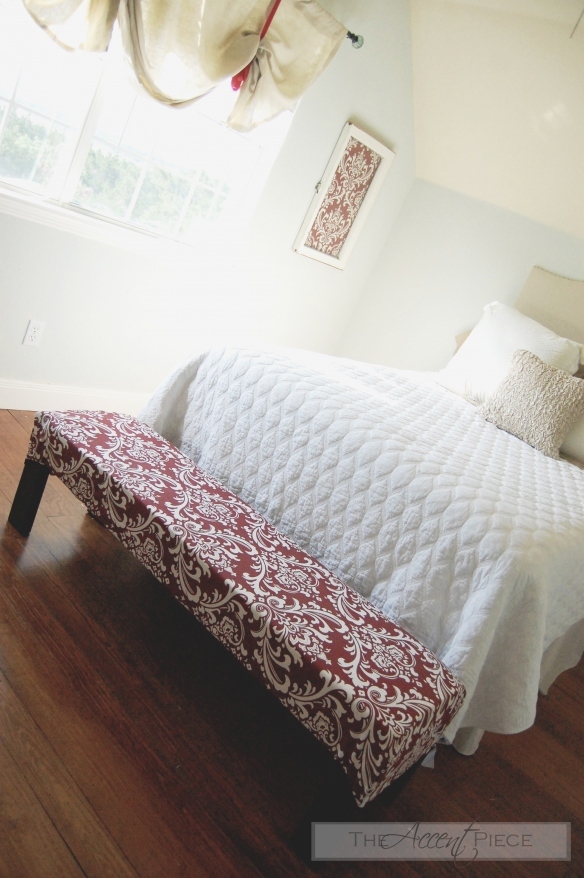
Used the easiest upholstered bench plans as a start. I modified it just a little so that I could use what I had on hand!
Wed, 06/29/2011 - 10:41
I love that fabric too! I've used that exact same stuff in my kitchen, and also framed a piece of it to cover the hole in the wall over the stove where my range hood vent is supposed to go if my husband ever gets it put up. I've also got the black version of the fabric to make baskets to go on my wire shelves.
Thu, 03/08/2012 - 14:38
This is perfect but it needs a back. do u have plans for something like this
thanks
Jimmy
Comments
Marisol
Mon, 06/13/2011 - 18:46
so elegant!
i love this...the table makes the room!!! wow!