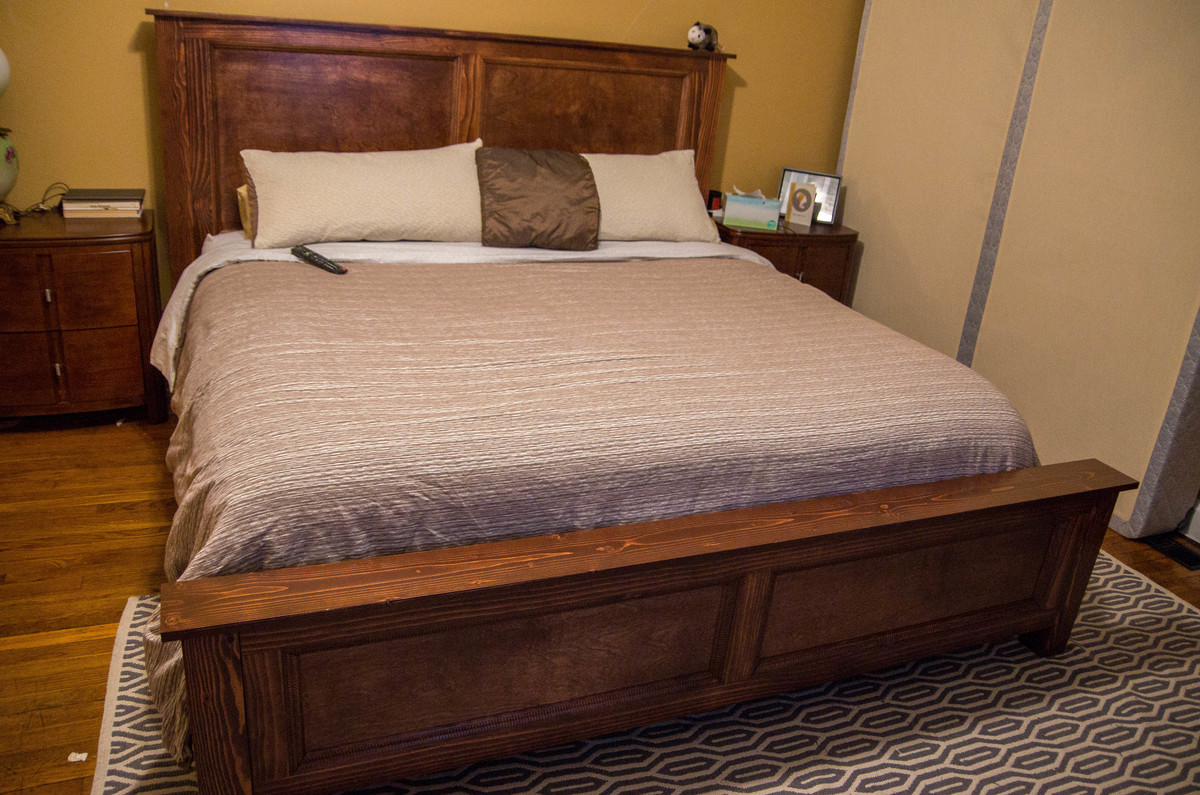
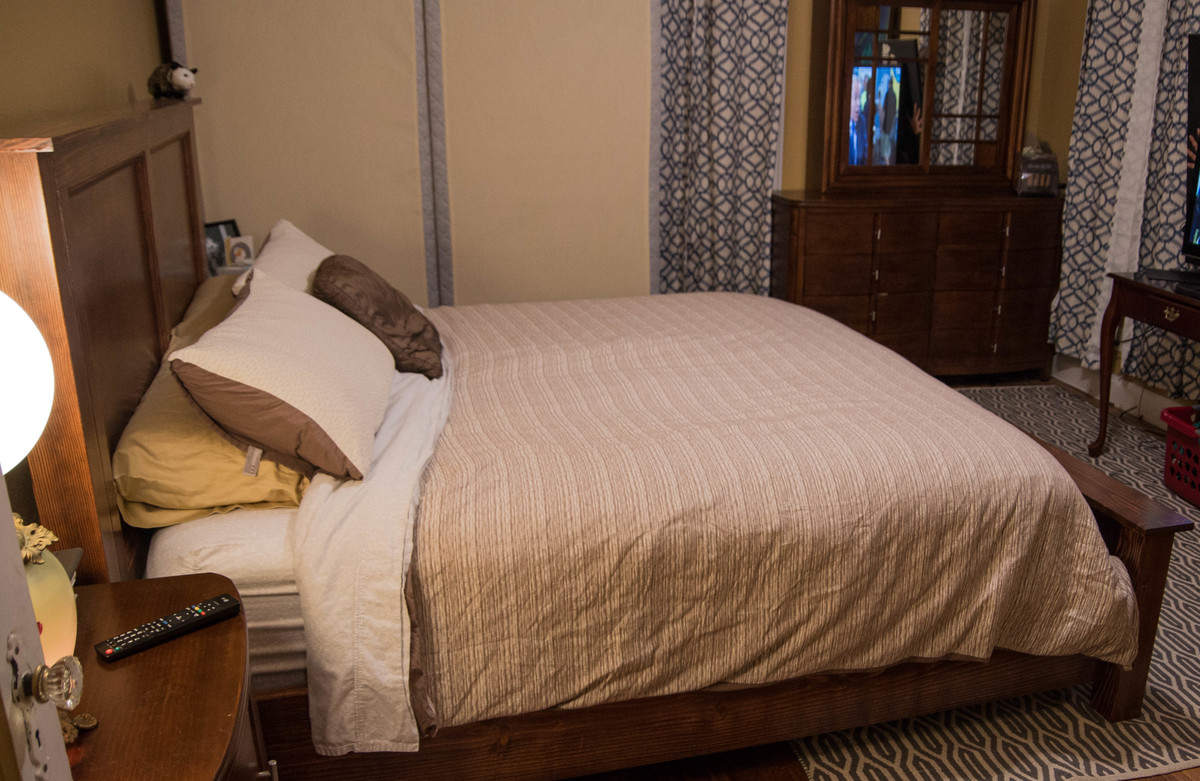
king bed from reclaimed barn wood
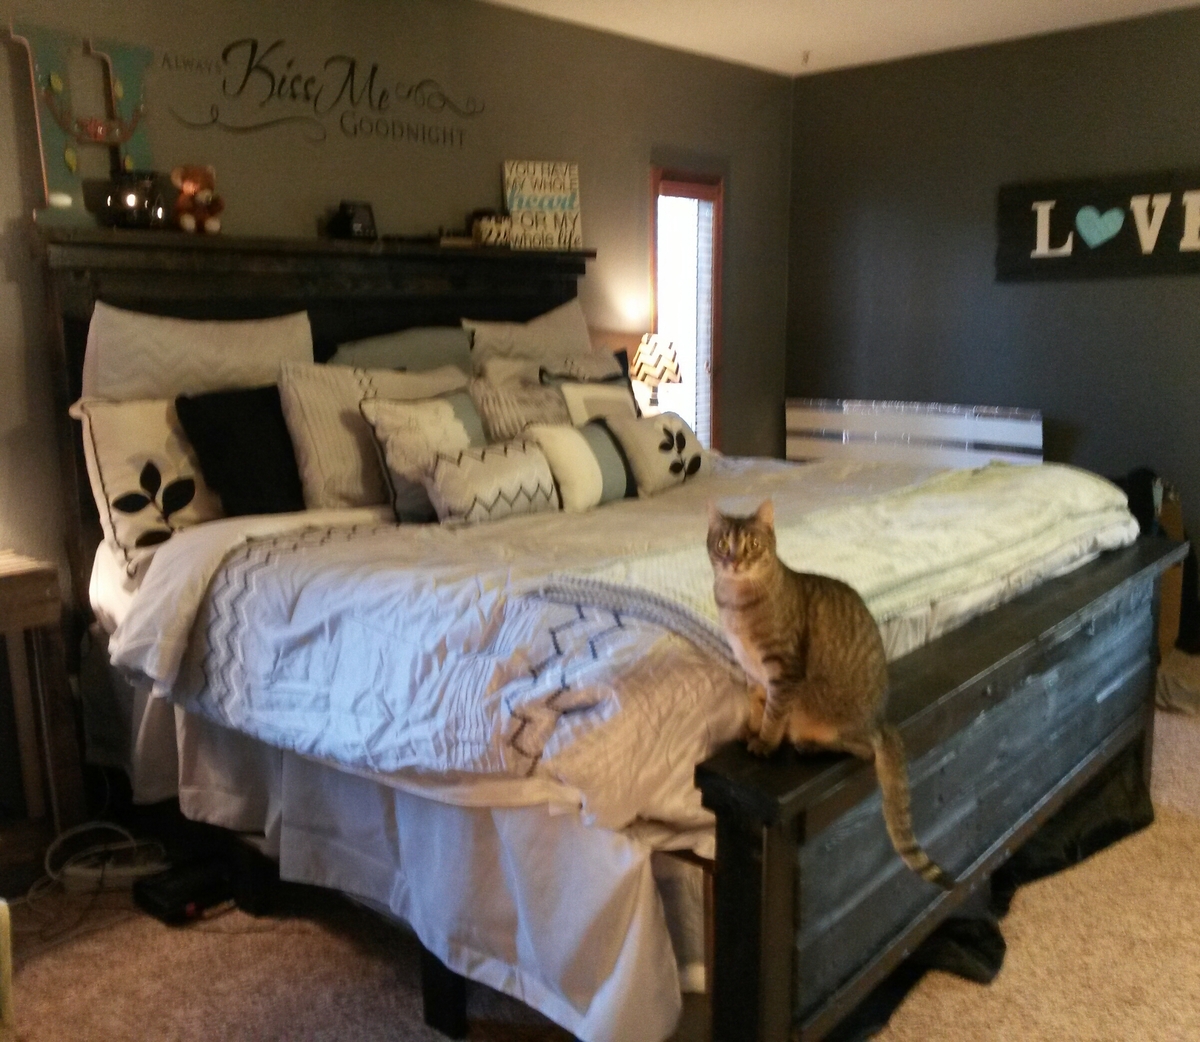
First project from dad tearing down his barn. Used ana's plans for queen bed and added to fit king dimensions. Husband also requested a tall bed so I added 6 inches to her measurements.
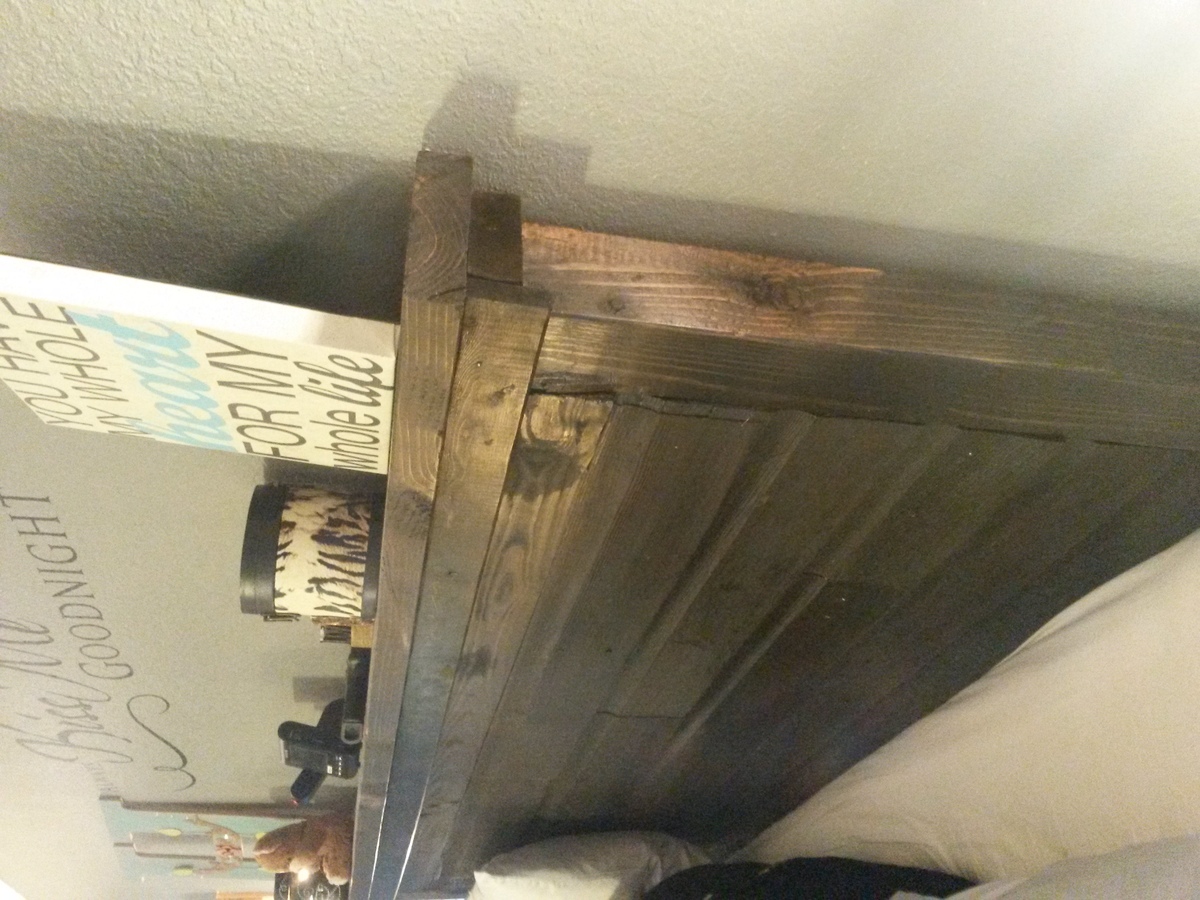
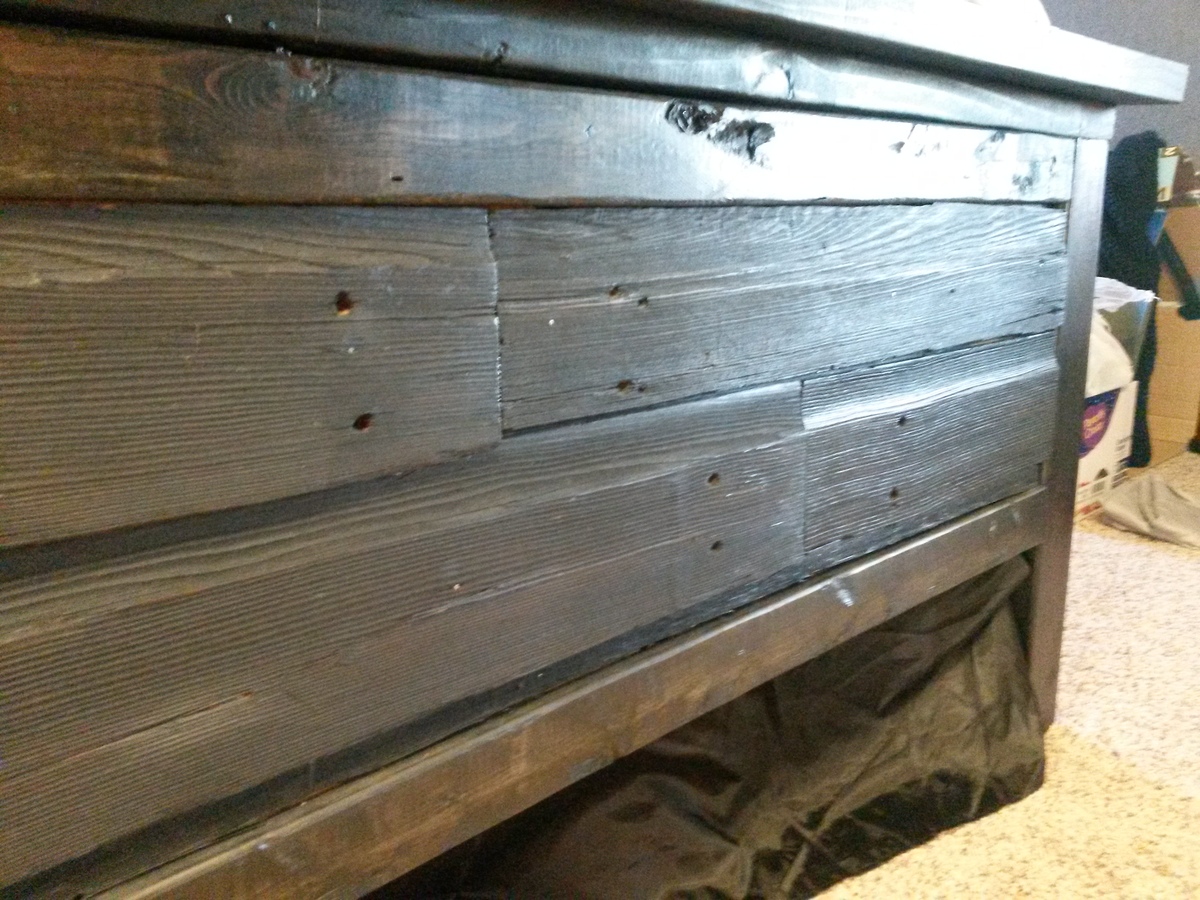
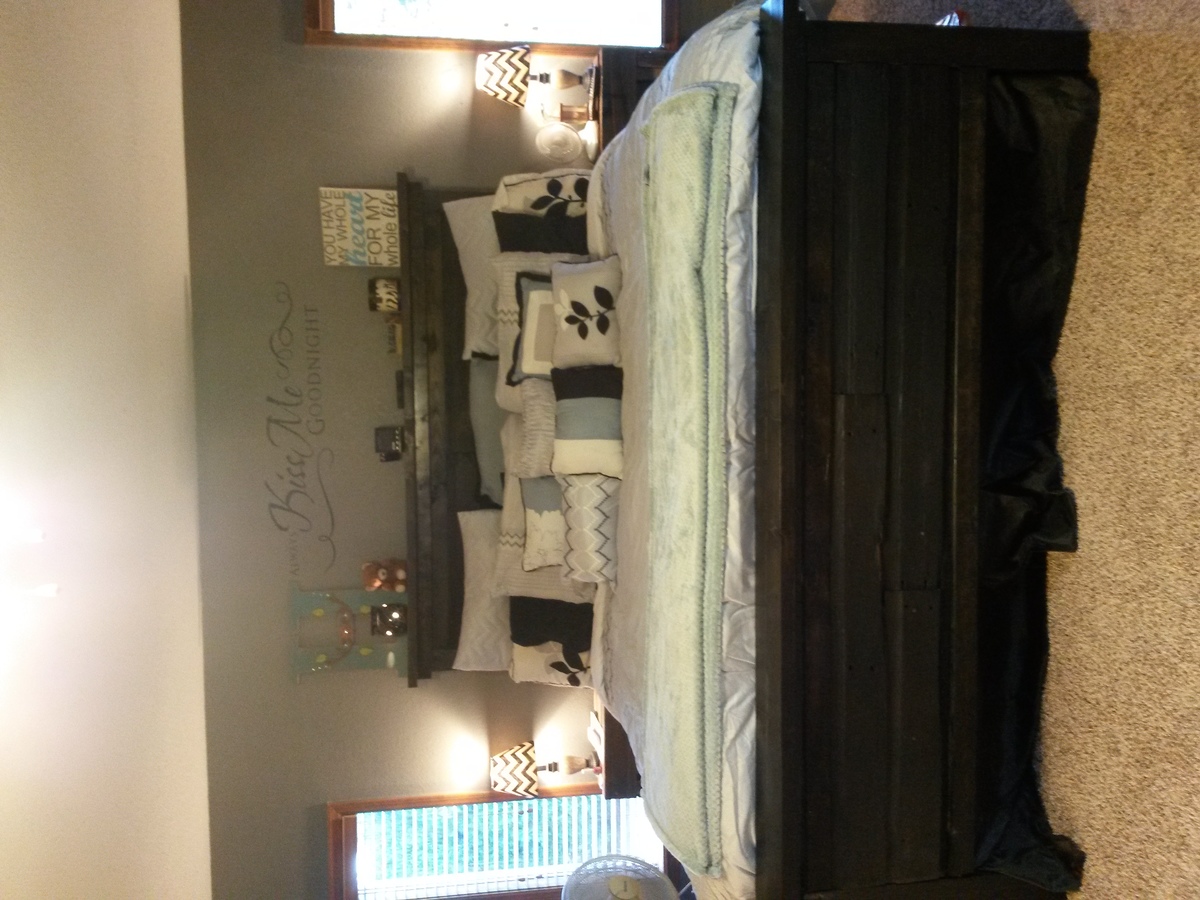
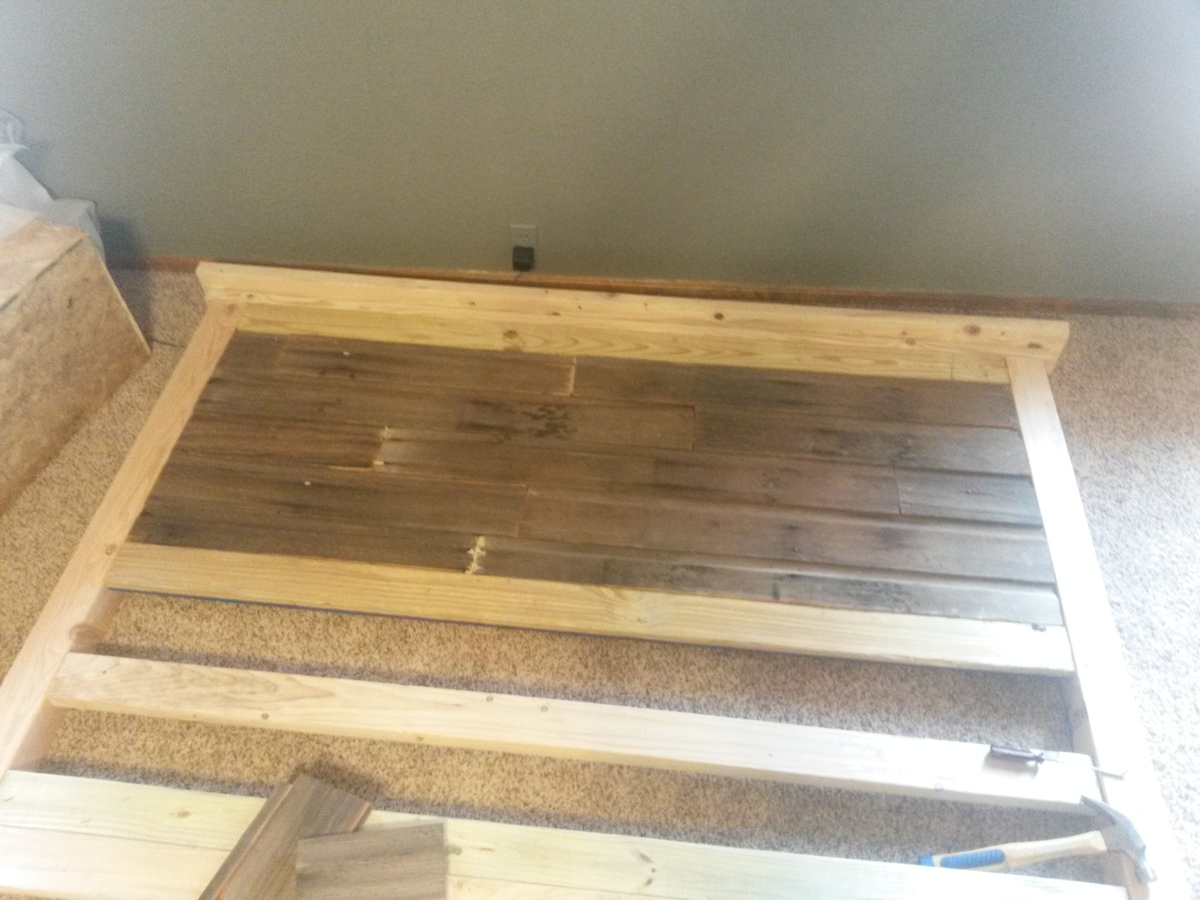
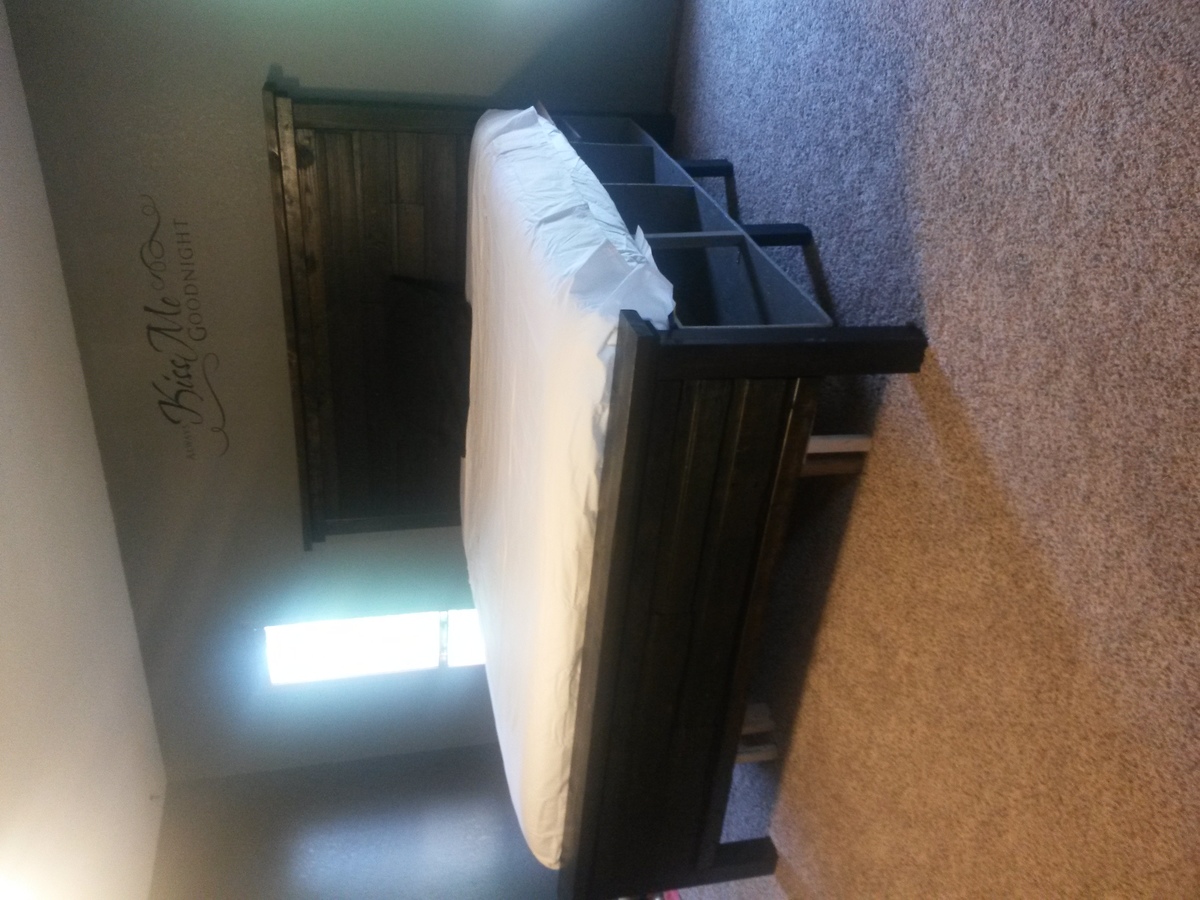

First project from dad tearing down his barn. Used ana's plans for queen bed and added to fit king dimensions. Husband also requested a tall bed so I added 6 inches to her measurements.


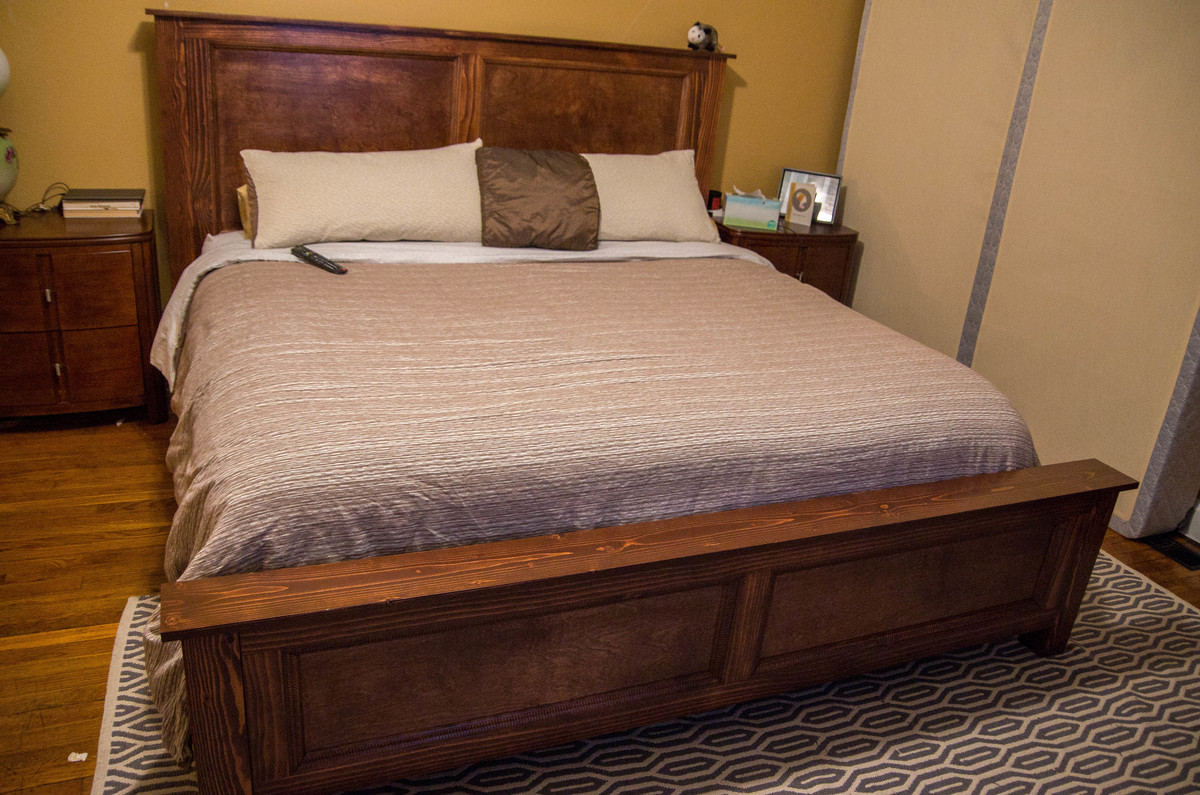
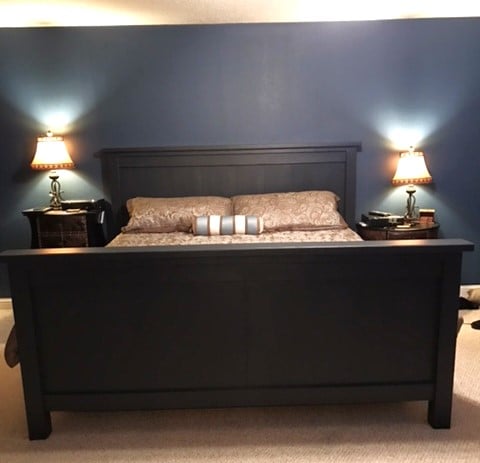
We executed the Cassidy King bed plan to the letter apart from the shims decoration on the head and footboard. We opted for trimming both the head and footboard with some simple trim to keep the design clean. We also used 2x12s for the side rails and added extra frame supports to ensure the bed was extra sturdy, and it is rock solid! As you can see from some of the pictures after putting the bed together using our box springs we felt it made the mattress look too high. We then decided to put down ¾ inch plywood and take out the box springs (our mattress is really thick, nearly 18’’). All in all, we are very pleased with how this plan turned out. Thank you, Anna, for your awesome plans! This is the third project we have made from your site and all of them have turned out true to the plans and looking really nice.
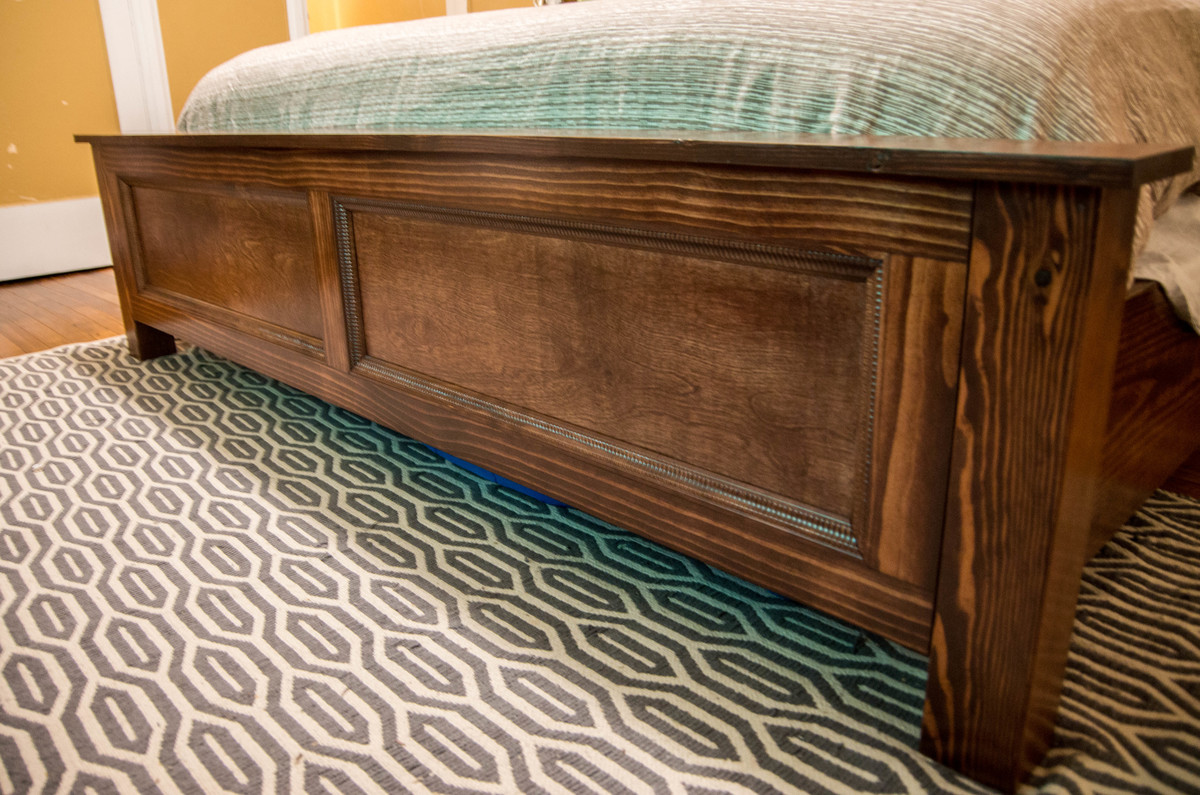
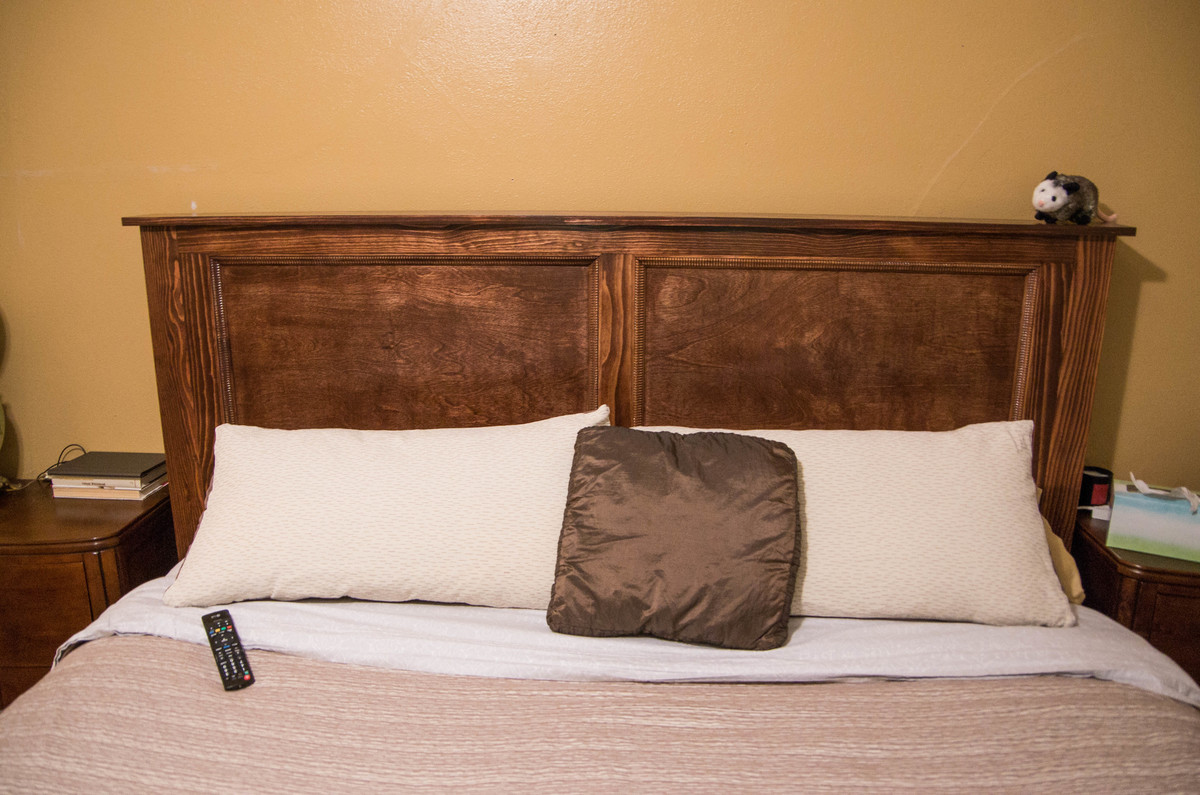
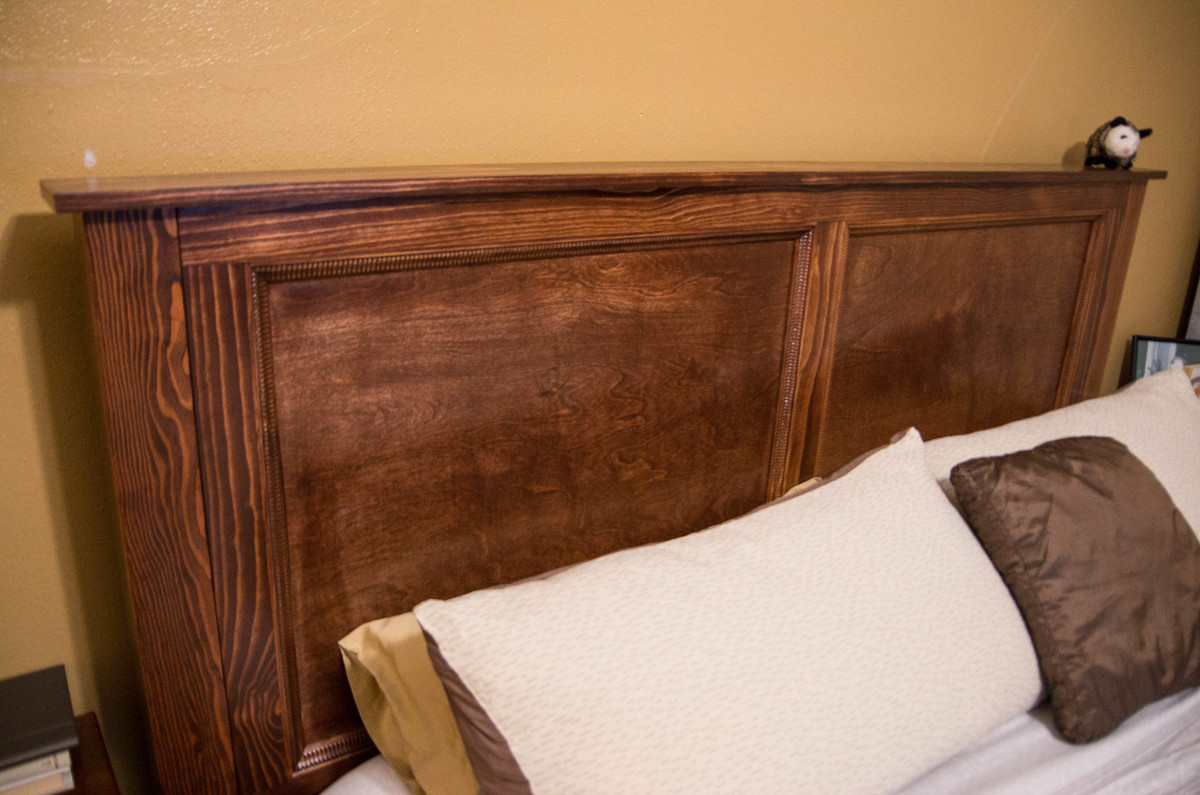
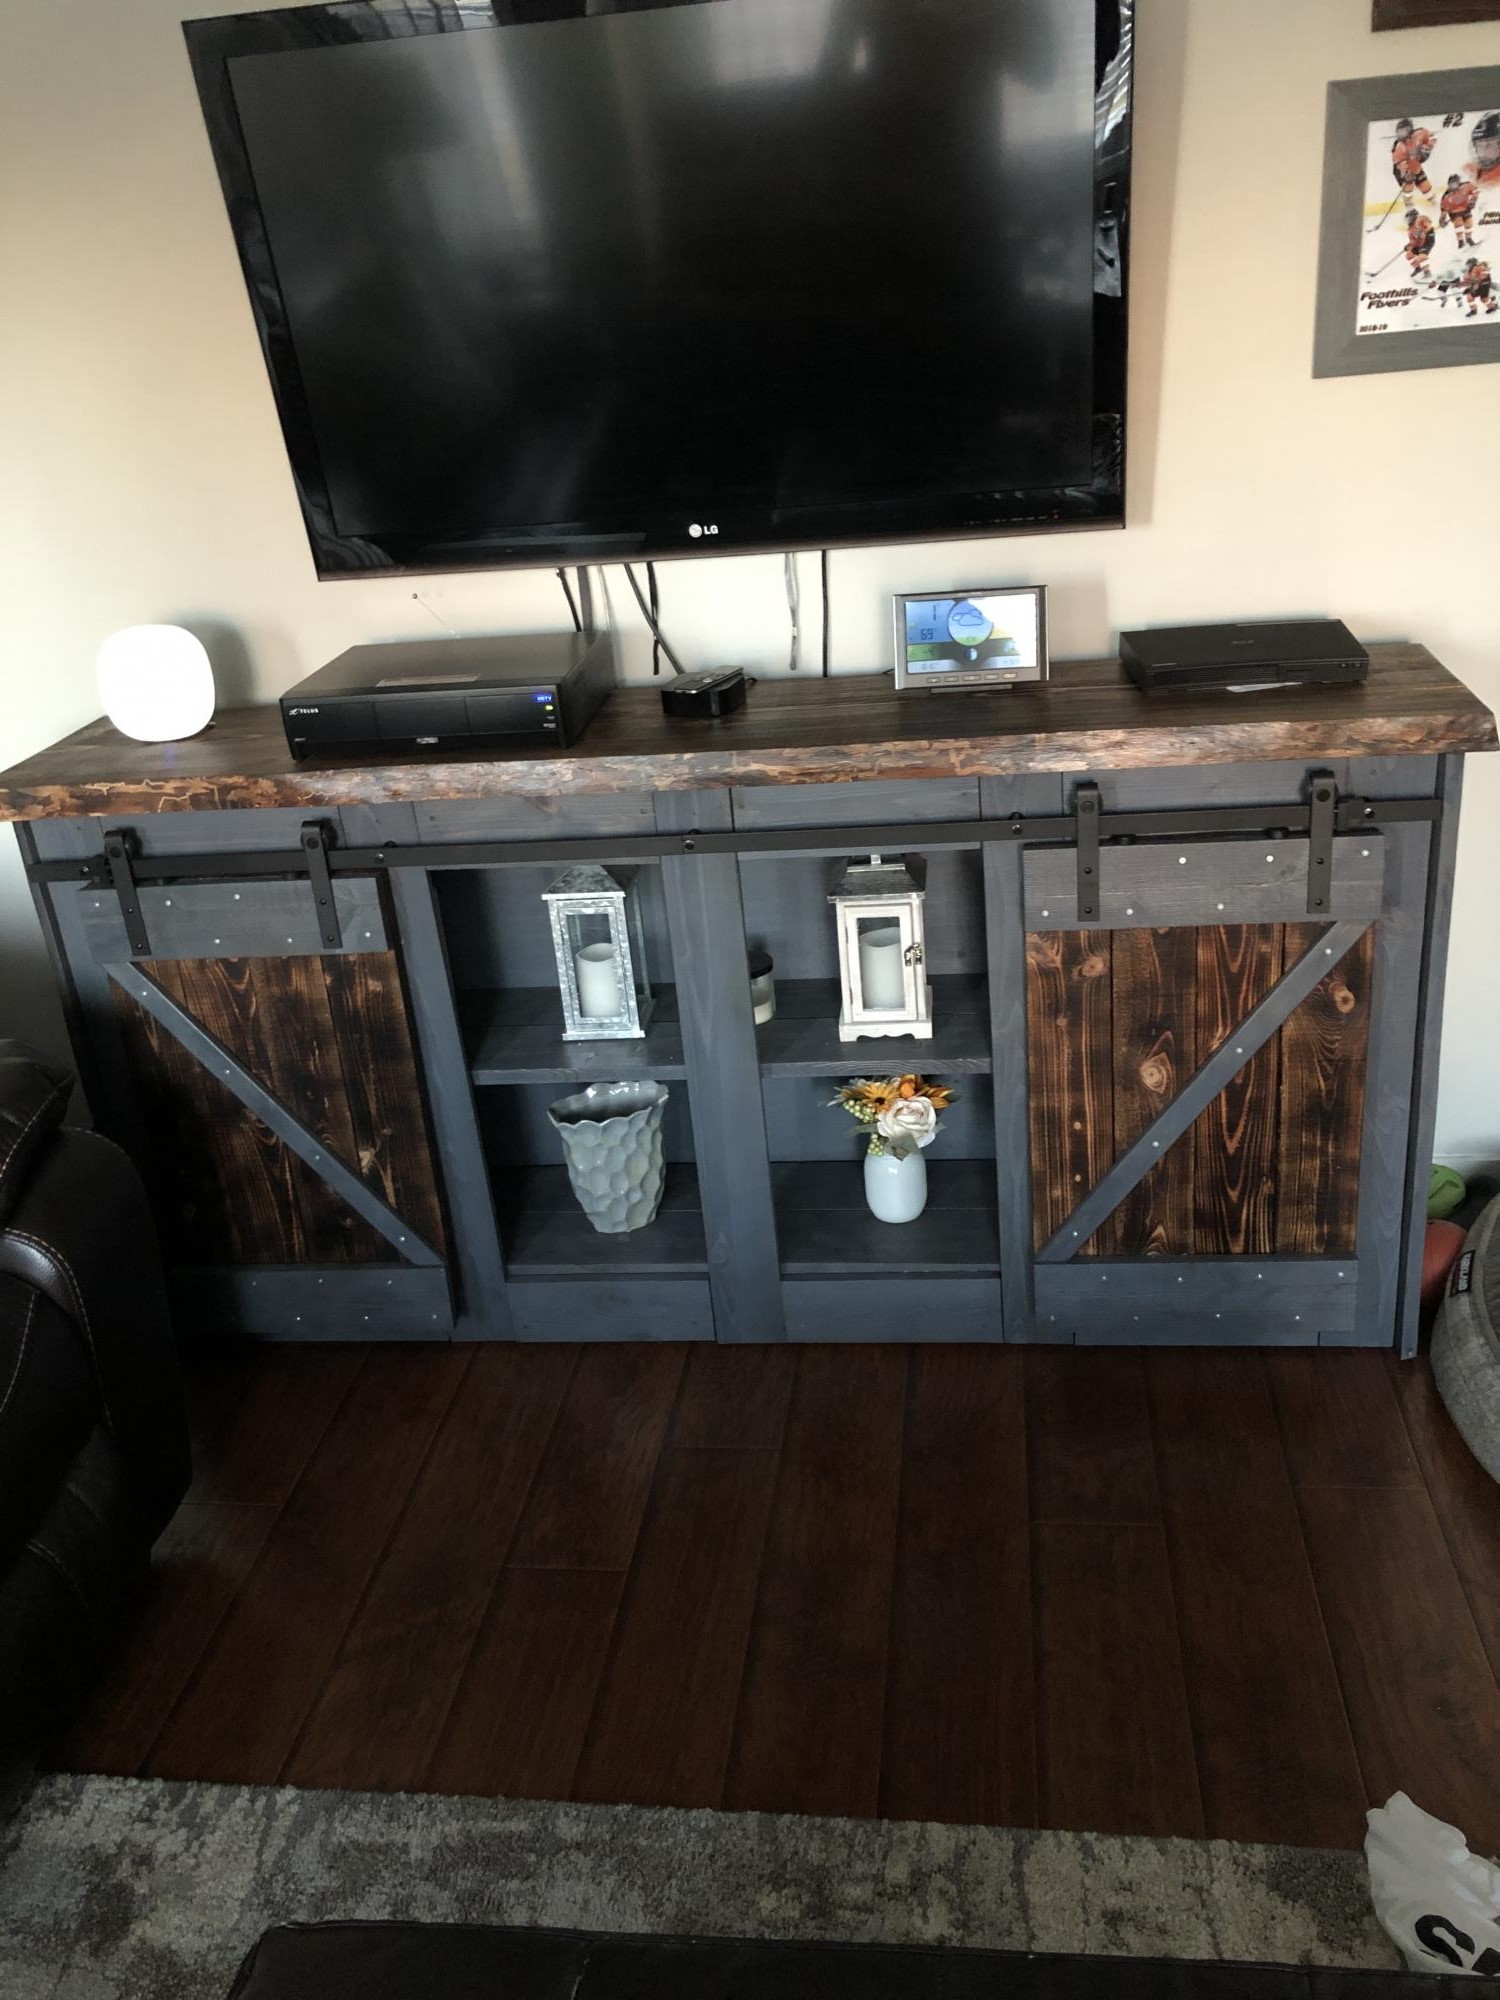
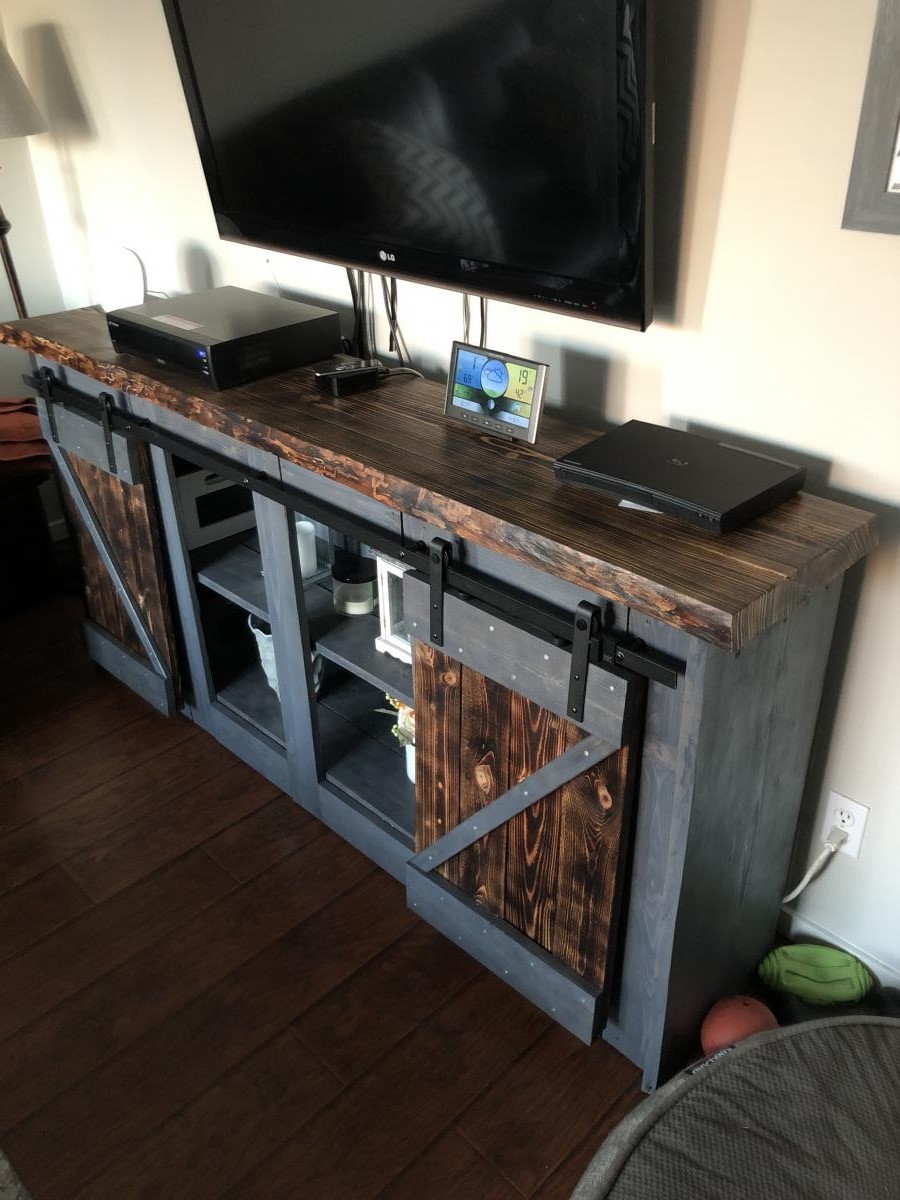
My first project, I built it out of rough cut lumber that I cut on my parents portable sawmill. Took me three weekends to build, turned out pretty good, but I would change how I did a few things.
Armoire for 18 inch doll. Constructed using Ana White guide, with small alterations to doors. Stars were not cut, instead small wooden knobs were used. Two stars were painted pink and attached to the doors, to give the American Girl feel. The doors were difficult to keep shut, and an attachment was installed at the bottome of the doors to aid in keeping them closed. For any future builds, we will scale down the size of the armoire. It is quite large for an 18 inch doll.
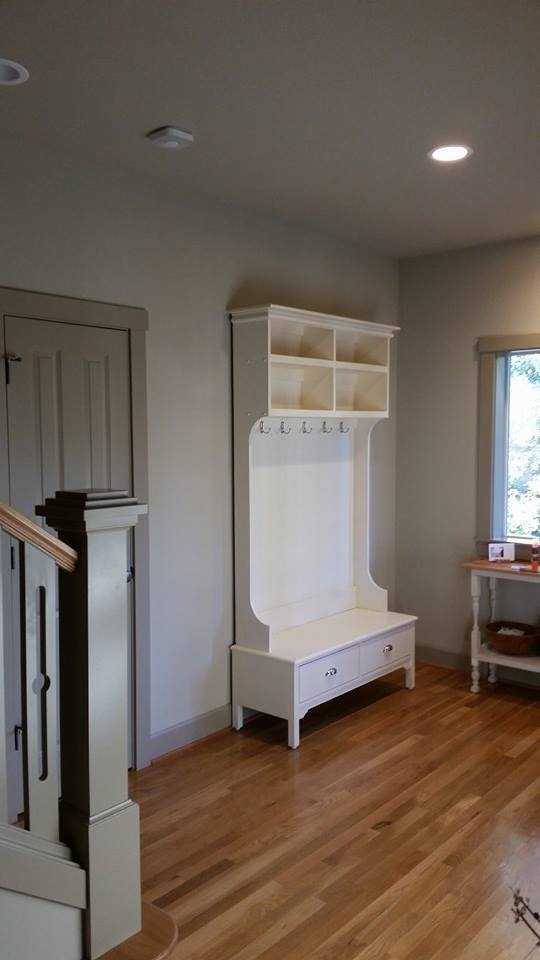
I combined Mimi's Hall Tree with the Alexia Bench for this project. It really turned out great. My son and his wife love it. It also made me feel pretty good that I built something for them that hopefully will be passed down to future generations.
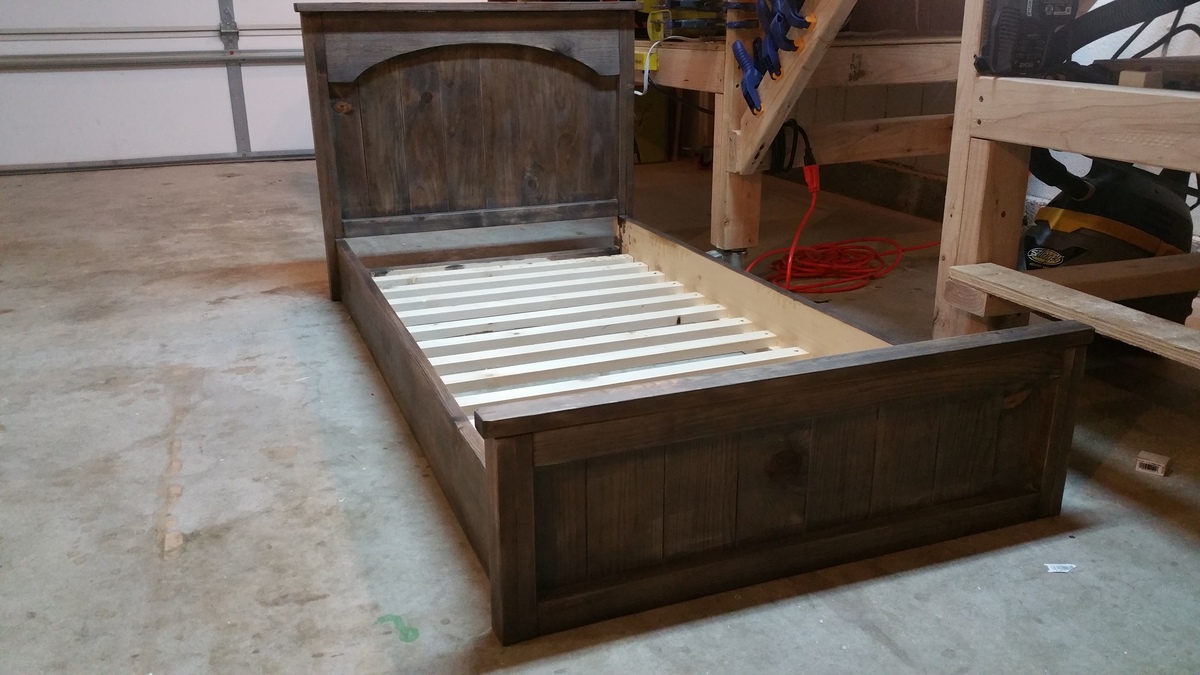
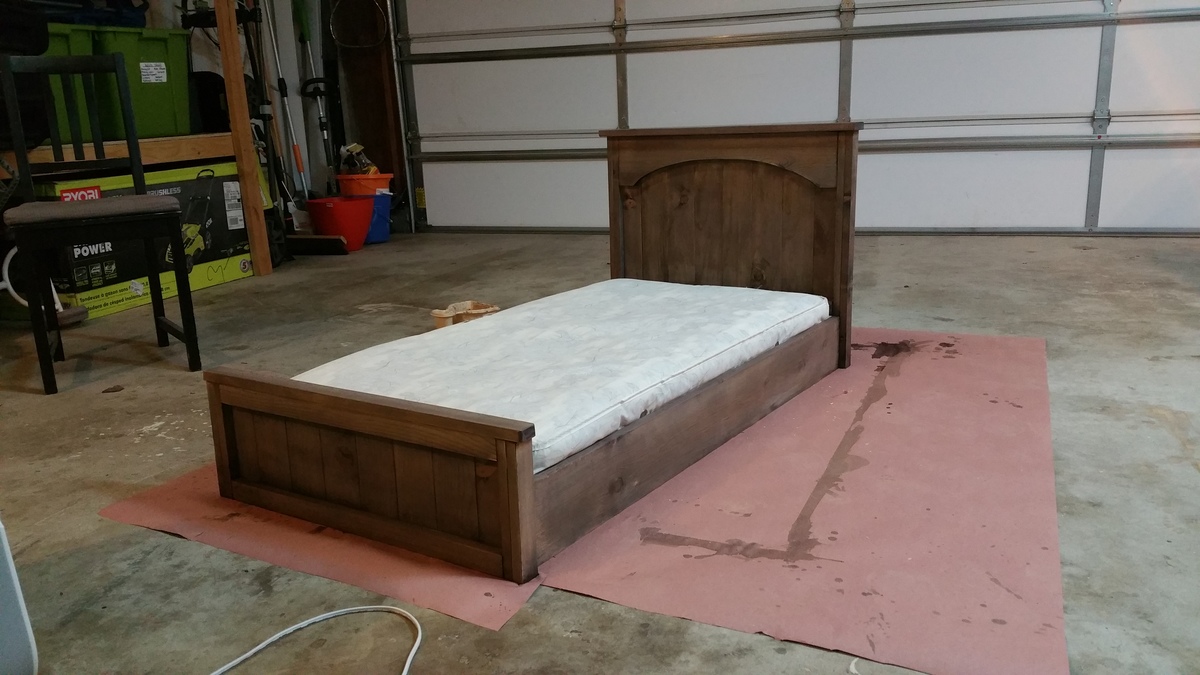
Our 18 month old was constantly climbing out of her crib so we got a cheap toddler bed and tried it out. She liked to go under the bed and almost always got one of her legs stuck between the slats on the under side of the matress.
I decided to build a bed and found Anna White's Toddler Farmhouse bed plans. We modified the plans ever so slightly to make it a platform style to address our original issue.
For the stain, we used 1 coat of steel wool and white vinegar that sat for 24 hours and prepped the wood with 3 bags of black tea steeped in boiling water for 10 minutes. The color was exactly what we were looking for.
This is my first project and there was a good amount of learning involved but it turned out amazing!

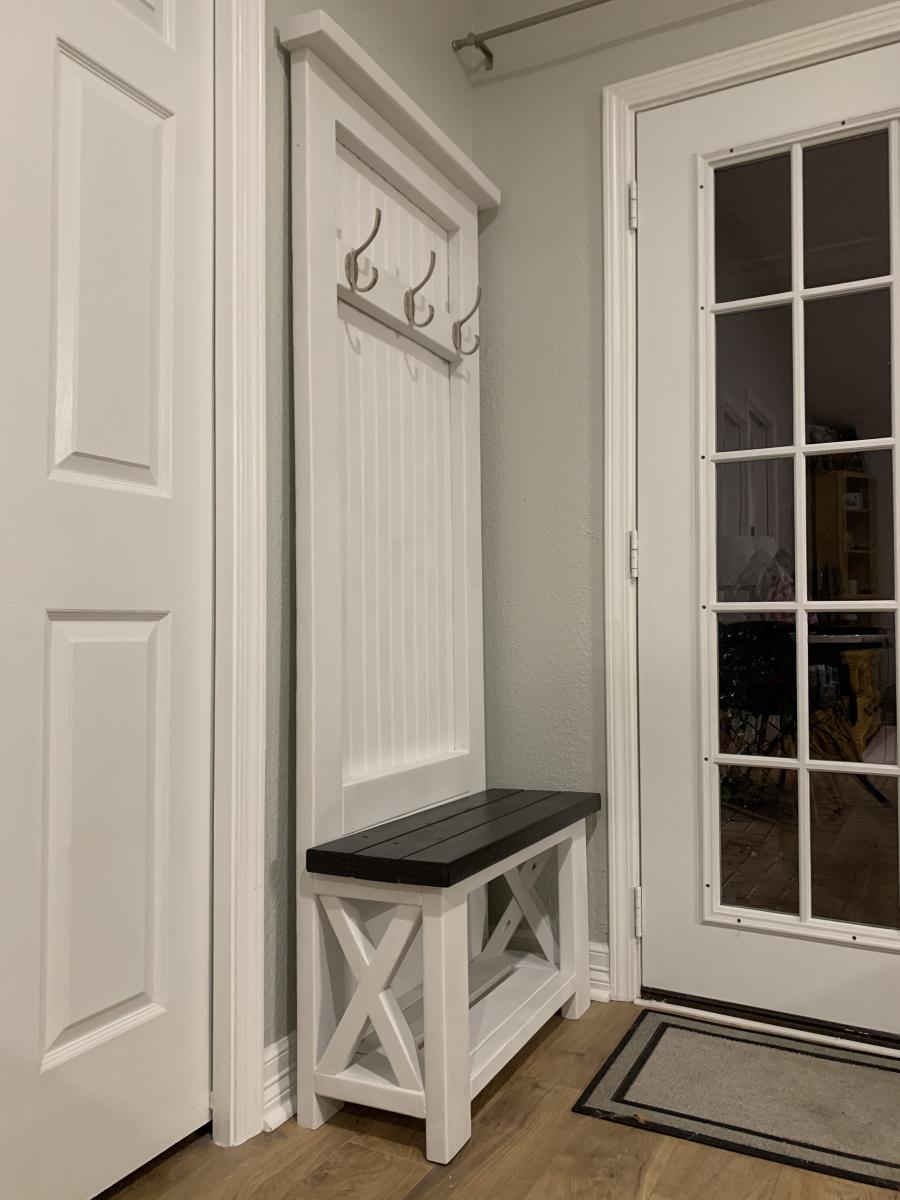
Using Ana's Rustic X Hall tree - I modified the size to fit this small space in the cottage in my backyard. It was impossible to find something to fit this space -- and this is one of my first indoor projects; I am a beginner. It was so much fun building! I used pine from a big box store mostly but opted for Bead board for the backing to achieve a farmhouse type look. My daughter lives in the cottage and loves it!! Thanks Ana for the sweet plans!!
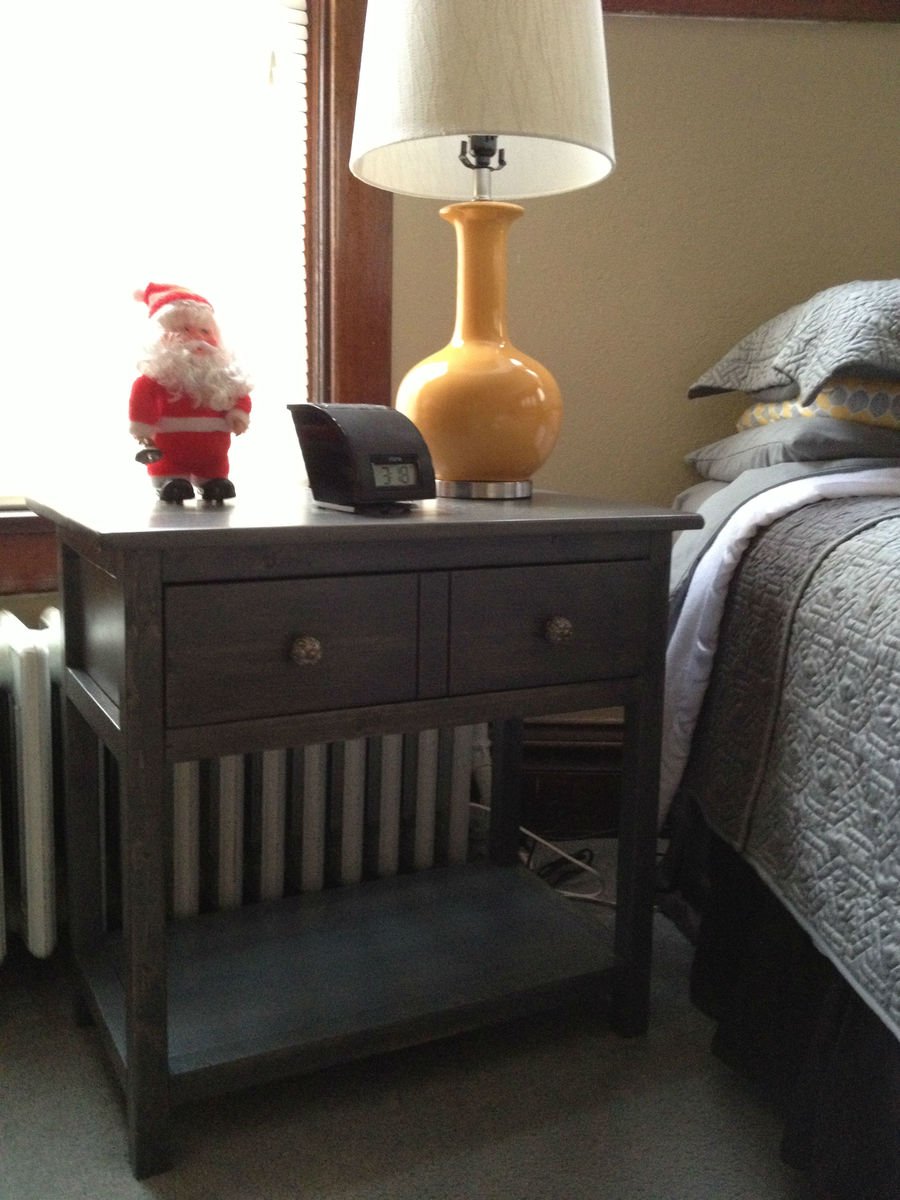
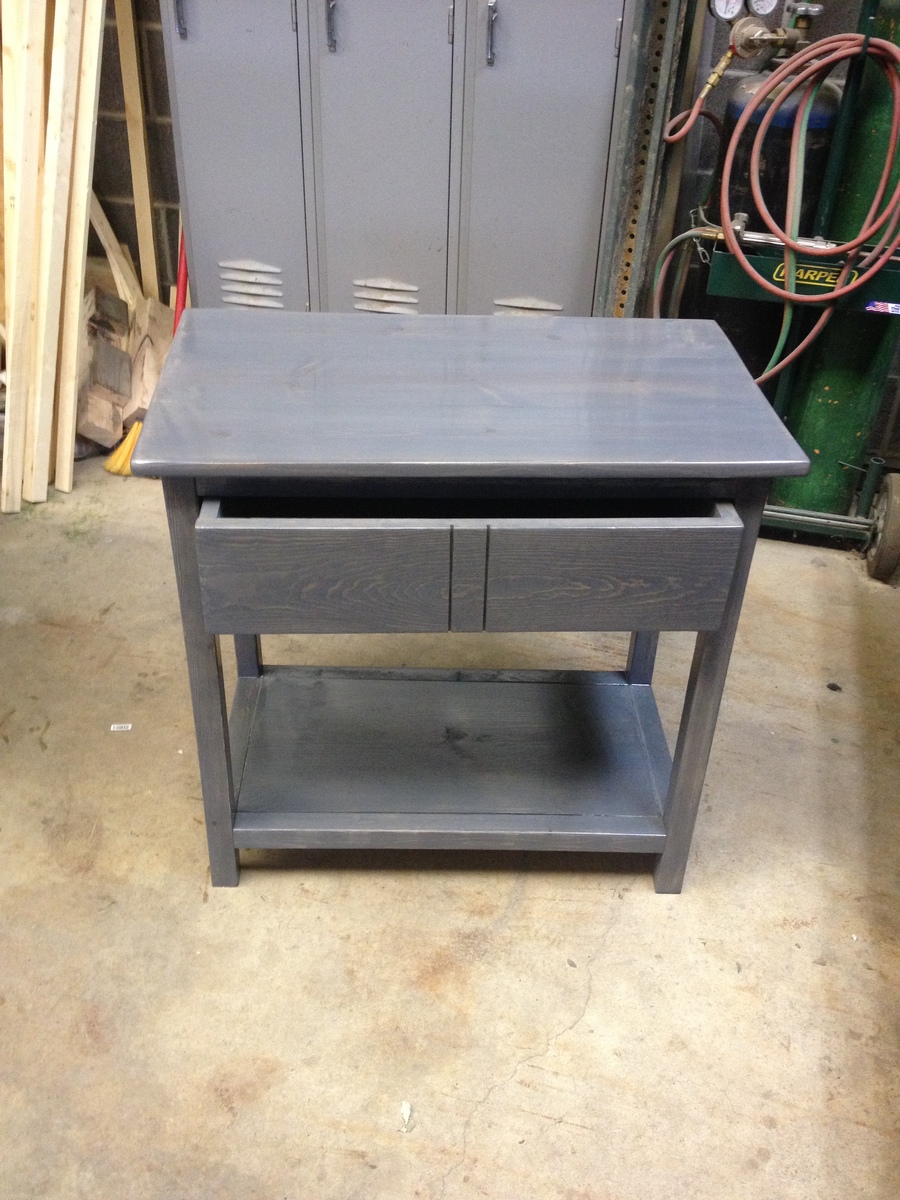
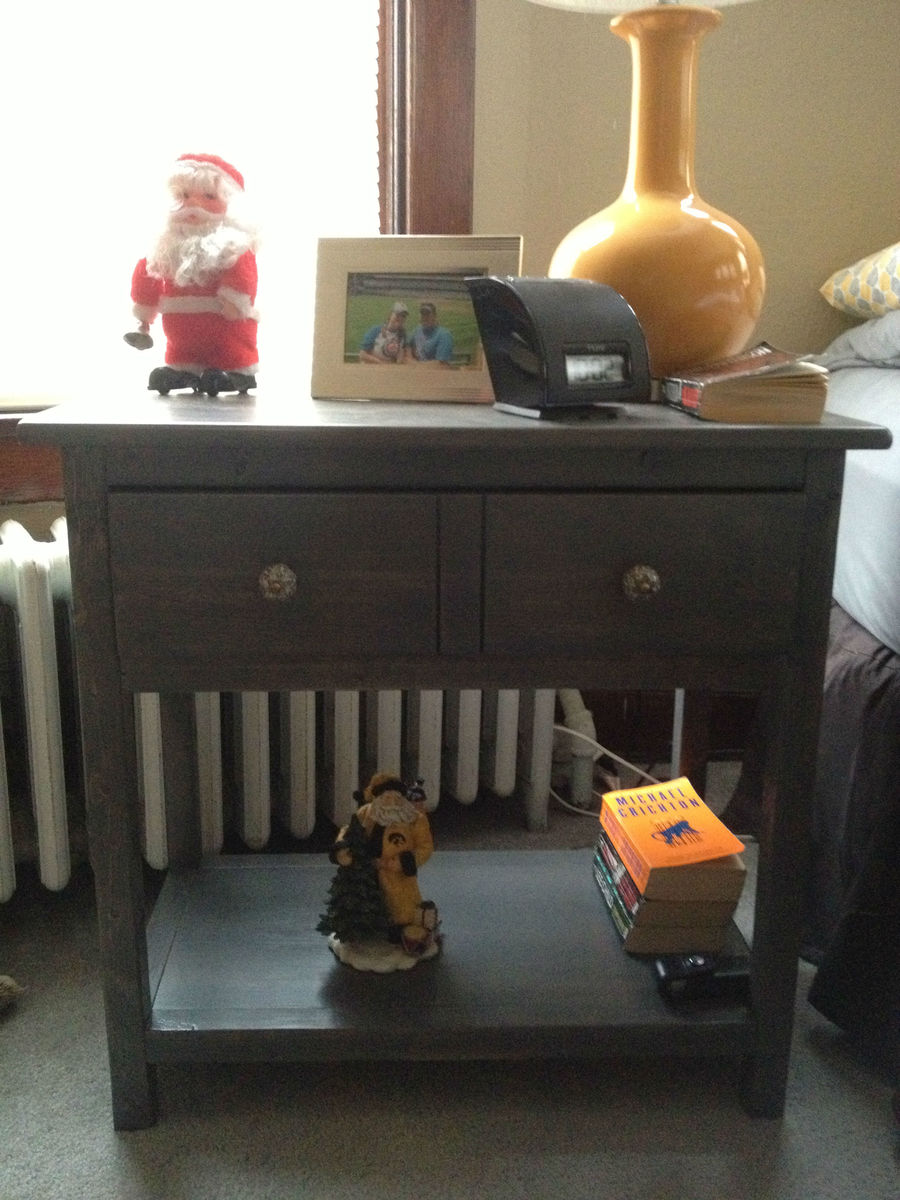
Wanted to build nightstands for our bedroom after tackling the farmhouse table plans. Followed the plans for the farmhouse bedside table. The build went really well. These were the first drawers I have made and they work great. I first tried to stain them using the vinegar and steel wool method which worked great on my trial piece. Then when applied to the nightstands...nothing. We ended up using Minwax grey. I was a scary color to start with but couldn't be happier with the results. People are loving the different color and still being able to see the grain.
Built for my three year old and she LOVES it, Took a while to build but great plans!
This was my first build this large and turned out great! Thanks to the DIY plans provided here. Thank you so much for such a great place!
We did make the foot board about 12 inches taller as we prefer a taller foot board.
Super straight forward! - Kyle
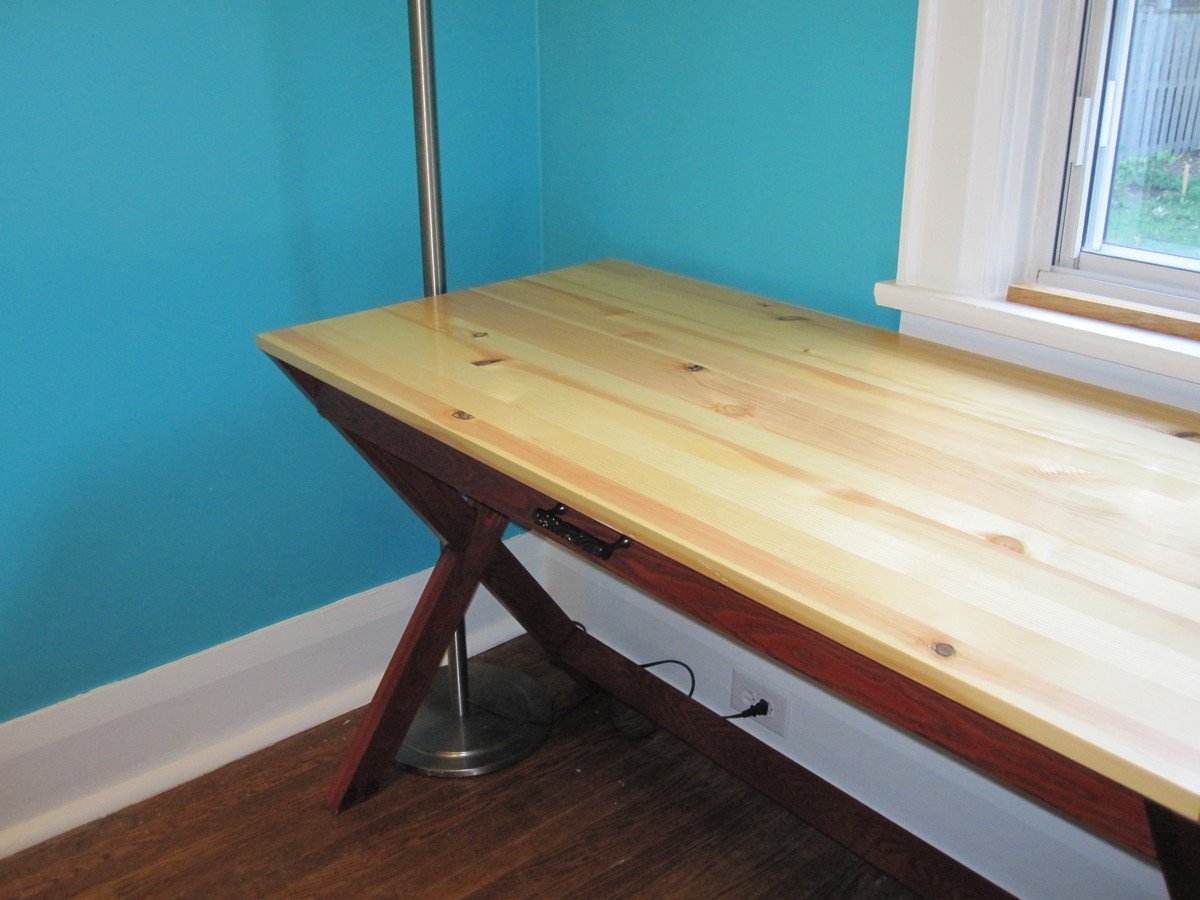
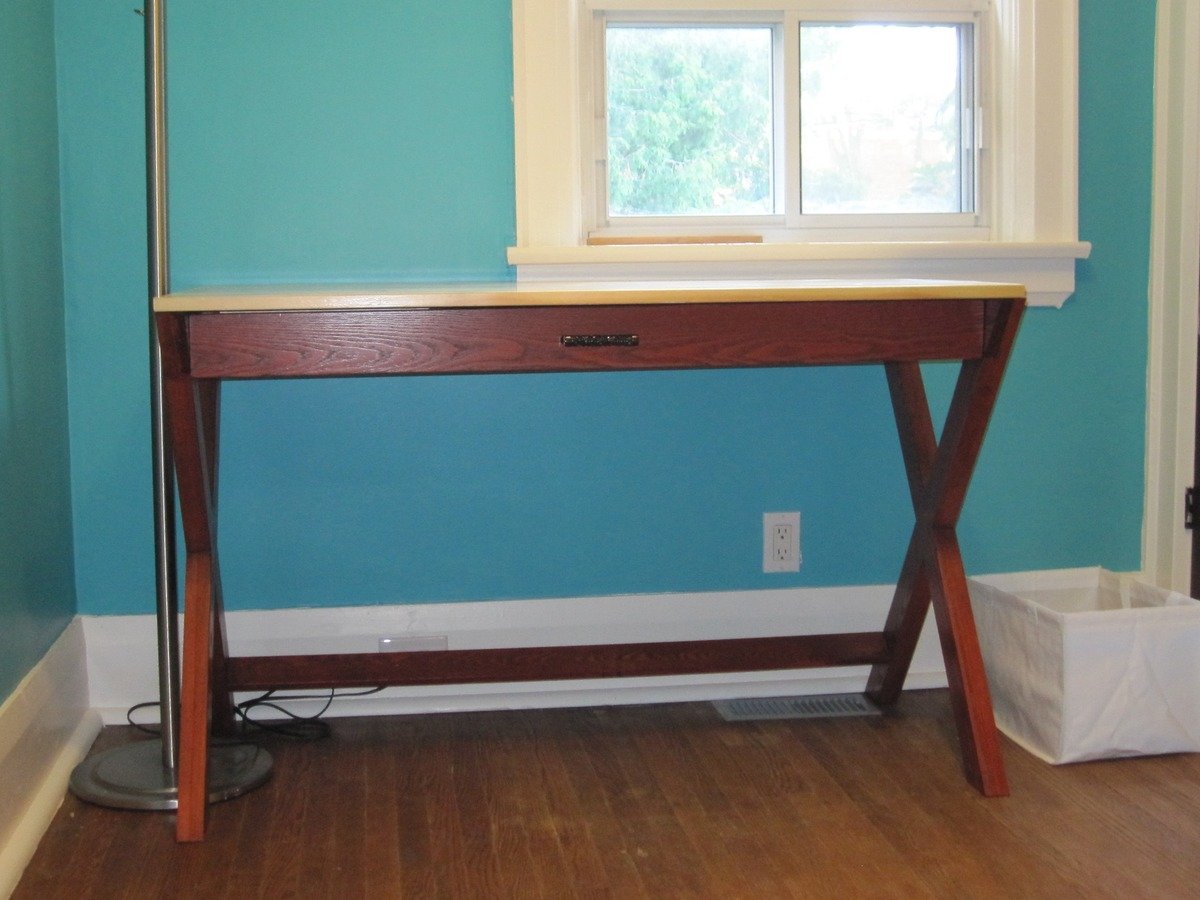
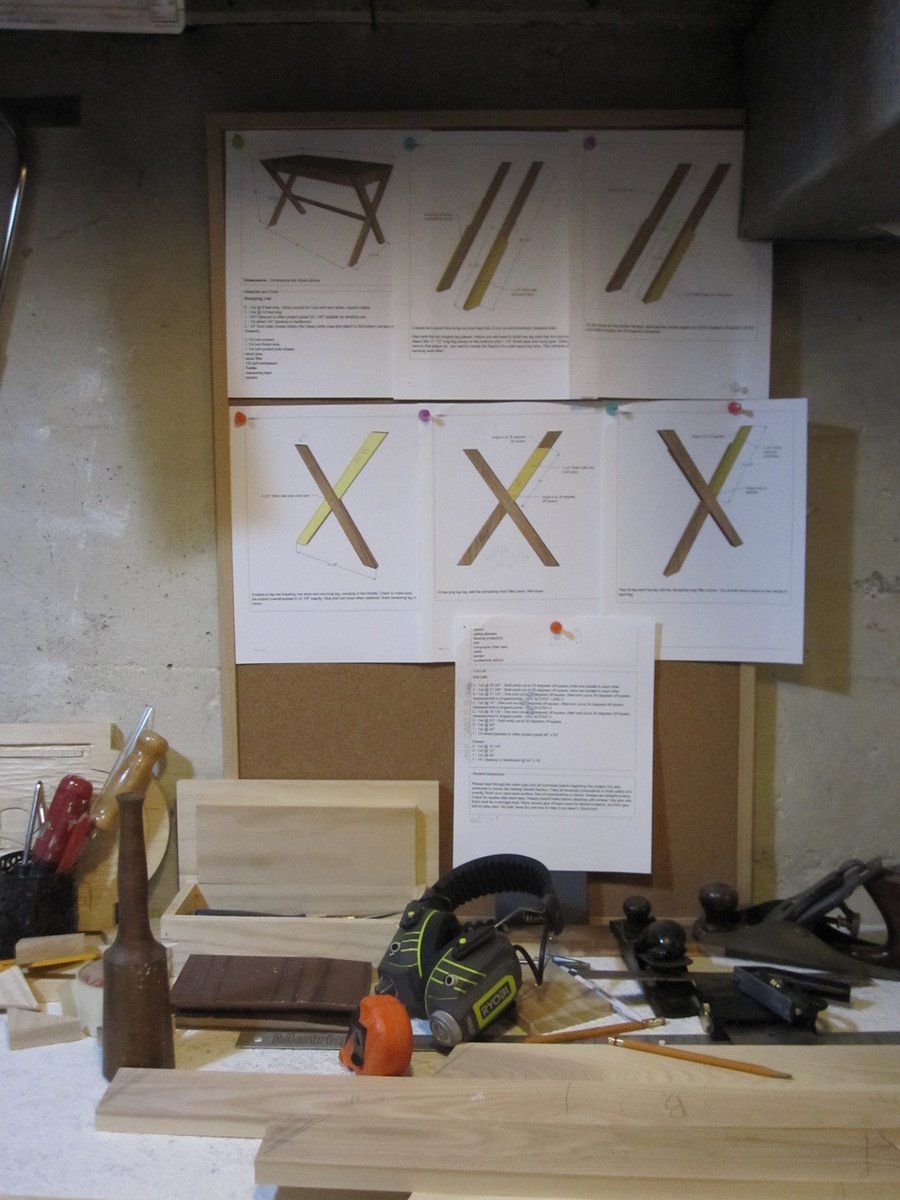
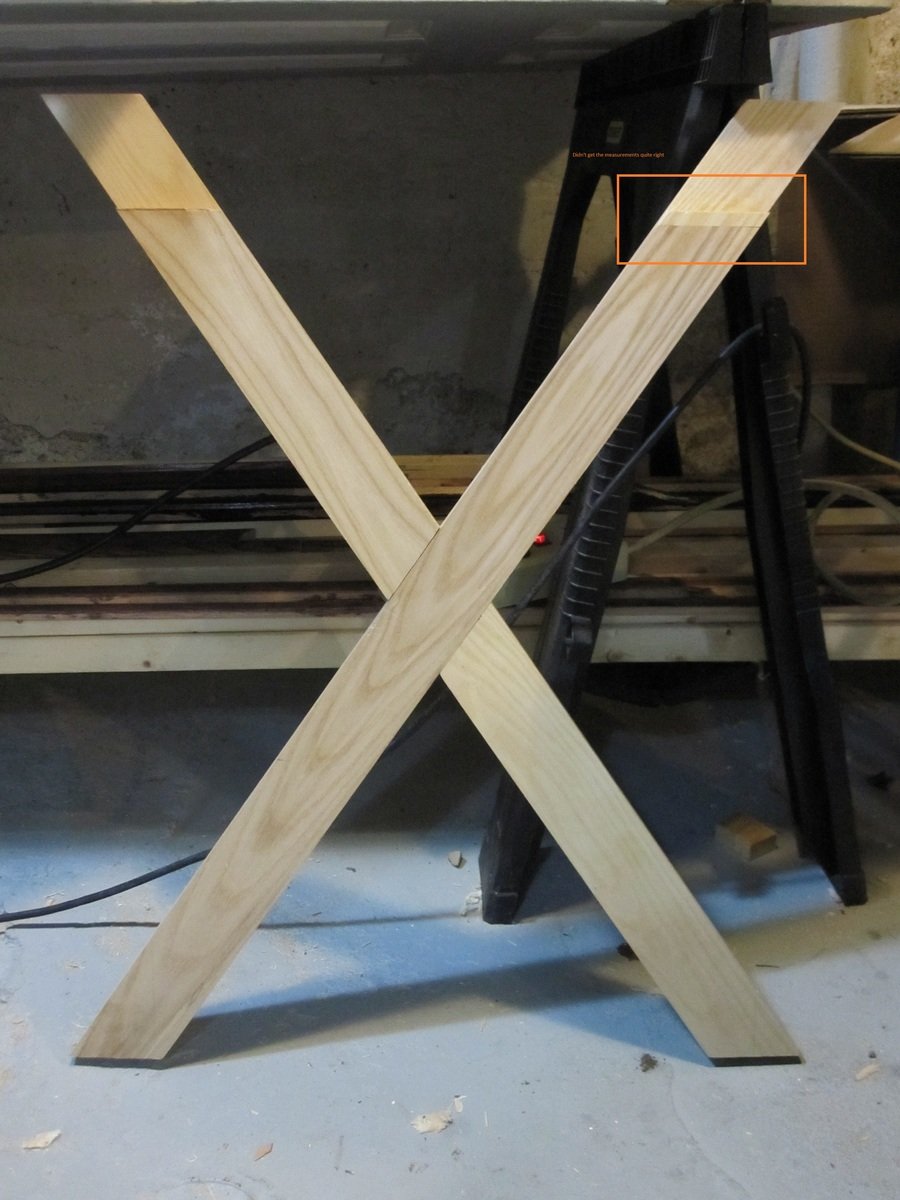
Strong, sturdy desk. Dressed ash for the body and a pine project panel for the top at my husband's request. I really enjoyed building this and learned a lot (meaning I also messed up a lot).
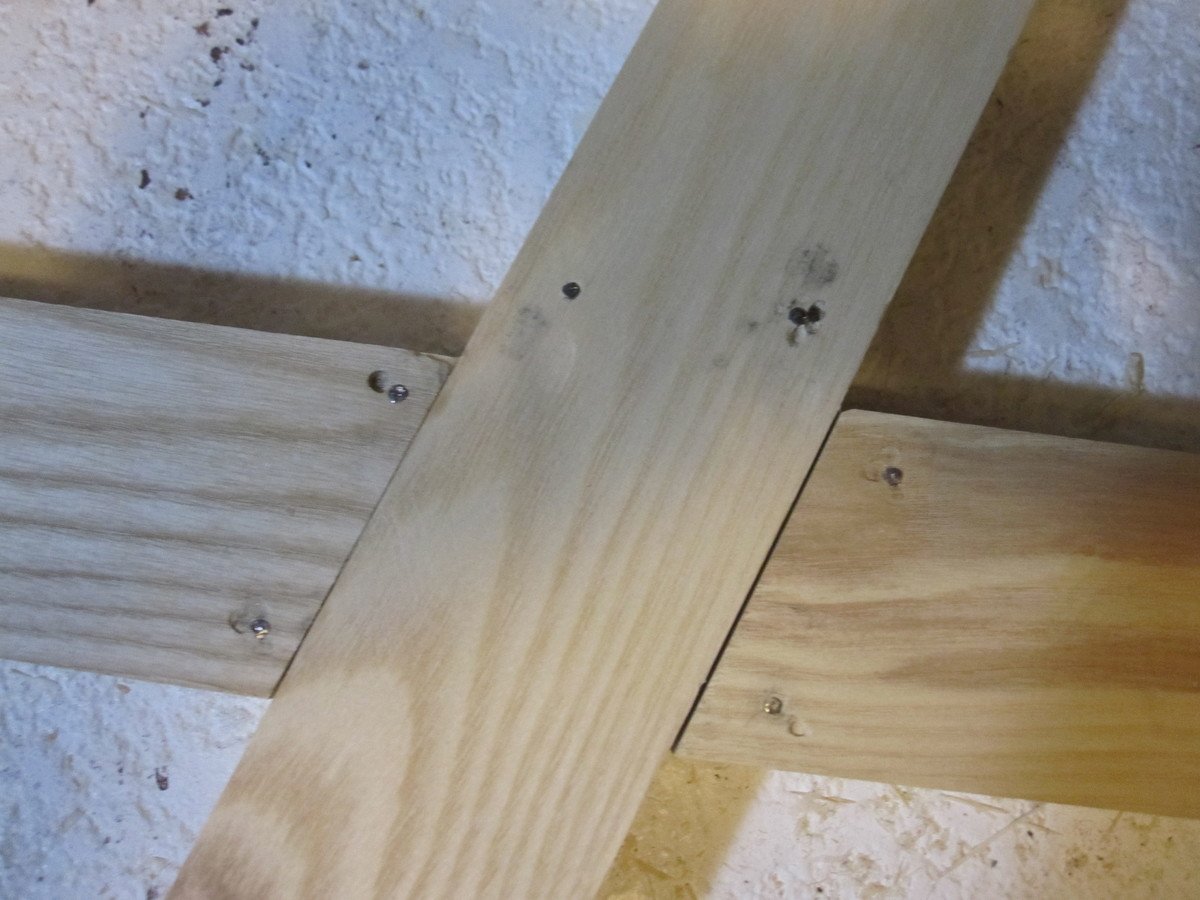
I used dressed ash for the legs and drawer front and discovered the difference between nailing in softwoods such as pine and hardwoods such as ash. I was using a nail set to get the nails flush. I ended up making holes when the nail set bounced off the nails (see picture). I learned that if the nailing was going too well, that was because the nail set was making a hole in the wood.
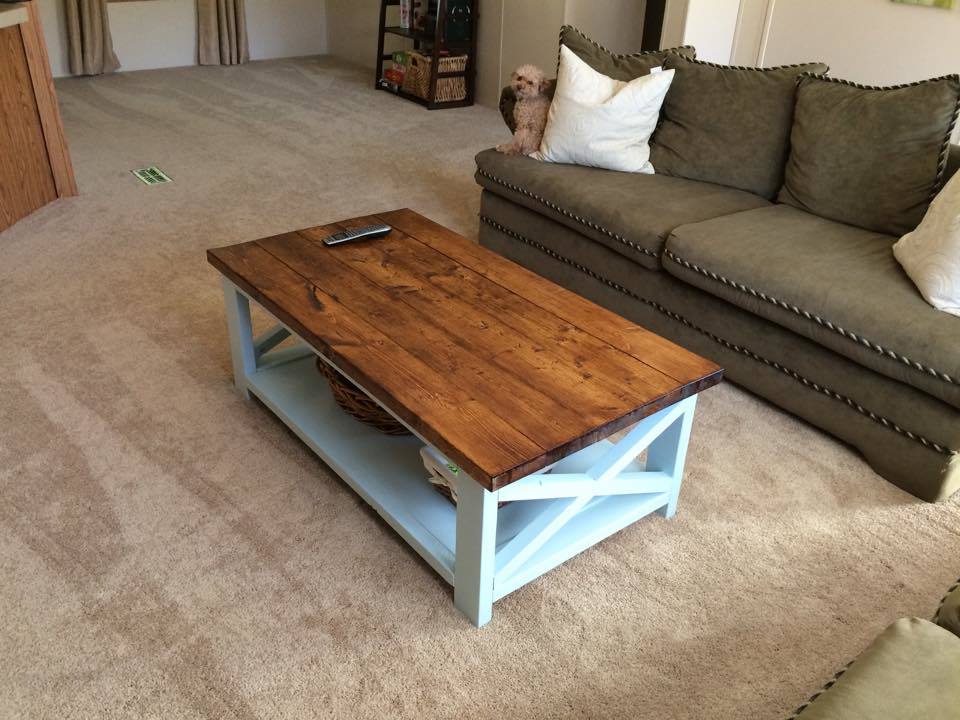
This was a great project for me. I am a beginner and building a coffee table this nice seemed too difficult. Fortunately, it turned out better than I expected. The biggest difficulty for me was putting in the 1x12's on the bottom. That was really my fault because I didn't square up the sides properly. Rookie mistake and lesson learned.
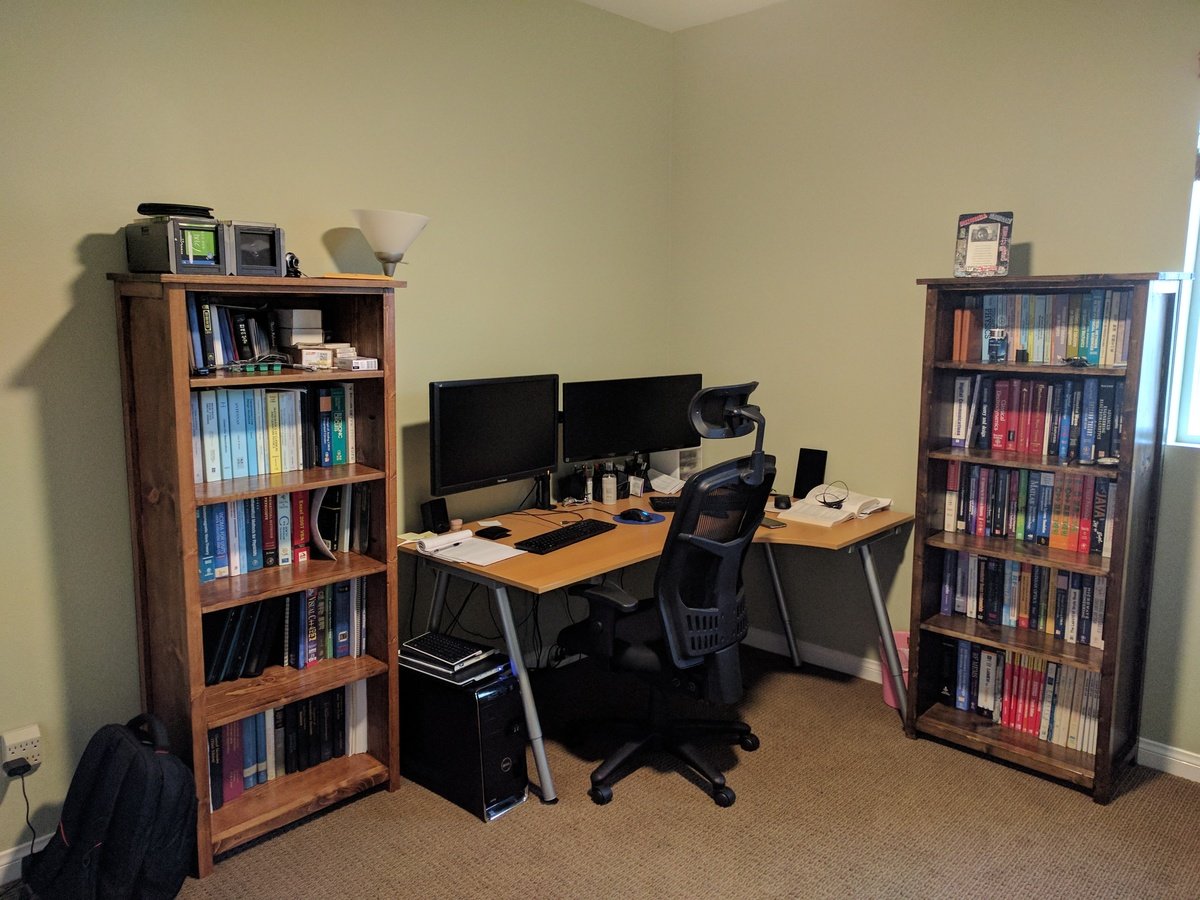
I made those for the christmas present of my hoby.
Followed Ana's plan exeactly same and it worked well for my need.
Thank you, Ana!
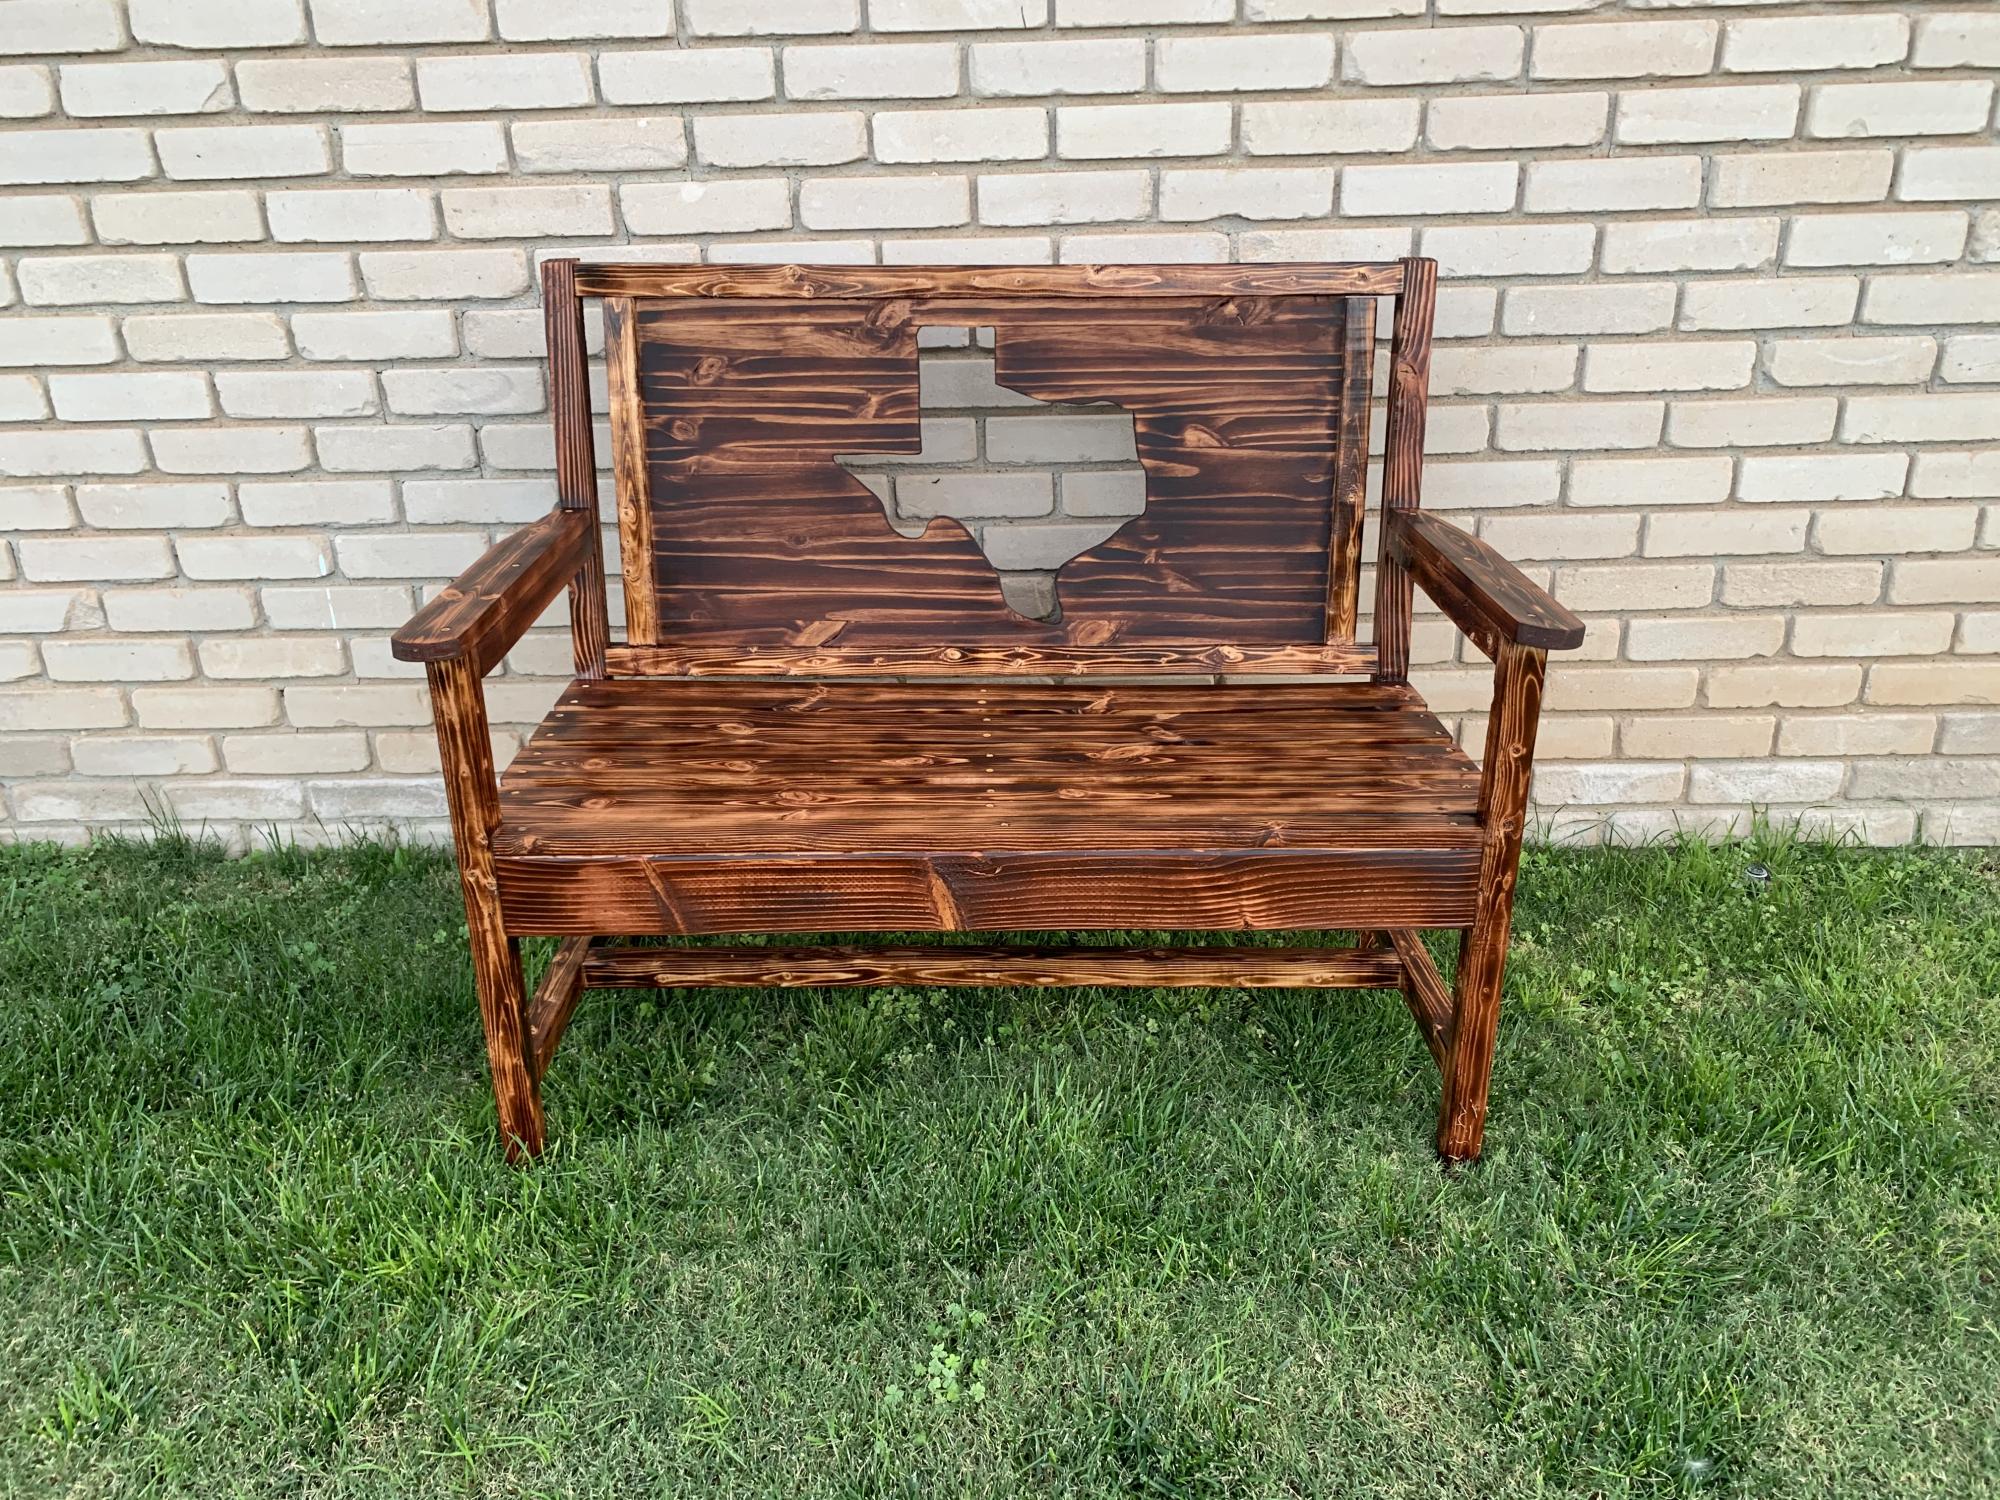
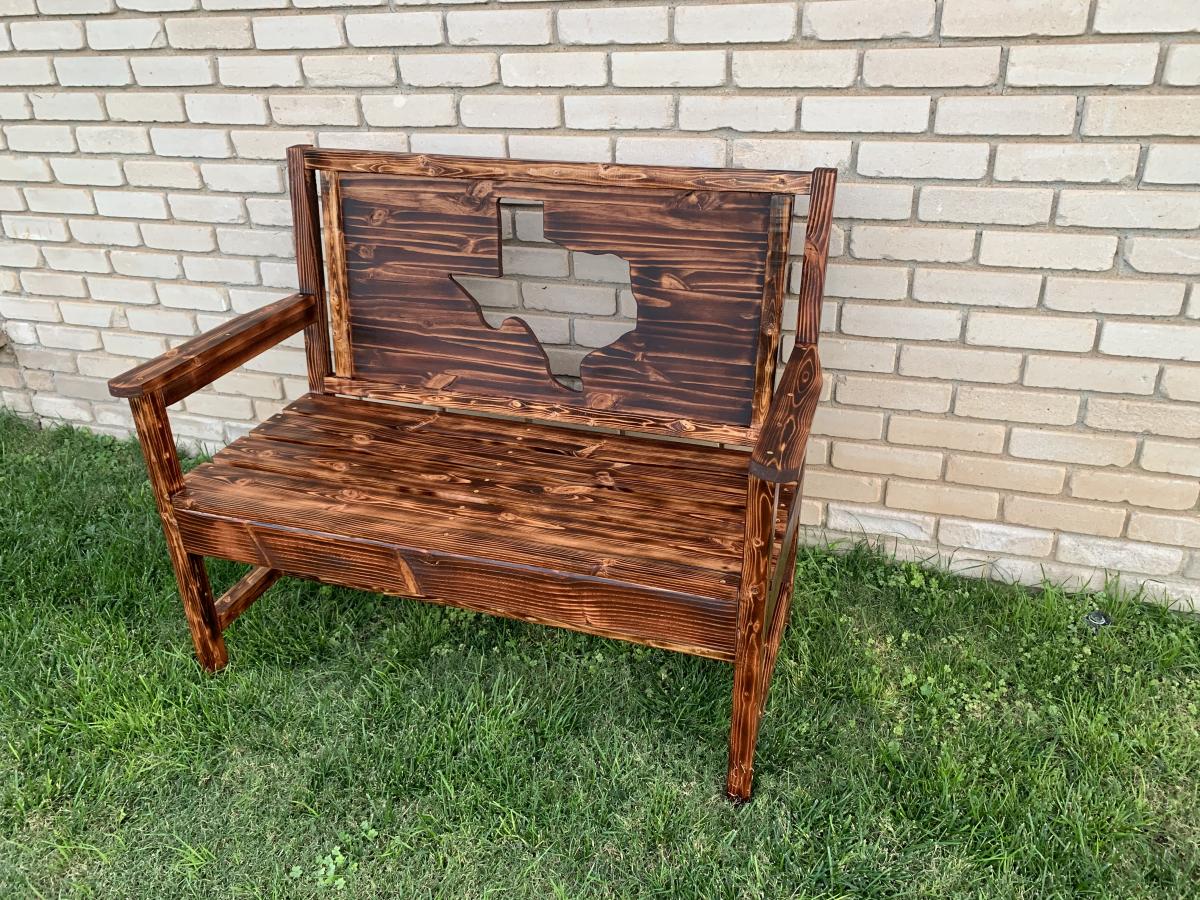
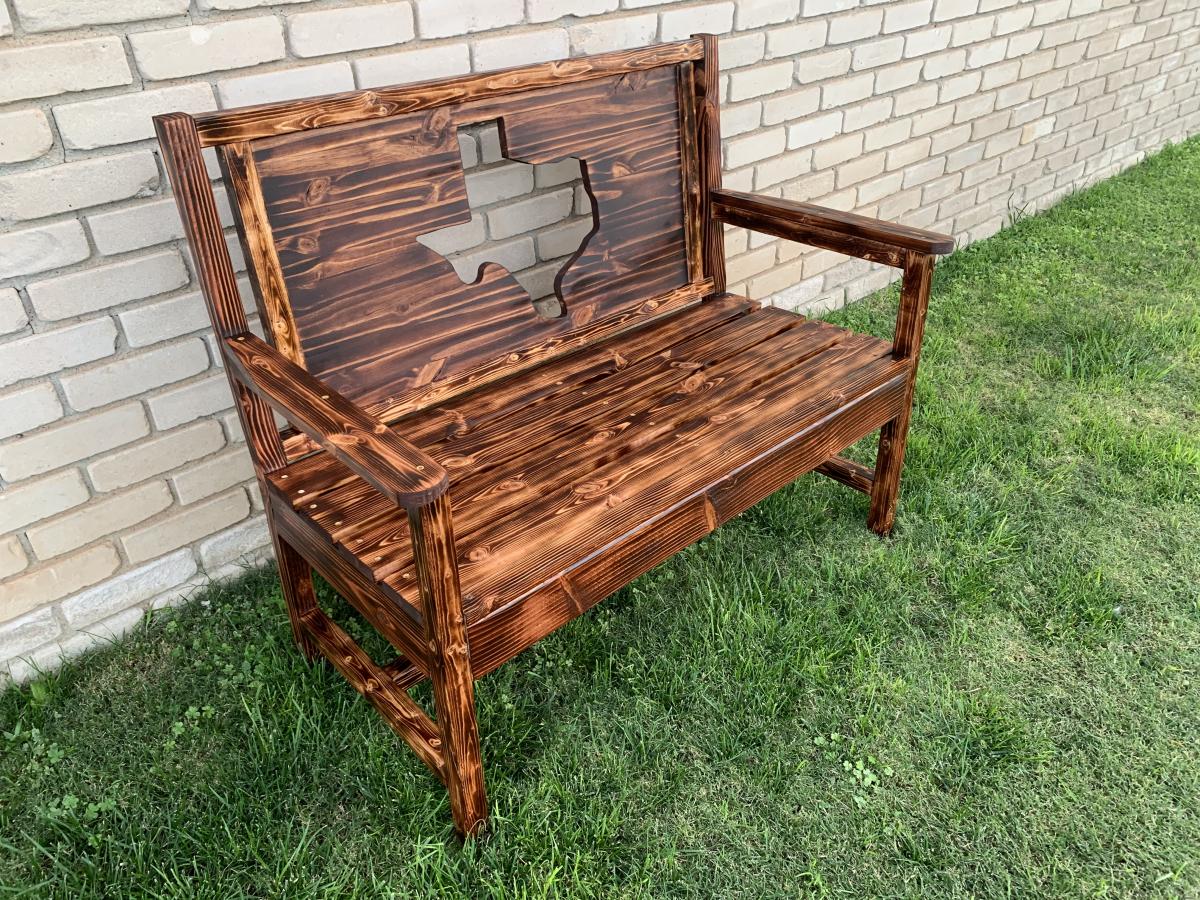
Saw this was done by modifying the Woven Back Bench so I decided to give it a go. Added center 2x4 for support under the 1x4 slats. To make this bench modified the woven back bench shopping list to the following.
2-2x4 Studs
3-2x2x8
2-1x4x8
1-1x2x8
1-1x3x8
1-1x16x6 edge glue board.
Cut list was modified:
4-2x2 @ 16”
3-2x4@16”
2-2x4@37”
3-2x2@37”
2-1x3@19 1/4”
1-1x16@32”
All other instructions were followed from the woven back bench.
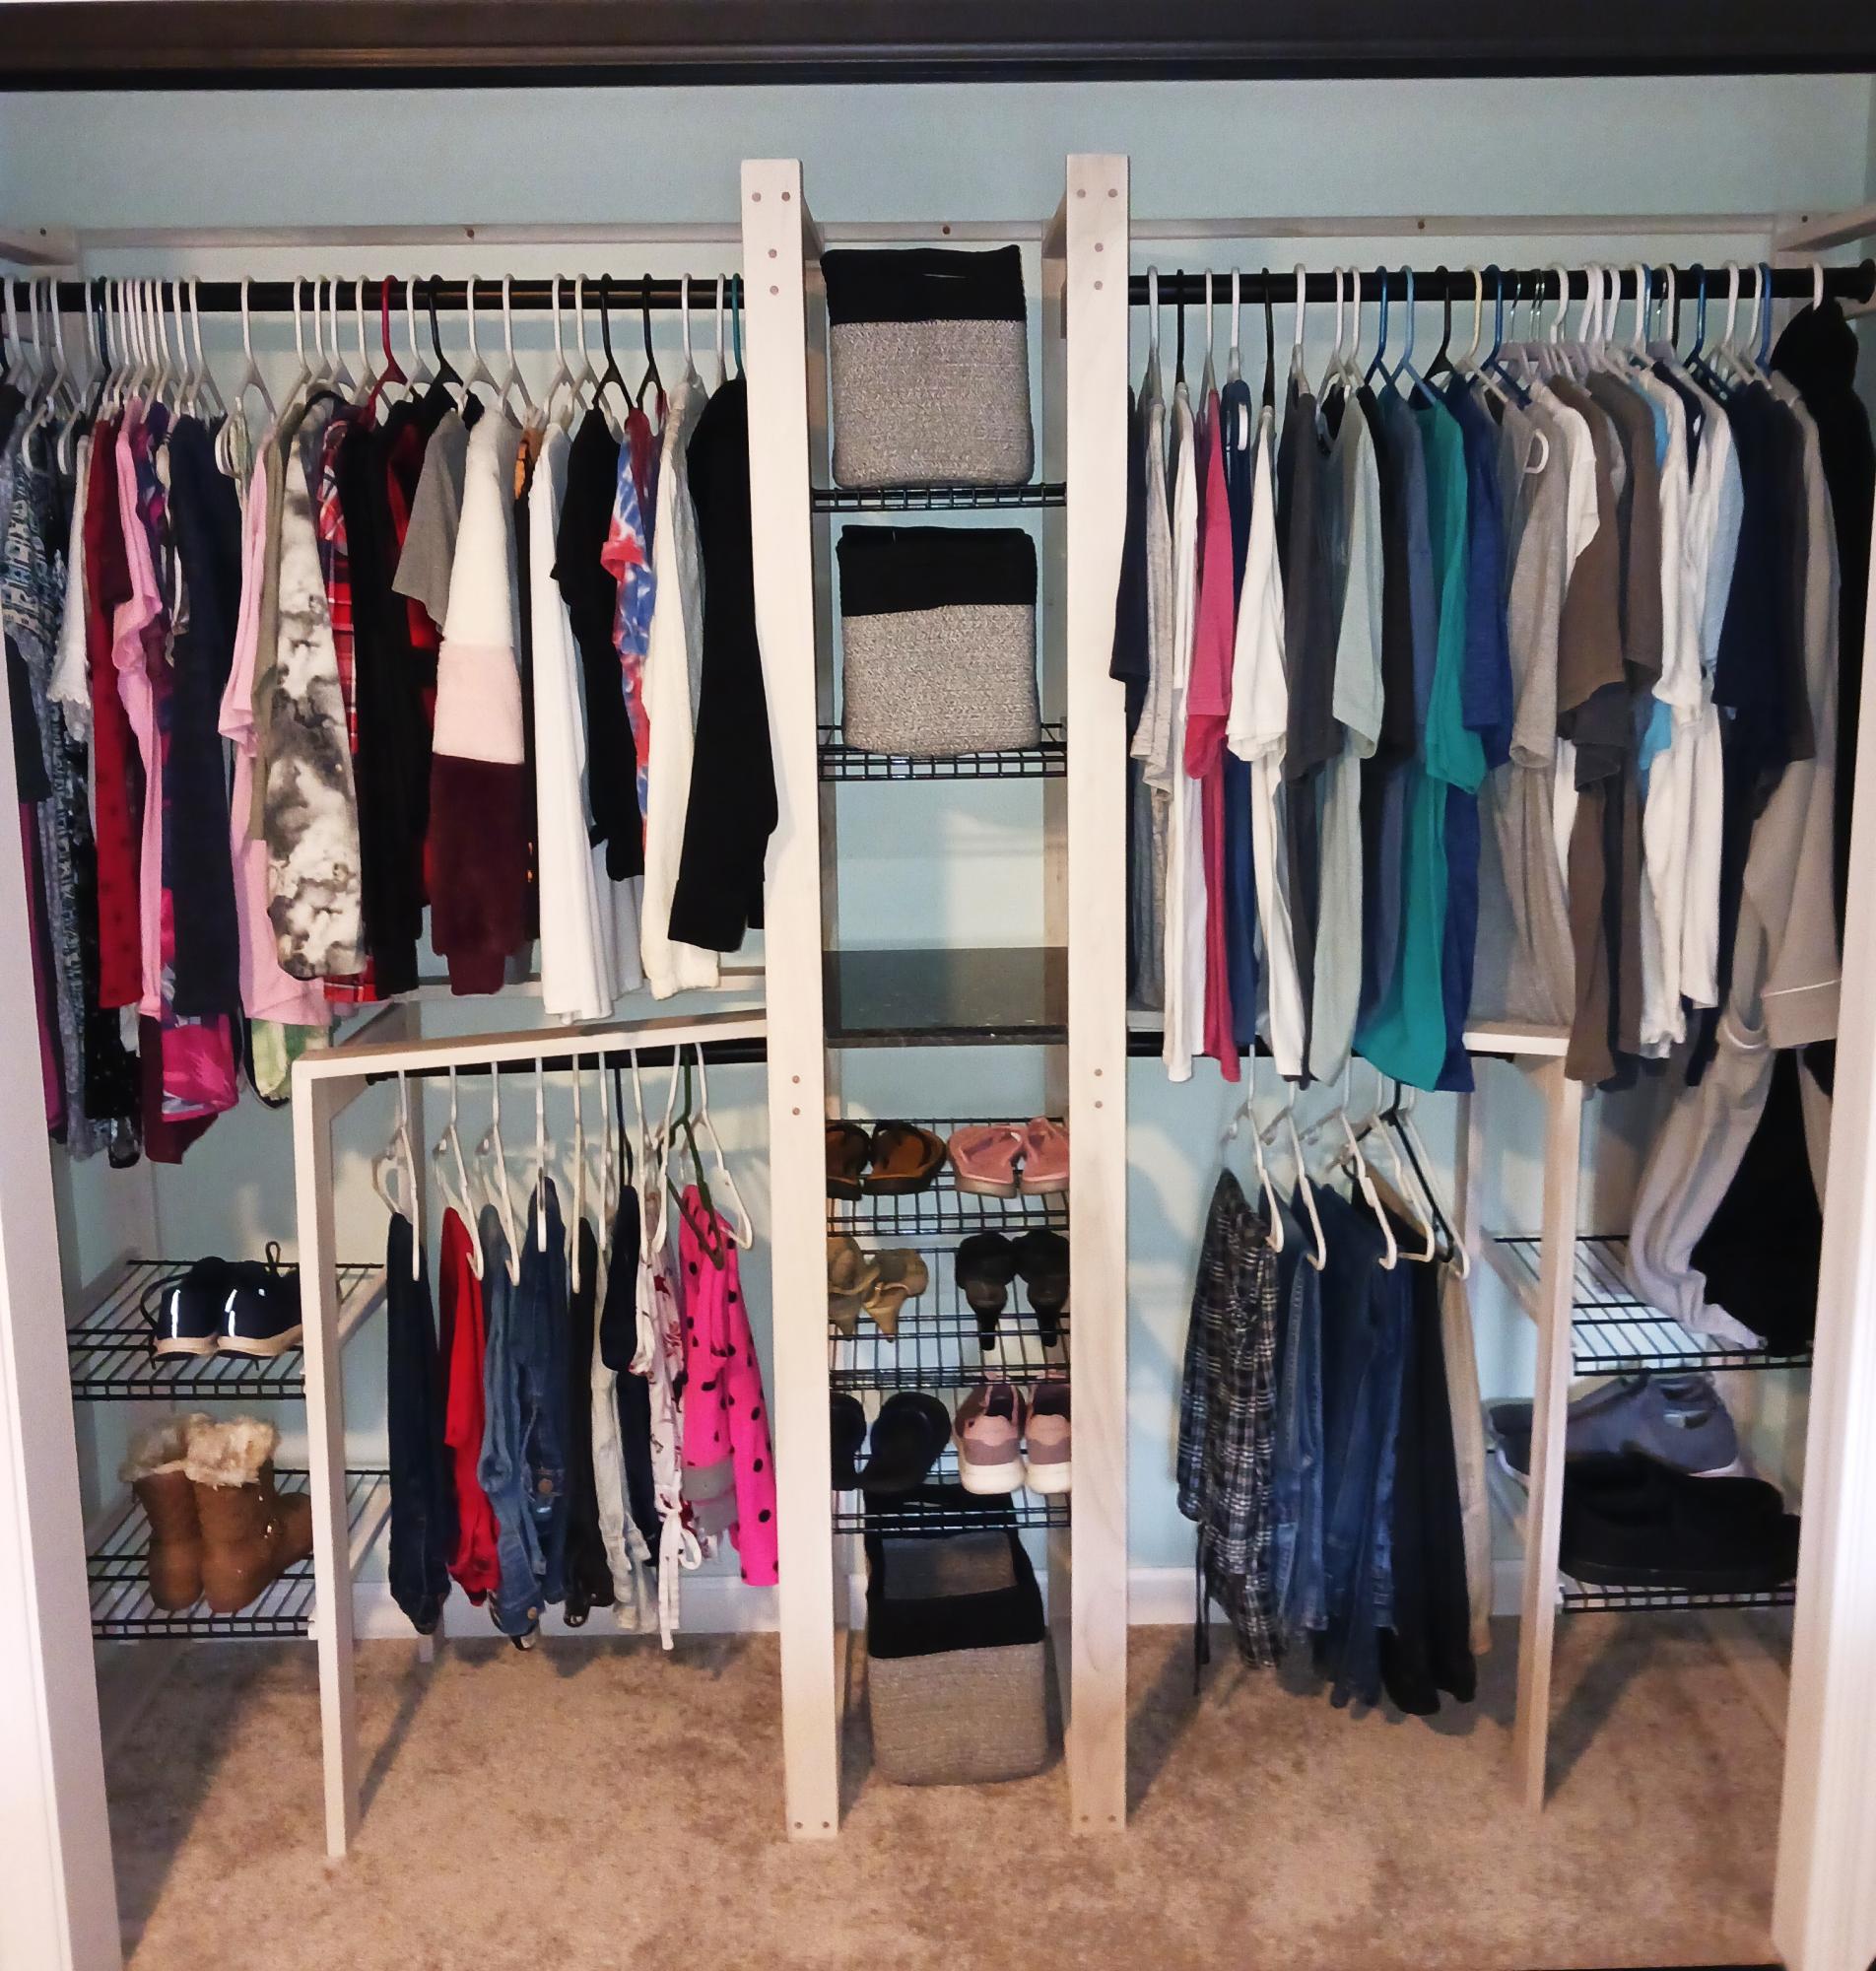
I took your 2x4 closet organizer I liked it cuz it looked easy but then I went crazy and modified it used one by three maple with a whitewash turned out great thanks for the plans.
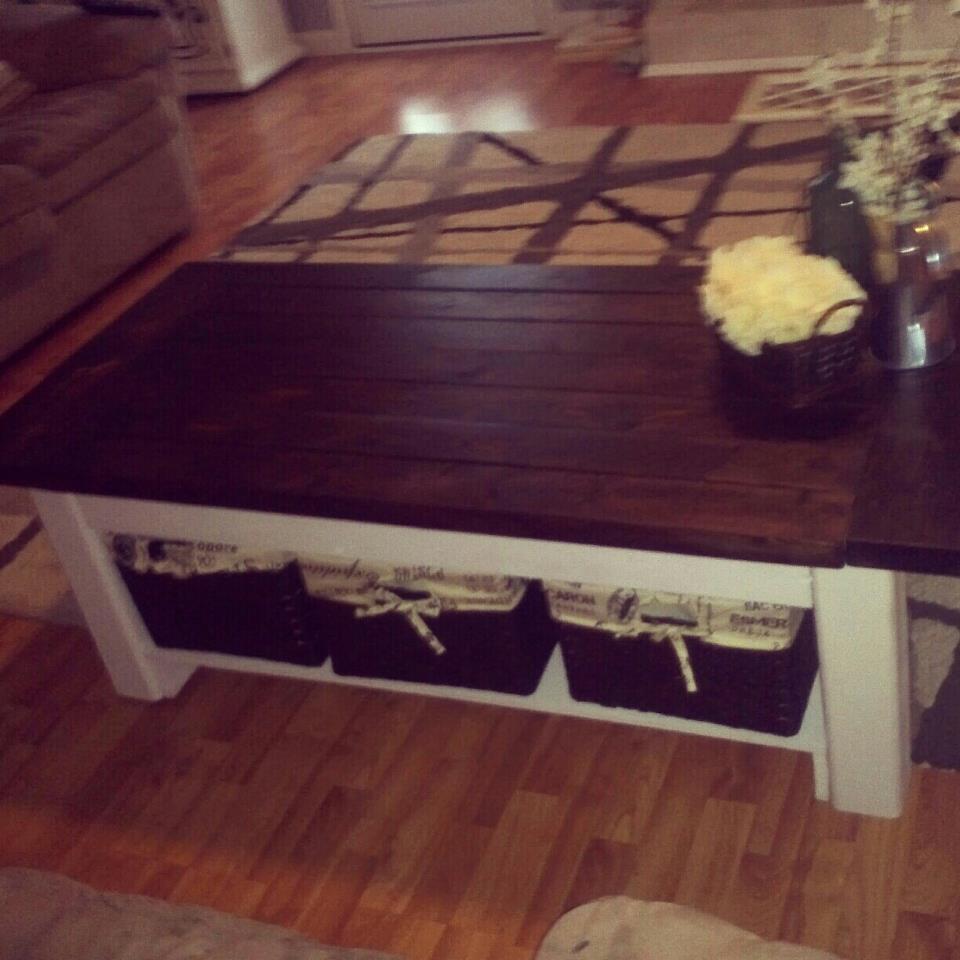
I made the table from the original plans and then just added a shelf on bottom to put my baskets on!
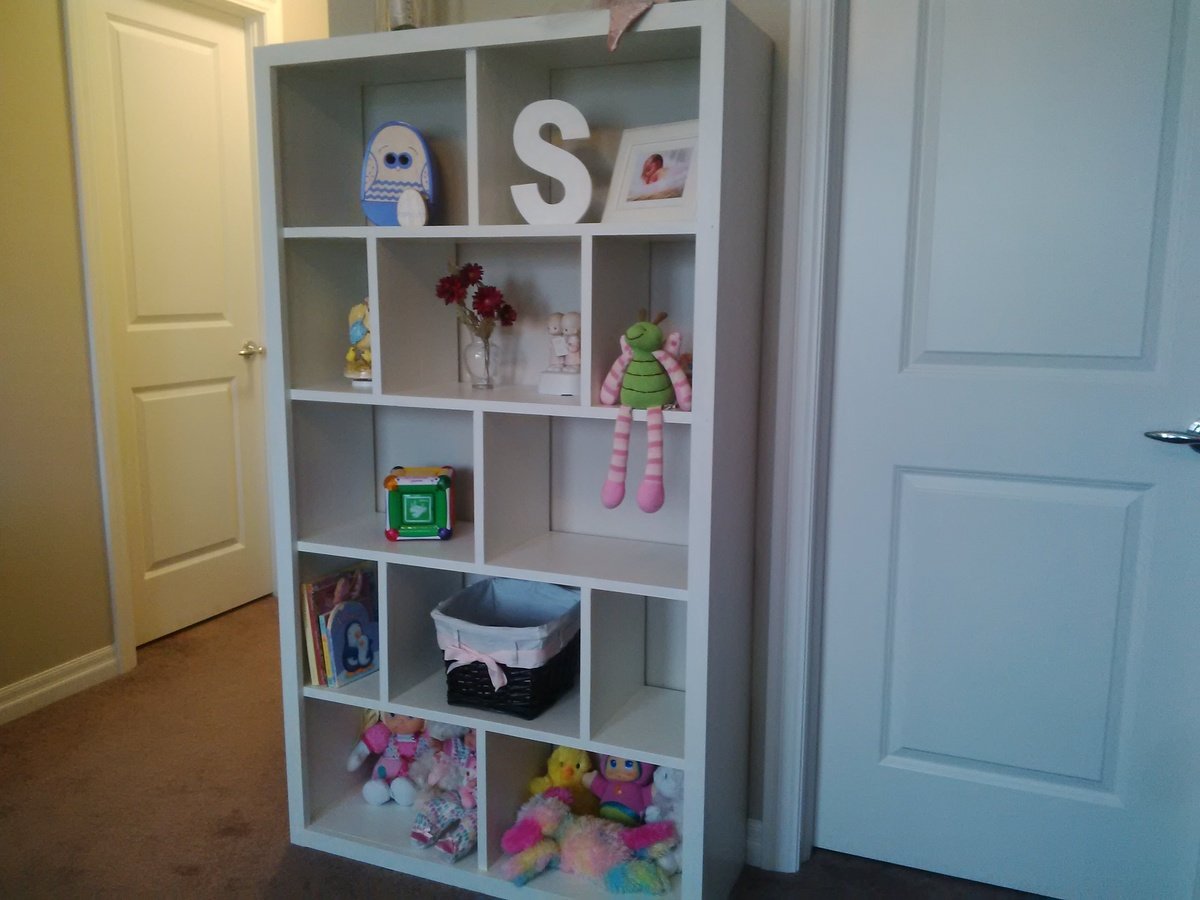
I followed the instructions except for the plywood backing, which I left out. This was a fairly simple build. I love the finished product and it fits perfectly in my daughter's room, providing tons of storage space for books, dolls, picture frames, etc.
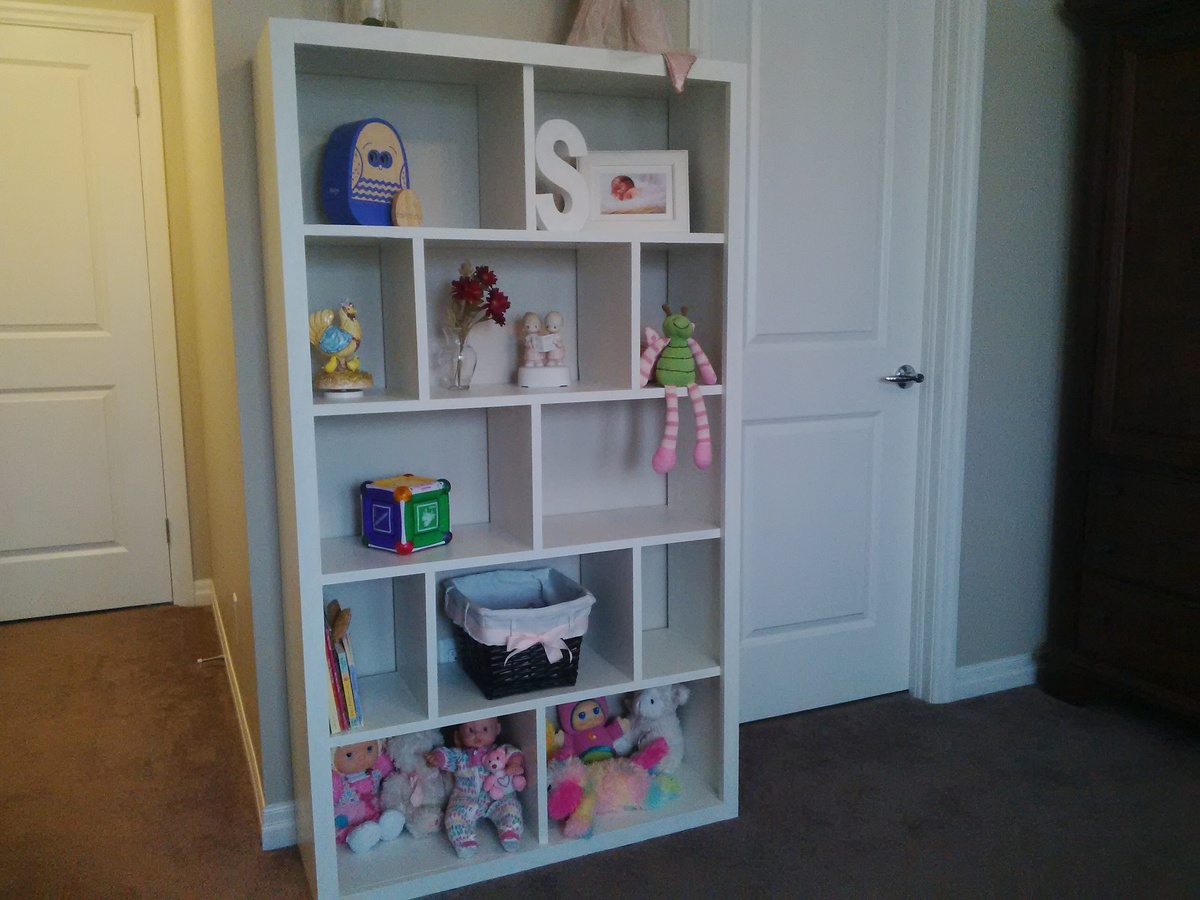
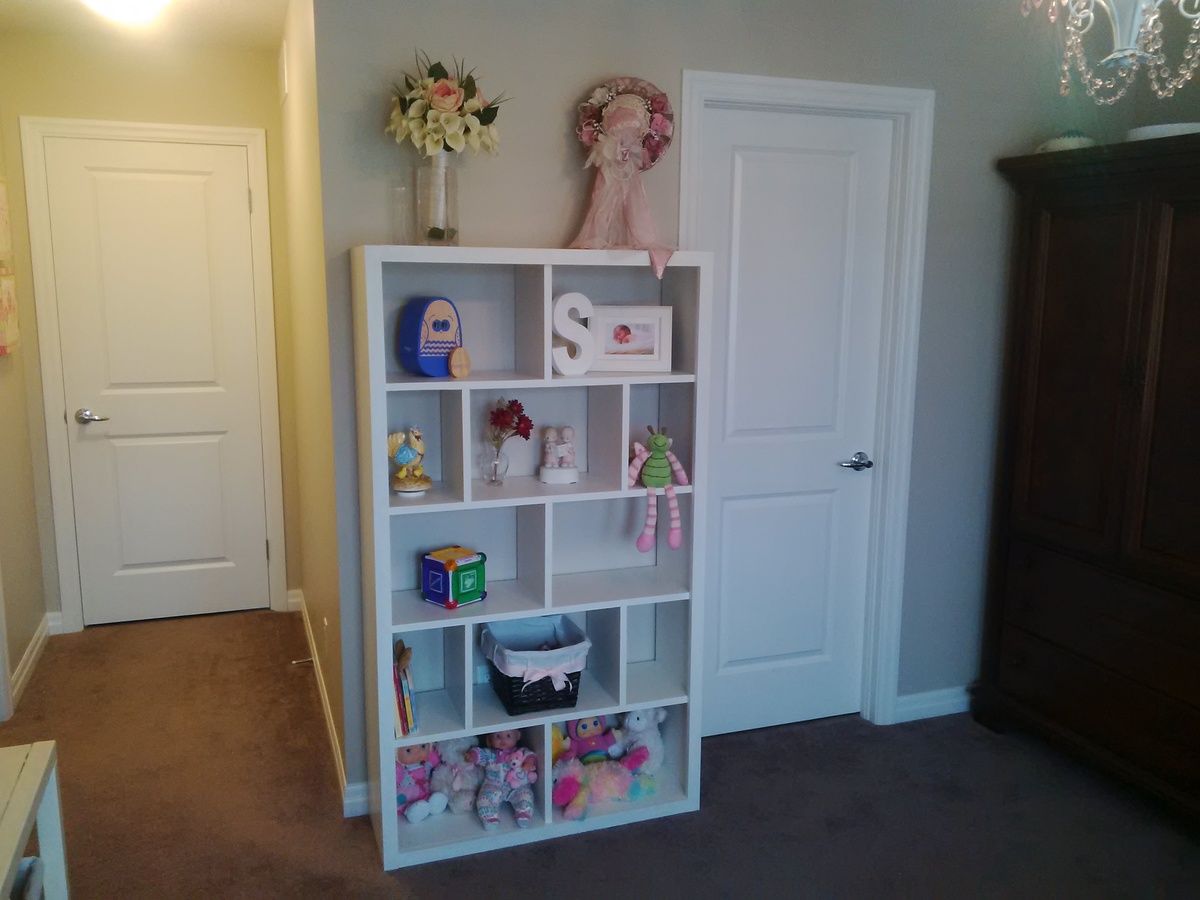
This was my FIRST DIY piece of furniture and I am thrilled with the outcome!
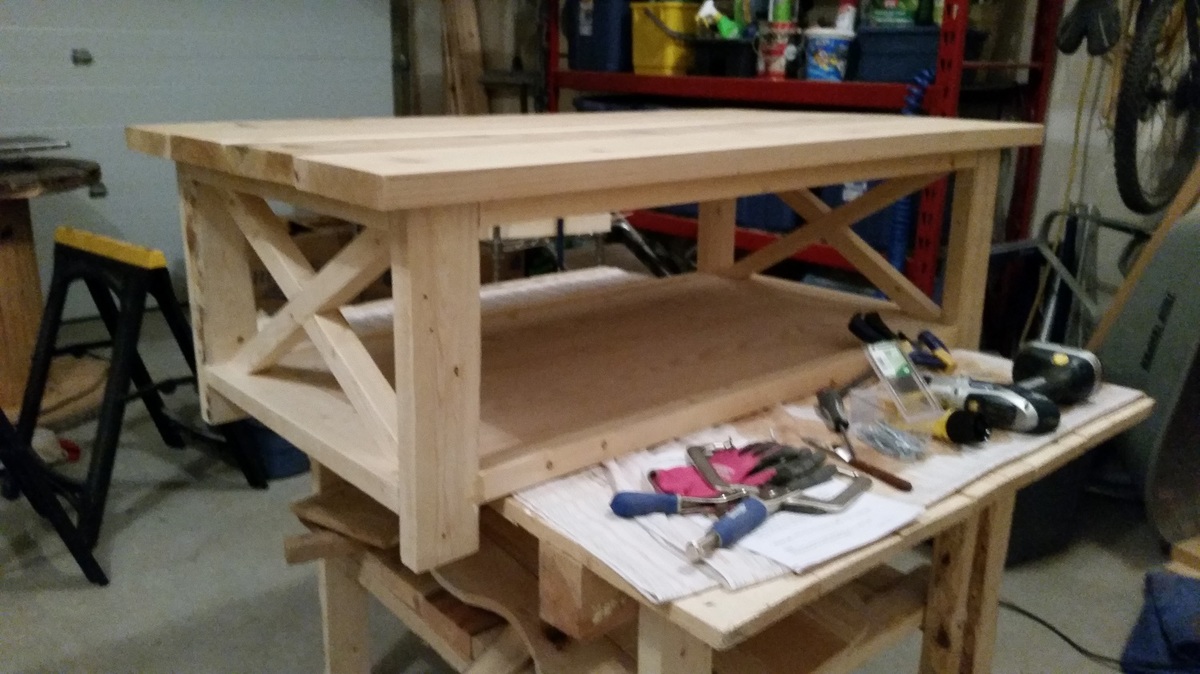
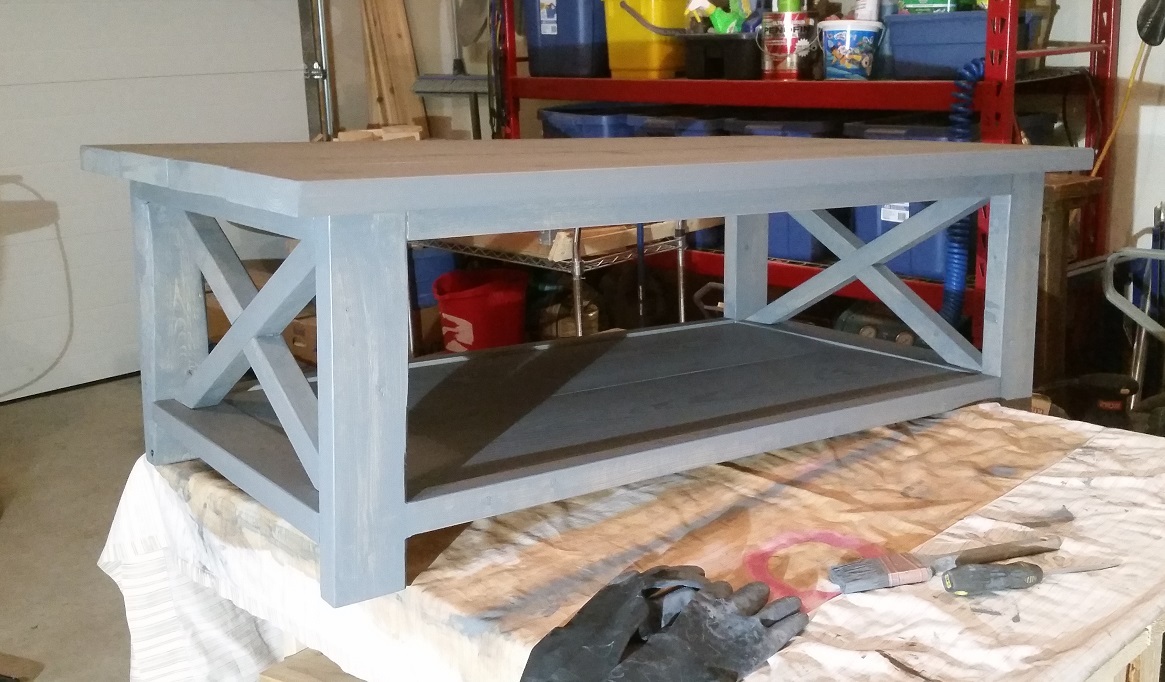
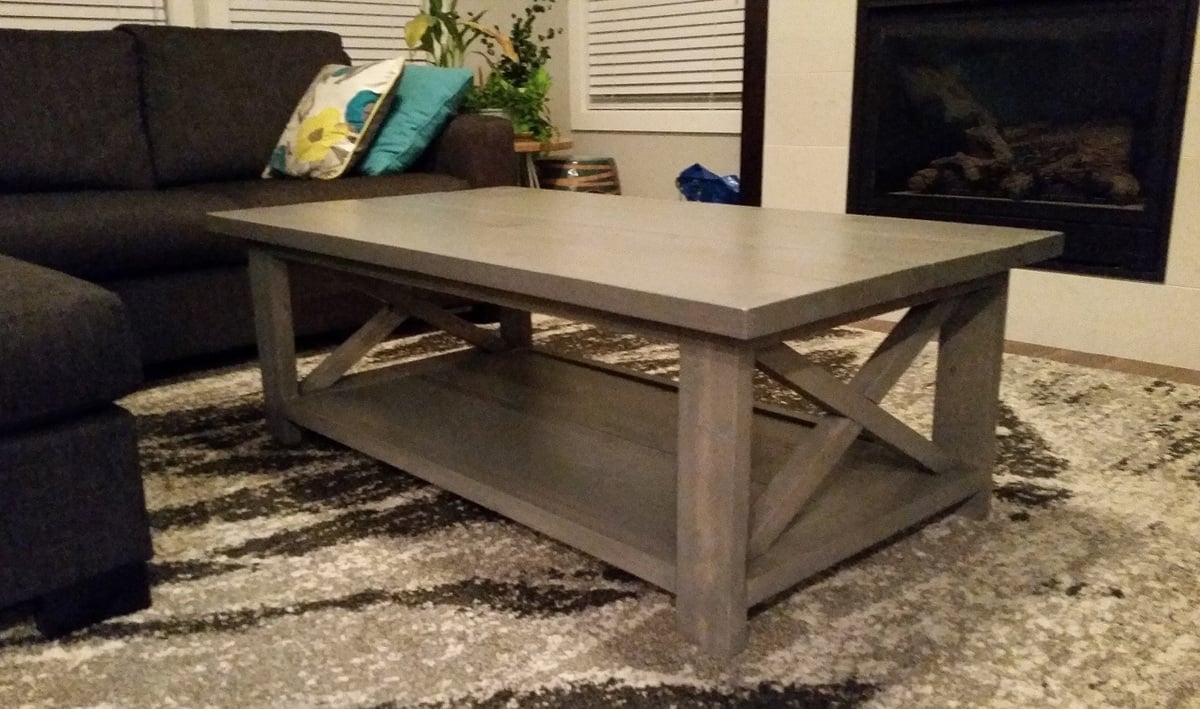
Since I am not really one to go for the rustic cottage look I wanted this DIY coffee table to have a bit more of a modern feel. I chose a grey gel stain to do the job. It gave the table a thicker stain but I am still able to see some of the wood grain beneath it.
Ana White has the best tutorials & free plans to get a crafter to switch to the dark side and become a DIYer!
I did a full blog post on my progress throughout with a lot more pictures.
