Community Brag Posts

My First Project

Submitted by SHiggins03 on Mon, 10/18/2021 - 12:57

I just started building so finding this site was a God send. My wife and I wanted a new bed frame so why not tackle it myself. I loved every part of building it. Now my daughter wants one for her house. I'm happy to do it. I can't wait for my next project

Comments

Ana White Admin

Mon, 10/18/2021 - 17:14

That's so exciting, you got the building bug! Building for your home and family is such an awesome feeling and accomplishment, thanks for sharing!

First Build!

Submitted by jamilwest on Thu, 03/24/2011 - 11:02

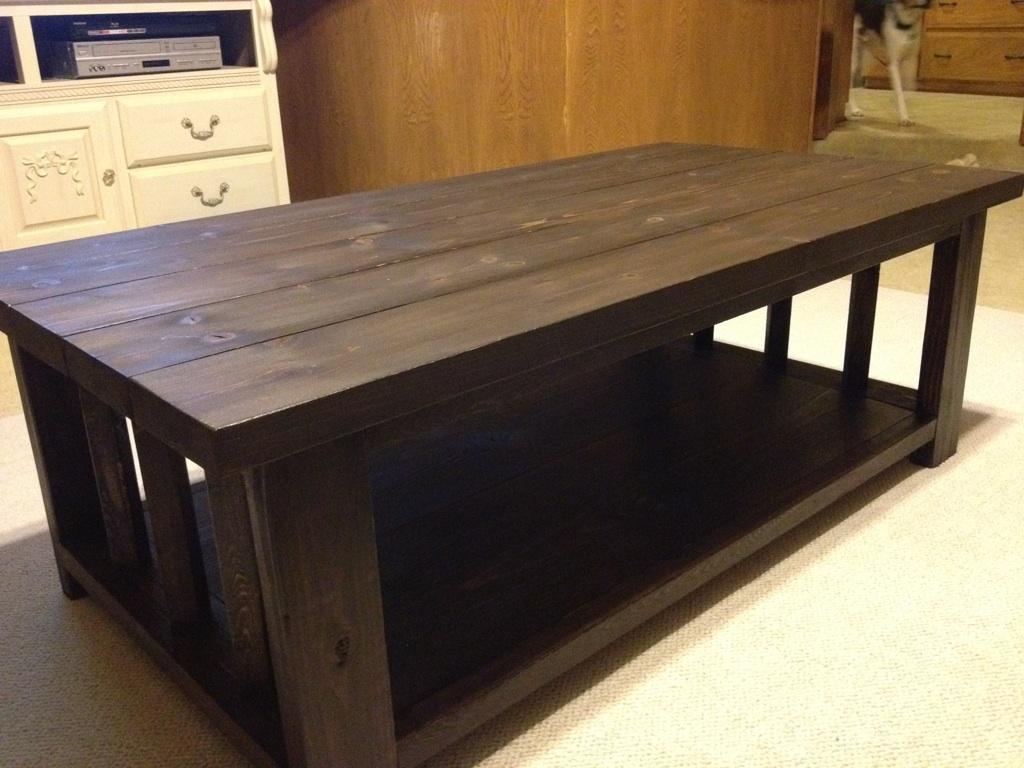
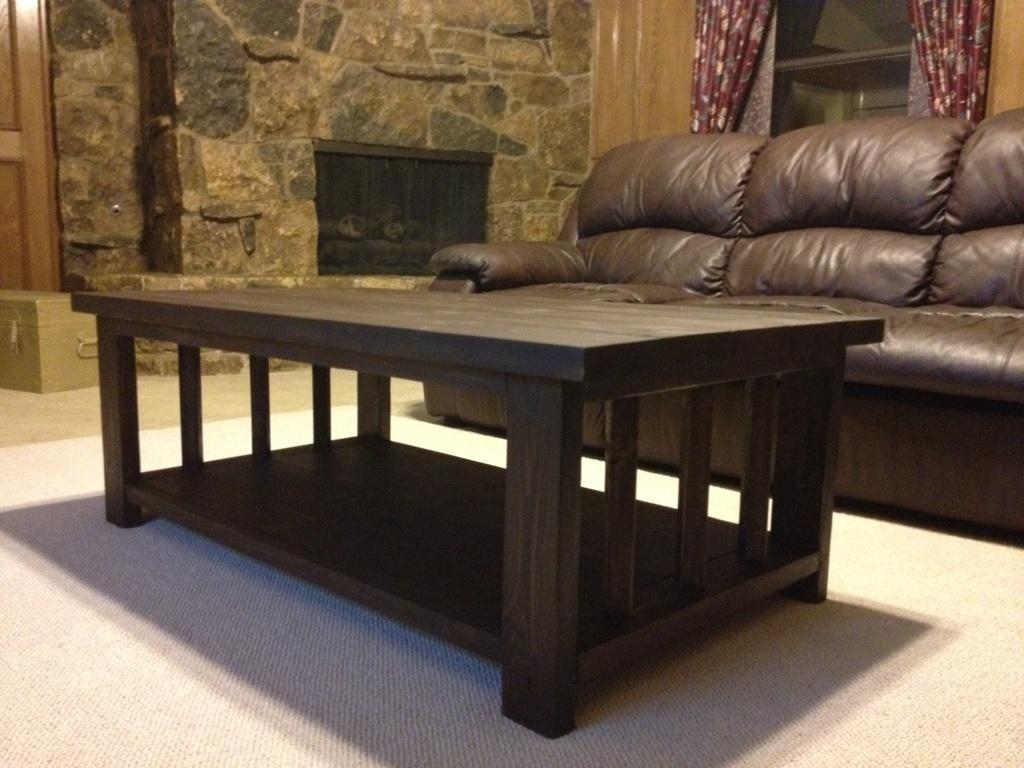
The actual plans themselves came together REALLY well, and several times I found myself saying "How smart is SHE!?" when I would see how beautifully things were put together. 

 
The build was easy, but the finishing was hard.  I had to redrill sink holes a few times, putty the mess out of it, and I just couldn't get it sanded smooth enough to suit me.  
 
We ended up finishing it with Minwax Polyshades in Ebony.  Started out with foam brushes but ended up using the power sprayer.  Not recommended.  It was hilarious but very very messy!  We ended up with black stain all over ourselves, including our noses. :D
Estimated Cost
$50
Estimated Time Investment
Weekend Project (10-20 Hours)
Finish Used
Minwax Polyshades in ebony gloss, put on with a power sprayer. Very messy!!
Recommended Skill Level
Starter Project

Tryde media console

Submitted by Lmunro11 on Sat, 06/08/2013 - 07:34

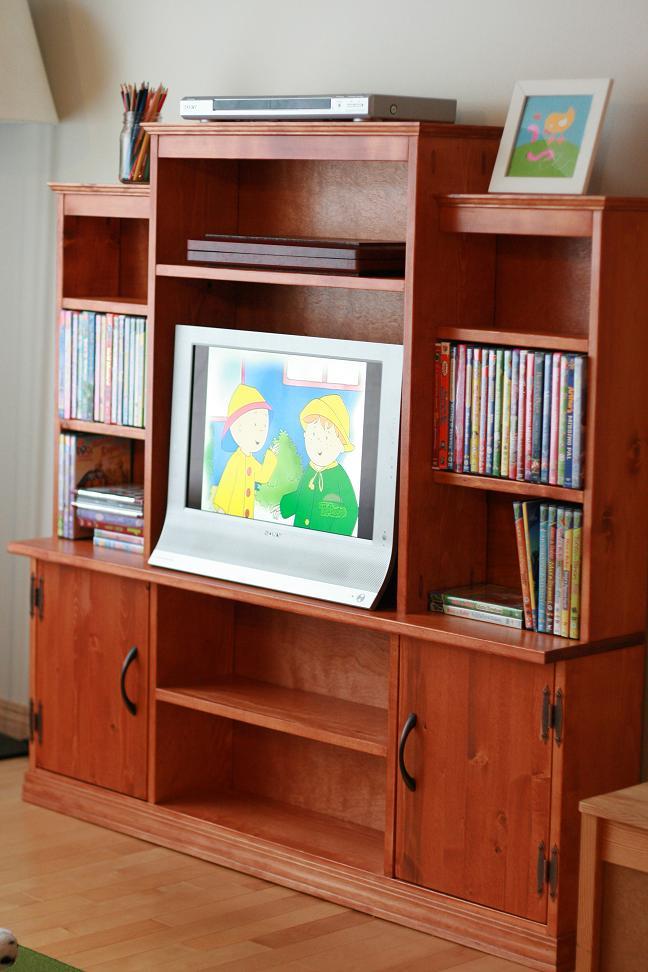
This project was greatly inspired by another user's version. The extra 1x2s on the front and the color scheme. Also, in the plans you are told to use plywood for the back, I ended up using hardboard because it is less expensive and also much lighter. I found the console to be quiet heavy already so this really helped. Finally, the other user stained the top with English chestnut and I used "special walnut".

Built from Plan(s)
Estimated Cost
200
Estimated Time Investment
Weekend Project (10-20 Hours)
Finish Used
Painters choice white paint/prime- 2 coats each
Mini wax "special walnut"- 2 coats
Varathane diamond wood finish gloss- 3 coats
Recommended Skill Level
Beginner
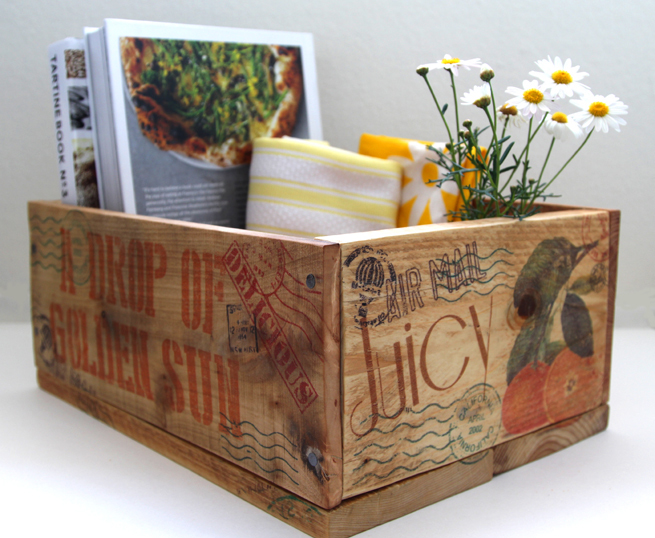
DIY Veggie and Fruit Storage-Poplar

Submitted by sashreck on Mon, 05/11/2015 - 12:12

This was our first real project. We are pretty happy with how it turned out.

Things we learned:
1. Always trim the ends of the stock from the store. We missed one. Twas a bummer.
2. Clamp, Clamp, Clamp. Always clamp before you drill.
3. Sand and Finish all of the cut stock before you assemble it.
4. Drill the sides to the top basket first. That way, if your side is bowed, it will leave a space at the bottom.
5. We ended up using a hand screwdriver to assemble it. If your pilot holes are deep enough, this should be easy and more predictable.

countersink bit is a must have

Estimated Cost
$40 for just the wood ($70 with screws, polyurethane, paint brush)
Estimated Time Investment
Day Project (6-9 Hours)
Finish Used
Varathane Clear Gloss Water-Based Interior Polyurethane (Interior Heavy Use Formula)

Sanded 120 grit-180 grit-220 grit-320 grit on raw wood
Laid three coats of finish
Sanded 120 grit-180 grit-220 grit-320 grit on finished wood
Recommended Skill Level
Starter Project

Rolling cabinet

Submitted by Anonymous (not verified) on Sun, 10/24/2021 - 06:26

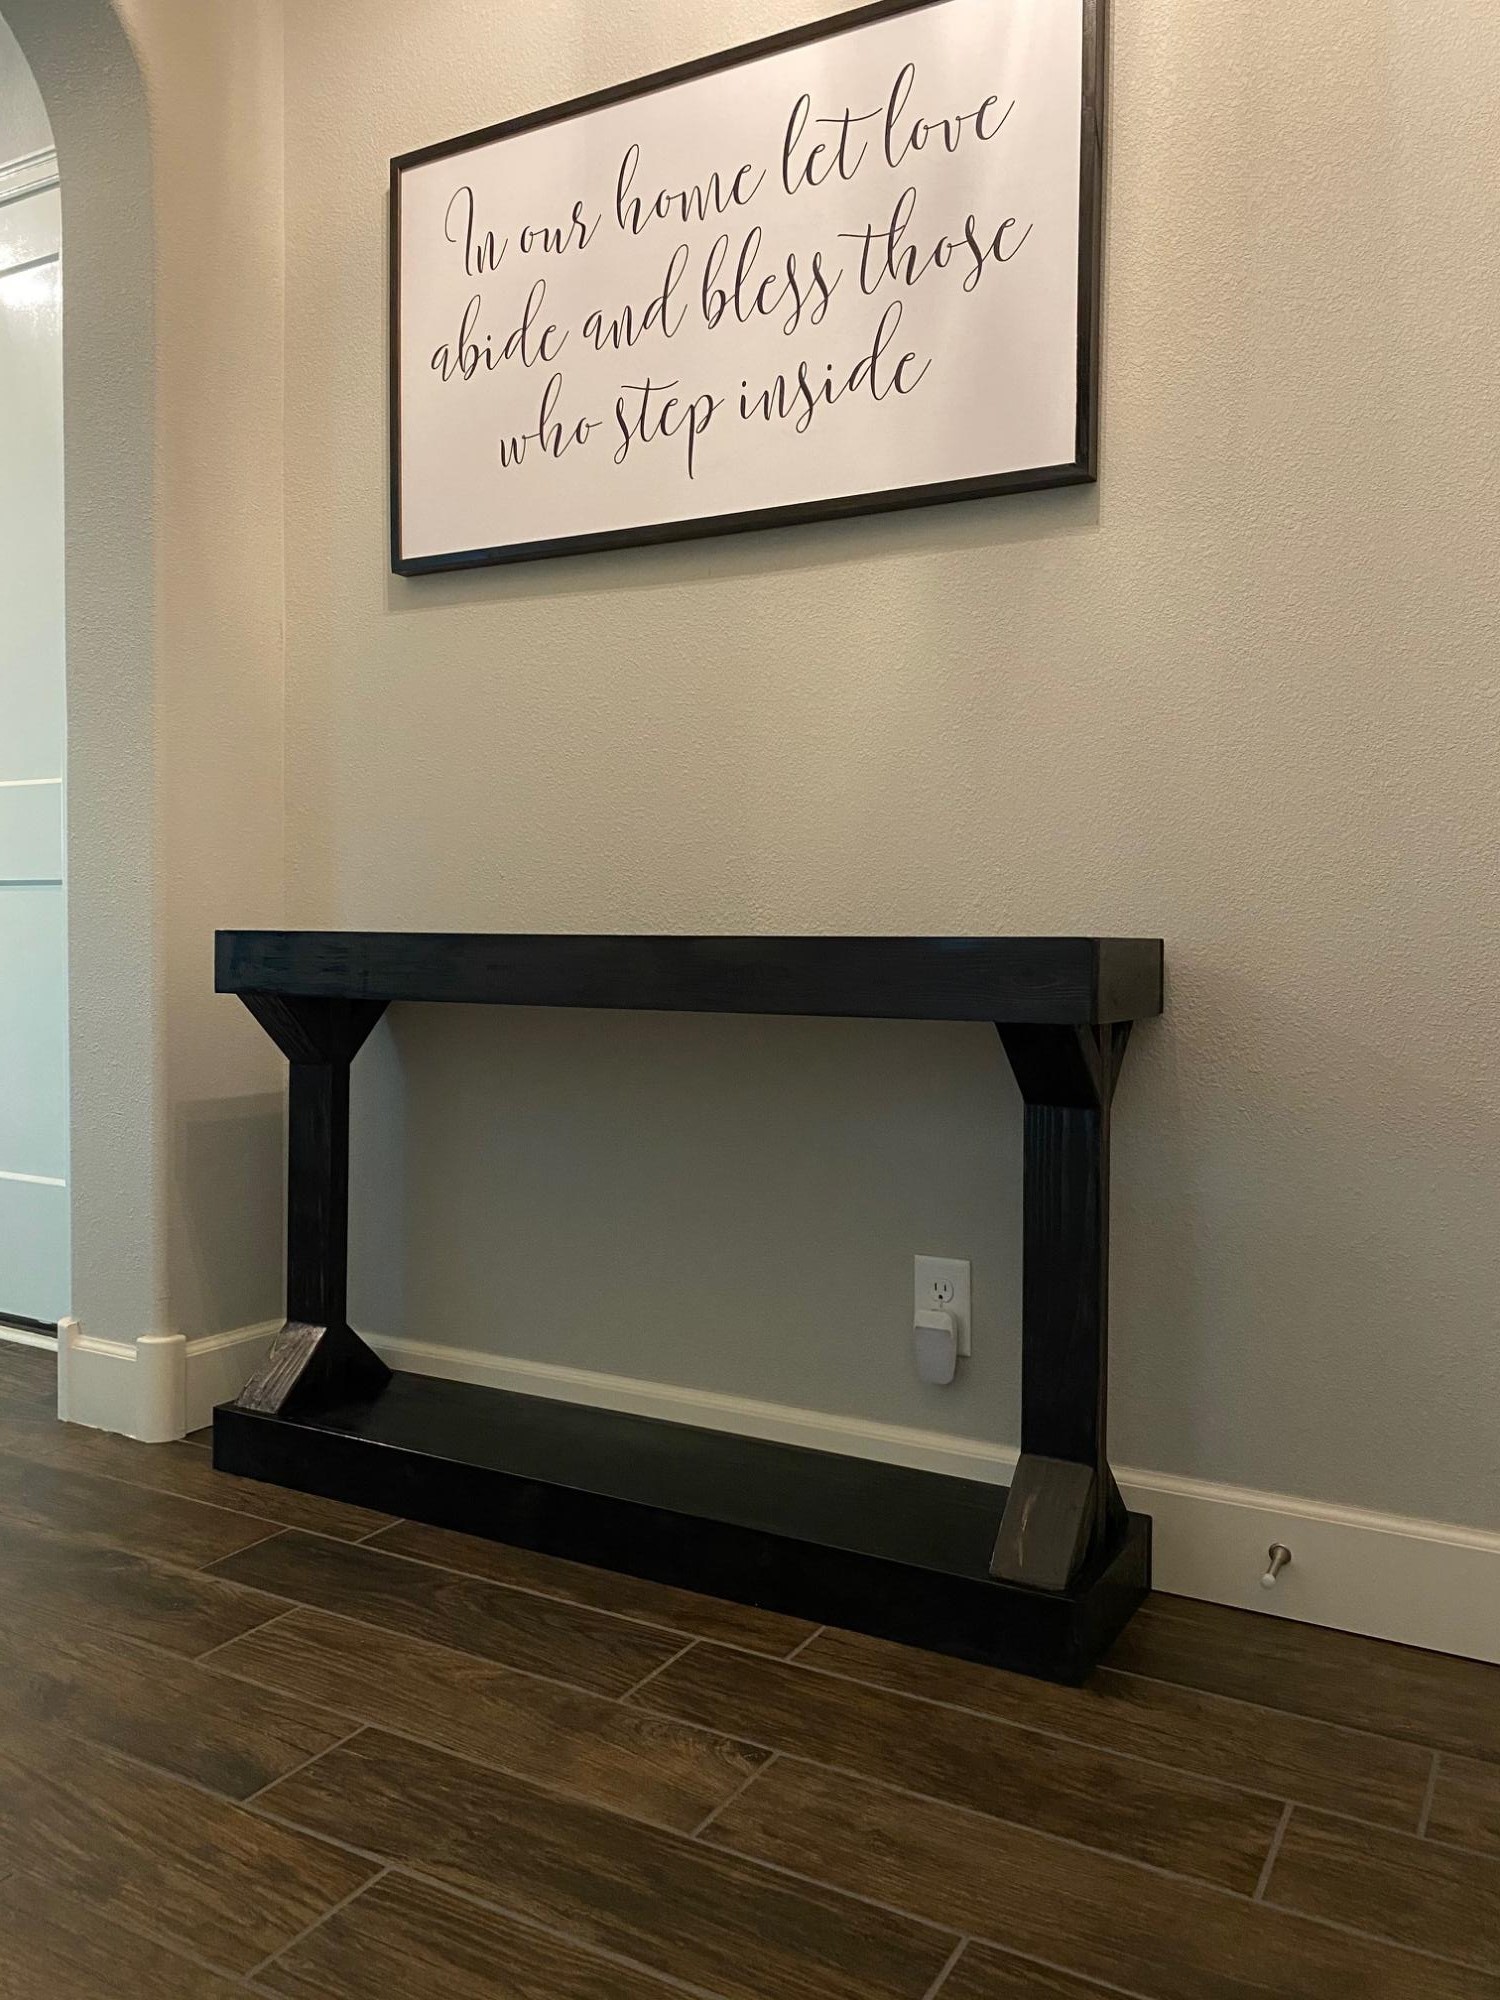
This originally came from a sofa console plan but I added drawers and wheels to make an island.

Comments

Kid's Playhouse and Slide

Submitted by docfin02 on Mon, 03/28/2011 - 18:56

I LOVE these plans. This was my first project, and although it was a big one to start with, the plans were easy to follow. If I can do it, anyone can. I added the rock wall. My kids and I love it. Total cost for me (including all lumber, nails, paint, slide, etc.) is about $850.

Estimated Cost
$850
Estimated Time Investment
Week Long Project (20 Hours or More)
Finish Used
1 coat primer, 2 coats paint
Recommended Skill Level
Intermediate
Seasonal And Holiday

Bunkbed with bookshelves, stairs and storage bins

Submitted by ECAAC on Sun, 06/09/2013 - 17:45

We needed bunkbeds for our 4 and 2 year old before baby 3 came along. We used the basics of the side street bunk bed, combined it with modified plans of the playhouse stairs and then added bookshelves as the headboard and storage bins underneath. It took us about 4 different weekends plus to finish it. We used mostly 2x4s and 2x6s for pieces holding it together and 1x6s for most of the sides. We absolutely love how this turned out! Both kids have plenty of room for books and animals on their headboards. There are skinny shelves at the foot of the bottom bunk for books and the storage bins are awesome for cars, dolls, dinosaurs, etc. The stairs store blankets, toys, misc (there is alot of storage under the bottom bed too...just more difficult to get to...we cut 3 pieces of plywood for bottom bunk so we could access things underneath). The boards underneath the top bunk are 1x10s. The stairs were the most difficult part of this project. Hopefully this bunkbed will be passed down to grandkids! We had a great time building it! VERY sturdy too.

Estimated Cost
400
Estimated Time Investment
Week Long Project (20 Hours or More)
Finish Used
Rustoleum stain
Recommended Skill Level
Beginner
Comments

melodyshurkey

Wed, 02/05/2014 - 15:44

Is there a place to download plans for this bed? I would love to make this for our boys!

AlaskaSoul

Mon, 03/03/2014 - 15:53

Hi Ana!
This is an AWESOME bunk bed! I need to build two of these. Is there any chance that the plans will be uploaded soon? Thanks for everything that you do!

kcjumper

Fri, 05/09/2014 - 07:02

Curious if these plans had been posted anywhere? Looking to build this style for my nieces this summer.

mconnelley

Thu, 08/07/2014 - 08:40

This is a great design and I would love to build it for my kids. Has anyone gotten the plans by chance?

Ac13

Sun, 09/07/2014 - 22:31

I would love to build this for my kids, any access to the plans?

pcianciulli

Fri, 09/19/2014 - 13:15

Looks fantastic would love to make something similar for my twins. Are there any plans that are out for this bed. Please let me know thank you.


Ana White Admin

Tue, 12/09/2014 - 07:02

Thanks for your request Bauertravis. We are unable to commit to plan requests at this time. Thanks for your support and understanding!

annechatman

Sun, 01/11/2015 - 17:55

Hi! These beds would be perfect for our girls! Are you able to provide the plans for this?

Thanks!
Anne

Toddler Jeep Bed Easy DIY

Submitted by Anonymous (not verified) on Mon, 10/23/2017 - 10:22


Designed and submitted by Andre

Toddler Jeep bed made to fit Ikea youth mattress. Looked at a lot of toddler bed plans before custom designing this one.

Recommended Skill Level
Intermediate

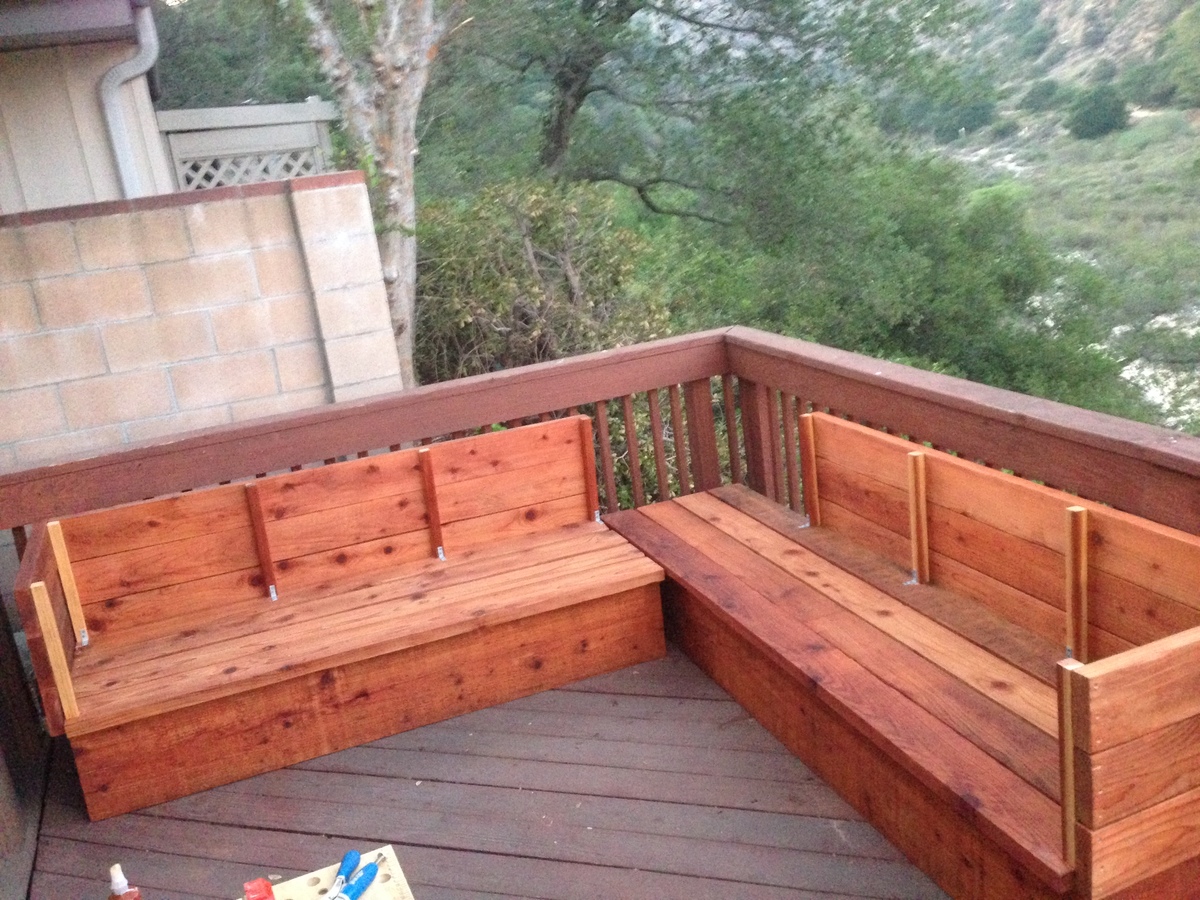
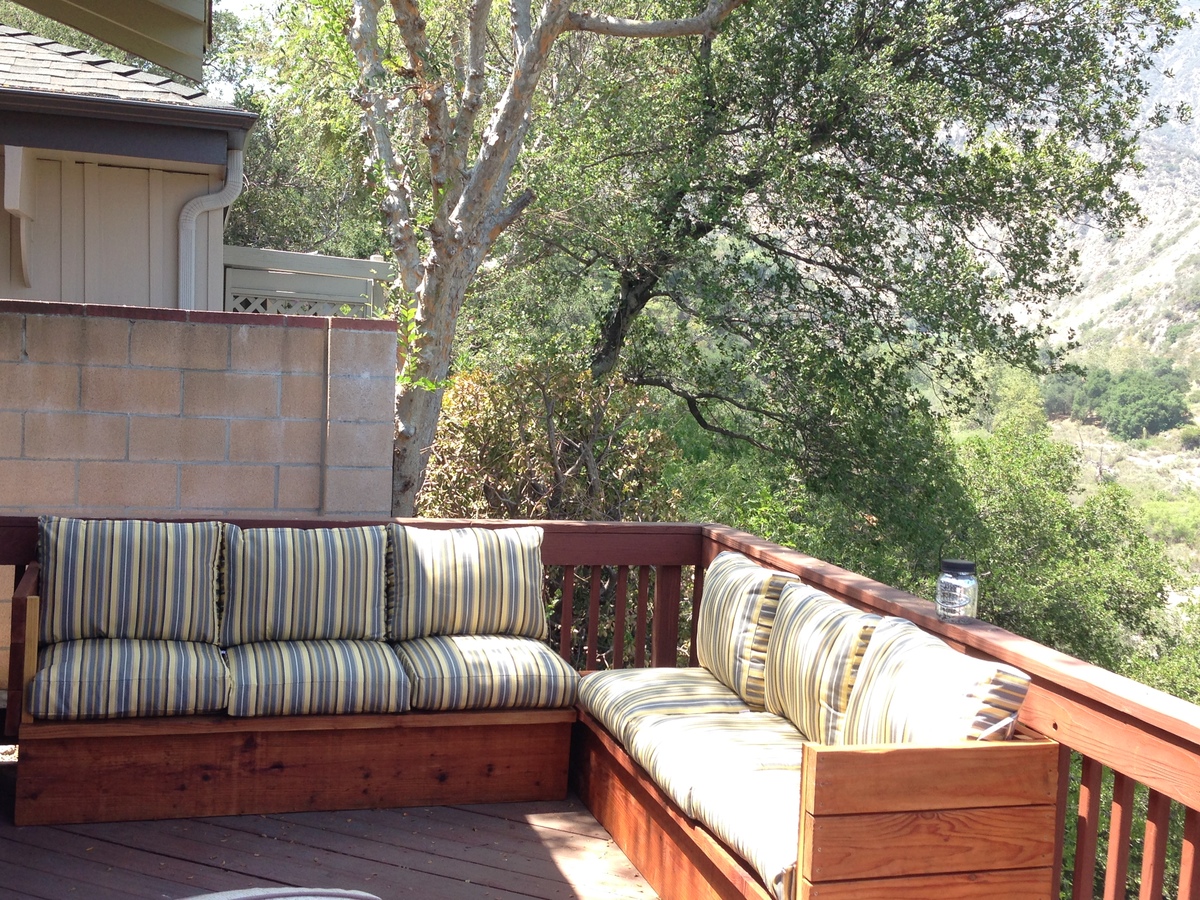
Outdoor Sofa

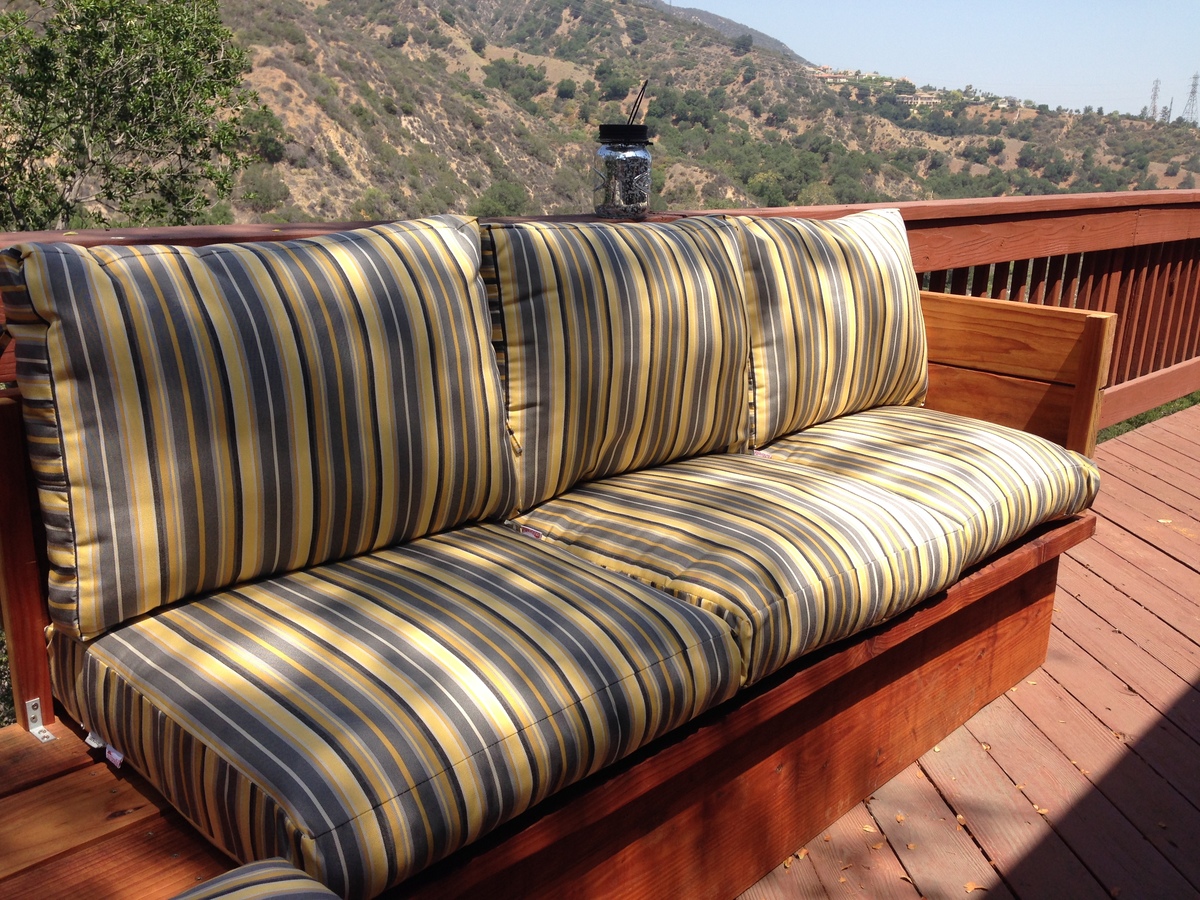
Submitted by Anonymous (not verified) on Fri, 11/05/2021 - 14:13

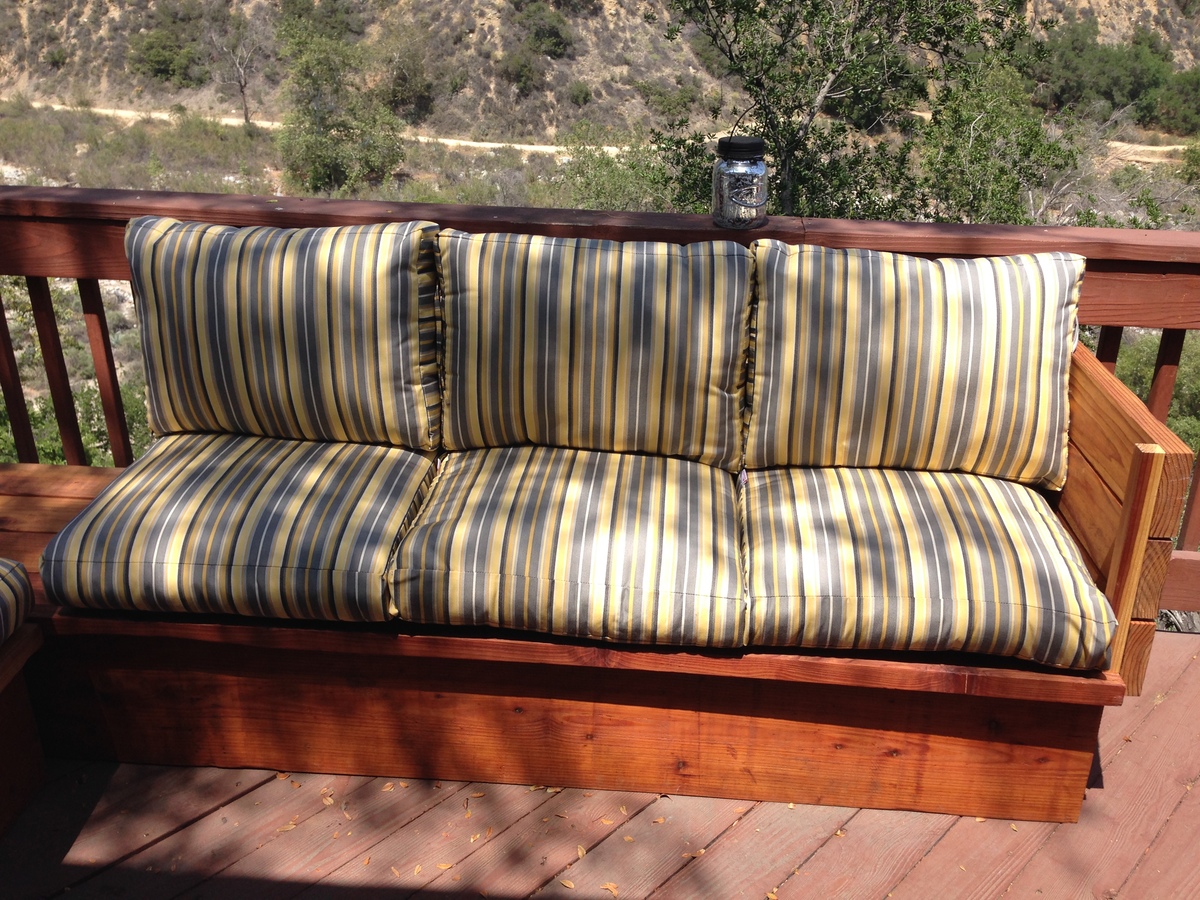
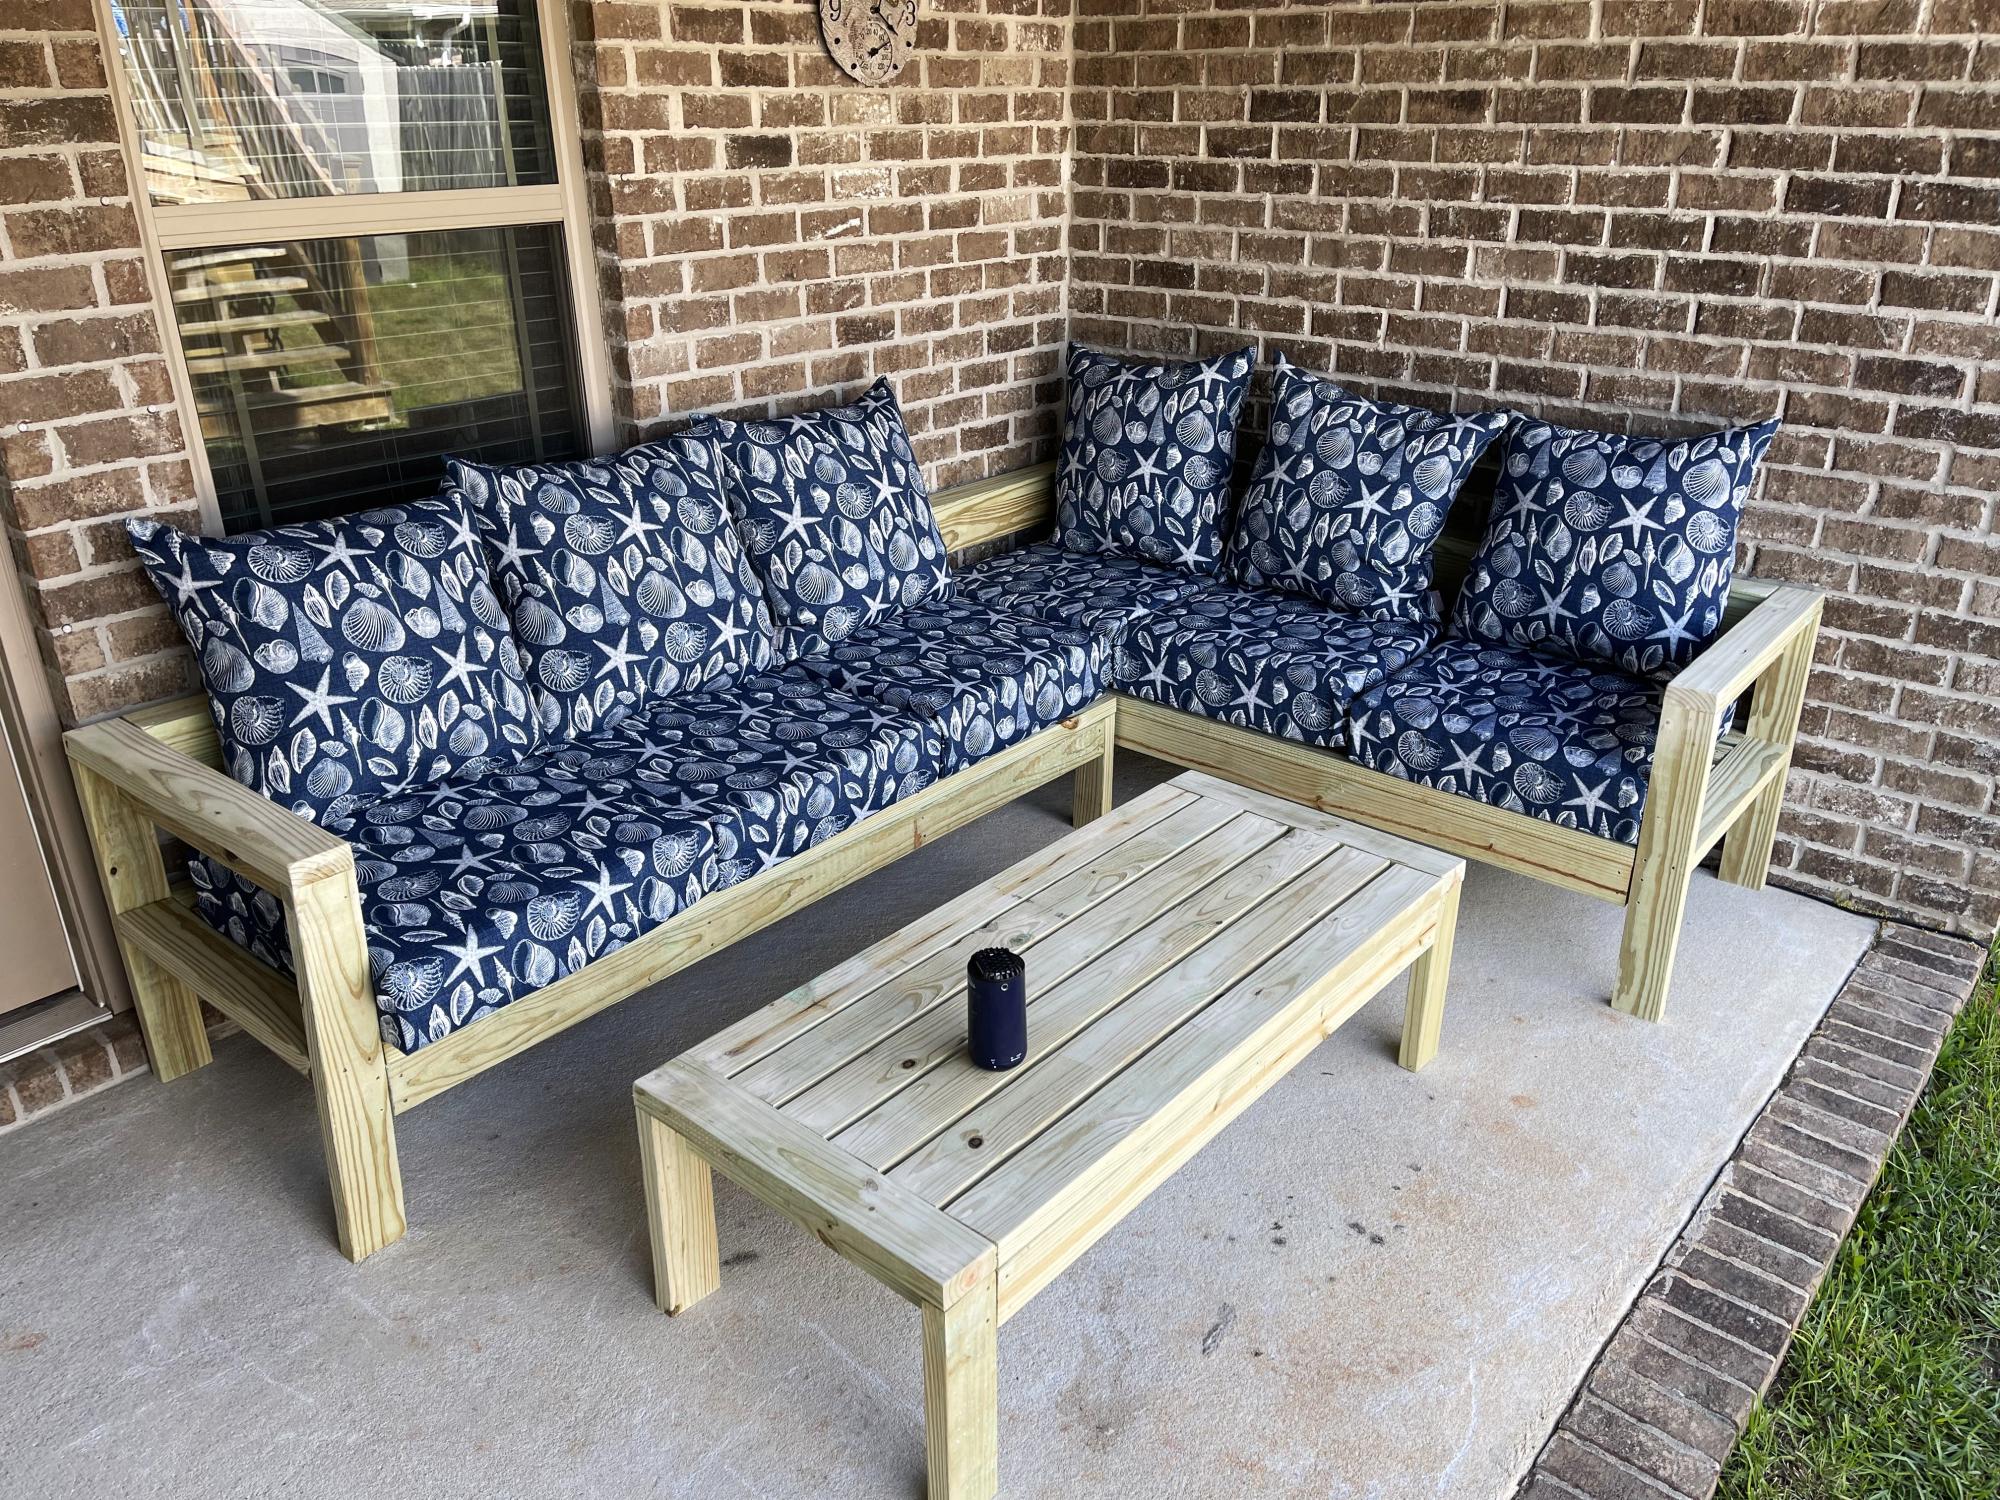
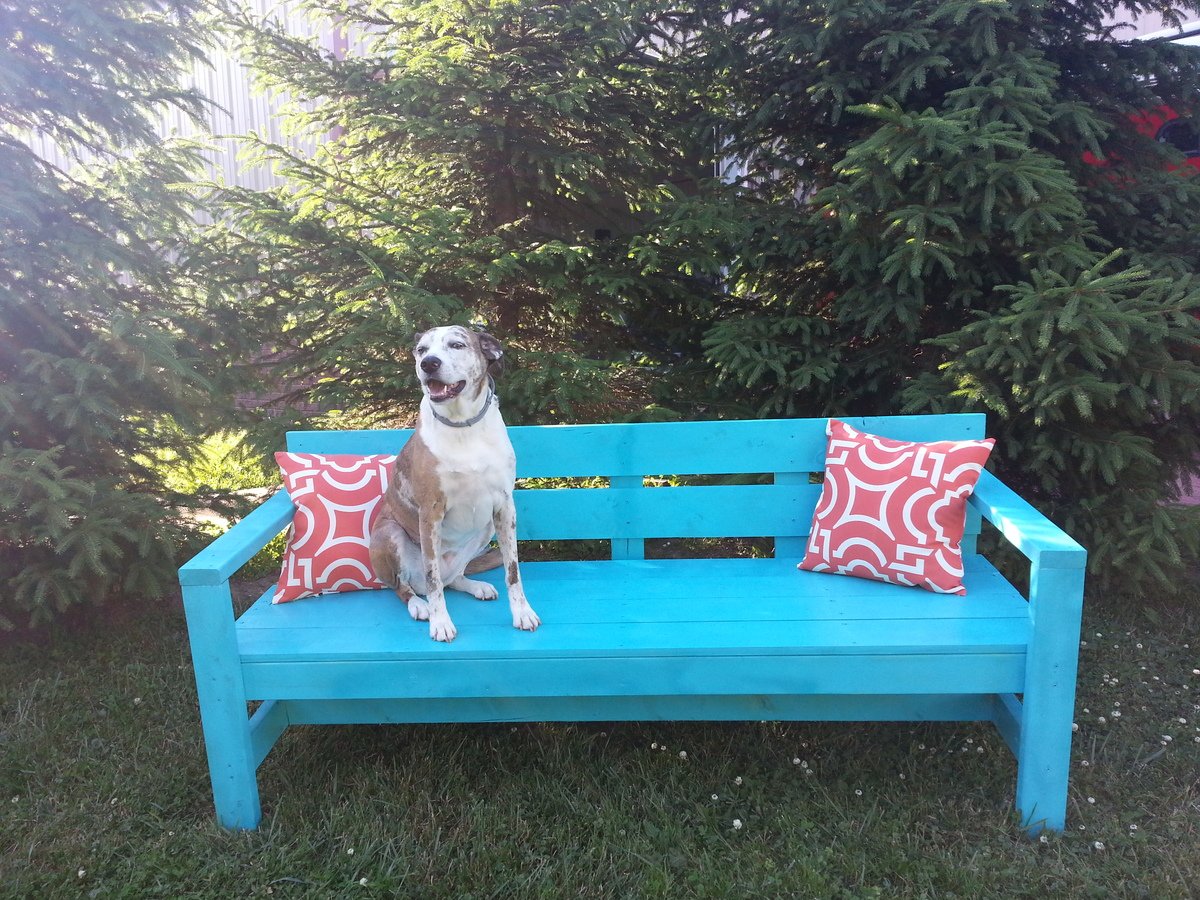
Perfect seating for our new summerhouse, loved how easy it was to build. Thanks so much for the free plans and making the easy to follow videos

Built from Plan(s)

Comments

Cubby Storage System

Submitted by beckysnest on Fri, 04/01/2011 - 11:04

This was my first building project ever! Even though it took longer than I expected to complete (I have four tiny kids and snagged an hour here and there during nap time over the course of many months), it was absolutely worth the time investment (and wait)! Hanging the doors was tricky (my awesome husband tackled that part), but other than that it was easy to put together. Finishing it was the hardest part by far. If I were to do it again, I'd probably do some preliminary sanding of the boards before putting them together and I would most certainly not use oak (I was talked into it by the HD guys) especially since I ended up painting it. I think it would have turned out just as great if I'd used a cheaper wood or MDF. Thanks for the plans Ana!

Estimated Time Investment
Week Long Project (20 Hours or More)
Finish Used
Started with two coats of Behr Ultra Interior Satin (paint w/primer) color matched to Martha Stewart Barn Red (sanded between coats). After one final (light) sanding to distress, I finished with one coat of Ralph Lauren Glaze in Tobacco that I had on hand (brush on one side of surface and then quickly wipe away excess with an old rag--moving the rag in the direction of the wood grain). The glaze brought out the wood grain more and helped tone down the exposed wood.
Recommended Skill Level
Beginner
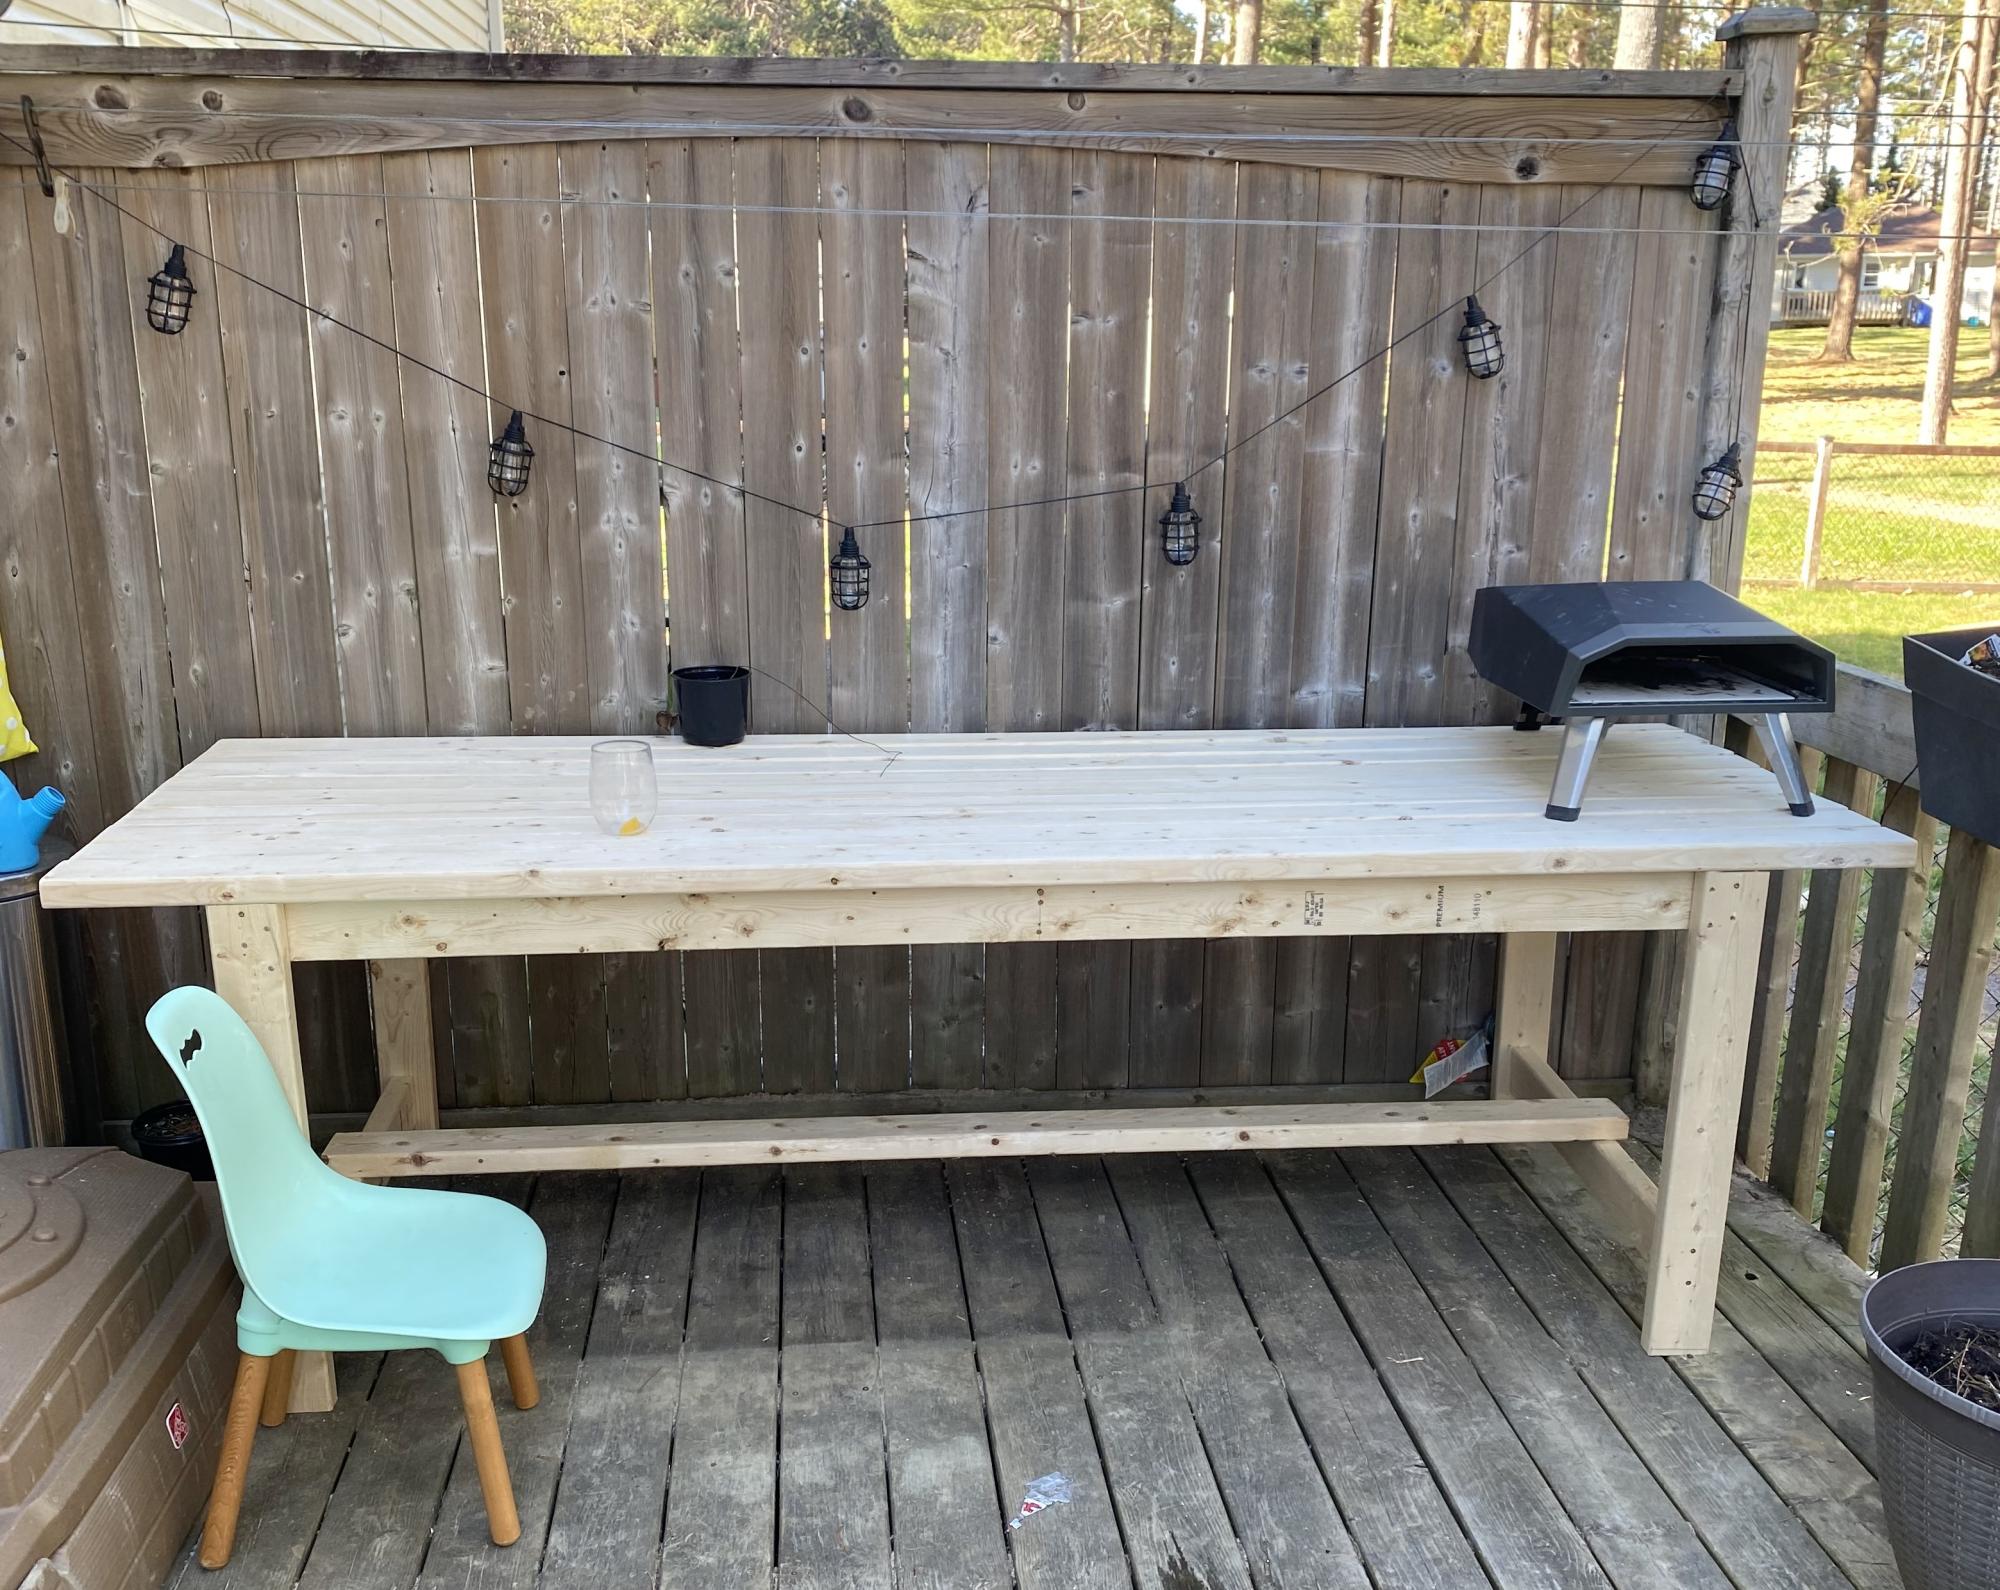
Fancy X Farmhouse Table

Submitted by KatieC on Tue, 06/11/2013 - 08:25

This was my husband and mine's first DIY project! We started off using a miter box, and quickly caved and bought a miter saw. We also had trouble getting the X's to fit correctly, so we redid them and made it in a different order than Ana--we lined them up on the boards they would be attaching to and drilled in there. So we didn't make X's and then attach, but rather did it all at once. This made sure everything fit together!

Also, we didn't stain the top pieces of wood before we assembled, and it was hard to get in-between the boards, definitely recommend at least one coat of stain before attaching the top!

Had a great time making this bench, and love it!! Everyone that sees it is so impressed!! We made this one for outdoors, but we are thinking of making another in nicer wood for our indoor dining room table....

Built from Plan(s)
Estimated Time Investment
Week Long Project (20 Hours or More)
Recommended Skill Level
Starter Project

Vanity Made From a Rescued Trash Board.

With the remodel budget for my powder room only being $300, I needed to get creative with the vanity. The room is tiny, so the vanity needed to fit well in the space and allow us to still move around. I had rescued this board from the dumpster at church when it was being remodeled and kept it in my garage until inspiration struck.
I'm not a carpenter, I try and I'm learning as I go, but the vanity turned out great for me. I made it to fit the $15 Craigslist vessel sink and the little nook in the bathroom. The towel bar was $1 at my local restore. It's nice and sturdy attached to the studs with "L" brackets.

For the tutorial on how I built it using one board, visit my blog.

Estimated Cost
The vanity was free to build except for a few screws and glue.
Estimated Time Investment
Day Project (6-9 Hours)
Finish Used
Sanding, a coat of Minwax Provincial Stain, 3-4 coats of Minwax Wipe-on Polyurethane.
Recommended Skill Level
Beginner
Crib Mattress Wood Sectional

Submitted by Anonymous (not verified) on Thu, 11/09/2017 - 09:55

Submitted by Abigail Marolt on Facebook -


I made a your crib mattress sectional with an extra armless couch to make one large U-shaped design! It was my first project with a kreg jig and a circular saw, but it certainly won't be my last. We love using this couch every day!

Recommended Skill Level
Starter Project

Granddaughter's Loft Bed

Submitted by Anonymous (not verified) on Fri, 11/12/2021 - 23:37

This was a present for my granddaughter's 10th birthday. I had to modify the plans so it could be disassembled then reassembles in her bedroom. That required the screws in the side boards, and vertical pegs at the ends of the top rails that could be popped up. I also added a vertical support between the back sideboard and top rail.

Comments

Queen Farmhouse Bed with Arch

It has taken longer than I care to admit to finish this project, but life tends to get in the way sometimes.  But it turned out great, there were little to no hickups during the process, and of course I had a lot of fun building this bed!

Thanks Anna for the plans! 

I have posted pics of the process below. 

Pic 1: All the wood.  Nothing smells better than a garage full of lumber! Oh, and please excuse my bulldog mooning you. She doesn't mean anything by it.

Pic 2: Headboard and Footboard finished and leaning up against the garage.

Pic 3: Just making sure everything would fit right.  I used the cross-beam from the original bed frame as a guide.

Pic 4: staining in progress.

Pic 5: Finished and installed!
 

Built from Plan(s)
Estimated Cost
$350 - Since I was staining, I used select Pine (no knots) which is much more expensive.
Estimated Time Investment
Week Long Project (20 Hours or More)
Finish Used
Sanded well, increasing the grit from 120 - 150 - 180 - 220.

Used wood pre-treater to prevent blotchiness.

General Finishes Java Gel Stain - 2 coats.

General Finishes Gel Poly (Satin) 4 coats lightly sanding in between with 320 grit for the first two and 400 grit in between coat 3 and 4. For the final coat, I painted it on with a foam brush to make sure there were no marks from rubbing it on.
Recommended Skill Level
Beginner
What a Beauty!

Submitted by swbaby on Thu, 06/13/2013 - 13:57

This was a doozy! Being only our second project ever (the farm table being our first) it took us about 3 weeks of hard work on the weekends and light work on the weekdays to complete this project. We extended the guardrails in both height (using 3ea 1x4s) and length to span the entire backside and all the way to the ladder on the front on top bunk. We wanted to be able to have a regular height mattress on each, so that if we take them apart to use as two separate beds they'd have a decent mattress on both. We also made two regular length, but extended height guardrails for the bottom to accommodate a toddler. We used the mortise bed rail fasteners from Rockler (due to the design the non-mortised kind were not an option). That took a good chunk of time. We also did 1x2 slats,13 per bed,to act as the mattress support. As with most projects, the lumber was around $200! The other was made up of sanding supplies, prep, stain, finish, safety supplies (mask, gloves) screws and so forth. I bet we spent about $40 on screws alone as we wanted to be really sure it's solid for two monkeys. It's a really beautiful piece that would cost well over $1000 if purchased mainstream.

Estimated Cost
300-350
Estimated Time Investment
Week Long Project (20 Hours or More)
Finish Used
2 coats Minwax Red Mahogany and 2 coats of gloss Poly
Recommended Skill Level
Beginner
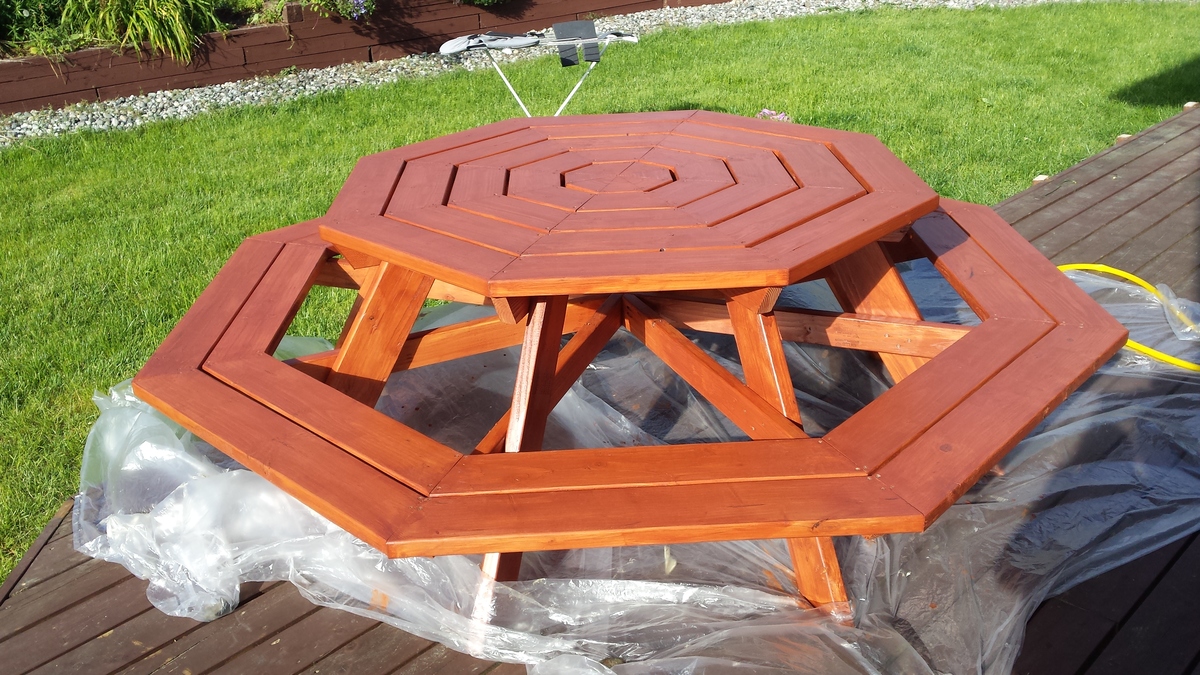
Large Cubby Bookshelf for nursery

Submitted by Shaila on Sun, 05/17/2015 - 13:28

I wanted a bookcase for my son's room that would add some color and be a functional storage unit for his books and toys. I did not buy the highest grade of pine because it would have doubled the project cost and I knew I was going to paint it. The only trouble I had was that the boards were a little cupped so the shelves don't have an invisible fit. I used stock moulding and cut down the base trim to fit. In hind sight, I would have not done the adjustable shelves. I like the symmetrical look of this and can't see myself moving them. I did make a cleat to attach it securely to the wall so that a busy climbing boy wouldn't pull it down on himself.

Built from Plan(s)
Estimated Cost
This probably cost me $100 because I bought two paint colors.
Estimated Time Investment
Day Project (6-9 Hours)
Finish Used
Interior paintd
Recommended Skill Level
Beginner
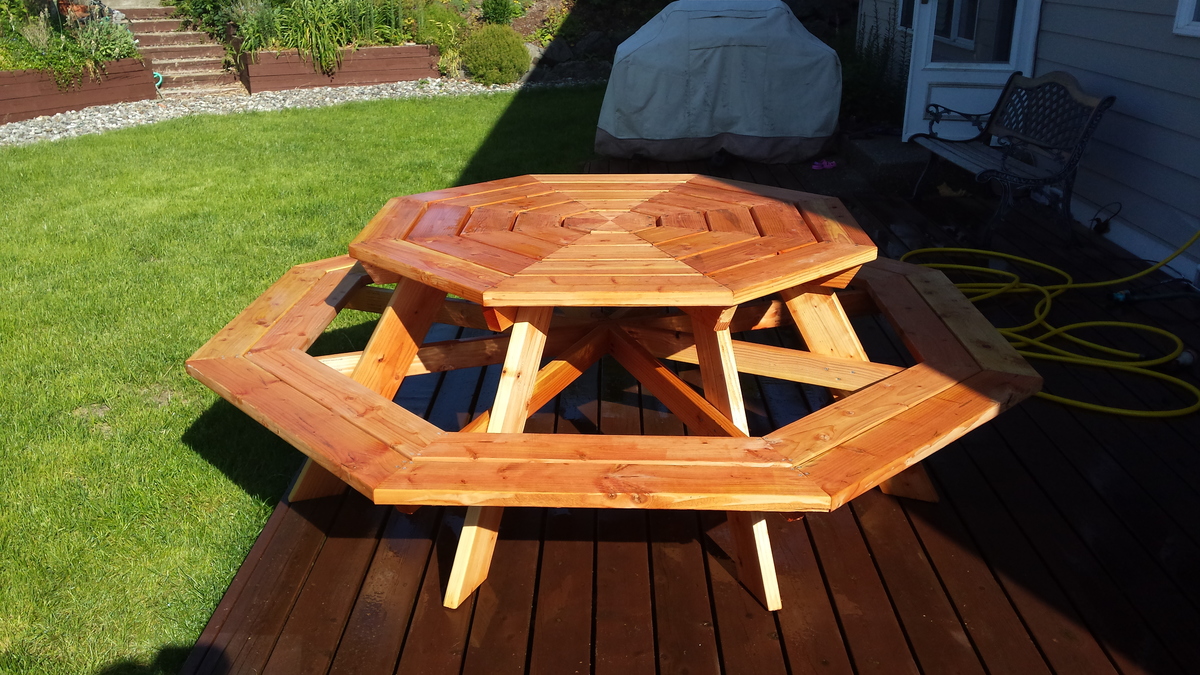
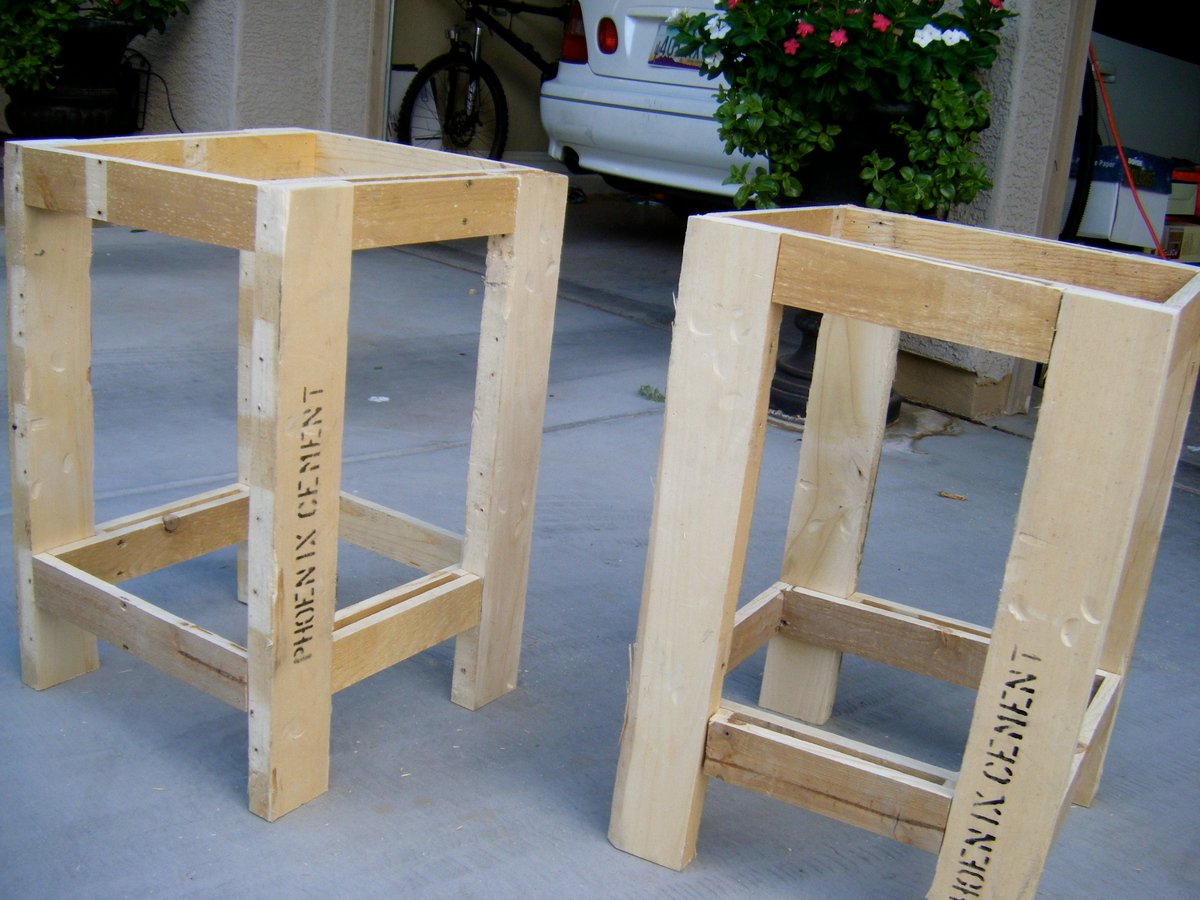
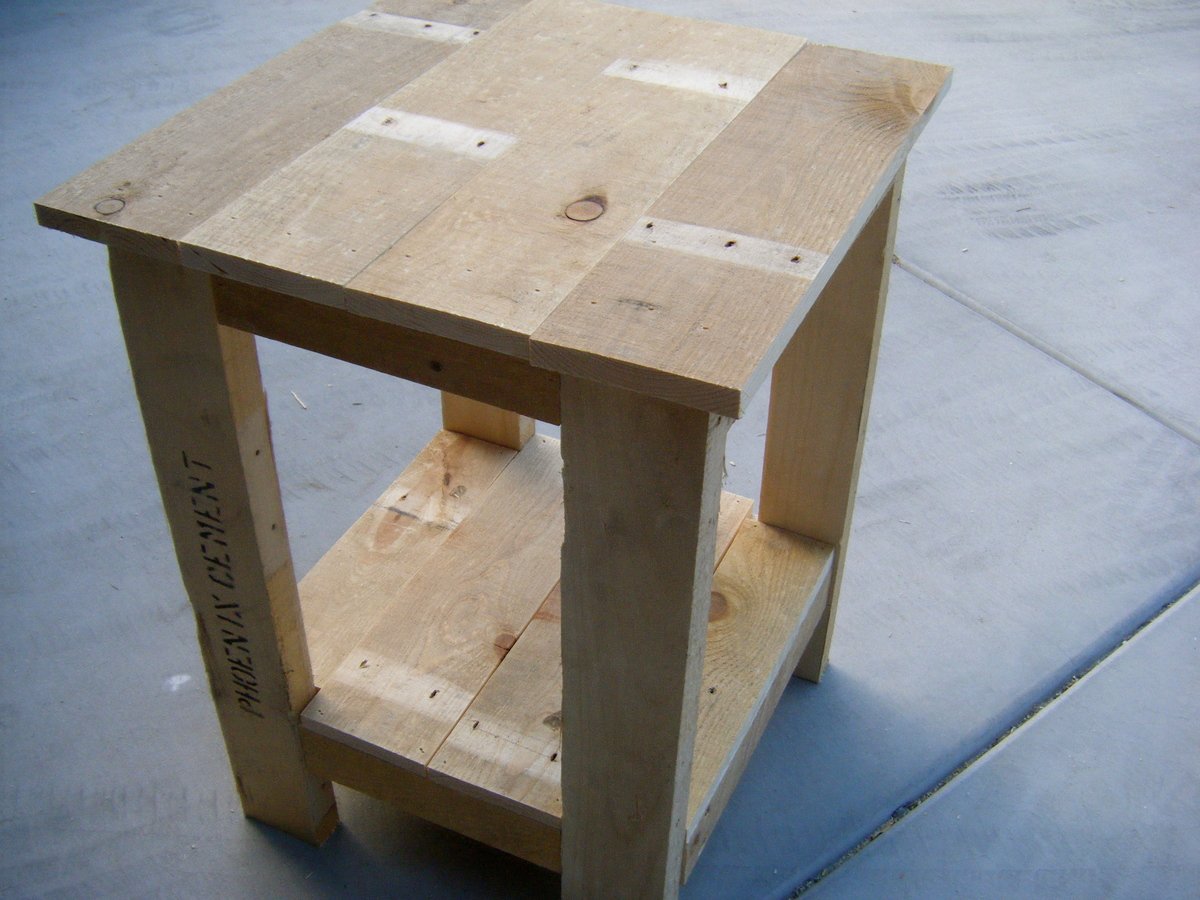
Farm end tables

Submitted by ccarter83 on Sat, 12/09/2017 - 18:02

Built this from farm house end table plans.

Estimated Cost
$100 for 2
Estimated Time Investment
Weekend Project (10-20 Hours)
Recommended Skill Level
Beginner

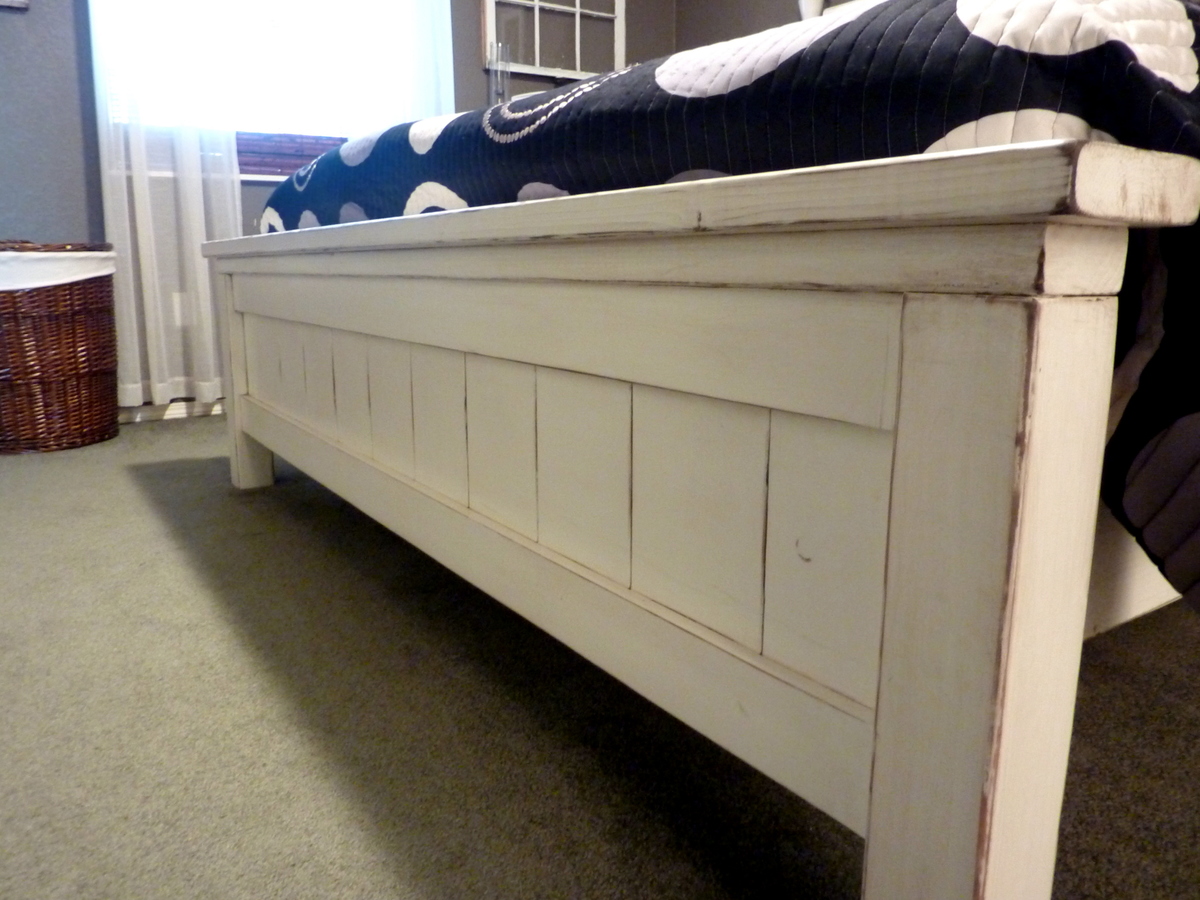
Modern Adirondack chair

Submitted by Lui on Sun, 11/21/2021 - 19:40

A slightly modified version of the Modern Adirondack chair. A neighbor walked by and commented that it was a cool new chair. I replied that it had been surprisingly easy to build. He was clearly surprised and asked, "YOU built it?" He's a carpenter and I'm a psychologist, so he obviously did not expect me to be able to build anything that looked even half decent. When he recovered from his surprise, he pointed out all the imperfections and offered advice on how I could do a better job next time... :-D
Comments

Seasonal And Holiday