DIY Dog Crate + End Table

One thing led to another, and we got a rescue dog – Arthur. The good little guy finds the apartment too big to stay alone when we are not around, and it is a recommended practice to have a dog crate so that the dog has a confined space of its own. The options to buy were hopeless, and the cheapest ones were just made of metal wire. They look horrible inside the house and it looks like a prison cell. There are nicer wooden ones, but they cost few hundreds of dollars. So, I put my DIY hat on, and thought of building one for our new buddy!
Material Used:
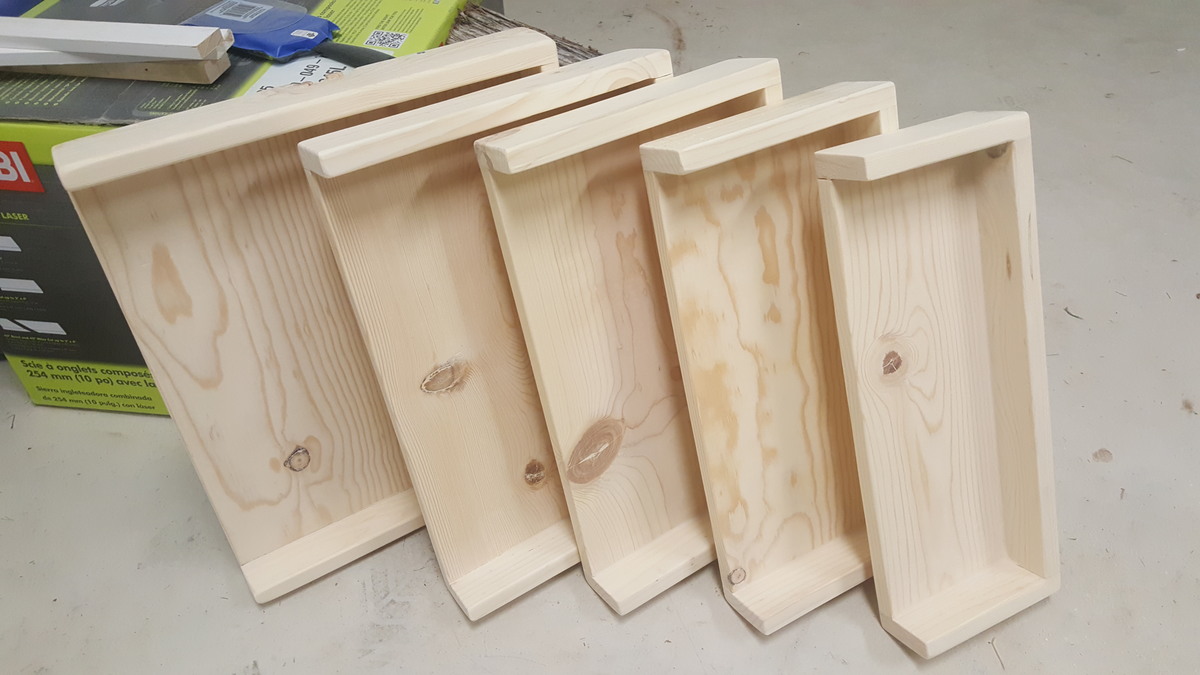
- 1 sheet of 4ft x 8ft, ½ inch thick Plywood
- 3 lengths of 1.5 inch x 1.5 inch x 8ft lumber
- Small pack of ¾ inch wood screws
- Small pack of 1.5 inch wood screws
- 8 90 degree metal framing angles
- ½ qt latex based wood primer
- 1 qt wood paint
- 2 Brass hinges – 270 degree
- 1 lock
- 1.5” brush and 6” roller
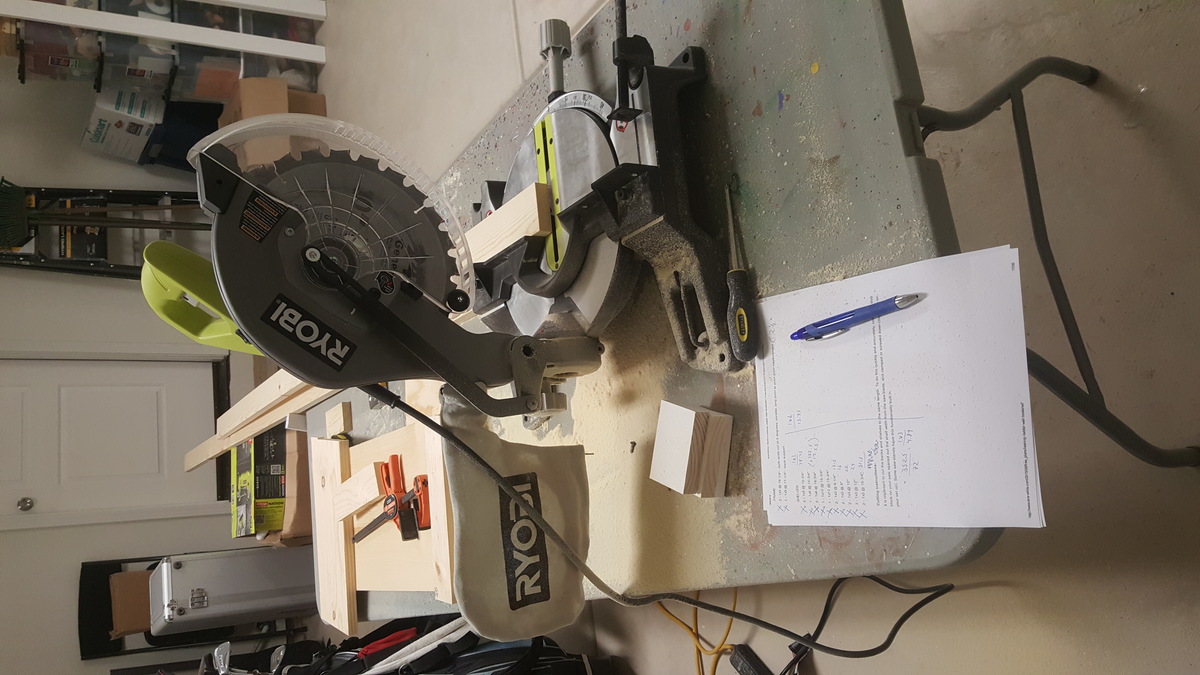
Refer my blog post for all step by step instructions and optimal material usage.


Estimated Cost
$70
Estimated Time Investment
Weekend Project (10-20 Hours)
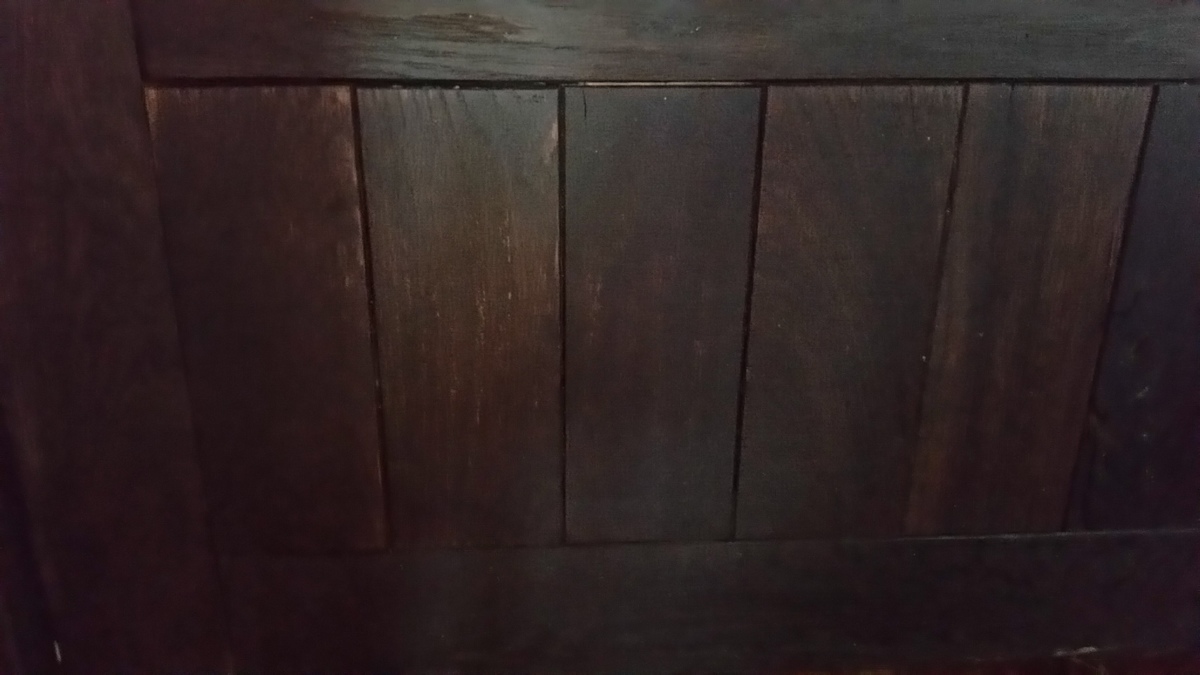
Finish Used
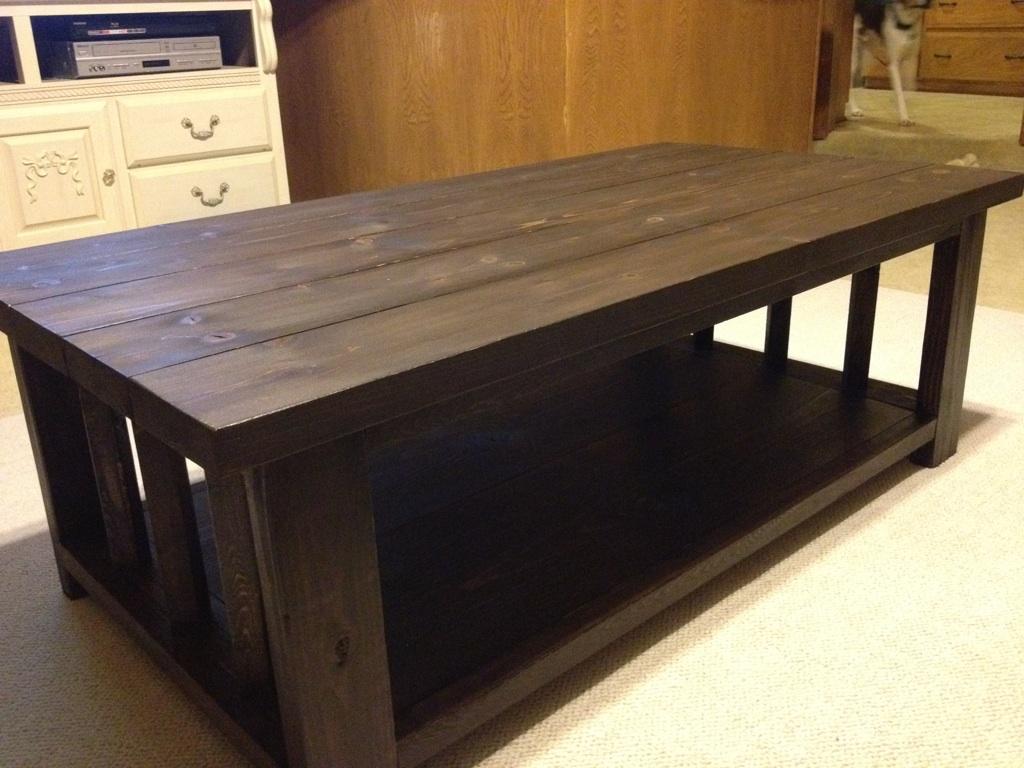
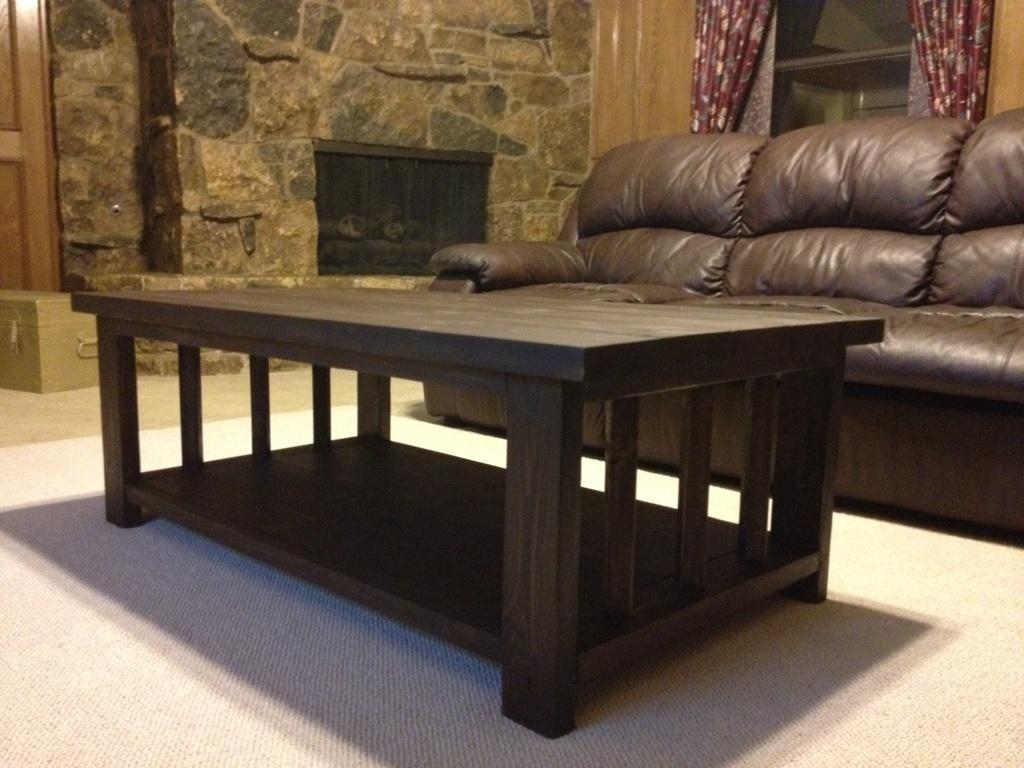
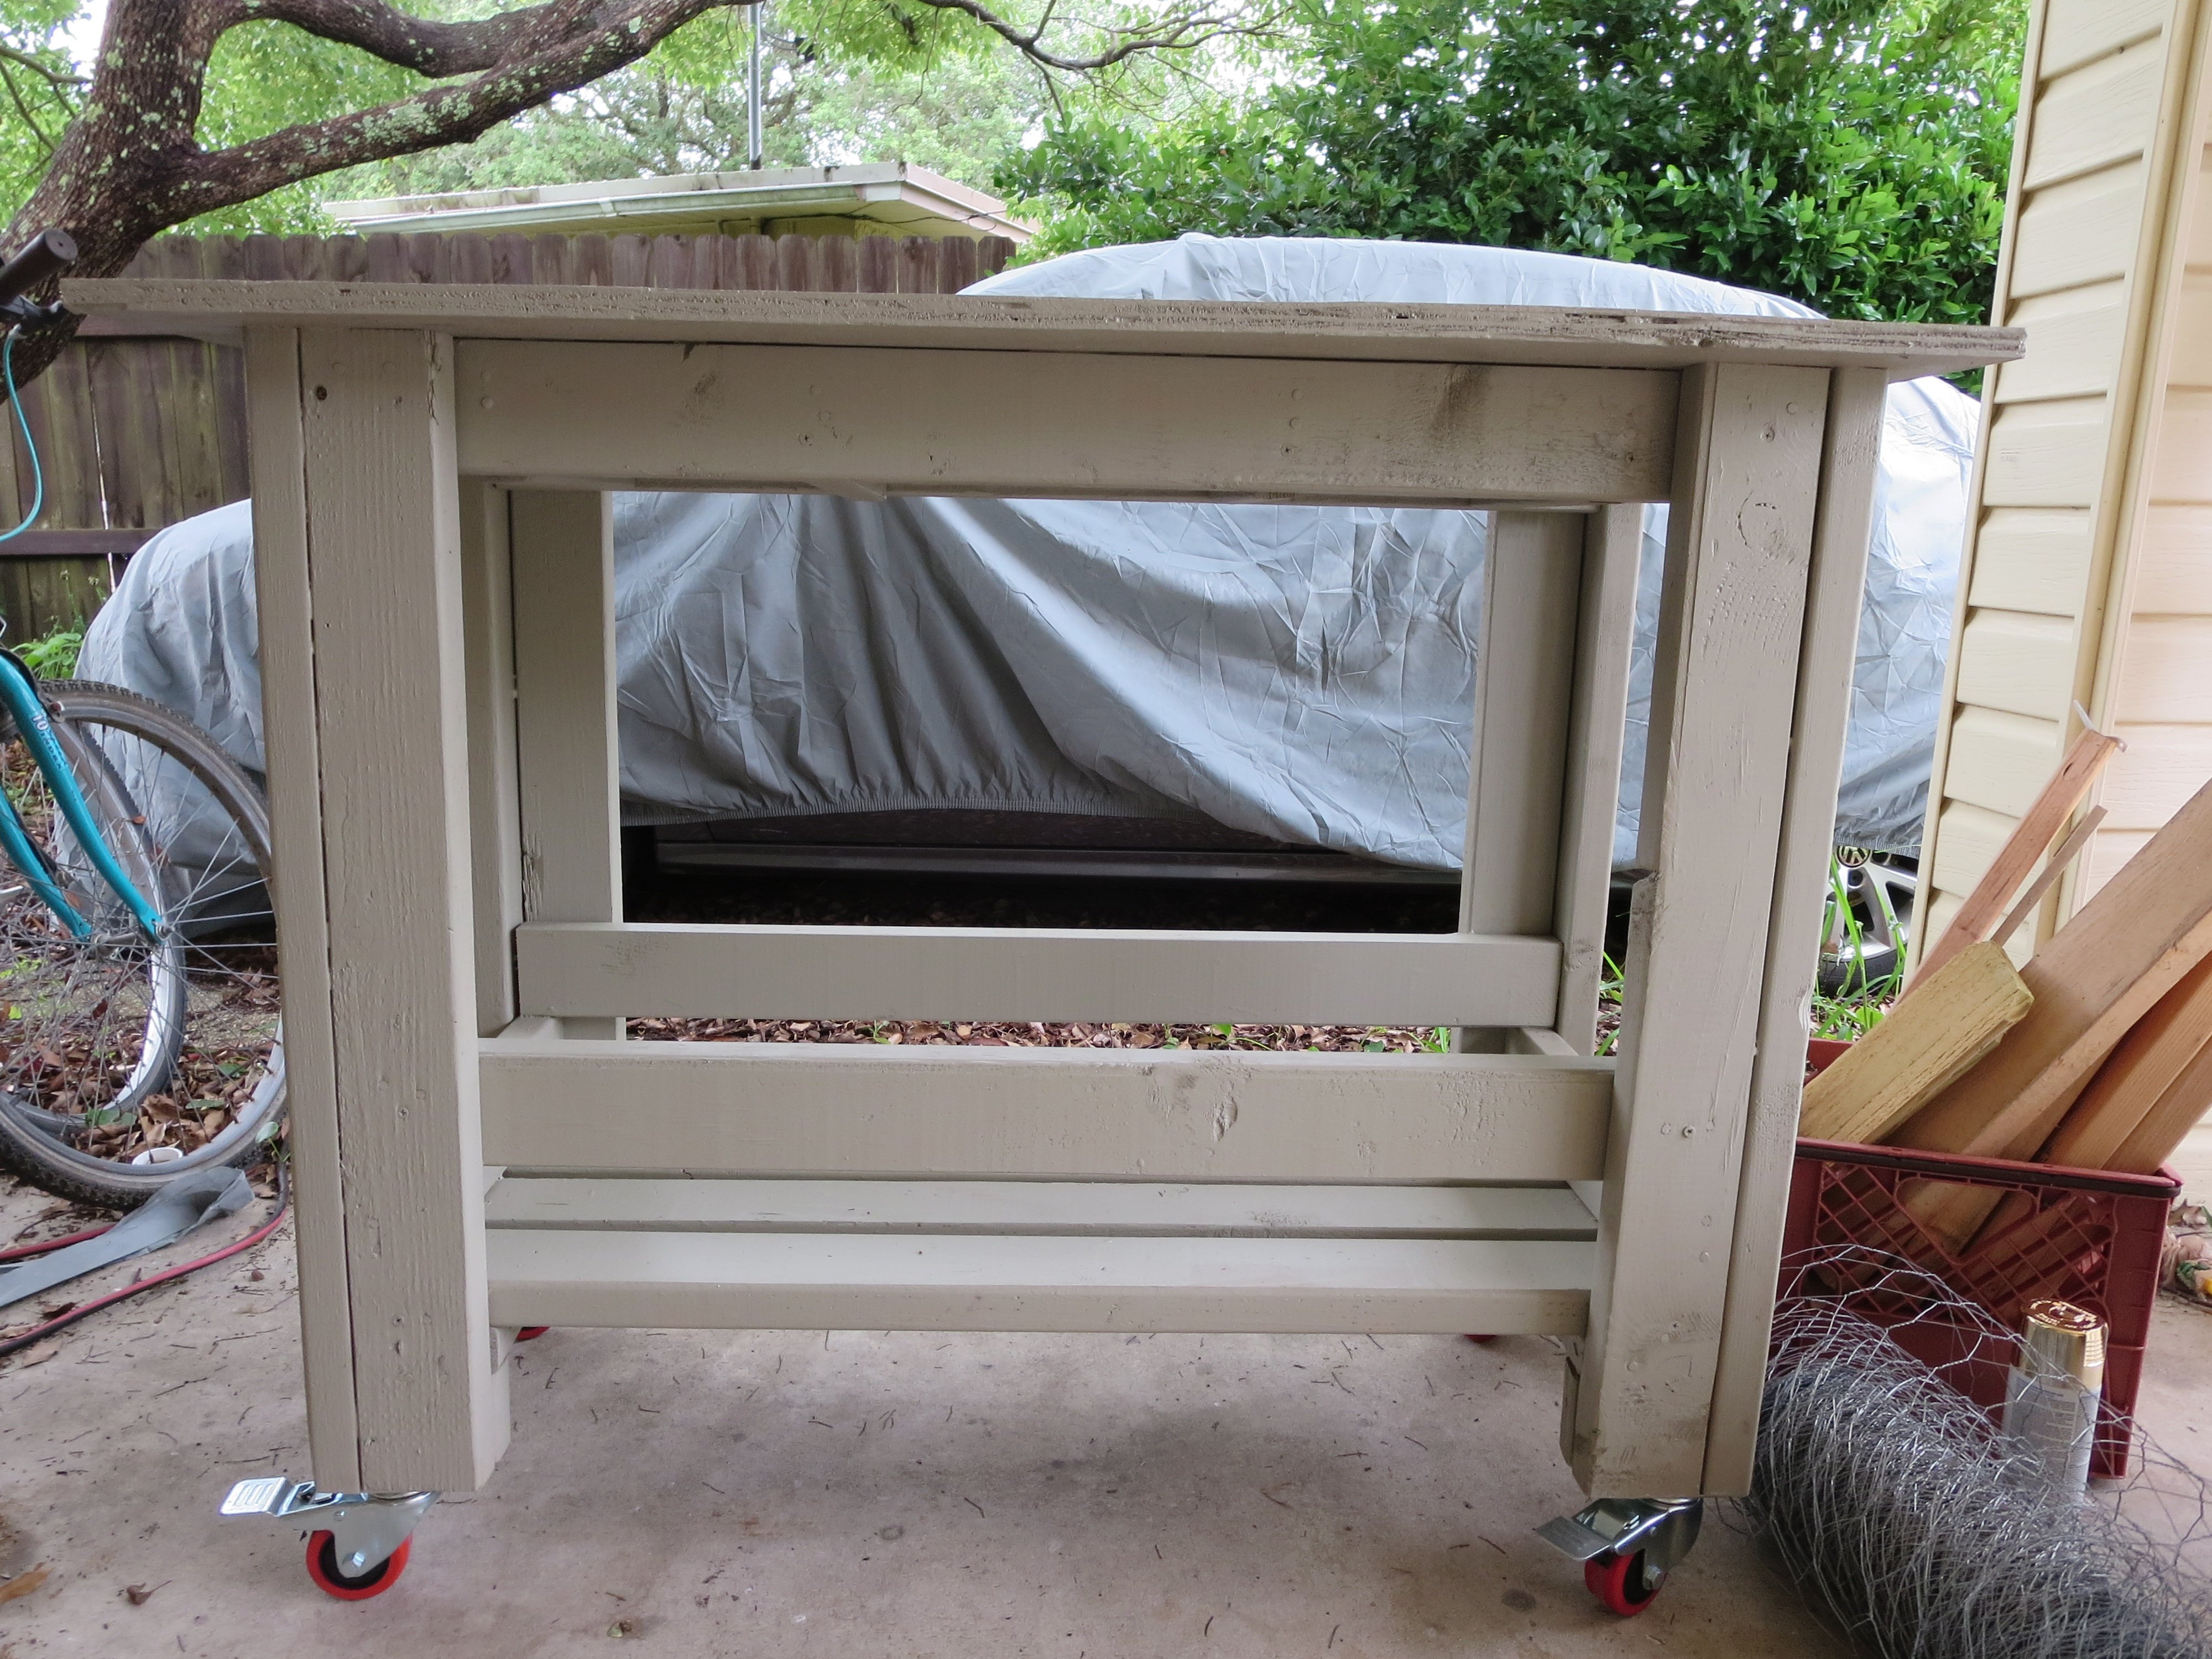
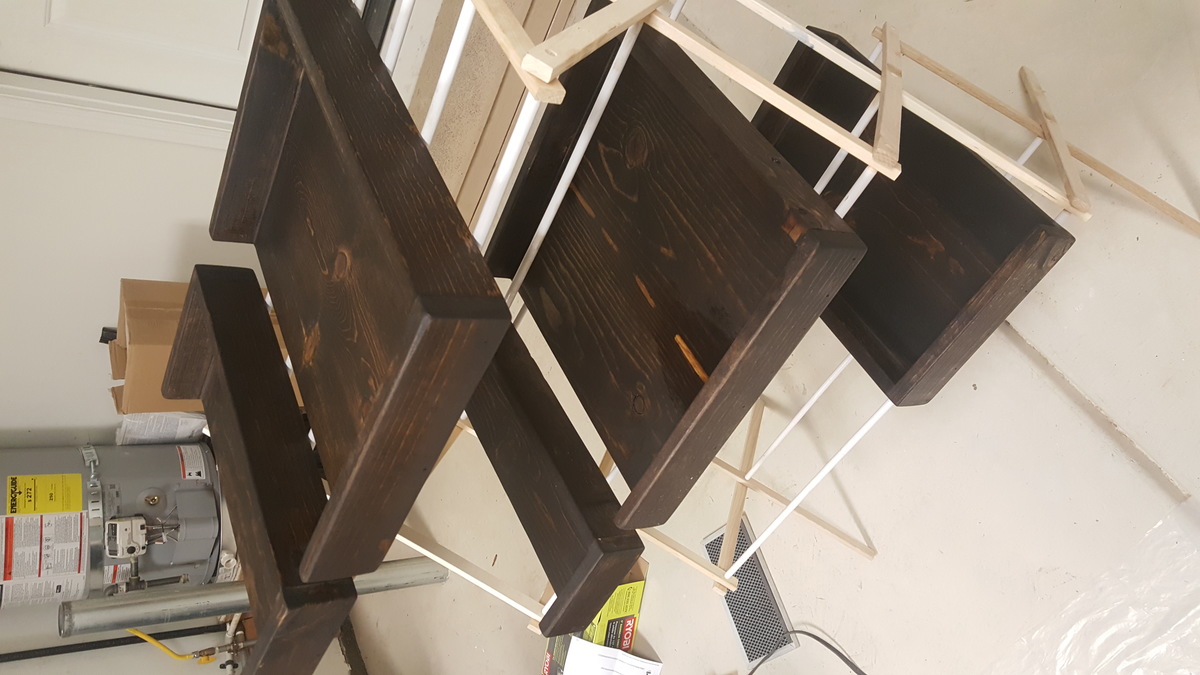
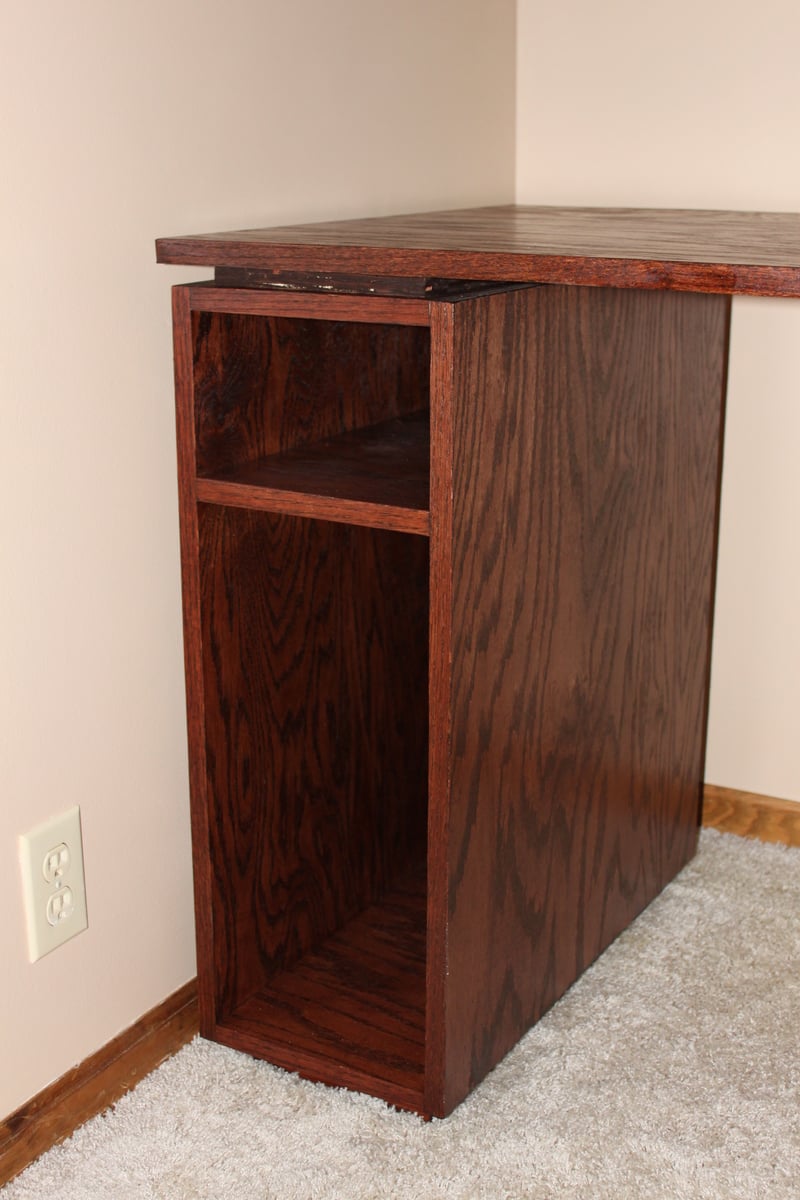
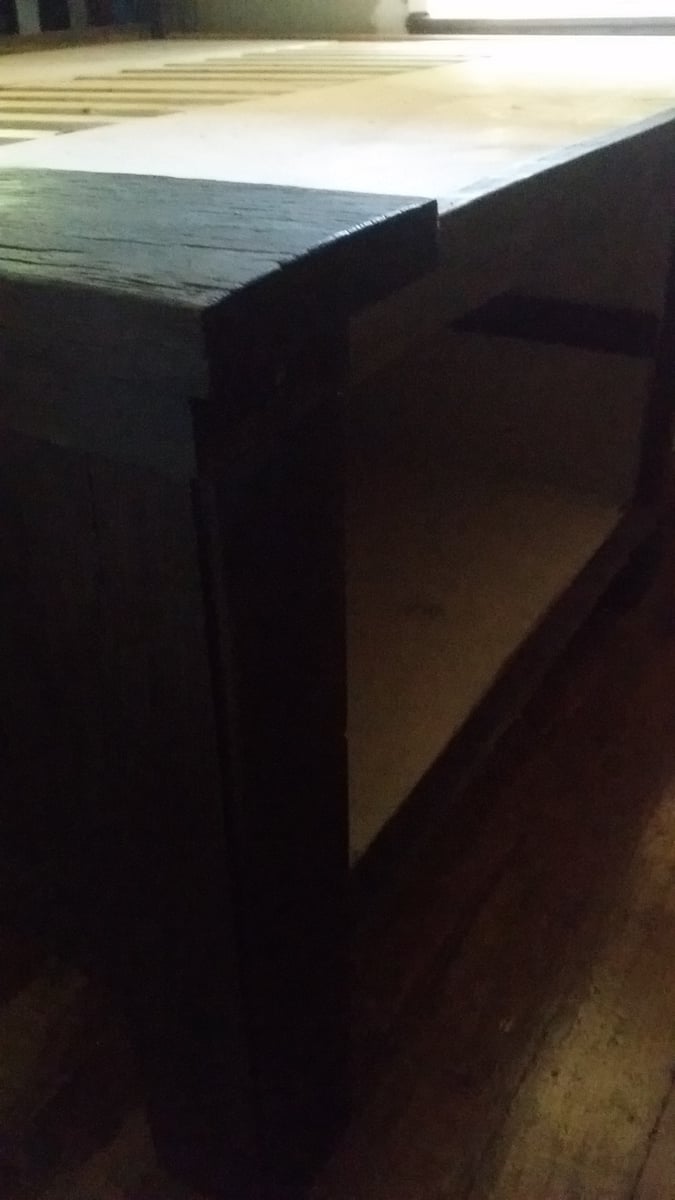
The finish can really improve from what you see in the pictures. ideally the edges should be sanded more and then white wood primer and wood paint work for the 'walls' and door. For the top surface we used a satin stain.
Recommended Skill Level
Intermediate