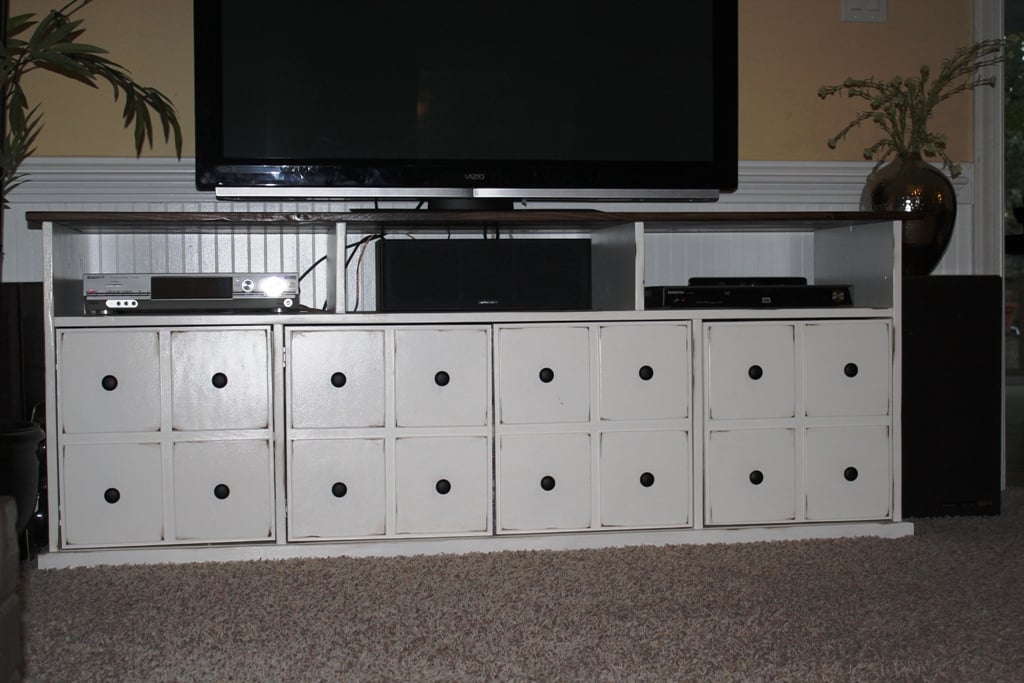
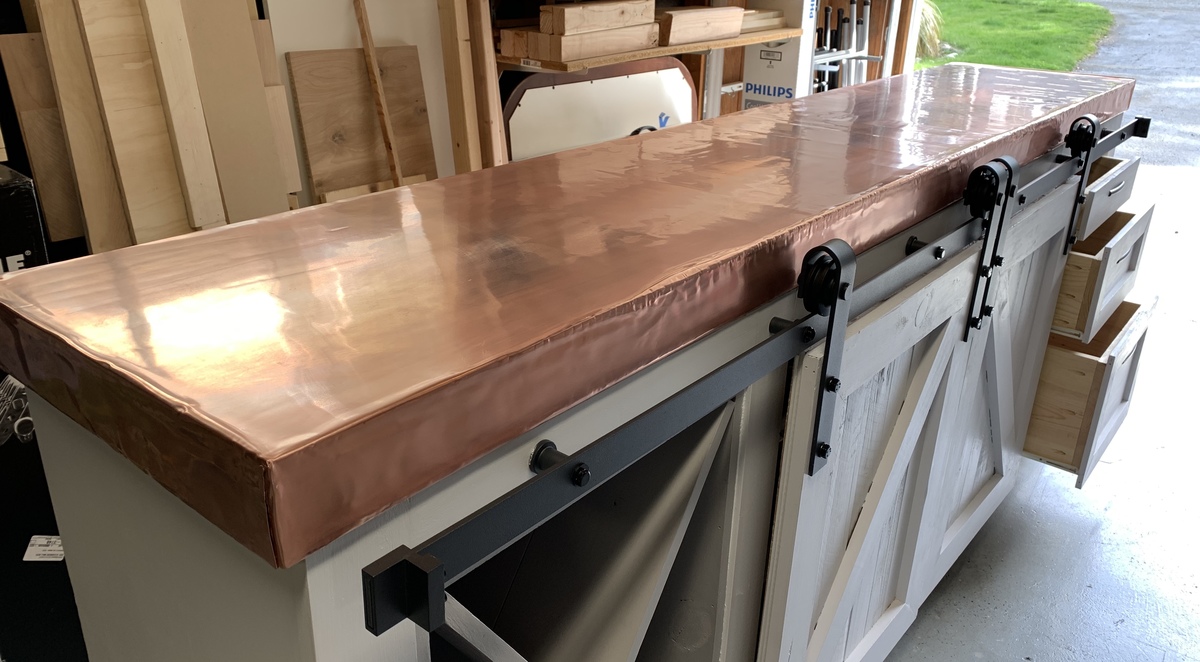
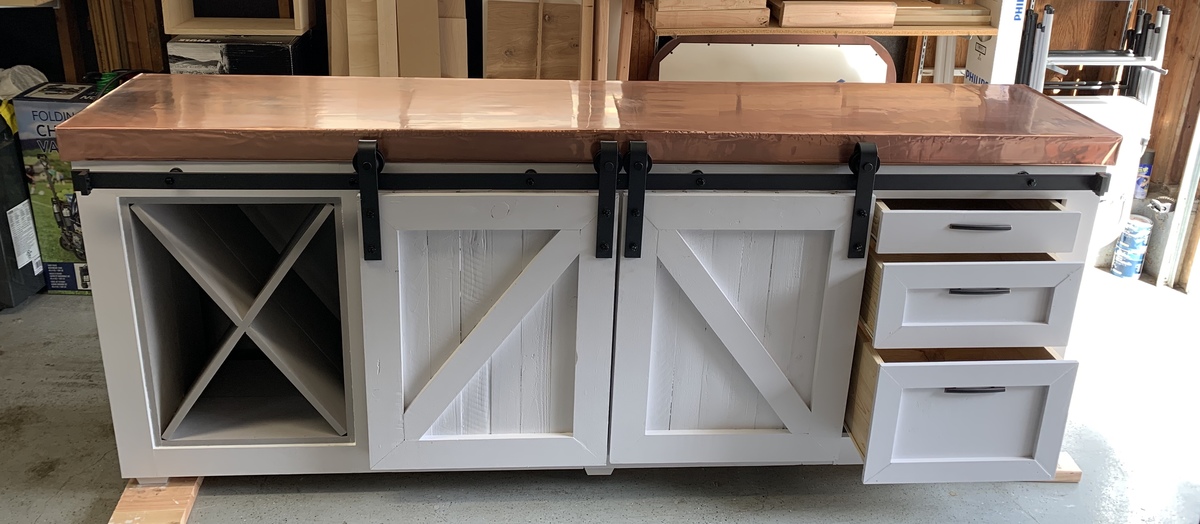
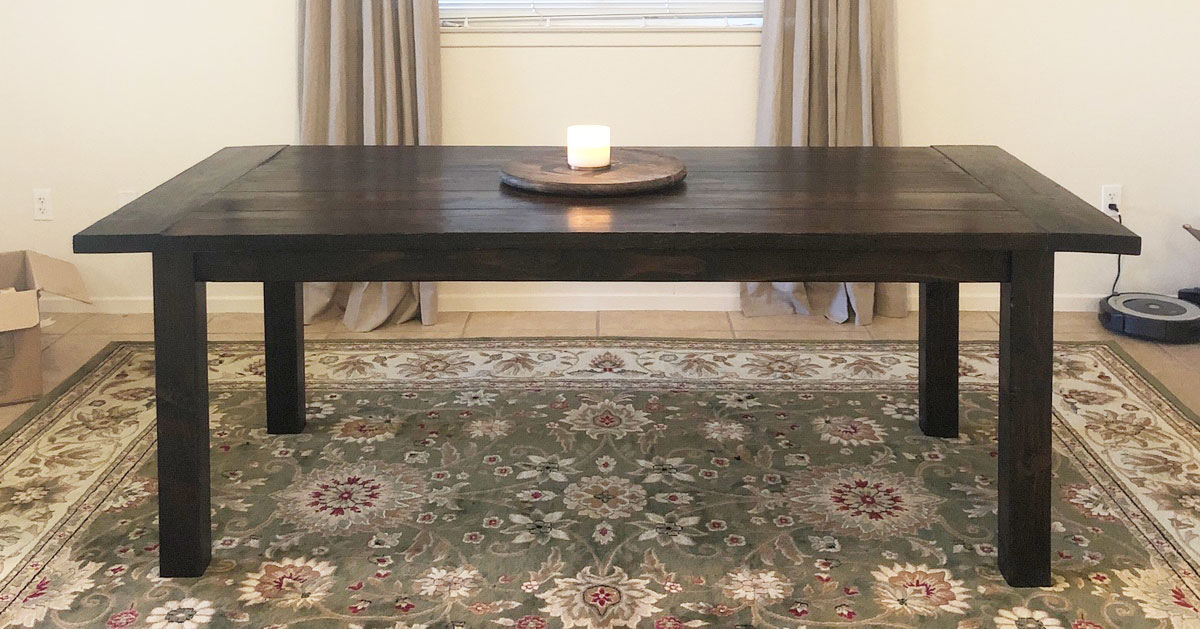
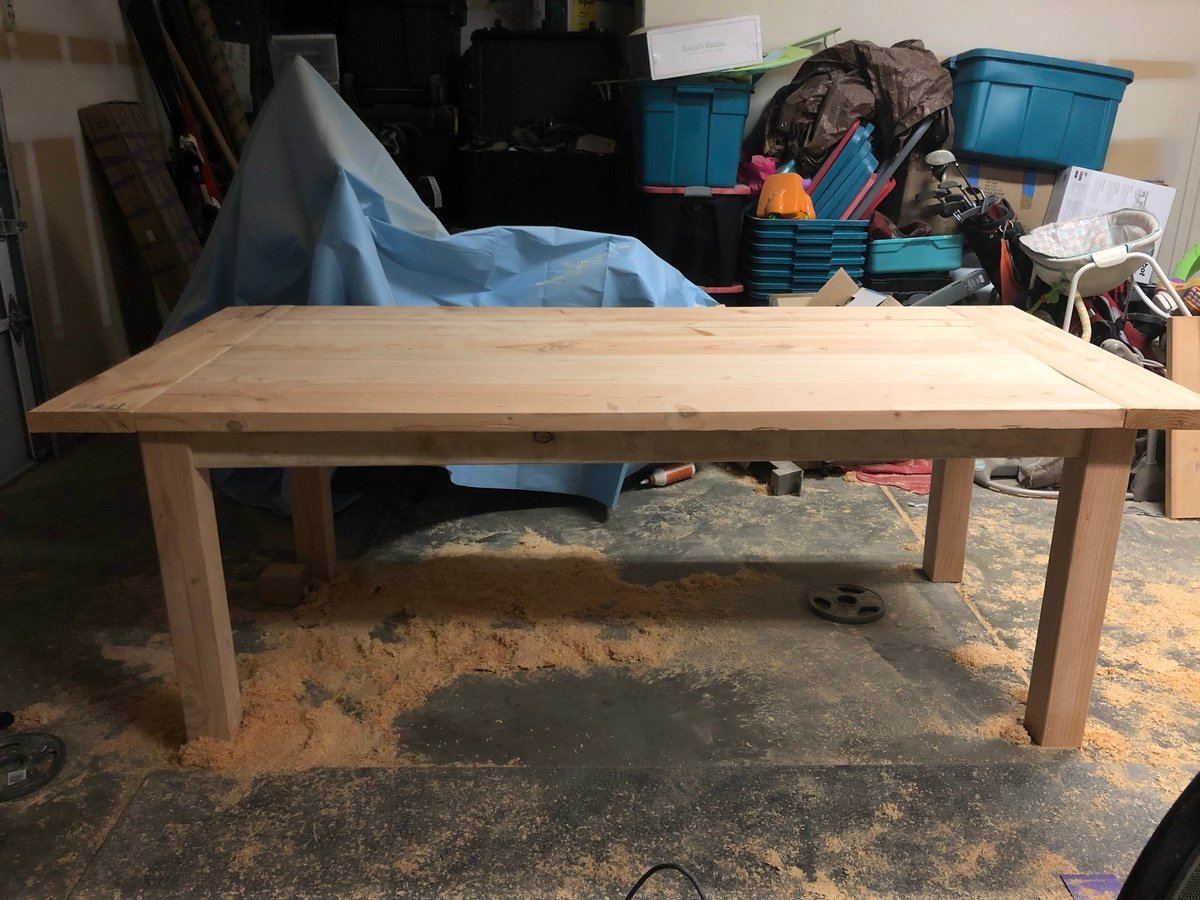
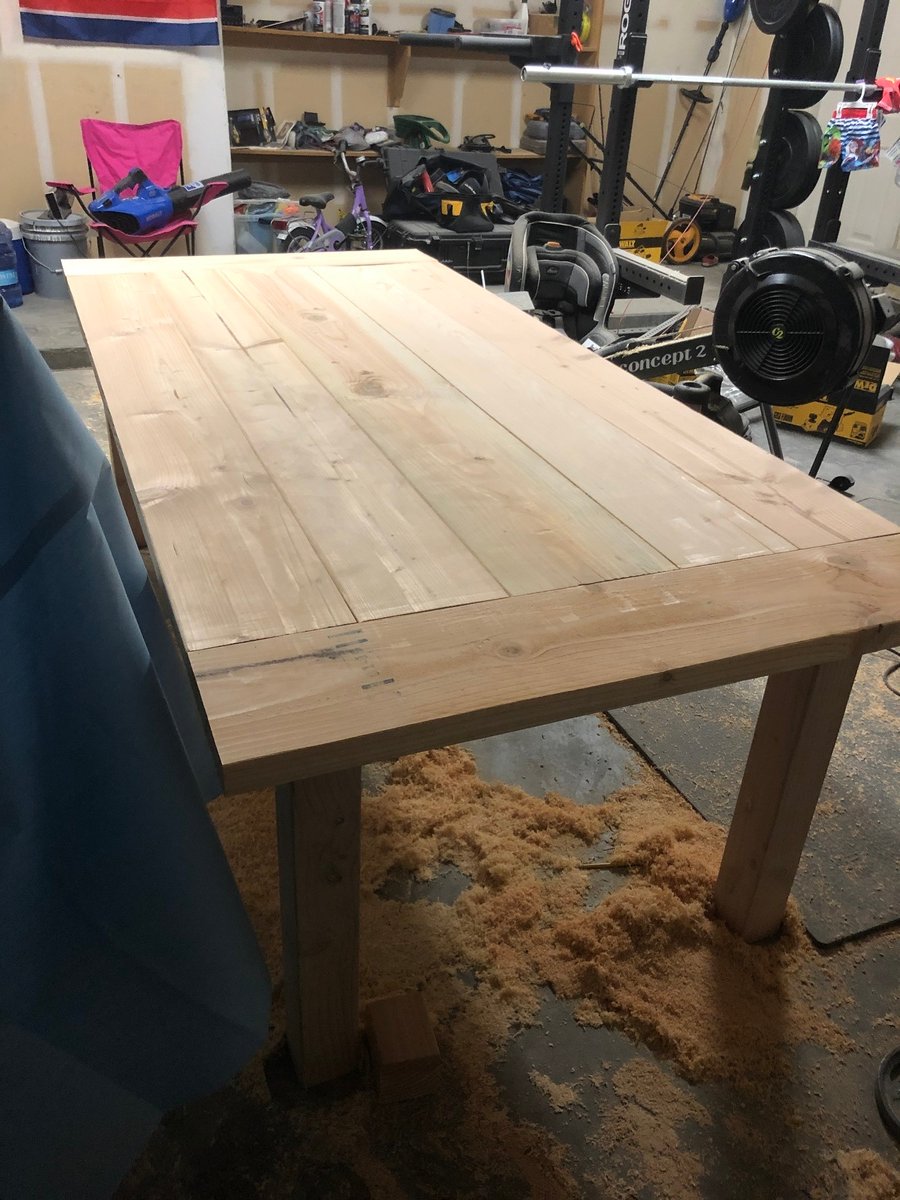
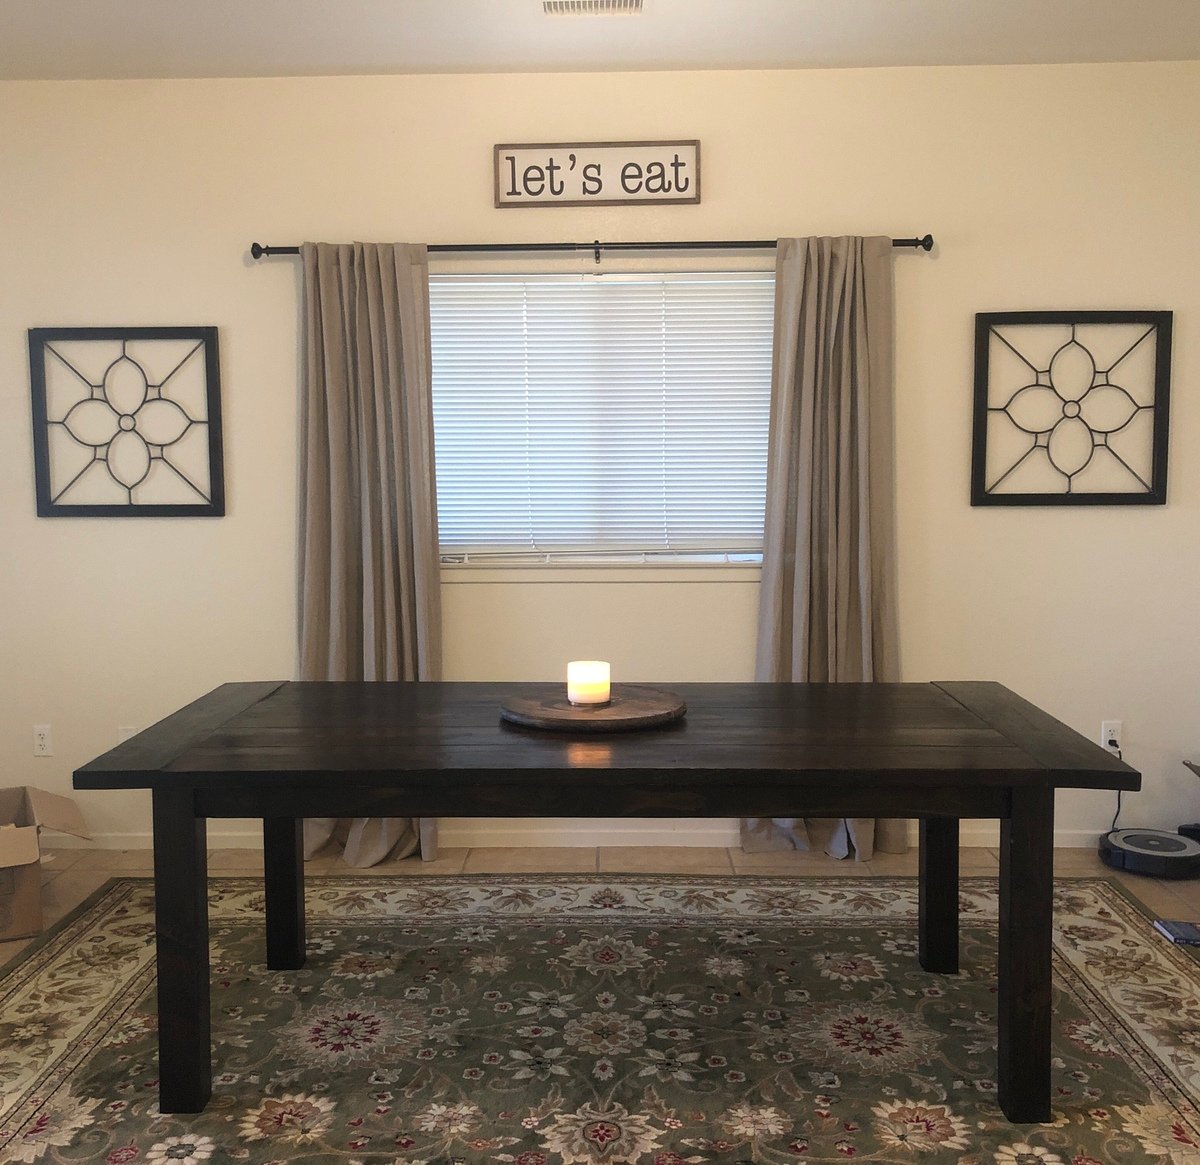
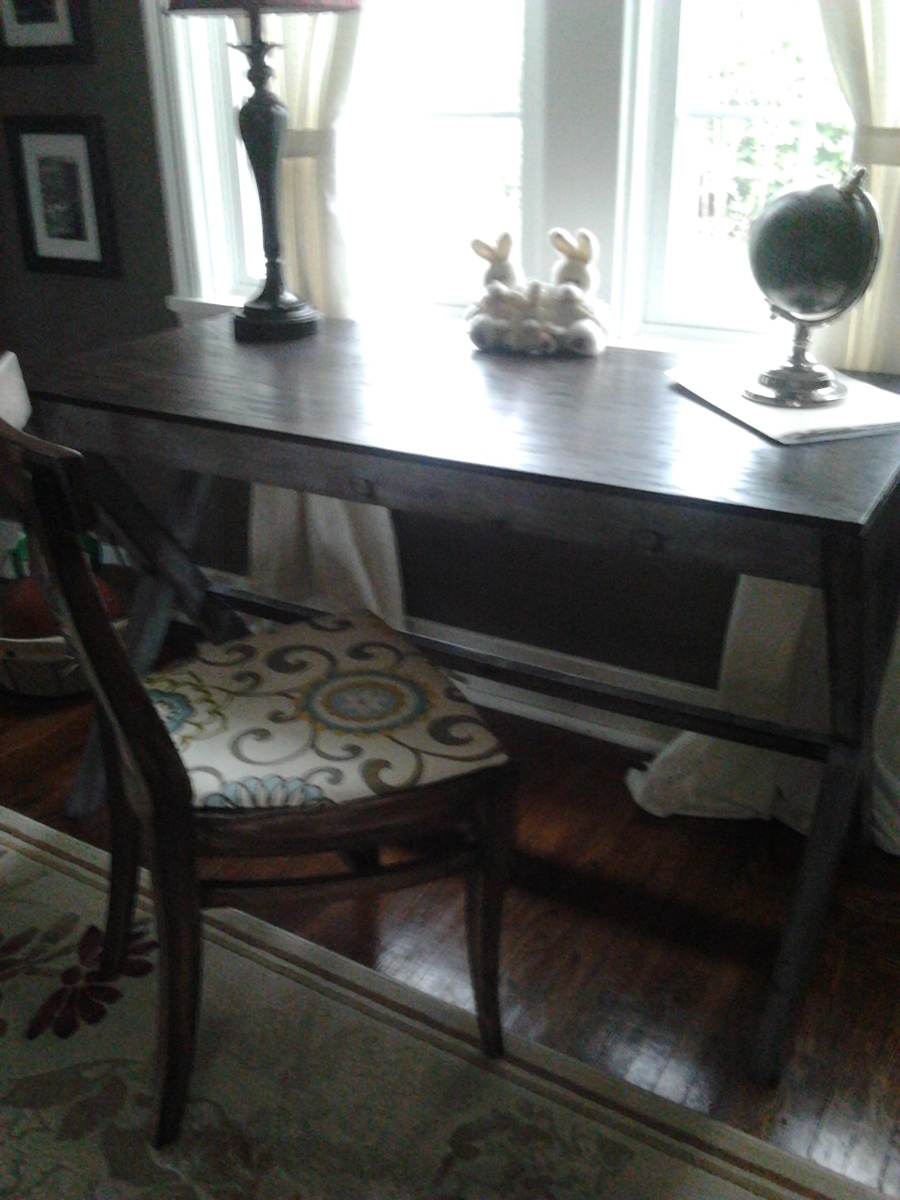
Farmhouse TV console table
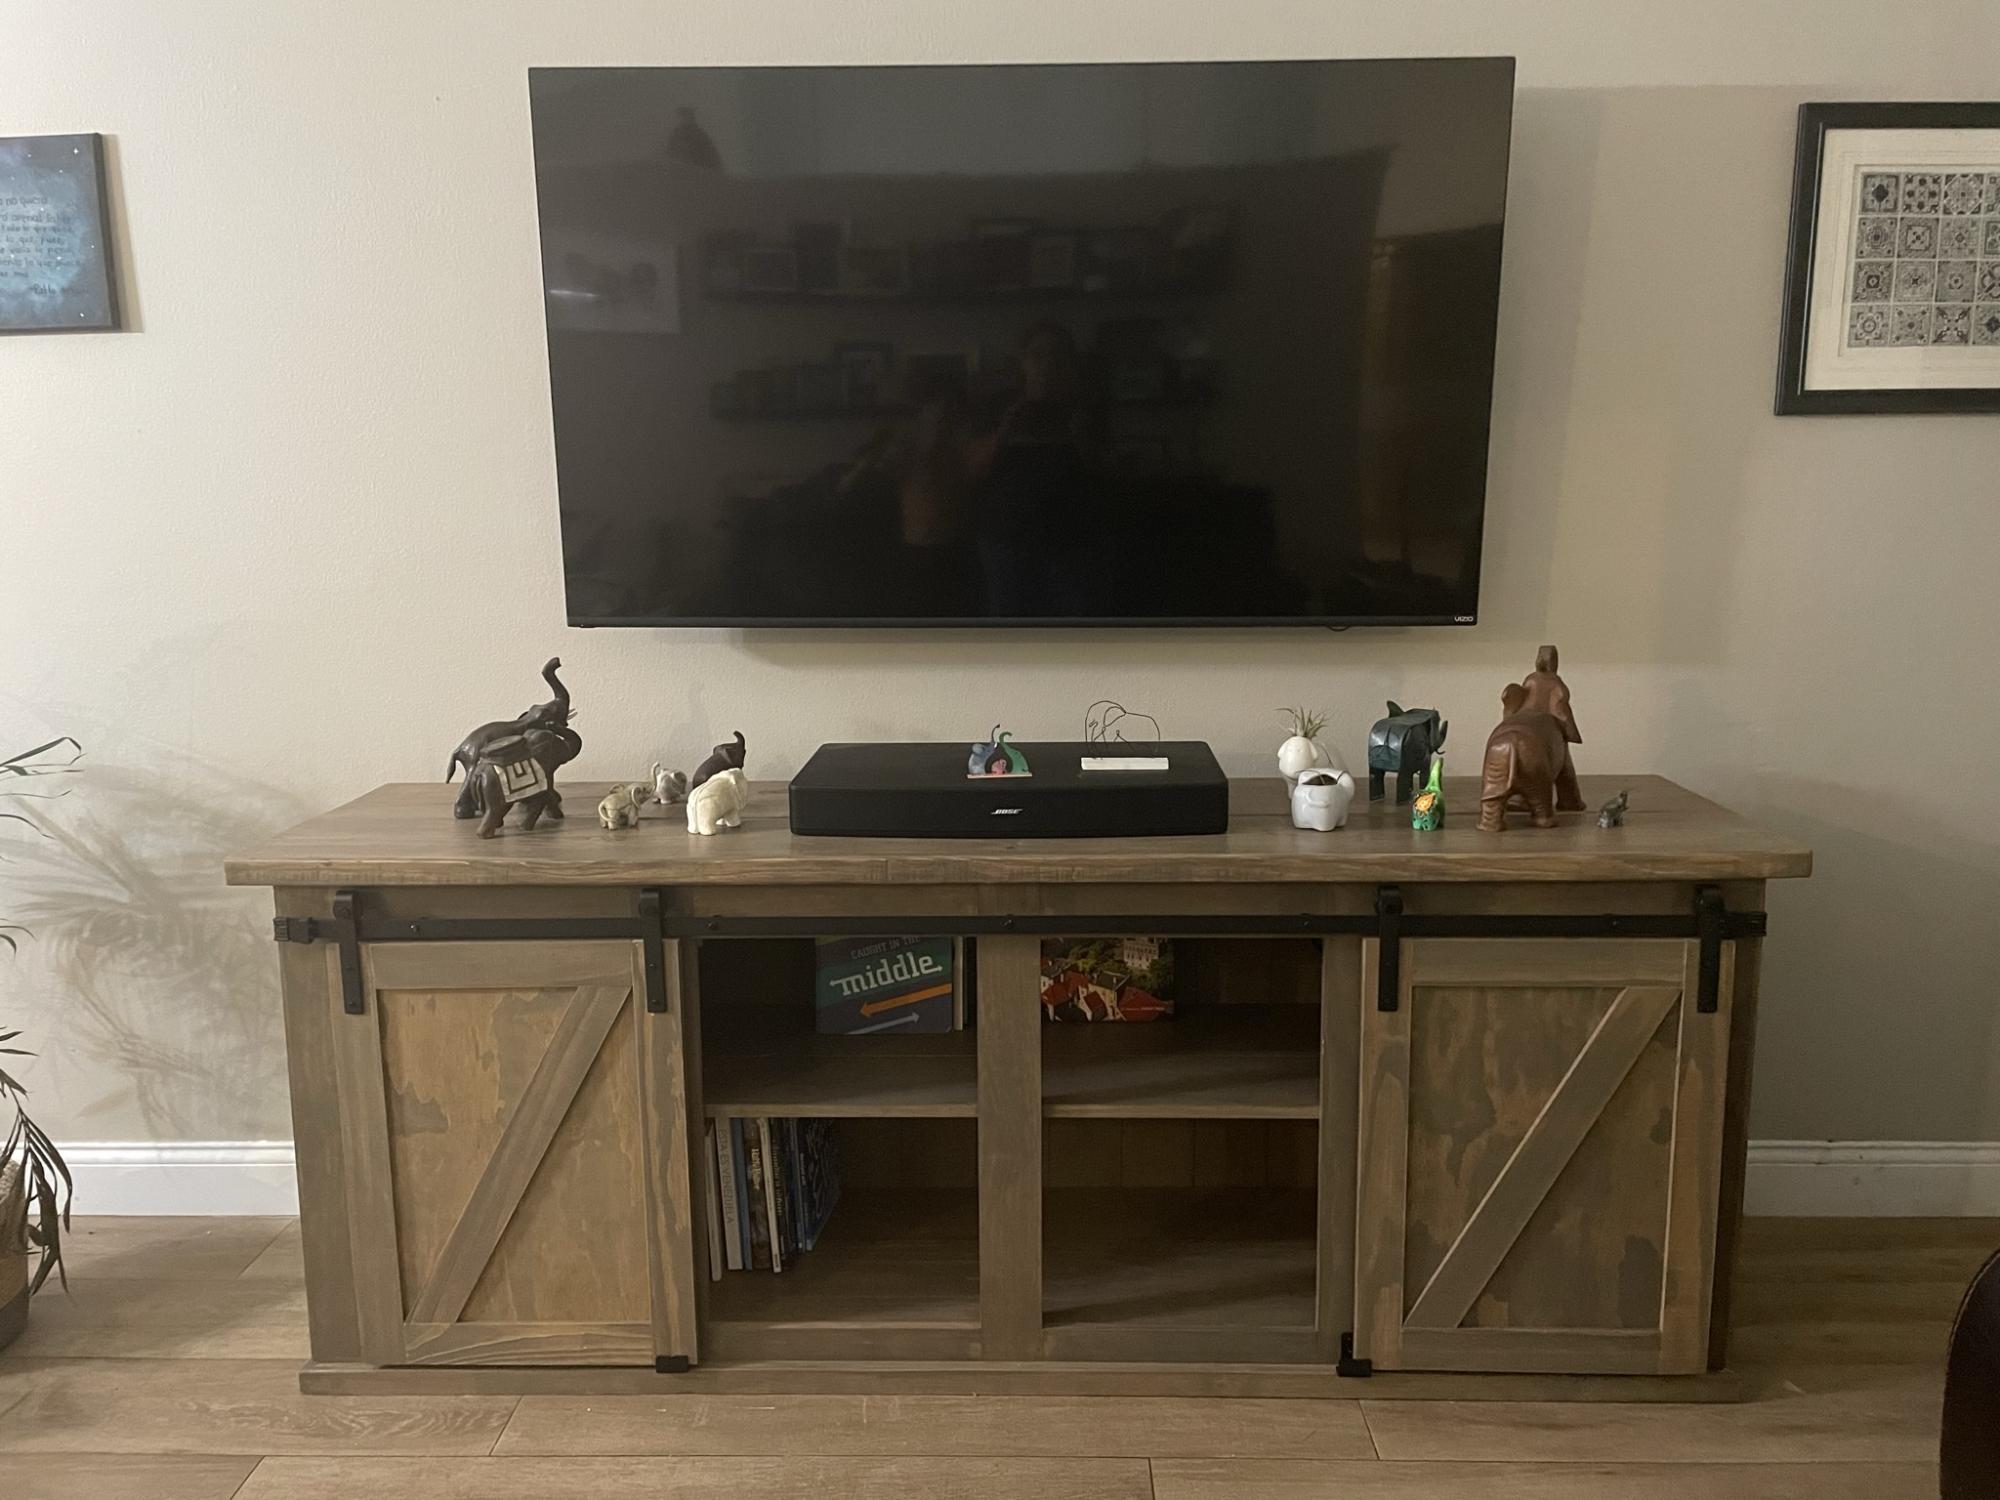
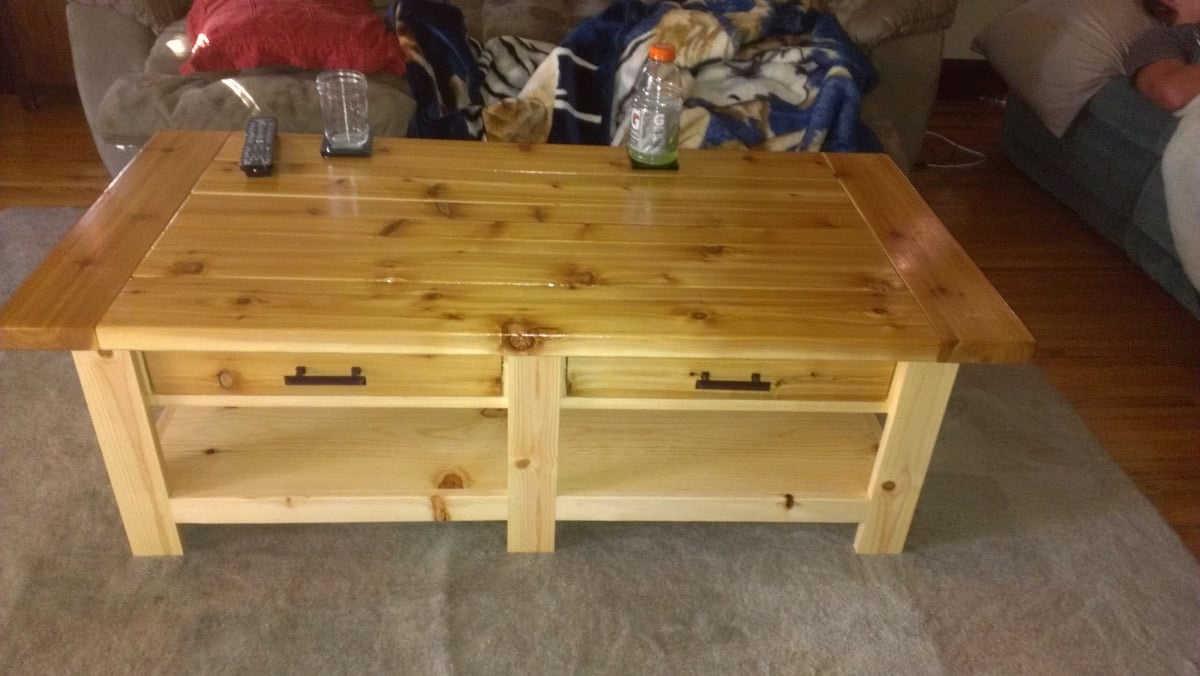
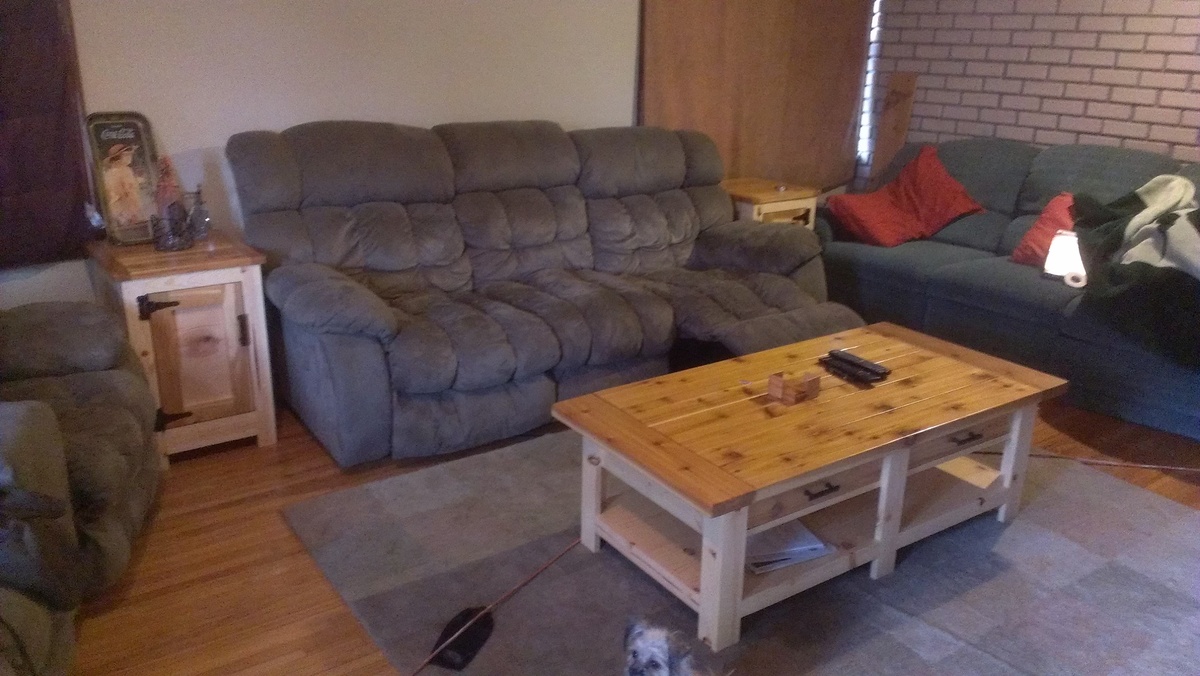
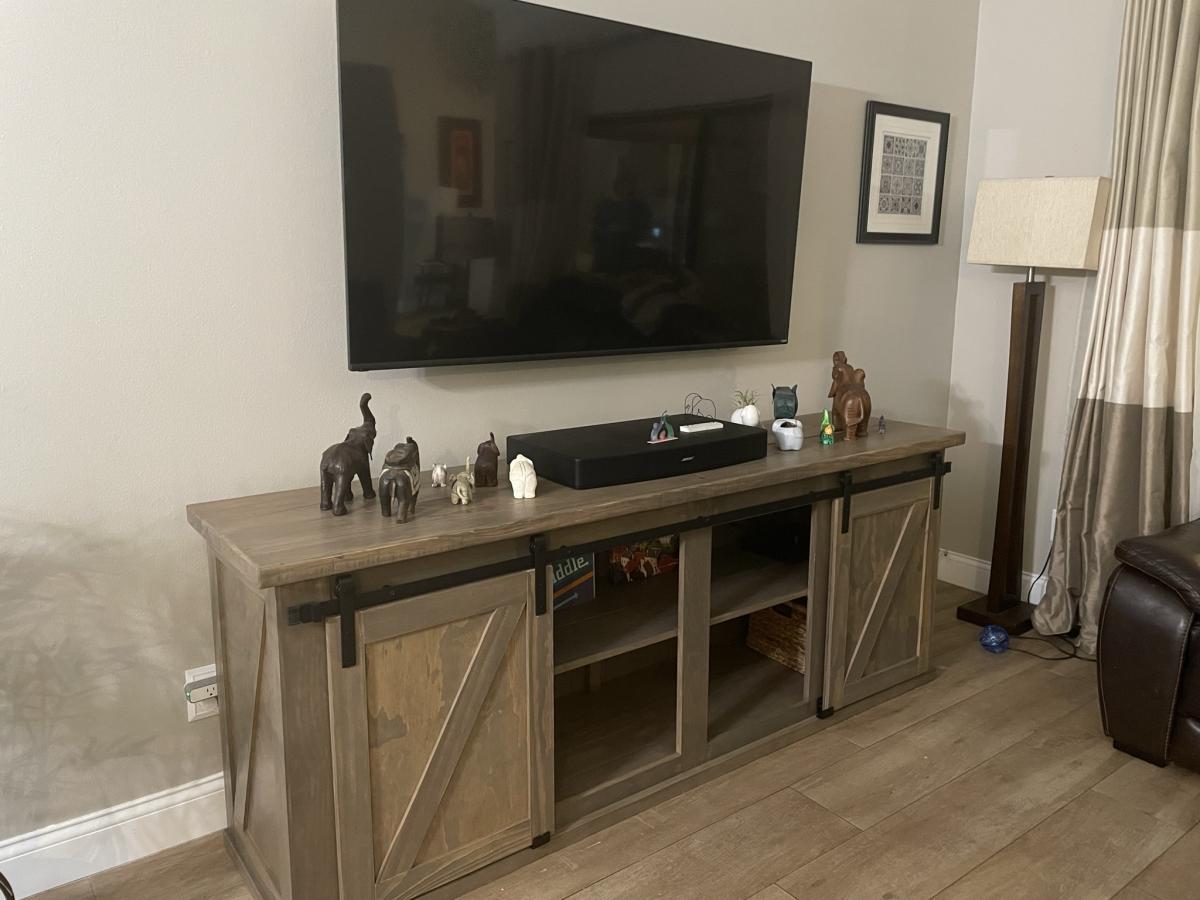
I built this TV console based on Ana’s plan and some modifications from The Turquoise home. Made it 6’ long and a bit lower to fit all my elephants below the TV.
It turned out beautiful and suuuper heavy.
Thank you Ana!
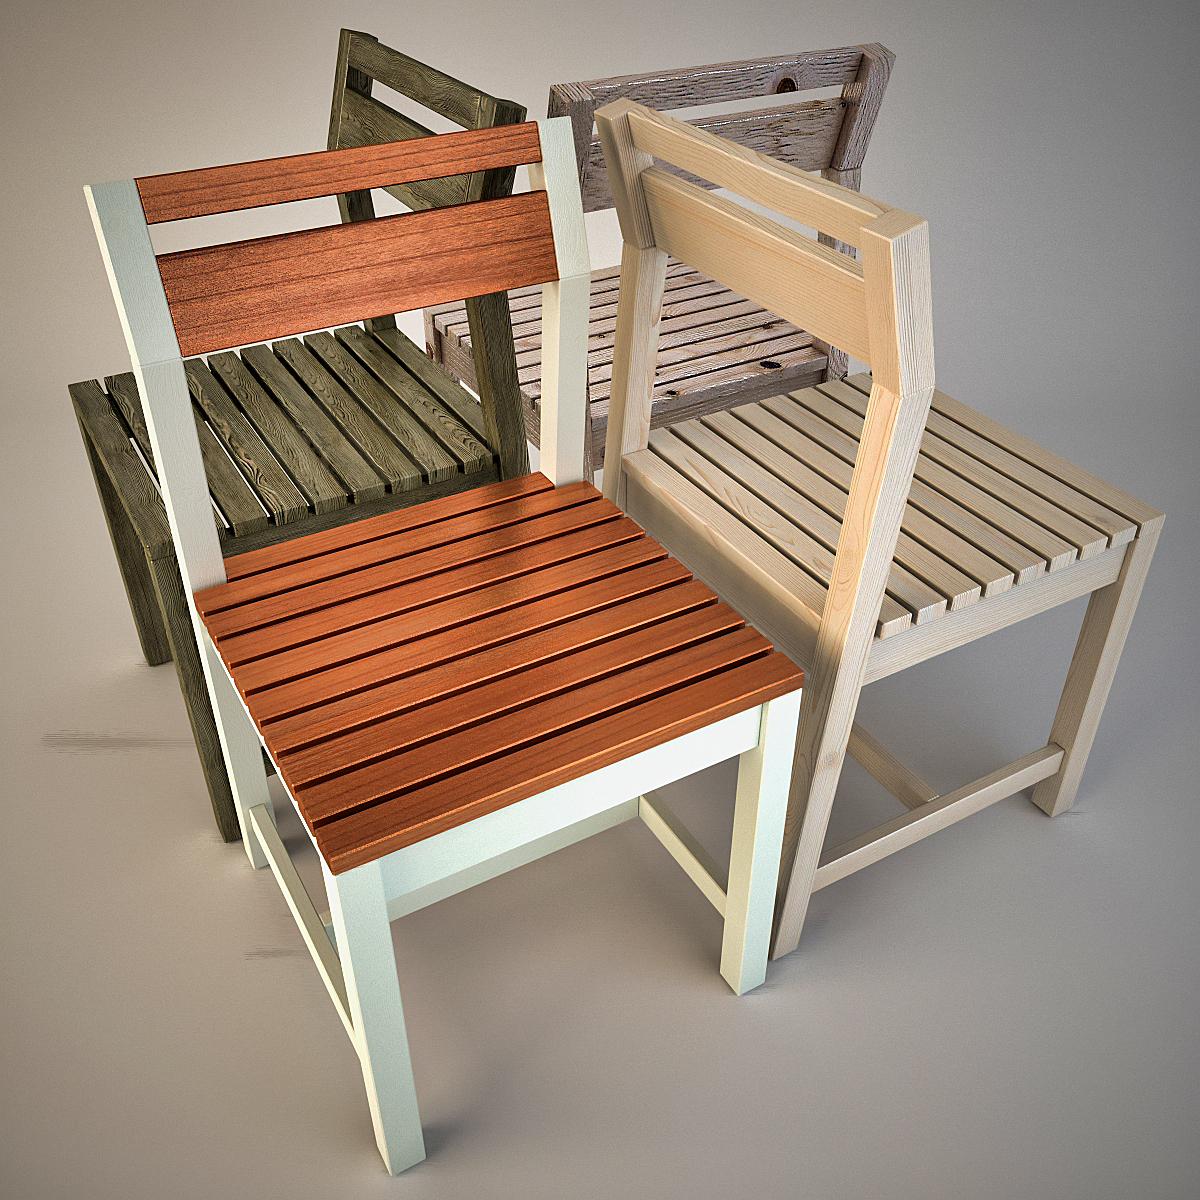
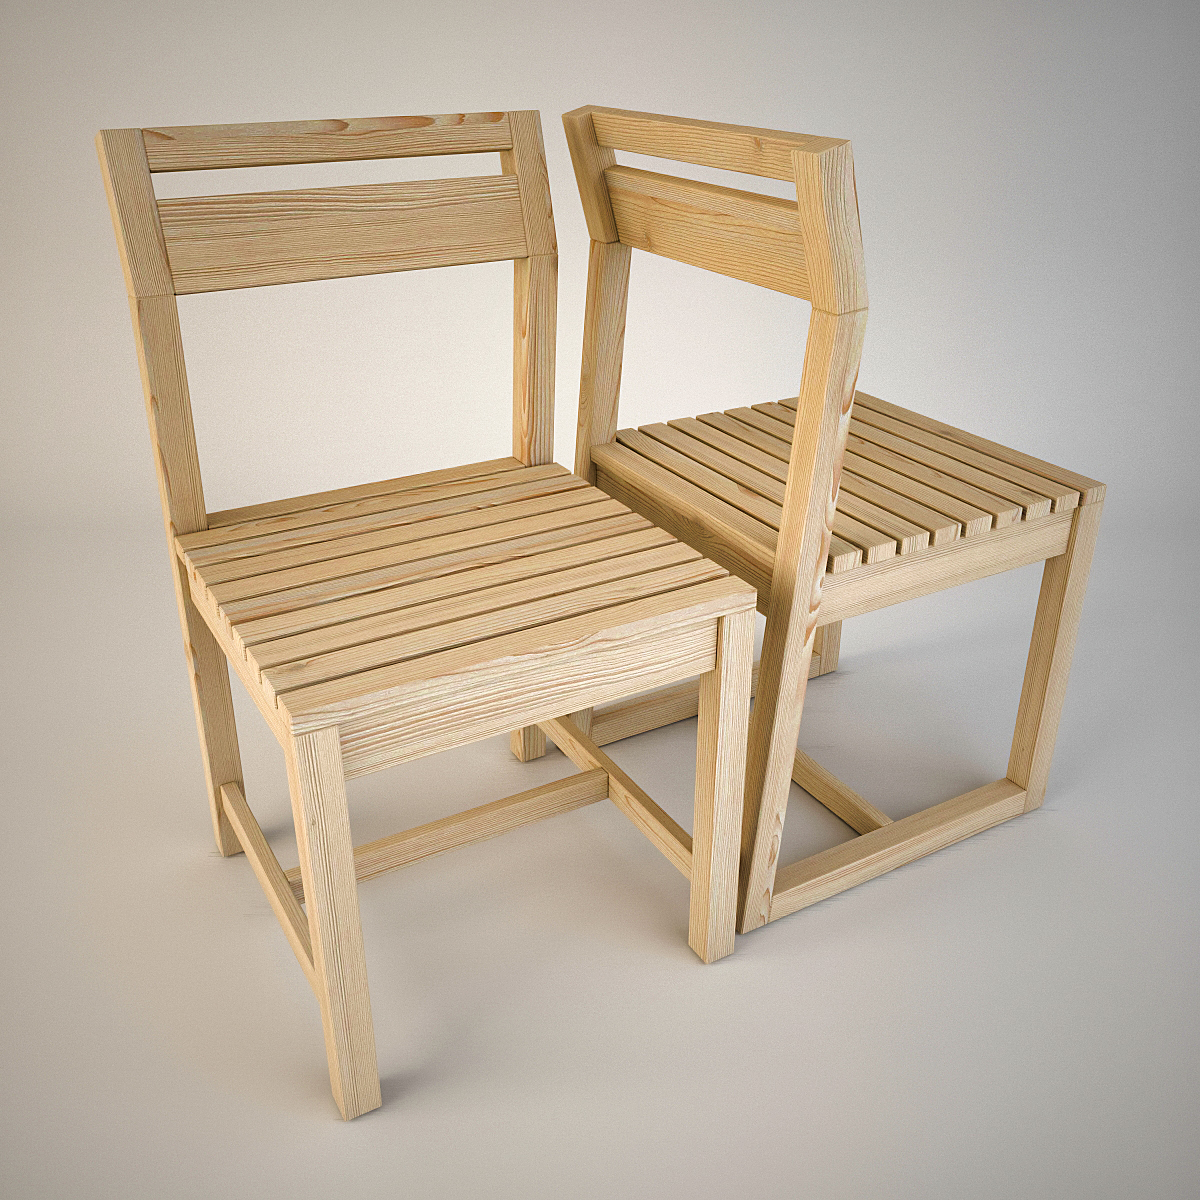
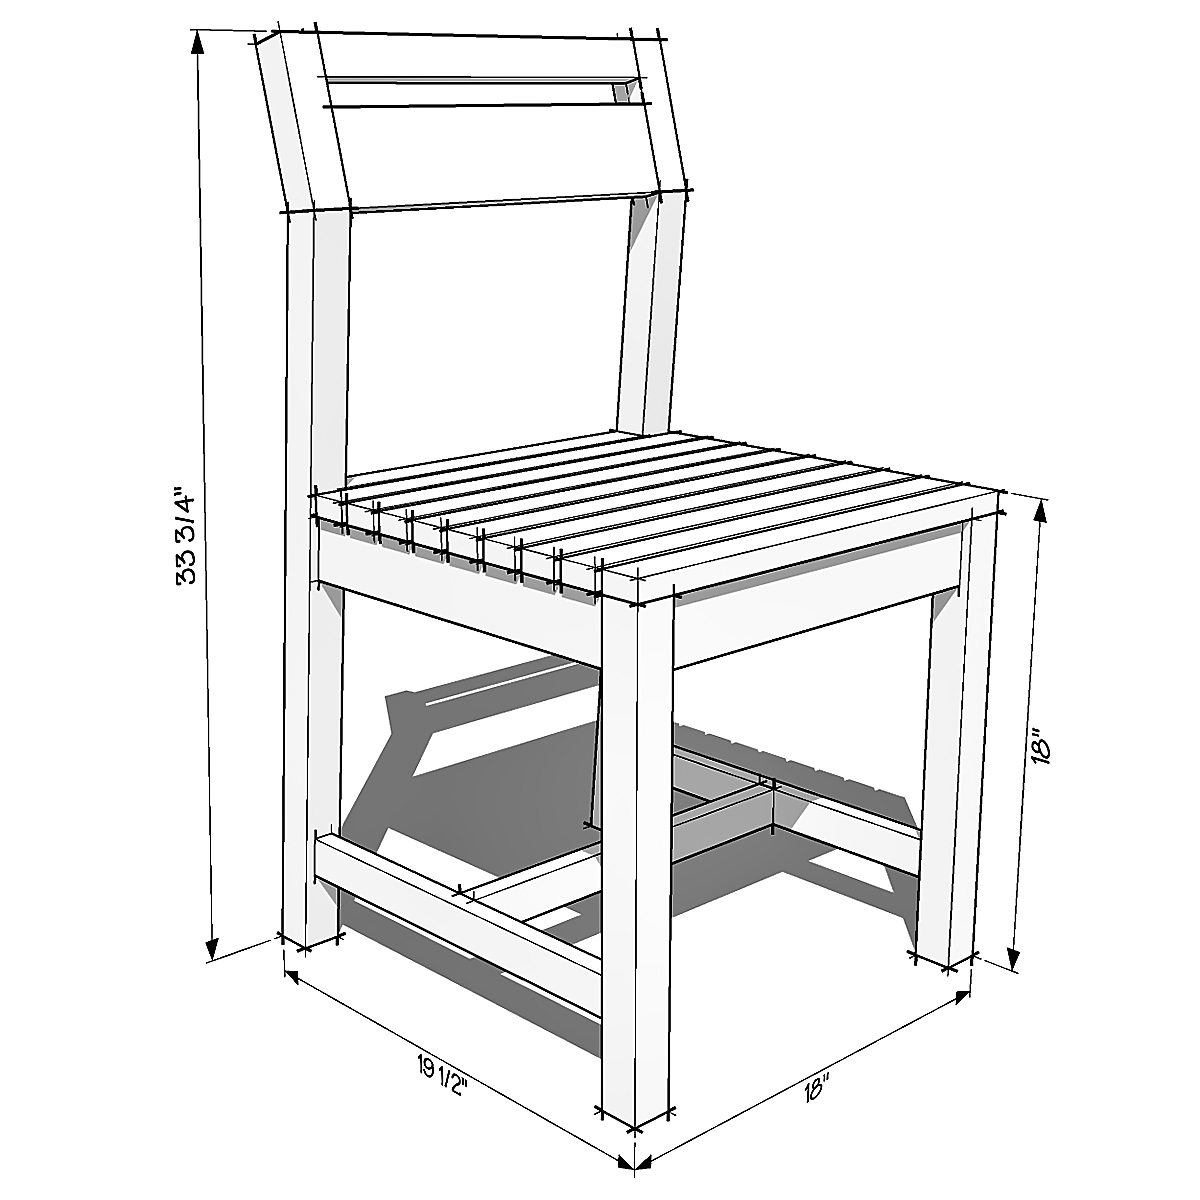
Built from Plan(s)