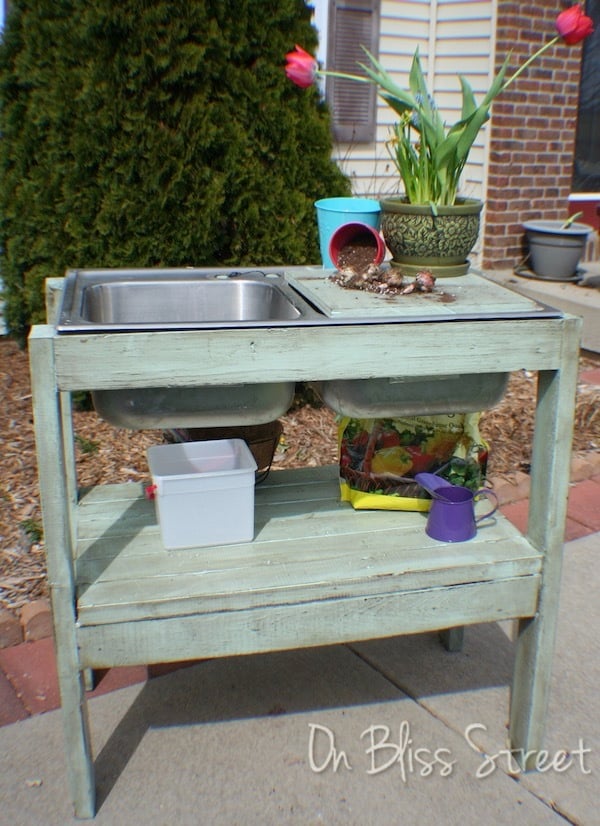
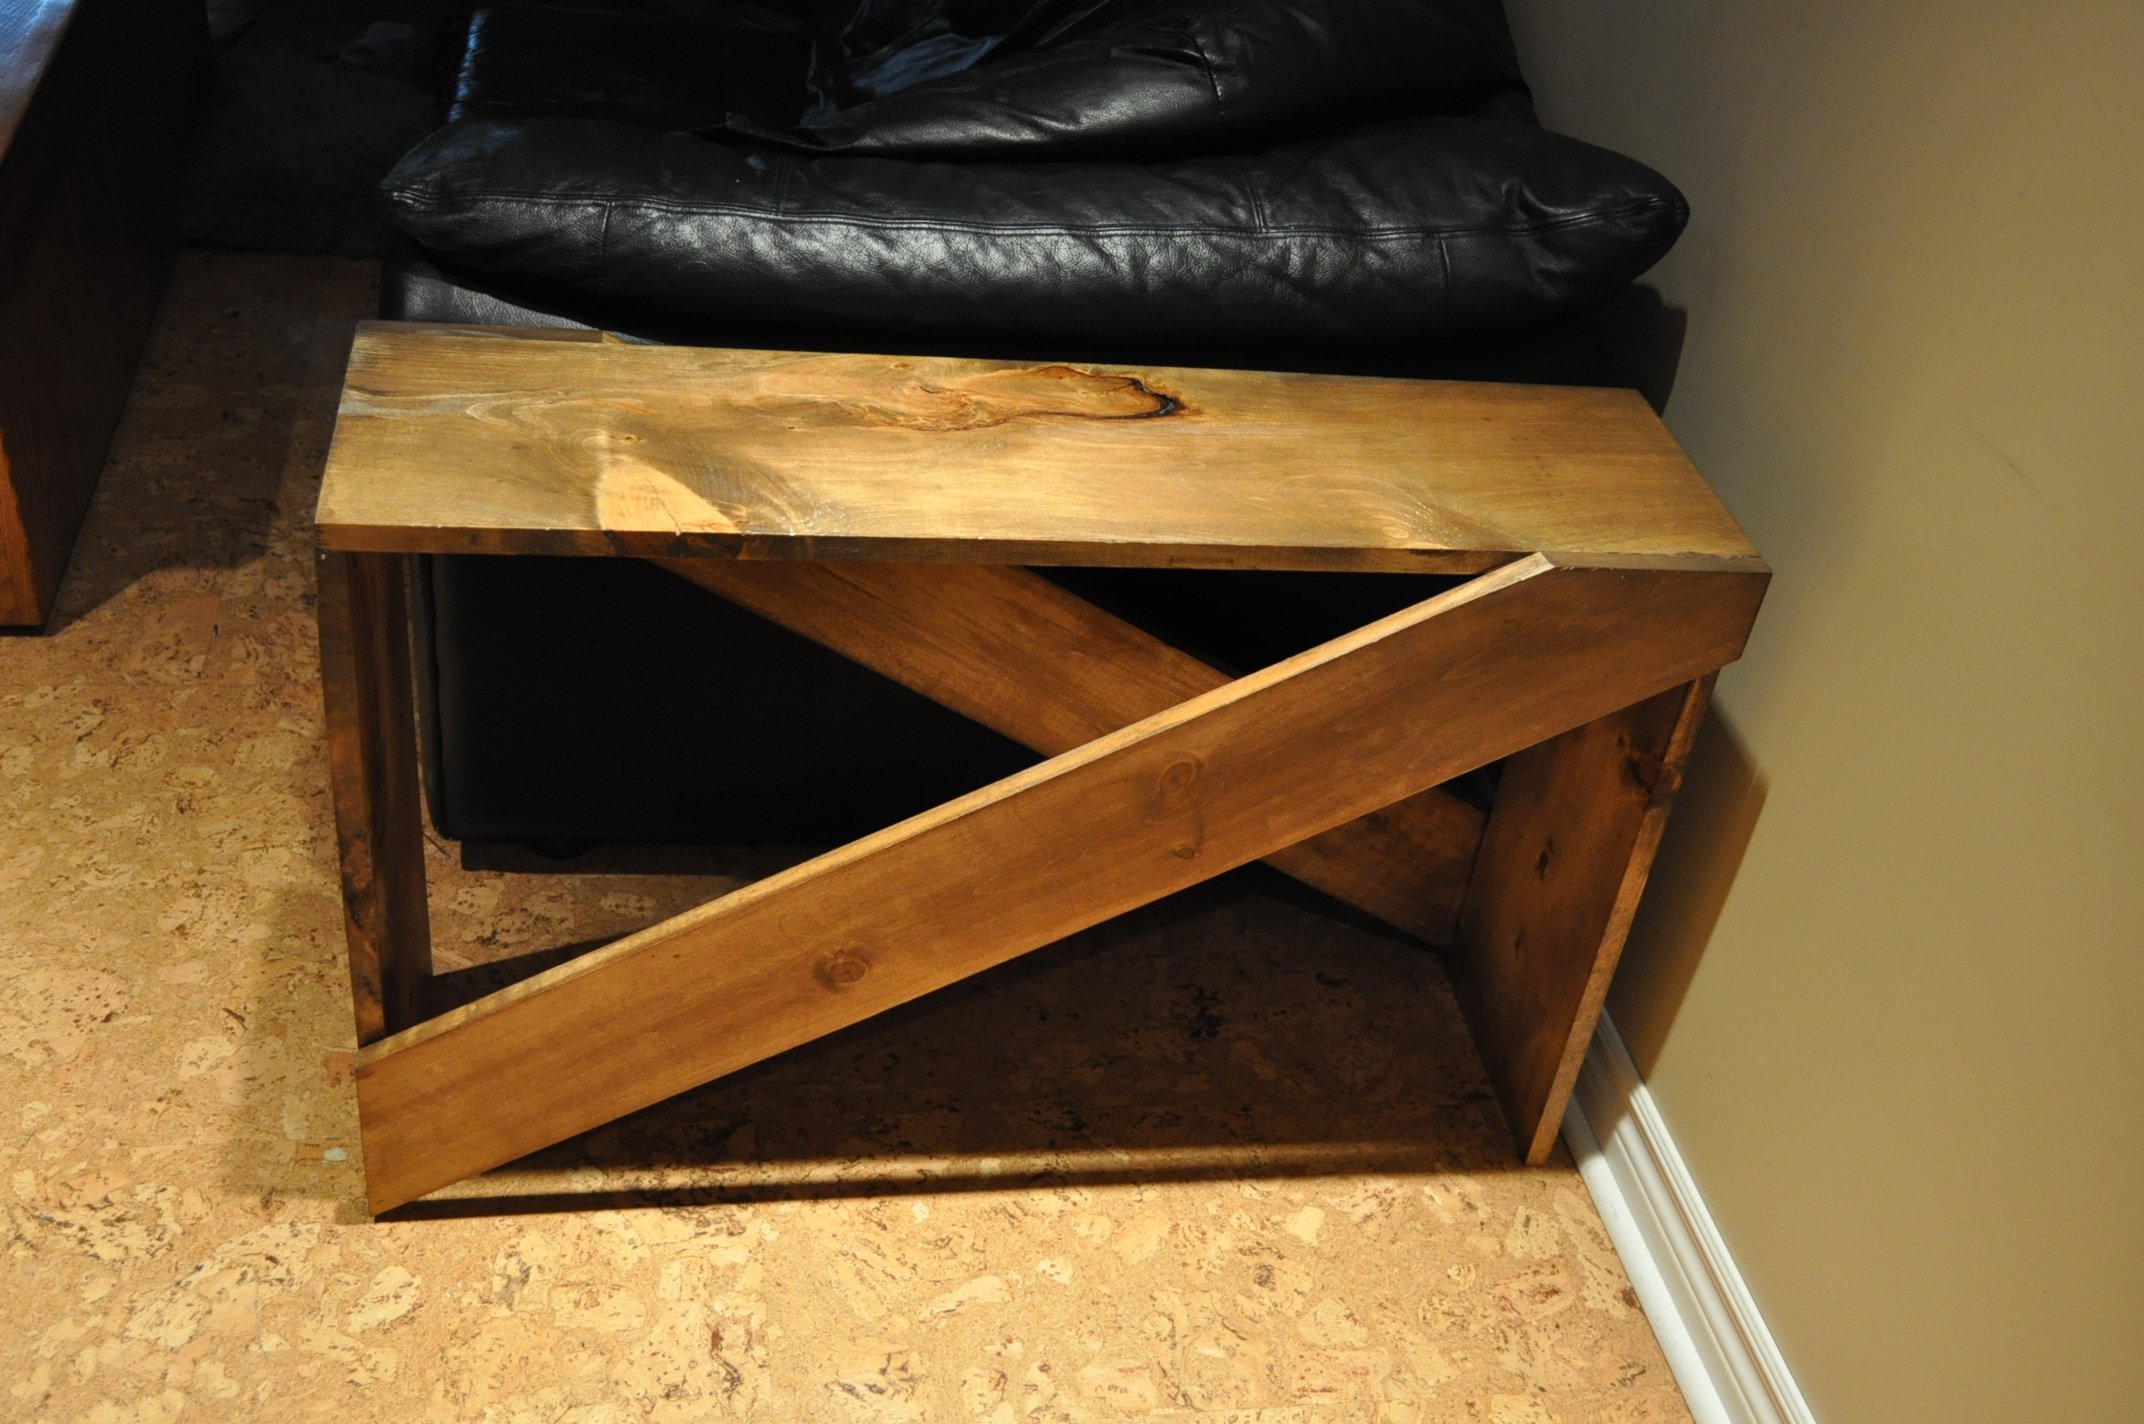
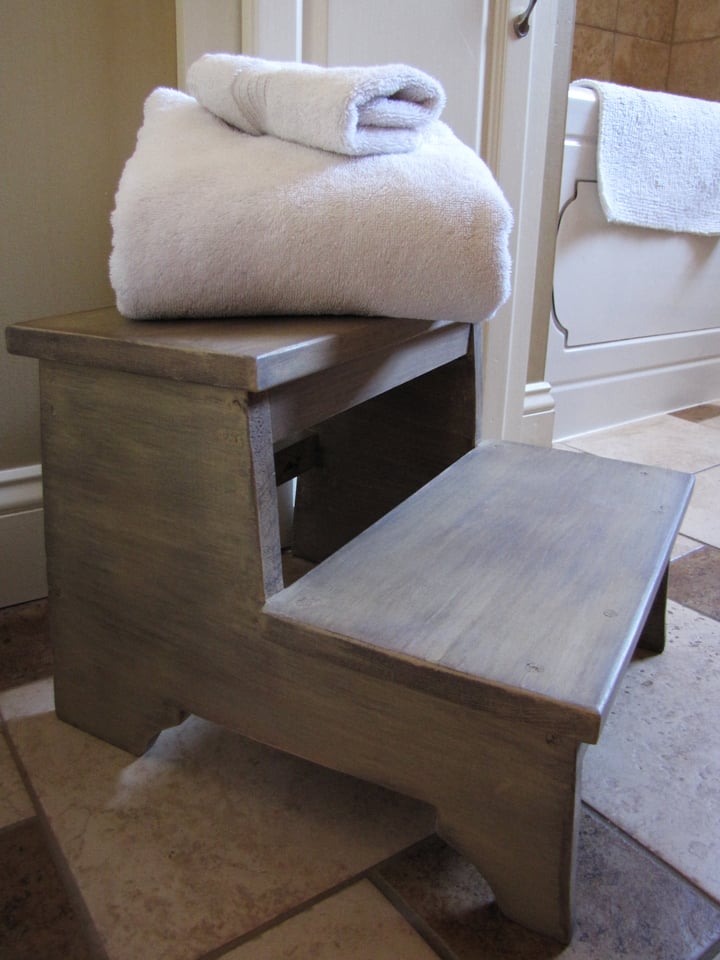
I looked everywhere for a two-step wooden step stool and just could not find one. The ones the kids were using to try and reach the sink to wash their hands, just wasn't cutting it. I have tons of scraps (from many other Ana projects), so I thought I would make my own little stool.
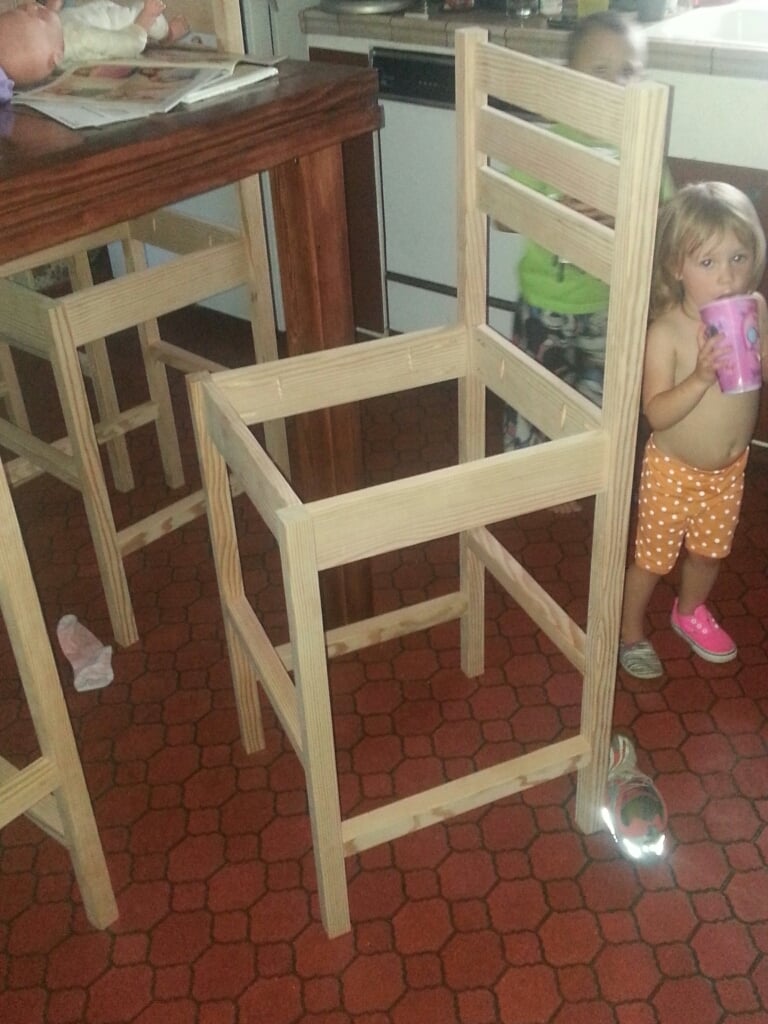
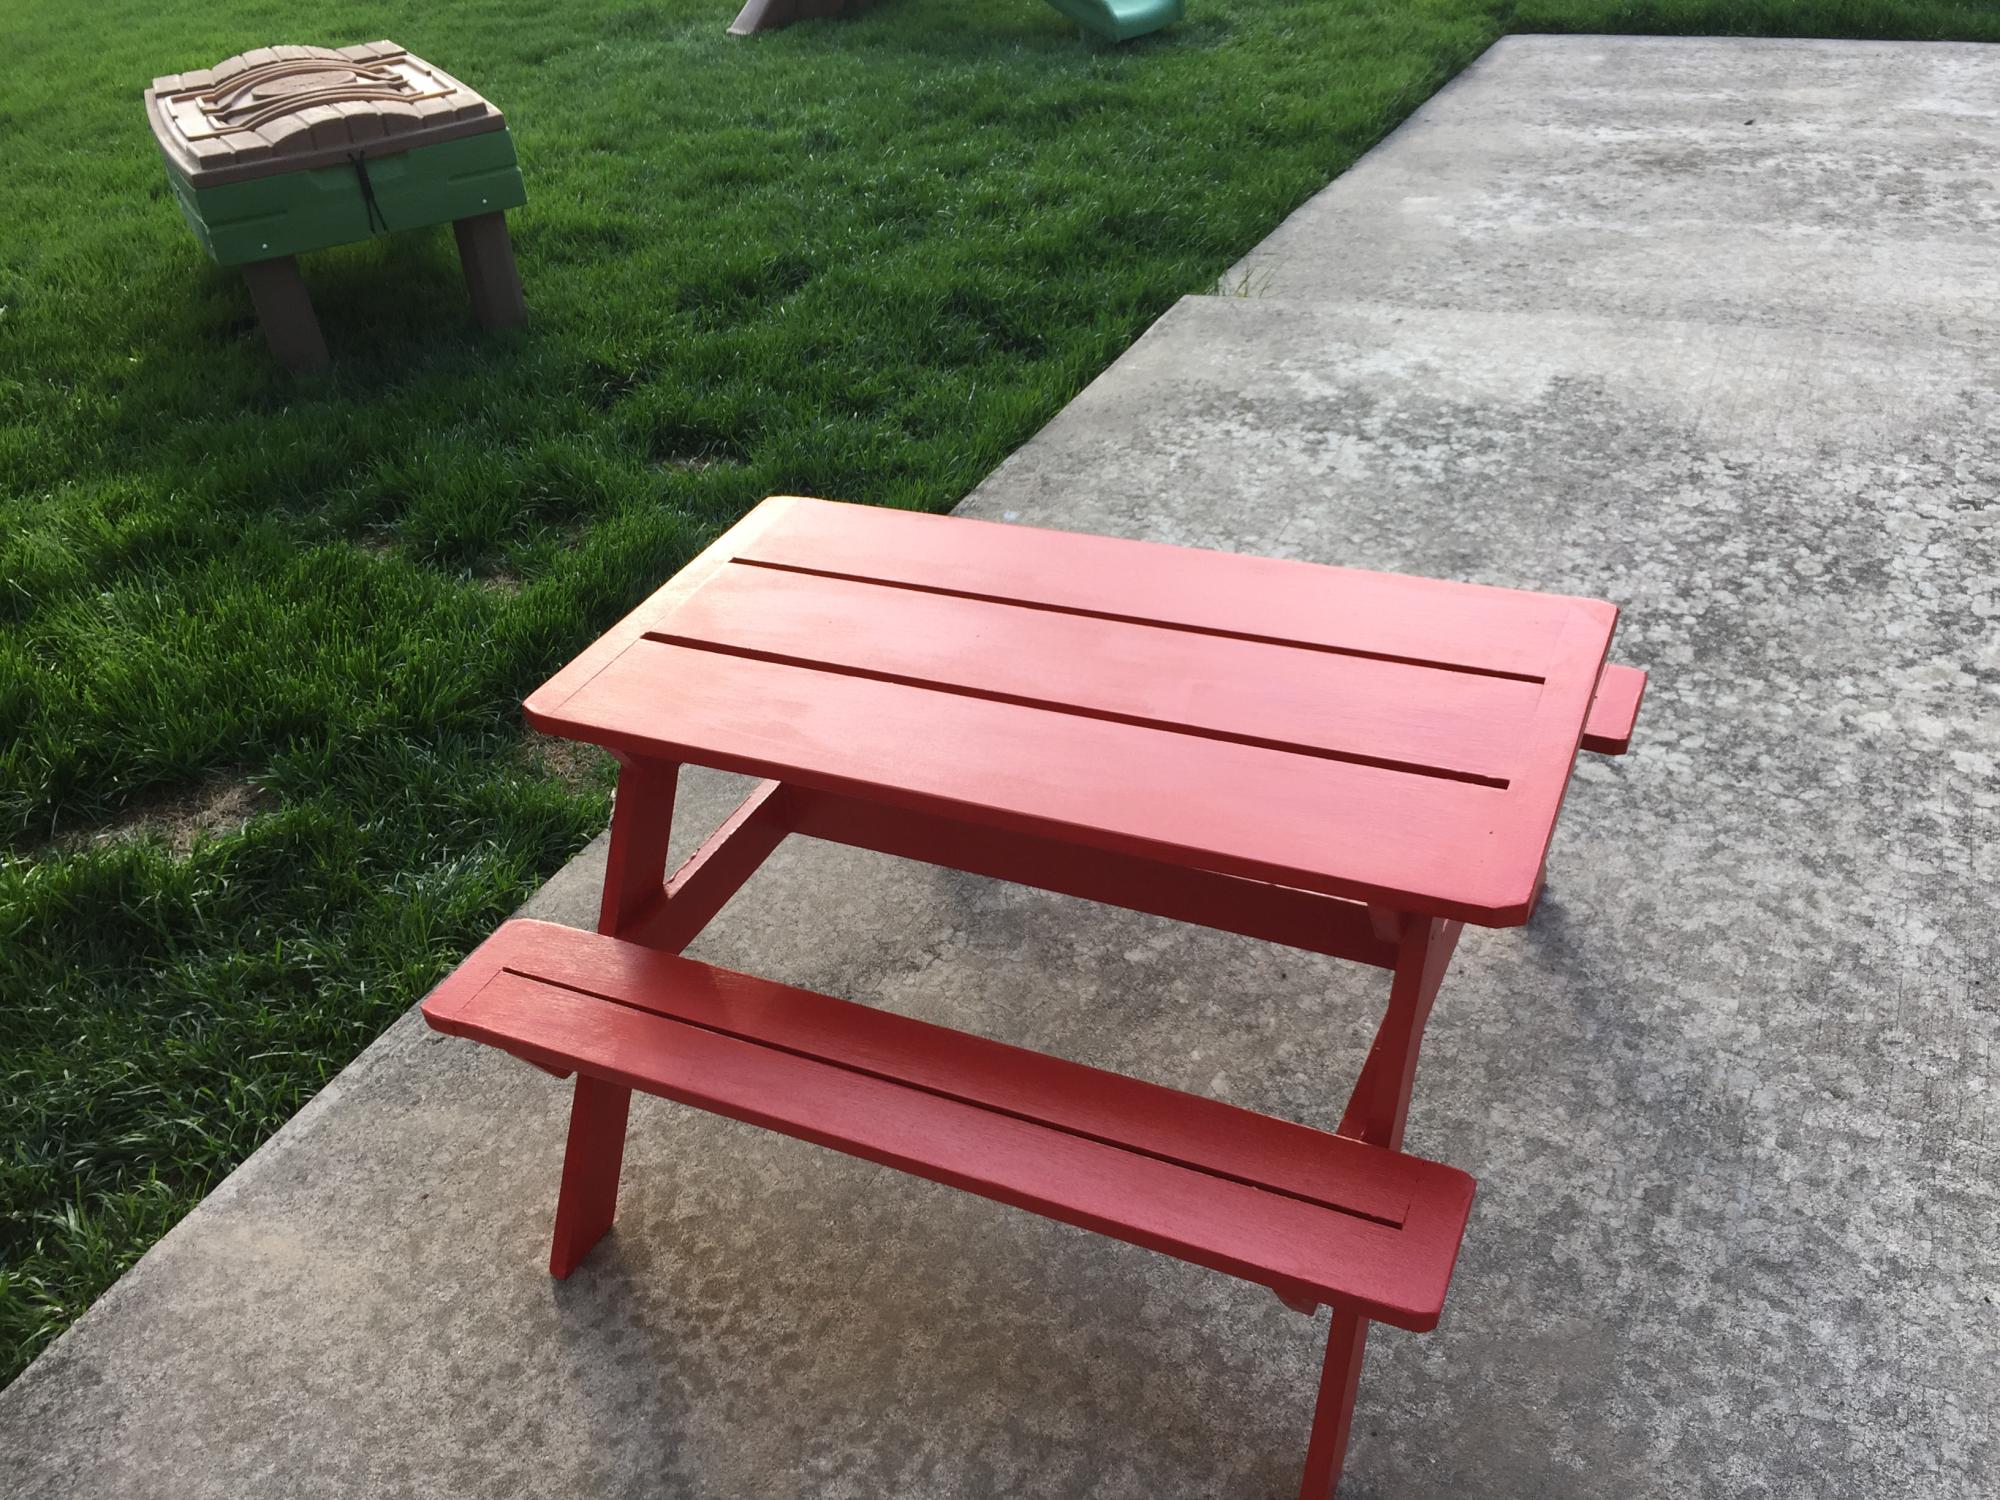
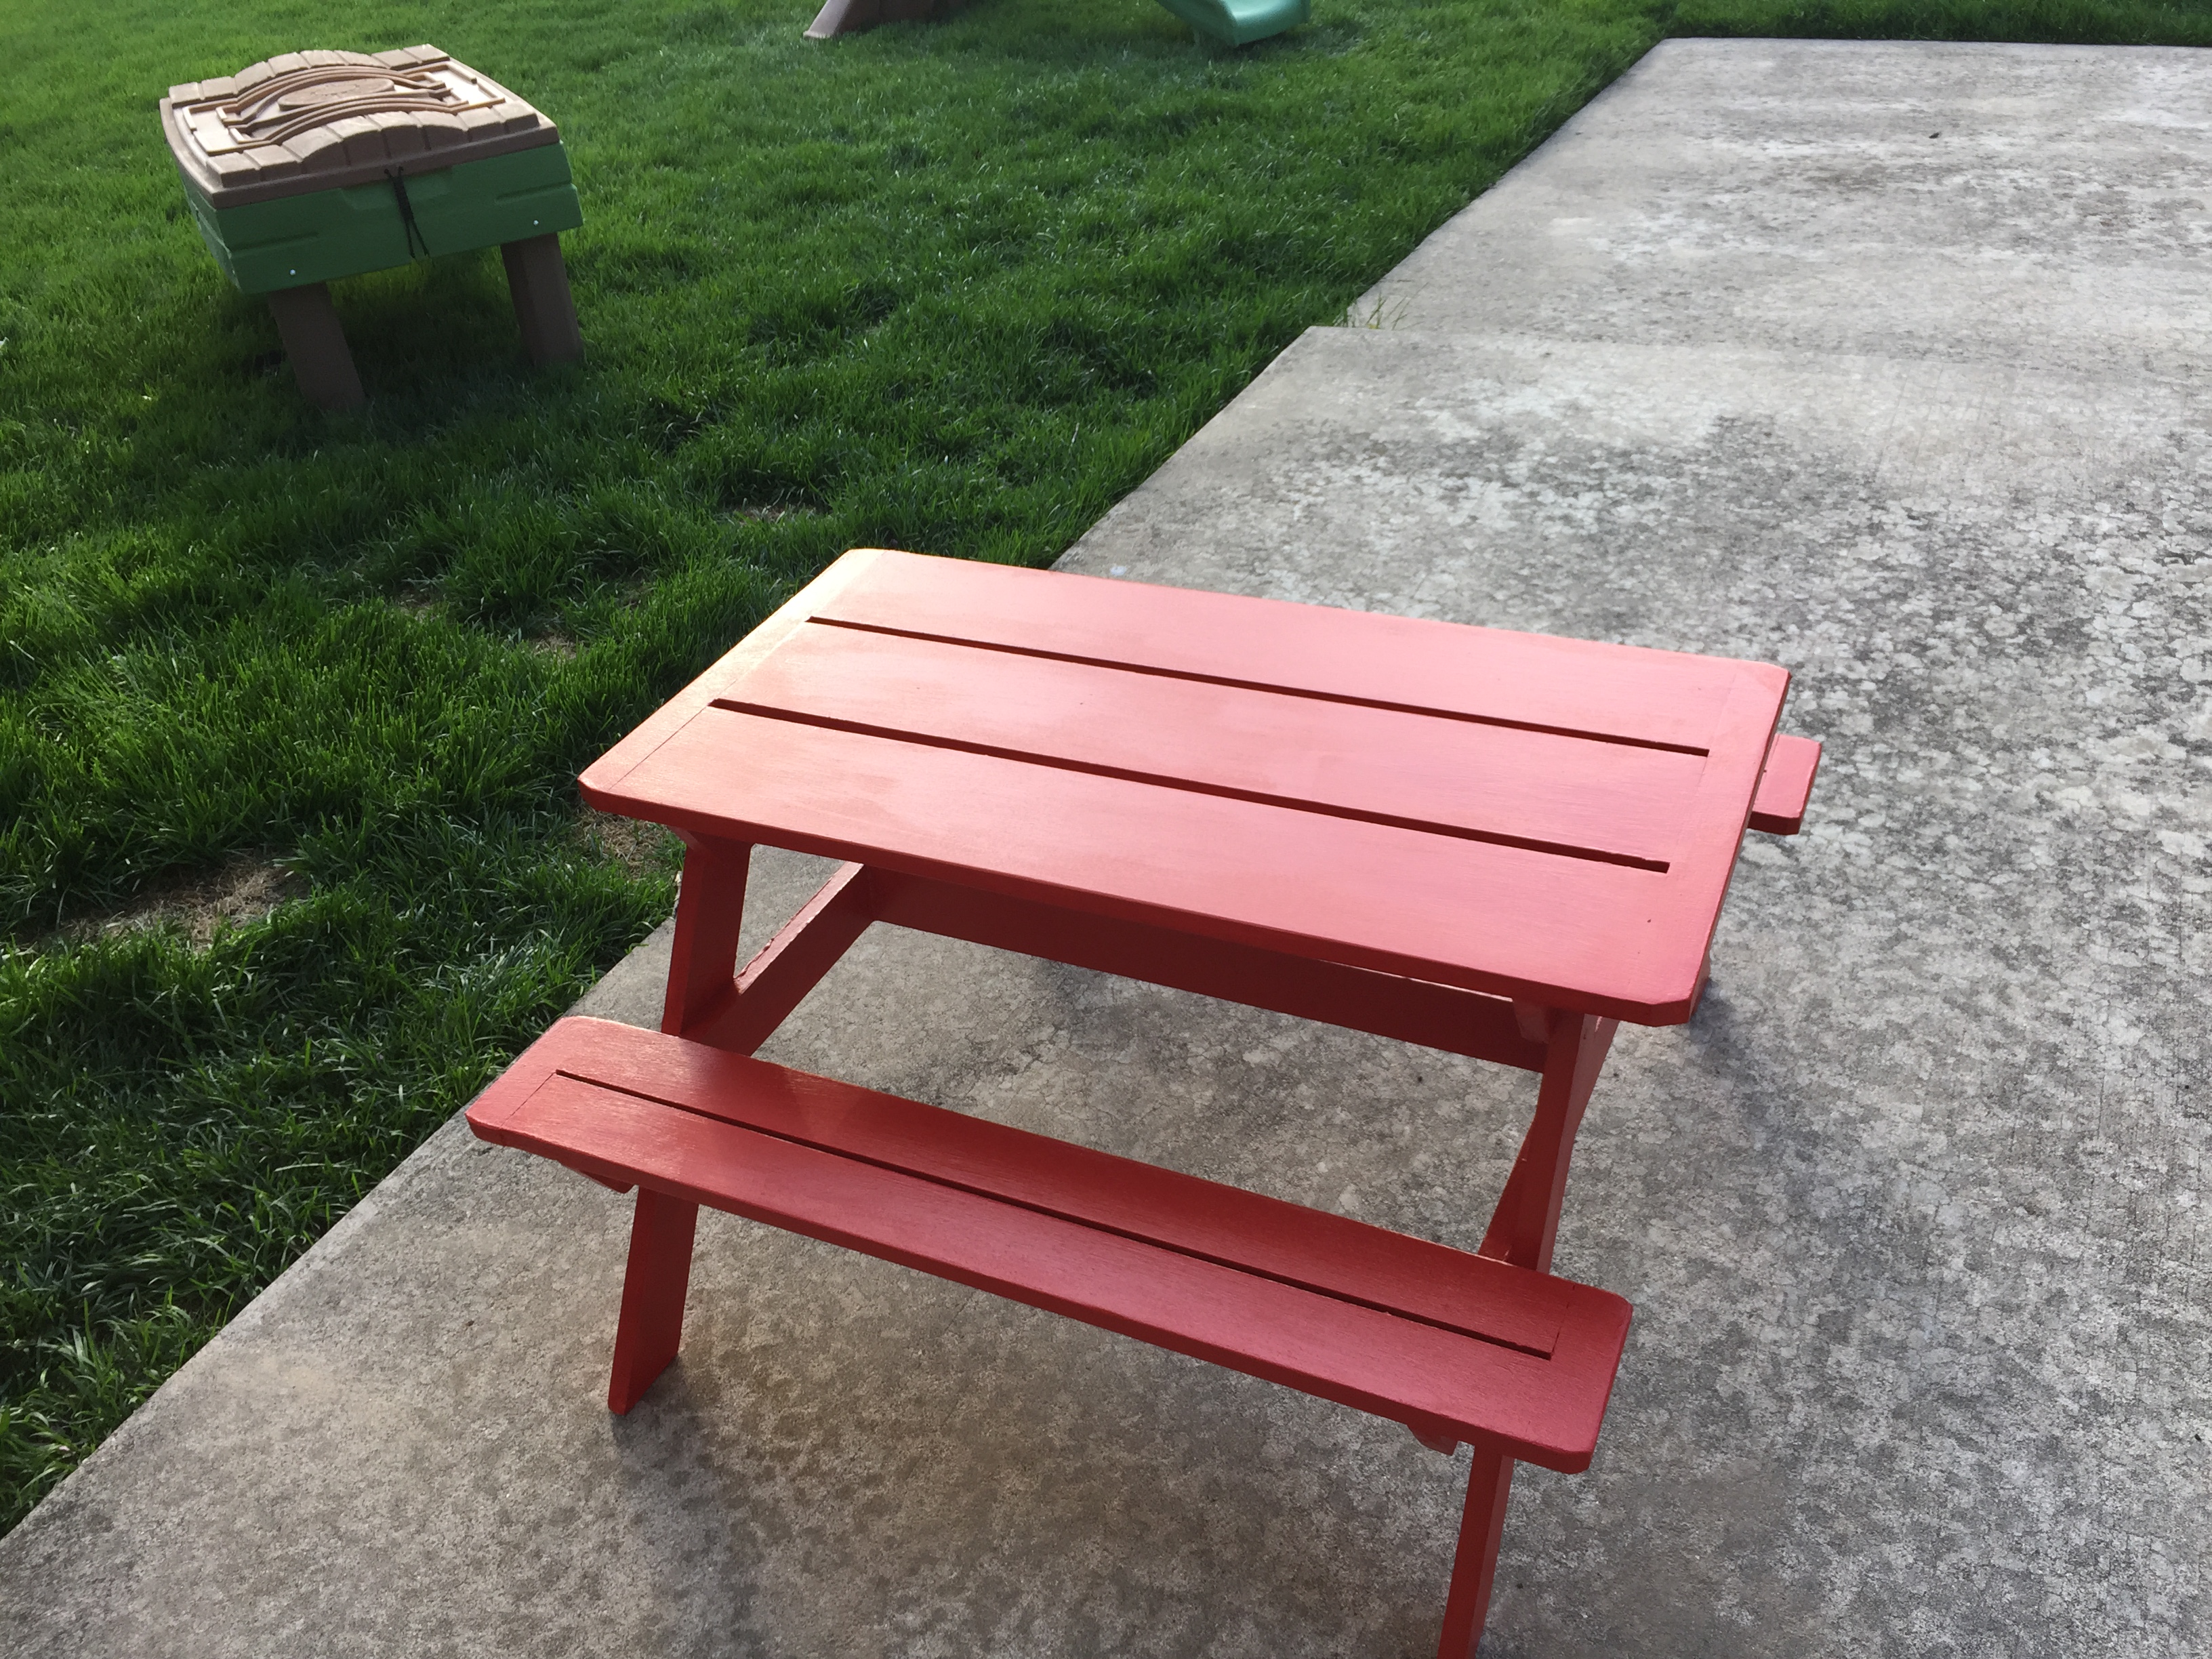
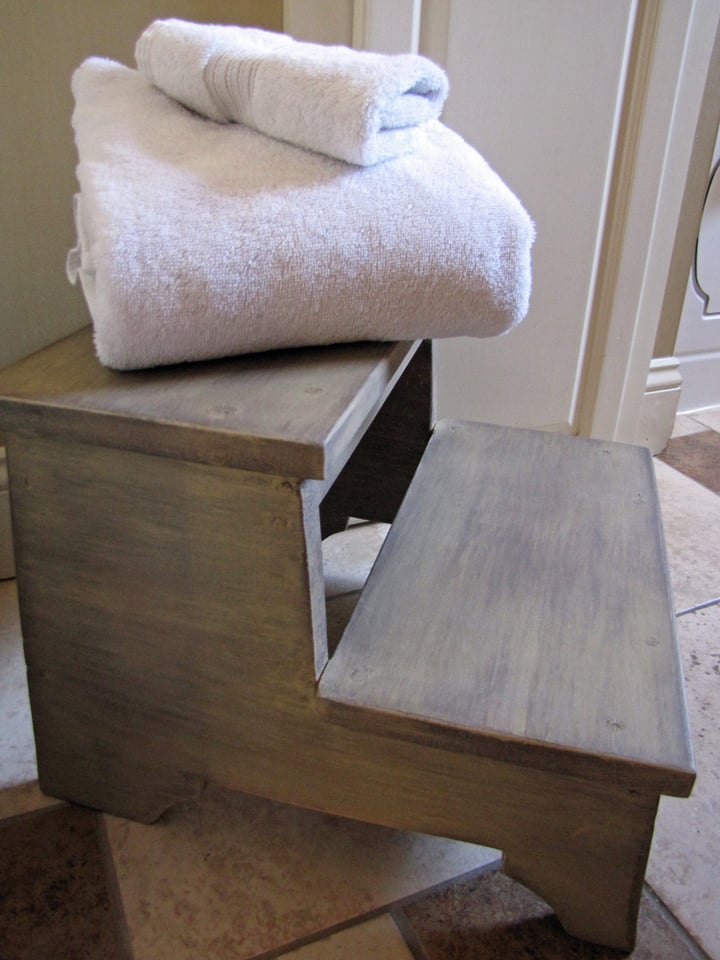
The building part was pretty straight forward and I'm glad to have a stool that doesn't wobble. I sanded all the edges down so it looked worn. I decided to experiment with the finish as I have a big cabinet that I'm getting ready to finish and I don't want to experiment on that one. :) I recently downloaded the recommended "Creating Your Masterpiece" by Shaunna West (see the ad to the right of this post) and was inspired to try something out of my comfort zone.
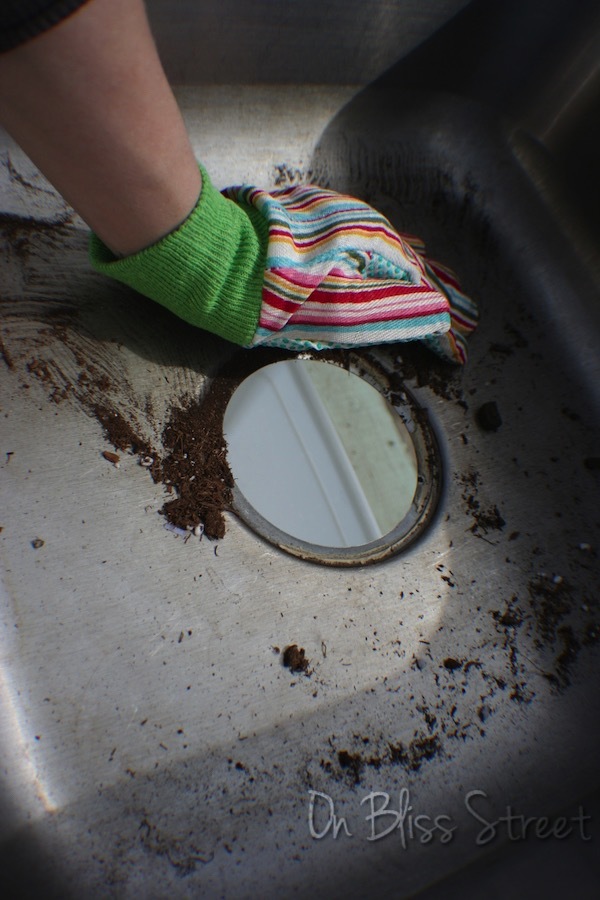
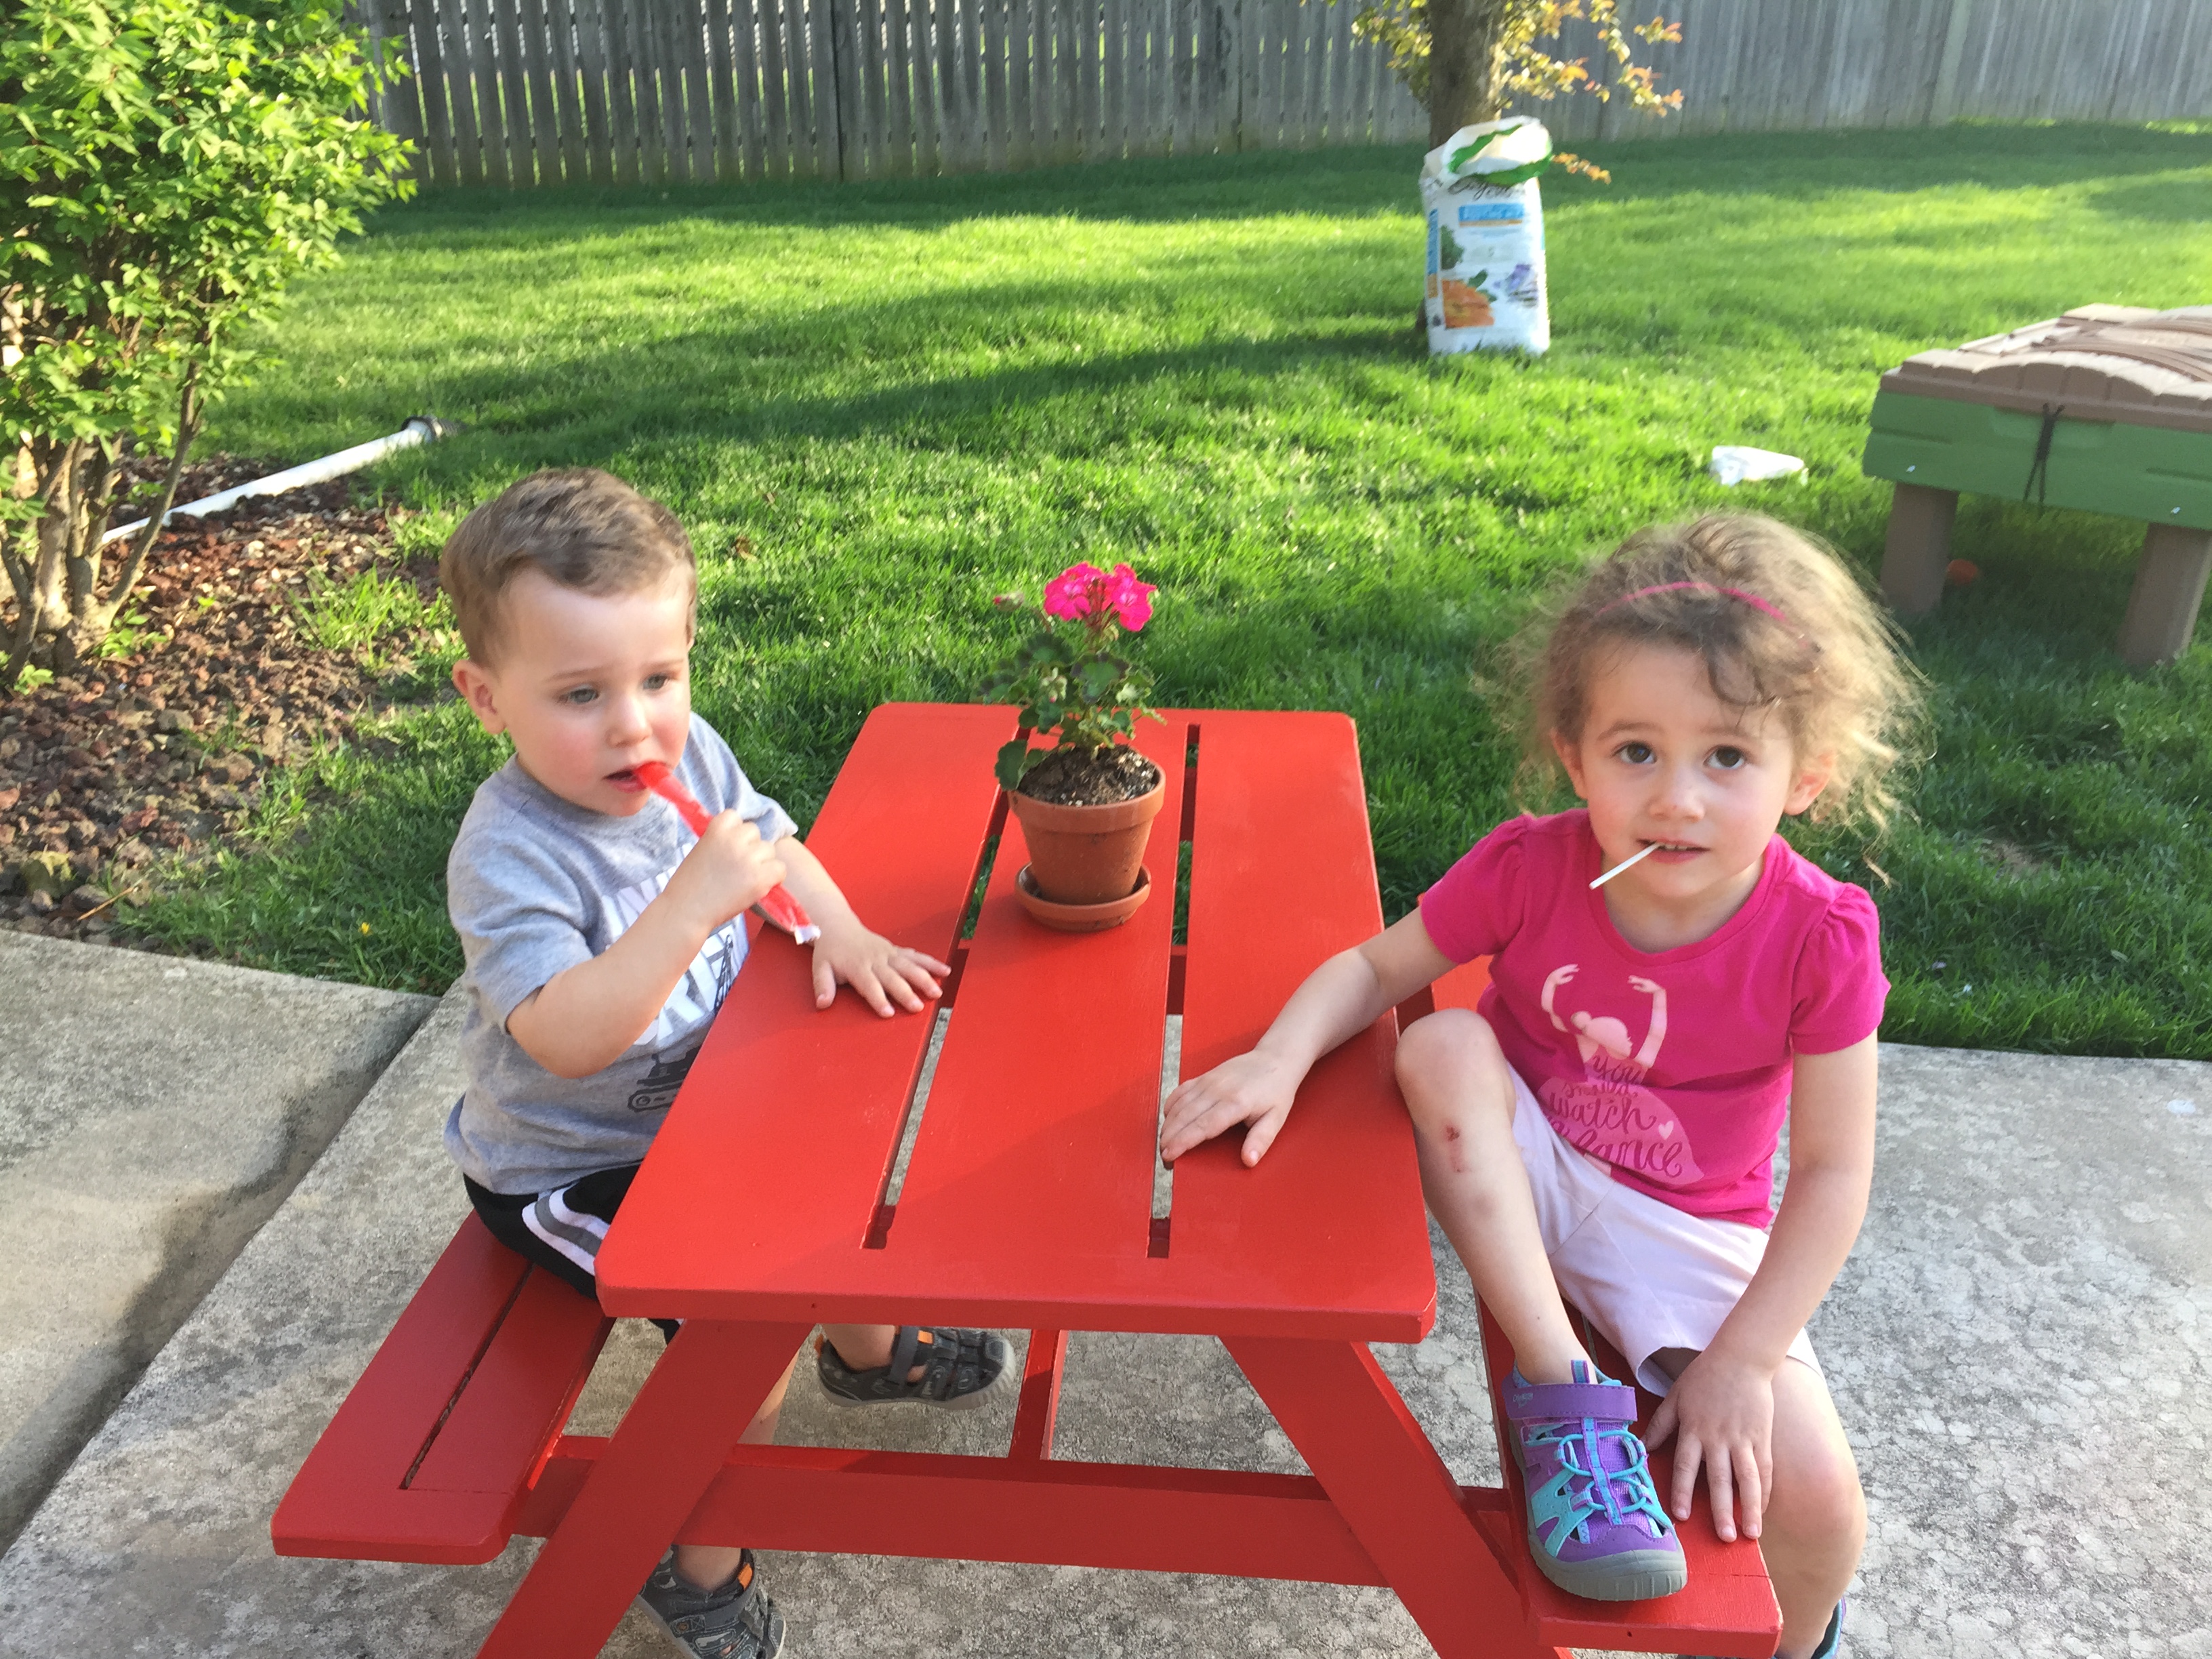
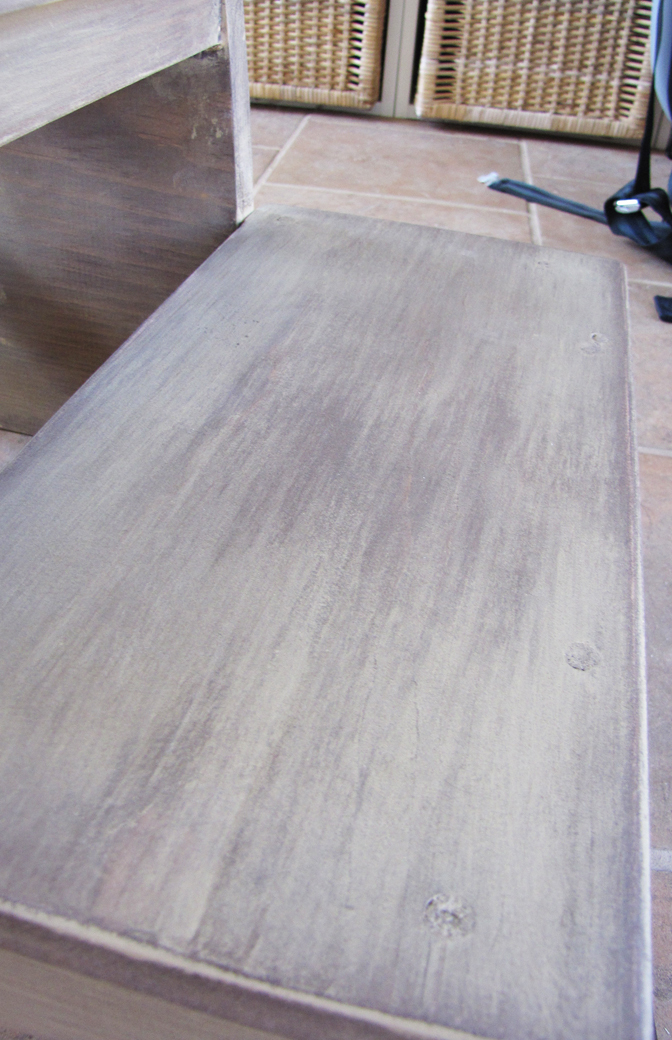
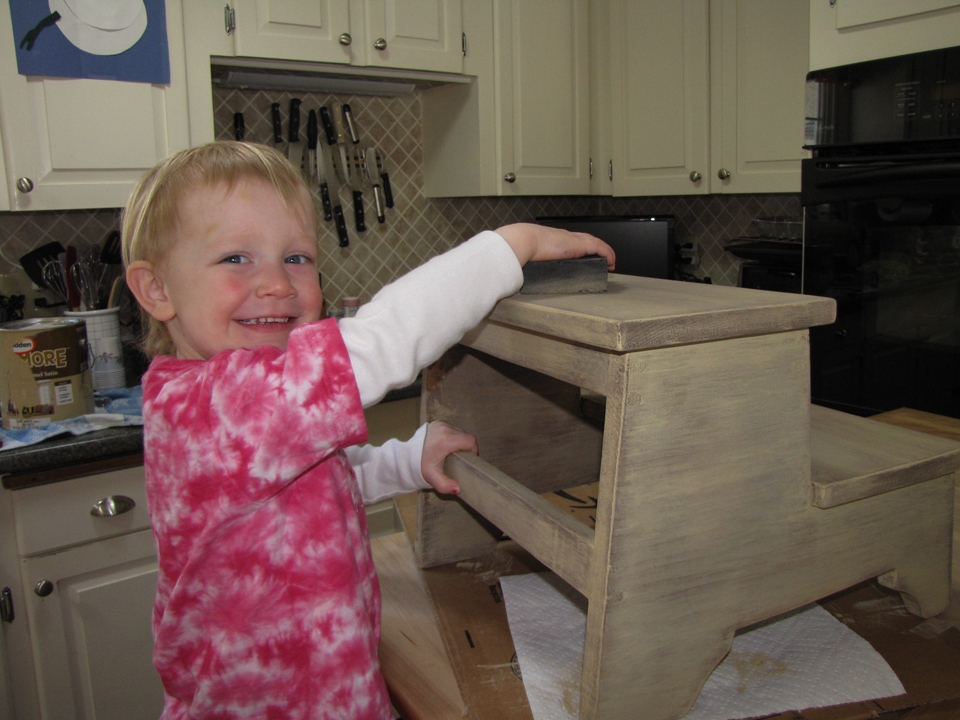
So, for the finish, I first used Miniwax Hickory gel stain. After that was dry, I used the Behr paint I had leftover from my bathroom walls and dry brushed it on. I had never done this technique before, so I started on the underside of the stool. I'm glad I did because I got much better at the dry brushing as I went on. It is definitely a tough technique to use in corners and where the wood meets at a 90 degree angle. That's why it looks so much better on the treads and flat side of the stool. After the paint dried (about 10-20 minutes), I took a medium to finer grit sanding block and sanded in a circular motion. I even had little hands helping (note picture). Finally, I used the Miniwax Paste Finishing Wax. I was unsure that I was using it correctly as it goes on very thin and it was hard to see where I applied it. After letting that dry for about 15 minutes, I buffed it out with a clean cloth. I could really see it start to shine up (just like a car wax). I love the feel of the wax and I hope it holds up over time. I do realize that I will need to re-coat on the stool treads, but that's fine with me.