Adirondack chair
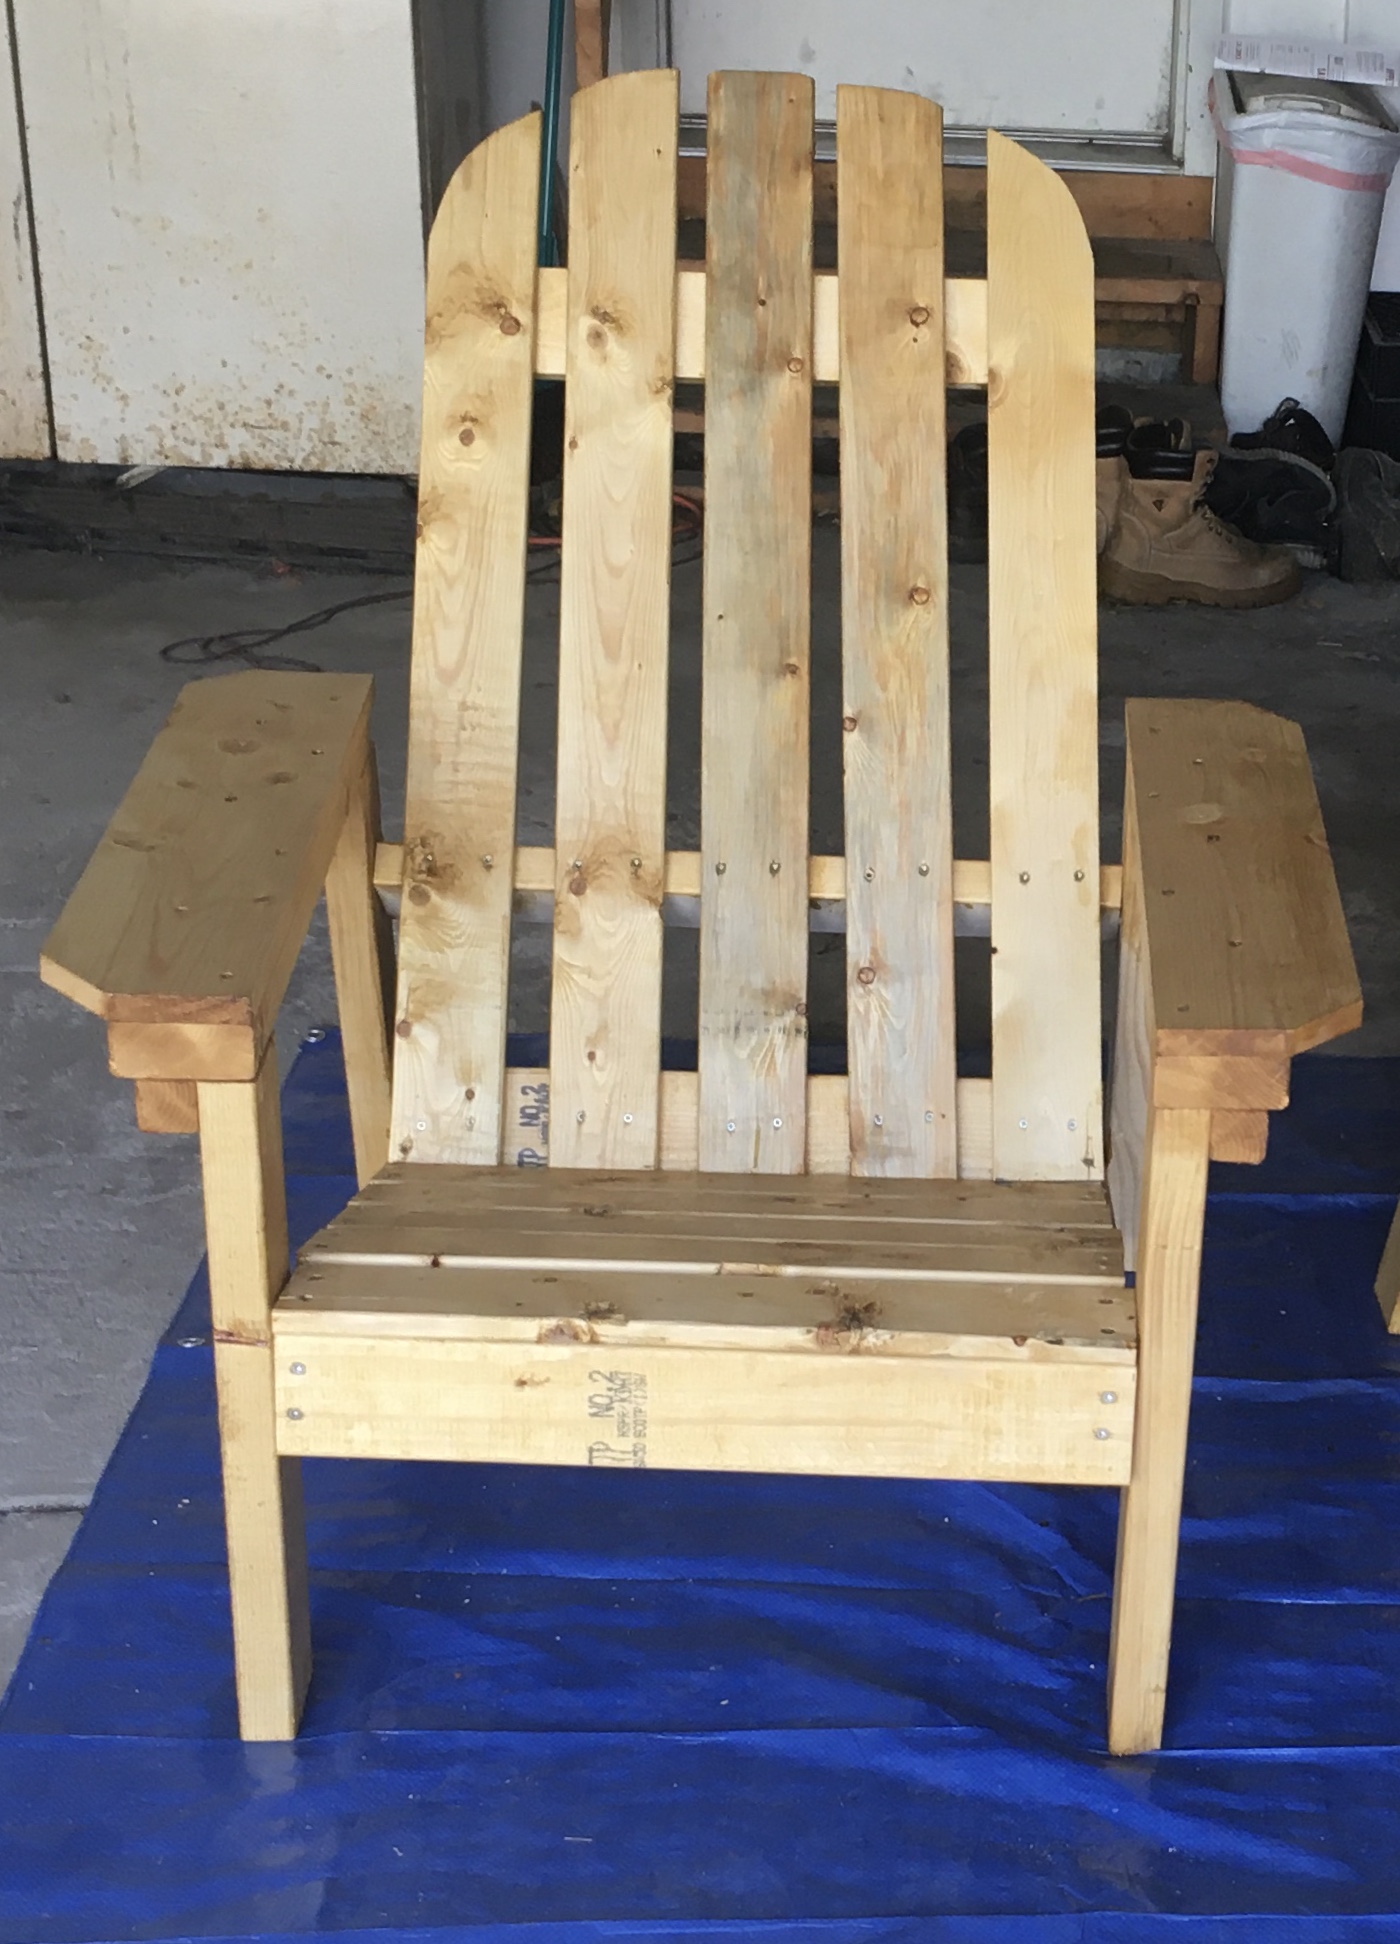
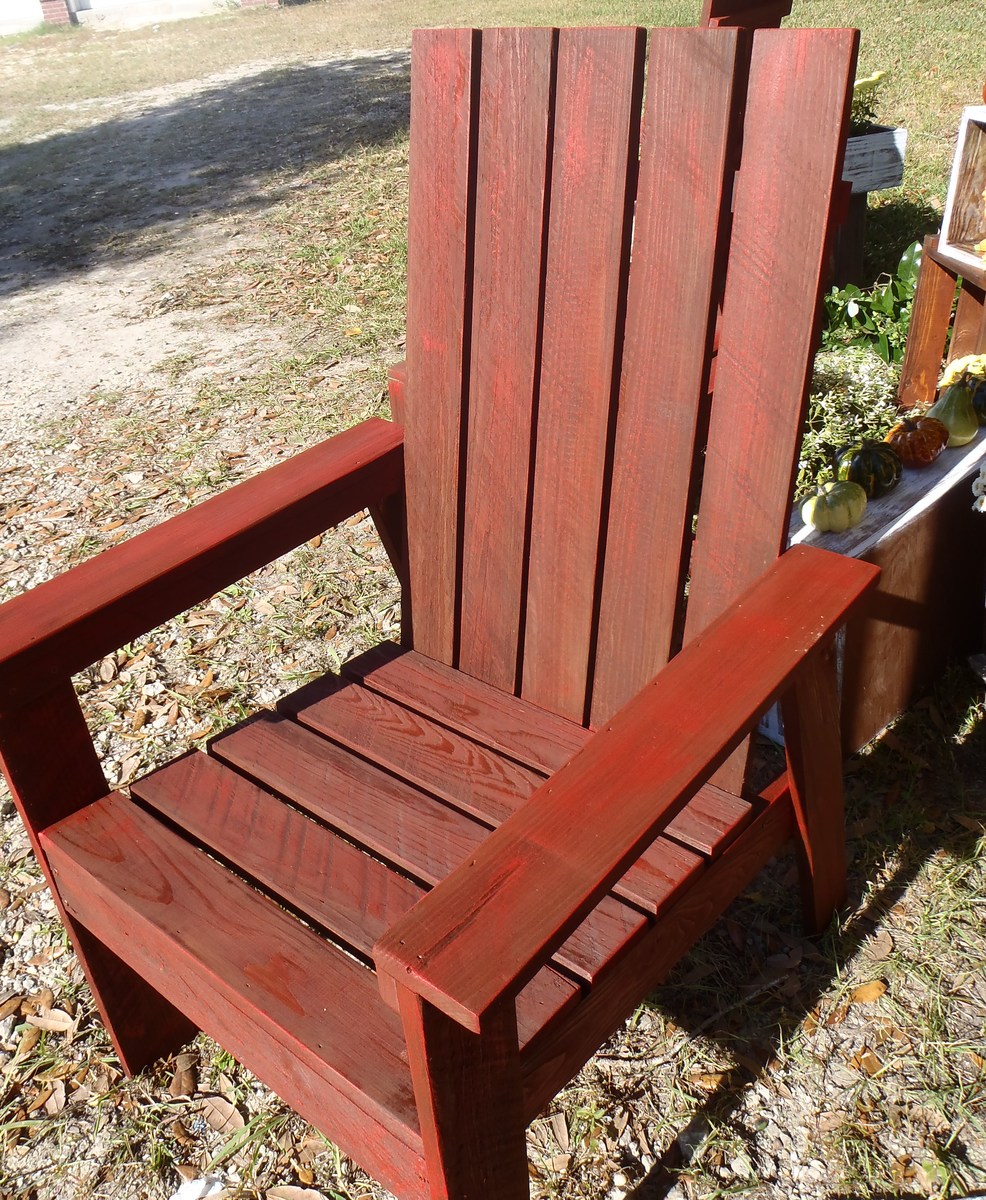
First project tackled after discovering Ana’s site. For our backyard fire pit area. (Store bought Adirondack chairs are $$$!) So happy for the plans to make it myself.
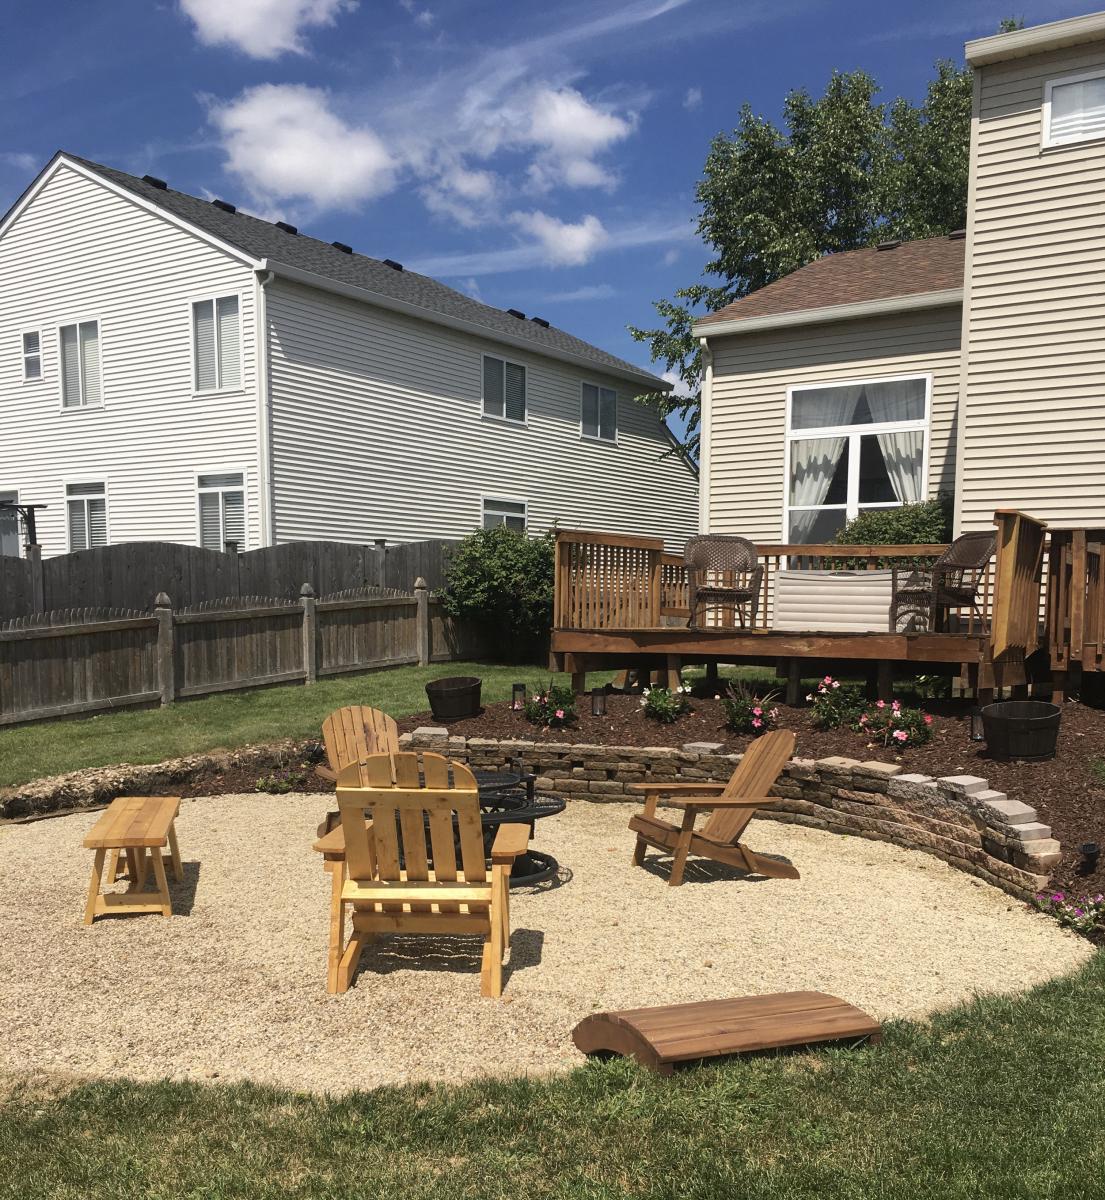

First project tackled after discovering Ana’s site. For our backyard fire pit area. (Store bought Adirondack chairs are $$$!) So happy for the plans to make it myself.

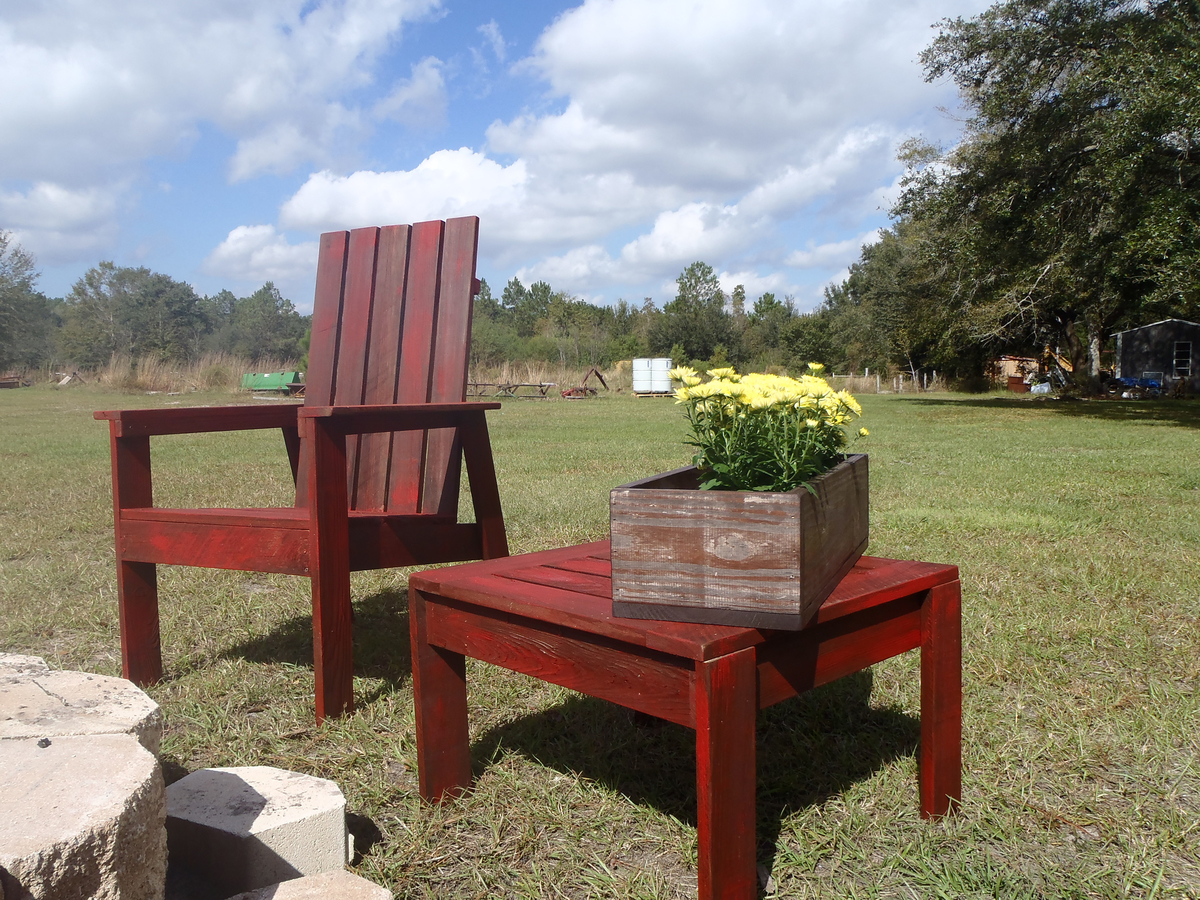
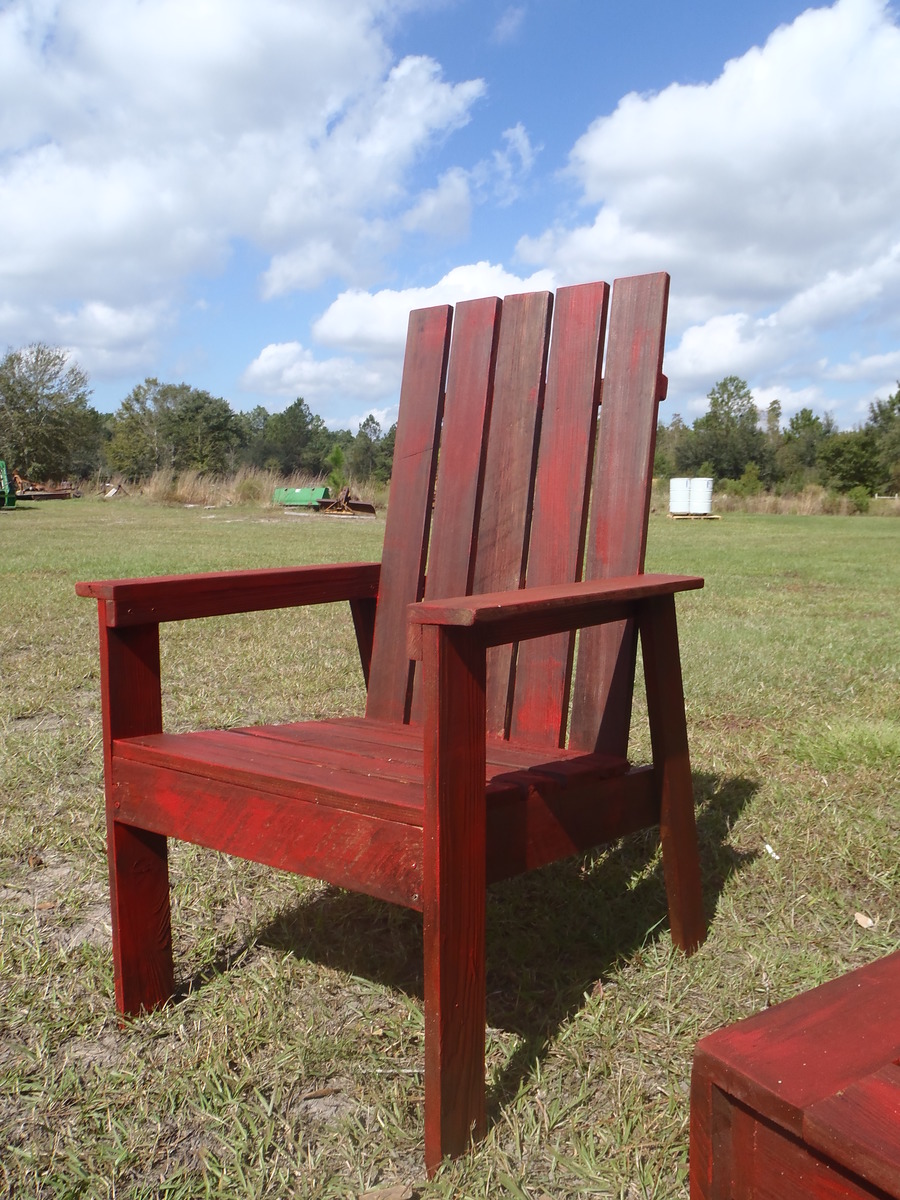
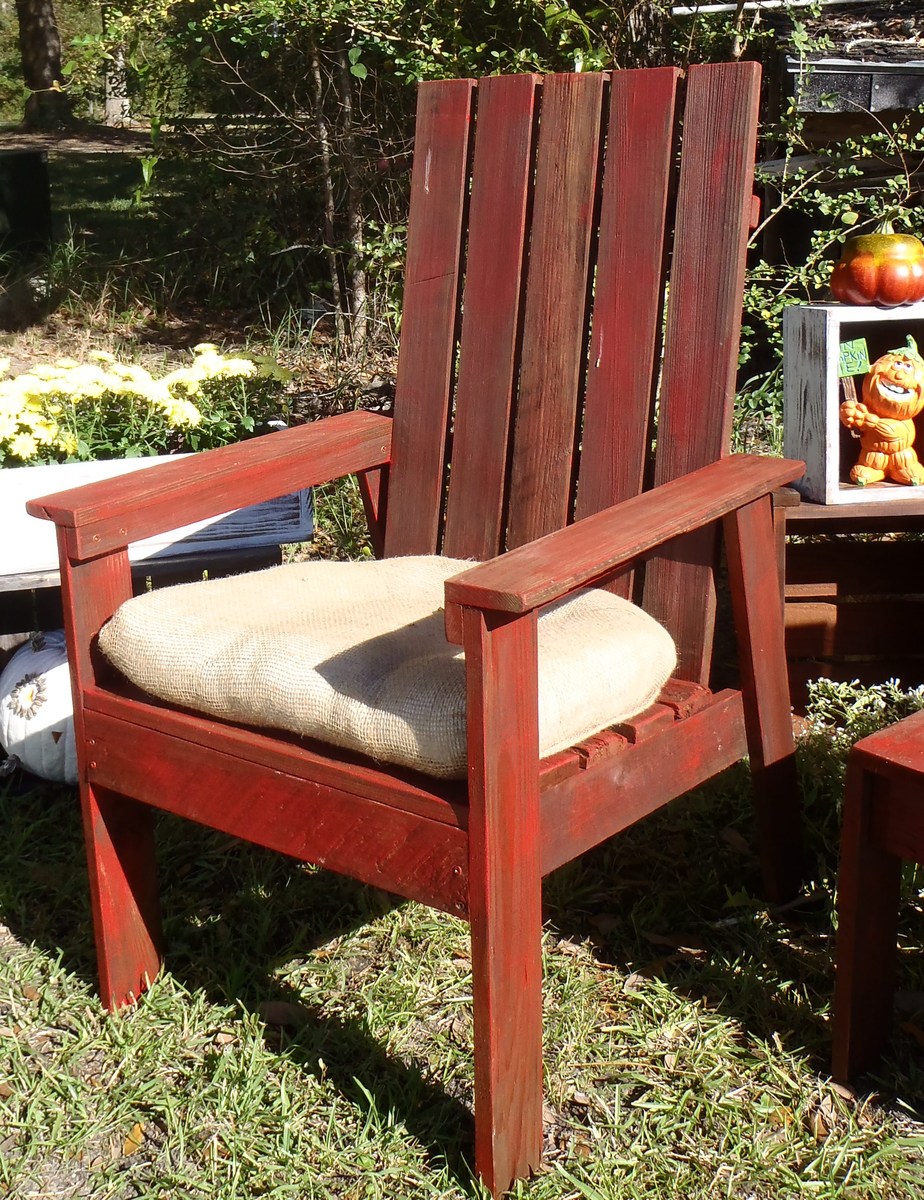
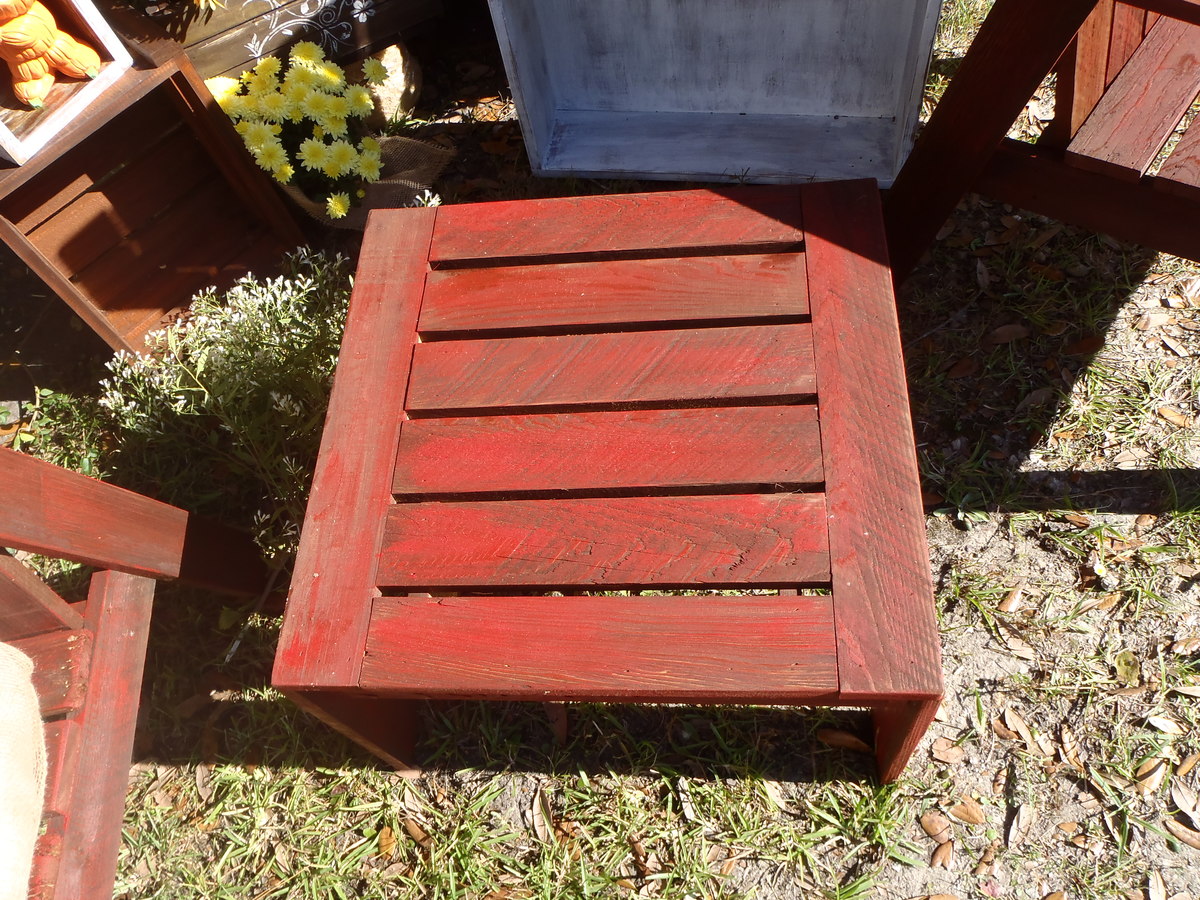
We had some roughcut cypress lumber left over from building our house which has been laying in my yard for a few years. Once I received Ana's new book, I knew just what to do with it! We love our new chairs so much we built a firepit to go with them!
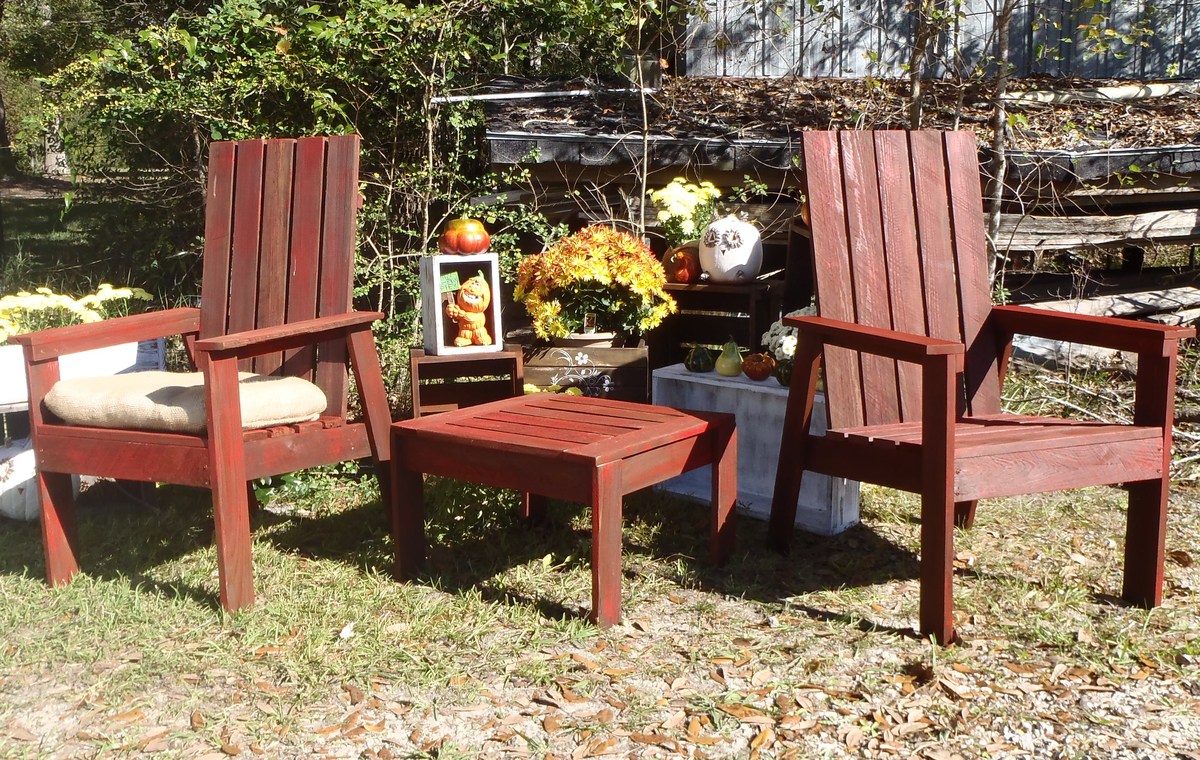
Since the original post, I made burlap seat cushions. Love it!
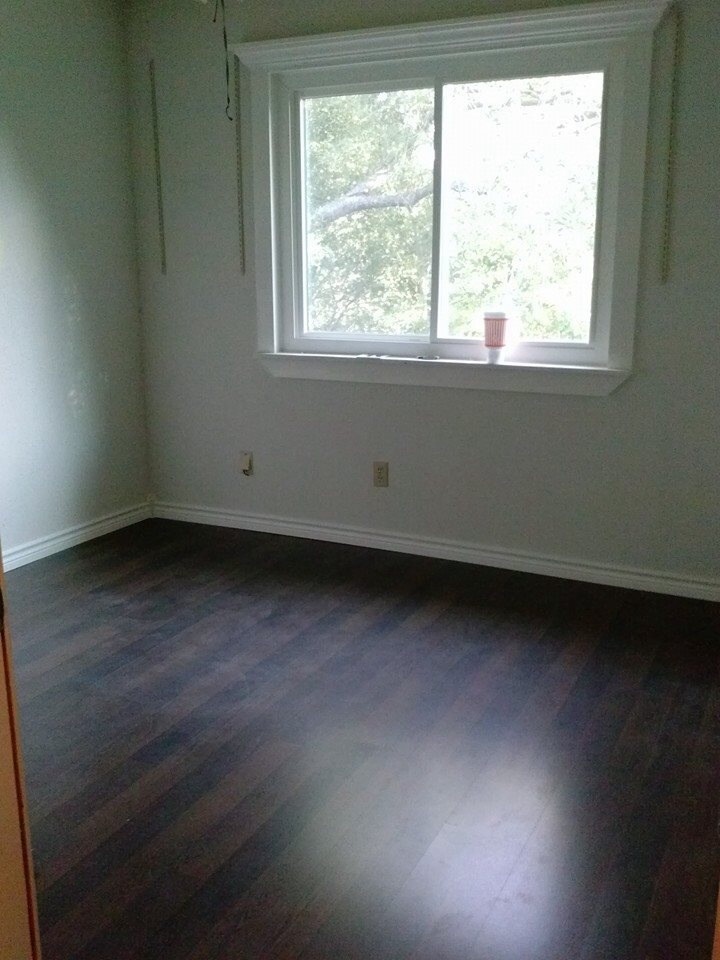
I took the plan for the crown ledges and put it above the window then added pre primed 1x4s as the trim also.
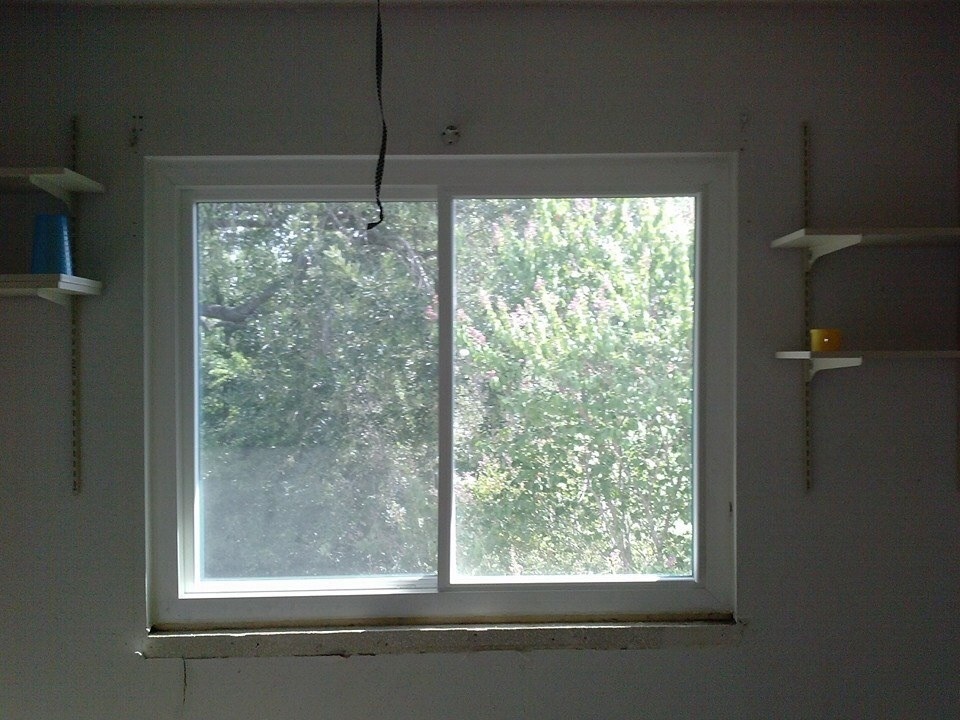
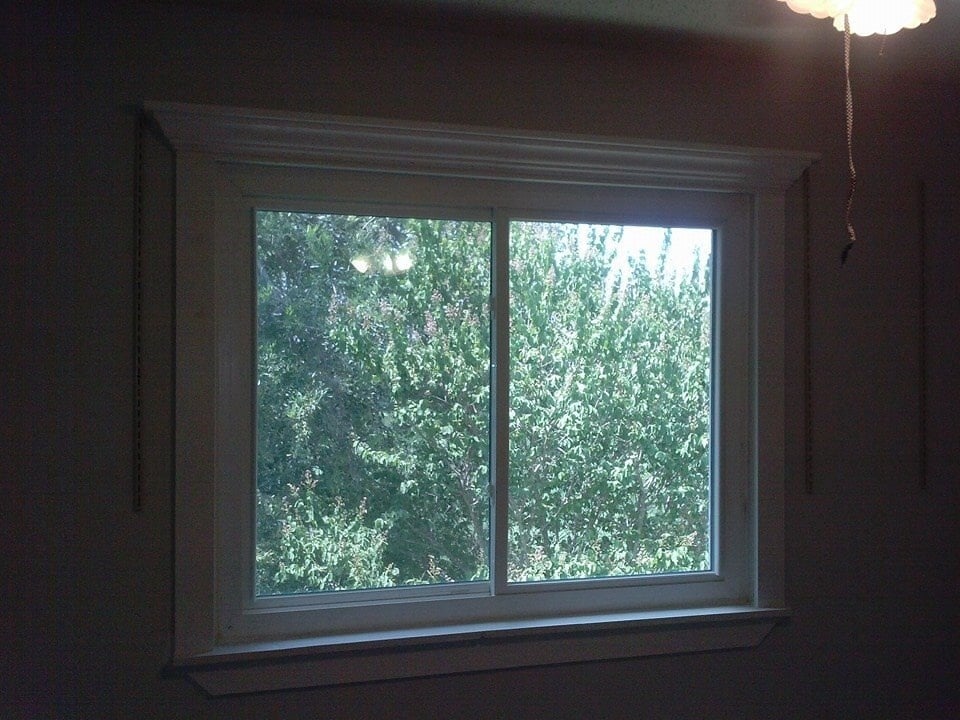
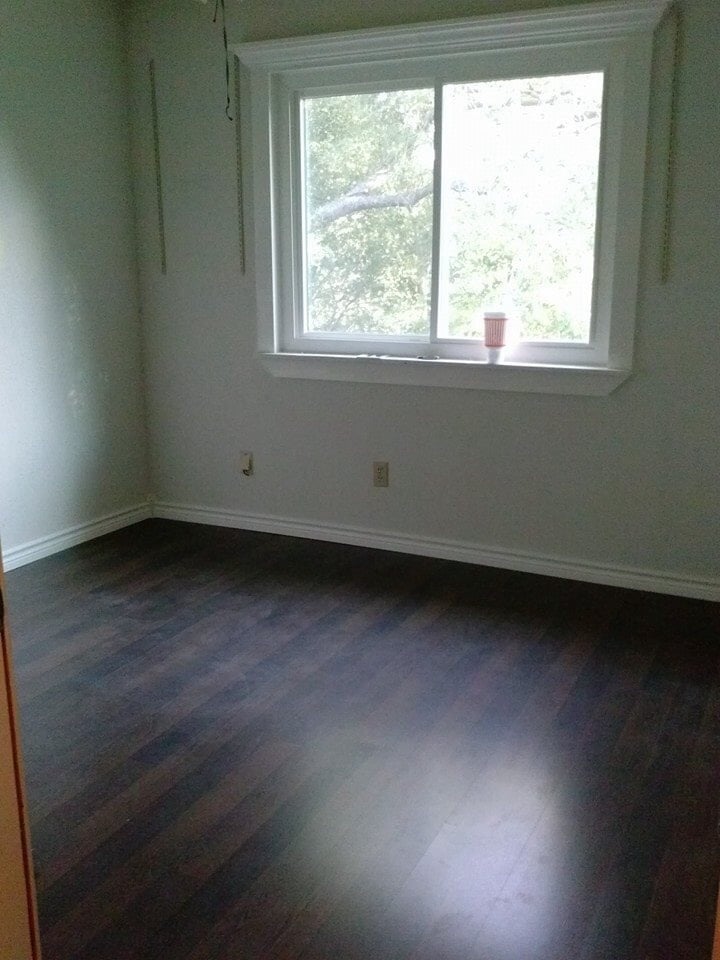

First try at building something. Start up cost in tools is not reflected in the estimated cost. Learned a couple of valuable lessons in cut accuracy and order of work. For us, we will buy/cut/sand/paint/assemble. Dont let Home Depot cut your plywood. They did a terrible job.
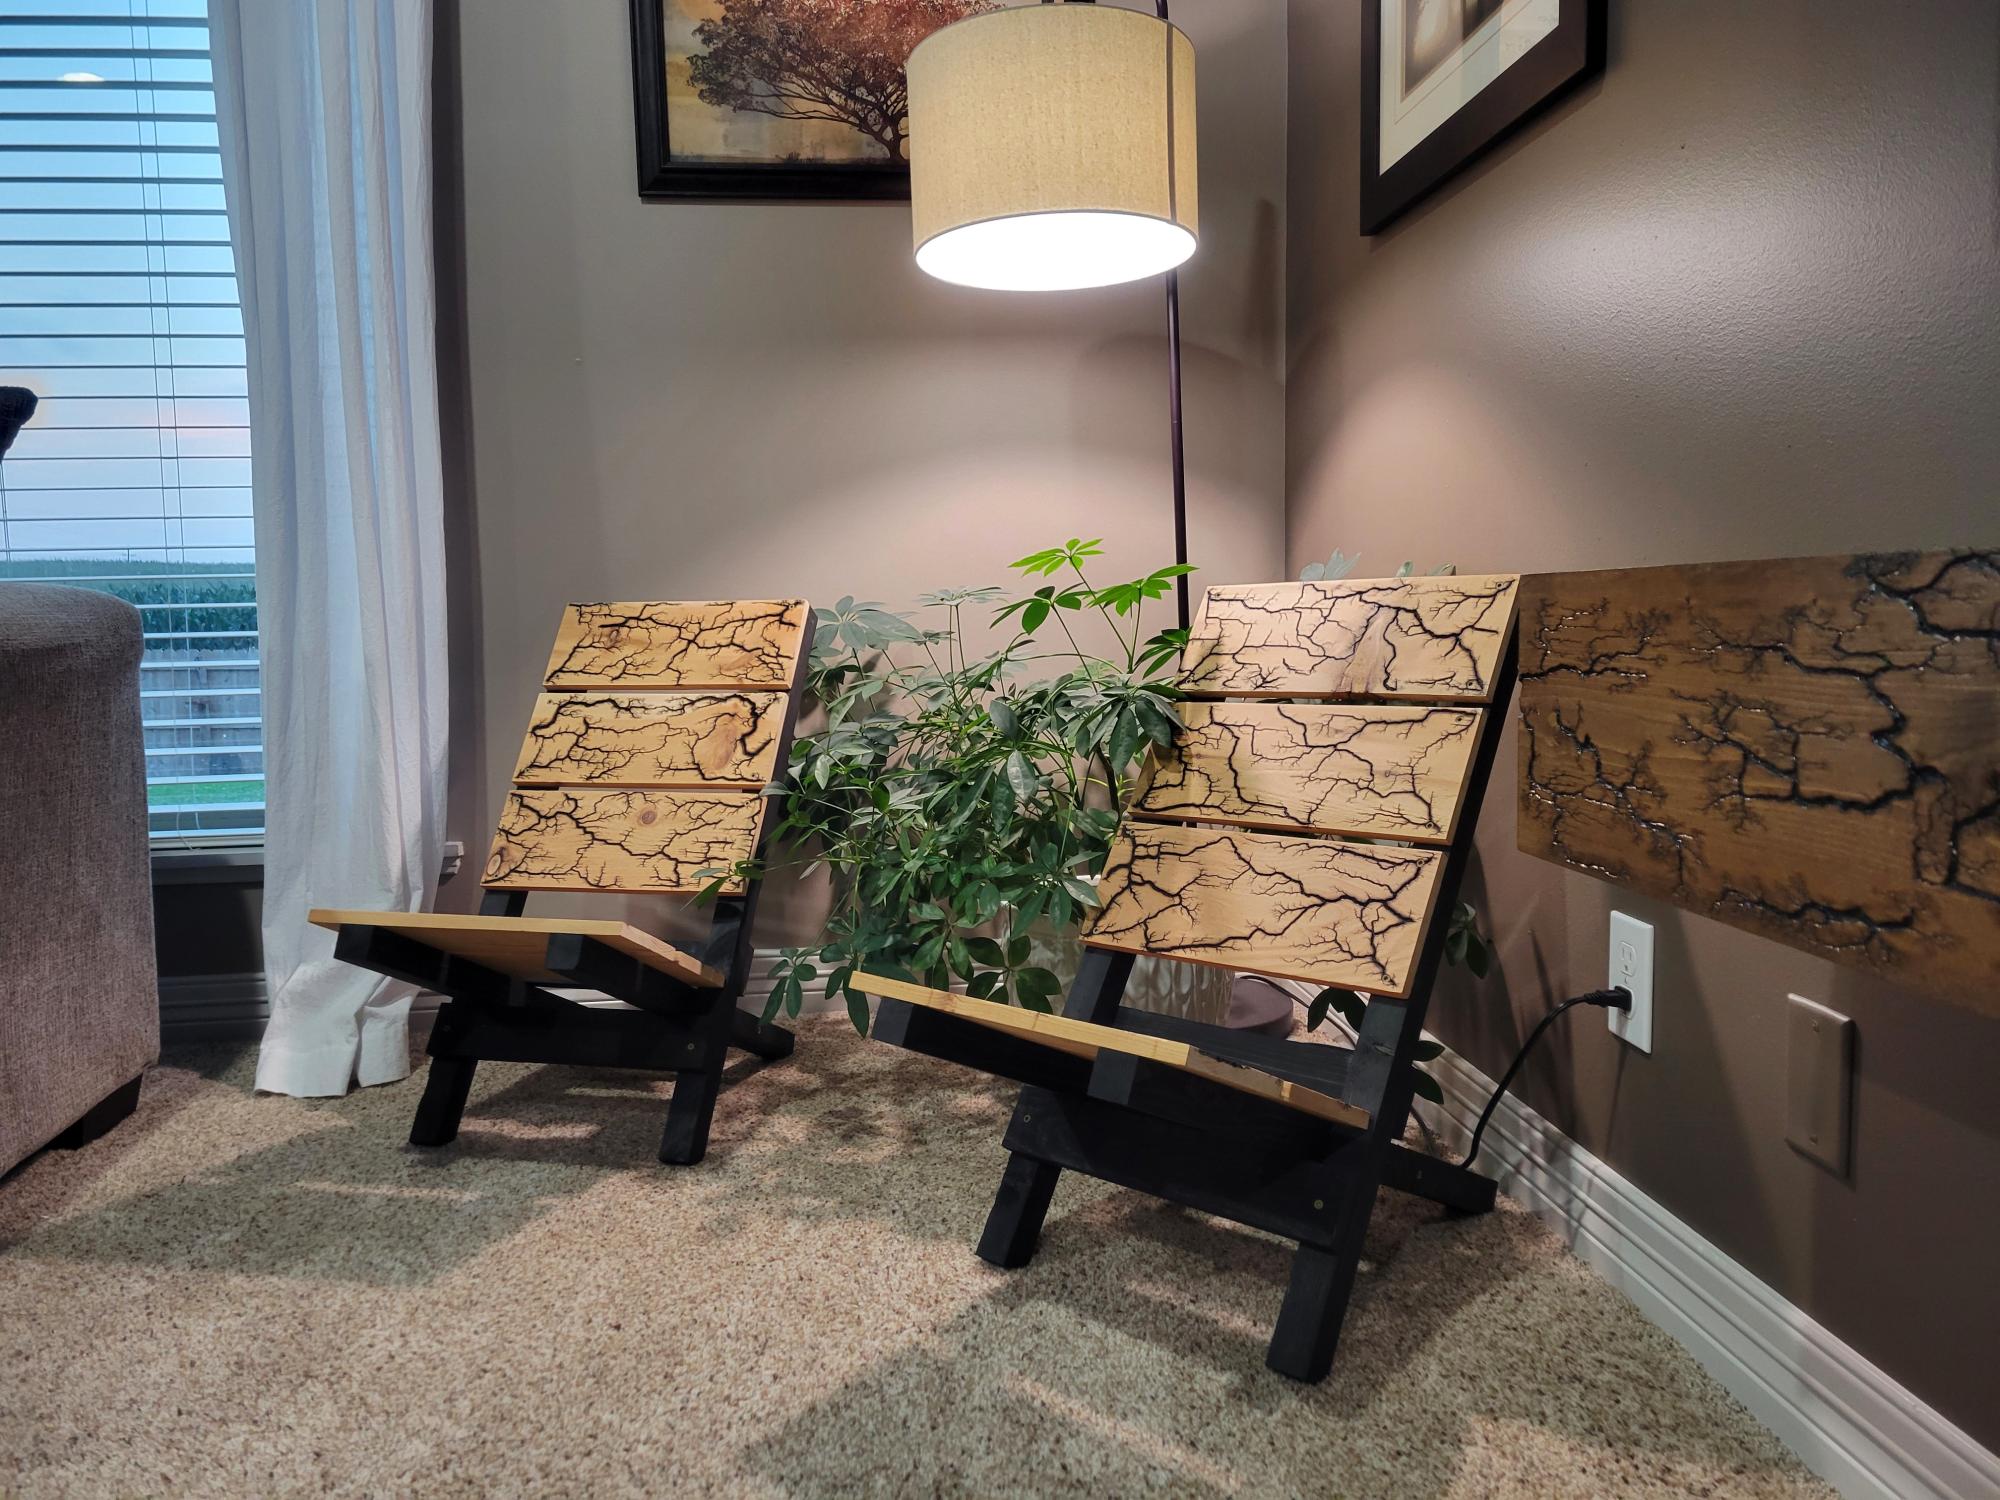
Beach Chair Build
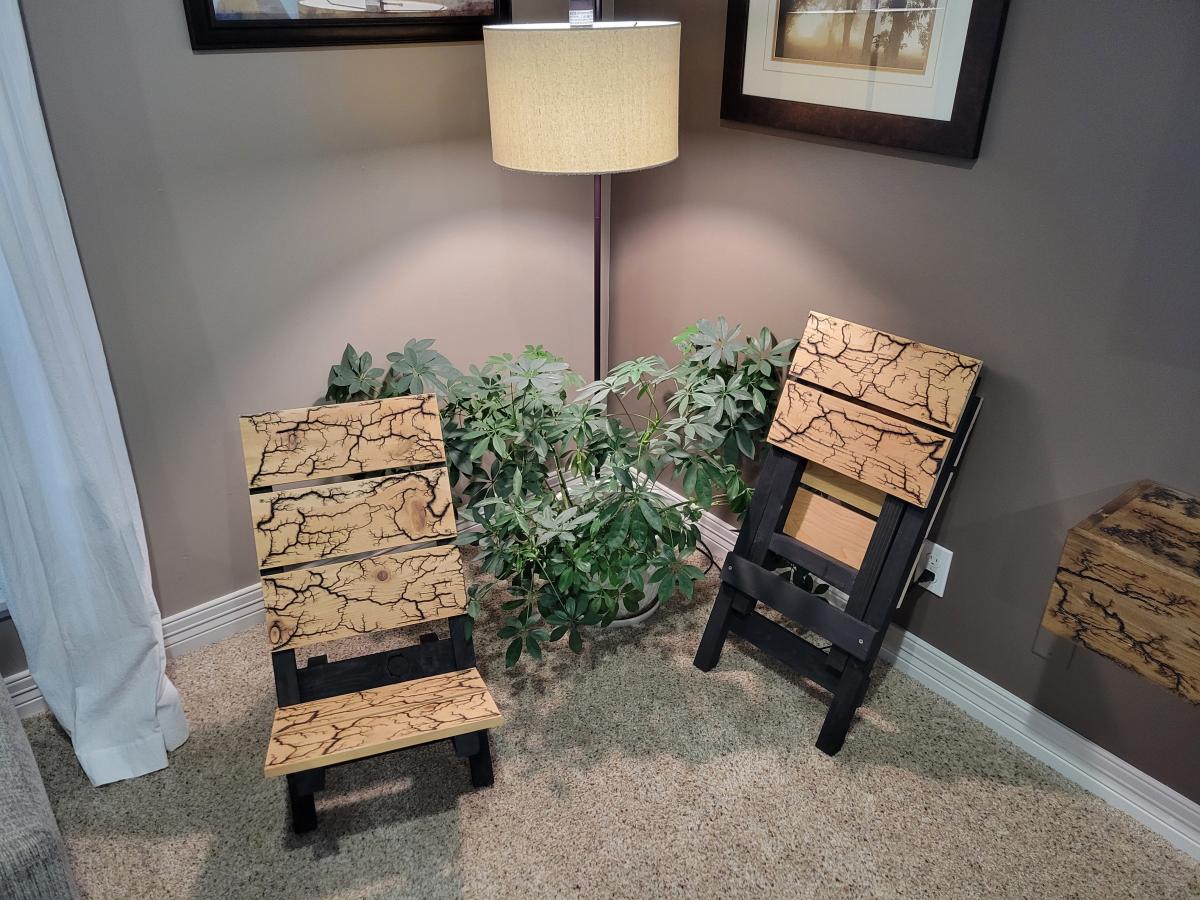

An easy afternoon project. Thanks Ana White! The painting was more laborious than the building, by far.
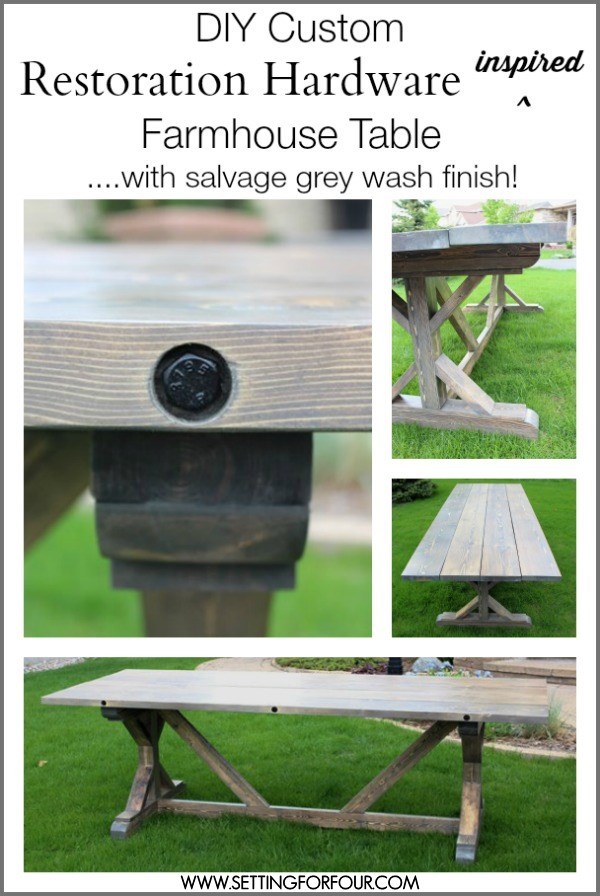
My family needed a new outdoor dining table so my husband and I made this DIY Restoration Hardware Inspired Farmhouse table with Salvage Grey Wash Finish! I combined two popular RH table styles, the rectangular X-base Table and the Brickmaker’s Table, to come up with this distinctive innovative design: an X-base bottom with an industrial bolted plank table top! This will blow your mind....this table cost us only $157.00 to make, just a small fraction of the the RH $4690.00 price tag for their tables! We started with Ana White's Farmhouse Table plans, added inset lag bolts to the planked top and then gave our table a customized salvage grey wash finish to add a touch of gorgeous grey to a dark walnut base layer. We've had many fun dinners on our large farmhouse table with family and friends! See my blog post for all of the steps and materials!

My daughter asked of I could make cubbies for three grandchildren, and the single unit on this site seemed perfect. After I made the first two we could see that there was not a good way to fit three into the designated space, so I decided to make a corner unit and bolt them together. They love it!
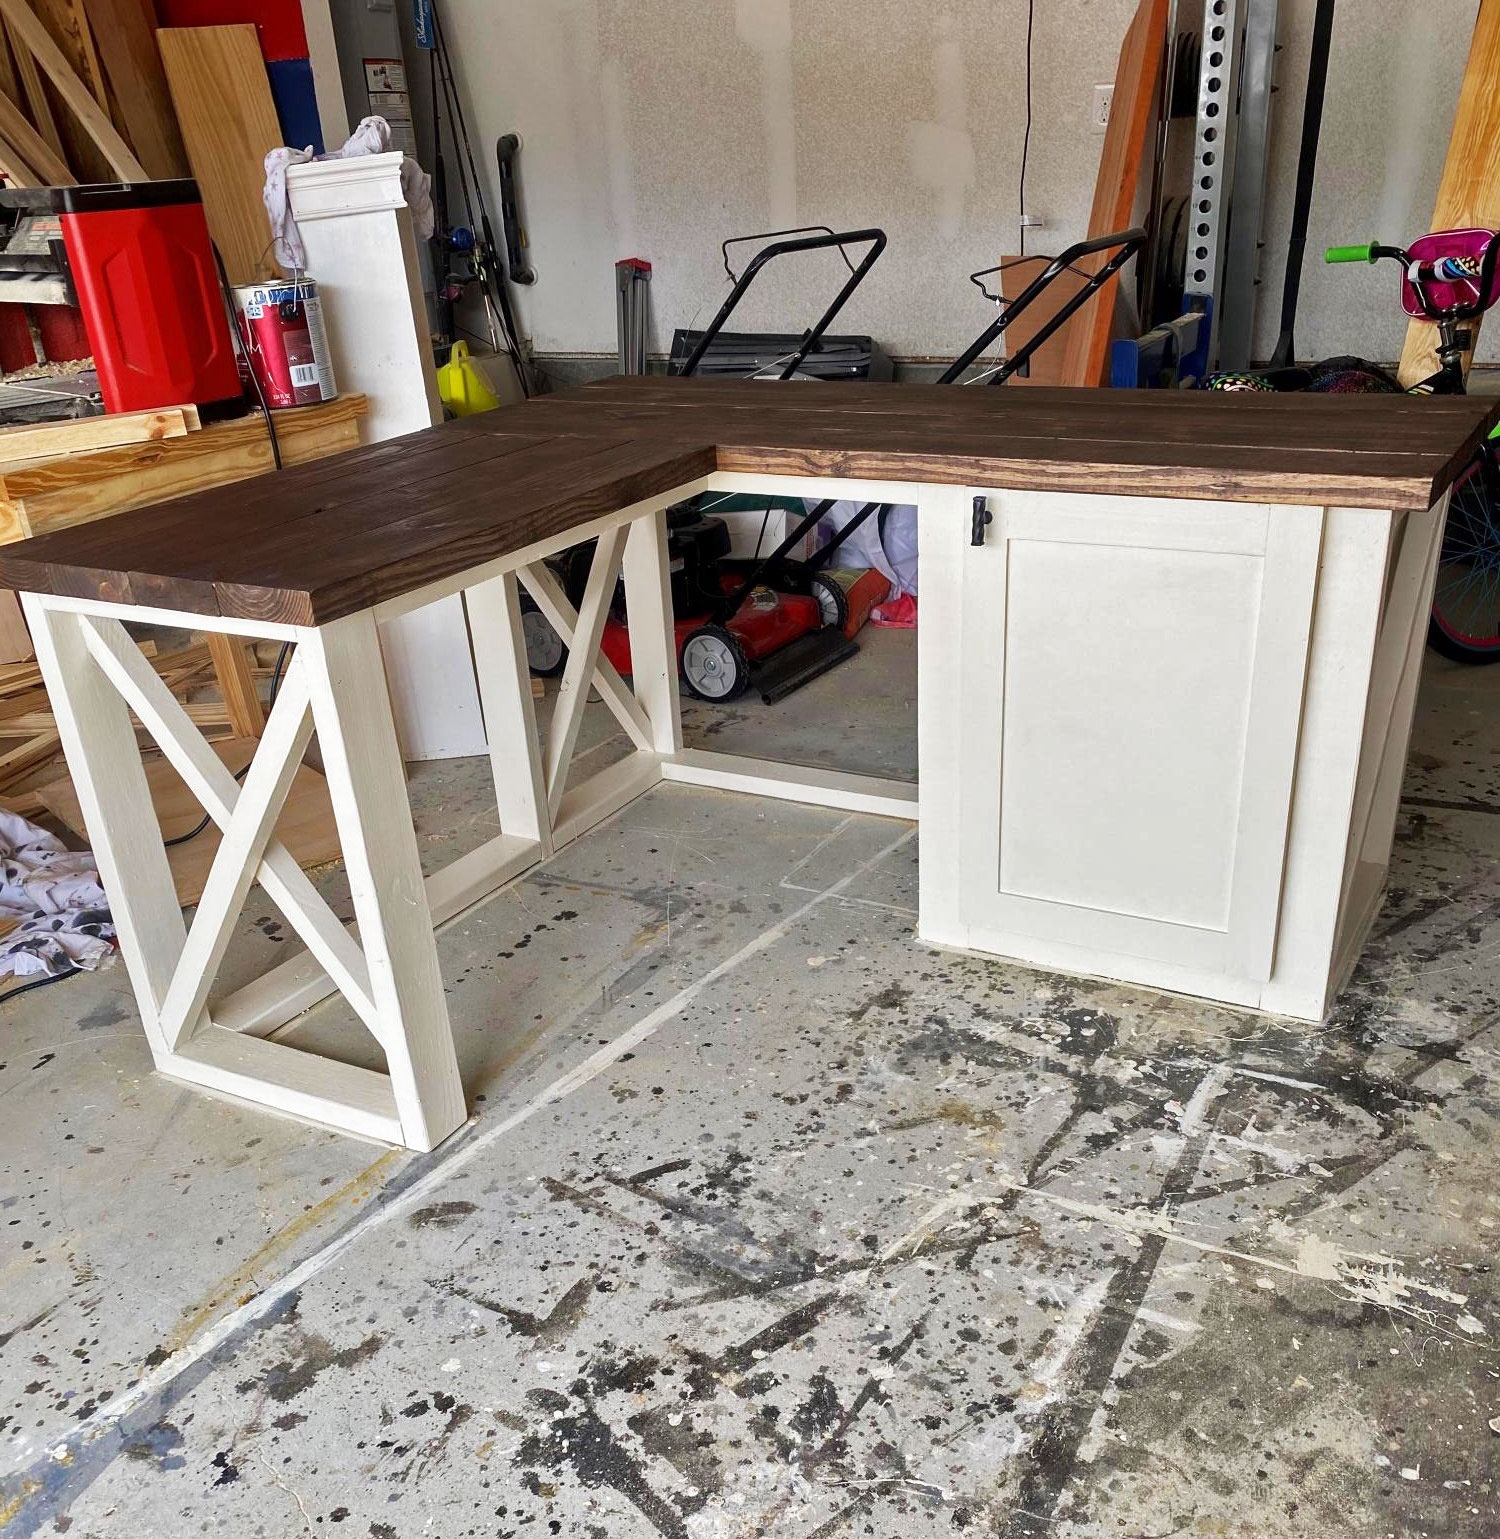
Put a twist on the farmhouse desk plans
Wed, 12/09/2020 - 11:03
This is beautiful, love the finish! I would love to see it in it's space!:)
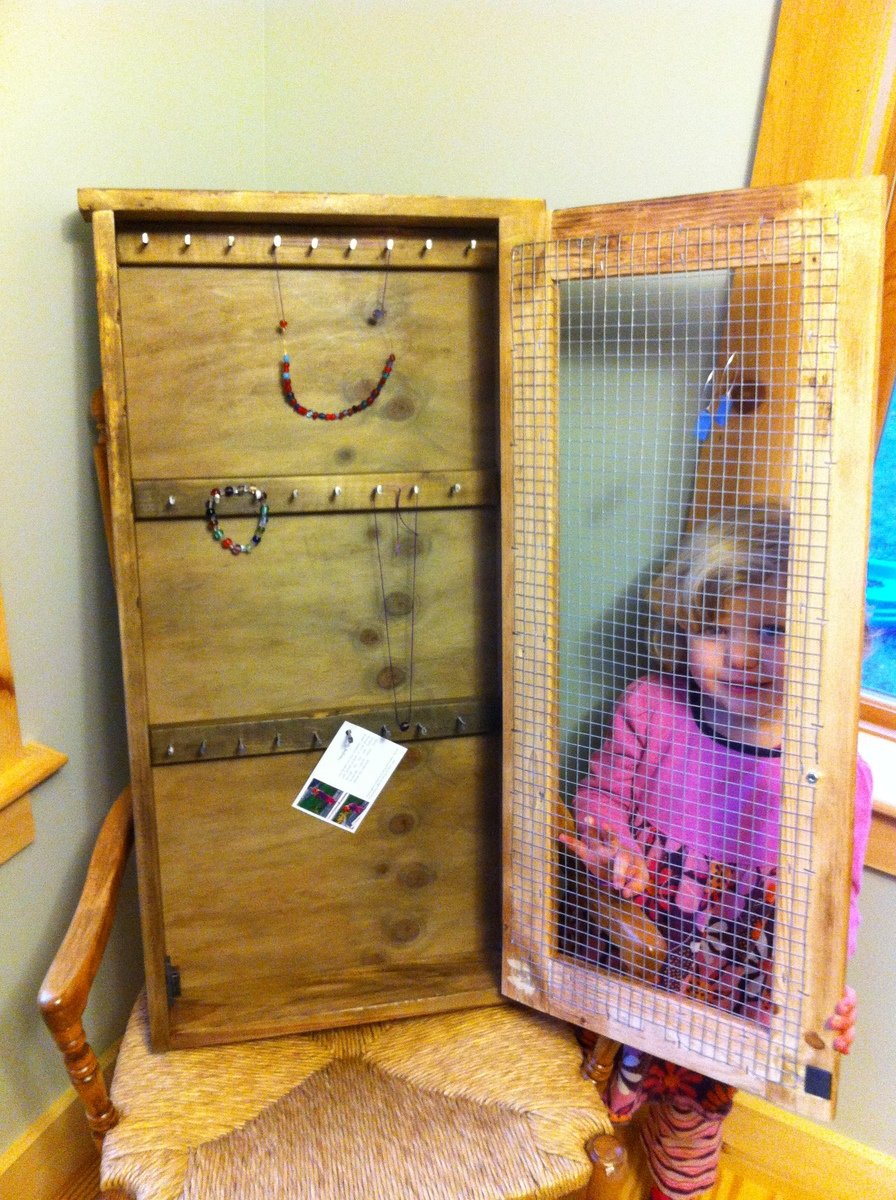
Another huge THANK YOU to Ana for her amazingly timely posts! My daughters attend a pre-school that hosts an auction fund raiser every year. Last year I made Ana’s kids storage bench and filled it with fun craft items. This year I saw Ana’s jewelry wall cabinet and knew it had to be done! We have some amazing local artists so I purchased a beautiful pair of glass drop earrings to hang on the front of the cabinet. I think it turned out great (if I do say so myself!) Thanks again Ana! And by the way, distressing wood is an awesome project for little helping hands!!
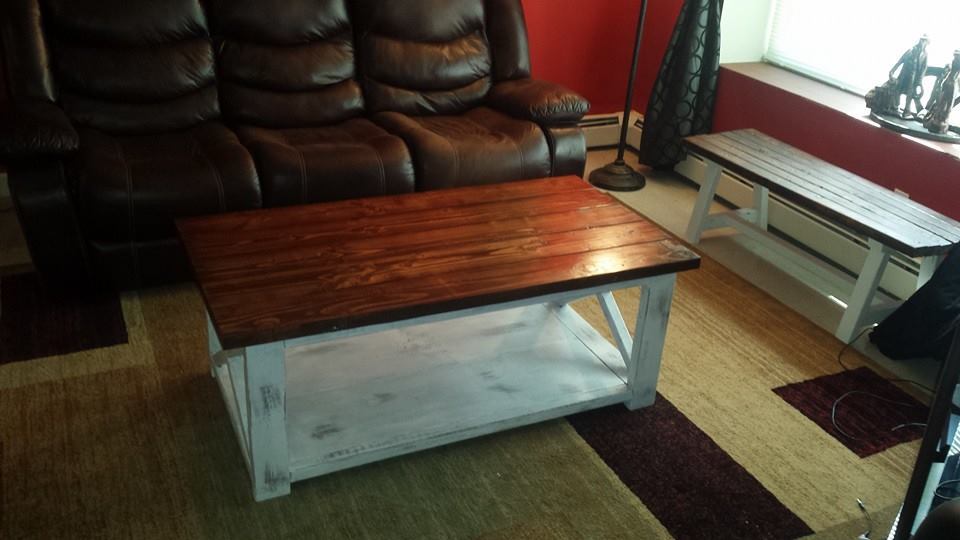
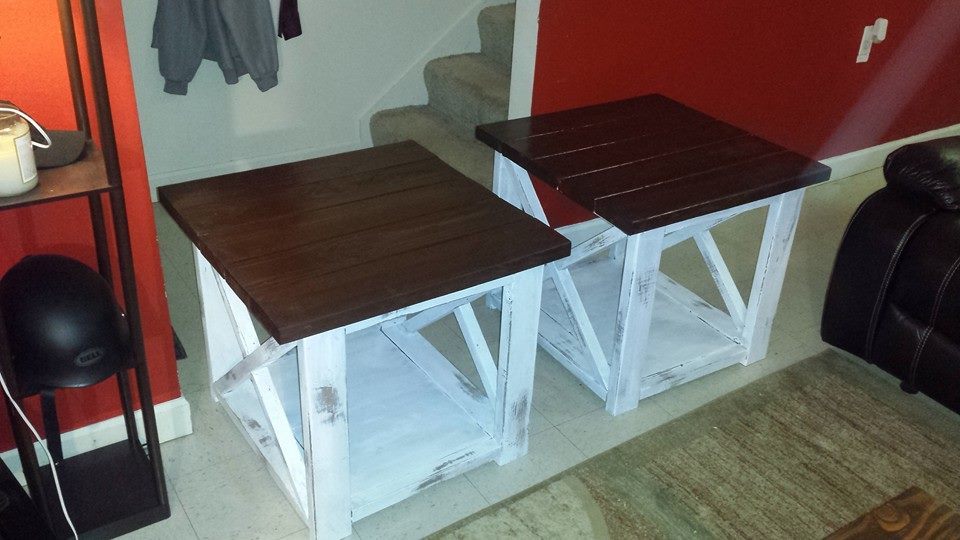
I stained the top with american walnut and used chalk paint on the bottoms.
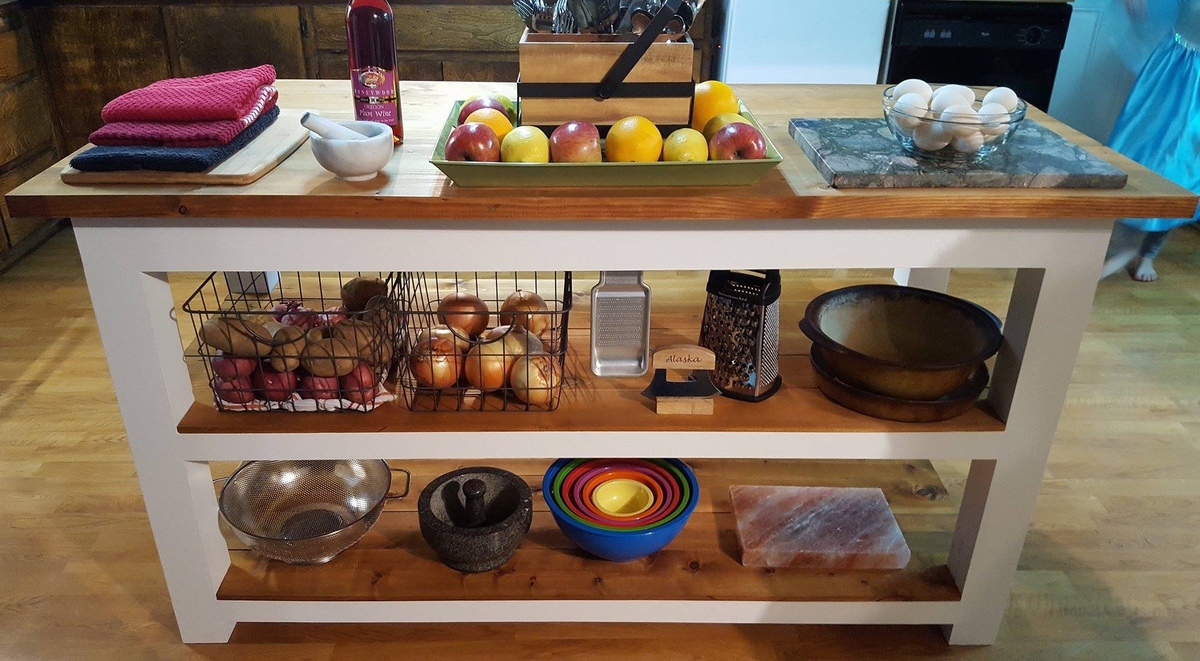
Built from discount 70% off lumber from Home Depot. I planed and cut down to size with a Ridged planer and table saw, then screwed together with kreg pocket screws. Since I will be kneading bread on it, I used a natural coffee stain and then butcher block finish..
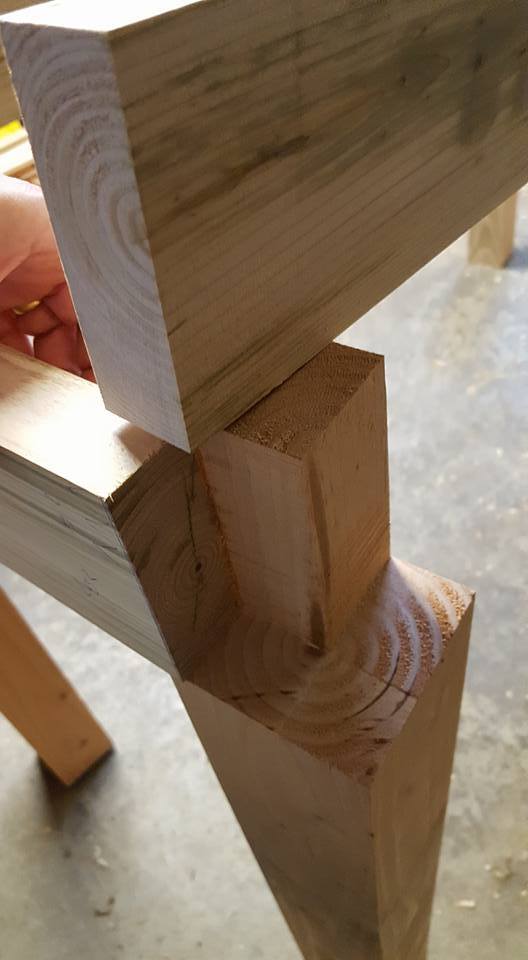
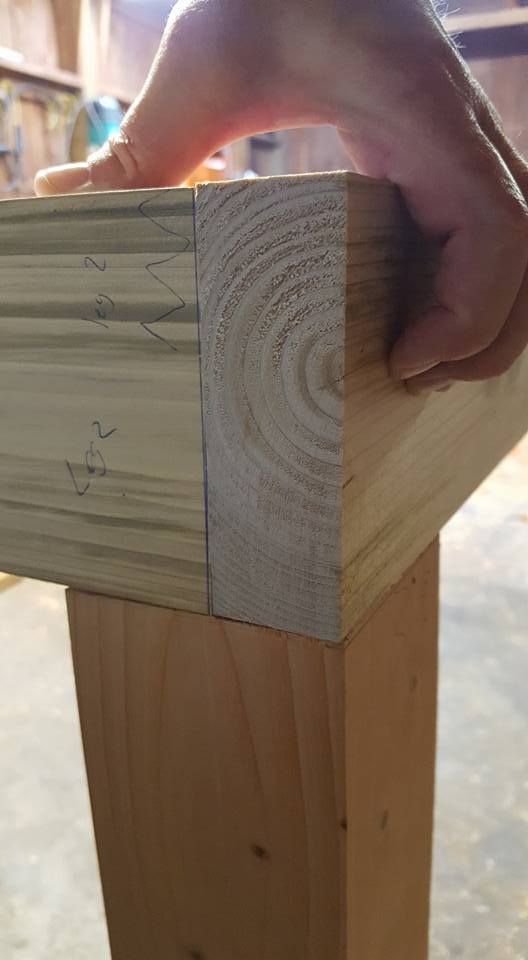
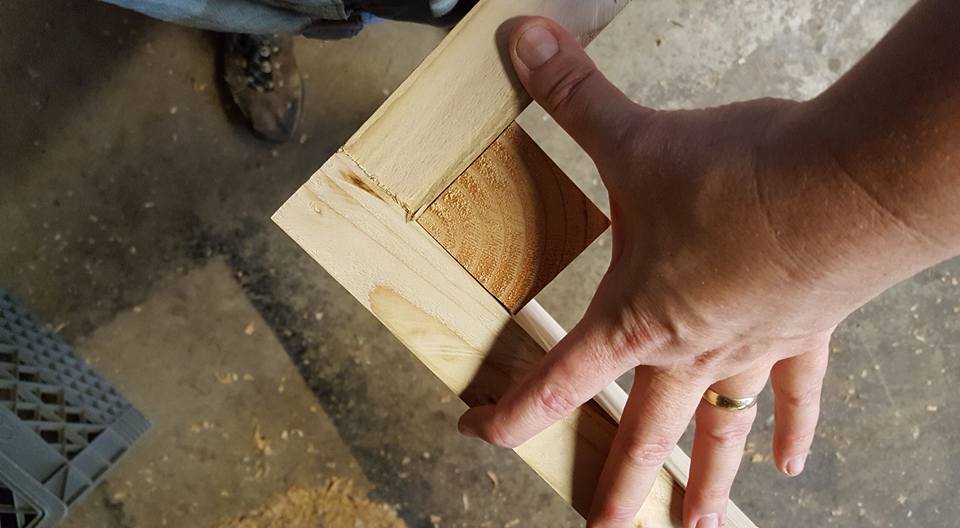
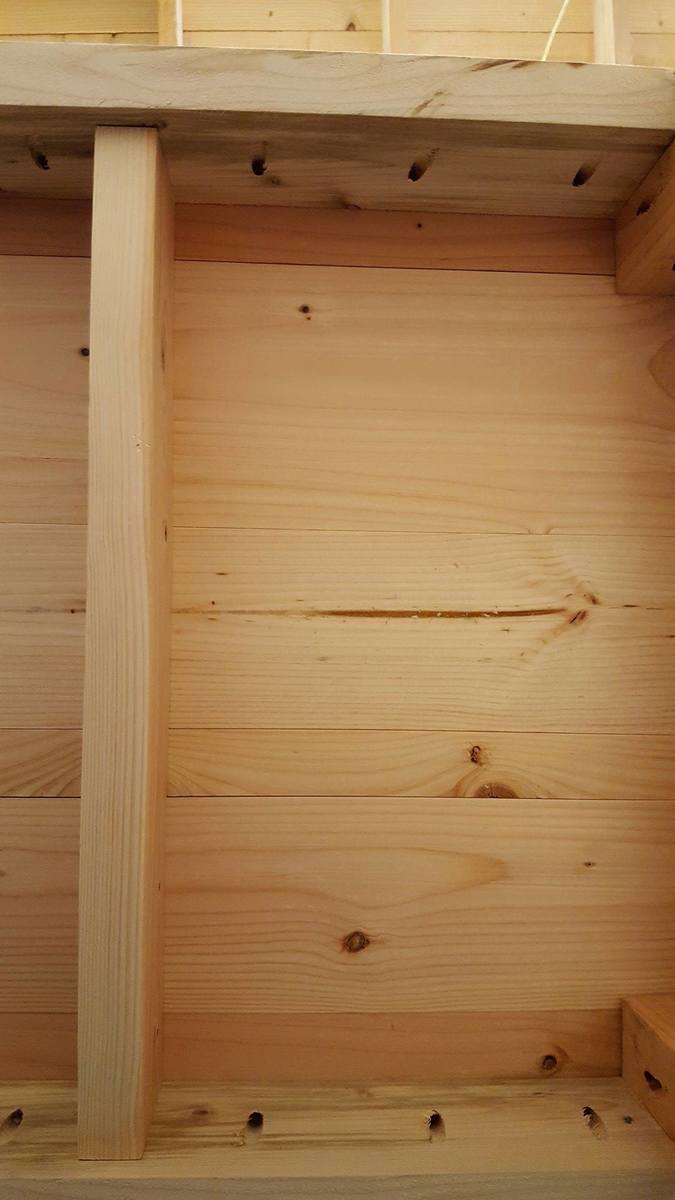
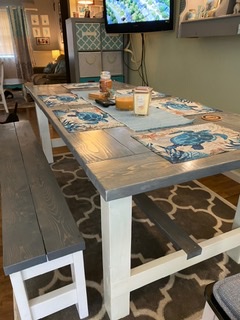
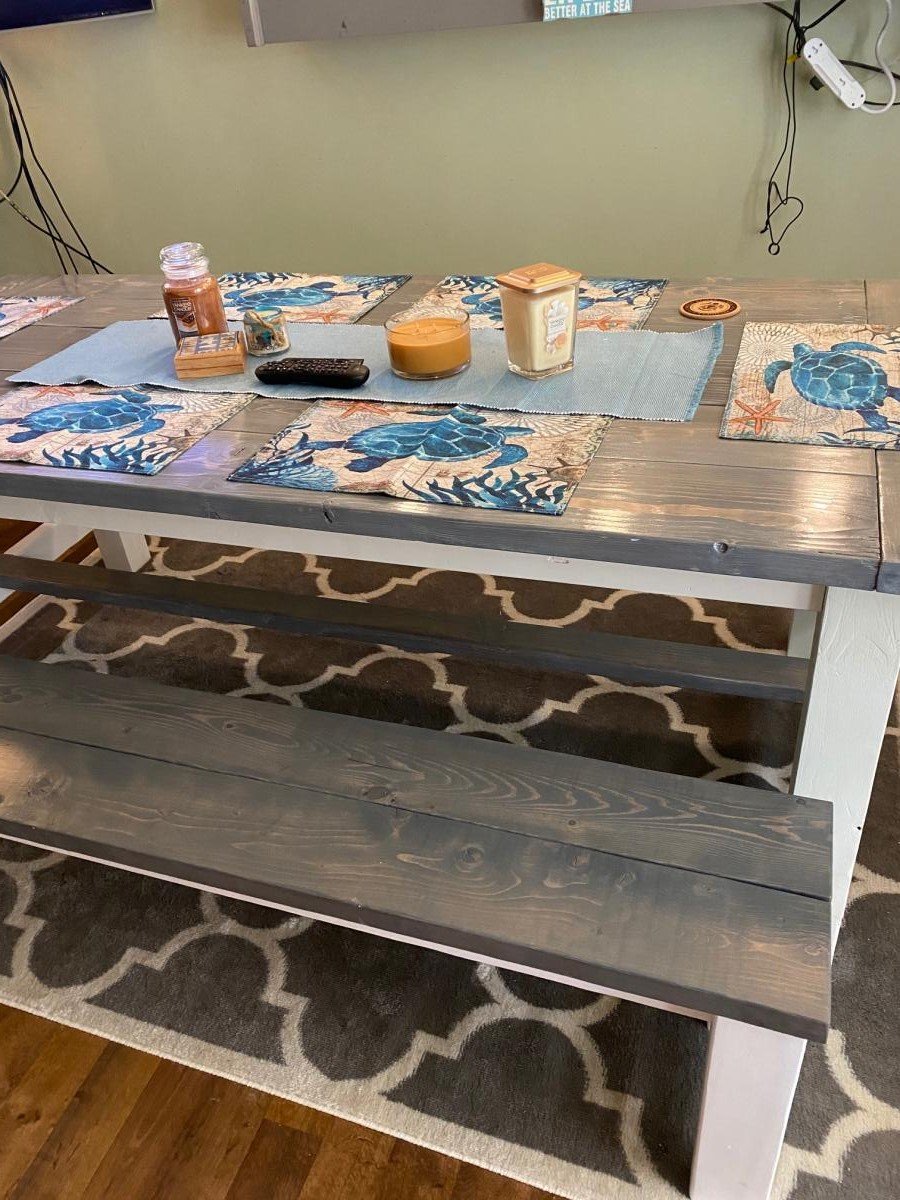
Once I made the farmhouse table, I had to make the bench to go with it! It compliments the table very well. Easy to build only took a couple hours from start to finish. I also used the kreg pocket hole jig on this project as well so no screw holes could been seen. Thank you Ana for the plans!
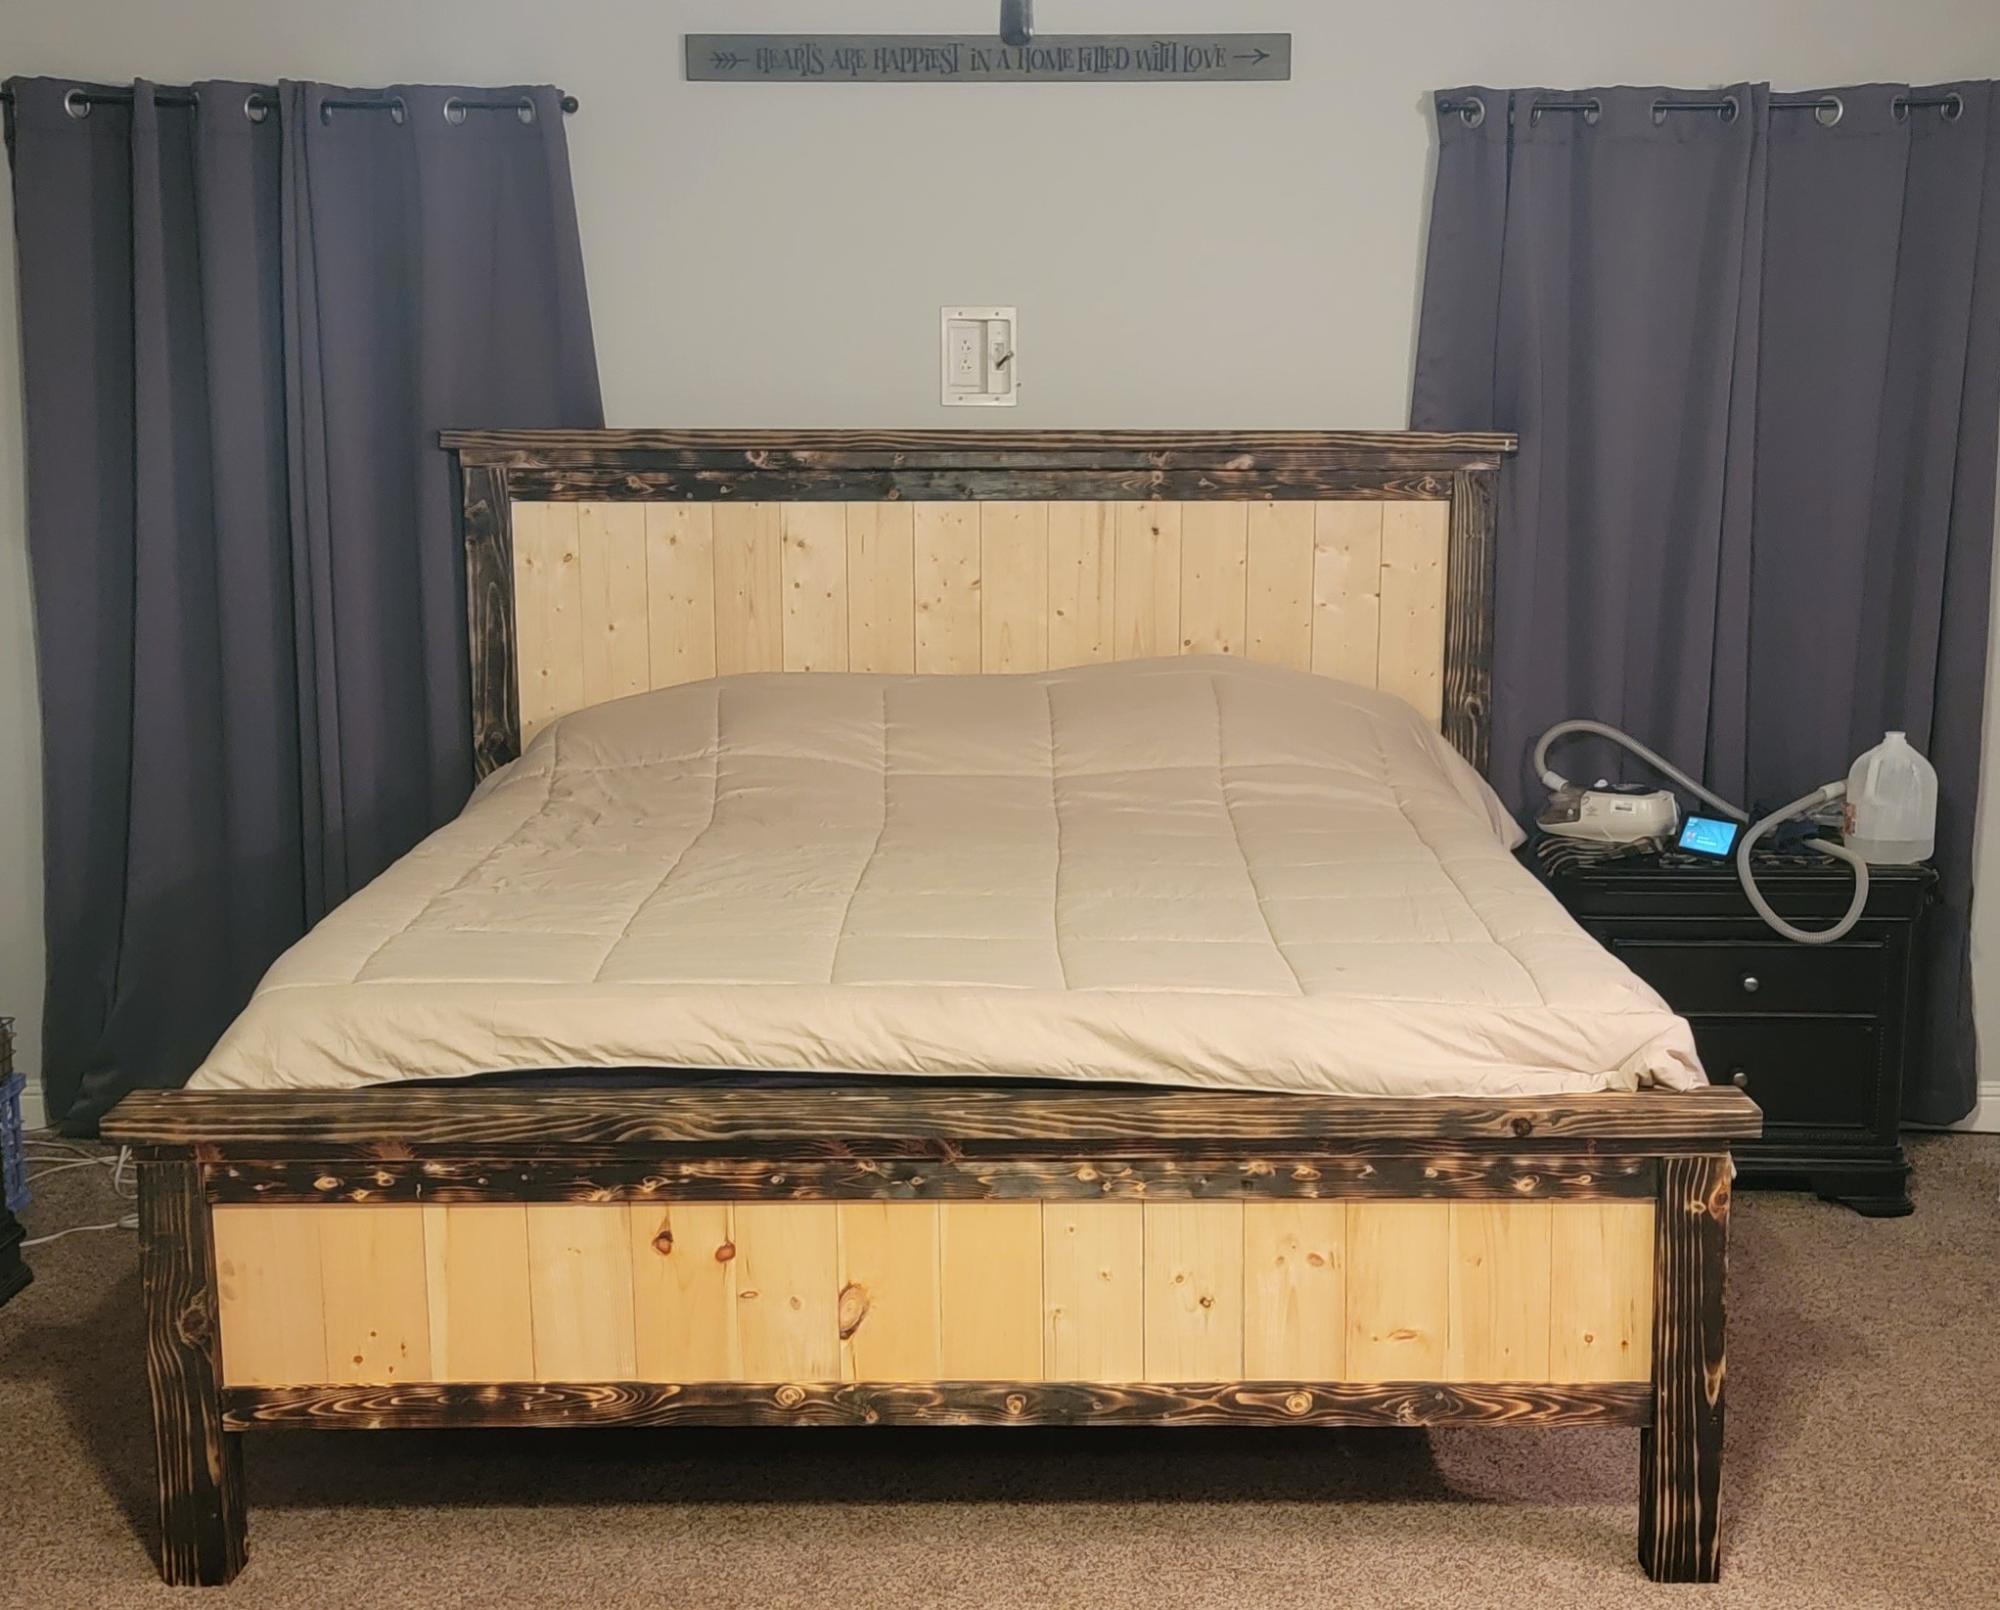
I changed the height of this king size bed and upgraded the boards underneath to 2X3 since I'm a big ole boy and I wanted this to last for years. - Don White
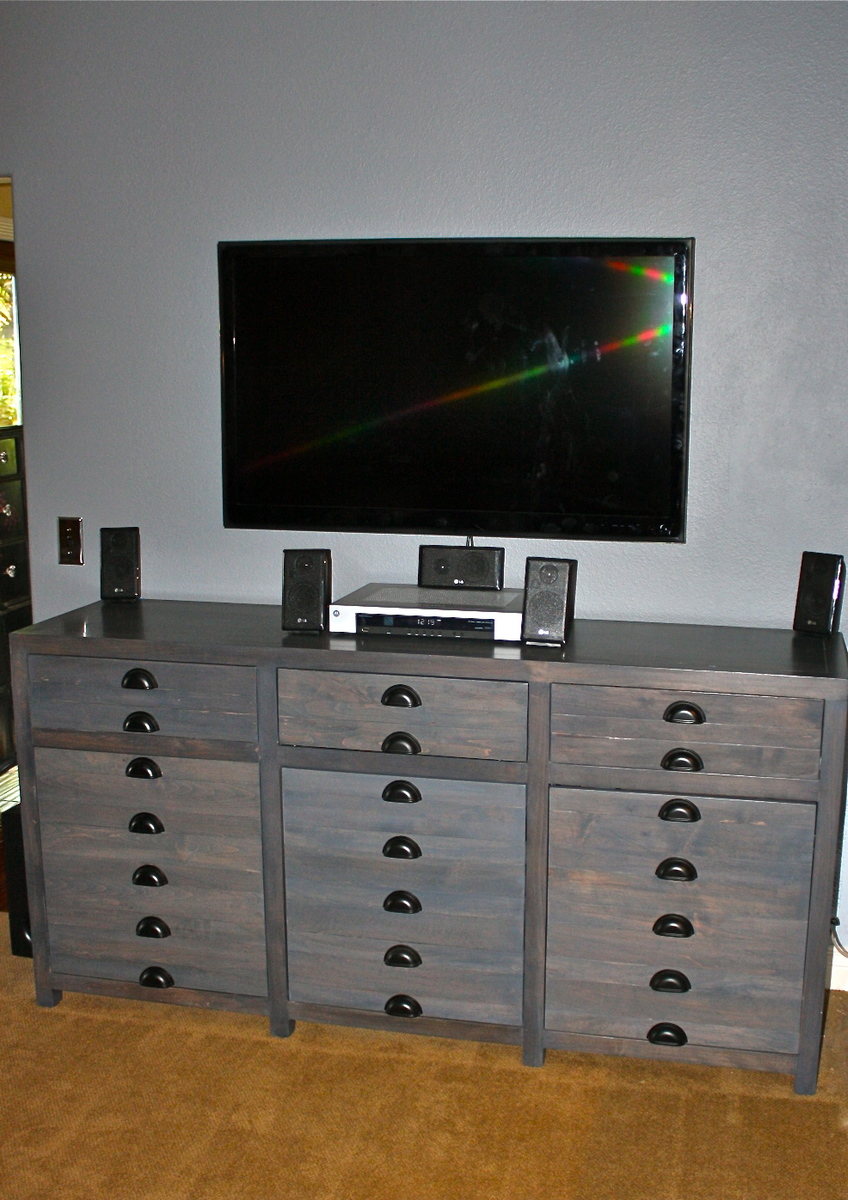
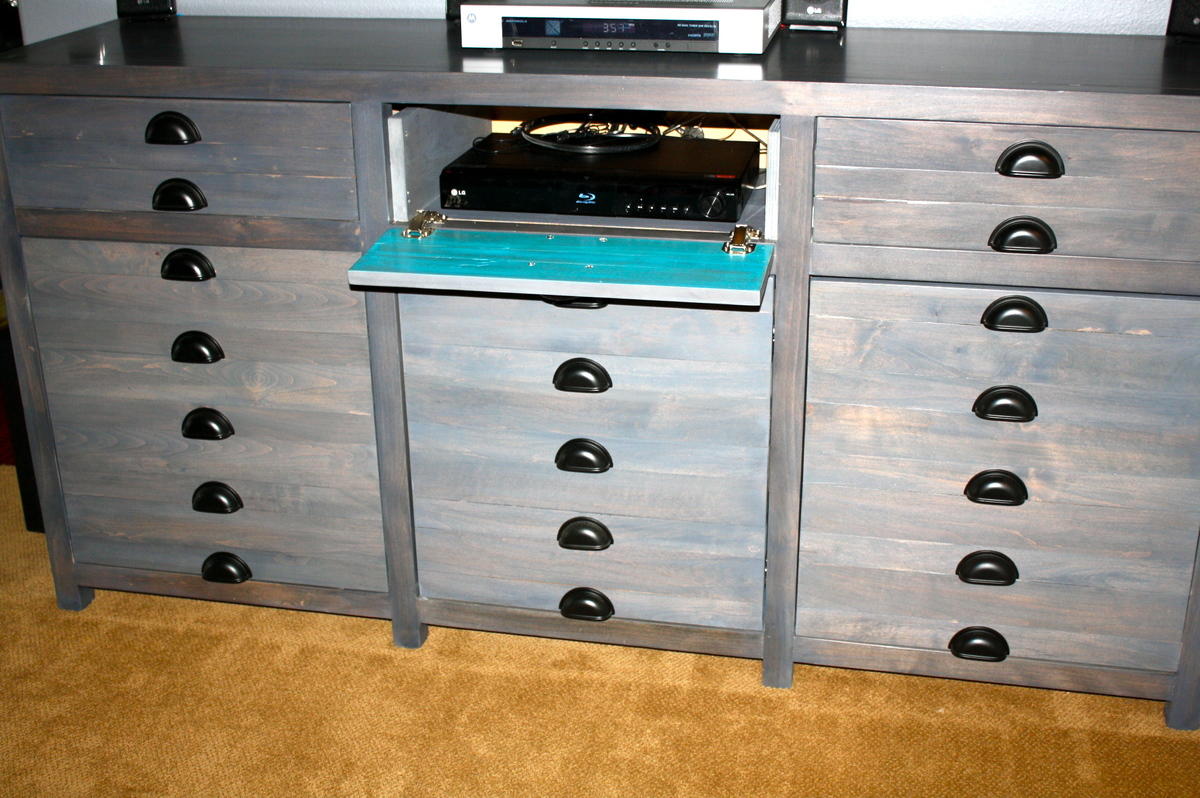
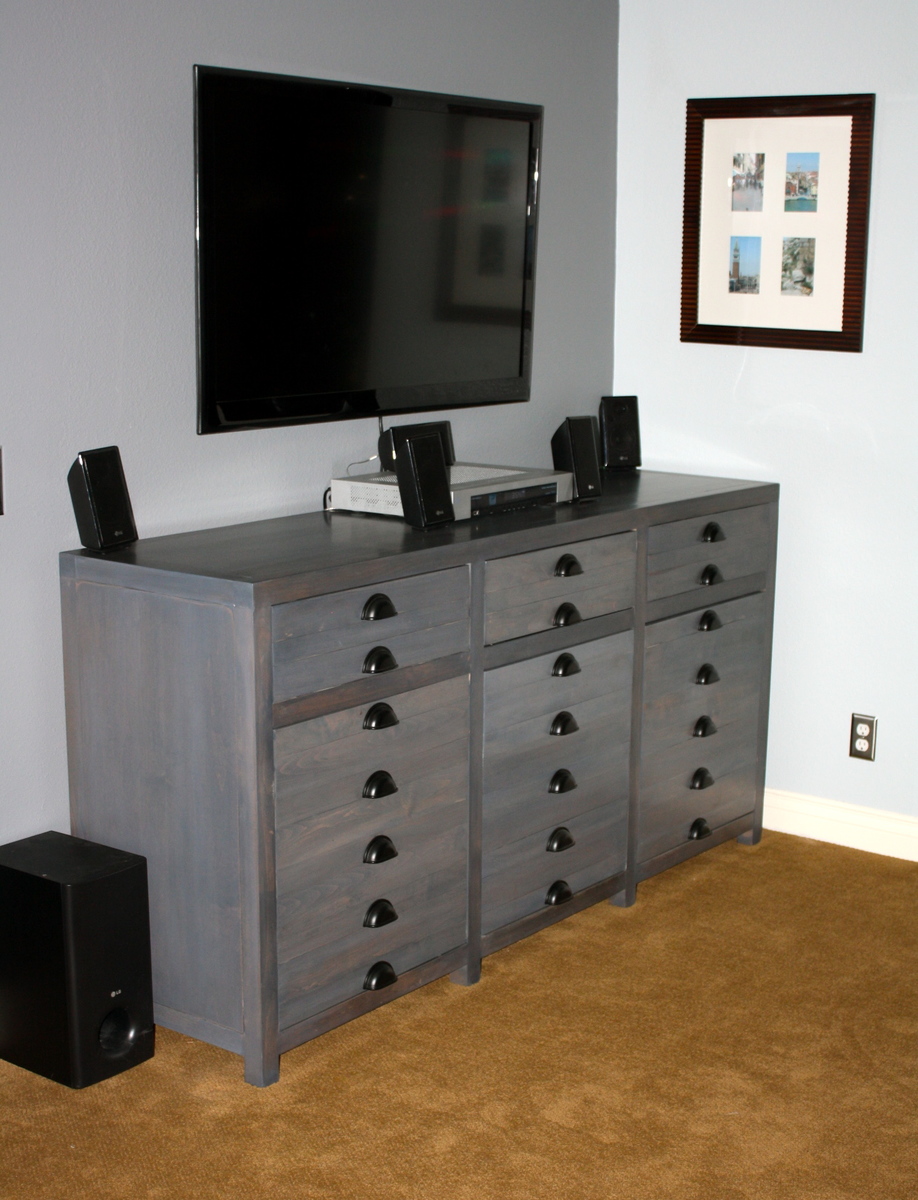
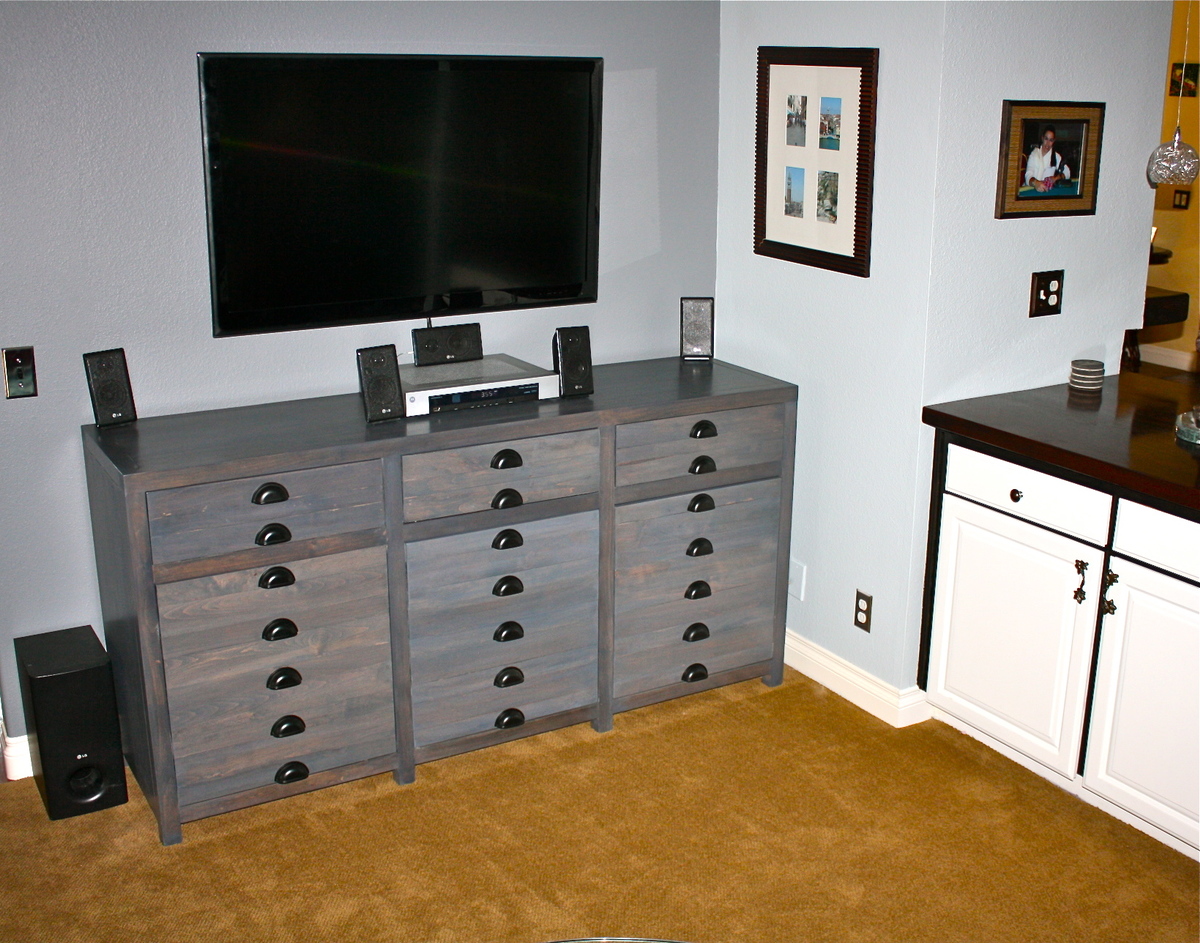
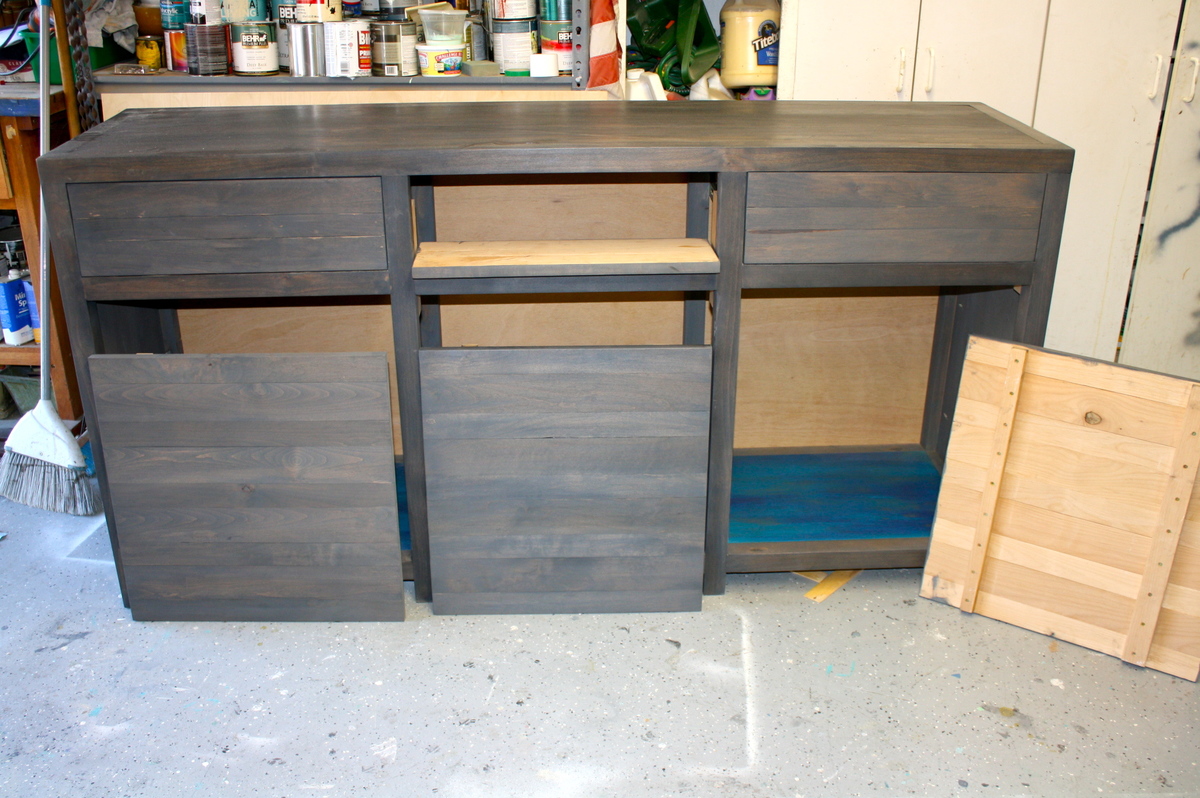
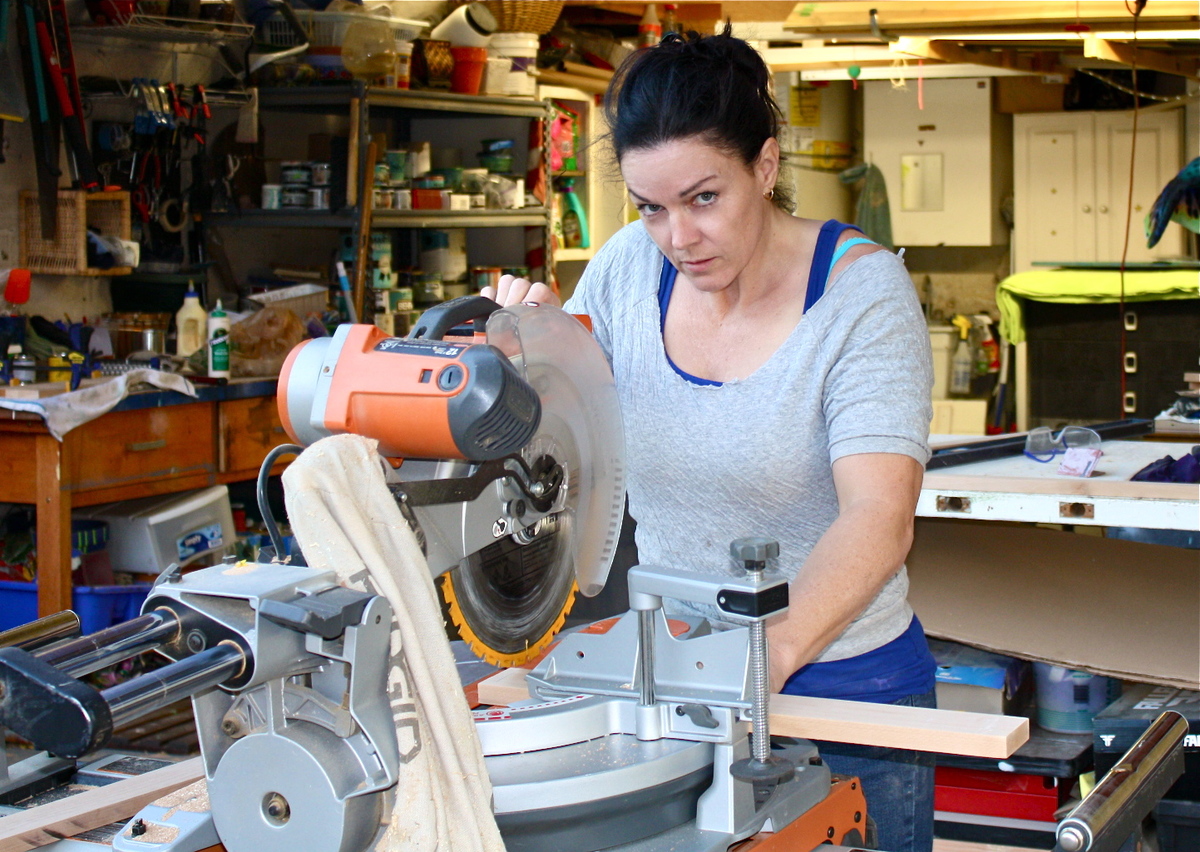
After seeing Ana's plans and how Jen Woodhouse at "House of Wood" finished it, I wanted one too! Ana's plan are very thorough and Jen's blog showed a very detailed version of how she completed it. I made a few changes, such as the pull down drawer front to conceal the DVR player and I inset the top rather than have an overhang.
It was quite a bit of work but totally worth it! The piece turned out beautiful.
Thanks Ana!!!! Beth.
Makemeprettyagain.blogspot.com for complete details
Sun, 11/04/2012 - 05:28
Love this. Looks like a lot of work, but what a nice functional piece of furniture! I have always loved that style of drawer pull.
-Ann
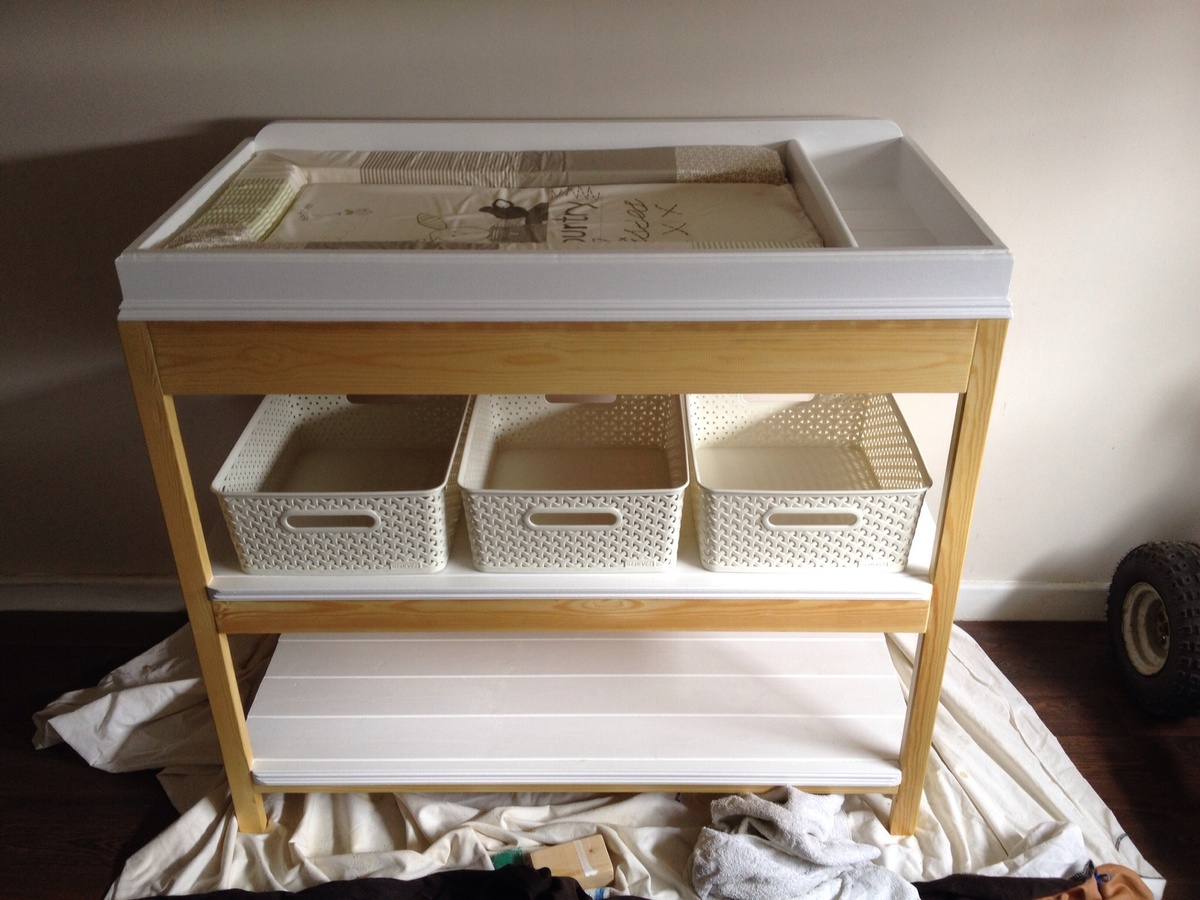
My first build.using these plans I had to convert to u.k. Sizes and alter slightly but it turned out really well
Built for upcoming event.
Thu, 08/21/2014 - 07:33
This looks beautiful! Thank you for sharing. And congratulations on the new baby in your life, whether it's a child, grandchild, niece/nephew, friend... :)
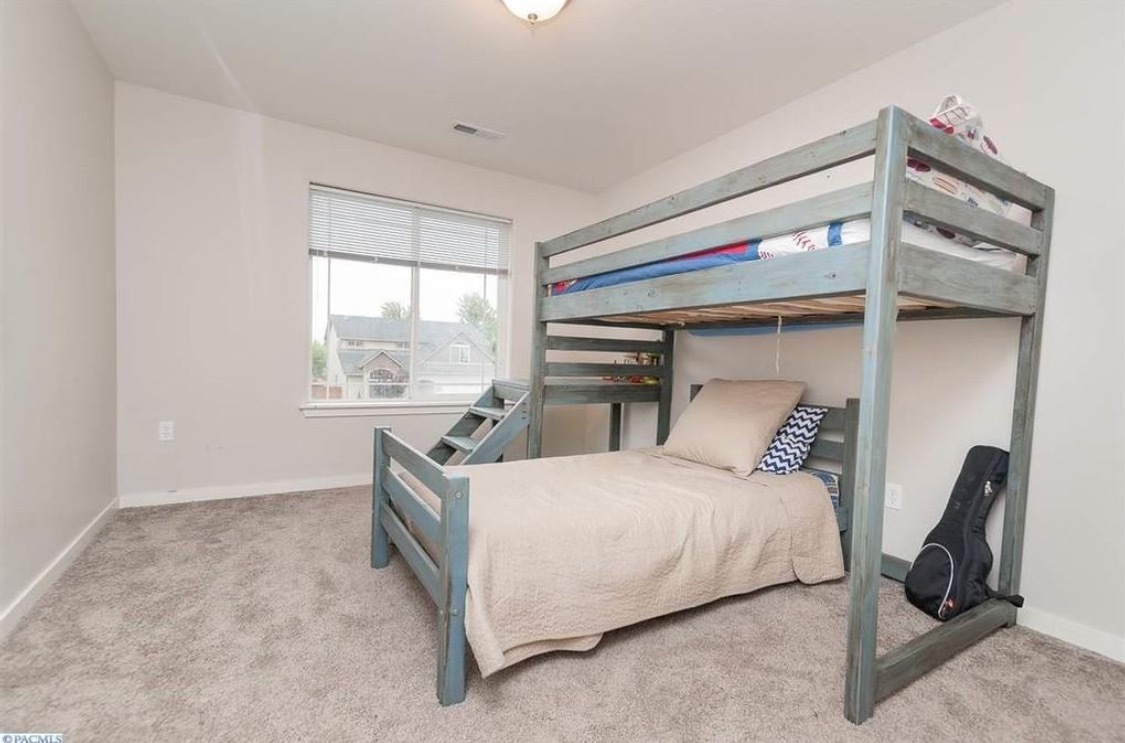
This project was so fun to make. When we have a bigger room, we will put a slide on the other end. My son loves his bed!!
Mon, 12/14/2020 - 11:28
Did you use larger boards for the posts in your build? I noticed the connecting boards seem to be centered. Looks fantastic and would love if you could share your modifications!
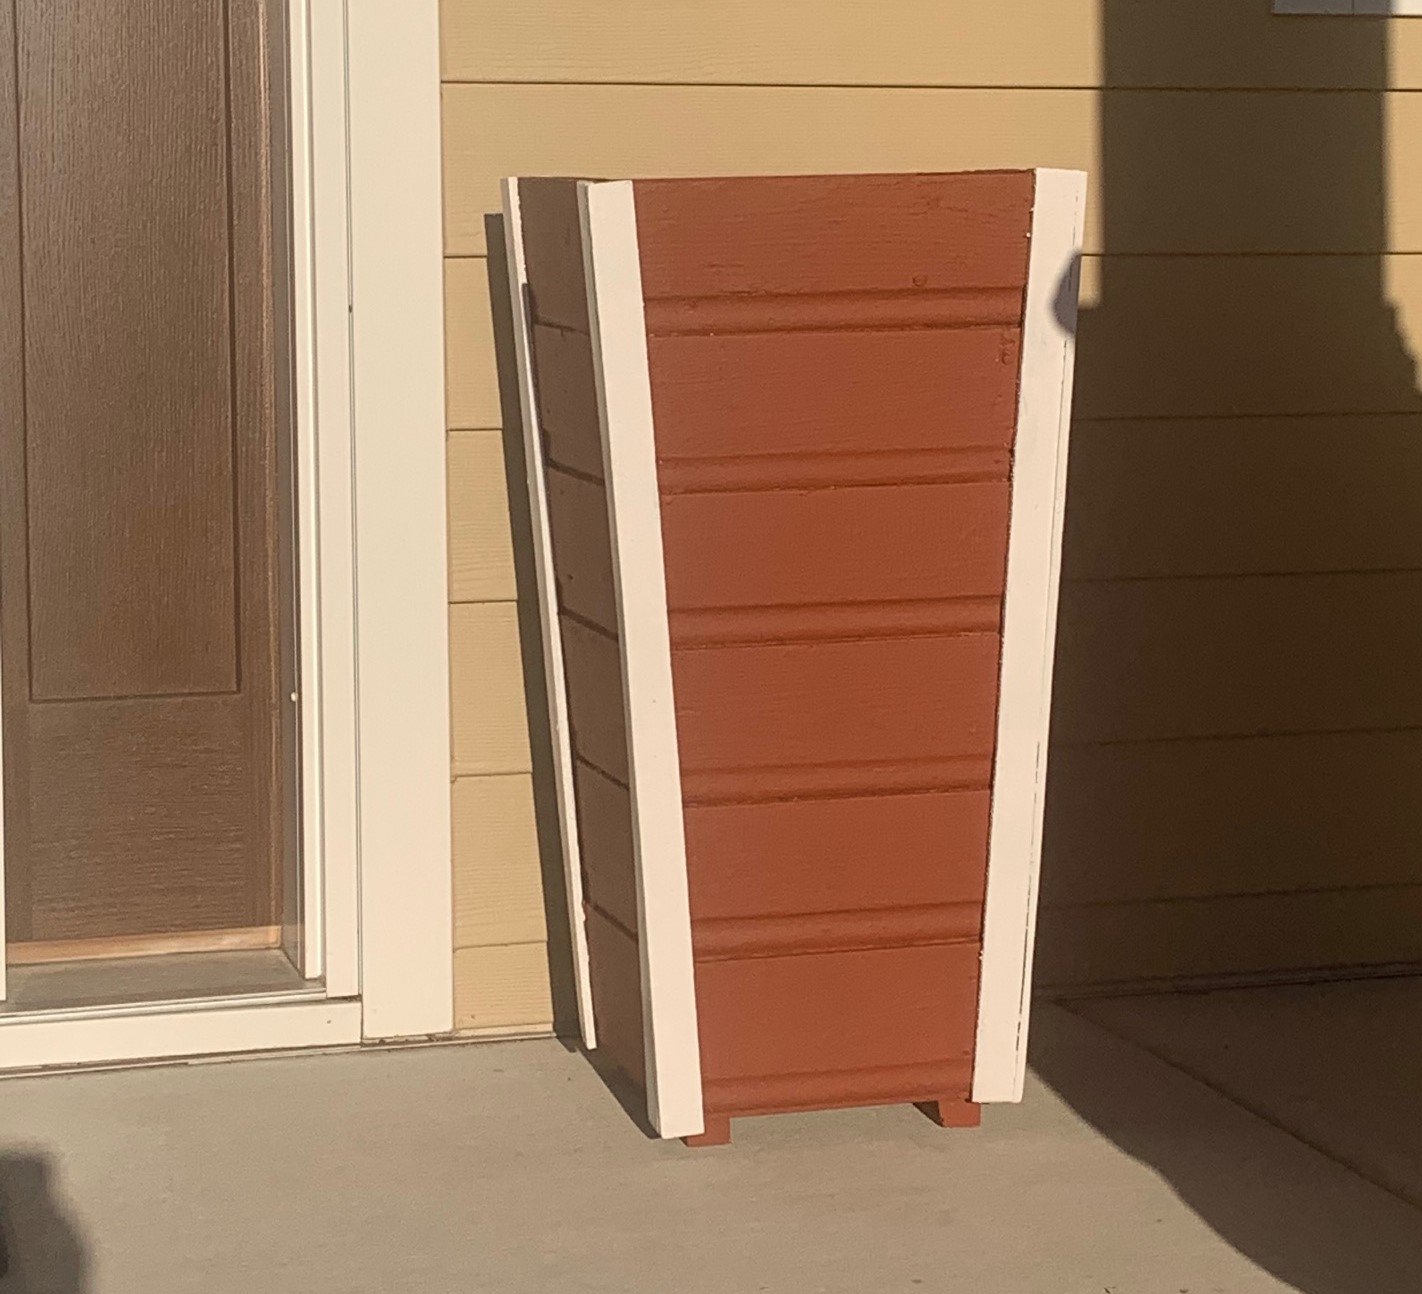
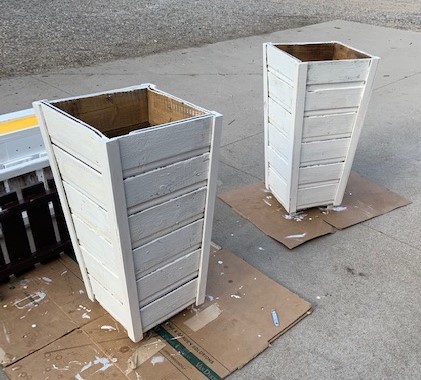
I did this this spring in preparation for my summer garden flowers
My neighbor found this>50 year old barn wood and thought I could use it.
Furring strips were from a garage pile
used stock of nails
paints extra
cost almost nothing
enjoyed my time with this
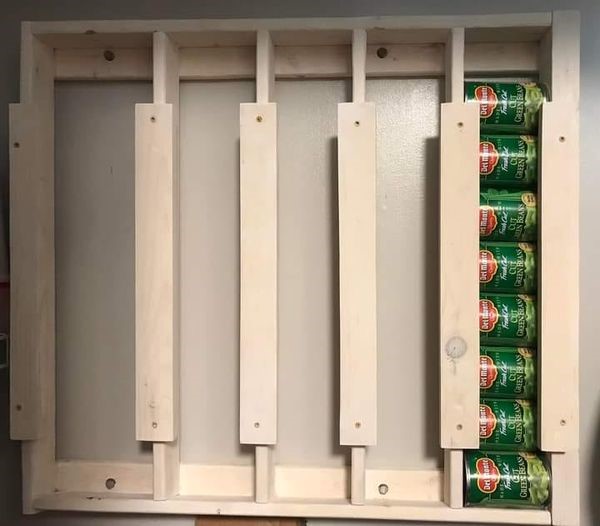
I love all the free plans. I built this one last year based off one of the plans. Edited to add space length and width, with an end for taller cans. by Chasity Abbott on Facebook
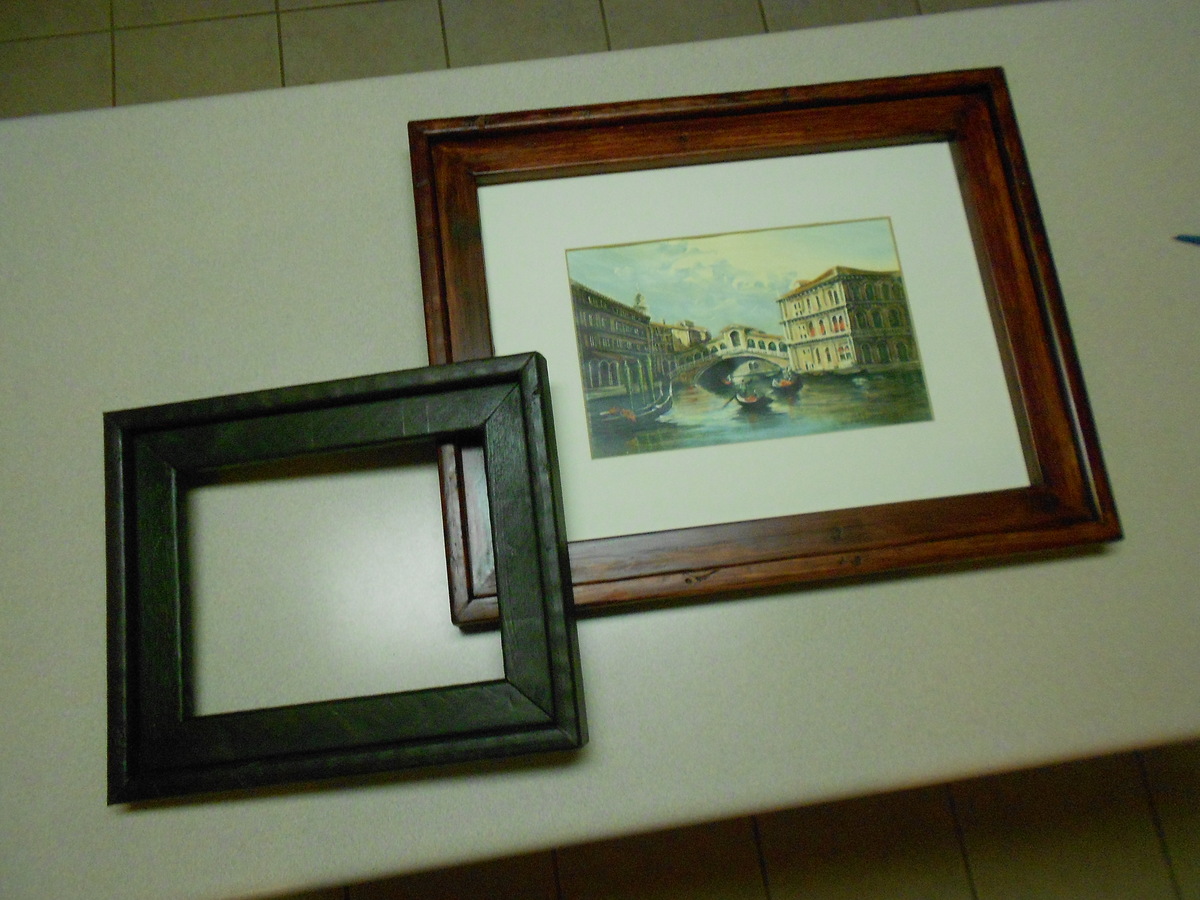
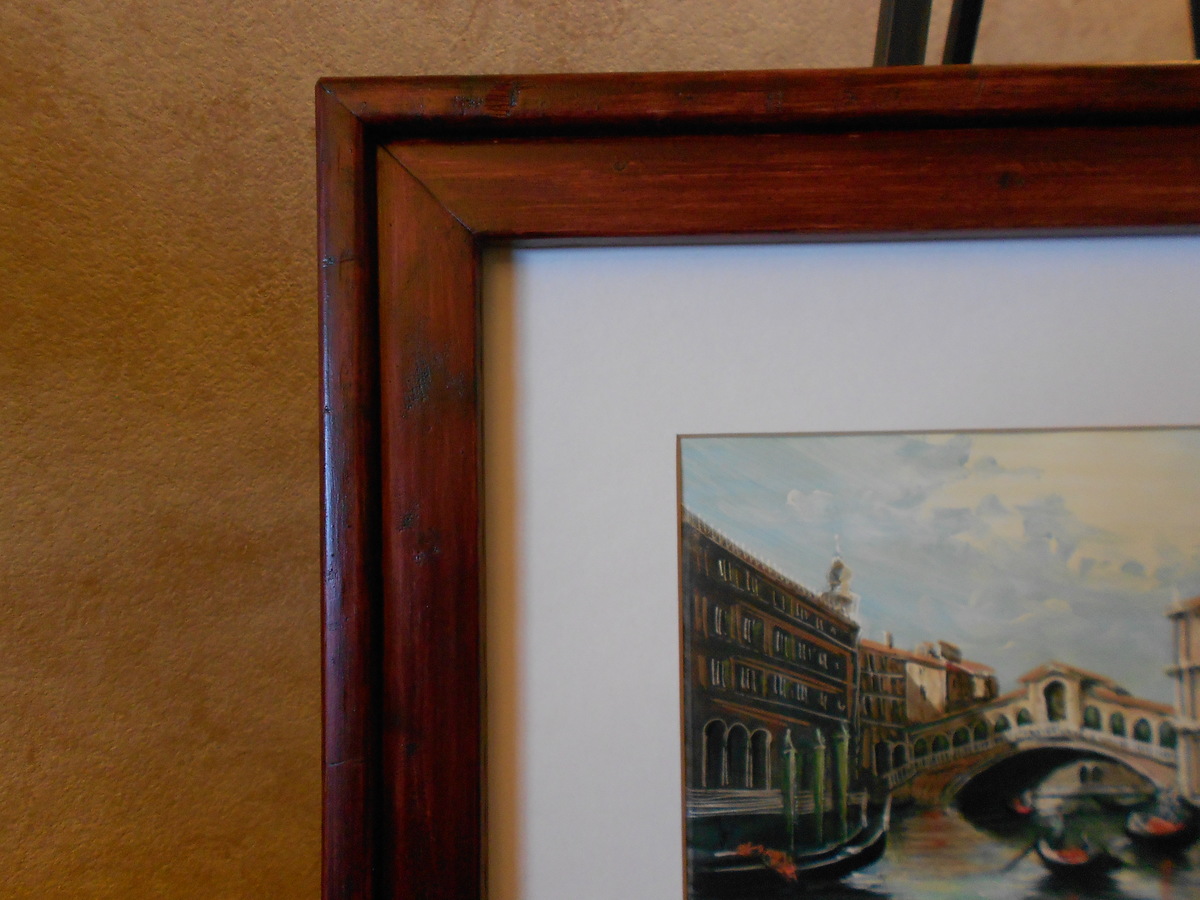
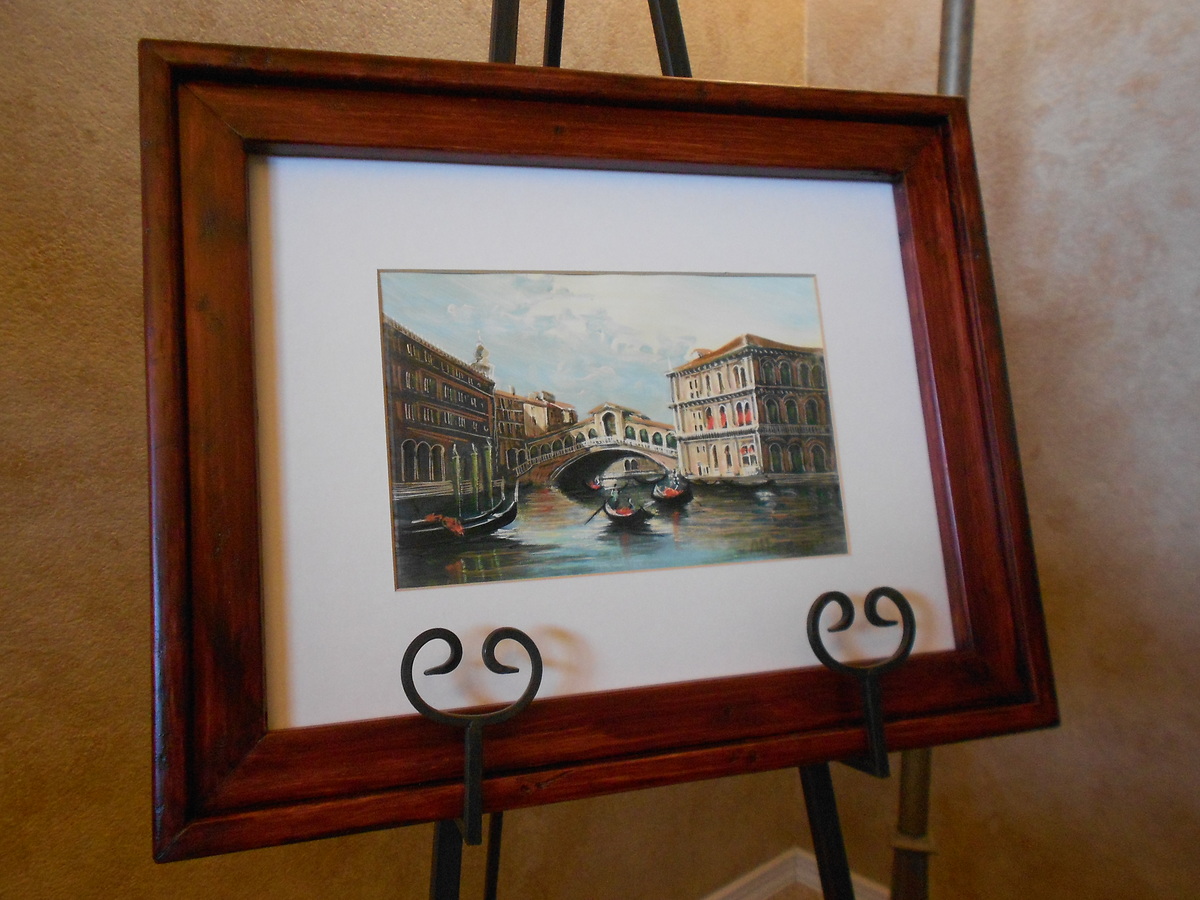
I can't believe I made these two picture frames thanks to wonderfully simple plans! We bought a painting in Italy 16 years ago and I was never able to find a ready-made frame beause of the unusual dimensions and I didn't want to pay for a large custom frame. Now I have one! The smaller frame accommodates an 8x10. Both frames are made out of the $0.89 furring strips at Home Depot.
