Community Brag Posts

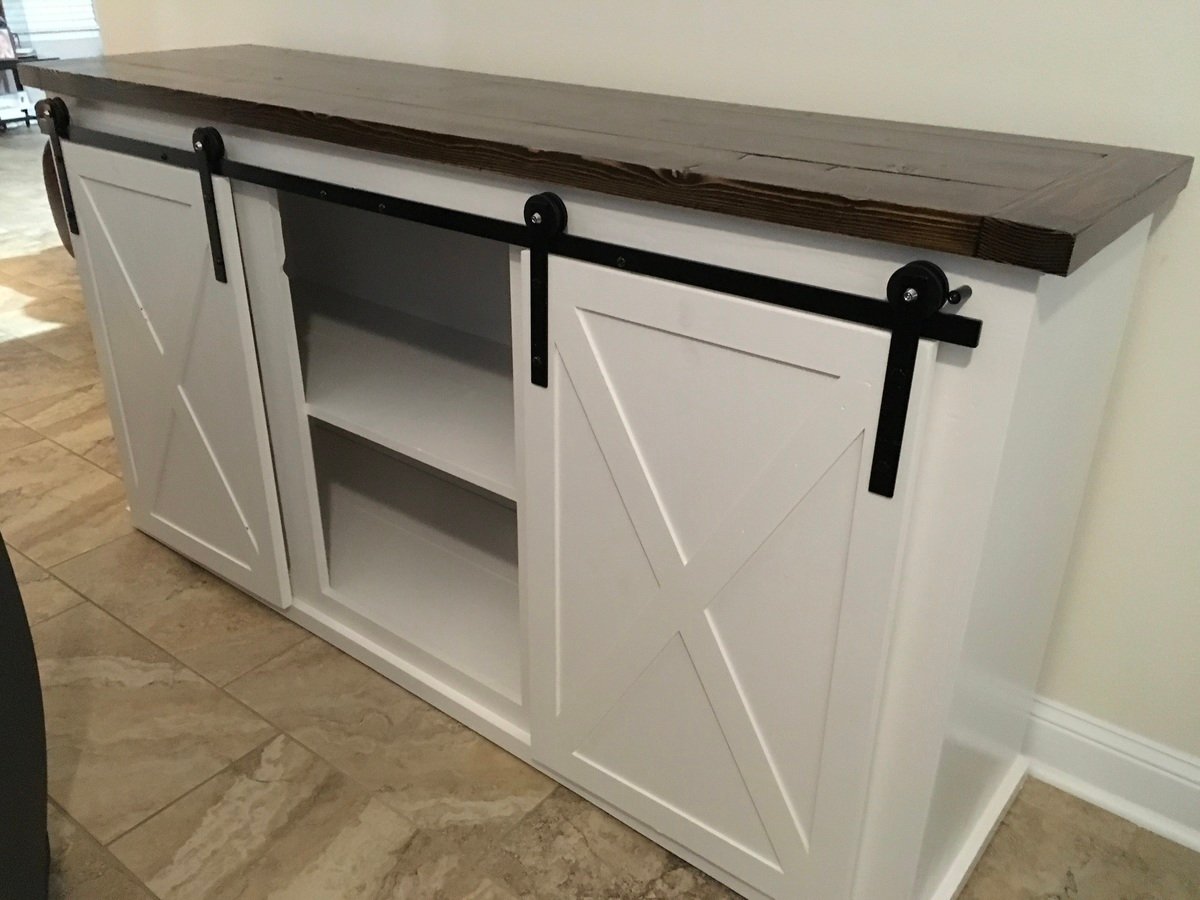
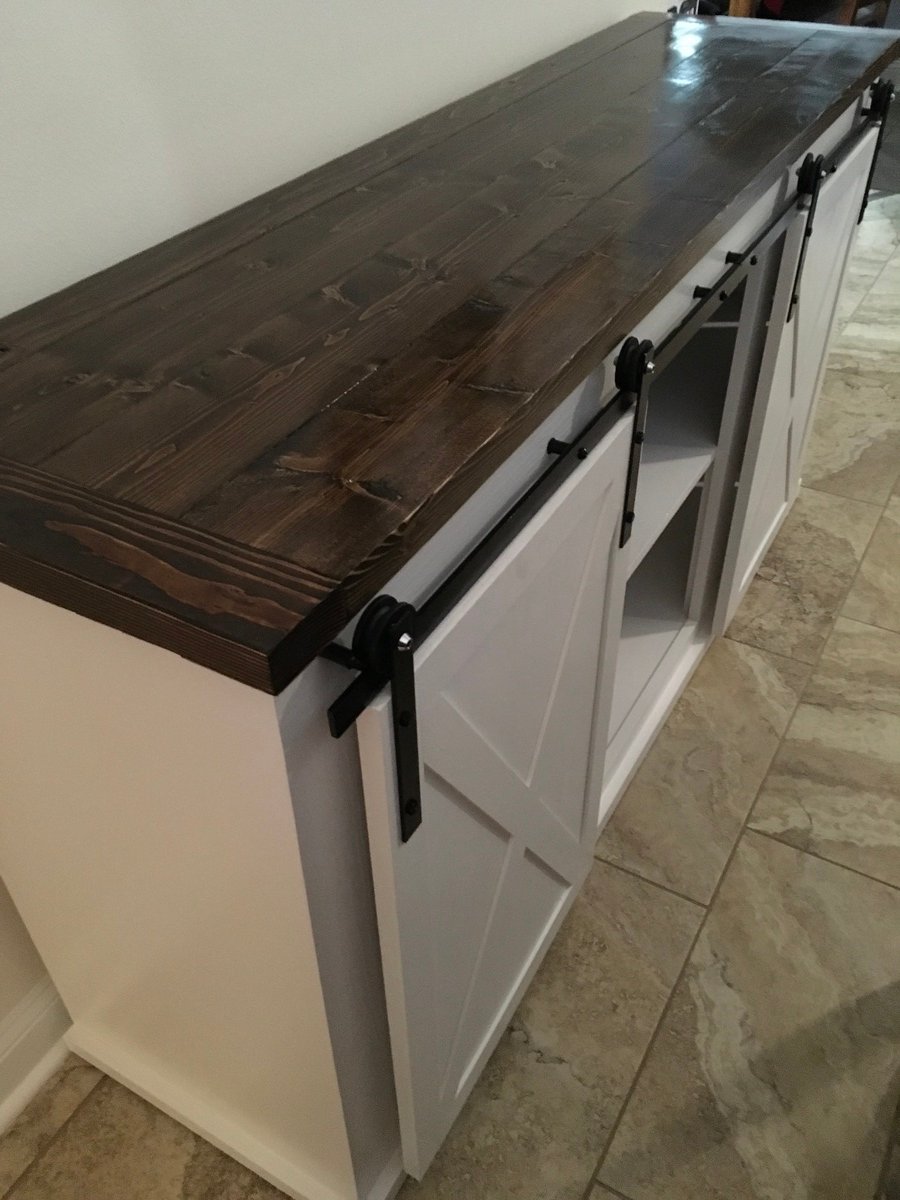
Grandy Barn Door Fireplace and Matching Console

Submitted by Anonymous (not verified) on Wed, 11/11/2020 - 17:38

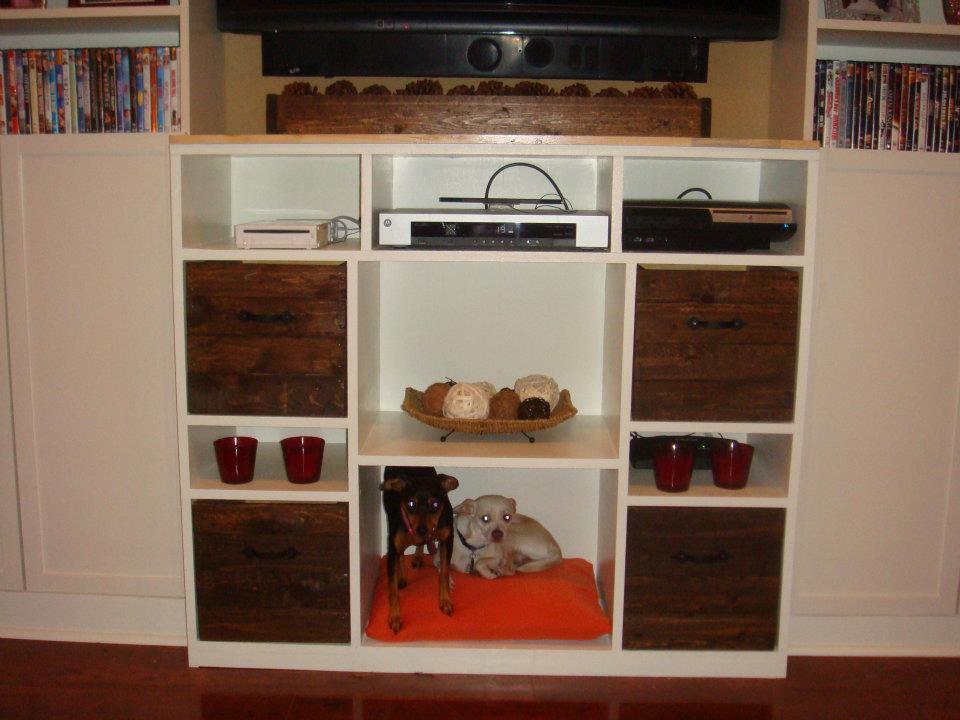
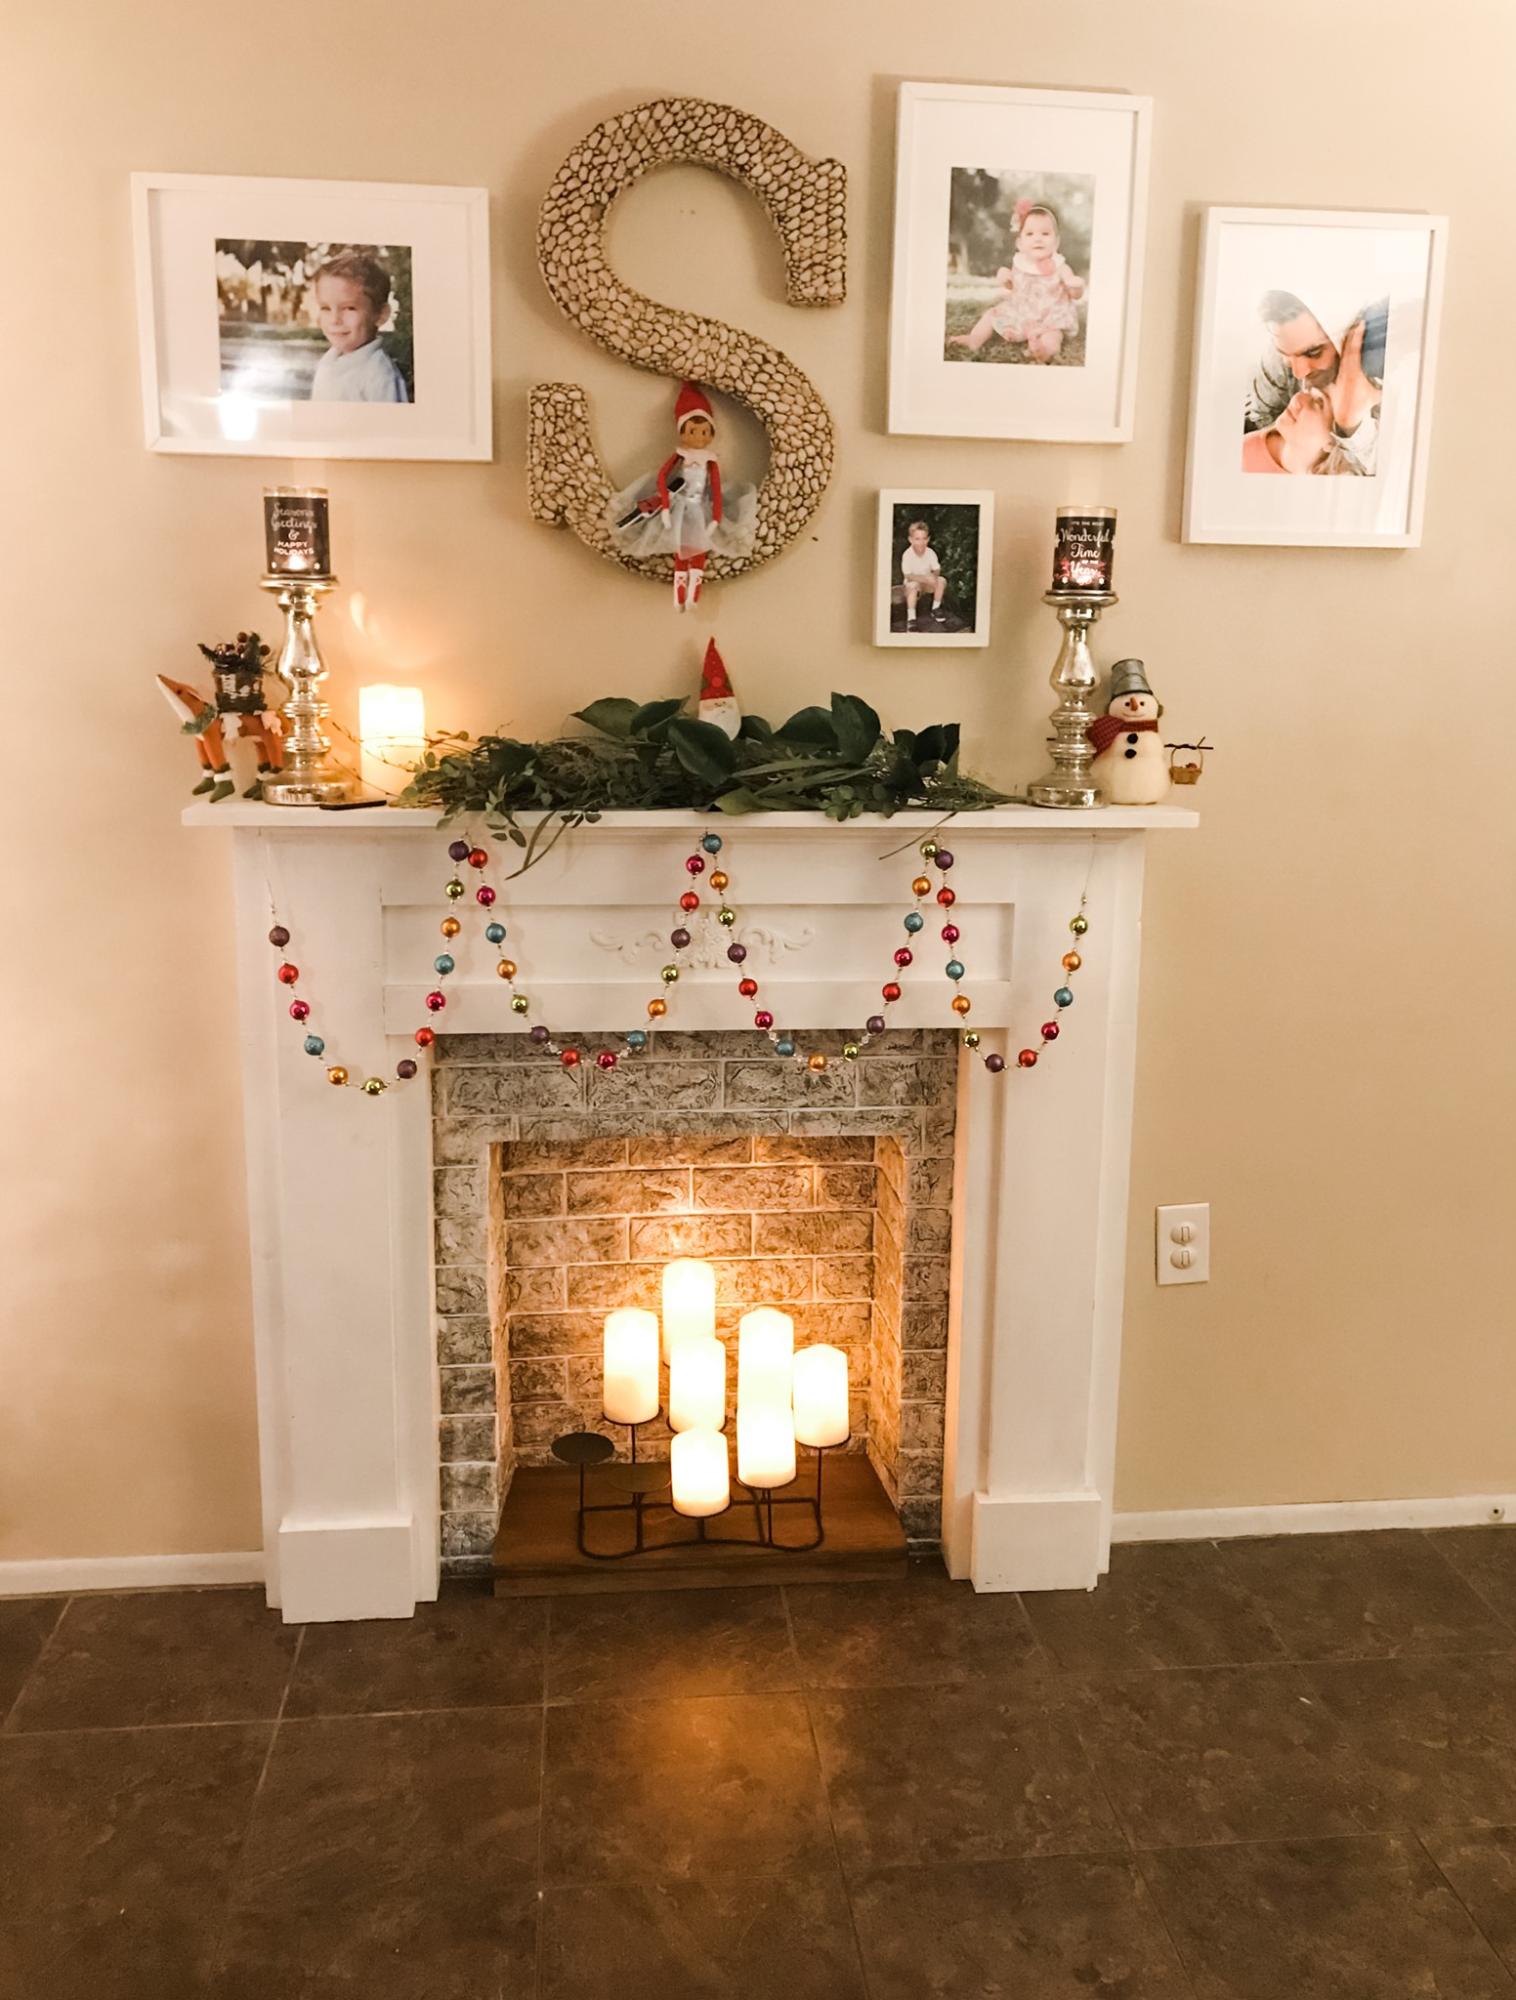
We originally built the original console a while ago as an entertainment unit for underneath our television. We enjoyed the console so much that we decided that we wanted to do another modified console with a fireplace in it and make the other one into a buffet/storage area for the dining room.

Both of these are fairly modified from the plan, however the basic concepts remain the same. One big thing that we did was use 1x4s as much as possible to reduce the different sizes of lumber we were buying to both reduce complexity and end up with as little as possible scraps.

The frames are made of the 2x3s, The sides (4 deep), shelves, middle shelves and face frame are all 1x4s. The back and inside frames are scrap plywood. The top is 1x6s.

The addition of the fireplace was not difficult. What it did require us to do was to add the centre section and essentially create a box that is closed to the outside cabinets. If it were not closed off it wouldn't support the fireplace insert correctly. The important piece with the fireplace is to ensure you have enough clearance on the top and sides to allow the fireplace to mount safely without overheating. The nice thing about this setup is the additional shelf above the fireplace which we used for electronics. The wires go through the back of the cabinet and it looks very clean.

These are probably my favorite things I've built this year. They're simple to make and add a lot to any living space.

Built from Plan(s)
Estimated Cost
$500
Estimated Time Investment
Weekend Project (10-20 Hours)
Finish Used
White paint for body
Minwax Polyshades Classic Black for top
Recommended Skill Level
Beginner

Comments

Tryde coffee table

Submitted by jbayer80 on Sat, 01/12/2013 - 16:23

This was my first build...in fact, it was the first time I ever cut something with a saw. This was very easy and came out better then I ever imagined. I did some modifying because the original was way to big for the space I had planned for it. I also could not get ahold of a 4x4 that was not treated so I glued and screwed some 2x4's together to make my own. This was so much fun, I plan on making my sons toddler room and new living room furniture. I took pictures of most of the steps so if you want to see them, send me a message. Happy building!

Built from Plan(s)
Estimated Time Investment
Day Project (6-9 Hours)
Finish Used
Oxidation. Here is a link to what I followed. http://thefriendlyhome.blogspot.com/2012/07/how-to-oxidize-wood.html
Recommended Skill Level
Starter Project

Comments

ju8828 (not verified)

Sun, 01/13/2013 - 11:22

Any build plans available? I love the aesthetics of this piece. The oxidation looks awesome.

Balustrade Coffee Table

Submitted by SKrampl on Sun, 11/09/2014 - 11:01

This was a frist time project for myself. I'm always trying to prove to myself and my husband I can take these new projects on, and found this plan to be very easy to follow. I used the modified plans from "House of Wood" as the more square-ish version of the table, becuase those dimesnions were more suitable for the space I was trying to fill. 

This table is quite large, and that is what drew me to it. I loved the solid-ness of it. It almost seems indestructible (something that is handy with 3 young ones running around)

Can't wait to start another project! :)

Built from Plan(s)
Estimated Cost
I found a local wood worker who was able to make the Balusters for me. I was grateful to find a local guy, using local wood, as I do my best to support local businesses.
For the lumbar/Hardware/mini Kreg jig it cost me: $115
For the 4 custom Balusters: $100
Stain/Poly/sand paper: $50
Estimated Time Investment
Day Project (6-9 Hours)
Finish Used
I chose not to pre-treat my wood before staining as I was trying to achieve the rustic look. I knew it would make it appear less uniform in colour, but thats something I felt would add to this tables character. I used the Varathane Tuscan wood stain. I did about 2 coats of stain. I applied with a lint free rag, and just wiped the stain on in thin coats. For the finish I used the Wipe-on Poly from Minwax. I applied 4 coats of the poly. In between Poly coats, I sanded with the 600 grit sandpaper, which made the wood feel buttery soft! I'm glad I didn't skimp on that part.
Recommended Skill Level
Beginner

Corner Hutch for Dining Room

Submitted by Anonymous (not verified) on Wed, 02/15/2017 - 11:40

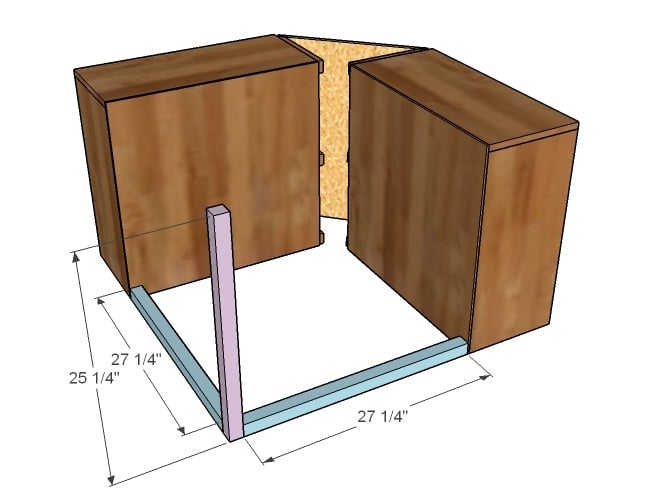
Needed a corner hutch in our dining room and what better way to get one than build it!

Built from Plan(s)
Estimated Cost
$200
Estimated Time Investment
Weekend Project (10-20 Hours)
Finish Used
Faux aging using a mixture of brewed tea and iron acetate to chemically alter the wood color. Brushing tea on the wood adds tannins and the iron acetate reacts with tannins to turn the wood gray. You can make iron acetate by putting a few pads of fine steel wool in white vinegar and letting dissolve for a few days
Recommended Skill Level
Intermediate

Farmhouse Toy Box

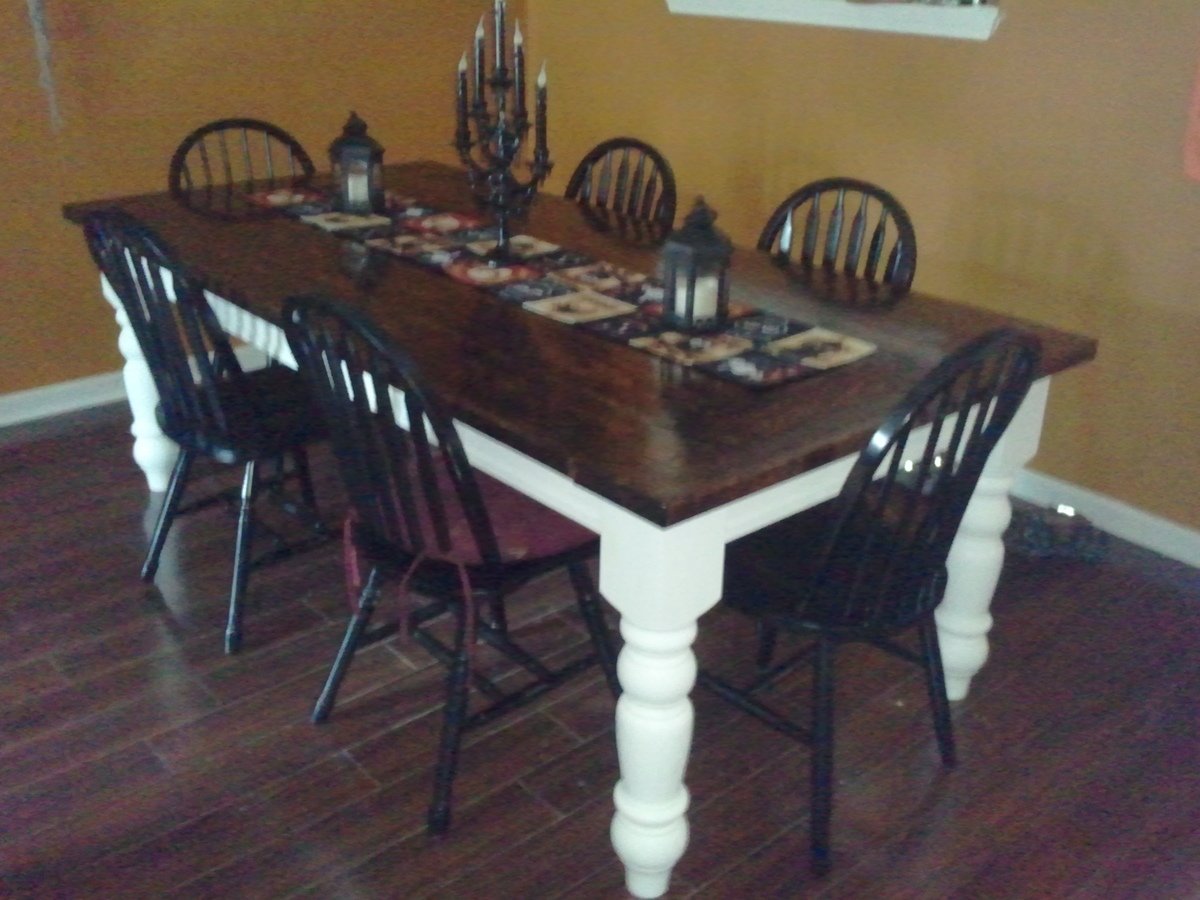
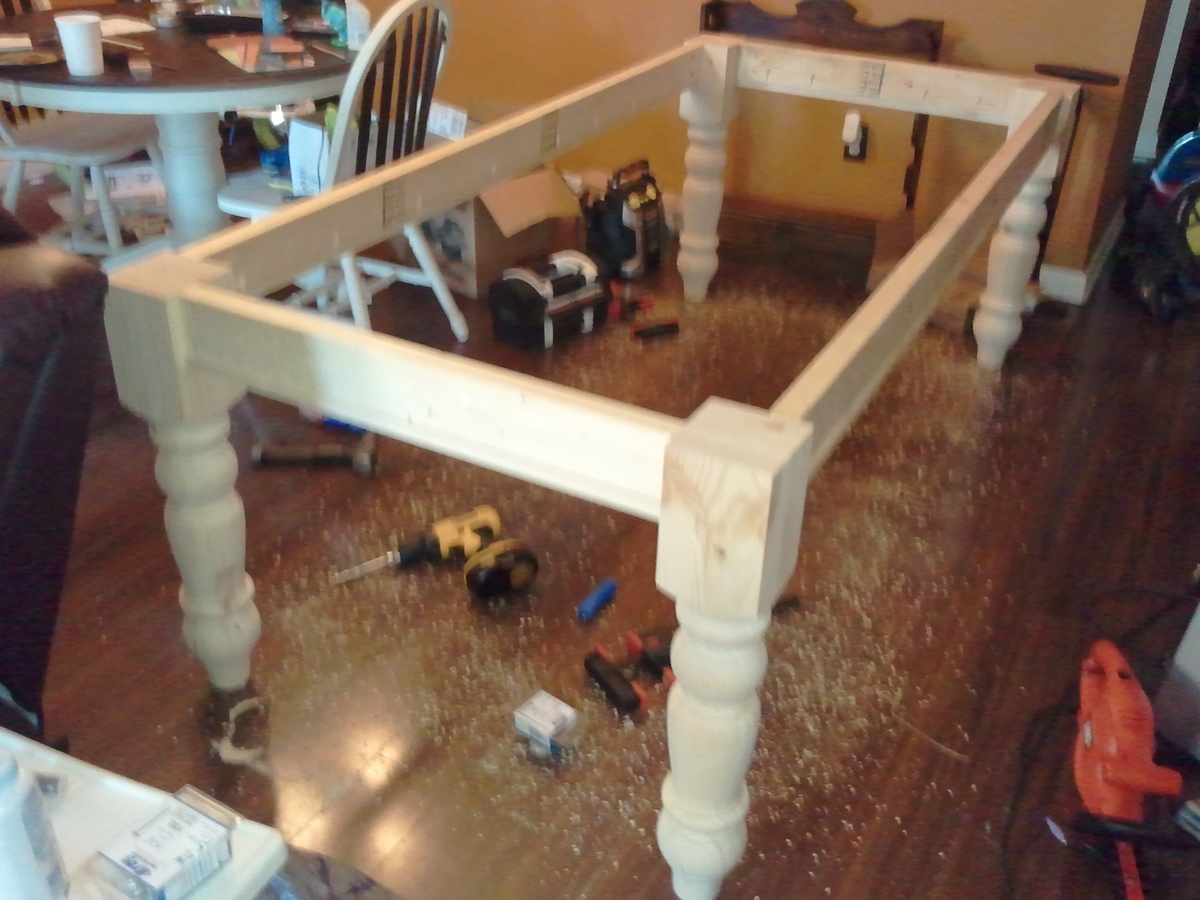
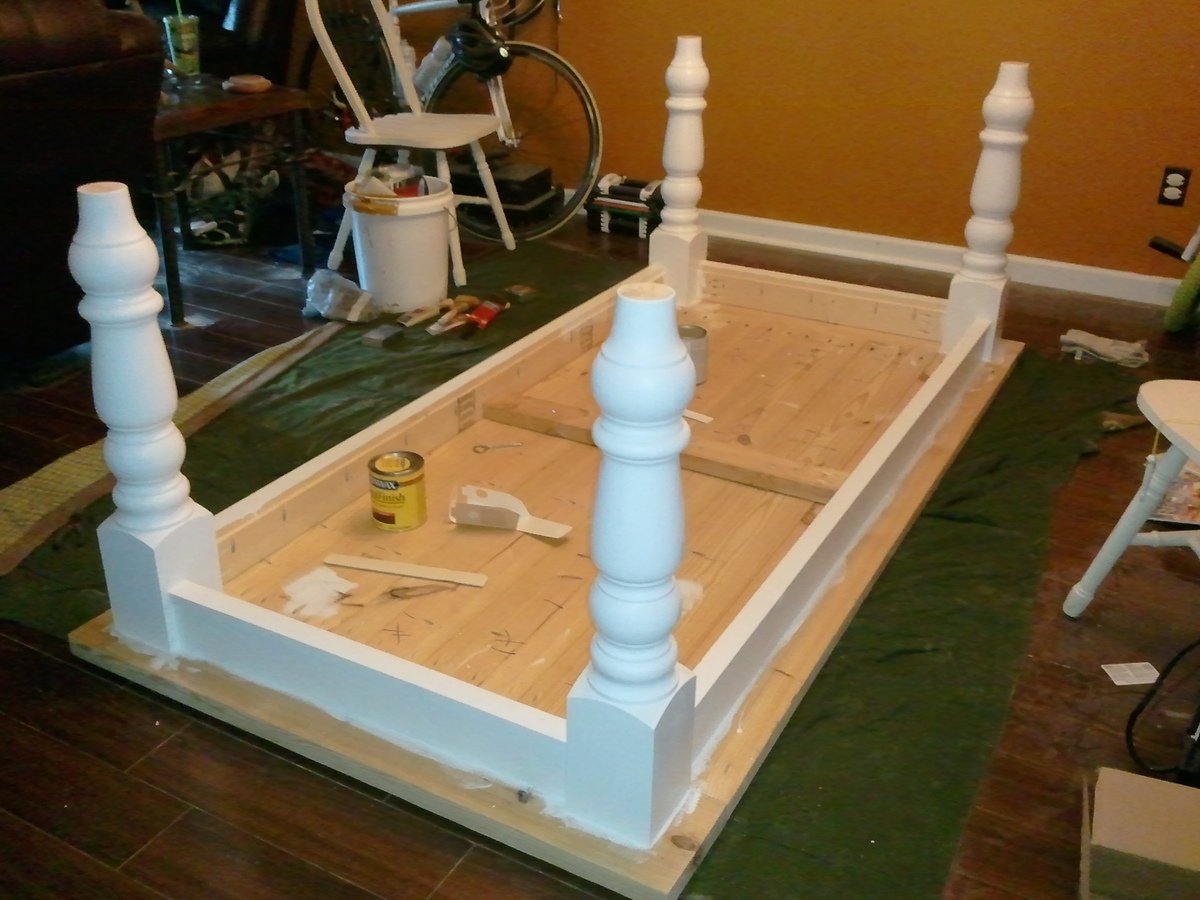
I’d previously made a farmhouse table for my son and his wife (photo below). They had a baby this past August, and I thought a matching toy box for the dining room would be a good Christmas present for our grandson. The design includes a chalkboard on the front. I wanted this to last for generations, and used birch for the project as well as dowel pins to join the boards. When the baby gets older, I’ll build a matching two-compartment cubby to stack this atop, so he can continue using the chalkboard.

Built from Plan(s)
Estimated Time Investment
Week Long Project (20 Hours or More)
Finish Used
Bombay Mahogany, by Minwax (Polyshade Satin Stain and Polyurethane)
Semi Gloss Navajo White paint by Sherwin-Williams
Recommended Skill Level
Intermediate

Comments

Master Closet System

Submitted by Michael B on Thu, 01/17/2013 - 13:17

Followed plans with slight modifications:
1. Made shelves deeper but narrower
2. Used 3/4" Birch Plywood for all
3. Built no base just mounted to floor & wall
4. No drawers just shelving

Estimated Cost
Under $80
Estimated Time Investment
Afternoon Project (3-6 Hours)
Finish Used
Clear Poly
Recommended Skill Level
Starter Project

Comments

Bench

Submitted by zjlawlor on Wed, 11/12/2014 - 10:53

Built a simple bench to put under our big living room window. Top boards are were reclaimed and left over from my buffet table project. One of them was fracturing on the outside, and upon cleaning it up it gave it kind of a live looking edge that I think looks cool. I used 2x6 pine for the legs and support underneath with 2x4's.  

Estimated Cost
$15
Estimated Time Investment
Afternoon Project (3-6 Hours)
Finish Used
Kona-colored stain on bottom. The top was stained with a weather grey and sanded down to show some wood grain. Poly on everything after.
Recommended Skill Level
Beginner

Comments

Thomas Smith

Fri, 11/14/2014 - 03:56

It is a good idea to collect some recycly material and create some stuff, be imaginative. Recently I have discovered your site so can get some extra ideas of how useful things can be created in spare time.

Thanks for sharing your ideas.


Thomas Smith

Fri, 11/14/2014 - 03:59

It is a good idea to collect some recycly material and create some stuff, be imaginative. Recently I have discovered your site so can get some extra ideas of how useful things can be created in spare time.

Thanks for sharing your ideas.


Adelyn's Canopy Double Doll Bed

Submitted by Anonymous (not verified) on Fri, 02/17/2017 - 08:29

My wife and I came across your plans for a single canopy bed which we modified since our granddaughter Adelyn has two American dolls.    Modifying your plans to widen the bed was easy.  We elected to go with a "split rail" design for both the headboard and the footboard.  

My wife made the bedspread, pillows and "curtains".

Today (2/17) is her birthday - can't wait to see her reaction.  Thanks for posting the project plans for this, as well as many others.

Bob & Marilyn, Rochester NY

Estimated Cost
Negligible cost since I had plenty of scrap lumber to use for this project. Only thing I bought was a quart of gloss white paint. I gave it three coats because some of the wood had been previously painted.
Estimated Time Investment
Afternoon Project (3-6 Hours)
Finish Used
White gloss paint
Recommended Skill Level
Beginner

Rhyan Console Table

Submitted by JameyD on Mon, 11/23/2020 - 18:19

I made this as a Christmas gift for my mom. I used Ana’s plan and used some decorative tin for the doors rather than glass.

Comments

Dress-up Tower

Submitted by JReed on Mon, 01/21/2013 - 12:33

Our daughter has just recently gotten into playing dress up so we were looking for storage for all of her new dresses and accessories. This tower was the perfect solution. We used a mostly MDF and some plywood we had left over from other projects to help keep the cost down. We added a mirror to one side and 3 hooks to the other side. Very pleased with the result!

Built from Plan(s)
Estimated Cost
$40
Estimated Time Investment
Afternoon Project (3-6 Hours)
Finish Used
Basic white interior paint
Recommended Skill Level
Beginner

Play Kitchen

Submitted by gitelmic on Sun, 11/16/2014 - 07:25

My daughter's 4th year-old birthday gift.

Estimated Time Investment
Weekend Project (10-20 Hours)
Recommended Skill Level
Beginner

Comments

Industrial Shelf Unit - Basement Storage

Submitted by zakdat on Mon, 02/20/2017 - 07:39

With six people in our household, we were in desperate need of easily accessed storage for our off season clothes/gear.  This ended up being a perfect solution.  We customized shelf heights to fit the bins that we use for storage as well as made an area for our cat box (at the bottom right).  It's such a relief to finally have everything tucked away but easy to get at when we need it. 
Built from Plan(s)
Estimated Cost
$300 Canadian
Estimated Time Investment
Weekend Project (10-20 Hours)
Finish Used
Minwax Puritan Pine
Recommended Skill Level
Intermediate

Comments

Barn Door Entertainment Console

Submitted by Hartke22 on Sat, 11/28/2020 - 00:07

We've been doing the consoles for some time now and where excited to include the top shelving unit with this one..

Estimated Cost
150
Estimated Time Investment
Weekend Project (10-20 Hours)
Finish Used
Minwax Jacobean w/ satin polly

Comments

Media Console

This is the first project my husband and I have made. Funny enough, it was suggested in the directions to not do this as a first project. We had already gotten the materials and our minds were already made up on building this media console. We just took it one board and one nail at a time. Sometimes we would take one step forward only to turn around and take two steps backwards. We learned A LOT on this project. Needless to say, we loved working together and building our own furniture... We will be building more for sure!

Built from Plan(s)
Estimated Cost
$50
Estimated Time Investment
Weekend Project (10-20 Hours)
Finish Used
I had some navy blue paint I found at the "miss tint" section at Lowe's for only $1.80! I decided to paint this color on 1st. After painting, I skimmed over the wood, with my sander, in spots to give it the rugged look I wanted. Then, I painted Minwax's "dark walnut" stain over the entire piece. Afterwards, using an old rag, I wiped it all off. The next day, I went back and brushed glossy polyurethane on to seal it.
Recommended Skill Level
Advanced

Comments

4x4 Truss Beam Table

Submitted by sven126 on Tue, 11/18/2014 - 08:40

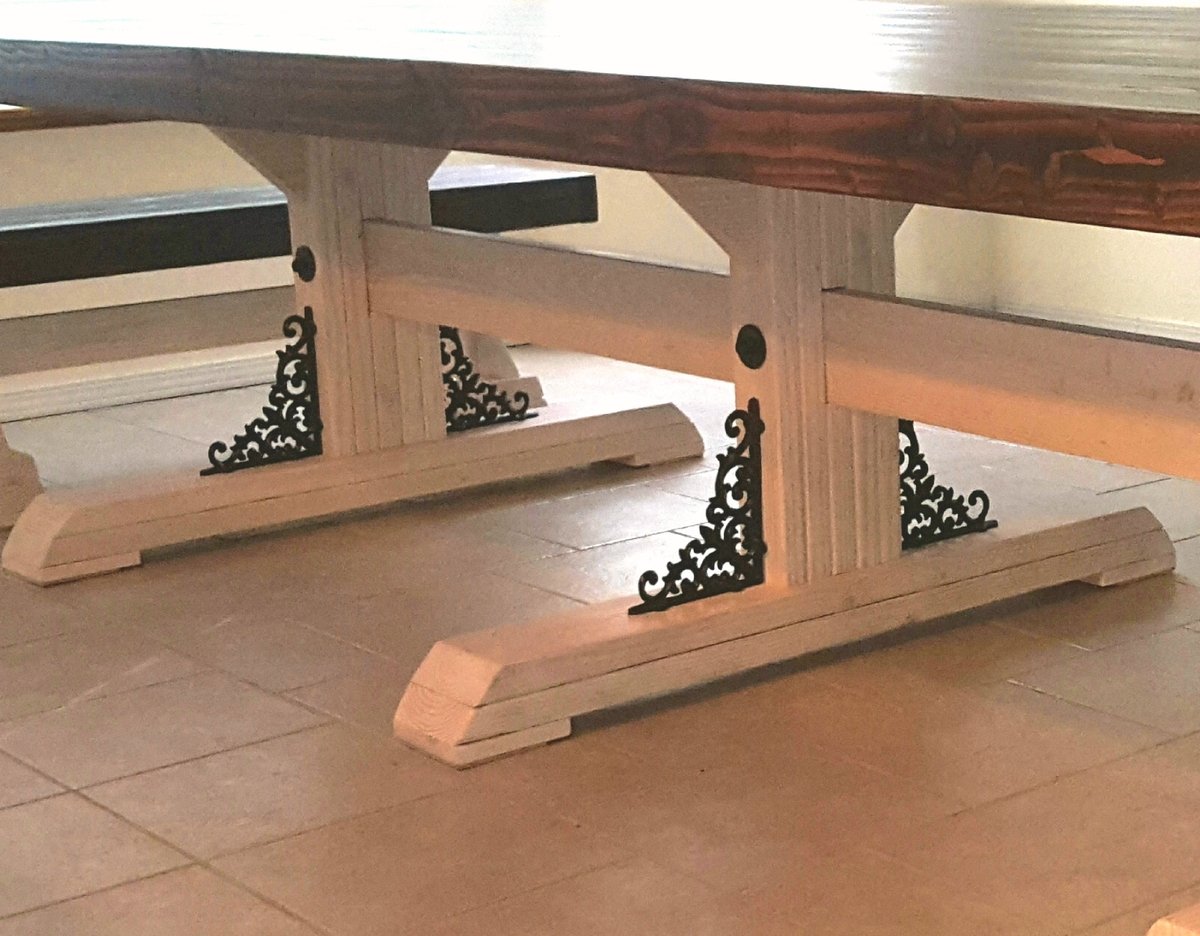
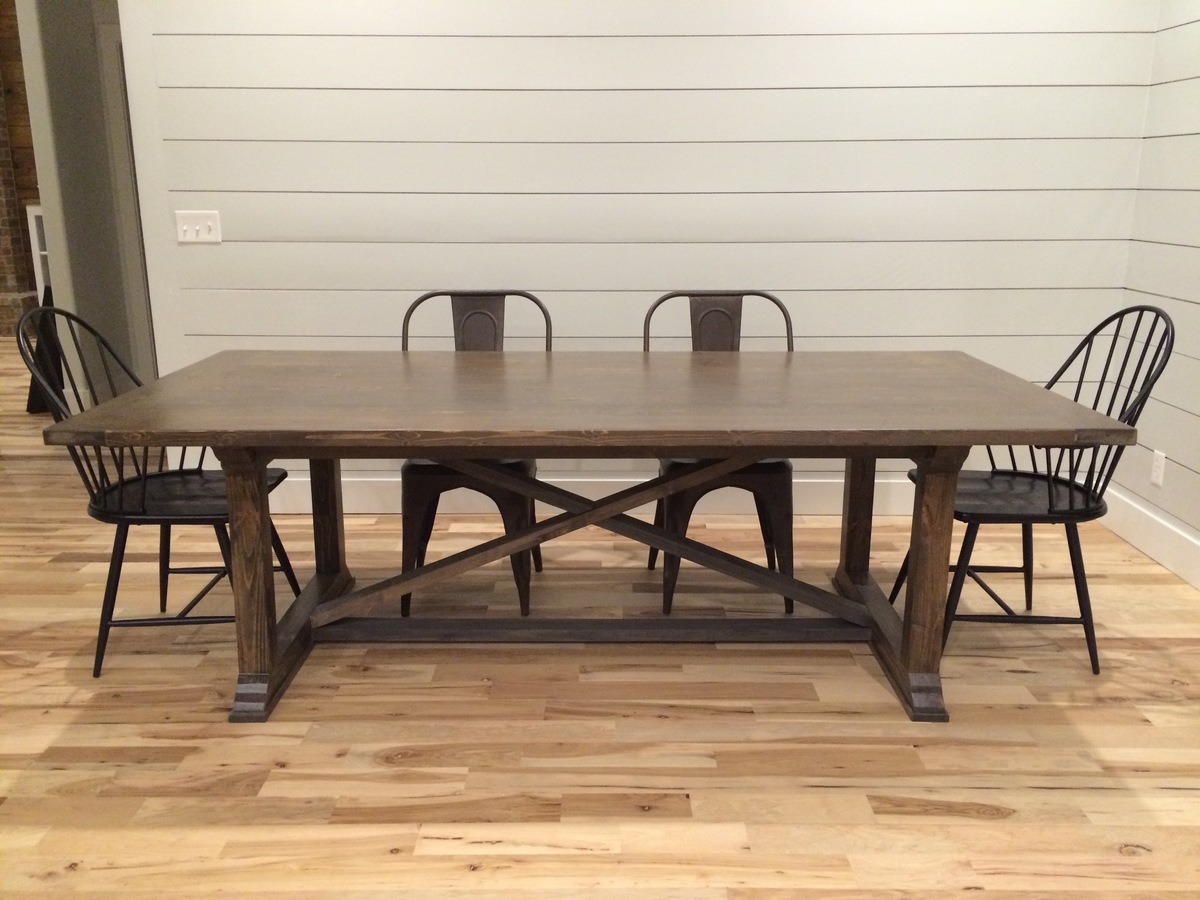
I used old gumwood and pine for the table top. Just finished renovating 1930’s house and saved some old wood from the baseboards, fireplace mantel, etc. Used craigs jig to connect them for table top. I was only ¾ inch thick, a bit too thin for my liking, so I added bottom frame from new ¾ inch pine then enclosed the whole table top with the 1.5 inch frame from old wood leftovers. Legs all new 4X4 fir beams. Came out quite nice and definitely unbreakable! Thanks for the plans, Anna! 

Built from Plan(s)
Estimated Cost
$100
Estimated Time Investment
Week Long Project (20 Hours or More)
Finish Used
mixture of Minwax Provincial 211, Red Mahogany and Dark Wallnut
Recommended Skill Level
Intermediate

Comments

Love this project.

Submitted by Anonymous (not verified) on Wed, 02/22/2017 - 17:20

This project was completed in a weekend. I was really proud of the result. 

Built from Plan(s)
Estimated Cost
Cost was about $55 I didn't keep track but was cheap.
Estimated Time Investment
Weekend Project (10-20 Hours)
Finish Used
I painted the base Shark tooth white and the top was stained a dark walnut and finally waxed. I probably should have put poly on it.
Recommended Skill Level
Intermediate

Wall shelf cubby

Submitted by Anonymous (not verified) on Sat, 12/05/2020 - 17:46

Quick and easy build thanks for the plans it really made this very quick and easy. The kids love this for their school stuff!

Built from Plan(s)
Estimated Cost
$35
Estimated Time Investment
An Hour or Two (0-2 Hours)
Finish Used
Coats and backpacks
Recommended Skill Level
Starter Project

Comments

simple bench

Thanks for the plans on the simple bench

Estimated Time Investment
An Hour or Two (0-2 Hours)
Finish Used
custom stain gloss laq. top coat
Recommended Skill Level
Intermediate

Christmas Chalkboard Sign "For unto us a Child is born"

Great little project that doesn't take much time. We'll be using it on our fireplace mantle this Christmas season.

Estimated Cost
$20-30
Estimated Time Investment
Afternoon Project (3-6 Hours)
Recommended Skill Level
Beginner

Comments

Farmhouse Bench

Submitted by Pamela1028 on Sat, 02/25/2017 - 11:07

My husband and I built this bench for a wedding gift.  We love the plan, so easy to follow and alter measurements to adjust size.  We finished it with a whitewash finish.

Estimated Cost
$30
Estimated Time Investment
Afternoon Project (3-6 Hours)
Finish Used
I used a dark walnut stain with a whitewash top coat. To make the whitewash I used one scoop of white chalk paint and added a bit of water. Mix in bowl. Brush on to dry stained wood and immediately wipe with clean damp towel. Finish with at least 3 coats of polyurethane.
Recommended Skill Level
Beginner

Entryway Bench

Submitted by jthomas600 on Fri, 12/11/2020 - 07:18

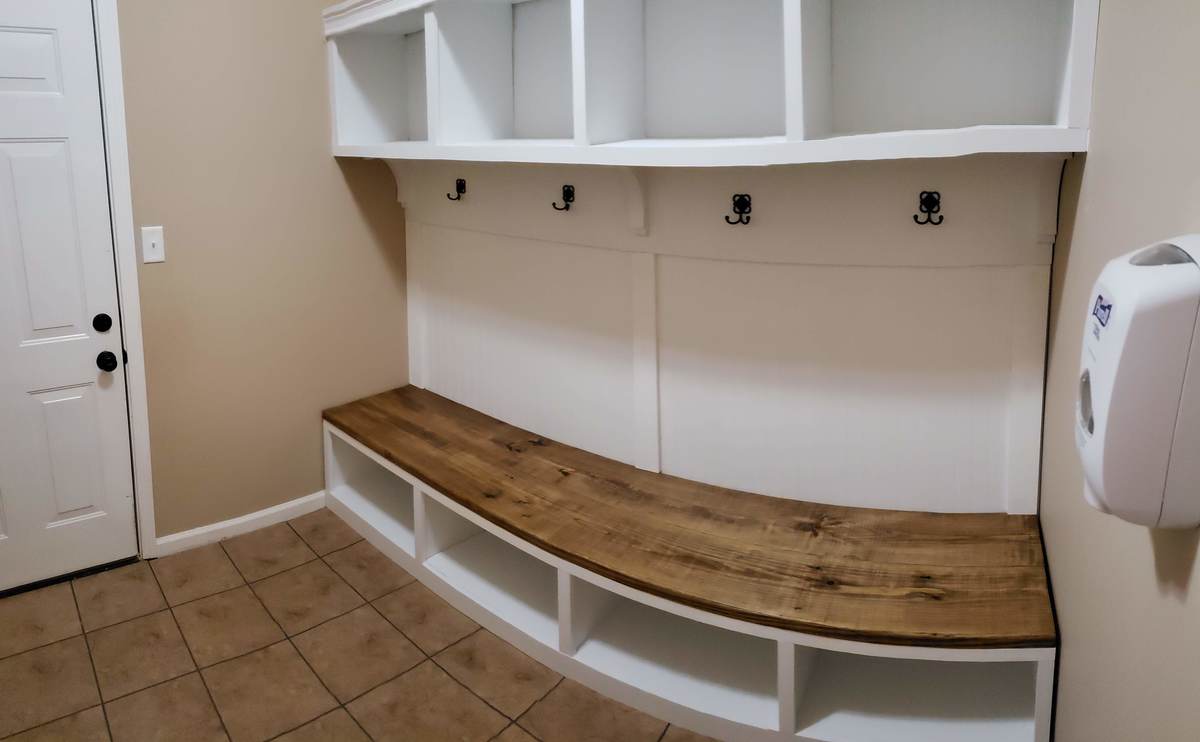
Thanks Ana for all you do here on your site and help bring out the inner woodworker in all of us. This is now my third project (first brag post) that I have done off your site. I took one of your Farmhouse X designs and modified it slightly to create this Entryway Bench for my daughter as a Christmas present and potential future keepsake for the grandkids. The bench measurement are 6'L x 18"H x 16"D.

Estimated Cost
>$100
Estimated Time Investment
Weekend Project (10-20 Hours)
Finish Used
White Paint and Espresso Stain
Recommended Skill Level
Beginner

Comments