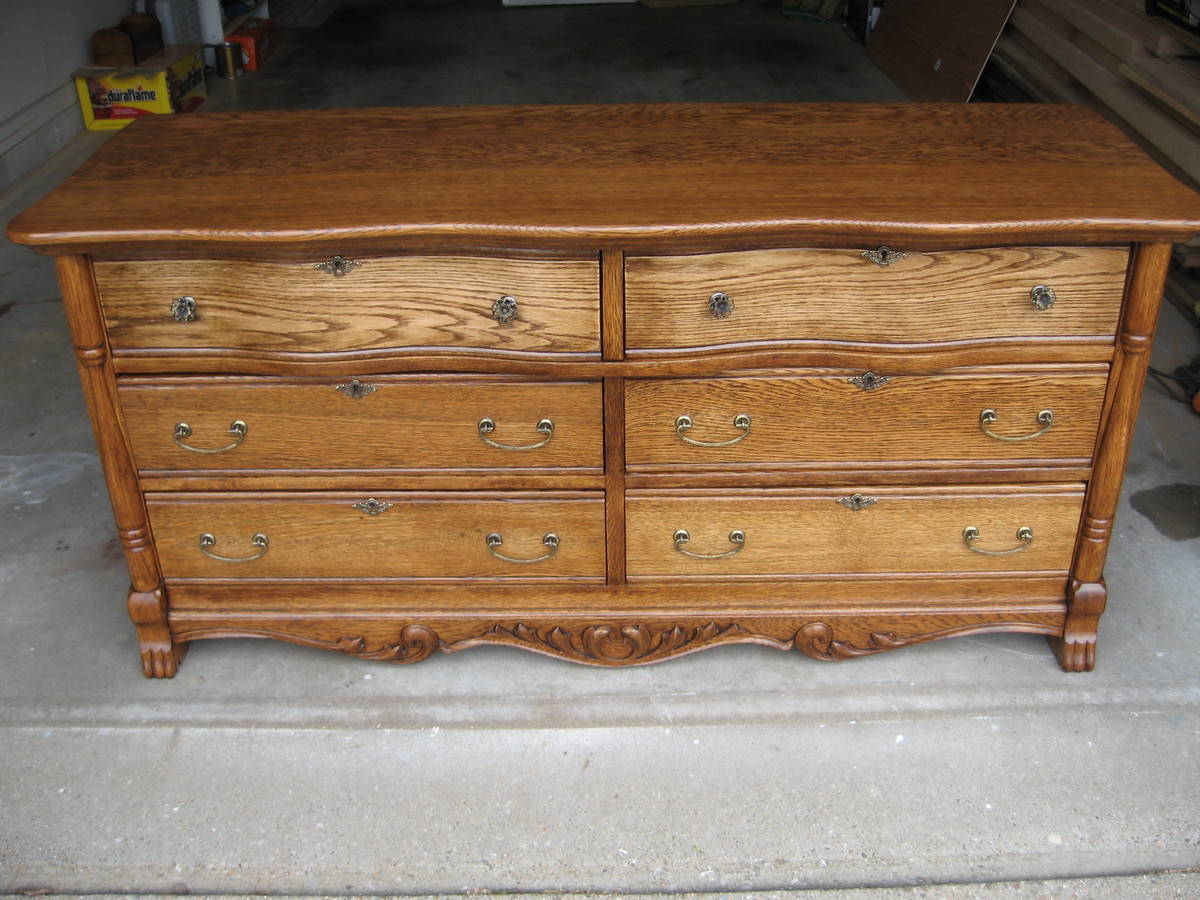
Refinished Antique Oak Dresser
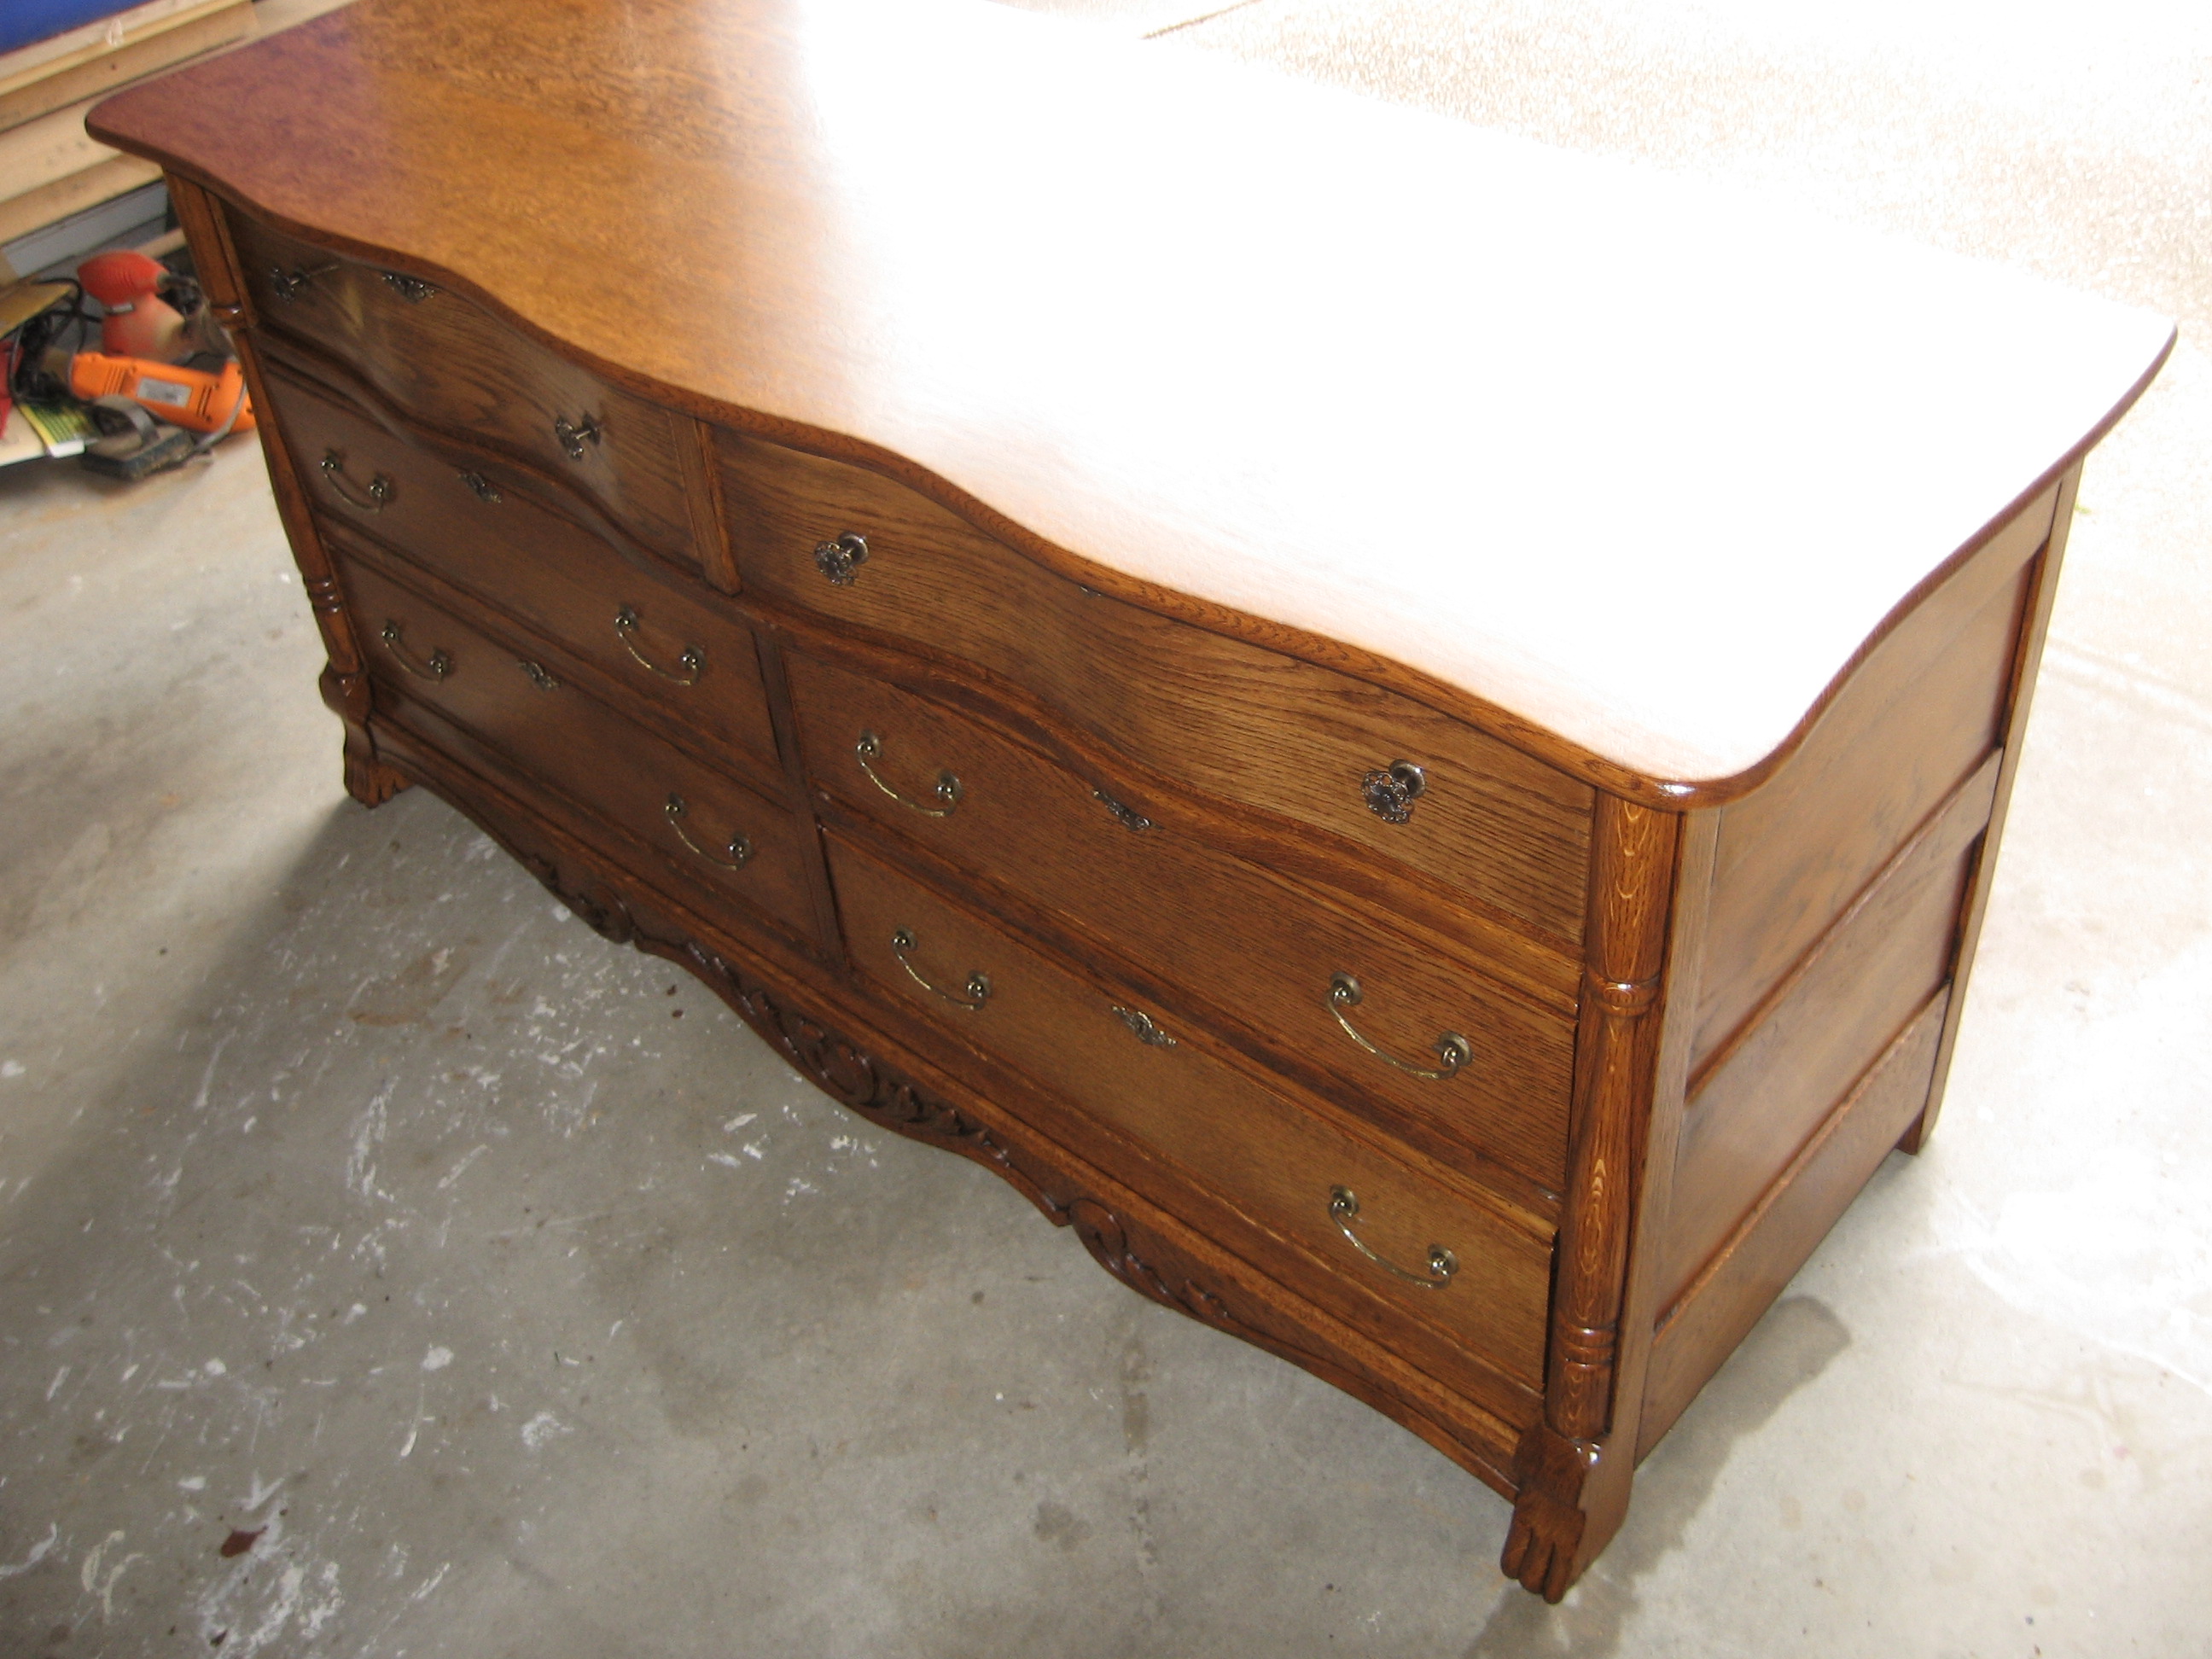
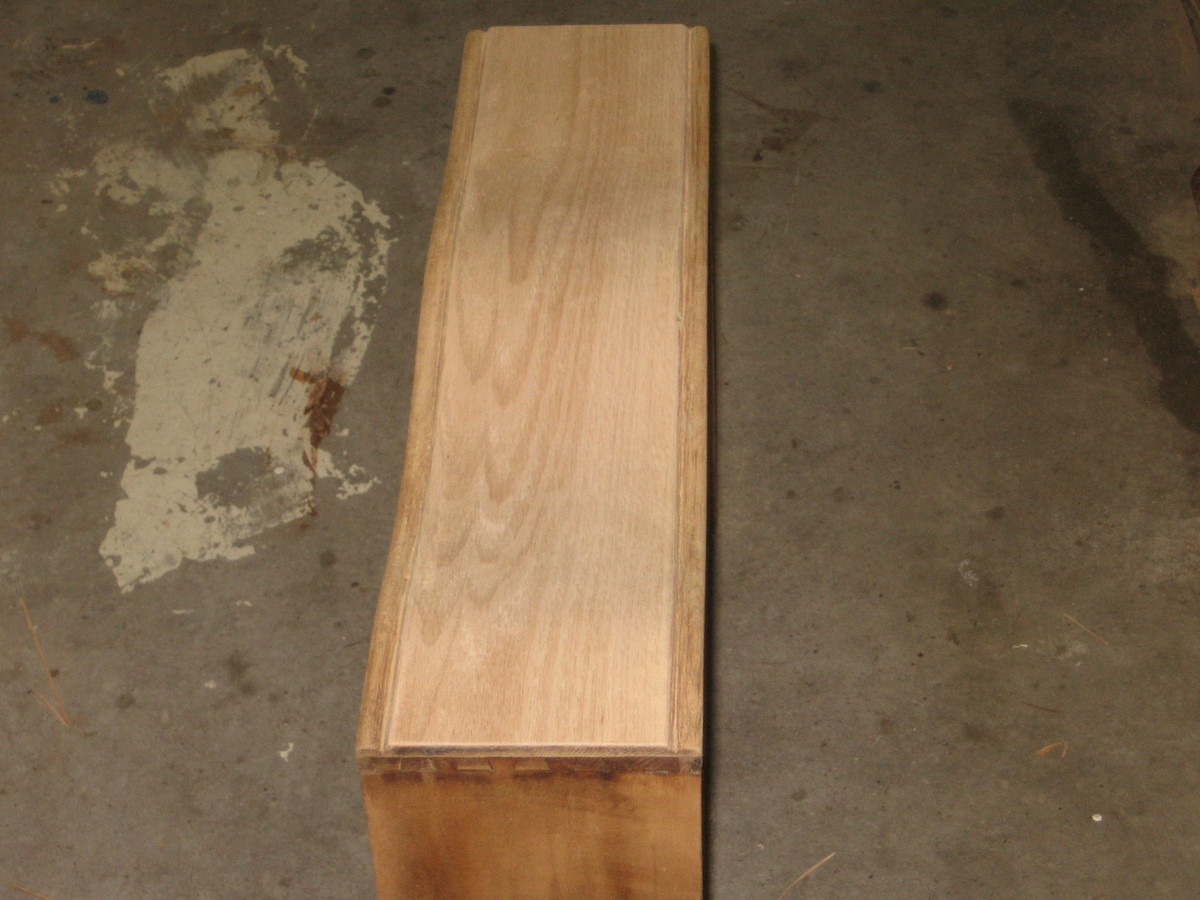
This is an antique oak dresser I recently purchased. I had some rebuilding to do. I replaced the bottom and fixed/rebuilt the dovetail drawers. I did replace the veneer on the top two drawers. It isn't a difficult task. Just ask and I will explain the process. I do wish though that I had gone online and purchased some quarter sawn oak veneer. It would have matched better than what I purchased from a local home improvement store. I replaced all of the hardware. I purchased it from Kennedy's online. The hardware finish is called aged brass. If you have solid brass hardware you can purchase a "brass ager" quite cheaply. There was a mirror attached to the dresser at some time. I am going to build a mirror to match that I will hang on the wall above. I am also looking to build a back splash for the back of the dresser. I think I may purchase an antique oak pediment (decorative door header) to make the back splash from.