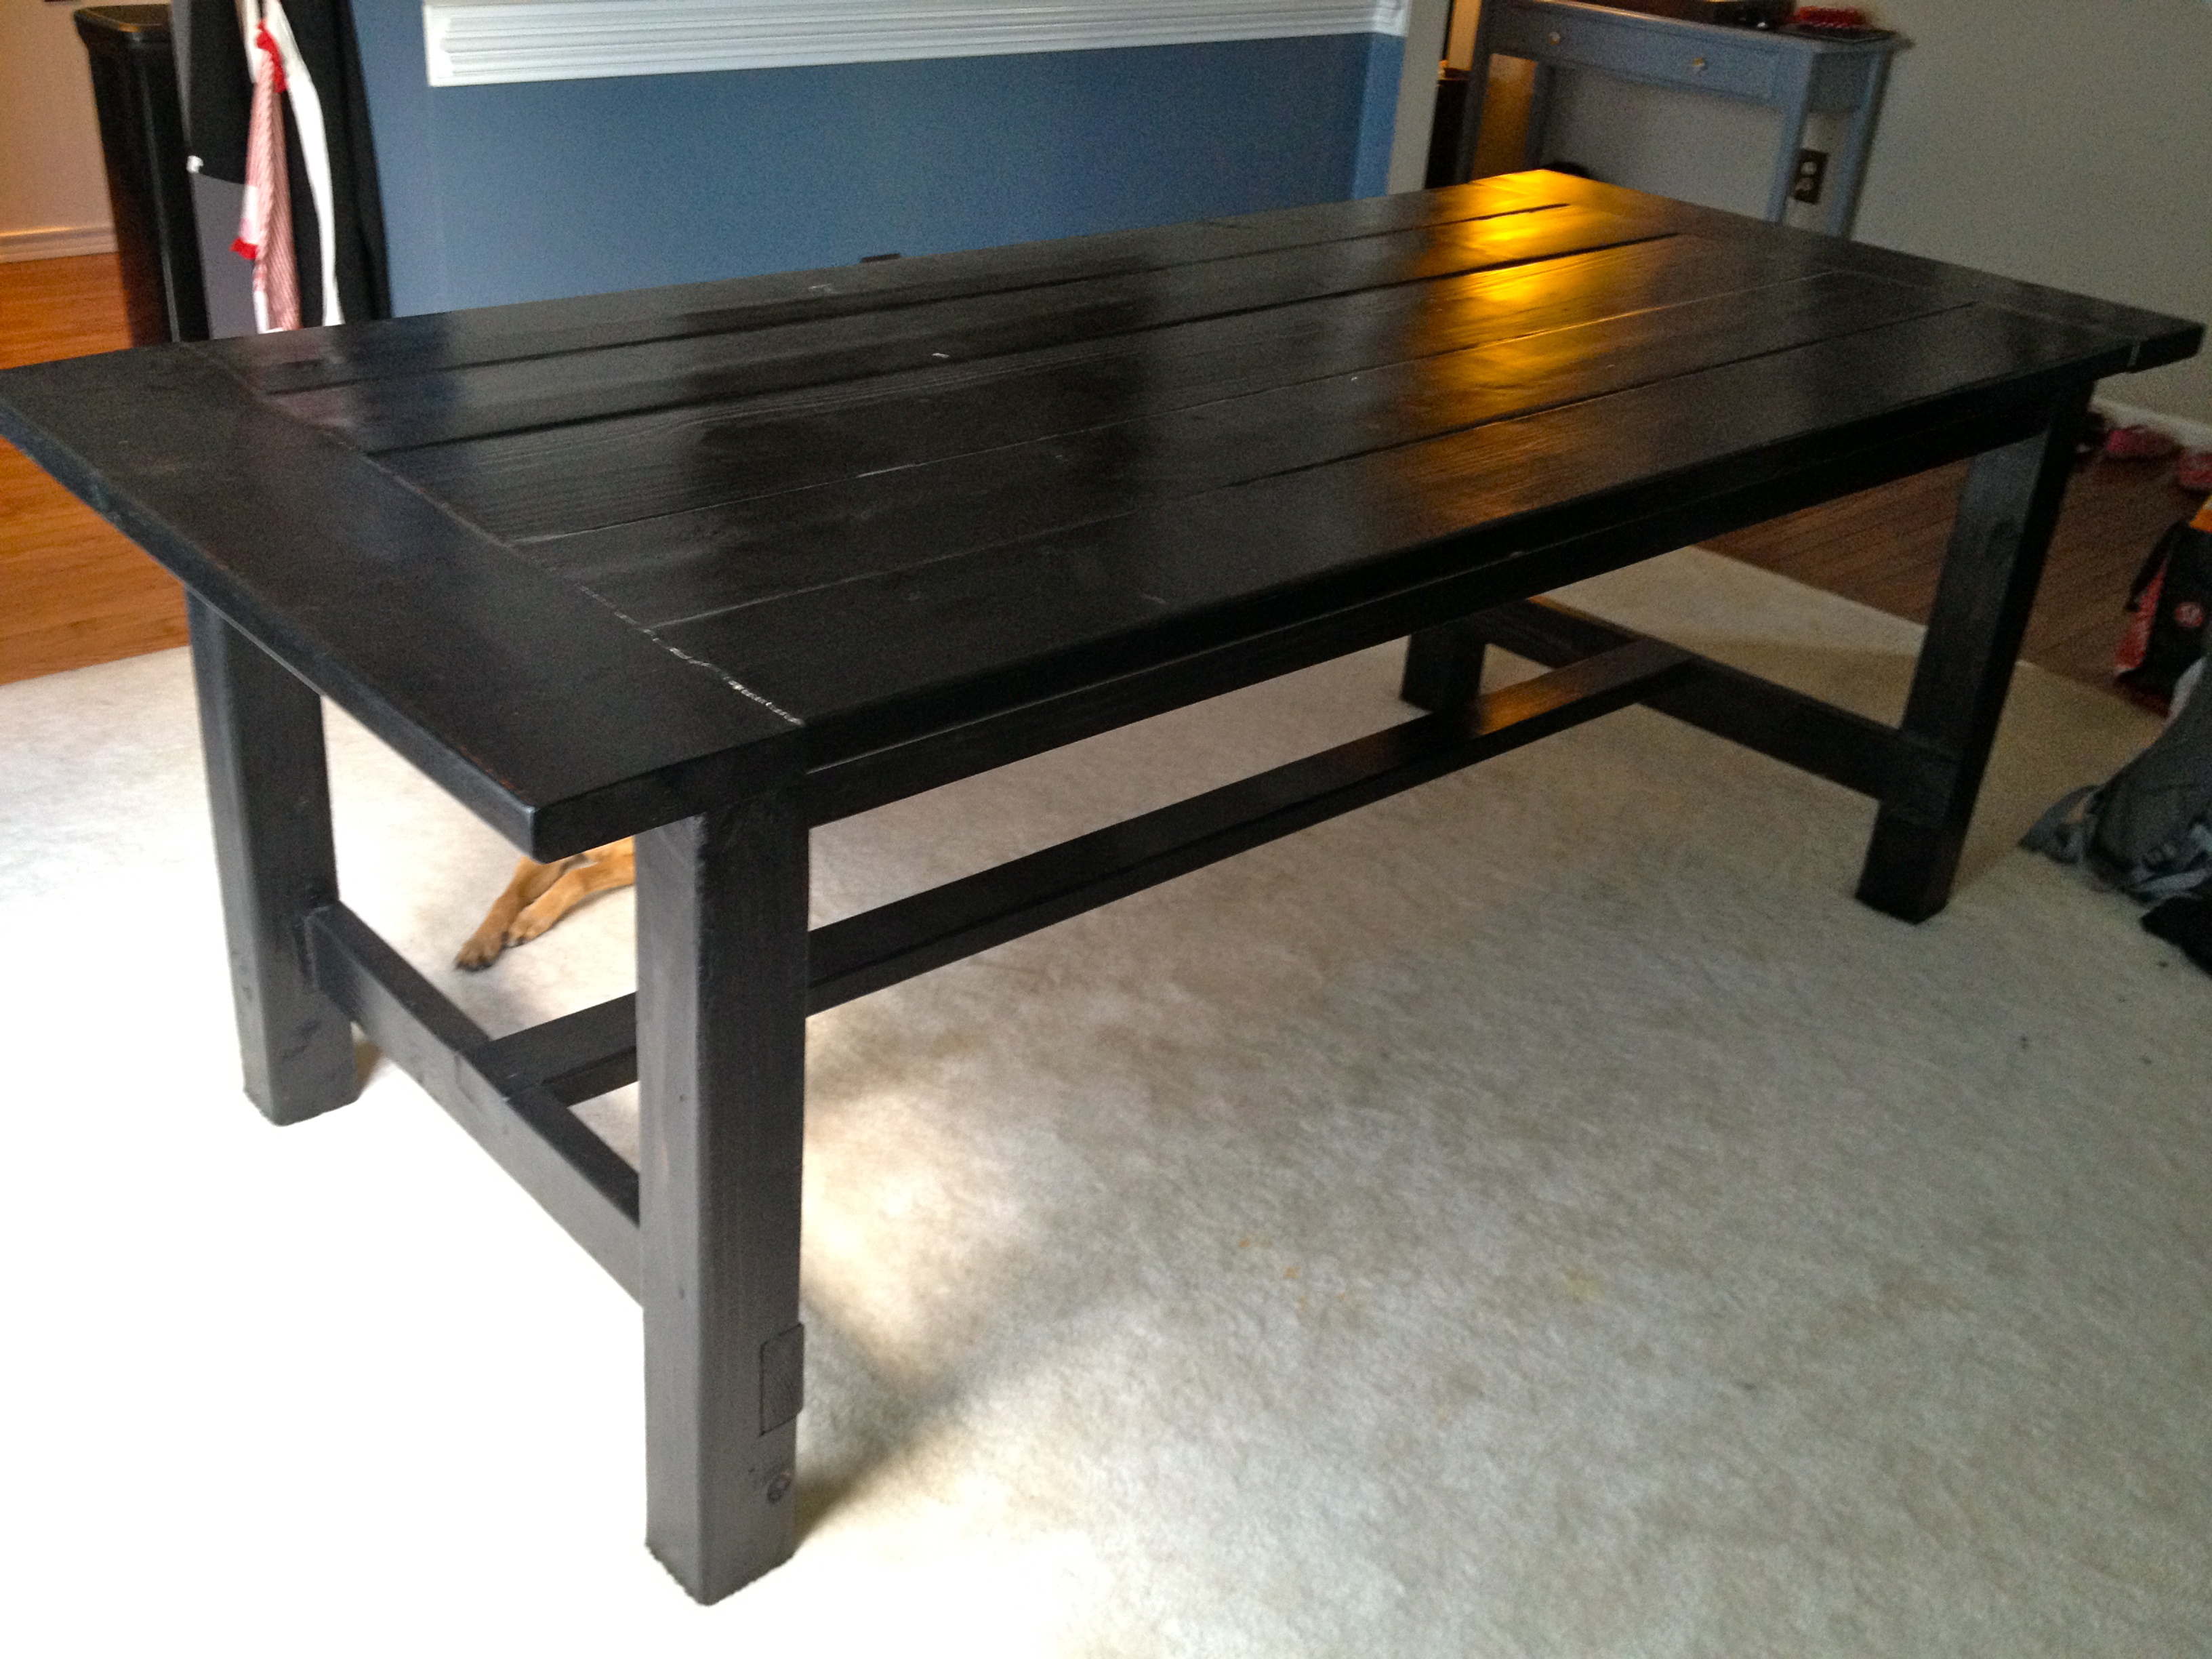
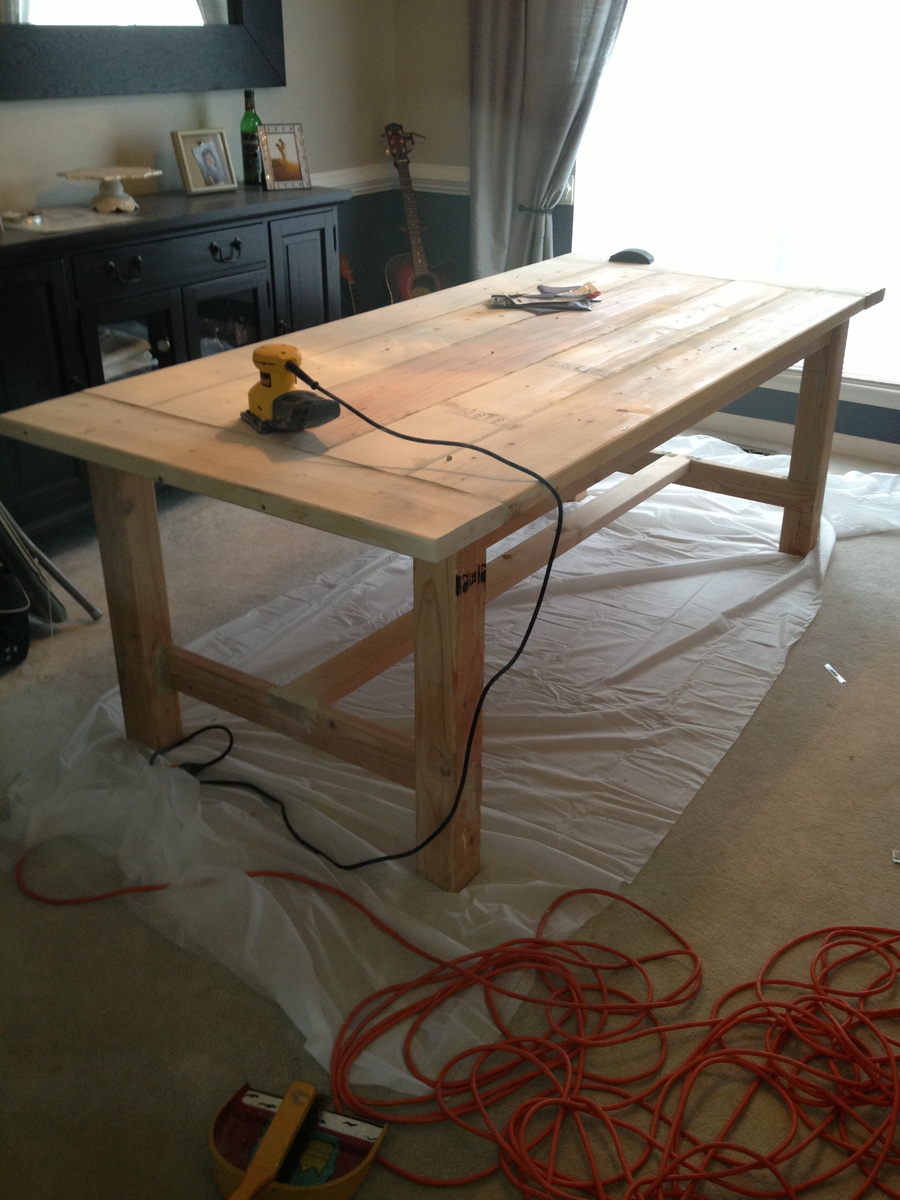
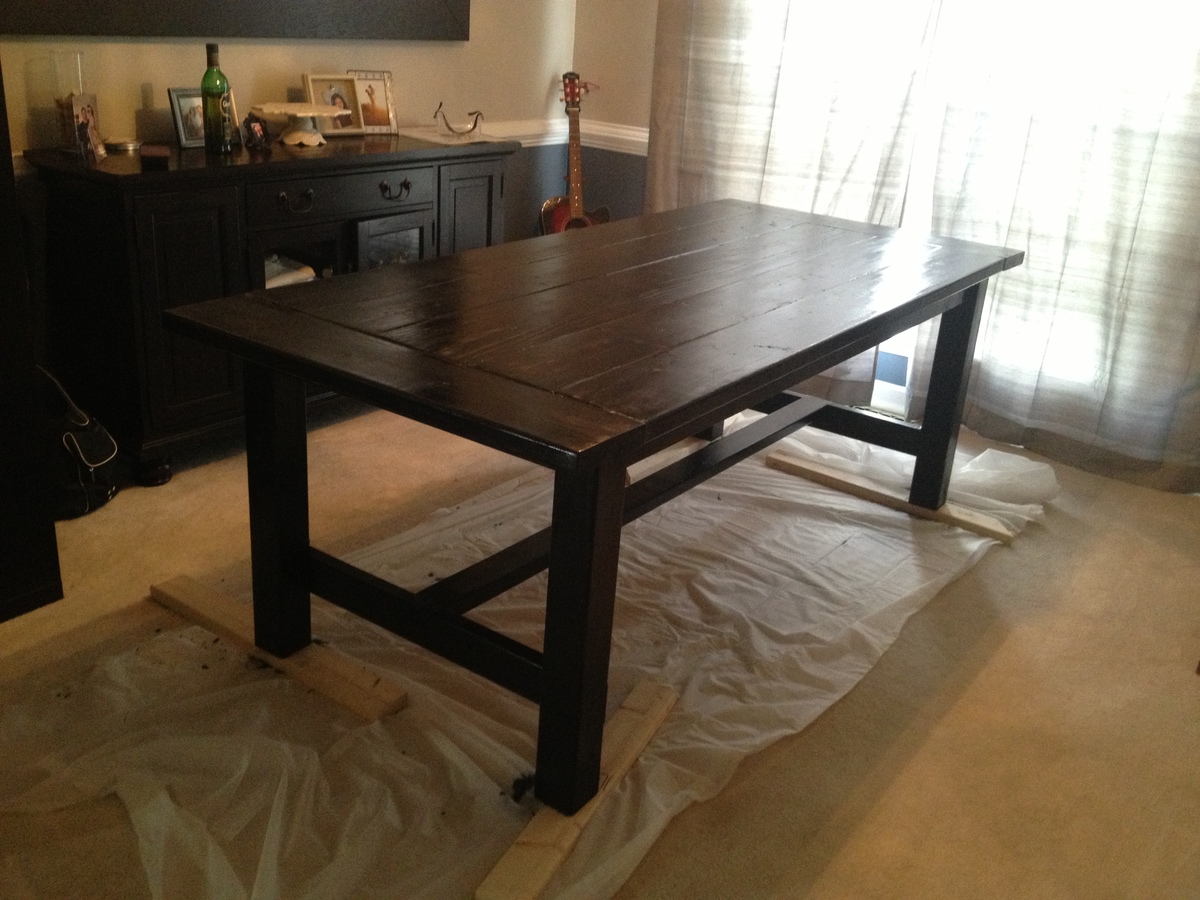
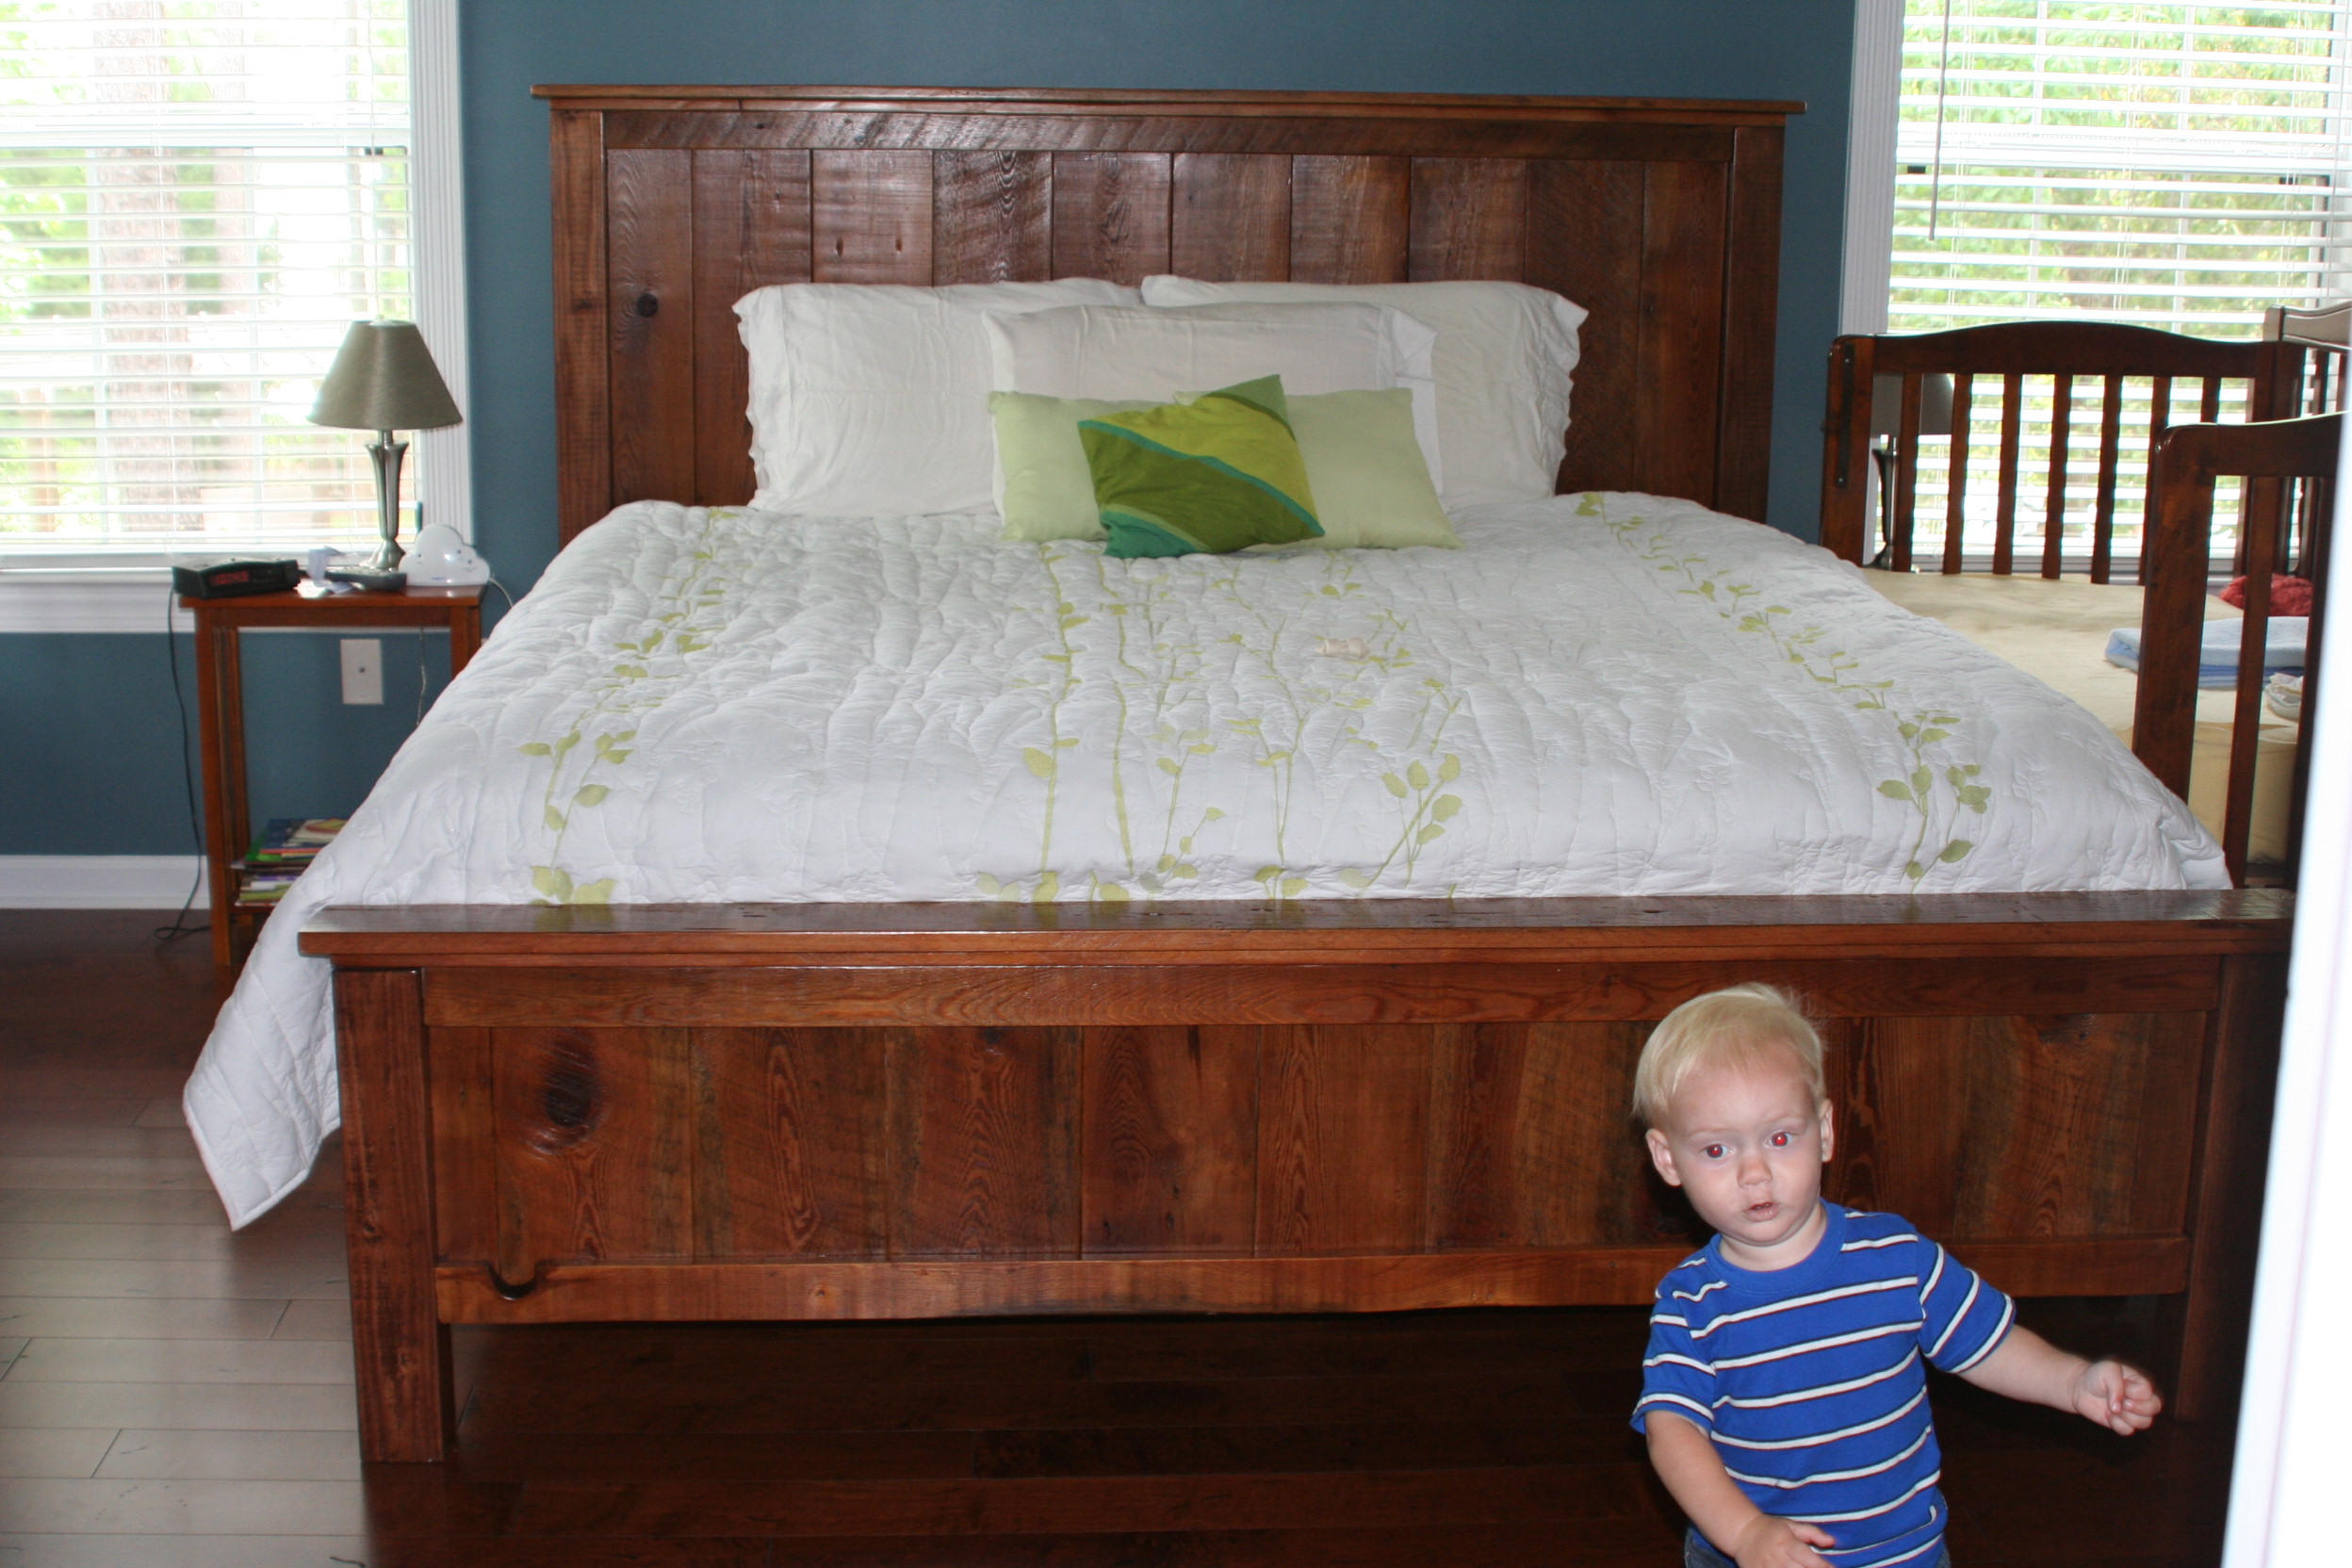
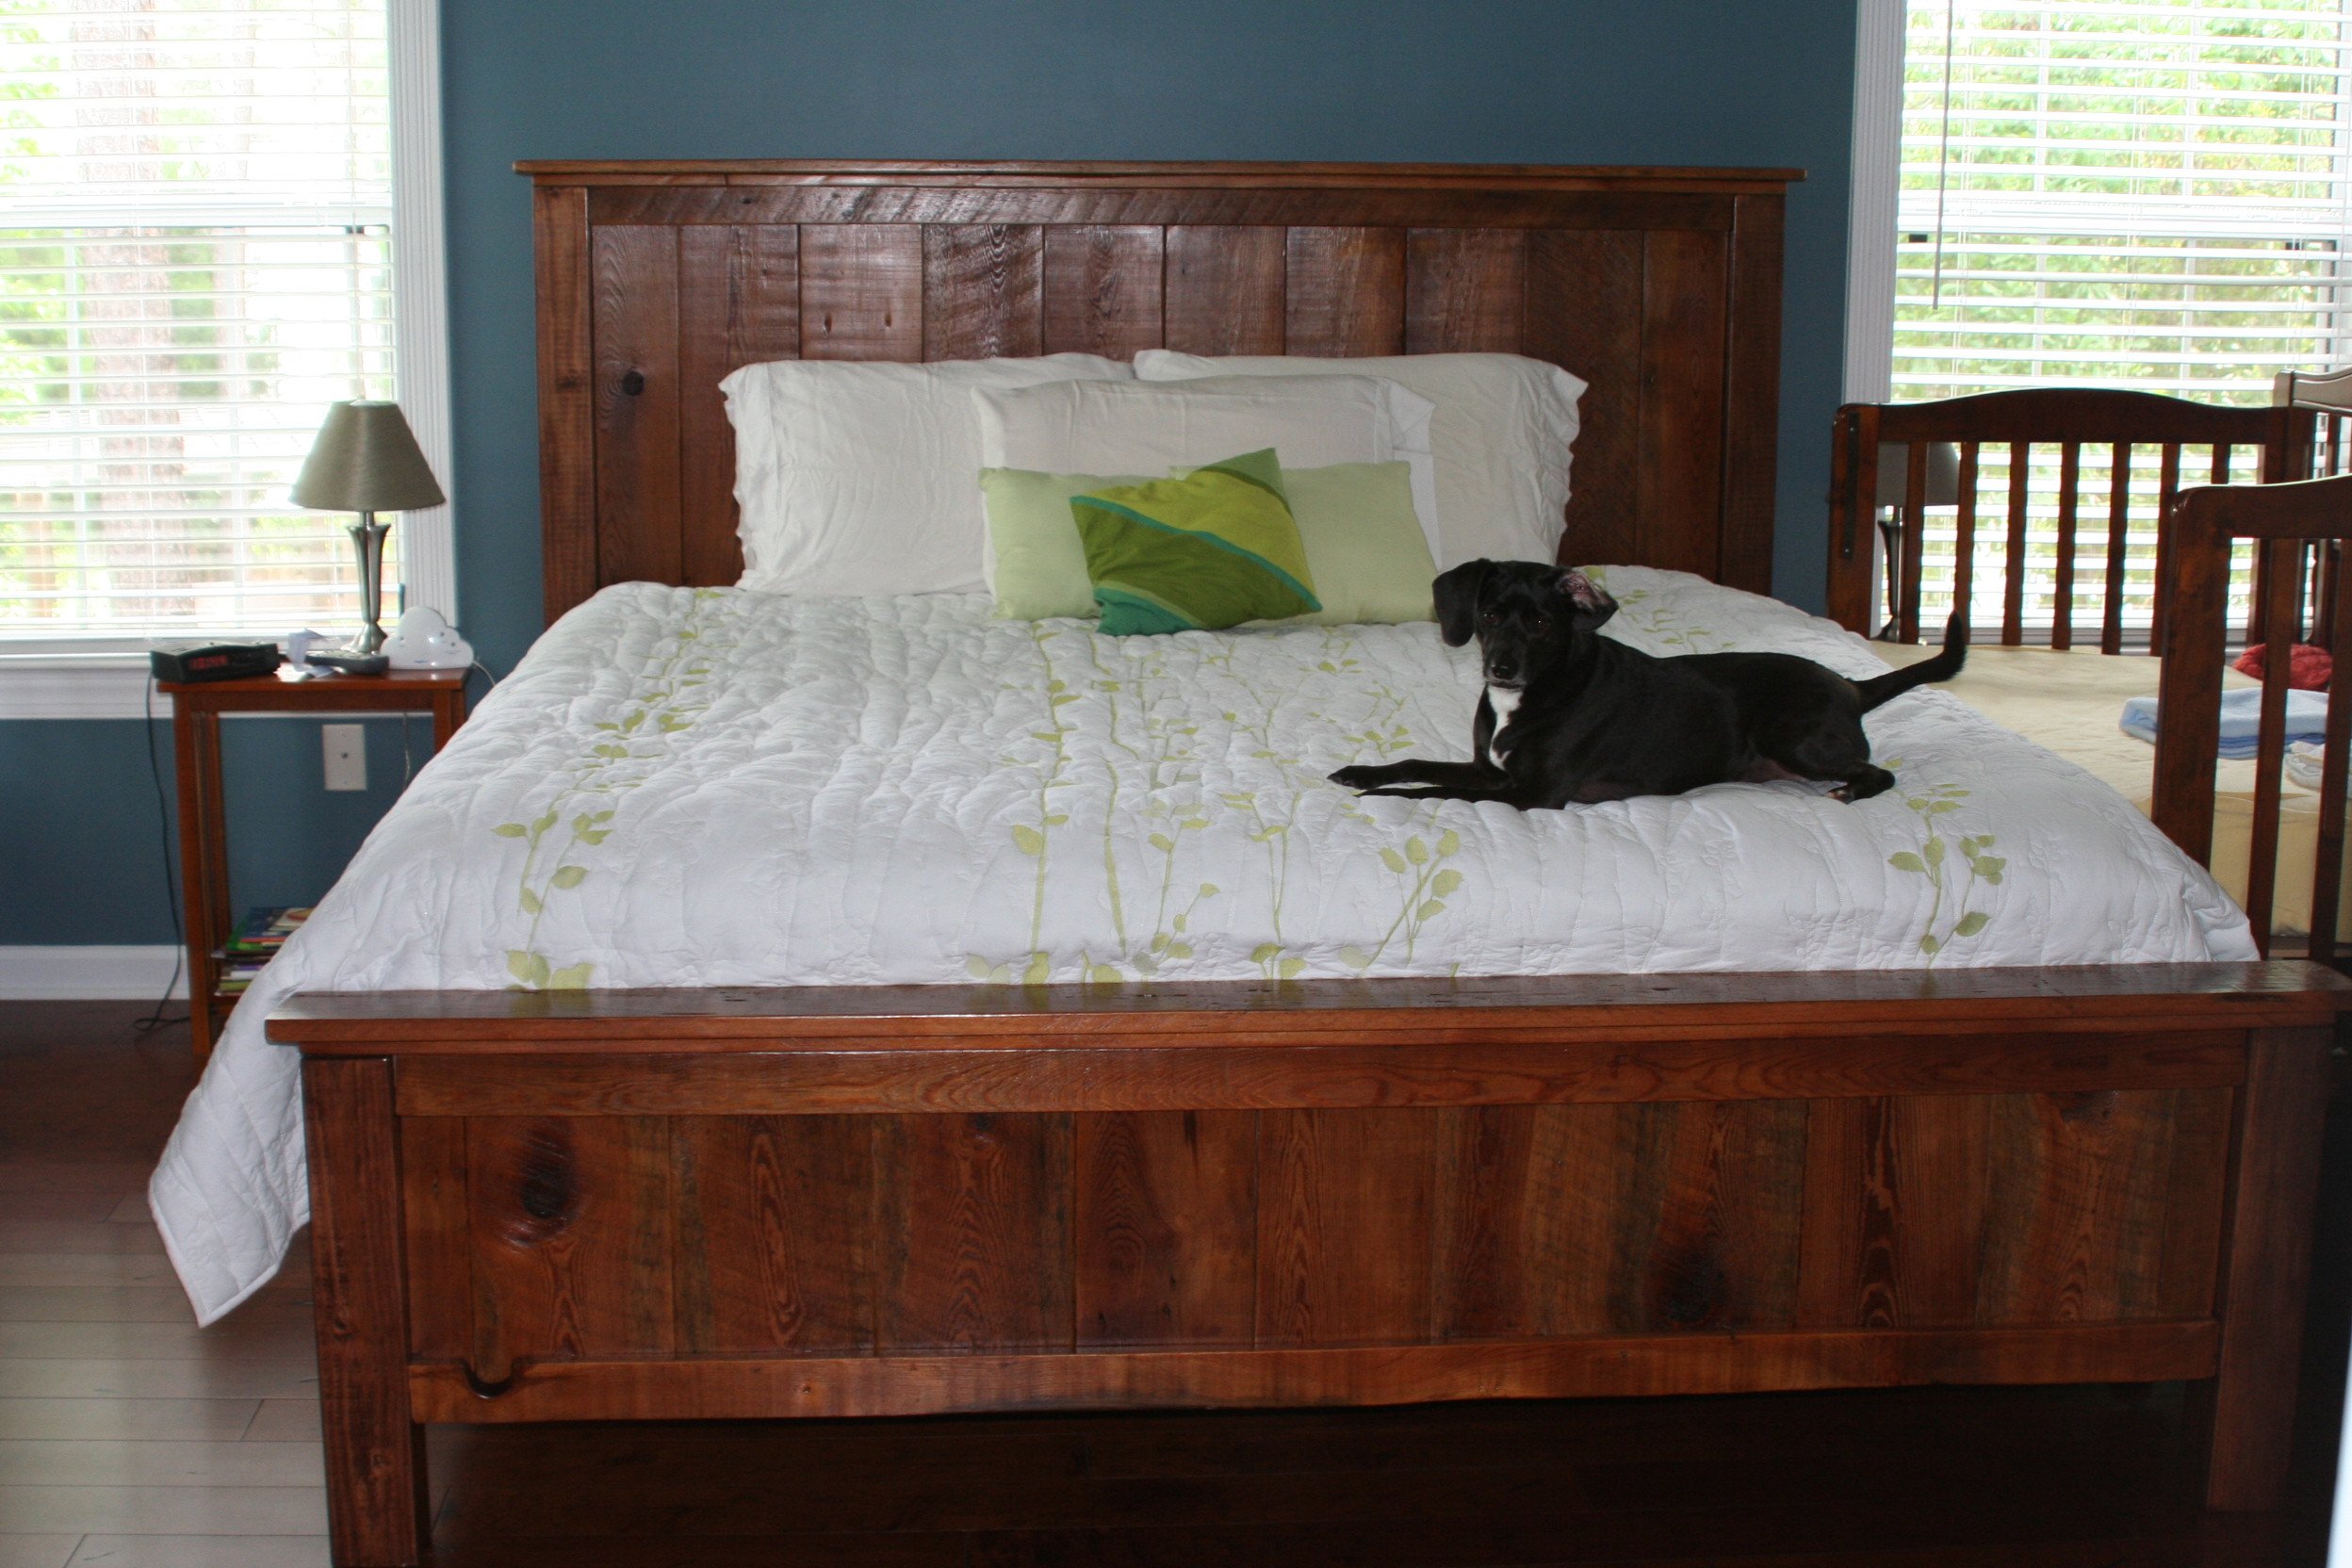
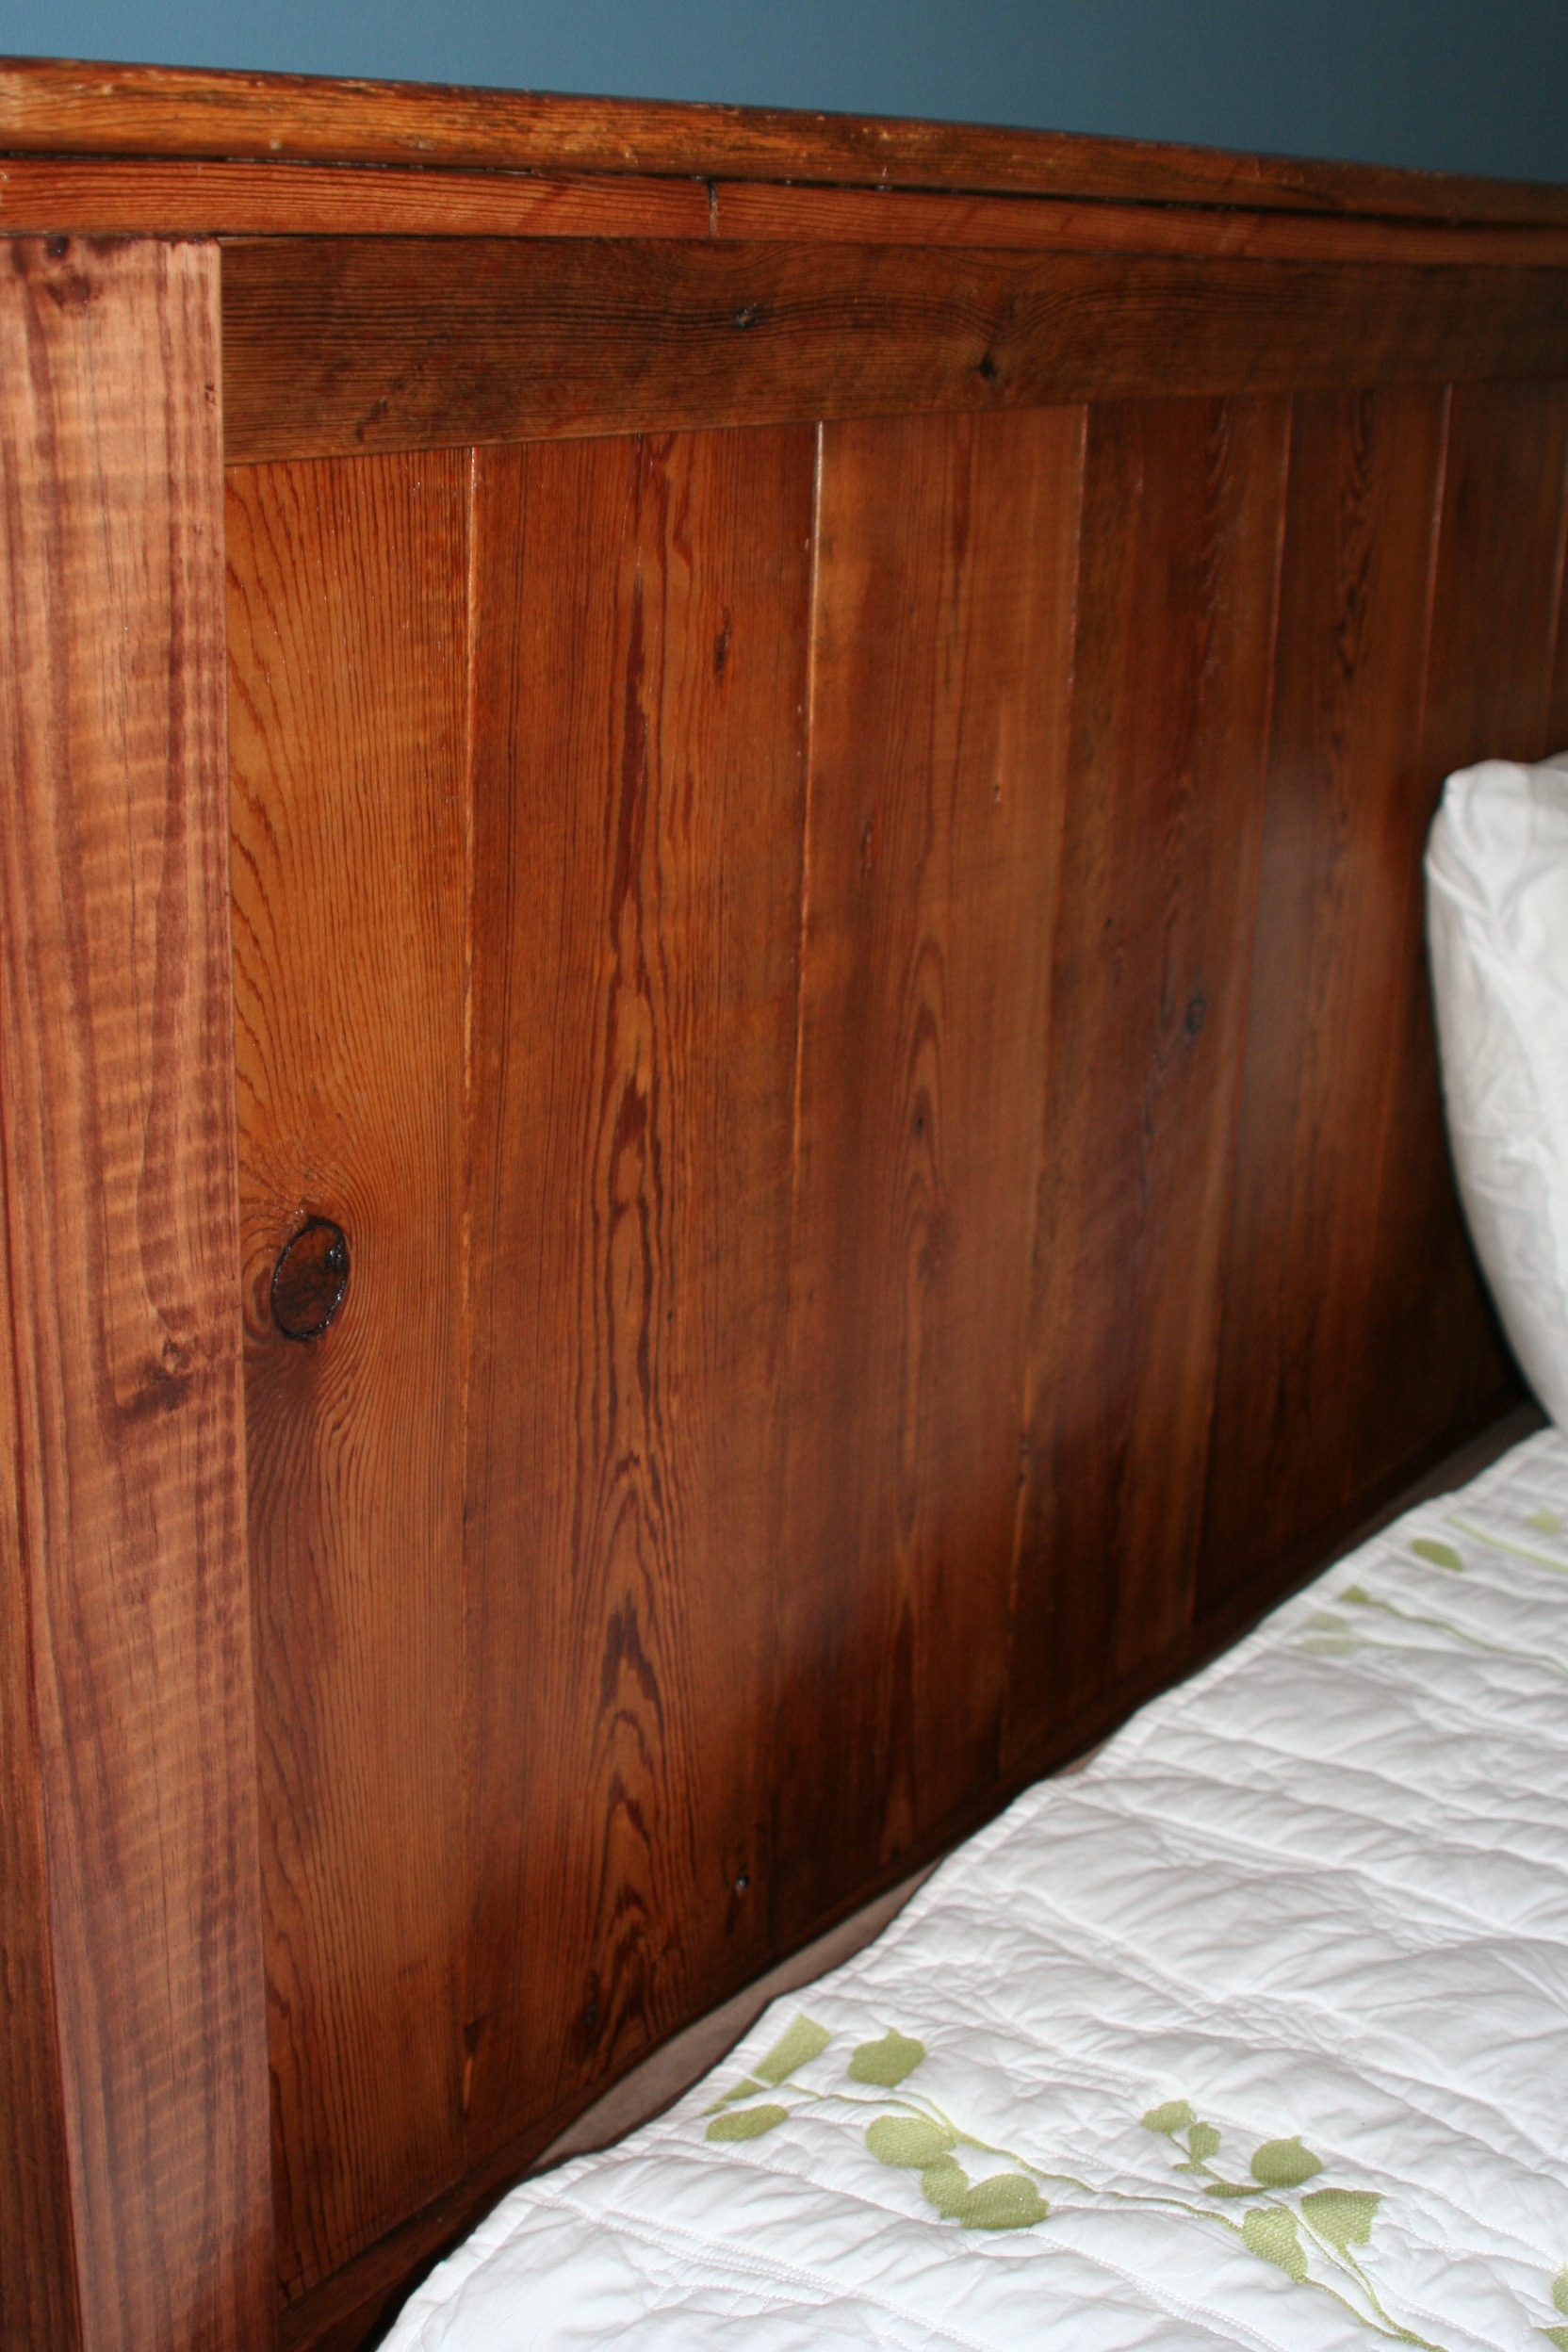
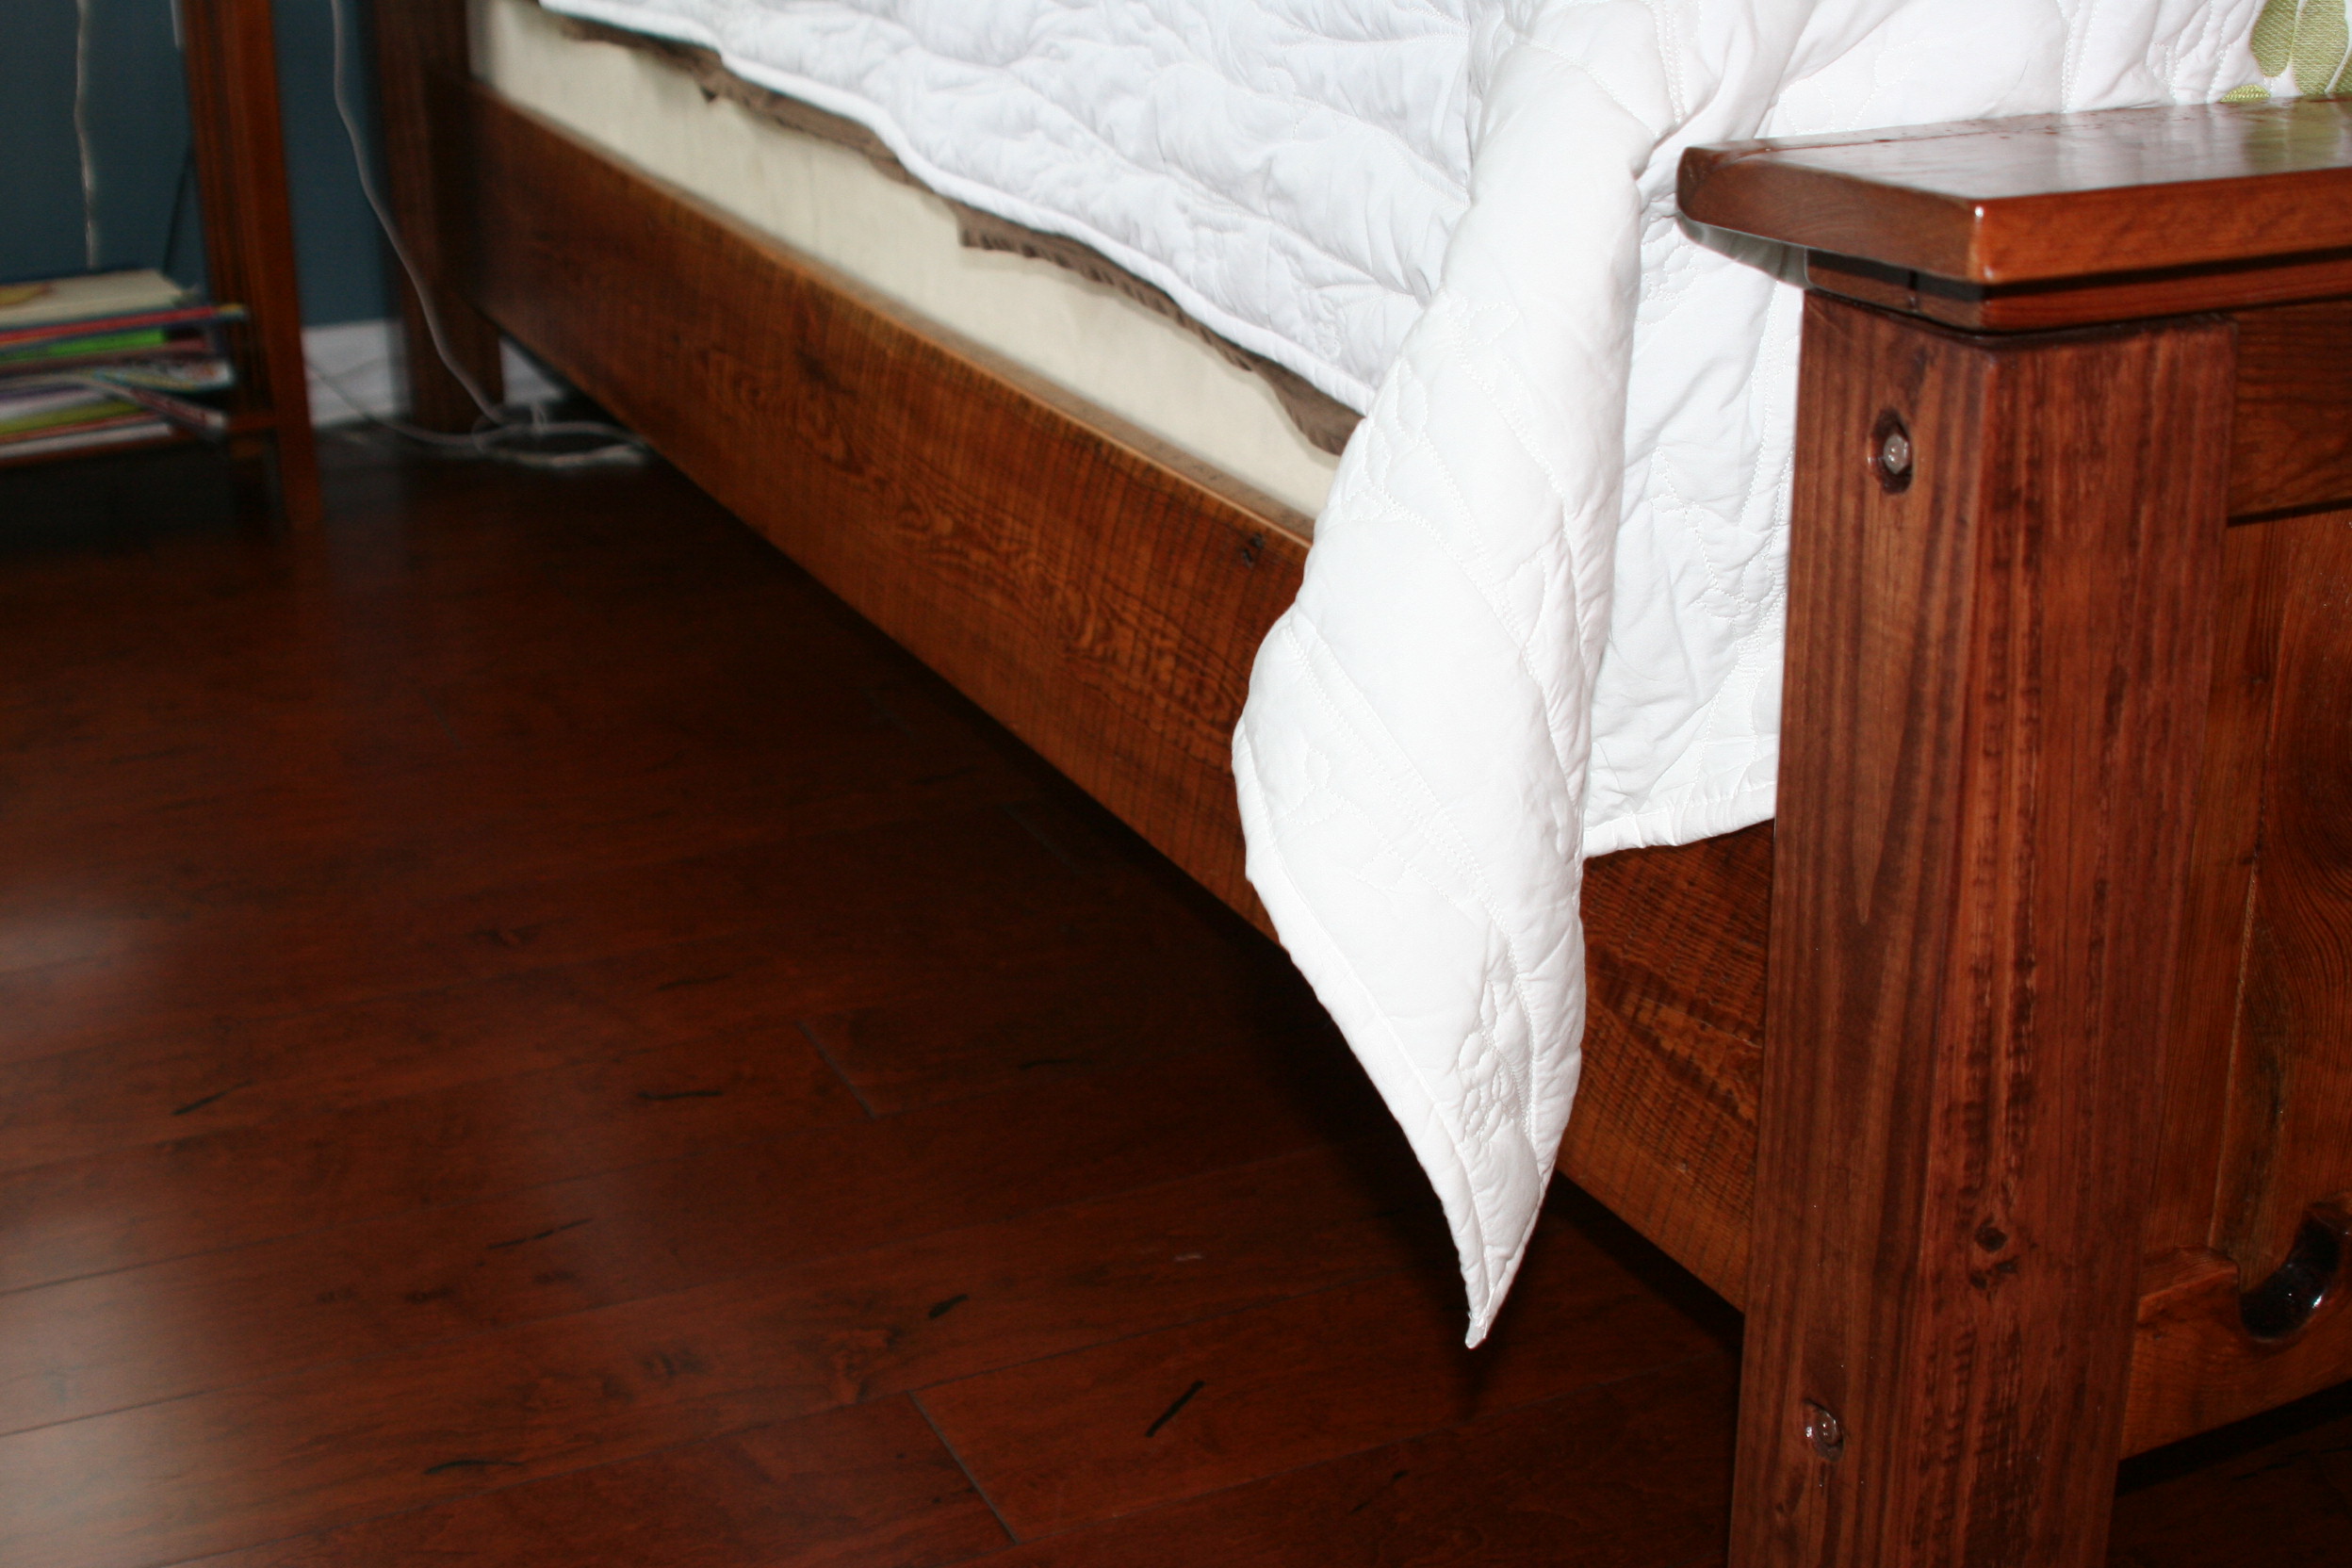
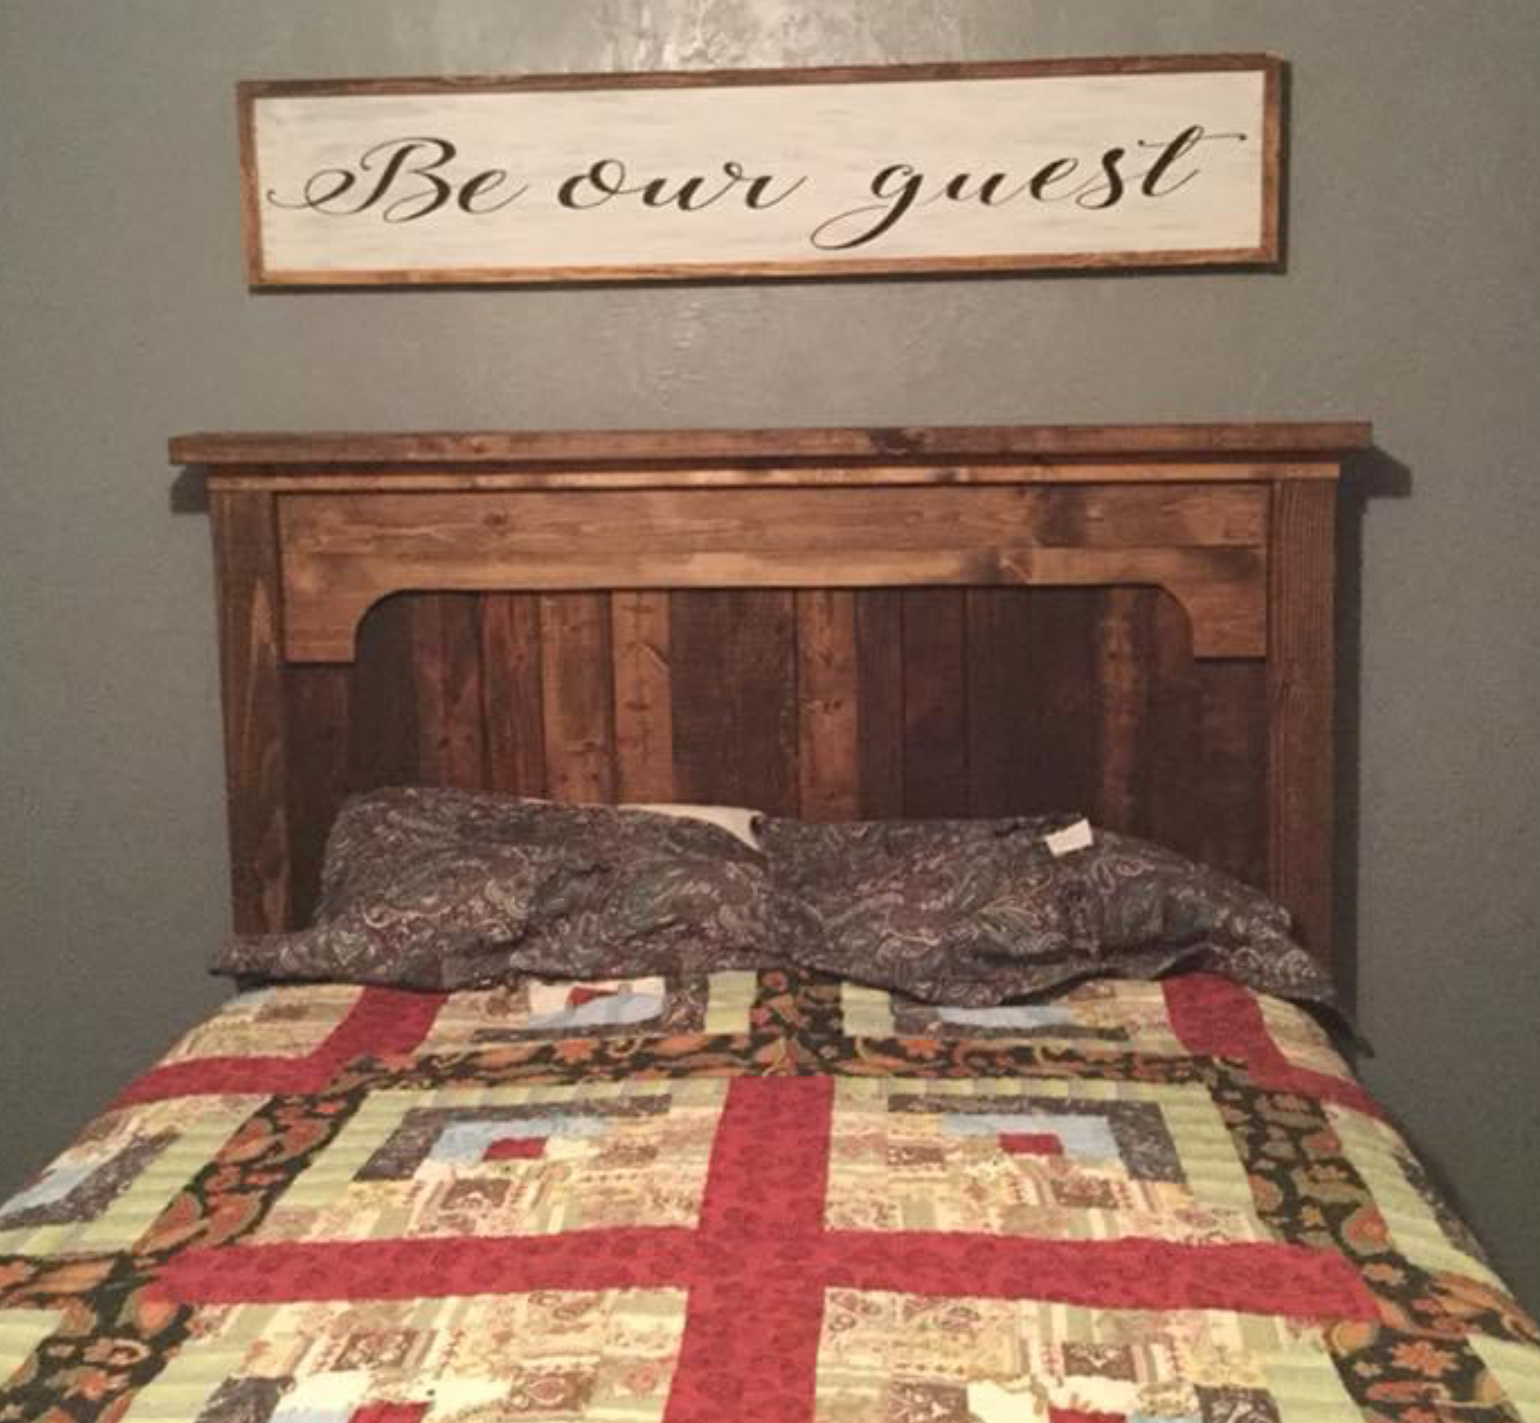
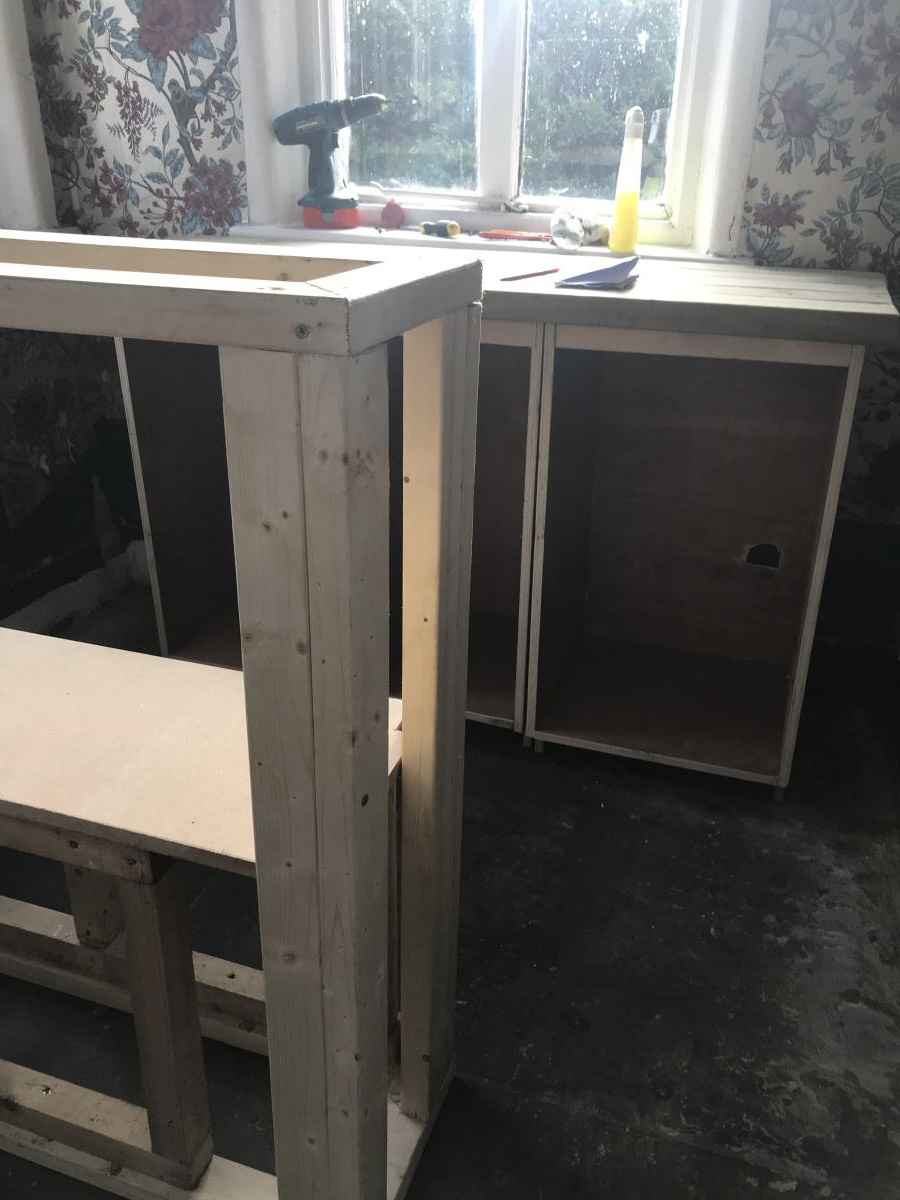
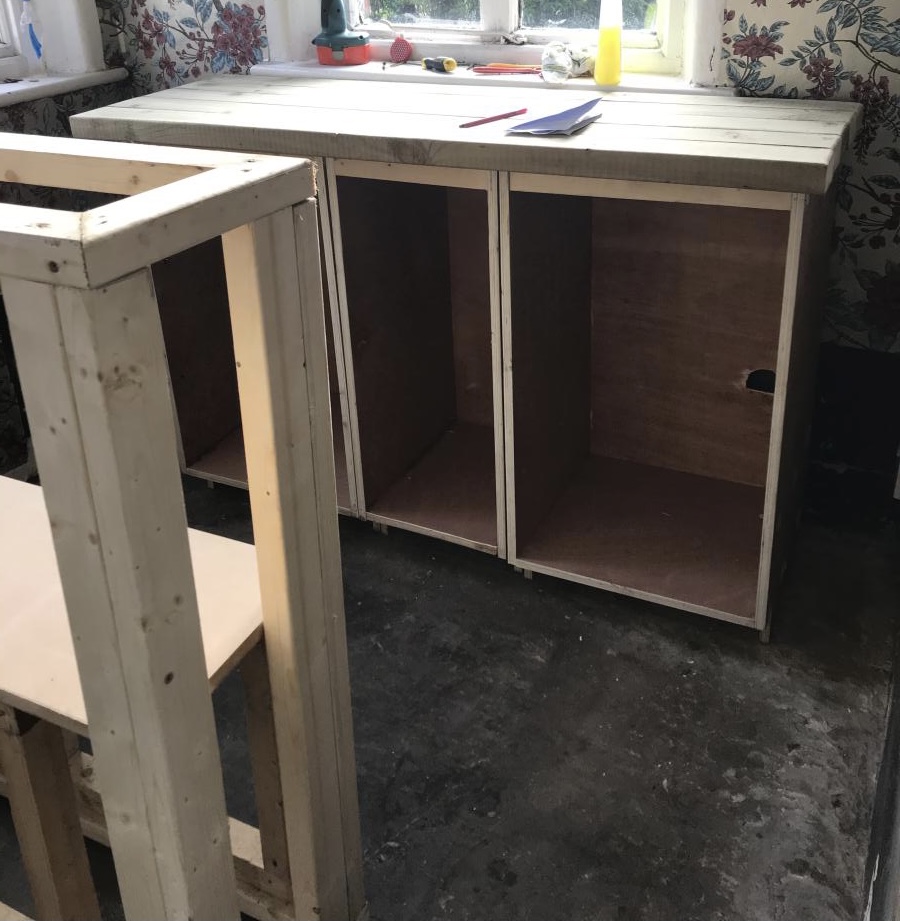
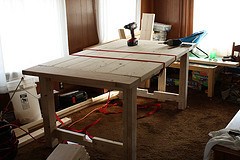
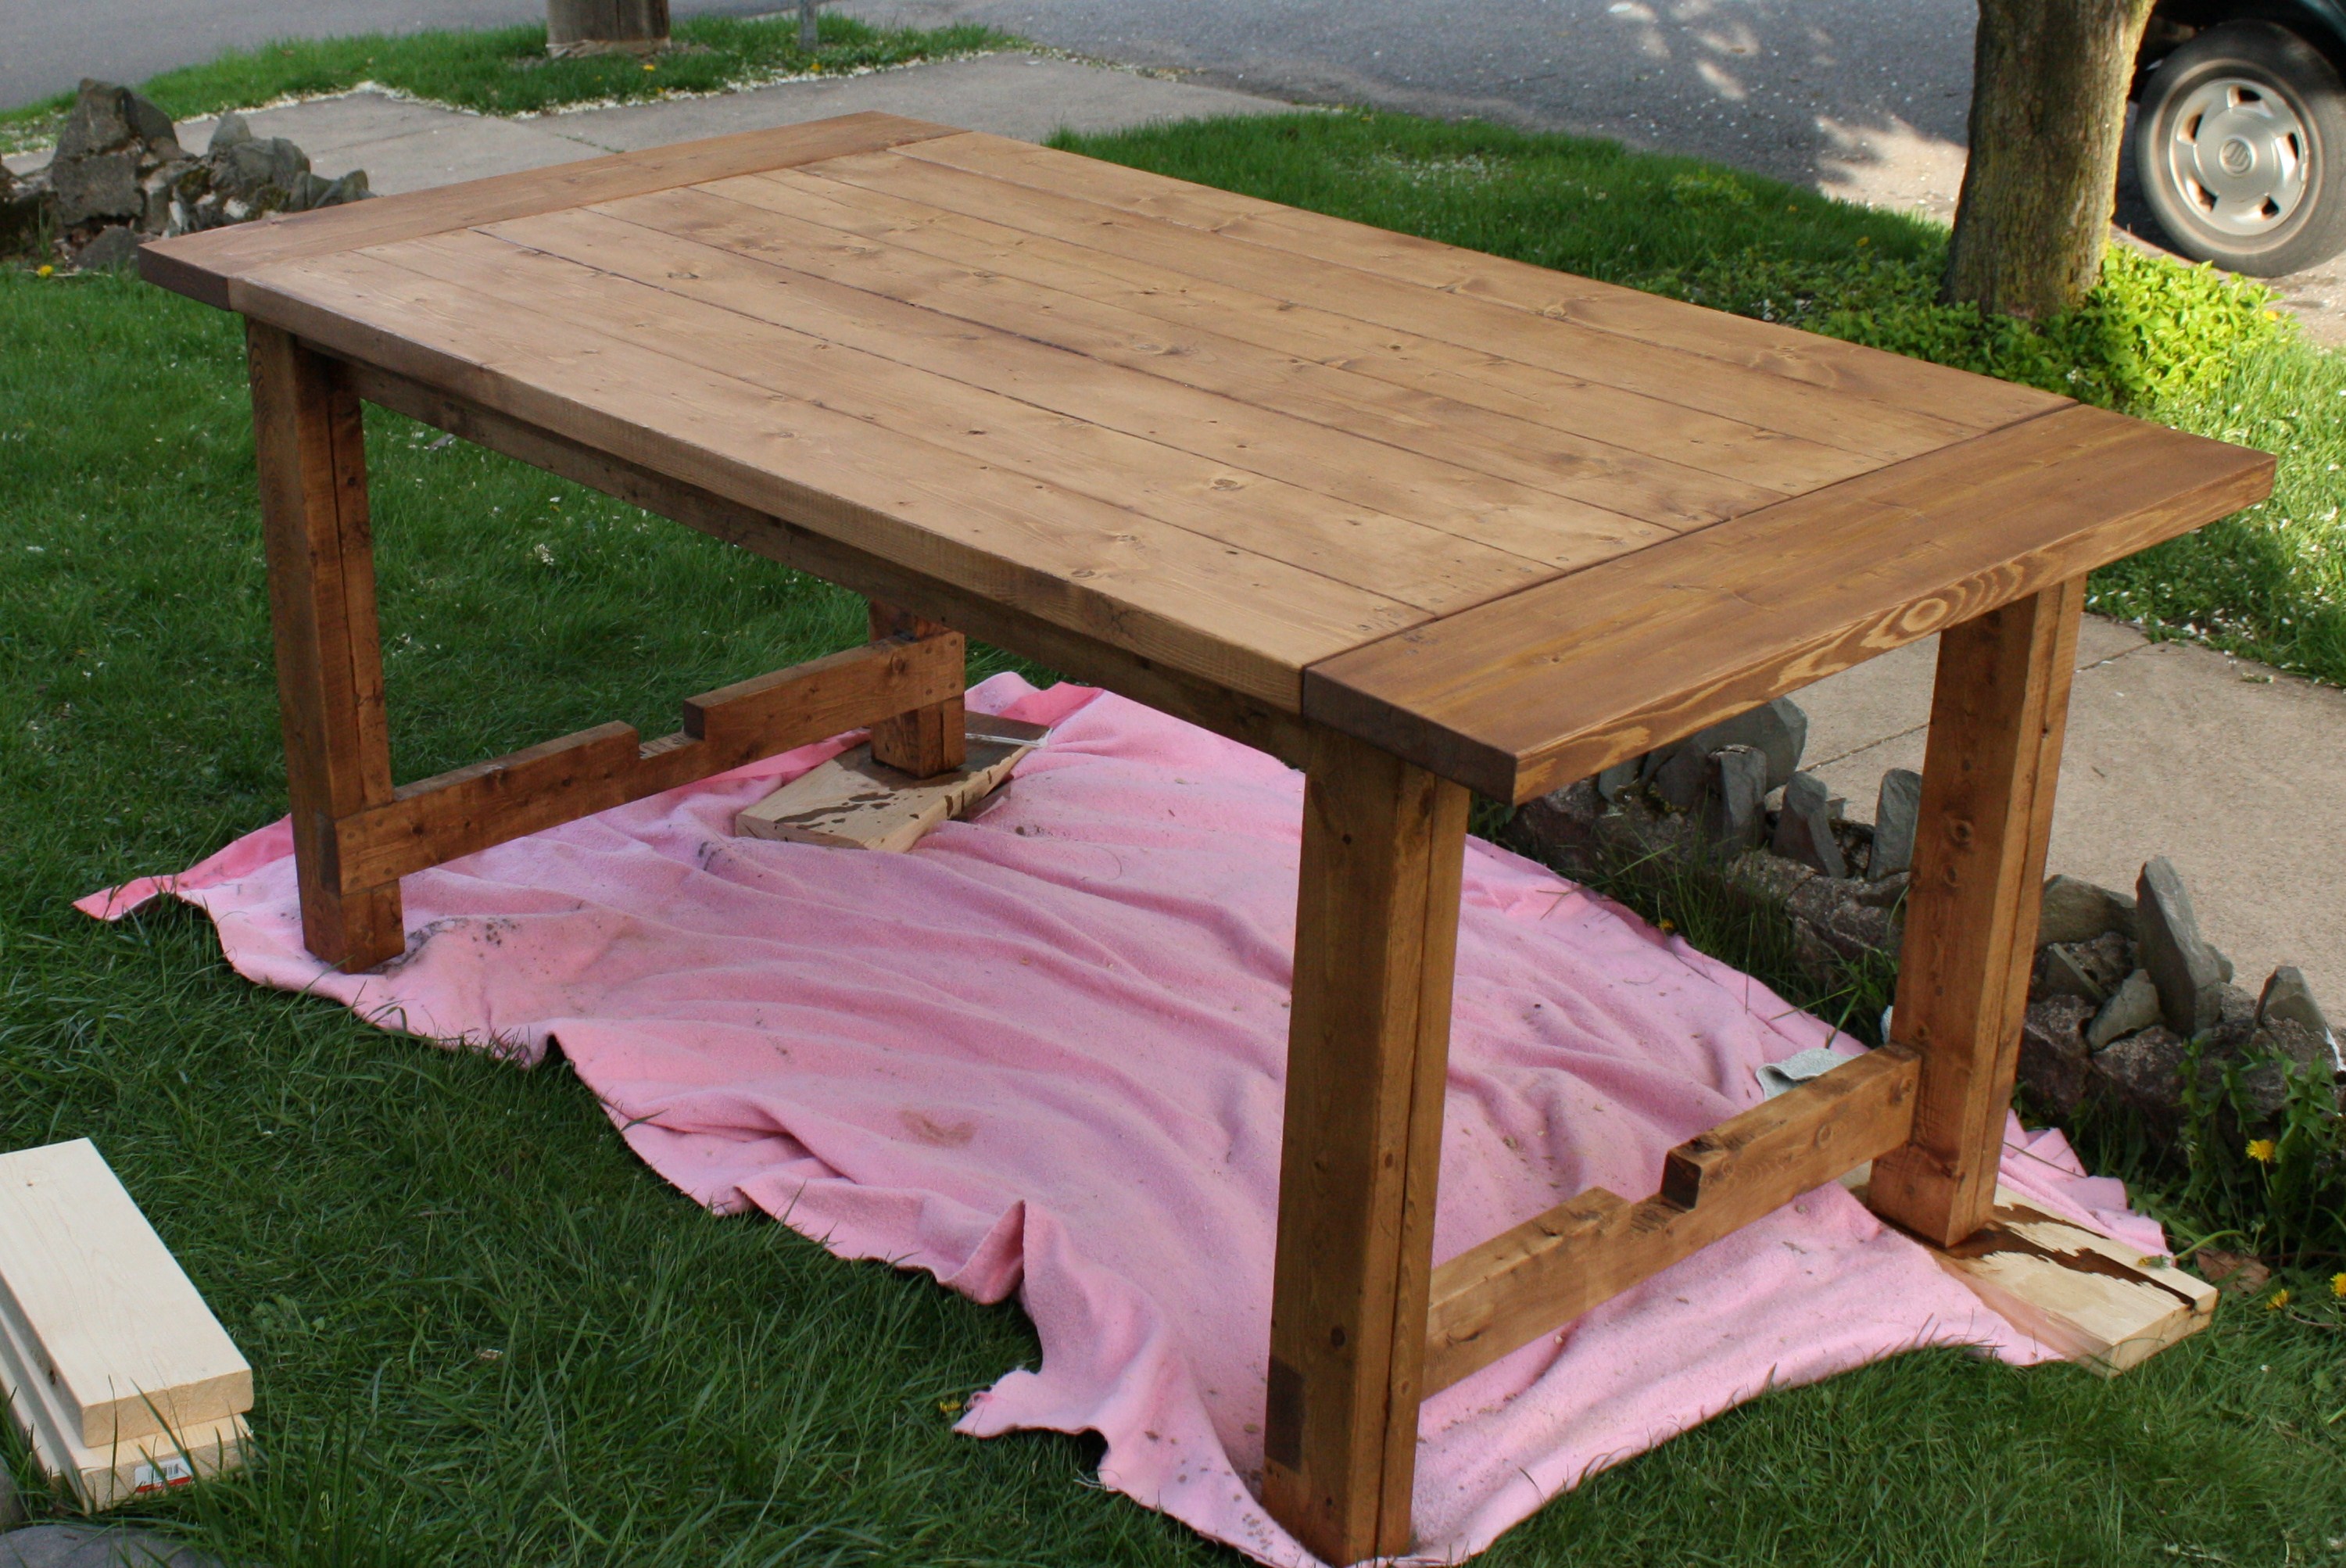
Trestle table with a few modifications

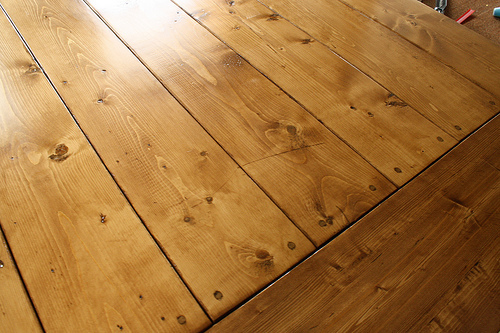
I went with a butcher block table top, 48x120”. Rostered the edges with a chamfer bit. I didn’t use the 45 braces Otis plenty sturdy. It would come through the door assembled so it was assembled in place and weighs more than any other piece of furniture we have. It seats 8 adults comfortably.
Thanks, Ana White


Built from Plan(s)


Comments
Ana White Admin
Sun, 12/26/2021 - 17:13
Beautiful table!
That is amazing, love the look!