Community Brag Posts

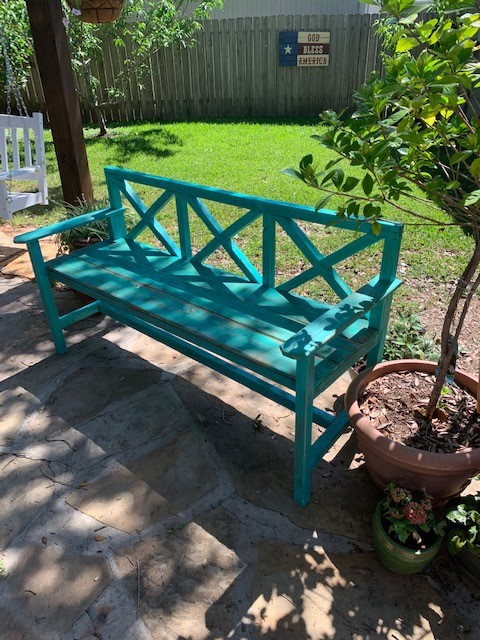
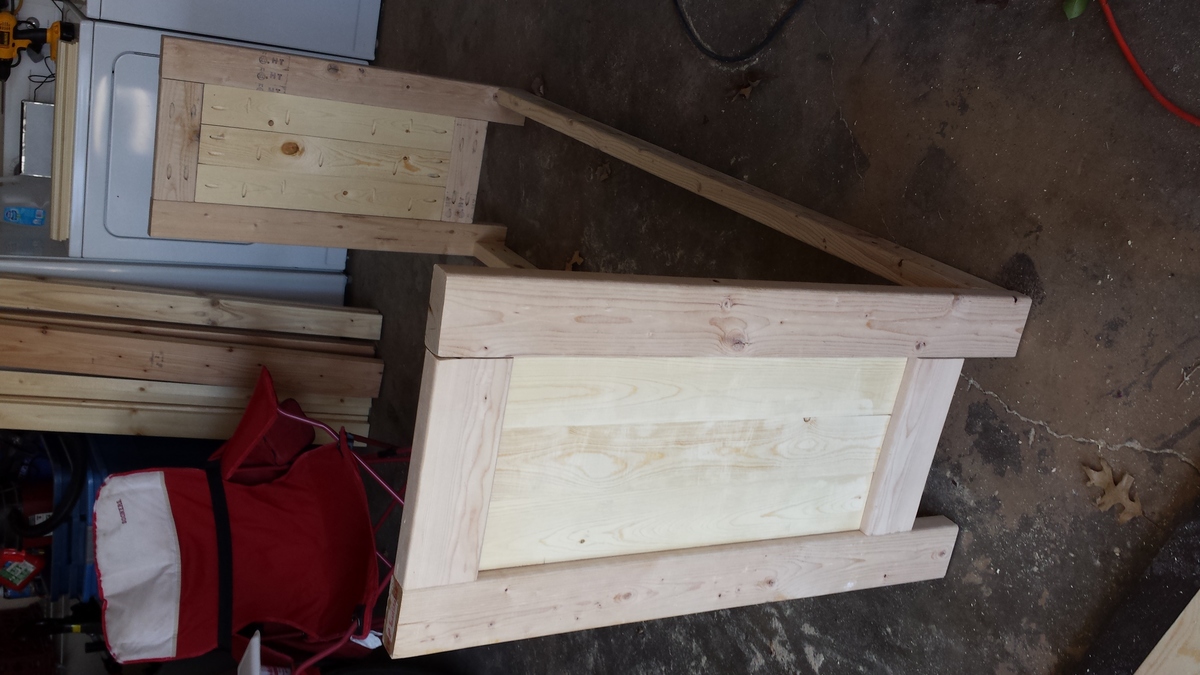
Bench with A Frame Ends

Submitted by AndyH on Tue, 03/29/2016 - 17:54

Bench made with A frame ends. 5 feet long, 17 inches high and 14.5 inches wide.

Estimated Cost
$30
Estimated Time Investment
Afternoon Project (3-6 Hours)
Finish Used
Varathane Kona and three coats of satin protector.
Recommended Skill Level
Beginner

Christmas tree

Submitted by Anonymous (not verified) on Sun, 11/24/2019 - 21:01

Thank you very much for the Christmas tree plans, was a nice and fun project, I added a star, can be removed if people wants to use the tree year long.

Thank you again
Sergio

Built from Plan(s)
Estimated Cost
$15
Estimated Time Investment
Afternoon Project (3-6 Hours)
Finish Used
I burnt the wood with a torch to begin with, then I mix water base paint with water , (more water then paint) brush it and wipe it off, then I use a clear finish. I did stained everything before I put them together. Took me 20 minutes to cut the wood for 2 trees, the time consuming was waiting for the stain to dry. Awesome project and fun.
Recommended Skill Level
Beginner

Square Outdoor Picnic Table

Submitted by Anonymous (not verified) on Sun, 07/30/2023 - 14:49

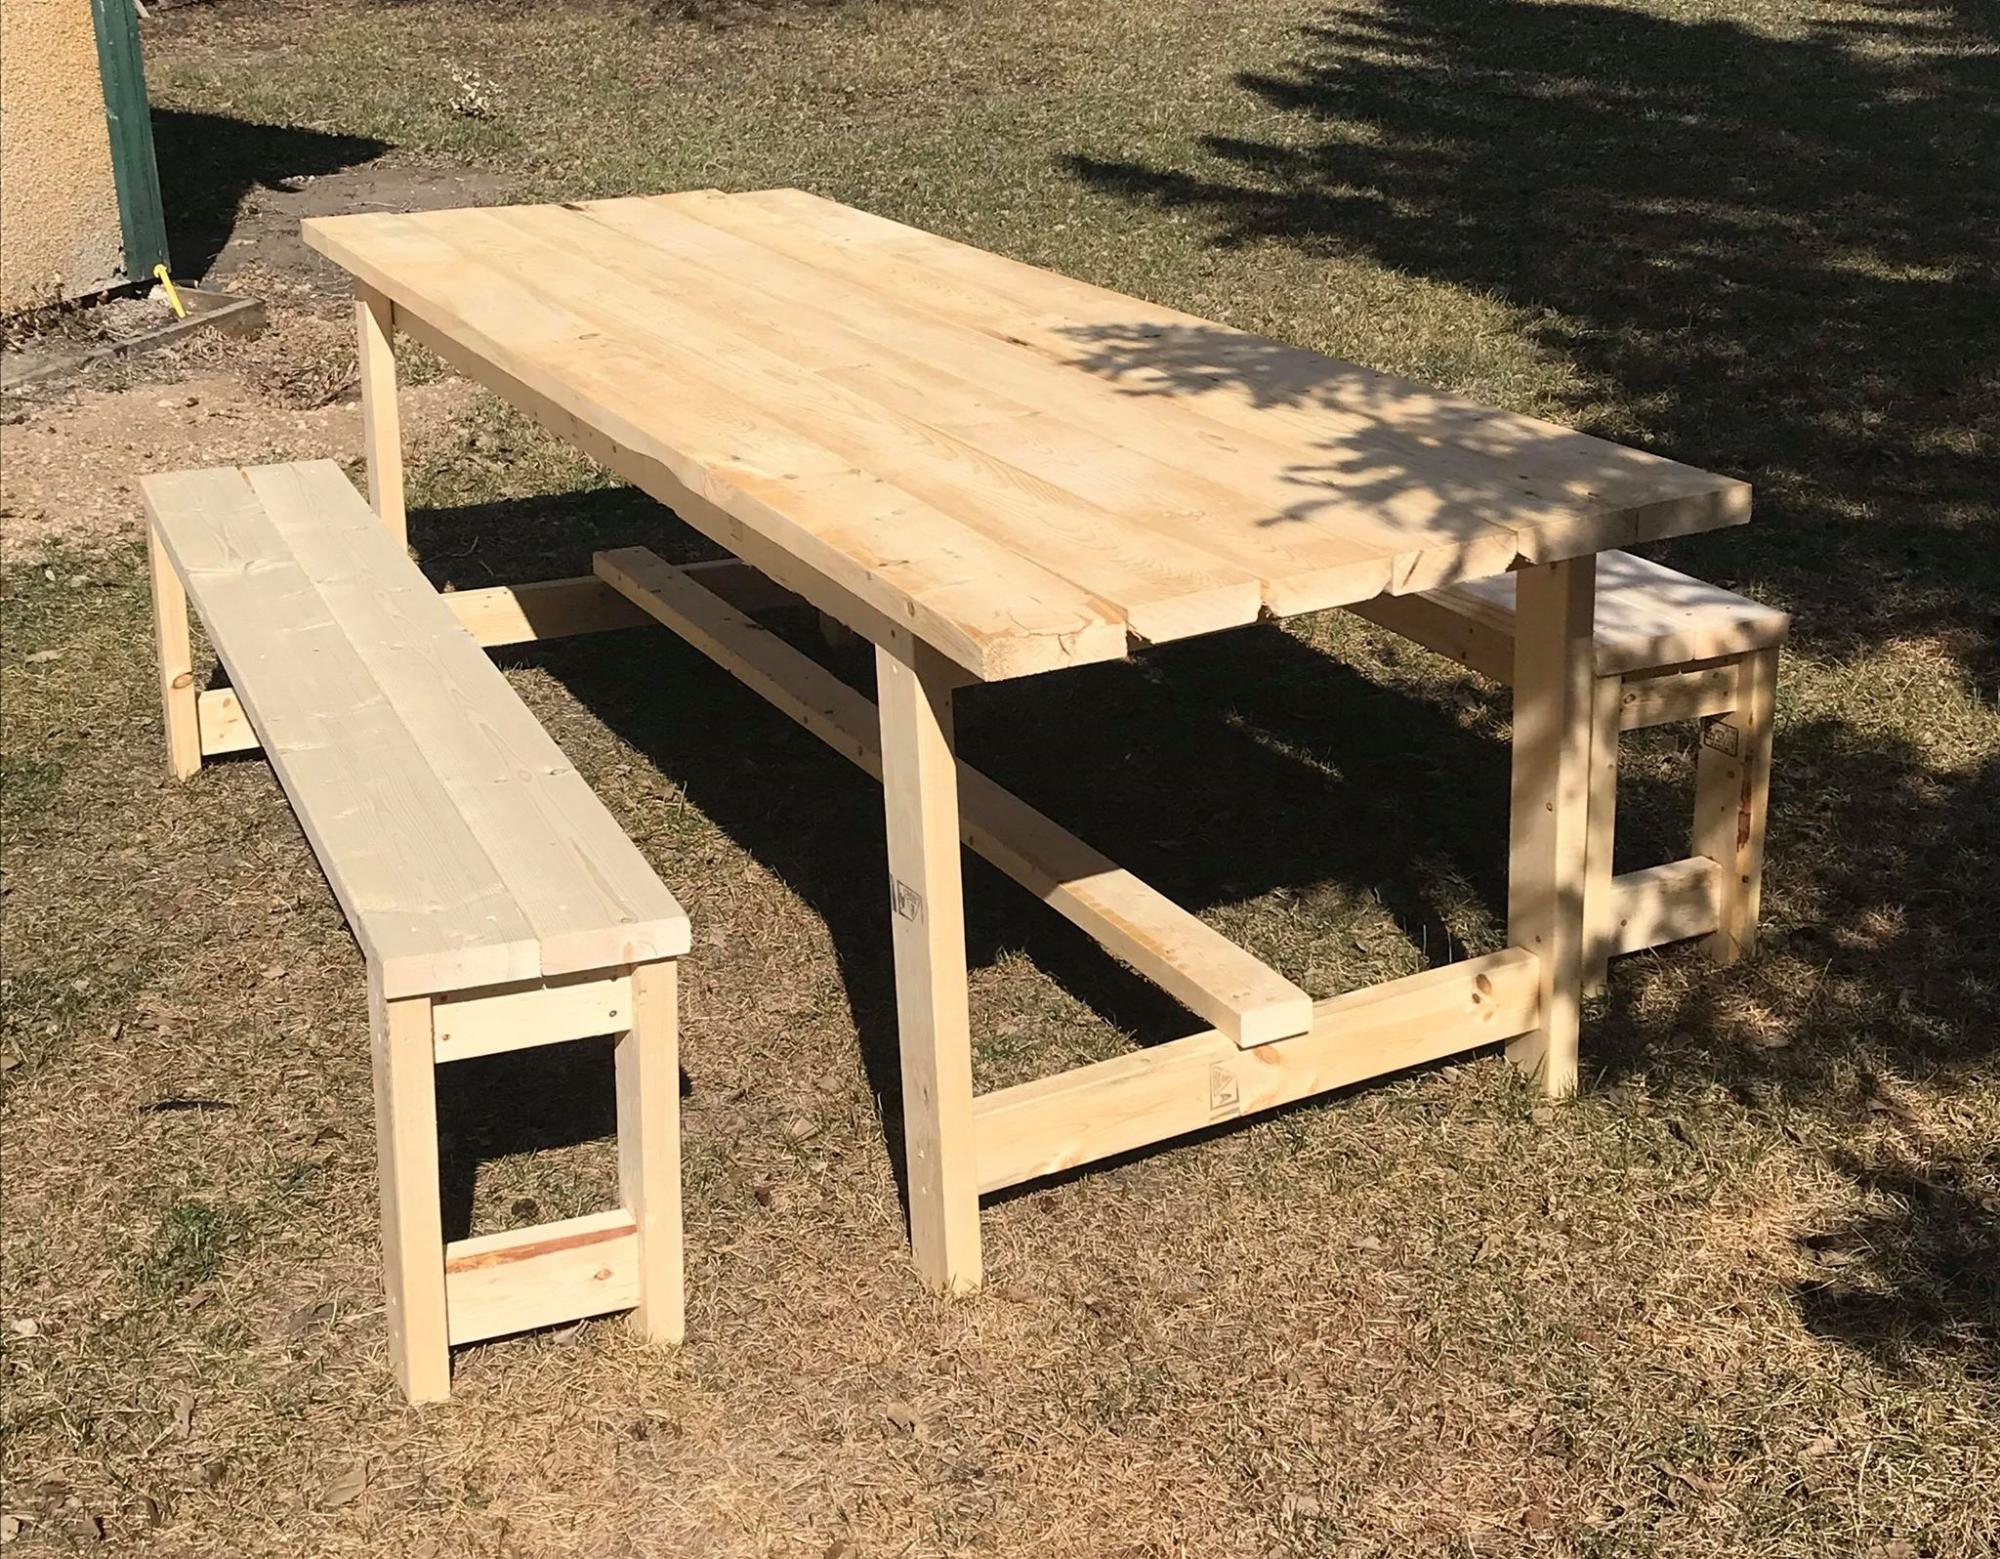
6 seater Recycled Fijian Kauri with extra leg supports, one side higher & closer for kids.

Marty

Built from Plan(s)

Comments

Florida Gator Themed Playhouse

My husband Jon recently built this playhouse with/for a friend of his from work. It took them two months to complete and it's awesome! Jon's friend is also a die hard Gators fan so they made sure to add blue and orange as much as they could. Thanks Ana for giving them the courage to take on such a feat!

Estimated Cost
$2000
Estimated Time Investment
Week Long Project (20 Hours or More)
Finish Used
None
Recommended Skill Level
Advanced

Comments

birdsandsoap

Wed, 03/21/2012 - 01:51

Great Job! All this says is "GO BRONCOS!" I'm an Idaho girl and I love the BOise State colors, lol! "Playhouse" is an understatement. This is a jungle. This is a huge play structure! and it is awesome.

Jons Home Made Table

Submitted by Anonymous (not verified) on Fri, 04/01/2016 - 05:04

Built from the

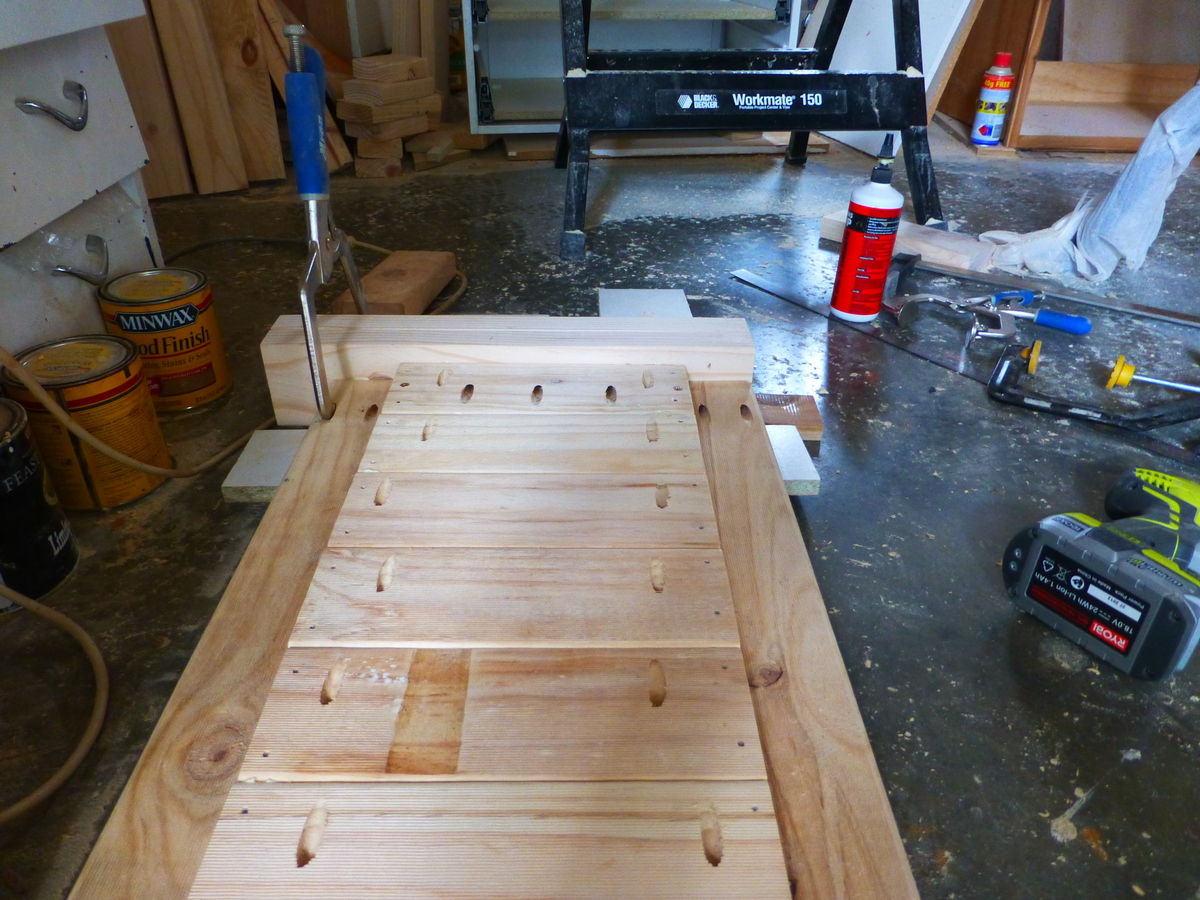
Farmhouse Table - Updated Pocket Hole Plans.  I used pine for all the wood, painted the bottom with white

Valspar Storm Coat, and table top with Miniwax Red Mahogany stain. 

It's not purfect but, it turned out great.

Lessons learned

I need is a planer to make the boards straight, Belt sanding took a long time.

Estimated Cost
About $120
60 for wood
20 for paint
10 for stain
20 clear coat
10 for screws
Estimated Time Investment
Weekend Project (10-20 Hours)
Finish Used
Red Mahogany stain
Recommended Skill Level
Beginner

Farmhouse Hall Tree

Submitted by Anonymous (not verified) on Fri, 11/29/2019 - 20:43

I made this hall tree for my daughter for Christmas . I am a beginner with woodworking and this is the first piece of big furniture I have made.

Built from Plan(s)
Estimated Cost
$140, but i used an expensive chalk paint on it
Estimated Time Investment
Week Long Project (20 Hours or More)
Finish Used
Valspar Chalk paint and minwax cherry wood finish. I put 2 coats of the stain on the seat and sides . the chalk paint did not cover well and took 3 coats .
Recommended Skill Level
Intermediate

Outdoor L Shaped Sectional and Table

Submitted by Anonymous (not verified) on Fri, 08/04/2023 - 11:36

My wife used you patio sectional and table plans to make herself a summer oasis. She built it specifically to fit a corner of our patio that we were never using. Now it is used almost daily for reading, visiting or just sitting outside watching the birds.

Tony for Julie

Seasonal And Holiday

First Project Rustic Farm Table

Submitted by HoodFam on Fri, 03/23/2012 - 07:44

This the first project my husband attempted. I hope I can be more involved in the next project. I'm very proud of his first table! We plan on putting it on the screened in porch of our new house we are getting ready to build.

Built from Plan(s)
Estimated Cost
30-50
Estimated Time Investment
Afternoon Project (3-6 Hours)
Finish Used
We used "Early American" as the stain color for the top. We used Olympic paint color "Admiral Blue" for the legs, then distressed them.
Recommended Skill Level
Beginner

Comments

GUEST (not verified)

Mon, 04/09/2012 - 08:33

I have a question. When you stained the top, how did you ensure that your paint was not affected by the stain? I am working on m y first project. I have it all together, painted the bottom, but am stumped by how to stain the top with out ruining all my hard work. Any advice would help.

HoodFam

Sun, 05/13/2012 - 12:29

So sorry I just saw your comment! We used a scrap piece of cardboard to put up against the table when "edging" the stain or paint. We could get in the corner alone the bottom where the stain and paint meet without having to have super steady hand or be completely stressed. Hope this helps!

Rustic X Bench

Took a day to build a bench to match my table! I am in love with this bench.

Take a little extra time on your angles to make sure you get them right or you will end up with a gap!

Estimated Cost
$20
Estimated Time Investment
Afternoon Project (3-6 Hours)
Finish Used
Valspar Satin Black Paint, Minwax English Chestnut, Poly Semi-Gloss on seat top only
Recommended Skill Level
Beginner

Extra long, no middle shelf Rustic X Console

Submitted by Anonymous (not verified) on Mon, 04/04/2016 - 08:34

We have a huge sectional and loved this table, so we modified it a little to fit our needs. Took out the center shelf, made it 10 feet long, and added breadboard ends to the top. Came out perfect! Couldn't be happier.

Built from Plan(s)
Estimated Cost
$115
Estimated Time Investment
Week Long Project (20 Hours or More)
Finish Used
One coat of Rustoleum Sunbleach, allow to dry completely. Really, like one or two days. If the base coat isn't completely dry the following step will lift the first coat right off. Then one coat of Rustoleum Kona with some Sunbleach mixed in to lighten it a little, about a 5 parts Kona to 1 part Sunbleach blend. Lightly wiped Kona mixture back immediately, wipe with the grain, and only once (product is more like a paint than a stain in many ways and will get sticky and splotchy if you fiddle with it too much). I had to move fast on a table this long and I still got some splotches! I wanted it a little rough looking, so to me that was fine.

Finished with three coats of wipe on satin poly (gentle knockdown with very fine steel wool between coats), and finally a coat of clear wax. Buff until arms give out.
Recommended Skill Level
Beginner

Upgraded Luggage Rack or Suitcase Stand Benches

Submitted by Pkoldman on Sun, 12/08/2019 - 12:32

Made from
Upgraded Luggage Rack or Suitcase Stand Benches 

just added the seat cushions 

Estimated Cost
$15 each
Estimated Time Investment
Afternoon Project (3-6 Hours)
Finish Used
Toned water based varnish
And distressed paint and varnish.
Recommended Skill Level
Beginner

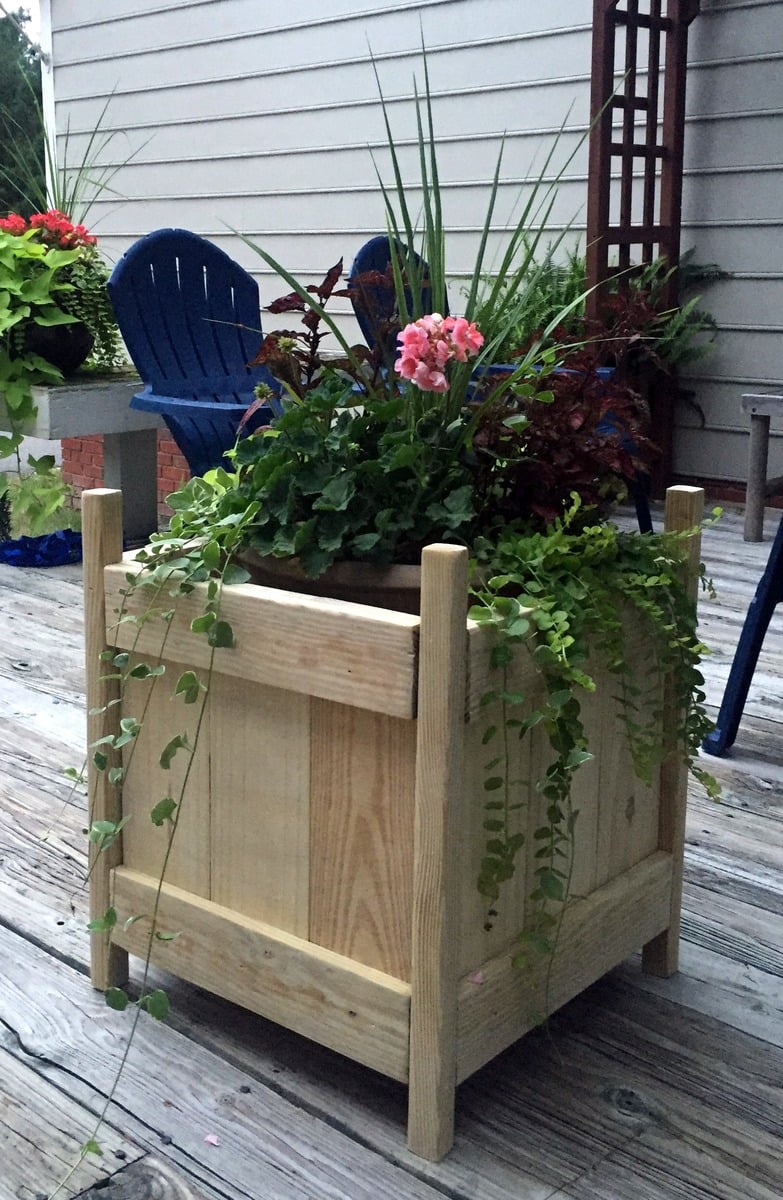
Privacy Planter and Under Deck Storage

Submitted by Anonymous (not verified) on Fri, 08/11/2023 - 11:27

In the middle of a much needed makeover on our back deck! We did not have skirting around the deck and decided that we would like to close it in for extra storage(ladders,compost bin...) and we came up with this little something as a bonus. We are always hosting backyard get togethers and seating is a challenge. Setting up and putting away chairs,ugh. This has been the perfect solution. This was completely an "as we went" plan but the biggest need to know is, heavy duty hinges! (As I said,the deck is getting a makeover so go easy on the appearance:)

Jodi and Matt B.

Built from Plan(s)

scraps come to life!!

Submitted by sueslager on Mon, 03/26/2012 - 06:15

Thank you ana ... and all of you "braggers" ... I have a huge list of projects now, but this is the first one from your ideas. I had an old piece of 3/4 plywood left over from something else so that became the top .. and other sizes were adjusted as needed. I realize now that i should have taken pictures along the way ... it was pretty ugly before finish :) The top is brown paper bagged ... the best instructions out there are at http://lovelycraftyhome.com/2011/11/09/the-ultimate-brown-paper-floorin… ... it is truly almost magic how beautiful such simple ingredients and technique become (and cheap) Thanks again!

Estimated Cost
free - from leftovers and scraps
Estimated Time Investment
Afternoon Project (3-6 Hours)
Finish Used
satin black oil enamel
Recommended Skill Level
Beginner

Comments

Bunnie1978

Mon, 03/26/2012 - 07:20

I love the texture. I have never heard of paper bagging. LOL. It is very unique, and I'm sure it can be just as durable as anything else with the right finishing. Nice job! I am very impressed.

sueslager

Mon, 03/26/2012 - 10:20

my finished dimensions ended up being 13 (W) x 48 (L) x 18 (H) ... found Ana's dimensions were very adjustable though ... the only trick was the cross braces ... and those i ended up having to hold in place and draw the cut lines .. my geometry failed me :)

from what i hear the "paper bagging" is quite durable .. there are reports all over the web of people who have had it in place on their floors for years with only occasional touchups with poly ... definitely time consuming with needing so many poly coats .. but they go quickly. i'm putting it on my stairs next ... have tile below, will be wood above .. and i'm too cheap to pay for hard wood stair tread!!

kaytrishjr

Wed, 03/28/2012 - 13:25

You did a wonderful job!!!! Mine is holding up just fine, my son practically does cartwheels on it everyday, no problem! Now, I'm about to start on my floors this week, cant' wait to see how it turns out!

sueslager

Wed, 03/28/2012 - 17:52

i already tore out the carpet on my steps ... if we still like it the bedroom will be next ... hope your project goes smoothly!

Table

Submitted by Burge12 on Tue, 01/14/2014 - 09:35

This is my first table. I used the Triple Pedestal Farmhouse Table plans, but modified it to fit our kitchen.

Estimated Time Investment
Weekend Project (10-20 Hours)
Recommended Skill Level
Intermediate

Comments

JoanneS

Tue, 01/14/2014 - 16:35

Great job on this table! I like how you placed the pedestals, you can push the chairs all the way in on the ends. Your finish looks beautiful!

Masculine upholstered bench

Submitted by spstokes on Wed, 04/06/2016 - 07:33

This is the second bench made from these plans. For this bench, I altered the plans, decreasing the length from 55" to 36". I'm a little uneasy about using the jigsaw so I did not taper the legs. I love this bench it fits very nicely into our  warehouse loft apartment.

Built from Plan(s)
Estimated Cost
$65
Estimated Time Investment
Afternoon Project (3-6 Hours)
Finish Used
Bedroom bench
Recommended Skill Level
Beginner

Wifes desk

Submitted by billr76502 on Sun, 12/15/2019 - 08:35

Wife loves her desk. She works from home and loves the simple look

Built from Plan(s)
Estimated Cost
60.00
Finish Used
Oil stain and polyurethane
Recommended Skill Level
Beginner

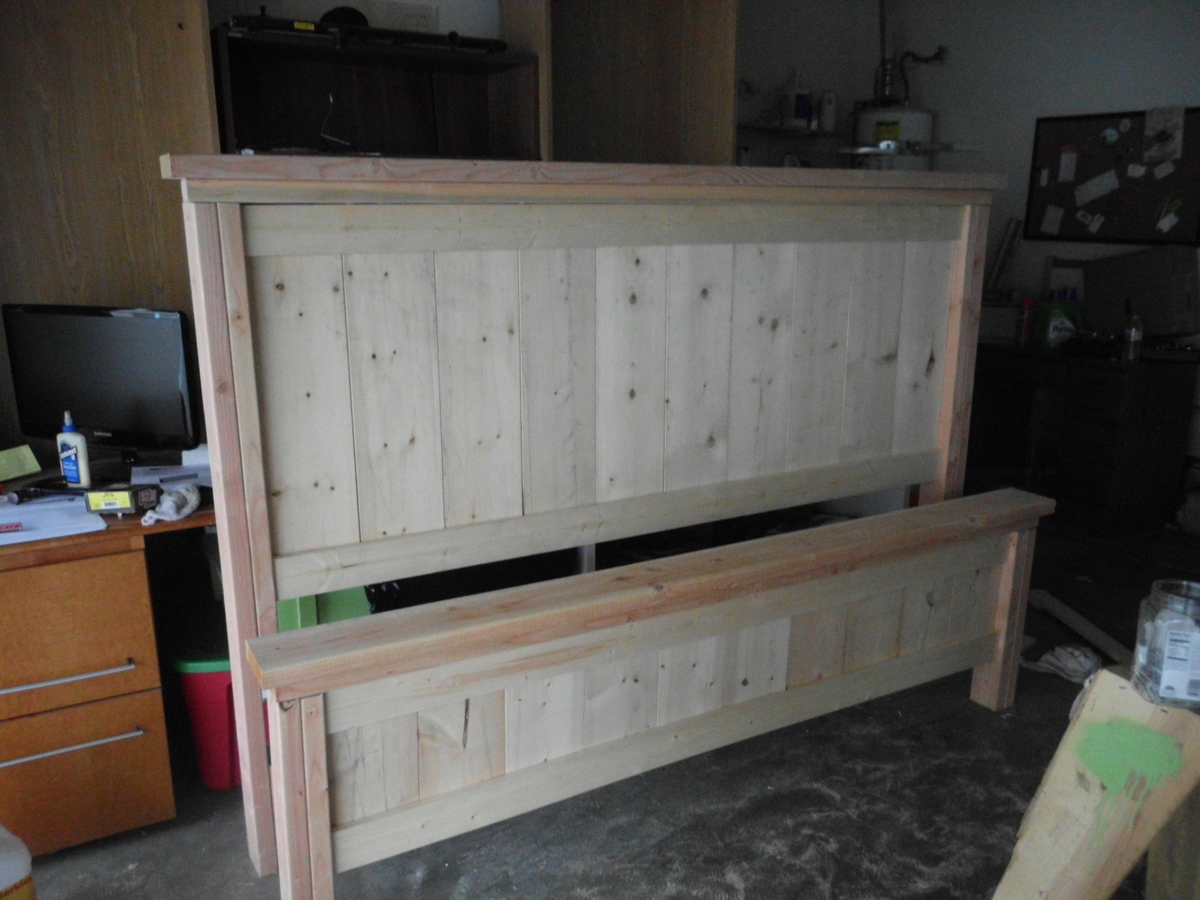
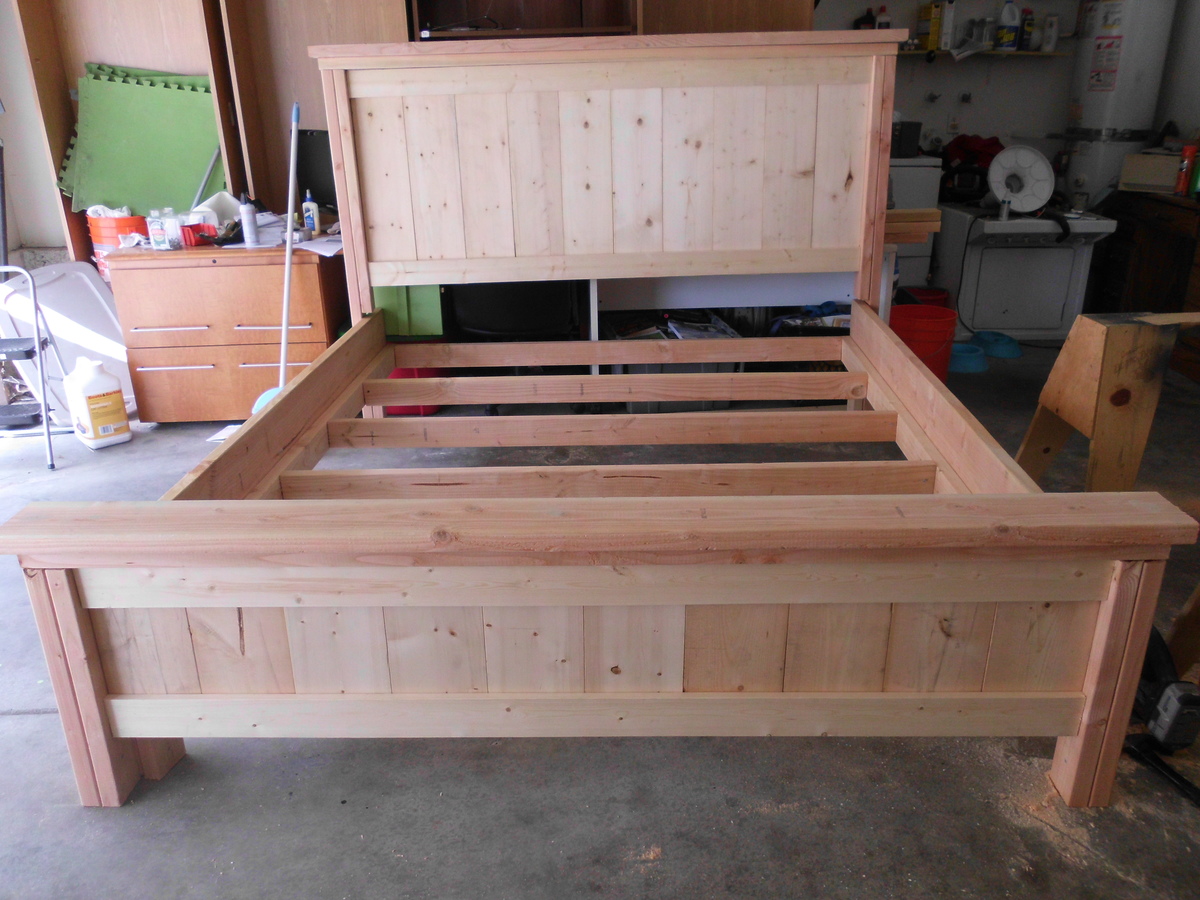
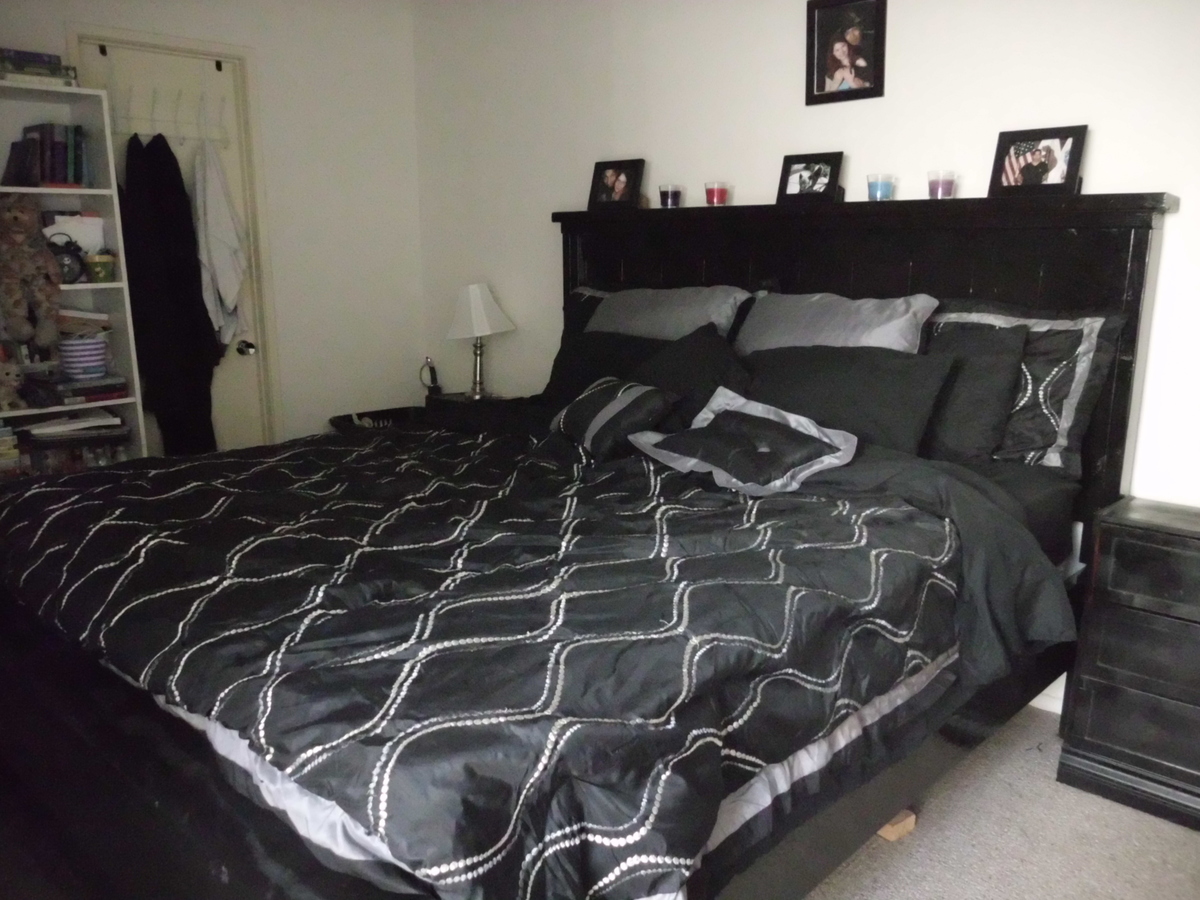
Scrap Wood Headboard

Submitted by Anonymous (not verified) on Sat, 08/19/2023 - 10:22

This was definitely a project, but totally doable for anyone.
We had a bunch of scrap wood so we decided to do a different style for the headboard, everything else is to the plans.
Absolutely in love with it! Thanks to Ana for the plans!

Different style headboard

Built from Plan(s)

So Chic Dream Dollhouse

Submitted by navinifiji on Fri, 03/30/2012 - 19:50

My first attempt at a woodworking project. I LOVED IT!! But I'm not sure which I loved more...the building or the decorating. I can't wait to build more!

Estimated Cost
$60
Estimated Time Investment
Weekend Project (10-20 Hours)
Finish Used
Minwax natural cherry.
Recommended Skill Level
Beginner

Comments

Liz B. (not verified)

Mon, 09/24/2012 - 20:31

I'm curious about the scrapbook paper, do you know which paper she used? Thanks!

Liz B. (not verified)

Mon, 09/24/2012 - 20:30

Hi! can you tell me about your decorating supplies? Did you use scrap book paper for the walls? I am really interested in the wall with letters and children playing! Also, what furniture did you use?
Thanks!!

Tropical Wood Cooler Built From Ana & Birds & Soap Plans

Submitted by nprcowboy on Fri, 01/17/2014 - 07:49

My wife and I saw the wood cooler plans here and decided that would be a great project and great addition to our outdoor tiki patio area. The build wasn't that bad. I could not find the exact cooler as listed so I got a different one and the dimensions were different, but I accommodated for it. We went with a tropical rustic look and decorated like a live blue crab crate. Really came out amazing.We had slated to paint it yellow with blue trim, but yellow was too bright so then started painting lid blue over the yellow to see what it looked like and decided to sand it down and do something different. That's when the magic happened. When I started sanding, blue and yellow came out and look faded and rustic, and it looked amazing. So we went with that as our scheme. Sanded up areas to look distressed!!! We put the shelf and spout on the opposite side to fit our area better. All in all was a great project and love the results. Going to break it in for the superbowl in 2 weeks!!!! My wife was a great help doing the painting and my 11 yr old daughter pitched in on the wood work. Thanks girls!! Contact me with any questions. So what you think of it?????

Built from Plan(s)
Estimated Cost
$100
Estimated Time Investment
Weekend Project (10-20 Hours)
Finish Used
gray primer, exterior paint, clear coat
Recommended Skill Level
Beginner

Comments

Knot Good with Wood

Sun, 01/19/2014 - 18:16

You nailed it bro! Very nicely done, and it looks very well built. I've had this on my to-do list, but haven't tackled it yet.

-Brian

Simple White Outdoor End Table

Submitted by Anonymous (not verified) on Sat, 04/09/2016 - 13:57

Great plan, taught me a few things about glue and stain! Corrected by sanding again and re-staining the spots.

Estimated Time Investment
Day Project (6-9 Hours)
Finish Used
Minwax prestain, Minwax gun stock stain and three coats of Minwax Helmsman, Behr exterior paint and primer on legs
Recommended Skill Level
Beginner
Back