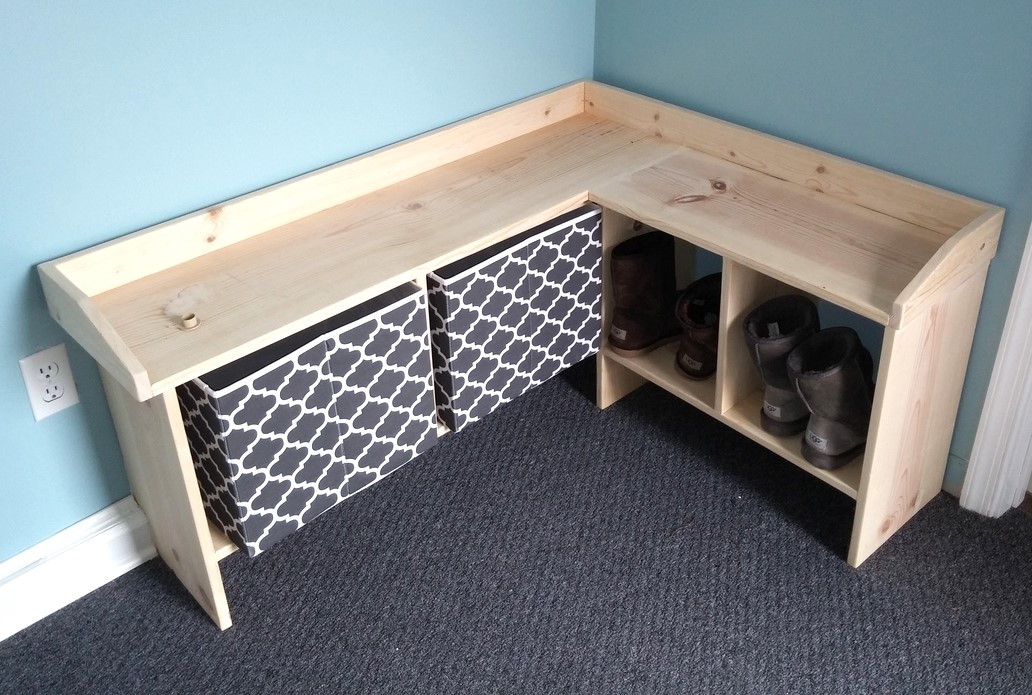
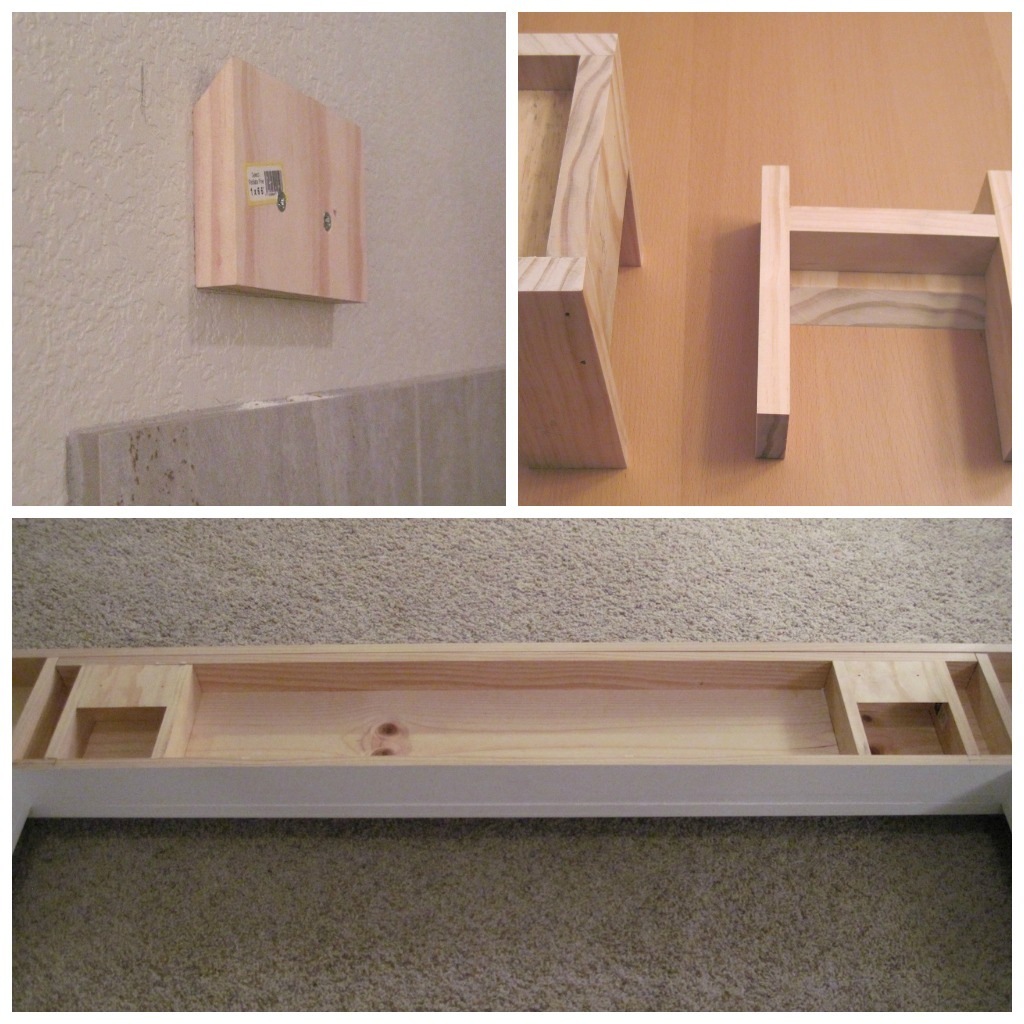
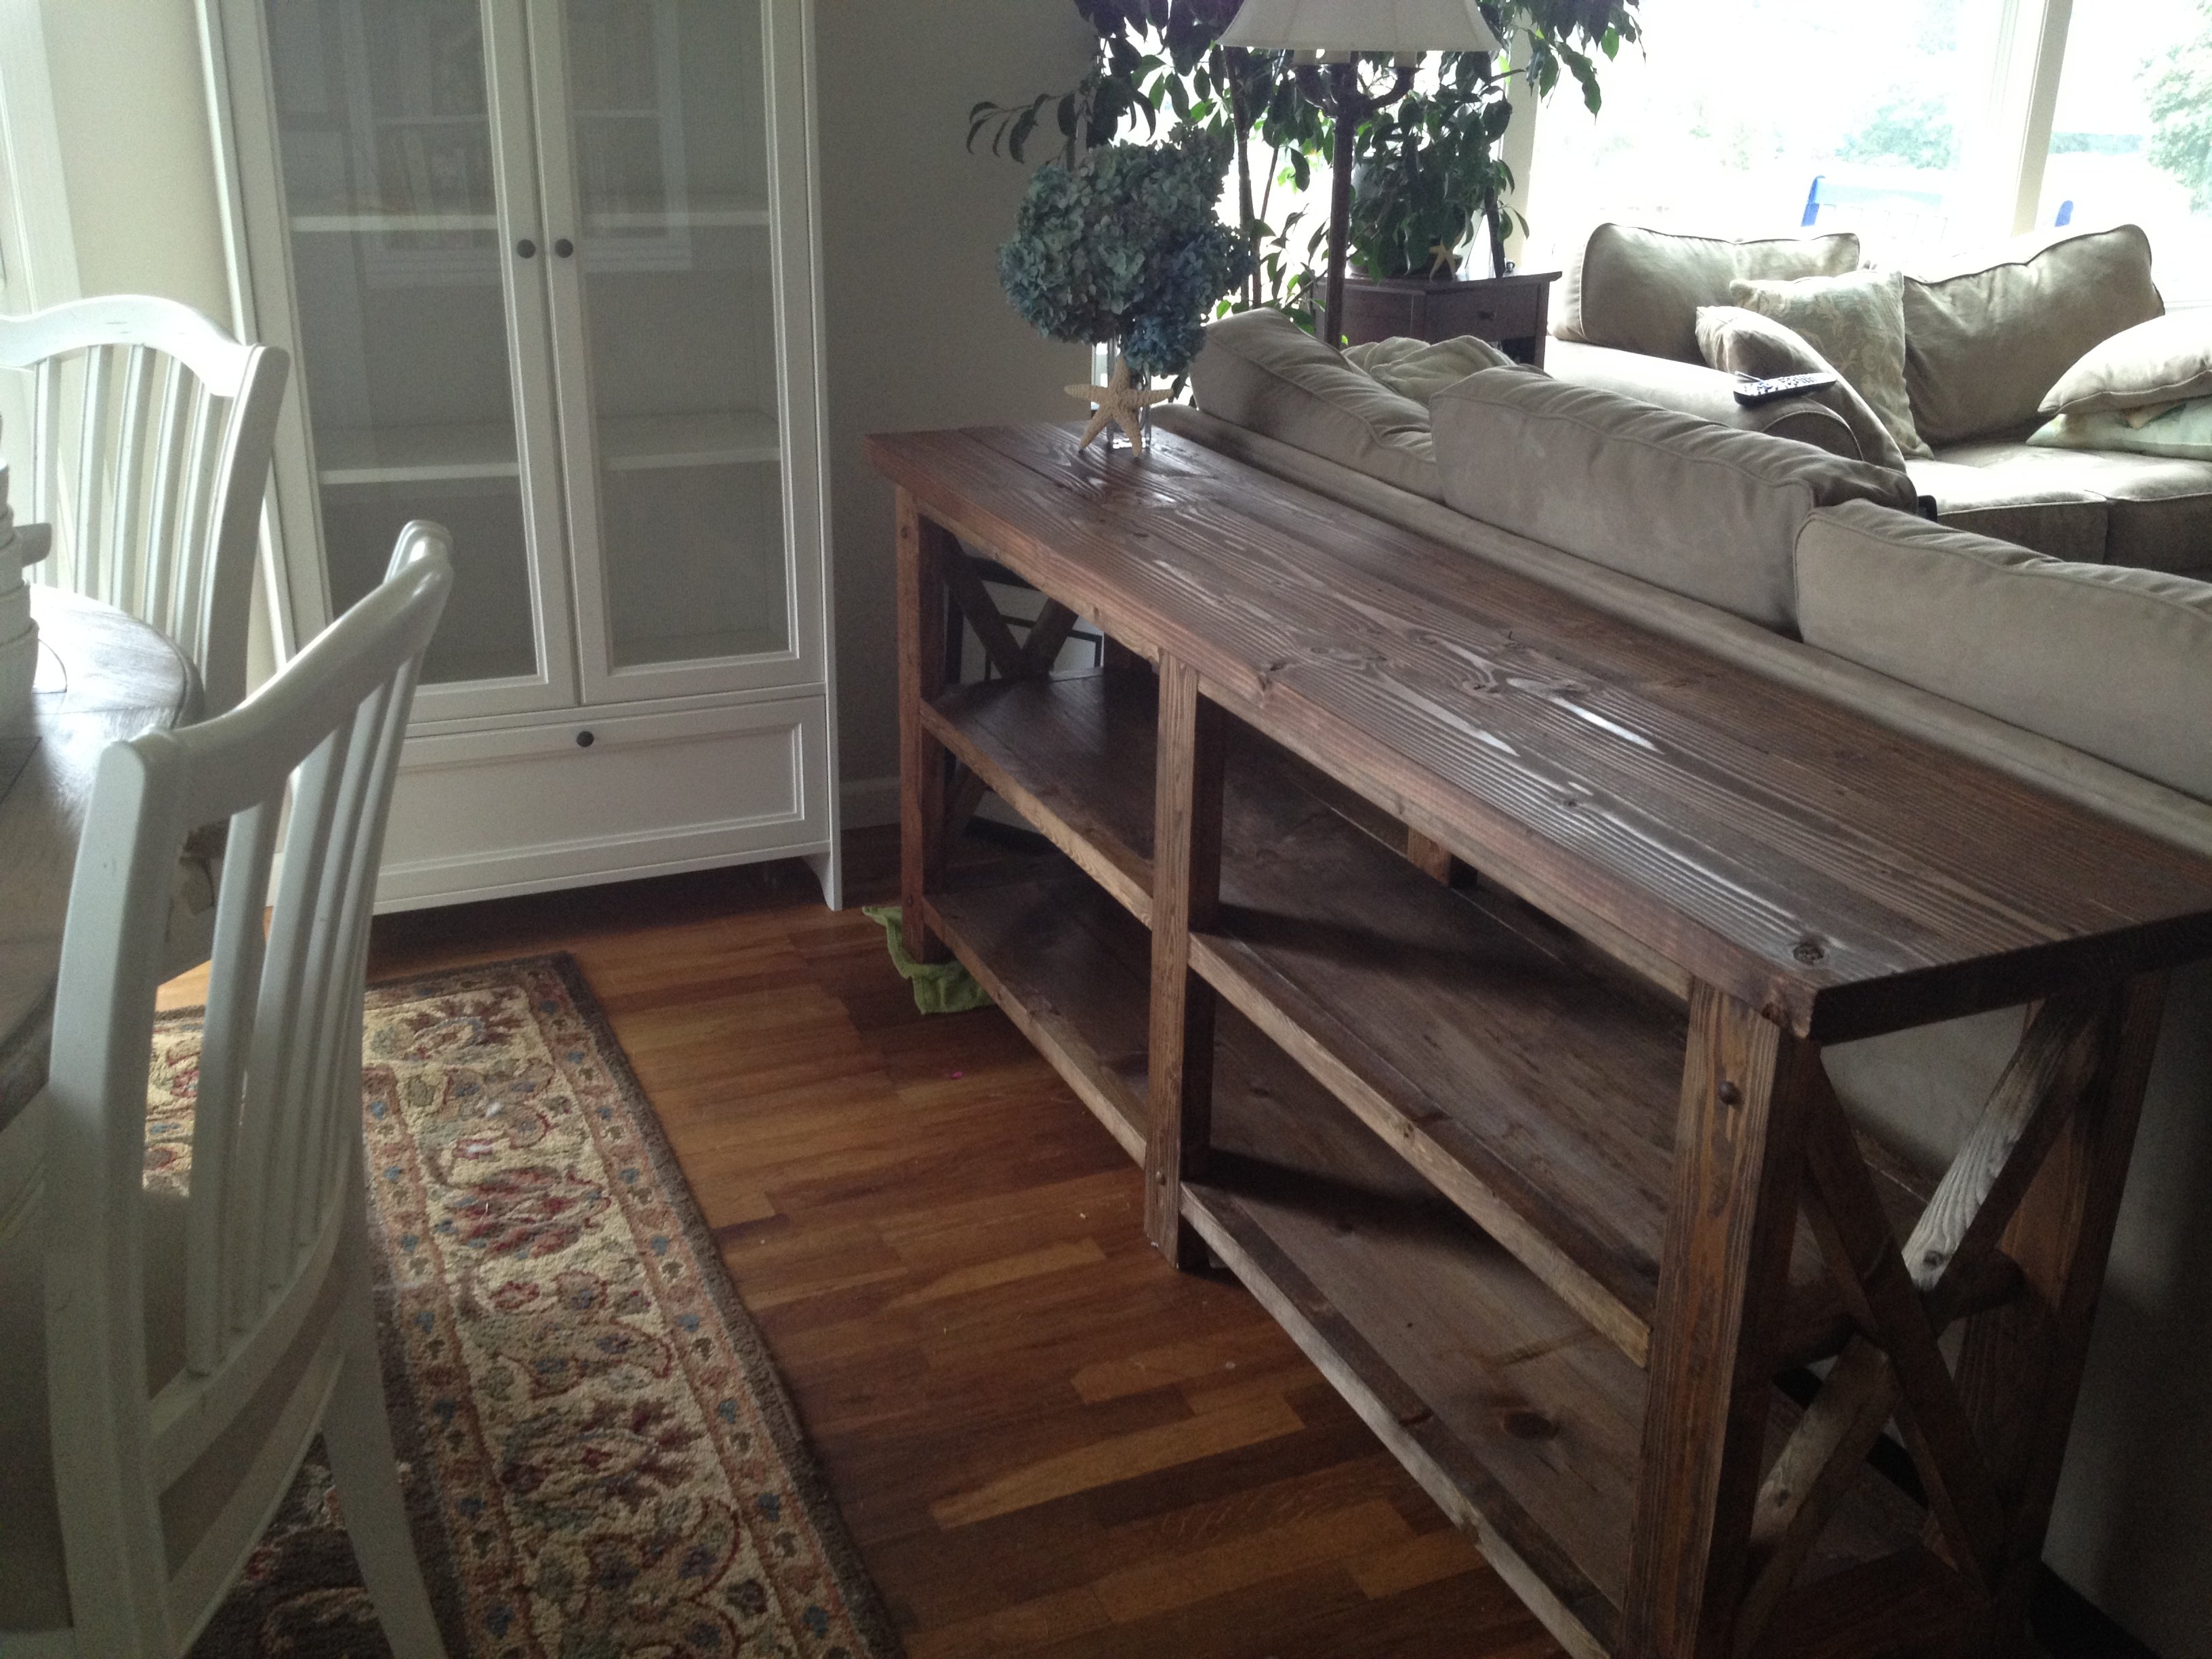
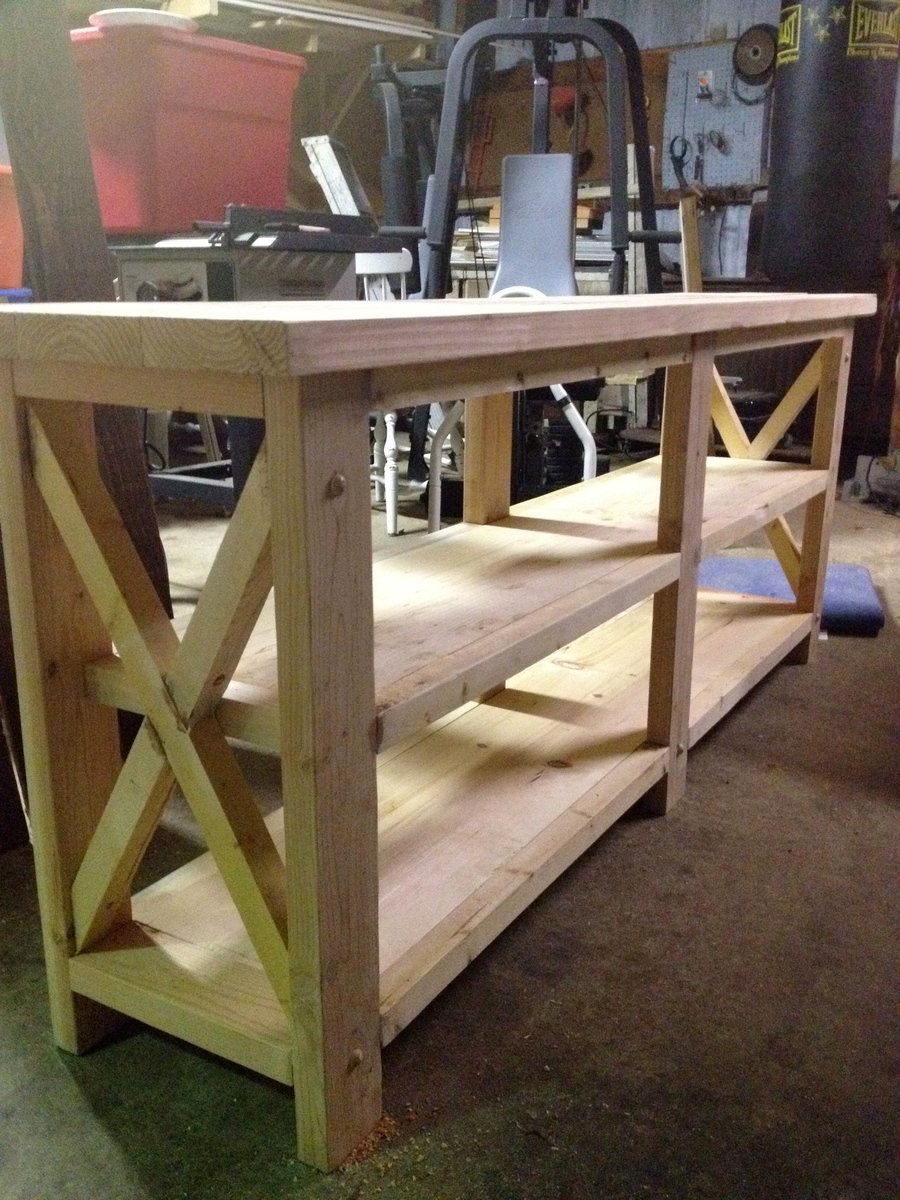
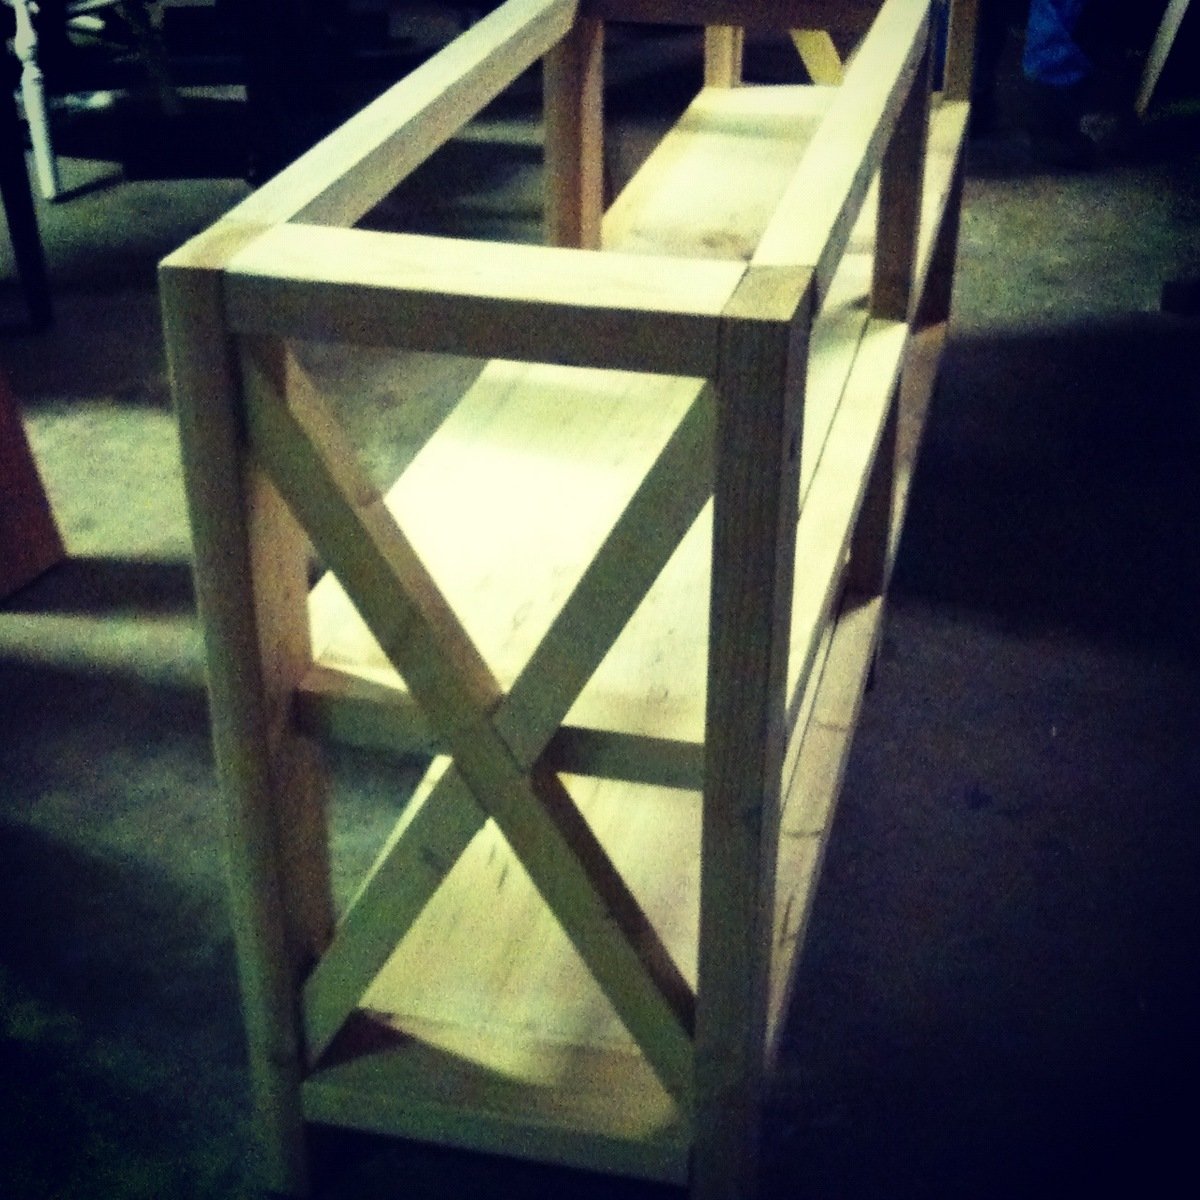
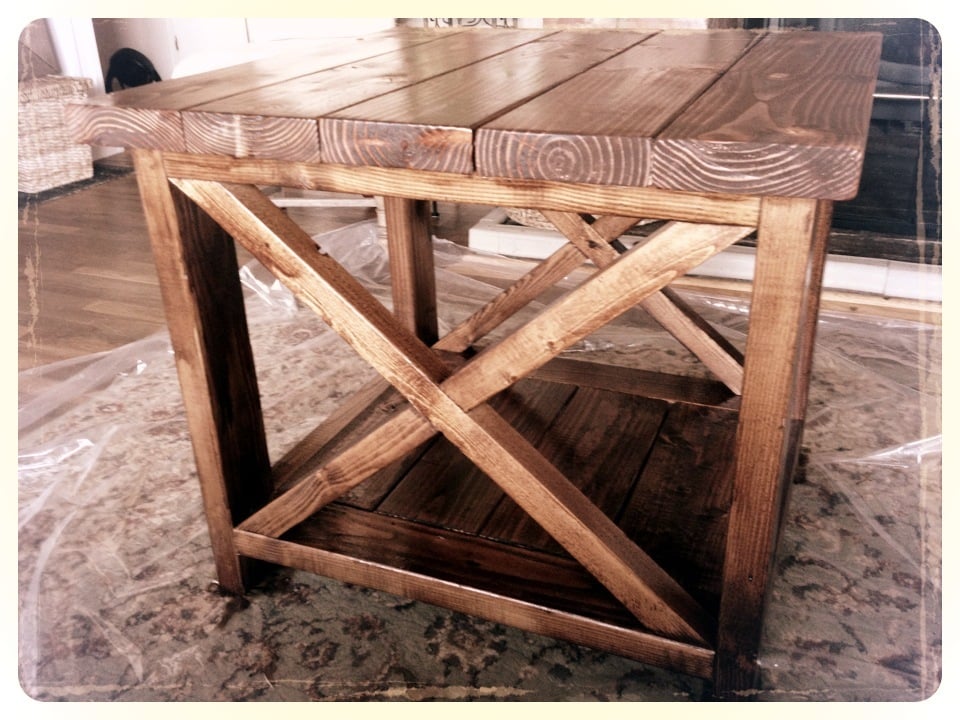
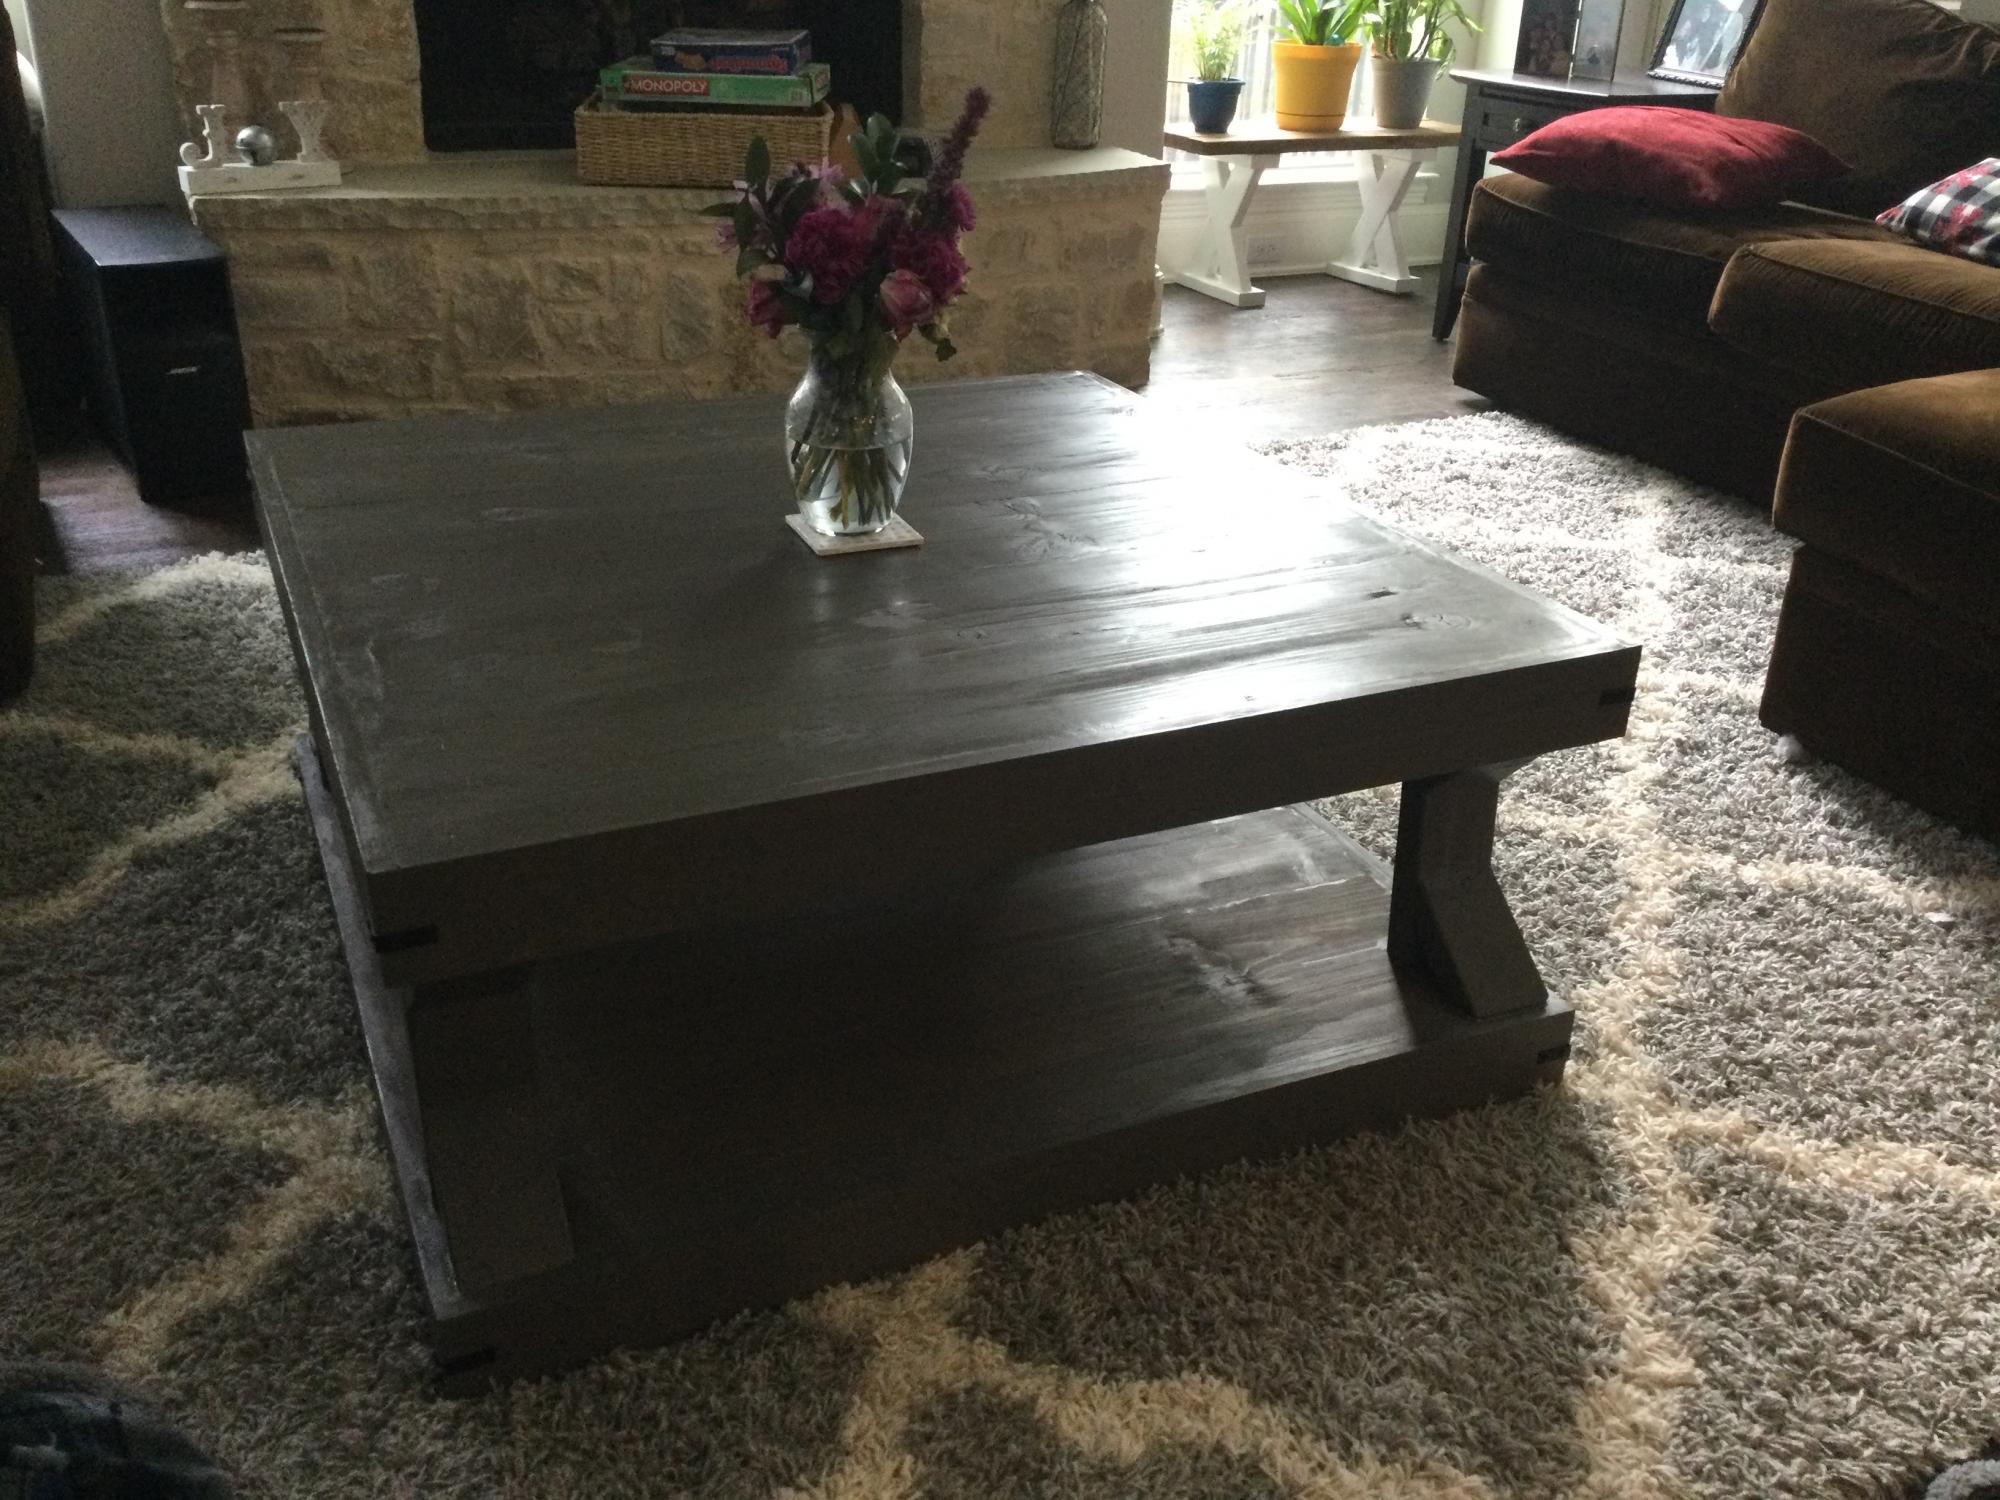
King Farmhouse Storage Bed
![](/sites/default/files/20150824_131956_0.jpg)
We were looking to make a king size storage bed in the farmhouse style, but couldn't find anything that was exactly what we wanted, so we stole pieces from several plans and ended up with this!
![](/sites/default/files/20150723_175028.jpg)
![](/sites/default/files/1909134_10205816947800592_5120692014329880824_o.jpg)
We were looking to make a king size storage bed in the farmhouse style, but couldn't find anything that was exactly what we wanted, so we stole pieces from several plans and ended up with this!
Princess loft bed
Laundry Basket Cabinet!
by Bob
Made these for my guest bedroom!
Thu, 06/30/2011 - 08:04
They came out great, and your guest room looks LOVELY!!
I used the Reclaimed Wood Look Headboard plans to make a headboard out of found, discarded wood. The only new wood is the vertical 1x3s and 1x2s that form the sides of the headboard. The bed is also made of reclaimed wood, using a modified version of the Hailey Platform Bed plans.
The plans are modified to create a patchwork look using scraps of wood in different sizes and thicknesses. The wood scraps were cut so that when put together they make up the total length and width of the horizontal planks in the plans. I glued and nailed all the patchwork pieces to a piece of MDF board I found, and added a vertical 1x2 for added support down the middle of the back.
The top 2x4 is made up of two pieces glued end-to-end with dowels in between, because I didn't find any long 2x4s I could reclaim. I didn't put the top and bottom trim on the back side, because it was already quite heavy and sturdy.
Tue, 08/06/2013 - 06:44
This piece is beautiful. I think it was worth the sanding.
Bathroom mirror made from 1 by 6s and a 24 inch by 20 inch plain mirror.
Hi friends!
Jen Woodhouse here, super excited to share our latest DIY project with you - a Sliding Barn Door Loft Bed! We built this full-size loft bed for our 7-year-old daughter because we wanted to make the most of her small bedroom. And as an Army family, we move around every two years or so, so I drew up the plans so that the bed can be easily disassembled. We all love it so much and hope you do too! I'd love to see you build one for your kiddos (or yourself - no judgement!). Be sure to tag me @jenwoodhouse if you share photos of your build on social media!
And because some people have asked:
Get all the details and the plans on JenWoodhouse.com!
We really needed a place to organize my daughters books in the living room. These were fairly easy to make - my husband built them and I did the finishing.
I HIGHLY recommend the water-based poly. It is almost twice as expensive but it isn't near as smelly and it has a much lower VOC level.
When my daughter asked for a dollhouse for her 3rd party I decided to just make her one and this Dream House plan was just perfect. I got a little carried away and added an extra floor. I also made some furniture out of scrap wood and I plan to add an elevator. This was a very fun project and my little one is already making requests for more furniture, pillows, blankets and a TV and video game room for the house.
I only spend about $50 total but that was using the cheapest wood I could find. The floors were made using plywood that was pre-cut at 24" x 24" . This project was a big hit with my little one. Thanks for the plans Ana.
This was the first project in many years and I was pleasantly surprised how easy it was. I am so happy with the results. It was a great starter project to get me excited to do more projects.
This book shelf can be done even cheaper had I left the base trim off. It would have looked fine without it as well.
Thanks for the great plans!
Great plans and we love the finished product!
Both of my children have moved into new homes within the past year. So it looks like I will be busy building things they need for them. Enjoy being able to do this for them! Thanks, Ana for the inspirations!
Wed, 07/04/2018 - 14:46
This is gorgeous! Love the taller headboard height and the wall paint! Thank you so much for uploading a photo, can't wait to see more!
I built this for a friend so it will work for his kitchen….and he just loves it!
Love this site! My grandaughters were coming to stay and I was in the process of making a playroom/bedroom for them. I stumbled across this site just in time. I made the kitchen using the stove and sink plans from grace's kitchen except I combined them into one. So instead of having two seperate units, I just combined them together using one side panel for both, (making 3 20" long panels instead of 4) and placed one long countertop and backsplash. I used a candlestick holder (painted red) for the faucet, glued in a 1/2" in. threaded plastic nipple I had from the outdoor sprinkler system, and screwed on a hose for an icemaker for the refrigerator, (found at lowes in the plumbing department (cost 3.99)(I'm a widget girl!!) I love to look for things that could be used for something else. Then walaa, a faucet!!
Fri, 07/08/2011 - 12:43
My color inspiration for this project came from the clabborgirl baking powder tin, (pictured). Just to let you know inspiration can come from just about anywhere!!
Wed, 08/01/2012 - 05:08
I was thinking of doing a combination sink and oven just like this! Yours looks great.
I used dimensional lumber for a little nicer look and laminated two boards for the legs. I used light walnut danish oil to finish. I adjusted the width and got It the perfect width for my hallway.
I had a leftover sheet of 1/2" plywood, so I built this toy box. The pocket holes didn't work very well on the 1/2" plywood, so I added some angle brackets for security, but it's a great toy box, bigger than I had imagined! I had to add a sheet of plywood in the open side because the bottom was too low for my 2 year old--toys kept falling in and he couldn't reach them, but kept trying to climb in after them!
I have decided to build the iTable as a dining table last weekend and I am very happy, this is becoming our new dining table! I used 6x6 for the legs and stained with ebony stain, and protected with 3 coats of polyurethane.
First time using drawer slides, and what a learning curve it was! The color is Varathane Weathered Wood Accelerator. This piece is huge and heavy! Absolutely love it and rebuilding other bedroom pieces to match this color. I also built a matching dresser which is taller and much more narrow. It can be found here: http://www.ana-white.com/2018/08/DIY_furniture/tall-bedroom-dresser
Mon, 03/01/2021 - 12:41
Are there plans for this dress, or the tall matching one?
My husband loves seating on this sofa while reading his scriptures or sometimes to take a nap. I got the cushions and pillows from Ikea. I can't wait to build another one or two, possibly with my sister-in-law. Thank you for the tutorial :-)